The Brawlhalla combos are an essential part, and mastering them can greatly improve a player’s chances of winning matches. Combos involve linking together a series of moves in a specific order to deal significant damage to opponents. Each character in Brawlhalla has unique combos that can be performed with different weapons.
All Types Of Combos In Brawlhalla
Understanding the different types of combos and their situational use is crucial in Brawlhalla and can depend on an opponent’s level and moveset.
Unarmed
In Brawlhalla, mastering unarmed combos can deal heavy damage, allowing the players to quickly disarm opponents or fight without weapons.
General Combos
Down Light + Ground Pound.
Down Light + Neutral Air.
Down Light + Recovery.
Down Light + Side Air.
Down Light + Down Air.
True Combos
Down Light + Gravity Cancel Down Light + Down Light Pound. (Kill Combo)
Down Light + Gravity Cancel Neutral Signature.
Down Light + Gravity Cancel Down Signature. (Kill Combo)
Axe Combos
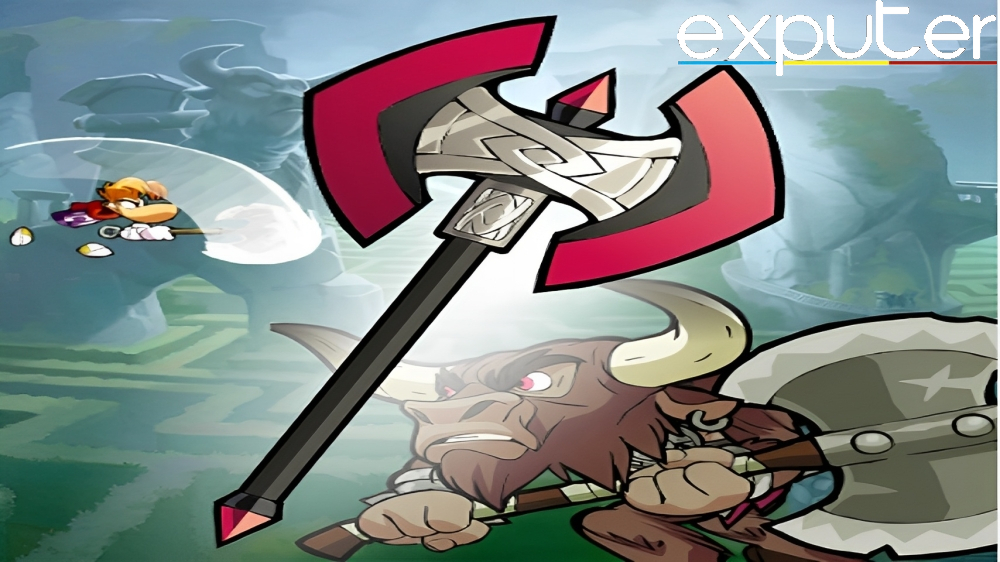
Axe [Image by eXputer]The Axe Combos in Brawlhalla is a popular choice when the players want to deal heavy damage to the opponents; these attacks can be slow, but they have a wide range and deal significant damage, making them a great option for punishing opponents who get too close.
General Combos
Side Light + Neutral Air.
Side Light + Down Light.
Side Light + Down Air.
True Combos
Down Air + Down Light. (It is true on Axe, but you have to hit the Down Air with the last hitbox then you can hit the Down Light).
Down Air + Neutral Light.
Down Air + Side Light + Neutral Air.
Battle Boots
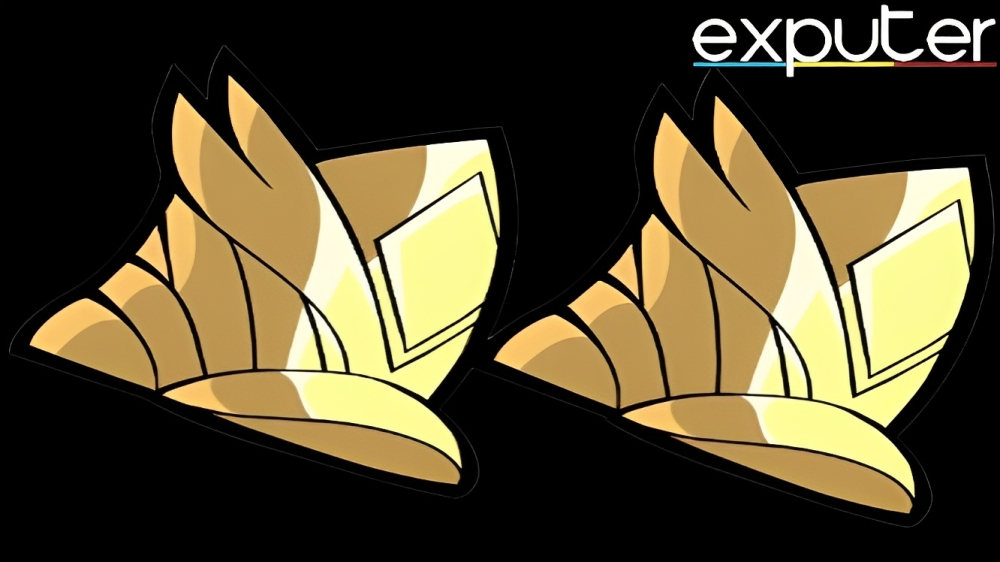
Battle Boots [Image captured by eXputer]The Battle Boots, a unique weapon, offer the players a fast and mobile playstyle, with combos designed to take advantage of the weapon’s speed and agility, allowing it to close the gap between the players and the opponents.
General Combos
Down Light + Side Air. (The Side Air has two versions)
Active Input In which you go with your opponent with less force.
Normal Input In which you go on the enemy with more force.
Down Light + Neutral Air.
Down Light + Recovery.
True Combos
Down Light + Down Air.
Down Light + Ground Pound.
Down Light + Gravity Cancel Side Light.
Down Light. [Active Input] + Neutra Light
Down Light. [Active Input] + Side Light
Blasters
Blasters [Screenshot captured by eXputer]The Blasters are versatile weapons that provide both ranged and close-quarters options, with combos designed to take advantage of the weapon’s range and precision, enabling the players to deal significant damage from a safe distance.
General Combos
Down Light + Side Light.
Down Light + Down Air.
Down Light + Neutral Light. (True at lower health)
Down Light + Side Air.
Down Light + Neutral Air. (The way you hit the neutral air is that you x-pivot it. Basically, you buffer jump, reverse in the Neutral Air, and Chase dodge. )
Down Light + Recovery. (It is a Kill Combo. At lower health of the enemy, you have to buffer jump to hit the recovery, and at higher damage, you can do the Dash jump)
True Combos
Down Air + Side Air. (At red health)
Side Air + Neutral Light. (At lower health)
Side Air + Down Light + Side Light.
Side Air + Down Light + Recovery. (For max damage, but this combo works at completely white health, so hitting this combo in the actual match is extremely hard).
Bow
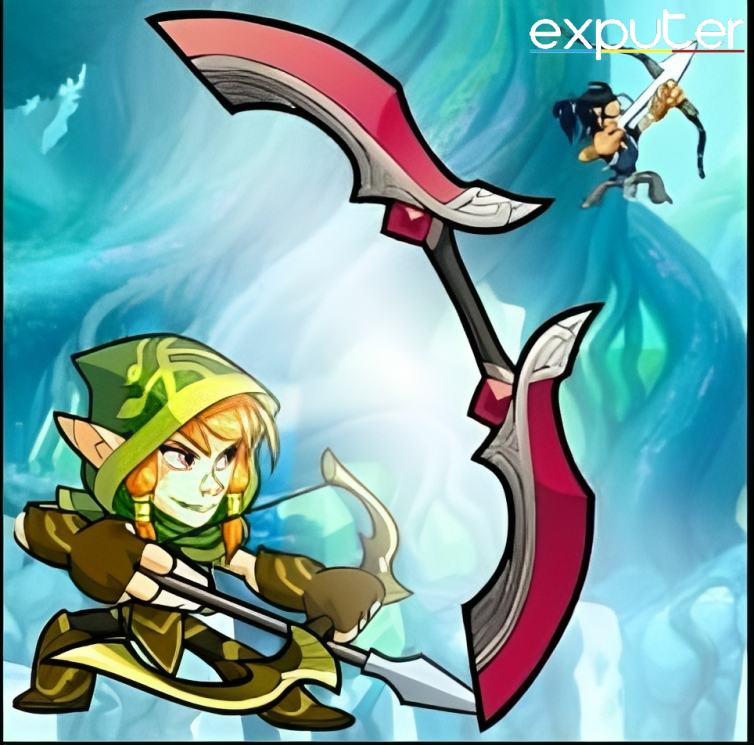
Bow [Image credit copyright: eXputer]The Bow is a ranged weapon that offers a unique playstyle, with combos designed to take advantage of the weapon’s range and speed, allowing the players to keep opponents at bay while dealing significant damage from a distance or quickly closing the gap.
General Combos
Down Light + Neutral Light.
Down Light + Neutral Air.
Down Light + Side Air.
Down Light + Recovery.
True Combos
Down Light + Ground Pound. (On 6 index)
Gravity Cancel Side Light + Neutral Air.
Side Air + Side Light. (You have to hit the Side Air late to hit the Side Light true)
Down Light + Down Air + Neutral Light.
Cannon
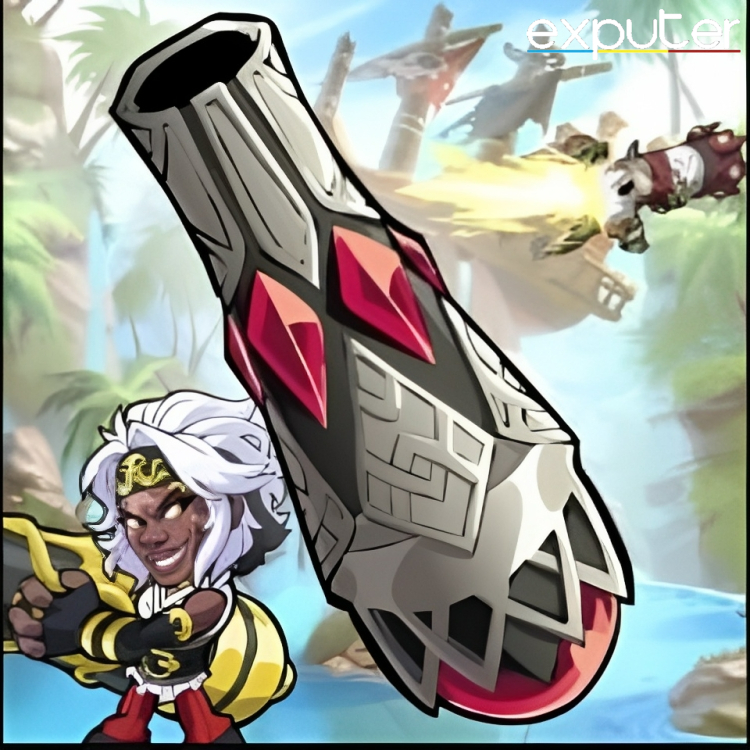
Cannon [Screenshot captured by eXputer]The Cannon is a heavy and powerful weapon that provides a high-risk, high-reward playstyle, with combos designed to take advantage of the weapon’s strength and range, enabling the players to deal significant damage with ease.
General Combos
Down Light + Down Air.
Down Light + Side Air.
True Combos
Down Light + Gravity Cancel Neutral Light.
Down Light + Neutral Air. (Main kill combo of Cannon)
Gravity Cancel Down Light + Side Air + Recovery. (Better to pull off at yellowish health)
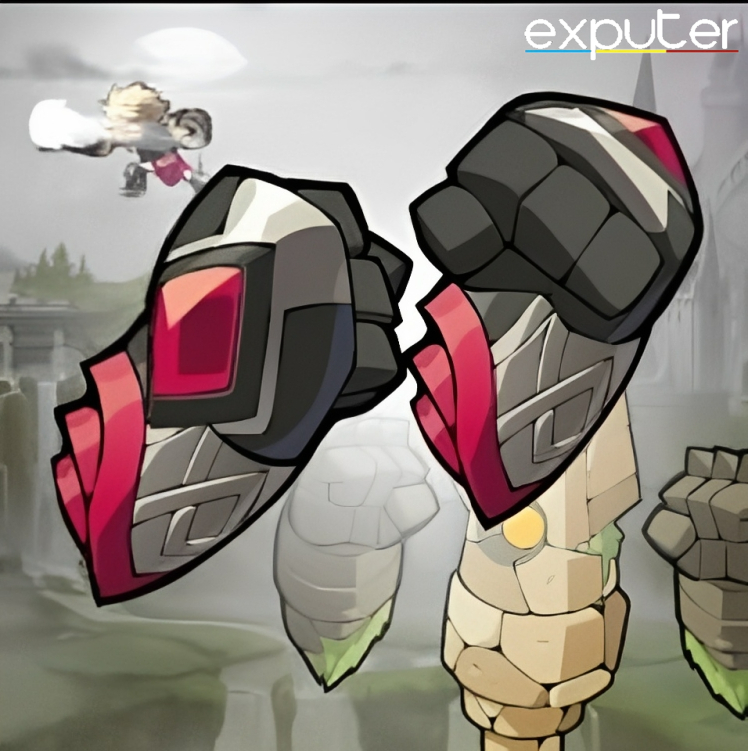
Gauntlets
Gauntlets [Screenshot Grab: eXputer]The Gauntlets in Brawlhalla are a fast and agile weapon that provides a unique playstyle, with combos designed to take advantage of the weapon’s speed and adaptability, enabling the players to rapidly approach and attack opponents and keep them on the defensive with successive strikes.
General Combos
Down Light + Neutral Air.
Down Light + Down Air. (better to build up damage)
Gravity Cancel Down Light + Recovery.
Gravity Cancel Down Light + Neutral Air.
Gravity Cancel Down Light + Side Air.
Neutral Air + Gravity Cancel Neutral Light.
True Combos
Down Light + Side Light.
Down Light + Recovery. (You have to buffer jump to hit the recovery)
Down Light + Neutral Air.
Greatsword
Greatsword [Screenshot captured by eXputer]The Greatsword in Brawlhalla is a powerful and versatile weapon that provides a wide range of options for both attacking and defending, with its combos in Brawlhalla designed to take advantage of the weapon’s range and versatility, allowing the players to deal significant damage while keeping the opponents at bay.
General Combos
Down Light Bridge + Down Light Finisher.
Down Light Bridge + Side Light Finisher.
Down Light Bridge + Neutral Light Finisher.
Side Light + Down Light Bridge + Down Light Finisher.
True Combos
Side Light + Down Light.
Down Air + Neutral Air. (At Yellow or Orangish health)
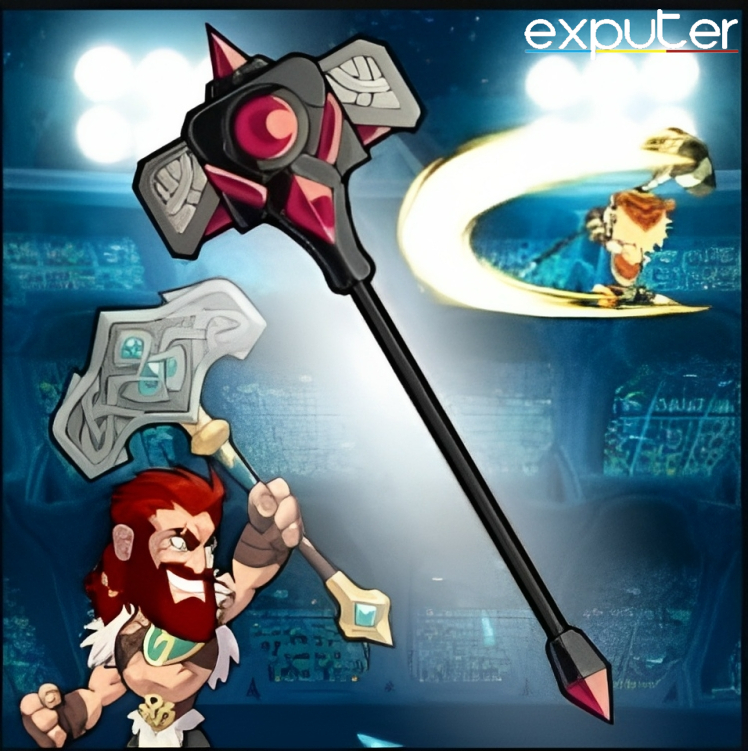
Grapple Hammer
Grapple Hammer [Image by eXputer]The Grapple Hammer in Brawlhalla is a heavy and hard-hitting weapon that offers a unique playstyle, with combos designed to take advantage of its high damage output, enabling the players to quickly KO opponents with slow but powerful attacks and keep them on the defensive.
General Combos
Neutral Light + Side Light.
Down Light + Down Air.
Down Light + Side Air.
Gravity Cancel Down Light + Neutral Air. (You can also do grounded, but that is very inconsistent and hard)
Down Light + Recovery. (At lower health, you have to hit the recovery, and at higher damage, you can use chase dodge)
Down Light + Gravity Cancel Neutral Light.
Down Light + Recovery + Down Air. (Also called Russian Mafia. This combo works at red health)
True Combos
Down Light + Side Light. (true at lower health)
Side Air + Neutral Light. (true at lower health)
Down Light + Recovery + Side Air. (true at higher damages)
Down Light + Recovery + Neutral Air. (When the opponent is super damaged)
Side Air + Down Light + Side Light + Neutral Light. (Only possible on 9 Dex Cassidy)
Katars
Katars [Image captured by us]The Katars are a close-range weapon that excels in fast and agile attacks, with combos that require precise timing and positioning but can deal a lot of damage to opponents when executed correctly, making it a key aspect of mastering this weapon.
General Combos
Ground Pound + Down Air.
Neutral Air + Down Light.
Neutral Air + Neutral Light.
Neutral Air + Side Light + Down Light.
Neutral Air + Side Light + Neutral Light.
True Combos
Side Light + Down Light.
Side Light + Neutral Light.
Ground Pound + Recovery.
Ground Pound + Gravity Cancel Down Light.
The next three combos are only true on 9 Dex Lin Fei.
Down Air + Down Light.
Down Air + Neutral Light.
Ground Pound + Recovery + Recovery.
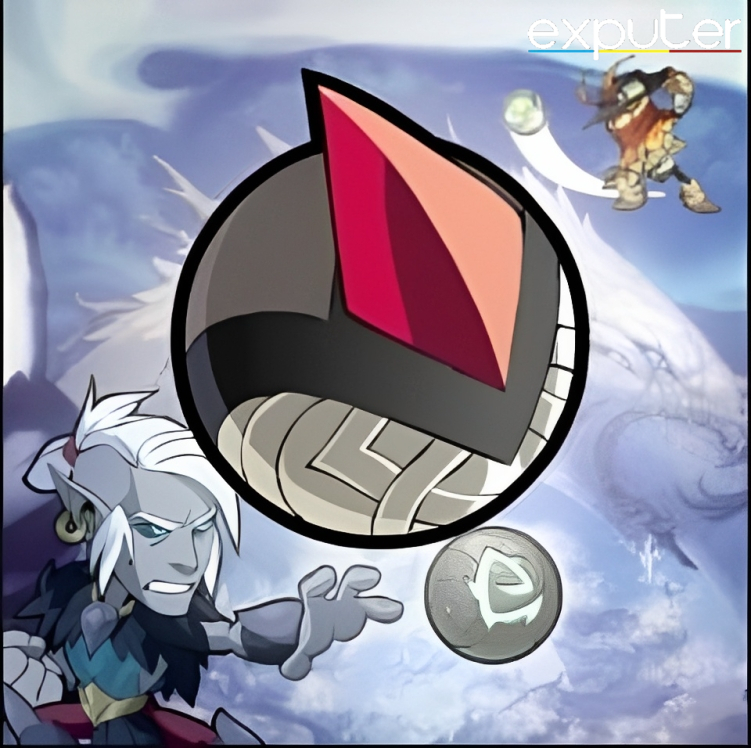
Orb
Orb [Image by eXputer]The Orb is a versatile weapon that combines ranged and close-range attacks, and its side light attack can catch opponents off-guard and be followed up with a variety of combos depending on the situation.
General Combos
Side Light + Side Air. (Kill combo)
Down Light + Neutral Air.
Down Light + Gravity Cancel Neutral Light.
Down Light + Gravity Cancel Side Light + Side Air.
True Combos
Side Light + Down Light.
Gravity Cancel Side Light + Neutral Air.
Down Air + Neutral Light. (At lower health)
Side Air + Neutral Light. (At lower health)
Down Light + Side Air. (At Orange Health)
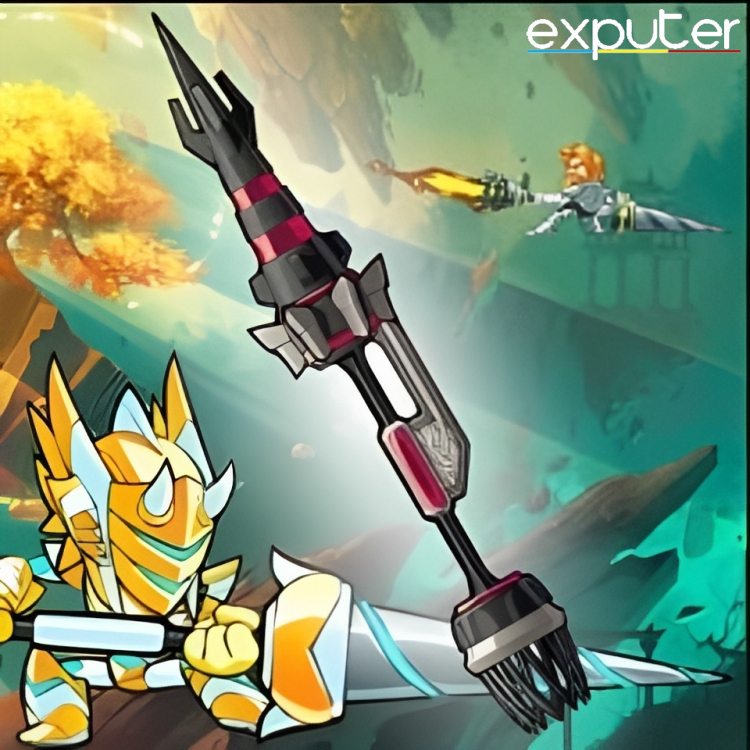
Rocket Lance
Rocket Lance [Image by eXputer]The Rocket Lance is a heavy weapon in Brawlhalla that excels in fast, powerful attacks and long-range control, and has a unique ability to chase down opponents while in the air, making it a great weapon for the players when they like to stay mobile.
General Combos
Side Light + Neutral Air.
Side Light + Gravity Cancel Neutral Light.
Down Air + Down Light.
Side Air + Down Light.
True Combos
Side Light + Down Air.
Down Air + Neutral Light. (You have to hit the Down Air late to hit the Neutral Light True)
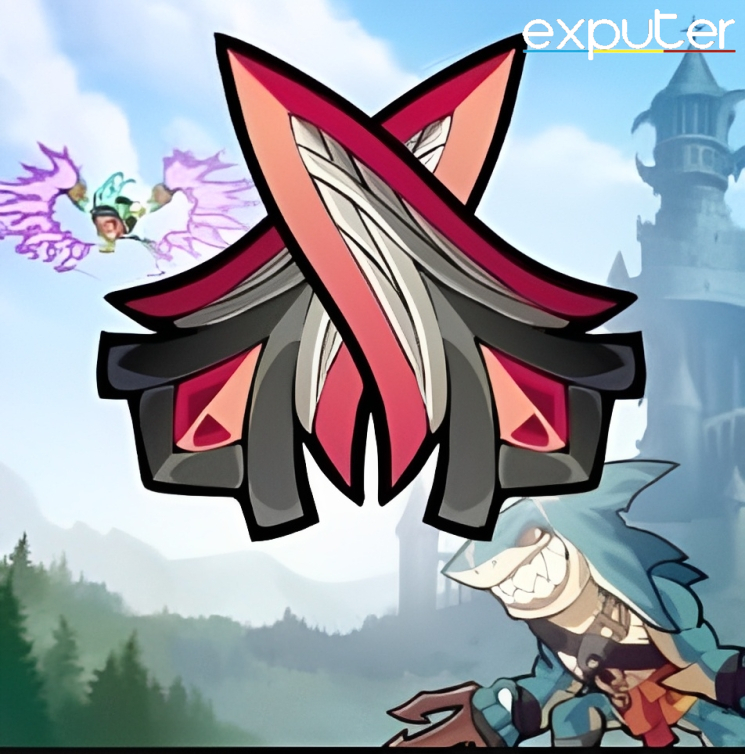
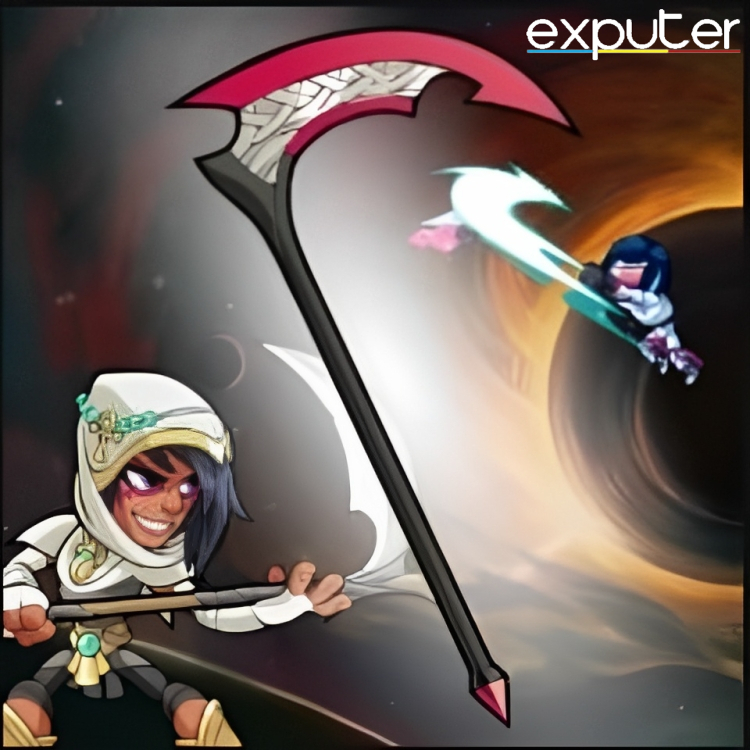
Scythe
Scythe [Image Credit Copyright: eXputer]The Scythe excels in close-range attacks and quick movement, with its unique ability to catch opponents off-guard with its side light attack, allowing for a variety of different combos to be executed depending on the situation.
General Combos
These next two combos are only possible on 7 Dex Legends, so you can perform them on Jiro, Munin, and Volkov.
Neutral Air + Side Air.
Side Air + Neutral Air + Side Air.
True Combos
Recovery + Side Light. (On the Edge and only true on legends with 5 Dex)
Recovery + Neutral Light. (On the Edge and only true on legends with 5 Dex)
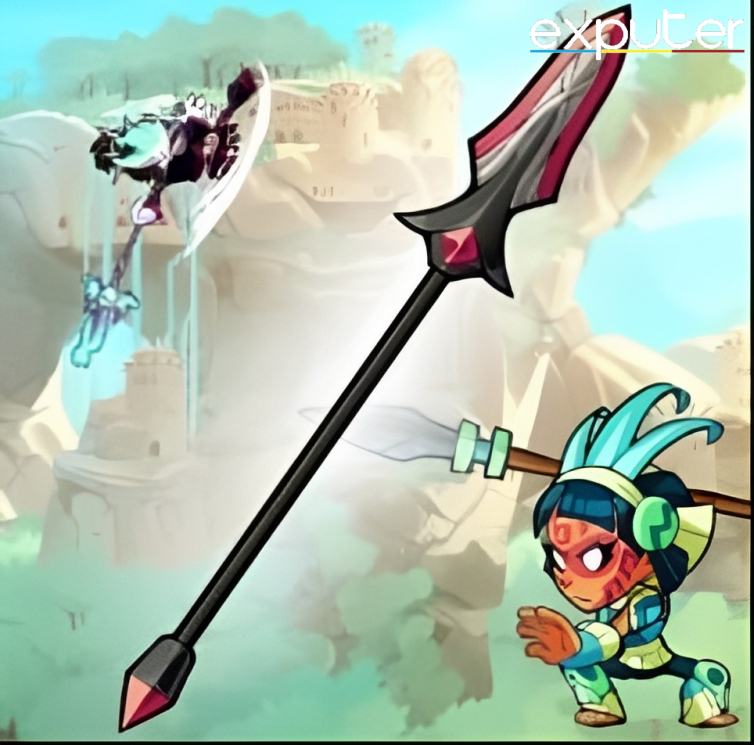
Spear
Spear [Screenshot Grab: eXputer]The Spear is a popular weapon that excels in both close-range and long-range attacks; it has a unique ability to chase down opponents with its side light attack, which can be followed up with a variety of different combos depending on the situation.
General Combos
Down Light + Side Air.
Down Light + Neutra Air.
Down Light + Recovery.
True Combos
Side Air + Neutral Light. (On Legends with 6 Dex)
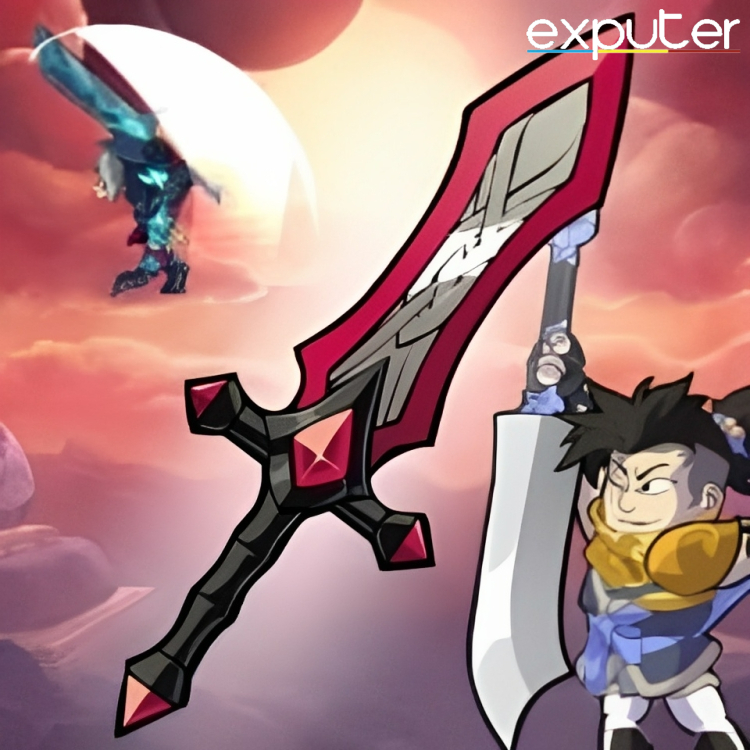
Sword
Sword [Image Captured by eXputer]The Sword is one of the most versatile weapons in Brawlhalla that excels in fast, close-range attacks and quick movement; it has a unique ability to chain together multiple attacks in mid-air, making it a great weapon for the players when they like to juggle out opponents.
General Combos
Down Light + Side Air.
Down Light + Neutral Air.
Down Light + Recovery.
Down Light + Down Air.
Down Light + Ground Pound + Gravity Cancel Neutral Light.
Down Light + Down Air + Gravity Cancel Neutral Light. (Better at yellowish health)
Down Light + Down Air + Recovery. (Also known as Sword Russian Mafia, and works better at red health)
True Combos
Down Light + Gravity Cancel Neutral Light.
Ground Pound + Gravity Cancel Neutral Light.
Brawlhalla Combos List
Players can choose from a variety of Legends in Brawlhalla, each with its own unique set of stats, weapons, signatures, and playstyle, making it distinct from one another.
The detailed Brawlhalla combos list for each legend is given below:
Ada
Down Light + Neutral Signature. (Most of the time, if the enemy does not have a dodge, they would not get out of it; also, It does not catch jumps)
Bodvar
Down Light + Neutral Signature. (It is nine dodge frames)
Jhala
Side Light + Neutral Signature. (If you hit this far away, you can get it true on one dodge frame)
Down Light + Neutral Signature. (On Sword)
Cassidy
Down Light+ Neutral Signature. (It is a true combo and consistent at all health)
How can we make this post better? Your help would be appreciated. ✍
Community Feedback
Very detailed! A little feedback, in the character section, specify the weapon for the combos, other than that, very good guide.
Summary
The Brawlhalla combos are an essential part, and mastering them can greatly improve a player's chances of winning matches. Combos involve linking together a series of moves in a specific order to deal significant damage to opponents. Each character in Brawlhalla has unique combos that can be performed with different weapons. All Types Of Combos…
Enjoyed this article? Discuss the latest gaming news, get expert help with guides and errors, and chat about all things gaming on eXputer Forums and Discord Server. Connect with fellow gamers who share your passion by becoming a part of eXputer's community.