Callisto Protocol: How To Find All Schematics
Learn how to obtain all the weapon schematics in Callisto Protocol.
All the schematics in Callisto Protocol are scattered throughout the levels of the game. Finding them all will give you some of the best weapons to combat enemies in the game.
- There are a total of 3 schematics that you can obtain in the game.
- The Skunk Gun Schematic can be found in chapter 3.
- The Tactical Pistol Schematic can be found in chapter 6.
- The Assualt Rifle Schematic can be obtained in chapter 7.
All Schematics In The Callisto Protocol
There are 3 weapon schematics that you can obtain during your playthrough of the game. These are:
- Skunk Gun Schematic
- Tactical Pistol Schematic
- Assault Rifle Schematic
Complete information on the Schematics:
| Schematic | Chapter | Location |
|---|---|---|
| Skunk Gun Schematic | Chapter 3: Aftermath | After the elevator crashes to the floor, head left and follow the natural path around. You will eventually come to a box with a fuse missing. Find the fuse and insert it into the box, which will open a door leading to the Skunk Gun Schematic. |
| Tactical Pistol Schematic | Chapter 6: Habitat | After you have completed the Habitat, you will come to a room with a large hole in the ground. There will also be several enemies in this room. Defeat the enemies and drop down the hole. At the bottom of the hole, you will find the Tactical Pistol Schematic on a table. |
| Assault Rifle Schematic | Chapter 7: Colony | At the beginning of the Colony chapter, you will come to a ladder. Climb the ladder and head through the general store. Exit the general store and turn left. You will find the Assault Rifle Schematic in the bathroom. |
Skunk Gun Schematic
The Skunk Gun is the first schematic you will encounter in the game.
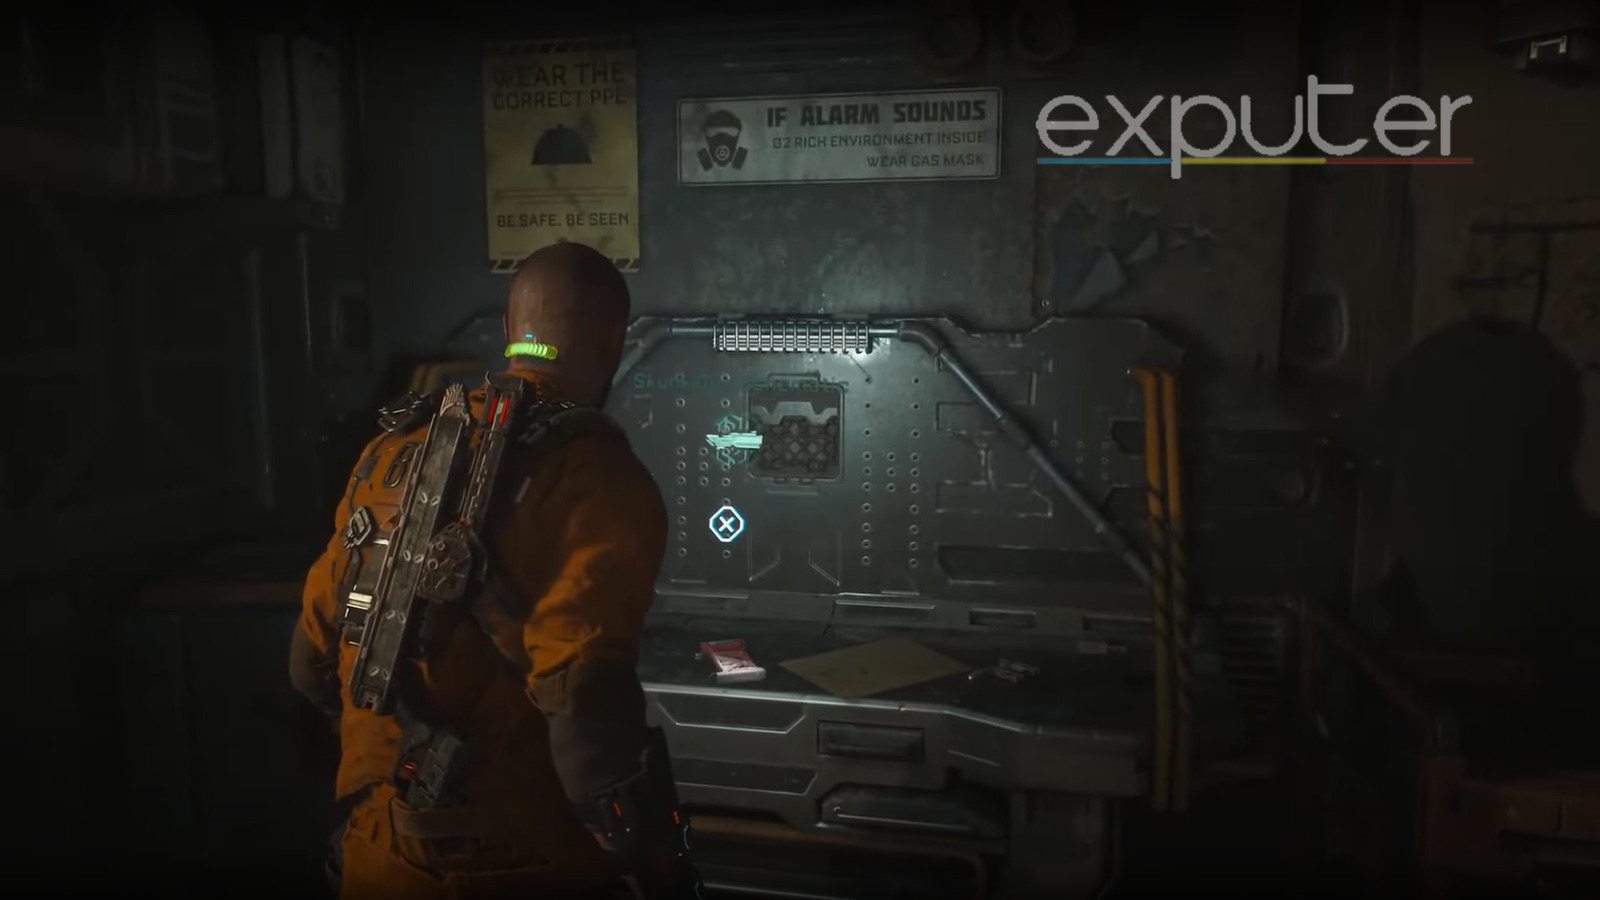
- In Chapter 3, Aftermath, find the Skunk Gun schematic during a falling elevator sequence.
- After the elevator crashes in the prison basement, locate a locked door to the right.
- Obtain a fuse by clearing enemies on the left side of the floor.
- Insert the fuse into the locked door to access a vent leading to the schematic room.
- Drop into the Botanical Recycling Room, where the Skunk Gun schematic is on a workbench to the left
Here are some things you should know about the Skunk Gun:
- The Skunk Gun is a powerful weapon that is essentially a shotgun in the form of a pistol.
- It packs the power of a cannon and can blow through most enemies with just a single shot.
- Although it is not as efficient when it comes to dealing with hordes of enemies due to the limited ammo it can carry.
- Keep in mind that the Skunk Gun is an optional weapon, and you do not need it to progress through the game.
Tactical Pistol Schematic
- Tactical Pistol schematic is found in Chapter 6, Below.
- It is strategically placed in the level where blind enemies are introduced.
- Blind enemies have heightened hearing, making the Tactical Pistol efficient against them.
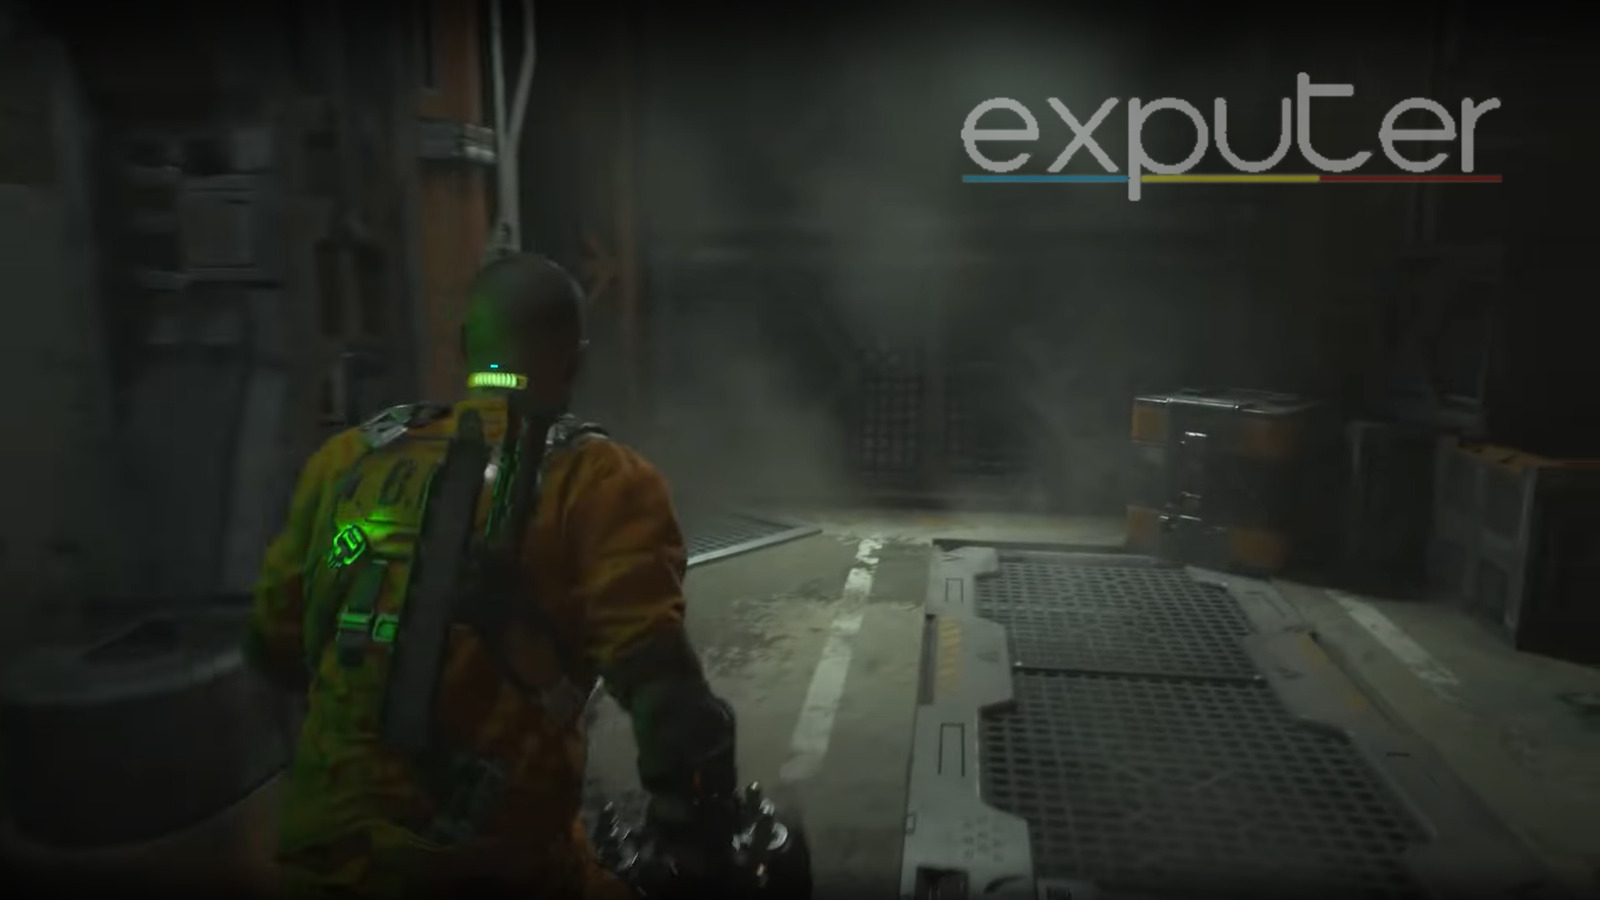
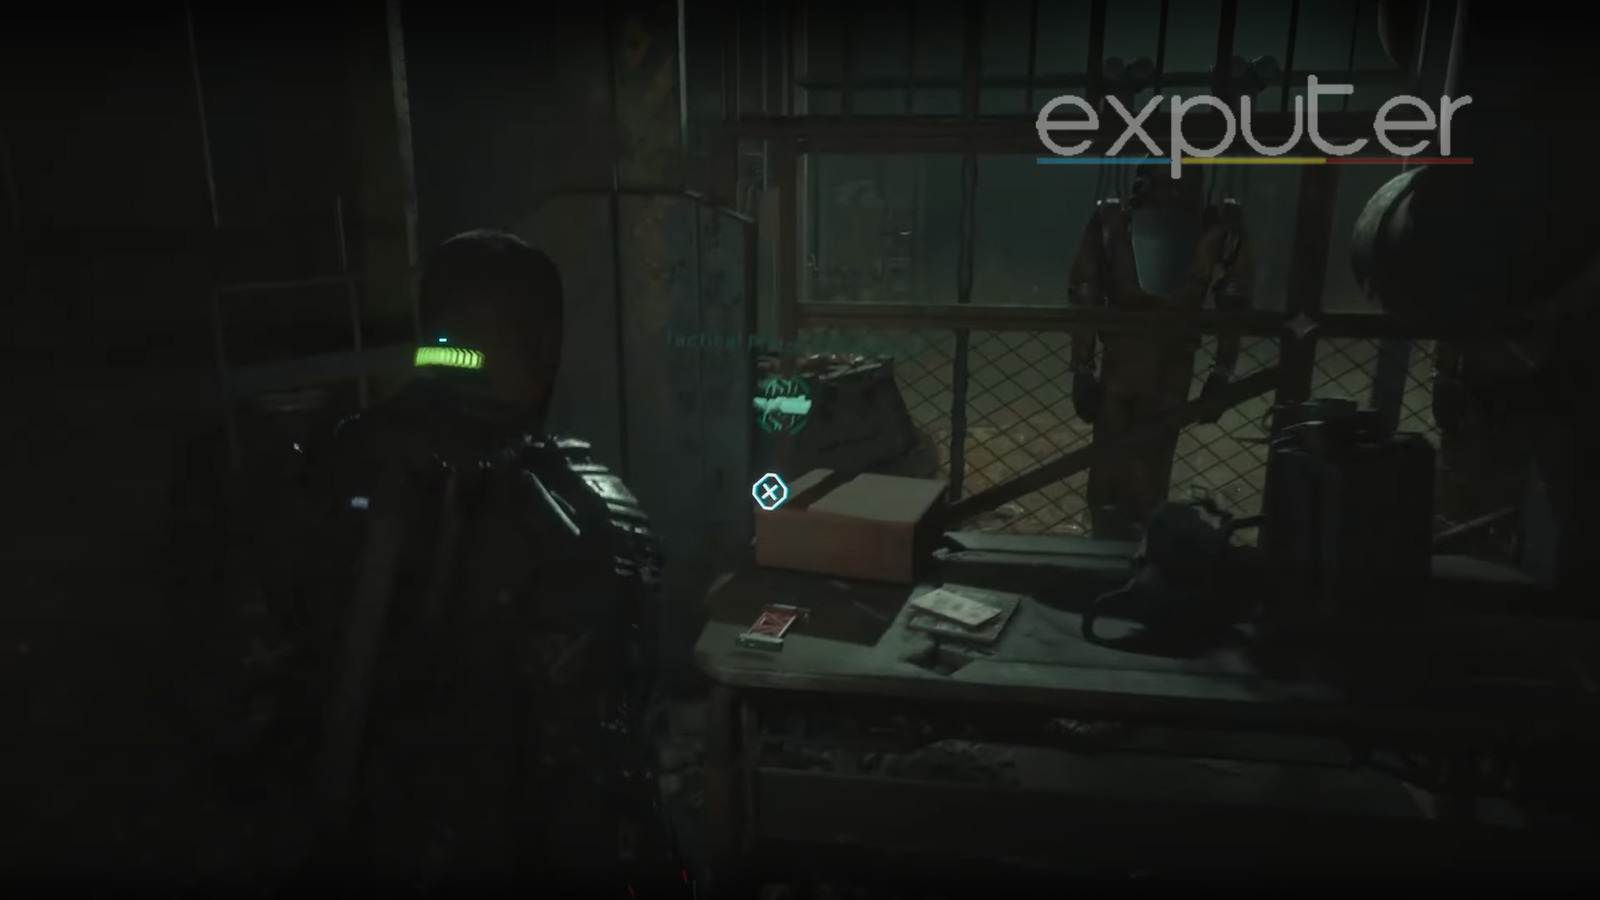
- Navigate through tunnels, reach a room with spikes, and proceed to the stairs.
- Head right, move through a gap, and find the schematic on a workbench in a room with various items
Here are some things about the Tactical Pistol that you should keep in mind:
- The Tactical Pistol makes dealing with blind enemies much easier.
- It is an automatic gun, so dealing damage in bursts is very efficient, albeit the damage of a single shot isn’t that high.
- Moreover, you need to be good at controlling the recoil of this gun if you want to aim your shots consistently.
- But if you learn how to use this gun properly, it can be a deadly weapon, especially after all the upgrades that it can get.
Assault Rifle Schematic
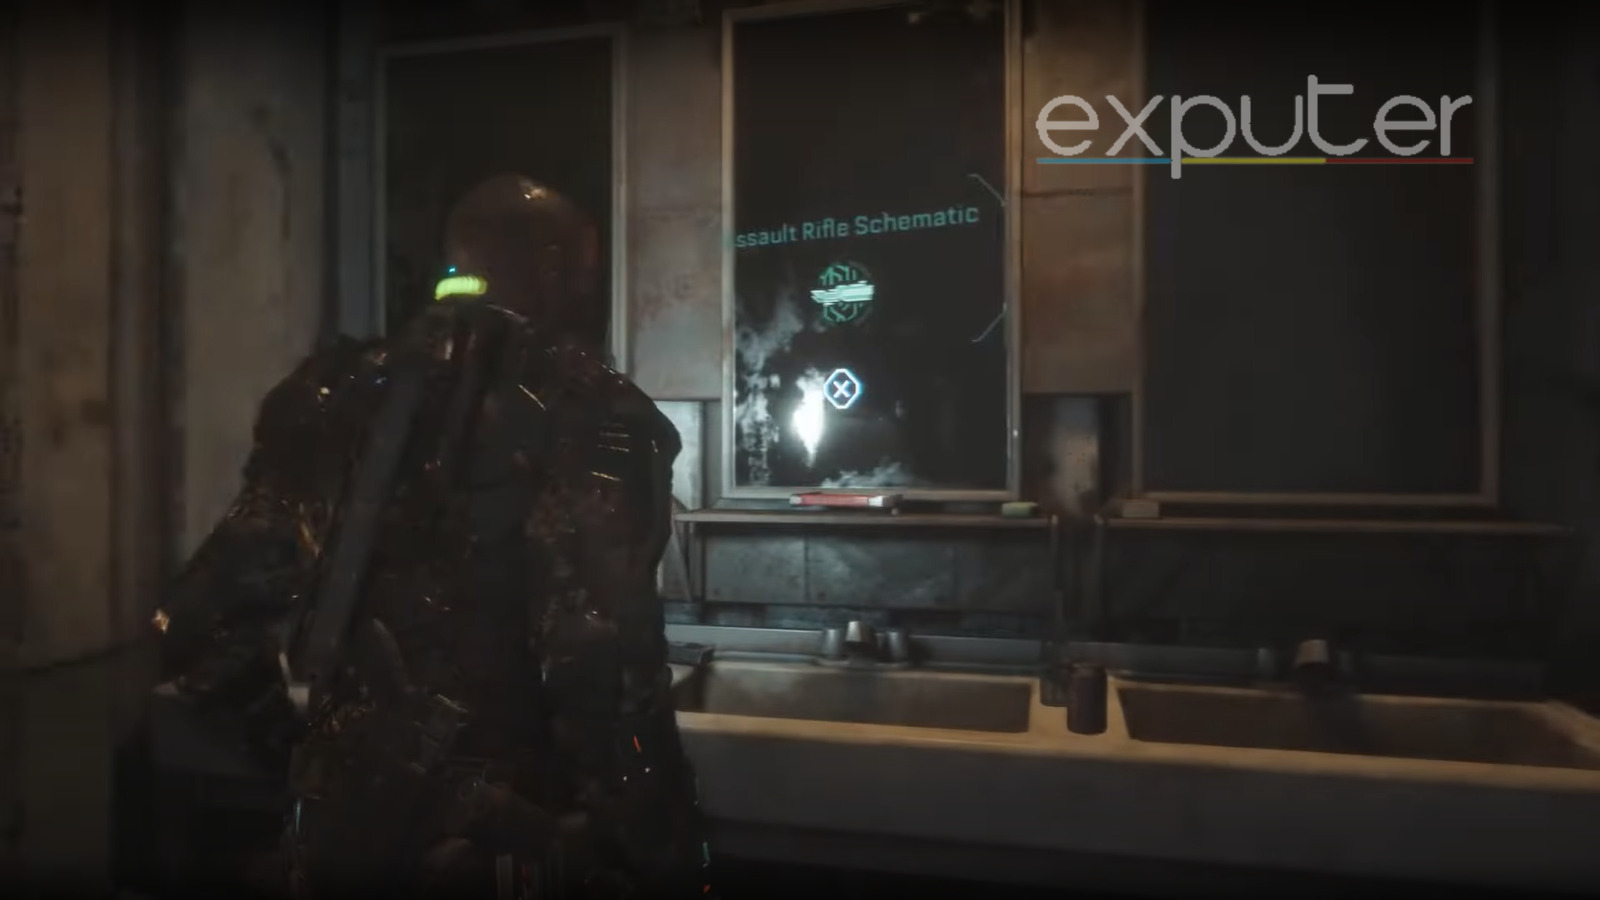
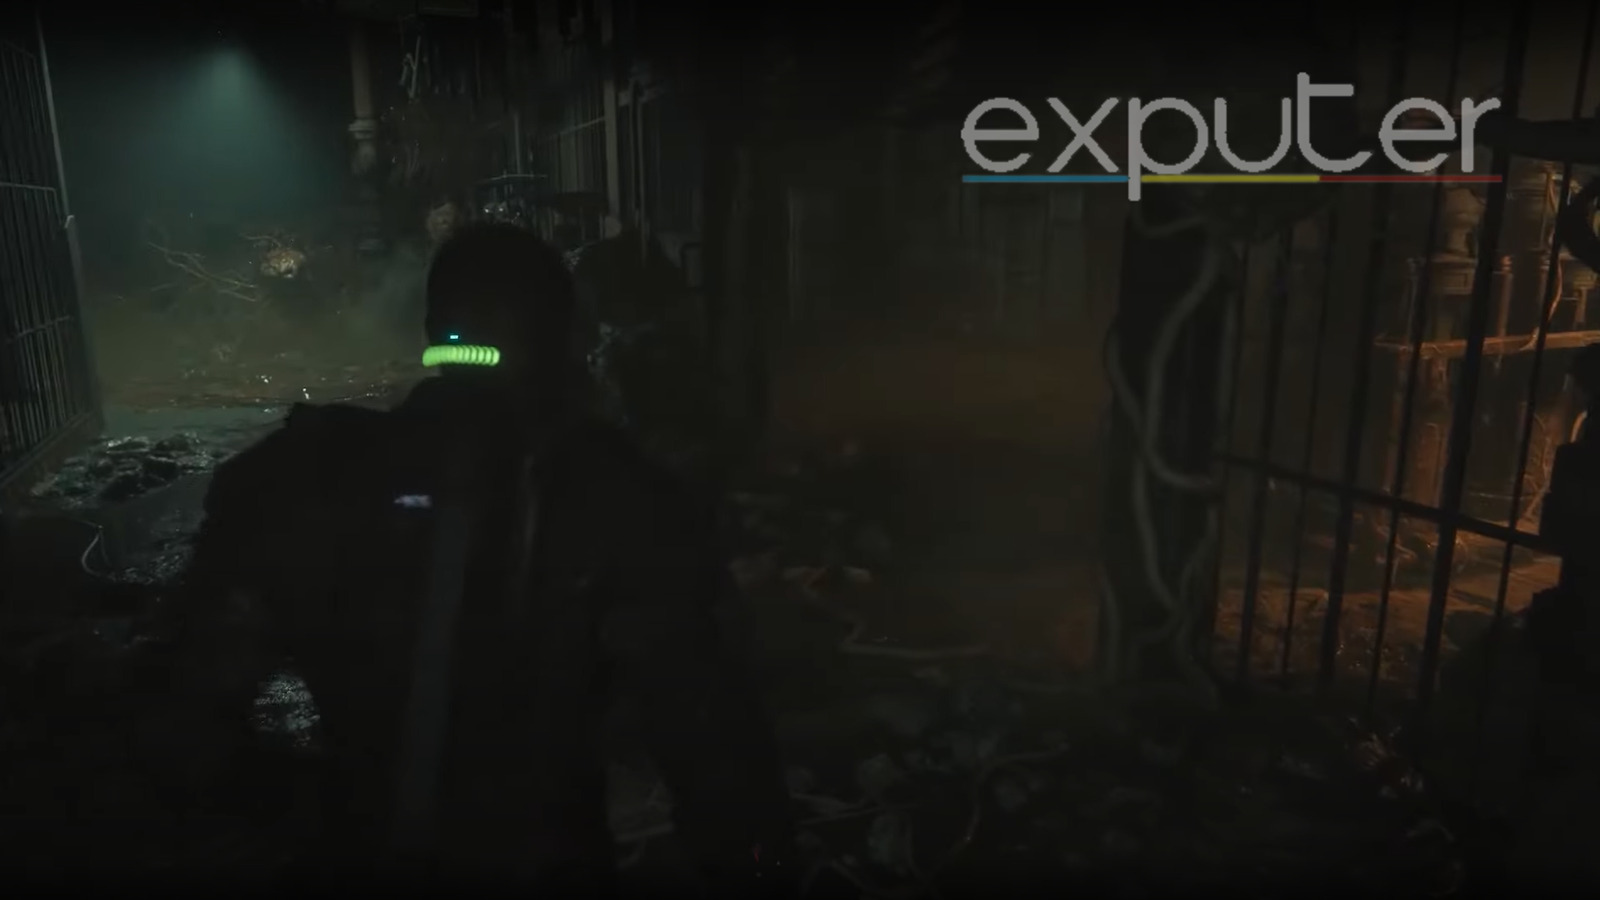
The Assualt Rifle is the third and final schematic that you can discover during your playthrough of the game. It is located in Chapter 7, Colony. It is easy to find this schematic since it is located right at the start of the chapter, near the place of your first encounter. You will notice a ladder that leads to Midtown. Once you are in Midtown, find the general store and exit it through the other side.
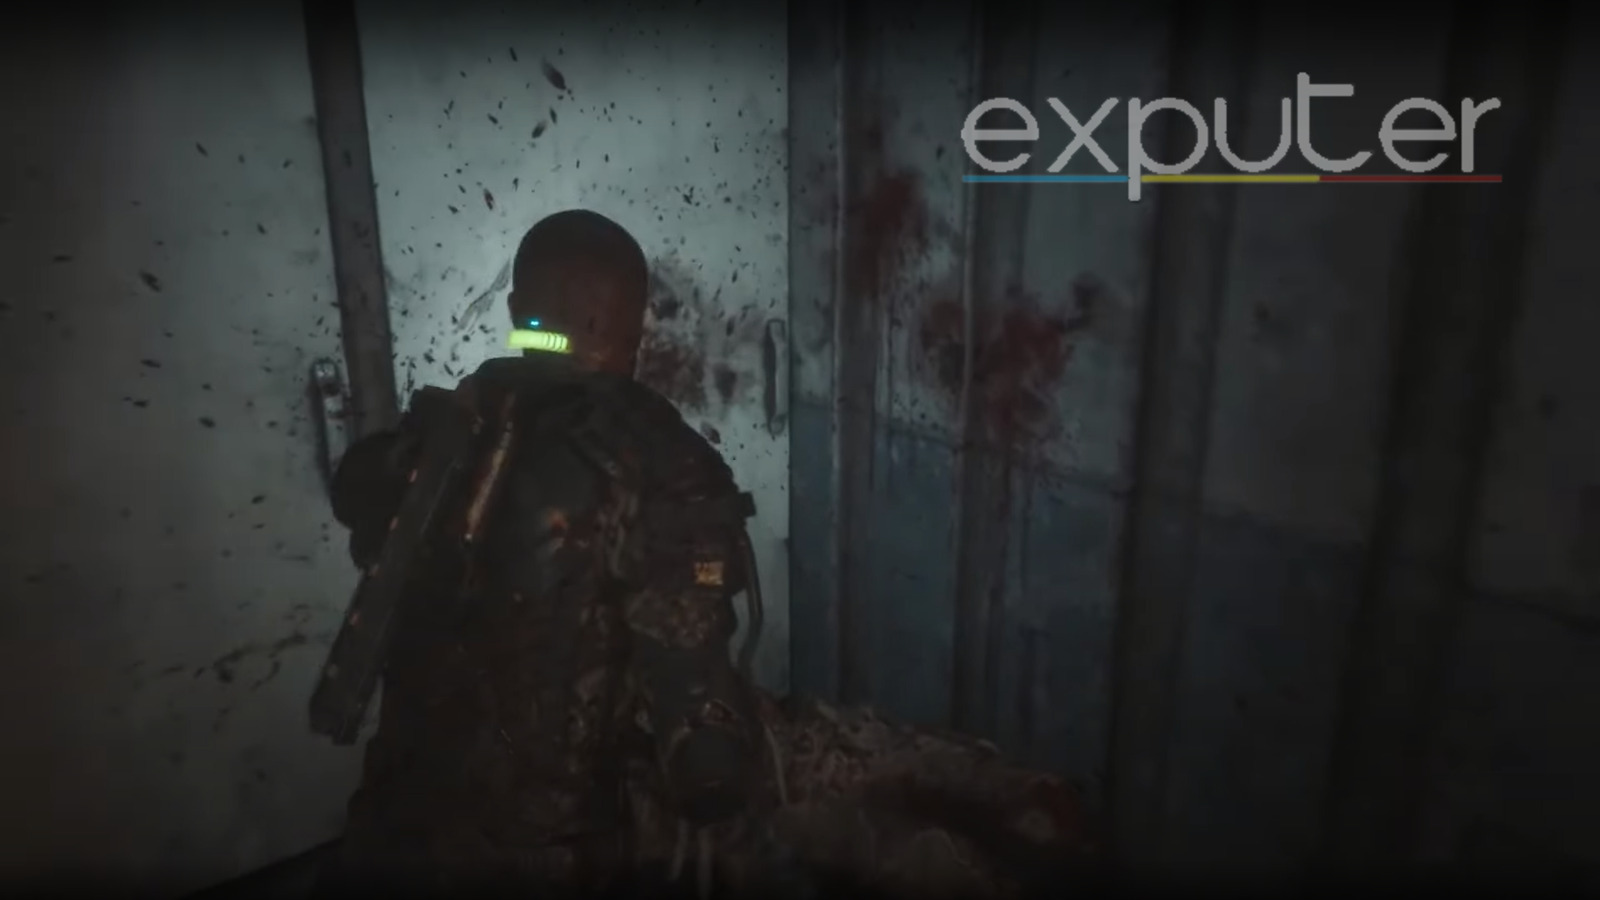
Turn left as soon as you leave the general store, and you will find yourself in a bathroom. The schematic is placed right over the sink, waiting for you to collect it. Be careful, though; as soon as you pick up the schematic, you will be attacked by an enemy. Make quick work of him so that you can develop your newly found weapon.
Here are some tips on the Assualt Rifle:
- The assault rifle is a very high-powered weapon that can dispatch enemies in the blink of an eye.
- Be sure to keep an eye on your ammo, though, as this rifle consumes two rounds every time you shoot it.
- Admittedly, it is not very good when it comes to saving ammo, but it excels at using homing rounds with its automatic mode.
Callisto Protocol is a survival horror game developed by Striking Distance Studios. There are a lot of different weapons in the game. Some weapons can be obtained normally in the game as you progress through it. But for others, you have to find their schematics so that you can build them actively.
These optional weapons aren’t necessary to progress through the game but help out a lot once you obtain them. We have included all that you can obtain in Callisto Protocol.
While you are here, consider checking out our guide on Trapped Worker: Can You Save Officer Wayne? If you are interested in the data bio locations then check out our guide on All Data Bio Locations. Or you can always take a quick look at our Callisto Protocol Walkthrough and get helpful guides.
Was this guide helpful? Be sure to let us know in the comments below.
Next:
- Callisto Protocol: Best Weapon Upgrades
- Callisto Protocol: BEST PC Settings
- Callisto Protocol Tips And Tricks
Thanks! Do share your feedback with us. ⚡
How can we make this post better? Your help would be appreciated. ✍