Diablo Immortal: How To Unlock Legacy of The Horadrim
Diablo Immortal Legacy of The Horadrim Vessels can help you strengthen your character, and today I will discuss how you can get them.
Diablo Immortal is filled with powerful bosses, such as Vitaath. No matter where you go, there will be someone waiting to send you to your grave. Because of this very reason, you need to make sure that you keep on upgrading your character to make him powerful. It can be done in multiple ways, and one of them is by using the Diablo Immortal Legacy of the Horadrim.
Legacy of The Horadrim in Diablo Immortal
I have discovered that certain things in Diablo Immortal can help you increase the overall stats of your character. Gems, for instance, can make major improvements to your character, such as increasing the attack speed and damage output, which eventually help you with reaching the max level in Diablo Immortal quickly.
We also recently did a guide on the best Gems. However, Gems can’t be acquired easily as you have to spend real-life money to get most of them.
If gems are not an option, you can opt for the Legacy of the Horadrim instead. Today, I’ll explain all the steps to unlock the Legacy of the Hordrim in Diablo Immortal and how you can use it to make your character stronger. Also, you can check out some tips and tricks for Diablo Immortal if you’re currently struggling in the game.
How To Unlock It
You must first hit level 49 to access Legacy of the Horadrim. It will unlock after you make significant progress. Regardless, you won’t need it during the game’s early stages. Later on, the enemies will get tougher, and Legacy of the Hordrim will help you face them. While you’re at it, check out the best solo classes in Diablo Immortal.
Hitting level 49 with your character is only the first part of unlocking this feature, as you will also need to complete 10 levels of the Challenge Rift. These are unlocked after you have completed the first two chapters of the story and have managed to reach a place called Westmarch.
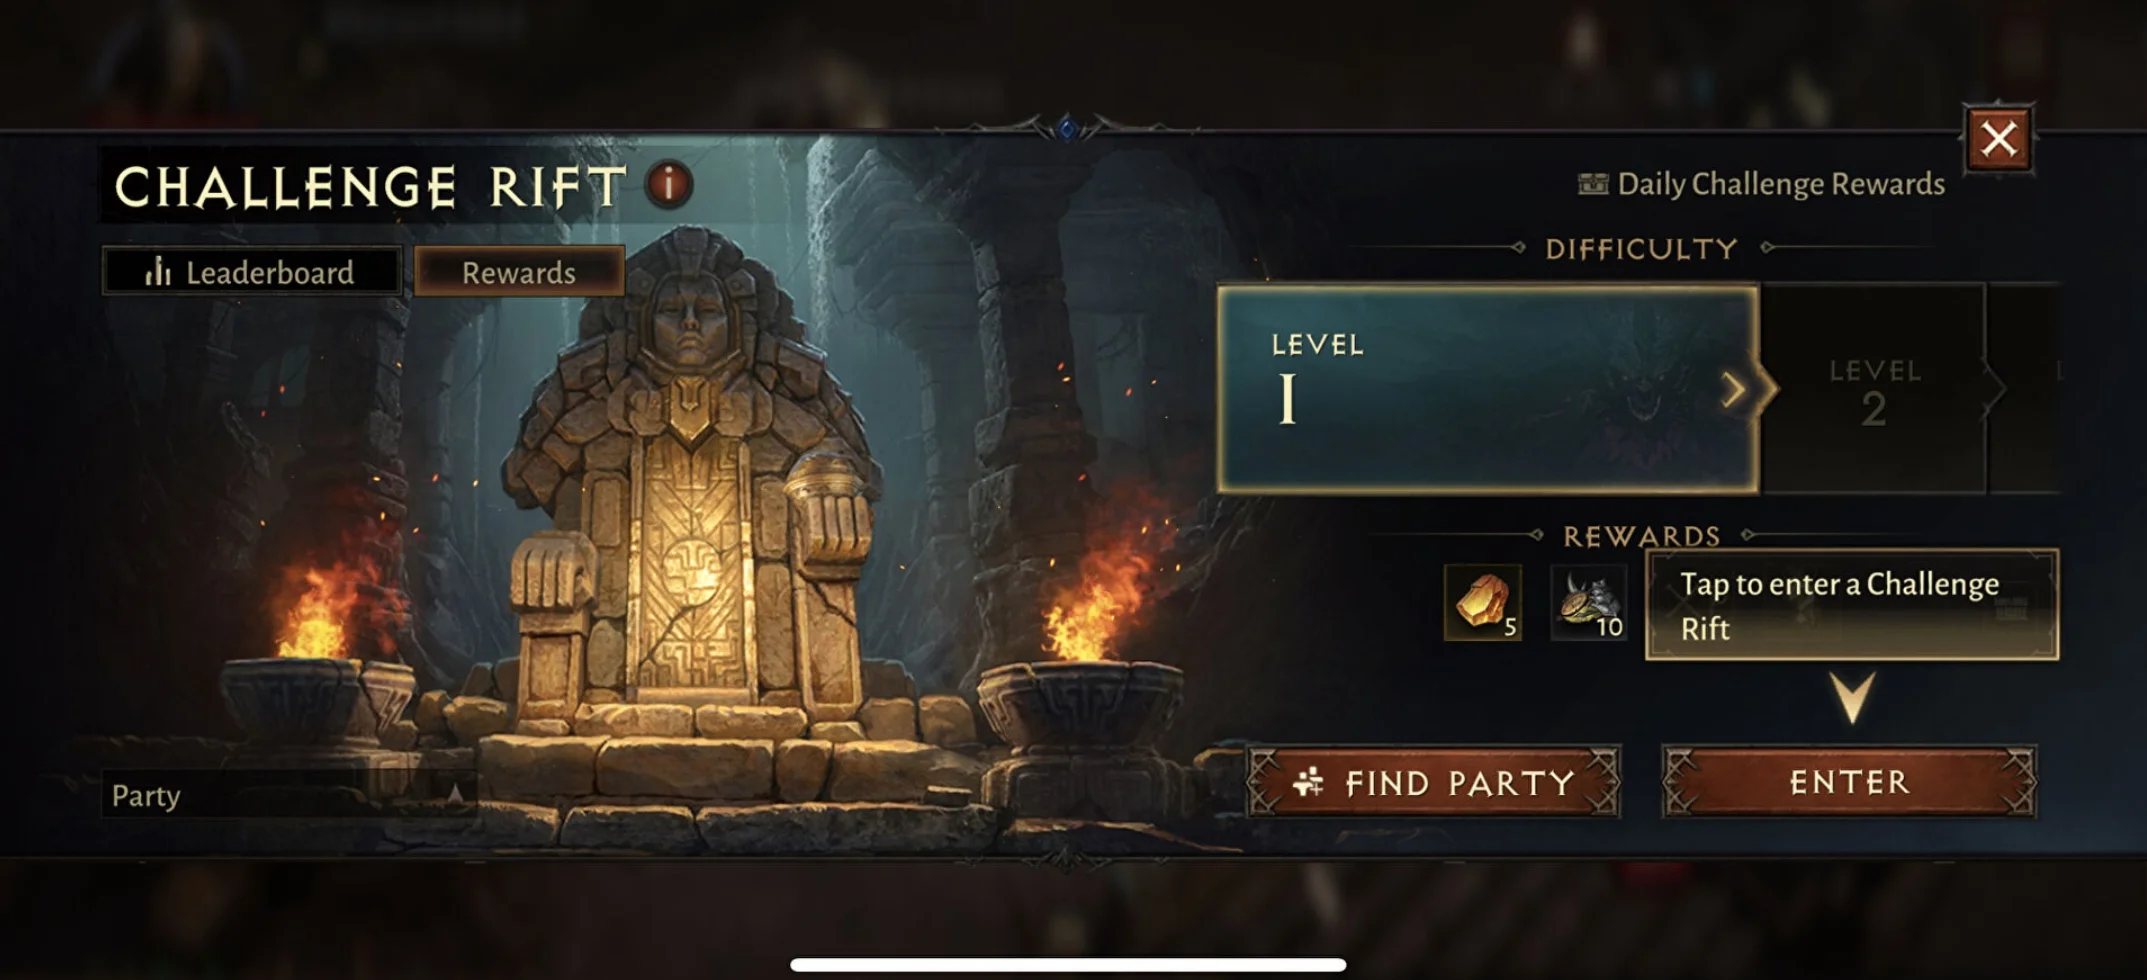
Challenge Rifts can be done solo or with a party to fight powerful enemies. Completing 10 levels of the Challenge Rift is a time-consuming task, and things will keep on getting difficult as you make progress. In my opinion, you will need to complete them if you’re serious about unlocking Legacy of the Horadrim.
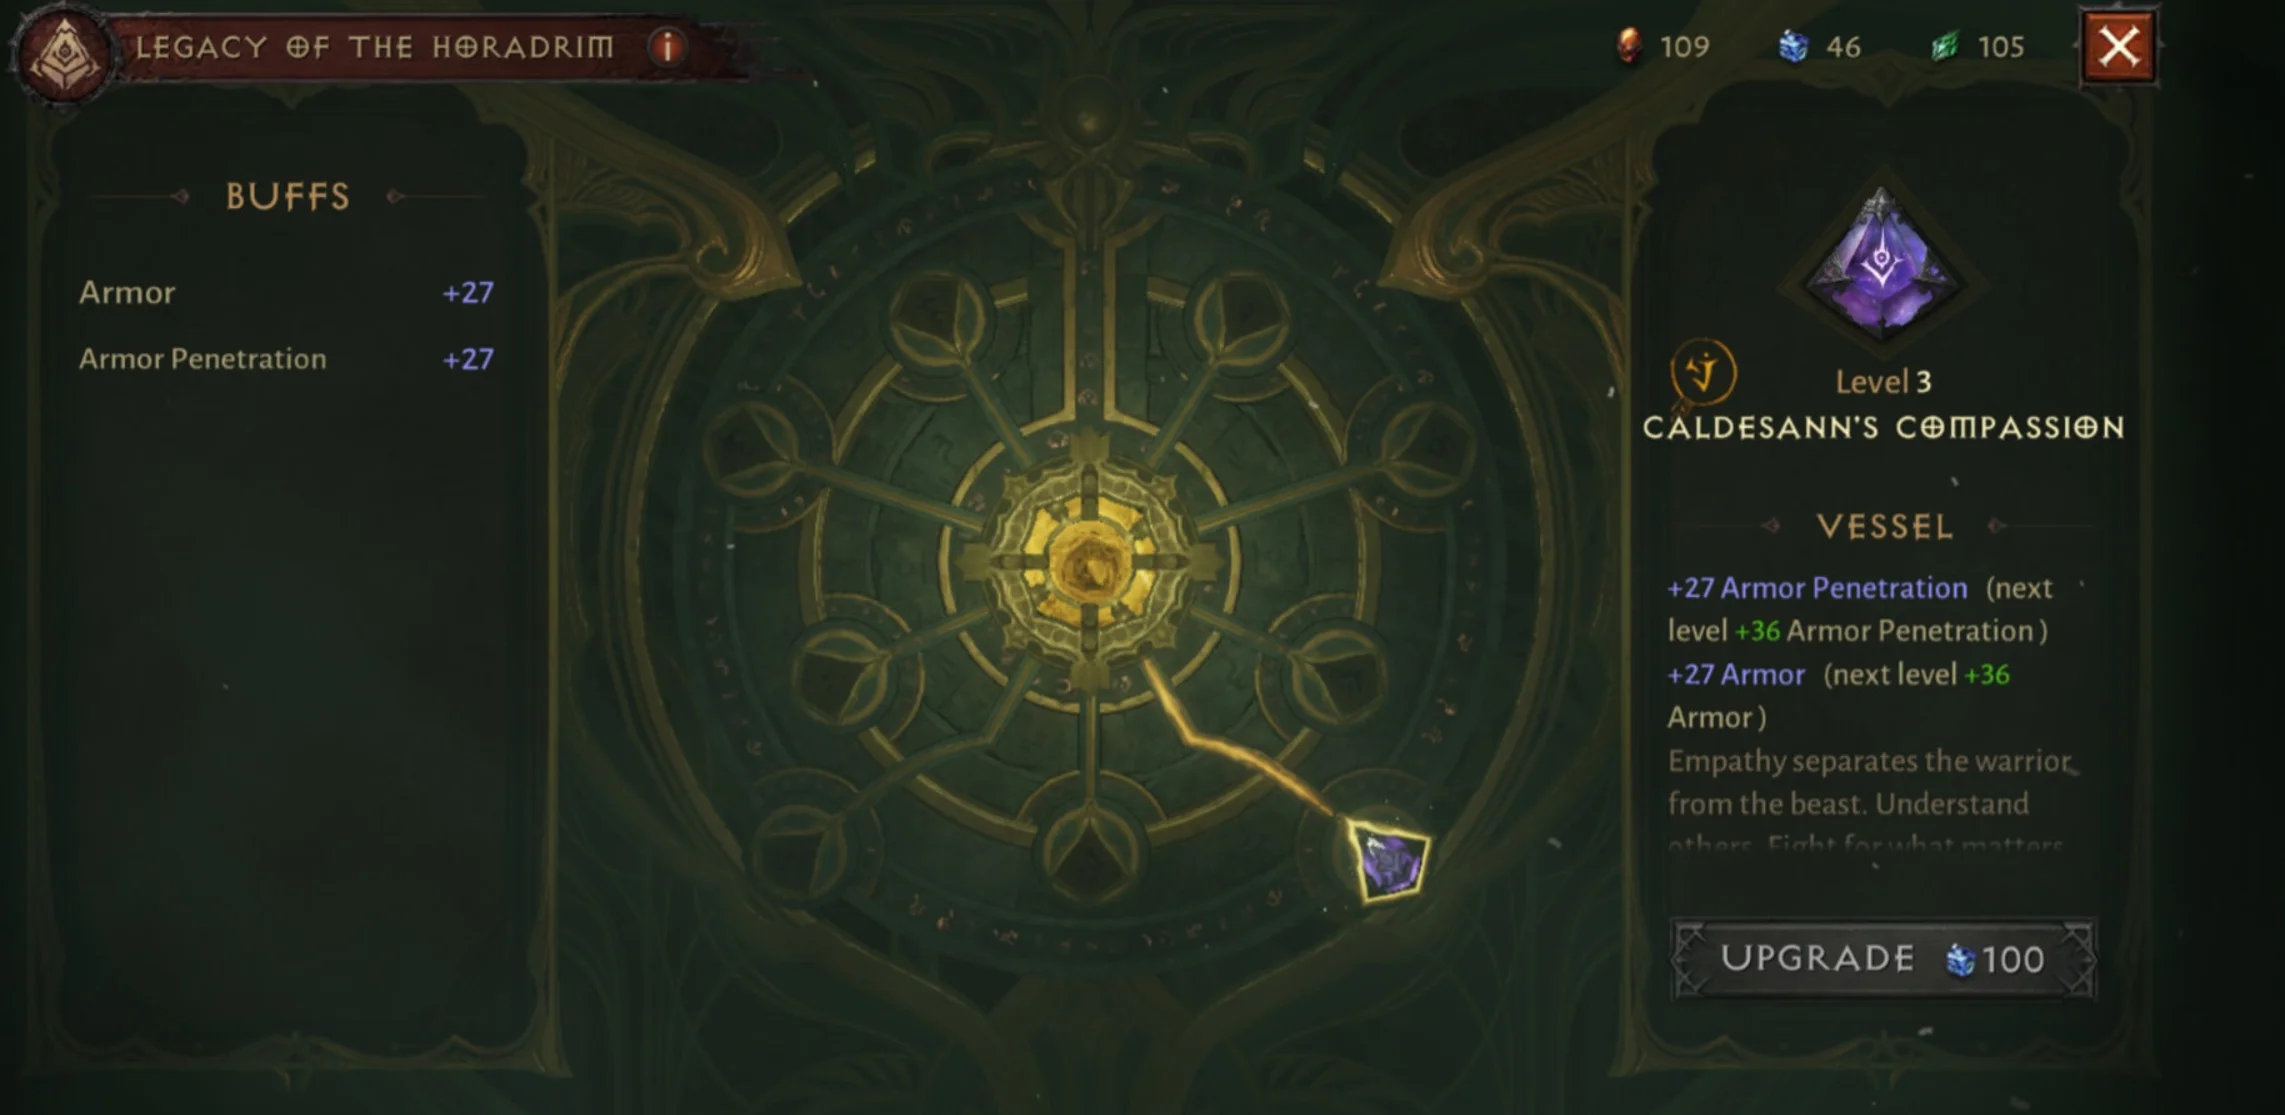
After completion, you will get Caldesann’s Compassion as a reward. It will be your first Vessel. Use it to bump up the armor and armor protection of your character. A quest called Legacy of the Horadrim will also unlock after completing the 10 levels. Finish the quest quickly to start using the vessels.
How To Access The Shrine
First, you need to visit Ibn Fahd’s Sanctum to converse with his memory. He will explain important things about the feature, and you will then need to enter the Sanctum. Interact with a statue to reveal a hidden portal. It is an entrance to Ibn Fahd’s Sanctum. Next, step into it to enter the place where you’ll find a Shrine.
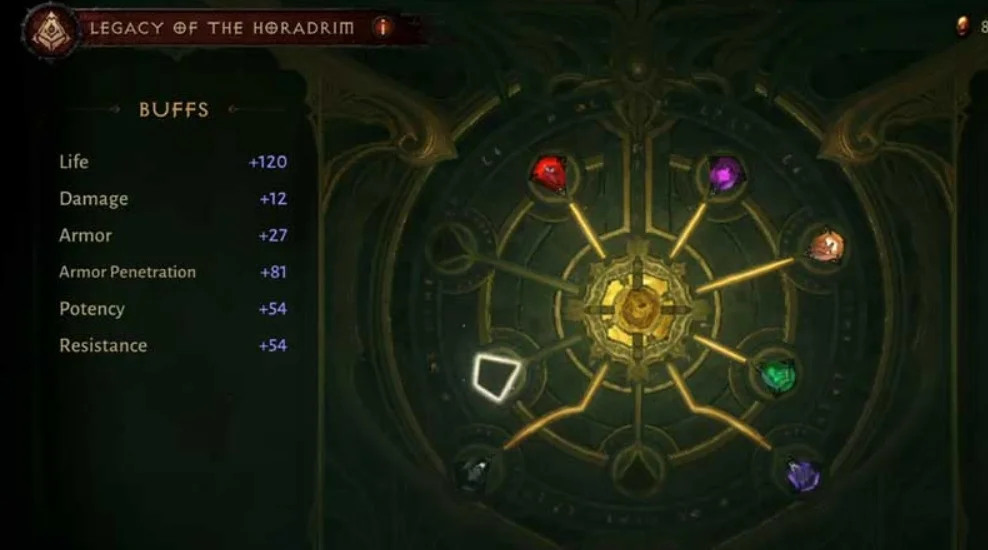
The Shrine will let you use the Legacy of the Horadrim Vessels. Place the Caldesann’s Compassion vessel that you acquired previously. Once done, the armor and armor protection of your character will increase by +9. I recommend remembering that not all vessels provide two buffs, as some only have a single buff with them.
All Legacy of The Horadrim Vessels
As of now, there are nine Diablo Immortal Legacy of The Horadrim Vessels that you can acquire. The list will be upgraded if more are added in the future.
For now, you can have a look at the names of the Vessels and the buffs they provide below:
| Legacy of The Horadrim Vessel Name | Buffs |
| Caldesann’s Compassion | +9 Armor, +9 Armor protection |
| Cathan’s Piety | +9 Potency, +9 Resistance |
| Ibn Fahd’s Tenacity | +2 Damage, +20 Life |
| Nor Tiraj’s Knowledge | +40 Life |
| Guilt Of The Nameless | +18 Resistance |
| Tal Rasha’s Authority | +4 Damage |
| Nulfur’s Precision | +18 Armor Protection |
| Jered Cain’s Vision | +18 Armor |
| Zoltun Kulle’s Ingenuity | +18 Potency |
Upgrading The Legacy of The Horadrim Vessels
In the above table, the stats for each buff are what you get at the base level. It is because you can upgrade Vessels to boost the buff strength, which will make your character more powerful. Therefore, focus on upgrading after acquiring the Vessels. Meanwhile, you can also check out my guide on how to solve the lamps puzzle.
How To Get Culling Stones
Upgrading Legacy of The Horadrim Vessels is not that difficult, but the upgrade requirements will keep on increasing as you progress through the process. To upgrade the Vessels, you will need to get Culling Stones, and there are three types of them available: Garnet (Red), Beryl (Green), and Sapphire (Blue).
Not every Culling Stone will work with every Vessel due to requirement differences. For instance, to upgrade Tal Rasha’s Authority, you will need Garnet Culling Stones, while Caldesann’s Compassion can be upgraded using Sapphire Culling Stones. You can see which Vessel requires which Culling Stone below.
- Garnet Culling Stones: Nilfur’s Precision, Tal Rasha’s Authority, and Zoltun Kulle’s Ingenuity.
- Beryl Culling Stones: Guilt of the Nameless, Nor Tiraj’s Knowledge, and Jered Cain’s Vision.
- Sapphire Culling Stones: Caldensann’s Compassion and Iben Fahds’s Tenacity.
Inside Ibn Fahd’s Sanctum, you can further go down to the Sanctum Depths. You will find multiple enemies, which can be killed for rewards. However, your main focus is to keep an eye out for Aspirant’s Keys. If the enemy mobs feel too challenging, I suggest lowering Diablo Immortal’s difficulty; you can farm more Aspirant’s Keys quickly.
How To Get Aspirant’s Keys
These keys rarely drop from enemy mobs and are not picked automatically, so it is necessary to check the ground after slaying them. After acquiring many Aspirant’s Keys, go to the Aspirants’ Grounds in the Sanctum Depths. This place has four rooms, and each room has five chests that have Culling Stones inside them.
These chests can help you speed up the Legacy of The Horadrim Vessels upgrading process. The first chest is free, but you’ll need Aspirant’s Keys to unlock the rest. Below I have mentioned the required keys per chest and the amount of Culling Stones you get from each.
Room 1
For Room 1, you will need a total of 15 Aspirant’s Keys to unlock all chests, and you will acquire a total of 80 Culling Stones through all of them.
| Chest Number | Number of Keys Required To Unlock It | Total Number of Culling Stones |
| 1 | Free | 5 |
| 2 | 1 | 5 |
| 3 | 2 | 10 |
| 4 | 4 | 20 |
| 5 | 8 | 40 |
Room 2
The second room will require you to have a total of 70 Aspirant’s Keys for all chests, and you will gain a total of 315 Culling Stones through all of them.
| Chest Number | Number of Keys Required To Unlock It | Total Number of Culling Stones |
| 1 | 10 | 45 |
| 2 | 12 | 54 |
| 3 | 14 | 63 |
| 4 | 16 | 72 |
| 5 | 18 | 81 |
Room 3
You will need a total of 120 Aspirant’s Keys to unlock all the chests inside the third room. Through them, you’ll get a total of 540 Culling Stones.
| Chest Number | Number of Keys Required To Unlock It | Total Number of Culling Stones |
| 1 | 20 | 90 |
| 2 | 22 | 99 |
| 3 | 24 | 108 |
| 4 | 26 | 117 |
| 5 | 28 | 126 |
Room 4
Finally, for room 4, you will need 172 Aspirant’s Keys to unlock all chests to acquire a total of 756 Culling Stones.
| Chest Number | Number of Keys Required To Unlock It | Total Number of Culling Stones |
| 1 | 30 | 135 |
| 2 | 32 | 144 |
| 3 | 34 | 153 |
| 4 | 36 | 162 |
| 5 | 40 | 162 |
After gathering Culling Stones, visit the Shrine to upgrade your Vessels to boost your character’s strength. I also suggest using other methods to get Aspirant’s Keys, such as buying from the Hilt Merchant, climbing ranks in the Battle Pass, completing the Assembly of the Shadows, and the Kion’s Ordeal for the Immortals, and reaching a new rank in PvP.
This was everything you needed to know about Diablo Immortal Legacy of The Horadrim. I suggest you upgrade your Vessels as soon as you get one. A lot of grinding will be needed in the Sanctum Depths to get enough keys to unlock all of the chests stored inside the rooms.
Thanks! Do share your feedback with us. ⚡
How can we make this post better? Your help would be appreciated. ✍
Now I know how many keys I need to get all the treasure!