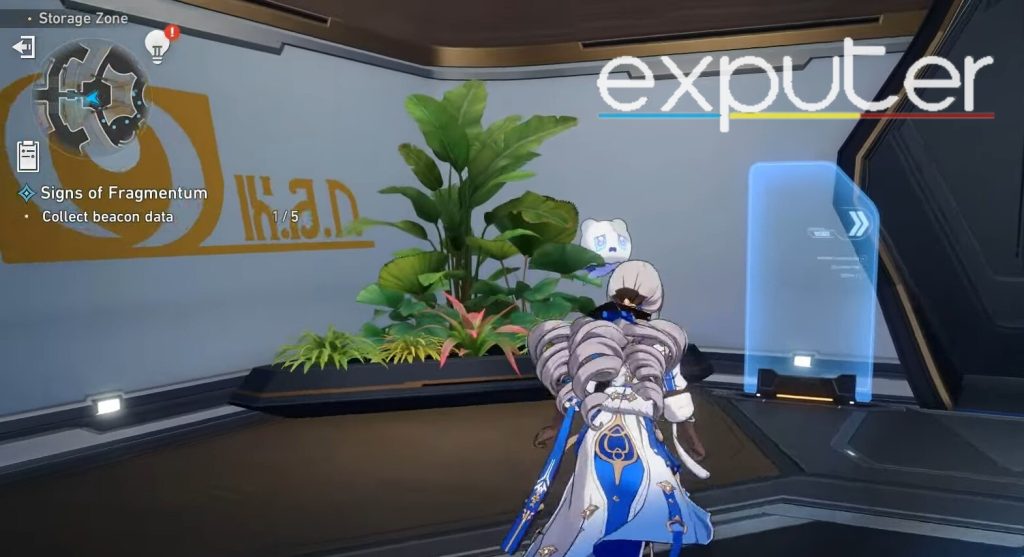
Honkai Star Rail has a wide selection of Adventure Missions that can be completed to get progress and gain rewards, such as the Signs Of Fragmentum, a three-part questline that can become quite daunting for beginners. Therefore, a detailed walkthrough on how to complete it might be necessary.
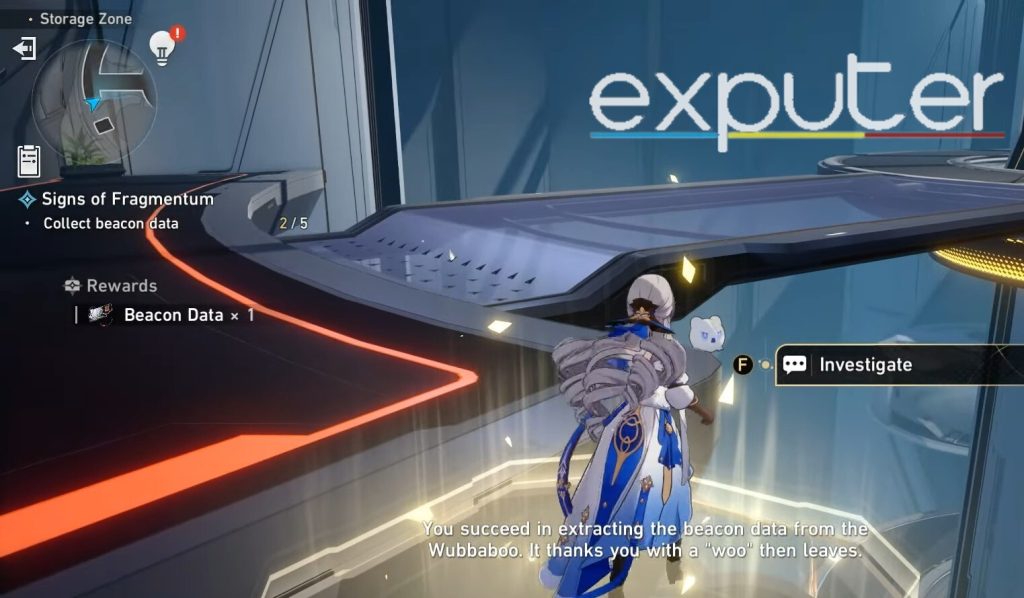
- The Signs of Fragmentum quest is where players must capture beacon data from different Wubbaboos scattered across the Herta Space Station.
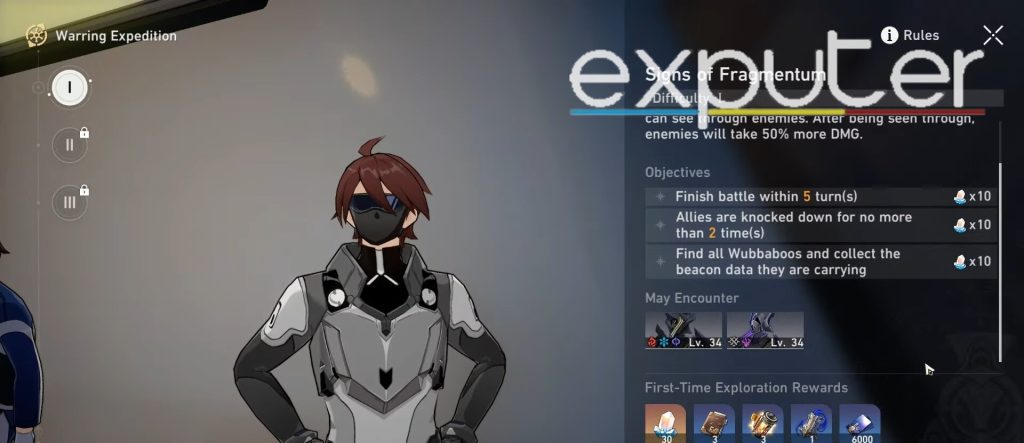
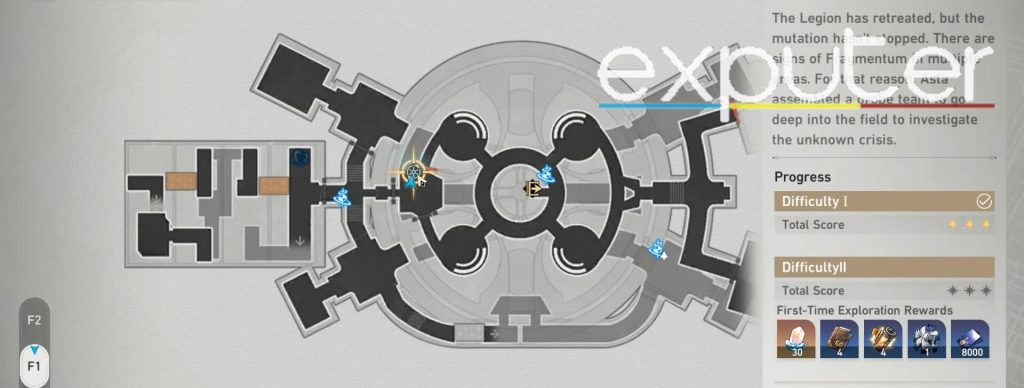
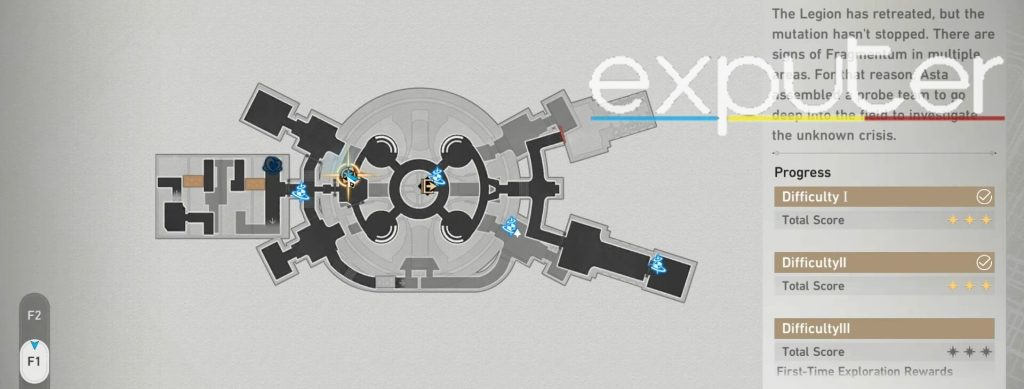
- 3 difficulties can be accessed; each will grant 30 stellar jades, credits, and extra jades for each completed objective.
- The first difficulty has you searching for a total of 4 beacon data.
- The second difficulty requires finding 5 beacon data.
- The third difficulty also has five beacon data that need to be found.
Difficulty 1 Beacon Data
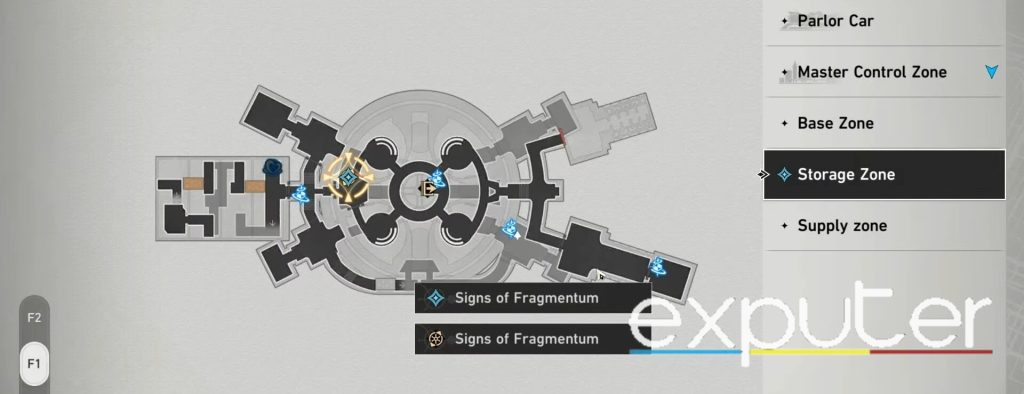
First, the Honkai Star Rail Signs Of Fragmentum quest is an Adventure Questline located in the Herta Space Station, specifically in the storage zone. I was at Trailblazer Level 22 when I could access this quest, and I also needed to do the You Already Know Me questline to access it.
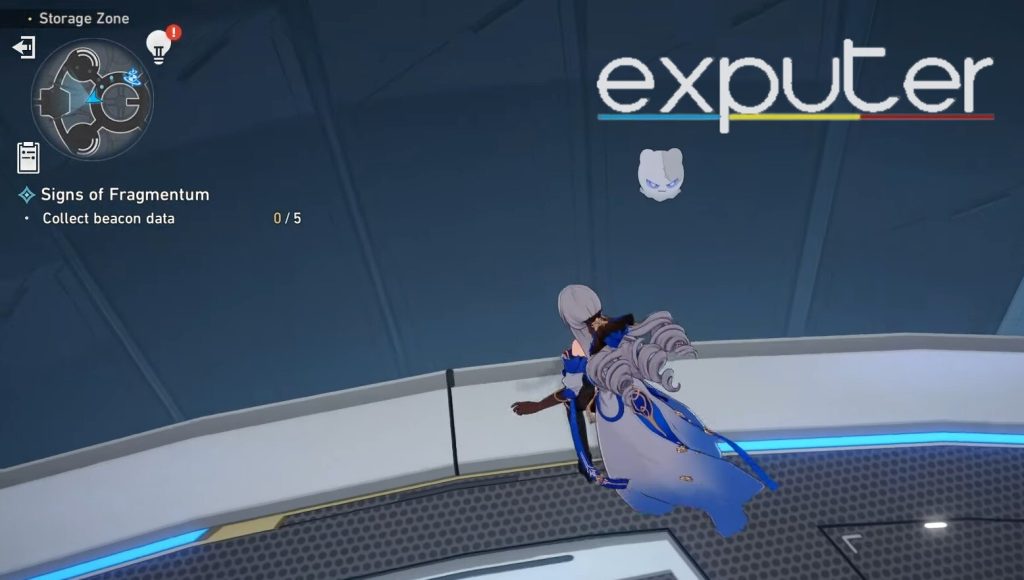
- As the questline started, I was told to learn about the current status of the area that had been blocked off. Therefore I needed to make my way over to the storage zone and interact with the investigators sent by Asta to learn more.

- Teleport to the Storage Zone puts you directly in front of a staircase. Head through the door between the two staircases, and interact with the Security Department Member.
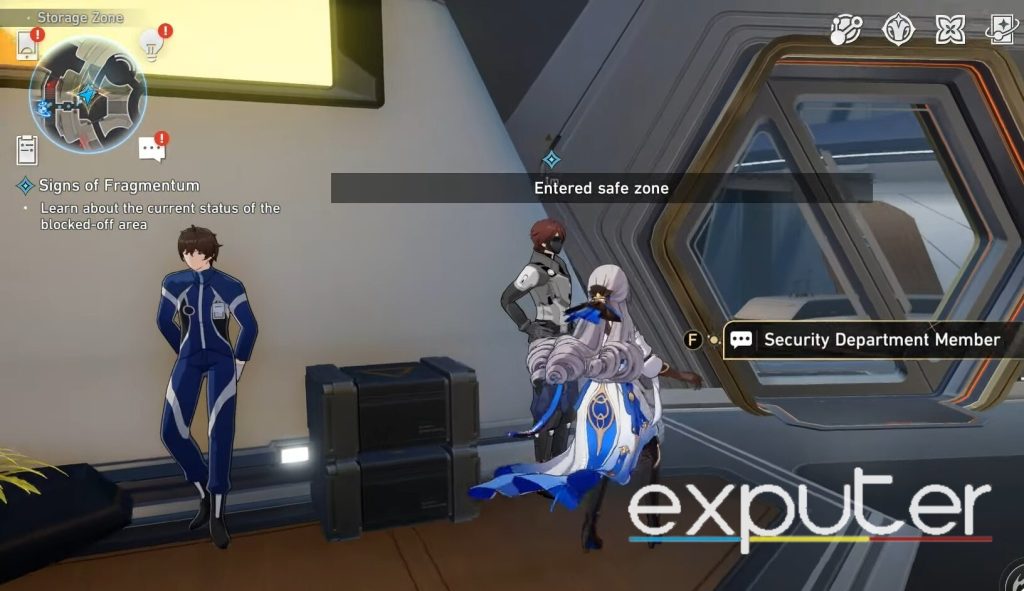
- Interacting with him will open up the difficulty I option, which grants 30 jades, and the objectives are to finish the battle within 5 turns and a few more.
- You are taken to collect beacon data for four beacon data that Wubbaboos have saved.
First Wubbaboo
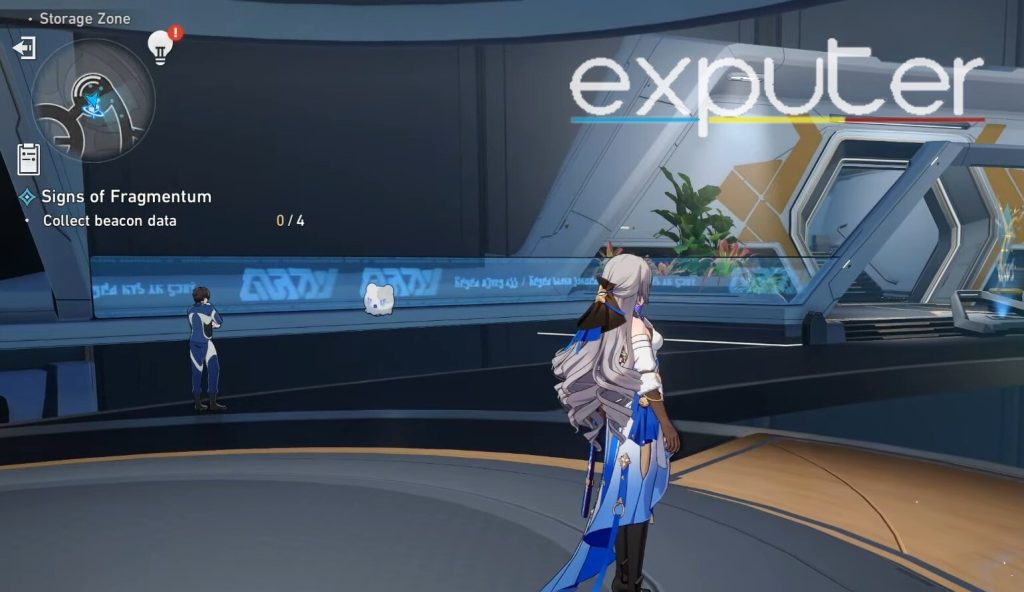
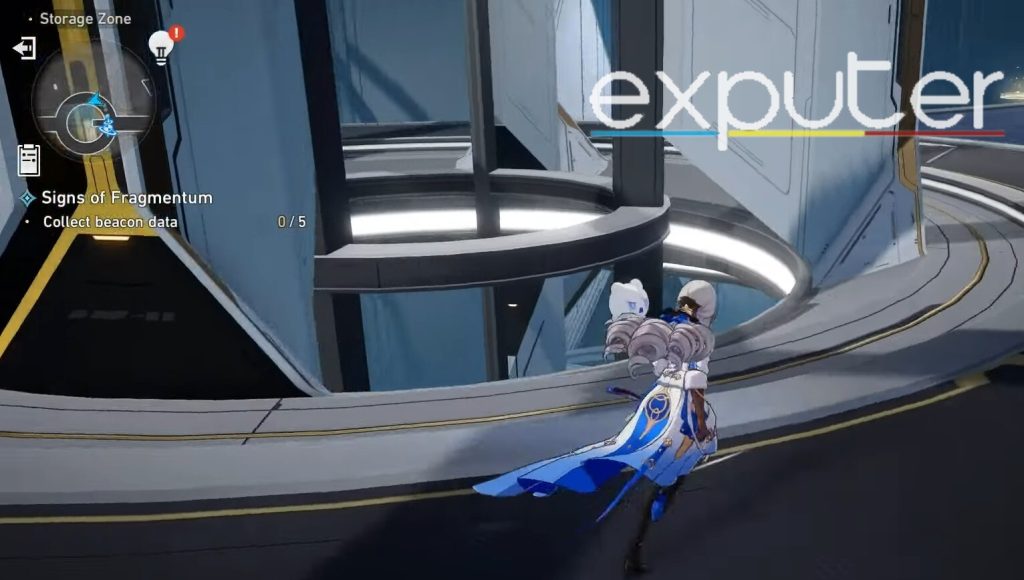
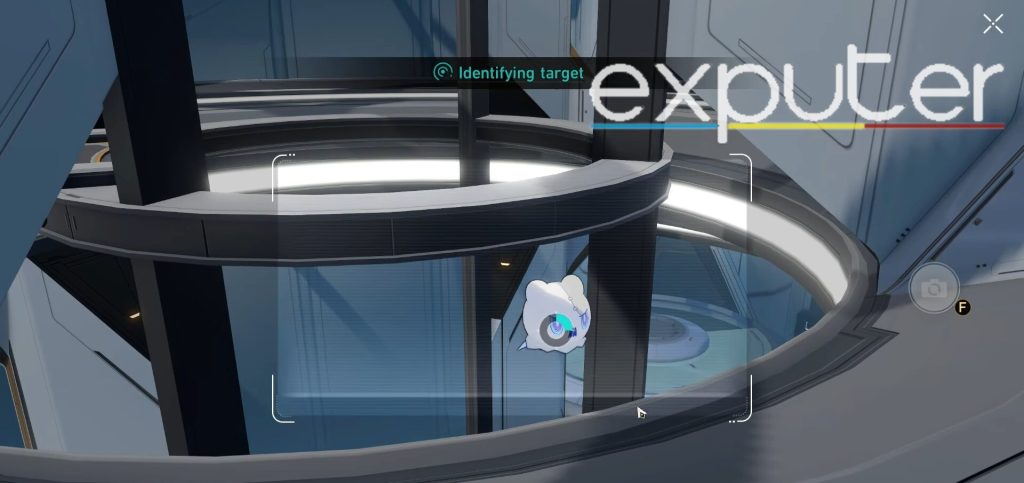
One of the first wubbaboos is pretty easy to find. As you spawn into the domain, you can turn left from the Sustenance Anchor, and towards the far left, the Department Member seemed way too deep in thought.
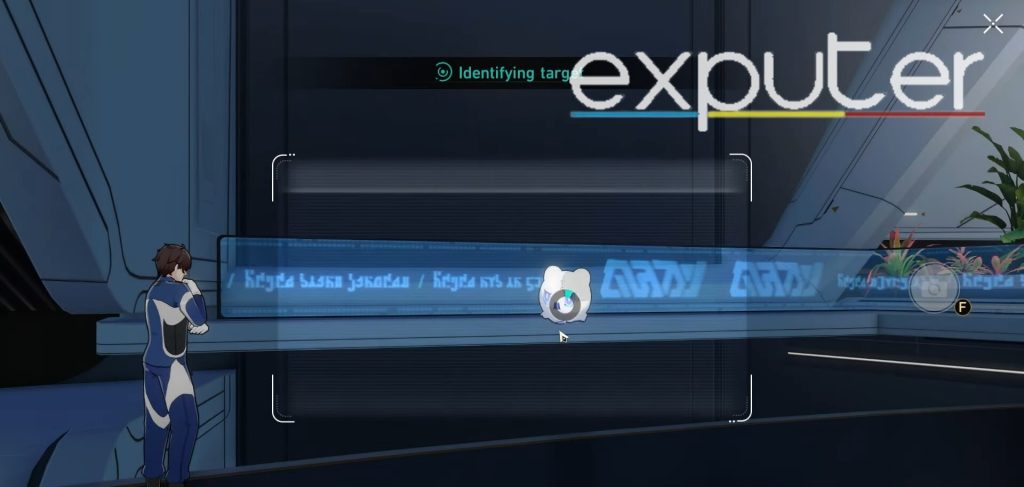
- Turn left from the Sustenance Anchor, and start running far towards the person standing at the far end.
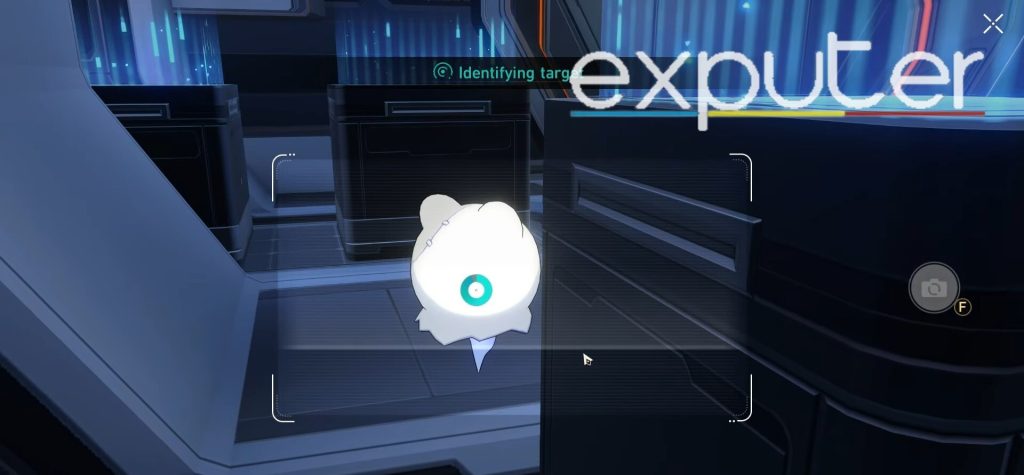
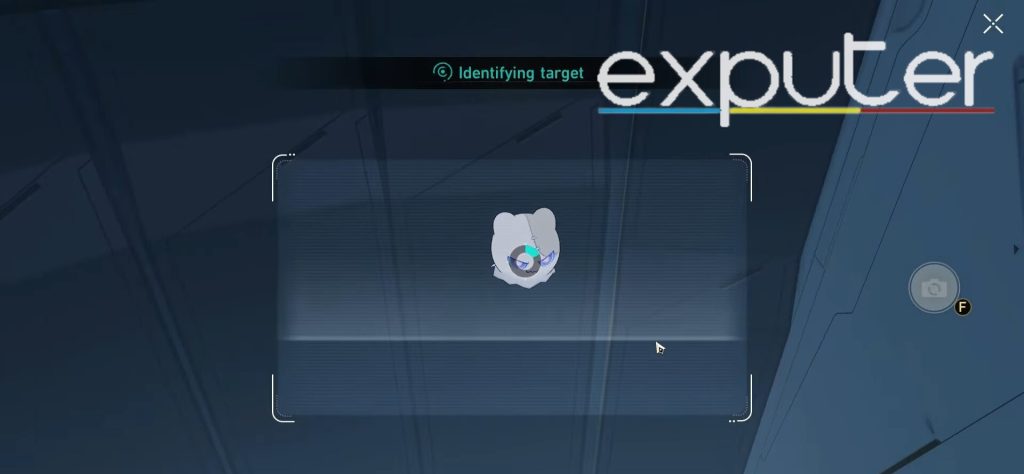
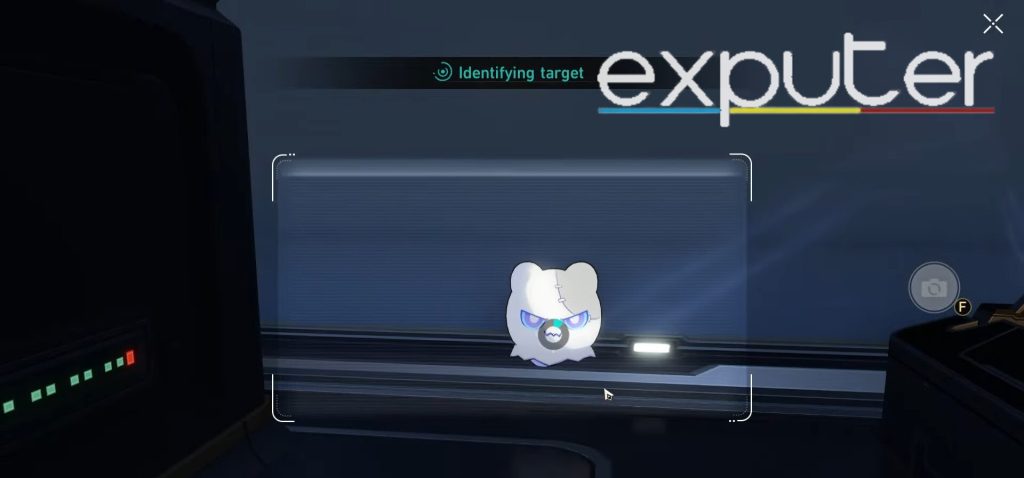
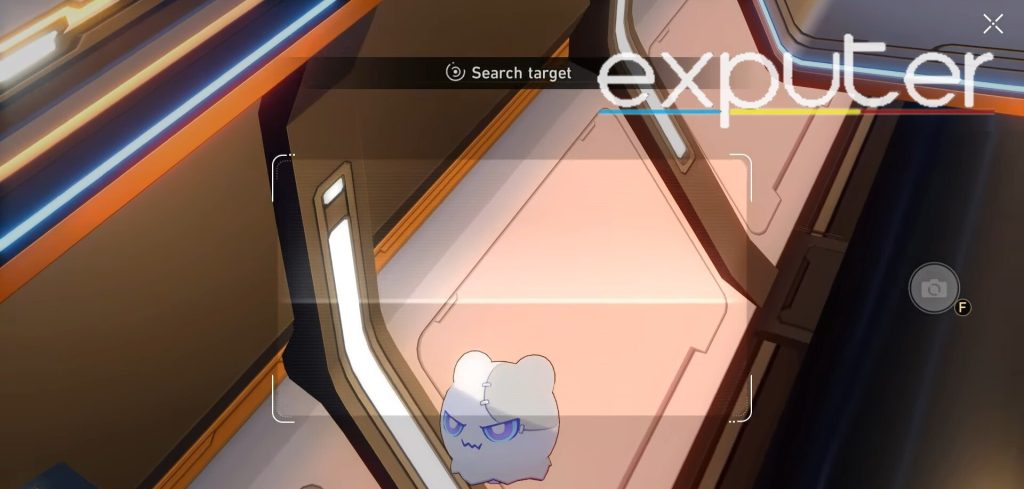
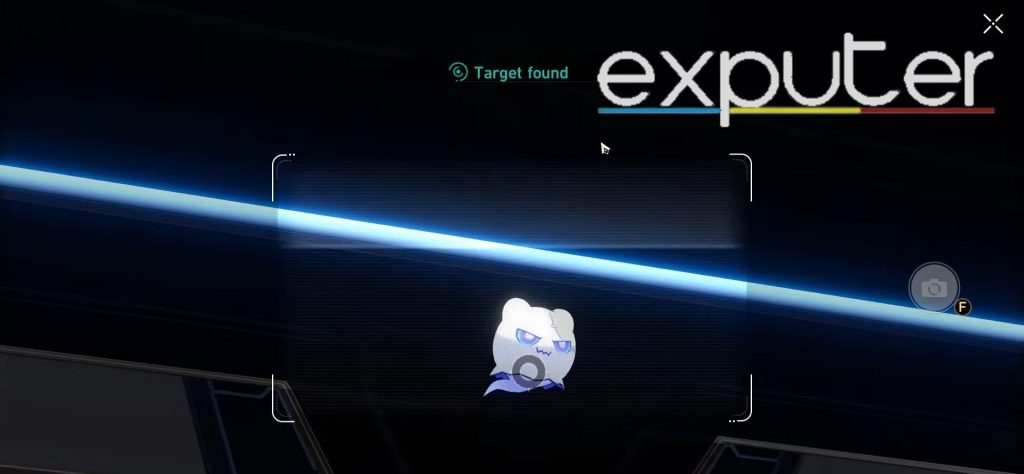
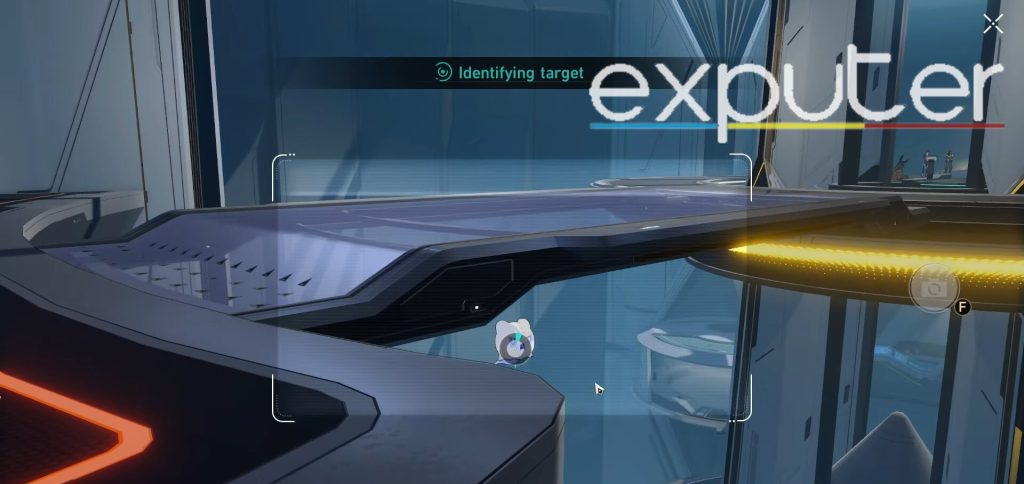
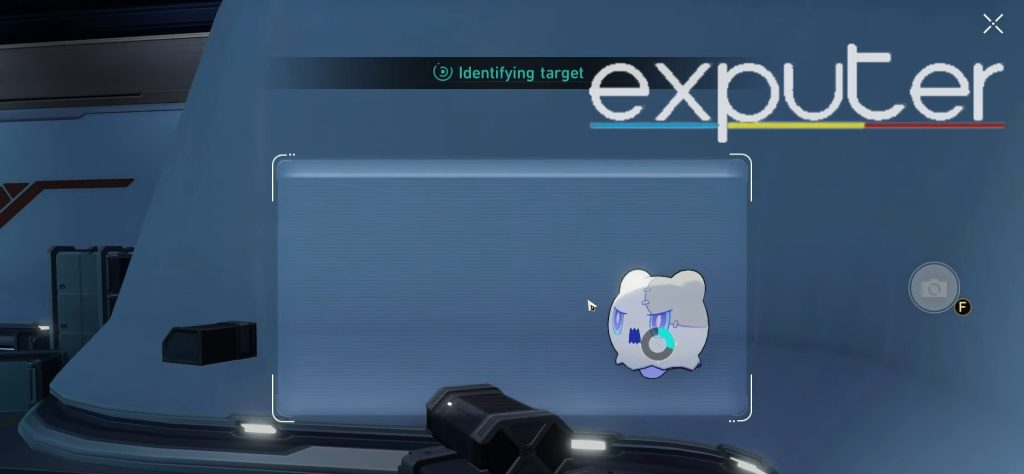
- The Wubbaboo seems quite angry, but all you need to do is to click on the camera icon on the bottom screen and let the camera identify the target, and once it has done that, it will prompt the prompt that the Valid Beacon has been detected.
Second
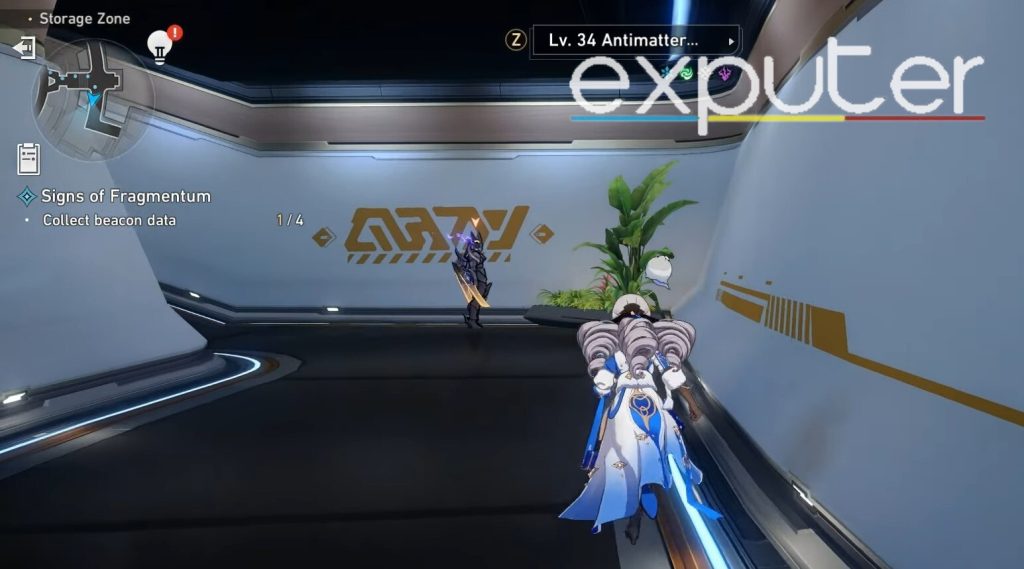
To get the second Wubbaboo for the Signs Of Fragmentum quest, start running straight ahead from the place where the first Wubbaboo’s data was captured.
- From the hologram that is present in front, climb up the stairs and enter the inner part of the building and into the hallway.
- The hallway splits into left and right; therefore, start heading right, and there will be a Wubbaboo being cornered by an enemy and seeming quite distressed and afraid.
- Annihilate the enemy (or don’t, it doesn’t matter), and then use the camera icon to identify its data, and that’s two done!
Third
From where the data from the second wubbaboo was captured, turn right back around, and start heading back for the place where the hallway splits into two and start running into the left side of the hallway.
- Head to the very far end of the hallway and let the door open.
- From there, run to the very far end of the room, and make sure not to agro the enemy, and instead sneak to the left side where the third wubbaboo is present behind a few displays.
- Identify the target using the camera icon once again, and the data for the third beacon has now been collected.
Fourth

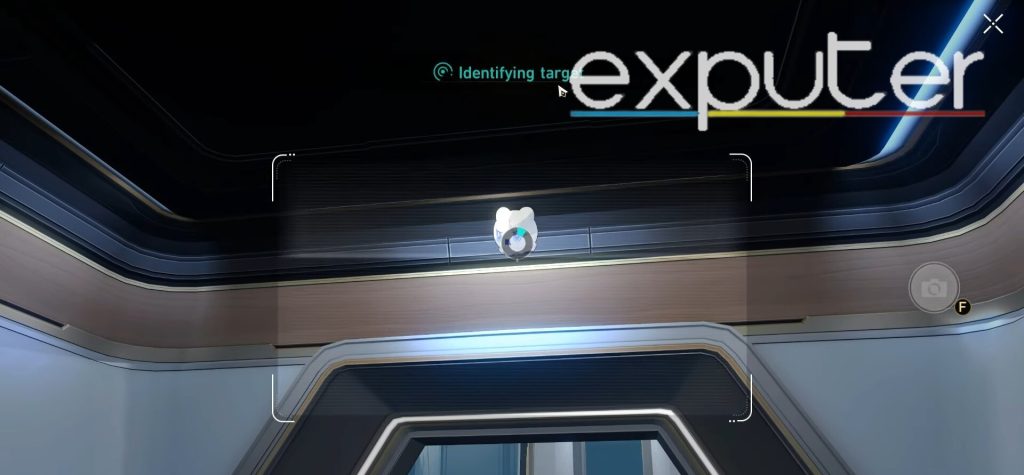
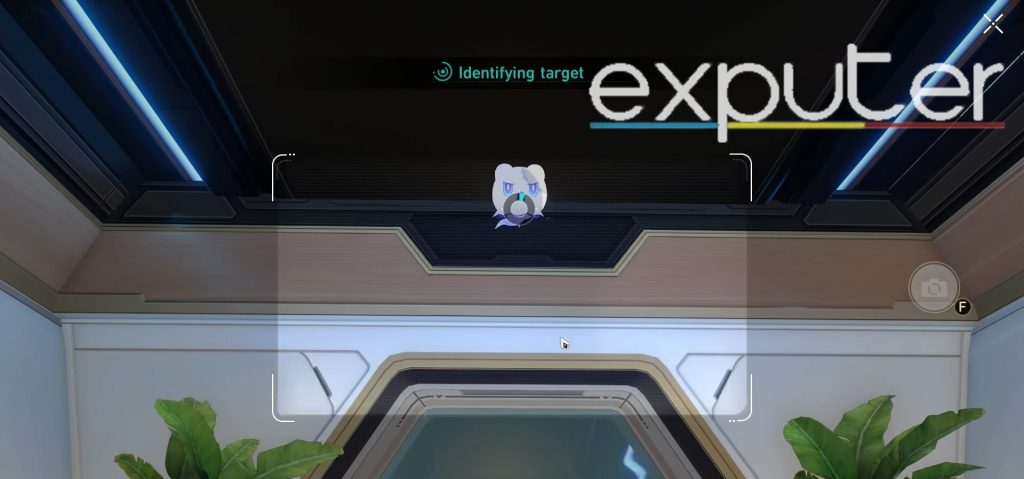
I admit this wubbaboo took me way too long to find it practically embarrassing. However, head back to the start of the hallway.
- As the stairs lead up, turn around, and the damned wubbaboo is hiding at the very top of the door, and its data can be collected here.
After the data has been collected, you can head back to the department member and submit the data, and the rewards for completing it will be getting 60 jades, light cone exp, adventurer exp, and credits.
Difficulty 2 Beacon Data
The second difficulty option will be in the same area, just a higher difficulty. To trigger it, head back to the storage zone in the Herta Space Station once again, and the Security Department Member will be standing in the same place he was before. Go over to him and interact with him.
- Interacting with the department member will unlock the second difficulty, which will essentially grant the same rewards as the last time, which were 30 jades, and 10 jades for all the missions completed in the domain.
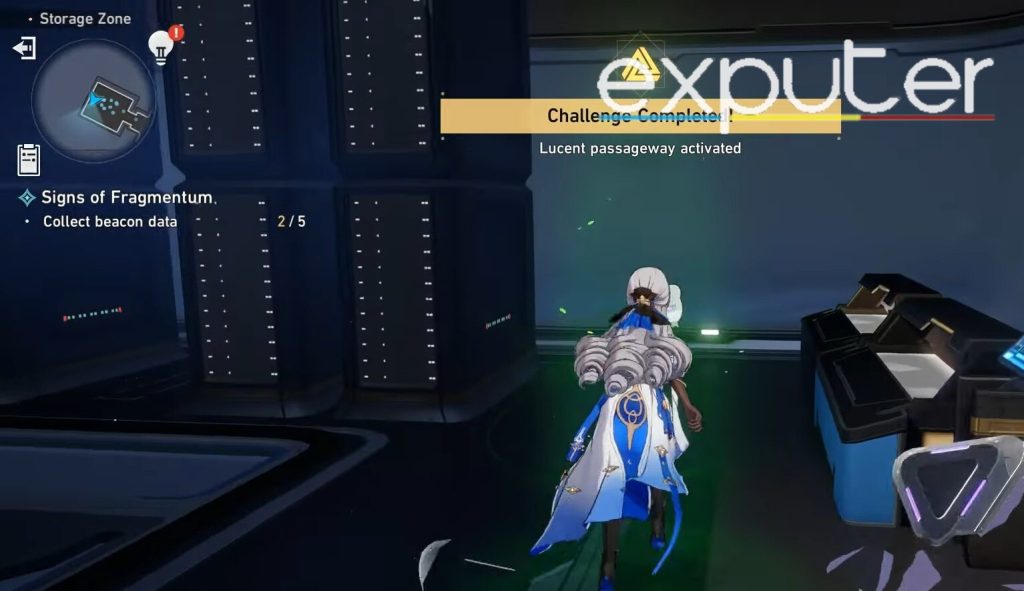
- This time, you will be asked to collect five beacon data.
First Wubbaboo
From where the sustenance anchor is located, the circle splits off into the right and left sides, starts heading right, and heads past the golden pathway.
- Make sure not actually to climb up the pathway, but instead, run past it.
- One of the first wubbaboos will be floating a few inches away from the path’s edge, and the wubbaboo will seem quite angry.
- Once again, use the camera icon on the bottom of your screen to identify it and collect its data.
Second
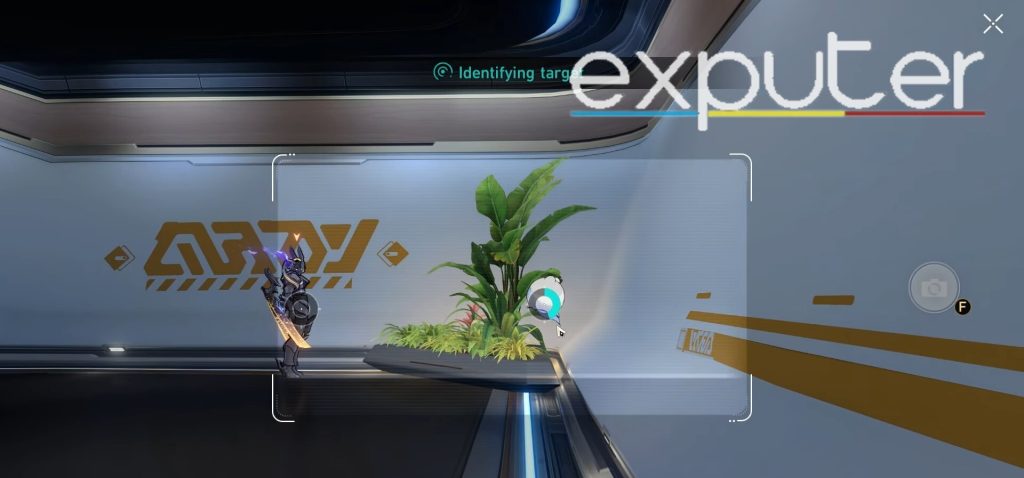
From where the first wubbaboo was collected, start making your way toward the left side of the path, and there should be a golden ramp connecting the two terminals.
- Start climbing up the golden ramp, then turn right and head up the stairs and into the room in front.
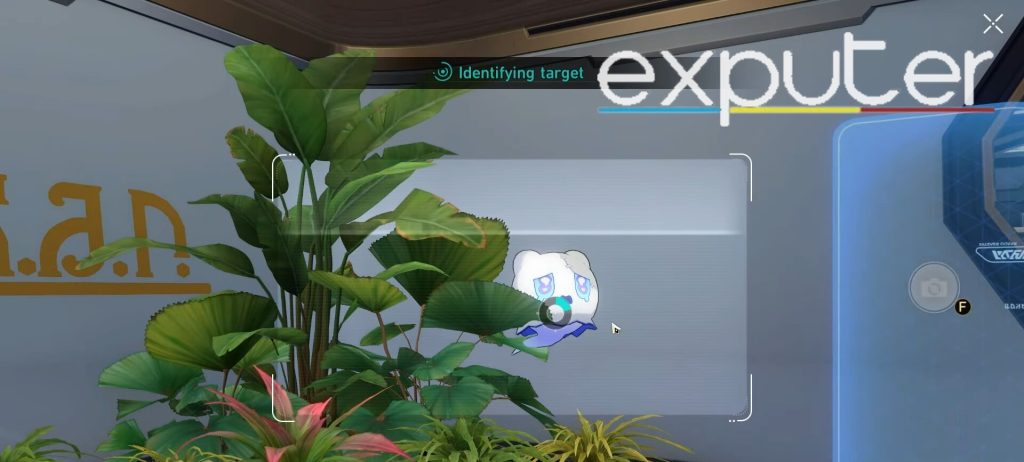
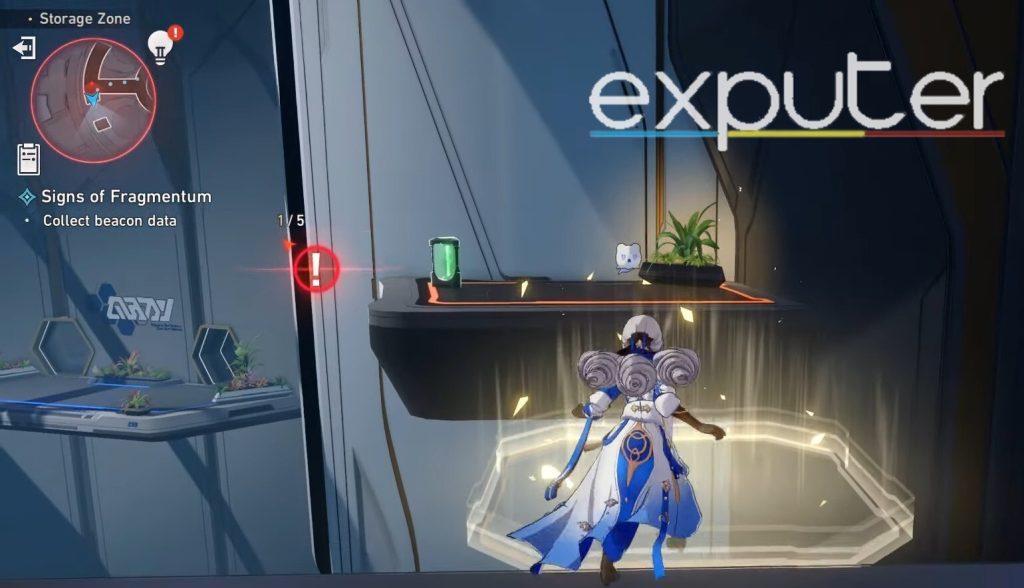
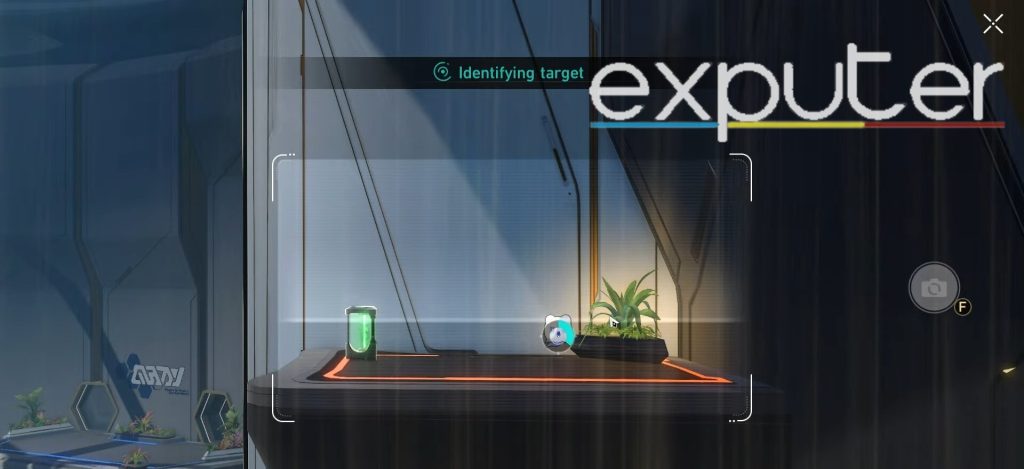
- Towards the left of the room, there should be a plant behind which the Wubbaboo is hiding, seeming extremely nervous and scared.
- Use the camera feature to capture it and collect its data once again.
Third
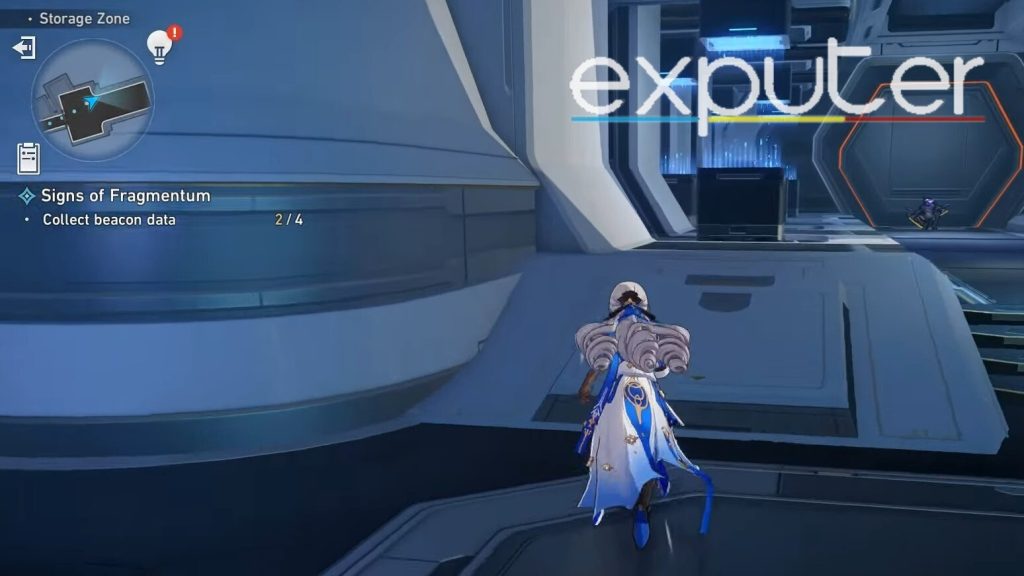
From here, there should be a corridor that leads further into the room and leads even deeper.
- From the plant from where the second wubbaboo’s data was collected, head into the corridor, start running deeper into it, and then stop and run up the stairs on the right.
- Enter the door and enter the room, and instead of investigating the room, there should be another door that is present towards the left side of the room you just entered, head there.
- There will be a small puzzle that needs to be completed here, and the main thing to remember is that you can’t step on the same tile twice.
- As you reached the end of the puzzle and got onto the platform ahead, there was a skill point regenerator and the wubbaboo hiding towards the left of the wall.
Fourth
Head back to where you came from, meaning heading out of the room and down the stairs, and from there, take the stairs to the left and head up them.
- Head straight into the room, and then run straight through the corridor as you reach the very far end; the Wubbaboo is hiding away, looking all smug.
- The camera icon can be used again to capture the data from the wubbaboo.
Fifth
Run back into the room that connected the corridor, and you can turn left to enter another room.
- Turn around, and the Wubbaboo should be hiding behind the door at the very top.
Return to the maintenance staff, and submit the beacon data to grant the jades and the other rewards for completing the Signs Of Fragmentum’s Second Difficulty.
Difficulty 3 Beacon Data
To complete the third difficulty, the first two must be completed. Head back to the Storage Zone in the Herta Space Station, and interact with the department member standing there to access the third difficulty.
First Wubbaoo
From the sustenance anchor, head past the department member and turn right, and you only need to head a few feet ahead.
- Look over the edge of the space you are standing on right now, and there will be a Wubbaboo that is extremely angry and seemingly shouting at something.
- Use the camera function to capture the data and identify the target.
Second
From where the first Wubbaboo was captured, start heading further ahead and run along the blue terminal road, and there will be an enemy waiting ahead.
- Defeat the enemy, and a puzzle must be solved to access the other side of the path.
- Therefore an easier way out is to stand on the first tile. Instead of activating the puzzle, activate the camera function and collect the data since the Wubbaboo is in its field of view.
Third
Turn around but don’t get off the first tile of the puzzle, and angle your vision down a bit.
- From there, if you look ahead, there should be a Wubbaboo floating beneath the blue bridge that was crossed to get to the puzzle.
Fourth
Run past the blue bridge to return to the circular path, and turn left once you reach it.
- Head past the department members, and solve the puzzle to get to the other side of the path.
- Head into the room, and at the right side of the entrance, the Wubbaboo can be found.
Fifth
Head out of the room, start running across the white bridge that is present a few feet away, and head into the room that is present to the left end of the hallway.
- Head out of the room by taking the door at the right, and start running through the corridor.
- The fifth and final Wubbaboo is at the end of the hallway at the top of the window between the two plants and can be captured.
Submit the data and collect the rewards.
And that’s all done! That’s all players need to know about the Signs Of Fragmentum in Honkai Star Rail, and with that, let’s wrap this up! While you’re here, why not check out the Honkai Star Rail Daily Missions guide, which covers all the available and how to complete them? One of the best characters in Honkai Star Rail is Bronya, and her Honkai Star Rail Bronya Build is a must-read!
Alongside that, the Honkai Star Rail Treasure Map guide will show the locations of the treasure maps! Lastly, the Tingyun Build Honkai Star Rail guide will entail complete details about her best light cones, best relics, traces, and playstyle!
Up Next:
- Honkai Star Rail Road To Revival Mission
- Honkai Star Rail Healers
- Honkai Star Rail Echo Of War
- Honkai Star Rail Effect Hit Rate
Thanks! Do share your feedback with us. ⚡
How can we make this post better? Your help would be appreciated. ✍