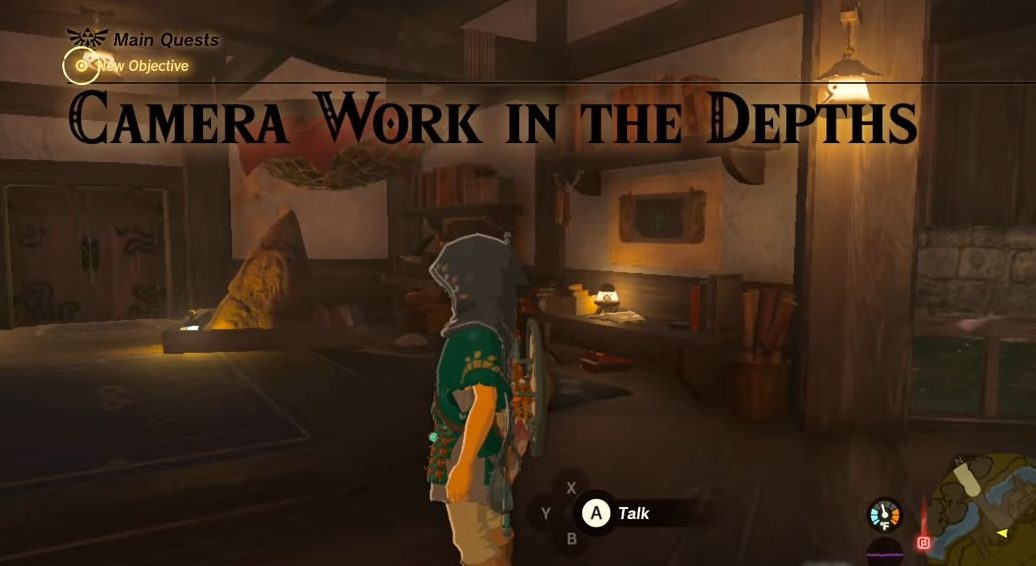
In Zelda Tears of the Kingdom, the camera is not merely an accessory; it’s an essential tool for your journey. It allows you to document discoveries, capture unique moments, and keep track of significant objects or enemies in your Compendium. Acquiring the camera enhances your interaction with the Tears of the Kingdom’s world, enriching your exploration experience and providing valuable insights for your quests. It’s certainly a feature worth unlocking early in your adventure!
Summary on how to get the camera in TOTK:
- Progress the storyline until reaching the first village.
- Unlock the Paraglider at Lookout Landing.
- Interact with researchers Josha and Robbie at the northern gate facing Hyrule Castle.
- Assist Robbie with research in the Depths to activate the camera feature on your Purah Pad.
- Head south to the nearby Chasm in Hyrule Fields, marked on your map.
- Use the Paraglider to descend safely into the Chasm.
- Find Robbie’s abandoned research assistant inside the Chasm.
- Follow Robbie’s trail of campfires into the Depths, using Brightbloom Seeds for light.
- Locate the Iayusus Lightroot in the Depths to navigate and cleanse tainted hearts.
- Engage with Robbie at the research site and help collect Myriora Crystals.
- Return the crystals to Robbie to upgrade your Purah Pad with the camera function.
Setting Up For The Camera Quest
To start the quest for the camera, you first need to progress the storyline until you reach the first of the villages in the game. This is where the camera quest will become accessible.
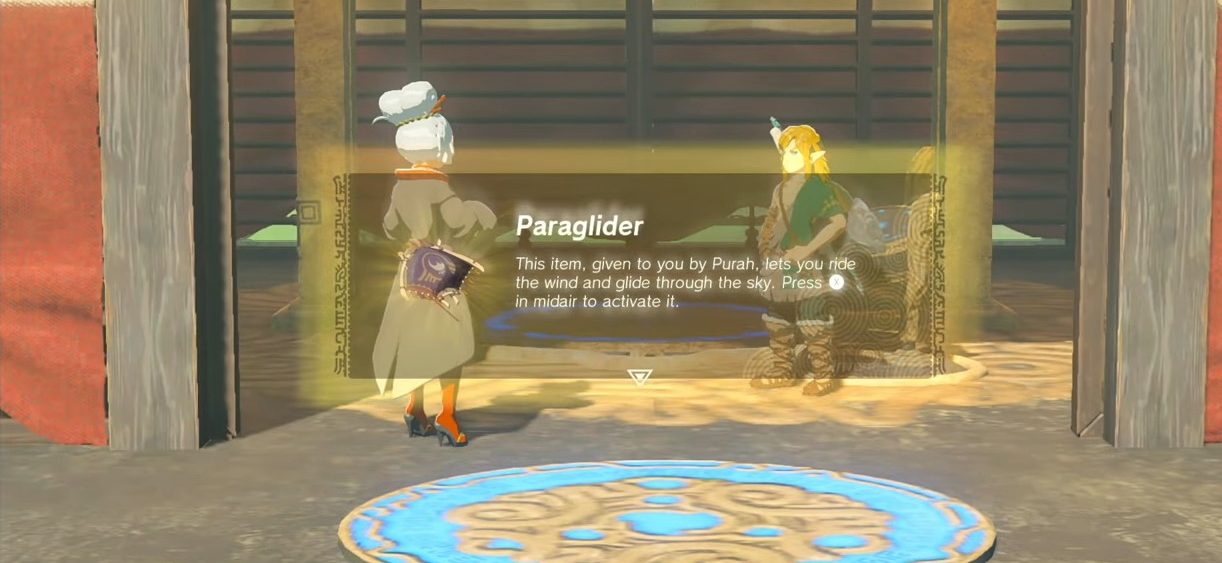
Upon reaching Lookout Landing, your next goal is to unlock the Paraglider, an essential tool for your adventure into the Depths, where your quest will truly begin. The Paraglider allows you to safely land in these treacherous terrains, opening up new exploration opportunities.
1. Interact With Josha & Robbie

Once the Paraglider is unlocked, make your way to the northern gate facing Hyrule Castle. Here you will meet Josha and Robbie, the researchers. They will talk about their investigations into the Depths, a mysterious region beneath the Chasms that have recently opened up around Hyrule.
2. Assist Robbie in Research In The Depths
As you interact with Robbie and Josha, you will be entrusted with assisting Robbie with his research in the Depths. This challenging endeavor has its rewards, as Robbie will enable the Tears of the Kingdom Camera feature on your Purah Pad once the quest is successfully completed.
After receiving your mission, head south to the nearby Chasm in the Hyrule Fields. Use your map to mark this location, ensuring you won’t lose your way during your journey.
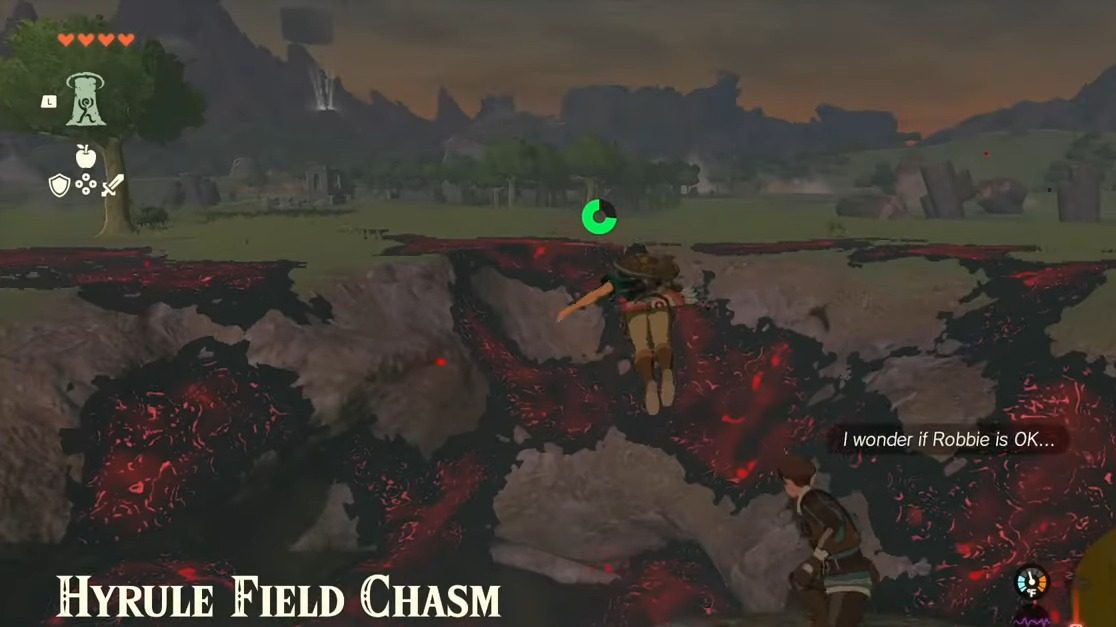
With the location marked, your next step is to plunge into the Chasm. Remember to deploy your Paraglider before you hit the bottom, ensuring a safe descent.
3. Locating Robbie’s Abandoned Research Assistant
Inside the Chasm, you will find one of Robbie’s research assistants, who has been left behind. Speaking with the assistant will give you more insight into Robbie’s research path.
To locate Robbie, you must follow the trail of campfires that Robbie left behind. This trail will lead you to him amidst the murky Depths.
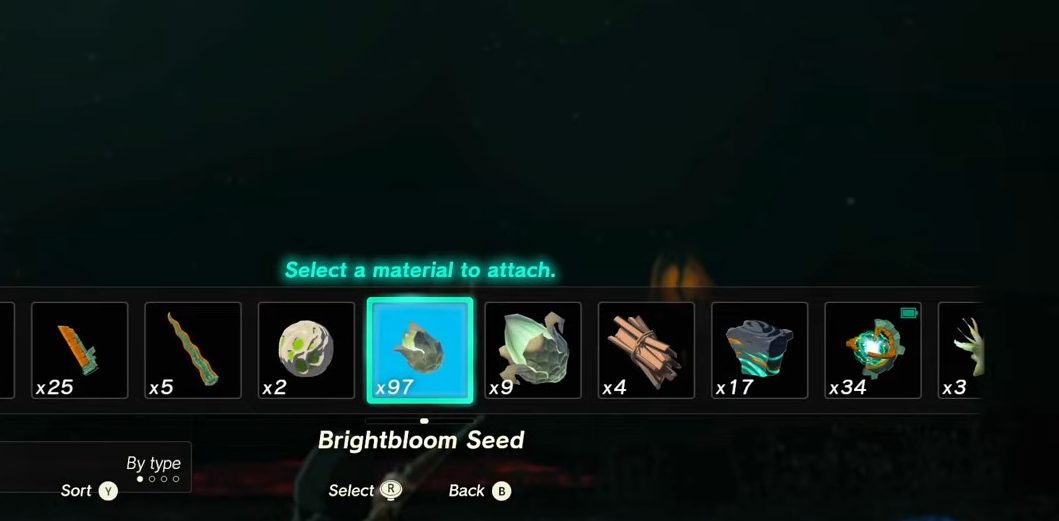
However, coming prepared for your venture into the Depths is important. Ensure you have a good supply of Brightbloom Seeds given by Josha. These seeds will light up your path, ensuring you don’t get lost in the dark recesses of the Depths.
4. Heading Towards The Layusus Lightroot
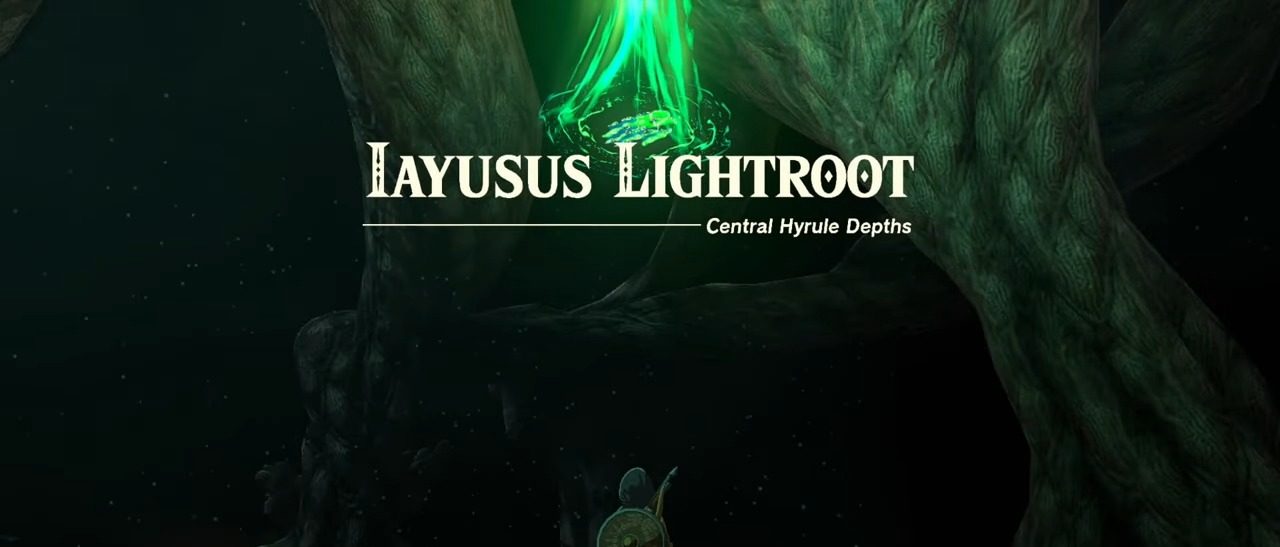
Armed with your Brightbloom Seeds, move towards the Iayusus Lightroot, a major landmark in the Depths. These Lightroots play a critical role in navigating through the Depths.
Upon reaching the Iayusus Lightroot, interact with it. This interaction will illuminate the nearby area, making your journey through the Depths easier. Additionally, it will cleanse any of your hearts that have been tainted by Decay, a debilitating status effect common in the Depths.
After activating the Lightroot, it will light up the area, making your path through the Depths clearer and easier to navigate. It will also cleanse any Decay effects on your heart, restoring your health.
5. Finding Robbie
With your surroundings brightened, you will see Robbie to the left of the Lightroot. As you interact with him, he’ll guide you on how to use the camera function on your Purah Pad. He’ll then instruct you to take a photograph of a nearby statue as part of your first camera trial. This action signifies that the camera is fully functional and ready for use in your quest.
6. Completing Camera Quest
Remember that the Camera function also unlocks the Compendium tab on your Purah Pad. The Compendium keeps records of your photographed objects, creatures, and enemies. It’s a handy tool for future reference.
After this task, you’ll need to head back to Lookout Landing. Fast travel makes this journey much quicker. Once back at Lookout Landing, seek out Josha and share your photograph with him to complete the quest. Josha rewards you with x5 Zonaite for your efforts, marking the conclusion of the Camera quest.
Now, you can access the Camera and use it freely throughout your adventure. This feature can be helpful in future quests, so it’s recommended to familiarize yourself with the camera’s function early on.
How To Use Camera
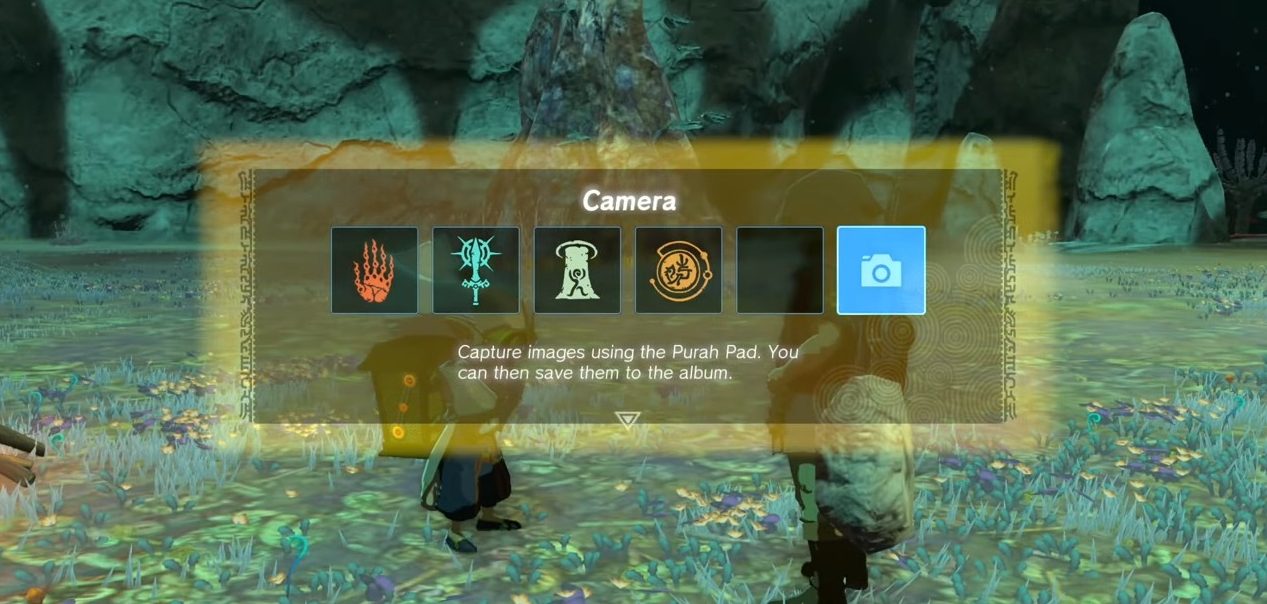
Robbie will provide a brief tutorial on how to use the camera, explaining its many uses and features. With this new tool at your disposal, you can now document your journey, solve puzzles, and more!
You need to press the L button to bring up your ability wheel, where you’ll find the camera function. Once you select it, the camera interface will appear on your screen, allowing you to frame and capture your shots.
Before jumping to another page, visit Tears of the Kingdom Best Fusions, Fuse Material, best shields, and best horses guides & learn valuable insight about Tears of the Kingdom.
Next:
- Tears of the Kingdom: How Many Stables Are There?
- Tears of the Kingdom: All Geoglyph Locations
- Tears of the Kingdom: How To Get & Use Star Fragments
- Tears of the Kingdom: All Princess Sightings Quests
Thanks! Do share your feedback with us. ⚡
How can we make this post better? Your help would be appreciated. ✍