RE4 Remakes some bold changes to the original boss fights, and one such encounter is the Garrador and Dual Garrador boss fight. The encounters are much scarier and tenser than in the original, and the addition of stealth adds a whole new layer of depth to these fights.
- Two Garrador boss fights occur in RE4 Remake, in Chapter 7 and Chapter 10.
- Recommended weapons include a Sniper Rifle and a flash grenade.
- In the first encounter, use stealth and attack from behind, snipe the Garrador, and use a flash grenade to destroy its vulnerable parasite.
- For the second encounter with two Garradors, shoot the bell in the room’s right corner, snipe them from behind, and finish with a flash grenade once their parasites are vulnerable.
- Rewards for the encounters are Red Beryl for the first and Unicorn Horn for the second in Resident Evil 4 Remake.
- Author’s Note: This Resident Evil 4 guide was created with hands-on experience after 4000+ hours of gameplay!
Garrador Bossfight in Chapter 7
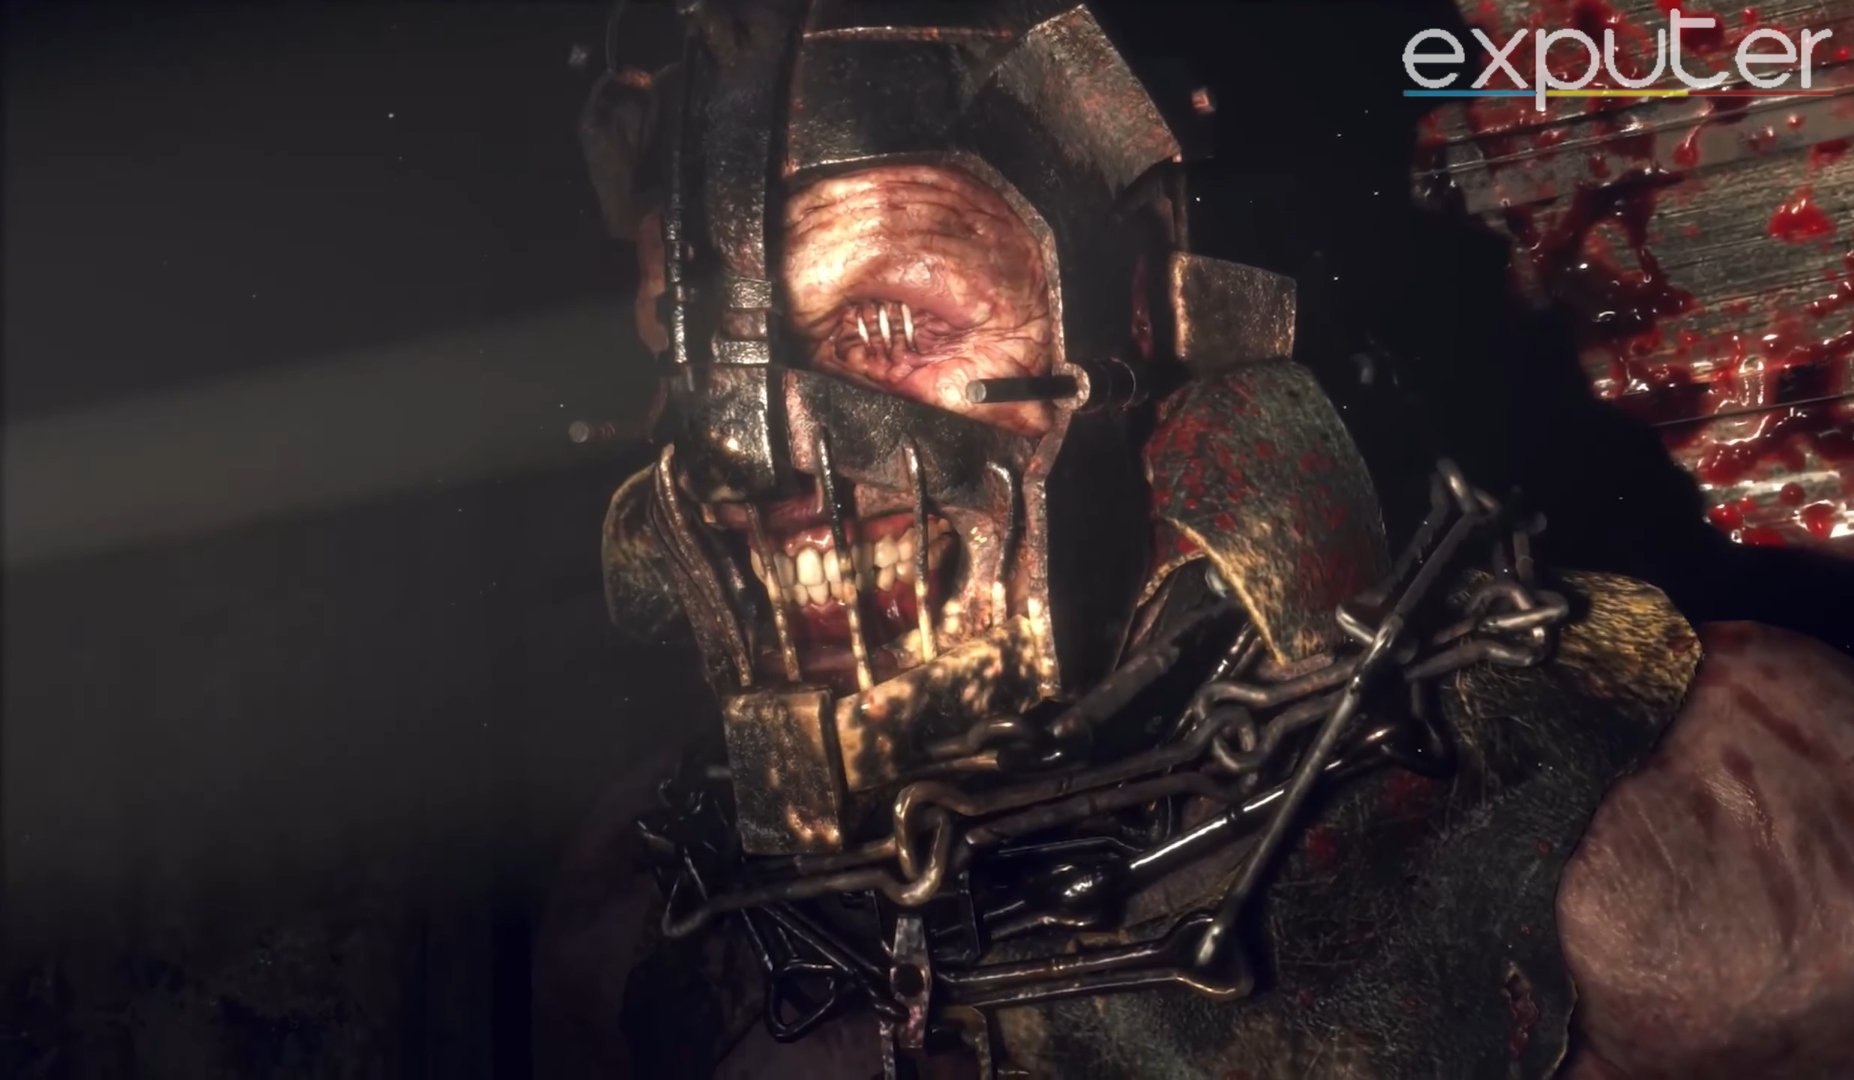
After surviving the castle’s catapults and Salazar’s warm welcome, your next task will be to find your way around the locked gate at the castle’s entrance. And that way leads you to an underground torture cell where you meet the Garrador. This will be the first time Leon’s stealth skills will be put to the test, as the Garrador can’t see but instead has a high hearing capability.
Attack Patterns
| ATTACK PATTERN | DESCRIPTION |
|---|---|
| Charged Forward Claw | Garrador rushes towards Leon and stabs him with his massive claw |
| Rapid Slashes | Garrador goes on a rampage and unleashes a series of claw attacks, destroying everything nearby. |
| Double Claw Charged Attack | Garrador entraps Leon in his huge claws, dealing significant damage to his body. |
How To Defeat
- With a sniper rifle like Stingray and a flash grenade, defeating Garrador is swift.
- As he rushes into the dungeon cell with hanging chains, carefully position yourself behind him and shoot his parasite.
- After two shots, the parasite emerges; throw the flash grenade.
- After the flash, Garrador will be defeated.
- Without a sniper rifle or flash grenade, the strategy remains the same: position behind him, shoot the parasite, run, and repeat.
-

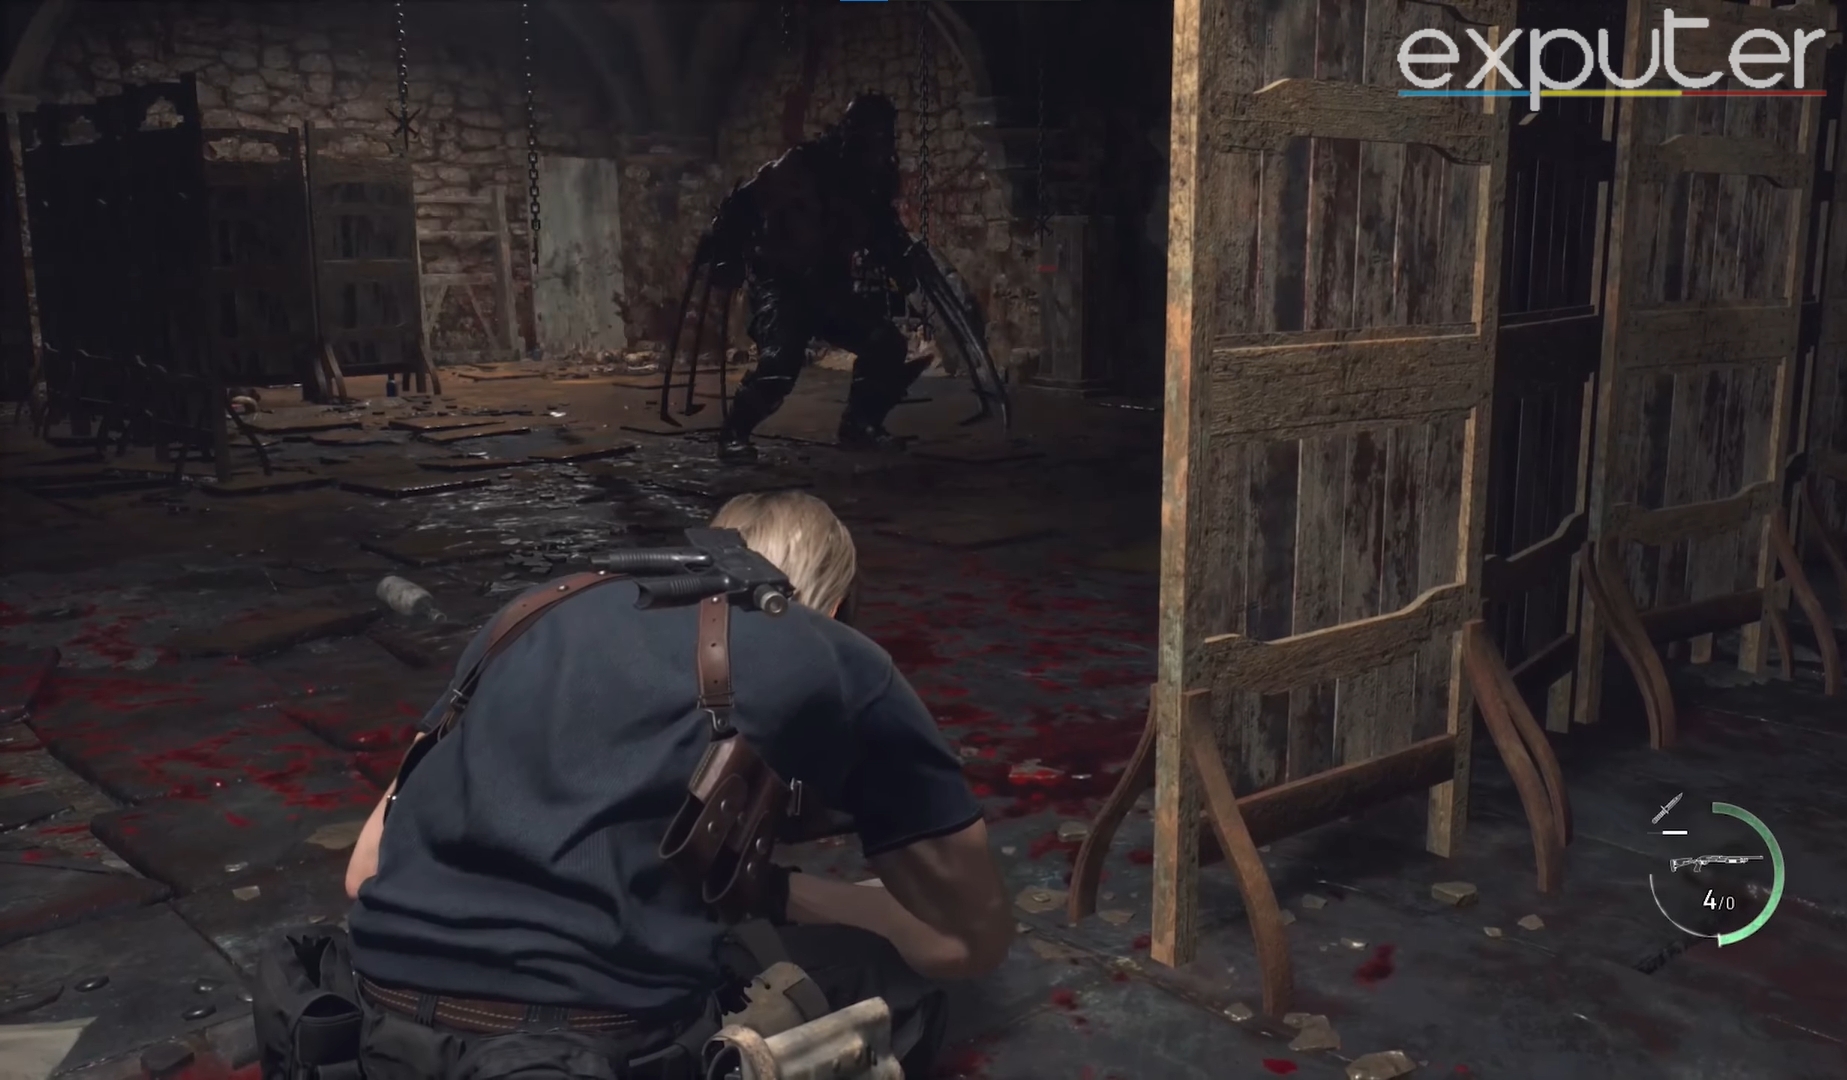
- Using Knife to takedown Garrador (Image Captured by eXputer)
- You can also unlock the “Never Heard it Coming” achievement if you beat the Garrador using only knives.
- This can be done by approaching his back and stabbing his parasite numerous times until he dies.
- Alternatively, you can also skip this entire fight using the Garrador Door Skip in Chapter 7.
Boss Fight Reward
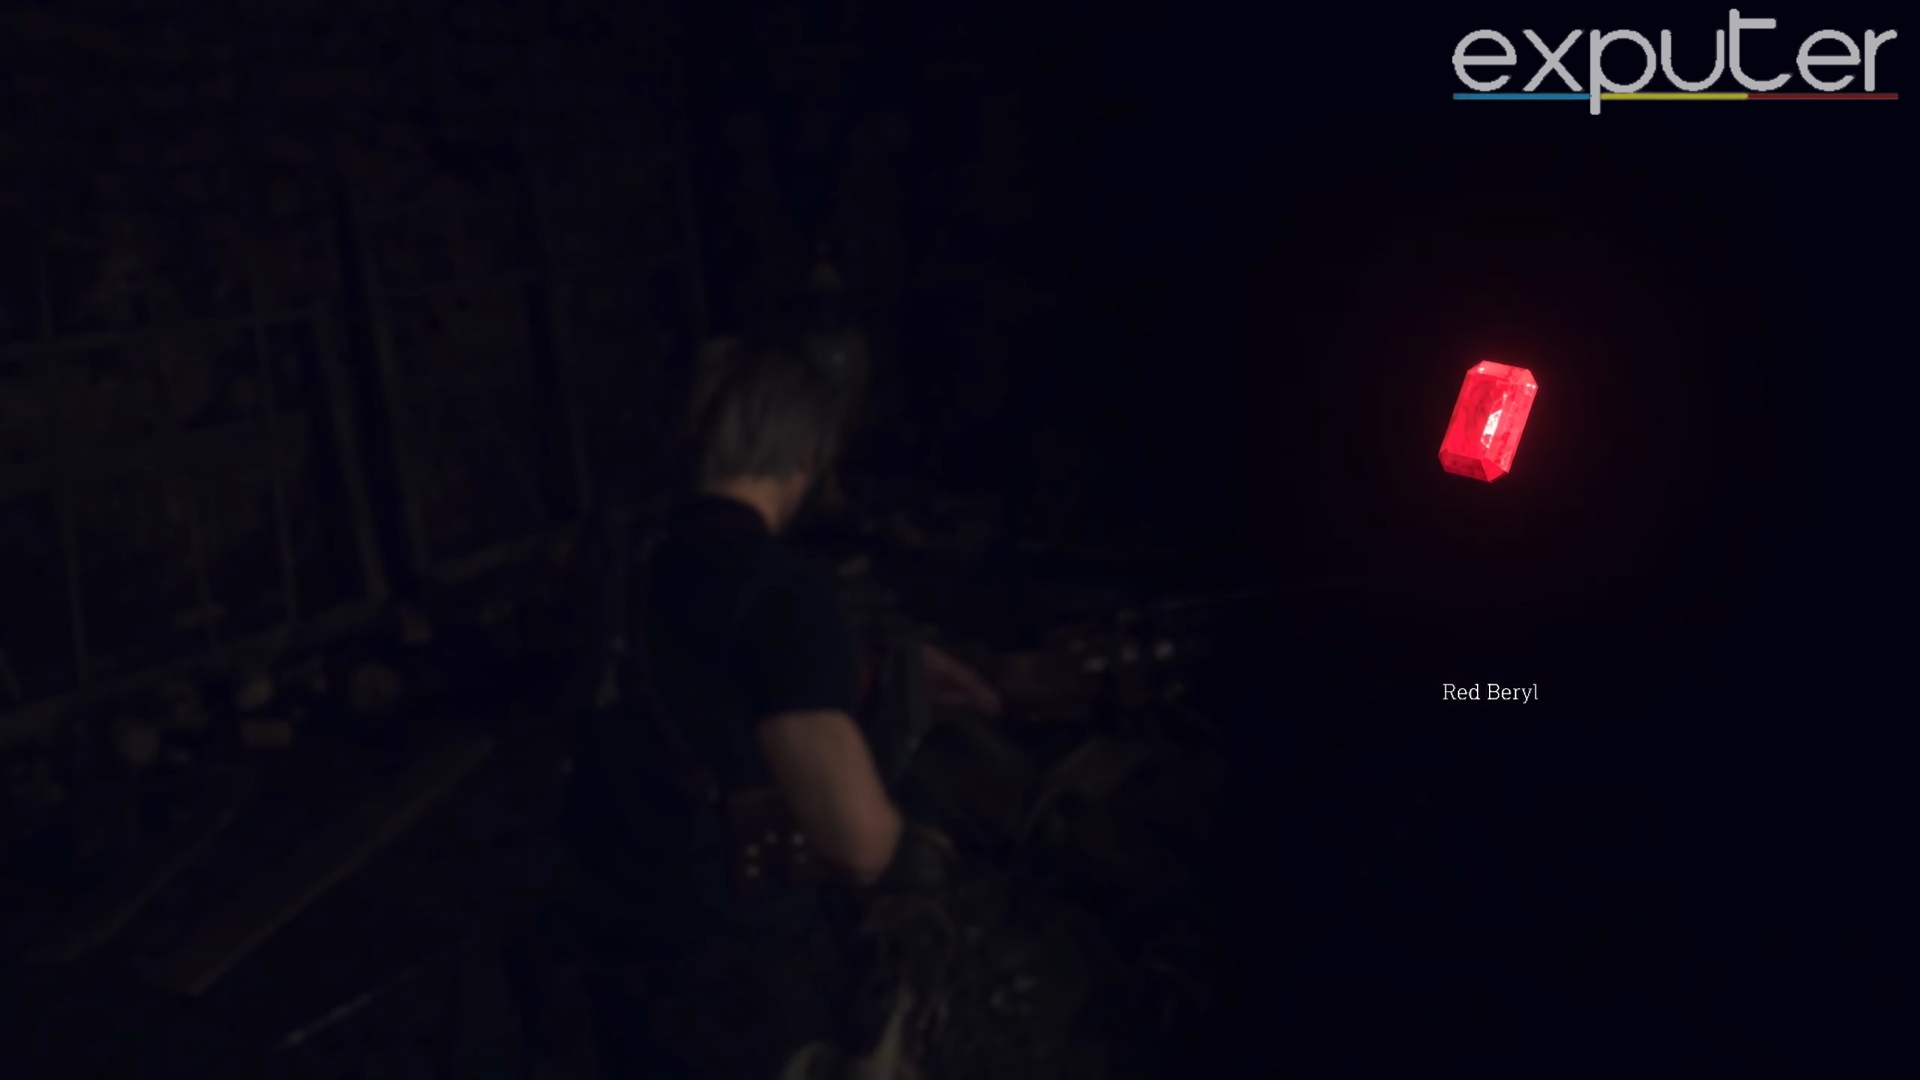
After taking down the Garrador, you can pick up a Red Beryl from the Garrador’s body, which can be sold to the merchant, either individually or combined with any crown for a high price.
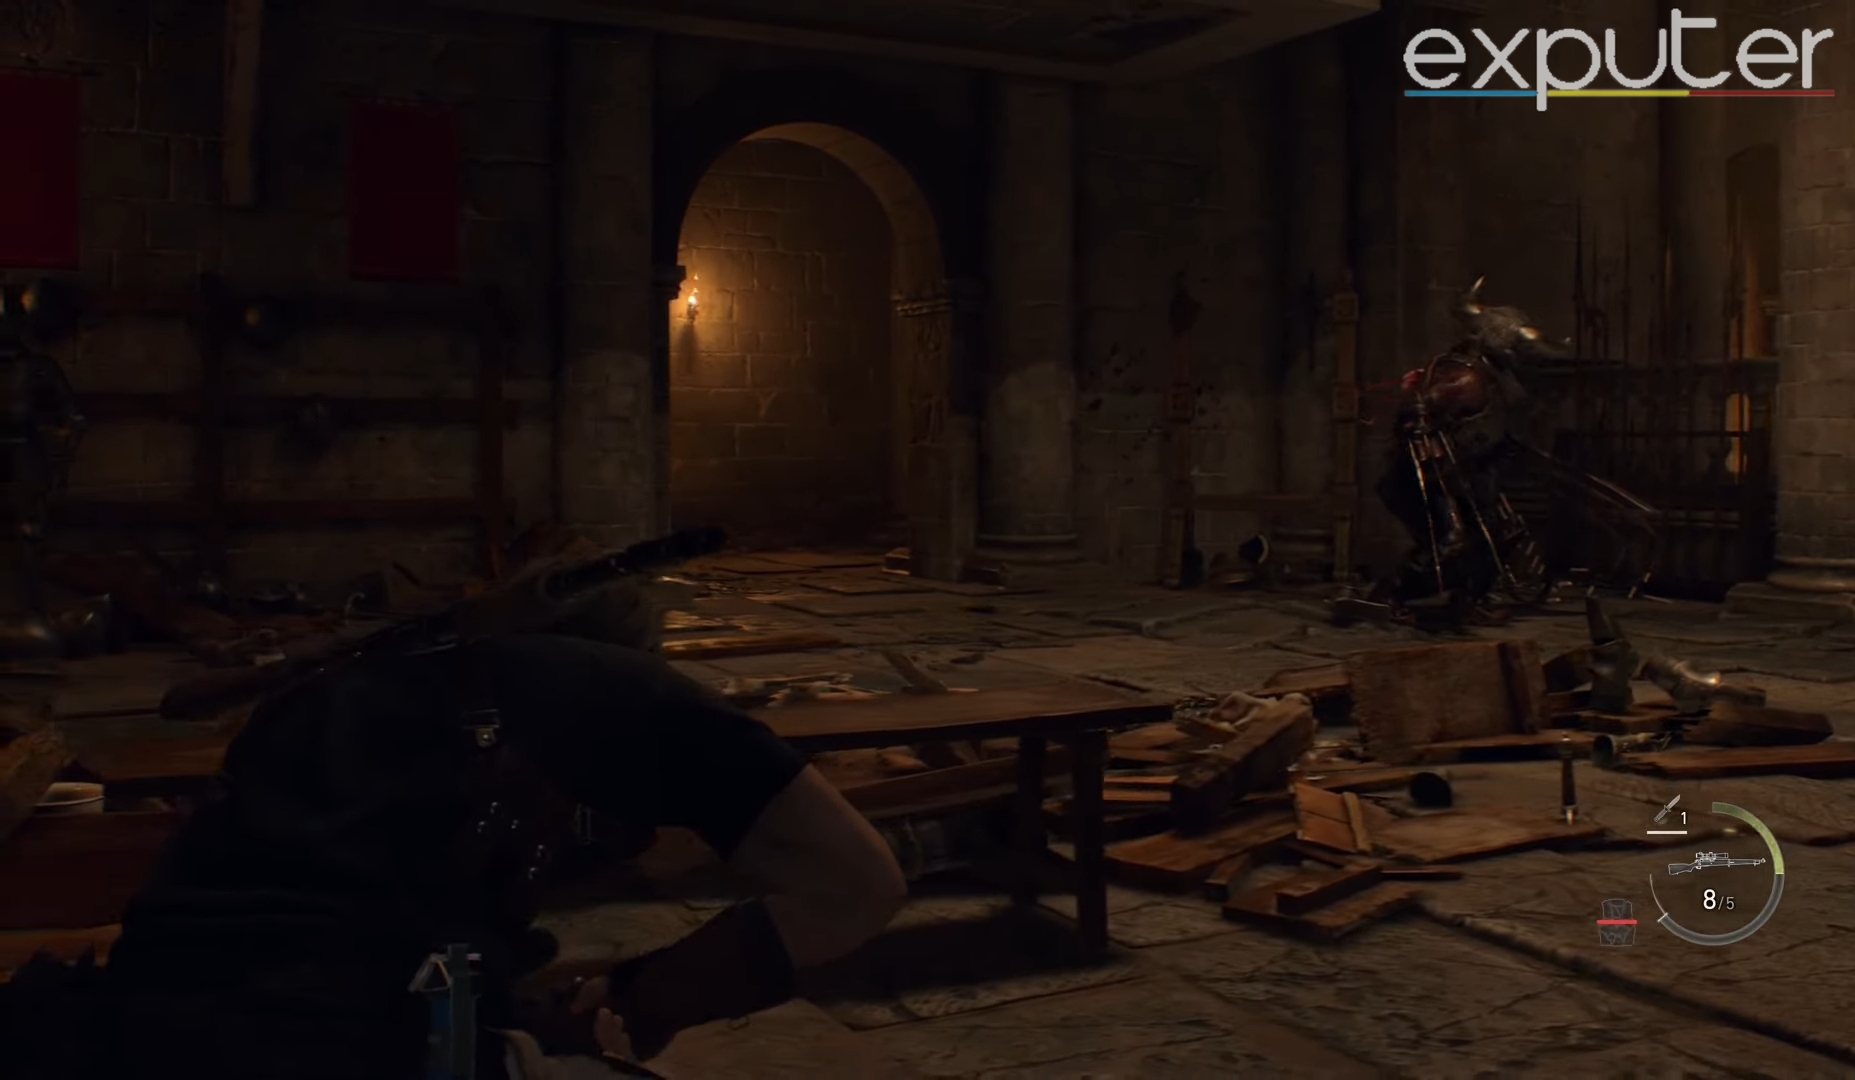
Double Garrador Bossfight In Chapter 10
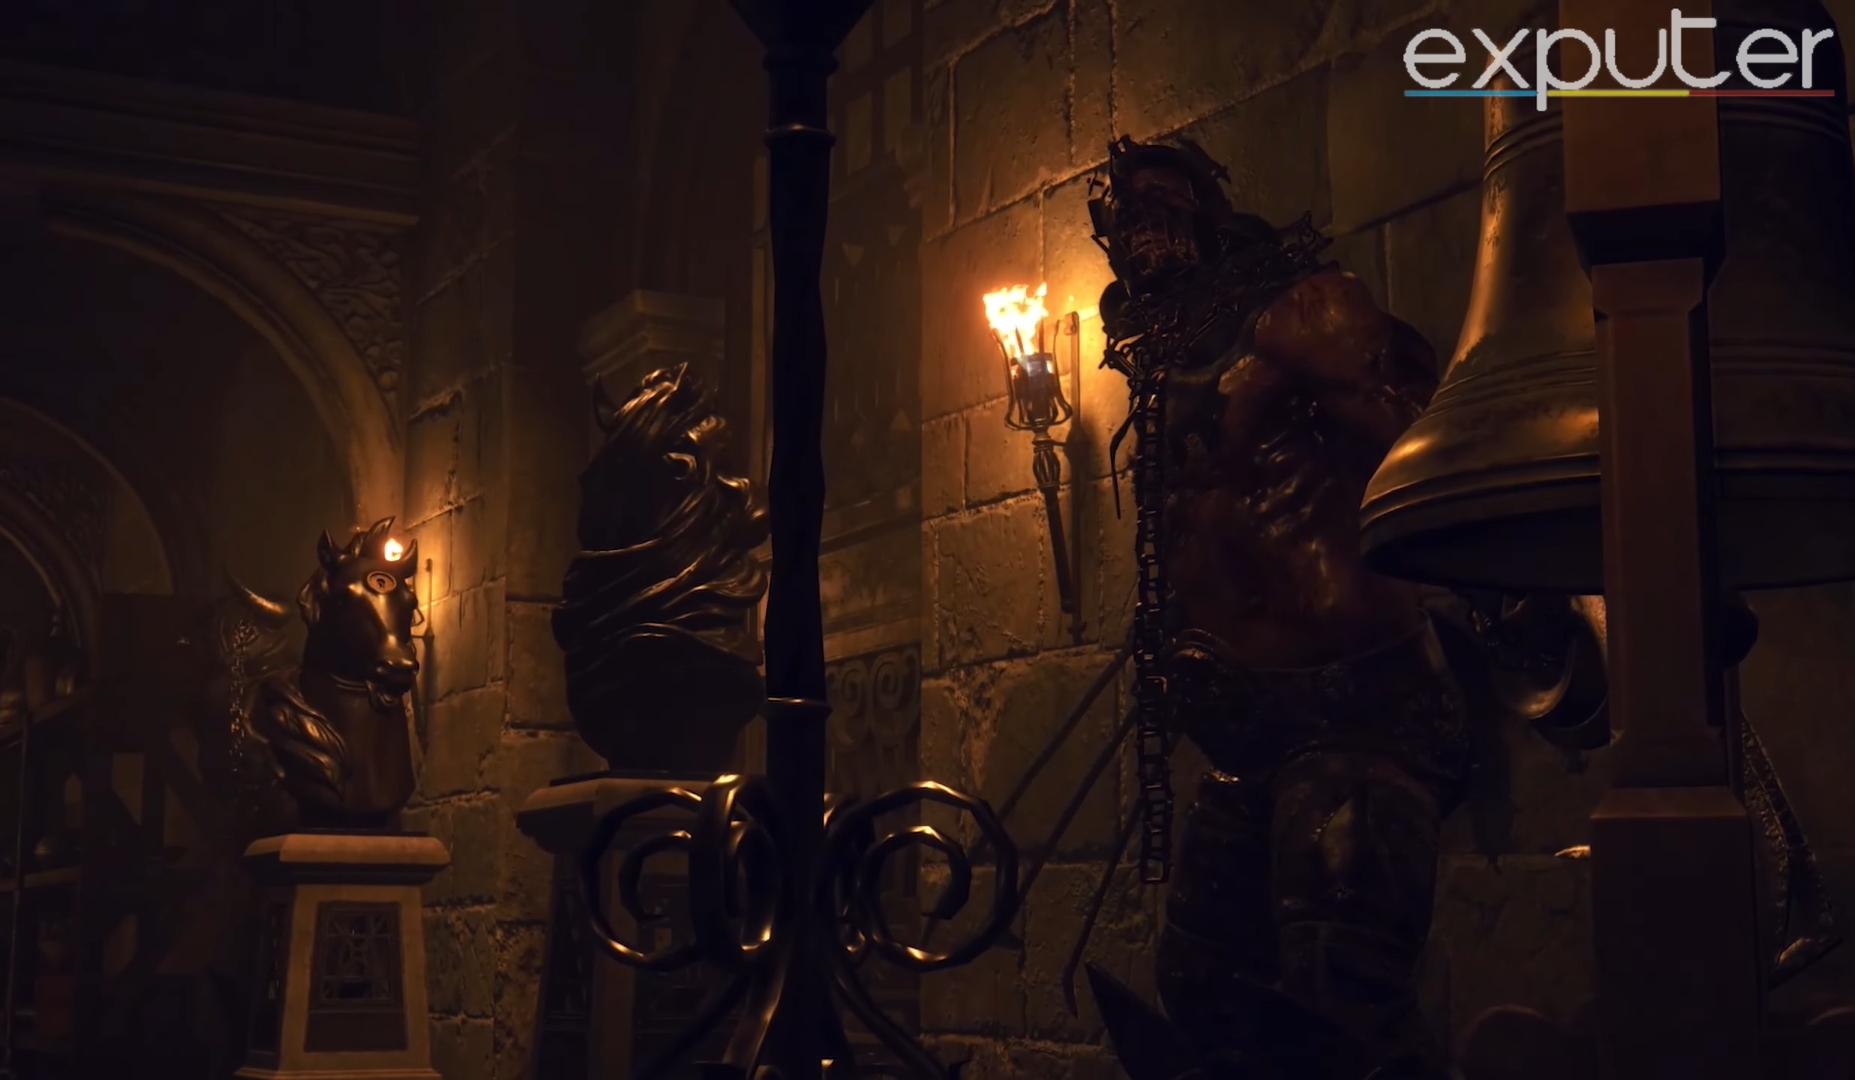
After surviving a huge horde of Novistadors in Chapter 10, you will enter a room swarming with Zealots and two Garradors, one of which is armored and locked behind chains. As soon as you begin your shooting, the Garradors will be altered of your presence and will break their chains to attack. While their overall attack pattern is the same, the boss fight itself is much harder than the previous one due to additional enemies and Garrador in RE4 Remake.
How To Defeat
- The equipment required for this fight is the same; a sniper rifle and a flash grenade.
- After entering the arena, take a left to the hallway, and shoot down any zealots in your path.

Hallway to the left (Image Captured by eXputer)
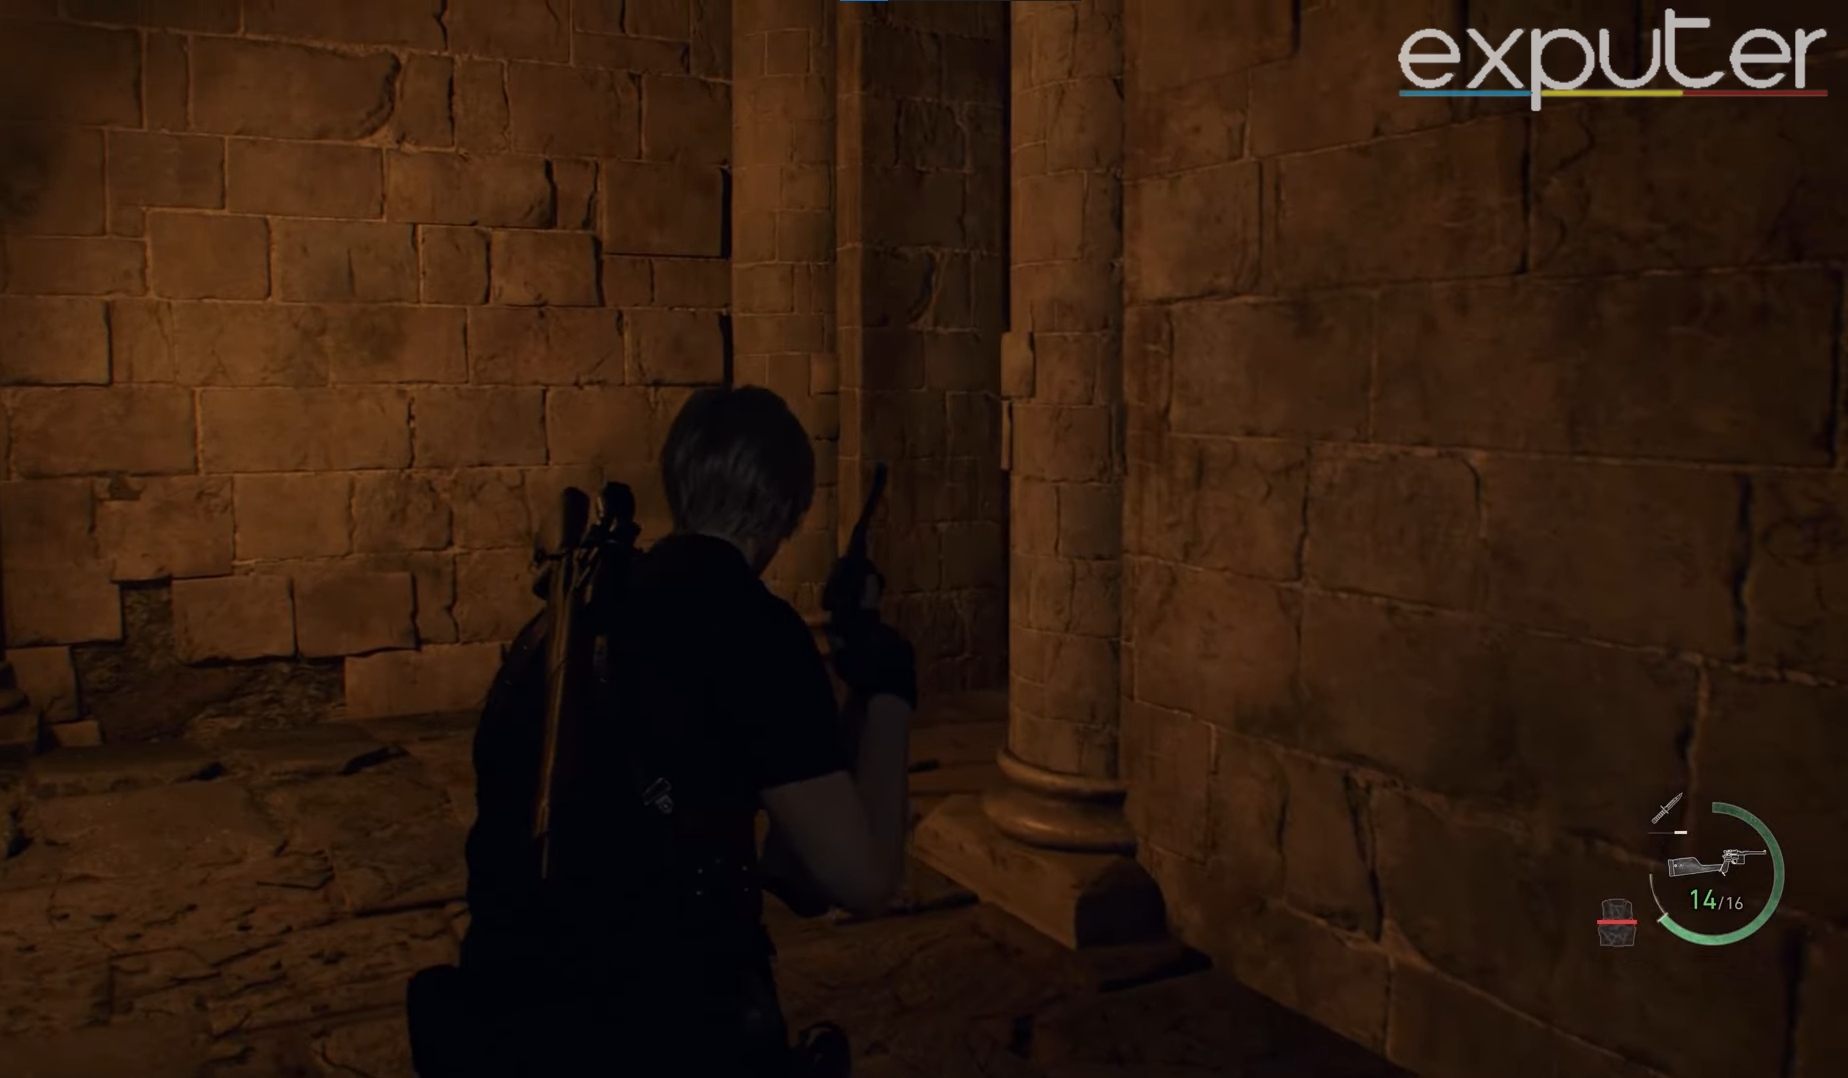
- At the end of the brief hallway, on the far right, a bell can be shot to alert the Garradors.
- The Garradors take time to break their chains, so you must be swift with the steps mentioned above.
- Upon hearing the bell ring, both Garradors will charge toward it, destroying it in the process.
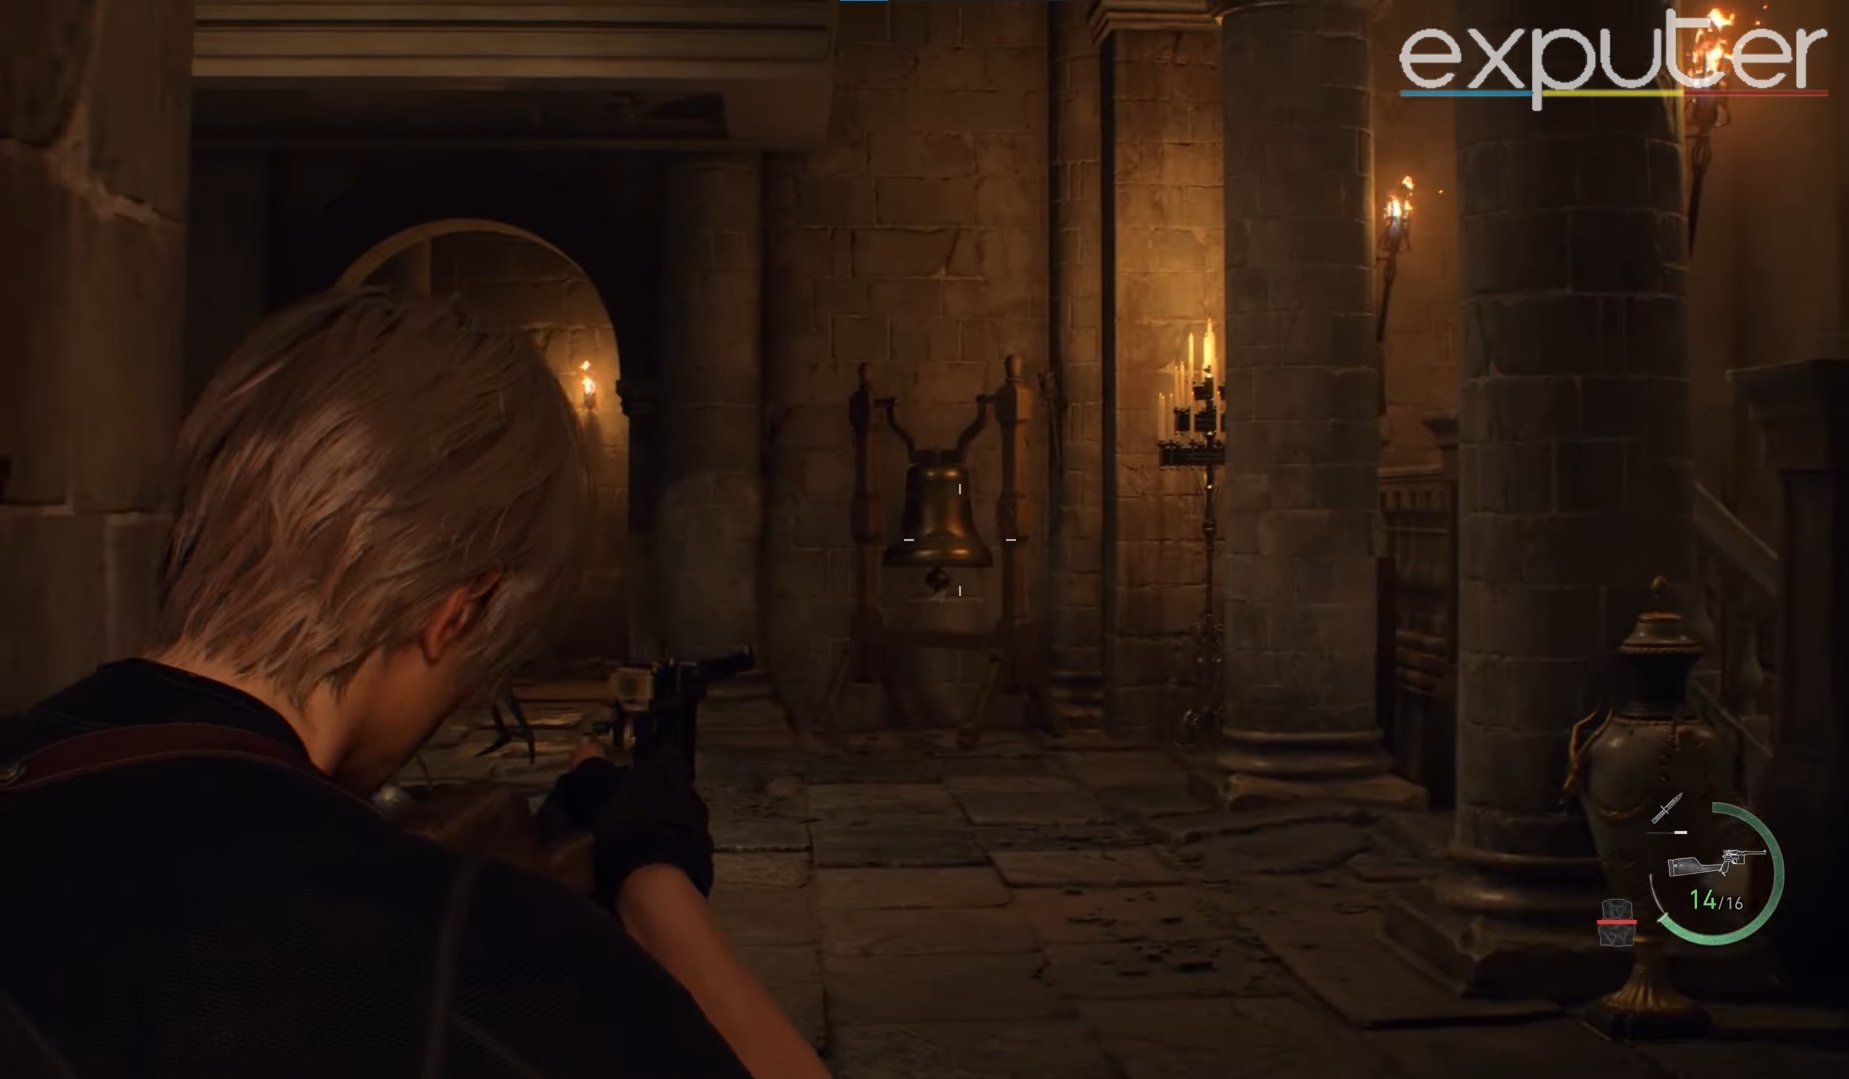
- This will put them in a position where you can easily snipe their backs.
- Shoot the parasites in their back, and after the parasites are vulnerable, throw your flash grenade.
- This will kill both of the Garradors in less than a minute, leaving you with only zealots that you can take out with your normal weaponry.
- Even if you mess up a bit, this strategy will ensure at least one of the two Garradors will die.

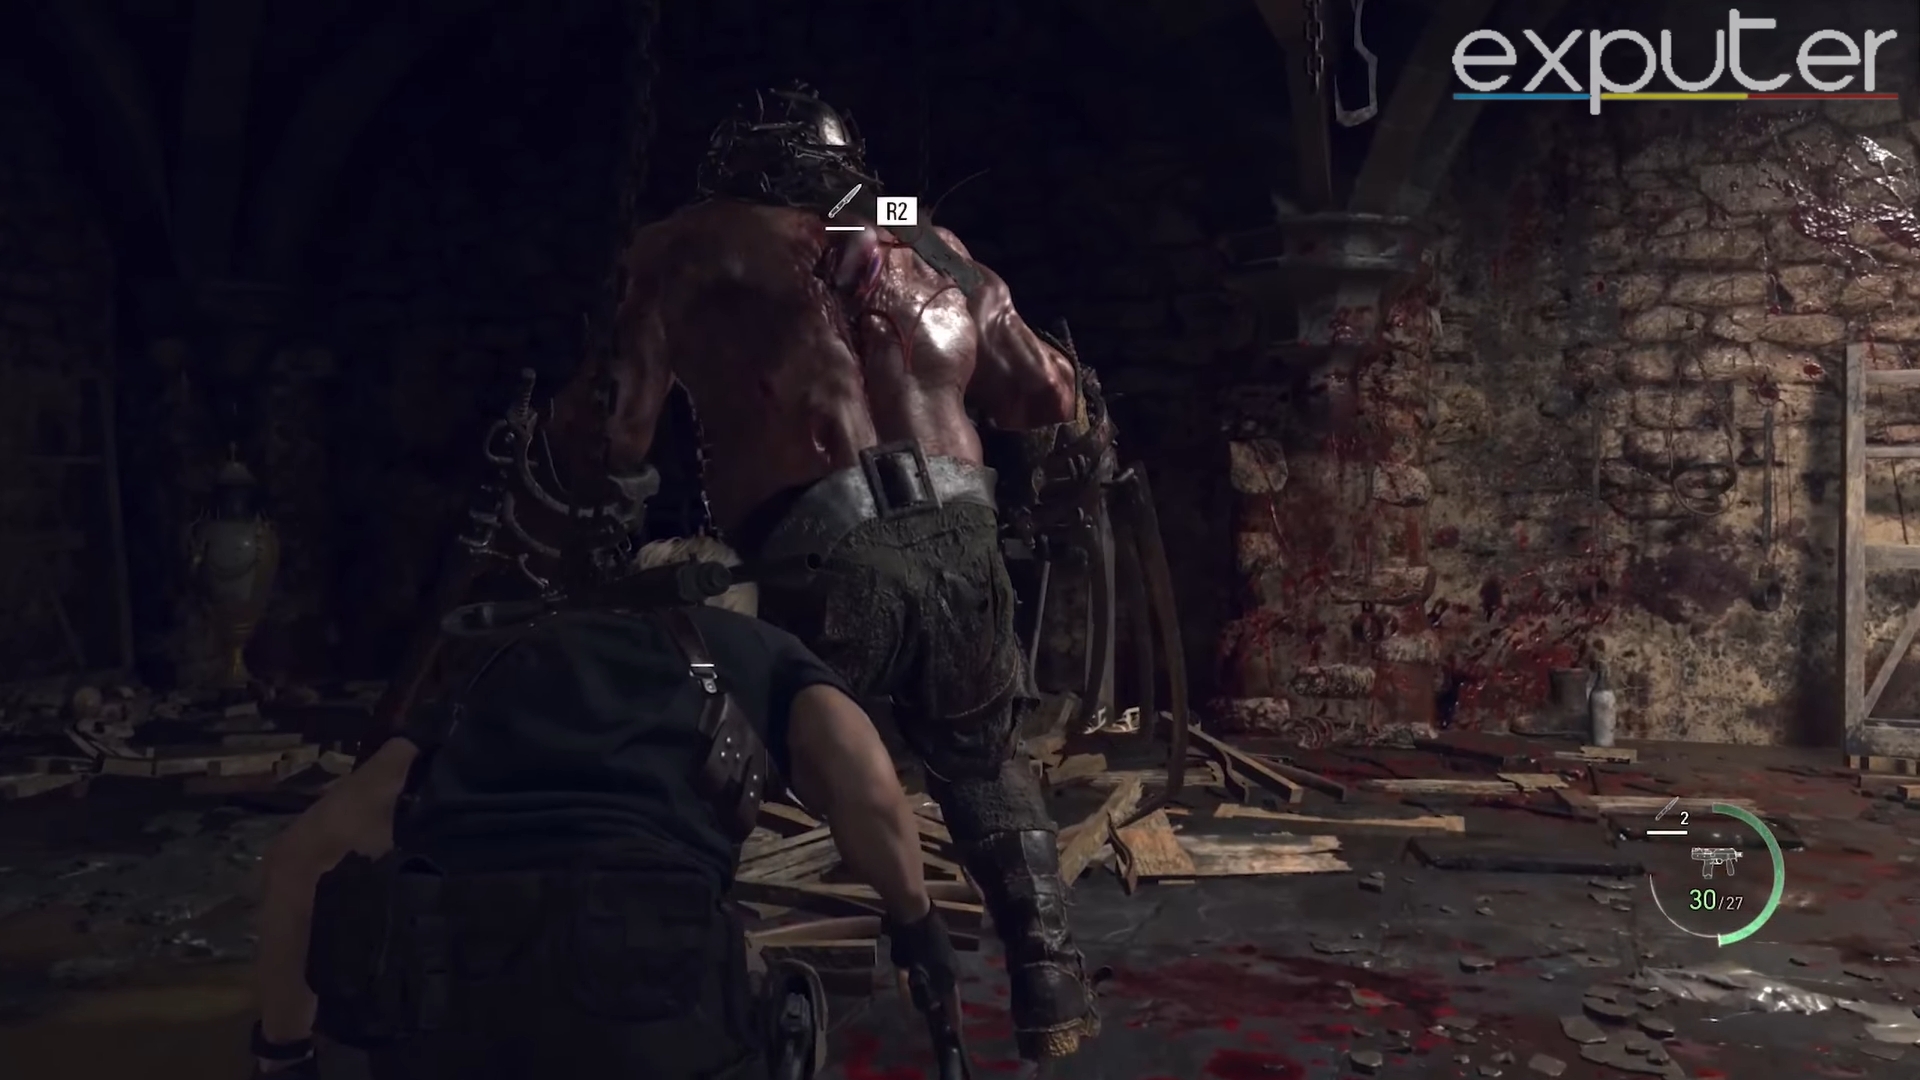
One Garrador Down (Image Captured by eXputer) - However, failing to do this will prolong this fight into a long game of hide and seek, where you have to kill the Zealots while being cautious of the Garradors, which can make this encounter extremely tough.
Boss Fight Reward
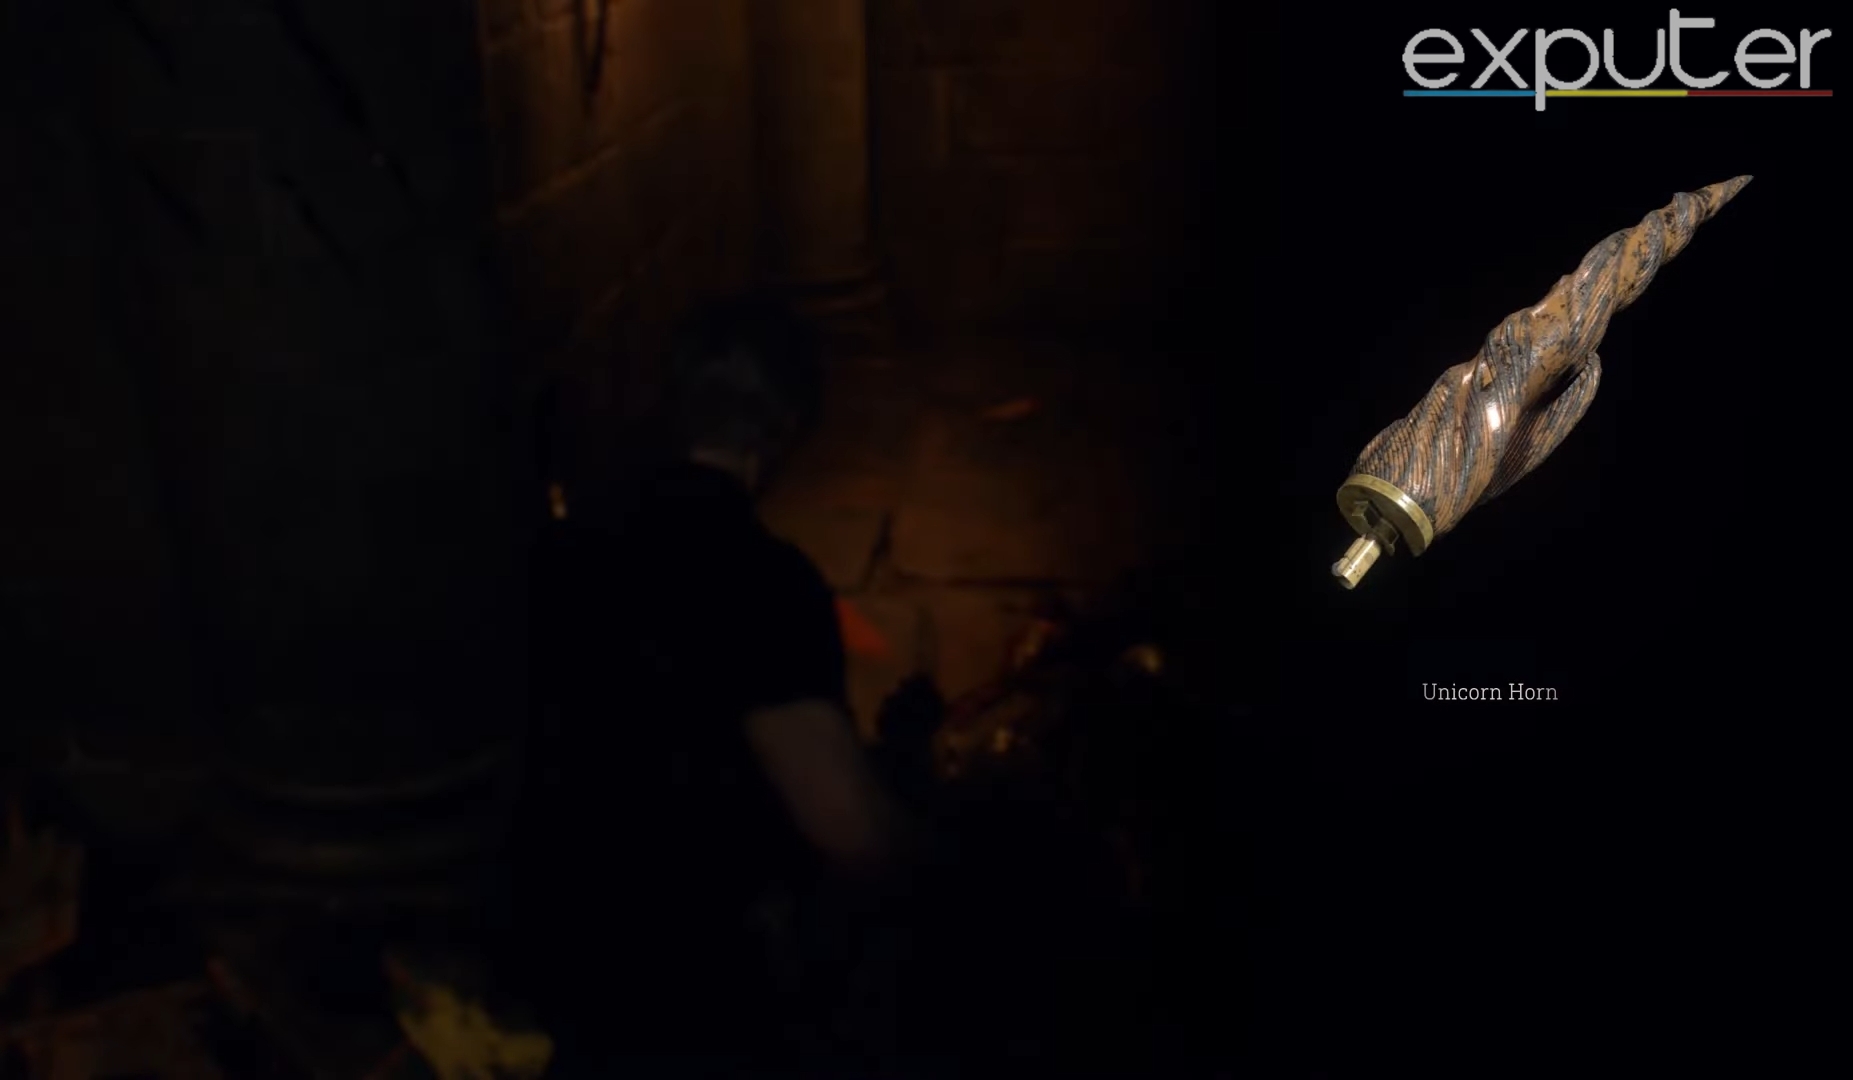
Upon taking down both of the Garrdors, you will get the Unicorn Horns, which are required to unlock the gate, blocking your route.
Conclusion
Resident Evil 4 Remake is filled with tough encounters as the Garrador boss fights, and in case you are having trouble with any of them, you can read our guide on how to defeat all bosses in Resident Evil 4 Remake. For separate detailed guides, you can see our Krauser and Mendez False Eye in RE4 Remake.
If you don’t have a Sniper Rifle in your inventory, try the other best weapons in RE4 Remake, which also deal substantial damage. Some are Red9, Broken Butterfly, Riot Shotgun, and CQBR Assault Rifle.
This concludes our guide on Garrador and Double Garrador Boss fights in RE4 Remake. Let us know your queries in the comments below.
Next:
- Resident Evil 4 Remake How To Parry
- Resident Evil 4 Remake Vs Original Comparison
- RE4 Remake Bolt Thrower
Thanks! Do share your feedback with us. ⚡
How can we make this post better? Your help would be appreciated. ✍