Remnant 2 is a game that is full of secrets and challenging dungeons. Remnant 2 Dormant N’Erudian Facility is no different from the other dungeons players encounter. Dormant N’Erudian facility is a dungeon-type biome that is full of secret items and quests.
- Remnant 2 Dormant And Erudian Facility, a dungeon-type biome, features secret items, a quest, and a miniboss fight.
- Secret items like Memory Core II and Toxic Release Valve are found in a locked room near the checkpoint crystal.
- To unlock the room, players need the Biome-Control Glyph, which is placed on a console in the facility’s control room.
- The Quarantine Quest activates upon entering the facility, requiring players to kill all parasites within six minutes.
- Exceeding the time limit results in death by poisonous gas and parasites for all players inside the facility.
What Is Dormant N’Erudian Facility In Remnant 2?
Unique Items
The following are some unique items that I found inside the Dormant N’Erudian Facility:
- Biome-Control Glyph
- Defensive Action Loop
- Memory Core II
- Siphoner
- Tome of Knowledge
- Toxic Release Valve
- Failsafe
Available Quests
The Dormant N’Erudian Facility contains only one quest, known as Quarantine Event. In this quest, players must defeat enemies, such as baby parasites and slug parasites, that are present inside the Dormant N’Erudian Facility. If not complete within the given amount of time, a toxic gas will be released, which will end up being the cause of death of players present inside the Facility.
Quarantine Event Walkthrough
Below, I have mentioned instructions regarding how to complete the Quarantine Event successfully based on my gameplay experience:
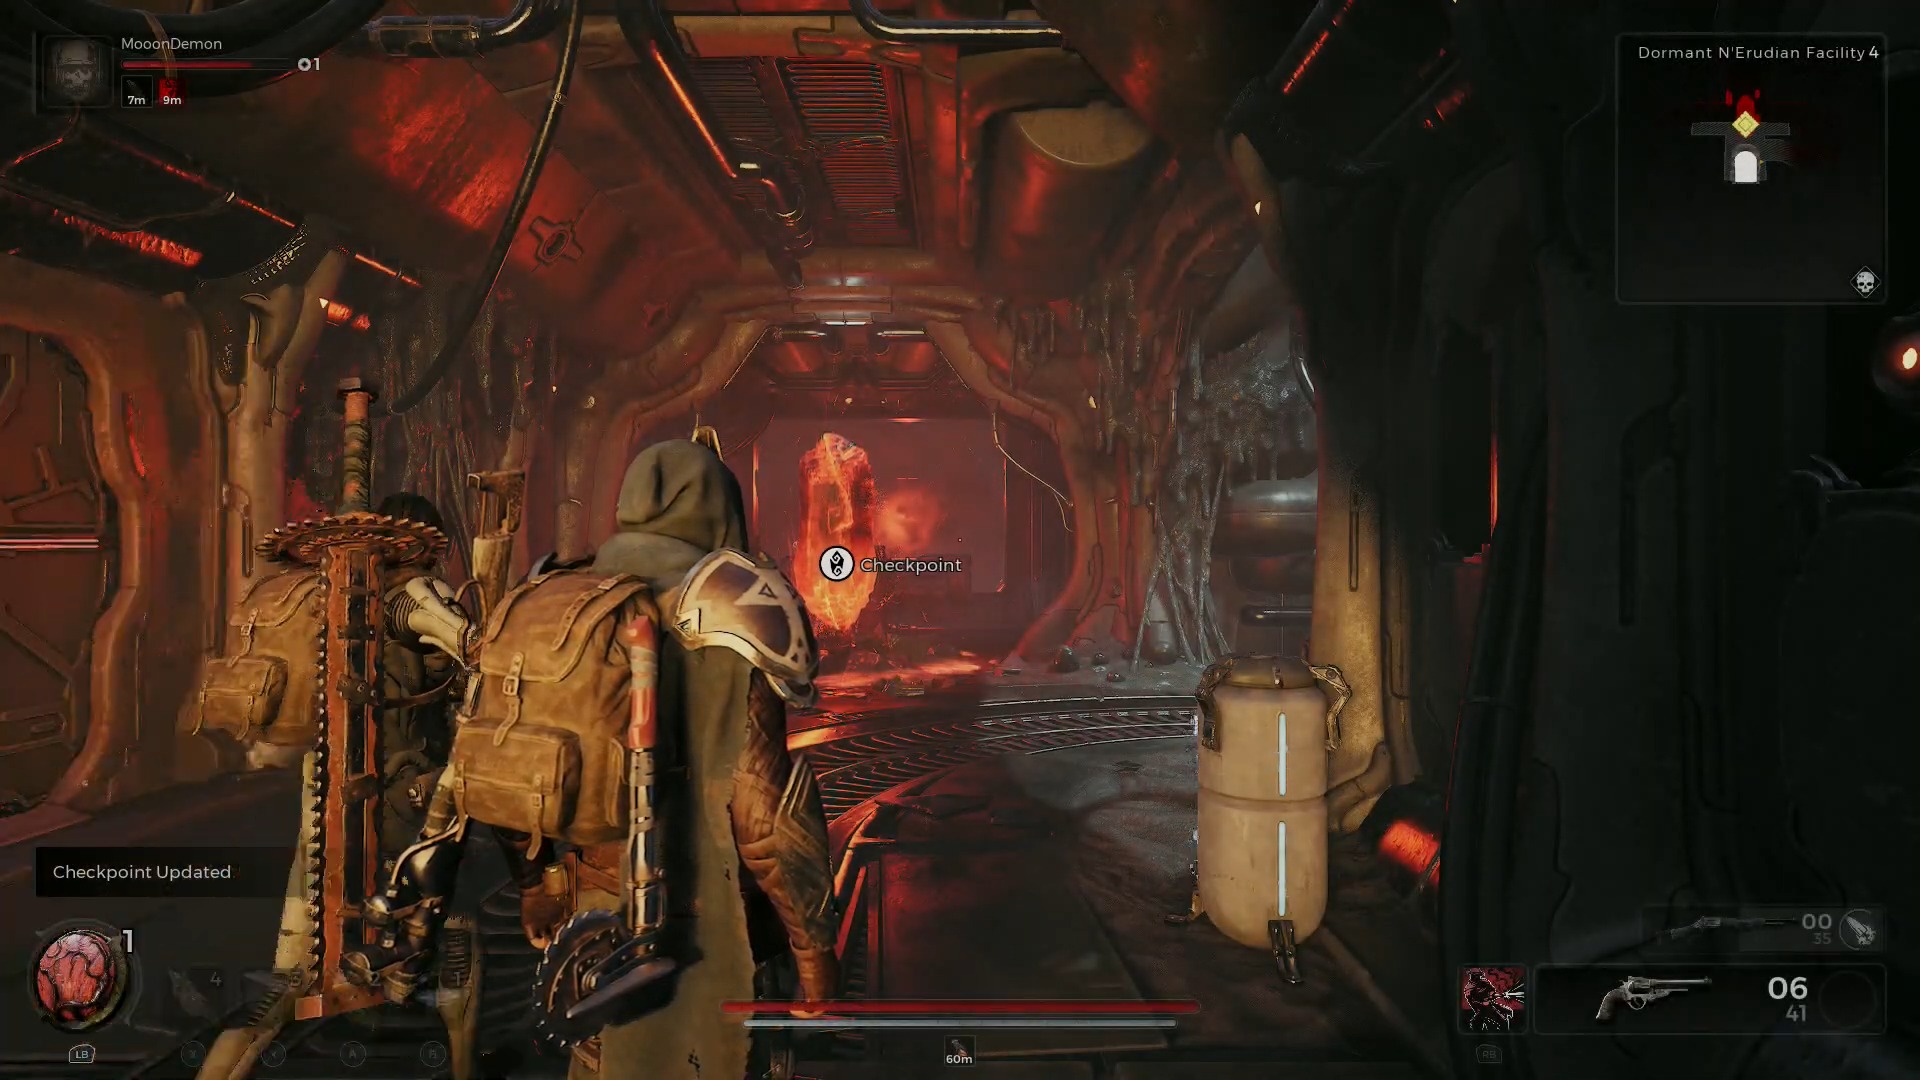
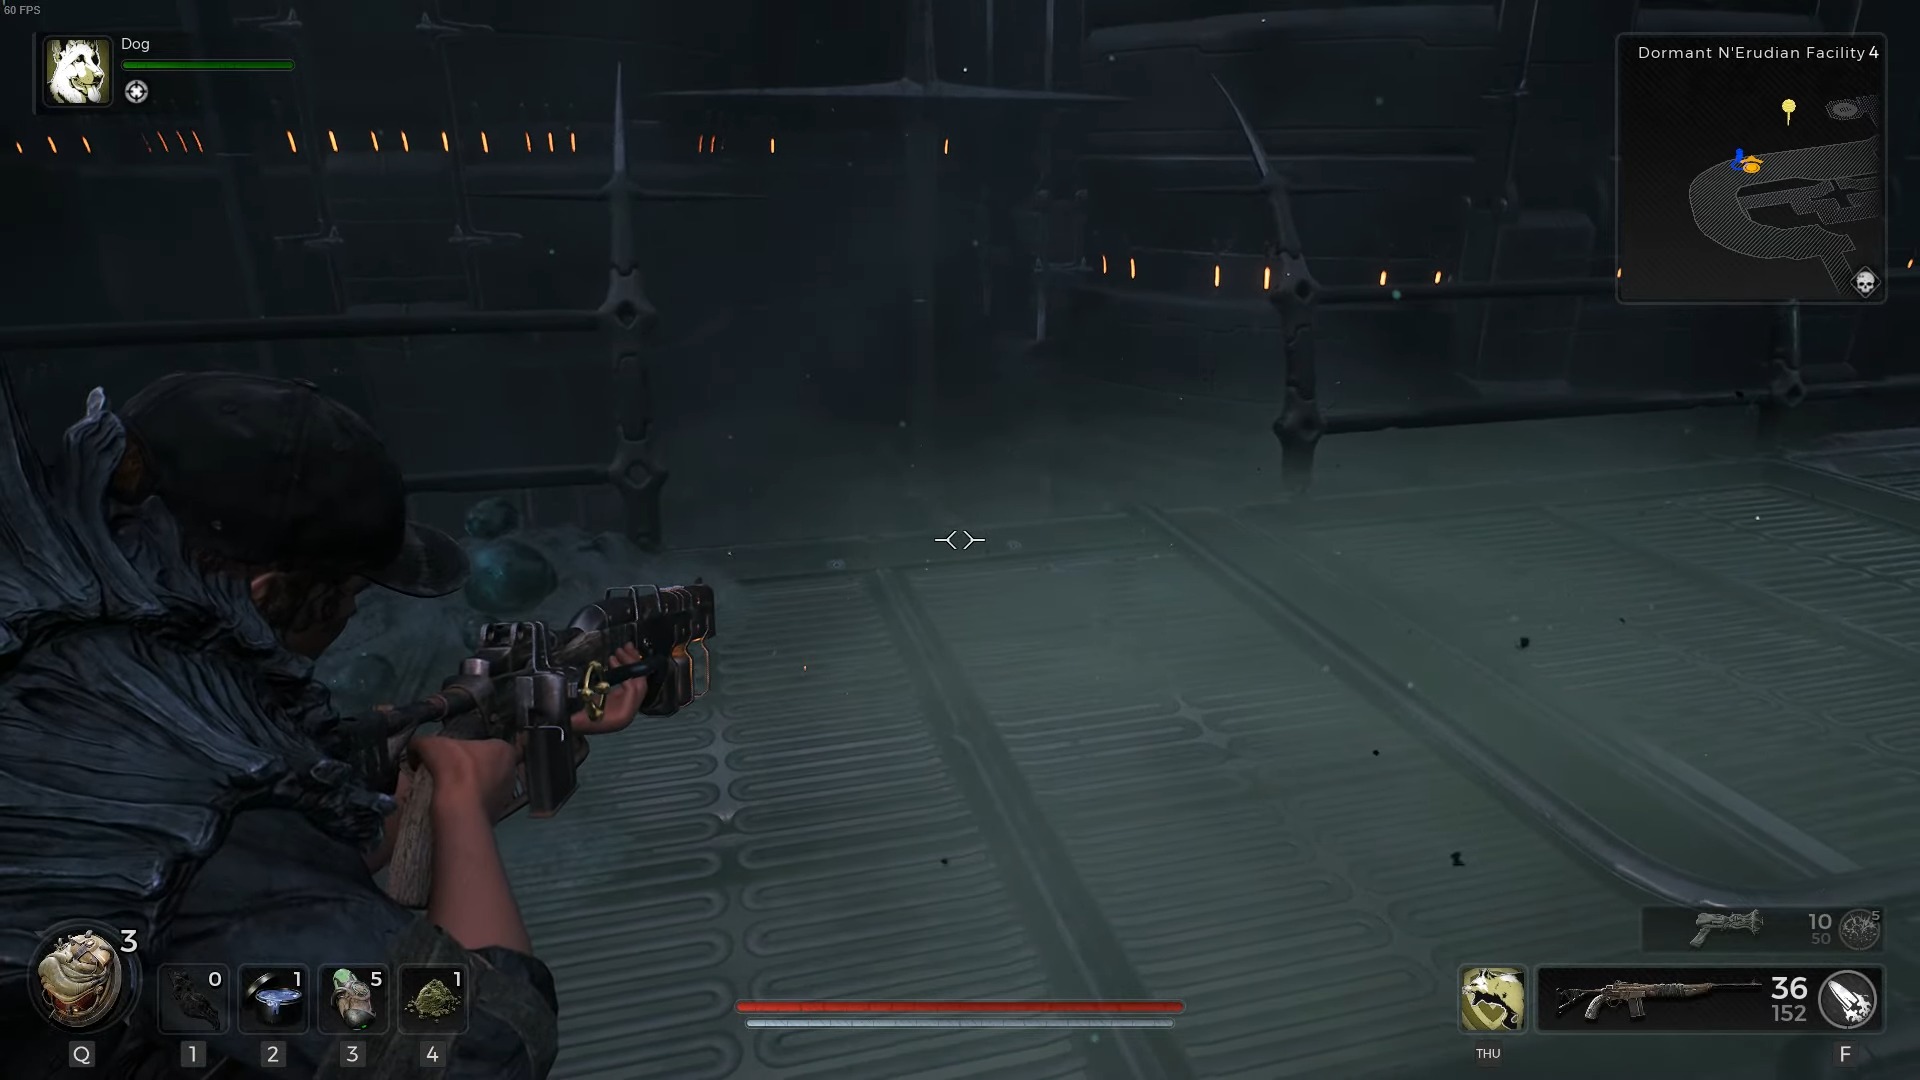
- Explore the Dormnant N’Erudian Facility, and you will encounter a room.
- The doors will close once you enter this room, and a new door will open.

Door Opening [Image Credit: 2Twisted] - After passing through this door, a six-minute timer will start.
- You have to clear the whole dungeon in six minutes; otherwise, you will die from the poisonous gas that will be released by the time the timer ends.
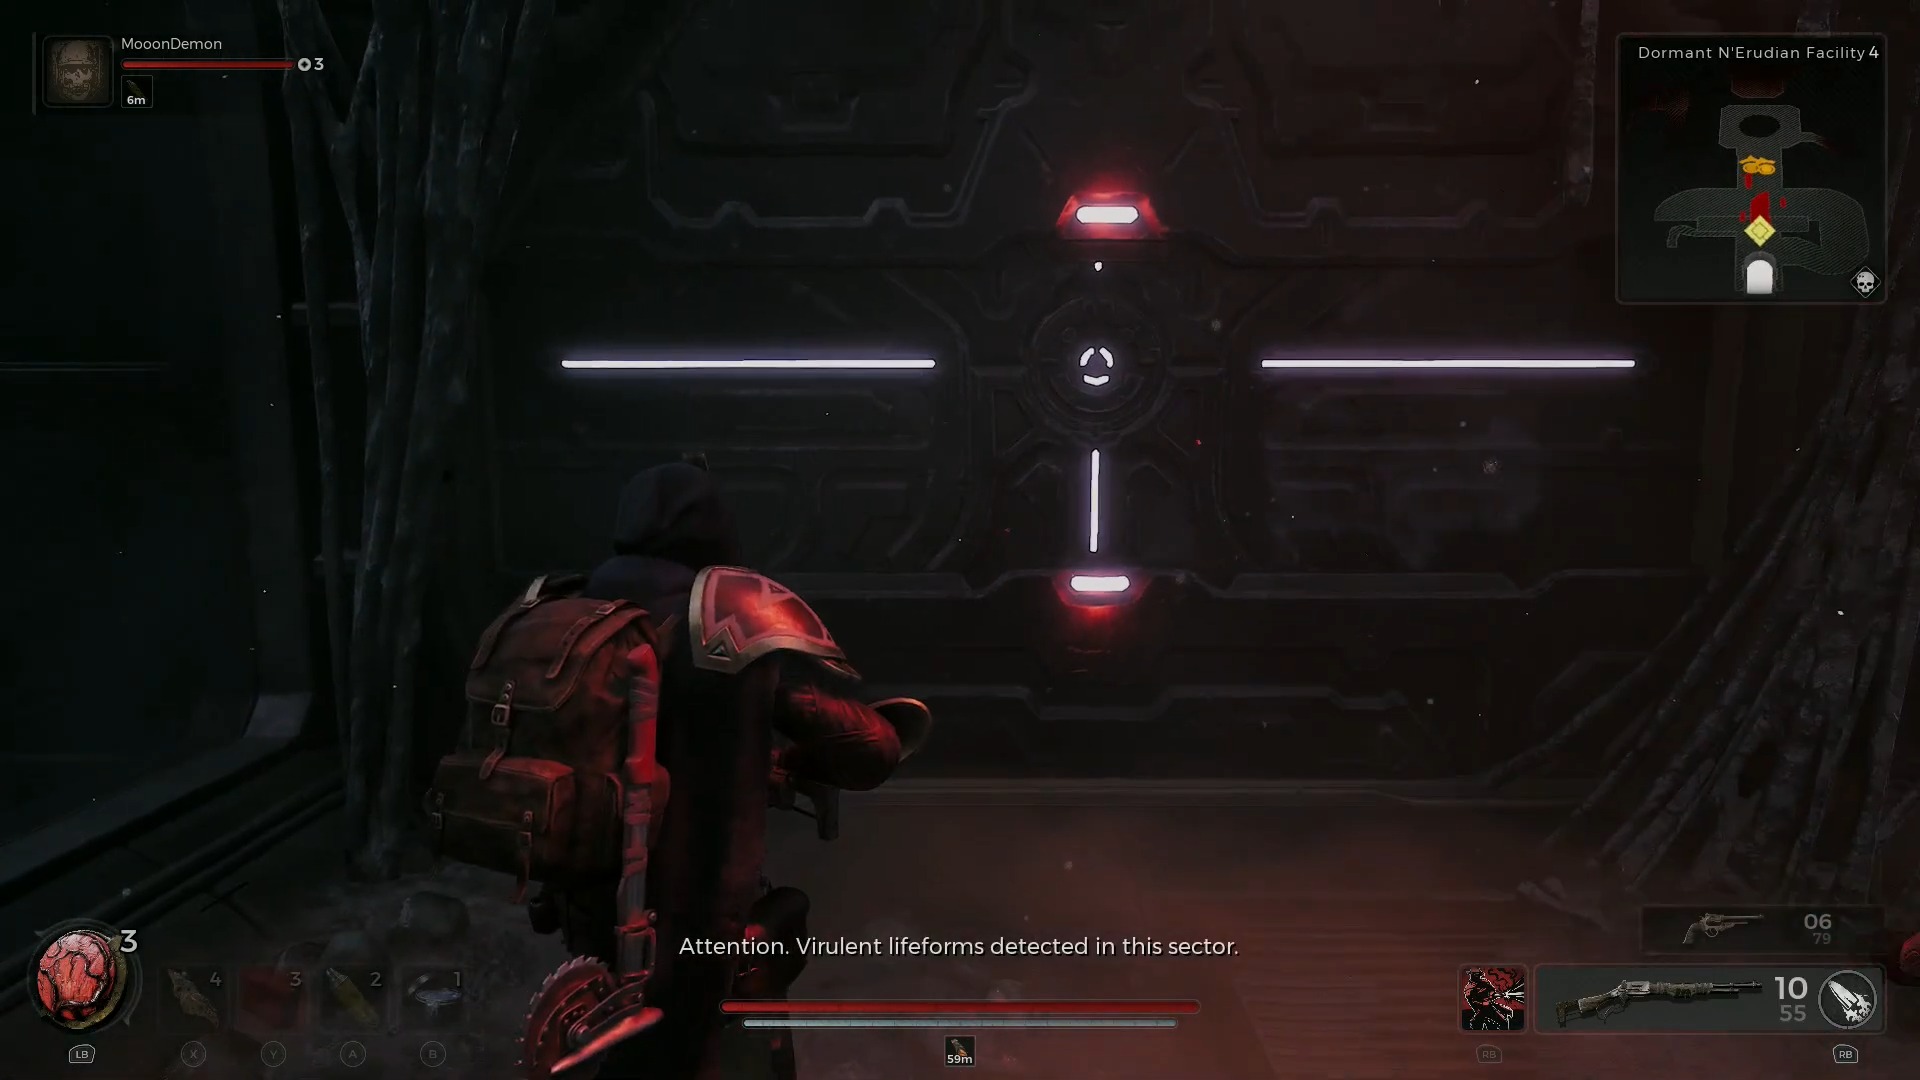
- As you encounter the fenced area, drop down to the lower floor.
Fenced Area [Image Credit: 2Twisted] - On the left, you will see a small passage.
- Keep following this passage and turn on the first right turn.
- Keep moving until you reach an open platform swarming with slugs and parasites.
- This is where you will fight the last remaining parasites and complete the quest, Quarantine Event.
- After completing the quest, Quarantine Event, you will be rewarded with an item known as Siphoner.
Biome-Control Glyph Location
Once you enter the biome of the Dormant N’Erudian Facility, on the left, you will see a locked door. In order to unlock this door, you will have to find the Biome-Control Glyph, which is found in a secret passage inside the Dormant N’Erudian Facility.
- After completing the Quarantine Event quest, get back to the open platform.
- Look for the area where the fence is broken.
Broken Fence [Image Credit: Coffeechipmunk] - drop down from the broken fence, and you will find a door.
- Keep moving through this door, and you will find an elevator room.
- Now get to the above floor using this elevator.
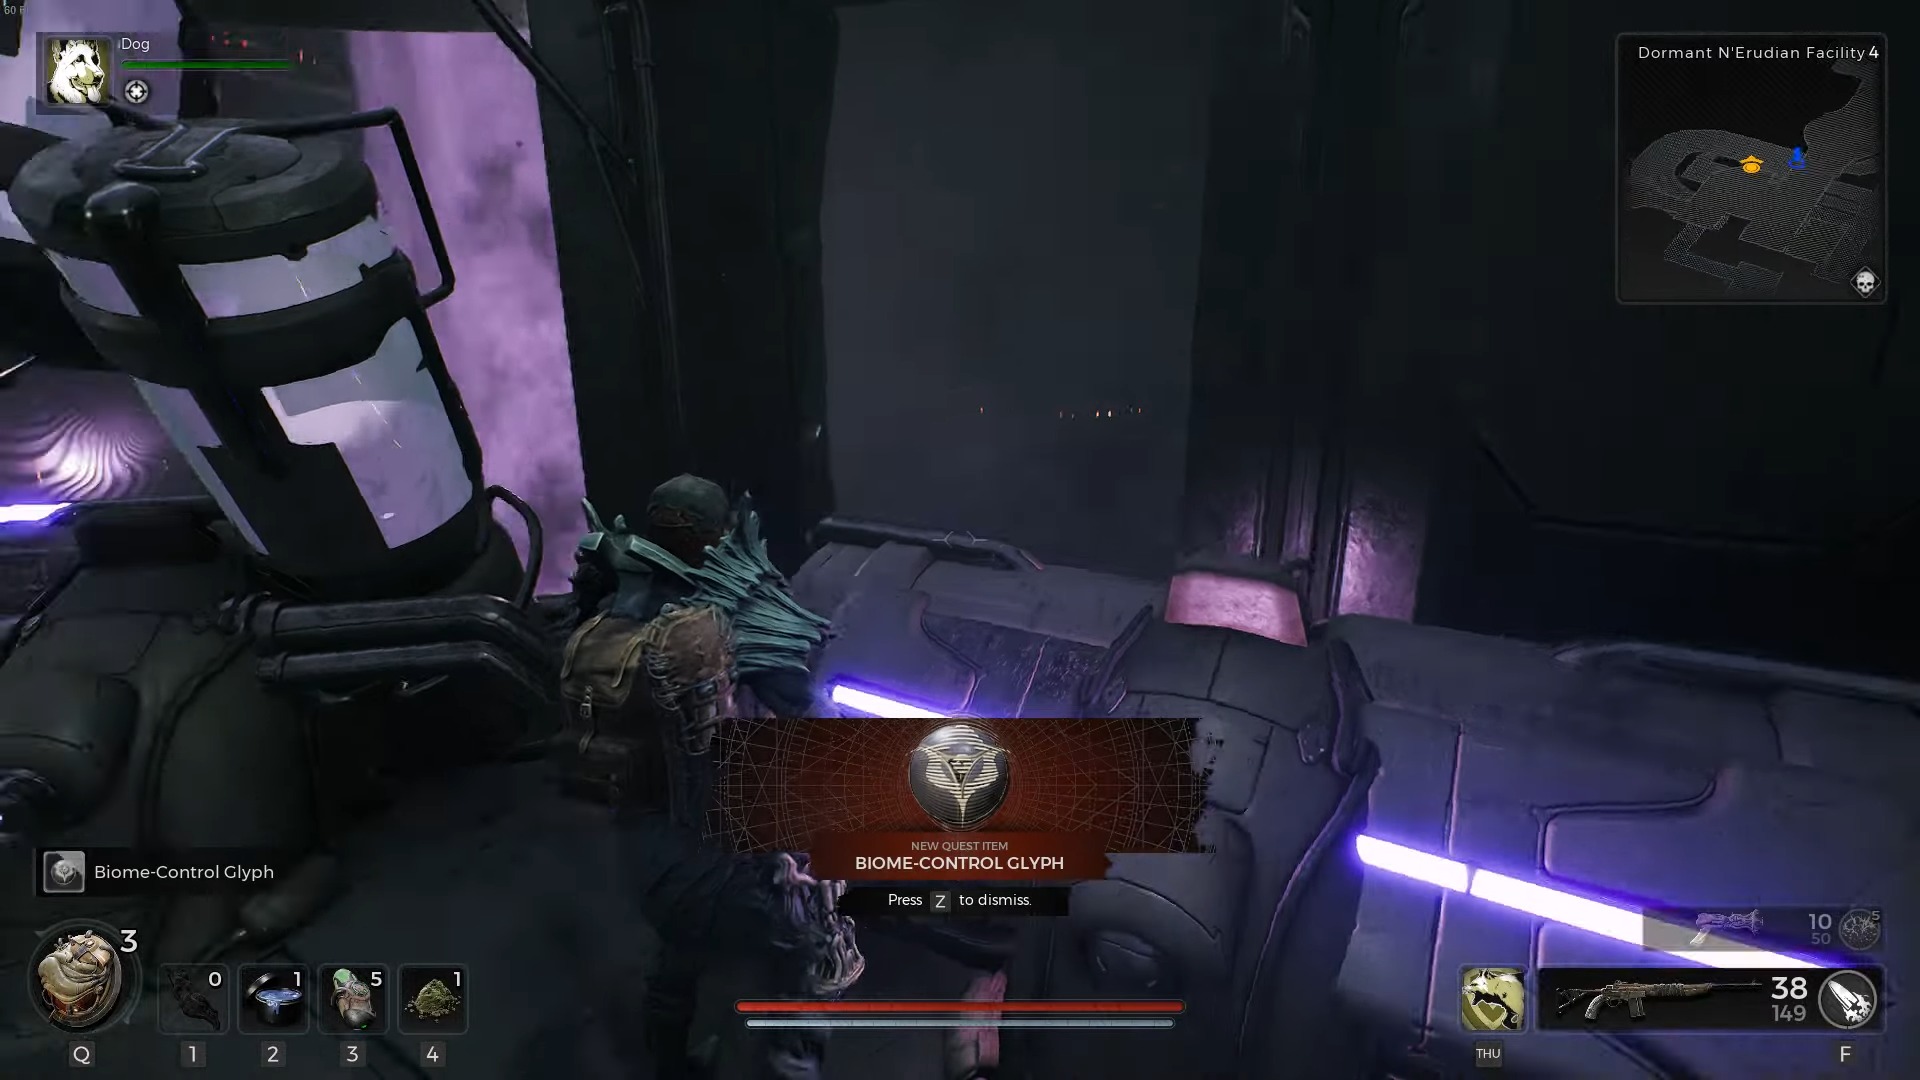
- Look for a control room; inside the control room, you will find the Biome-Control Glyph lying on the console.
Biome Control Glyph Acquired [Image Credit: Coffeechipmunk] - Now, get back to the locked door I mentioned in the beginning, near the crystal checkpoint.
After opening the door, I was able to get the following items:
-
- Toxic Release Valve.
- Memory Core II.
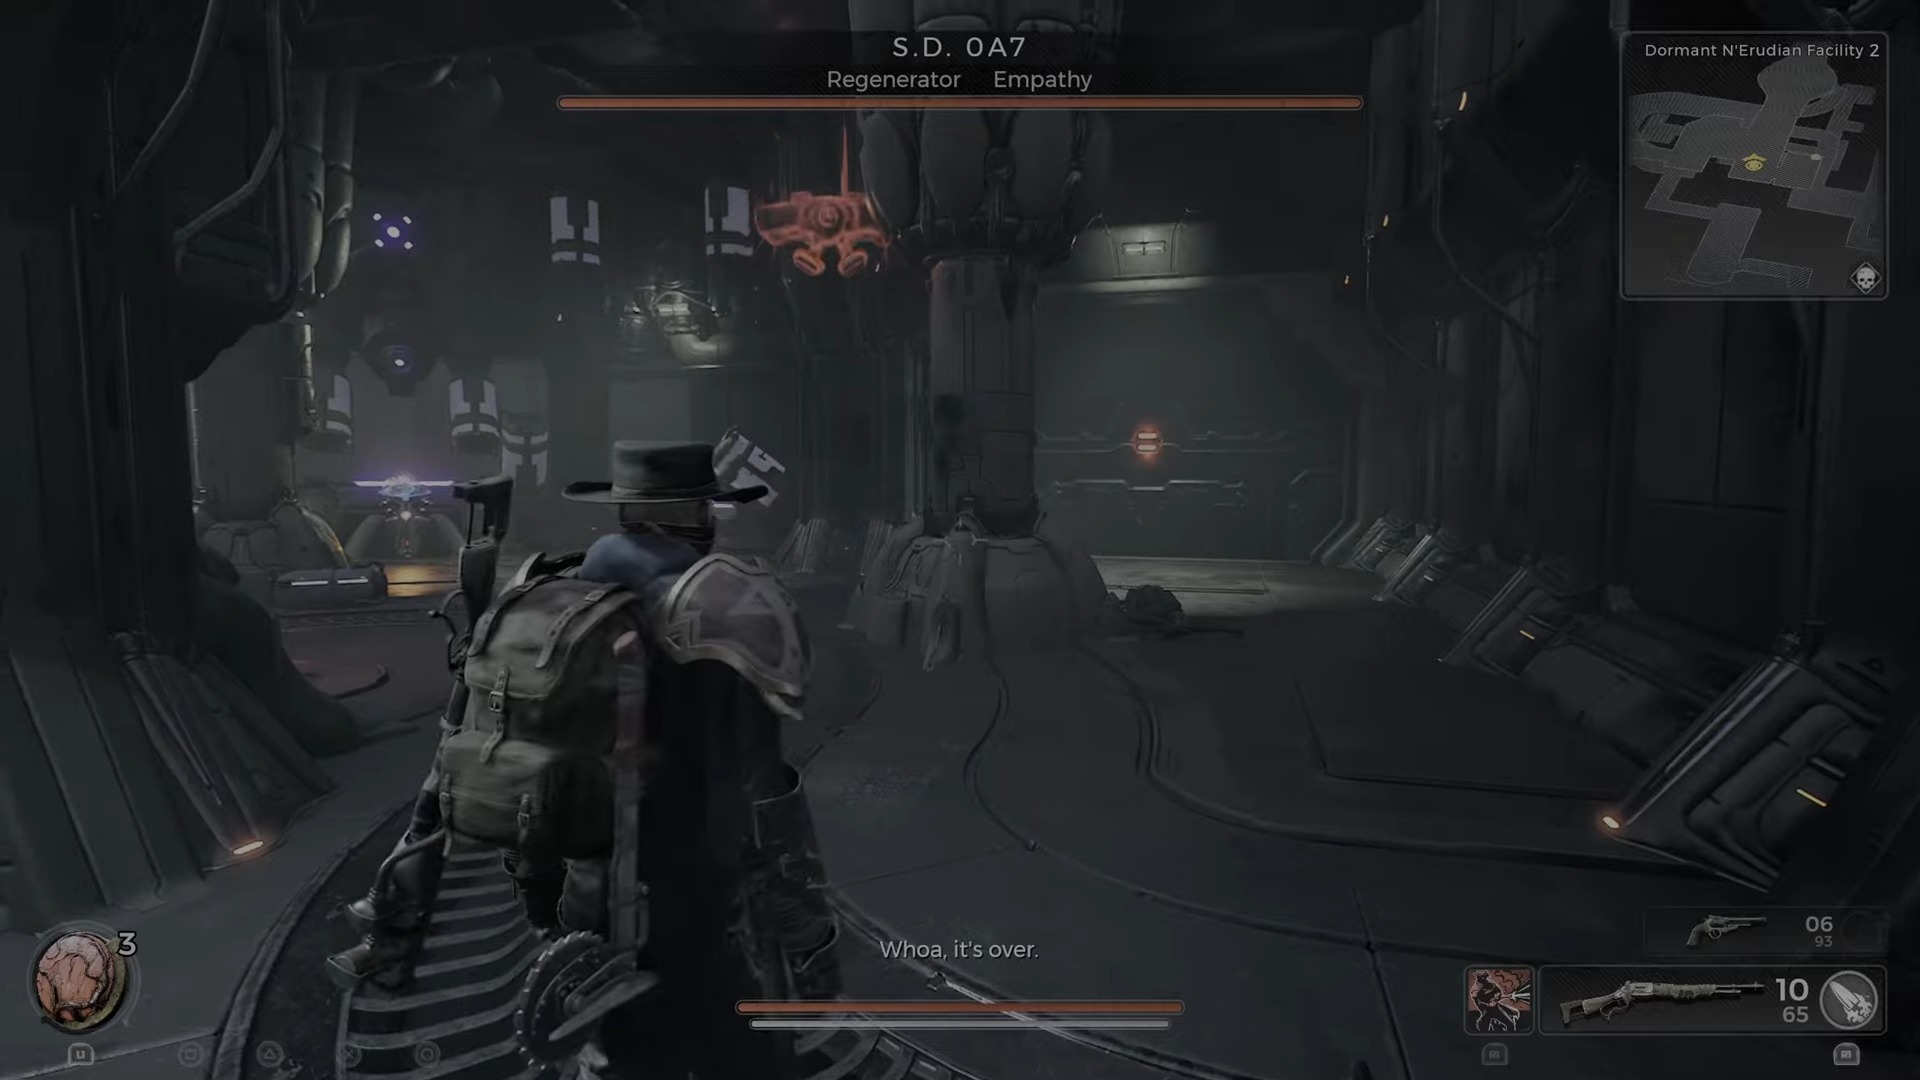
The Miniboss Encounter
Failsafe
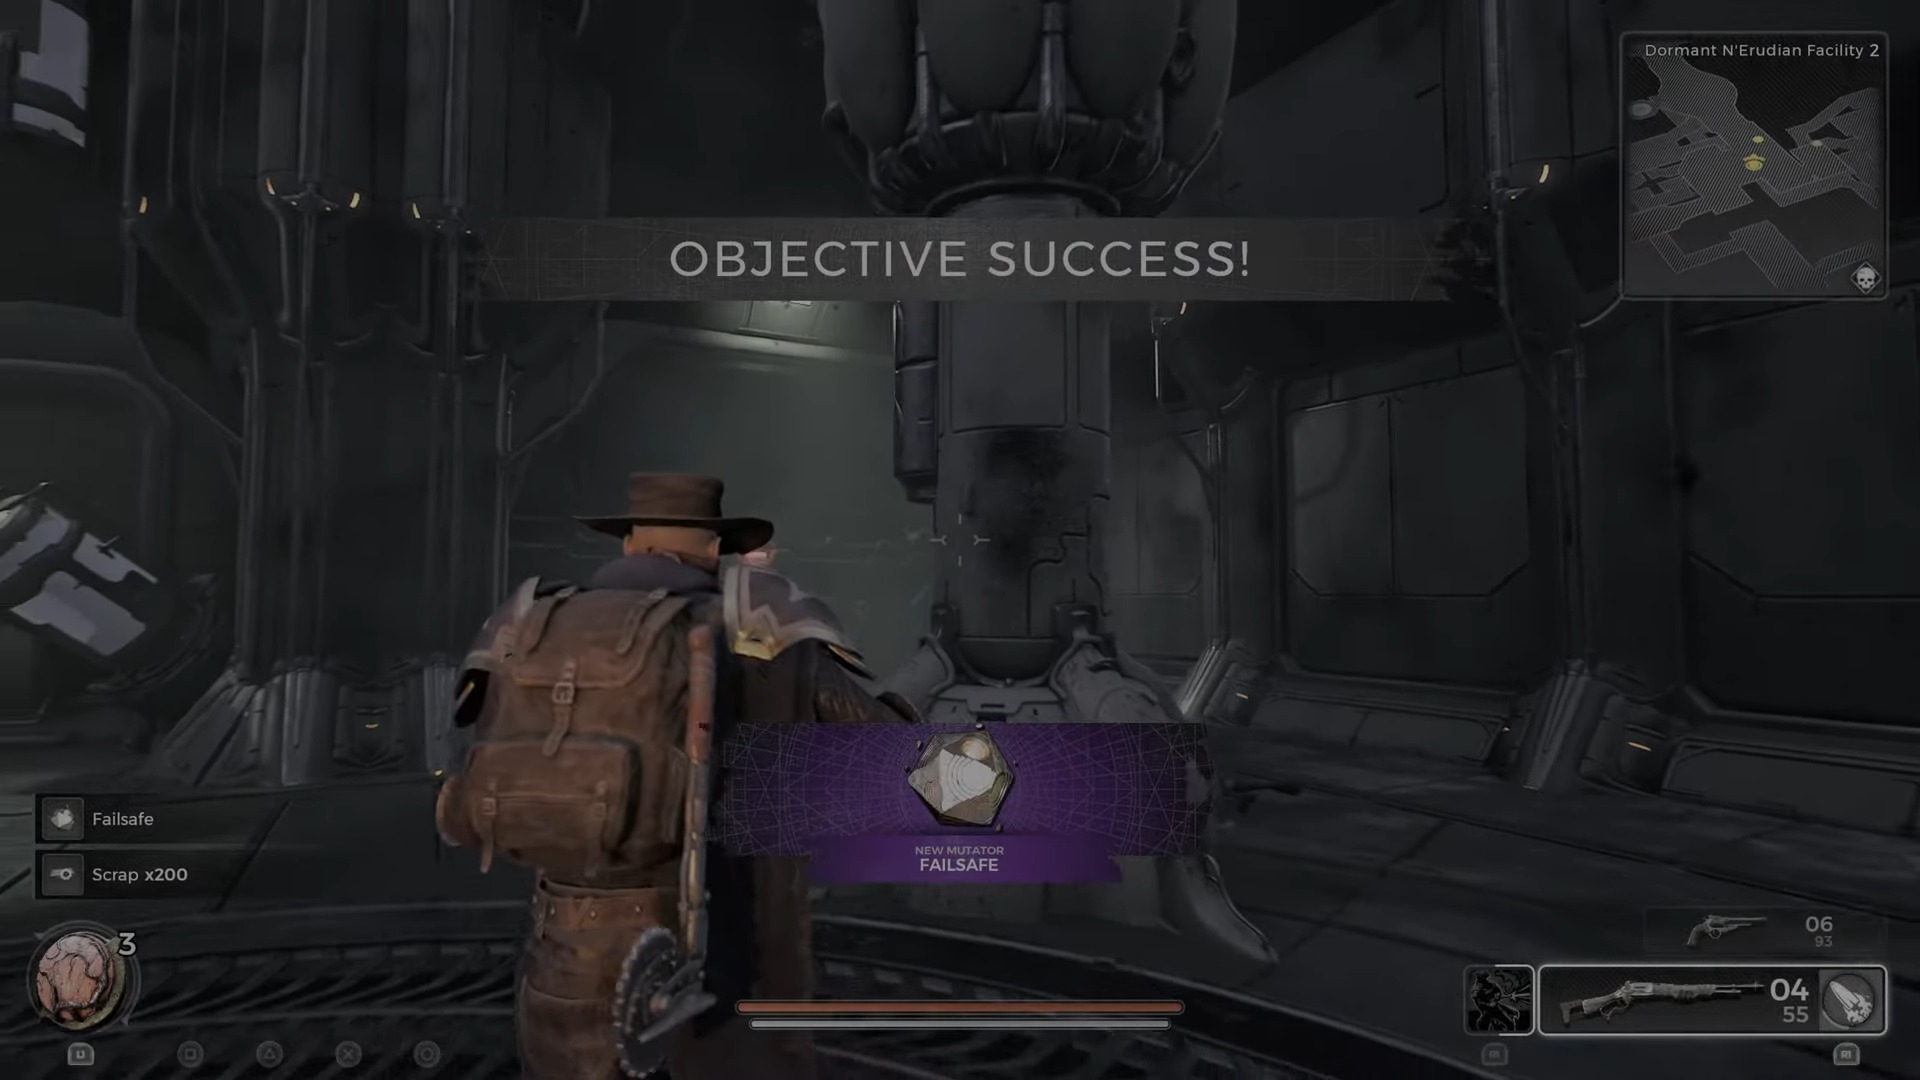
With all of the information provided above, the walkthrough guide on Remnant 2 Dormant And Erudian Facility ends. I have stated the complete walkthrough of this biome, including how to obtain the secret items inside the facility, how to complete the quest, the Quarantine Event, and where to find the miniboss, S.D. 0A7.
While you are at it, make sure to check out other guides on Remnant 2, as many of these guides can prove to be very useful for players who are new to the experience of Remnant and are having a hard time completing Remnant 2. Guides include 15 best traits in Remnant 2, How to solve the Lament Dial Puzzle, How to unlock the Ford Chest Code, and many more.
Next:
- Remnant 2: Shining Essence Echo
- Remnant 2: How To Solve Door Puzzle At Lament
- Remnant 2: Best Starting Class
- Remnant 2: Cathedral of Omens Puzzle
Thanks! Do share your feedback with us. ⚡
How can we make this post better? Your help would be appreciated. ✍