The final Remnant 2 Lament puzzle is perhaps the easiest part of the dungeon since it only involves opening a simple locked door. While the item at the other side of the door is undoubtedly worth the effort, getting the necessary things for completing this section might be challenging, thanks to the randomized loot system.
- The locked door in Remnant 2 is the final puzzle of the Lament and can be accessed by using Kolket’s Key.
- Obtain Kolket’s Razor by defeating the Wither that spawns after opening the coffin beyond the room with the symbol-covered pedestal.
- Inspect Kolket’s Razor in the inventory and interact to turn it into Kolket’s Key.
- Head through the left doorway of the pedestal and navigate the floating rocks puzzle by finding a straight, invisible path through the gaps.
- Upon reaching the final platform, use Kolket’s Key to unlock the door.
- Obtain the Ring of Diversion behind the locked door, a powerful accessory that increases the invulnerability window during evading and sliding, suitable for any archetype in Remnant 2.
How To Get Kolket’s Key?
The first part of opening the door at the end of the Lament is killing an enemy once you complete the dungeon’s Dial puzzle. For this, you’ll need to align the symbols on the dial according to the book and corpses, after which the door in front of the pedestal will open, letting you proceed further.
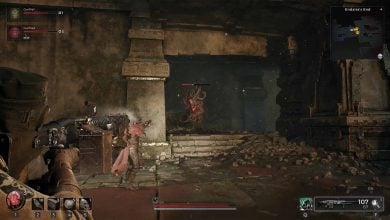
- After completing the Dial puzzle, head down the staircase beyond the door and open the coffin on your left just before the next checkpoint.
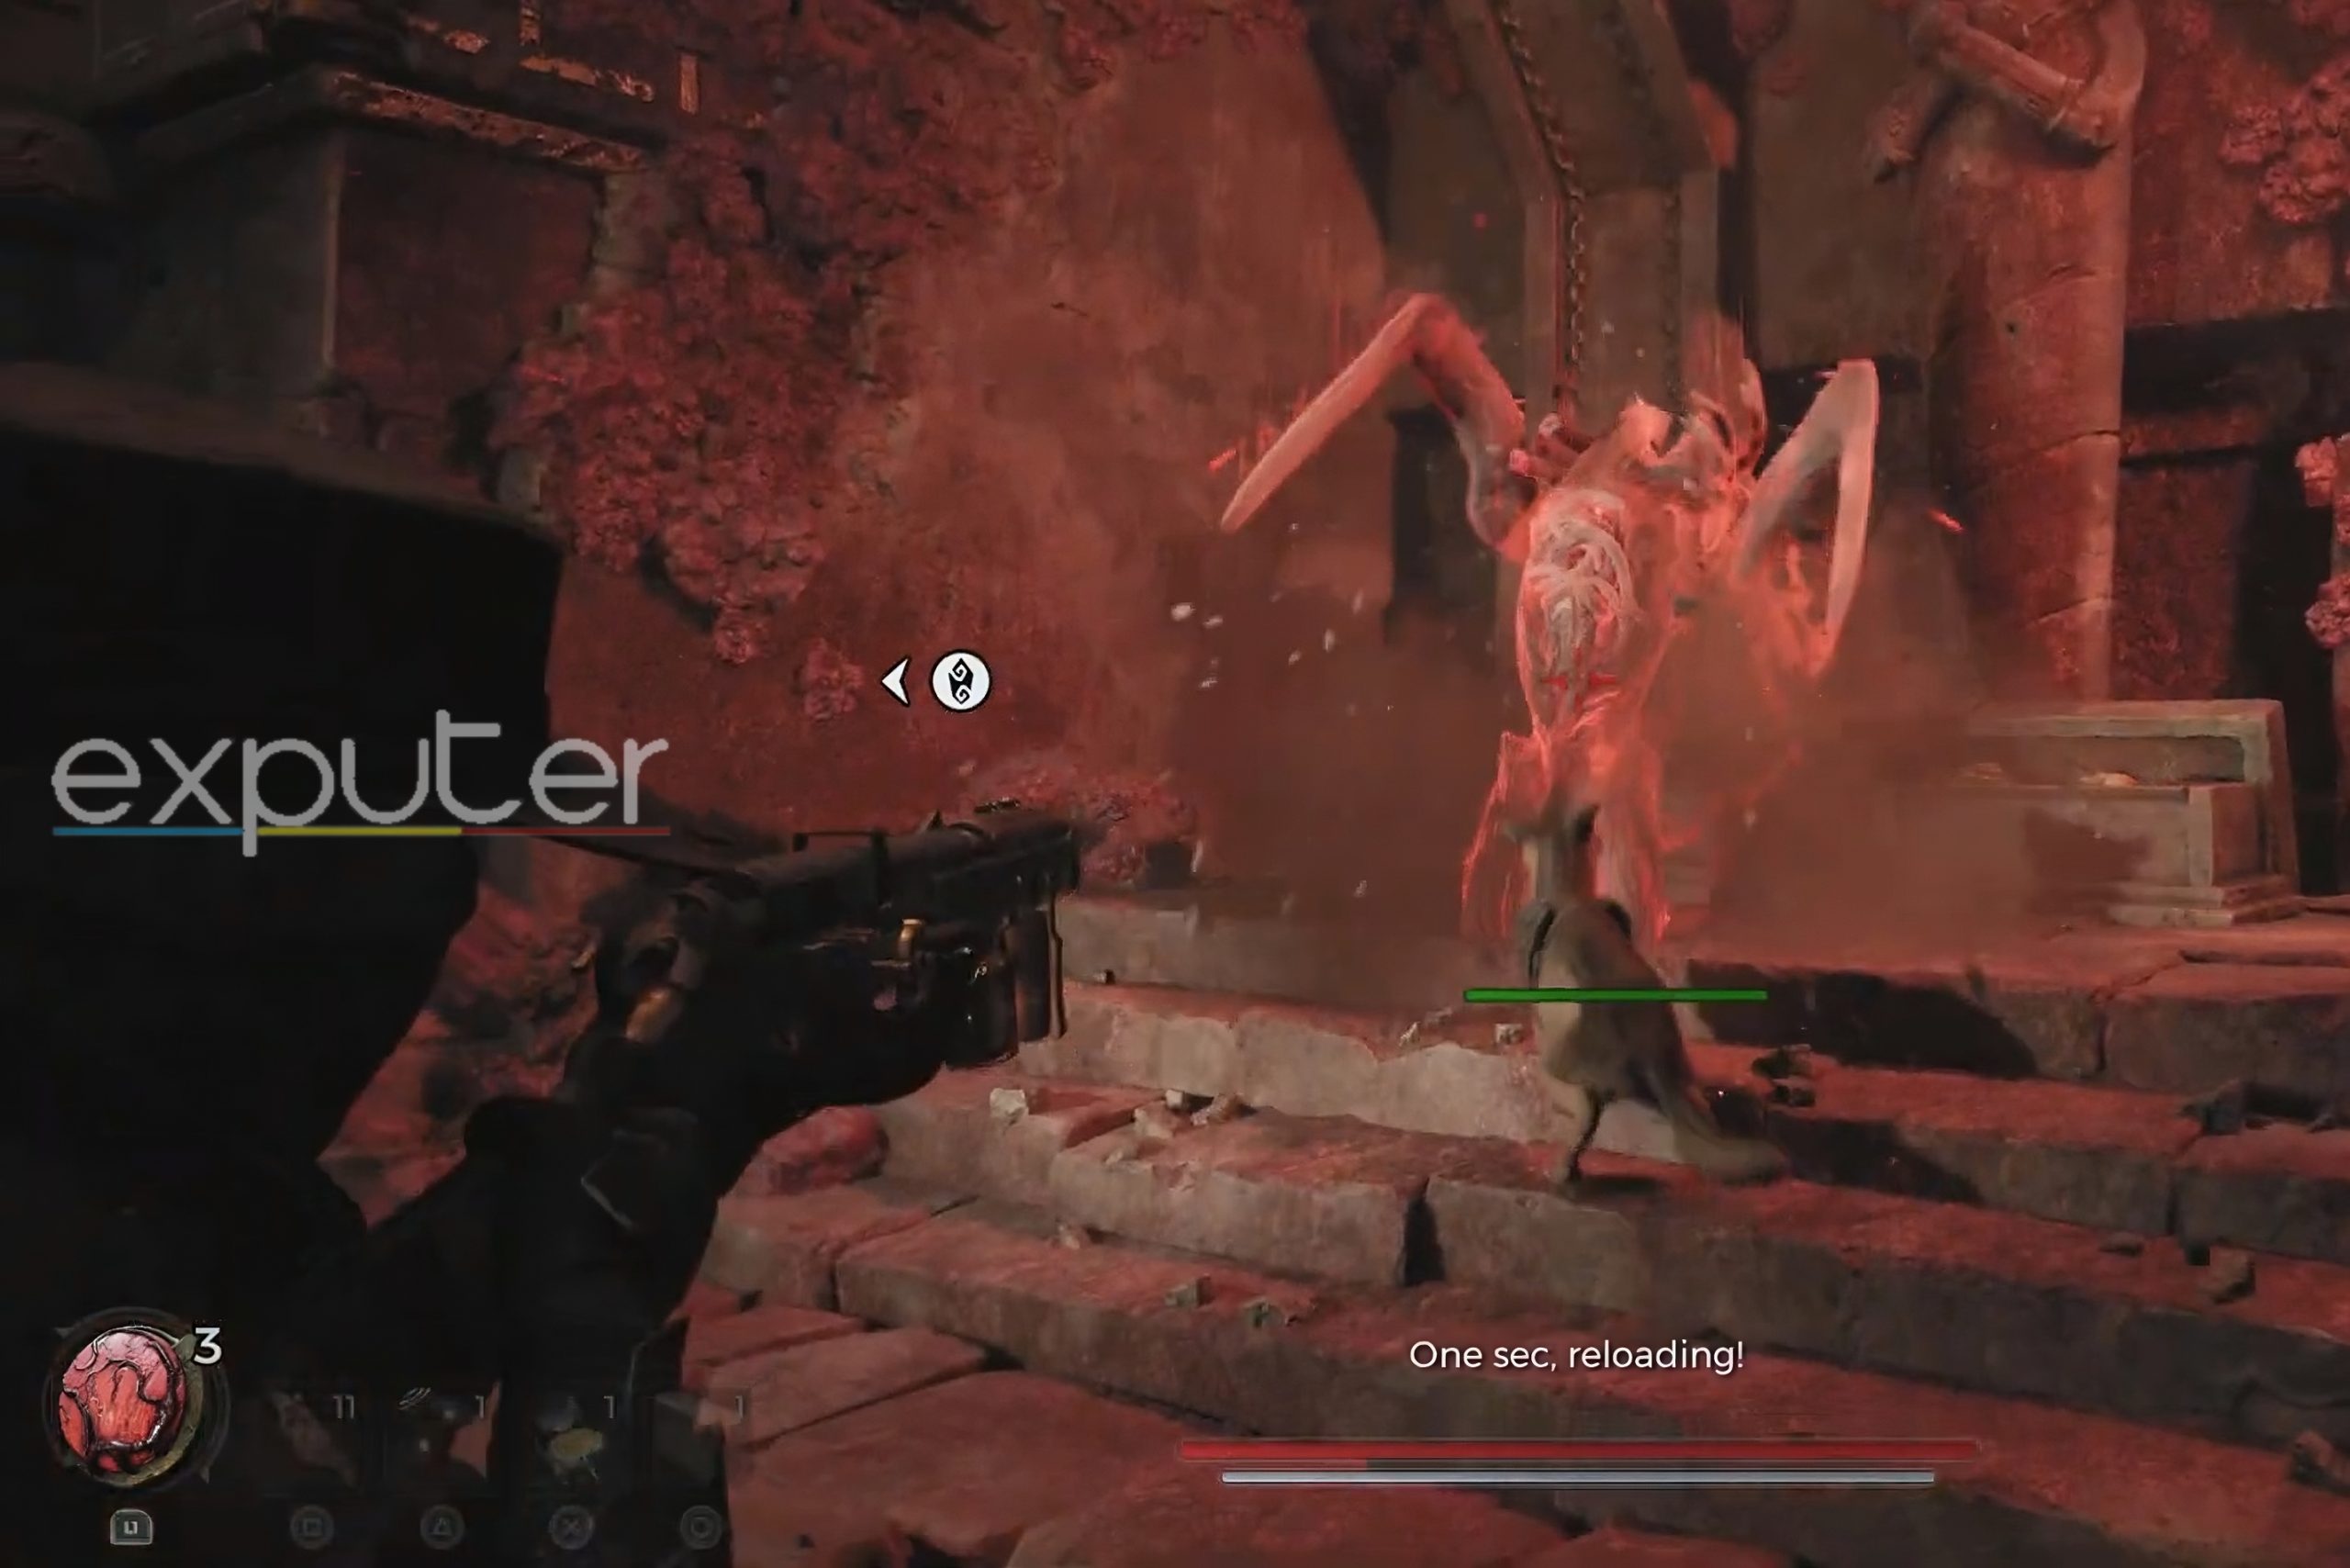
- Upon opening the chest, you’ll face the Wither miniboss, whose main weakness is the red parasite in its chest.
- As the Wither emerges from the coffin, you can prevent it from growing a whole body by dealing enough damage to knock it down.
- After that, I would suggest using a close-range weapon like a shotgun and aiming at the parasite inside the boss to kill it as quickly as possible.
- When the Wither has low HP, it’ll turn into a small flying creature and try to regenerate a new body, so I recommend you to stay aggressive and continuously attack it during that phase.
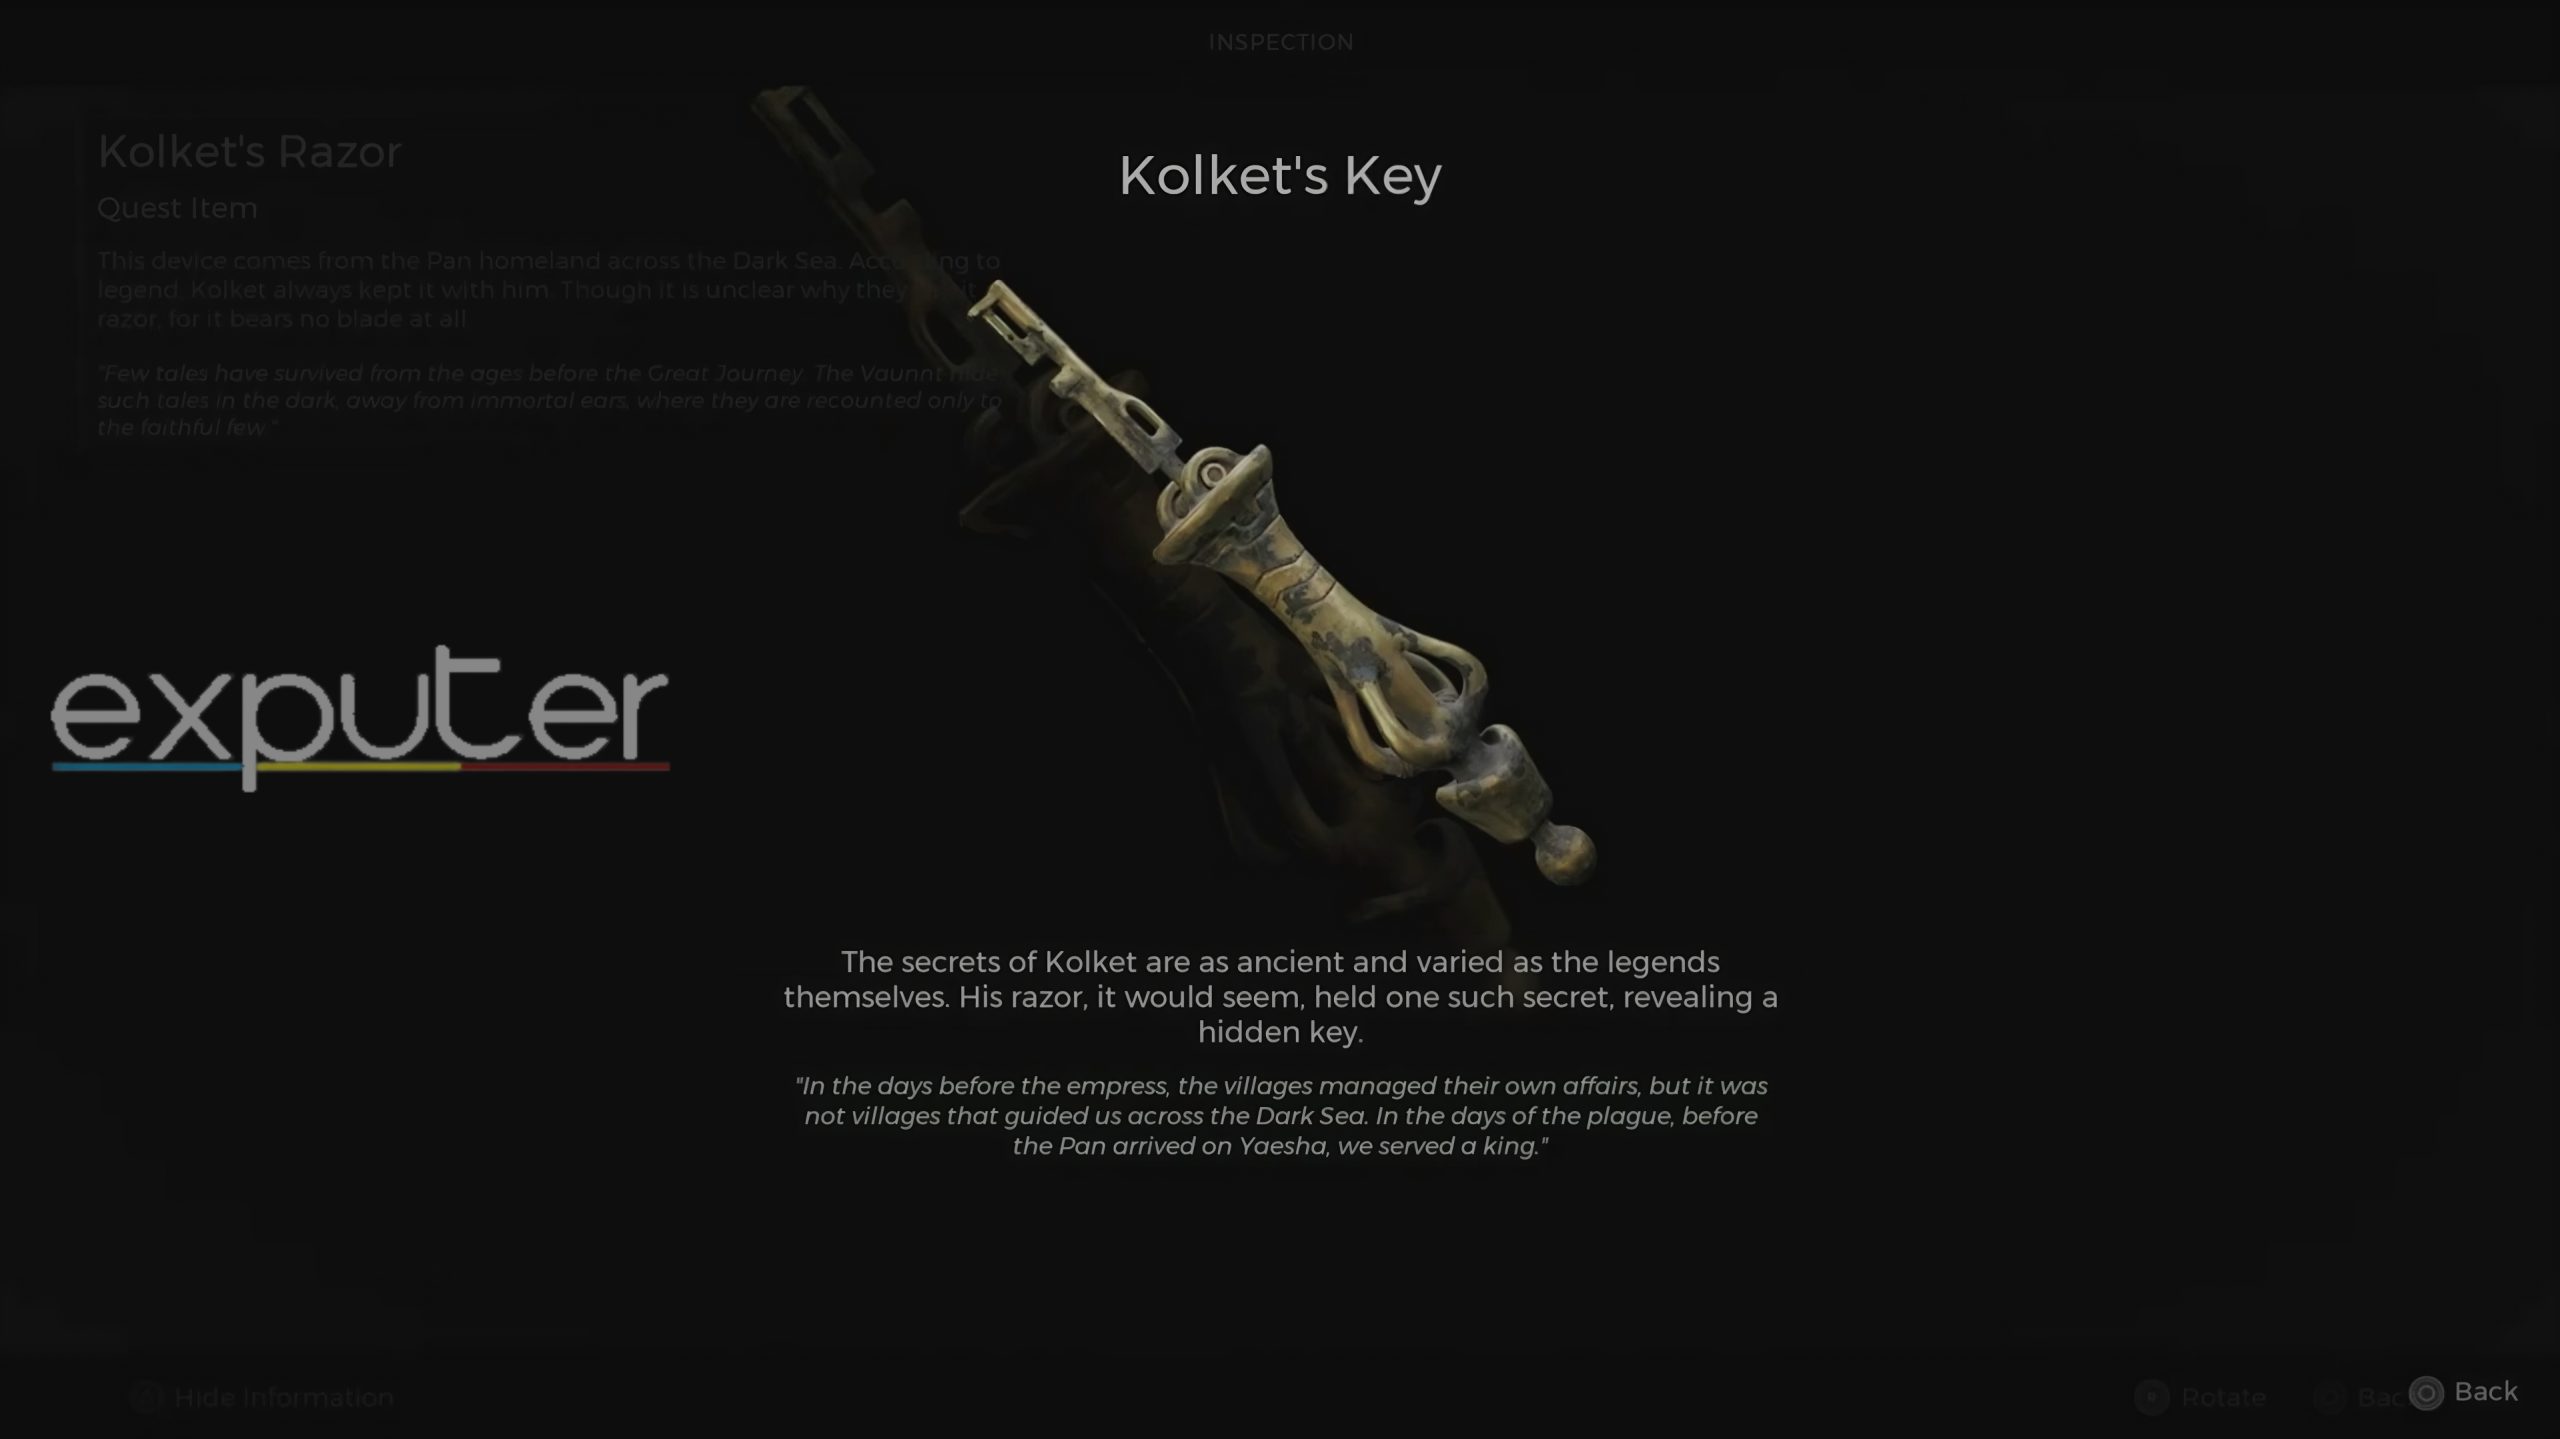
- Finally, once you kill the boss, you’ll receive Kolket’s Razor and the Overdrive Mutator.
- Inspect the Razor in your inventory, and as you rotate the camera towards the item’s upper tip, click the ‘Interact’ button to transform it into Kolket’s Key that’ll let you access the locked door.
How To Reach Lament’s Locked Door?
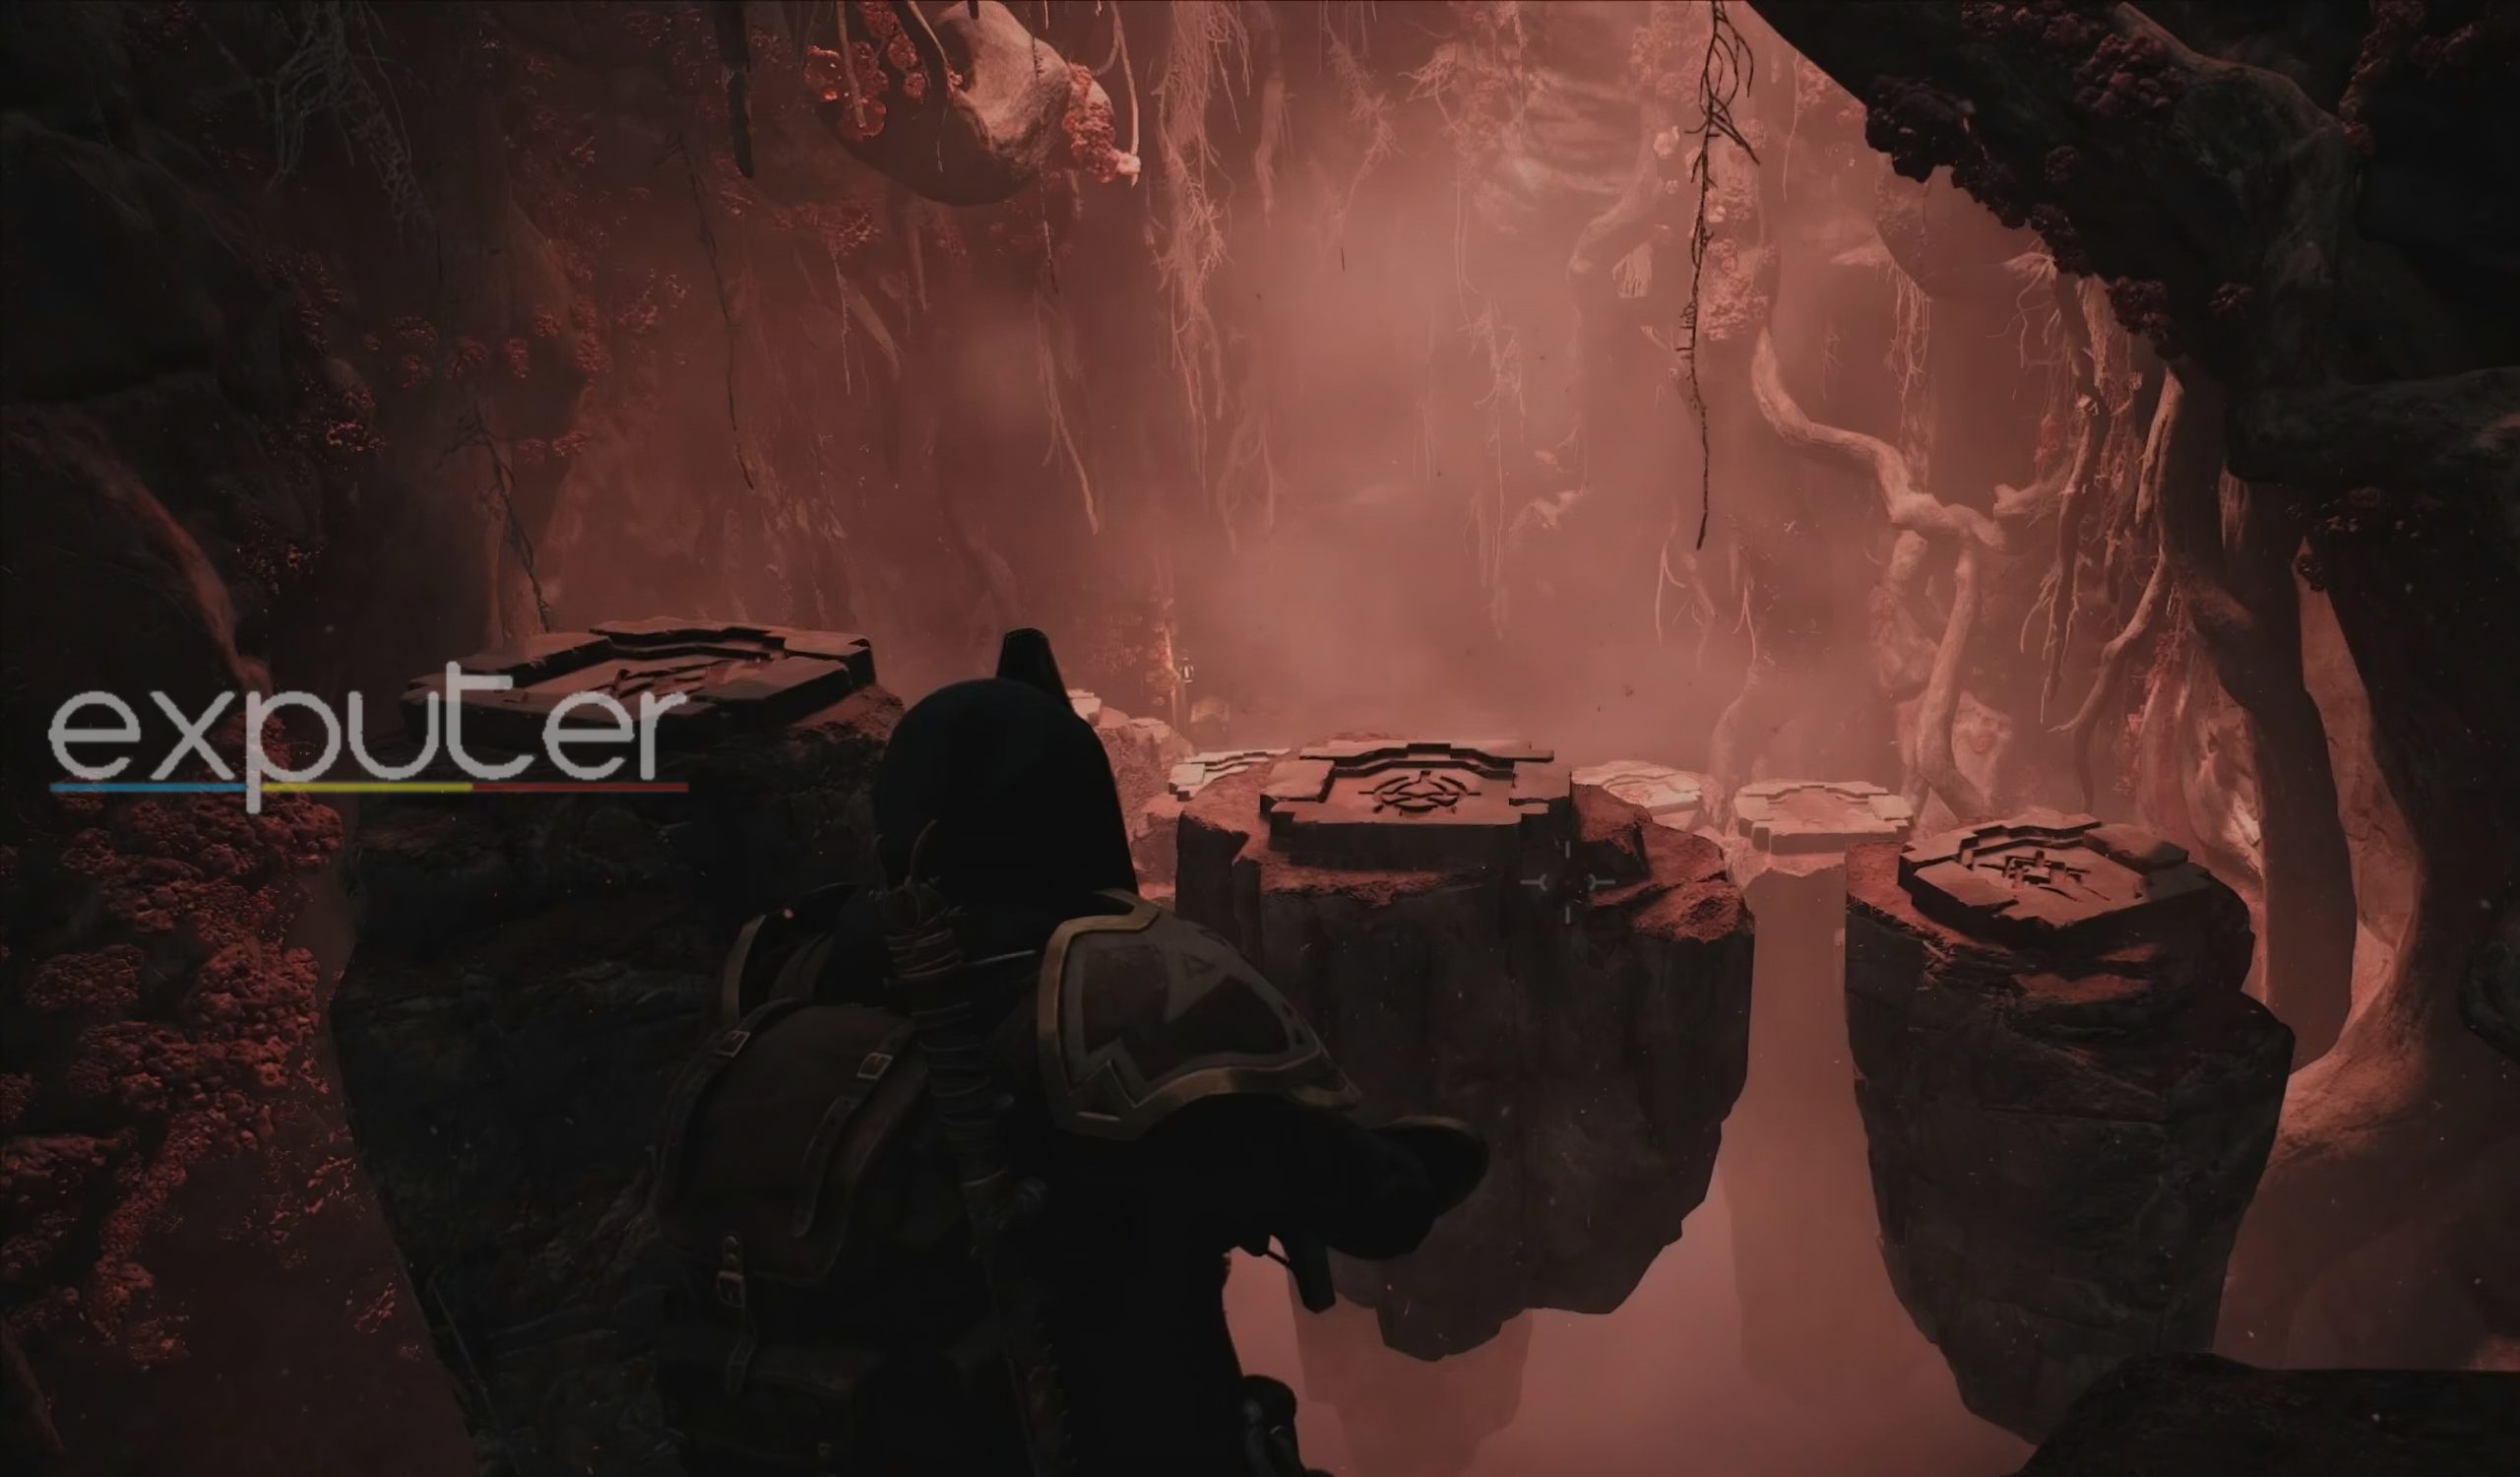
Once you have the Kolket Key, head back to the aforementioned pedestal and go through the doorway on the far-left side of the wall. From here on, it’ll be a narrow and straightforward path that will eventually lead you down the dungeon into a room with several floating rocks.
Here’s the path I would recommend to unlock the Remnant 2 Door in Lament:
- This puzzle section of the Lament in Remnant 2 is divided into several parts, with three starting platforms and an invisible path that’ll take you to one of these platforms.
- Use your gun to find the path by shooting between the straight gaps in front of each rock (I found out that any gun is viable for this task.)
- Once you find the gap where your bullets deflect back, proceed straight onto the corresponding platform via the path.
- Now, to solve the rest of this puzzle, you’ll need to memorize the symbol atop the rock you’re standing on and carefully walk or jump onto the floating rocks with the same symbol.
- Repeat the procedure mentioned above until you’ve reached the end of the room and open the chest to receive some Relic Dust, Hardened Iron, and Scraps.
- Finally, use Kolket’s Key to open the locked door, and inside, you’ll find the Ring of Diversion along with more Scraps and Relic Dust.
The Ring of Diversion is a compelling accessory that essentially makes Remnant 2 considerably more forgiving by increasing your invulnerability window while evading and sliding. Thus, I believe this item can be effectively used with almost any in-game archetype without having to respec.

That wraps up my brief guide on the final Remnant 2 Lament puzzle and how to get past the locked door to get the Ring of Diversion. As mentioned, the reward from this puzzle is a potent early-game accessory that, in my opinion, will aid your build for a long while, so it’s best not to miss it while you’re in the dungeon. And if you’re having trouble progressing through the Lament, check out this Subreddit Post to uncover any missing clues.
To unlock new playstyles and enhance your combat capabilities, here’s a guide on unlocking the Summoner archetype in Remnant 2. If you want to take enemies and bosses with your friends and other community members, check out how many players can play during a single coop session.
Next:
- Remnant 2: Best Control Settings
- Remnant 2: Dog Companion Modes & Usage
- Remnant 2: All 6 Locations
- Remnant 2: New & Upcoming Features
Thanks! Do share your feedback with us. ⚡
How can we make this post better? Your help would be appreciated. ✍