Remnant 2’s Hatchery dungeon is a key part, filled with puzzles, threats, and critical story progression. Players will encounter a Remnant 2 Hatchery Locked Door in this eerie location. To open this door, players must find the Aerary Glyph, a special key obtained from specific areas. Unlocking this door leads to tough battles and rewards, and it’s a crucial step for players to advance.
- In the Hatchery dungeon of Phantom Wasteland (N’Erud), players may encounter the Remnant 2 Hatchery locked door.
- To open it in Remnant 2, find the Aerary Glyph next to a deceased body; it serves as the key.
- Unlocking the door triggers battles with Robot Grunts and The Progeny mini-boss.
- The Aerary Glyph is a crucial quest item, obtainable as a random drop in N’Erud – The Hatchery and The Dark Conduit locations.
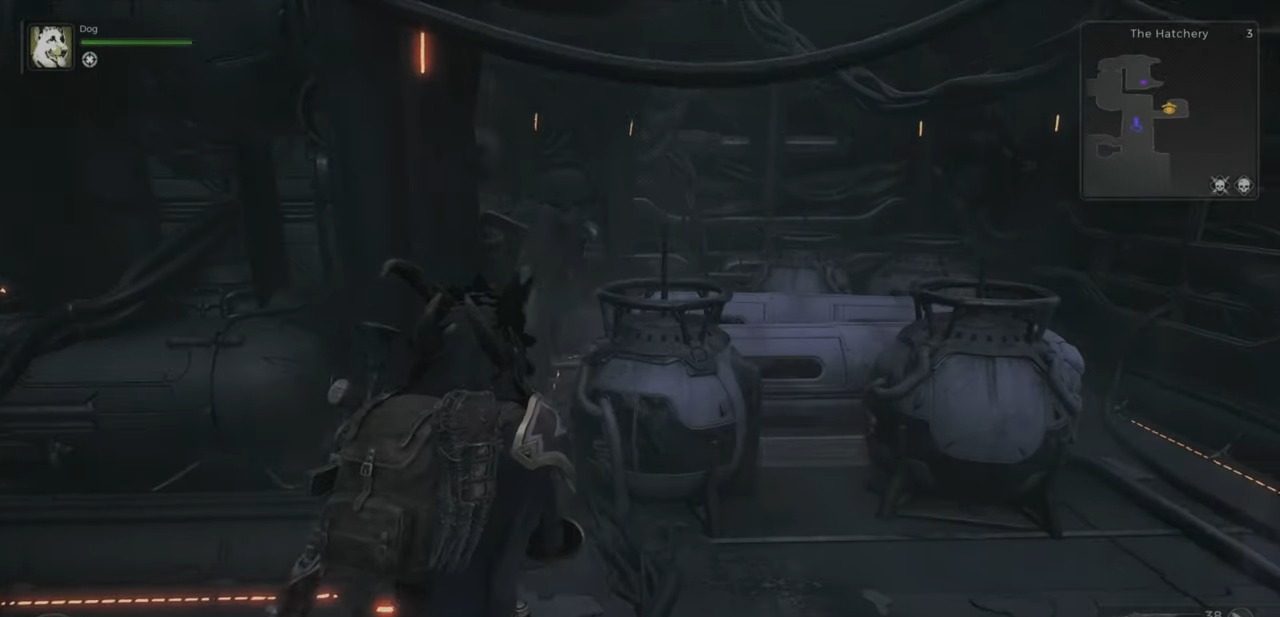
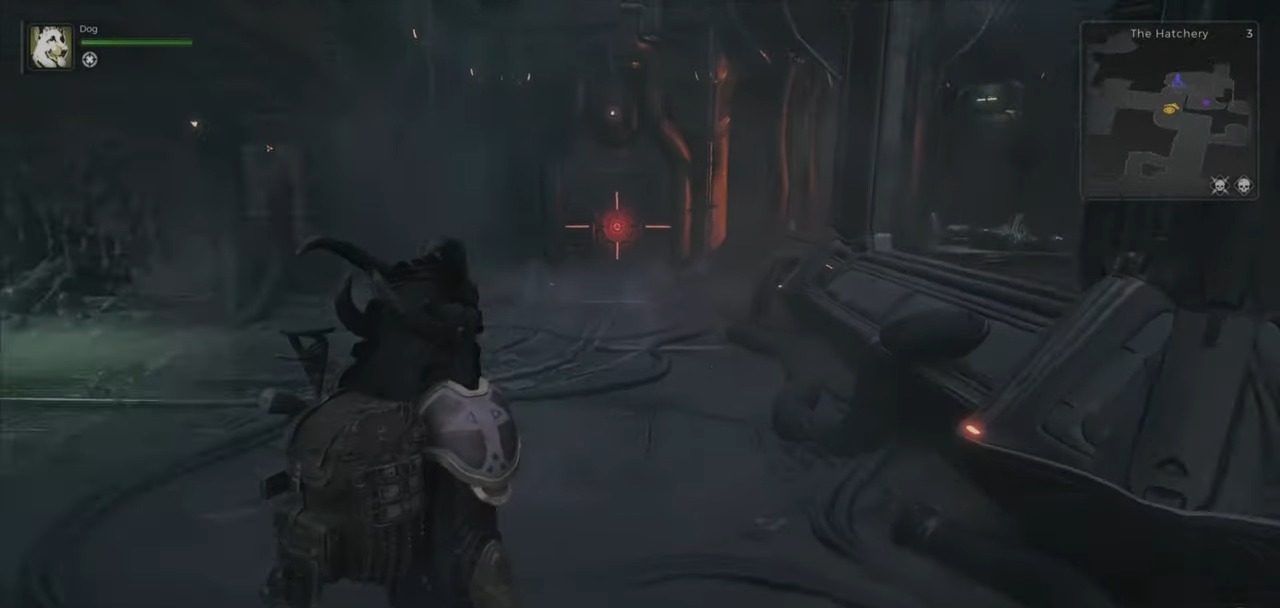
- In Hatchery, there’s also a locked door with a Purple icon, accessible by shooting a tank next to broken cables.
What Is The Hatchery Dungeon In Remnant 2?
The Hatchery dungeon in Remnant 2 is a terrifying and atmospheric location on the Phantom Wasteland’s eastern side.
The Hatchery presents challenging puzzles and relentless enemies but holds the key to accessing the second part of N’erud and progressing in Remnant 2’s gripping storyline. The dungeon’s unique art style and design create an unforgettable and fascinating experience for players in Remnant 2.
Finding The Hatchery In N’Erud
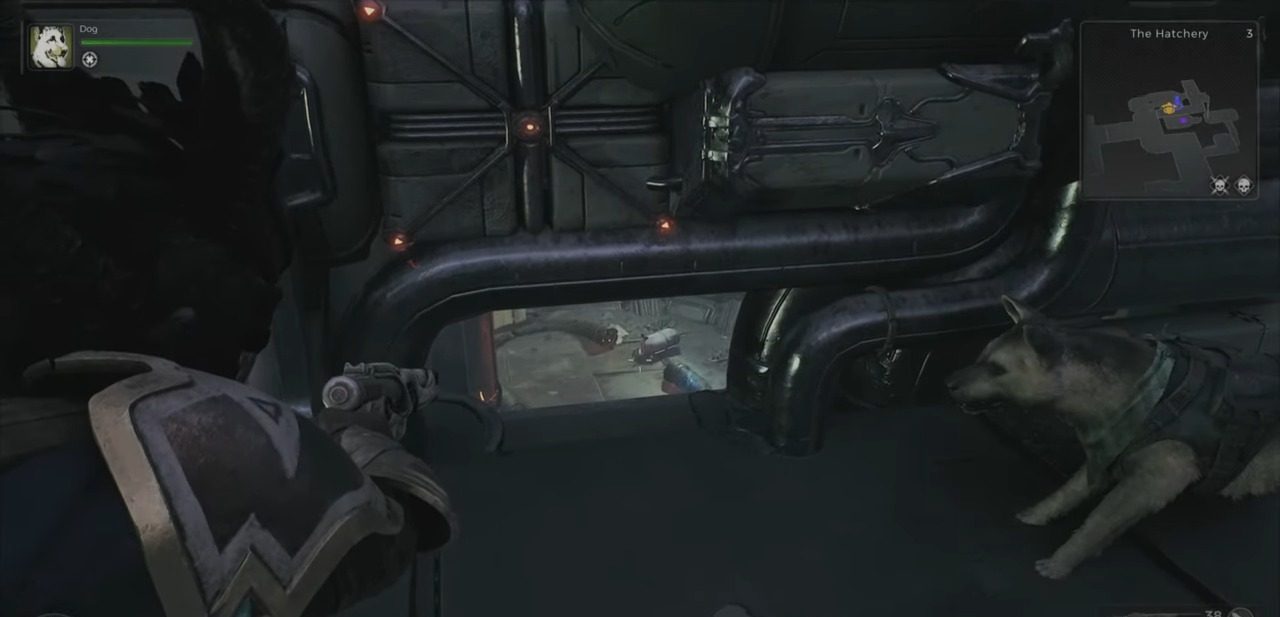
- When visiting N’Erud, there’s a possibility of discovering The Hatchery dungeon.
- The dungeon may not be immediately visible during the first playthrough.
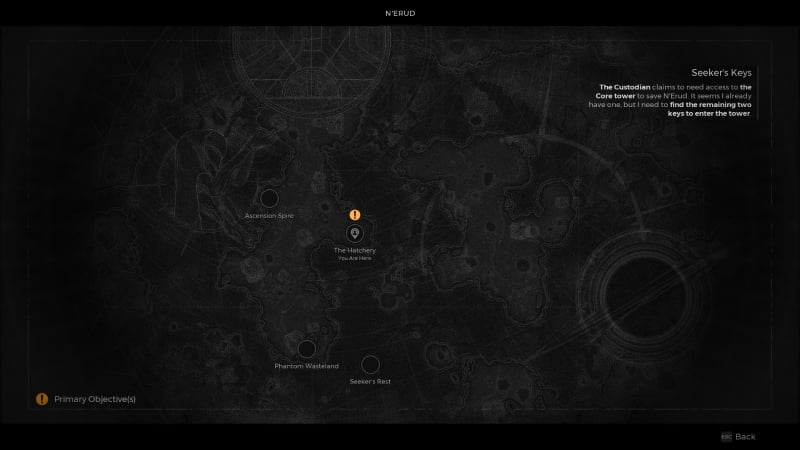
- The Hatchery dungeon consistently appears in the Phantom Wasteland area of N’Erud.
- Players have a chance to find the entrance either by going down an elevator or in a quarry-like region.
- In addition, to get the second Seeker’s Key, you might enter The Hatchery dungeon on the eastern side of Phantom Wasteland.
- The Hatchery dungeon grants access to the second part of N’erud.
- The final Seeker’s Key is located in this second part of N’erud.
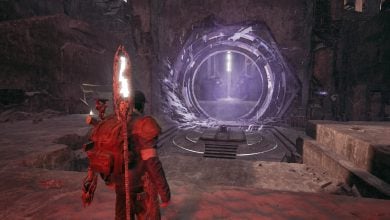
Progressing Through Hatchery Locked Door
Eventually, I was able to discover the Aerary Glyph next to a deceased body. This glyph serves as a key to unlock previously encountered sealed Glyph door.
- Once inside, you’ll encounter Robot Grunts and The Progeny as enemies.
- After defeating them, you’ll have the opportunity to obtain the Crisis Ring as a reward.
- The Aerary Glyph functions as a Quest Item in Remnant 2.
- These special items are vital in unlocking or progressing through specific quests, main storylines, and even discovering hidden areas.
- The Aerary Glyph can be obtained as a random drop in N’Erud – The Hatchery and The Dark Conduit.
The Progeny Mini-Boss
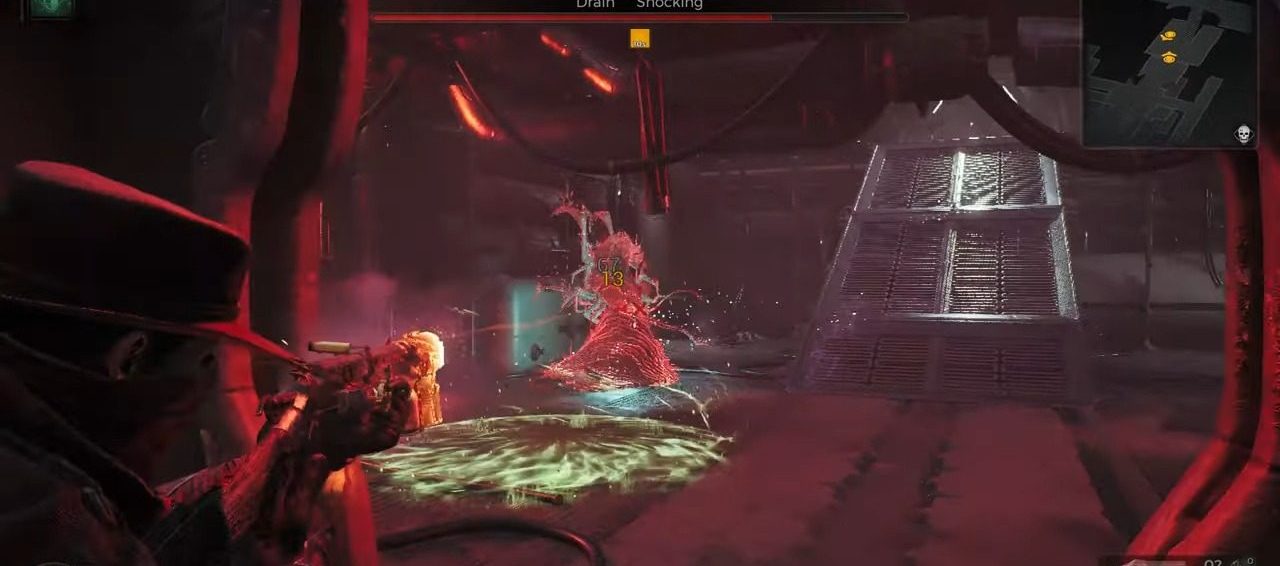
After defeating The Progeny, I got the following rewards:
- Disengage Mutator.
- Iron.
- Scrap.
- Hand Gun Ammo.
- Long Gun Ammo.
In conclusion, the Hatchery dungeon offers an exciting challenge with Remnant 2 Hatchery Locked Door. Finding the special key, the Aerary Glyph, is a big part of this adventure in Remnant 2. This key lets you open the door, fight enemies, and get rewards. This step is very important to move forward in Remnant 2. So, remember to explore, find the key, open the door, and keep moving ahead in Remnant 2.
Now that you know about this randomly generated locked door, I recommend you also visit Remnant 2 Override Pin, Council Tribunal & The Guilty Member, Severed Hand, and BEST Solo Classes In Remnant 2 and learn more about what to expect in the game.
Next:
- Remnant 2: How To Solve Door Puzzle At Lament
- Remnant 2: Faelin Or Faerin Choice
- Remnant 2: Best Starting Class
- Remnant 2: Cathedral of Omens Puzzle
Thanks! Do share your feedback with us. ⚡
How can we make this post better? Your help would be appreciated. ✍