Yaesha spans a vast realm brimming with various places to explore and formidable bosses to confront. As players embark on their journey, they’ll step into a lush forest enveloped by intertwining roots and towering trees. As such, one must require a guide that focuses on deciphering Yaesha’s map in Remnant 2, providing insights into navigating it effectively to advance through the storyline.
- Explore lush, enigmatic landscapes with tough bosses for an adventure-packed journey in the world of Yaesha.
- Encounter two distinct narratives converging after the final boss in Yaesha.
- Conclude both storylines in Yaesha to gain the Index Segment key, linking to other worlds in Remnant 2.
- Explore enchanting areas and puzzles in Yaesha, like the Imperial Gardens puzzle, The Chimney, and The Far Woods, for immersive challenges.
- Find unique armaments in Yaesha map Remnant 2, like the Aphelion, Nightfall, and Chicago Typewriter, for strategic combat superiority.
Yaesha Storyline Routes
Yaesha differs from other realms because it houses two separate storylines. However, your placement within these narratives is randomized. Upon completing both Yaesha’s storylines, you obtain an Index Segment key, a crucial tool connecting you to alternate worlds.
Using this key, you can unlock a doorway to your next destination. If Yaesha is your initial location, the door leads to the Labyrinth. Otherwise, you’ll be transported to N’Erud or Losomn map.
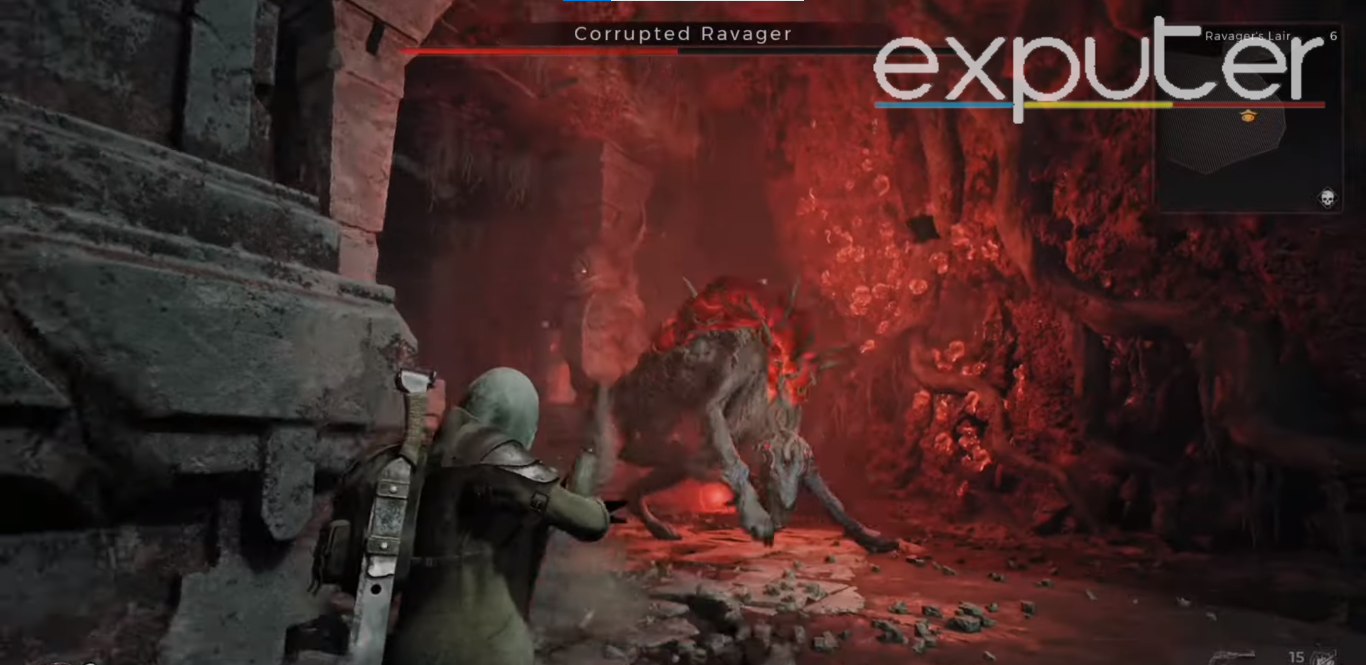
1. The Ravager And The Doe Storyline
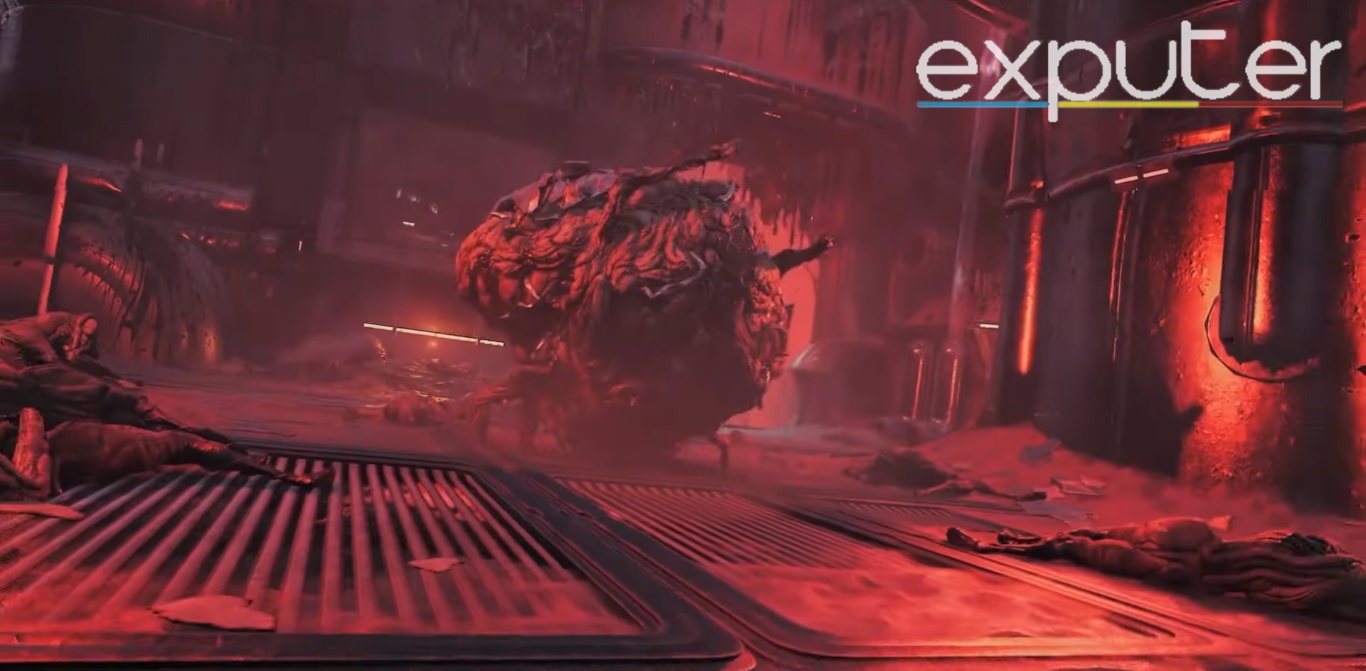
You enter the Ravager storyline if you start your journey in the Forbidden Grove. Here, you navigate a forest filled with enemies crafted from tree branches. You progress through serene yet eerie areas until confronting the final boss, the Ravager.
Roadmap
In the Forbidden Grove, Bedel of the Vaunnt is a Pan who shares insights into Yaesha’s corrupted state and the fallen Ravager deity. Bedel serves as an NPC merchant and offers items for purchase or sale. He guides you in defeating the Ravager and provides a backstory.
However, to easily complete this quest, follow the instructions listed below, which are extracted from my in-game experience:
- As you progress through the grove, you’ll meet Meidra, the Spirit of the Wood.
- Meidra presents situational questions, and your answers determine your alignment with either the Doe or the Ravager.
- Each choice grants you a distinct trait.
- Along the way, The Flautist informs you about the Ravager and offers a quest involving the Water Harp puzzle.
- Your decision regarding the harp influences your rewards.
- Deeper into the grove, you’ll come across a broken music box.
- Although instructions are scarce, repairing the music box grants access to the Ravager’s Lair.
Choices And Rewards In The Ravager And The Doe Storyline
Players will face a significant Ravager choice in Remnant 2 involving the Doe, which affects their approach to dealing with the Ravager, the final boss. In the Ravager and the Doe storyline, your decisions yield distinct rewards.
I have mentioned an explanation of all the choices below:
- Shooting the Doe grants you the Ravager’s Mark.
- Healing the Doe earns you the Doe’s Antler, which can be crafted into the Red Doe Staff at McCabe in Ward 13.
- Shooting the Ravager and defeating the Doe during the battle leads to the acquisition of the Ravager’s Maw, craftable into the Feral Judgement.
- Shooting the Ravager, weakening it so it consumes the Doe, and emerging victorious against it yields the Crimson Membrane, which can be crafted into the Merciless.
2. The Red Throne And The Corruptor Storyline
When you start at the Red Throne, you dive into The Corruptor storyline. As you enter, a big door sets off the scene. Your character meets an Empress, and you need to pick: fight or help.
This choice shapes your final opponent. Choosing to aid the Empress throws you into a showdown with the Corruptor, one of the trickier bosses in Remnant 2. And what you get depends on what you do with the Corruptor.
If you defeat it, you’ll snag the Hollow Heart. This gets you the Stonebreaker, a close-up weapon. Or, if you let it go, you’ll earn the Twisted Lazurite, which you can use to craft the Twisted Arbalest Long gun.
Roadmap
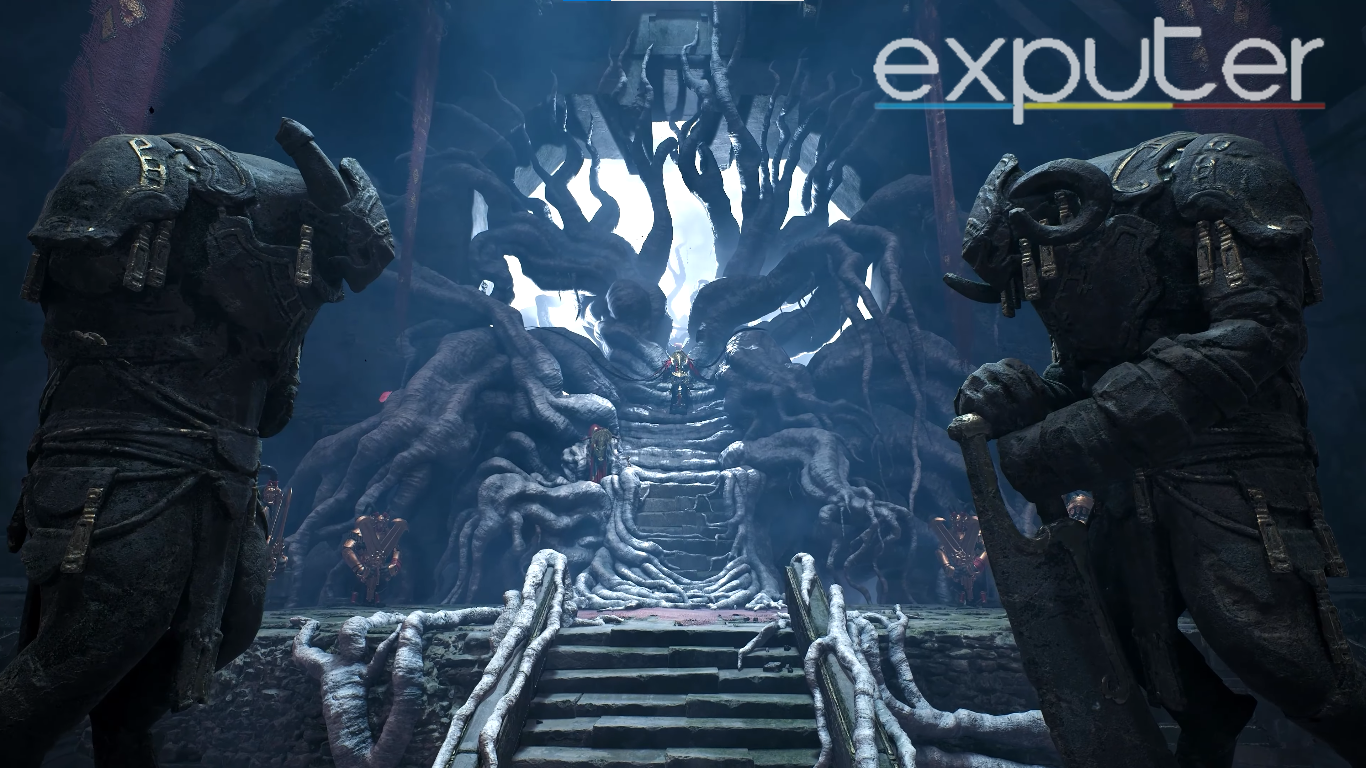
Upon your arrival at The Red Throne, you will encounter a decisive fork in the path, each guarded by the formidable Pan Warriors. The side paths lead to resource-rich buildings, while the central path guides to the throne room.
The Eternal Empress
- Step into the throne room, and you’ll confront the Eternal Empress.
- She presents you with a chilling choice: comply with her demand to defeat the Corruptor or face the wrath of her guards.
- Should you agree, your task will be to vanquish the Corruptor that defiled their former Guardian.
- Declining the Empress’s proposal triggers a battle against her guards.
- Upon their defeat, the attendant will reveal your success, assigning you the quest to conquer the Corruptor.
The Abomination And The Flautist
Following the path leading to the infested hall, you’ll encounter the Abomination and journey through the Root-infested Withering Weald. However, I recommend watching out for infectors and root brutes as you go to The Flautist.
- The Flautist warns you of the corrupted Thaen and guides you to the veil, transporting you to another dungeon.
- Overcome its challenges and its boss to reach The Far Woods.
- In The Far Woods, your mission is to navigate to the Widow’s Court.
- Look for the Ornate Key on a Pan’s body, which opens an Ornate Lockbox, offering different rewards depending on your choices.
Passing through another veil leads to The Great Bole, the battleground for the showdown against the Corruptor.
The Corruptor Boss Fight
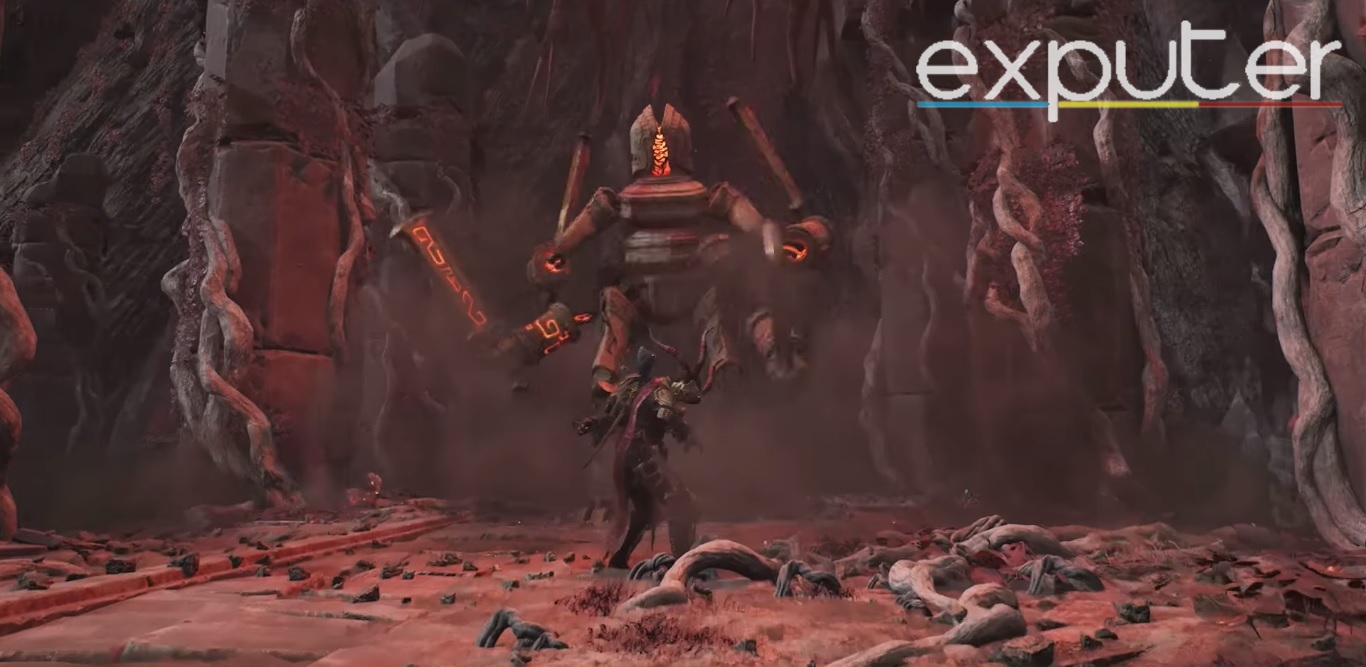
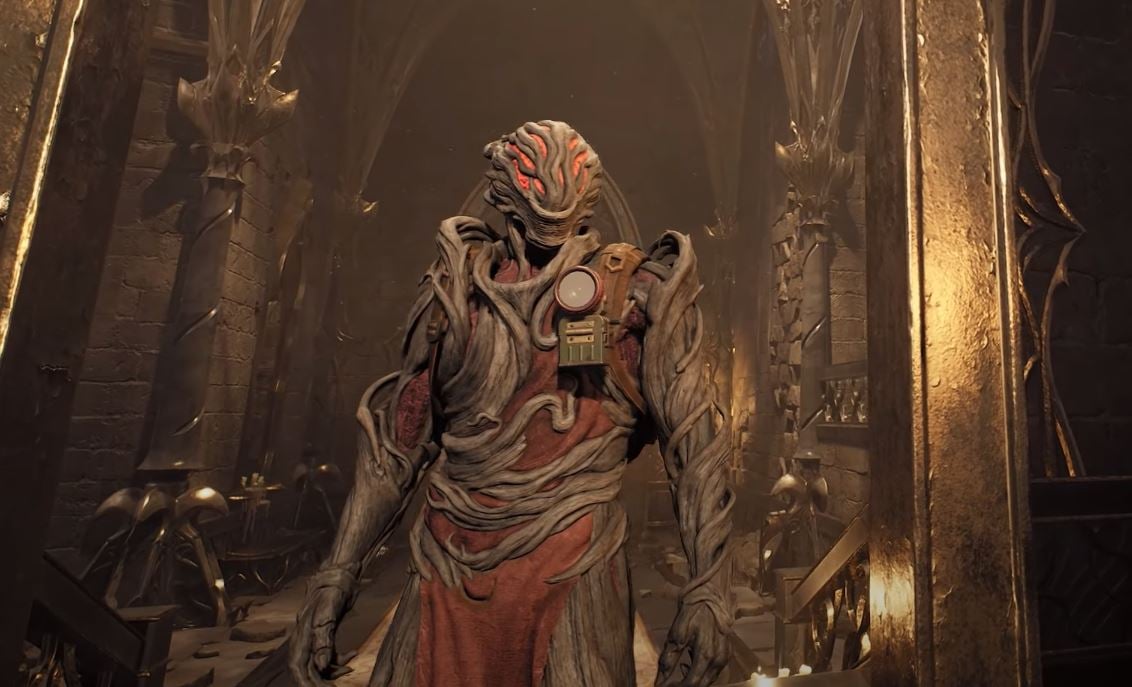
In the intense encounter with the Corruptor and the Corrupted Guardian, the Corruptor employs ranged attacks while the Guardian wields multiple swords, its arms detachable. However, I found out you can disable the Guardian’s arms temporarily by shooting them.
- Separate health bars indicate the Corruptor and Guardian’s vitality.
- Incapacitating the Guardian prompts the Corruptor to replenish its health.
- Defeating the Corruptor concludes the quest and rewards you with the Index Segment.
- Depending on whether you maintain the Guardian’s status, you’ll obtain the Hollow Heart or the Twisted Lazurite.
3. Unlocking The Yaesha Map In Remnant 2
In Remnant 2, there are three worlds to explore: Yaesha, N’Erud, and Losomn. Each world is packed with dungeons and tough bosses you’ll need to conquer. The in-game randomness means you might start with Yaesha or reach it later, just before the final phase.
If Yaesha isn’t your starting world, you’ll reach it after passing through the Labyrinth. Inside the Labyrinth, you’ll spot two locked spherical portal doors. These doors need a special key to open, which you won’t have at that point. To get the Biome Portal Key, defeat the Labyrinth Sentinel boss and interact with the Eye. This key unlocks two other worlds through their portals.
4. All Points of Interest In Yaesha Map
Embarking on your adventure in Yaesha unveils an array of captivating locations, each contributing to the immersive experience of Remnant 2 Yaesha Map with its unique challenges and atmospheres.
Here are some landscapes I explored personally that I think you’ll find interesting:
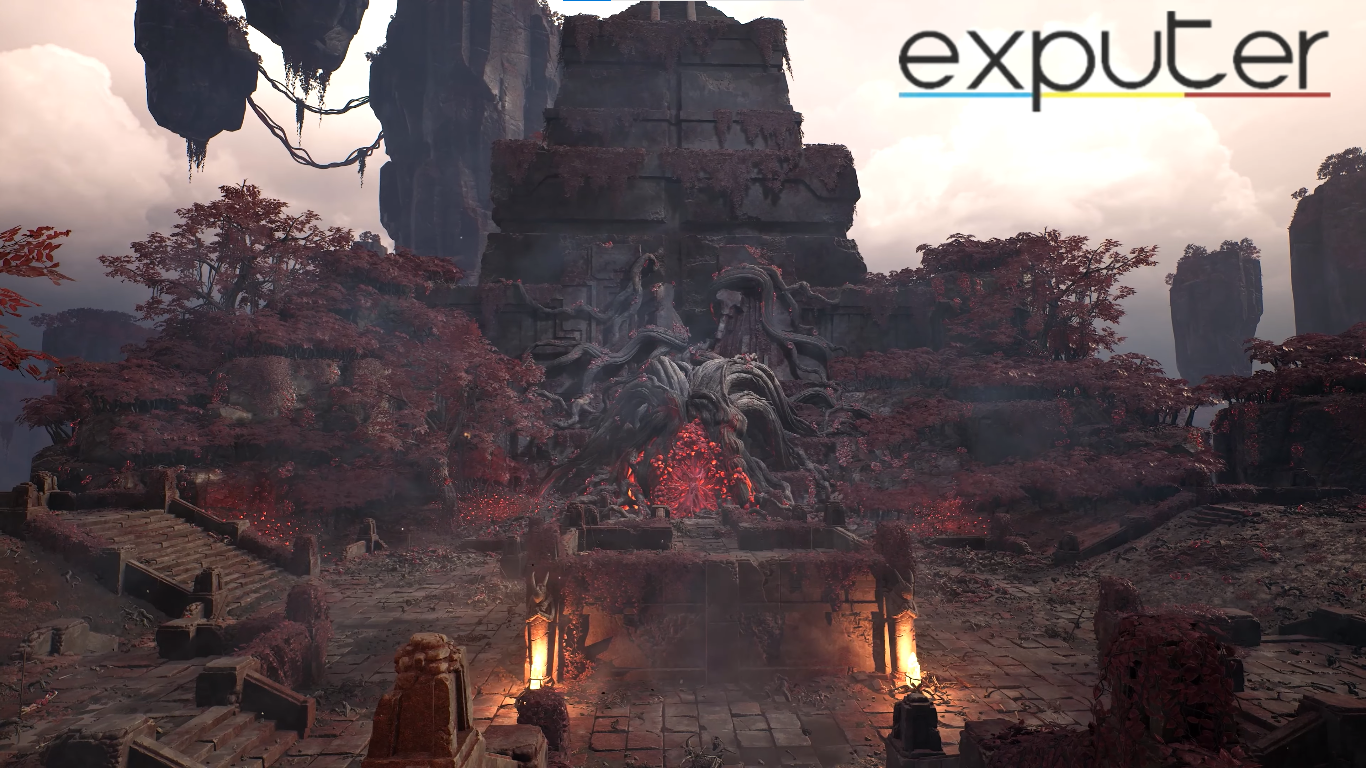
- The Red Throne offers regal splendor.
- The Withering Weald exudes an enigmatic aura.
- The Imperial Gardens provide a tranquil refuge.
- The untamed wilderness includes The Chimney’s rugged grandeur and The Far Woods’ mystique.
- Cryptic and eerie places like the Root Nexus, The Lament, and the Twisted Chantry add darkness and mystery.
- Sanctuaries like the Expanding Glade and Kaeula’s Rest offer moments of respite.
- Significant encounters occur in locales like the Koara Kuri Nest and The Widow’s Court, where vibrant life and solemnity coexist.
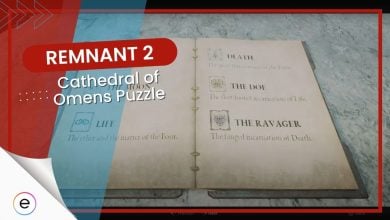
- Enigmatic hidden sites and puzzles, including the Forgotten Field, the Nameless Nest, the Cathedral of Omens puzzle, and the chilling Ravager’s Lair, hold untold tales and secrets of ages past.
5. All Weapons To Find In Remnant 2 Yaesha Map
Yaesha, within the vast world, holds a treasure trove of formidable weapons and gear for battle-hardened warriors.
As per my experience, I have listed some top choices below:
- Aphelion: Ideal for long-range combat, it delivers precision damage. Explore Yaesha to discover this weapon in specific locations.
- Nightfall: Known for its high damage and rapid-fire, it’s a prized find in Yaesha, guarded by formidable bosses, and one of the most aesthetically appealing weapons in my opinion.
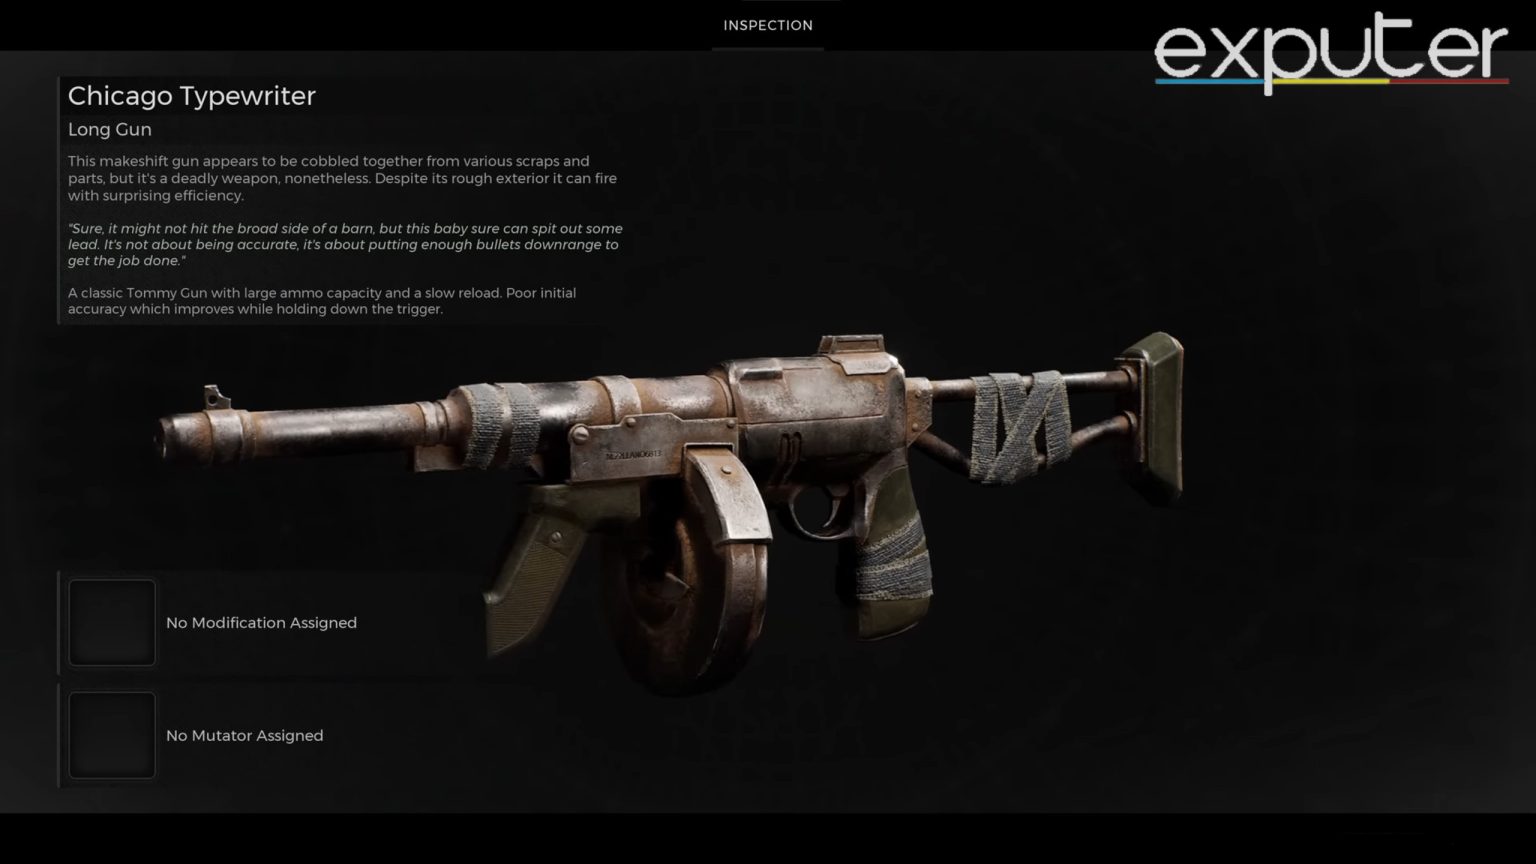
- Chicago Typewriter: This automatic weapon packs a punch with its firepower and rate of fire. Seek it out by exploring various regions in Yaesha and confronting mighty bosses.
- Crossbow: Renowned for its adaptability, it offers high damage and accuracy. Acquire it by defeating foes or crafting it using Twisted Lazurite, obtained from Yaesha’s formidable Corruptor.
- Sagittarius Bow: A pinnacle of accuracy and power, it’s a reliable choice obtained by defeating adversaries throughout Yaesha.
6. Armor Sets Obtainable In Remnant 2 Yaesha Map
In the captivating realm of Yaesha, powerful armor sets await those seeking battlefield triumph. Each set offers unique attributes tailored to different combat strategies.
I have mentioned the outstanding armor sets found in Yaesha below:
- Leto Mark II Set: This set combines heavy armor with improved stamina regeneration, providing exceptional defense and endurance.
- Bruiser Set: This heavy armor set is ideal for close-range combat because of its strong defense and increased melee damage.
- Radiant Set: Enhancing critical hit chances and ranged damage, the Radiant Set radiates precision and finesse.
- Dendroid Set: Tailored for mod ability users, this set emphasizes mod power generation and duration.
- Technician Set: Designed for agility enthusiasts, the Technician Set offers light armor advantages like increased mod power generation and reduced mod power cost.

Venture forth into Yaesha’s untamed beauty, where your choices shape your destiny within the heart of its storylines. Walk the path of the Ravager or the Doe, and immerse yourself in the mysteries of The Red Throne. Be sure to check out this guide on the Faelin or Faerin choice in Remnant 2 to face other challenging bosses, or consider reading the Lemark District Clock puzzle to dive deeper into the title’s mind games!
Next Up:
- Remnant 2: How To Unlock And Change Archetypes
- Remnant 2: Lodestone Crown Guide
- Remnant 2: How To Get Ravenous Medallion
- Remnant 2: Best XP Farming Spot
Thanks! Do share your feedback with us. ⚡
How can we make this post better? Your help would be appreciated. ✍