In Remnant 2, one of the most consequential decisions players will encounter involves choosing between the Ravager and the Red Doe. Players will meet these two characters in the world boss stage in Yaesha, forcing them to decide either to slay the injured Doe or confront the powerful Ravager. The implications of the Remnant 2 Corrupted Ravager choice stretch beyond the immediate battle, as it also impacts the balance in Yaesha and determines the rewards players can earn.
- Players encounter a choice between the Ravager and the Red Doe during the world boss stage in Yaesha in Remnant 2.
- The player’s decision affects the balance in Yaesha and determines possible rewards.
- Players have three choices when confronting the Ravager:
- Killing the Doe.
- Saving the Doe.
- Attacking the Ravager directly.
- To reach the Ravager, players need to solve the Harp Puzzle found in the Forbidden Grove.
- The Harp Puzzle is solved by correctly aligning cylinders to match symbols in a nearby diary.
- Reviving the Doe to fight the Ravager can be the best option in terms of strategic gameplay in Remnant 2.
How To Find The Ravager
The journey to meet the Corrupted Ravager in Remnant 2 commences at the mysterious region known as the Forbidden Grove.
- The road to the Ravager’s den is concealed, with the Harp Puzzle functioning as the key to this hidden path.
- Gaining mastery over this puzzle is a critical step towards uncovering the path to the Corrupted Ravager.
Solving The Harp Puzzle
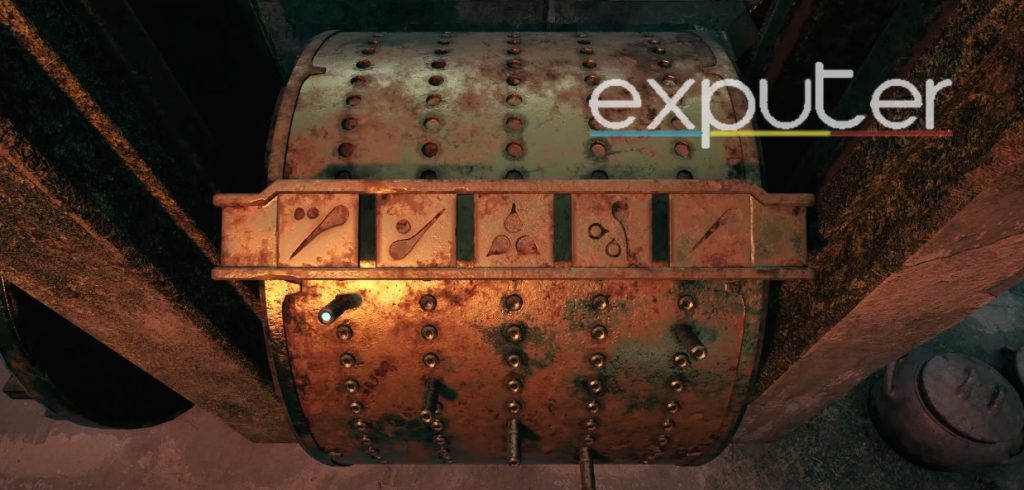
To solve the Harp Puzzle, you’ll find a nearby rotating device with the same symbols as the diary. Underneath these symbols, you can manipulate cylinders. Your task is to align these cylinders with the symbols.
The diary adds an extra layer to the puzzle. Gaps in its symbol sequence indicate that you must leave a row on the puzzle mechanism empty, with no raised cylinders.
Here are the steps I would recommend to efficiently solve the Harp Puzzle:
- Raise the rightmost cylinder in the first row.
- Keep the second row unchanged.
- Elevate the second-to-last cylinder from the right in the third row.
- Leave the fourth row empty without raised cylinders.
- In the fifth row, raise the center cylinder.
- Replicate the arrangement of the third row in the sixth row.
- Lift the leftmost cylinder in the seventh row.
- Keep the eighth row empty.
Finding The Ravager
Having navigated the Harp Puzzle, the route to the Ravager’s Liar comes to light. It requires journeying through a couple of additional territories beyond the Forbidden Grove.
- The bridge connecting to the lair activates upon successfully decoding the puzzle, allowing access to the abode of the Corrupted Ravager.
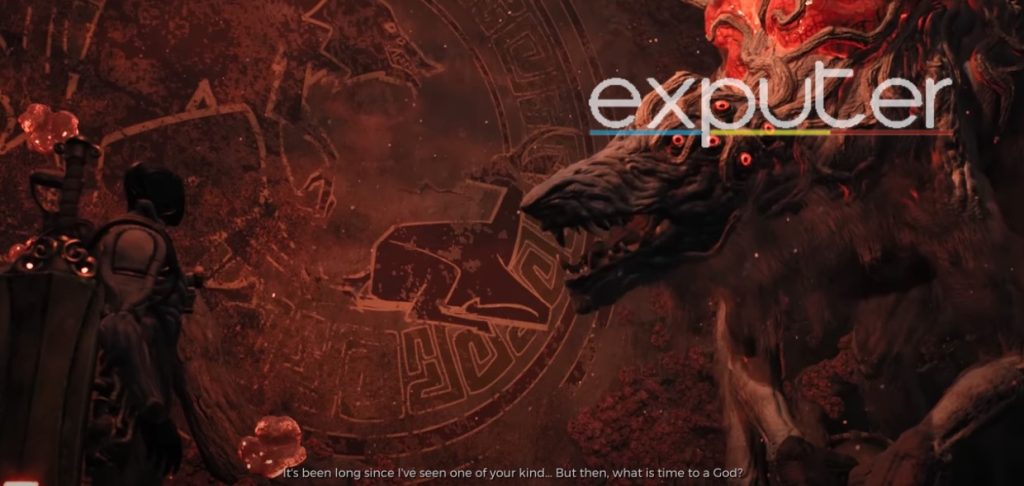
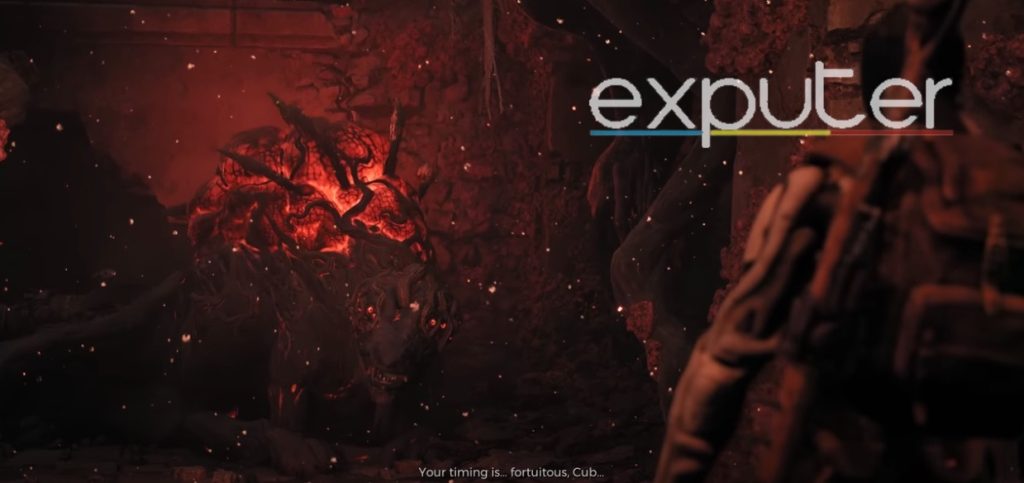
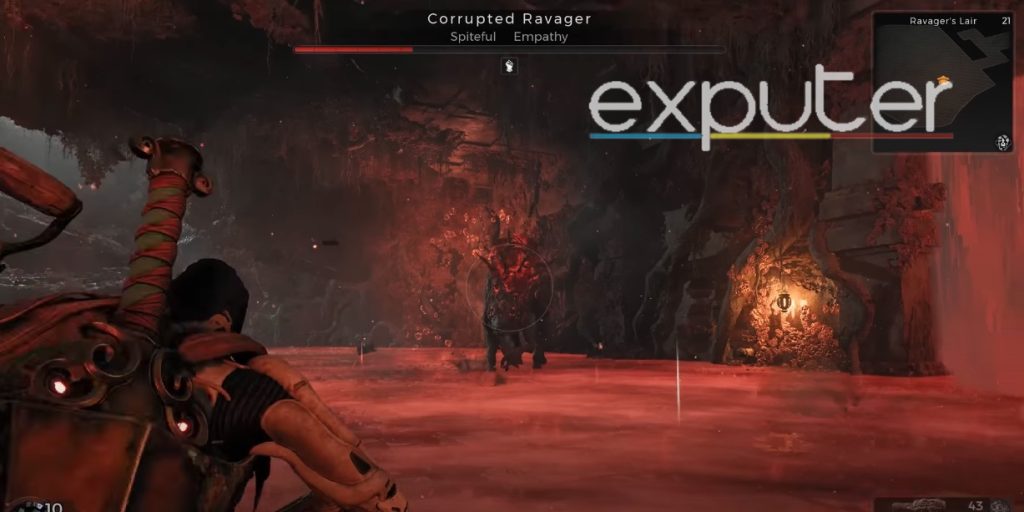
- The Ravager awaits at the end of this journey, initiating a lengthy discourse upon entering the den.
- The confrontation with this formidable boss proves to be a unique encounter.
- Its random attacks necessitate a quick grasp of evasion techniques for survival.
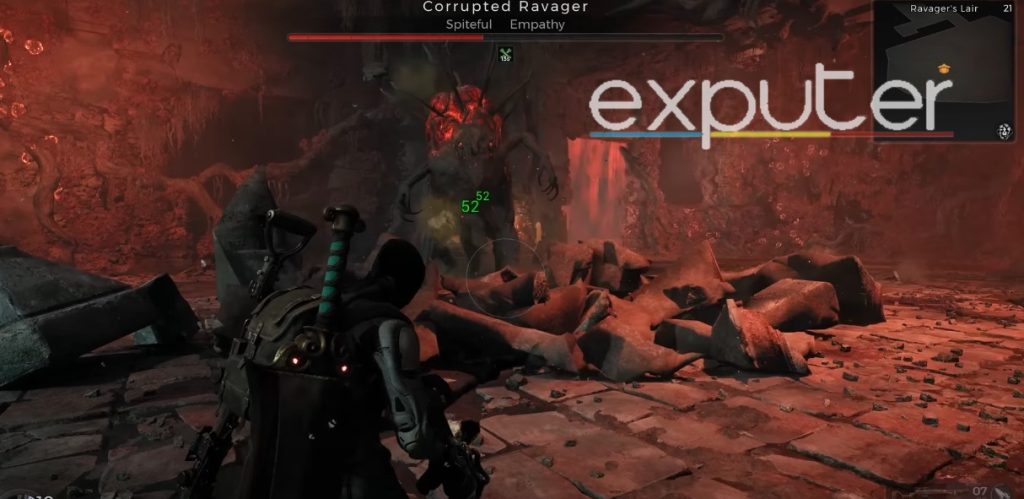
The battle’s location is an open field featuring a number of fragile pillars.
- The surroundings become an essential part of the strategy against the Corrupted Ravager, as you must utilize every available resource on the battlefield to overcome the beast.
- The choice to engage the Ravager in Remnant 2 lies with you, and victory can be achieved with the proper understanding of its tactics and the environment.
Remnant 2 All Ravager Choices
When faced with Remnant 2’s Ravager Choice, there are mainly two options, with the third option being a bonus and complete unconventional path.
1. Kill The Doe
This is arguably the easiest option and leads to an abrupt end to the quest, considering the Doe’s helpless and injured state.
- Upon the Doe’s death, the Ravager gifts the player with the Ravager’s Mark and a Strange Object.
- The Ravager’s Mark is an amulet that increases the damage dealt to bleeding targets by 20% and jumps to 30% if the target’s health falls below half.
- The Strange Object can be used to unlock another world door in Labyrinth.
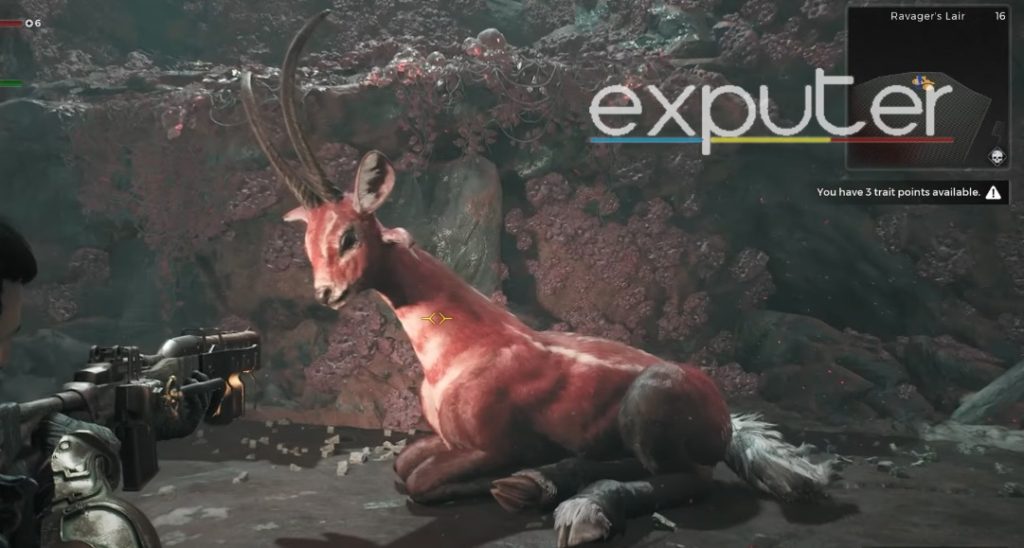
2. Save The Doe
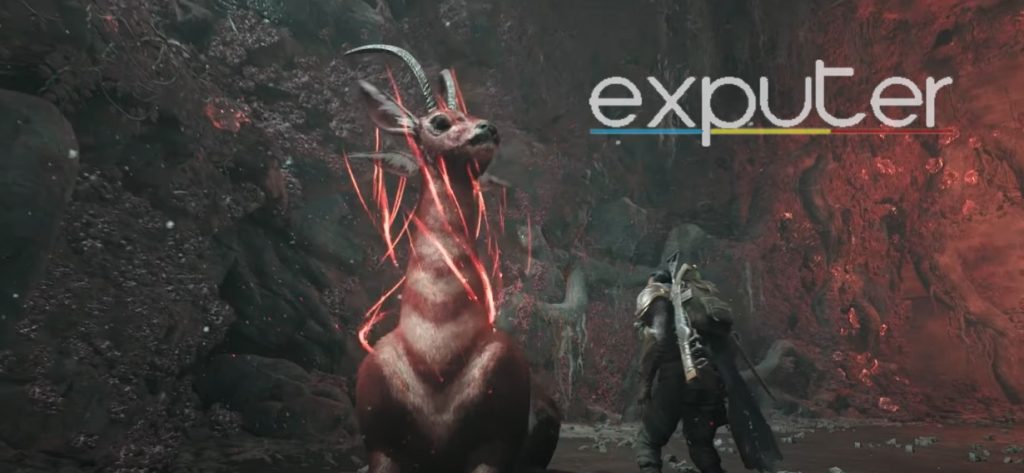
If players choose to rescue the Doe, they should prepare for an intense fight.
- Healing the Doe triggers a cutscene where it attacks the Ravager and then escapes, leading to a challenging battle with the enraged Ravager.
- Successful players are rewarded with the Doe’s Antler, which can be crafted into the Red Doe Staff at Ward 13.
- The staff, excellent for co-op gameplay, has a mod that damages foes while simultaneously healing allies.
3. Attack The Ravager
The third and most dangerous Ravager Choice is to attack the Ravager outright without interacting with the Doe.
- Defeating the Ravager in this scenario rewards the player with the Ravager’s Maw.
- This can be crafted into Feral Judgement, which I believe is one of the best weapons in Remnant 2, and also the Crimson Membrane, which allows players to craft the powerful long gun, Merciless.
Best Ravager Choice
While all options lead to powerful rewards and the defeat of a world boss, the player’s preference and strategy should dictate the choice.
- For trophy and achievement hunters, killing the Doe is advantageous, while those aiming for strong, special melee weapons might opt to save the Doe.
- If players seek a melee weapon in Remnant 2 and a long gun, attacking the Ravager outright is the best Ravager choice, in my opinion.
However, players should also consider the repercussions of their choices in Remnant 2.
- Killing the Doe essentially dooms Yaesha to a slow, horrible death at the hands of the Root.
- On the other hand, reviving the Doe strikes a blow against the corrupted influence of the Ravager.
- Regardless of the choice made, players will significantly impact the world of Remnant 2 while gaining powerful rewards and navigating through this thrilling storyline.
How To Defeat The Corrupted Ravager
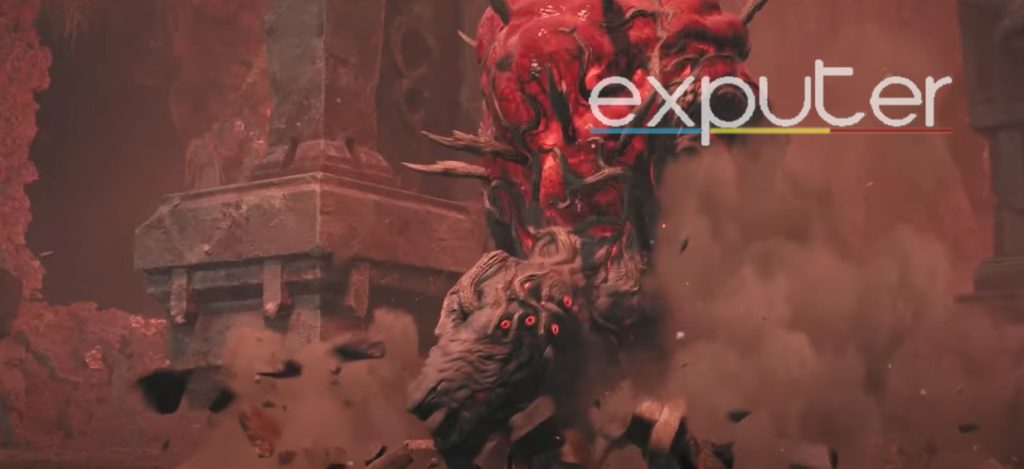
If, for your Ravager Choice, you chose to go against the Ravager, you’ll face to face against the Corrupted Ravager. Unveiling the beast known as the Ravager for the first time within its Lair, you’ll discern a mass of corruption on its back.
The enormity of this infected spot presents a sizable hitbox, a feature you should exploit with your attacks to inflict substantial damage. Prioritize the utilization of long-range weaponry, as it’s not advisable to engage in close combat with the Ravager due to its rapid strikes. Although it is possible to emerge victorious with a shotgun, the challenge escalates considerably.
Ravager Attacks
Based on the few attempts I’ve wasted attempted this boss fight, Ravager employs several distinct strikes:
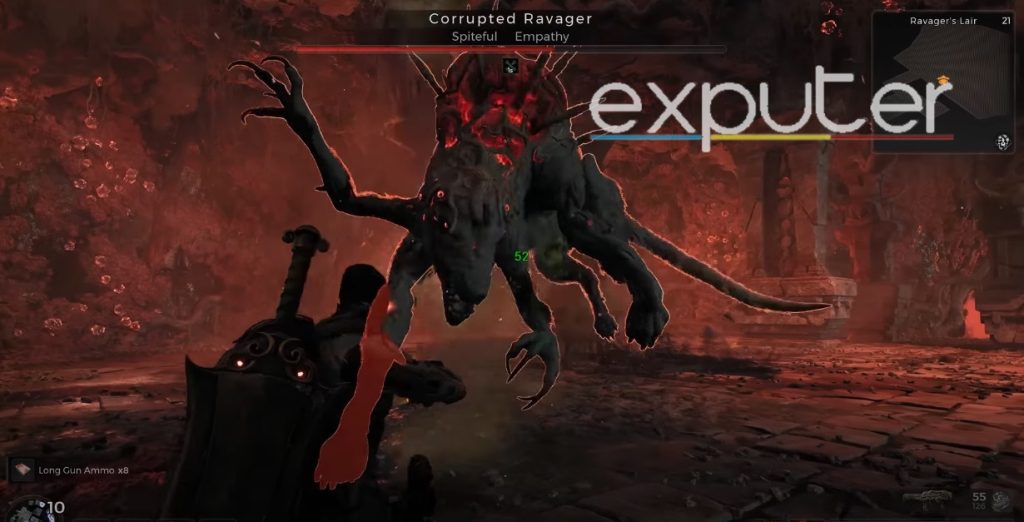
- Claw Attack: It frequently uses this when you’re nearby, slashing with each claw. Dodge as the first slash is midway and immediately follows with another dodge.
- Tail Attack: After the Claw Attack, it often strikes with its tail as it jumps away. Dodge while it’s mid-air to avoid this.
- Rush Attack: When at a distance, it charges at you with an open jaw. Wait until it’s almost upon you before dodging.
- Ground Shake: From a distance, it creates a red glow beneath its feet, leading to a high-speed wave. Dodge sideways when it’s near.
- Howl: It produces two different howls with varying effects. The first speeds up its attacks (30-80% health), and the second summons a damaging red aura (below 30% health). Escape the area during the second howl to avoid high damage.
- Tornado Attack: It generates a tornado that pulls you in. Use dashes and nearby pillars as shields to escape.
- Ravager’s Minions: It may deploy smaller foes during the battle. Eliminating them can provide ammunition, crucial for your continued assault.
Best Strategy
Even if you manage to dodge the Ravager’s attack, remember that you are not out of danger yet.
- The Ravager can summon several spiked Root Tumblers to its side, which can be a significant threat if not dealt with quickly.
- I would recommend using your ranged weapon to eliminate these pests swiftly.
- If you’re low on ammo, melee striking the boss is an option, but you’ll need to be vigilant of the Ravager’s close-range attacks: The Claw Slash and the Pouncing Backflip.
- Both of these attacks have a slight delay, so timing is critical. Dodge too soon, and you may be caught in the onslaught.
The environment in which you fight the Ravager plays a crucial role in your survival, atleast during my experience.
- The pillars within the boss’s arena provide invaluable shields from some of the Ravager’s attacks and create a safe space for healing.
- However, remember that the Ravager’s charge attack can shatter these pillars, leaving you vulnerable.
- Remember that mastery over the Ravager’s attacks is the key to defeating this formidable foe.
By taking note of its attack patterns and vulnerabilities, I’m sure you can claim victory over the Ravager and earn your rewards. Remember to keep calm, act swiftly, and adapt to the changing environment and situations.
Rewards

Depending on the choices you make both before and during the battle, the rewards you receive upon defeating the Ravager will vary:
- Heal the Doe when asked to kill it: Rewards you with a Red Doe Staff (Melee Weapon).
- Kill the Doe when asked to do so: You’ll receive the Ravager’s Mark (Amulet).
- Attack the Ravager when asked to kill the Doe and then kill the Doe during the fight: Earns you Feral Judgement (Melee Weapon).
- Attack the Ravager when asked to kill the Doe and then let it consume the Doe during the battle. This yields the Crimson Membrane, which means you can get the Merciless (Long Gun).
With that, you know all about the Ravager Choice and the consequences of the different outcomes. In the end, it is up to you which choice you want to go with according to your end goal. But, objectively speaking, trying to revive the Doe to fight the Ravager seems to be the best option.
There is still so much more to be explored in Remnant 2, such as the Council Tribunal or unlocking different classes like the Alchemist. You can also discover how to cheese the final boss, Annihilation.
Next:
- Remnant 2: How To Solve Lament Dial Puzzle
- Remnant 2: Shining Essence Echo
- Remnant 2: Ford Chest Code
- Remnant 2: How To Open Hatchery Locked Door
Thanks! Do share your feedback with us. ⚡
How can we make this post better? Your help would be appreciated. ✍