The Labyrinth is a mystical and enigmatic realm with all its portals and secrets in Remnant 2 that stands as a bridge between worlds. Once a domain of balance and harmony, it now languishes in desolation and uncertainty, with its Guardian gone and the Root’s relentless grasp tightening its hold.
- The events within the Labyrinth remain consistent in Remnant 2.
- Begin by shooting the door at the Fractured Ingress, then follow the path to reach a checkpoint.
- There are five portals and six checkpoints that can be used by players.
- You will have the opportunity to activate the stone pedestal at a later point using the Master Portal Key.
- Inside the Coliseum of Ruin in Remnant 2 Labyrinth, you’ll navigate an environment that constantly shifts.
- After successfully overcoming the waves, you will obtain the Master Portal Key, a crucial item.
- Utilize the Master Portal Key to activate the stone pedestal, which grants you access to the boss room.
- As you enter the boss room, you will encounter and face off against the main boss, known as The Labyrinth Sentinel in Remnant 2.
As you step into this Labyrinth in Remnant 2, prepare to face unique locations, encounter mysterious portals, battle formidable Bosses, and discover precious weapons and hidden secrets.
What Is The Labyrinth
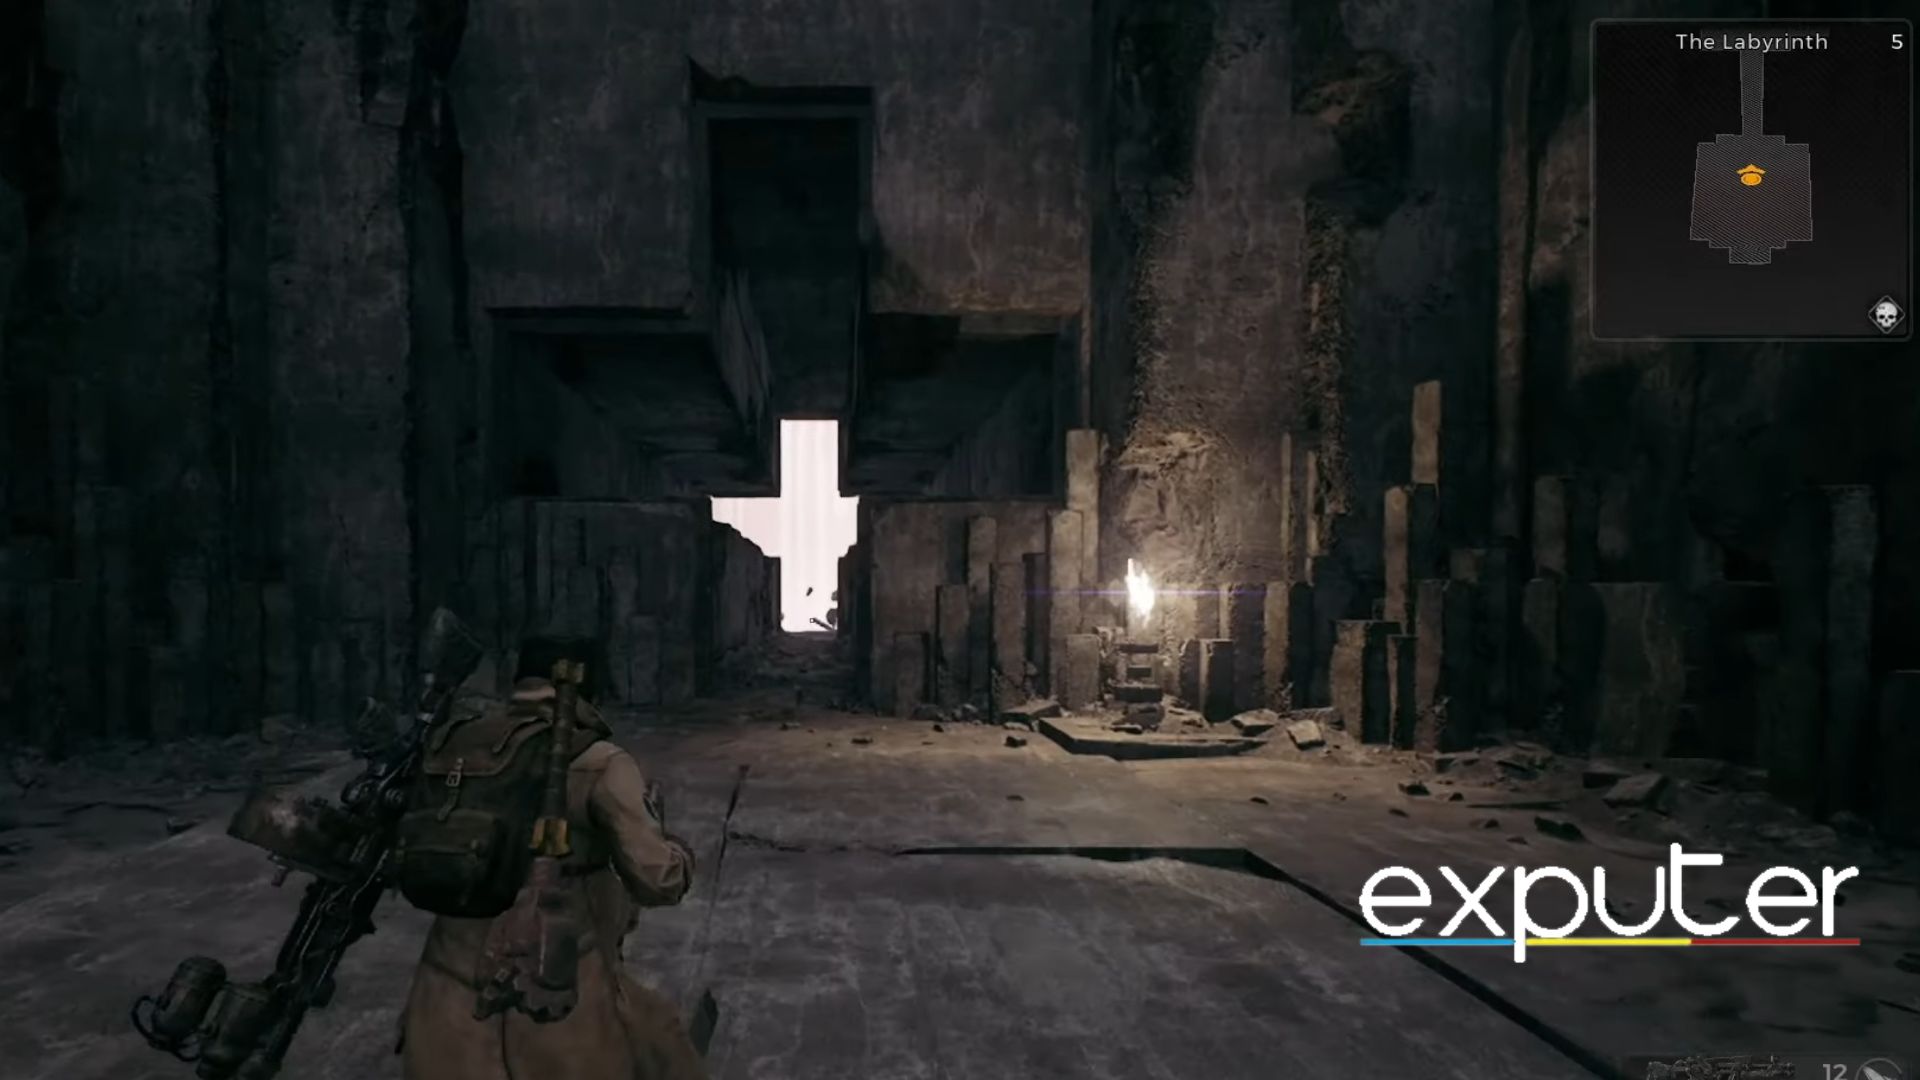
Upon entering the Remnant 2 Labyrinth, you will be in a lonely room with a corridor at one end and a massive window on the other. Go through the aisle, and upon exit, you can see a portal towards the right. After going through the portal, you will be transported to a closed space with a locked door in front of you.
The First Portal
Here’s the path I would recommend to navigate this area effectively:
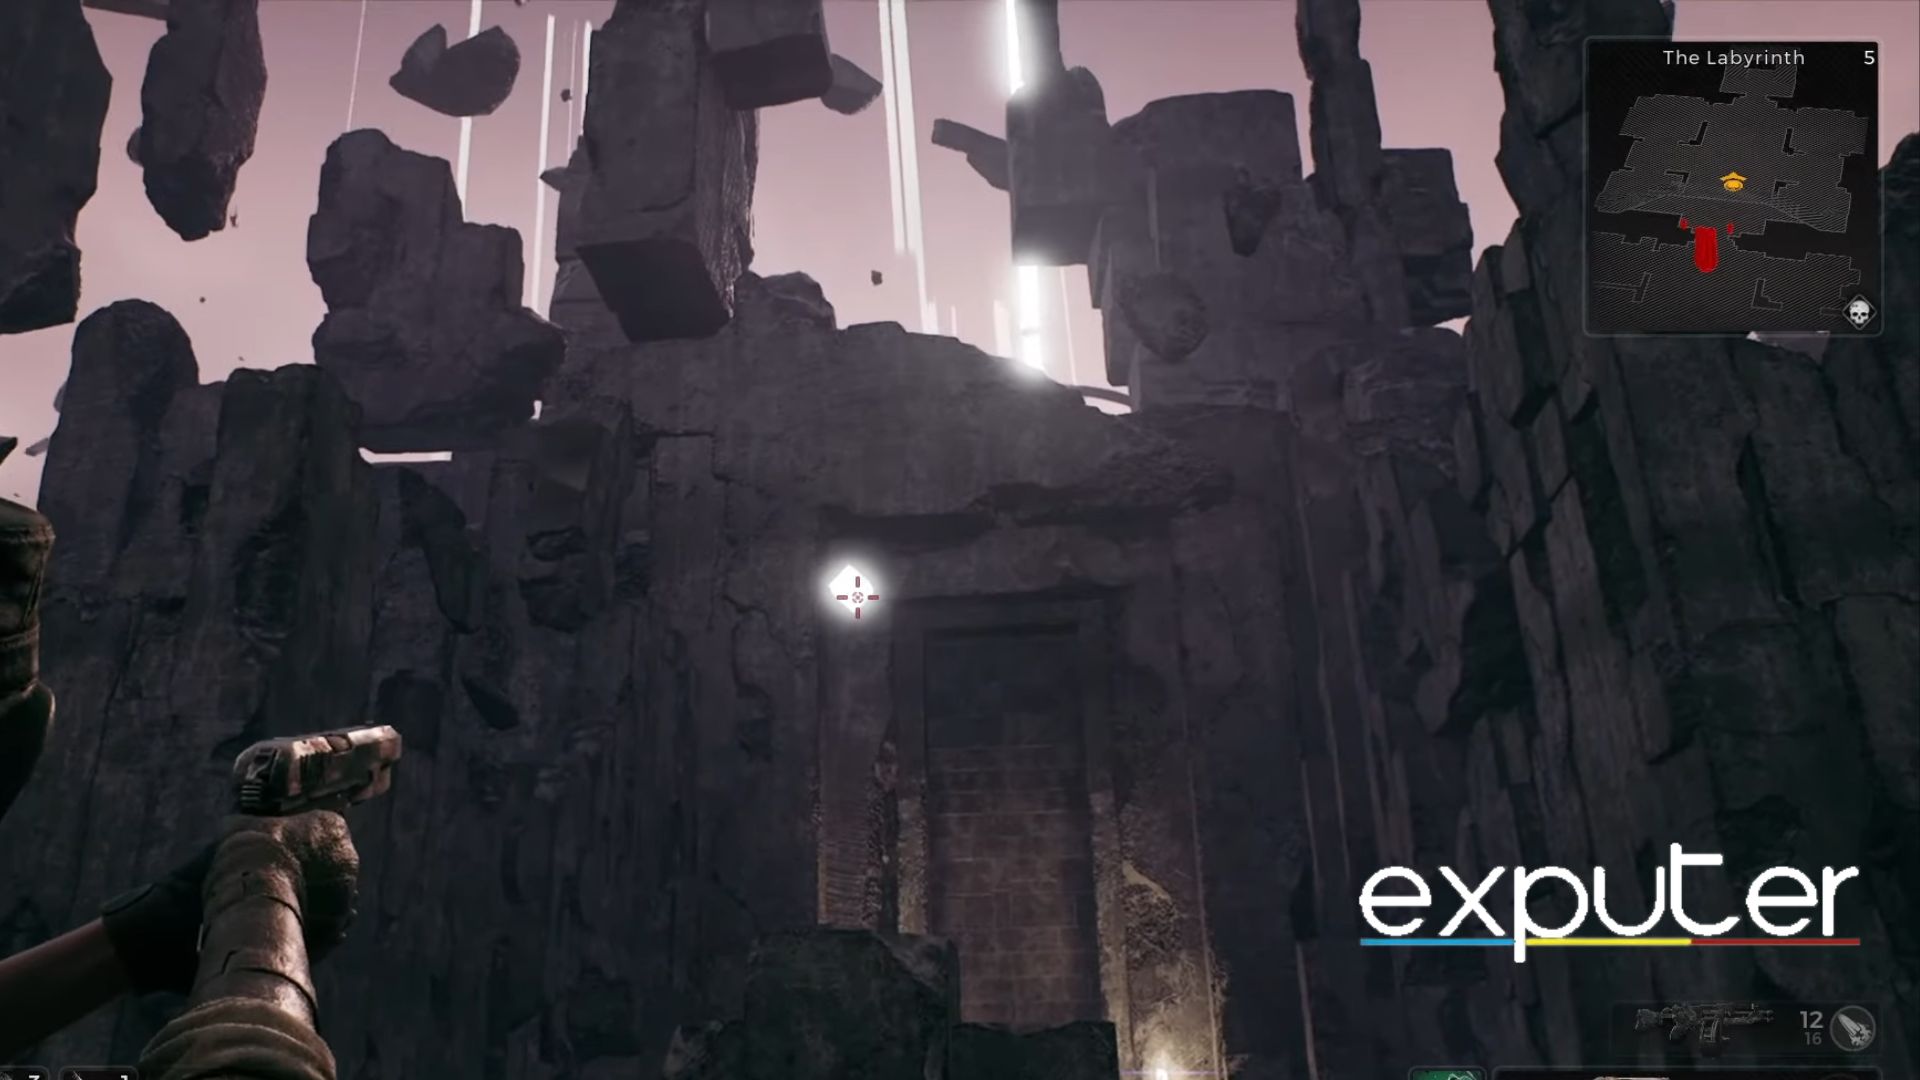
- Shoot the bright light in the center of the door to open it.
- Follow the straightforward path until you reach a world stone, marking your first checkpoint in The Labyrinth of Remnant 2.
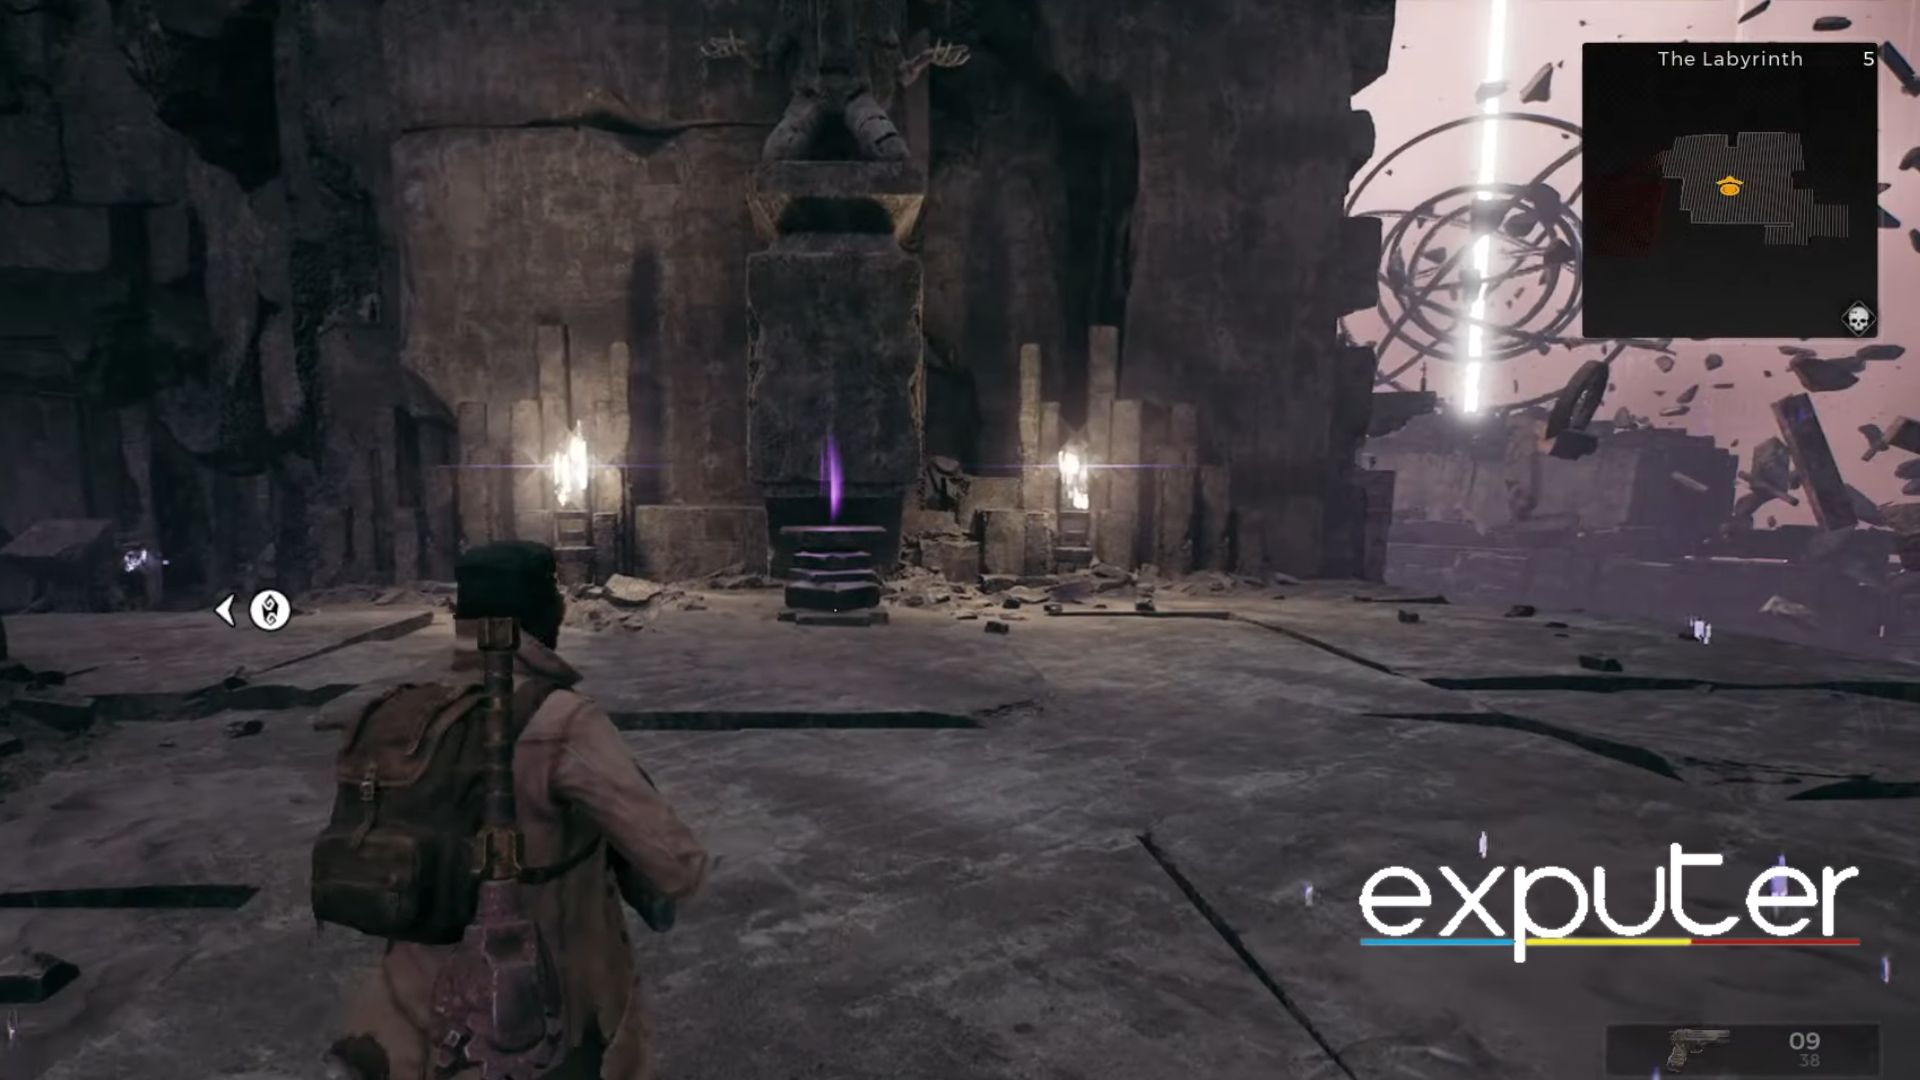
As you explore, you’ll find a stone pedestal that serves as a portal device. To activate it, you’ll need a Master Portal Key, which you don’t have yet. The Traveler suggests, “Hmmm… I must be missing something.” When you eventually obtain the key, it will open a portal directly to the Labyrinth boss, a mission-critical encounter. Take your time exploring and immersing yourself in Remnant 2.
Reach Second Portal
- Move right from the checkpoint.
- Ascend the stairs and turn right.
- Follow a narrow path, and watch out for potential enemy spawns.
- At the end of the path, there won’t be a clear route forward.
- Go all the way to the right side and jump off the ledge (don’t worry, it won’t harm the Traveler).
- Forge ahead, keeping an eye out for any enemy spawns.
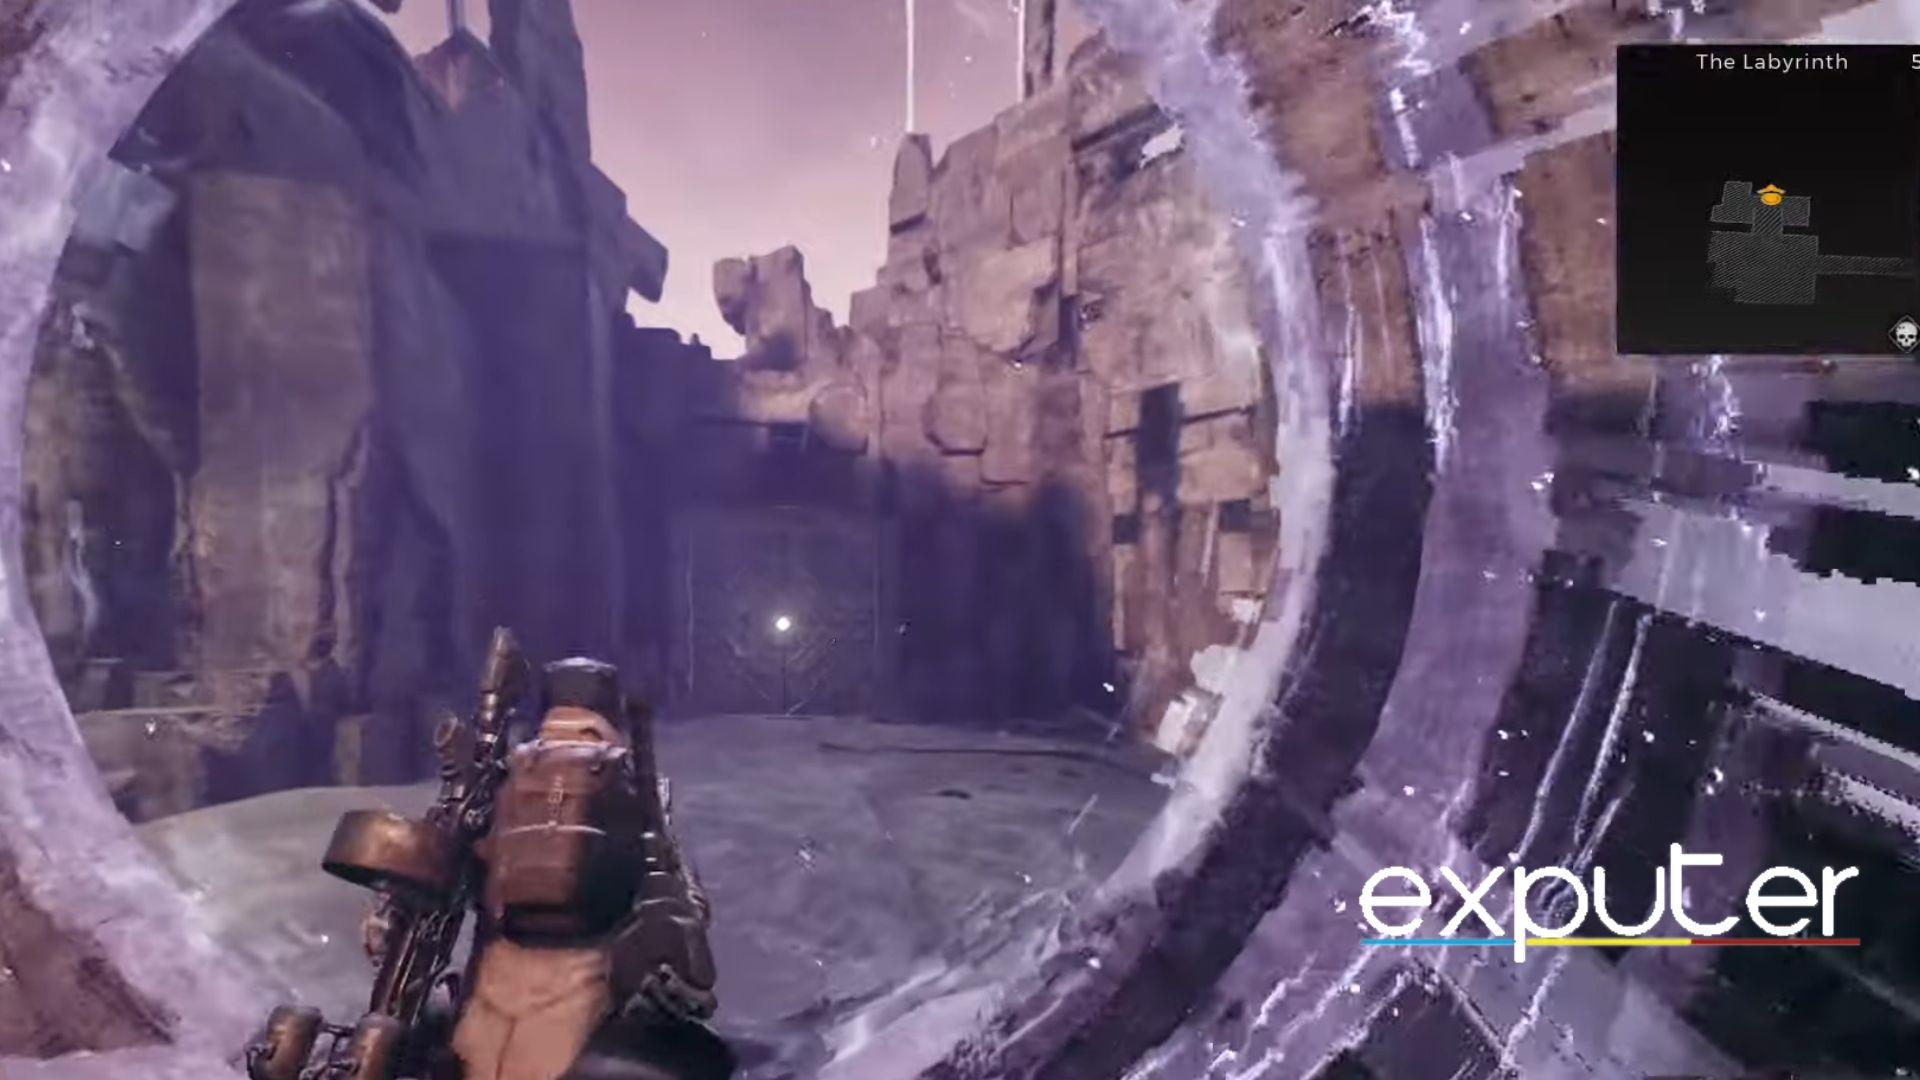
- You’ll soon reach the second portal leading to the Entangled Gauntlet.
Inside The Second Portal
Entering the second portal, you’ll spot a purple item – a dense silicon ring, not the best, but free loot. Proceed left to find another checkpoint, then head to the third portal.
- To the right across the hallway, a path opens with enemies to confront, so equip a melee weapon.
- While climbing, notice a distant purple stone and portal – a hidden secret. Further on, you’ll reach a fork in the path.
- Both paths have enemies and lead to the same spot, making it more straightforward than a maze.
- At the path’s end, a door on your left and a portal on your right await.
- Choose the portal for progress, but activate the door for future shortcuts by shooting the bright light at its center.
The Third Portal
Yet again, you find yourself in the Fractured Ingress but in an entirely new place. You will notice that you activate a fourth checkpoint as soon as you land. We can call that a safe landing, huh?
Straight ahead, across the hallway, you should see a portal, so move towards that. Remember to shoot the door towards the portal’s right since I found out it is yet another shortcut.
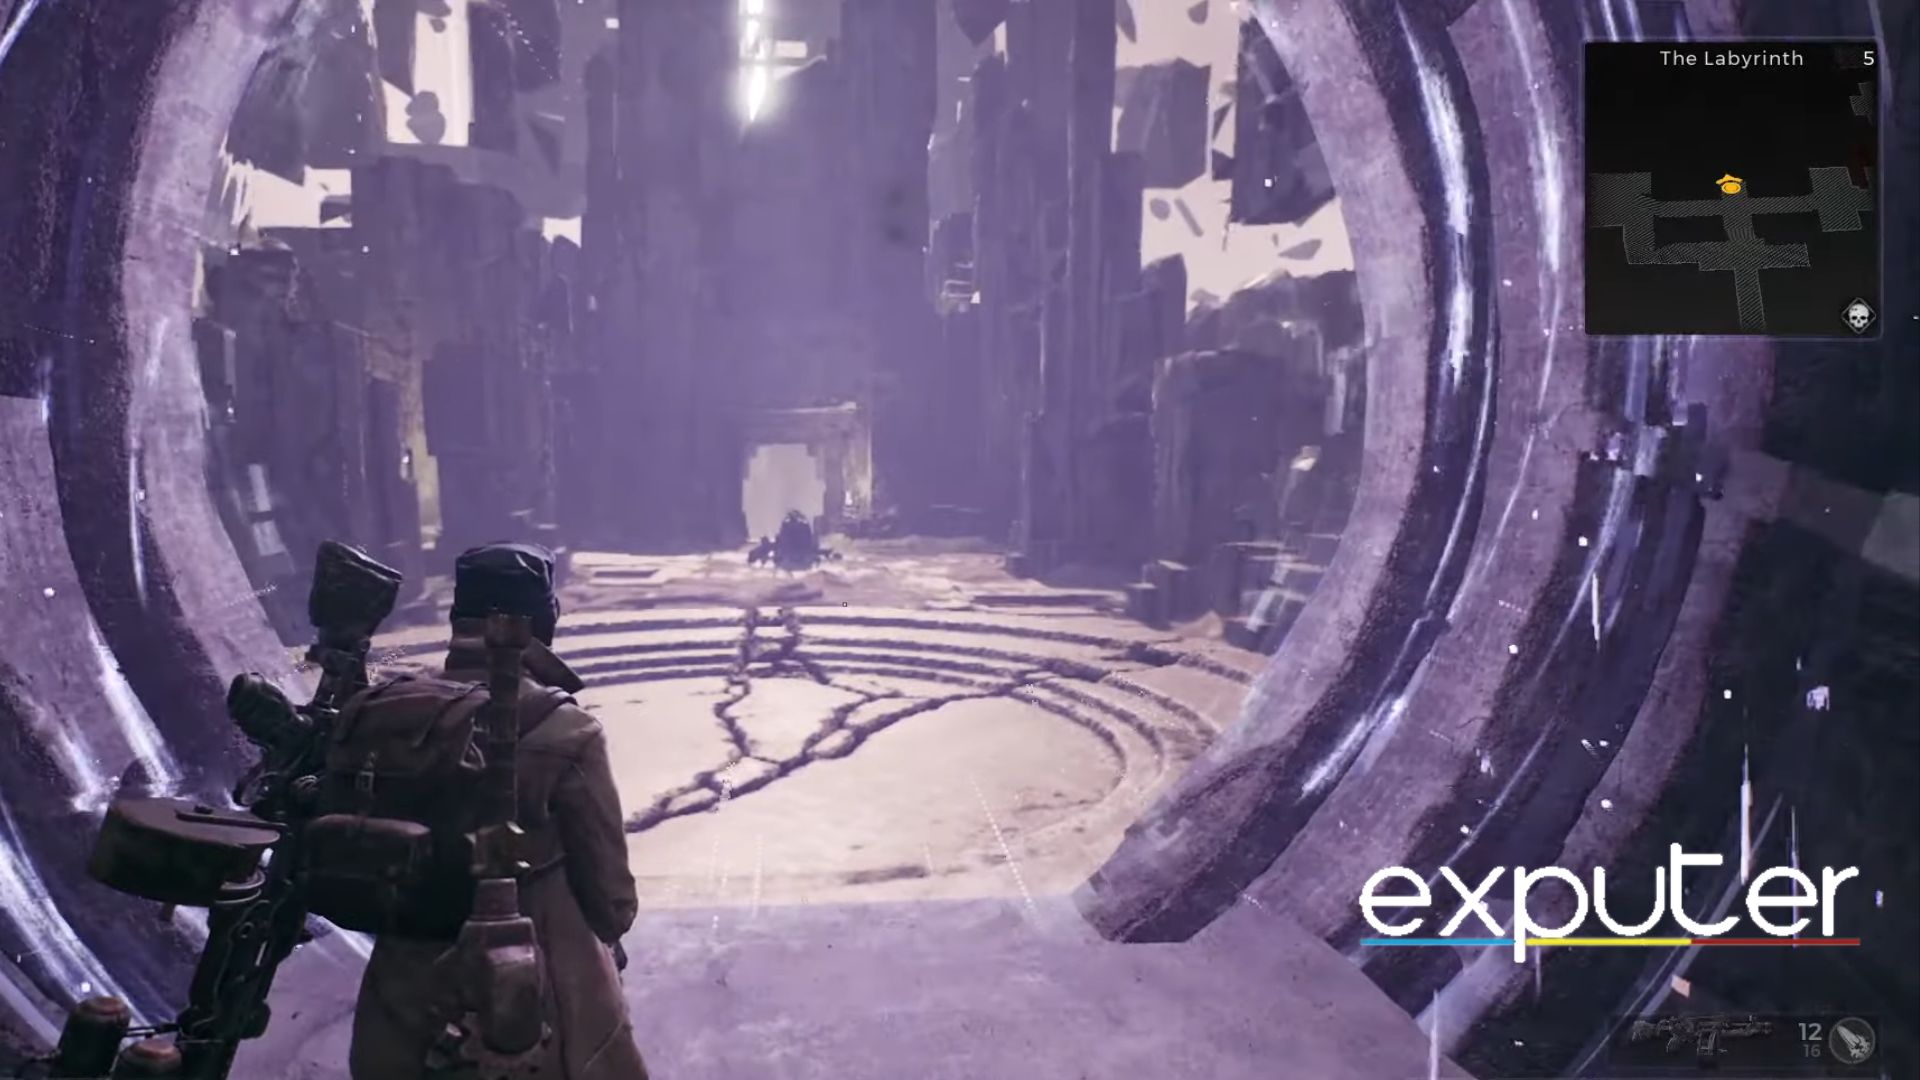
- This mystical portal leads to various destinations, altering its path every five seconds.
- As shown in the image, you must identify the right environment to land in safely.
- Beware, for the other destinations are fraught with peril, leading to certain doom.
- Exercise caution upon landing, as the ground beneath may crumble, urging you to swiftly leap to the opposite platform upon teleportation completion.
This portal takes you to the Colleseum Of Ruin, where you can collect the Master Portal Key after defeating a mini-boss.
Secrets Within The Fourth Portal
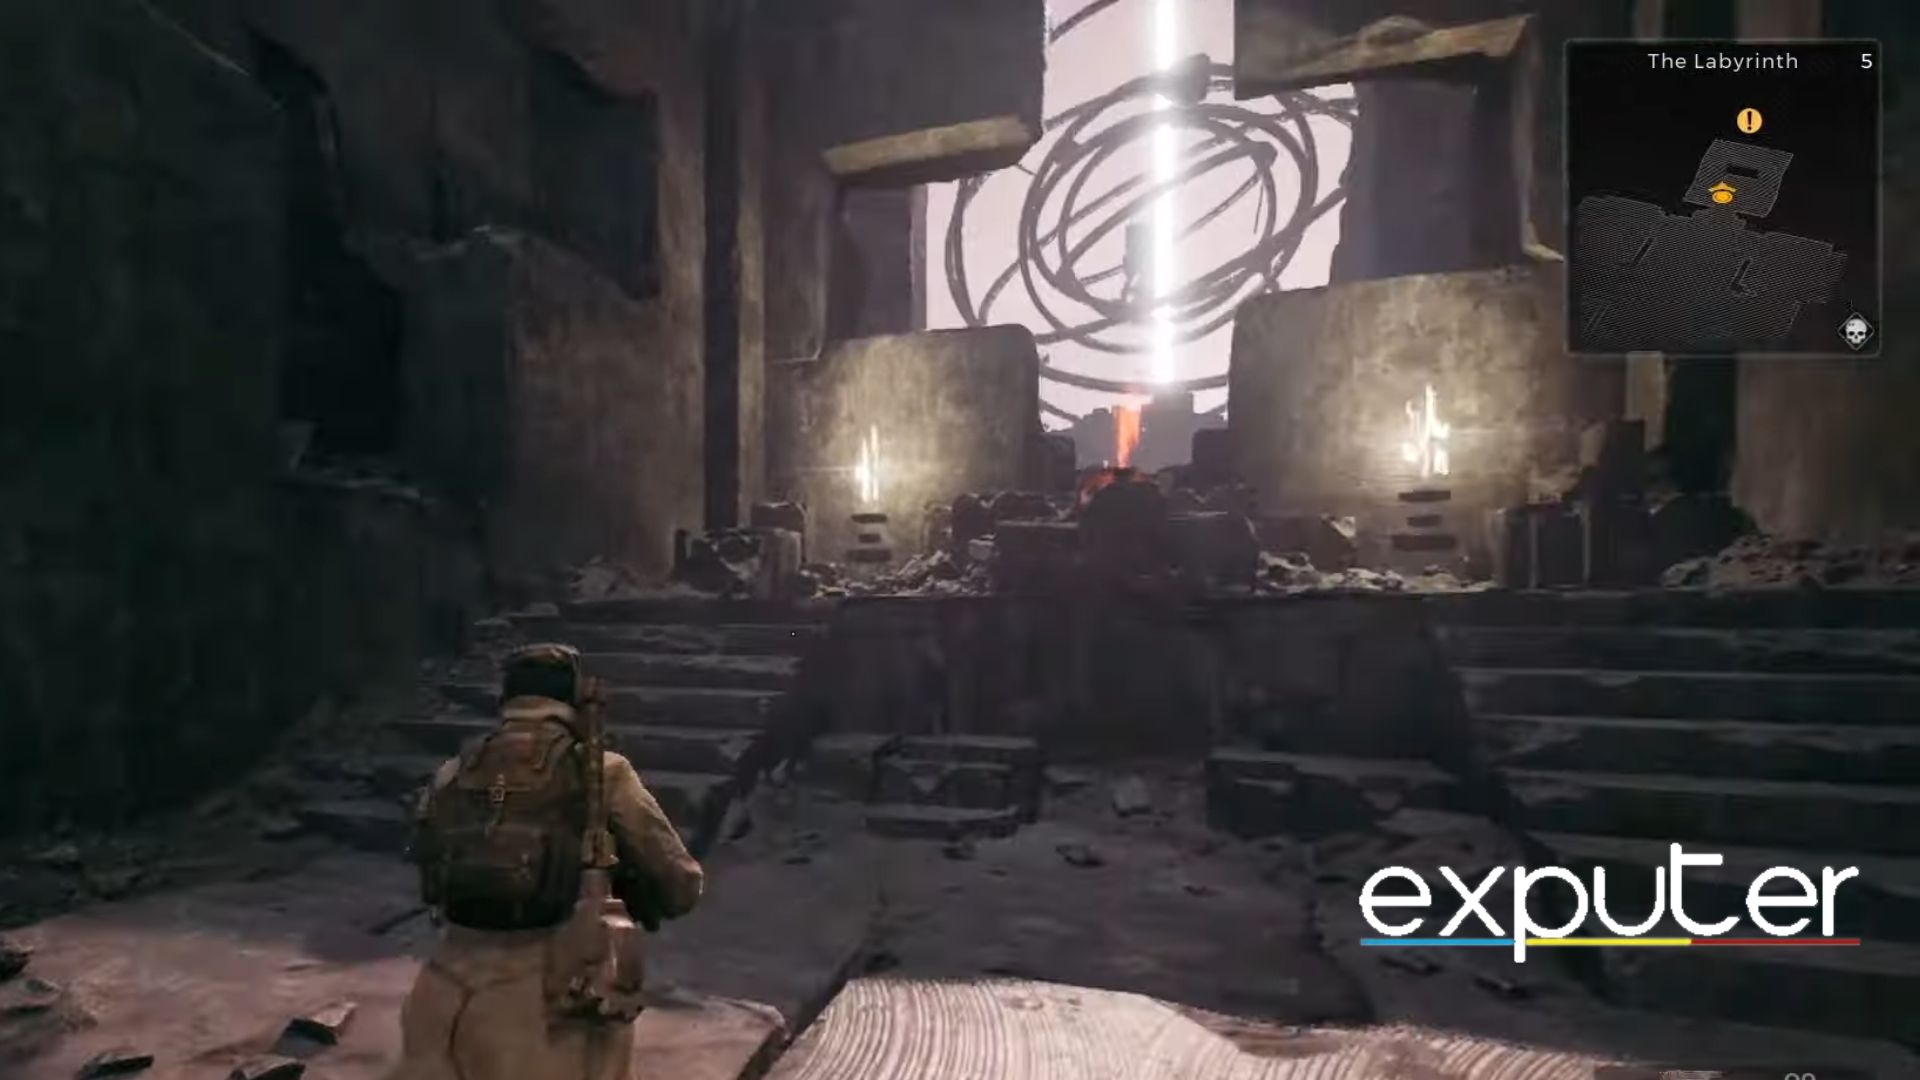
After landing successfully in the Colleseum Of Ruin, you should notice that this is yet another checkpoint that you just activated. Beyond the checkpoint, you should see a blurry door, usually an indicator of a boss room. Once you enter the room, you will notice the music being pumped up, indicating a big fight upcoming, but as you look around the room, there is no enemy in sight.
Tips To Defeat The Labyrinth Waves
If you are having difficulty defeating the waves, here are some tips I would suggest:
- Run around to find ammo drops around the area to regain some bullets.
- Heal regularly to avoid an unexpected death from unpredictable damage.
- Each wave will increase in difficulty, so don’t let your guard down.
- You need to defeat all the waves until the white orb sucks all the stones blocking your path to advance.
- Make sure the Traveller has enough power level and armor sets equipped to deal with the enemies.
That is until the final wave. Things start to get somewhat difficult on the last wave, where an Elite golem will spawn. It isn’t that big of a deal if you just shoot at it from a distance, though. Good luck with the waves; may the force be with you.
Master Portal Key & The Way Back
- With the path open, find the Master Portal Key glowing in red at the room’s center.
- Return to the stone pedestal room.
- Go right from the checkpoint instead of using the broken unique portal.
- Enter the regular portal in the room to reach the third checkpoint.
- Continue forward, ignoring the unique portal again, and head right to the previously unlocked shortcut.
- Deal with enemy spawns, turn left, and you’ll reach your destination: the stone pedestal. Use the Master Portal Key on the device and jump through the new portal.
- This area is where the main boss, The Labyrinth Sentinel, awaits. Pass another checkpoint before entering the boss room, where a cutscene awaits.
The Keeper is pivotal in battling the Root’s spread and preventing a catastrophic reality collapse in Remnant 2 Labyrinth. Your journey involves navigating mysteries, unlocking shortcuts, and facing formidable adversaries.
Best of luck in your Remnant 2 journey!
Up Next
Thanks! Do share your feedback with us. ⚡
How can we make this post better? Your help would be appreciated. ✍