The Division 2 Best Settings For Maximum Performance

These settings I have listed will significantly improve your performance, fasten your PC and Improve FPS in Division 2.

Tom Clancy’s The Division 2 is really great; you get to play plenty of modes, the graphics are fantastic, the map of New York City is very detailed, and the combat system is realistic, but knowing the best settings for it can make the difference in optimization to run it smoothly on your PC!

Key Takeaways
  • Division 2 does not have the best performance, and you might experience crashing or stuttering issues.
  • Ensure your PC meets these minimum specs: Nvidia GeForce GTX 670 GPU, Core i5-2500K CPU, and 8 GB RAM.
  • Create a PC restore point before making changes.
  • Update Windows and enable Game Mode.
  • Close unnecessary background apps and disable fullscreen optimization.
  • Nvidia users: Update GPU drivers, add The Division 2 to the Nvidia Control Panel, and adjust settings.
  • Disable triple buffering and V-Sync, and set virtual reality pre-rendered frames to 1.
  • For optimal in-game graphics, select the highest refresh rate, enable reduced latency, and DX12 renderer.
  • Turn off V-Sync and frame rate limit, set the resolution scale to 100%, and follow the rest of the guide’s settings.

Meet Requirements

Make Sure Your PC Specifications are at least on Par or above the Minimum System Requirements:

Tom Clancy’s The Division 2 System Requirements (Minimum)

  • CPU: Core i5-2500k / AMD FX-6350
  • CPU SPEED: Info
  • RAM: 8 GB
  • OS: Windows 7 / 8 / 10
  • VIDEO CARD: 2 GB AMD Radeon R9 270 / Nvidia Geforce GTX 670
  • PIXEL SHADER: 5.0
  • VERTEX SHADER: 5.0
  • DEDICATED VIDEO RAM: 2048 MB

Lastly, create a restore point because often readers mess with the wrong settings, and then they aren’t able to revert the changes. System Restore is always beneficial, and backup is critical.

  1. Open Start > Create A Restore Point. The Division 2 Best SettingsNow, Click on Create a Restore Point, give it a name, and click on create.
  2. You are on the safe side. Now, start with the methods below.

Update Windows 10

The first checklist ensures that Windows 10 is updated to the latest version. The latest version of Windows is always better than the previous one. That is to say, it brings better support for hardware, enhances the previous features, and fixes many bugs from the older build that might have caused issues to your Division 2.

  1. Head over to search > Type and Open Check For Updates.
  2. Afterward, Click on Check For Updates. If new updates are available, you can download them and install them later. In my case, the updates are downloaded, and Windows asks permission to install them.

Enable Game Mode

The way Game Mode works is quite simple. Firstly, it prioritizes your game application above all others. Therefore allowing it to squeeze the most power out of the hardware. Secondly, It also closes any other irrelevant application that is taking a huge percentage of power.

  1. Open Start > Type and Open Game Mode.The Division 2 Best Settings
  2. Drag the slider, and Game Mode is enabled.

Enable Ultimate Performance

The Ultimate Performance is actually a power plan that changes the way your PC works. The default settings of Windows 10 involve a lot of power-saving options that aren’t exactly helpful when playing games. With Ultimate Performance, you remove all the barriers and allow the Hardware to Run at its full potential.

The plan isn’t available by default, so we must create its entry. Hang on with me.

  1. Open Start > Type Windows PowerShell.
  2. Under Windows PowerShell, Paste This Code.
powercfg -duplicatescheme e9a42b02 -d5df -448d -aa00 -03f14749eb61

If the operation was successful, a message will appear mentioning Ultimate Performance.

Afterward, Open Start Again > Search for Edit Power Plan.

Now Click on Power Options.

Afterward, you should be able to see Ultimate Performance in your Power Options. Simply choose the plan and exit. In case, it didn’t work, you can try again by pasting the same code in Command Prompt.The Division 2 Best Settings

Disable Hardware Acceleration

Once we are done prioritizing our game above all applications. We now must disable Hardware Acceleration. That is because, with Hardware Acceleration, some applications run more efficiently and do fancy things like offloading resources differently, which is totally unnecessary.

  1. Open Search > Type and Click Discord.The Division 2 Best Settings
  2. Proceed to Settings > Apparency > Disable Hardware Acceleration and Allow Discord To Restart.The Division 2 Best Settings

Afterward, we’ll disable it in the browser

  1. Open Google Chrome > Click on the three dots on top right-hand corner > Settings.
  2. Disable “Use hardware acceleration when available,” and you are all set.

Disable Enhance Pointer Precision

Not only does Enhance Pointer Precision Impact your gameplay by consistently changing DPI. It also has a negative impact on your performance because it is always making use of the CPU and Memory to help change mouse sensitivity.

  1. Open Search > Mouse Settings > Additional Mouse Options.
  2. Head over to Pointer Options Tab > Disable Enhance Pointer Precision.

If you have been playing The Division 2 with this feature enabled. I’ve to say once you disable it, you will get better and more consistent at the game. On top of that, you will also see FPS Increase, which is our priority in this guide.

Clean Temp Files And Perform Disk Cleanup

Above all, we must ensure there are no Temp Files and any leftover material in our Drive where Division 2 is installed. These temp files aren’t any good, and they can slow down your drive. Most of these files are bug reports, Crash logs, and sometimes they also happen to have virus-infected files.

Here you can wipe out the Temp Files and perform a Disk Cleanup.

  1. Open Start > Search and Open Run
  2. In Run, Enter %temp% and click ok
  3. Once the folder is opened. Press Control + A on your keyboard to select all. Right-click any file and delete them altogether.
  4. Afterward, go to my Computer and Right Click The Drive where Your Division 2 Is Installed.


Disable Focus Assist And Game Bar

While Playing Division 2. You’ll notice that there are all sorts of notifications and sounds popping up. Well, these notifications are from Xbox Game Bar, which usually tells you that a recording or screenshot has been taken.

Consequently, all sorts of notifications are harmful and can impact your performance in Division 2. Now in order to get High FPS and Best Performance In Division 2. We must disable Focus Assist and Game Bar Notifications.

  1. Open Start > Search For Game Bar Settings > Open ItThe Division 2 Best Settings
  2. Now Disable Everything In-Game Bar And Captures Tab. Do not mess with game mode, because we want it to stay enabled.The Division 2 Best Settings
  3. Go Back to Start Once Again and Search for Focus AssistThe Division 2 Best Settings
  4. Chose whatever sounds best for you. I’d recommend turning it completely off. Although it’s up to you.

Like Game Bar Notifications. There is the Uplay Overlay that has a similar impact. We can also disable this for further optimization.

  1. Open Uplay > Settings
  2. Under General, Disable in-game overlay, Cloud Save, and Game Invites. Display FPS Counter won’t make a huge difference, but you can certainly disable it as well.

Now that you are done with these tweaks. You won’t get any more of those notifications while playing Division 2. Secondly, you won’t have dozens of notifications piling up in your task center, and your PC will run flawlessly.

Remove Unncesary Services and Applications

Now, other than making sure that there are no overlays and notifications while playing games. We also have to ensure that there are no Applications running in the background while playing The Divison 2.

  1. Go To Start > Search and Open Run.
  2. Under Run > Write msconfig and click ok.
  3. Further, head to the services tab. Checkmark Hide All Microsoft Services, because we don’t want to disable Important ones.
  4. Now from the new list, disable all the third-party services that you feel are unnecessary.
  5. Afterward, Hit Apply and Click on Startup. Under Startup, Disable all the applications that have medium to high priority.
      Apart from Improving FPS In Division 2. It’ll also improve boot times.

After making the changes. You will now see a massive FPS increase In Divsion 2. Moreover, Performance will be more consistent, and unnecessary applications won’t impact your gameplay.

Disable Full-Screen Optimization

With Full-Screen Optimization enabled, your Game runs in this weird Hybrid Mode that isn’t known to give you good performance. However, Microsoft says games run better when full-screen optimization is enabled. Disabling this will increase FPS, disable pop-ups, and allow you to minimize the game instantaneously.

  1. Go To My Computer > Find your Tom Clancy’s The Division 2 Folder. By default, it is in Program Files (x86) > Ubisoft > Ubisoft Game Launcher > Games > Tom Clancy’s The Division 2.
  2. Now, Right-click on TheDivision2.exe > Compatibility > Disable fullscreen optimization. The Division 2 Best Settings
  3. Hit Apply and Now Click on Change high DPI settings. Afterward, checkmark Override high DPI scaling behavior. Further, select Application in Scaling Performed by.

Set High Graphics Card Priority For Division 2

Like Game Mode, which sets high CPU prioritizes for the game’s application. The Graphics Profile is no different, and it actually sets high graphics priority for that specific application. Once you have added The Division 2 profile in the settings. You will get Maximum performance from your GPU while playing the game.

Here is how you can set it to maximum performance:

  1. Open Start > Search and Open Graphics Settings.
  2. Add The Division 2 To the List, and while adding, select High Performance.

Disable Unnecessary Animations

The last method in our Windows 10 checklist is the enhancement of Animations. While you use Windows 10, you will notice the very fluent and fantastic animations.

Here is how you can disable unnecessary animations to increase FPS in Division 2:

  1. Open Start > Search and Open “Type Advanced System Settings”
  2. Click on Settings Under Performance > Visuals Effects. Select Custom and only enable “Show Thumbnails Instead of Icons and Smooth Edges of Screen Fonts”.The Division 2 Best Settings
  3. Afterward, Click Apply and OK.

Best Nvidia Settings For The Division 2

Anisotropic Filtering Application-Controlled
Antialiasing FXAA Off
Antialiasing Gamma Correction Off
Anti-Aliasing Mode Use Global Settings
Transparency Antialiasing Off
CUDA – GPUs All
Maximum Pre-Rendered Frames 1
Multi-Frame Sampled AA (MFAA) Off
OpenGL Rendering GPU Use Global Settings
Power Management Mode Prefer Maximum Performance
Shader Cache On
Texture Filtering – Anisotropic Sample Optimization Enabled
Texture Filtering – Negative LOD Bias Allow
Texture Filtering – Trilinear Optimization Enabled
Threaded Optimization On
Triple Buffering Off
Vertical Sync Off
Virtual Reality Pre-Rendered Frames 1

Make Sure Nvidia Drivers are Updated

New Drivers always feature the best support for the hardware. Likewise, you are guaranteed to get High FPS with the latest ones.

You can update drivers to the latest version by going to the GeForce Experience and Clicking on Check For Updates.Best Nvidia Settings for The Division 2

If you were unable to update them from here. You can go to the Nvidia site and download them from there.

  1. Once done, open Nvidia Control Panel > Manage 3D Settings > Program Settings.
  2. In Program Settings, click on Add and find wherever Division 2 is installed. By default, it is located under Disk C > Program Files (x86) > Ubisoft > Ubisoft Game Launcher > Games > Tom Clancy’s The Division 2 > Private Beta > The Division2.exe
  3. You can also change the global settings, but then it would apply to all your games.Best Nvidia Settings for The Division 2
  4. Anisotropic Filtering – Use Global Settings (Application-Controlled)
  5. Antialiasing FXAA – Off
  6. Antialiasing Gamma Correction – Use Global Settings (On)
  7. Select Global Settings once again under Anti-Aliasing Mode
  8. Transparency Antialiasing – Use Global Settings (Off)
  9. CUDA GPUs – All
  10. Maximum Pre-rendered frames – 1
  11. Multi-Frame Sampled AA (MFAA) – Off
  12. OpenGL Rendering GPU – Use Global Setting
  13. Power Management Mode – Prefer Maximum Performance
  14. Shader Cache – On
  15. Enable Texture Filtering Anisotropic Sample Optimization
  16. Allow Texture Filtering Negative LOD Bias
  17. Select High Performance Under Set Texture Filtering Quality to High Performance
  18. Enable Texture Filtering Trilinear Optimization
  19. Threaded Optimization – On
  20. Triple Buffering – Off
  21. Vertical Sync – Off
  22. Virtual Reality pre-rendered Frames – 1

Best Division 2 Settings

Video Fullscreen
Resolution Max
Refresh Rate Highest Possible
Monitor 0
ENabled Reduced Latency Yes
Enabled DX12 Renderer DX12
Graphics Quality Custom
Brightness Player’s Choice
Contrast 15
V-Sync Mode Off
Frame Rate Limit Off
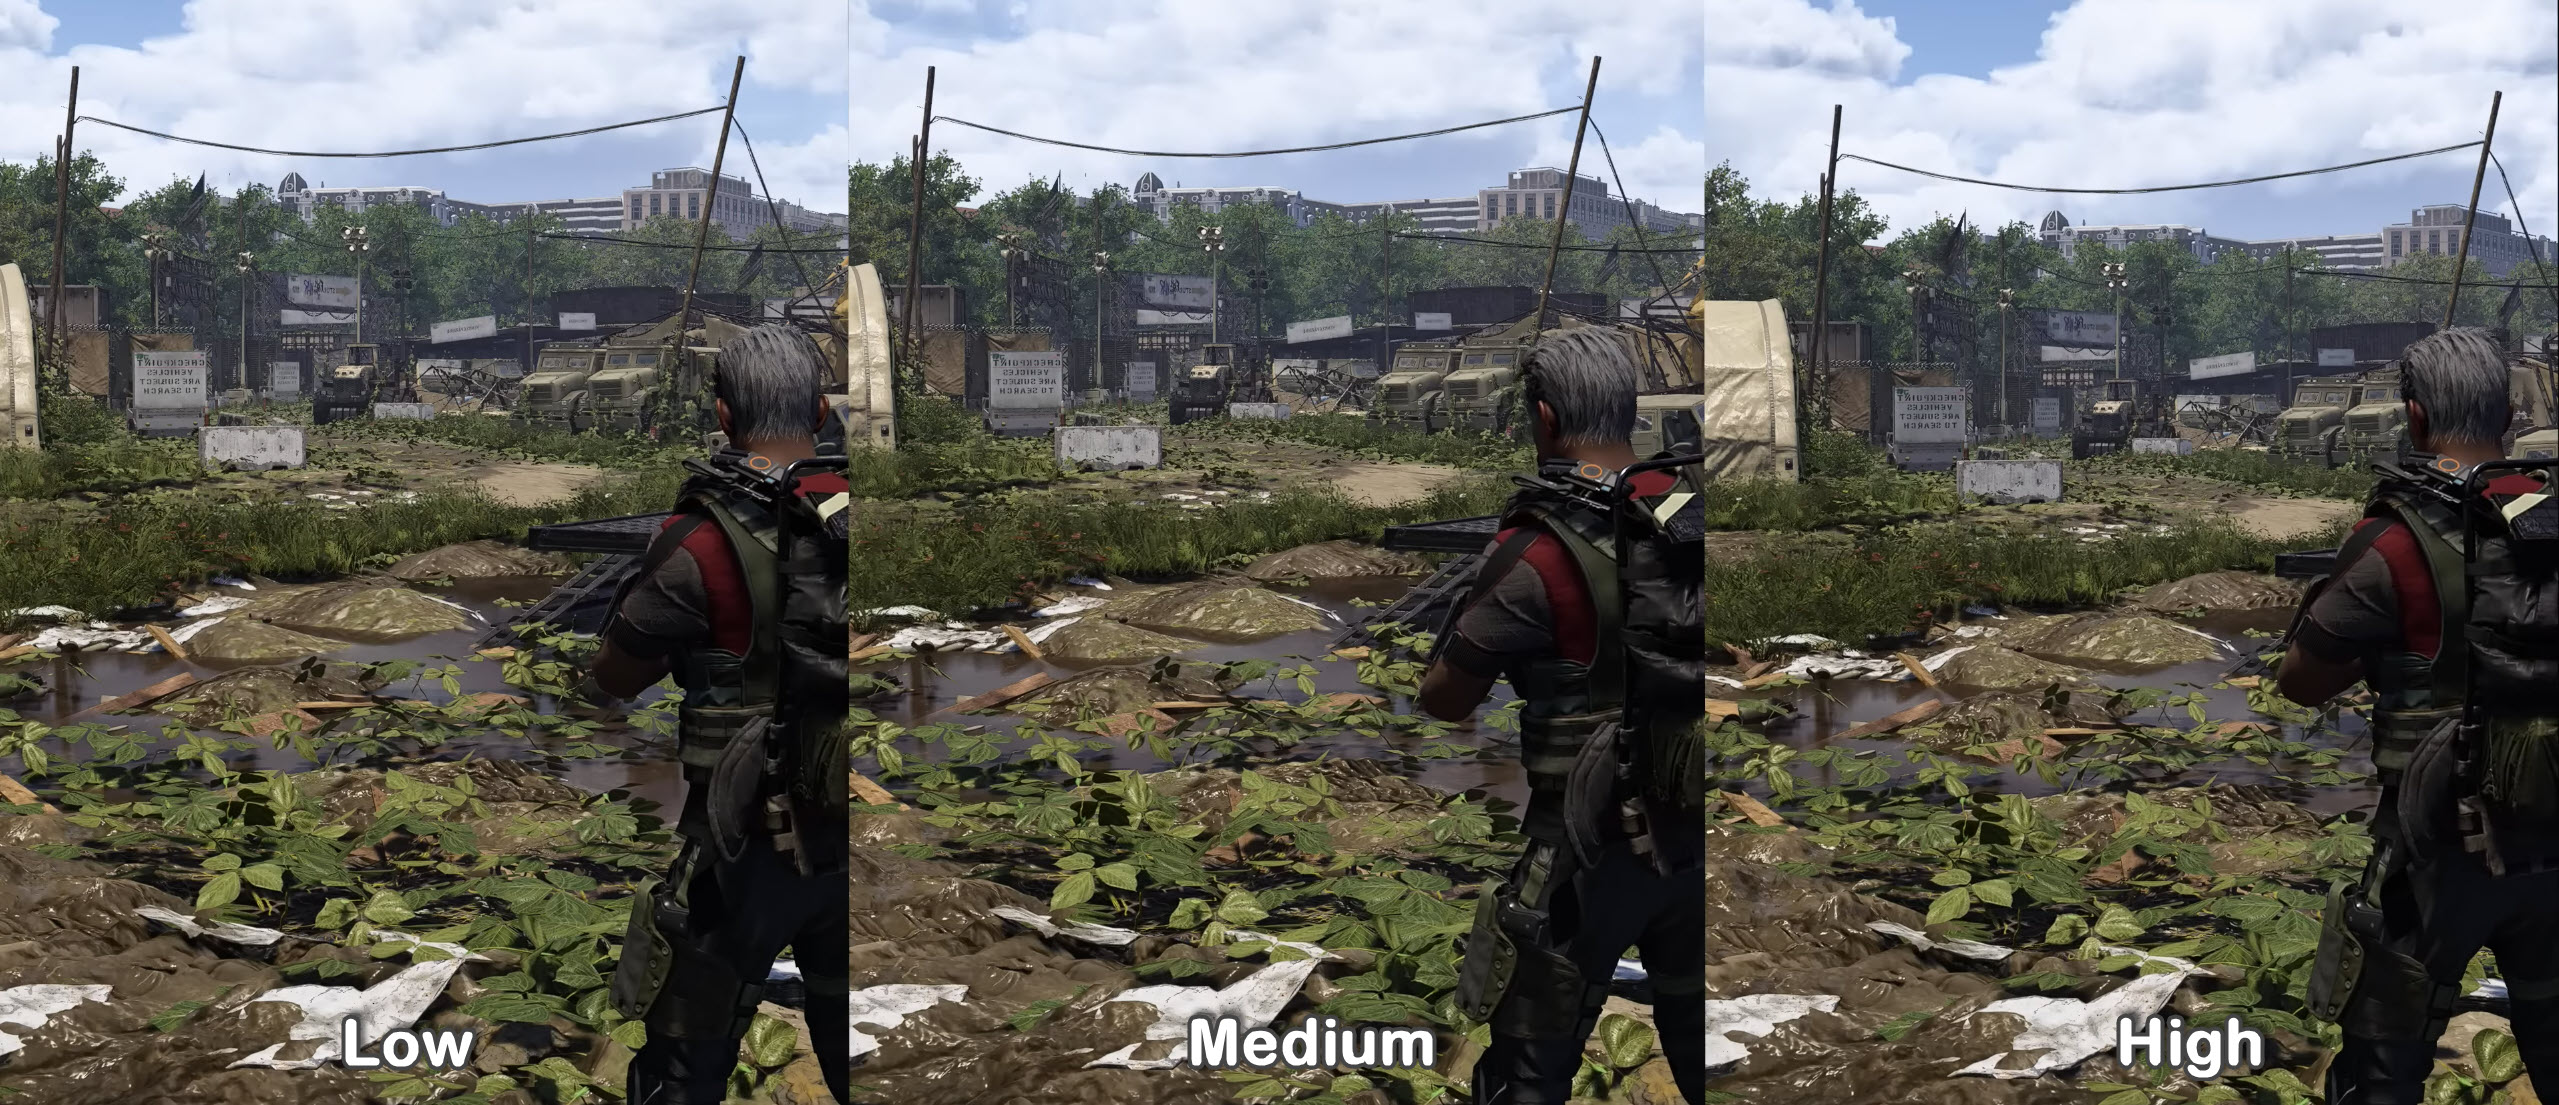
Shadow Quality Low
Spot Shadows Low
Spot Shadow Resolution Low
Contract Shadows Off
Resolution Scale 100%
Sharpening 10
Particle Detail Ultra
Volumetric Fog Low
Reflection Quality Medium
Local Reflection Quality Off
Vegetation Quality Medium
Sub-Surface Scattering On
Anisotropic Filtering 8x
Parallax Mapping Yes
Ambient Occlusion Low
Depth of Field On
Object Detail 62% / 062
Extra Streaming Distance 05
Lens Flare On
Vignette Effect On
Water Quality High
Chromatic Aberration Off
Projected Texture Resolution 512
High-Resolution Sky Textures No
Terrain Quality Medium

The final and most important step is the optimization of the Division 2 In-Game Graphics. These settings are optimized for all tiers of PC’s.

  1. Open The Division 2 > Settings > Graphics > VideoBest Settings for The Division 2
  2. Video: Fullscreen
  3. Resolution: Max (Some People Tend to Use Custom Resolution that is wide. You can go with that too, even better and High FPS)
  4. Refresh Rate: Select Max Available Value
  5. Monitor : 0
  6. Enable Reduced Latency: Yes
  7. Enable DX12 Renderer. In my personal experience, the DX12 Renderer has gotten very good. If things didn’t work out for you and Crashes started to happen. You can always switch back to DX11, but right now select DX12.
  8. After the Video, proceed to the Graphics Section and make the following changes.
  9. Graphics Quality: Custom
  10. Brightness: Personel Preference
  11. Contrast: 15
  12. V-Sync Mode: Off
  13. Frame Rate Limit: Off
  14. Shadow Quality: Low
  15. Spot Shadows: Low
  16. Spot Shadow Resolution: Low
  17. Contract Shadows: Off
  18. Resolution Scale: 100%
  19. Sharpening: 10
  20. Particle Detail: Ultra
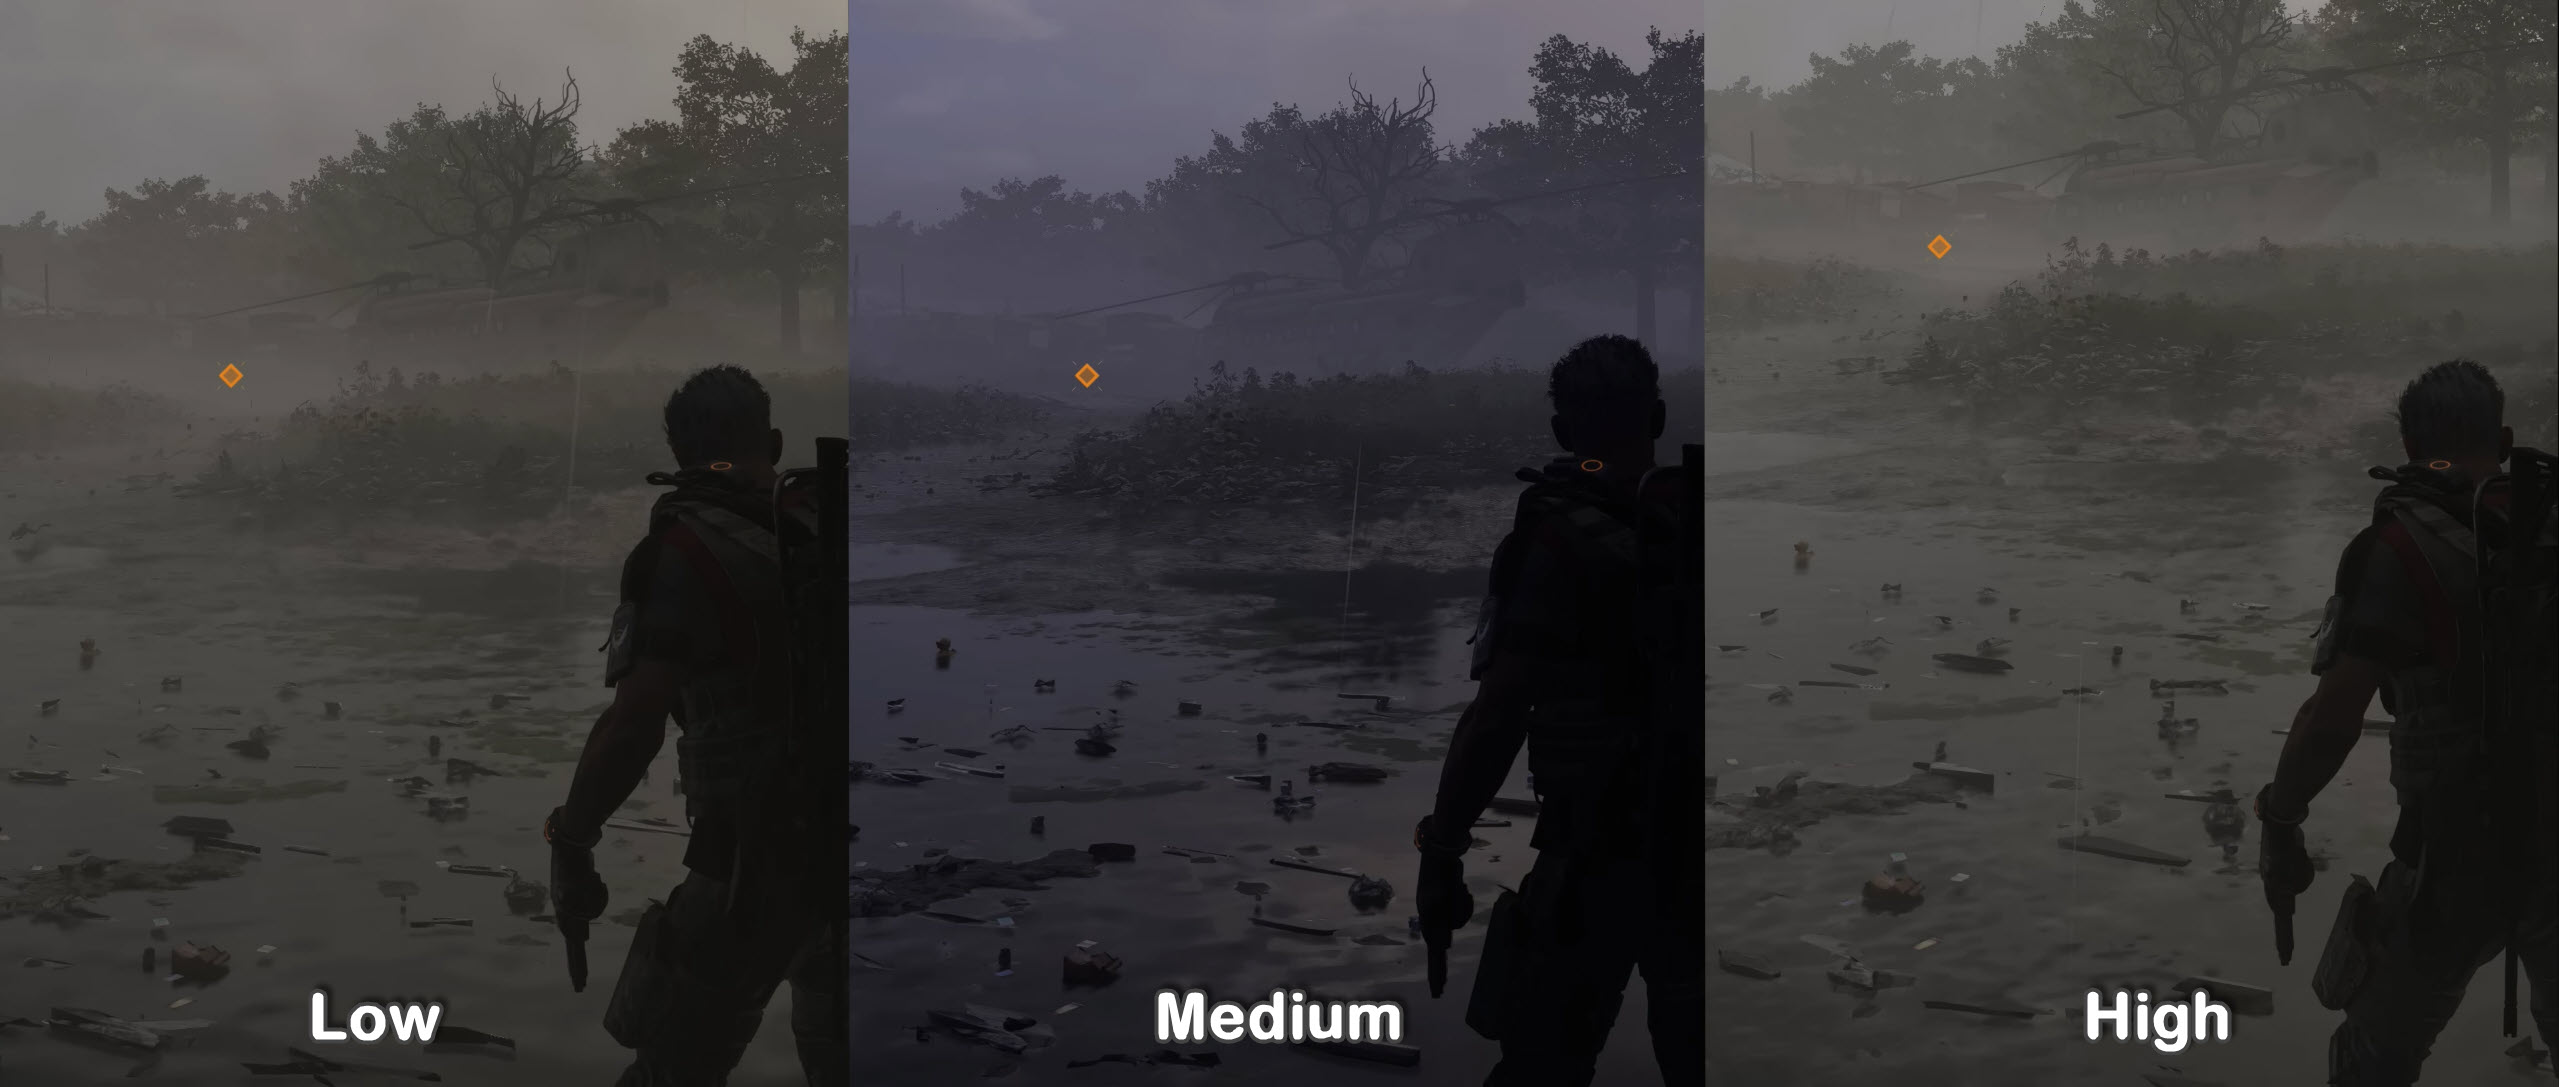
  21. Volumetric Fog: Low
  22. Reflection Quality: Medium
  23. Local Reflection Quality: Off
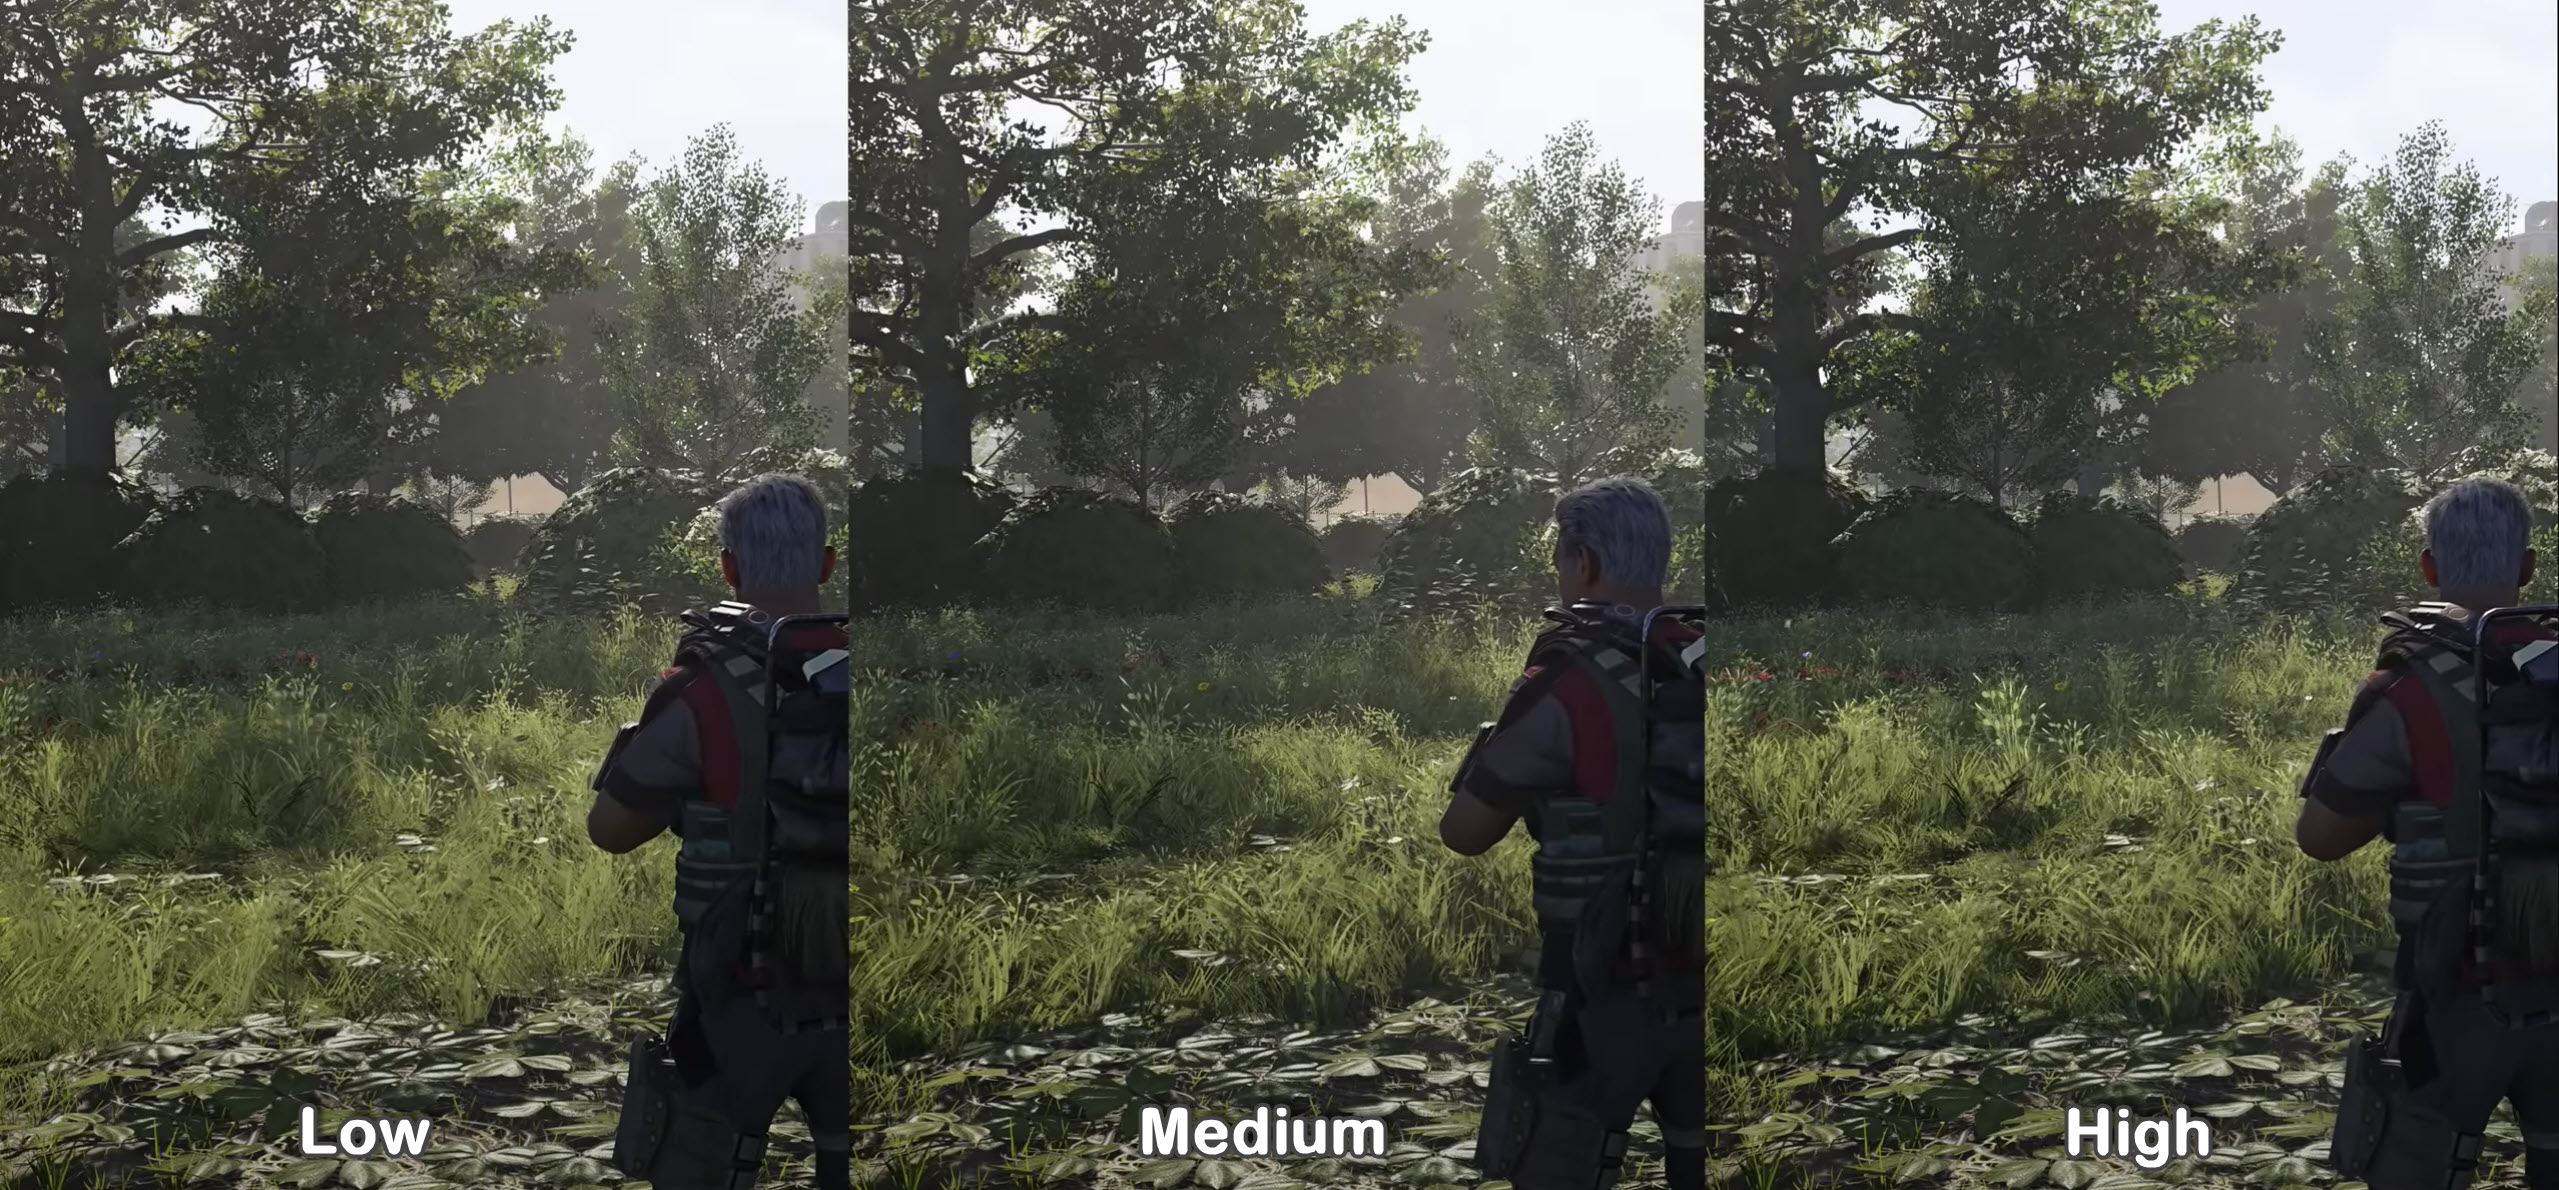
  24. Vegetation Quality: Medium
  25. Sub-Surface Scattering: On
  26. Set Anisotropic Filtering to 8x
  27. Parallax Mapping: Yes
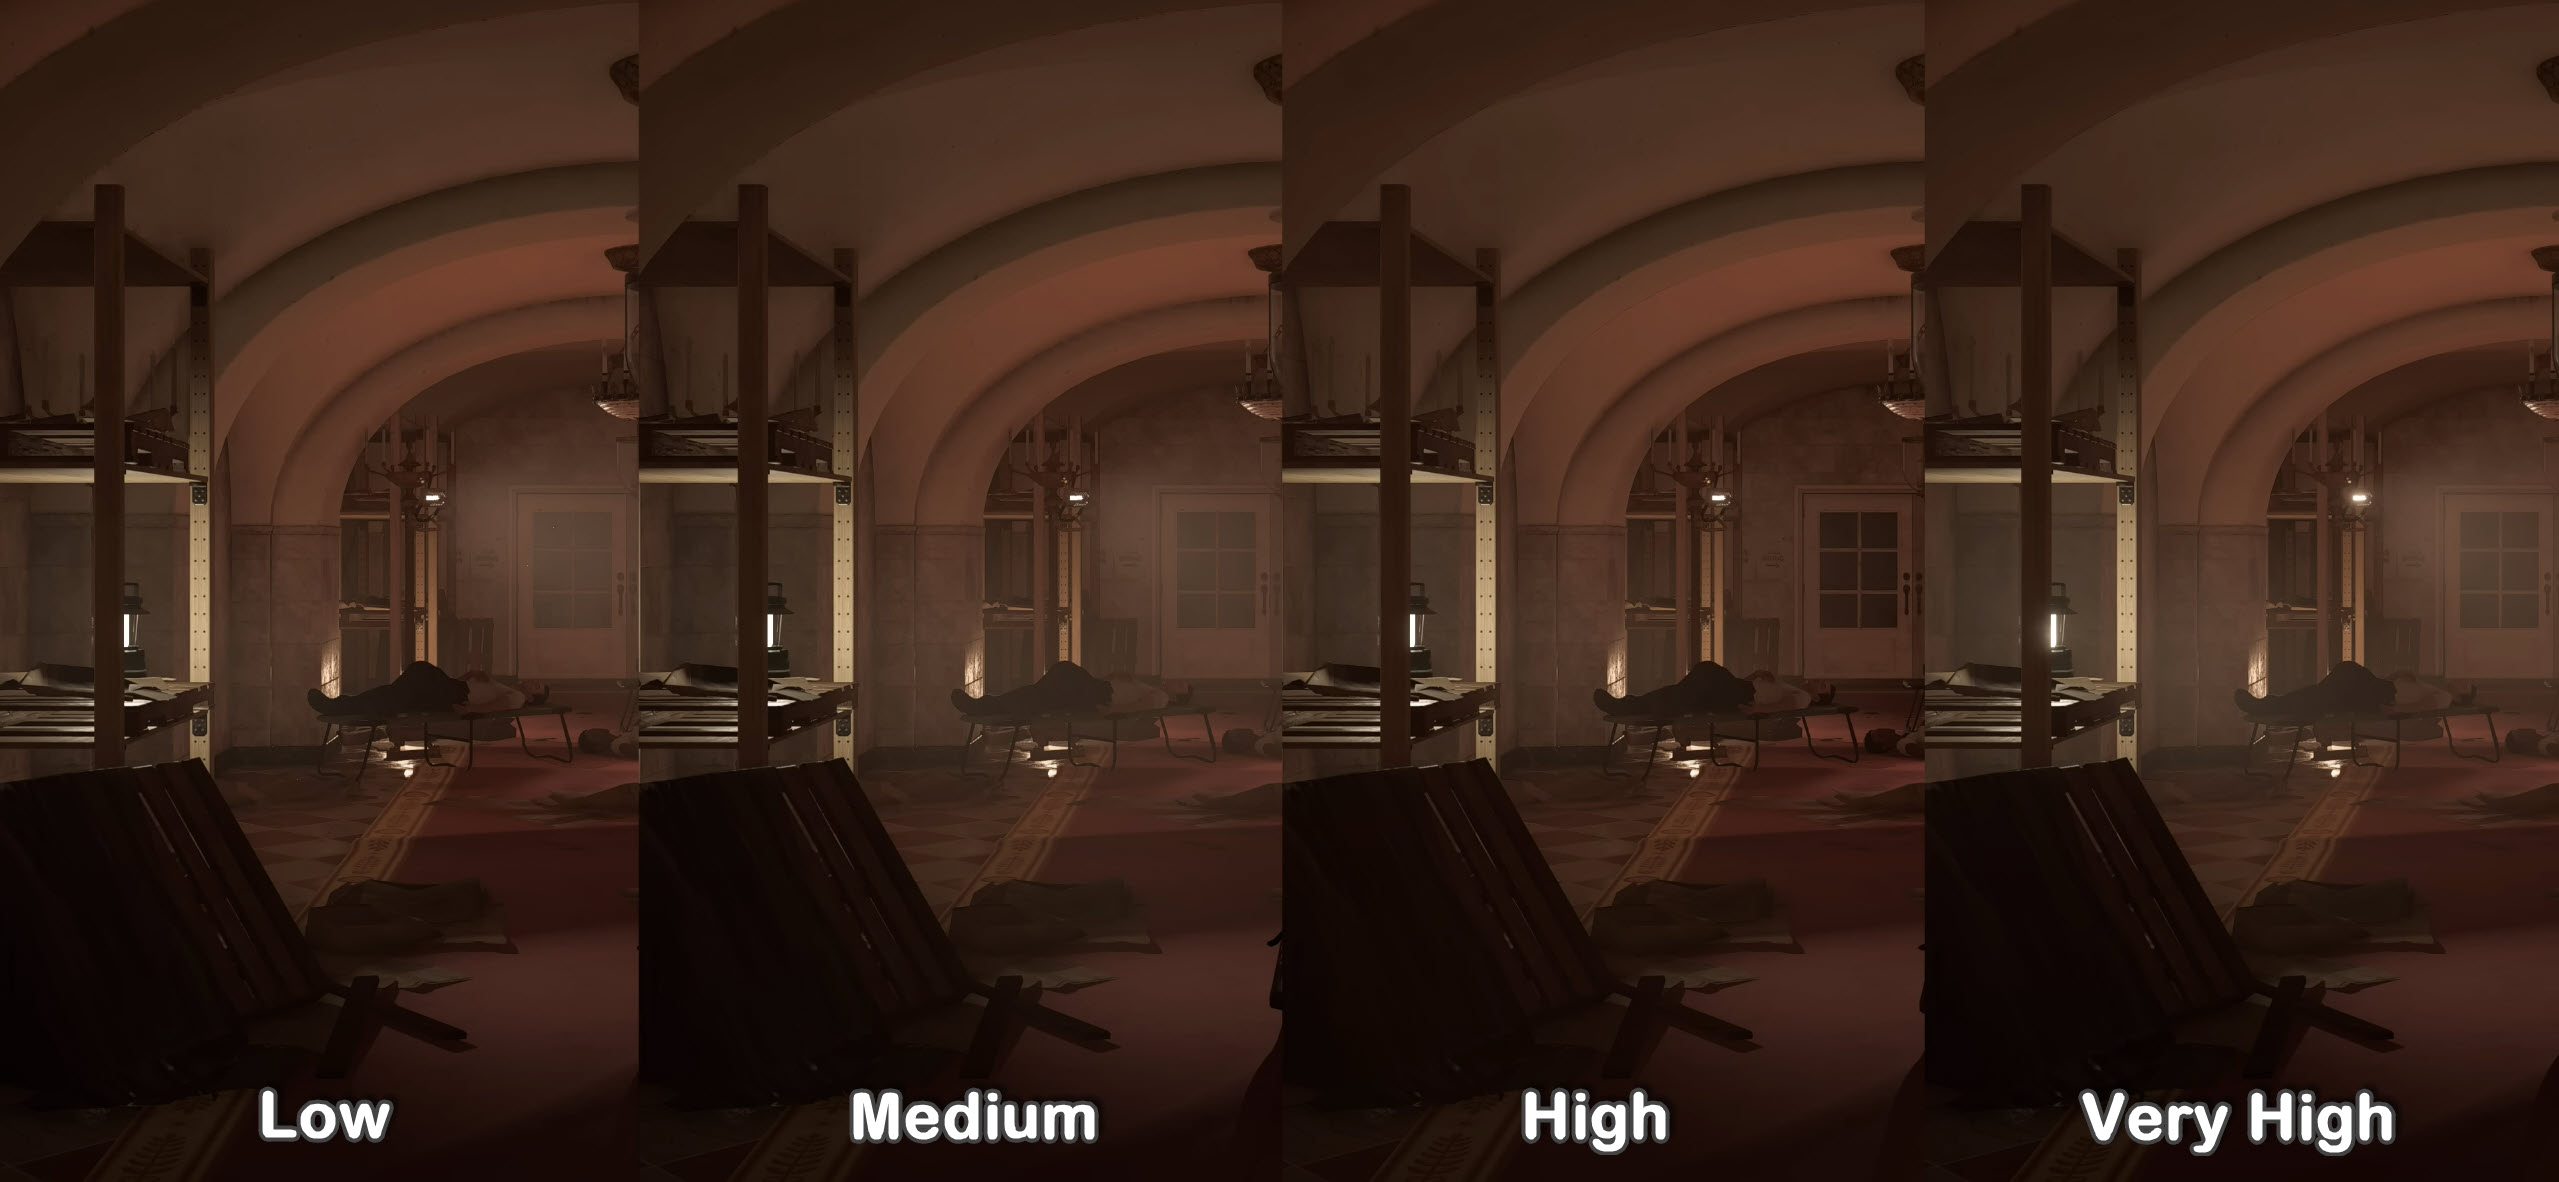
  28. Ambient Occlusion: Low
  29. Depth of Field: On
  30. Object Detail: 62% or 062
  31. Extra Streaming Distance: 05
  32. Lens Flare: On
  33. Vignette Effect: On
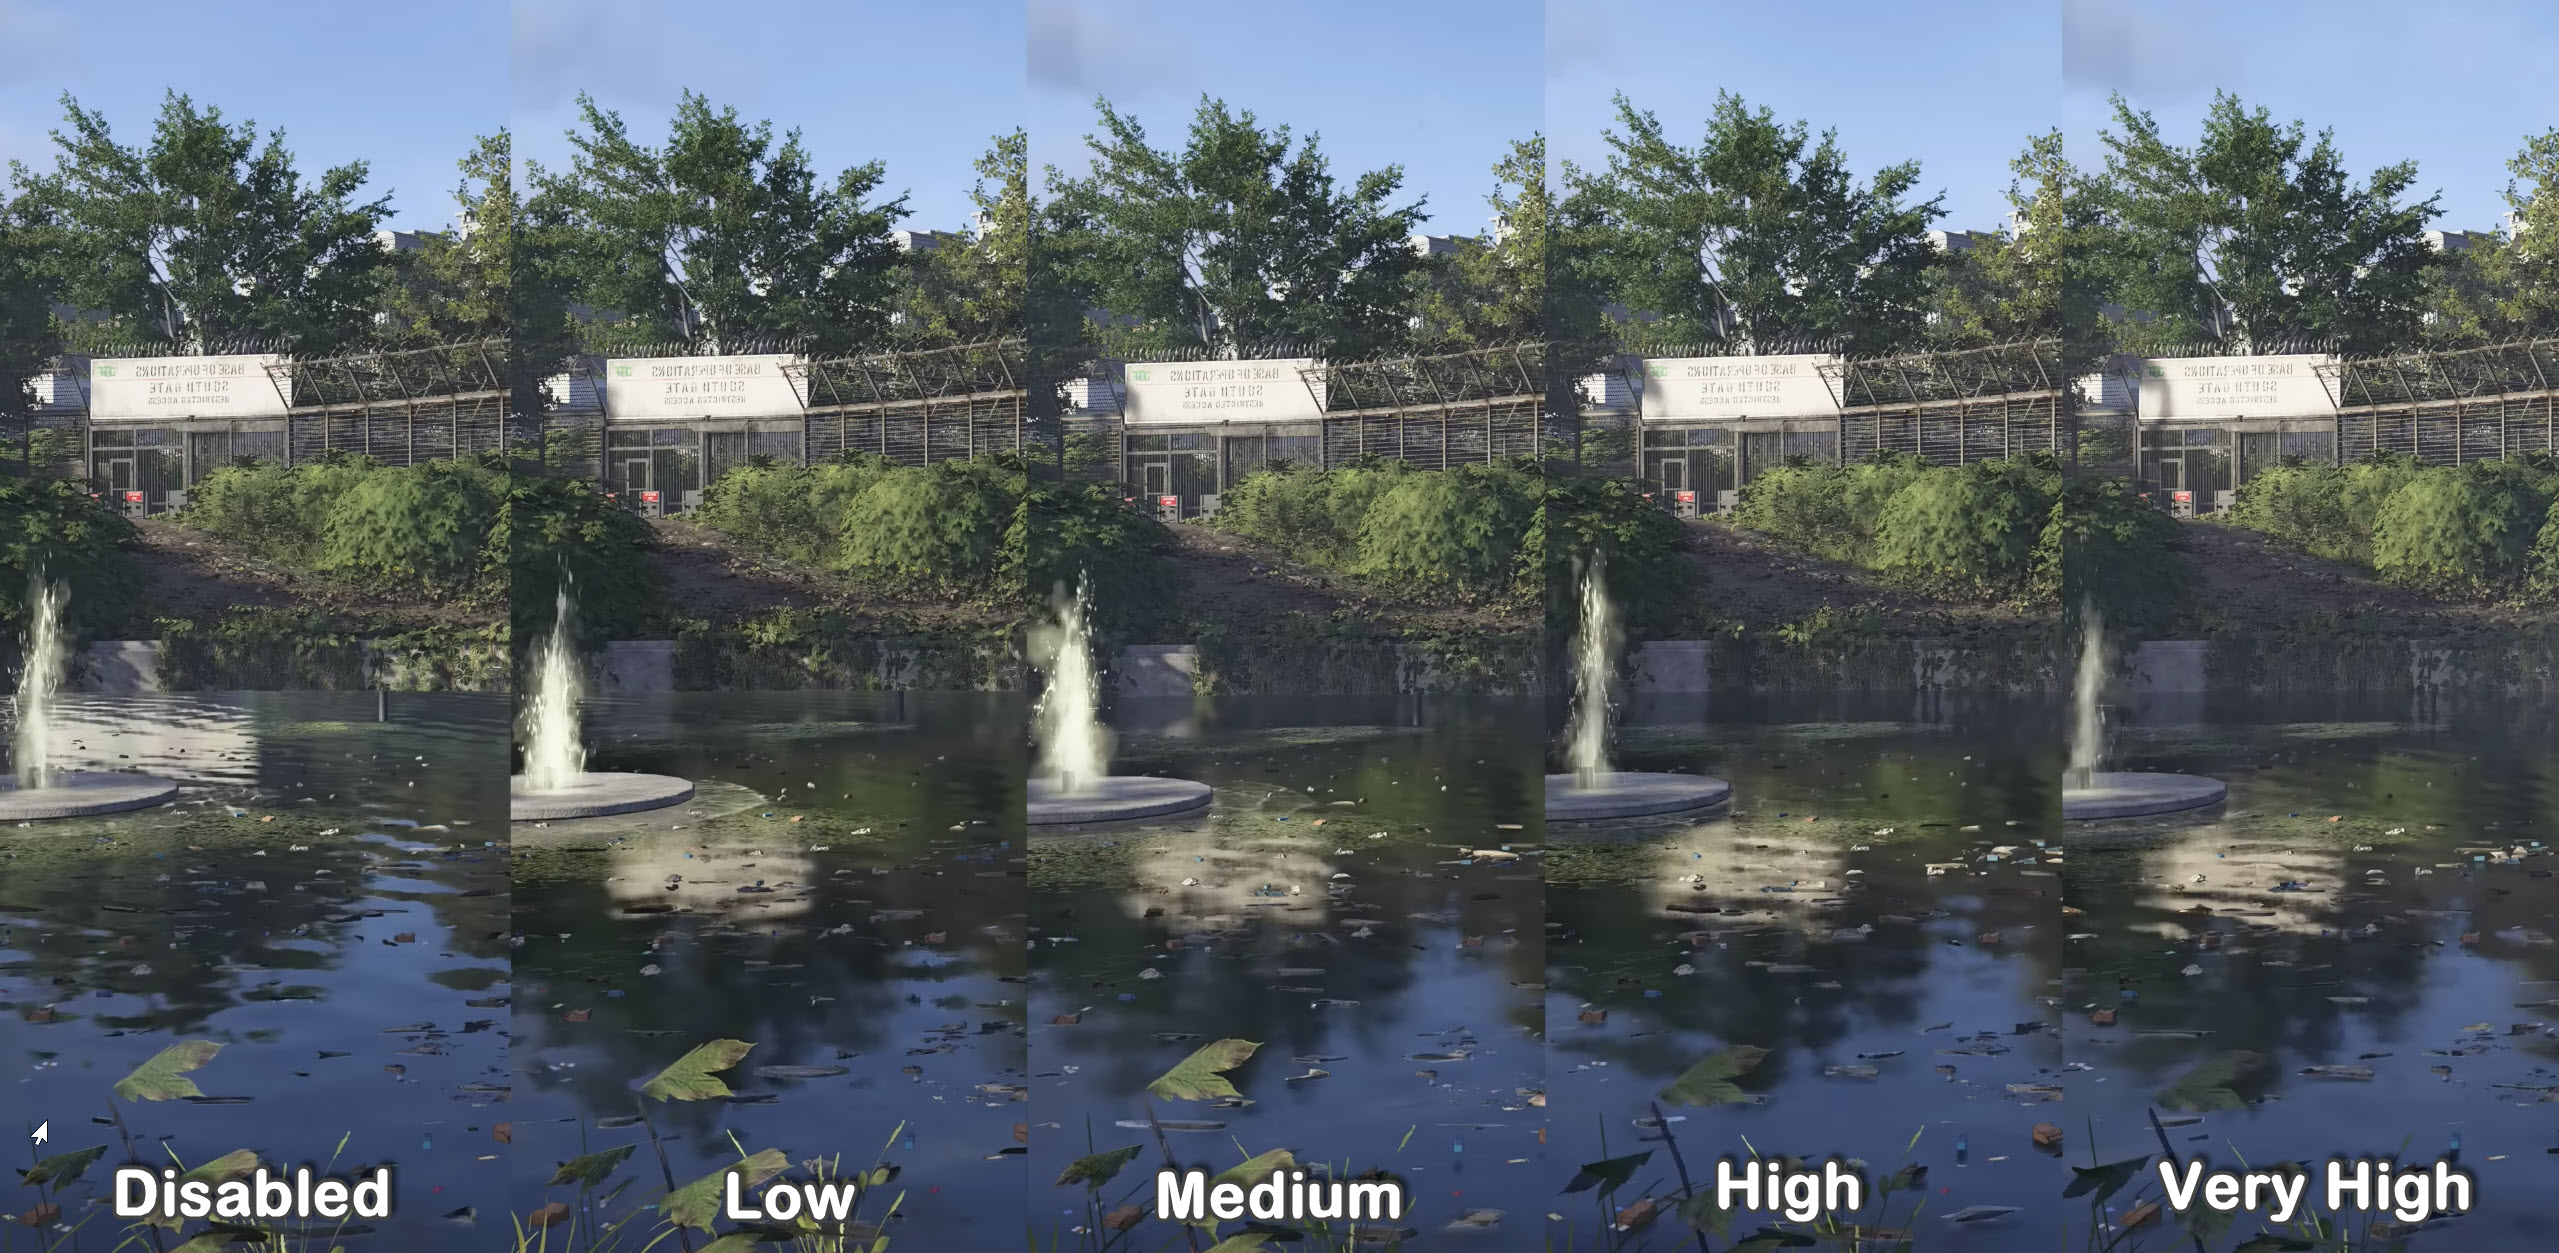
  34. Water Quality: High
  35. Chromatic Aberration: Off
  36. Projected Texture Resolution: 512
  37. High-Resolution Sky Textures: No
  38. Terrain Quality: Medium

If you have followed all the methods and settings I’ve listed above. I’m very confident that you will be seeing tremendous FPS Increase, Ultimate Performance, Smooth Gameplay, and Sharp Visuals. Along with that, you will also get bonus features that include Fastening and Increasing the Responsiveness of Windows 10.

Did you find this article helpful?

Thanks! Do share your feedback with us. ⚡

How can we make this post better? Your help would be appreciated. ✍

Feedback From Our Fellow Gamers

Thank you! Went from 90FPS avg to 120FPS avg! Awesome guide.

big help. thank you

Thanks you
Get up-to-speed gaming updates delivered right to your inbox.

We don’t spam! Read more in our privacy policy.


Haider Khan is our error guides writer who loves to tinker around with operating systems and game files to find practical solutions to video game issues. He then crafts easy-to-follow error fix guides based on his findings. He’s also a Battlefield veteran who likes to rack up some Ws in his spare time. Learn some more about his gaming journey on his Steam profile. Experience: 3+ Years || Education: Bachelor's in Journalism || Successfully Troubleshot Over 200 Games || Mainly Covers Error Fix & Game Settings 

Related Articles