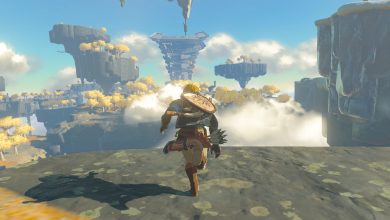
In the compelling journey of Zelda Tears of the Kingdom, The Wind Temple stands as a formidable challenge. This vast dungeon, guarded by Wind Temple Gears, provides an intricate quest of unlocking mechanisms, thereby revealing the essence of this mystical Blizzard-ridden temple.
- Tears of the Kingdom Wind Temple involves unlocking five intricate gears.
- Preparation for the Temple requires stocking essentials and understanding abilities.
- To reach the Wind Temple, you need to visit Rito Village and enlist the help of Tulin.
- Each Wind Temple gear is hidden and requires strategic unlocking.
- The first gear is near the central part of the Temple.
- The second gear lies deeper within the Temple’s structure.
- The third gear is located at the ship’s top.
- The fourth gear presents a more complex puzzle.
- The fifth gear is at the bottom of the ship.
- Upon locating all gears, players face the final boss battle against Colgera.
- The final boss battle with Colgera involves precise dodging and targeted counterattacks.
- Defeating Colgera rewards players with a Heart Container and Tulin’s support for future quests.
- Completing the Wind Temple quest opens up the opportunity for new adventures.
What Are Wind Temple Gears In TOTK?
Wind Temple Gears in Zelda Tears of the Kingdom are intricate locks in the form of large, mechanical devices located throughout the Wind Temple. These gears, which need to be unlocked using unique abilities, serve as crucial puzzle elements that challenge players to uncover the secrets hidden within the temple’s depths.
Steps For Preparation
Proper preparation is crucial for any successful dungeon crawl, and the Wind Temple in Zelda Tears of the Kingdom is no different. Here are simple steps to get ready:
- Stock Up On Essentials: Ensure you have enough healing items, arrows, and fire fruits in your inventory. It’s advisable to keep weapons that have ice-breaking capabilities too.
- Know Your Abilities: Review the functioning of abilities like Ultrahand, Ascend, and Recall.
- Familiarize With Tulin’s Power: Make sure you’re well-versed in how to use Tulin’s unique power effectively.
- Understand The Environment: Given the Blizzard surrounding the temple, you must be prepared to handle icy conditions and strong winds that could hamper your progress.
- Mastering The Glider: Embrace the strong wind gusts to carry you upward, allowing you to cross long gaps or descend to different floors.
- Lasers And Wheels: Careful navigation is required to avoid lasers and fast-spinning wheels.
- Ice-covered Surfaces: Some areas are blocked by icy surfaces, which can be cleared using Fire Fruits or the right weapon.
Directions For Reaching The Wind Temple
Finding your way to the Wind Temple requires visiting Rito Village first. Here are step-by-step directions:
- Visit Rito Village: Start your journey by visiting Rito Village.
- Recruit Tulin: Upon reaching Rito Village, you will meet Tulin, who will join your quest to investigate the giant Blizzard in the region. Tulin’s unique ability is essential for activating the turbines in the Wind Temple.
- Journey To The Wind Temple: With Tulin in your team, make your way through the Blizzard to reach the Wind Temple.
- Activate The Wind Temple: Upon reaching the temple, you and Tulin can activate it and begin the quest of unlocking the five gears to dissipate the Blizzard.
Locating All Wind Temple Gears
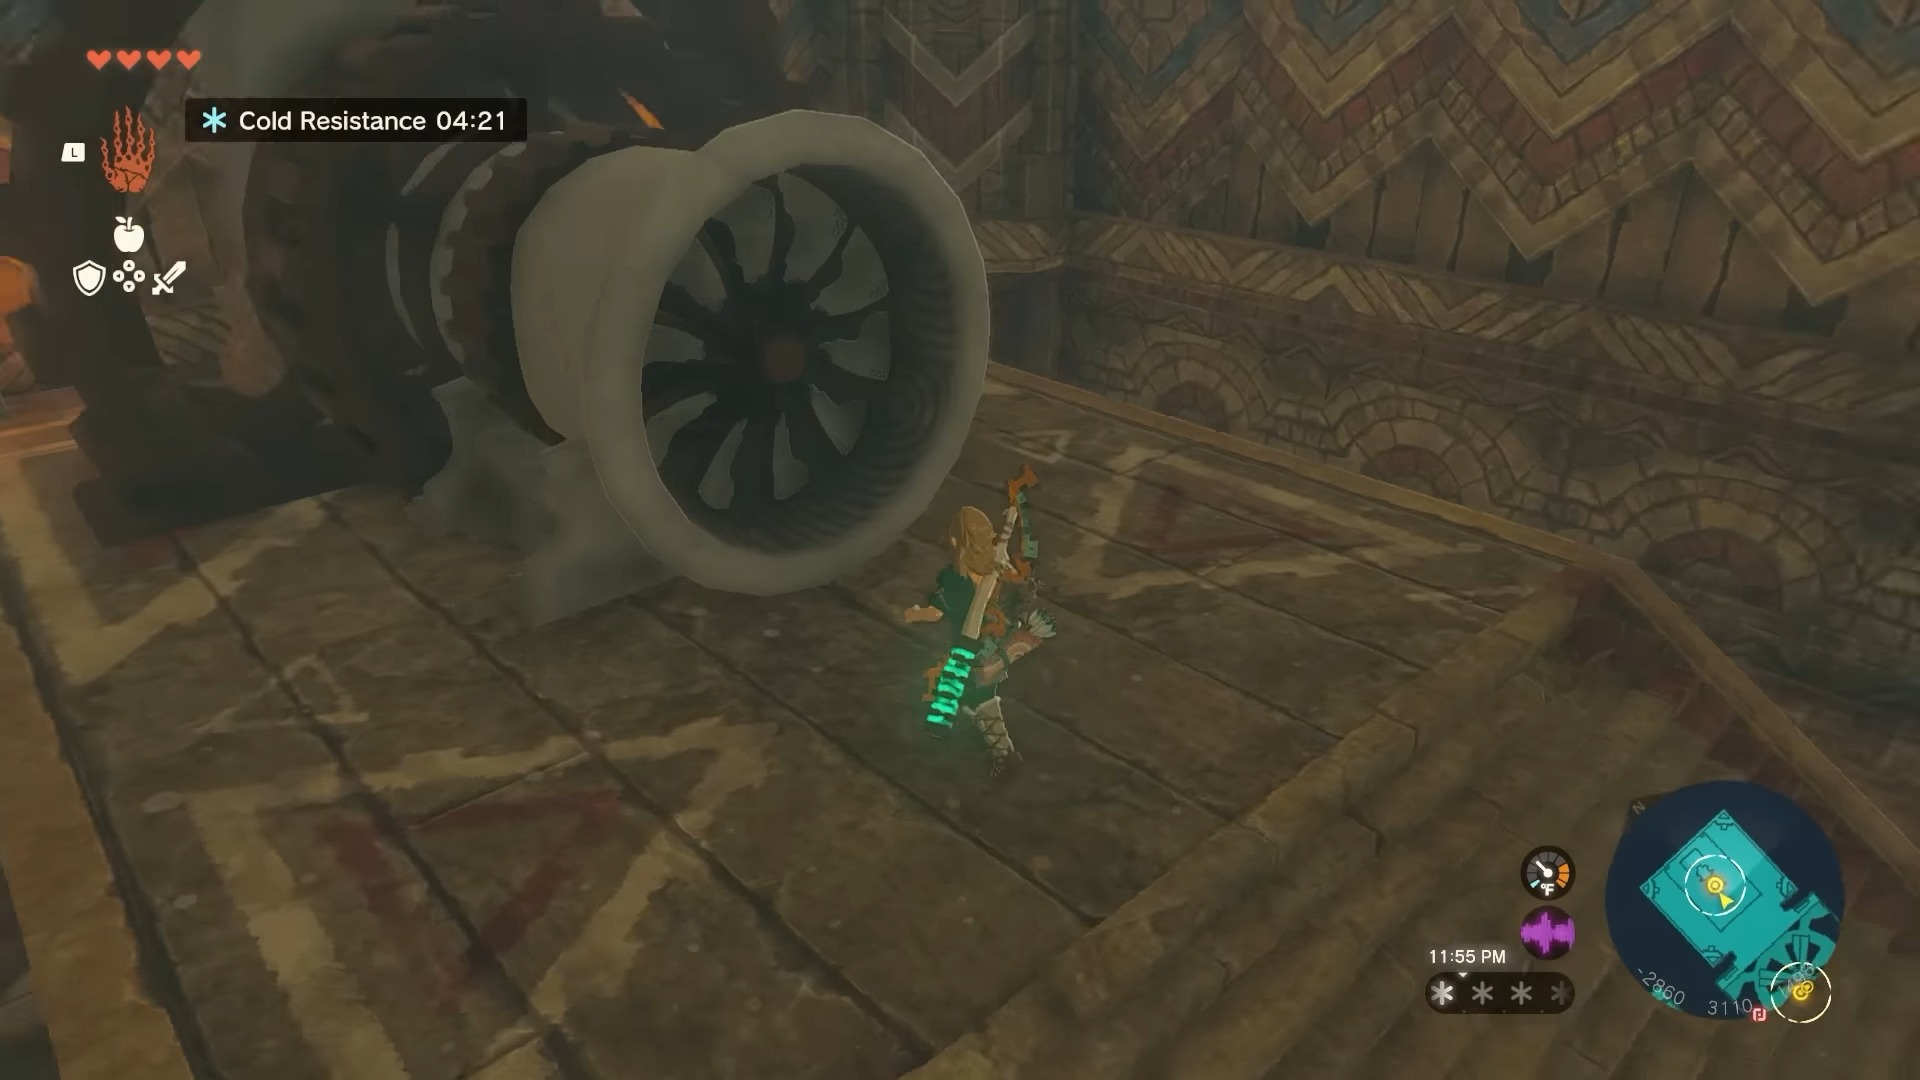
Unlocking the Wind Temple in Zelda Tears of the Kingdom revolves around locating and activating its gears. These gears are not merely scattered around but are encased in intricate puzzles. Let’s start with the first one.
First Gear
The initial gear of the Zelda Tears of the Kingdom Wind is hidden near the central part of the temple. Here are step-by-step instructions on how to reach and activate it:
- Head North: Commence from the middle of the Wind Temple and make your way to the northern part of the ship.
- Spot The Broken Lever: Pay close attention to your right, where you’ll spot a broken lever.
- Use The Ultrahand: This lever needs to be activated. Find a nearby icicle, attach it to the lever using your Ultrahand, and pull.
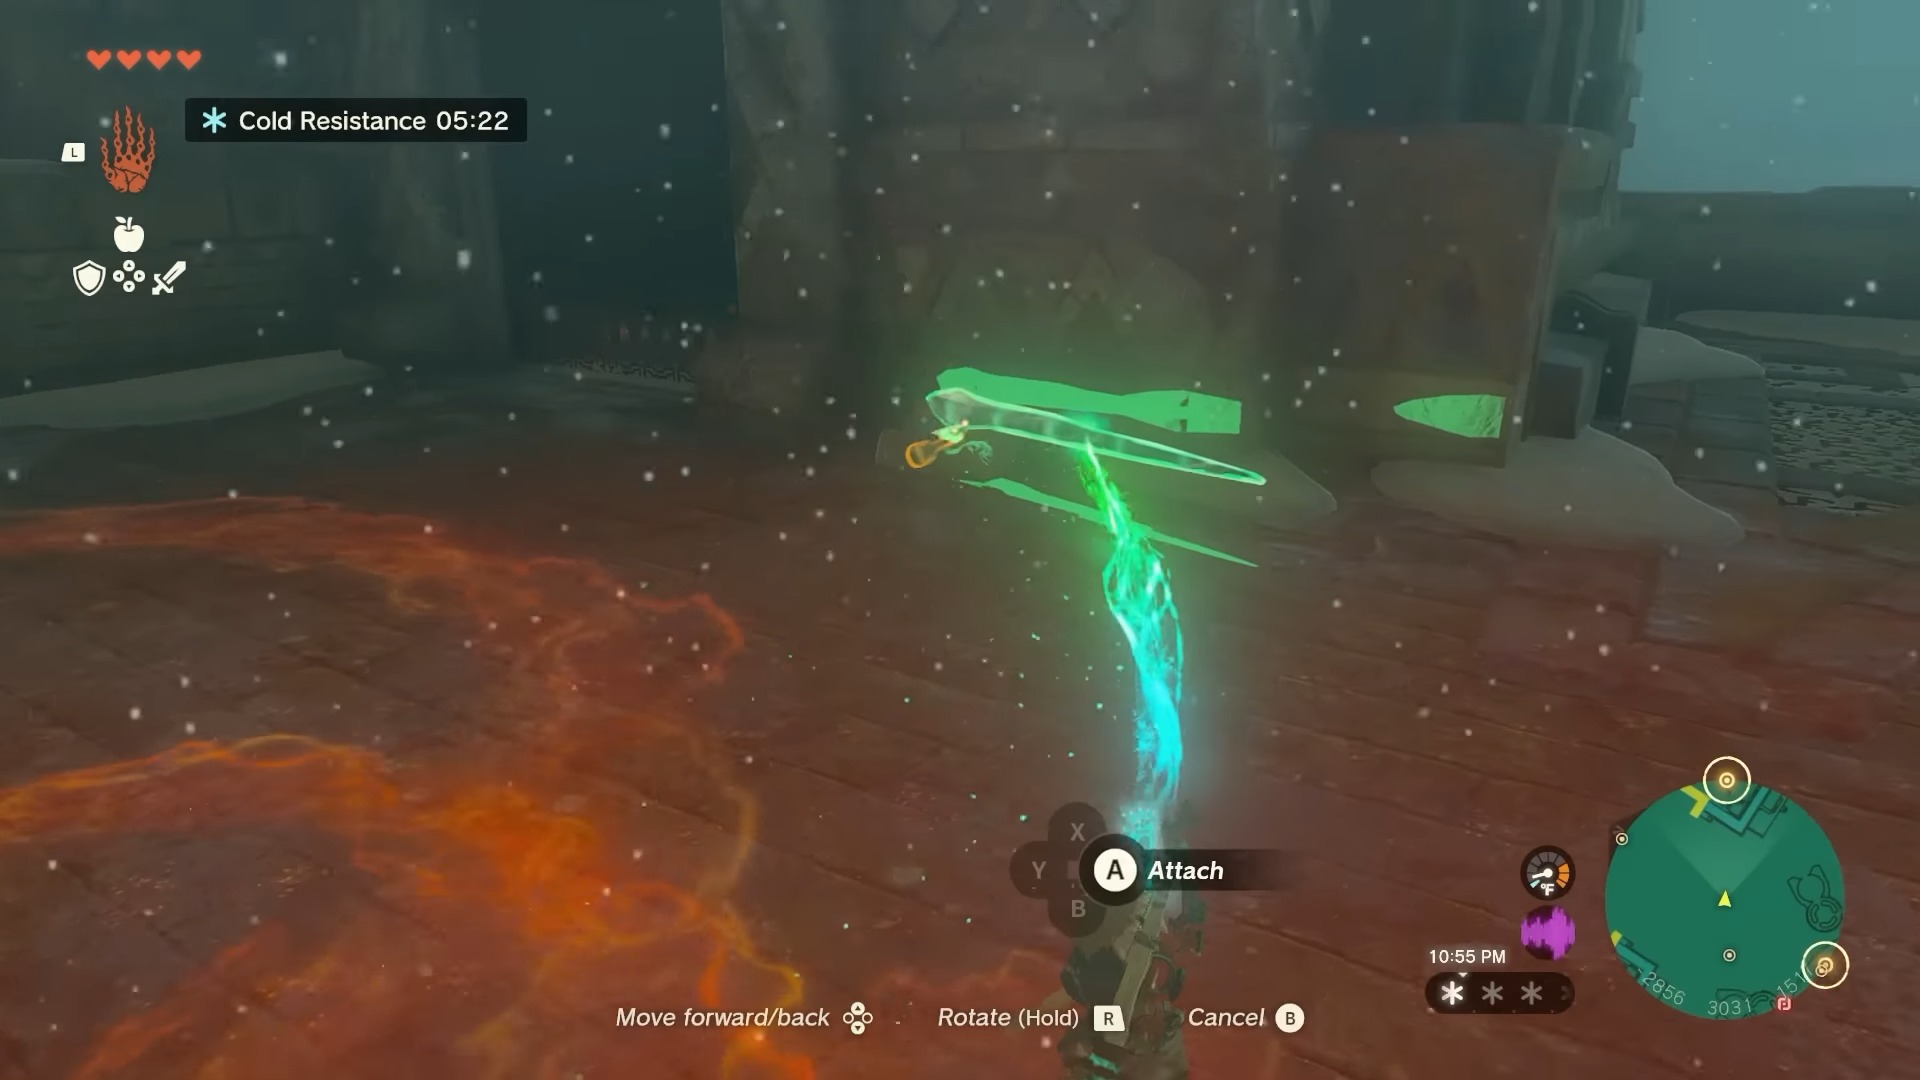
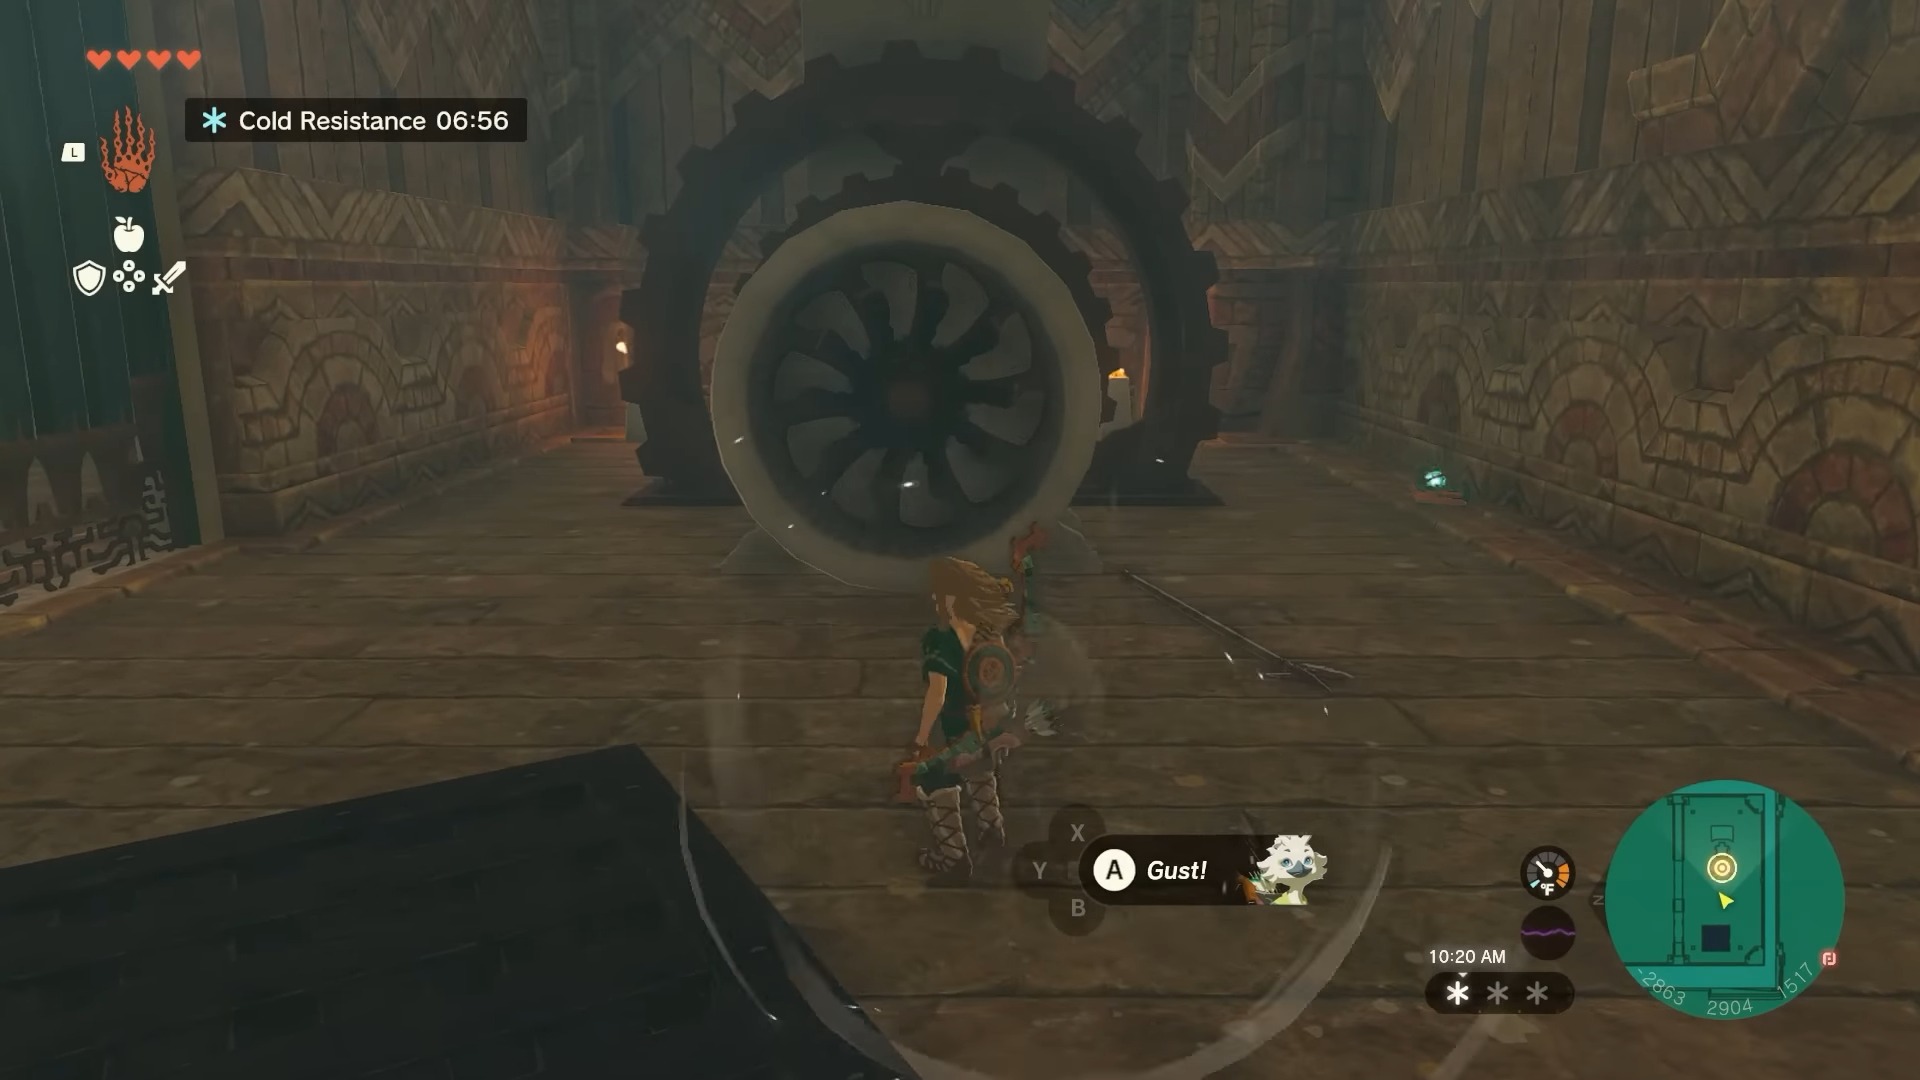
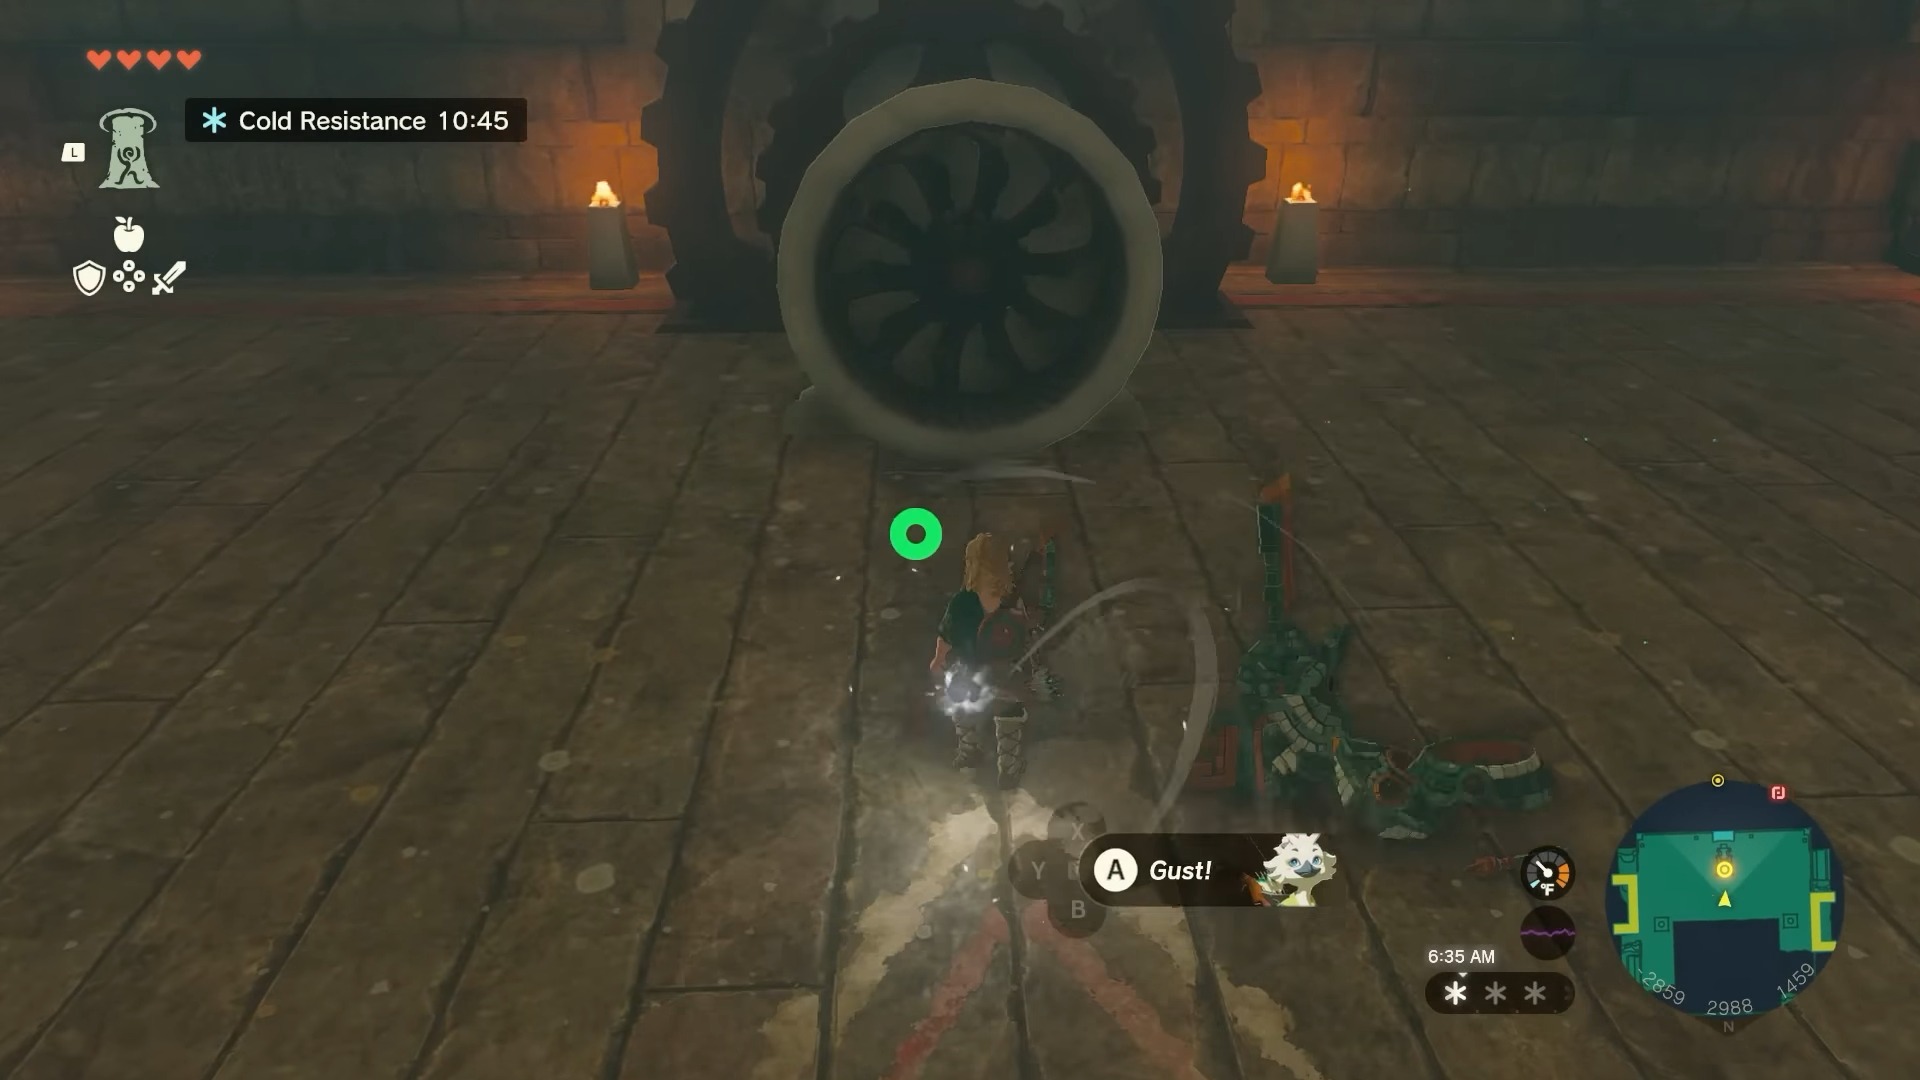
- Power Up With Tulin: Upon successfully opening the lever, use Tulin’s special ability to activate the turbine, thereby unlocking the first gear.
Second Gear
After successfully unlocking the first gear, it’s time to navigate to the second one. This gear is slightly more complex to unlock, but with the right approach, you will manage it efficiently.
- Start Below Deck: To locate the gear, you’ll need to dive a bit deeper. Start by heading below the deck. For the best approach, glide down from the left side to reach the second floor.
- Navigate The Gap: In the right hallway, you’ll encounter a large gap in the floor, surrounded by ice. It’s up to you how you cross, but climbing and using Tulin’s power is an effective strategy.
- Ascend To The Next Floor: Once across, use the Ascend ability to reach the next level. Here, another broken lever will need to be fixed to unlock the next area.
- Fix And Turn The Lever: Use pieces of the wall nearby to fix the lever, then turn it until the bars next to the ladder open.
- Use Recall Ability: The bars will shut quickly. Utilize the Recall ability as you ascend the ladder to ensure a successful passage when the bars are lowered. This takes you to the second Wind Temple gear.
Third Gear
The journey to the third gear takes you to new heights.
- Return To The Center: After securing the second gear, return to the ship’s center. There you’ll find a gust of wind emerging from the center locks.
- Catch The Wind: Using your glider, ride the updraft high into the air. This will take you to the top of the ship, where the next challenge awaits.
- Open The Doors: At the top of the ship, you’ll find a pair of locked doors. Using your Ultrahand, open these doors to access the path to the third gear.
- Navigate The Wind Tunnel: In this section, you’ll need to avoid several lasers and manage strong gusts of wind. This requires timely use of the Paraglider and strategic diving to navigate safely.

- Reach The Third Gear: Successfully navigating the wind tunnel will lead you straight to the third gear.
Fourth Gear
The fourth gear of the Wind Temple presents a more intricate puzzle, challenging players to make use of both spatial navigation and problem-solving skills.
- Glide To The Bottom: Begin by heading to the back right side of the ship. Leap off and use your glider to descend to the lower level.
- Ice-Covered Window: Look for a window covered with ice. Choose to glide through it or break it using a Fire Fruit-enhanced arrow or a melee weapon strike.
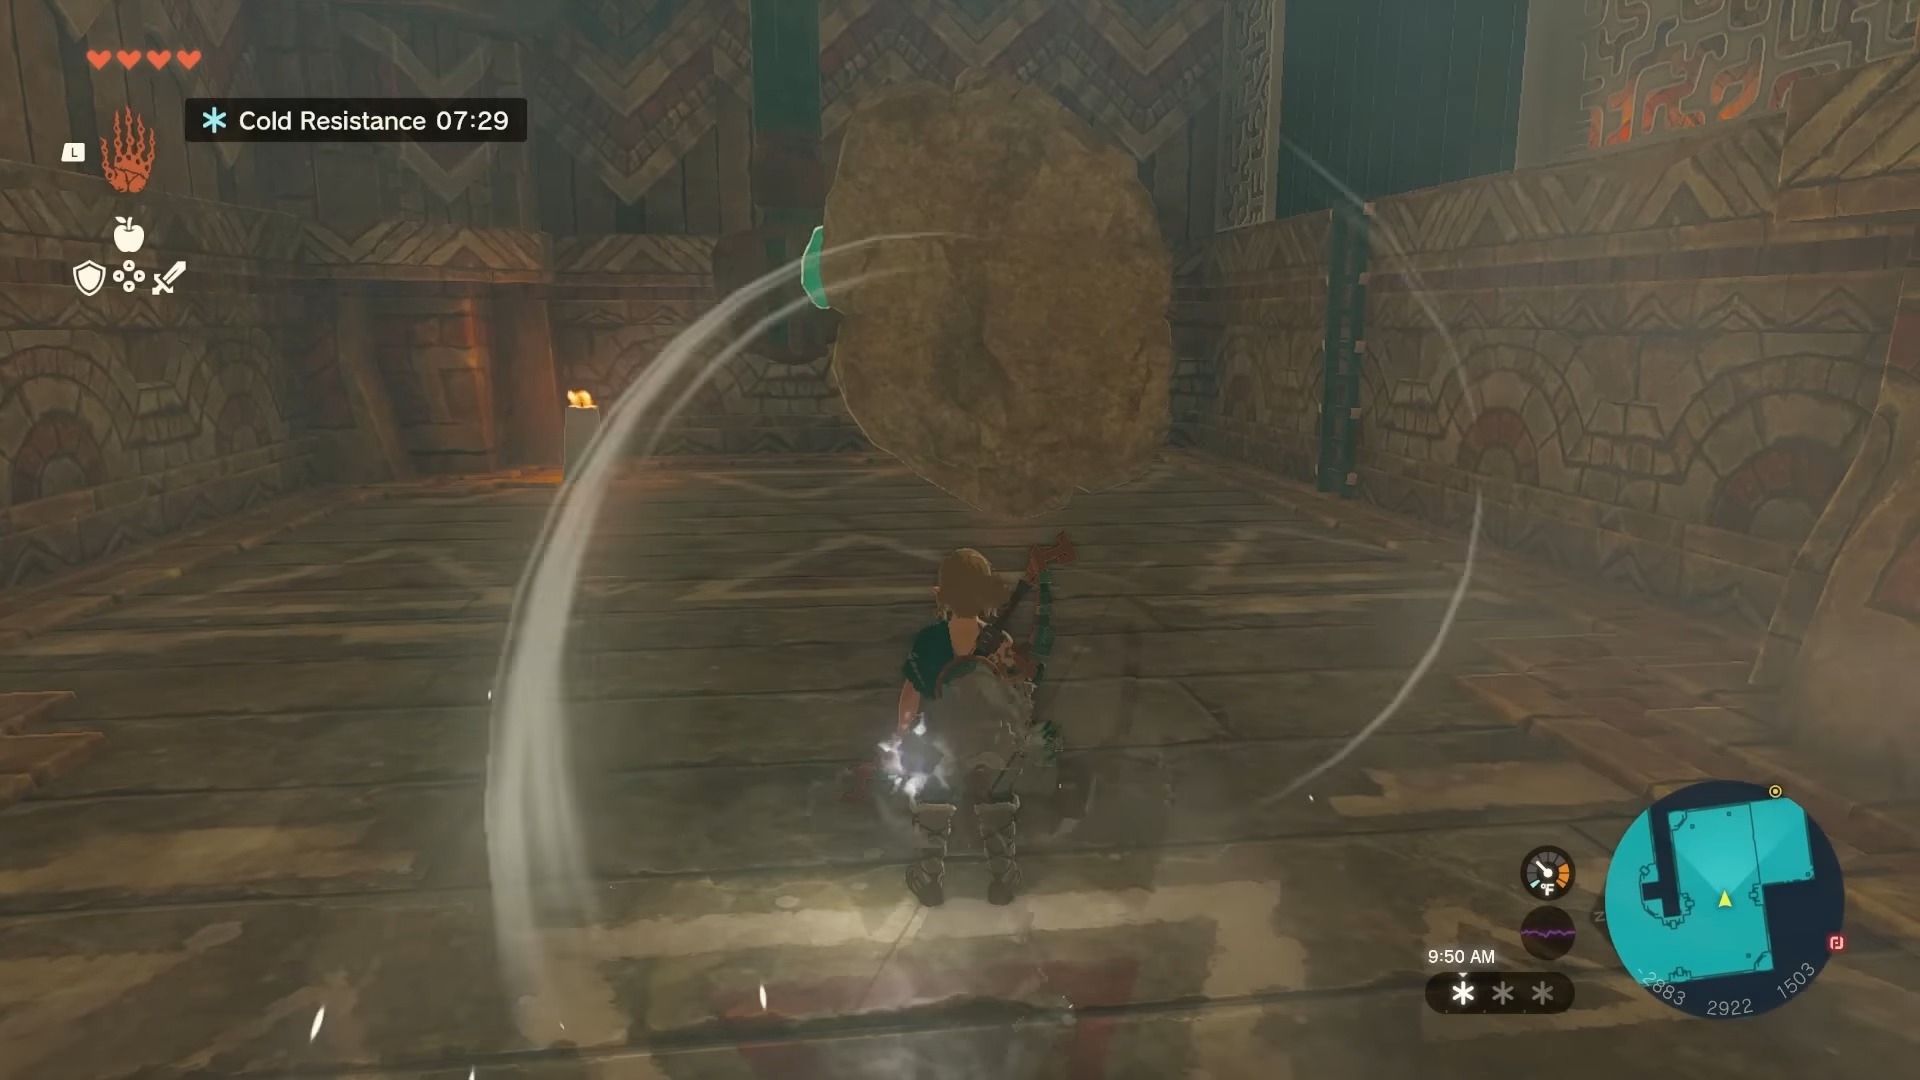
- Giant Spinning Wheel: Inside, you’ll find a giant spinning wheel blocking your way. Get close, use the Recall ability, and navigate across its threads.
- Reconnect The Gears: On the other side, you’ll see a disconnected gear system. Using your Ultrahand ability, manipulate the gears to reconnect them.
- Unlock The Fourth Gear: With the gears now functional, proceed to the other side to find and unlock the fourth gear.

The penultimate gear, once unlocked, signals the final stage of your adventure in the Wind Temple.
Fifth Gear
One of the last Wind Temple gears in Tears of the Kingdom awaits at the bottom of the ship. This final piece holds the key to unlocking the full potential of the Wind Temple.
- Use Fast Travel Point: Start by accessing the Wind Temple fast travel point. Use it to reset your location to the top of the ship.
- Glide Down: Jump off the side of the ship, engaging your glider for a swift descent to the bottom level.
- Central Lock: In the ship’s underbelly, you will locate the final Wind Temple gear lock near the center.
- Unlock The Fifth Gear: This final gear is one of the easier ones to locate, providing a relieving end to your gear-hunting journey within the Wind Temple.
After unlocking the fifth gear, prepare for the final confrontation and culmination of your Wind Temple quest.
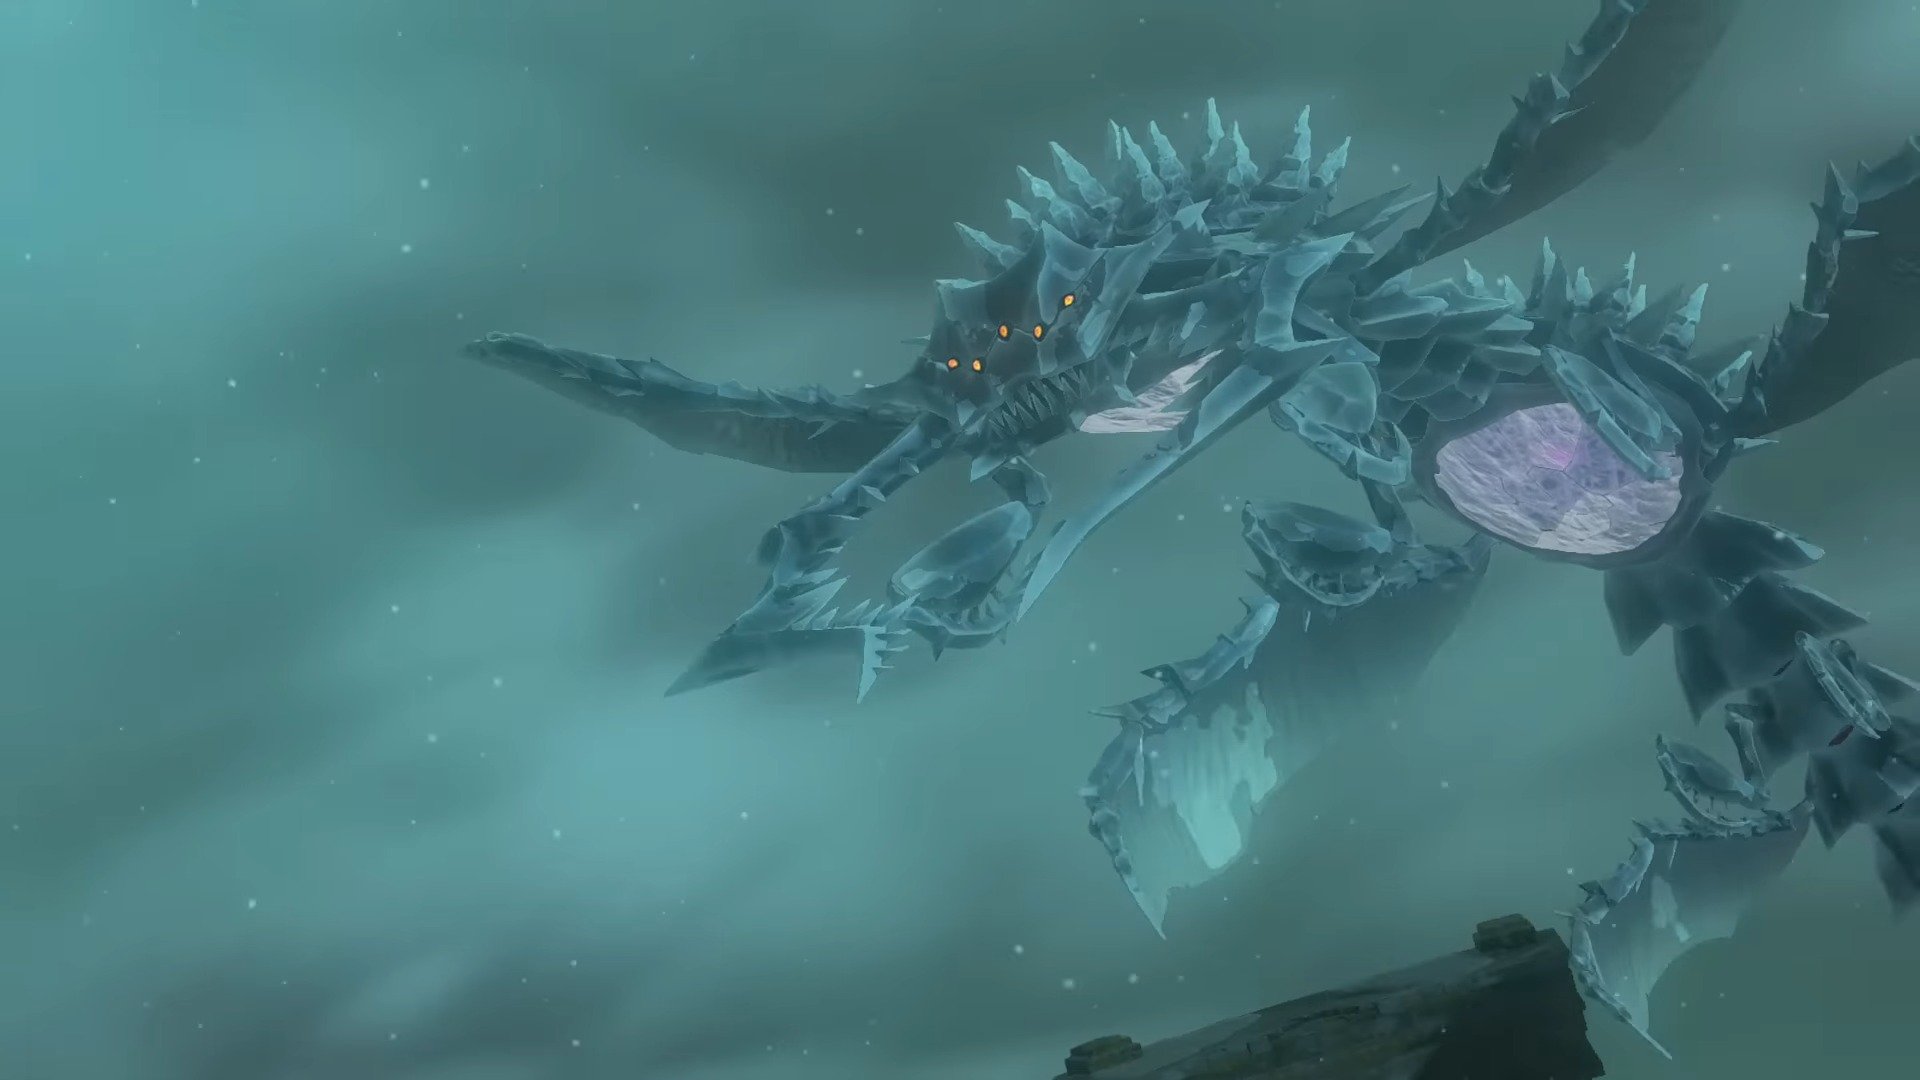
Final Boss Battle Against Colgera
Prepare yourself for an intense challenge in Zelda Tears of the Kingdom as you confront the formidable Colgera, the fearsome enemy of the Wind Temple. Let’s delve into the strategies and techniques for the two phases of this fight.
Strategies For The First Phase
The first phase of the fight with Colgera requires agility and strategic timing. Here are the main tactics:
- Colgera unleashes rapid wind attacks, making precise dodging essential. Recognize the telltale signs of an incoming attack to dodge effectively.
- Whenever Colgera launches an attack, it briefly reveals its weak spot. Use this opportunity to strike back.
- Your Ultrahand ability is crucial in this phase. Use it wisely to counterattack when Colgera exposes its vulnerability.
Second Phase
As the fight progresses to the second phase, the challenges intensify, but so do the opportunities to fight back.
- In this phase, Colgera introduces more complex attack patterns. Carefully observe these new patterns to plan your dodges and counterattacks.
- Now, the environment plays a vital role. Use the height and cover offered by the arena to your advantage.
- Wait for Colgera to initiate an attack, dodge it, and strike the exposed weak spot. Patience and precise execution are key in this phase.
Battling Colgera is an exciting conclusion to your Wind Temple journey. With these strategies, you will be well-equipped to conquer this formidable adversary.
Rewards & Post-Completion Tasks
You’ve conquered Colgera and triumphed over the Wind Temple in Zelda Tears of the Kingdom. Now, a new journey awaits, filled with exciting challenges and rewards. Upon your victory, a Heart Container appears, increasing your maximum life force. Make sure to pick it up before leaving the arena.

Additionally, your companion Tulin will acknowledge your heroism and pledge his unwavering support for your future quests. His unique skills and knowledge will be invaluable in overcoming upcoming challenges and unlocking new exploration areas.
Once you’ve obtained your rewards, you’ve officially completed the Tulin of Rito Village main quest.
Conclusion
Conquering the Zelda Tears of the Kingdom Wind Temple and unlocking its intricate gears is a thrilling adventure. From stocking up on essentials to navigating icy terrains and unlocking each gear, players must overcome various challenges. Completing the quest rewards players with a Heart Container and Tulin’s invaluable support for future quests, opening up new opportunities for exploration and adventure.
While you’re here, why not take a moment to explore the Zelda Tears of the Kingdom Best Bow guide, which offers a detailed analysis of the finest bow options available? To ensure a constant influx of Rupees, I recommend reading the comprehensive guide titled How To Get Rupees Tears of the Kingdom.
Next
- Zelda Tears of the Kingdom: Find Princess Zelda
- Tears of the Kingdom: Best Arrow Farming Methods
- Zelda Tears of the Kingdom: How To Do The Broken Slate
- Tears of the Kingdom Best Recipes
Thanks! Do share your feedback with us. ⚡
How can we make this post better? Your help would be appreciated. ✍