Since its launch, Elden Ring has become a popular game in the ARPG community. The game offers you a plethora of opportunities to create some of the best Elden Ring builds from dynamic starting classes. With its wide array of enemies and bosses, the game has become notorious for its difficulty. This complexity also holds when completing different in-game quests.
To complete these quests, you are required to locate various items. These items are scattered across the map and play a major role in making progress in the game. The Fingerslayer Blade is one of these items. If not located, it can prove to be a major progression blocker, not for the main story but a side quest. So, this guide will give a step-by-step walkthrough of how you can find out the Fingerslayer Blade Location in Elden Ring.
- The Fingerslayer Blade is required to progress Ranni the Witch’s questline.
- You unlock the path to finding the Fingerslaying Blade after defeating the Mimic Tear boss.
- You can get the Fingerslayer Blade in a structure you find after progressing through Night’s Sacred Ground, Ancestral woods, and past the giant metal ball enemy.
- Ranni gives you the Carian Inverted Statue when you return the blade to her.
Think you can remember every twist and turn in Elden Ring? Test your memory with our challenging quiz!
Location Of Fingerslayer Blade In Elden Ring

The Fingerslayer Blade is an important item that can help you to make further progress in the game. It is an important element of the Ranni questline. During this quest, Ranni the Witch asks you to locate the “Hidden Treasure of Nokron”. The blade itself has its origin in being born of a corpse.
Locating the Elden Ring Fingerslayer Blade can be relatively easy if you know where to look. It is an essential item to locate if you are a completionist who is looking to unlock the 100% completion trophy in Elden Ring. Once you have located the Fingerslayer Blade, you will have to hand the item over to Runni. In return, she will give you Carian Inverted Statue which can be used to unlock the Carian Study Hall.
The Mimic Tear Starting Point
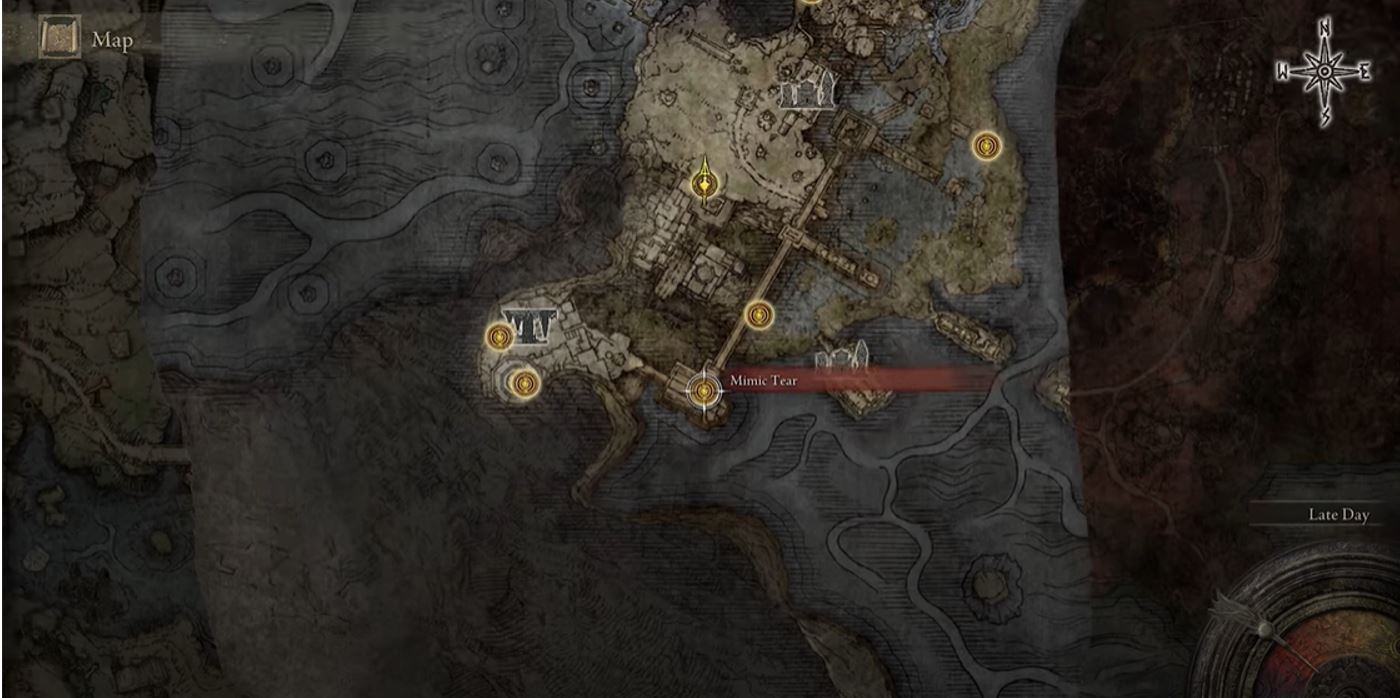
Before you can begin your quest to find out the Fingerslayer Blade, you will have to make your way to Mimic Tear. To get access to this place, you will have to battle and defeat the Mimic Tear Boss. While on the subject of bosses, I would recommend checking out our Elden Ring Bosses Tier List to find out which are easier or difficult to defeat.
The boss battle itself can be extremely difficult so it is best to come prepared. The mimic tear boss can shape-shift and generate an exact copy of the player along with the equipment and weapons. So in my opinion, it will be a wise strategy to use weaker or lower-tier weapons. You can find out more about the weapons you can use by giving our Elden Ring Weapon Tier List a quick read.
Traversing Narrow Pathway & Reaching Night’s Sacred Ground
Once you have made your way to Mimic Tear and defeated the boss, your journey to find the Fingerslayer Blade location in Elden Ring can begin. Once you are done with the boss battle, make your way up the stairs and cross the bridge. You can make complete this portion quicker by using the horse to fast track the journey.
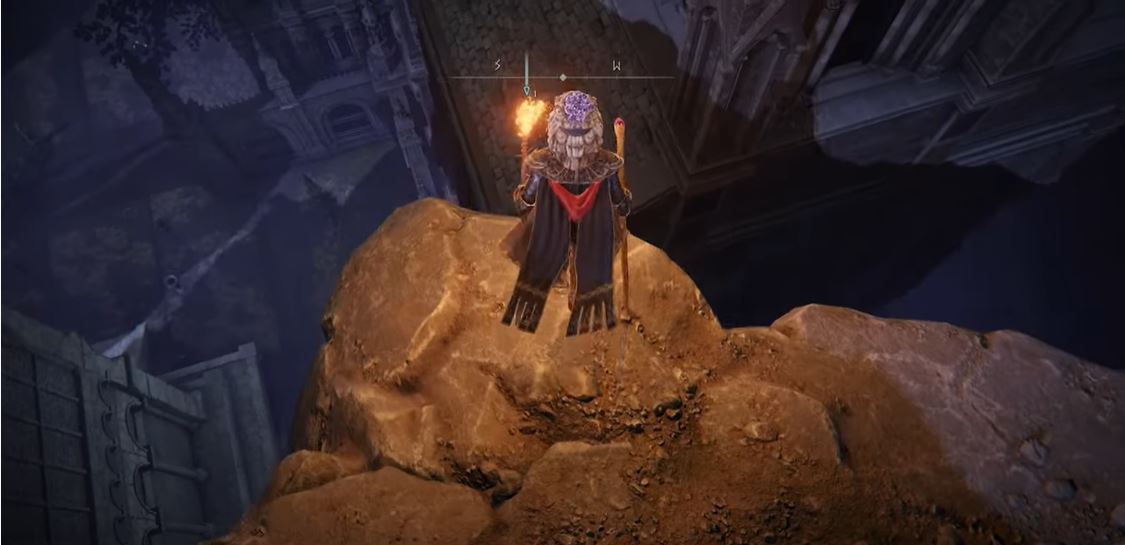
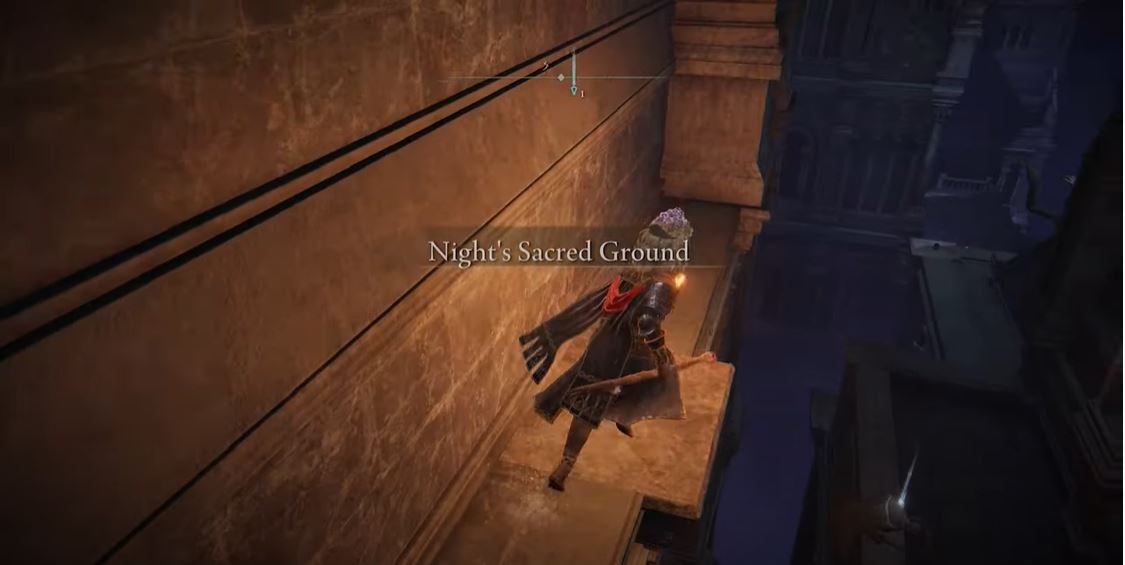
After you have crossed the bridge, you will reach a cliff that will be overlooking the ledge of the castle. Jump across and start walking along that ledge. Upon reaching the end, descend further to a narrower ledge that will take you to the Night’s Sacred Ground.
Reaching Ancestral Woods & Locating Fingerslayer Blade
You are one step closer to finding the whereabouts of the Fingerslayer Blade in Elden Ring. Make your way across the ledge until you come across a staircase with petrified monsters. Make your way up the stairs to collect the Rune Arc. When making your way down these stairs, you will encounter two Silver Tear enemies.
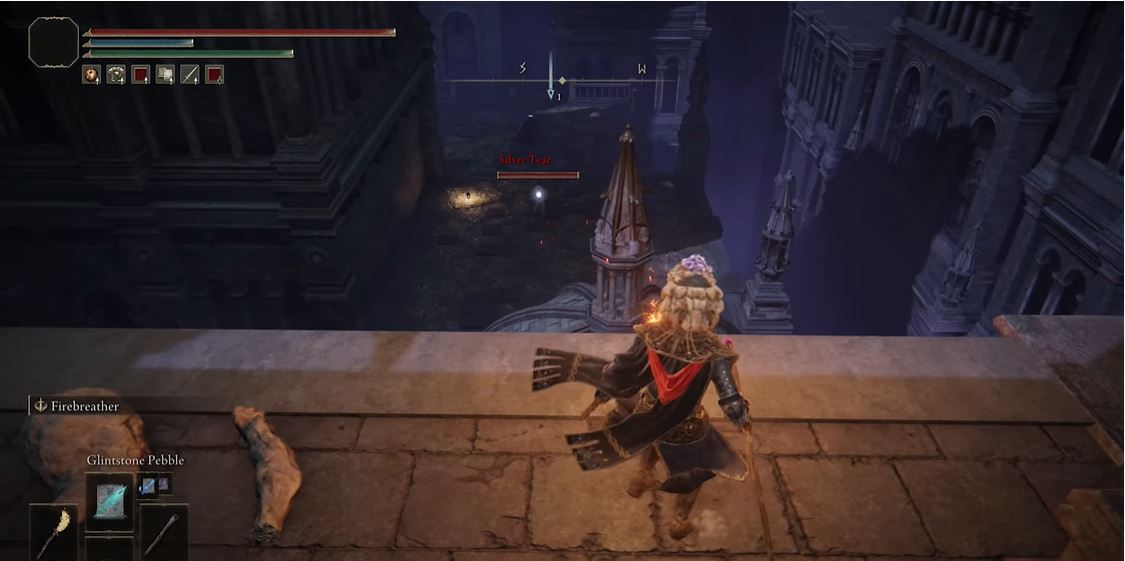
You need to kill one of them to jump across but the other one can be avoided. Keep making your way through the ledge until you come across a platform at a lower level.

After jumping on the platform, make your way through the rugged passage until you find an entry to the building through an opening. Making your way down that opening, you will come across a tomb where you can find a black Whetblade.

After collecting the item, you will run towards the right corner of the room where you will find a ladder. This ladder will help you descend to the lower level where you will run into a large metal ball as well as an enemy.

Finding Tomb Containing Elden Ring Fingerslayer Blade Treasure
You can destroy this metal ball to acquire a larval tear (however, it is not necessary). After this, make your way down and out of the castle through a series of steps to locate the Lost Grace. Here, you will encounter a series of enemies as you make your way across a wide passage. However, in my personal view, it is better to avoid these enemies as the rewards obtained from killing them aren’t worth the effort. After making your way up a series of steps, you will come across an ancient structure.

That structure holds the chest that contains the Fingerslayer Blade.

This concludes our guide on the location of Fingerslayer Blade in Elden Ring. If you found this walkthrough interesting, you can also read about how you can locate the Elden Ring Haligtree Medallion as well. Let us know what you this about this step-by-step Walkthrough down in the comments below!
Thanks! Do share your feedback with us. ⚡
How can we make this post better? Your help would be appreciated. ✍