The expansive world of Elden Ring has its fair share of mysteries and enigmas, and Ranni is simply one of them. She’s an eerie NPC who introduces herself to the Tarnished early in the game. The character refers to herself as Renna when you have your very first run-in with her at the Church of Elleh in Limegrave.
Ranni The Witch’s quest is the biggest questline in Elden Ring that spans over the course of multiple sub-questlines.
- First Encounter: You meet Raani in the Church of Elleh and receive the Spirit Calling Bell.
- Ranni’s Rise: She introduces you to her servants in Three Sisters, Liurnia, after defeating Royal Knight Loretta.
- Note: Raani won’t appear if the Redmane Castle questline is active.
- Interacting with Servants: You interact with Blaidd Can, Preceptor Selvius, and War Counselor Iji for clues about the Lost City of Nokron.
- Accessing Nokron: Defeat Starscourge Radahn to access Nokron via a fallen star’s hole.
- Fingerslayer Blade: Find the Fingerslayer Blade near Mistwood.
- Reward: Give Raani the Fingerslayer Blade to receive the Carian Inverted Statue.
- Cursemark of Death: Ascend the Divine Tower of Liurnia, find the Cursemark of Death, and locate the Miniature Ranni doll.
- Baleful Shadow: Defeat the Baleful Shadow and get the Discarded Palace Key.
- Dark Moon Ring: Unlock Rennala’s room in the Academy of Raya Lucaria using the key to find the Dark Moon Ring.
- Moonlight Altar: Battle Astel, Naturborn of the Void, then travel to the Moonlight Altar.
- Darkmoon Greatsword: Place the Dark Moon Ring on Raani in the Cathedral of Manus Celes to acquire the Darkmoon Greatsword.
- Summoning Raani: After defeating the Elden Beast, you can summon Raani for the Age of Stars ending.
- Author’s Note: I’ve played Elden Ring for more than 750 hours on Steam, experiencing every mechanic and element the title has to offer.
Ranni Quest Full Walkthrough
This guide covers Ranni the Witch’s questline. Before starting, do two things:
- Talk to Ranni at the Church of Elleh early in the game to receive the Spirit Calling Bell.
- Finish The Radahn Festival and defeat Starscourge Radahn if you haven’t already. You need to do this to locate Ranni in her designated location.
Now, let’s dive into Ranni’s story. I’ll walk you through her missions step-by-step. Follow the instructions below to embark on this quest.
Initiating Ranni the Witch’s Quest In Elden Ring
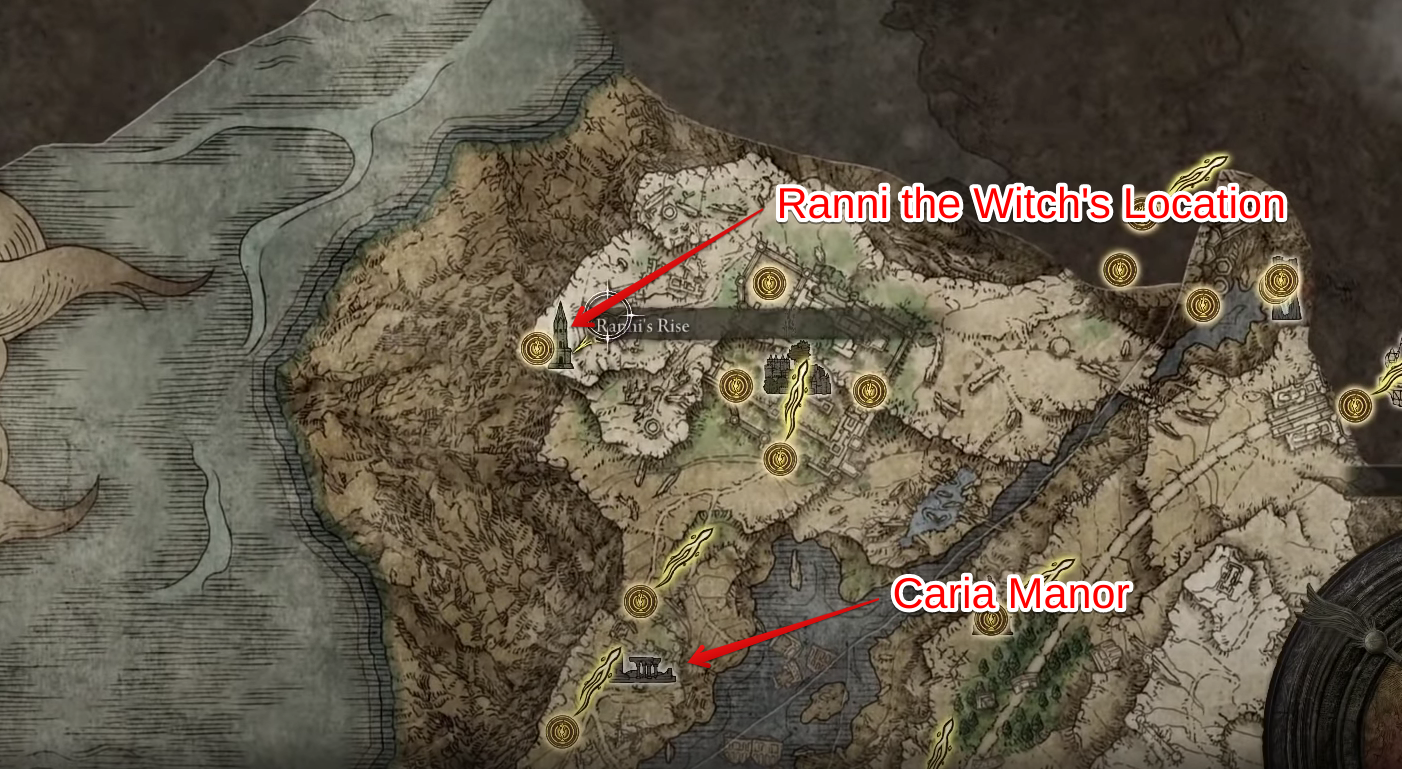
- Locate Ranni in Ranni’s Rise, which is west of the Three Sisters subregion in Liurnia of the Lakes.

Ranni’s Rise Location in Elden Ring - If you haven’t reached Liurnia yet, head northwest from Limgrave, the first region you explore after the tutorial.

Entering Ranni’s Rise - To reach Three Sisters, you will need to pass through the Caria Manor area, which houses its own boss. Once you complete this section, you’ll gain access to the Three Sisters subregion.
- In the western part of Three Sisters, you’ll find three distinct towers. Initially, Renna’s Rise and Seluvis’s Rise will be barricaded. You can enter Ranni’s Rise, which is where you need to go.
- Inside Ranni’s Rise, activate the Site of Grace on the first floor.
- Climb the accessible stairs to the second floor, where you’ll encounter a lift. Step on the platform to go up.
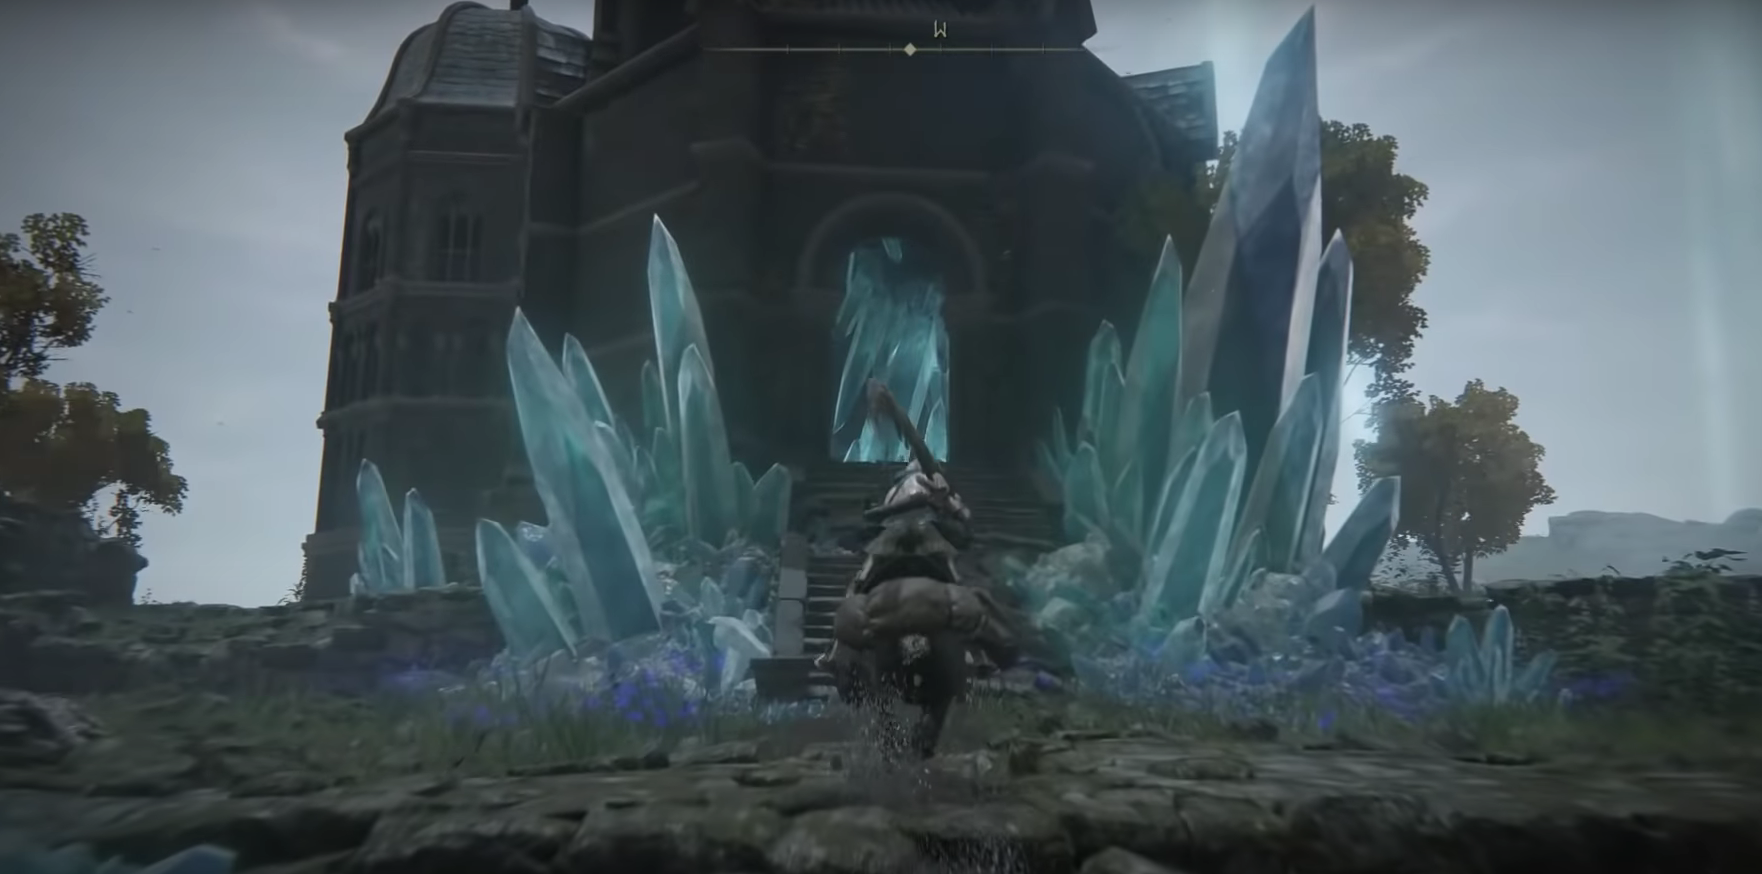
Going Up the Lift to Ranni the Witch - Upon reaching the top, exit through the doorway, climb more stairs, and you’ll find Ranni the Witch seated in a chair.

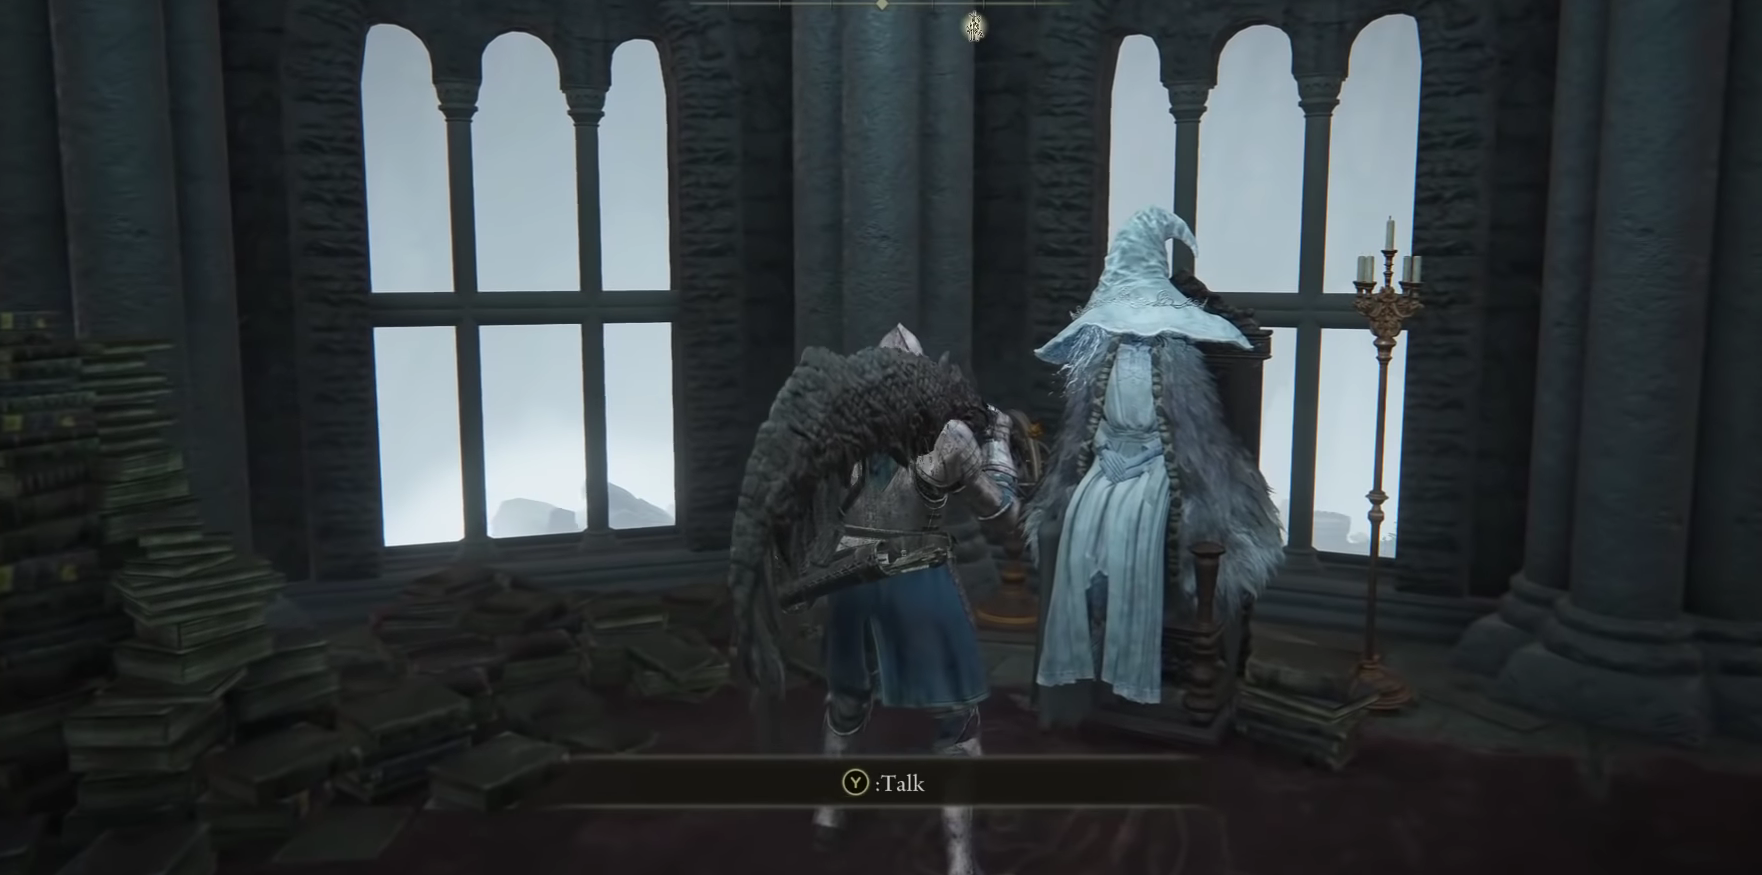
Agree to Servitude and Talk to Ranni’s Three Hirelings
After you’ve found Ranni the Witch in Elden Ring and agreed to serve her, the next steps involve talking to her hirelings: Blaidd, Ijii, and Seluvis.
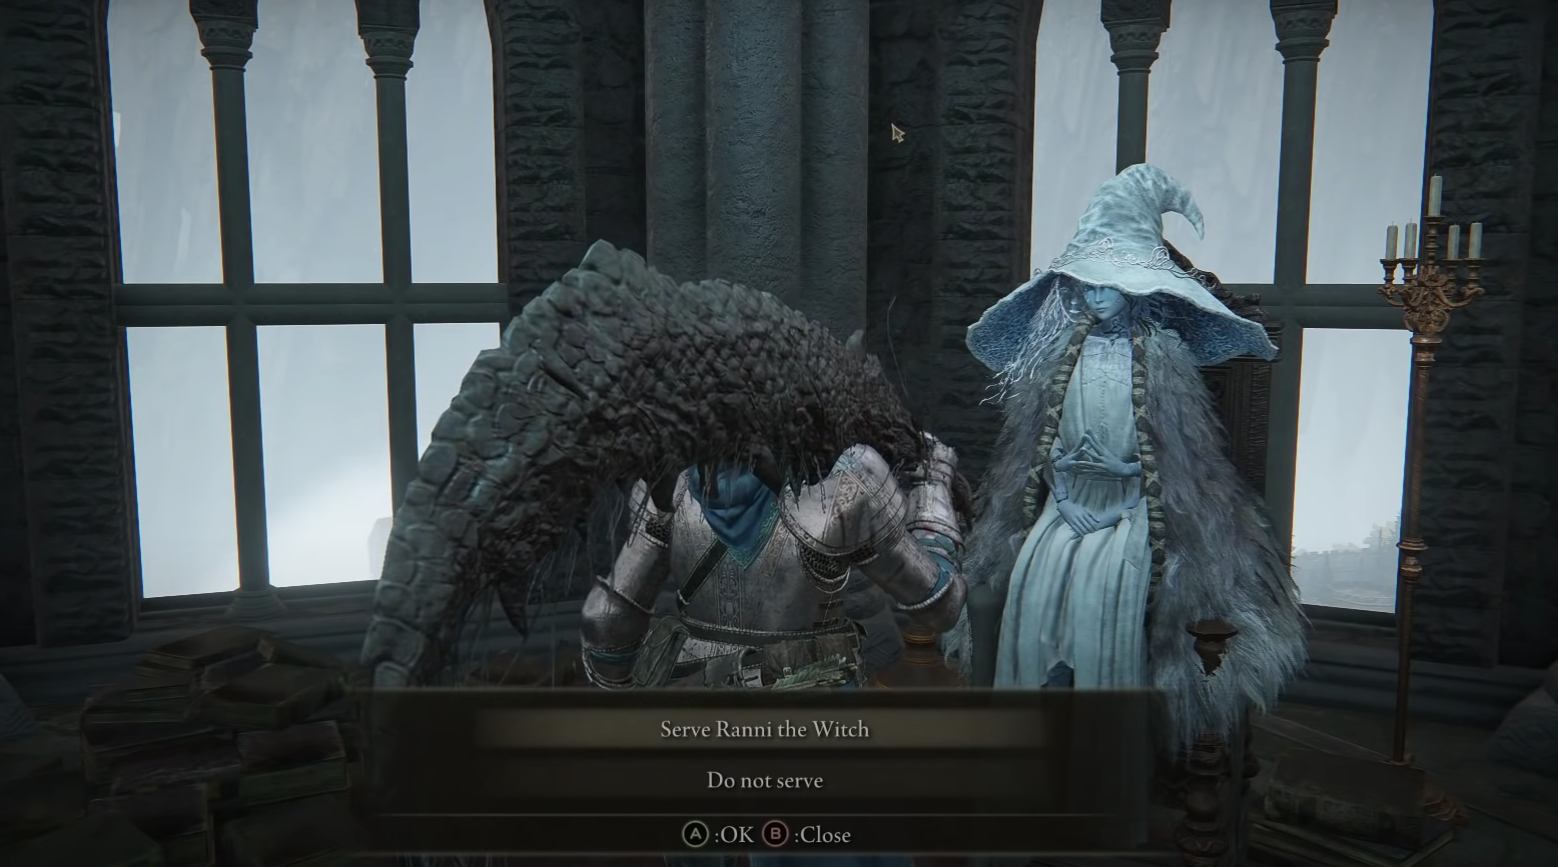
- Agree to Serve Ranni: When you first talk to Ranni the Witch, agree to serve her, and the questline will officially begin.

Agreeing to Serve Ranni the Witch - Meet Ranni’s Hirelings:
- Ijii (War Counselor): Head back to the first floor of Ranni’s Rise after speaking with Ranni. You’ll find Ijii there. Speak to him twice to introduce yourself.
- Blaidd (Half-Wolven Warrior): Proceed to the exit of the tower to find Blaidd. Have a conversation with him.
- Seluvis (Sorcerer): Head to the entrance of the tower to find Seluvis. Speak to Seluvis twice.
- Return to Ranni: After speaking with all three hirelings, return to the top of the tower where Ranni the Witch is located. She will mention her doll’s body and indicate that it’s time for her to rest, marking the next part of the questline.
Meet With the Three Hirelings in Person
In case you didn’t notice, your character only spoke to the spectral forms of the three hirelings. They’re located elsewhere in person. You now have to talk to Seluvis, Ijii, and Blaid—all three—to proceed.
- Seluvis, the Sorcerer:
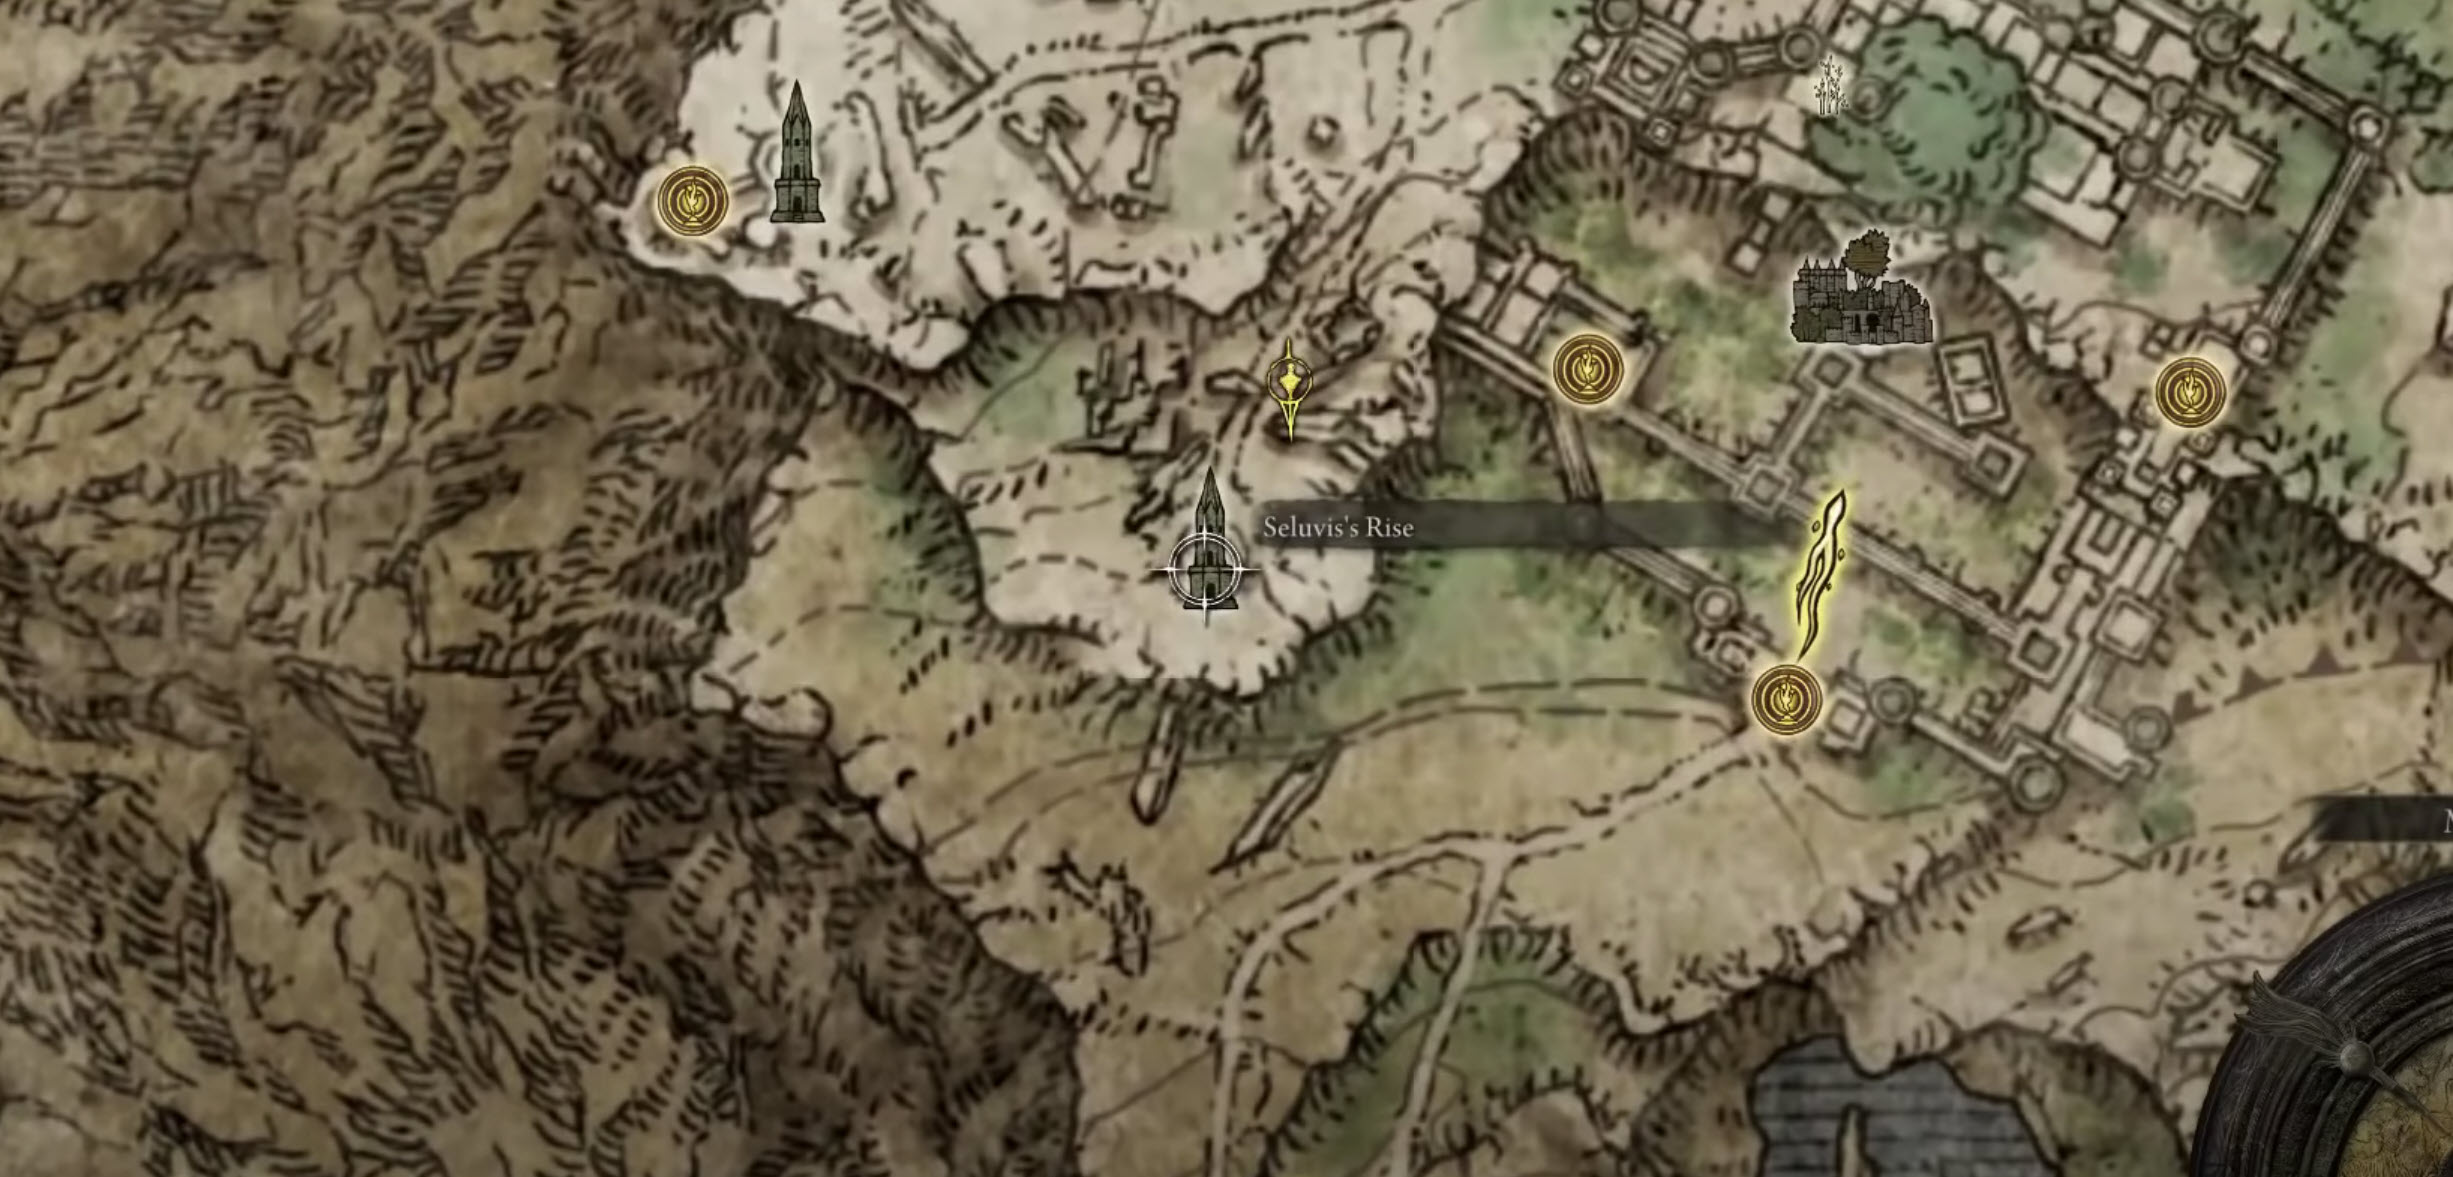
- Head to Seluvis’s Rise, southwest of the Three Sisters subregion in Liurnia.
- Speak with Seluvis in his tower. He will ask you to find a woman named Nepheli and deliver a potion to her. Accept the task.

Locating Seluvi’s Rise
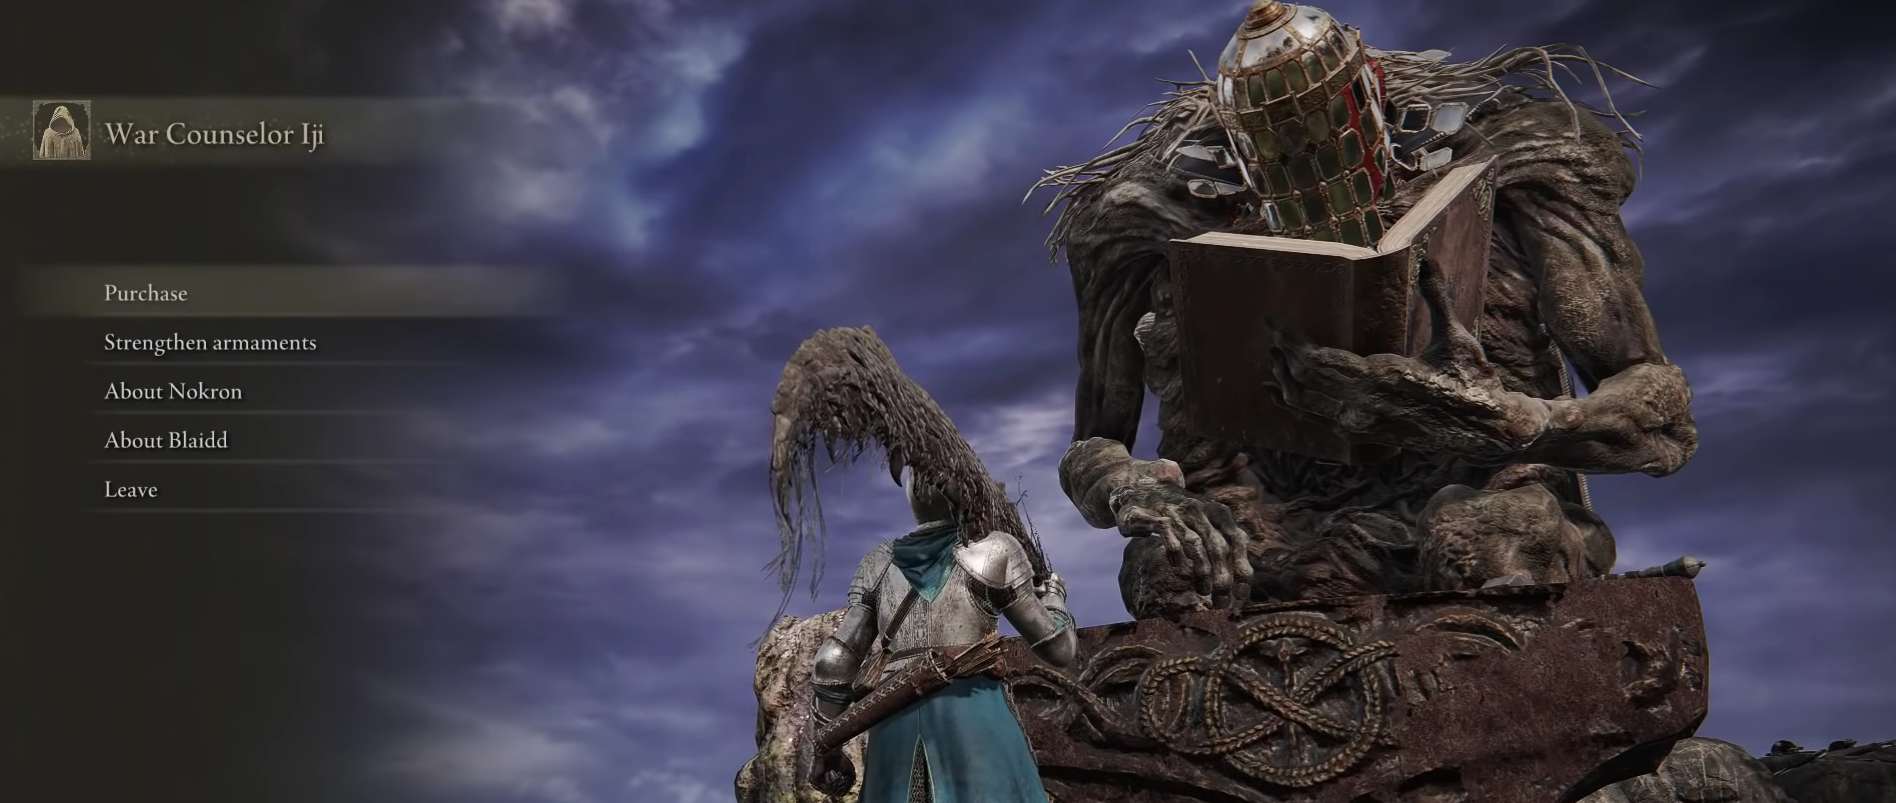
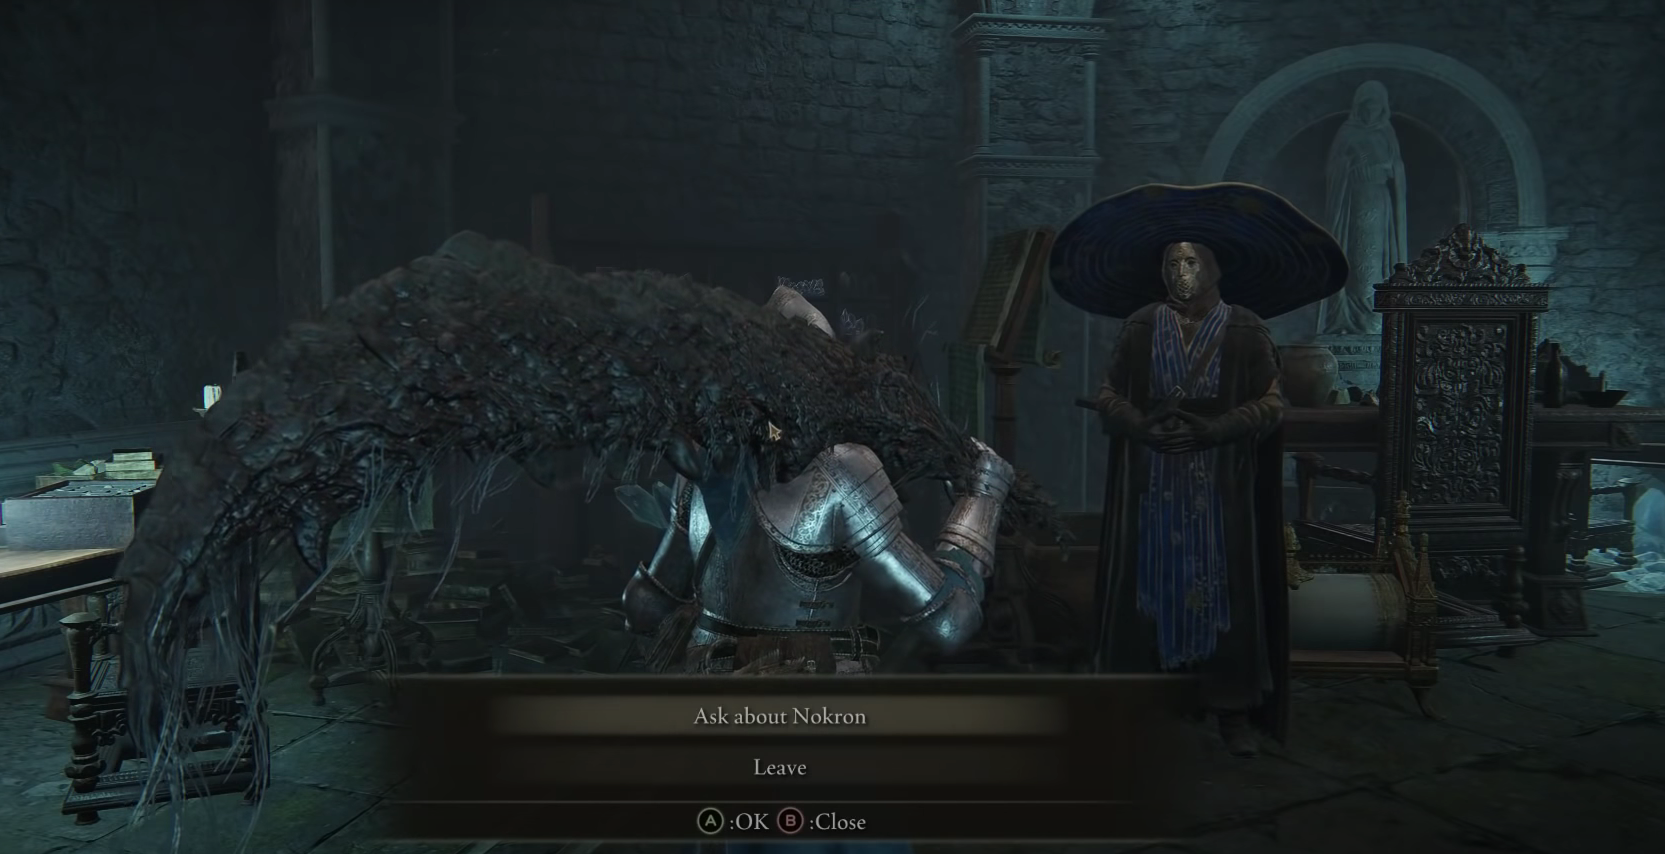
- Ijii, the War Counselor:

Speaking to Ijii, the War Counselor - Travel south from Seluvis’s Rise toward the Road to the Manor Site of Lost Grace in the Three Sisters subregion.
- Reach the Site of Grace and locate Ijii to the west.
- Initiate a conversation with Ijii.
- Choose both dialogue options, “About Blaidd” and “About Nokron,” to progress the quest.
- Blaidd, the Half-Wolven Warrior:
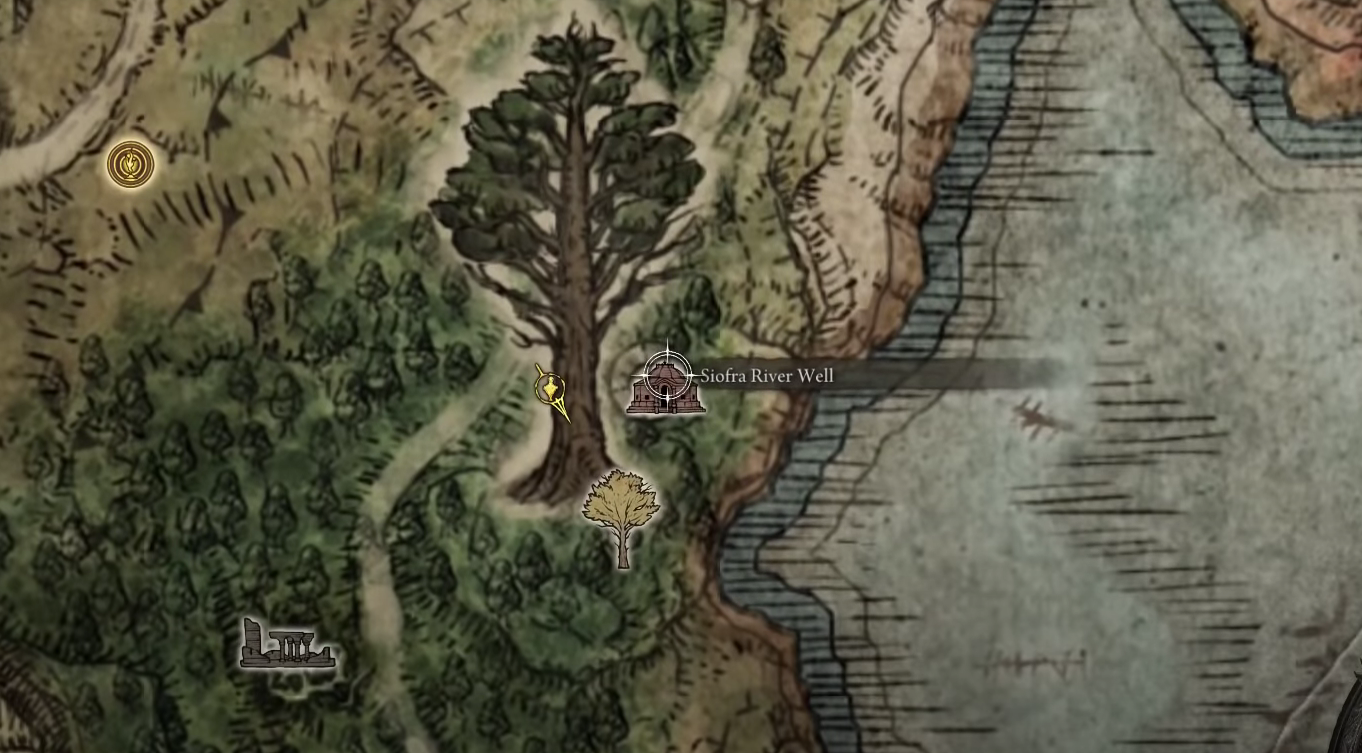
- Reach the Siofra River area. You can access it via the Siofra River Well in the Mistwood region of Limgrave.

Siofra River Well Location - Explore the Siofra River and head straight ahead until you find a lift leading to another area.
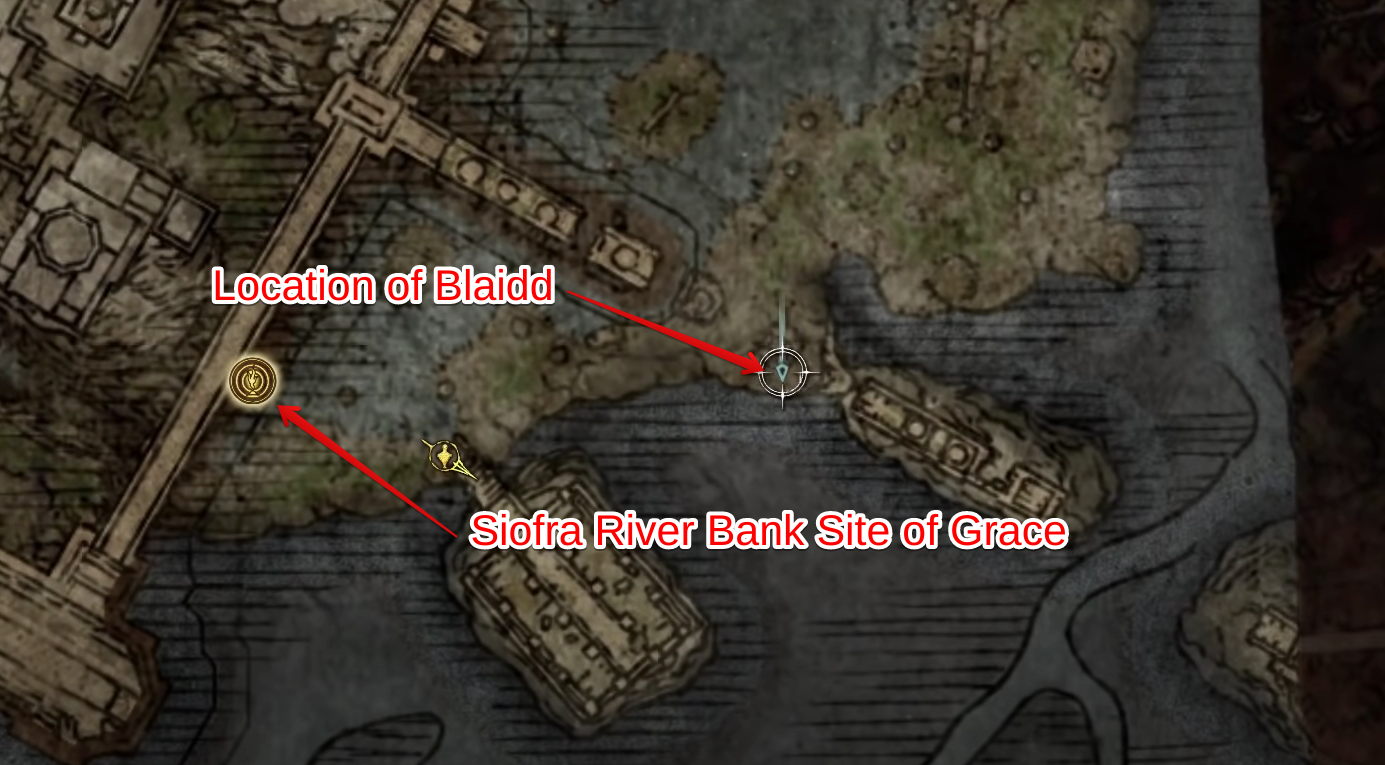
- After reaching the surface, head left until you see Blaidd near the edge of a cliff.
- Engage in a conversation with Blaidd.
- Talk to Blaidd a second time to learn about his struggles and his desire to reach Nokron, Eternal City.
- Reach the Siofra River area. You can access it via the Siofra River Well in the Mistwood region of Limgrave.
Once you’ve spoken to Seluvis, Ijii, and Blaidd as outlined above, you’ll be ready to proceed with the Ranni quest.
Visit Seluvis Again
The next step is to revisit Seluvis. Talking to Blaidd should nudge you to do this right from the get-go, but if you didn’t get the hint, now’s the time to make haste. When you go up to the sorcerer in his tower, talk to him. He’ll initially scold you for focusing on the assigned task, but upon asking about Nokron, he’ll start to oblige.
Seluvis will guide you to seek out another sorcerer called Sellen. He’ll even hand you a letter of introduction to give to this forthcoming NPC. This will allow you to dig up more information about Nokron, Eternal City.
Find Sellen
It’s quite clear at this point that the only way forward is finding Sellen—the sorcerer that Seluvis has told me to meet with.
- Locating Sorceress Sellen:
Here is the path I would recommend for locating Sorceress Sellen:
-
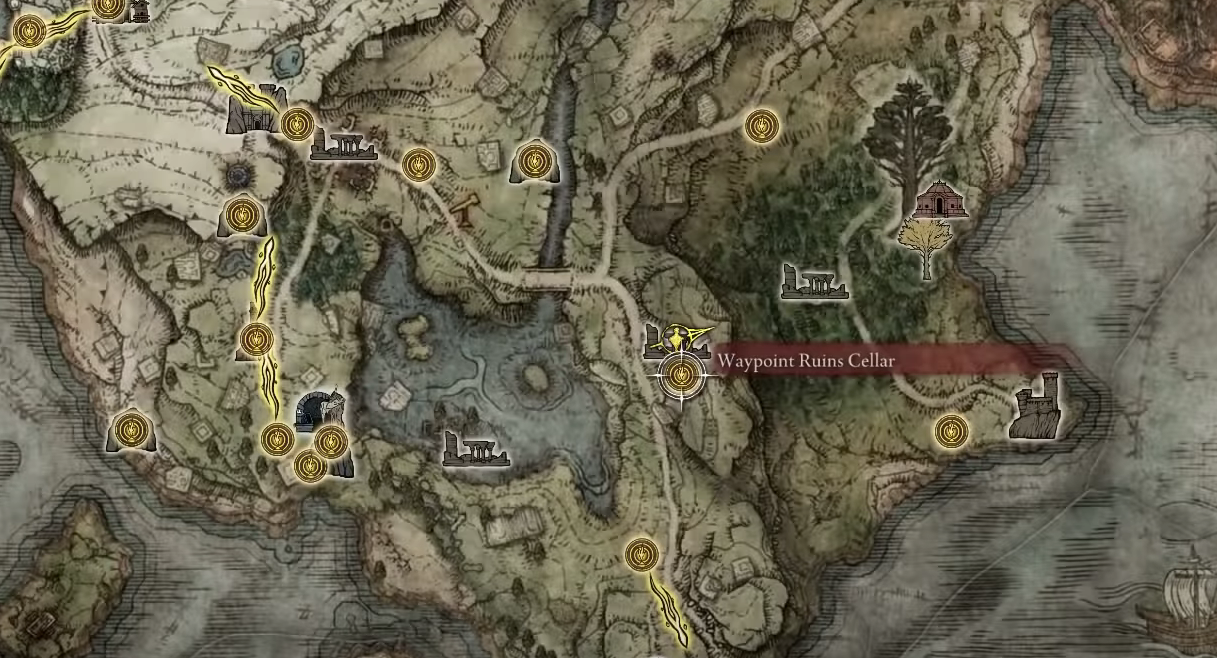
- Head west in Limgrave to reach the Waypoint Ruins area.
- You can also start from The First Step Site of Grace and head east to reach Waypoint Ruins.
- Once at Waypoint Ruins, look for the Waypoint Ruins Cellar Site of Lost Grace nearby.
- Descend the stairs into the tunnel of Waypoint Ruins.

Waypoint Ruins Cellar Location
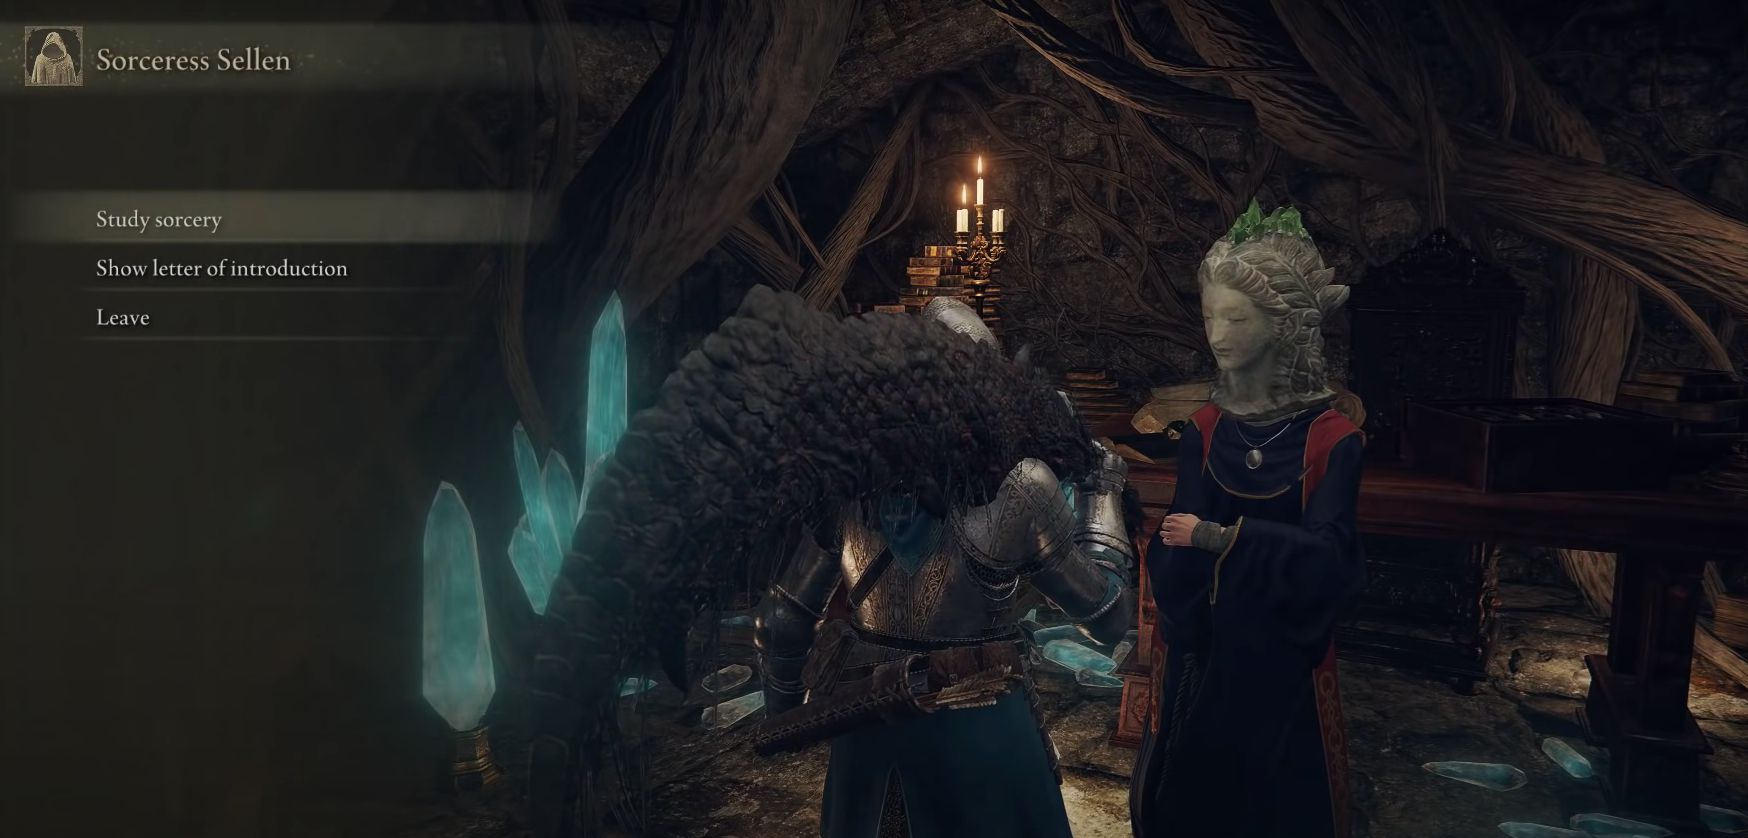
- Meeting Sorceress Sellen:
- Inside the tunnel, you’ll find Sorceress Sellen.
- Approach her and initiate a conversation.
- Choose the “Show letter of introduction” option to continue.

Showing the Letter of Introduction - Sellen will explain that General Radahn is linked to Nokron, Eternal City’s inaccessibility and that eliminating this force is necessary to restore the region.
Once you’ve learned this information, prepare to proceed with your journey.
Return to Blaidd
Now, it’s time to visit Blaidd again. During your last encounter, you both agreed to share any discoveries.
- Engage with Blaidd:
- Speak with Blaidd again.
- Choose the “Tell Selen’s story” option during the conversation.
- Learn About the Combat Festival:
- Blaidd will inform you about a combat festival taking place east of Limgrave, on the southern edge of Caelid Wilds.
- He mentions that General Radahn, once known as the “strongest of all demigods,” will participate in this event.
- Head to Redmane Castle in Caelid:
- Blaidd concludes by saying he will meet you at Redmane Castle in Caelid.
- You now have a clear destination for your next steps in the quest.
Find Starscourge Radahn and Lay Him to Waste
The next major task in the Ranni quest is to complete the Starscourge Radahn boss fight.
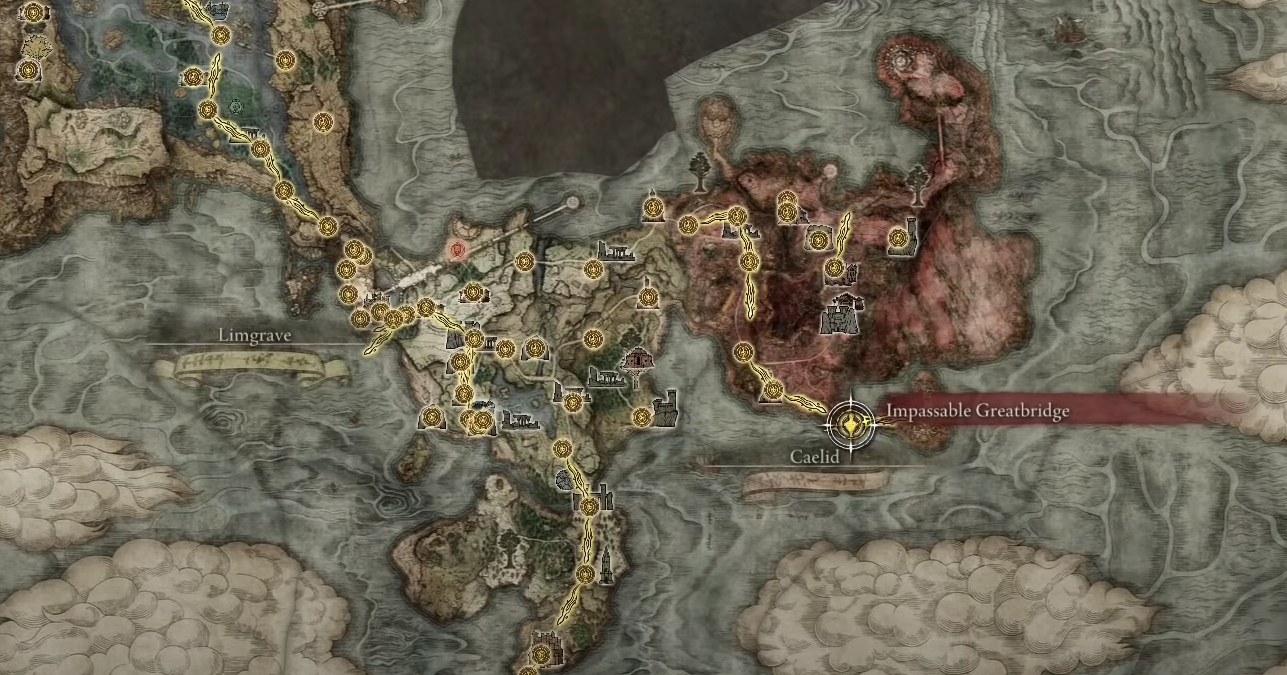
- Defeat Starscourge Radahn at Redmane Castle. Use the Waygate at the Impassable Greatbridge Site of Grace in southern Caelid to reach the castle.

Impassable Greatbridge Location - Speak to Blaidd before the boss fight.
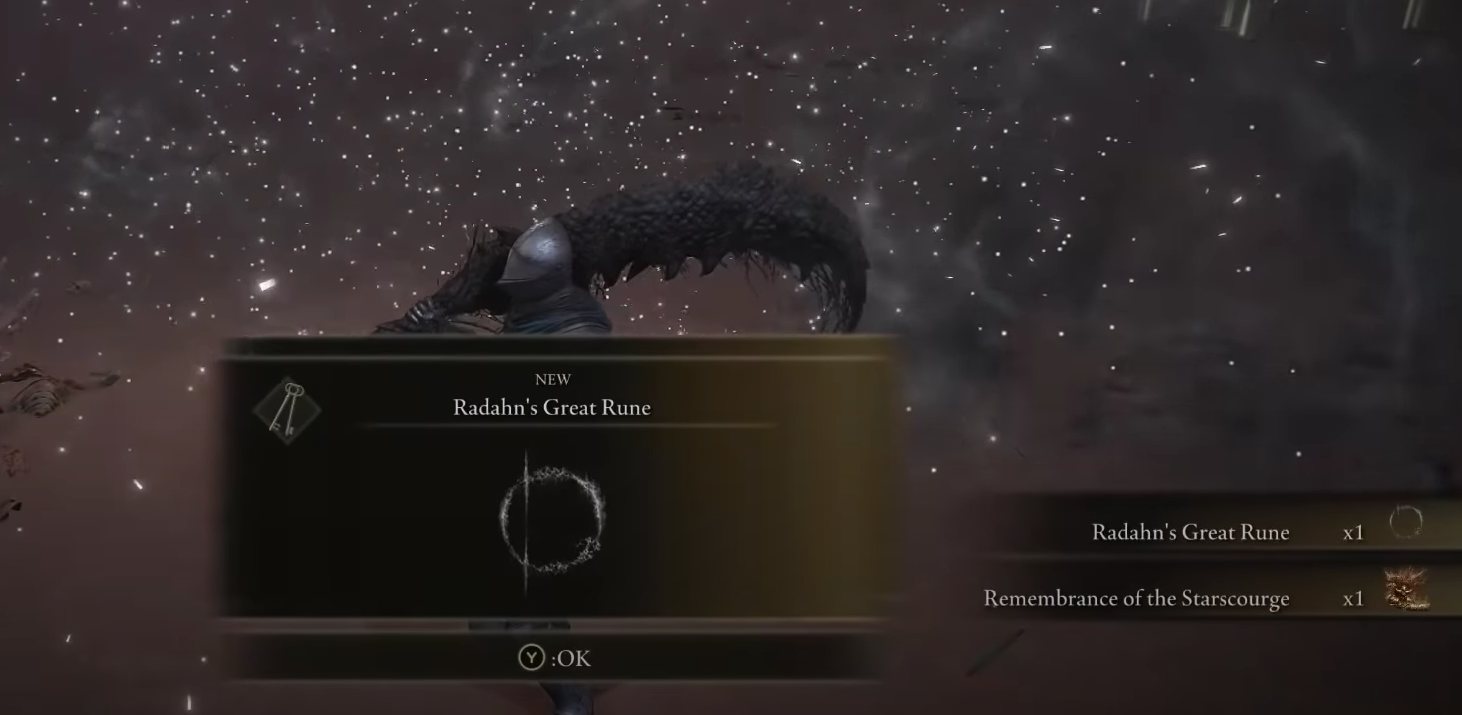
- After defeating Radahn, a cutscene will hint at changes in the game world.
- Find Blaidd on a small hill northwest of the battle area. He’ll mention the path to Nokron, the Eternal City, is open.
- Follow Blaidd’s instructions to meet where “the falling star bit the earth” to continue the quest.

Starscourge Radahn Defeated
It’s worth noting that General Radahn happens to be one of the toughest bosses in Elden Ring. He’ll cut newbies down and even blow some of you experienced players to kingdom come without breaking a sweat. If you’d like to get it over with, I suggest taking a look at this specialized guide for beating Radahn using a cheese method.
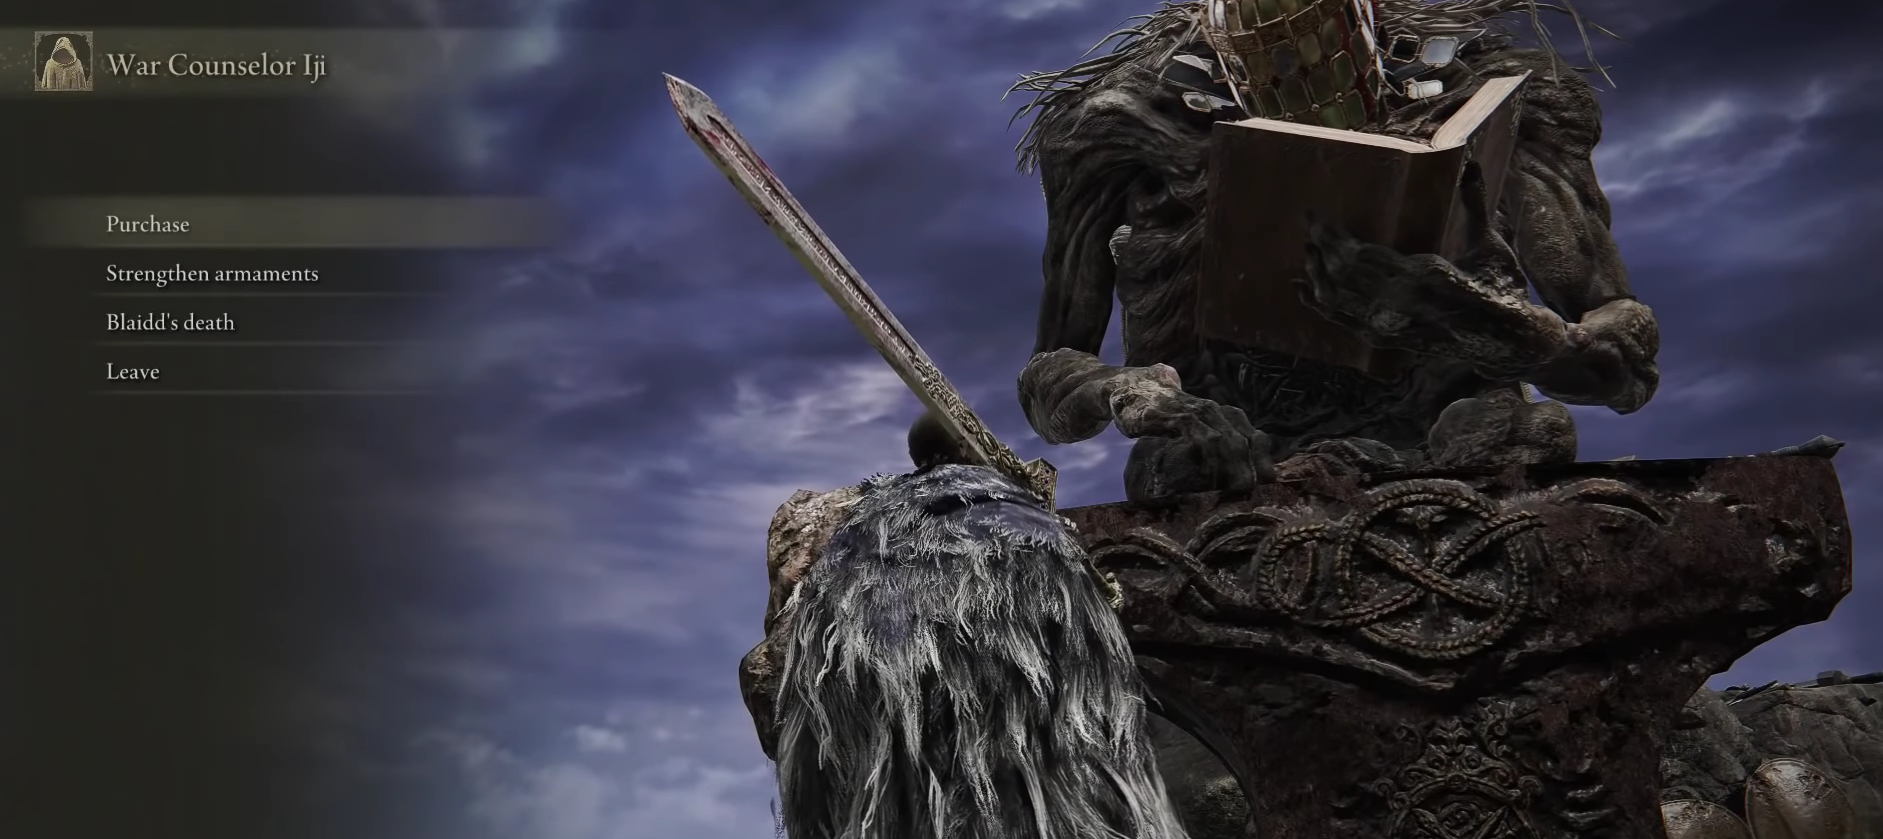
Call On Ijii, the War Counselor Again
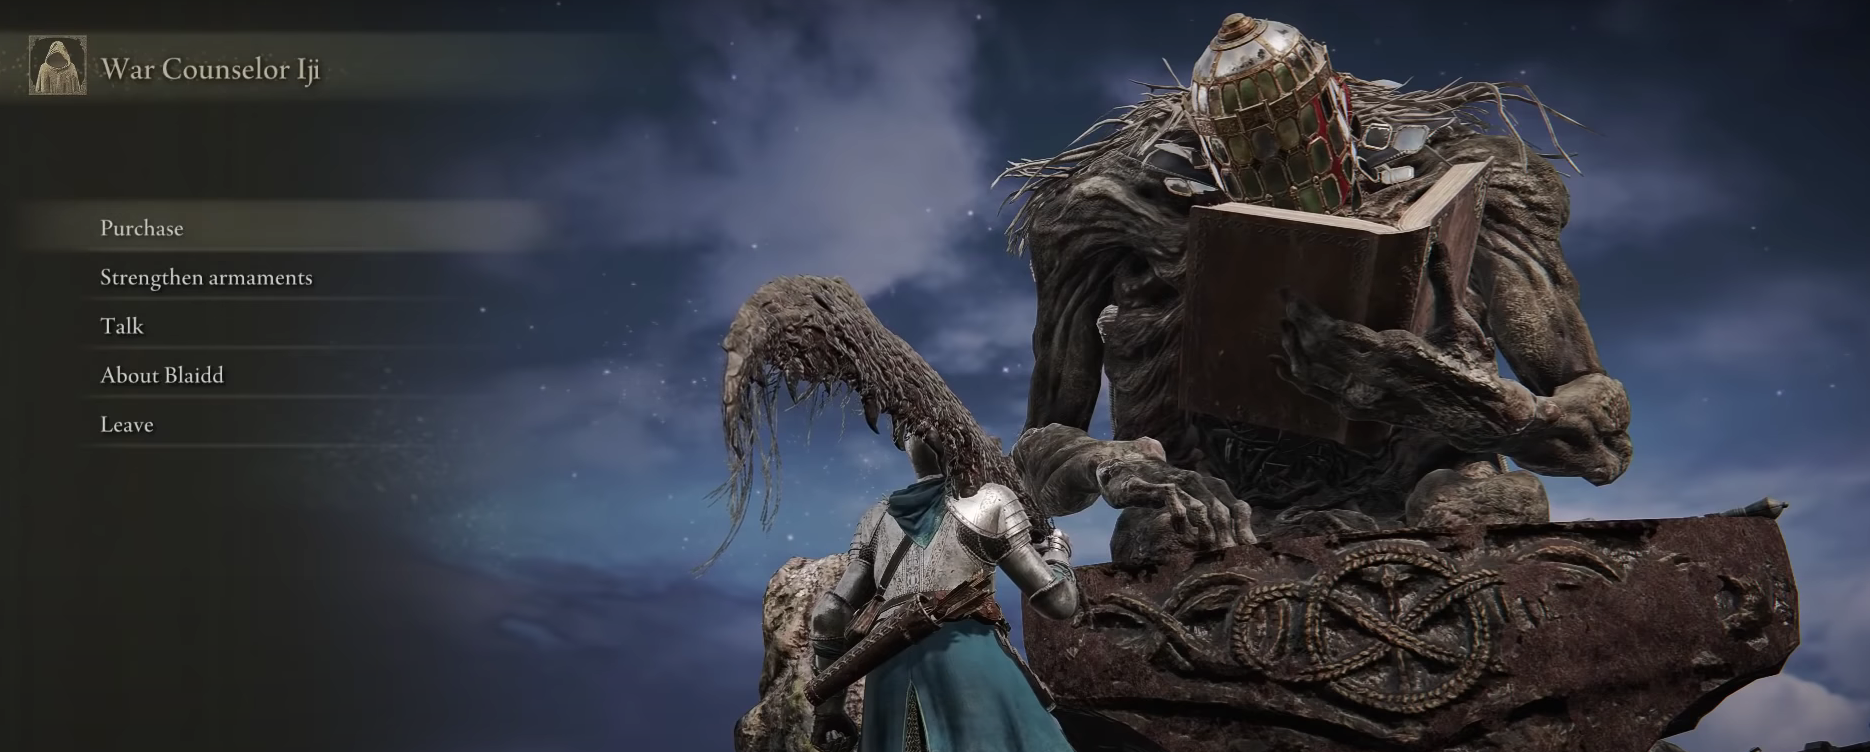
Your next task is to go to Ijii one more time to have a little chat about Blaidd. He’ll be in the same spot as before—adjacent to the Road to Manor Site of Grace. If you look west from there, you’re bound to find Ijii all delved into his book. Quite the reader, I must say.
After engaging with Ijii, he’ll ask for your business from him. Select “About Blaidd” from the context menu. This will prompt the war counselor to convince you to rush to Nokron on your own without waiting for Blaidd. Doing so is bound to fulfill “Lady Ranni’s” destiny and allow her to tread on the dark path of the Empyrean.
Make Your Way to Nokron, Eternal City
The time is finally nigh to travel to Nokron. Following the events of the death of General Radahn, the constellation has resumed its motion and paved the way for entry into the Eternal City.
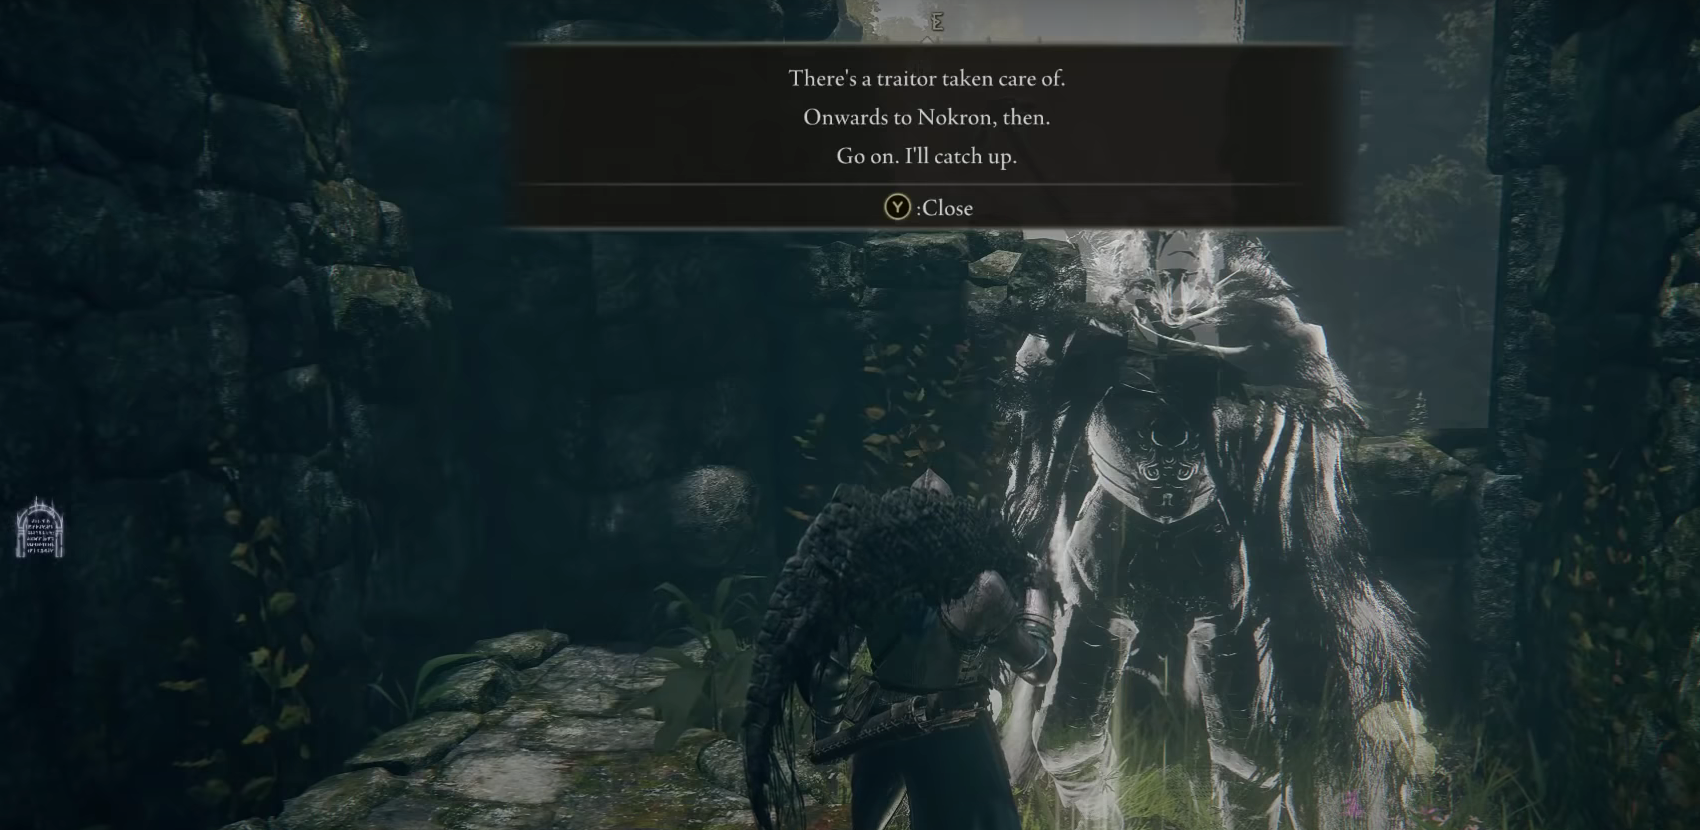
- Head to Mistwood, located east of Limgrave. Specifically, you need to go near the Mistwood Ruins.
- While in the Mistwood Ruins area, explore around to find a message left by Blaidd. He’ll urge you to proceed with the mission and mention a traitor.

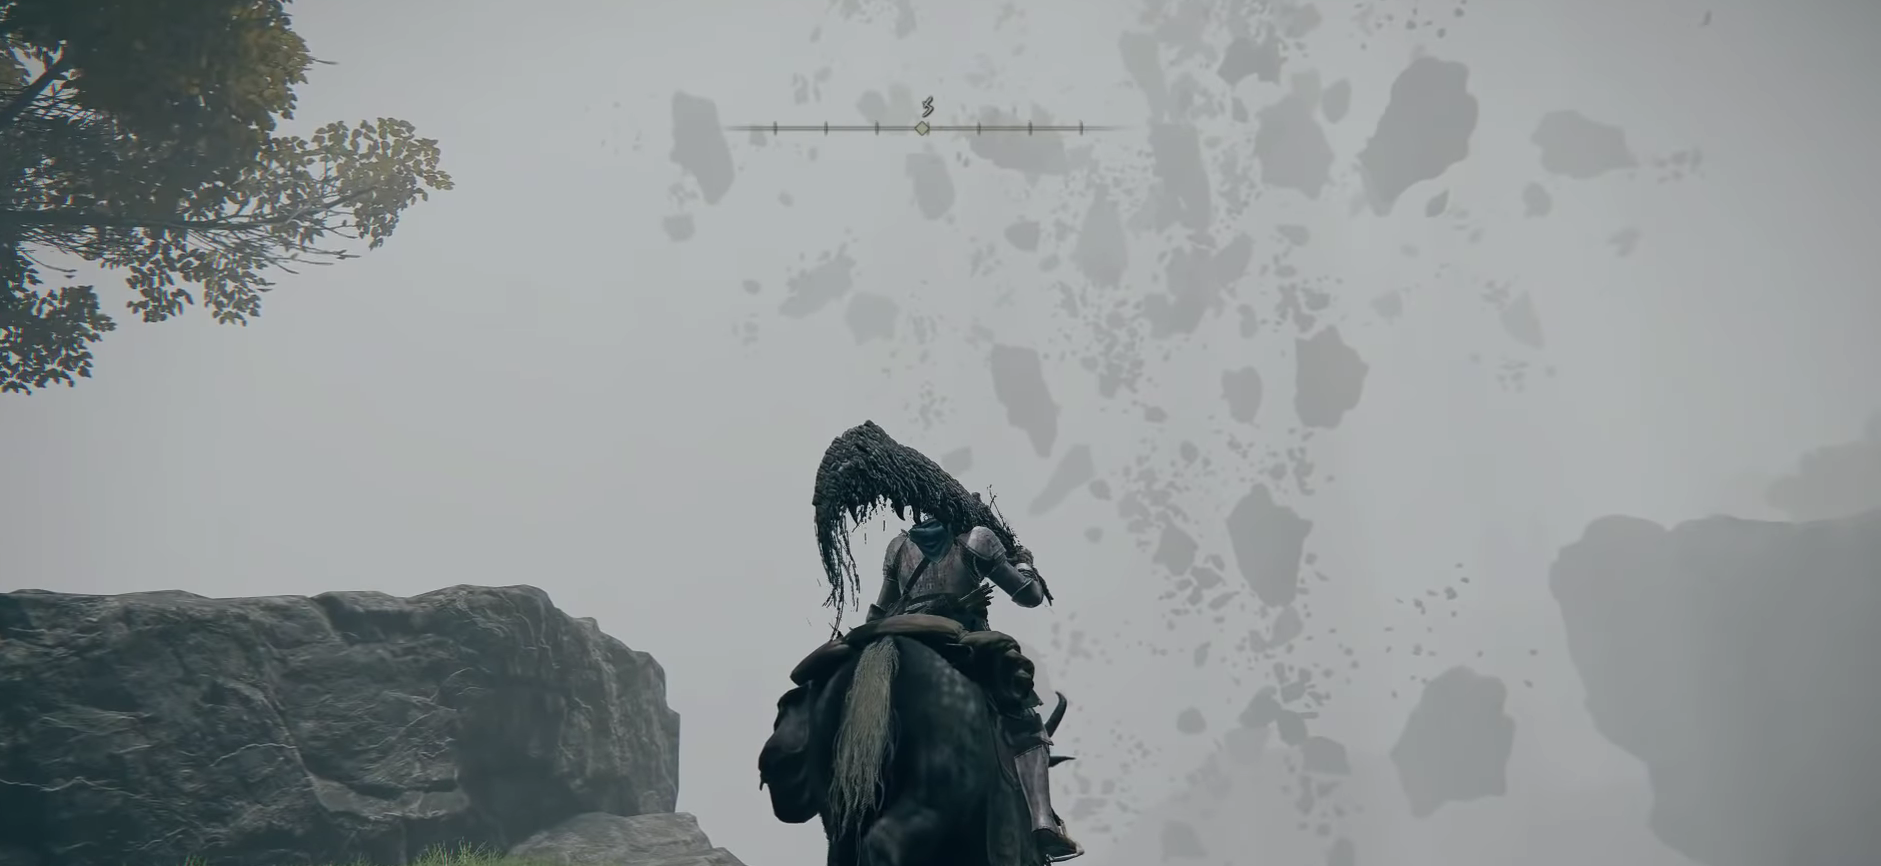
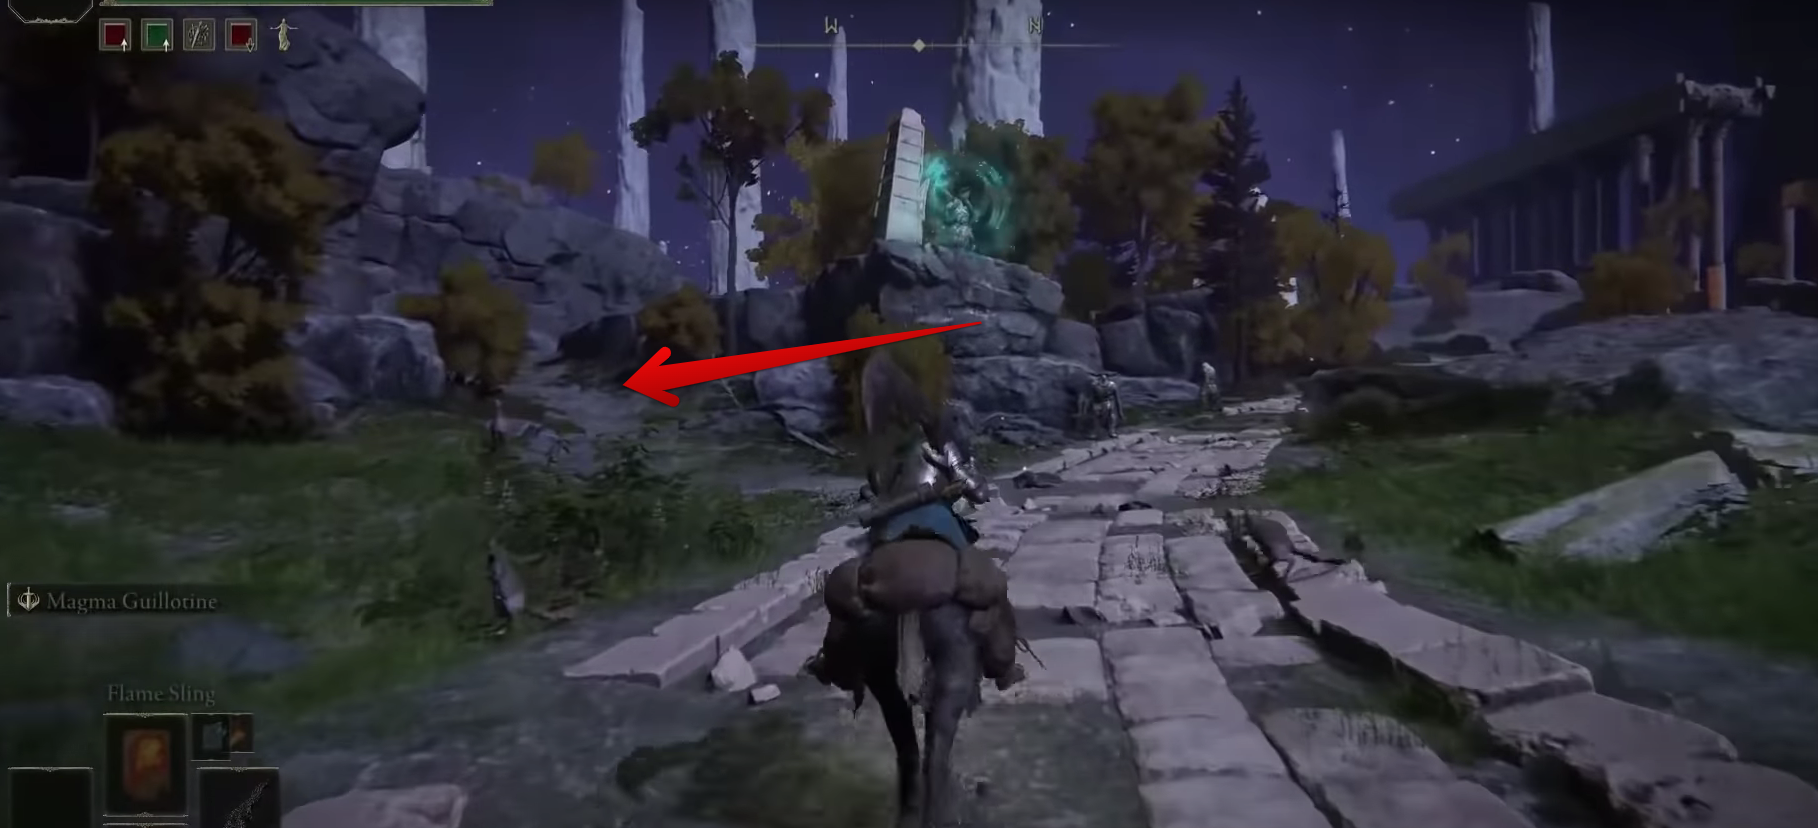
Mistwood Ruins Location - After reading Blaidd’s message, head south from your current location until you come across a group of rocks suspended in the air. This unusual sight indicates a significant change in the area since defeating Radahn.

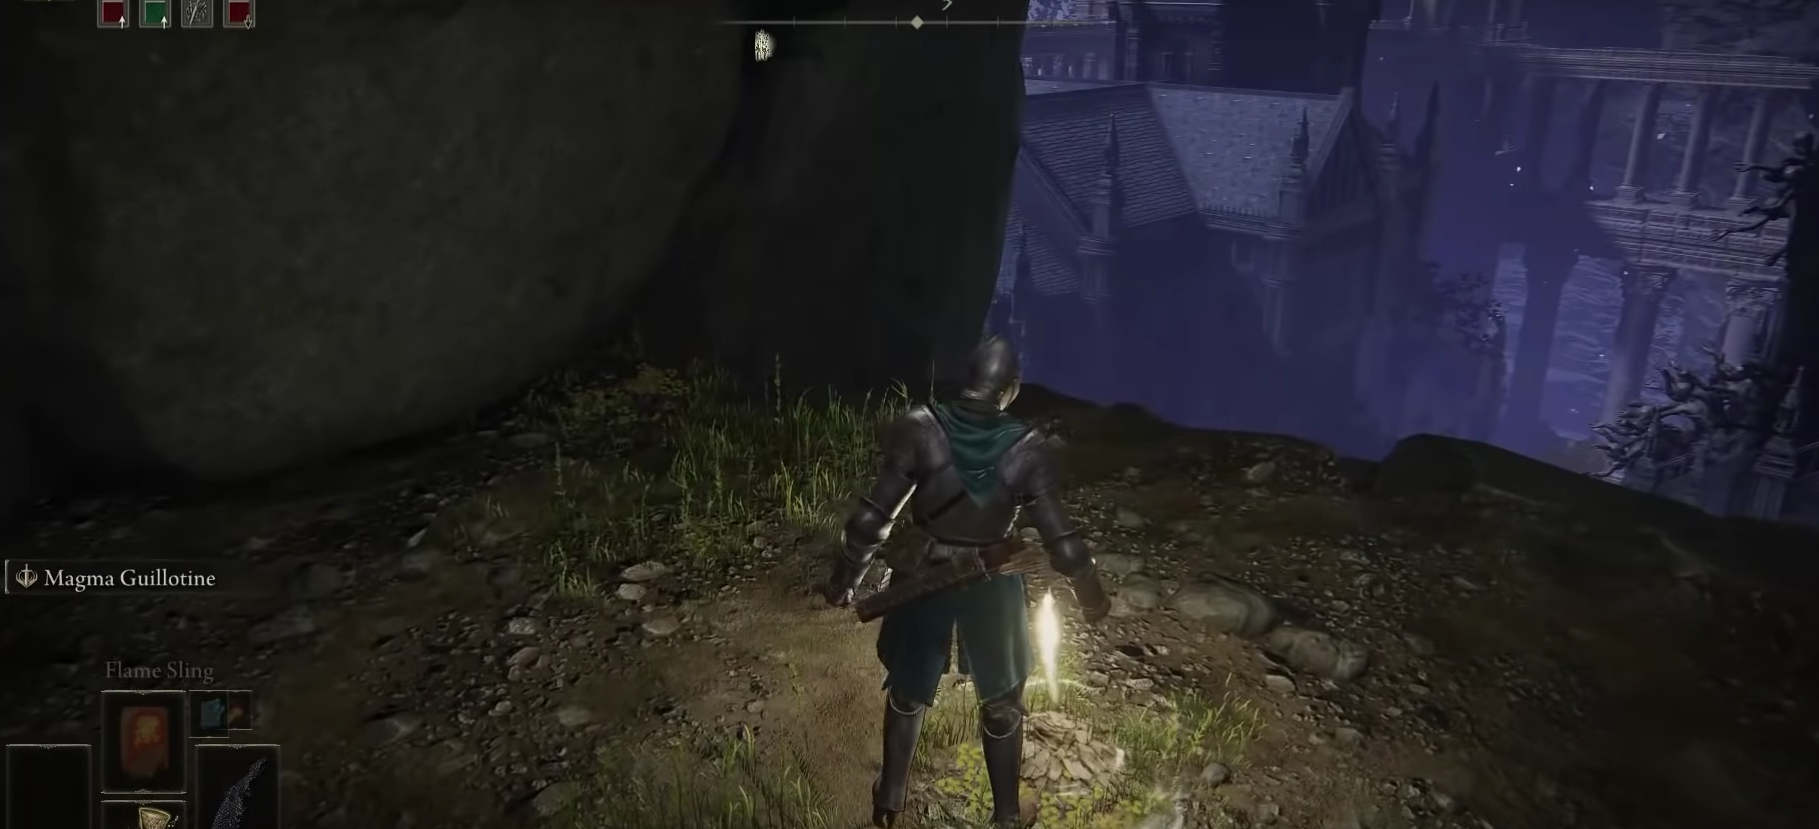
Finding Blaidd’s Message - Begin your descent carefully down the hill, I recommend not taking risky jumps with Torrent (your horse) because I died when I was descending the first time. Continue circling the area until you reach a cave-like entrance. Your character will automatically dismount from Torrent when you approach this spot.

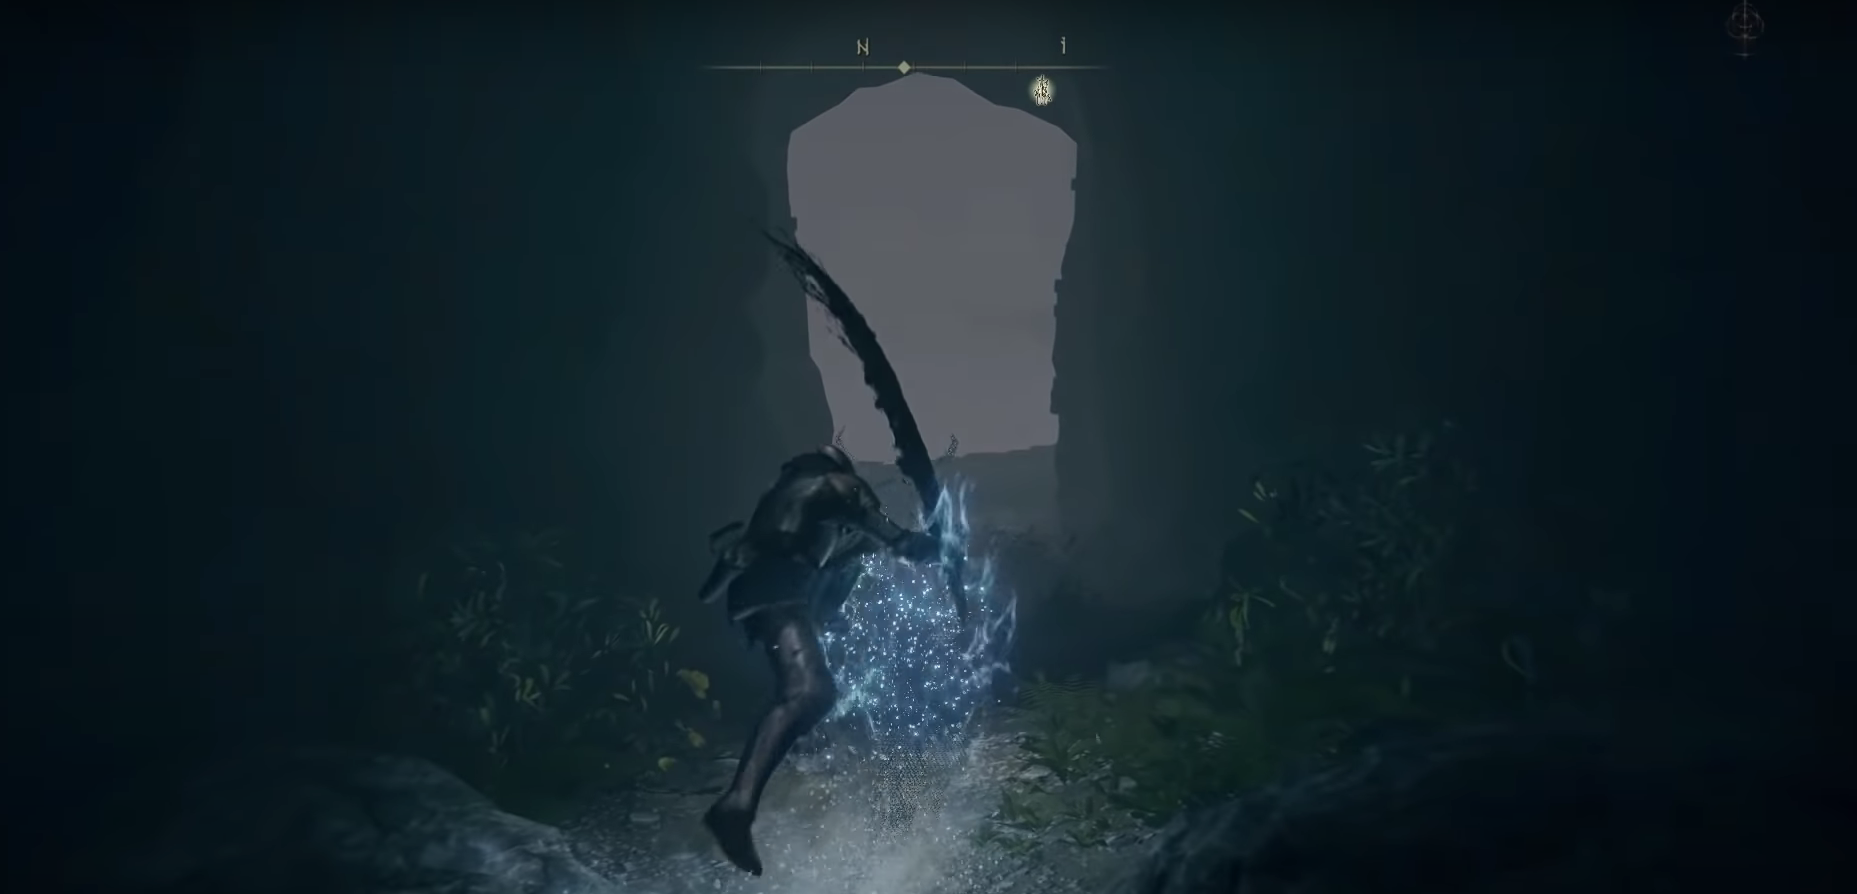
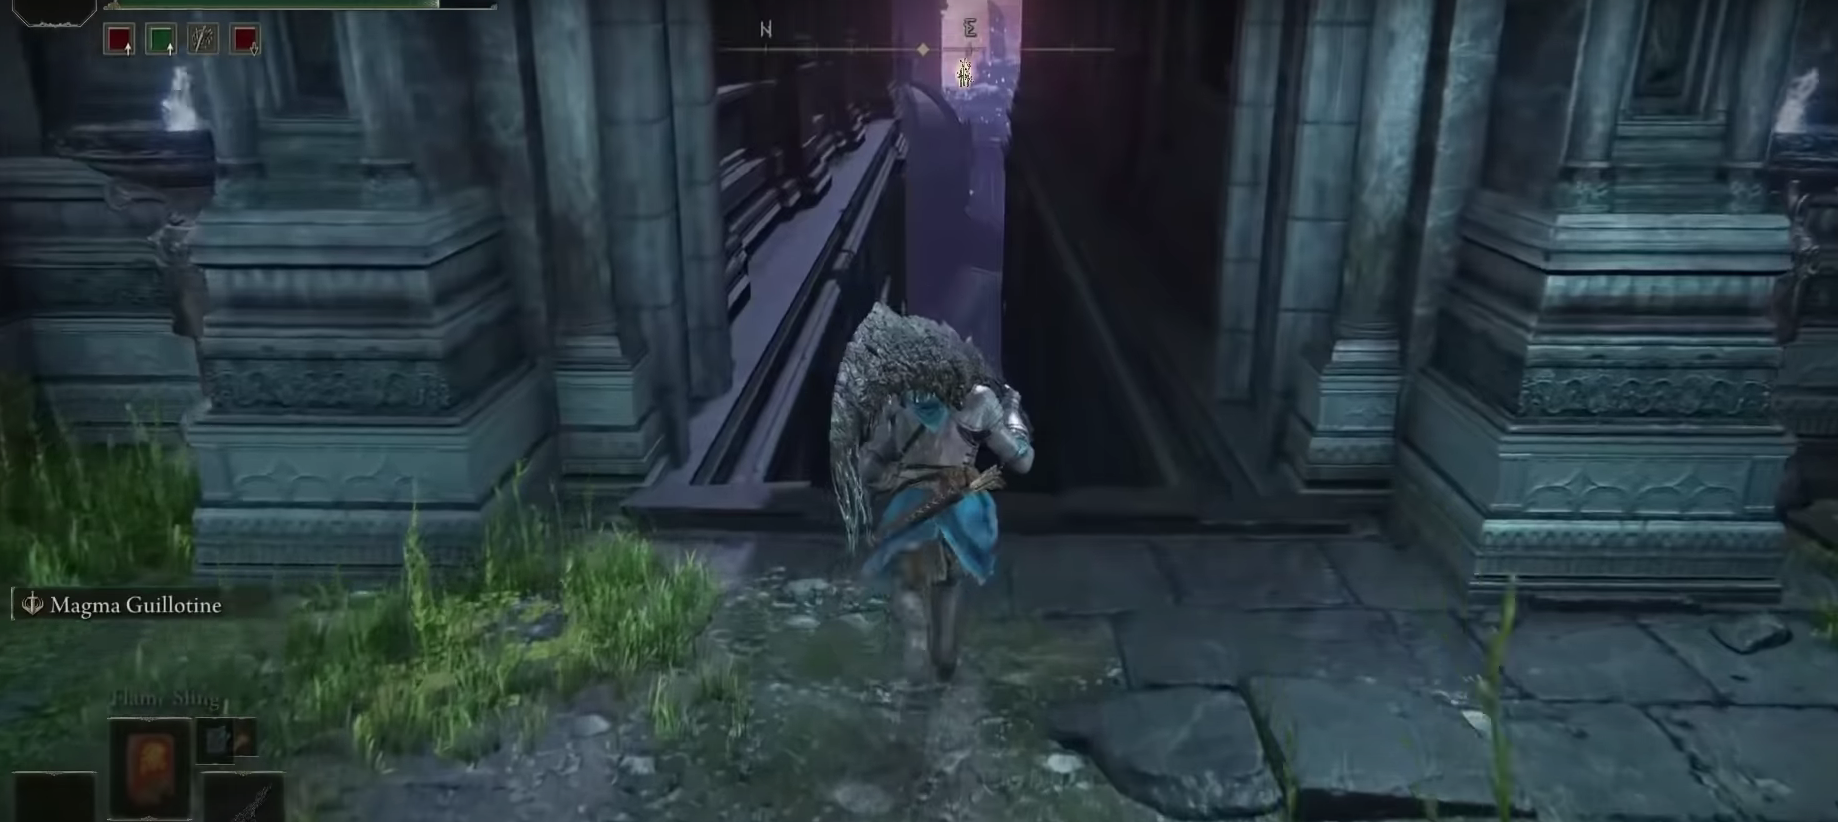
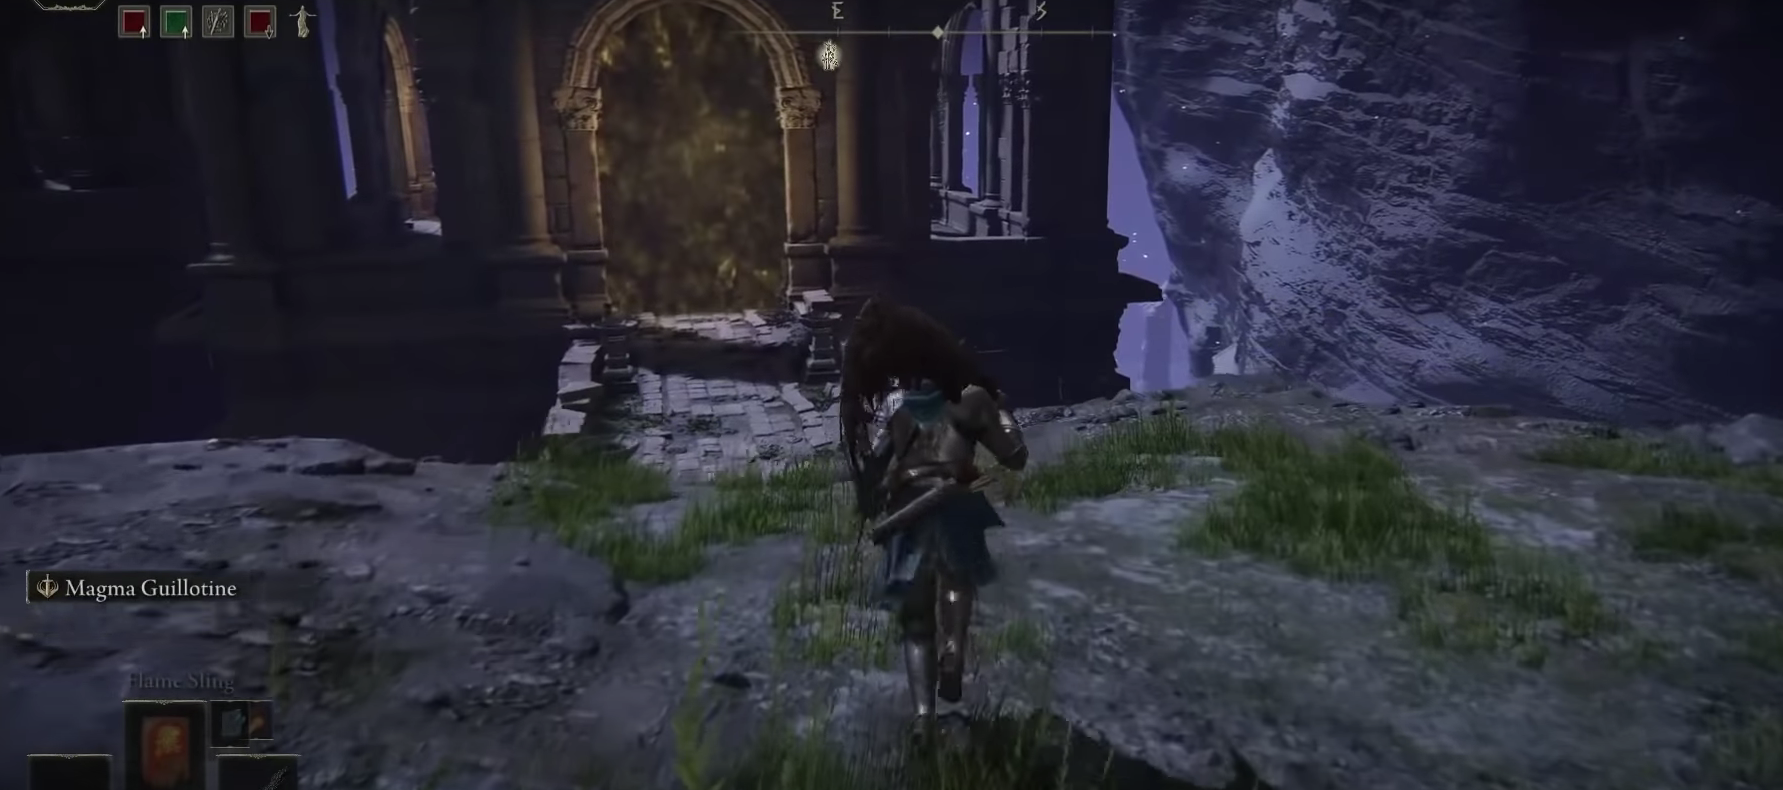
Approaching the Entrance to Nokron - Enter the cave-like entrance and continue descending through multiple floors. Jump your way forward until you find a sizable doorway.
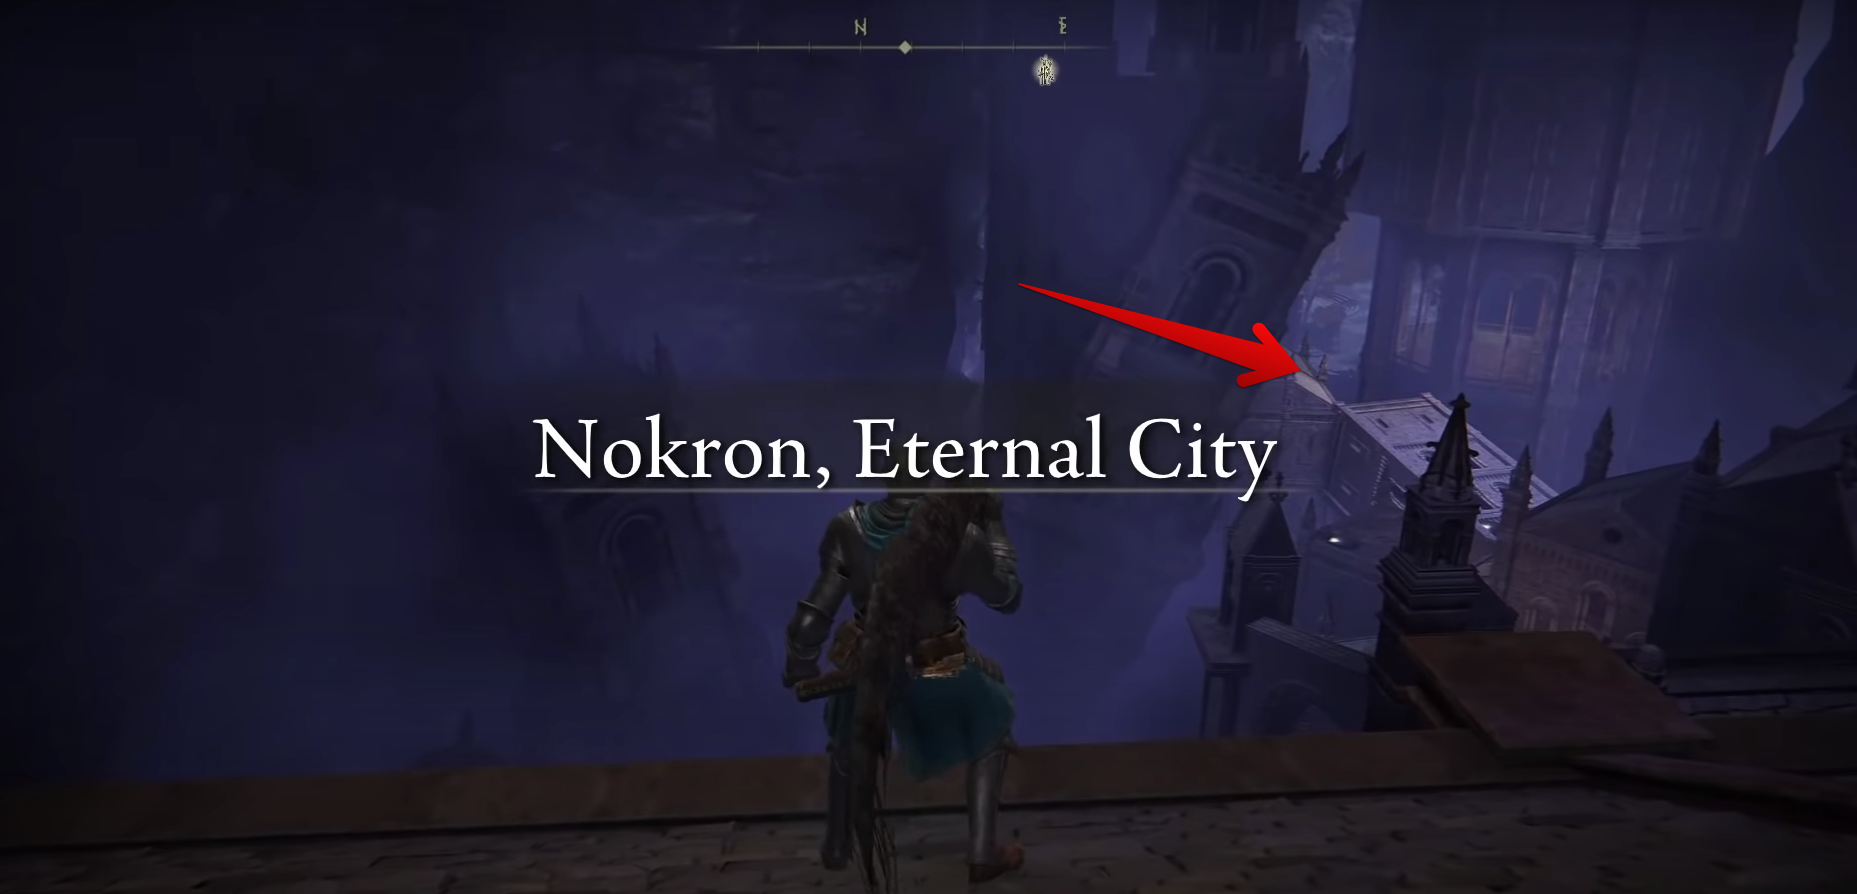
- Go through the doorway to finally enter Nokron, the Eternal City. You have reached your destination.

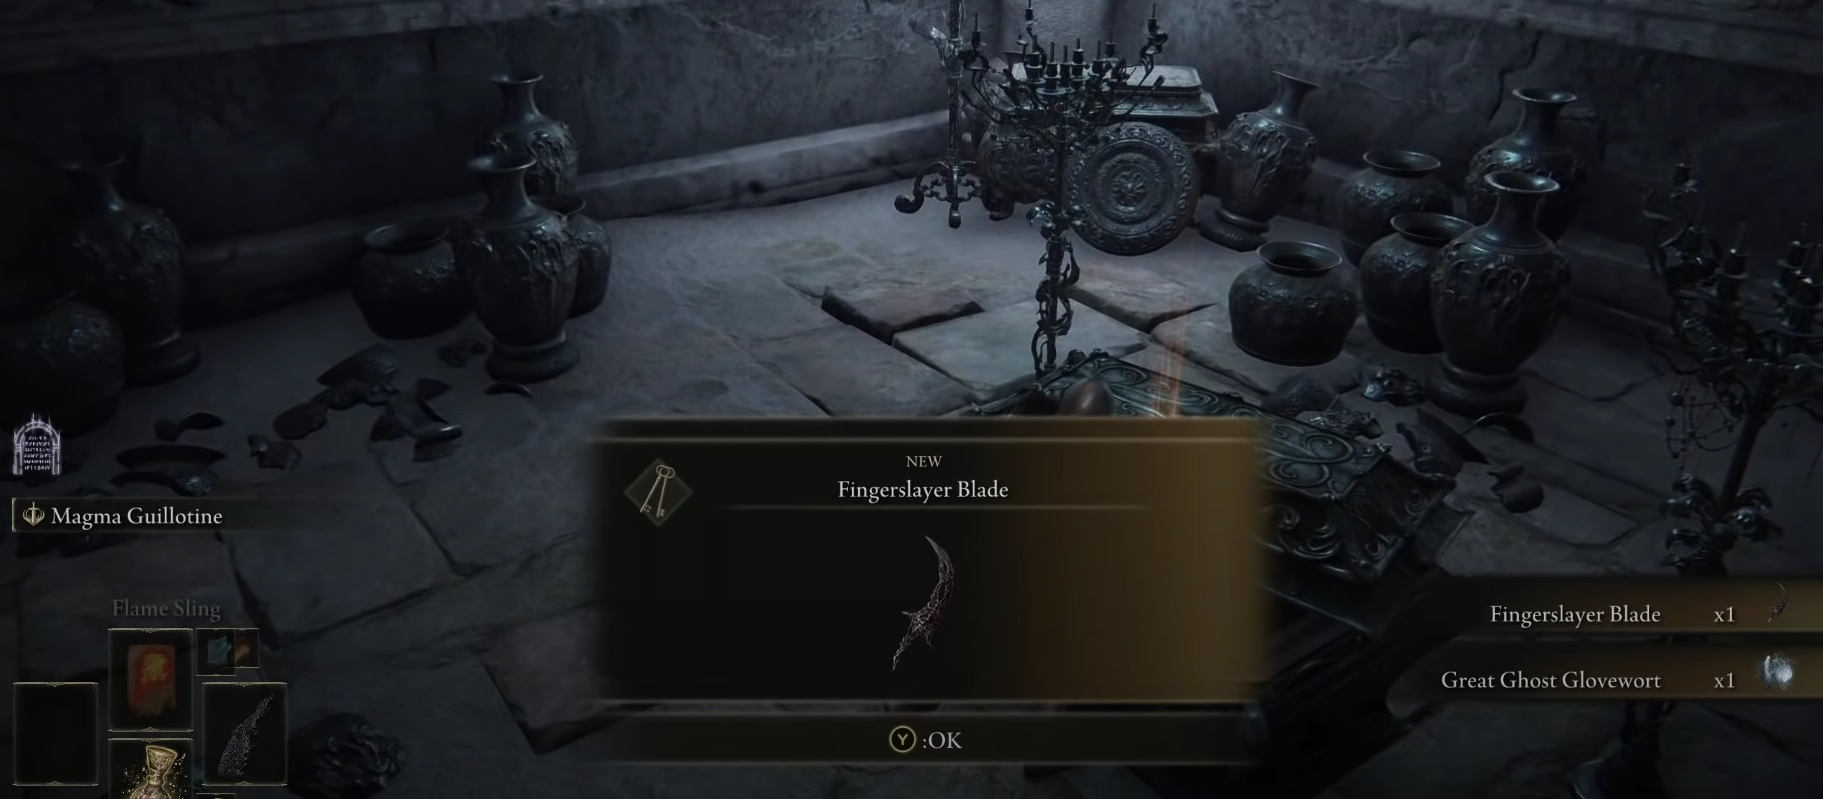
Find the Fingerslayer Blade in Nokron, Eternal City
Recovering Lady Ranni’s treasure, the Fingerslayer Blade, is a complex part of the Ranni quest, requiring extensive traversal.
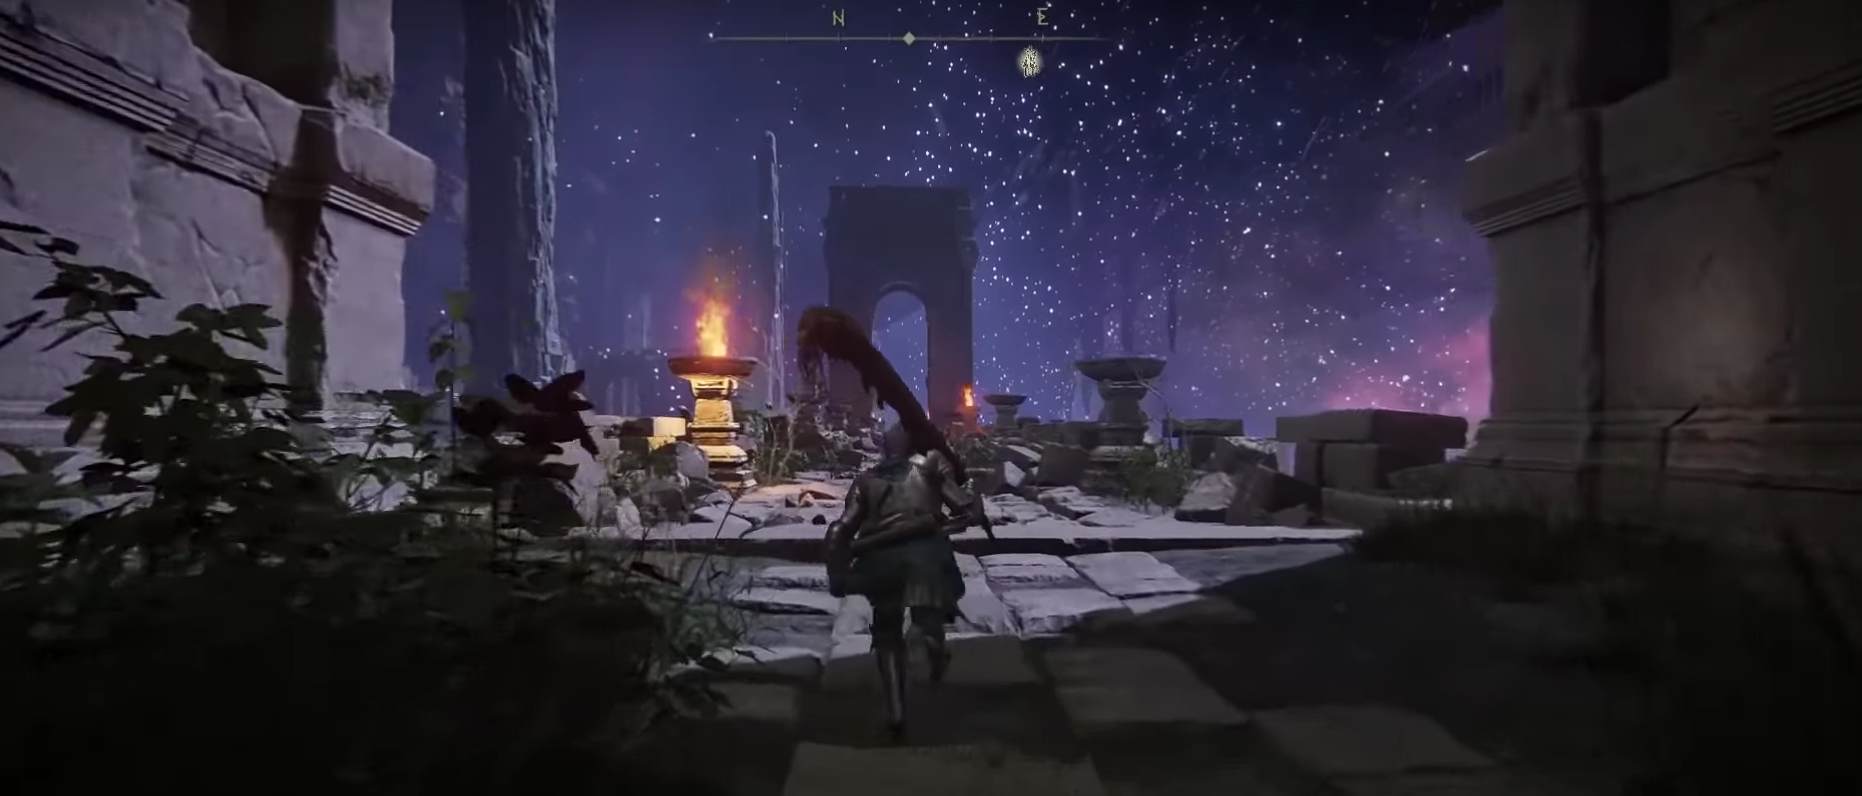
- Navigate Through Nokron, the Eternal City:

Pointing Where to Go - Head northeast from the outskirts of Nokron, avoiding Silver Tears creatures.
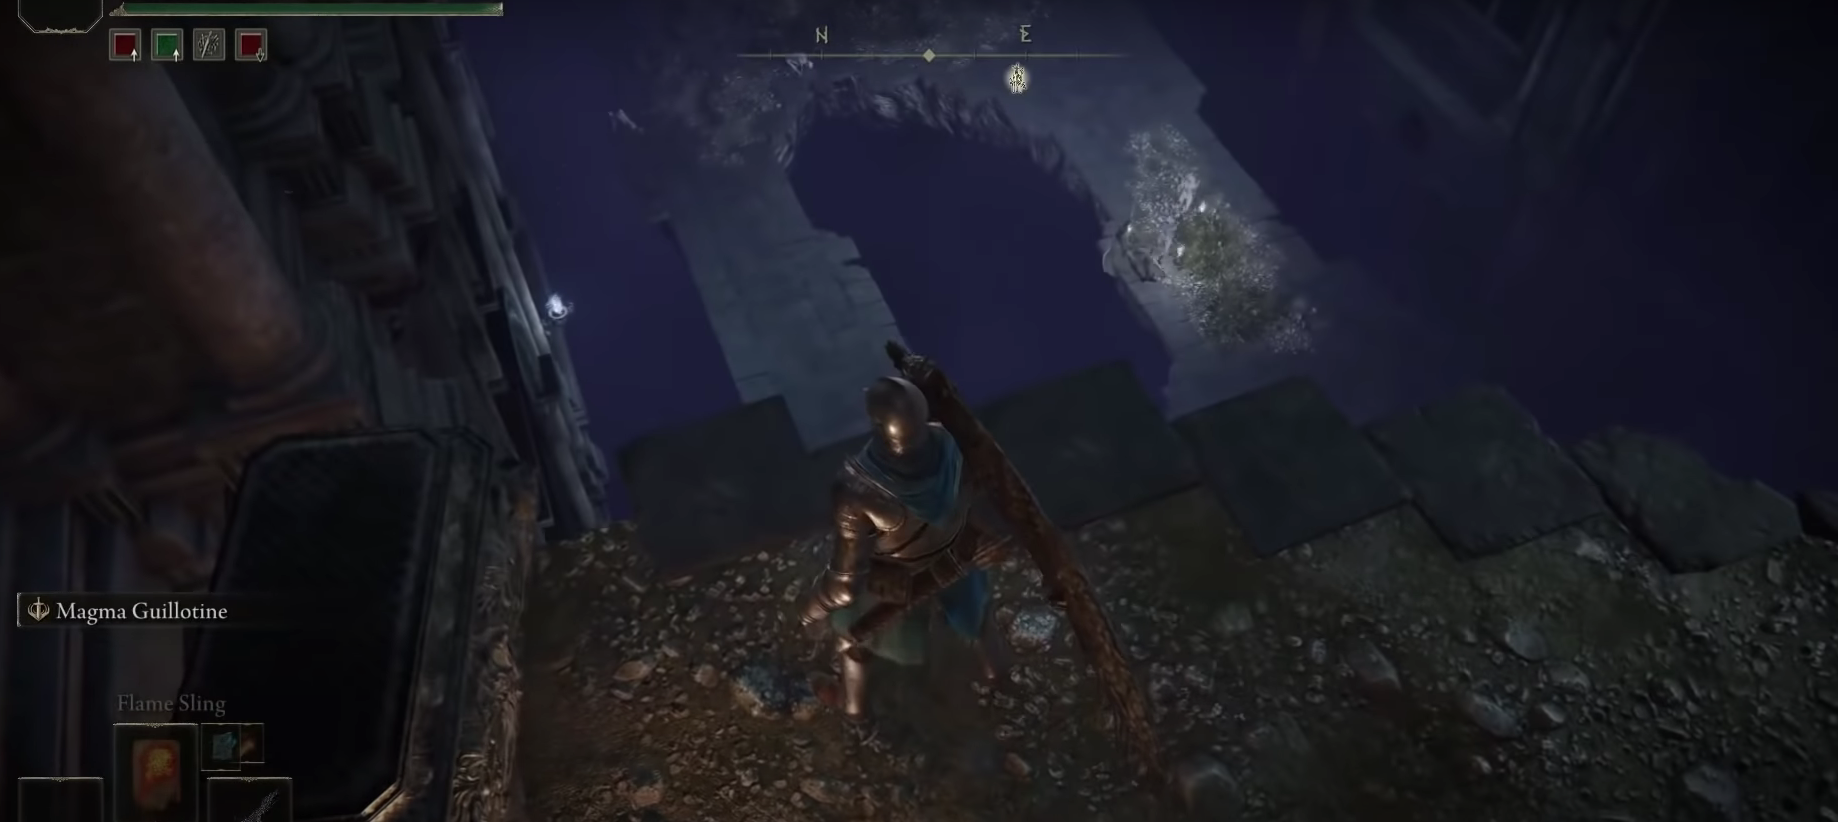
- Cross a fallen building and reach a narrow ledge on another building.
- Enter the Window-Accessed Room:

Going Down From the Window-Accessed Room - Find a window on the left side as you enter Nokron’s outskirts.
- Enter the window to access a room that leads to lower sections.
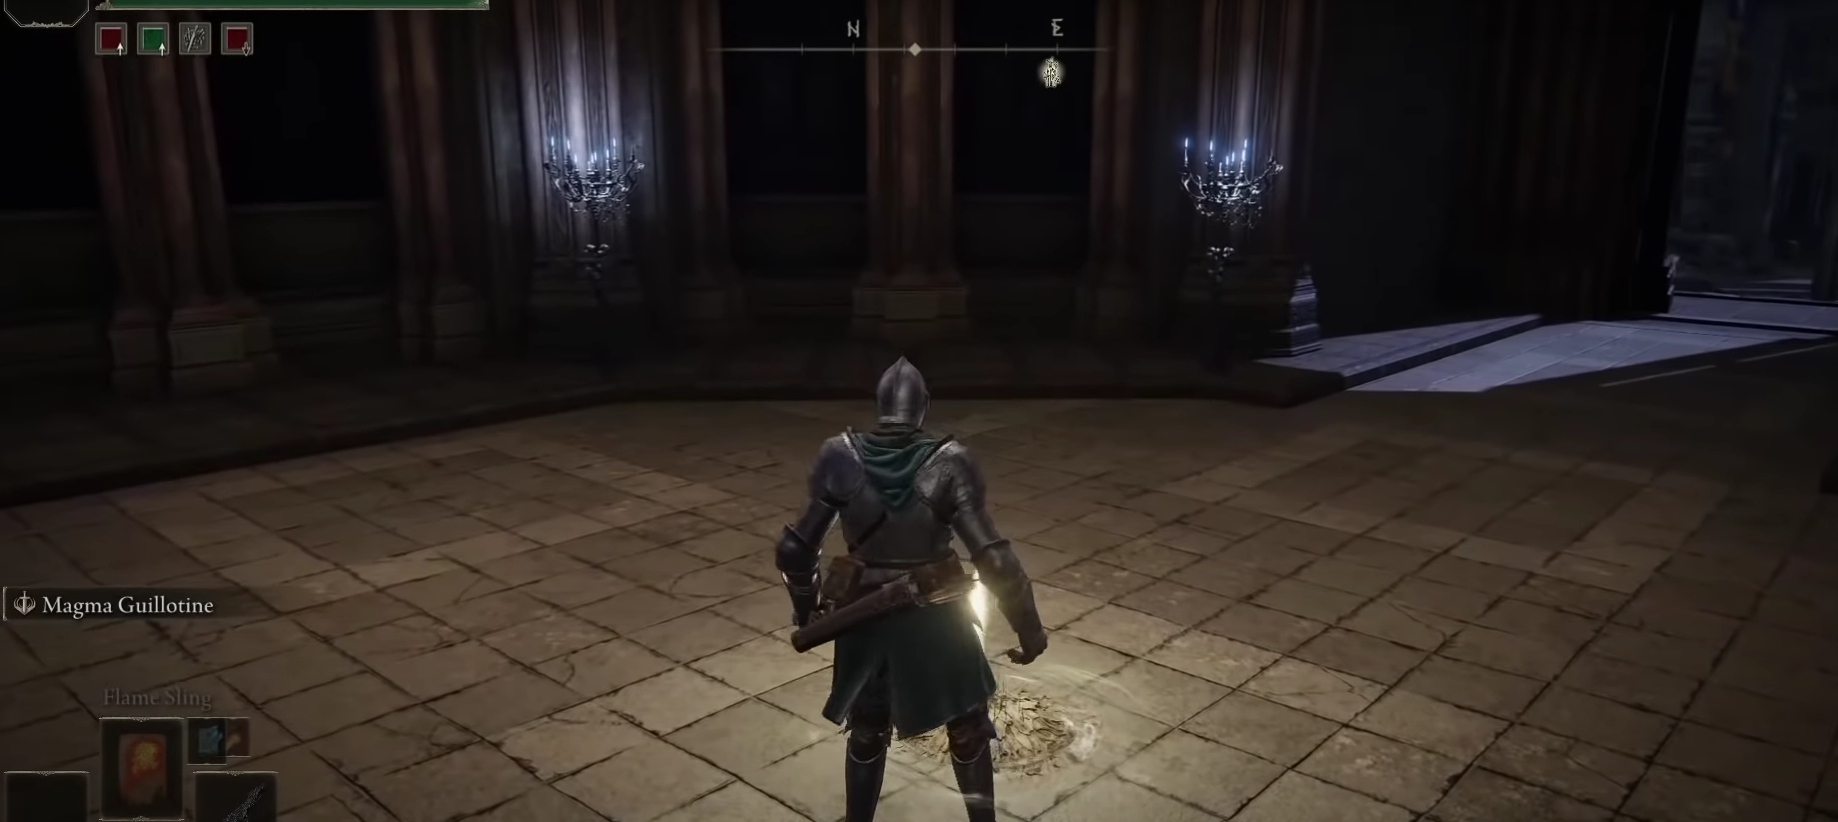
- Activate the Site of Lost Grace:
- Go through the room to reach a platform below.
- Proceed straight to find a doorway leading to a Site of Lost Grace. Activate it and prepare for your journey.
Activating the Site of Lost Grace in Nokron, Eternal City
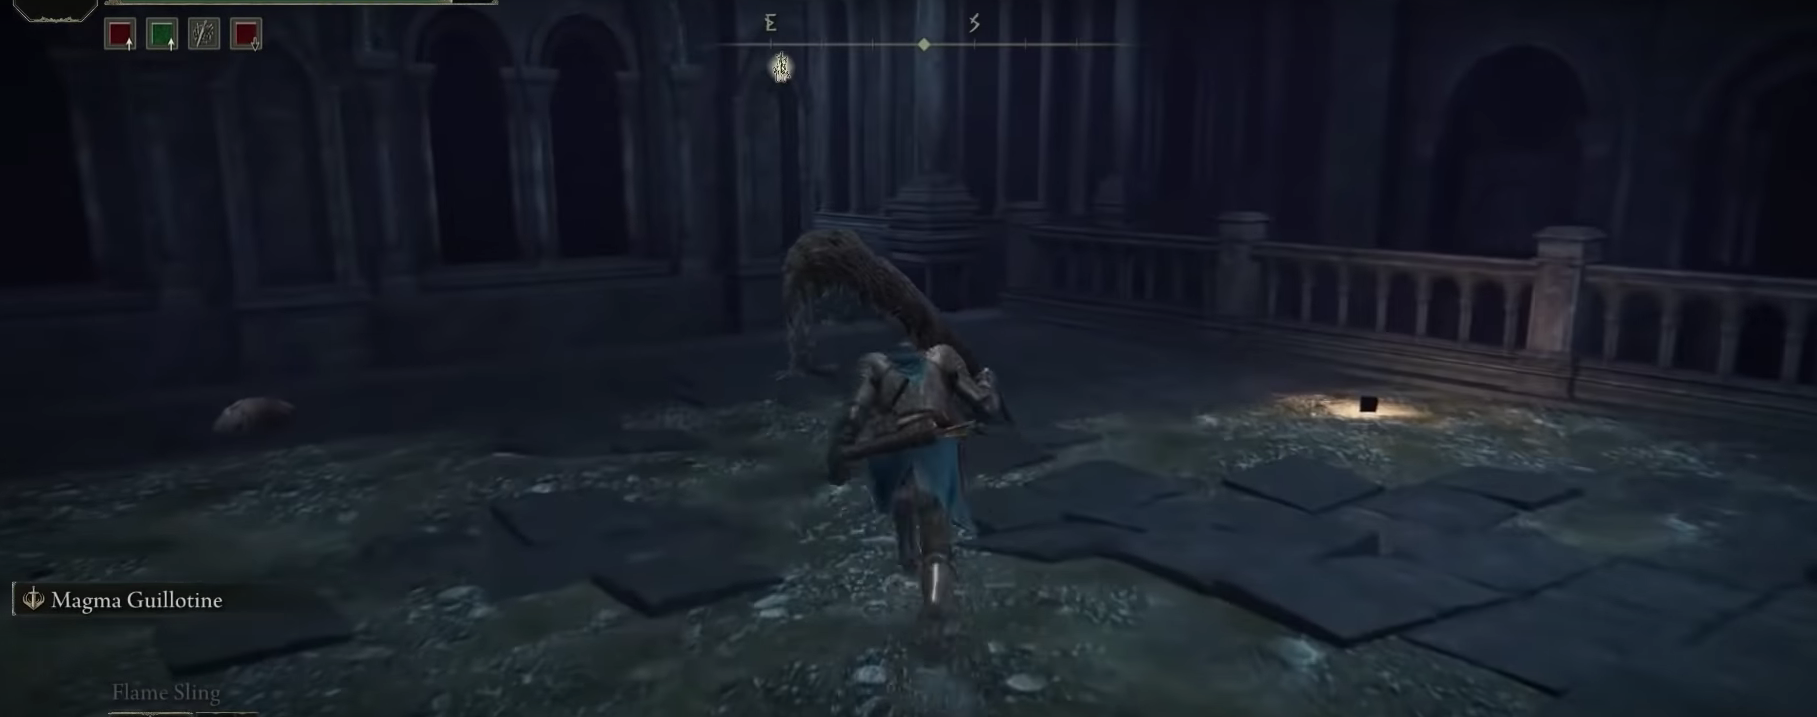
- Proceed to Nokron’s Heart:
- Exit through the east door, and keep heading east until you find a narrow passageway.
- Follow the path and stairs leading to a lower segment of the city.
- Head east and traverse the “Mist” to face the Mimic Tear boss.
Heading Along the Right Pathway
- Defeat the Mimic Tear Boss:
In my opinion, the best way to beat Mimic Tear Boss is:
-
- Remove all weapons and armor before passing through the “Mist.
- Re-equip your gear once the boss manifests as you.
- Defeat the Mimic Tear boss and activate a nearby Site of Lost Grace to save your progress.

Approaching the Mimic Tear Boss Fight
- Ride Torrent and Head North:
- After defeating the boss, ride your mount Torrent.
- Head north across the bridge and explore the open-world part of Nokron.

Heading North After the Mimic Tear Boss Fight
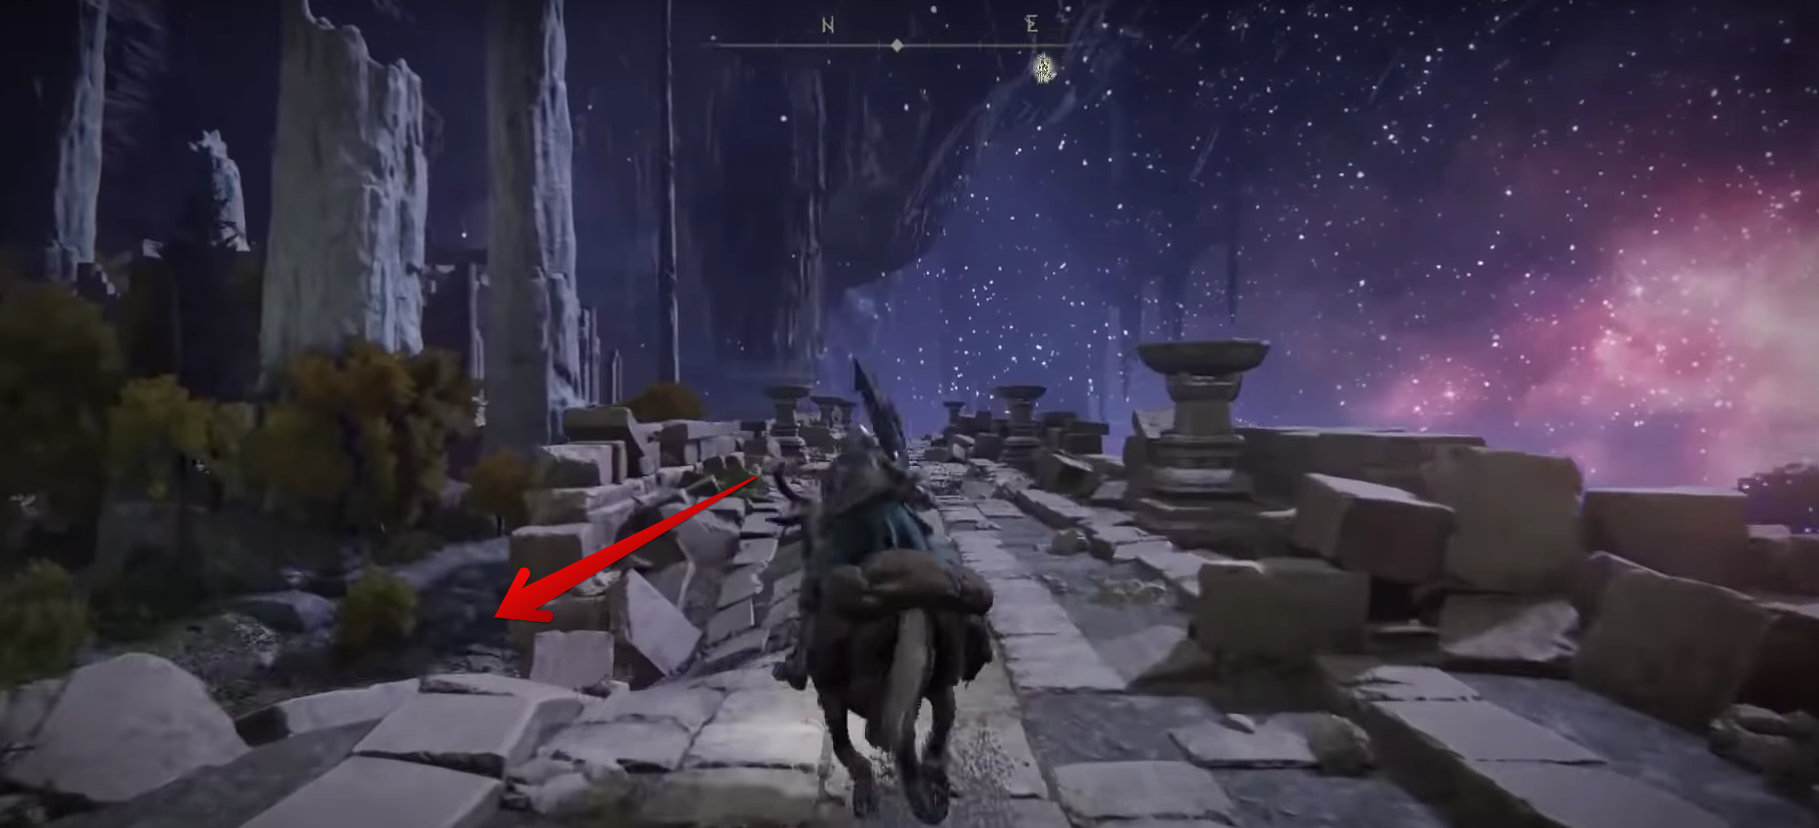
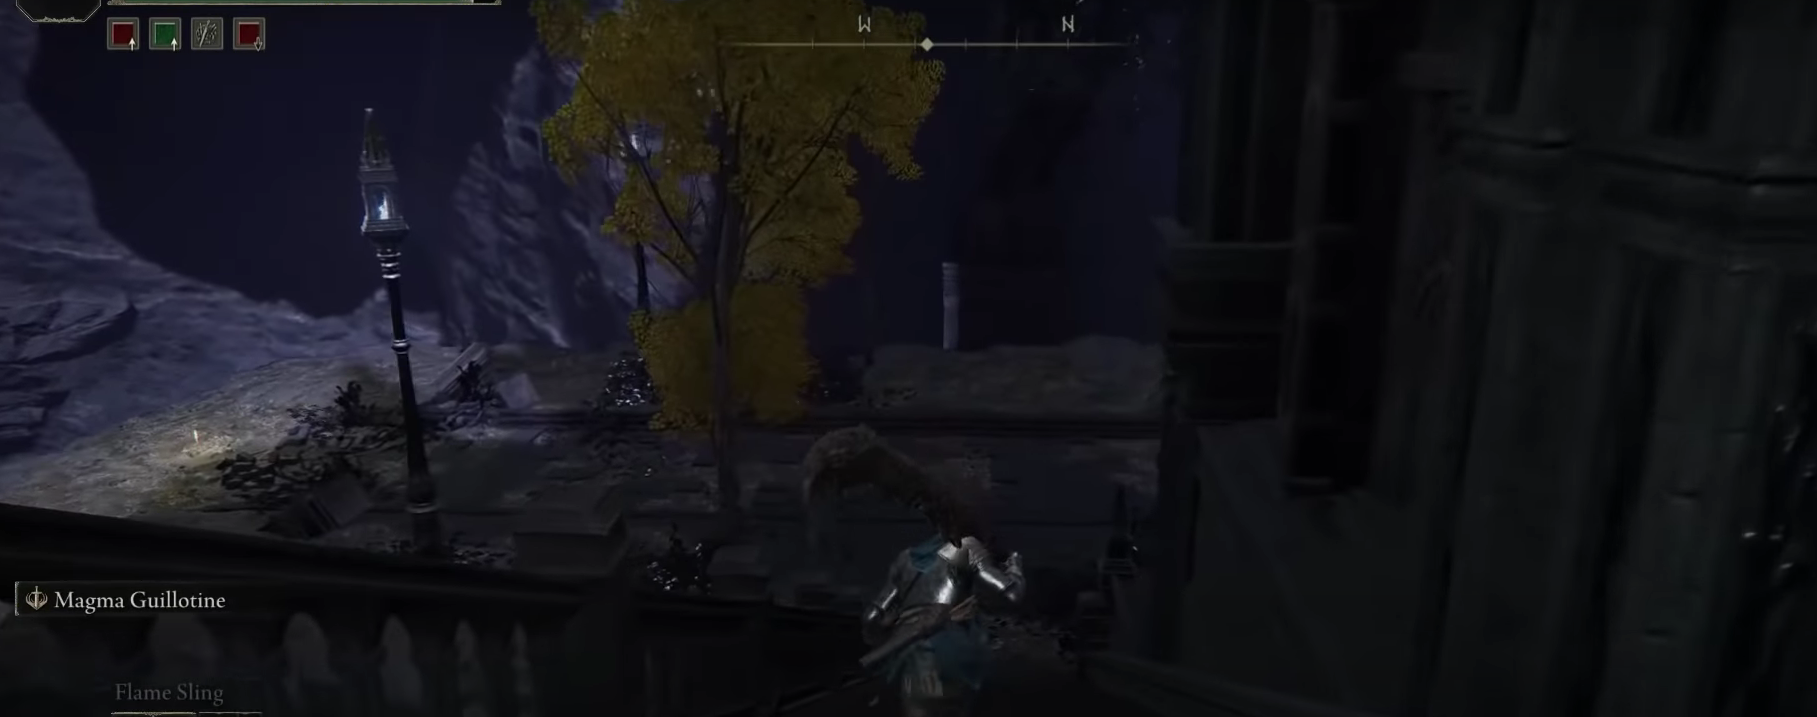
- Find a Narrow Path and Explore the Area:
- Look for a narrow path on the left and go down it.
- Continue until you reach a divide in the road, and take a left.

Going Down the Broken Path From the Bridge
- Activate the Ancestral Woods Site of Lost Grace:
- Follow the path until you reach a Site of Lost Grace in the Ancestral Woods.
- Activate the checkpoint and rest if needed.

Taking a Left at the Divide in the Road
- Navigate Through Buildings and Platforms:
- Jump to a platform protruding from a building.
- Drop down to a lower level to reach the Night’s Sacred Ground.
- Find a narrow walkway to advance further.

Activating the Ancestral Woods Site of Lost Grace
- Enter the Building:
- Follow the walkway to a building with a sizable opening in the wall.

Finding the Narrow Walkway - Jump down to a lower level and proceed through the doorway.
- Go down a flight of stairs to reach another section.
Going Down the Stairs
- Follow the walkway to a building with a sizable opening in the wall.
- Save Progress and Continue:
- Save your progress at a Site of Grace on the left side of the section.
- Proceed north through the hallway, up a flight of stairs, and open the chest to obtain the Fingerslayer Blade.

Fingerslayer Blade Retrieved
Great going so far! However, you still have a good amount of progress left to make. Let’s carry on to the next section.
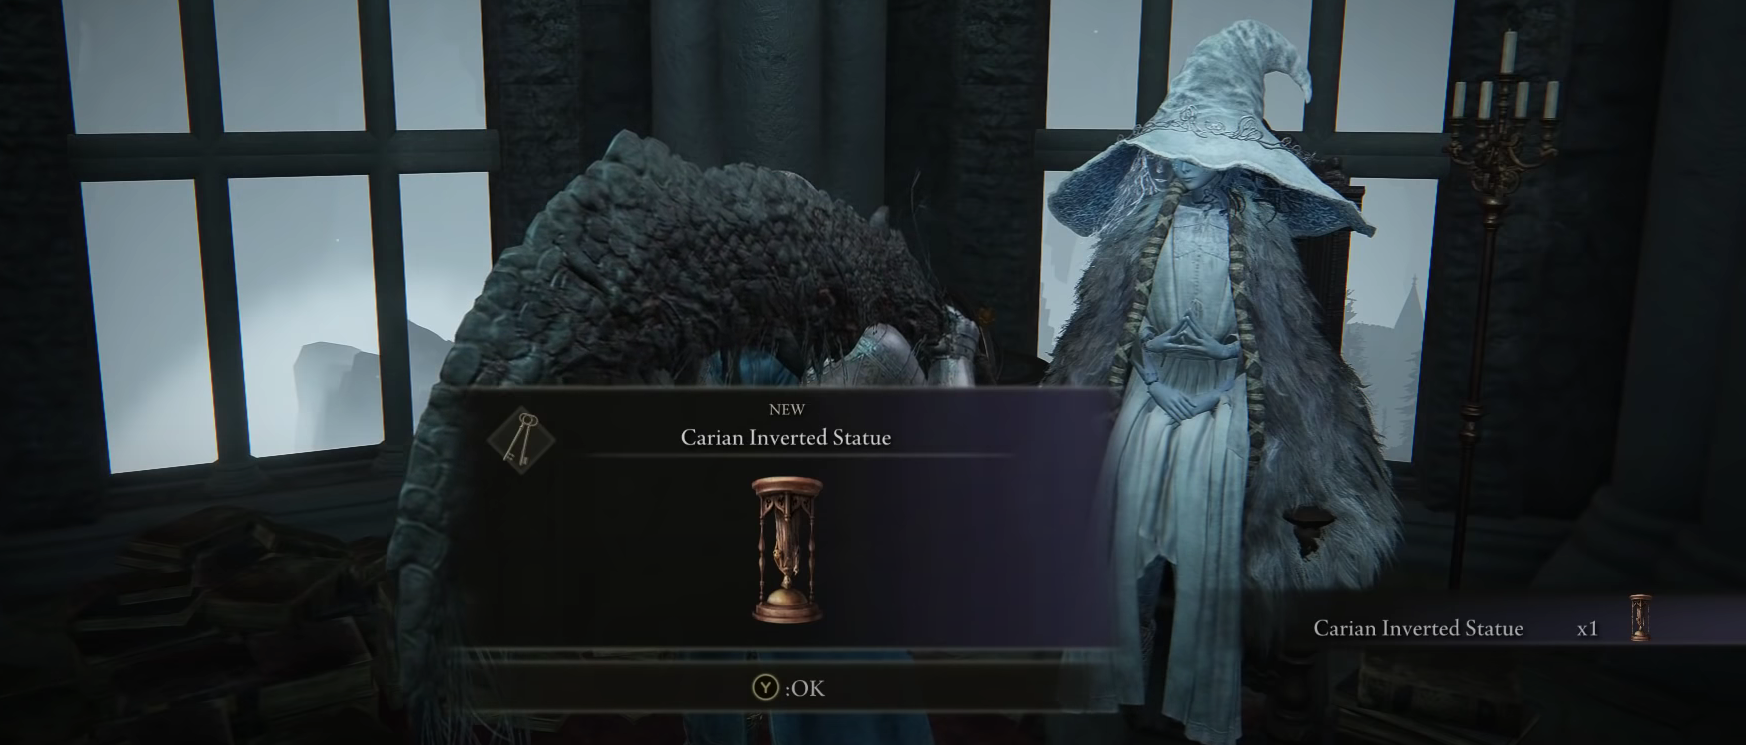
Give Ranni the Fingerslayer Blade
Now you have to go all the way back to Ranni’s Rise, particularly in the same spot as your last encounter with her. You can refer to one of the previous sections for in-depth guidelines on getting there, but here’s a screenshot of Ranni’s Rise on the Map again.
Approach Ranni and talk to her twice. She’ll thank you and Torrent for your services and give you the Carian Inverted Statue. Right after that, you’ll be prompted to leave as Ranni prepares to tread on the dark path that she’s been vying for.
In my opinion, It’s worth going into Seluvis’s Rise too at this point. To the player’s surprise, Seluvis will be found dead, leaving his attire and a bunch of other items for you to grab. Pick the goodies up and make your way out of the dead man’s quarters.
Use the Carian Inverted Statue to Unlock the Divine Tower of Liurnia
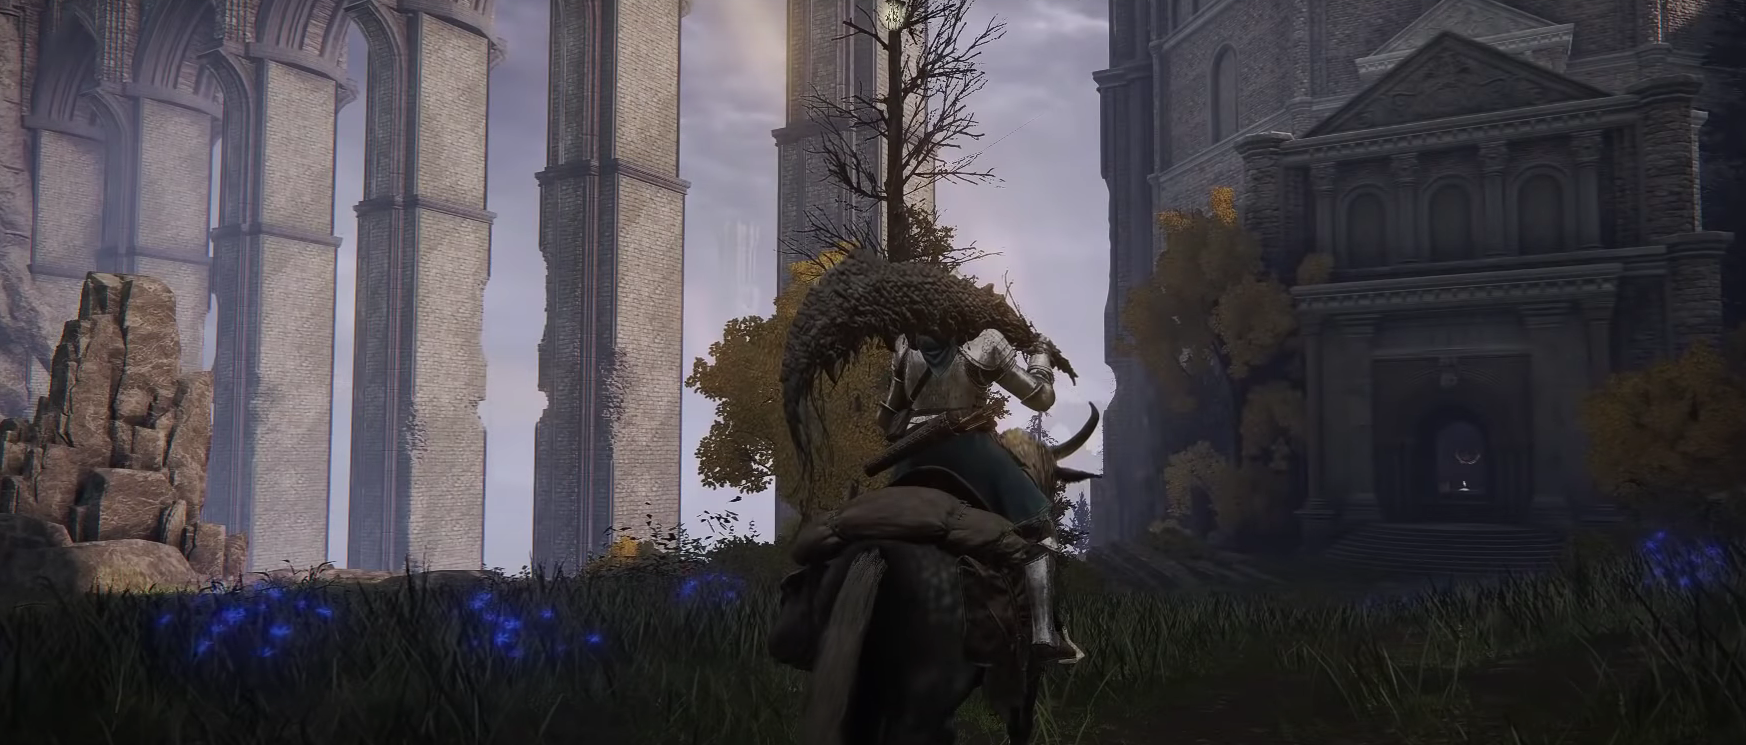
To advance the quest, you’ll need to use the Carian Inverted Statue to access the Divine Tower of Liurnia. Start by reaching the Carian Study Hall in the Liurnia of the Lakes region.
The nearest Site of Grace is Eastern Liurnia Lake. From there, head east on the main road and continue south to find the Study Hall Entrance area, which also has a Site of Grace. For a visual guide, refer to the screenshot. The Carian Study Hall is going to have a visually aesthetic entrance, one that’s bound to be embellished by blue-colored flowers fluttering in the air.
Going inside the Hall will lead you to a specific pedestal. Examine it and place the Carian Inverted Statue to initiate a cutscene. You have now unlocked the Divine Tower of Liurnia—you just need to get to it now.
Traverse the Divine Tower of Liurnia to Obtain the Cursemark of Death
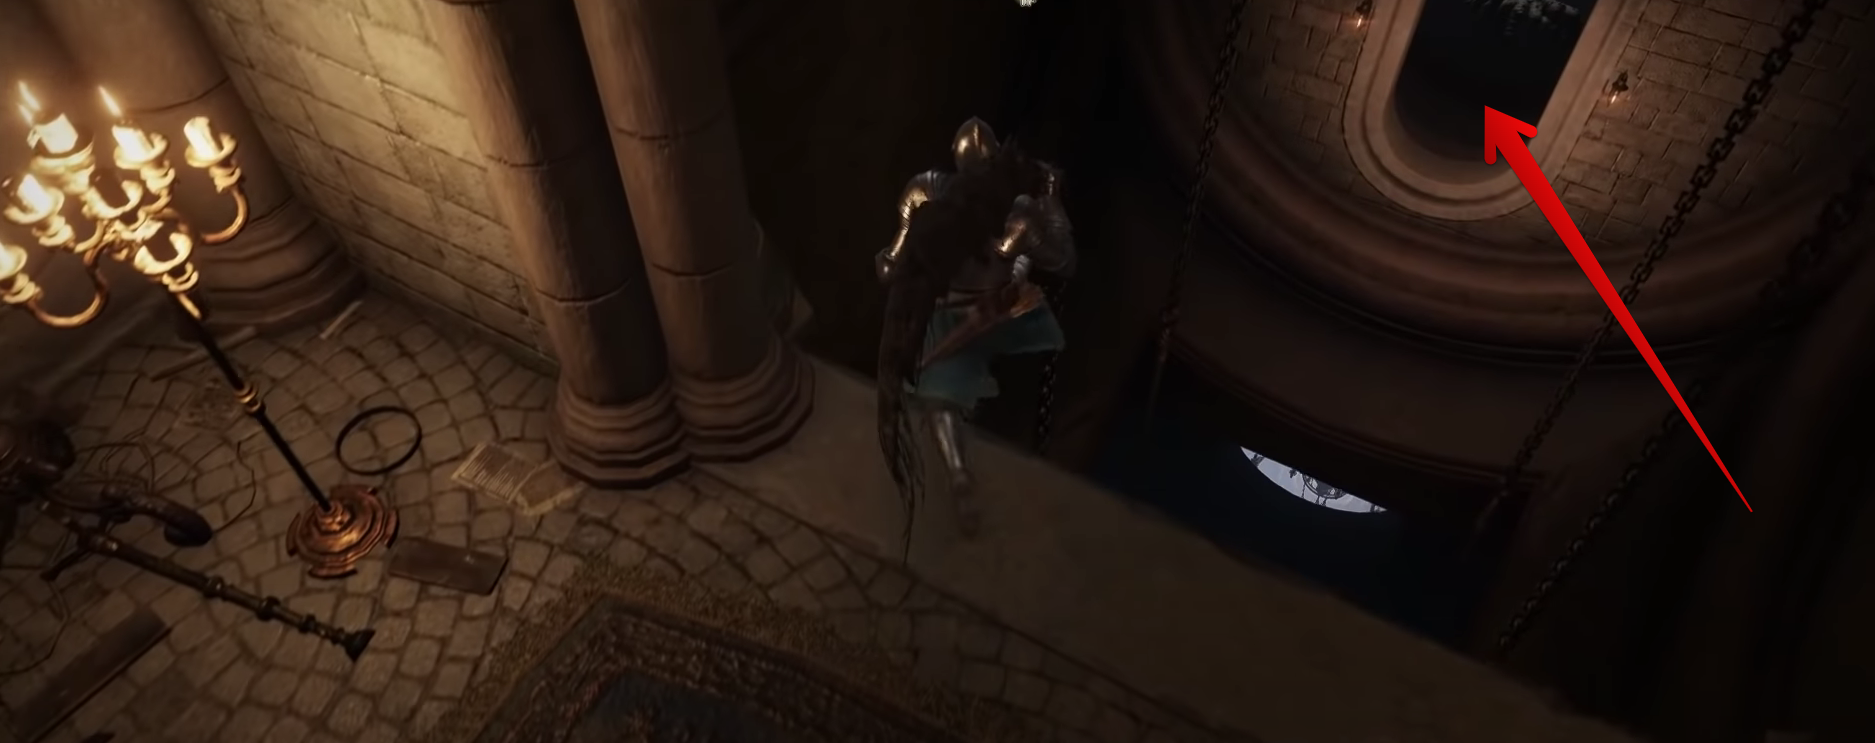
Right after the cutscene, a pathway will open up from the left. Go to it and climb up the stairs.
- After Ranni’s disappearance, take the left pathway.

Traversing the Gap - Climb stairs, cross a gap, and be cautious of Fingercreepers.

Jumping Down to the Lift - Reach a lift and descend. Head east, open a door and activate a Site of Grace.
- Cross a bridge to another door, and enter the Divine Tower of Liurnia.
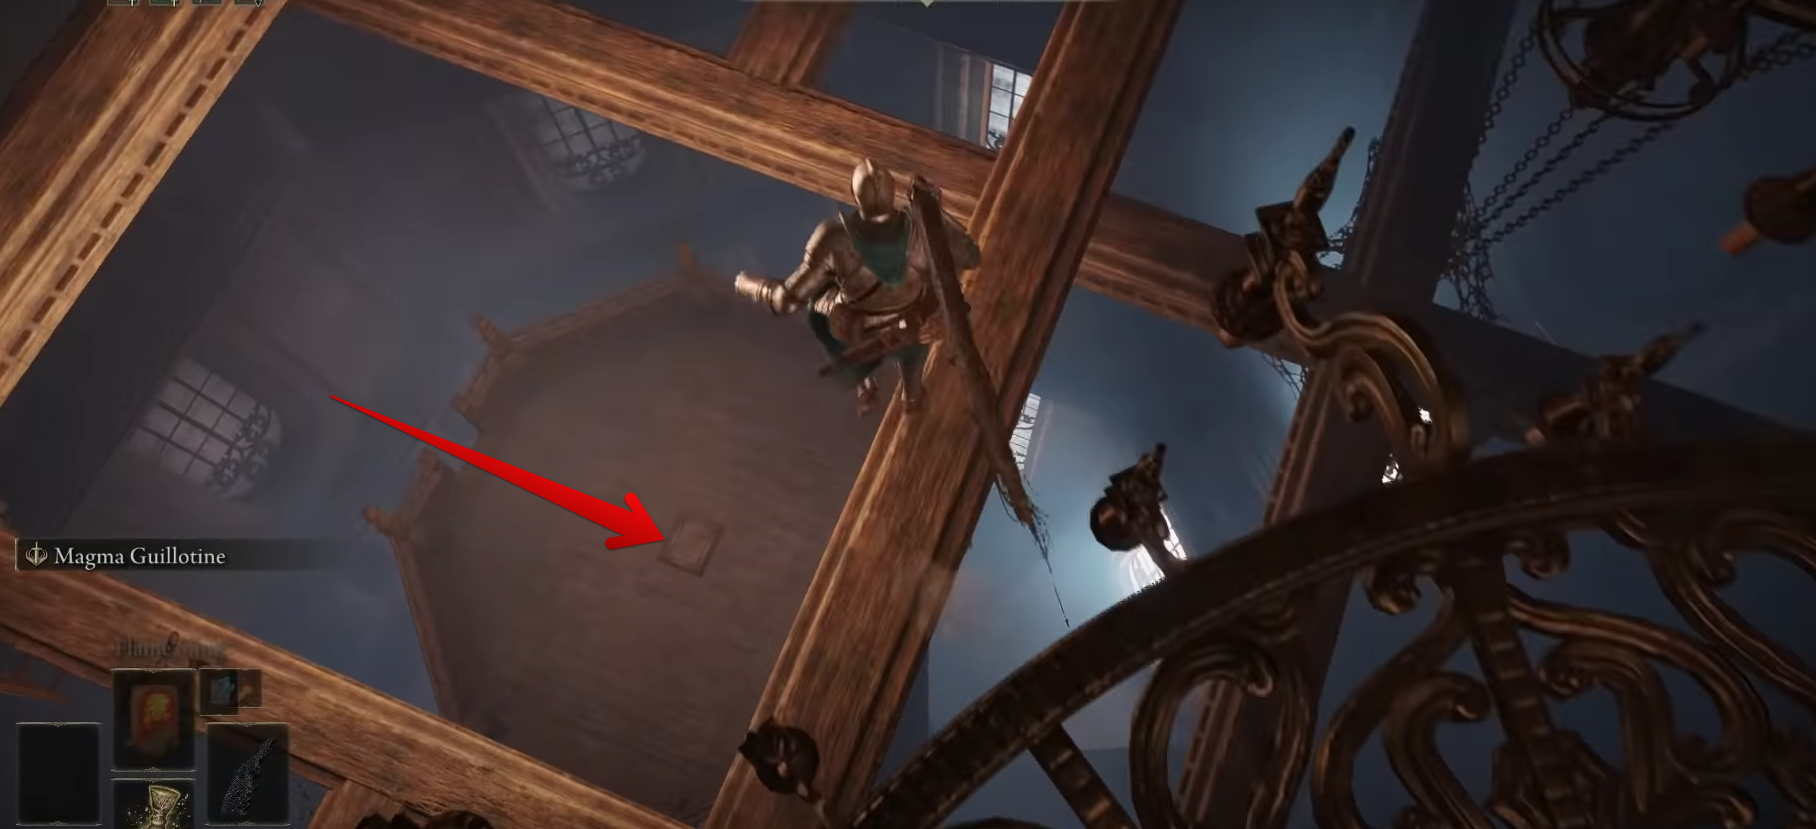
- Use the lift, activate a Site of Grace at the top, and climb to the highest section.

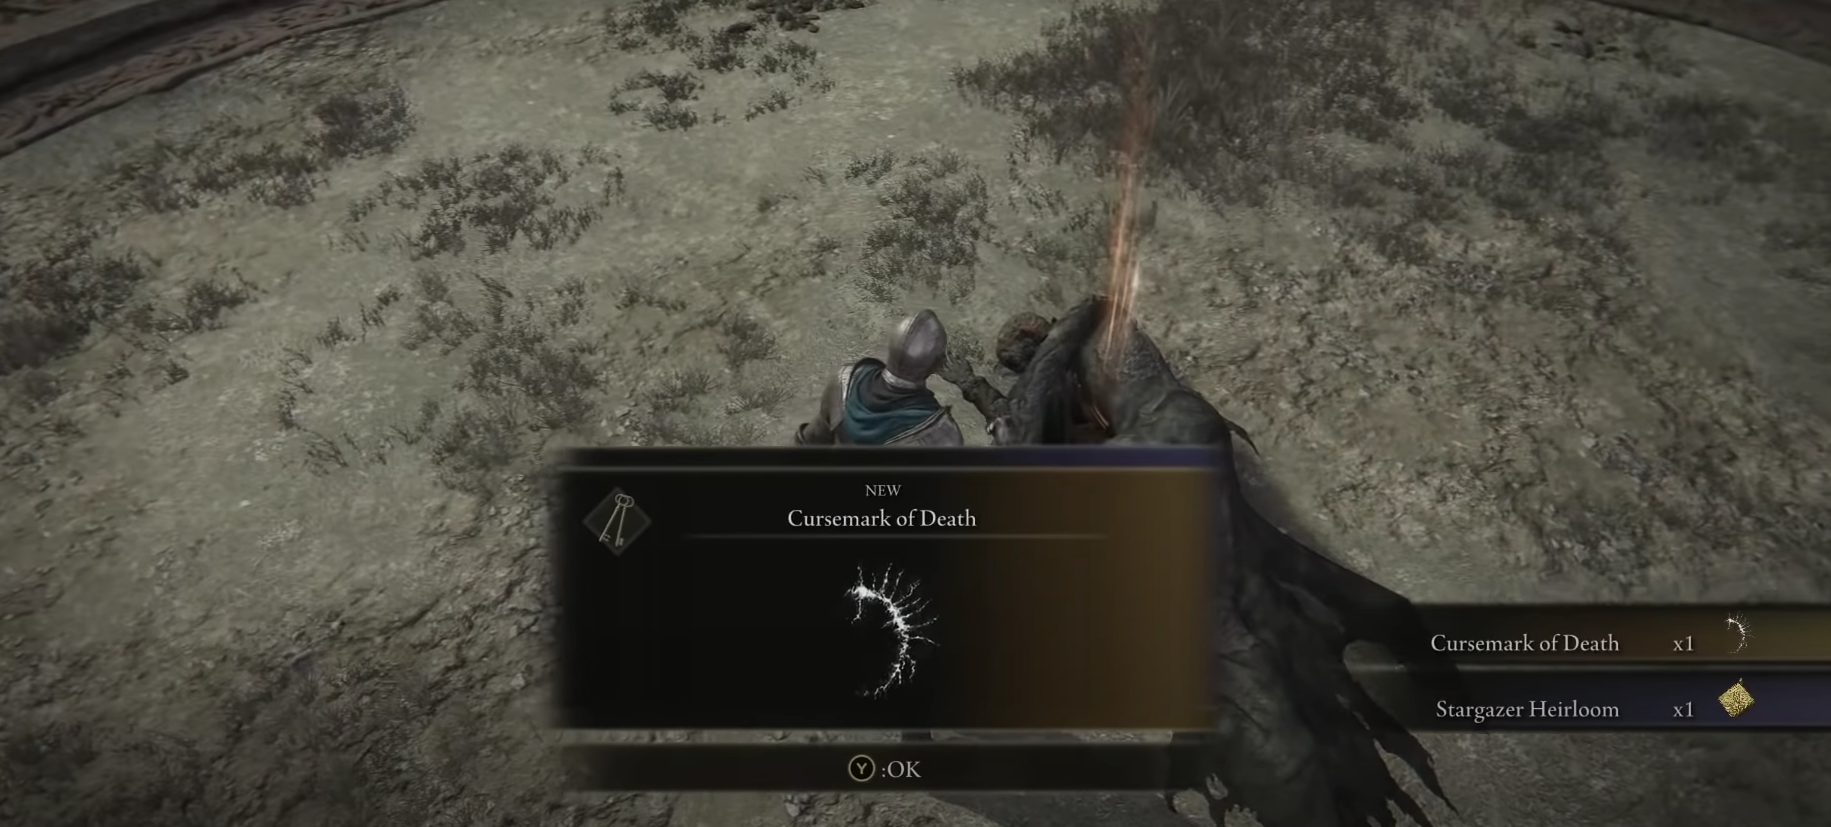
Cursemark of Death Obtained - Find a dead body to obtain the Cursemark of Death.
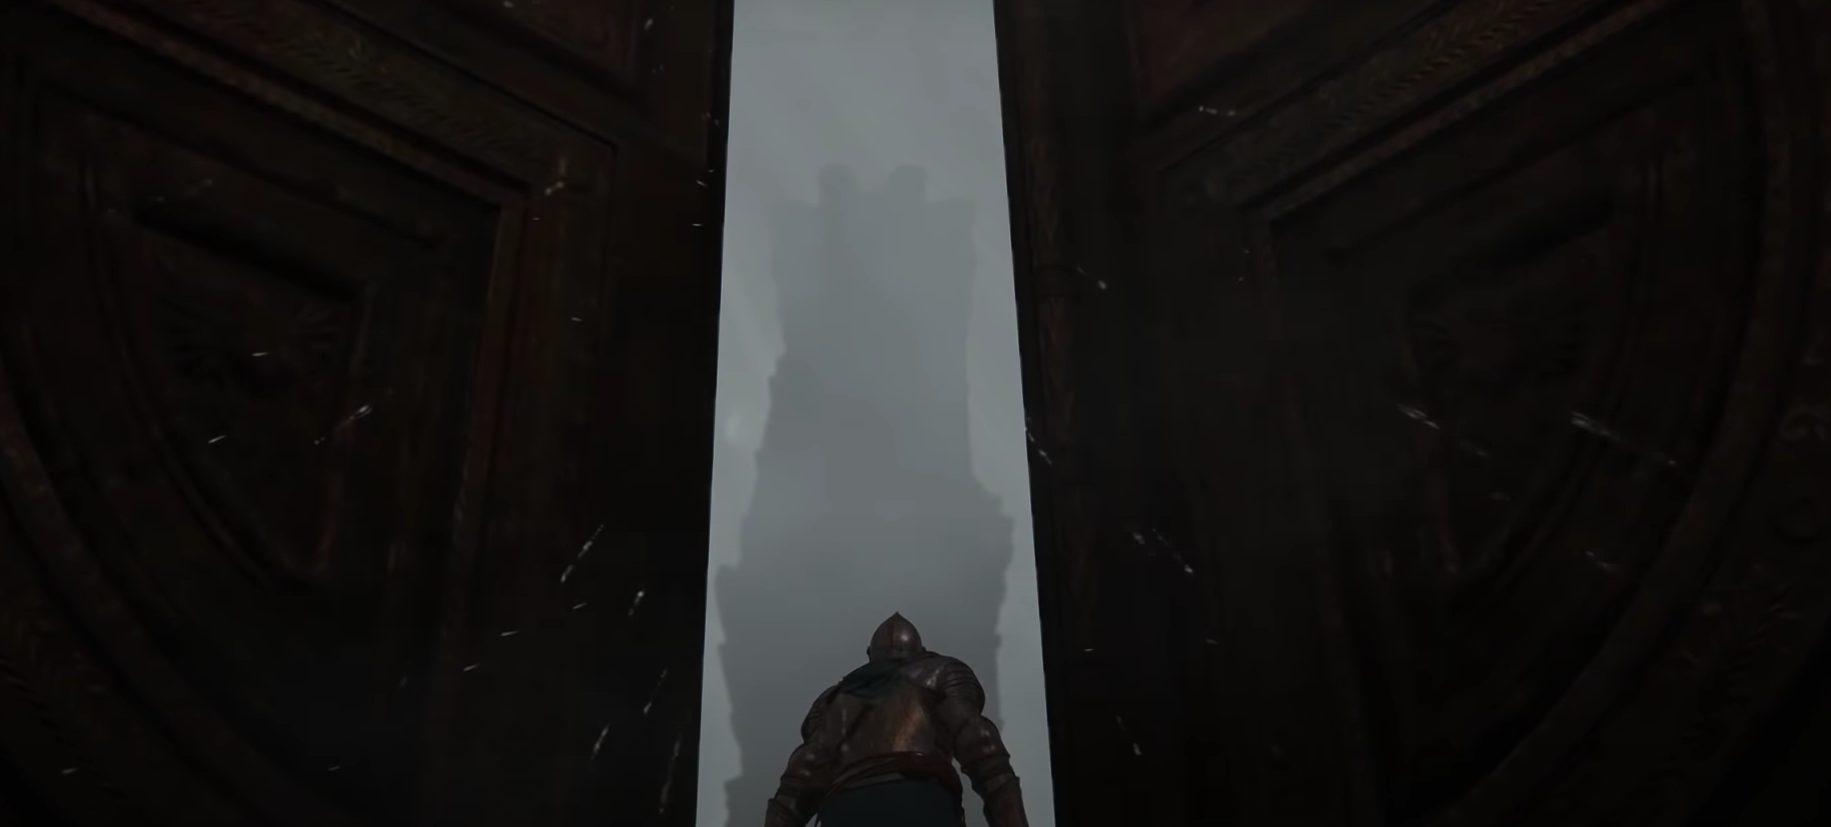
Post Door-Opening Cutscene
Enter the Waygate in Renna’s Rise
After picking up the Cursemark of Death, you now have to get back to the Three Sisters subregion of Liurnia of the Lakes. It’ll now be possible to get into Renna’s Rise, which happens to be the last of the three distinct towers present in the area. Renna’s Rise will be located north in Three Sisters, as shown in the screenshot below.
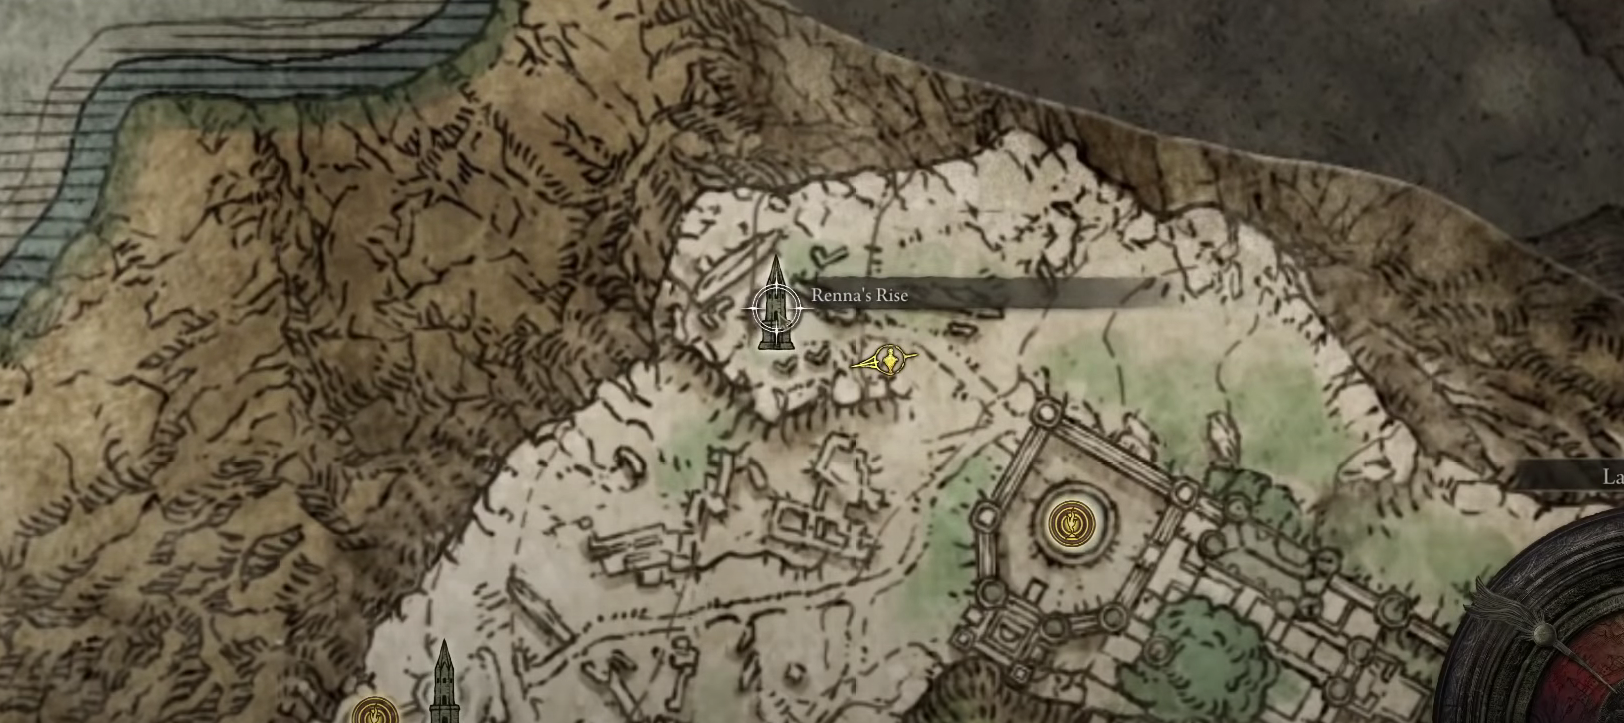
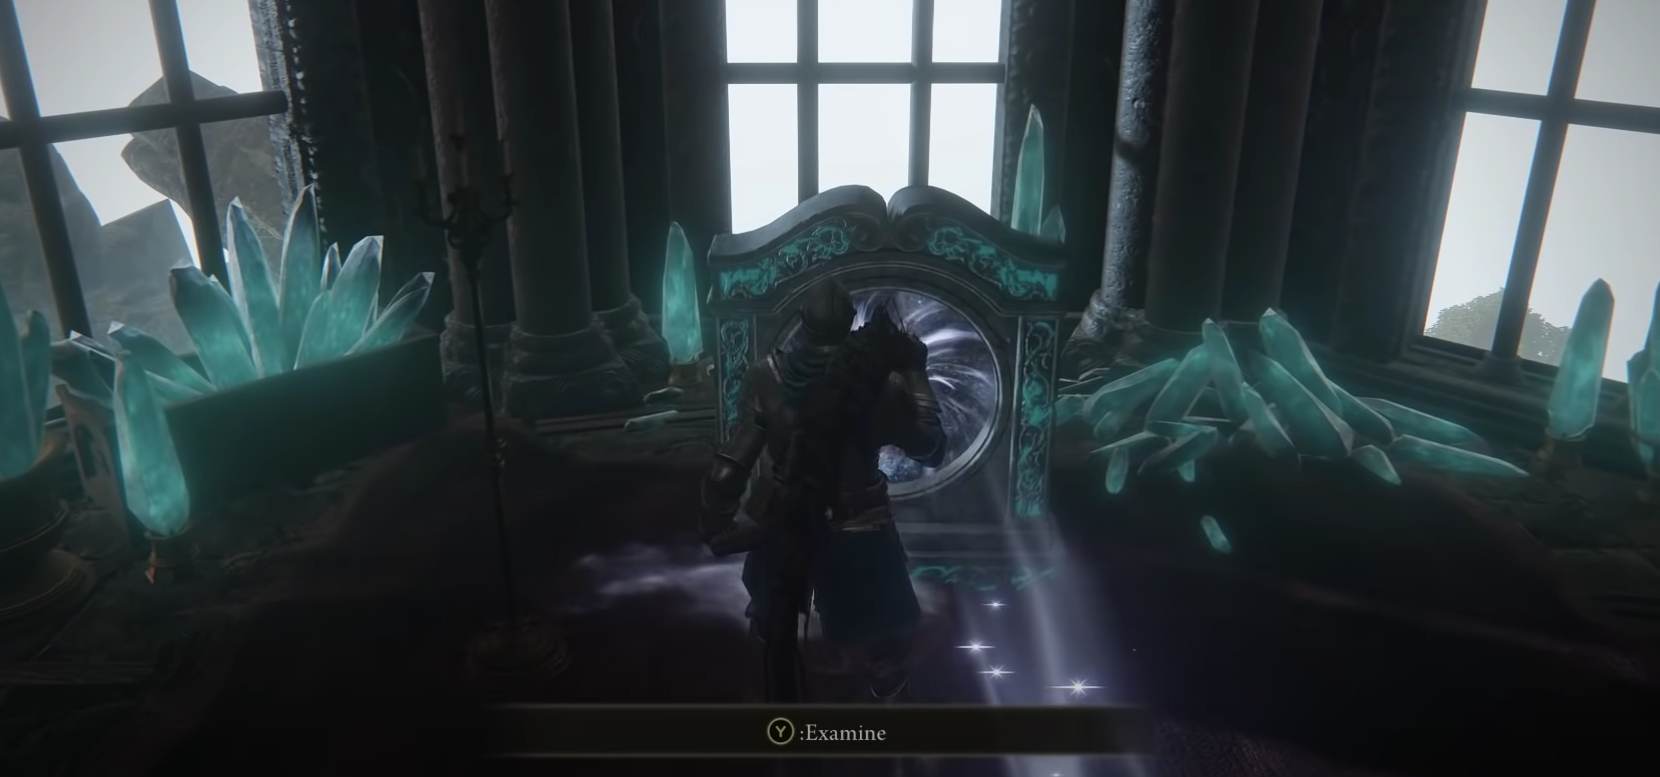
There’s not going to be any person whom you’d normally talk to here. Instead, a Waygate will help you further the Ranni quest now. Enter the teleporter to get to the next section.
Enter Ainsel River, Talk to Miniature Ranni, and Face Off With the Baleful Shadow in Nokstella, Eternal City
Using said Waygate will take you to a location called Ainsel River Main, which is yet another essential region needed to complete the questline at hand.
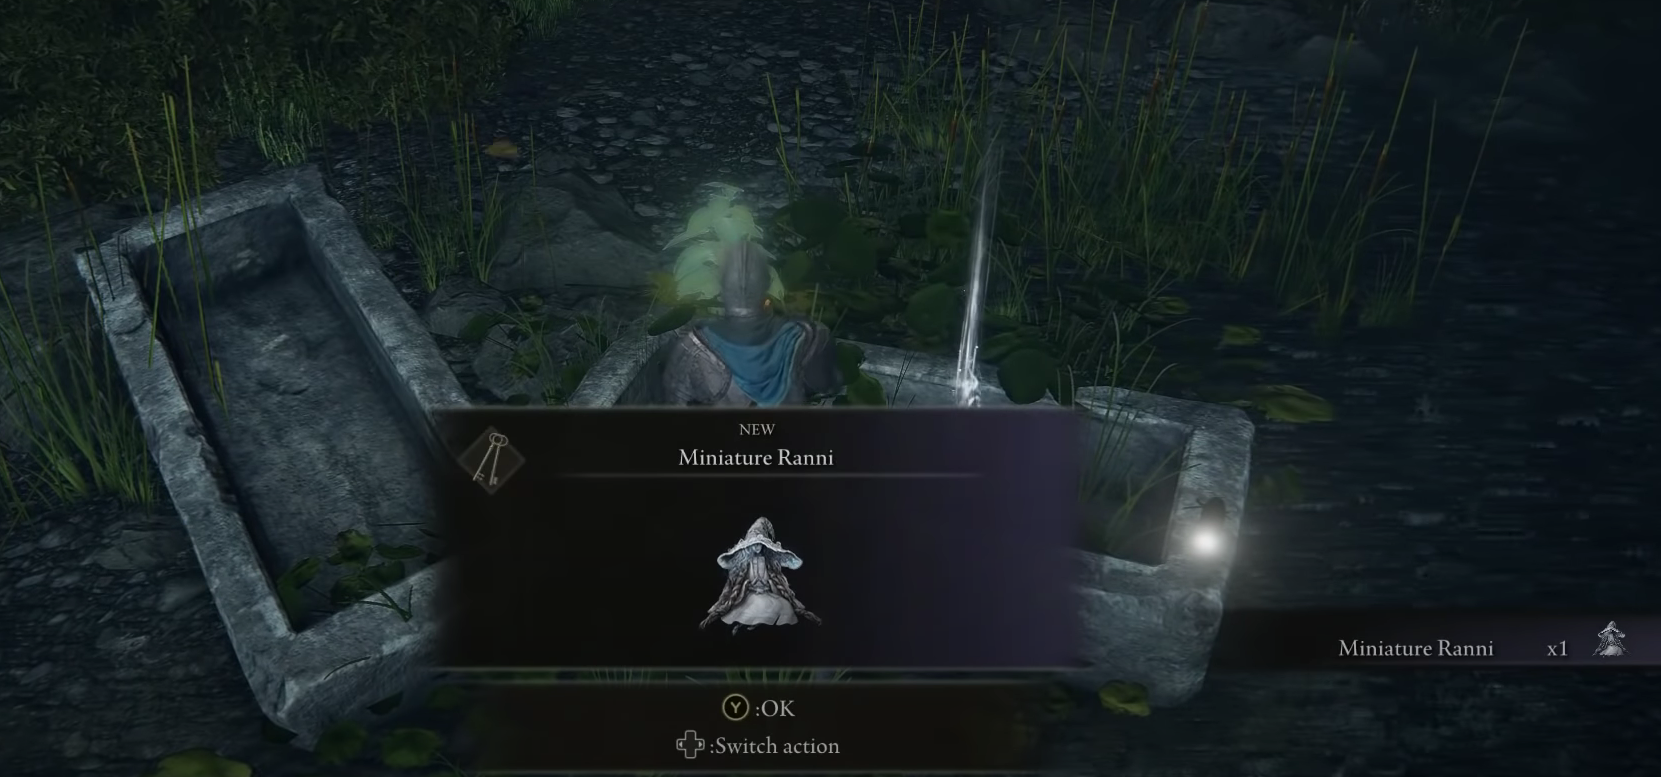
- Enter Ainsel River Main using the Waygate and obtain Miniature Ranni.
- Talk to Miniature Ranni at the Site of Grace and receive Ranni’s request to defeat Baleful Shadows.

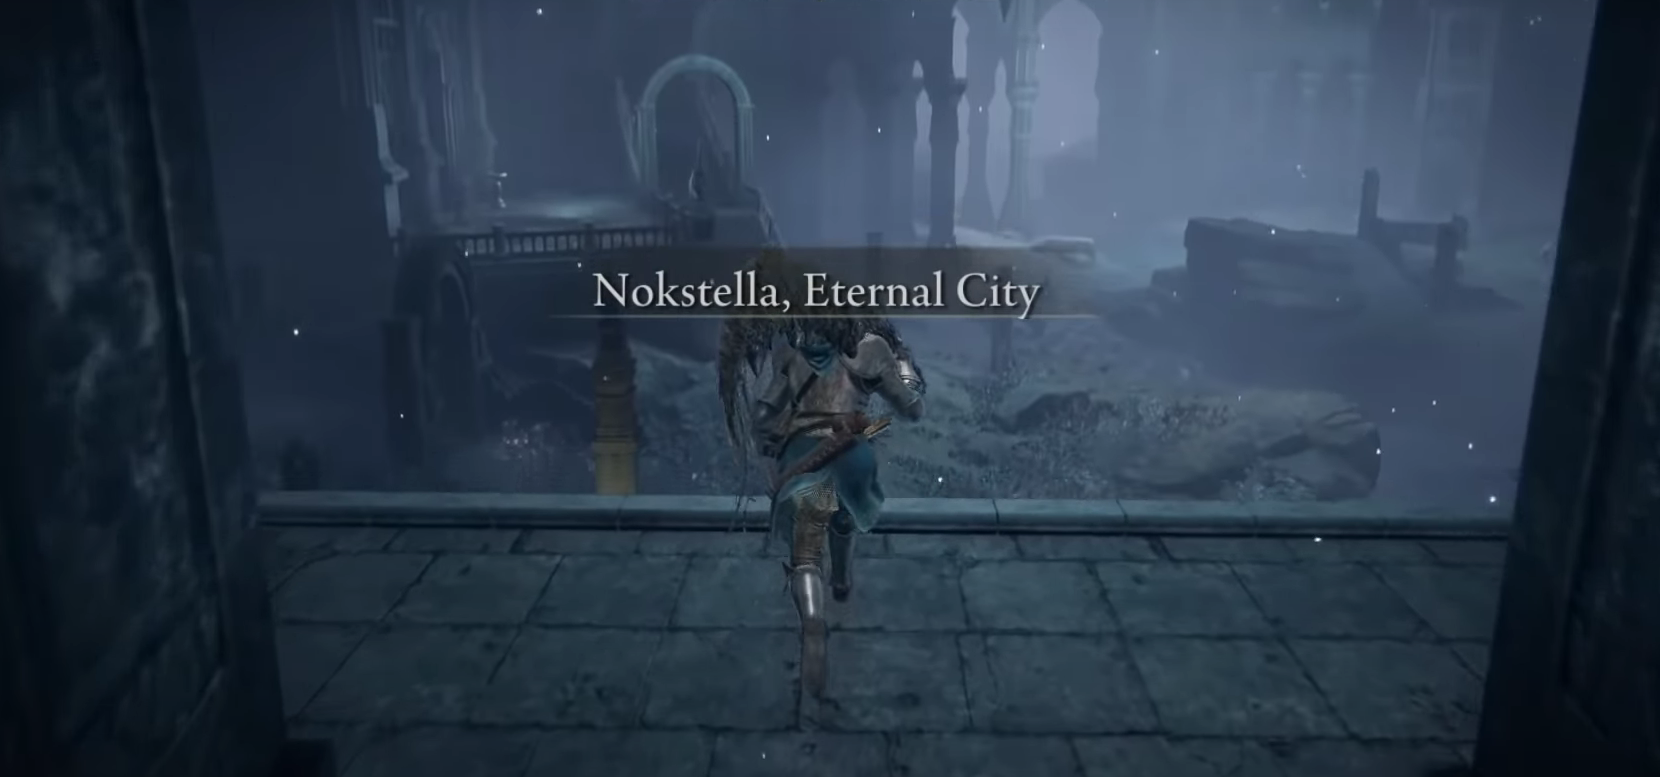
Picking Up Miniature Ranni - Enter Nokstella, Eternal City, and navigate through its buildings and elevators.

Entering Nokstella, Eternal City - Reach the Nokstella Waterfall Basin Site of Grace and rest.

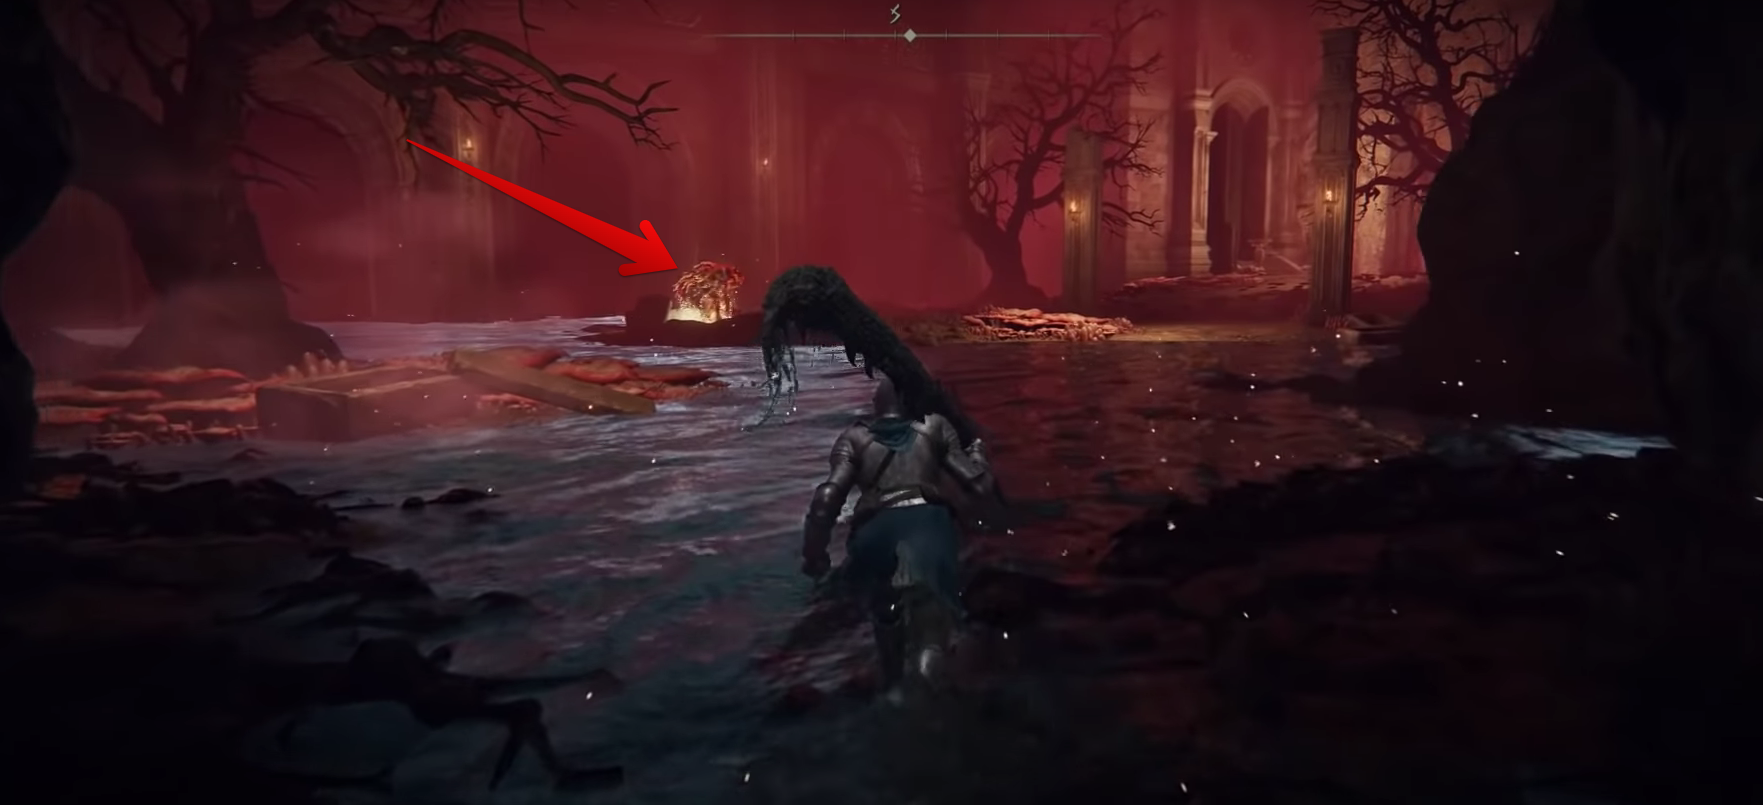
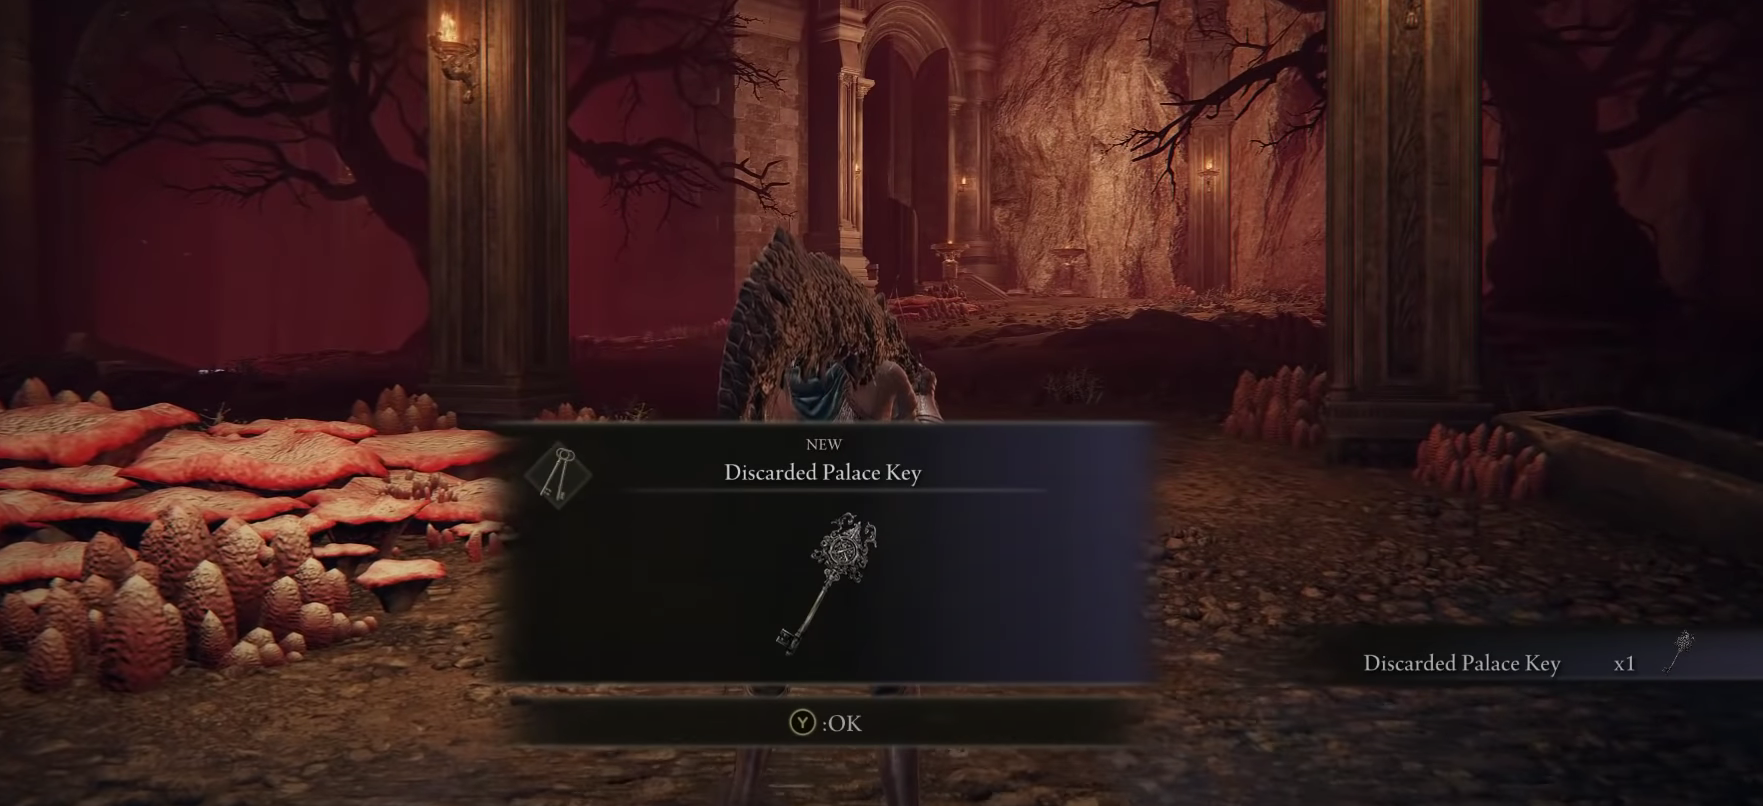
Getting Across Nokstella - Continue through a cave and encounter Baleful Shadow (Blaidd), defeating it in a mini-boss fight.

Approaching the Baleful Shadow After the Cavernous Pathway - Receive the Discarded Palace Key from Ranni as a reward.
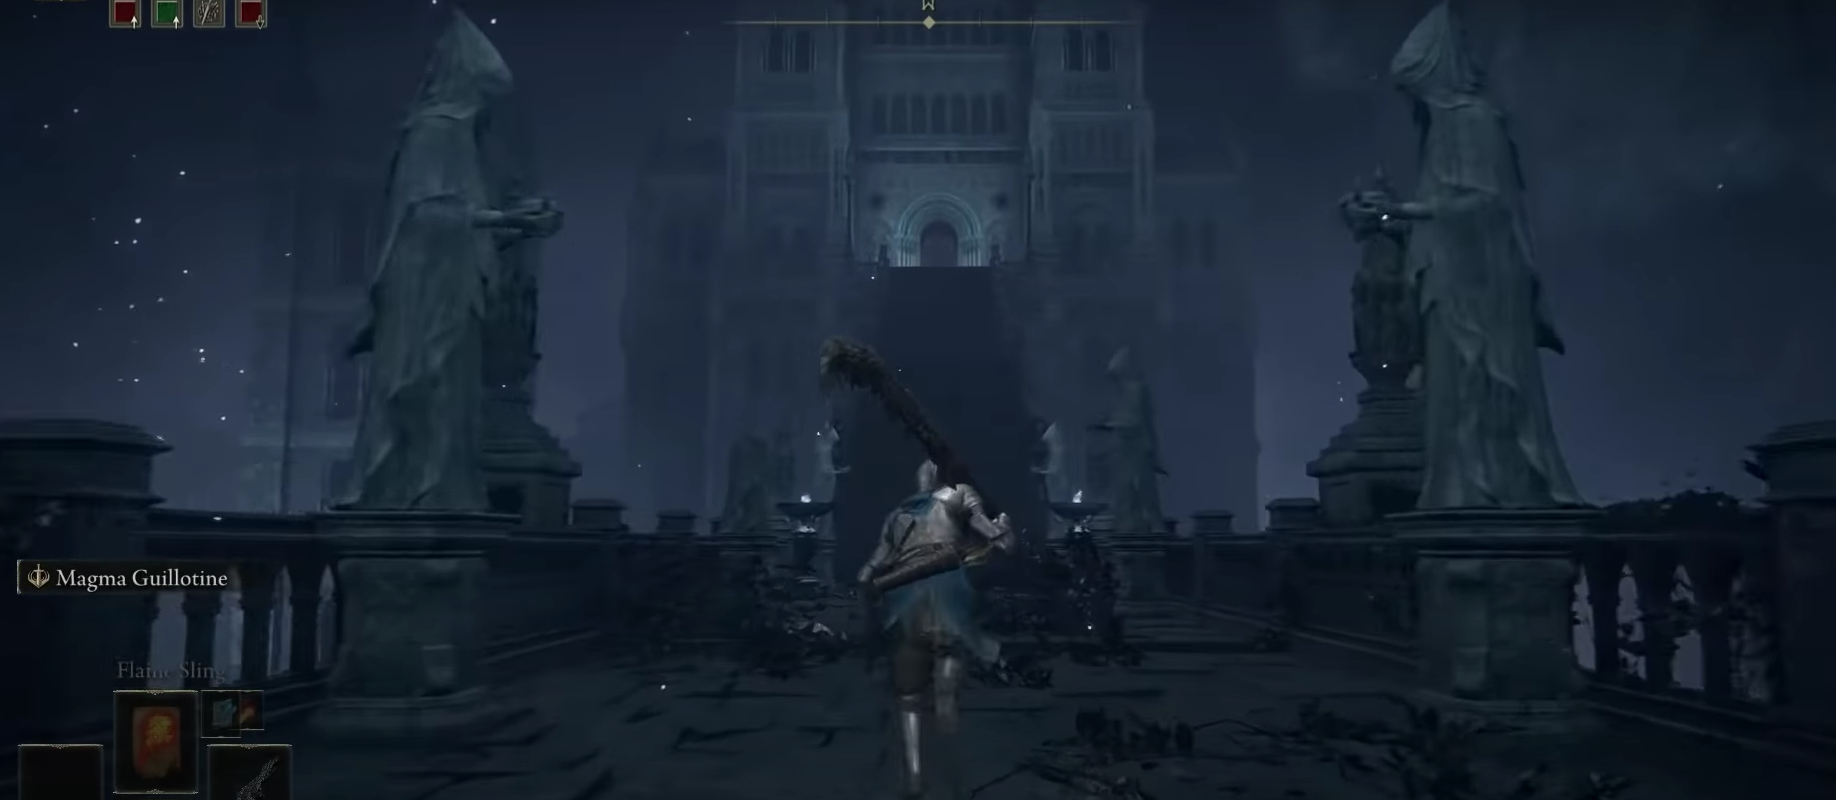
Overcome Lake of Rot and Dispatch Astel, Naturalborn of the Void
Close to where you fight the Baleful Shadow resides a doorway from where you can access a lift that will take you straight to the Lake of Rot region in Elden Ring. I would advise you not to forget to touch the Lake of Rot Shoreside Site of Grace here before you set out for the terrors ahead.
- Ensure you have Preserving Boluses to counter the “Rot” status effect.
- Follow the platforms to navigate across the Lake of Rot, triggering them to raise the ground.

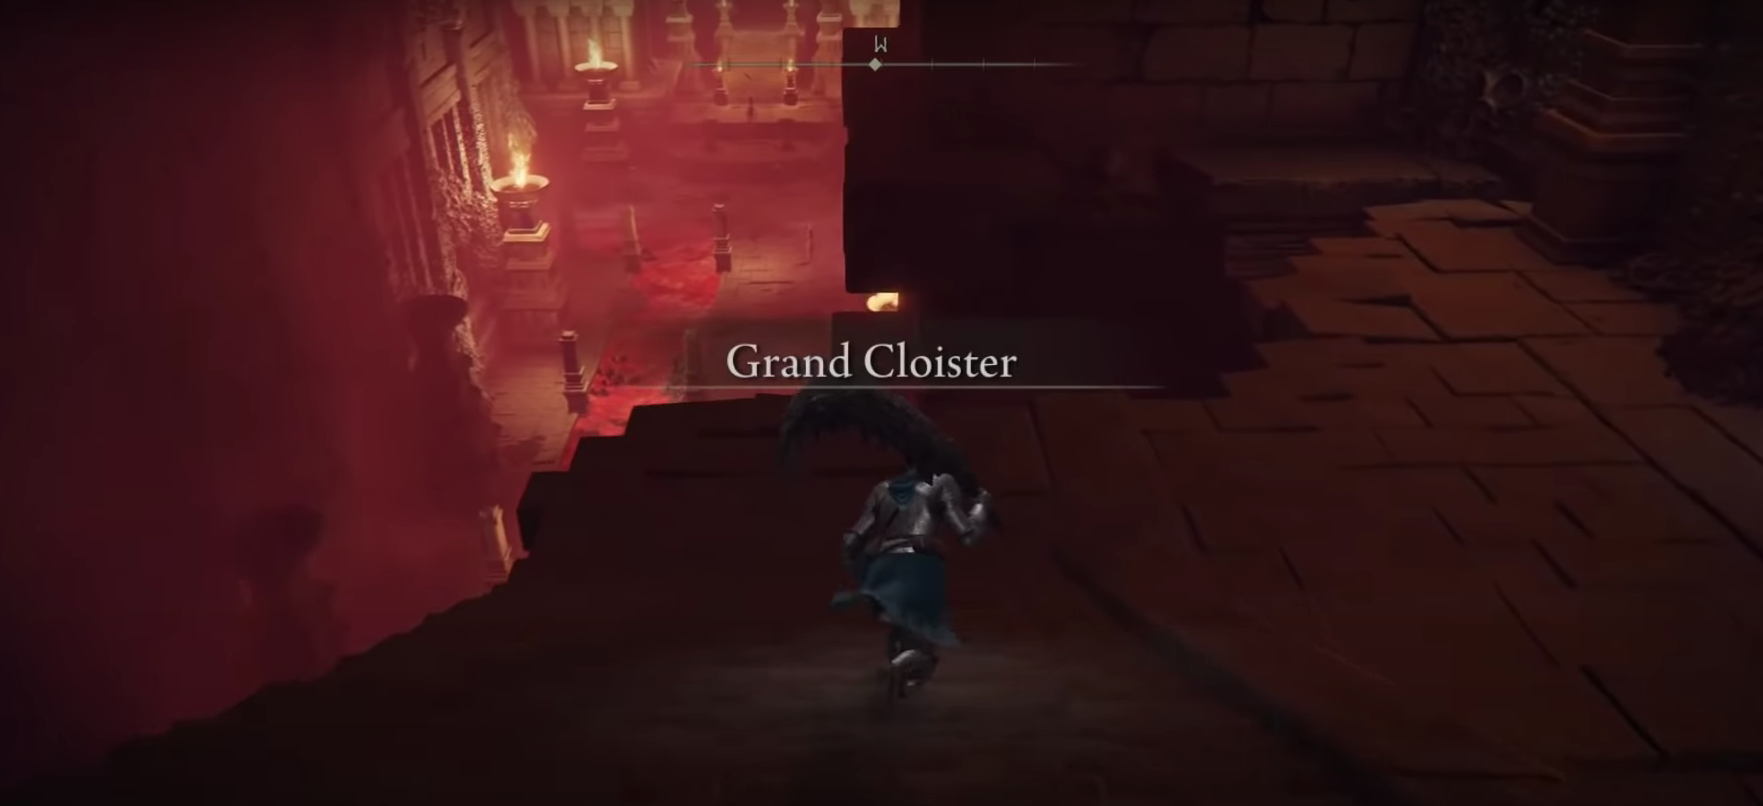
Grand Cloister in the Lake of Rot - When platforms are unavailable, use Preserving Boluses and rush toward the distant building to cross the lake.
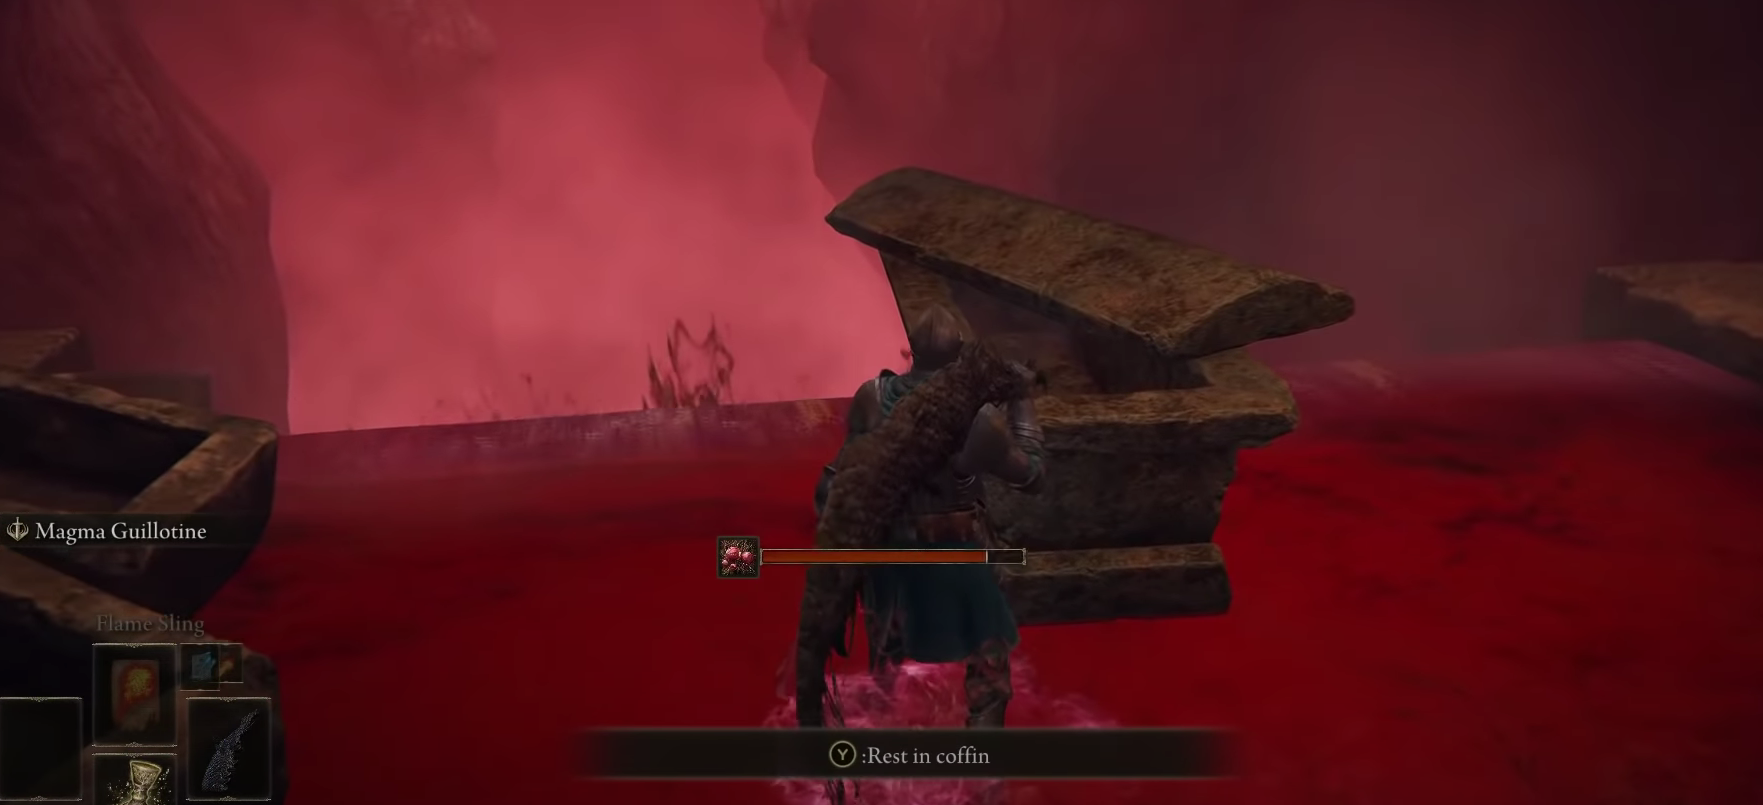
- Reach the Grand Cloister Site of Lost Grace, then descend and interact with a coffin to trigger a cutscene.
Interacting With the Coffin - Inside the mist, face Astel, Naturalborn of the Void, who in my experience is a challenging boss because of his high damage-dealing moves. Use Spirit Summons to aid in the battle.
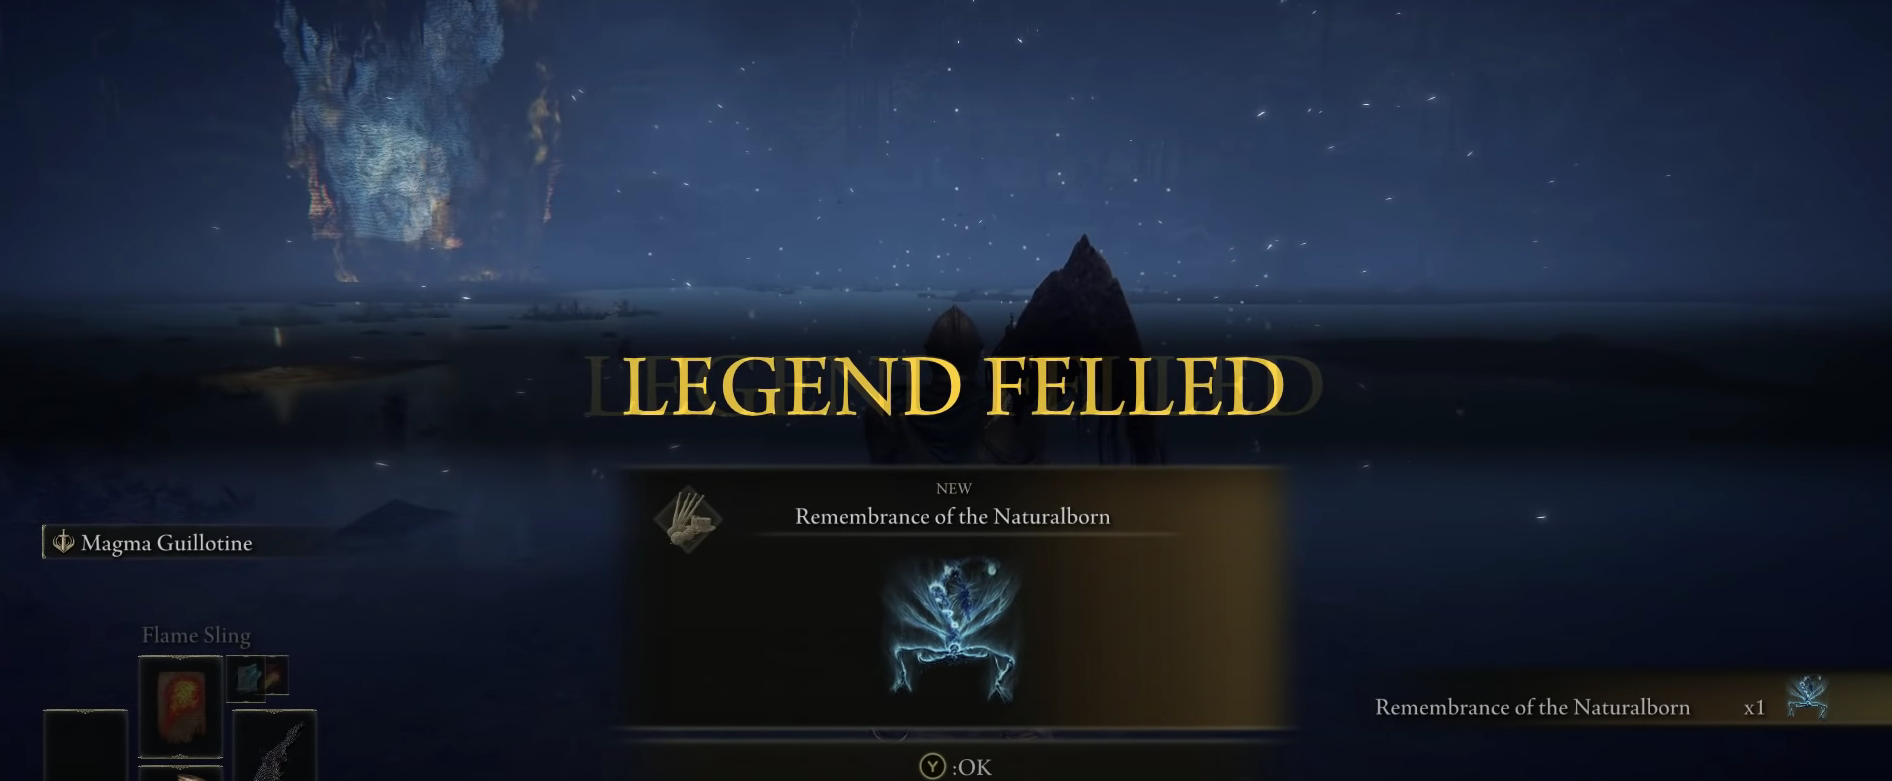
Approaching the Mist to Fight Astel, Naturalborn of the Void - After defeating Astel, activate the Site of Lost Grace to save your progress, as you’ll need to obtain the Dark Moon Ring to continue.

Astel, Naturalborn of the Void Felled
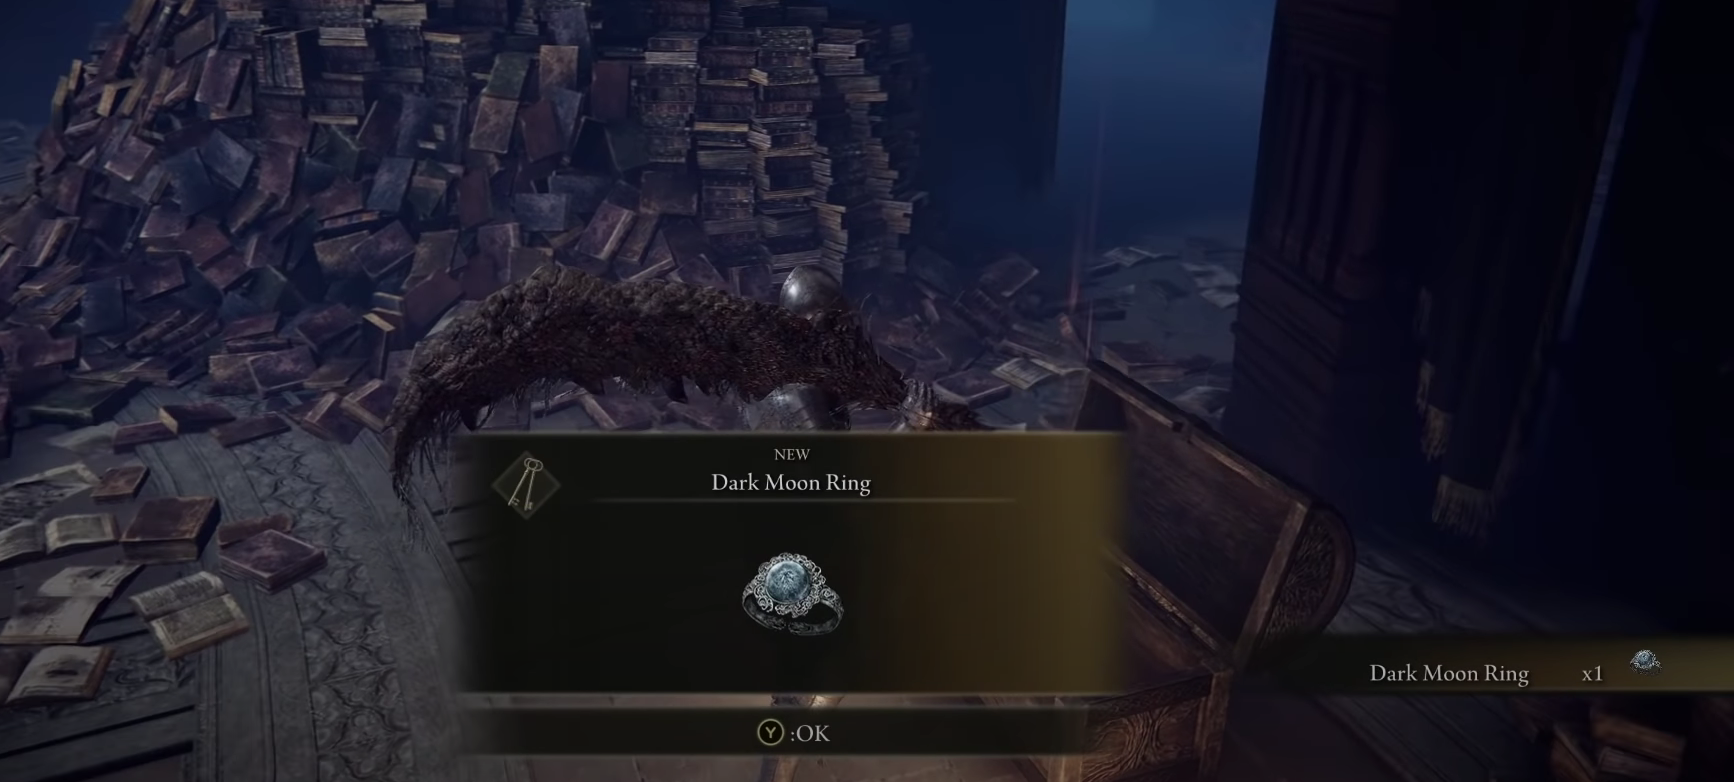
Get the Dark Moon Ring
The Dark Moon Ring is located in a chest inside the Raya Lucaria Grand Library.
- Go to the Raya Lucaria Grand Library in the Academy of Raya Lucaria.

Raya Lucaria Grand Library Location - Reach it from the Academy Gate Town Site of Grace, southwest of the Eastern Liurnia Lake Shore Site of Grace.
- Defeat Queen Renalla inside the library as part of the main story.
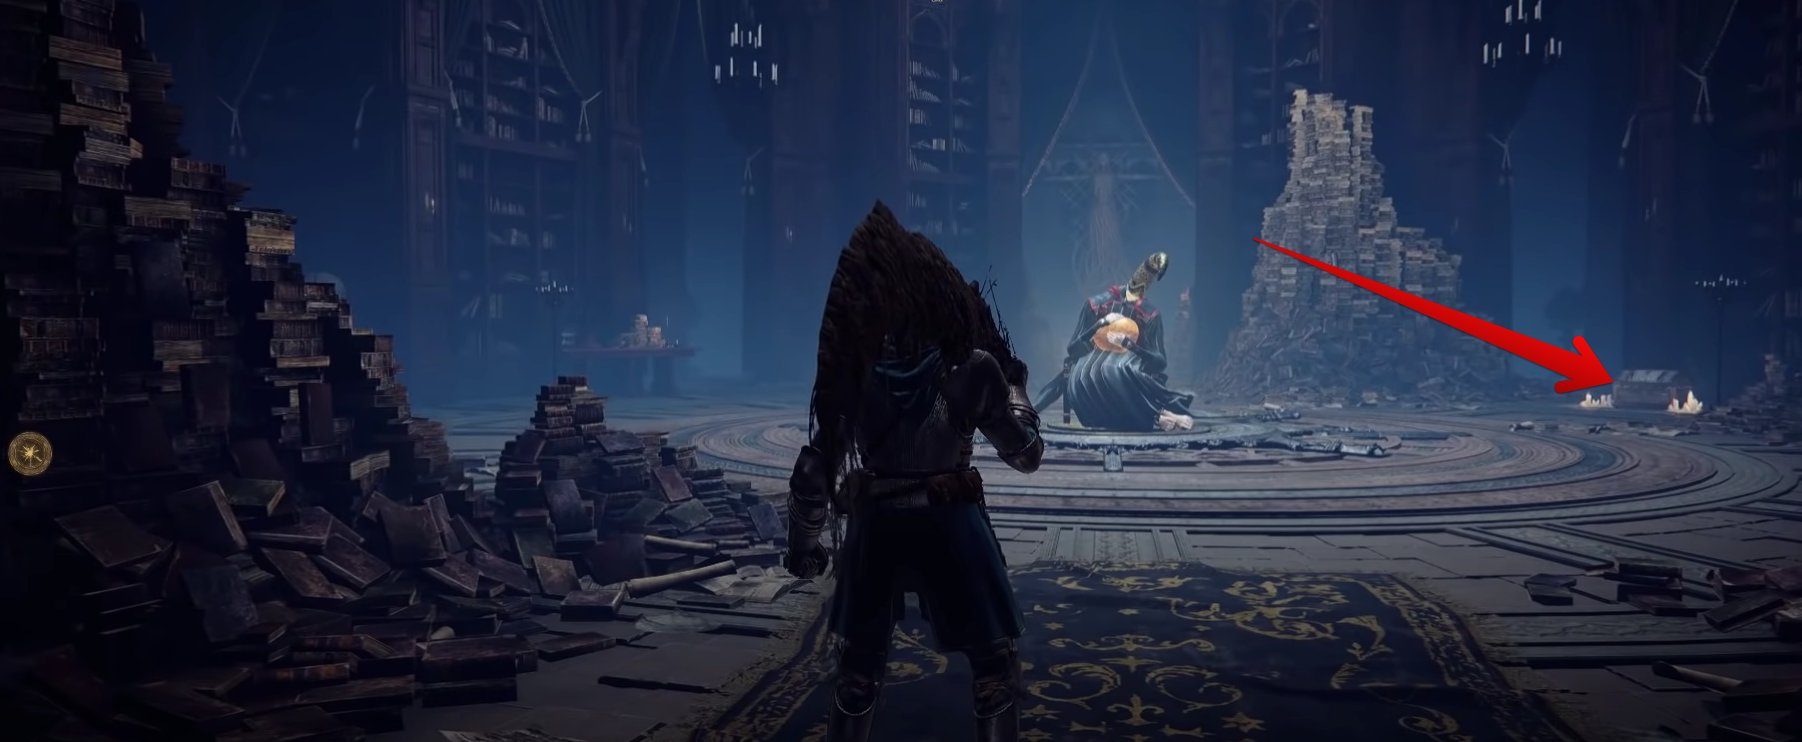
- After the battle, locate a chest northwest of the area’s center.
- Use the Discarded Palace Key you received from Miniature Ranni earlier to unlock the chest.

Opening the Right Chest for the Dark Moon Ring - Inside, you will find the Dark Moon Ring.

Go to the Cathedral of Manus Celes and Put a Ring on Ranni (Literally)
Apologies for the misleading subtitle for I am a maidenless Tarnished warrior. After acquiring the Dark Moon Ring, the sealed pathway in the Astel, Naturalborn of the Void boss fight arena is going to open up. Fast travel to said location and advance to the freshly unsealed area.
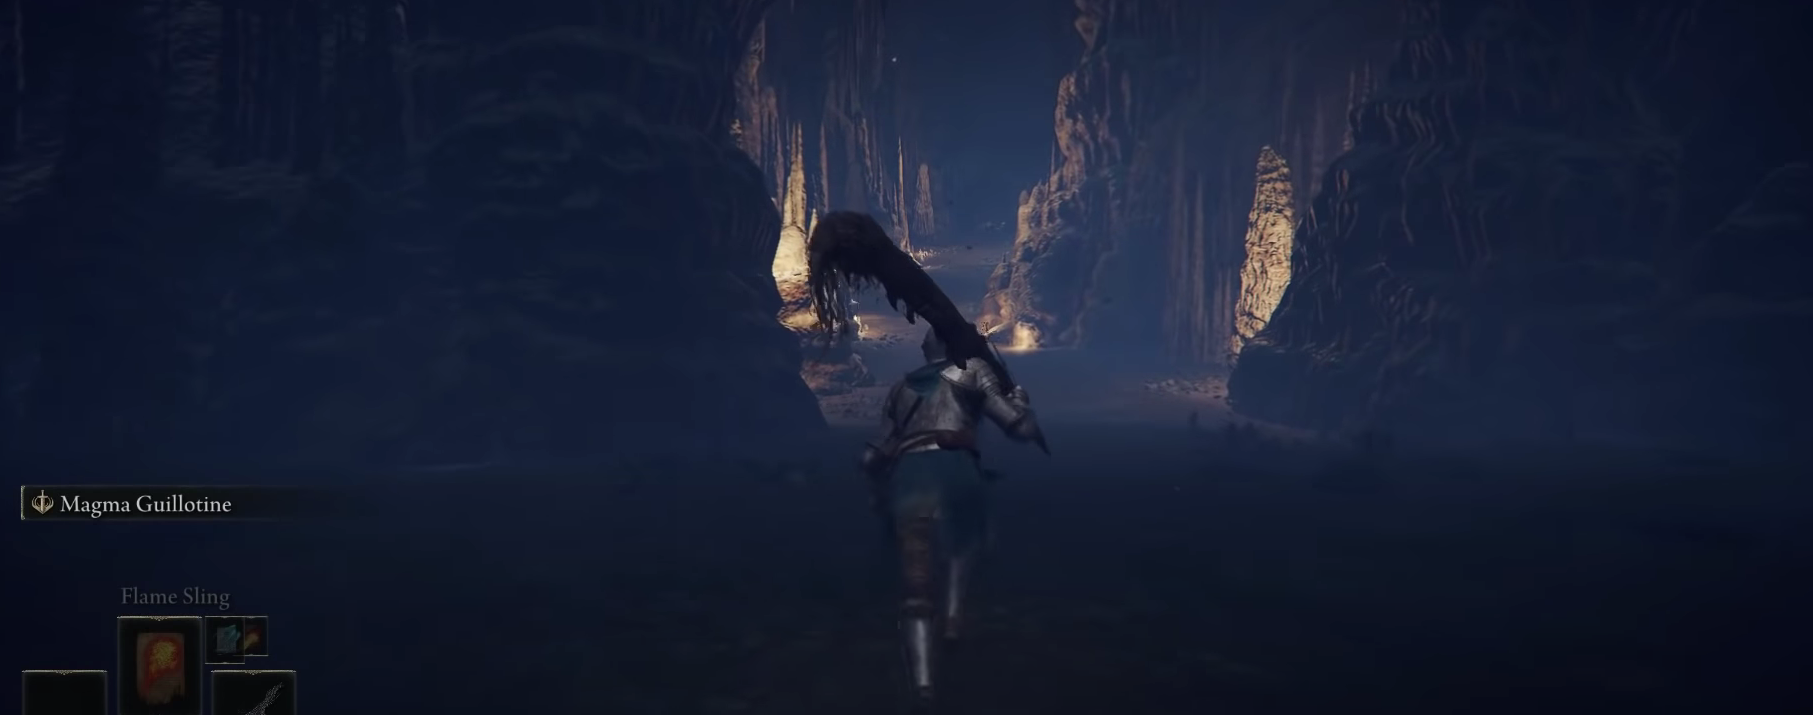
Once done, you’ll end up on a lift. Stand on the lifted platform to go up. As soon as you reach the surface and get out of the elevator room, a title strip will appear and affirm that you’ve arrived at Moonlight Altar. The Church of Manus Celes isn’t far from here.
Final Ranni Quest
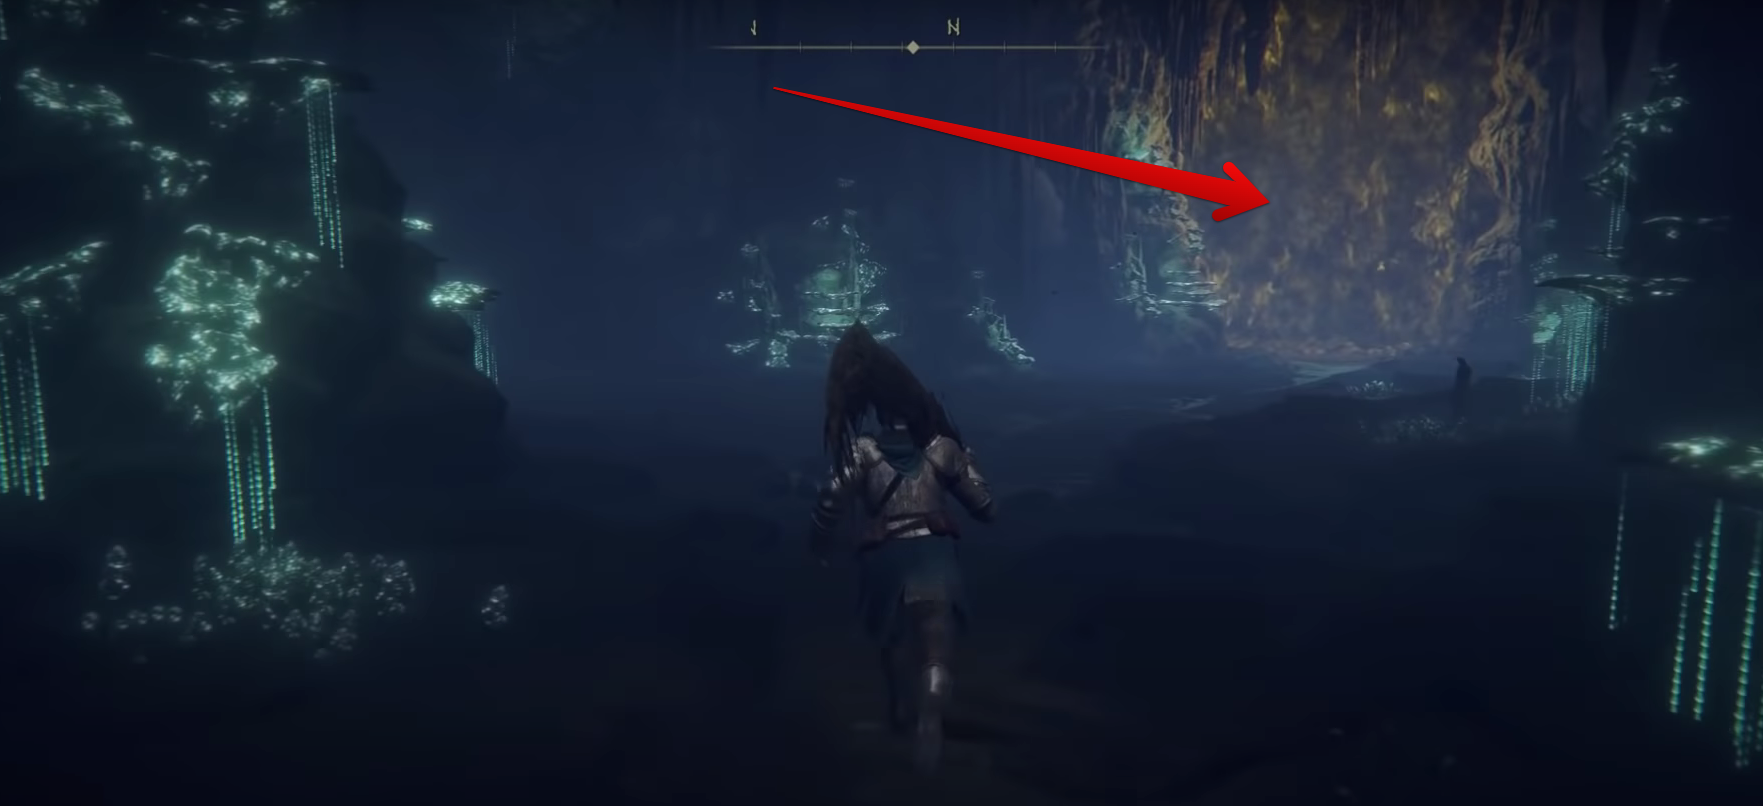
First, activate the Site of Lost Grace at the starting point of this area and then head northeast.
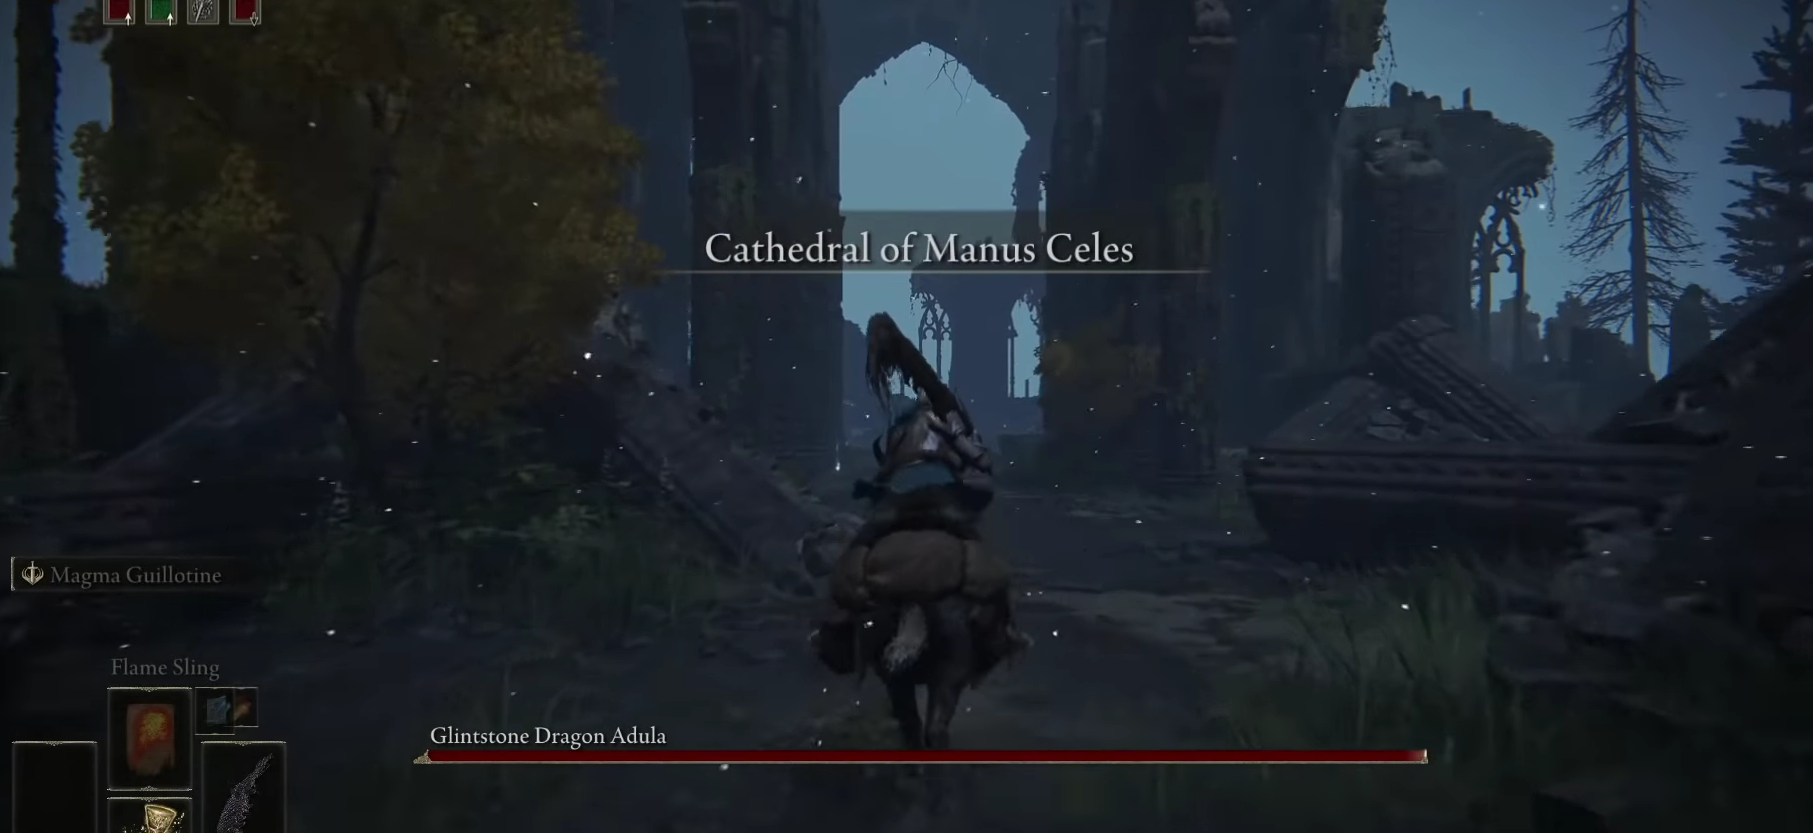
- Activate the Site of Lost Grace at the starting point of the Cathedral of Manus Celes.

Cathedral of Manus Celes Reached - Head northeast towards the desolate church in the distance.
- As you approach the church, the Glintstone Dragon Adula will appear.
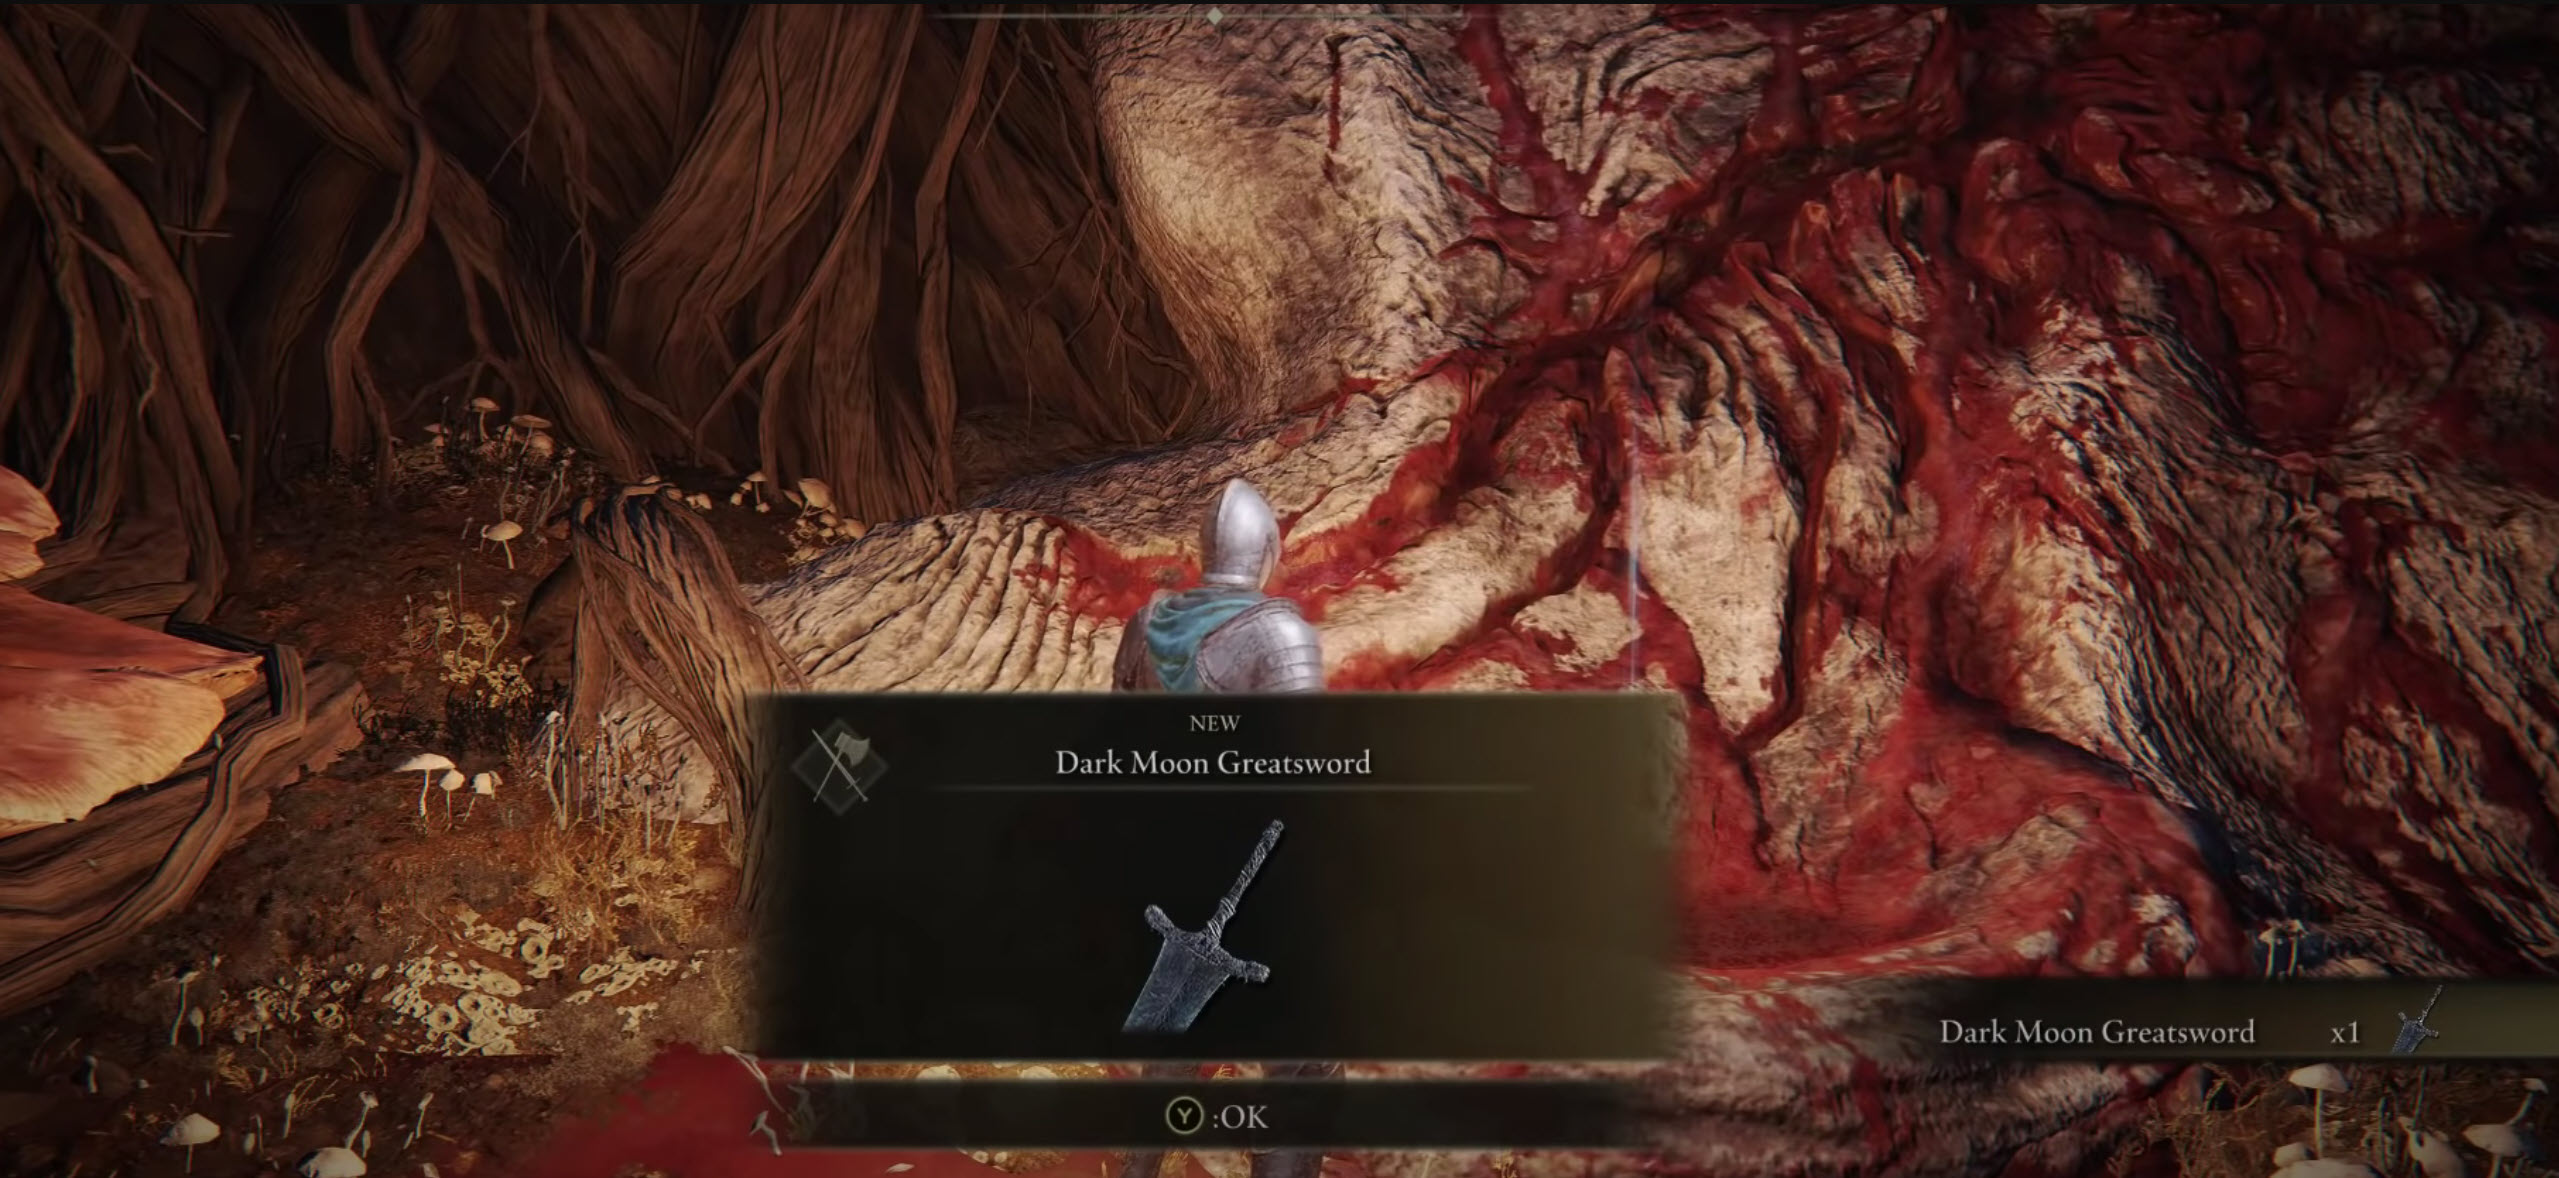
- Nearby the Site of Grace in the Cathedral of Manus Celes, you’ll find a sizable hole. Jump down into the underground level.
- You’ll find Ranni the Witch covered in blood. Approach her and press the “Event Action” button to wear the Dark Moon Ring.
- A cutscene will initiate, showing Ranni disappearing after you put the ring on her. When you regain control of your character, Ranni reappears and mentions going to the “night sky.”
- End the conversation with Ranni, and she will give you the Dark Moon Greatsword.
 Dark Moon Greatsword Obtained
 Dark Moon Greatsword Obtained
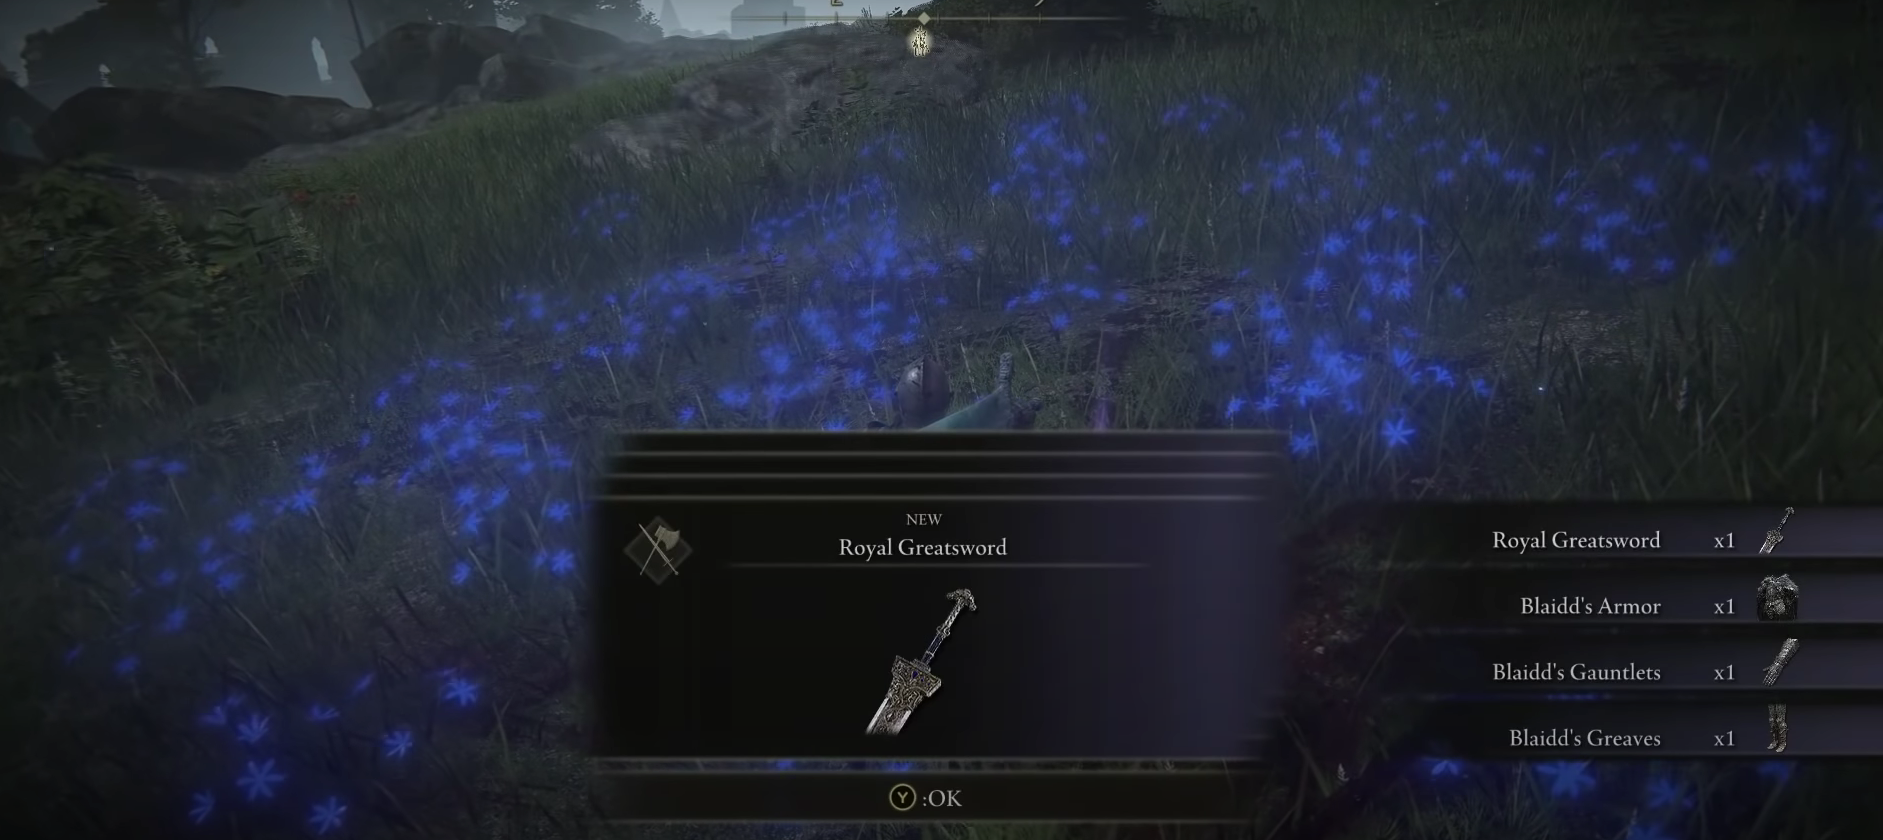
End the Ranni Quest by Killing Blaidd
Make your way back to Ranni’s Rise in the Three Sisters subregion of Liurnia. At the entrance of the aforementioned tower, you’ll find Blaidd in an unreasonable state. I am sorry to say, there’s no other option but to lay him to rest. Kill the half-wolven warrior and don’t forget to pick up Blaidd’s armor set and Royal Greatsword.
If you’re looking for some closure, Ijii can be approached about the matter at hand. He’ll even let you in on how Blaidd had become a curse for Lady Ranni and that Ijii locked up Blaidd in a cell. The war counselor will end the conversation by saying that he’s about to join his once-normal friend soon.
There you have it! The Ranni quest has come out to be one of the most involved questlines in the history of Soulsborne games. I hope that you’ve enjoyed it as much as I did going through the whole campaign. I have now arrived at the end of this comprehensive write-up.
My Experience
I decided to complete the Ranni Quest chain on my second playthrough of Elden Ring, which was roughly when I had over 150 hours. And now, my overall thesis is that while I think the rewards you get mid-quest are worth the effort, it’s almost impossible to complete without a proper walkthrough guide.

Since Ranni’s questline is arguably the longest in-game, you’ll need to start it in the early-game phase, or the whole quest might become inaccessible, as that was the case on my initial Elden Ring playthrough. However, alongside the weapons, I personally found Ranni’s ending to be the best amongst all other in-game endings, so that’s another incentive for pursuing the quest.
On a side note, though, don’t forget to uncover the entirety of Elden Ring’s map by collecting all the different map fragments in the game. This concludes my extensive Elden Ring Ranni quest guide.
Other Walkthroughs
- Haligtree Medallion Location
- Uchigatana Walkthrough
- Lichdragon Fortissax Walkthrough
- Seppuku Location Walkthrough
- Rivers of Blood Katana Walkthrough
- Carian Greatsword Walkthrough
Thanks! Do share your feedback with us. ⚡
How can we make this post better? Your help would be appreciated. ✍

![Rennala [Cheese Method]](https://exputer.com/wp-content/uploads/2022/03/Rennala-Elden-Ring-Rennala-Queen-Of-The-Full-Moon-Cheese-Method-390x220.jpg)