In your journey through The Lands Between you are bound to come across a lot of hidden dungeons and caves. The Sealed Tunnel is one of the dungeons hidden in the huge world of Elden Ring. What sets it apart from other dungeons is that this is the only dungeon in Elden Ring which leads to a Divine Tower making it very special. In my guide today, I will cover all you need to know about Sealed Tunnel in Elden Ring.
- Sealed Tunnel can be found on the Southeast of the Outer Wall Phantom Tree Site of Grace in Elden Ring.
- I have listed some of the Collectibles that you may find in the tunnel:
- Gold Runes.
- Smithing Stone.
- Cracked Crystals.
- Stonesword Key.
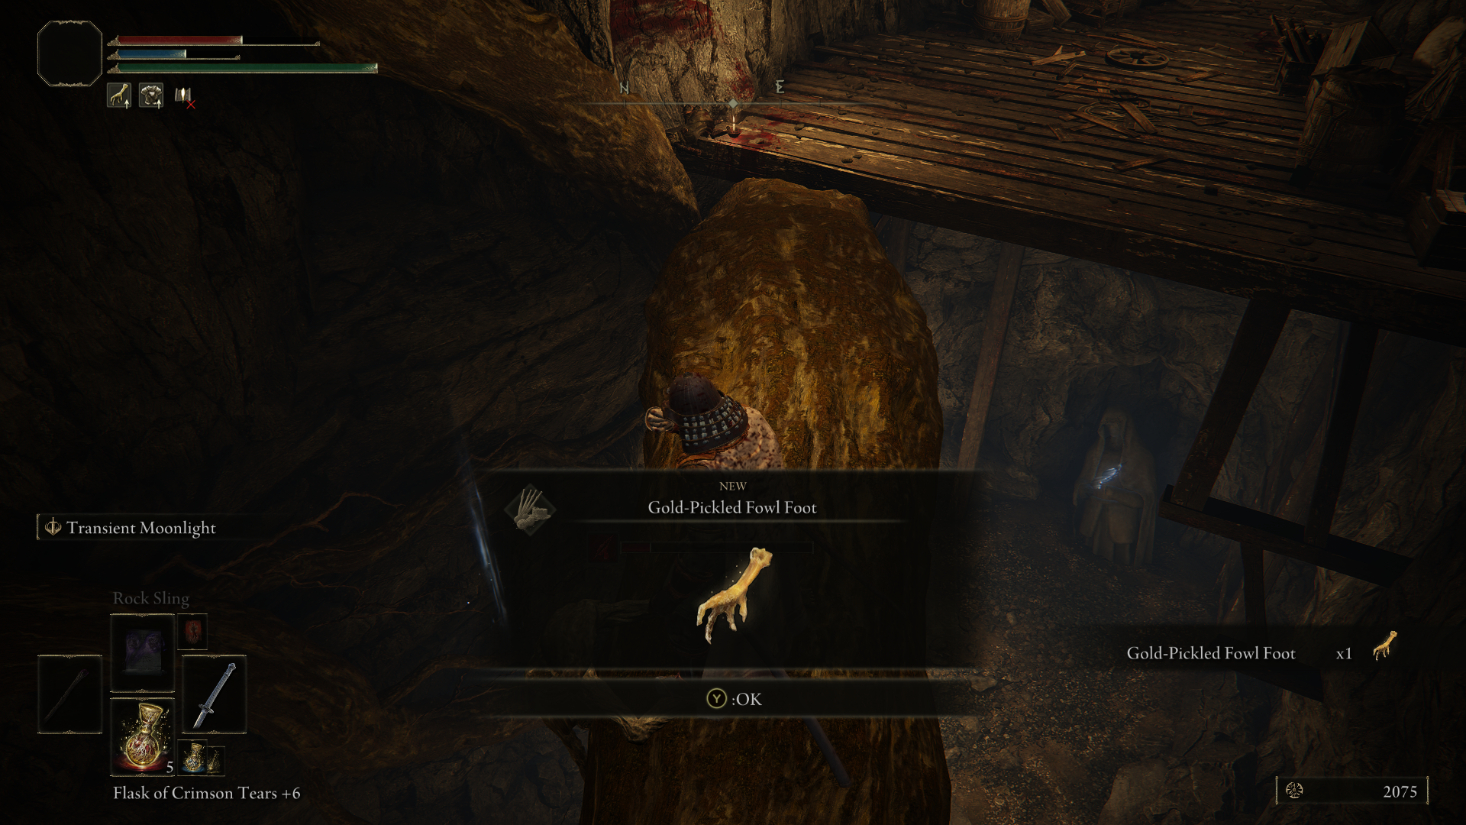
- Golden Pickled Fowl Foot.
- Furlcalling Finger Remedy.
- Rune Arc.
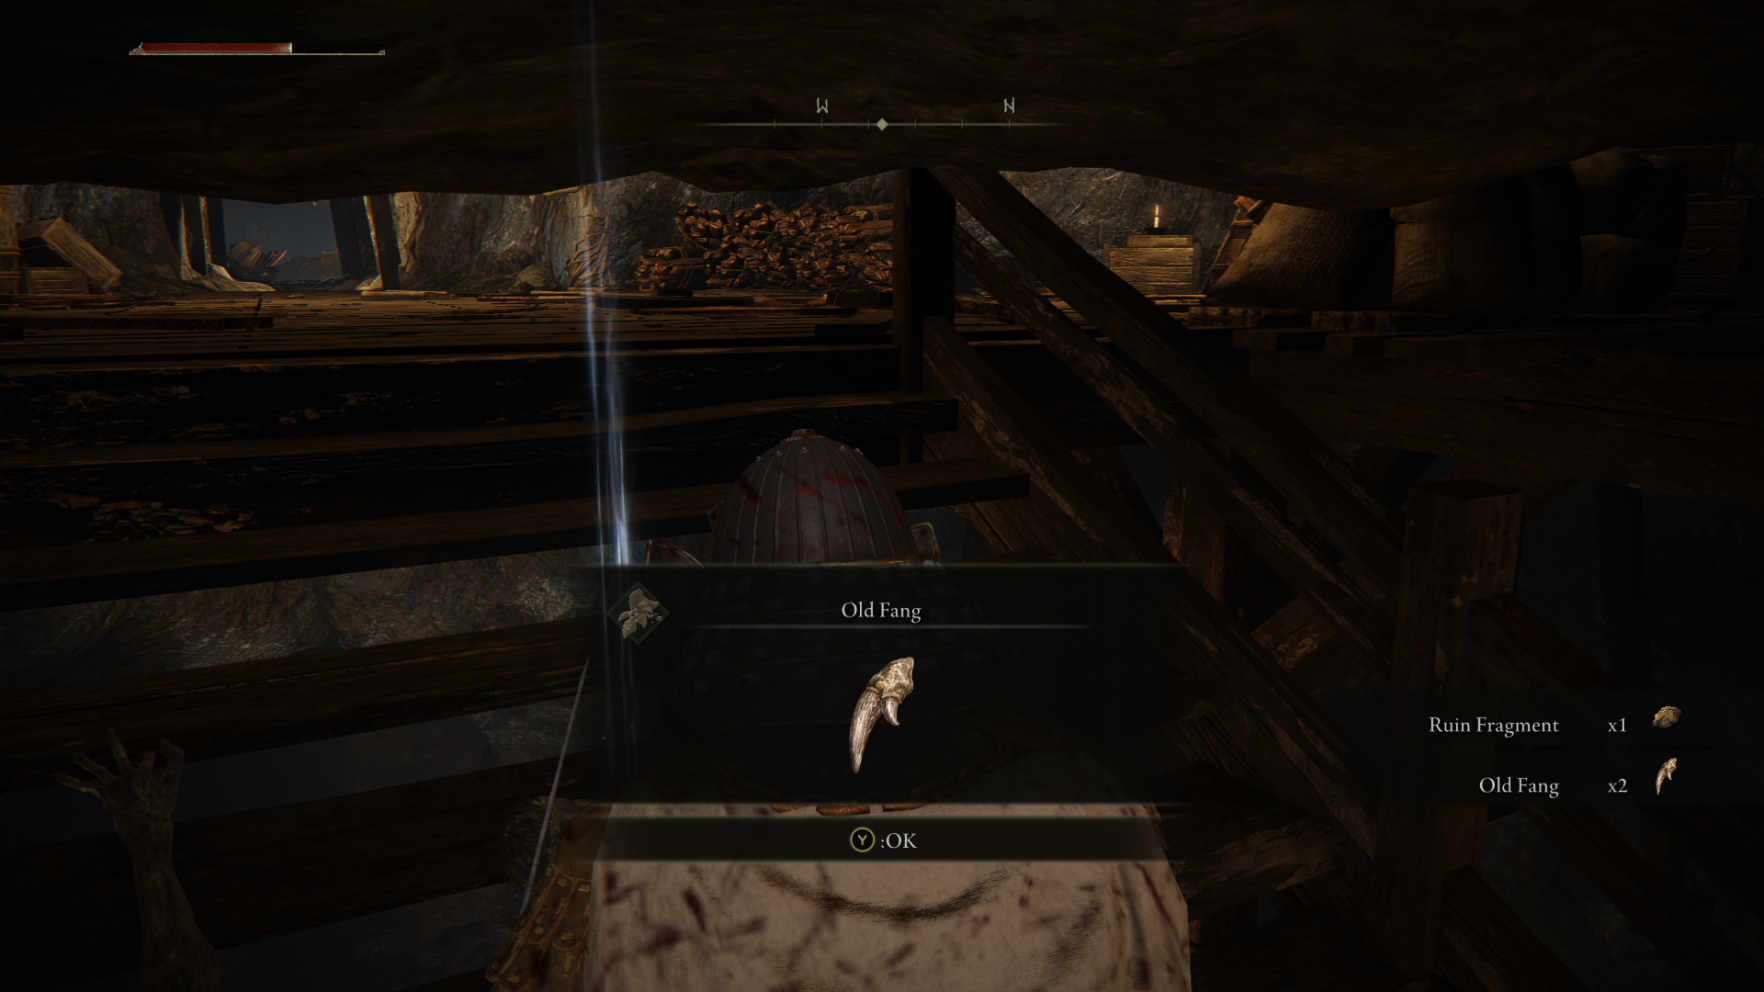
- Old Fang.
- Large Glinstone Scraps.
- Lightning Grease.
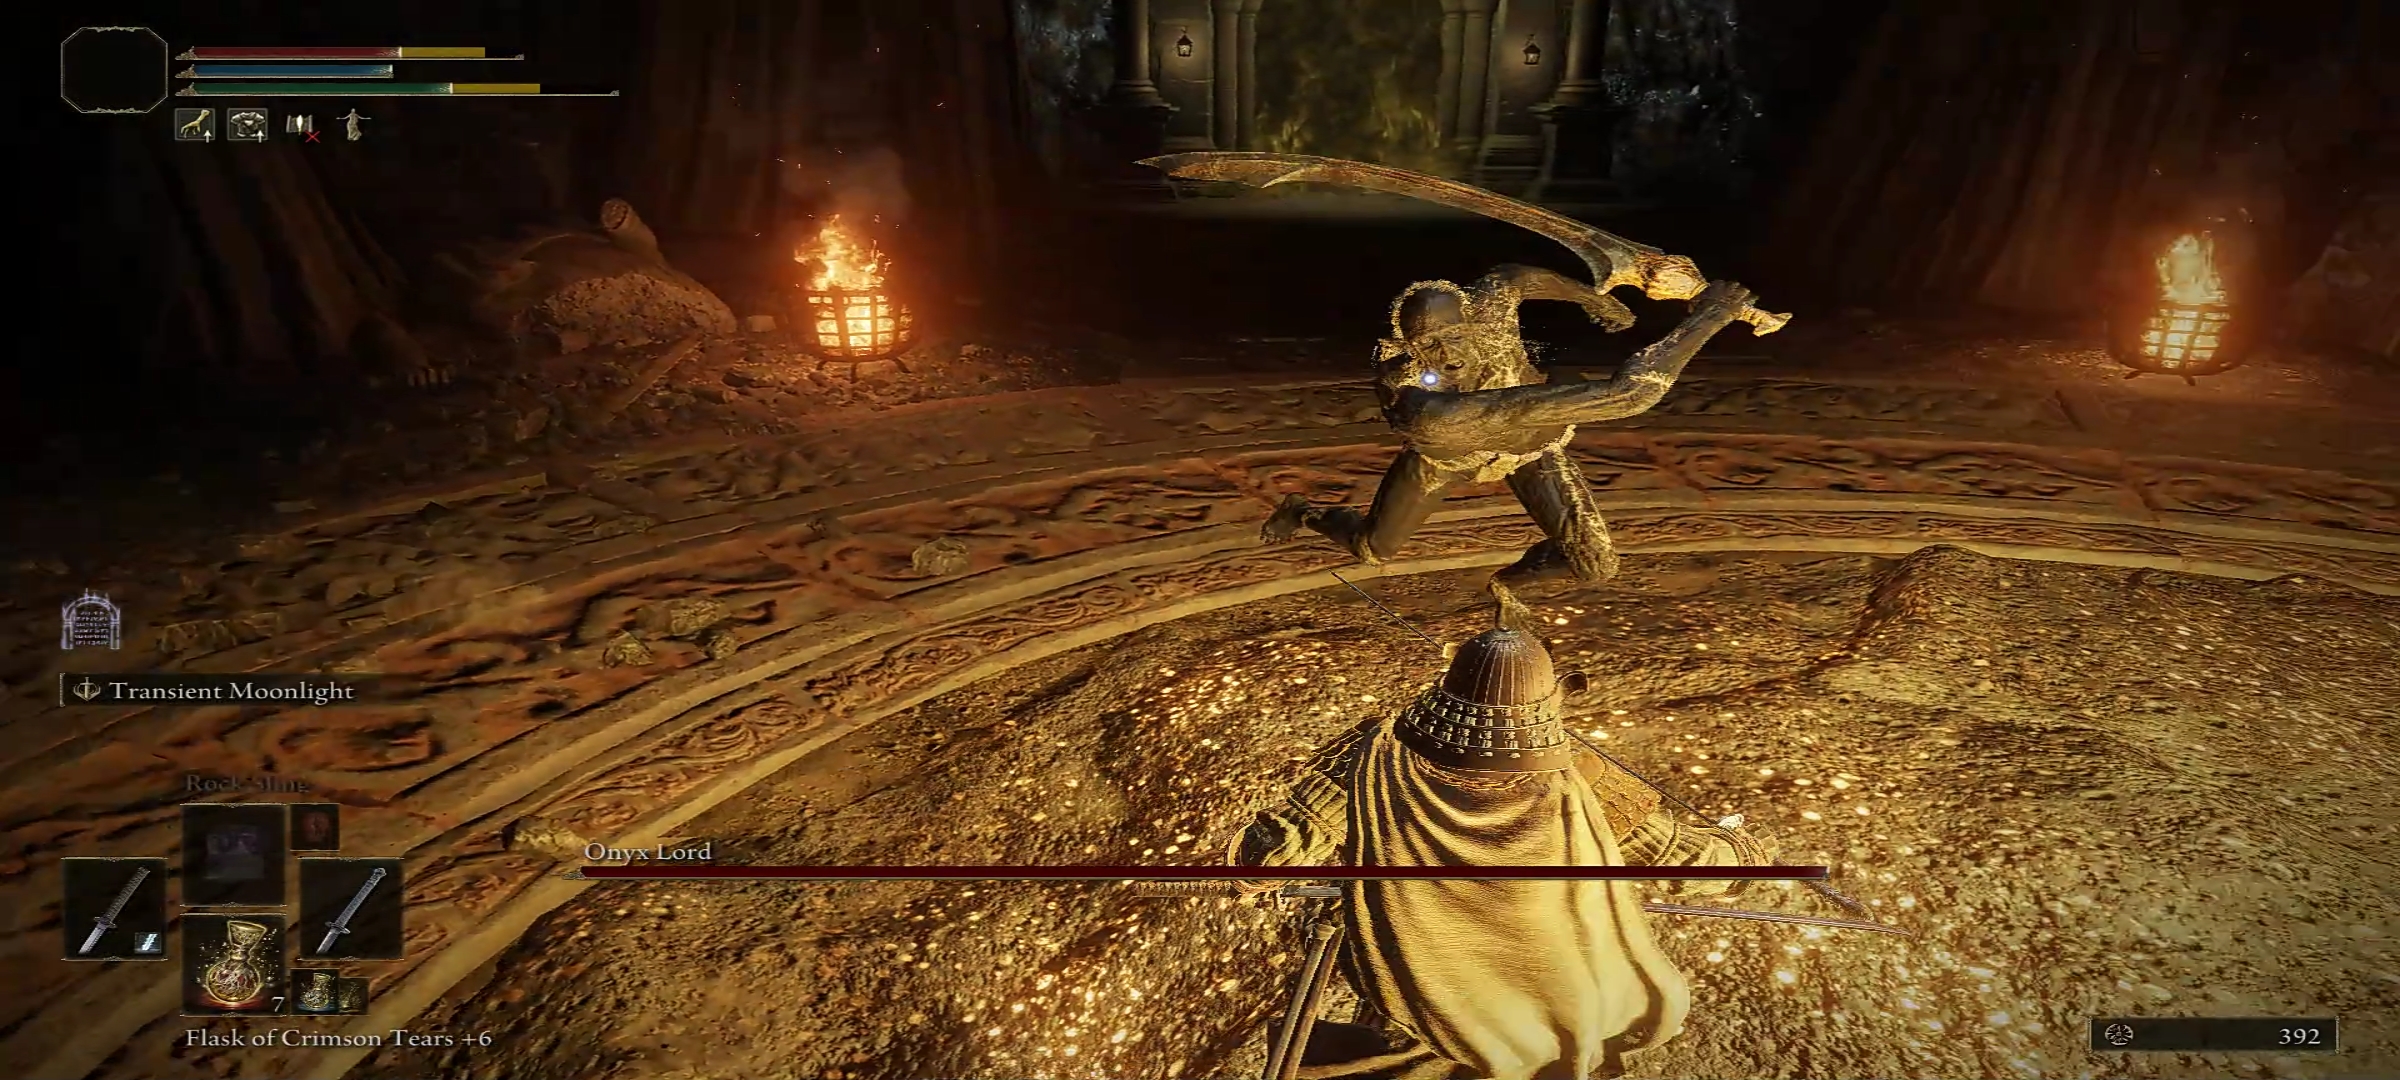
- Apart from that players will also get to face the Onyx Lord Boss inside the Sealed Tunnel.
- He does not only guard the final collectible of Sealed Tunnel but also the gateway to the Divine Tower of West Altus.
Sealed Tunnel Location in Elden Ring
Sealed Tunnel is located southeast of Outer Wall Phantom Tree site of grace. I have marked the location of the area on the map below:
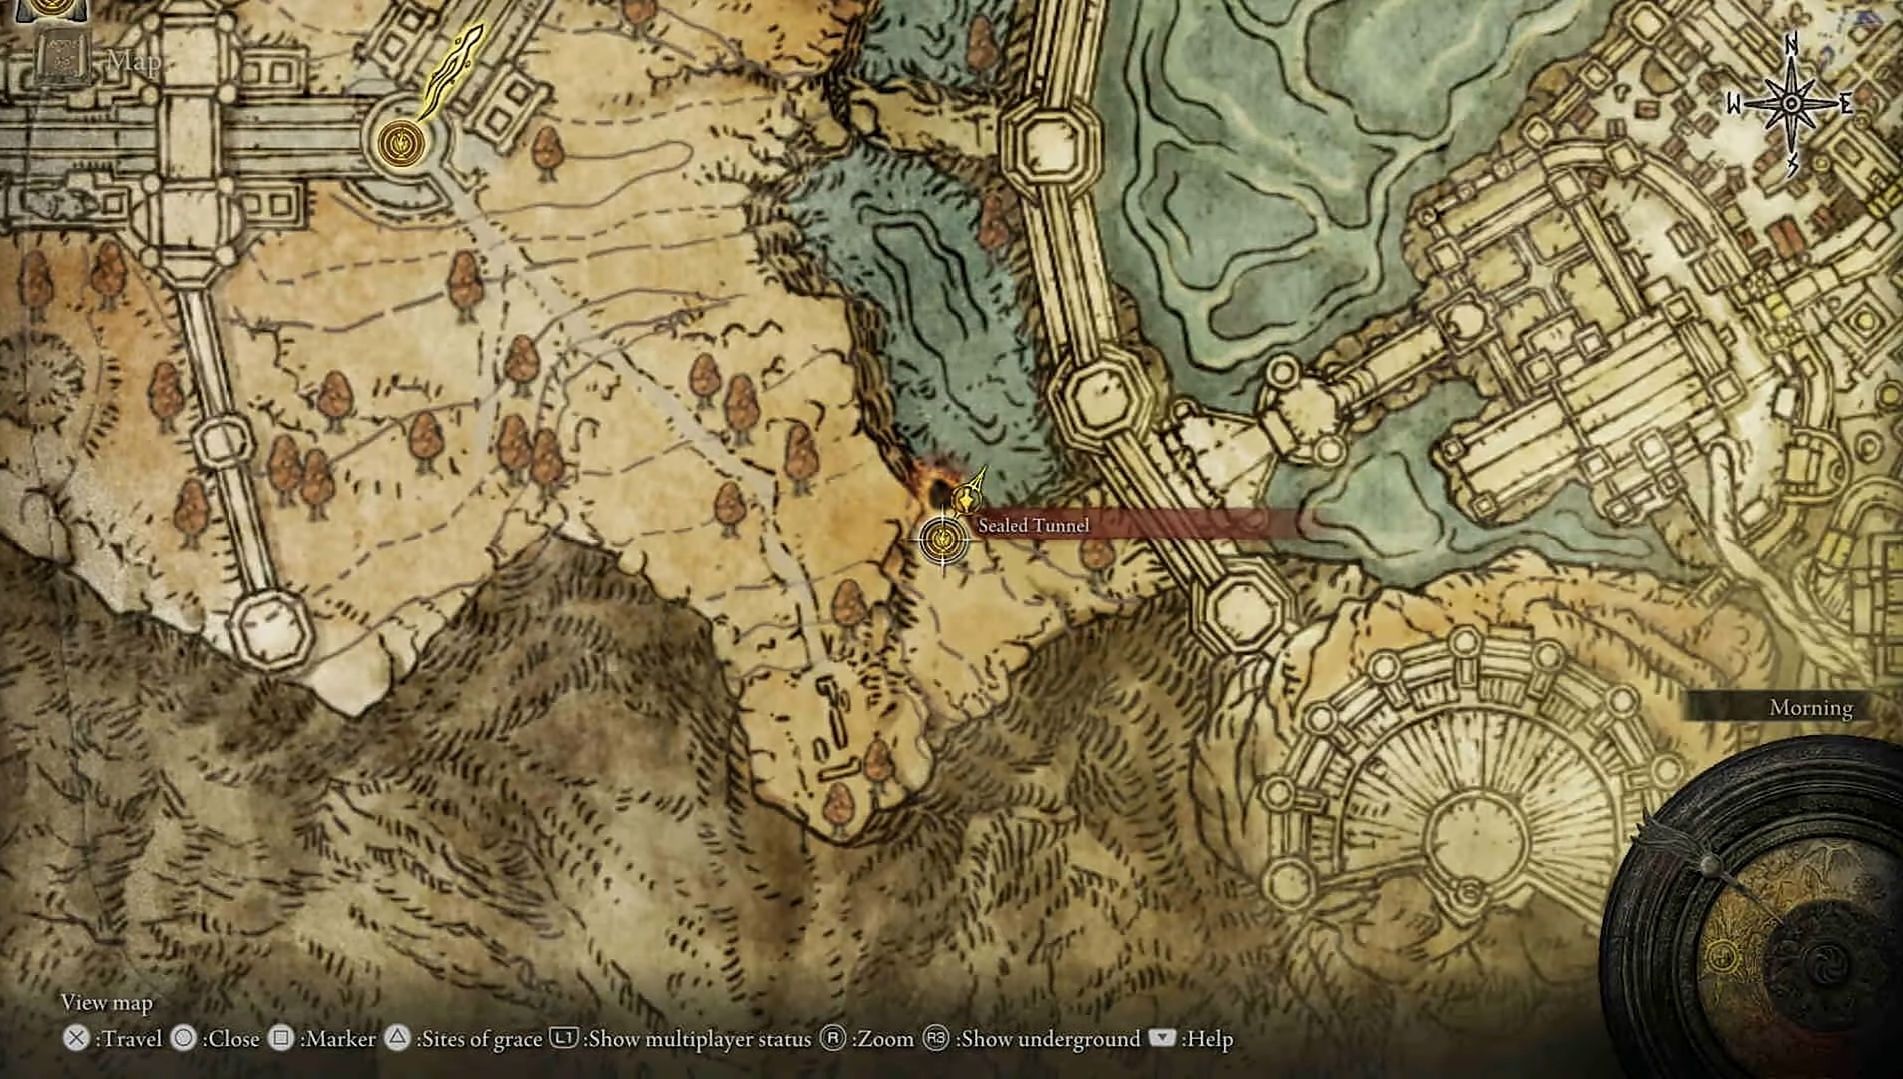
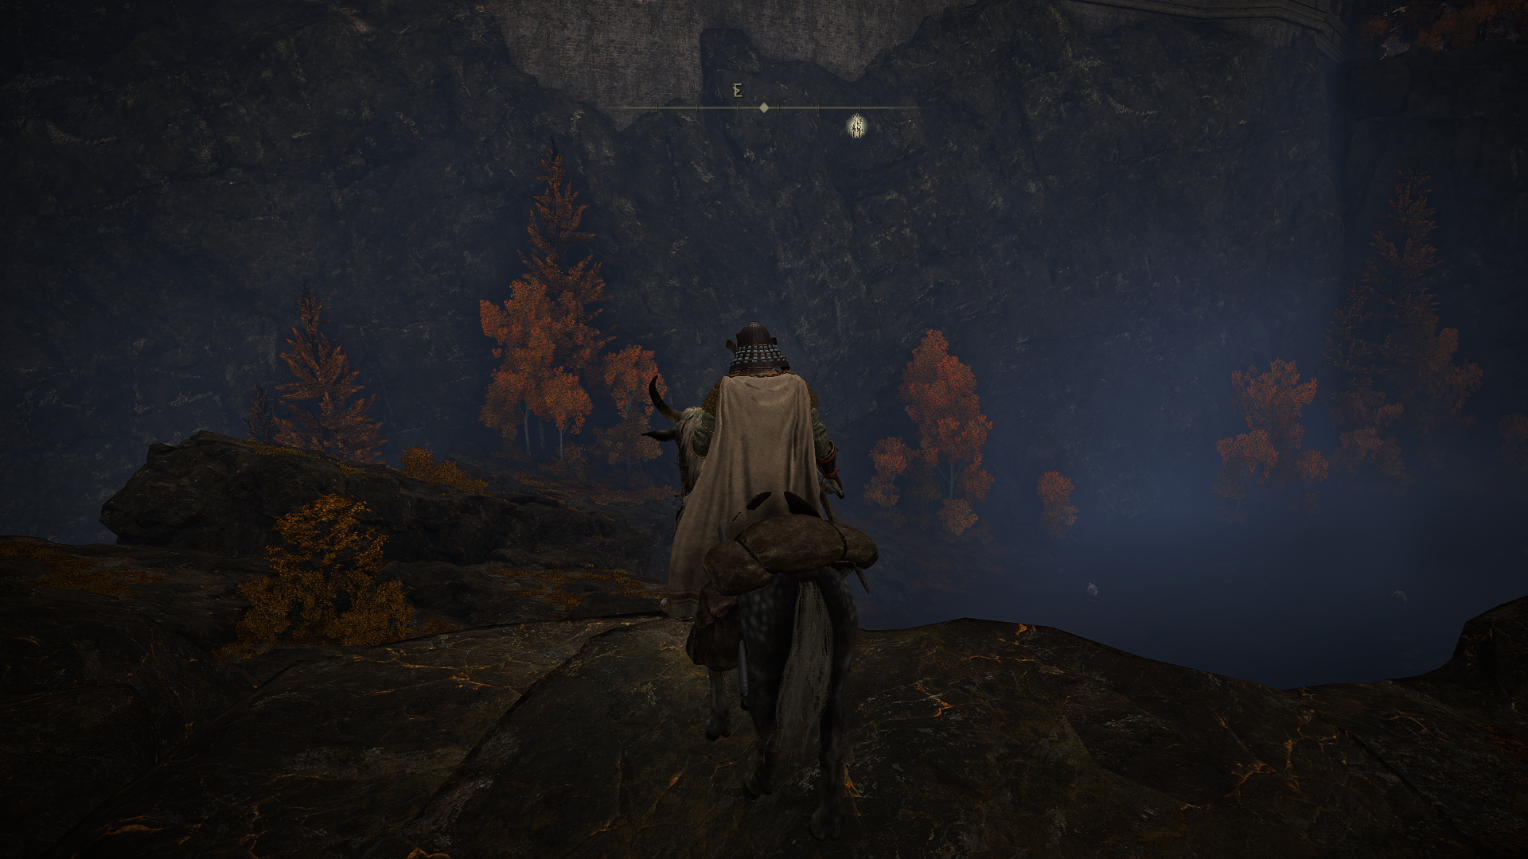
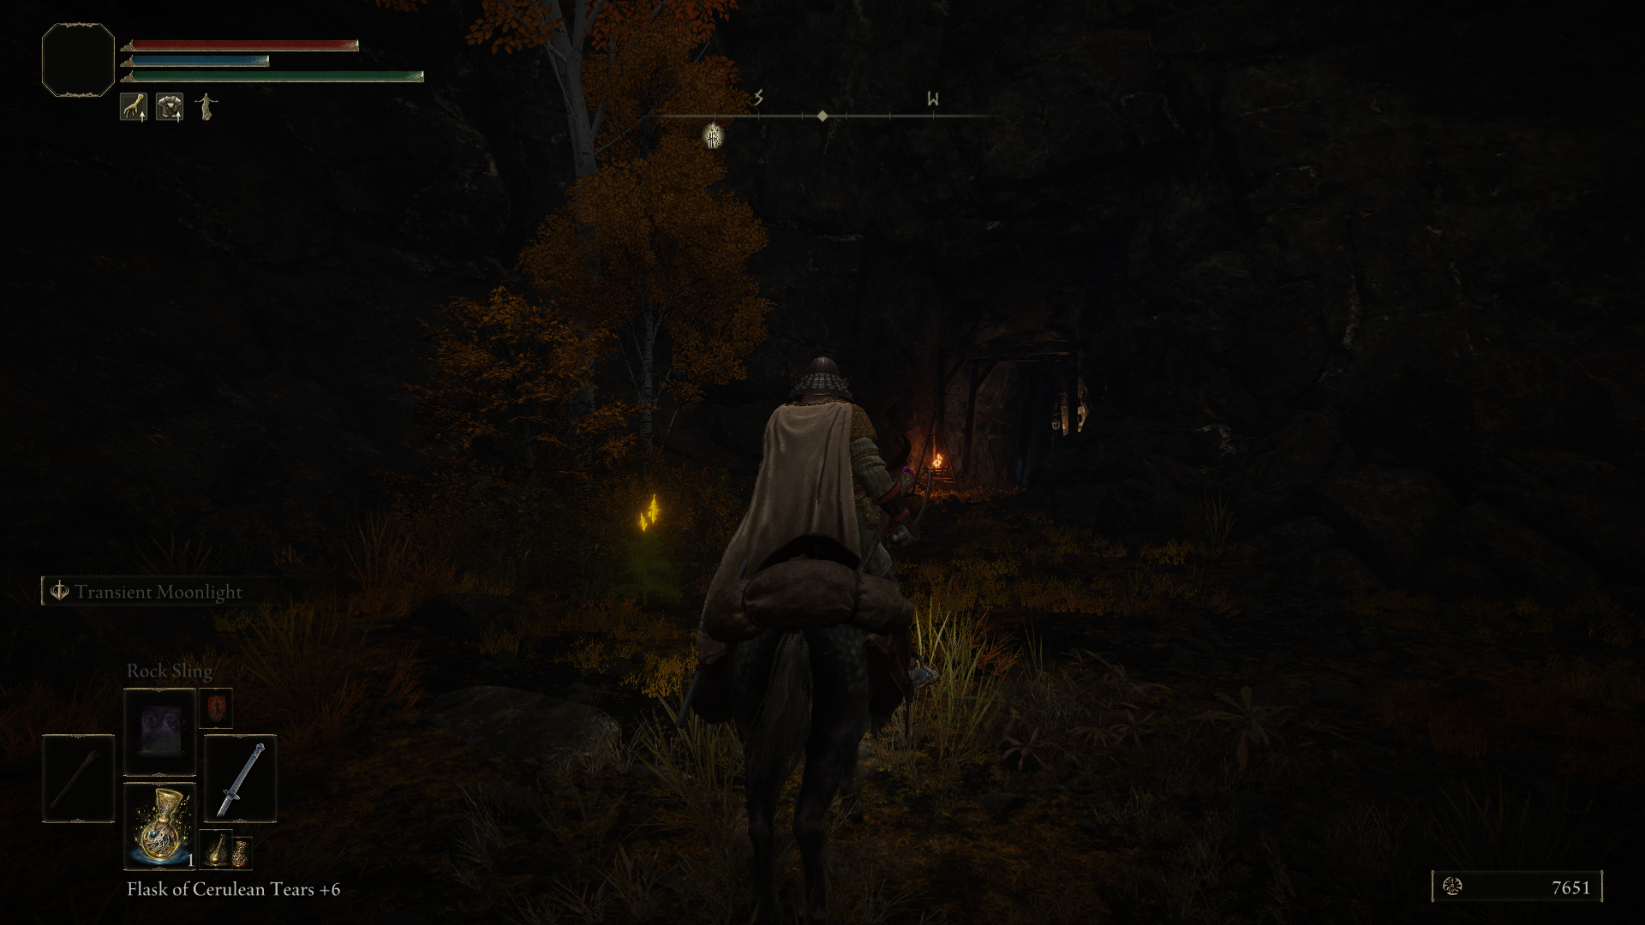
Once there, you’ll see a couple of sloped rocks you can jump onto that will take you to the bottom of the cliff. Head straight south of the lake and past the egg-looking enemies, to the Sealed Tunnel entrance.
All Collectibles in Sealed Tunnel
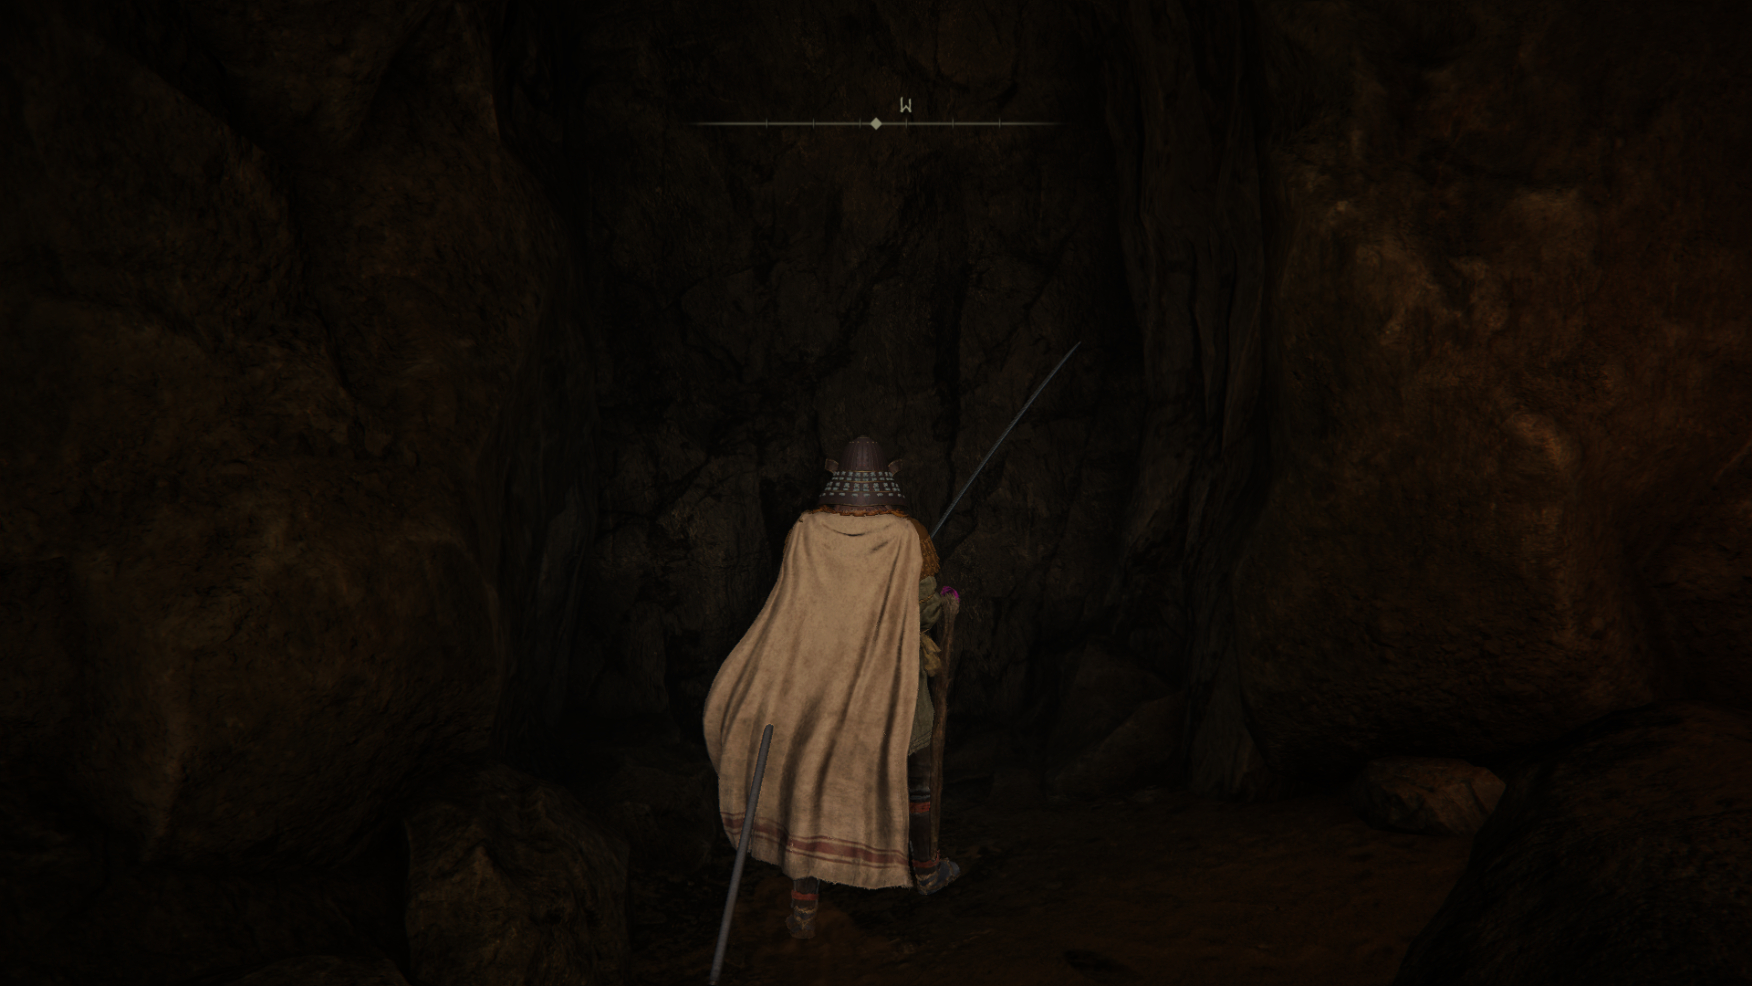
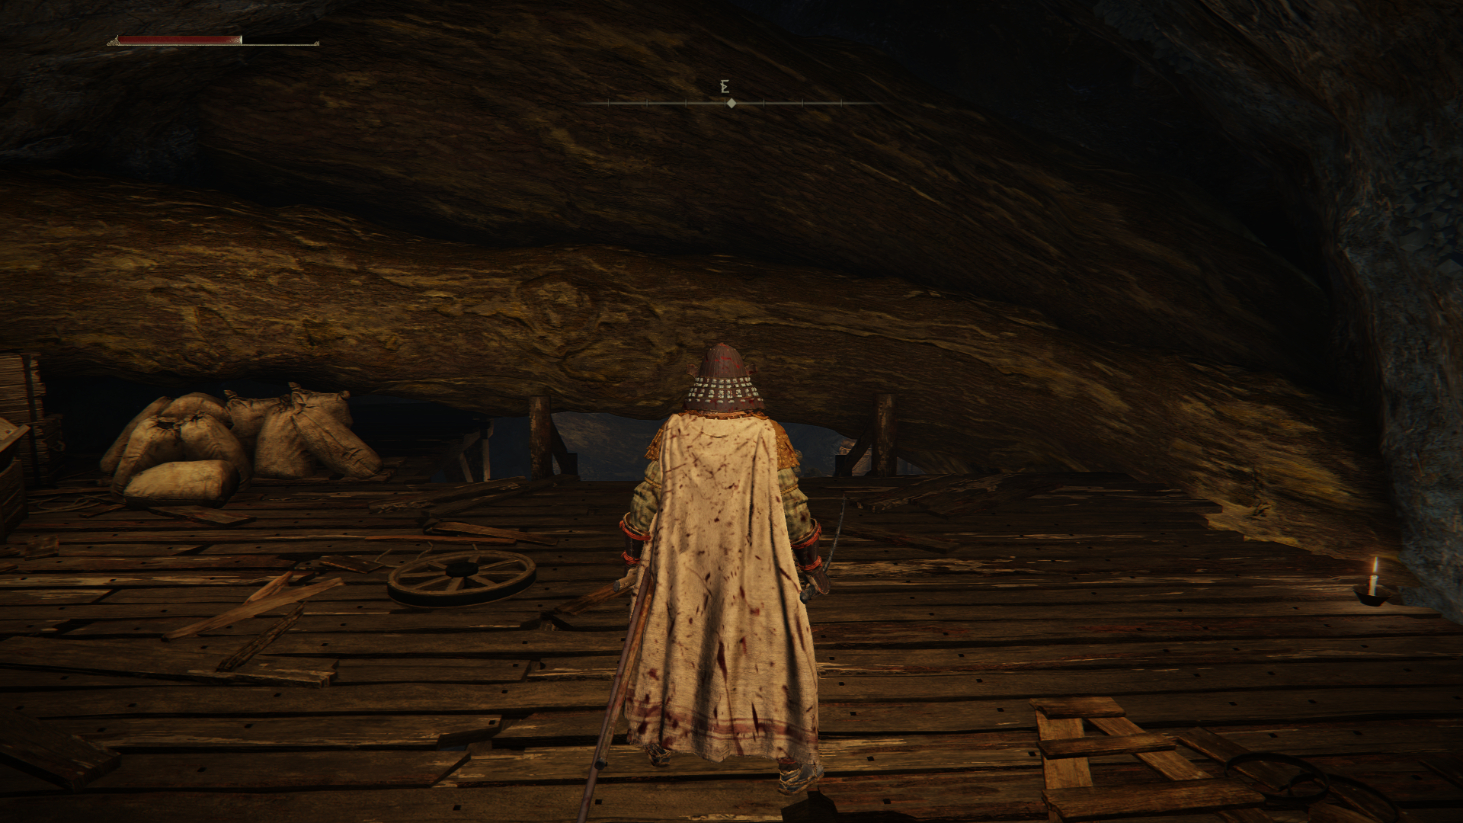
I suggest making your way inside the tunnel, but you’ll notice that there is no way further, even though the sounds of mining can be clearly heard. This is because there is an Illusory wall in the tunnel.
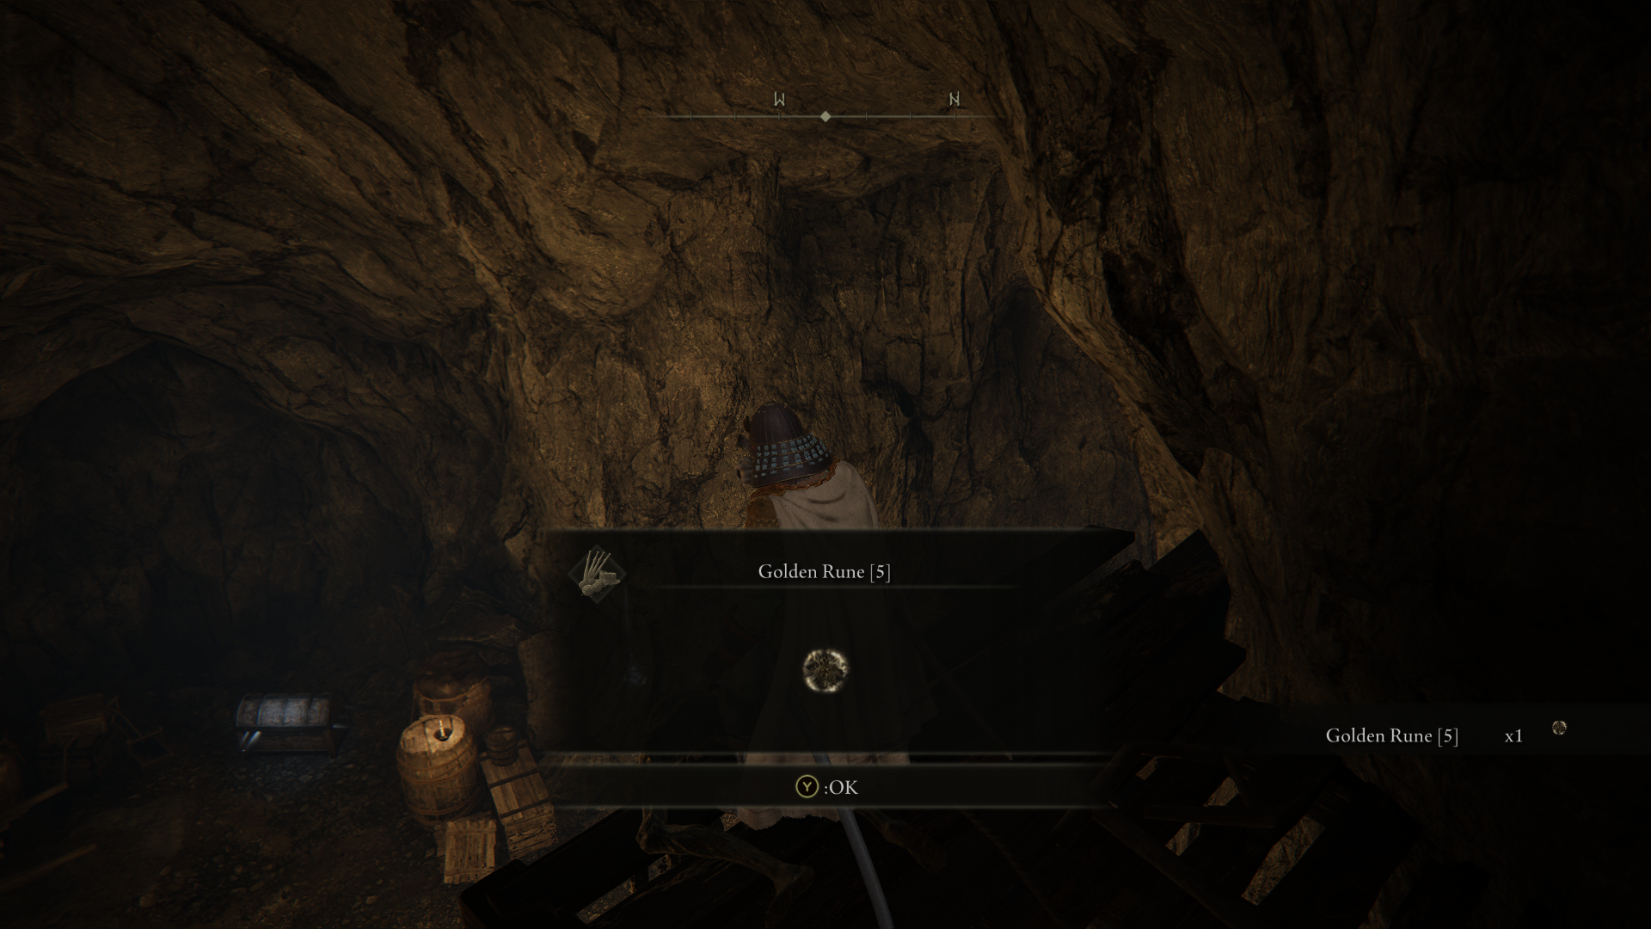
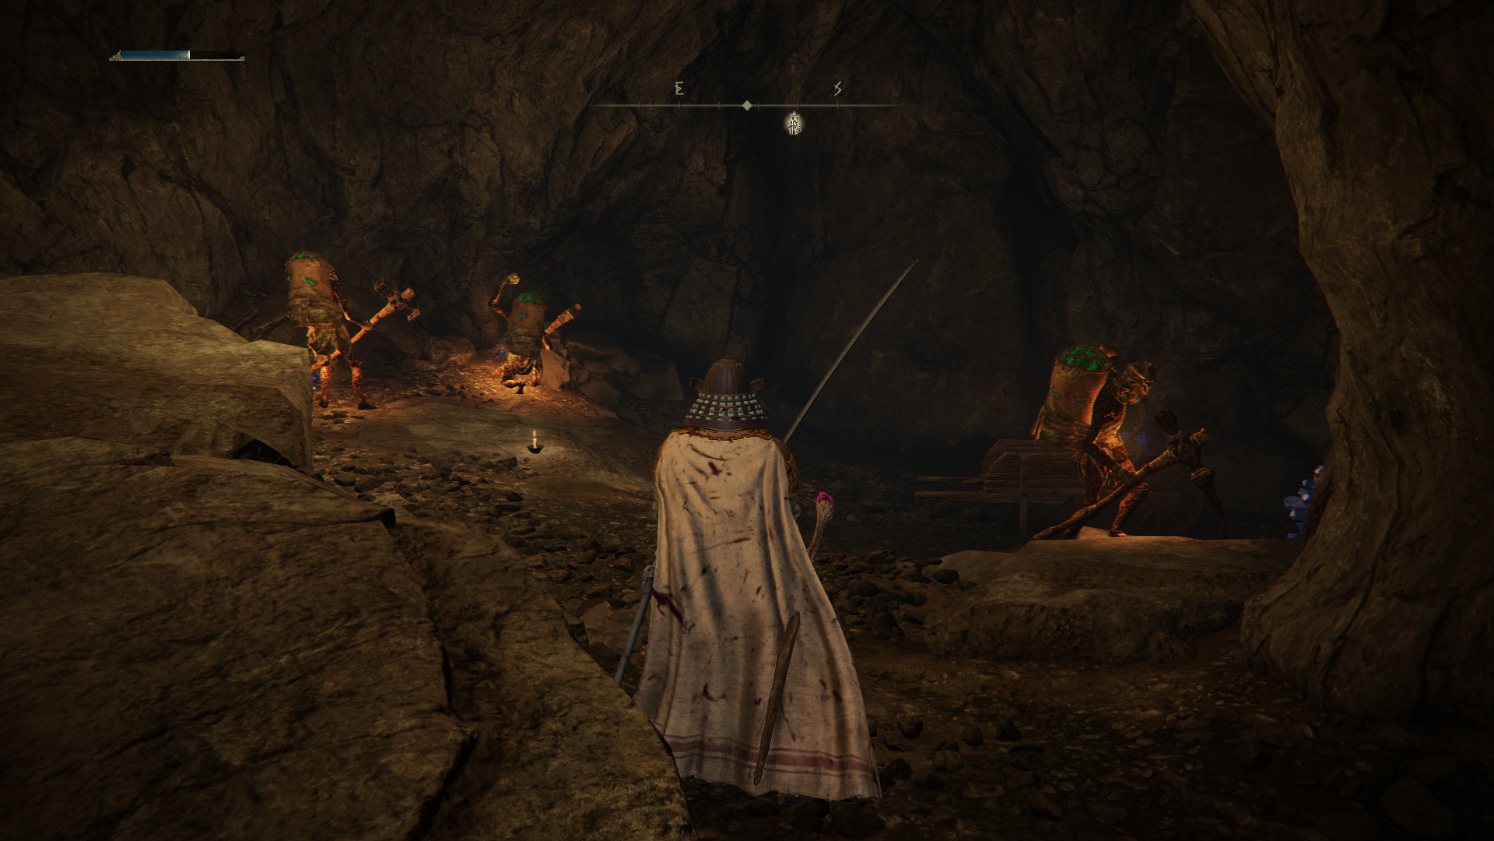
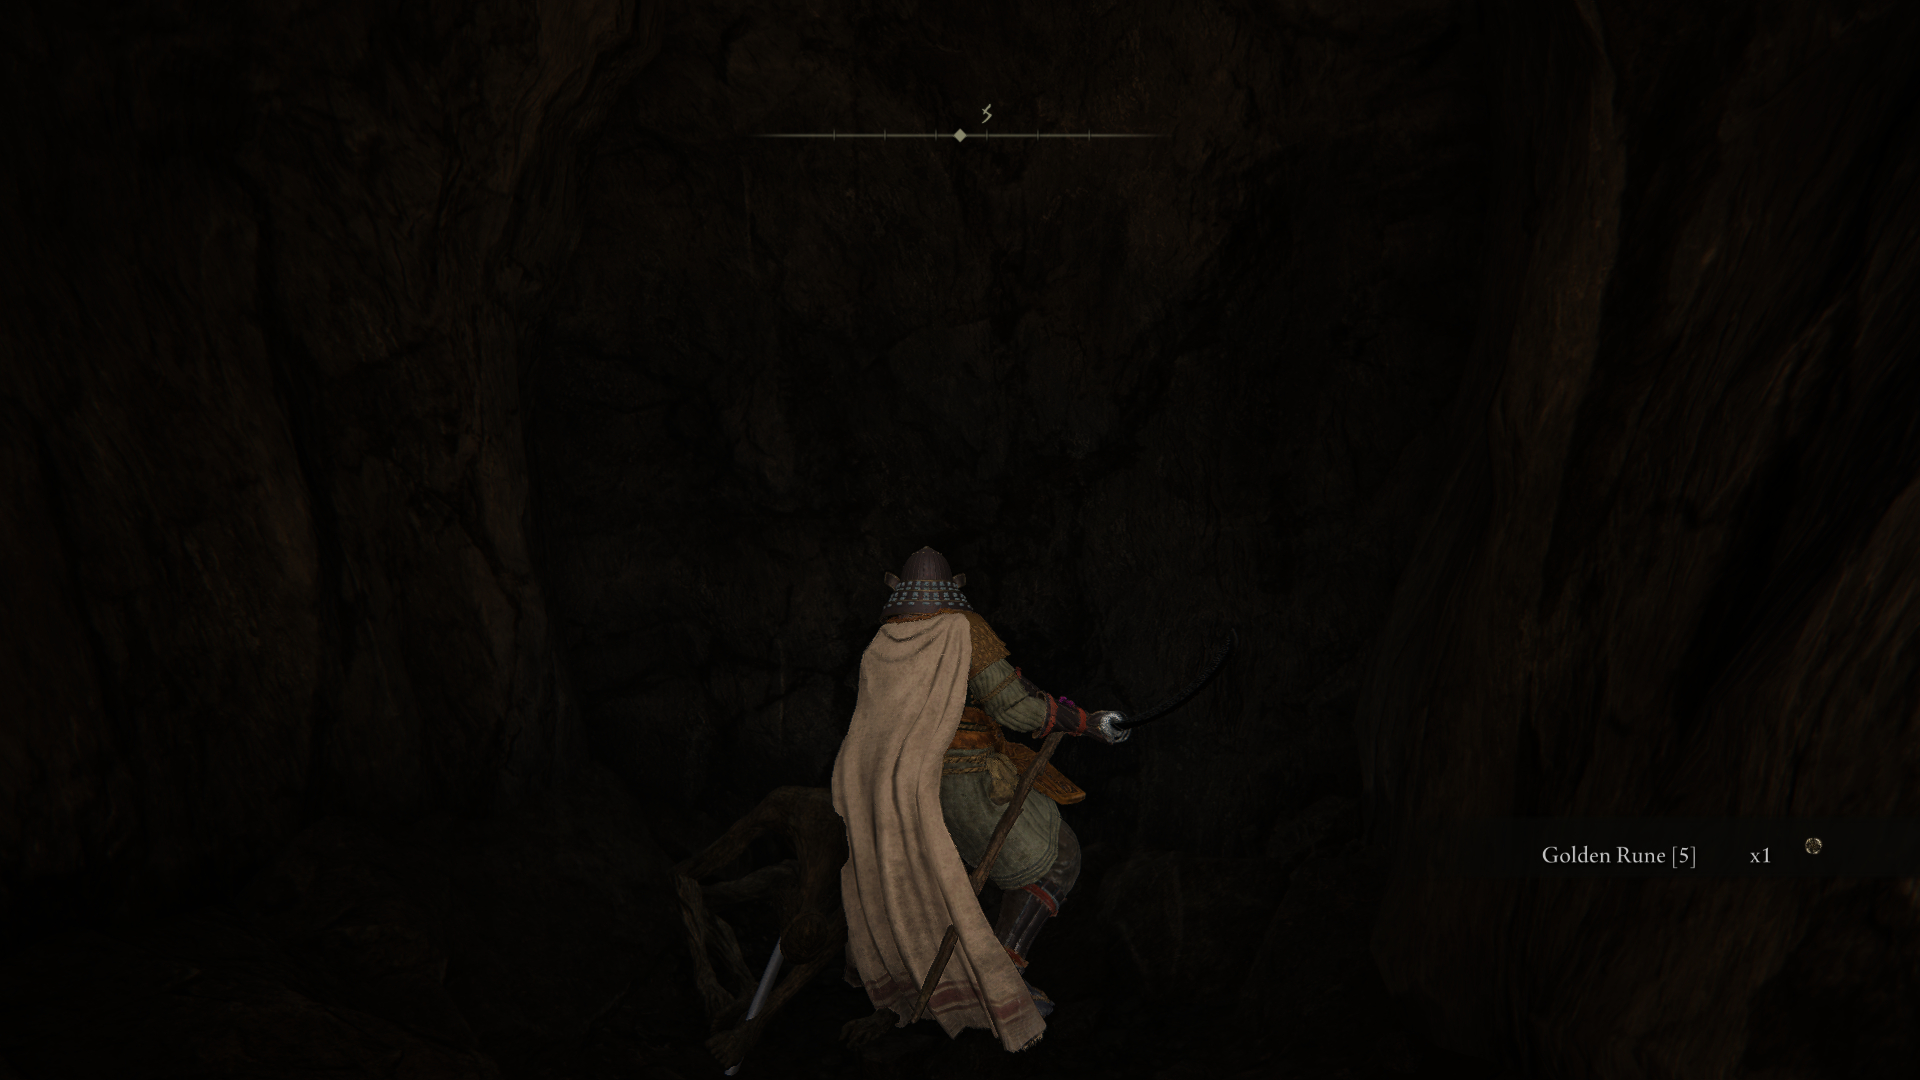
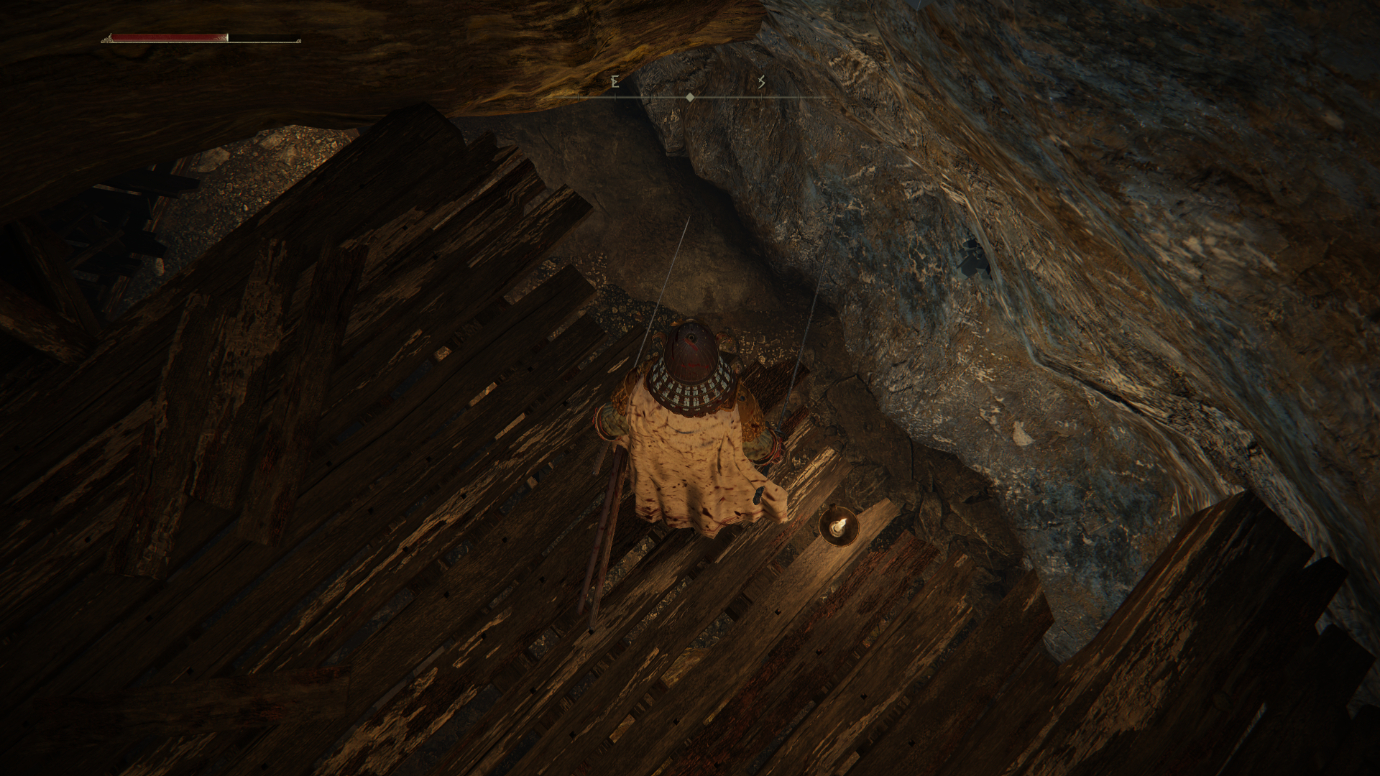
Between the summoning pool and fire structure is an unusual patch in the wall. Attack or roll towards that area of the wall to reveal the hidden path. After entering the tunnel, deal with the miner sitting right in front of you and head towards the wooden platform through wooden stairs, turn right and pick up the Golden Rune.
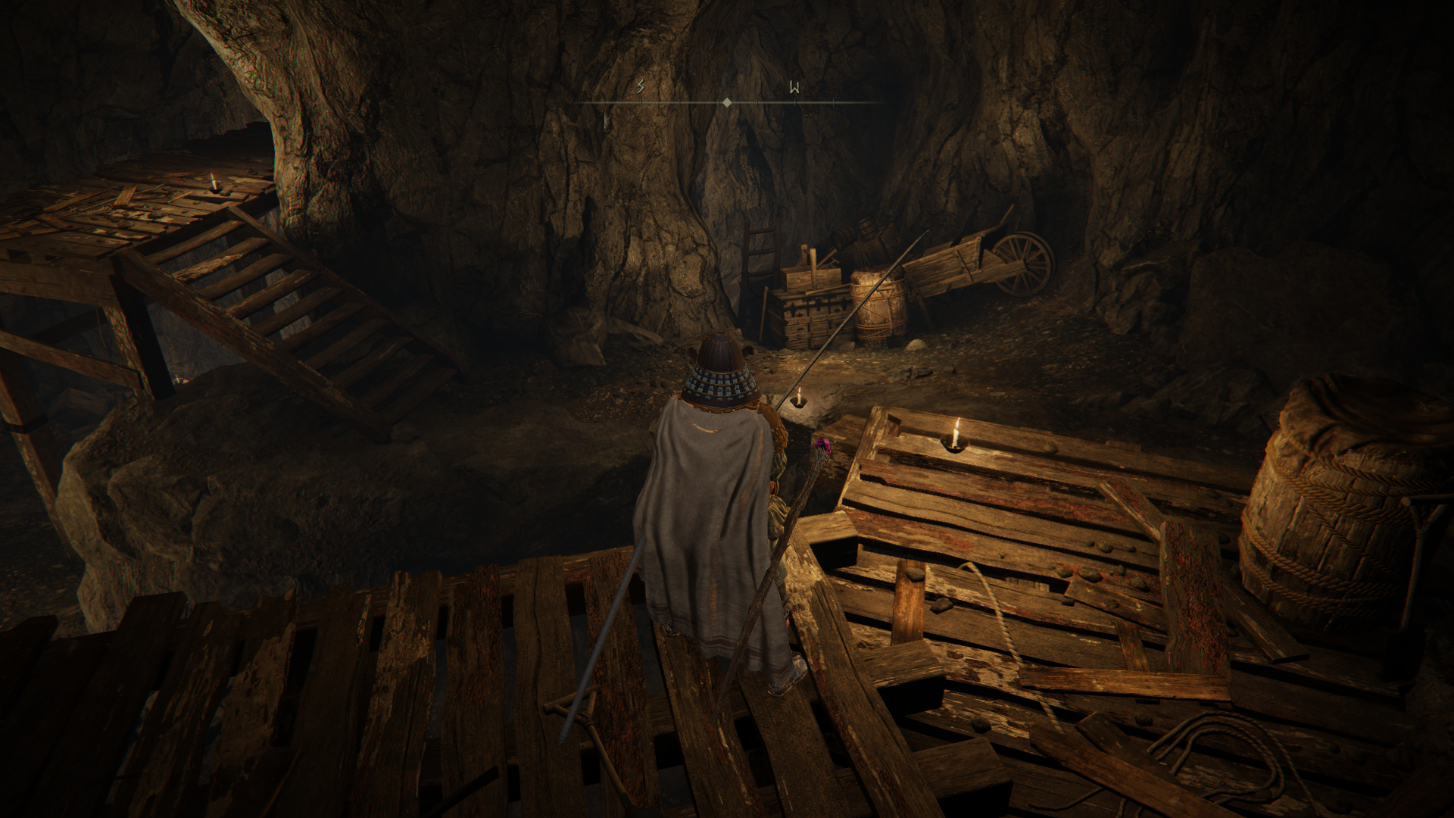
From there, look below, and you’ll be able to spot a treasure chest. So go jump down, but take out the Vulgar Militia who you can find standing just opposite the treasure chest.
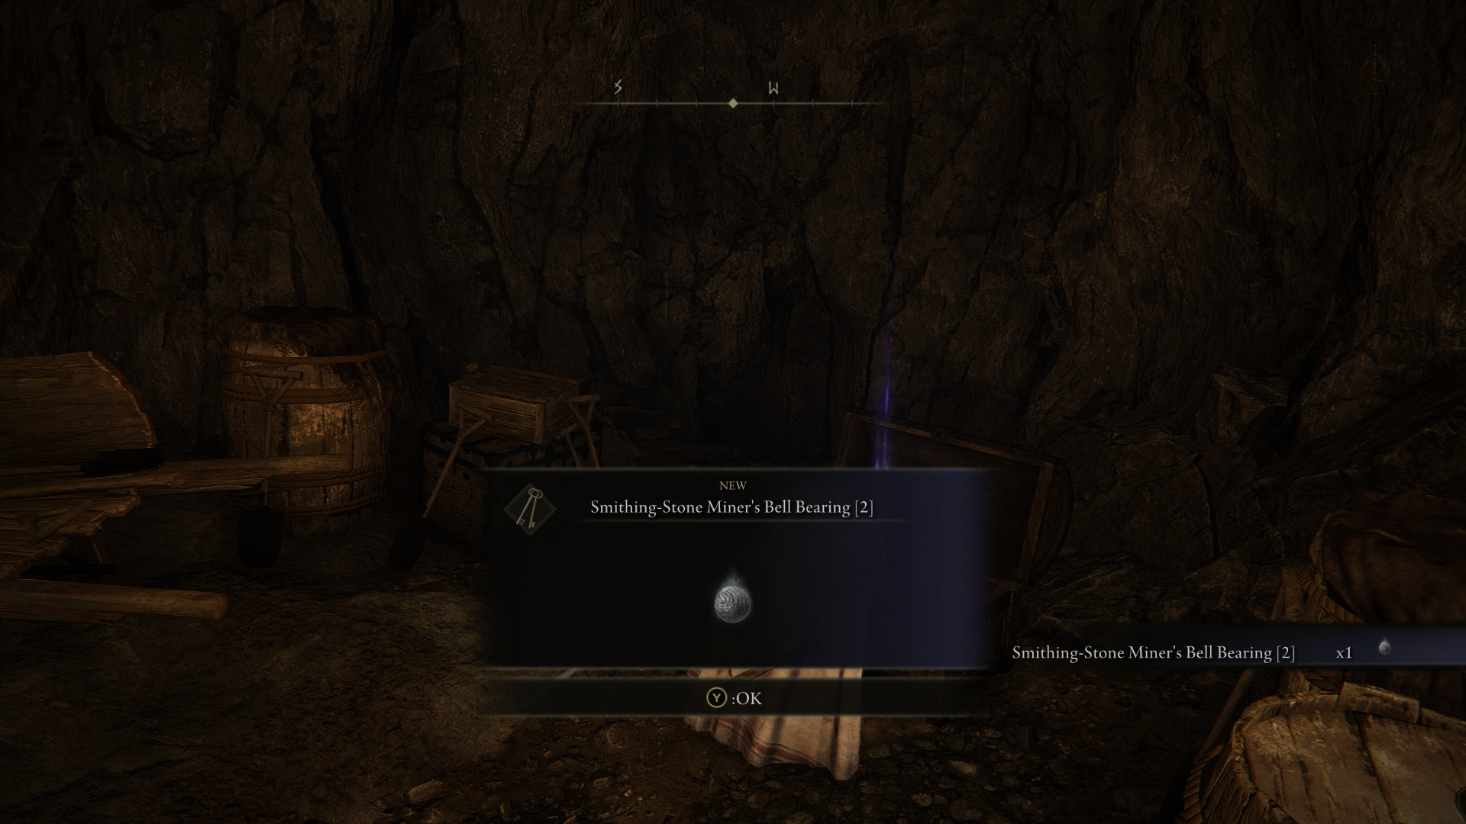
Now open the treasure chest and collect Smithing-Stone Miner’s Bell Bearing 2. After that, head towards the main floor of the area, where you can find a couple of miners. Most of them are mining and will remain passive unless you attack them.
Take out the miner with the flamethrower patrolling the main floor. After that, look for the miner on the dark end of the floor just beneath the wooden bridge. Kill him and collect the Smiting Stone from the wall behind him.
Now turn around and head towards the area with three miners minding their own business. Take them out and collect the Cracked Crystals from the wall they were mining.
With this, you are done with the area now head to the area where you opened the chest. Behind the chest is an Illusory wall. I recommend Attacking or rolling through it to continue your journey through the Sealed Tunnel.
After the invisible wall, you’ll come across a lift which will take you down. You’ll miss a collectible if you take the lift. Luckily, there is another you can use to go down while picking up the collectible at the same time.
It’s through platforming. On the left of the lift, there is a rocky platform and a giant tree trunk you can jump down to. Once there, jump down on another rocky platform below you and collect the second Smithing Stone of the Sealed Tunnel in Elden Ring.
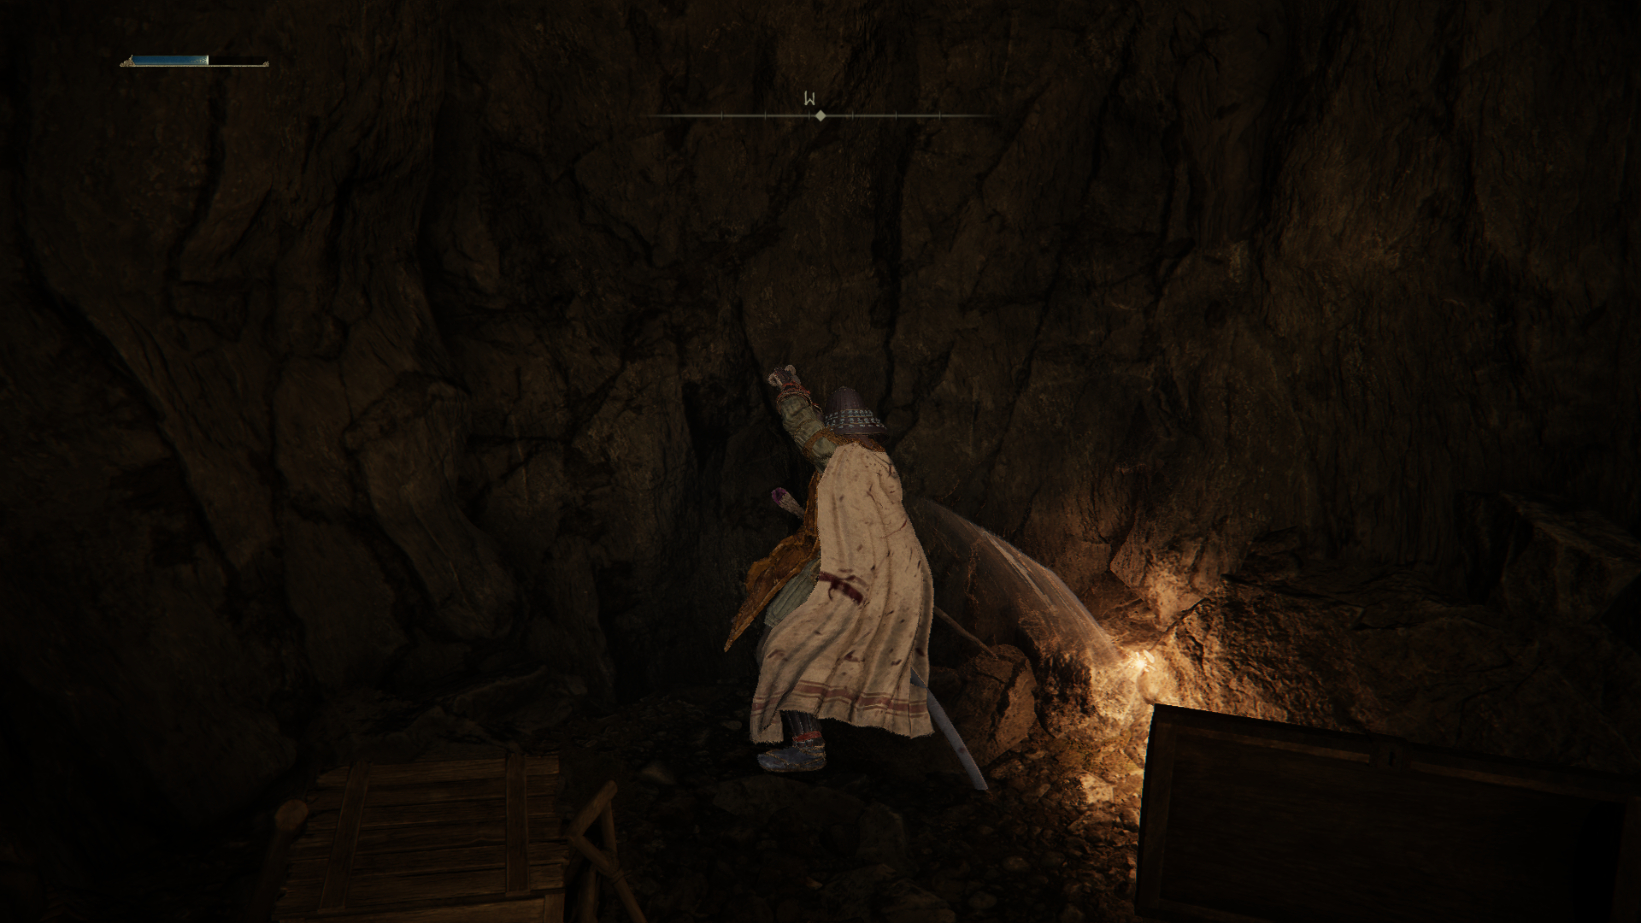
After picking up this material, keep jumping down through a series of rocky platforms until you reach the bottom. Once at the bottom and follow the main path until you come across another wall blocking your progress. The wall is as well, you guessed it, another Illusory wall.
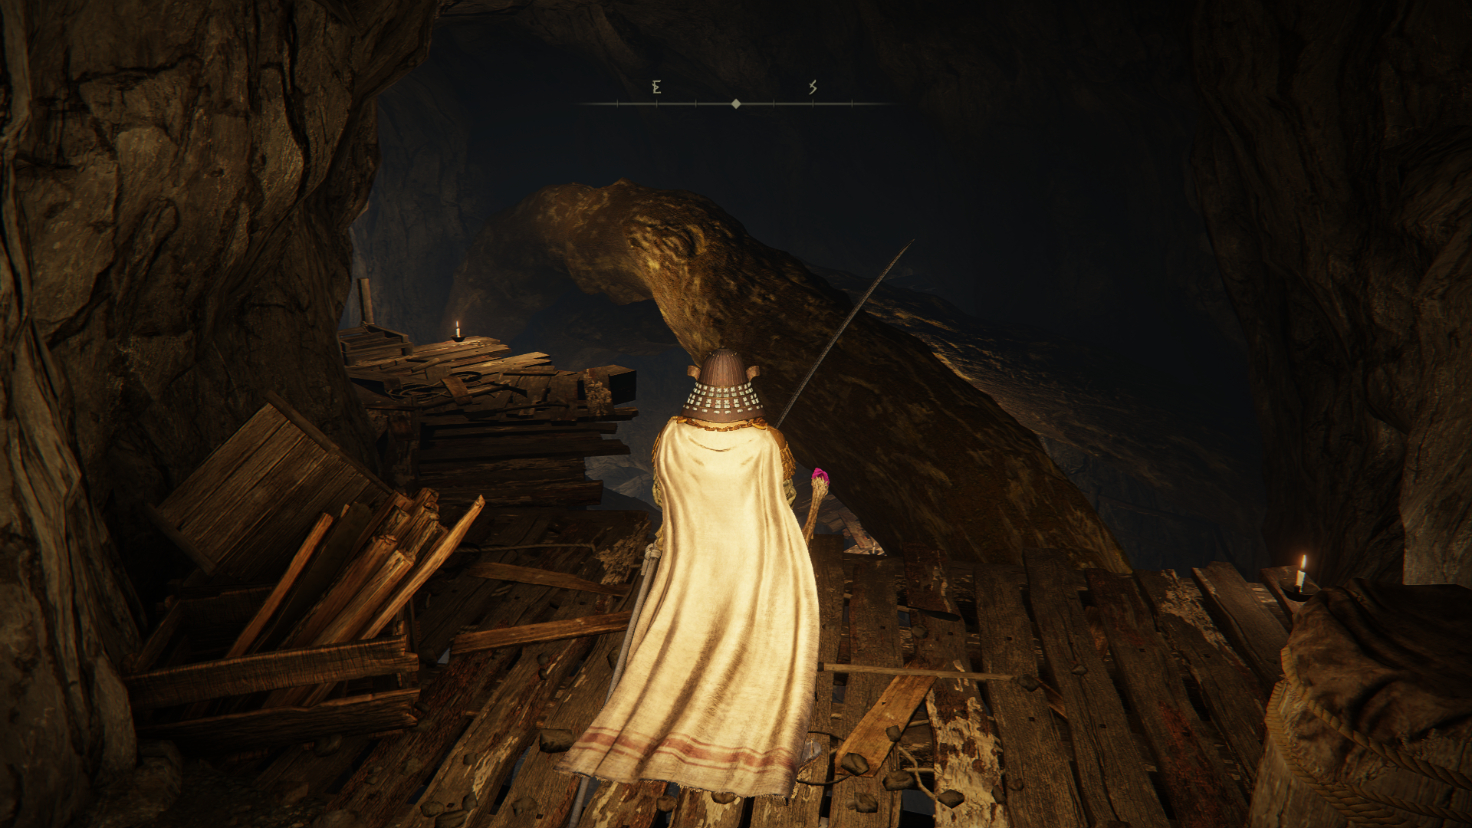
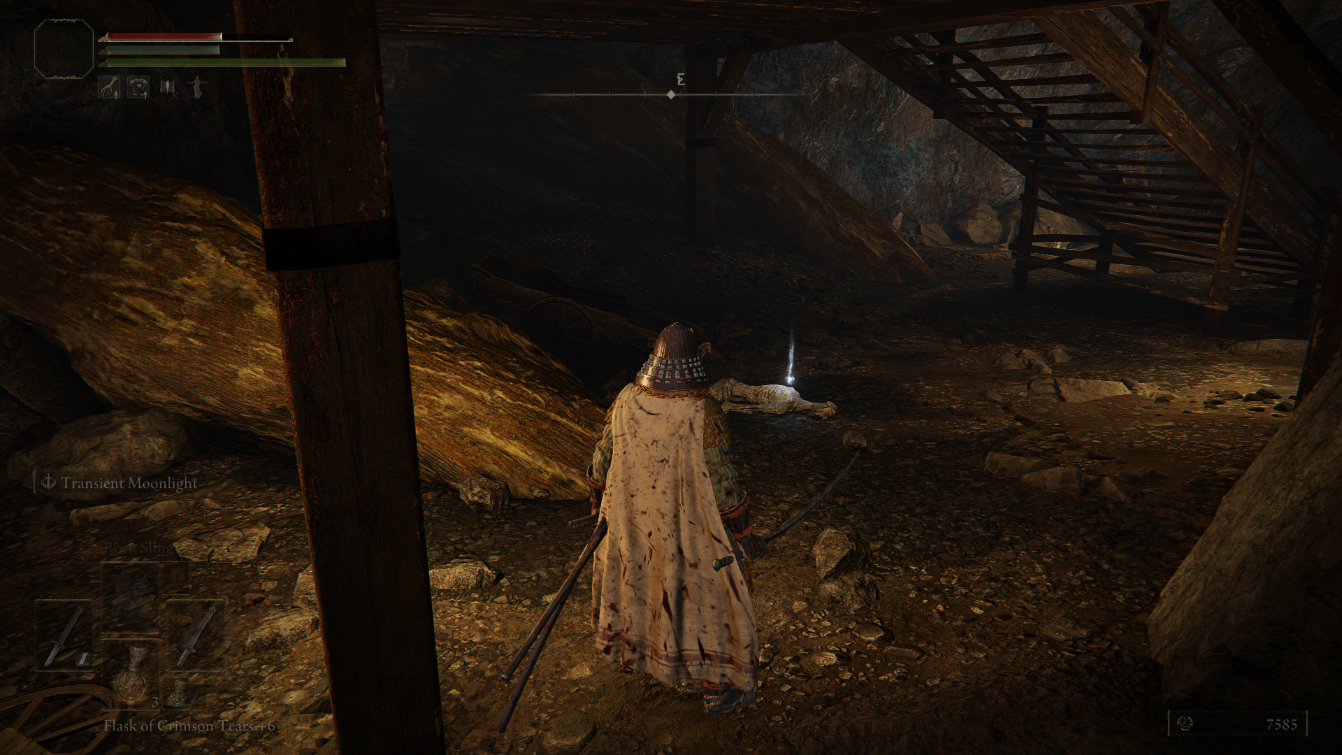
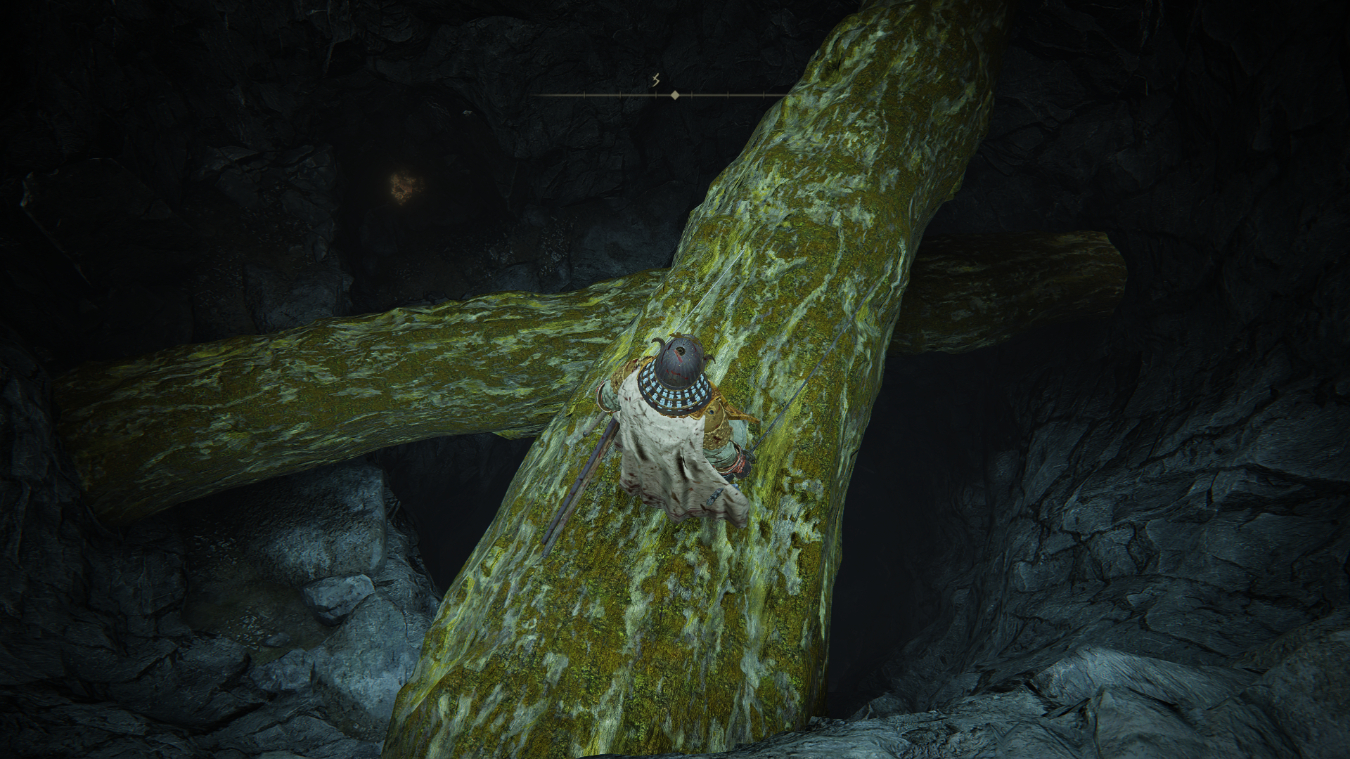
Hit the wall, keep heading straight and pick up Golden Rune from the corpse. Behind the corpse is another invisible wall, attack it to reveal the next portion of the Sealed Tunnel in Elden Ring. There you’ll see large tree roots right in front of you which can be used to make your way across the room, but don’t miss the collectibles.
Jump on the first wooden branch and head straight. Once you are halfway through the branch, jump onto the second wooden branch below and from there leap towards the small cave on your right. I suggest keeping in mind that there are three Vulgar Militias here, so watch out for their attacks.
After taking the Vulgar Militia, head inside the cave to collect the Stonesword Key. After picking up the Stonesword Key, head back entrance of the cave and jump on the tree trunk in front. On the topic of Stonesword Key, why not go through our guide on Stonesword Key locations in Elden Ring.
At the end of this trunk is another collectible you obtain called Golden Pickled Fowl Foot. Now you can head straight to the next portion of the tunnel. That said, before you leave the area, I suggest collecting a couple of crucial items.
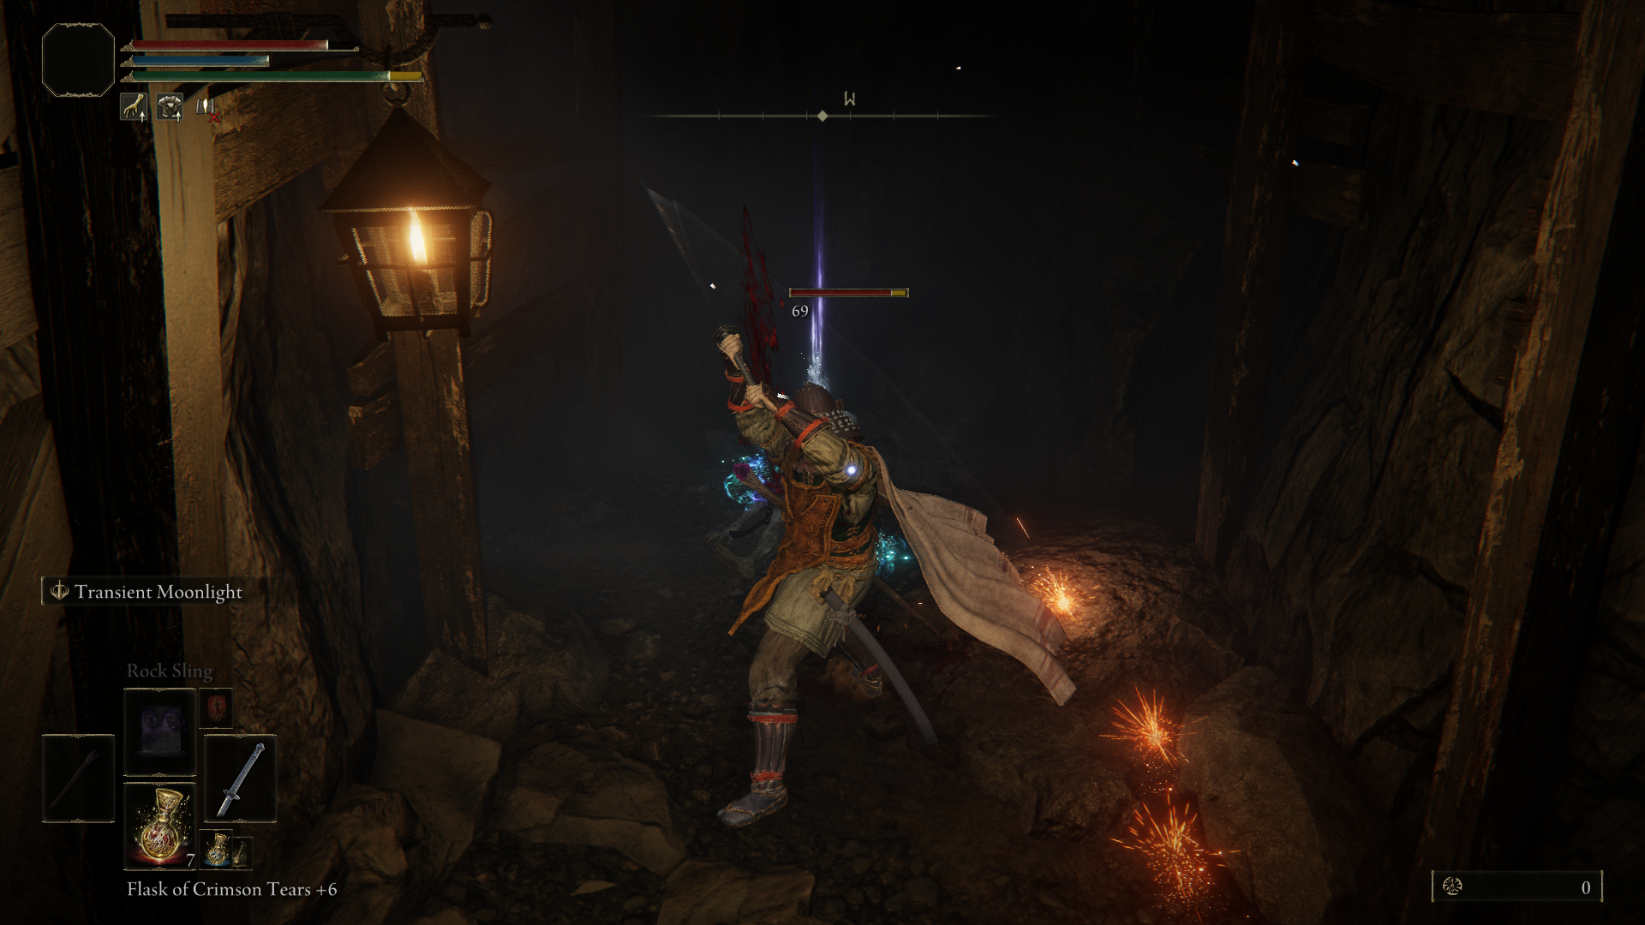
Jump down from the tree trunk on which you were standing, and you’ll notice a handful of items scattered on the floor. They are guarded by Abductor Virgin waiting to attack you. On the topic of Items, why not go through our guide on Castle Sol and the locations of items found there and how to beat this castle’s boss: Elden Ring Commander Niall cheese method guide.
Make sure to take out the Vulgar Militia first so that he won’t annoy you during the fight. Before you decide to take on Abductor Virgin, make sure to lure him to the eastern corner of the floor, where a glowing statue is present.
Once here, bait the Abductor Virgin into a charge attack to break the glowing statue. In my opinion, this might take a couple of tries, but you will eventually nail it. After that, continue your fight with the Abductor Virgin.
After killing the Abductor, Virgin now you can peacefully collect all the items scattered on the floor. Speaking of items why not go through our Elden Ring Items tier list.
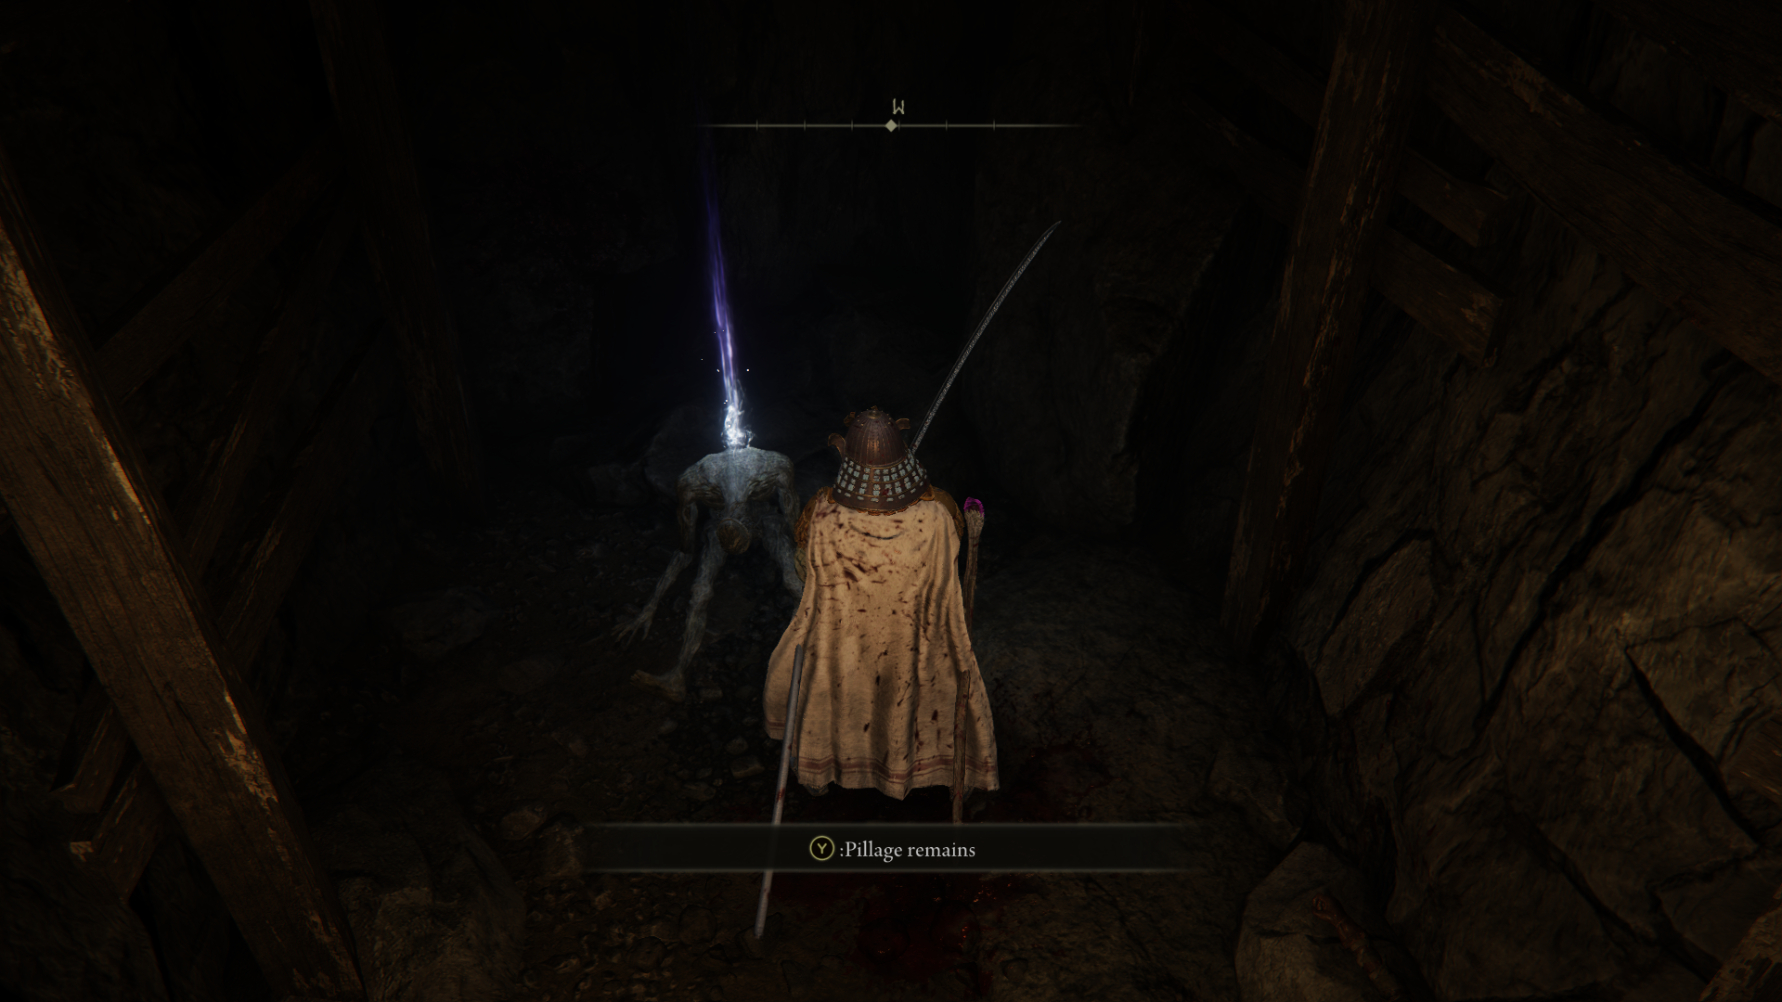
The items you will find are Furlcalling Finger Remedy, Golden Rune, Rune Arc, and a Somber Smithing Stone hidden in the northwestern corner. Also, make sure to collect the item from the statue you just broke using the Abductor Virgin. The item you will gain from there is Smithing Stone.
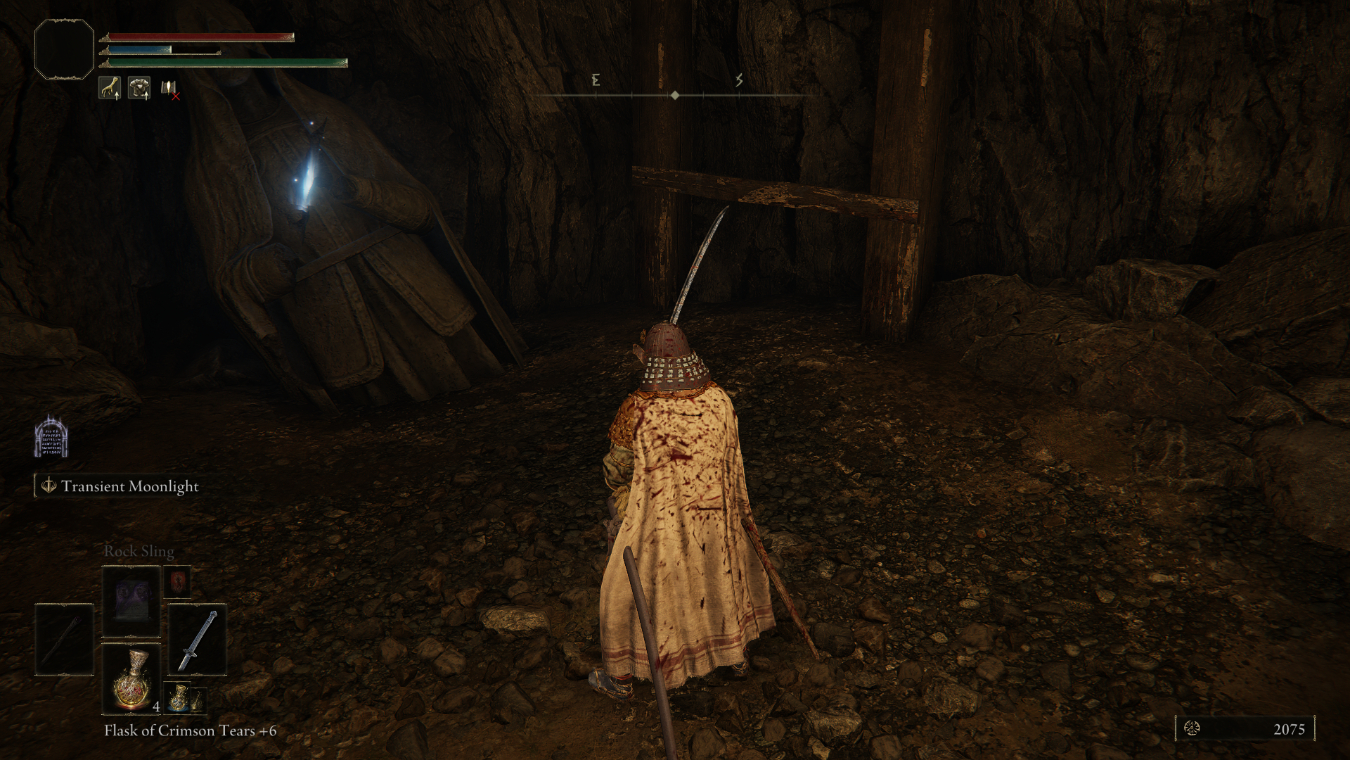
After filling your inventory with all of these items, climb up the ladder, jump on the branches and follow the path across to the eastern passage. Keep following the path until you reach a Stake of Marika and a giant wooden root blocking your path; it is not an invisible blockage this time around.
Luckily, there is another to get around this. On your right is the wooden platform you can drop to bypass the blockage. Before you jump down, keep in mind that the area below is plagued with self-exploding enemies.
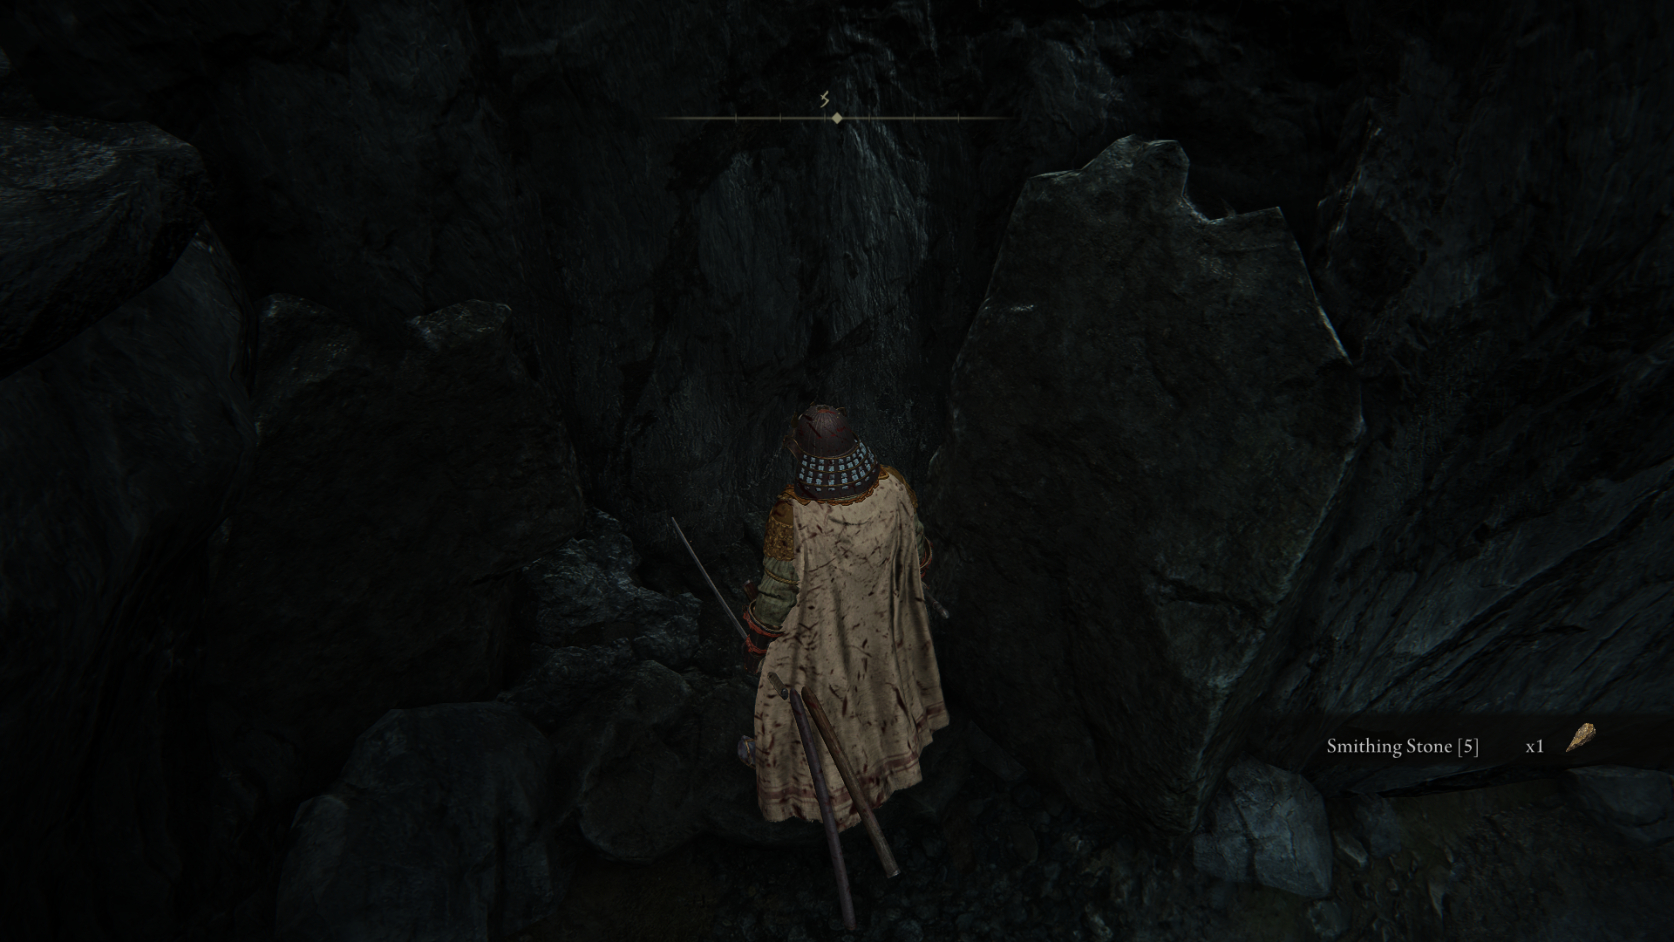
As per my experience, it is better to be prepared to dodge as soon as you jump down. After jumping down and dodging the blasts from the enemies, collect the Smithing Stone off of the wall behind the tree root.

Now turn around and follow the main path. Grab the Grace Mimic from the corpse along the way as well. Before you exit, this area, make sure you climb the flight of stairs since there are a couple of important items there too.
I recommend keeping your guard up since self-destructing enemies await you on the wooden floorboards at the top of the stairs. After dodging through the explosions, climb up the second flight of stairs to collect Old Fang.
Descend from the stairs and head left towards the wooden wheelbarrow. Be mindful of another exploding enemy there. After you have dealt with it, collect Large Glintstone Scraps from the corpse.

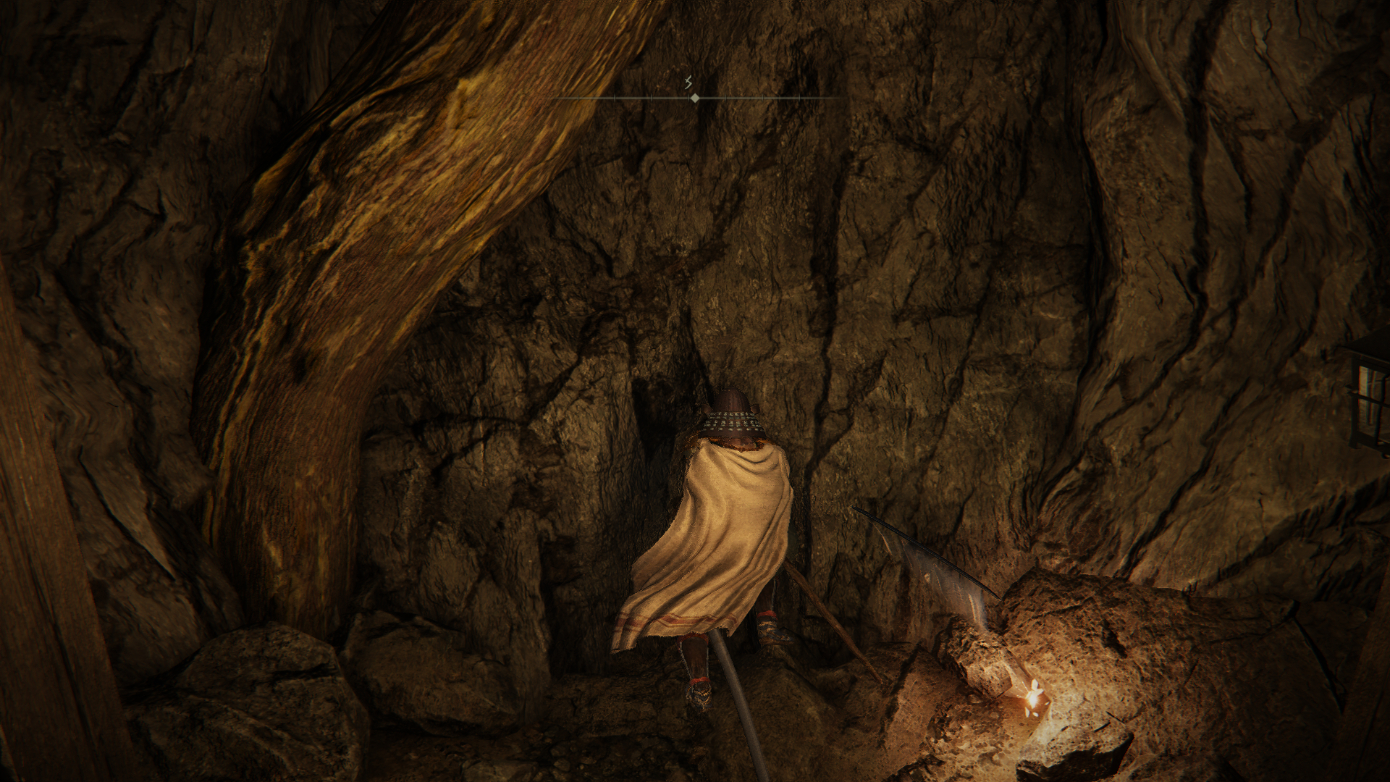
After collecting the Large Glintstone Scarps head towards the southeast of the chamber and hit the wall to reveal the next and final portion of the Sealed Tunnel in Elden Ring. Another exploding enemy sitting just beside the wall as well.
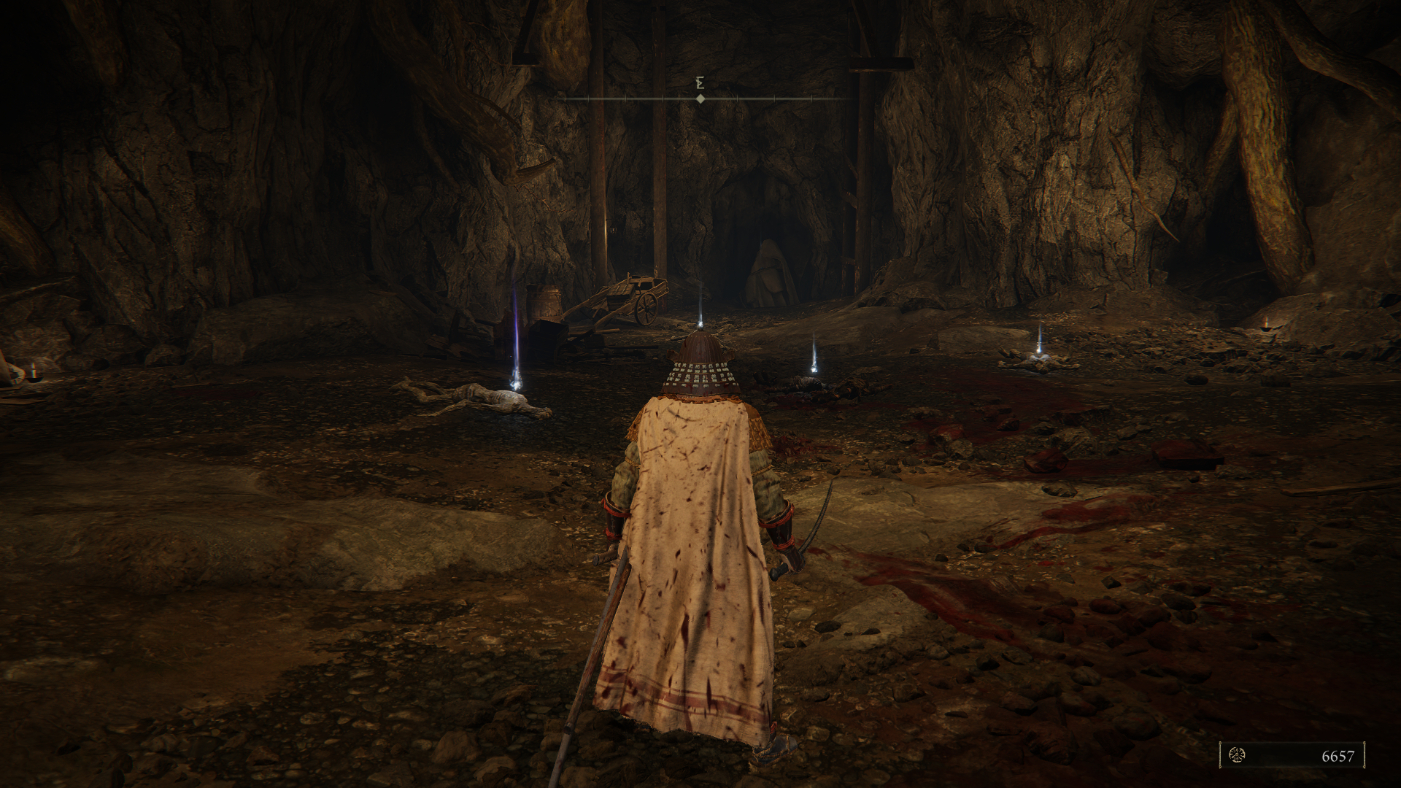
After hitting the illusory wall, follow the main path towards the illuminated area with a chasm filled with tree roots, you can jump onto the roots and rocky platforms below to reach the bottom. In my opinion, there are plenty of opportunities for you to hog some collectibles along the way as you go deeper into the ground.
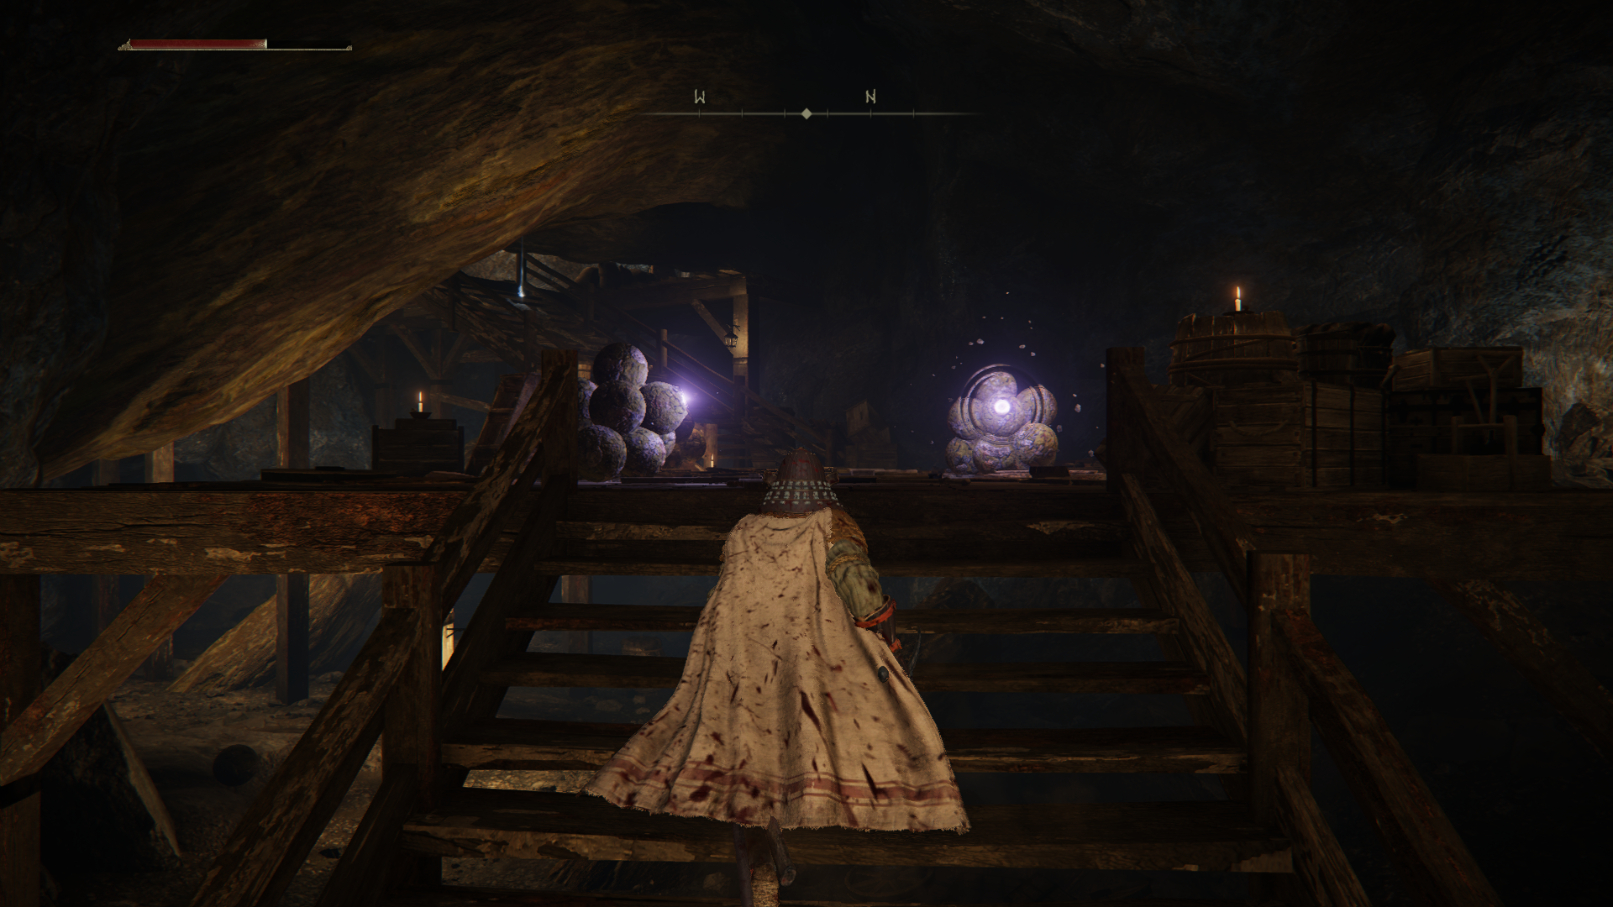
While standing on the first root, jump left and keep descending from the rocky platforms to pick up Smithing Stone. From there jump on the root right in front of you and from there perform a running jump from the root towards the rocky platform on the right-hand side of the root.
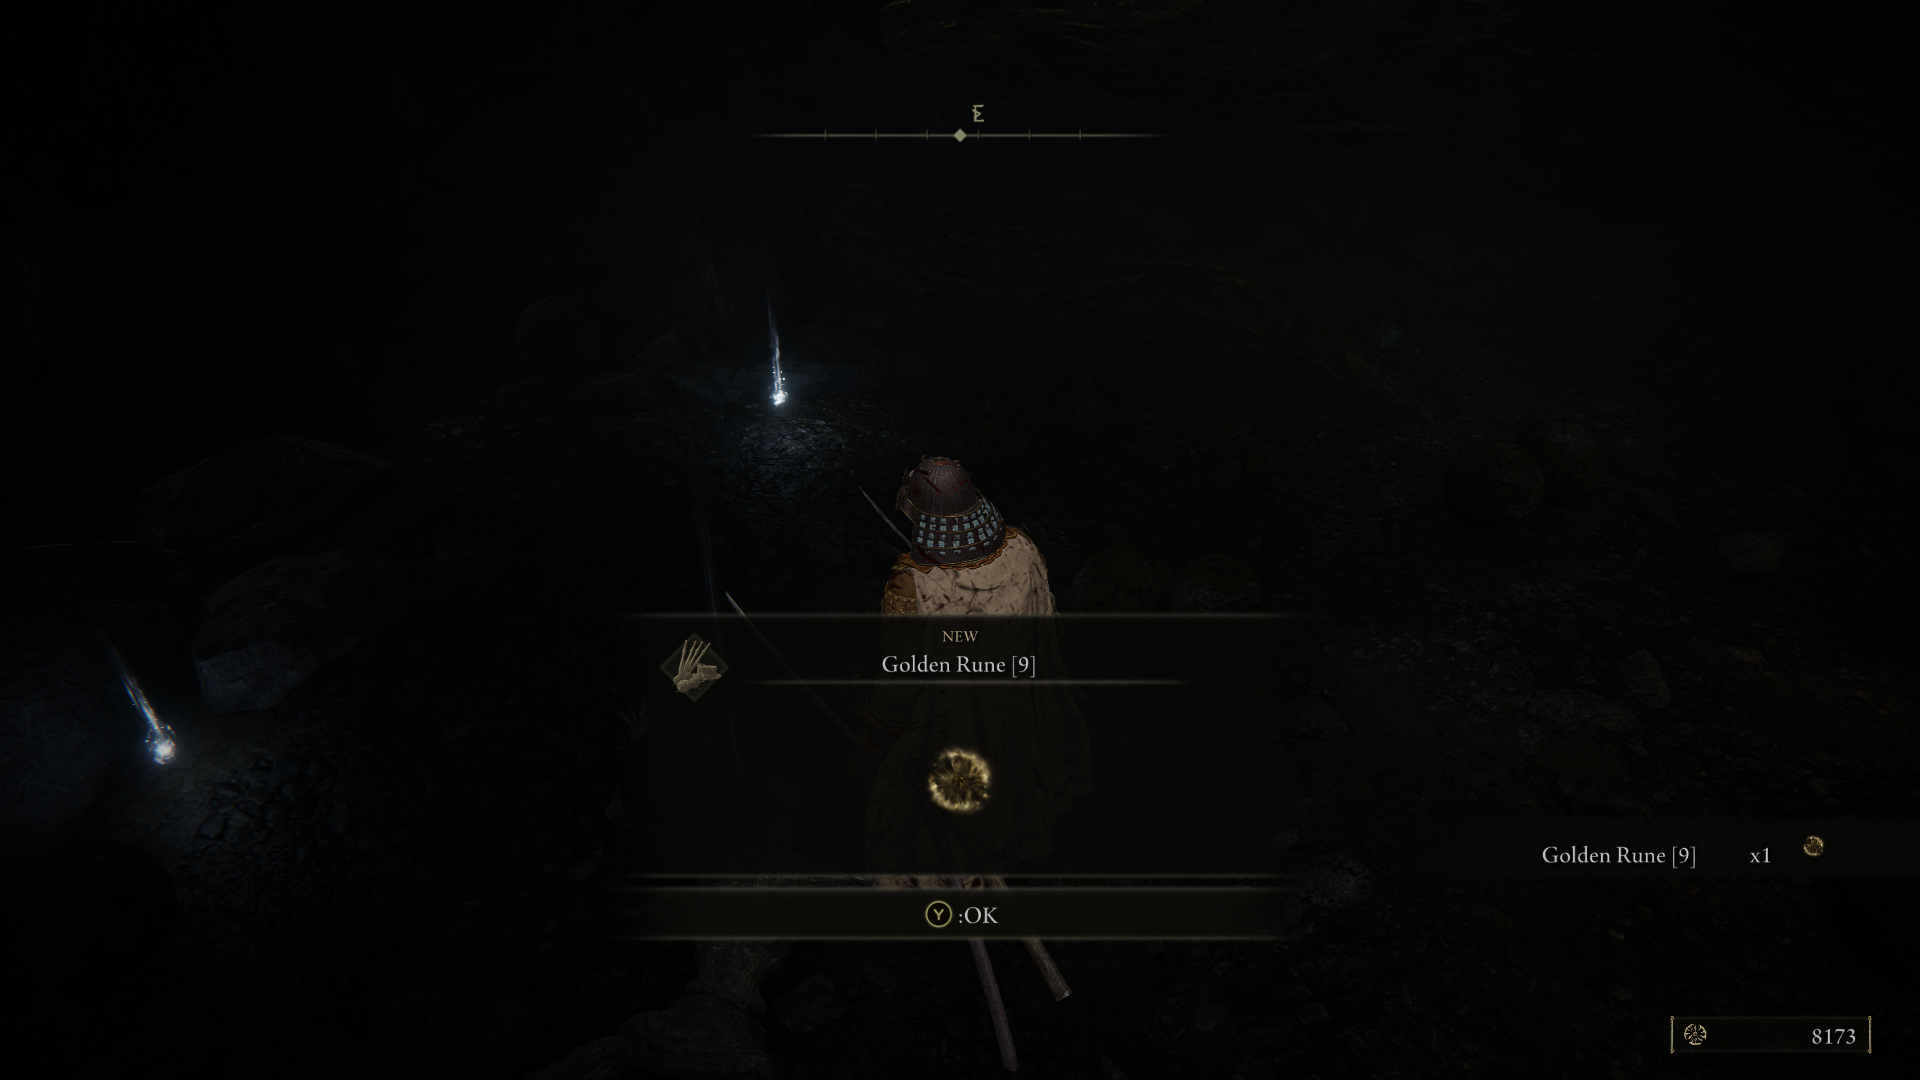
Once there, pick up the Lightning Grease. Now I suggest you keep descending the chasm until you reach the bottom. Be cautious of exploding enemies at the bottom. After killing them, grab the Golden Rune lying on the ground.
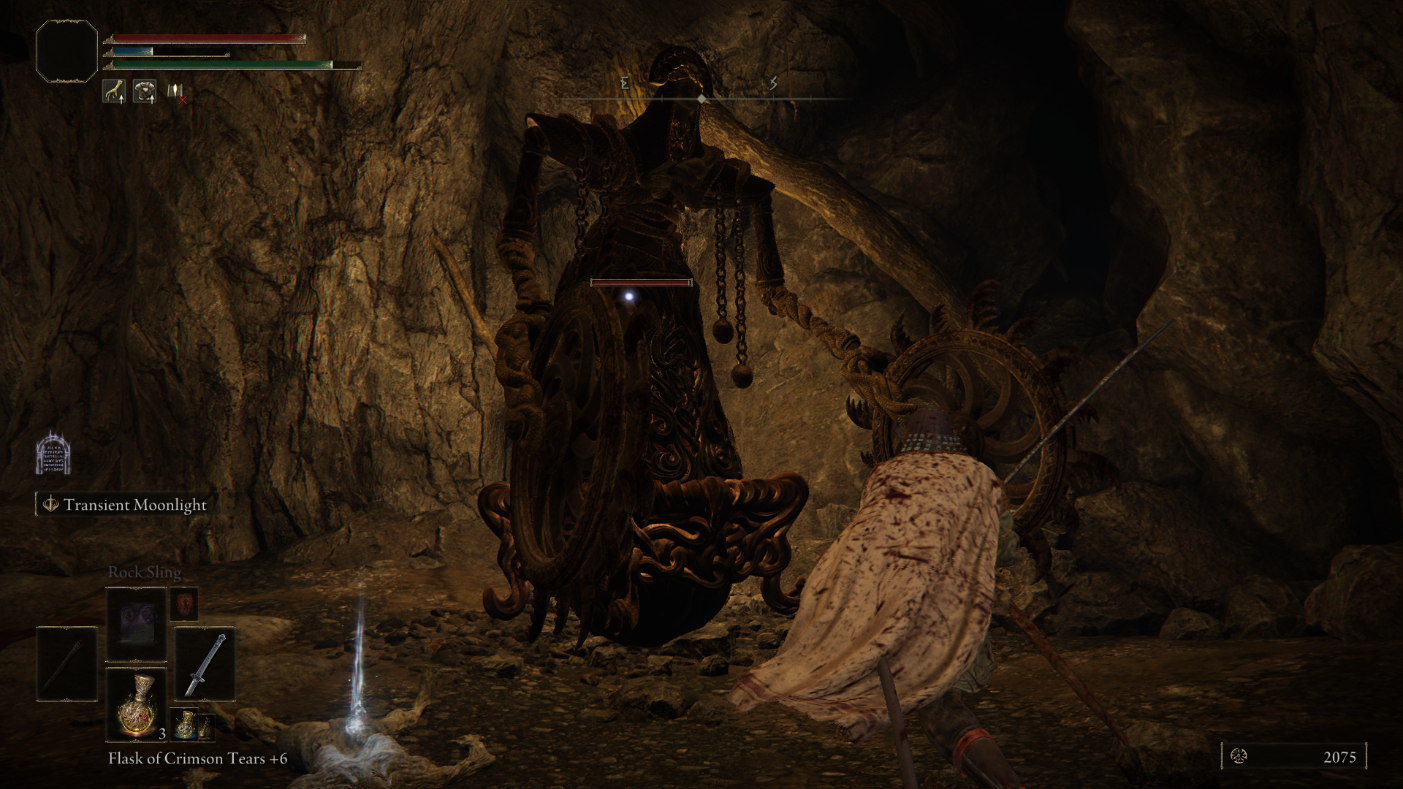
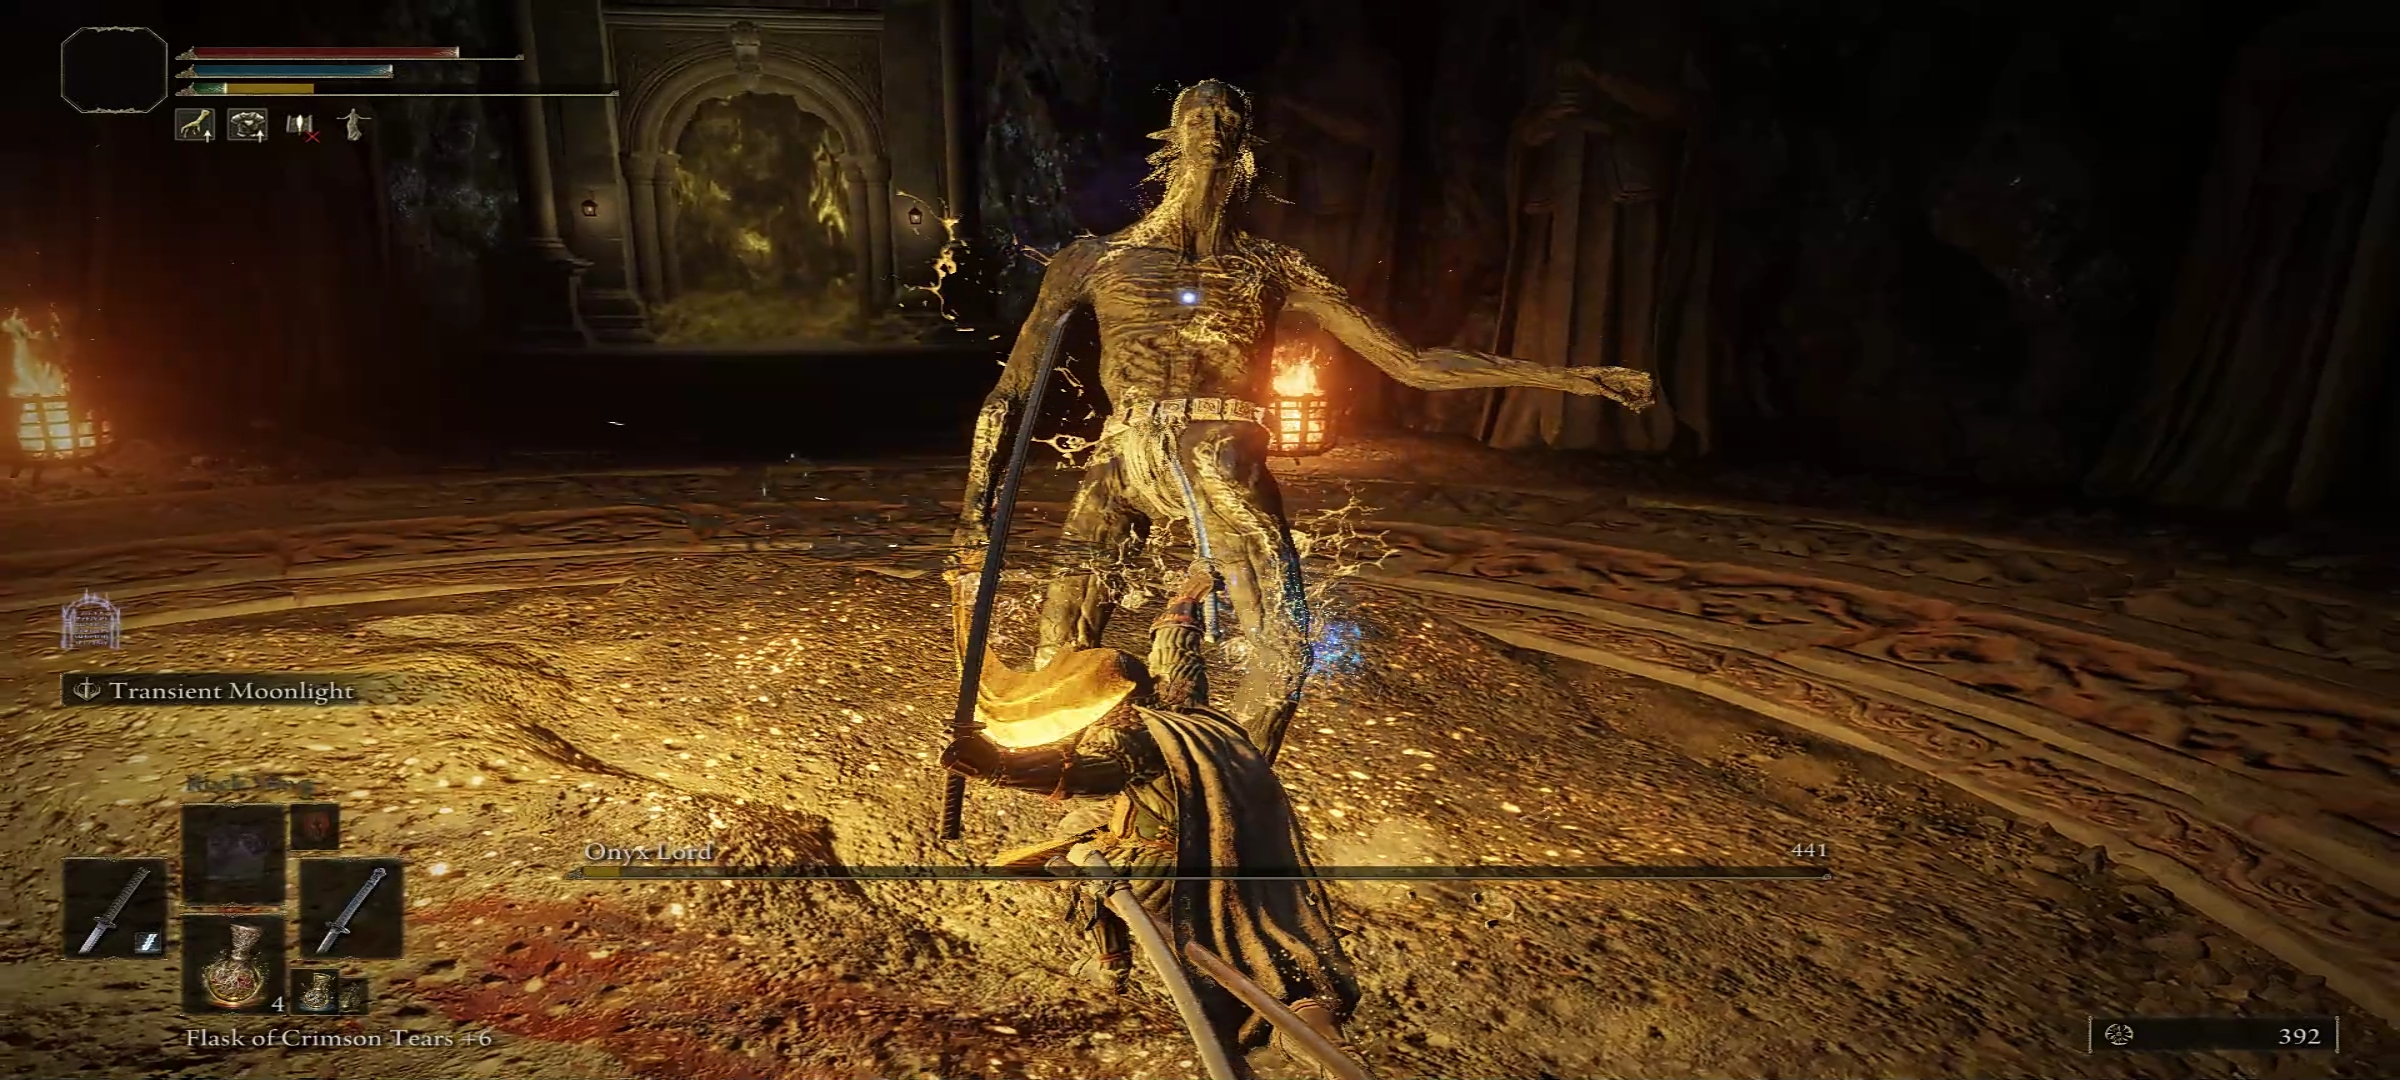
With that, you are done with all the collectibles in the Sealed Tunnel. The only thing left for you now is to confront Onyx Lord, who is waiting for you beyond the golden fog wall.

Onyx Lord Bossfight
Onyx Lord, the main boss fight of Sealed Tunnel in Elden Ring. He does not only guard the final collectible of the tunnel, but also the gateway to Divine Tower of West Altus. Onyx Lord comes from a race of ancients who rose to life when a meteor struck the lands between.
Onyx lords wield a greatsword and have mastery over gravity magic. He isn’t a very hard boss to beat. Onyx Lord has a low poise and is weak to all kinds of physical damage. So let’s discuss the tips and strategies for this boss.
Tips And Strategies
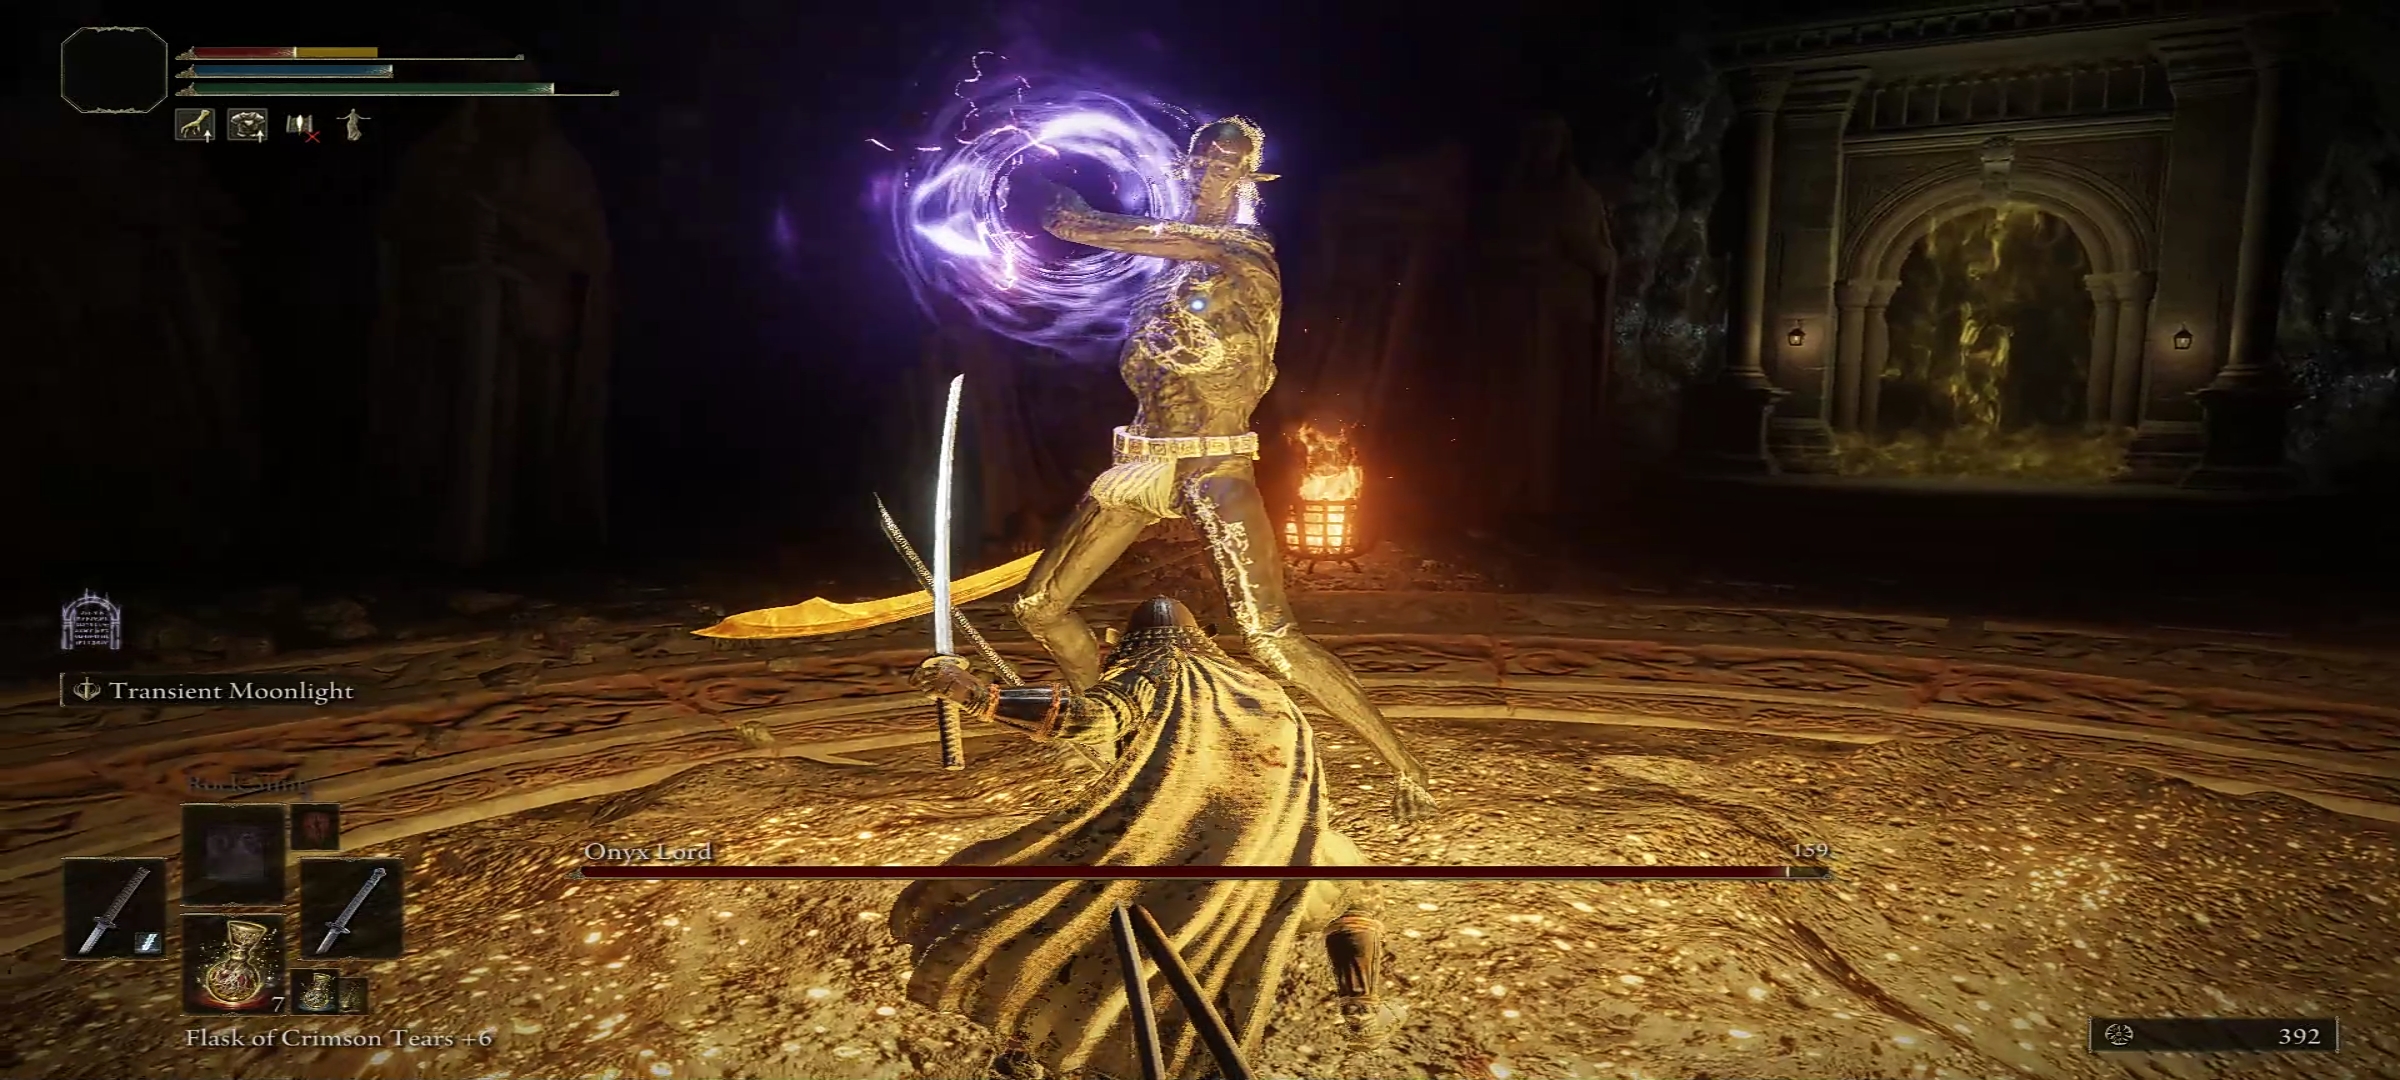
Onyx Lord has three types of attack patterns: Meteorite, Swing attack, and Gravity Well. If you are a melee user, consider taking Colossal Sword with you because of Onyx Lord’s low poise, the weapon type will absolutely melt him.
For Slice and Dice or swing attack, diagonally dodge his first swing to get behind him and punish. He will miss his second swing attack if you do this. After dealing a considerable amount of damage, Onyx Lord will cast Gravity Well.
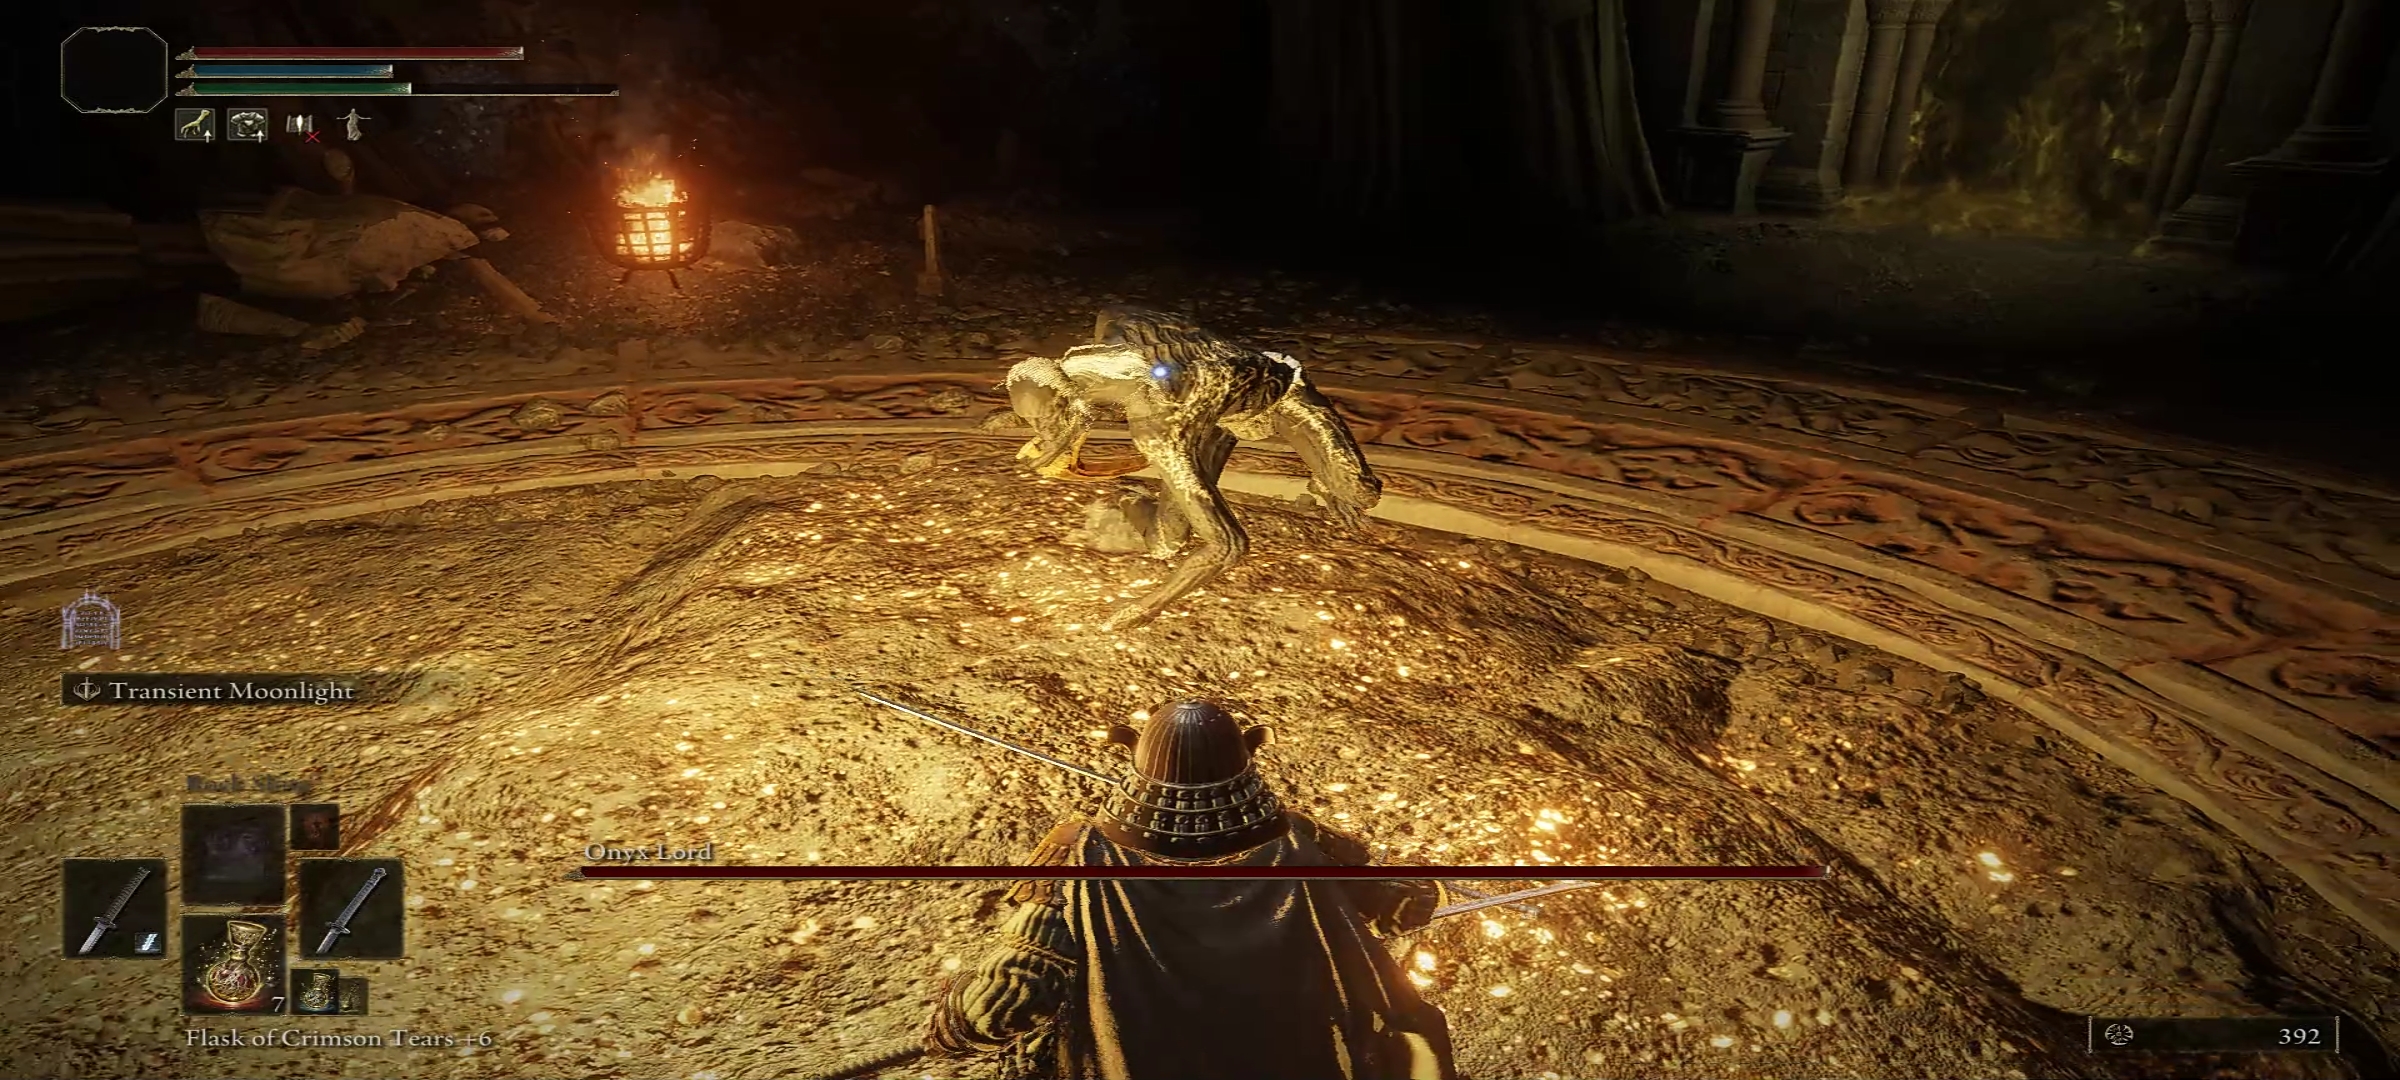
I want to warn you ahead of time since Onyx Lord will form an orb of void in his hand and throw gravity projectiles at you. These projectiles have high precision so keep dodging. Also, Gravity Well has a melee variant as well. If you are close enough, he will use the void orb in his hand to perform a melee swing attack.
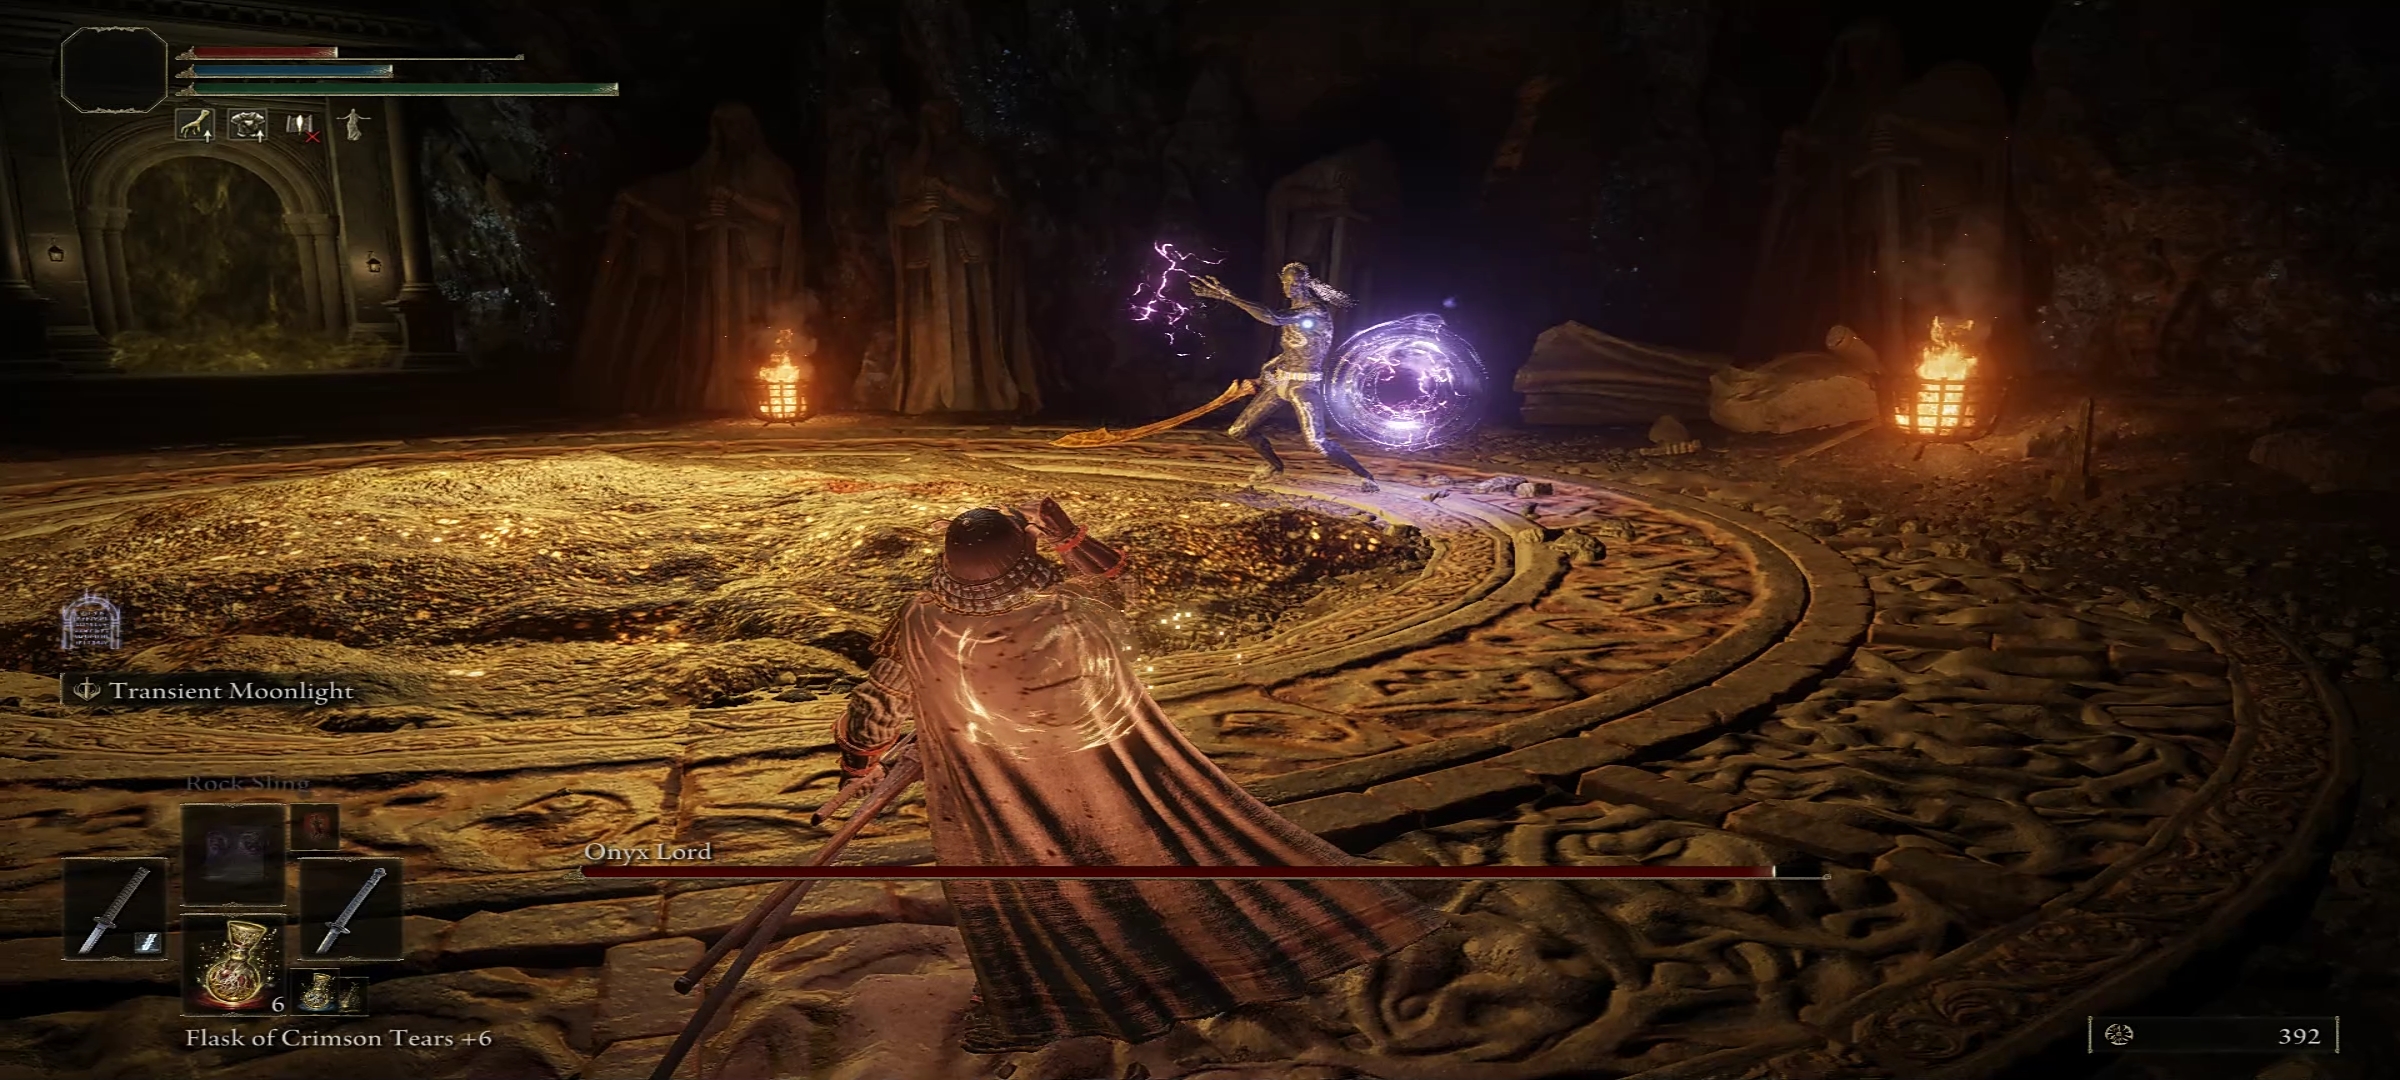
Onyx Lord’s third attack pattern is Meteorite. For this attack, he will plunge the sword into the ground and summon a black hole above him. Meteorites will come out and fly towards you from the black hole, so be prepared for that.
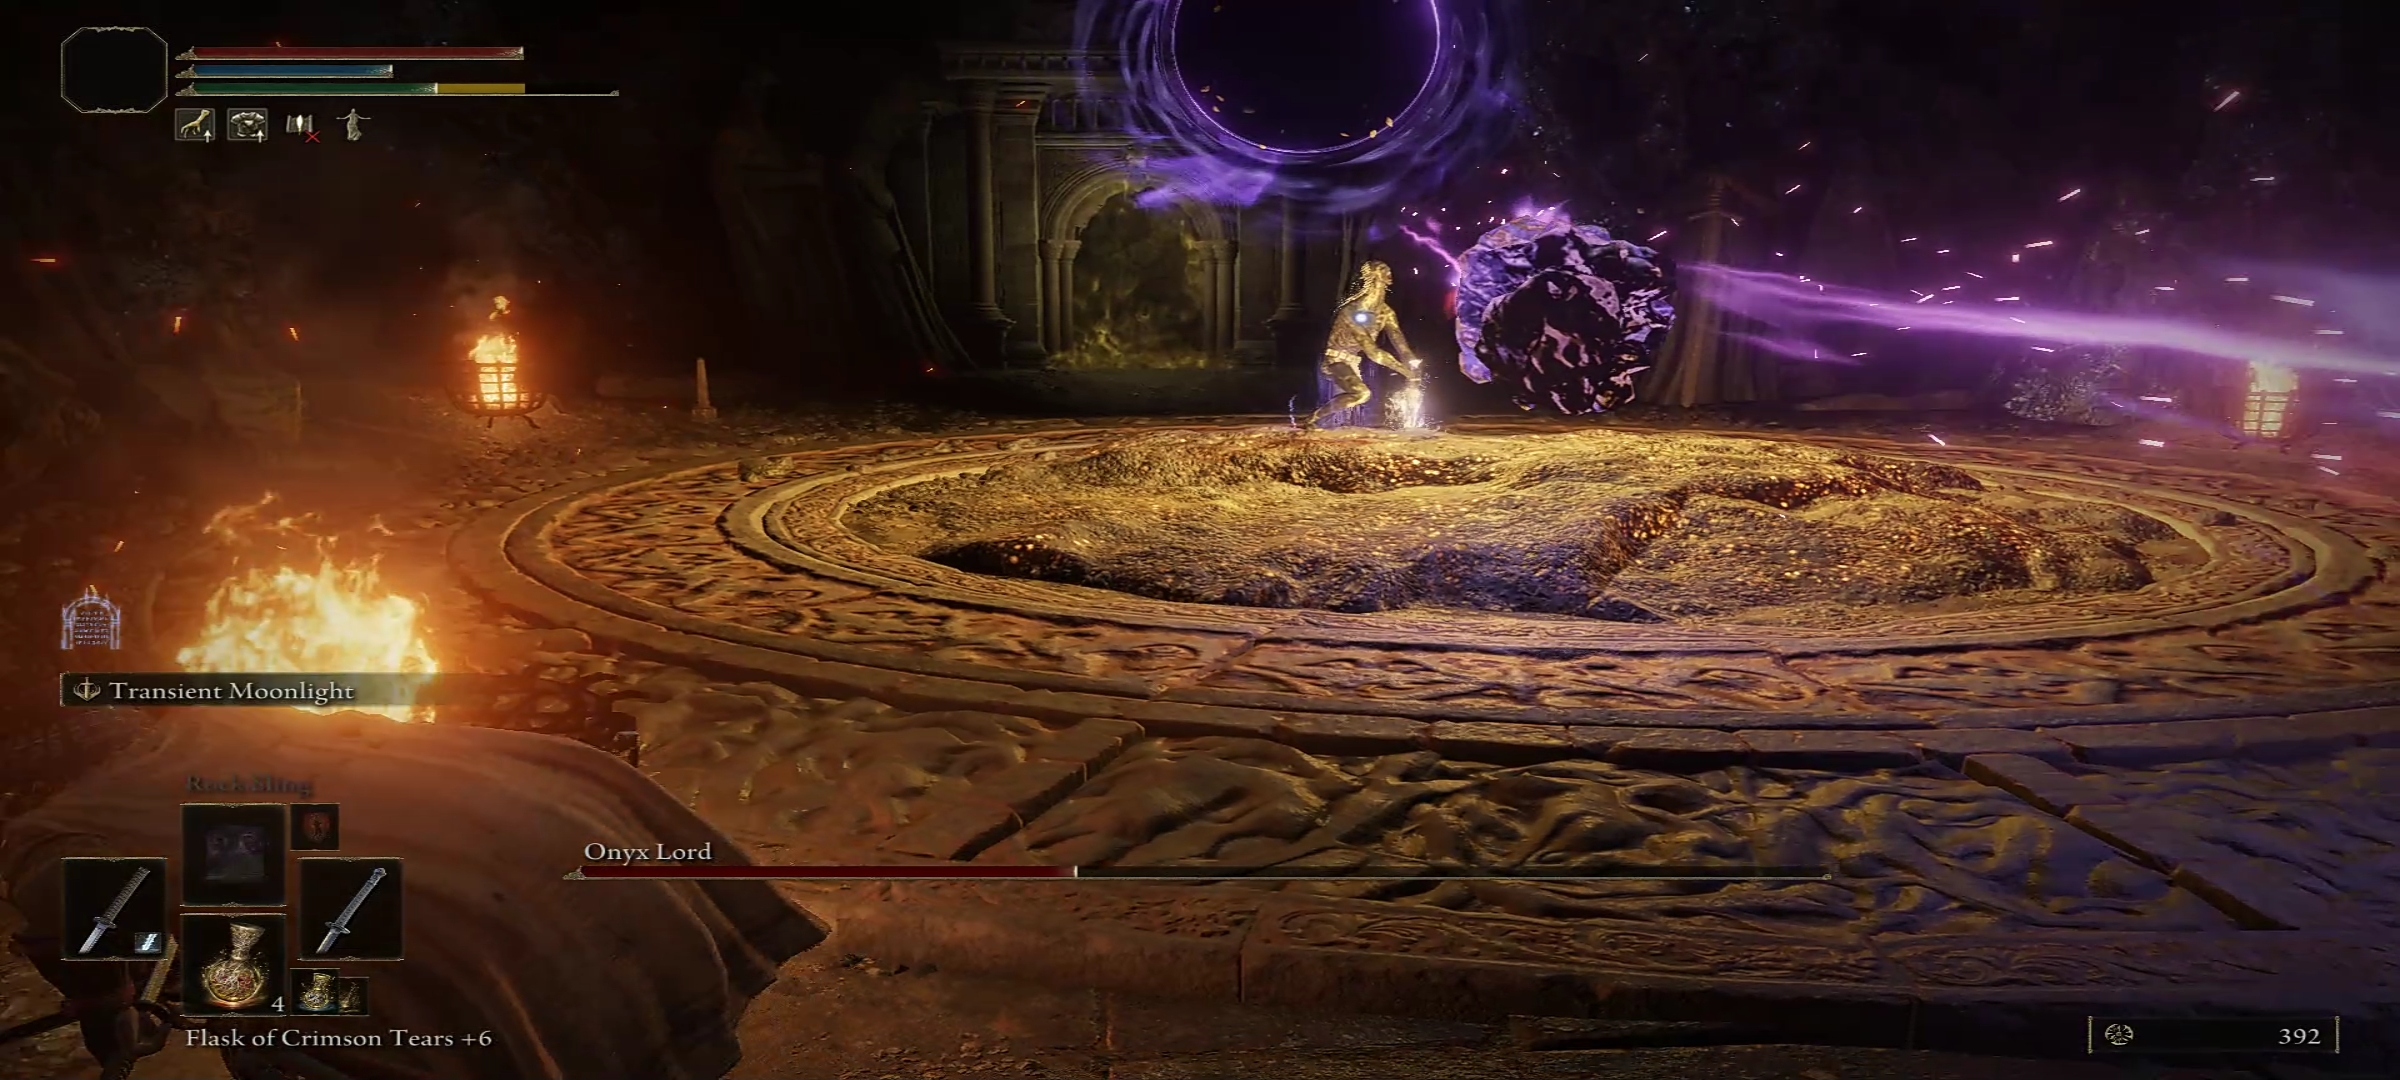
Furthermore, these meteorites will explode upon collision as well as will leave a burning effect on the ground as well. So, maintain your distance and dodge horizontally to keep out of harm’s way. Rinse and repeat, and take out Sealed Tunnel’s main boss in Elden Ring.
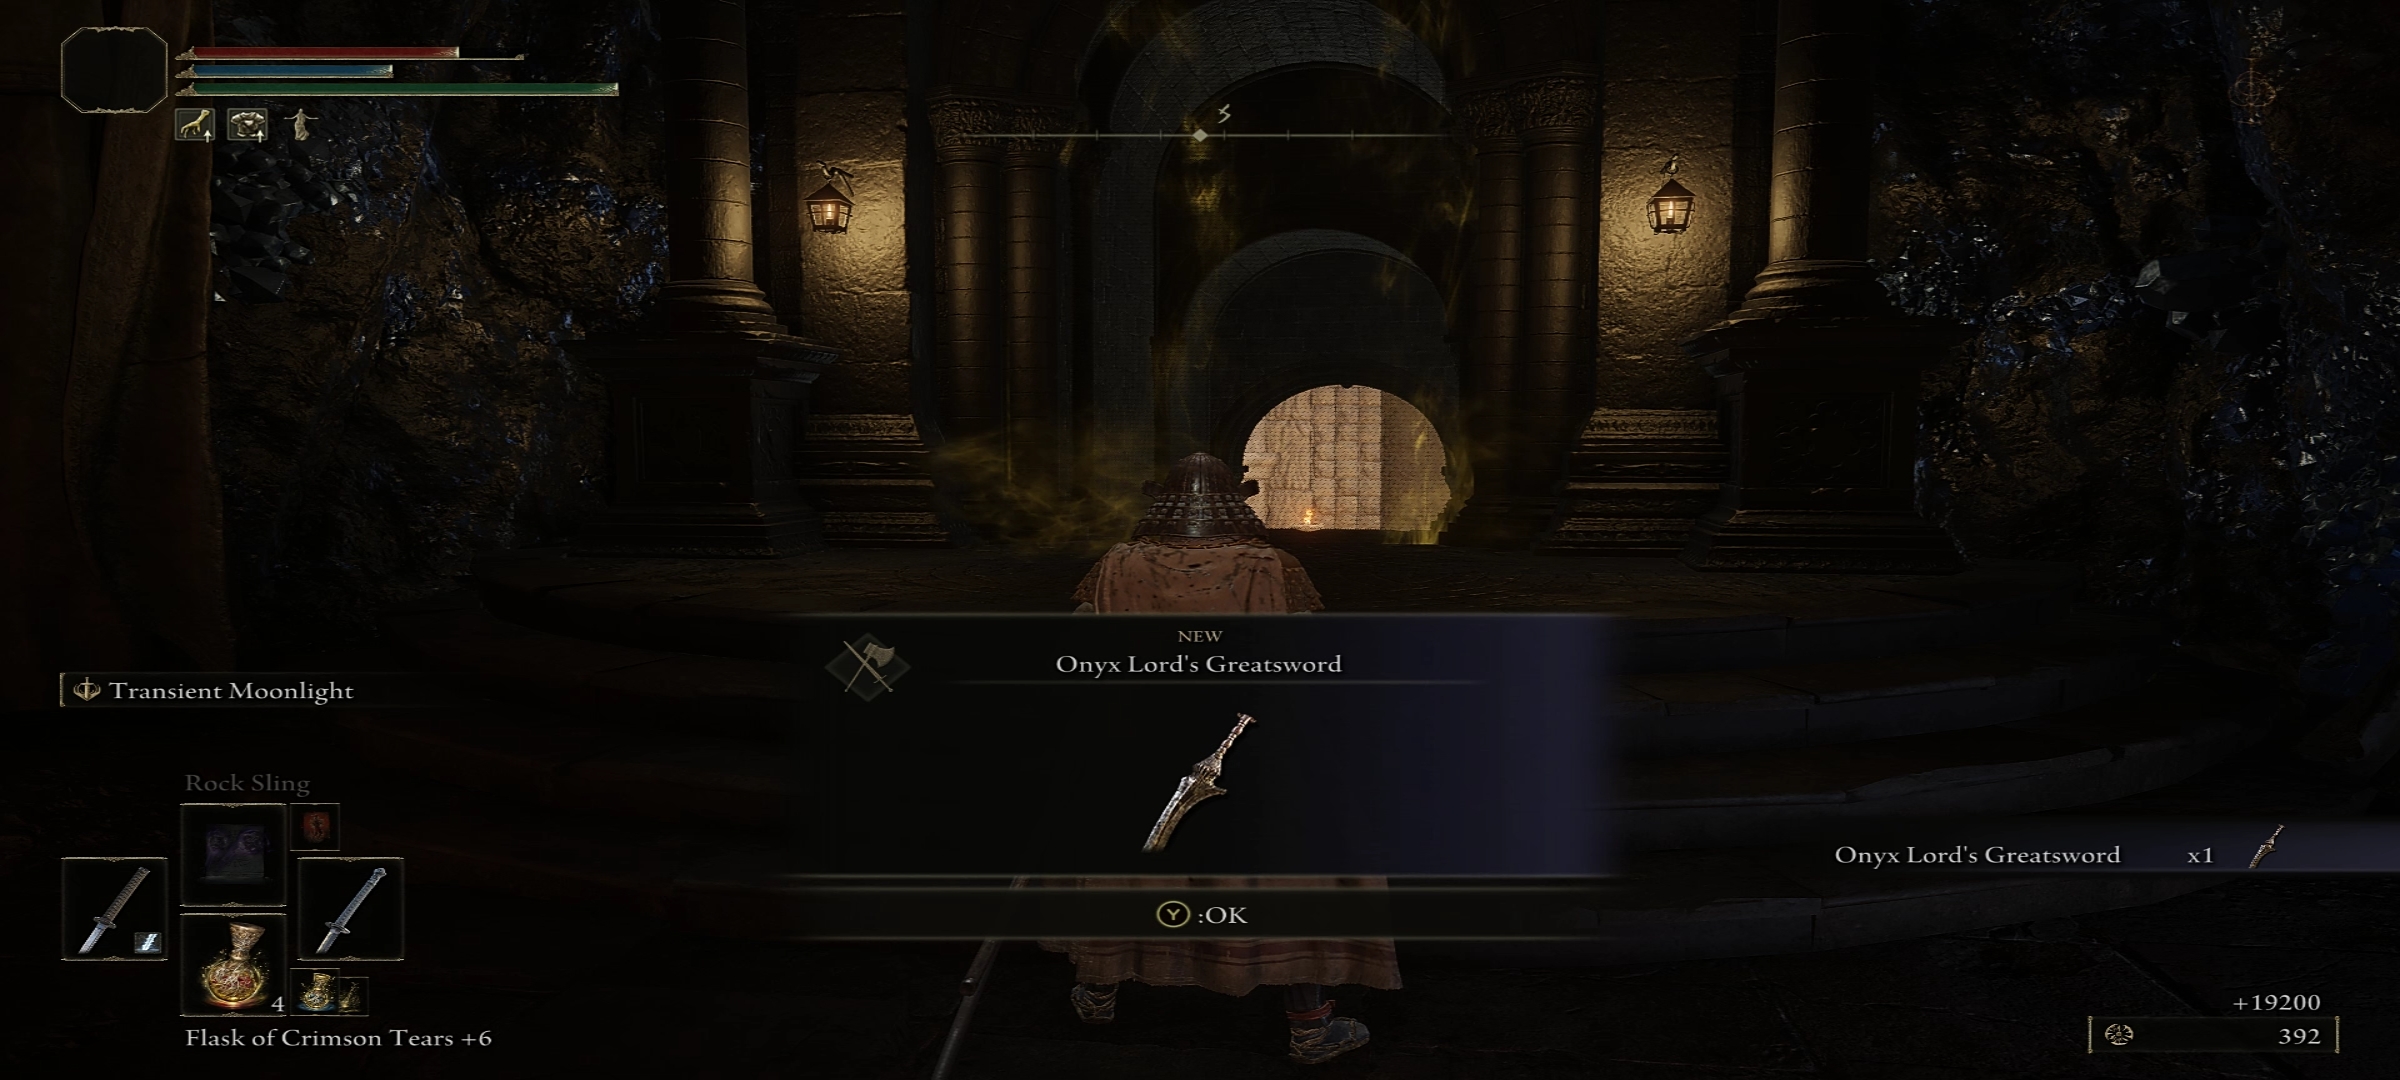
Rewards
Defeating Onyx Lord will get you Onyx Lord’s Greatsword as well it will open the gateway to the Divine Tower of West Altus.
Divine Tower Of West Altus
After defeating the Onyx Lord you’ll notice that the tunnel does end there like other tunnels of Elden Ring. Instead of a dead end with a blue puddle that sends you back to the start of the tunnel, now you have opened a gateway to one of the Divine Towers.
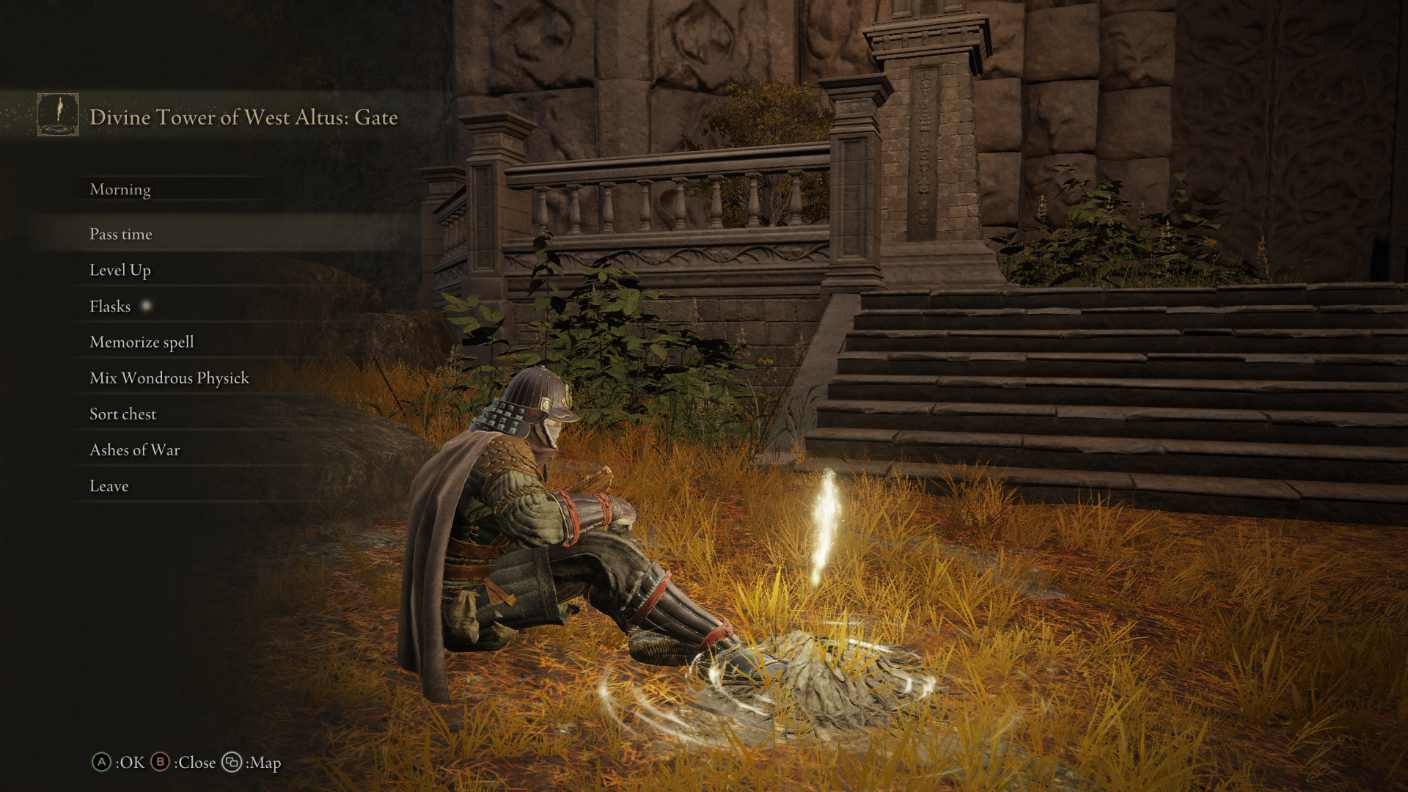
Let me remind you of Divine Towers. They let you activate a rune of Demigods. These Demigod runes contain additional buffs you can use in battles to gain an advantage. After activating their runes you can rest at the site of grace and equip them. To use them in battle you only need to select and use a rune arc to use the equipped rune abilities in combat.
Divine Tower of West Altus lets you activate the rune of Rykard, Lord of Blasphemy. On the topic of activating runes, consider reading our guide on location of Godrick’s Great Rune in Elden Ring.
Volcano Manor & Rykard
Volcano Manor is located in Mt.Gelmir, and this manor is ruled by Lady Tanith and her associates. I suggest checking out the multiple paths you can take to get to Valcono Manor so be sure to make a stop at our guide on the best ways to reach Volcano Manor in Elden Ring.

Volcano Manor is one of the Legacy Dungeons of Elden Ring and at the end of every legacy resides a Demigod. Rykard, Lord of Blasphemy can be fought at the end of Volcano Manor.

You can also complete Lady Tanith’s assassination contracts to get to Rykard as well. After defeating Rykard you will get Rykard’s Great Rune which you can later activate at Divine Tower of West Altus.
Effects Of Rykard’s Great Rune
Upon activating Rykard’s Great Rune from Divine Tower of West Altus and equipping it from any site of grace, you can now gain additional advantages in tough situations. Using rune arc in combat now will restore 80% of your HP. Additionally, now every time you defeat an enemy your HP will restore by 7%.
In my opinion, the rune is useful to take on crowds of enemy mobs. But it is useless against bosses since killing the enemy is a requirement to regain HP.
This wraps up my guide on Sealed Tunnel in Elden Ring. Let me know what other interesting dungeons you found on your journey through The Lands Between. Elden Ring is currently available on PS4, PS5, Xbox Series X & S, and Microsoft Windows.
Next: Elden Ring Sellia Crystal Tunnel Location
Thanks! Do share your feedback with us. ⚡
How can we make this post better? Your help would be appreciated. ✍