There are tons of dungeons in Elden Ring, and some of them are important to explore. According to my experience, the location of the Sellia Crystal Tunnel in the Elden Ring is difficult to pinpoint. If you want to gather items to put together the best build in the game, then this tunnel is a must-visit.
- Sellia Crystal Tunnel, a minor dungeon in Caelid, contains Smithing Stones, Rune Arcs, and Faithful’s Canvas Talisman.
- Access the tunnel via Sellia, the Town of Sorcery, or teleport from a chest in Limgrave.
- The chest in Dragon Burnt Ruins holds the key for teleporting to Sellia Crystal Tunnel; grab the Twinblade from the second chest before teleporting.
- Reach Sellia Crystal Tunnel through the western walls of Sellia, Town of Sorcery.
- Encounter the Fallingstar Beast boss in Sellia Crystal Tunnel.
Prove you’re the ultimate Elden Ring fan by acing our quiz. Can you score higher than all other Tarnished?
Sellia Crystal Tunnel Location In Elden Ring
Sellia Crystal Tunnel is a minor dungeon located in the region of Caelid on the northern side of the inner Aeonia Site of Lost Grace. While the Sellia Crystal Dungeon is fairly easy to complete, and you will find a lot of Smithing stones here, finding this dungeon can be quite difficult.
Nonetheless, in my opinion, exploring can lead to a great experience as you will find important items like Faithful’s Canvas Talisman. There are two ways to get to the Dungeon. One is by teleporting through a chest in Limgrave, and the second is through Sellia, the town of Sorcery.
Dragon Burnt Ruins Location
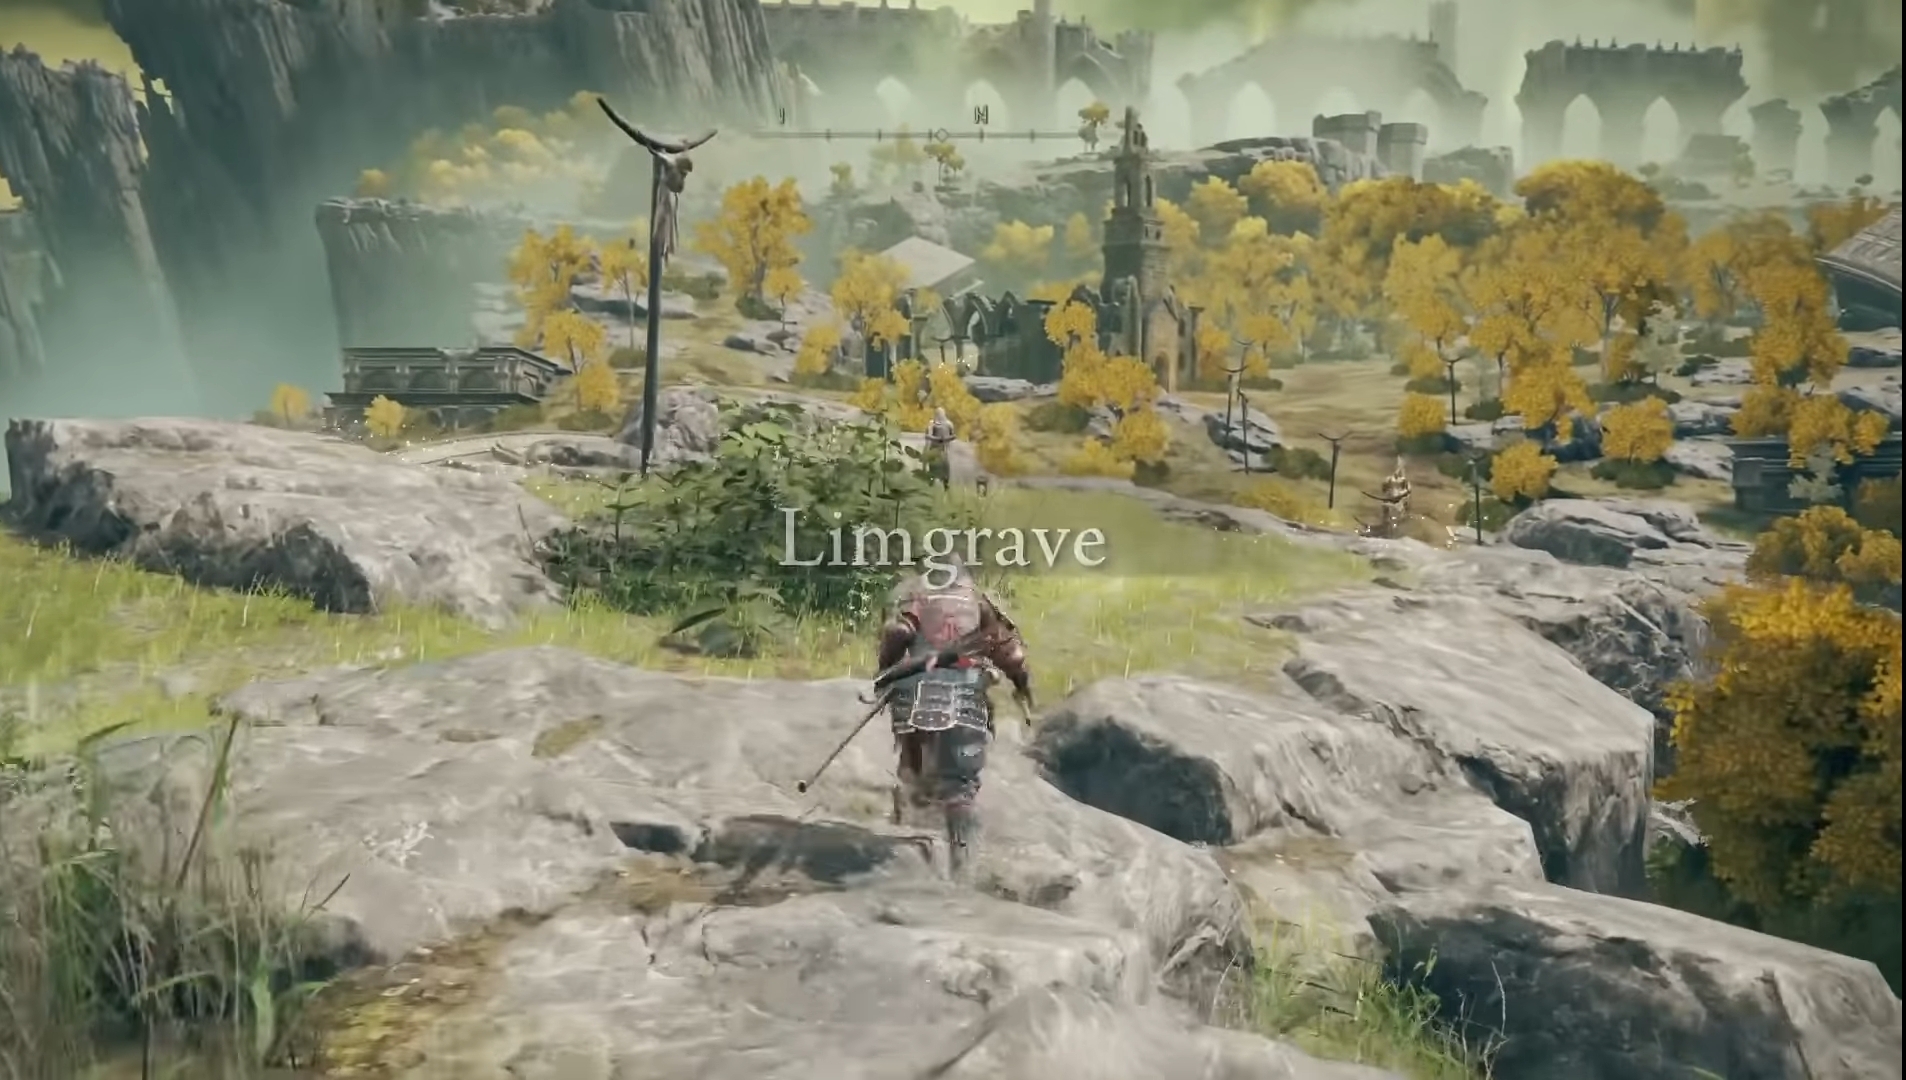
The Dragon Burnt Ruins, located in Limgrave’s middle, sits on Lake Agheel’s southern side. Easily locate it west of The First Step Sight of Lost Grace. Beware of Giant Bats around Lake Agheel’s edge. Approaching from the south or east includes Giant Crabs, more menacing than Giant Bats. The northern path leads to the OverWorld boss, the flying dragon Agheel.
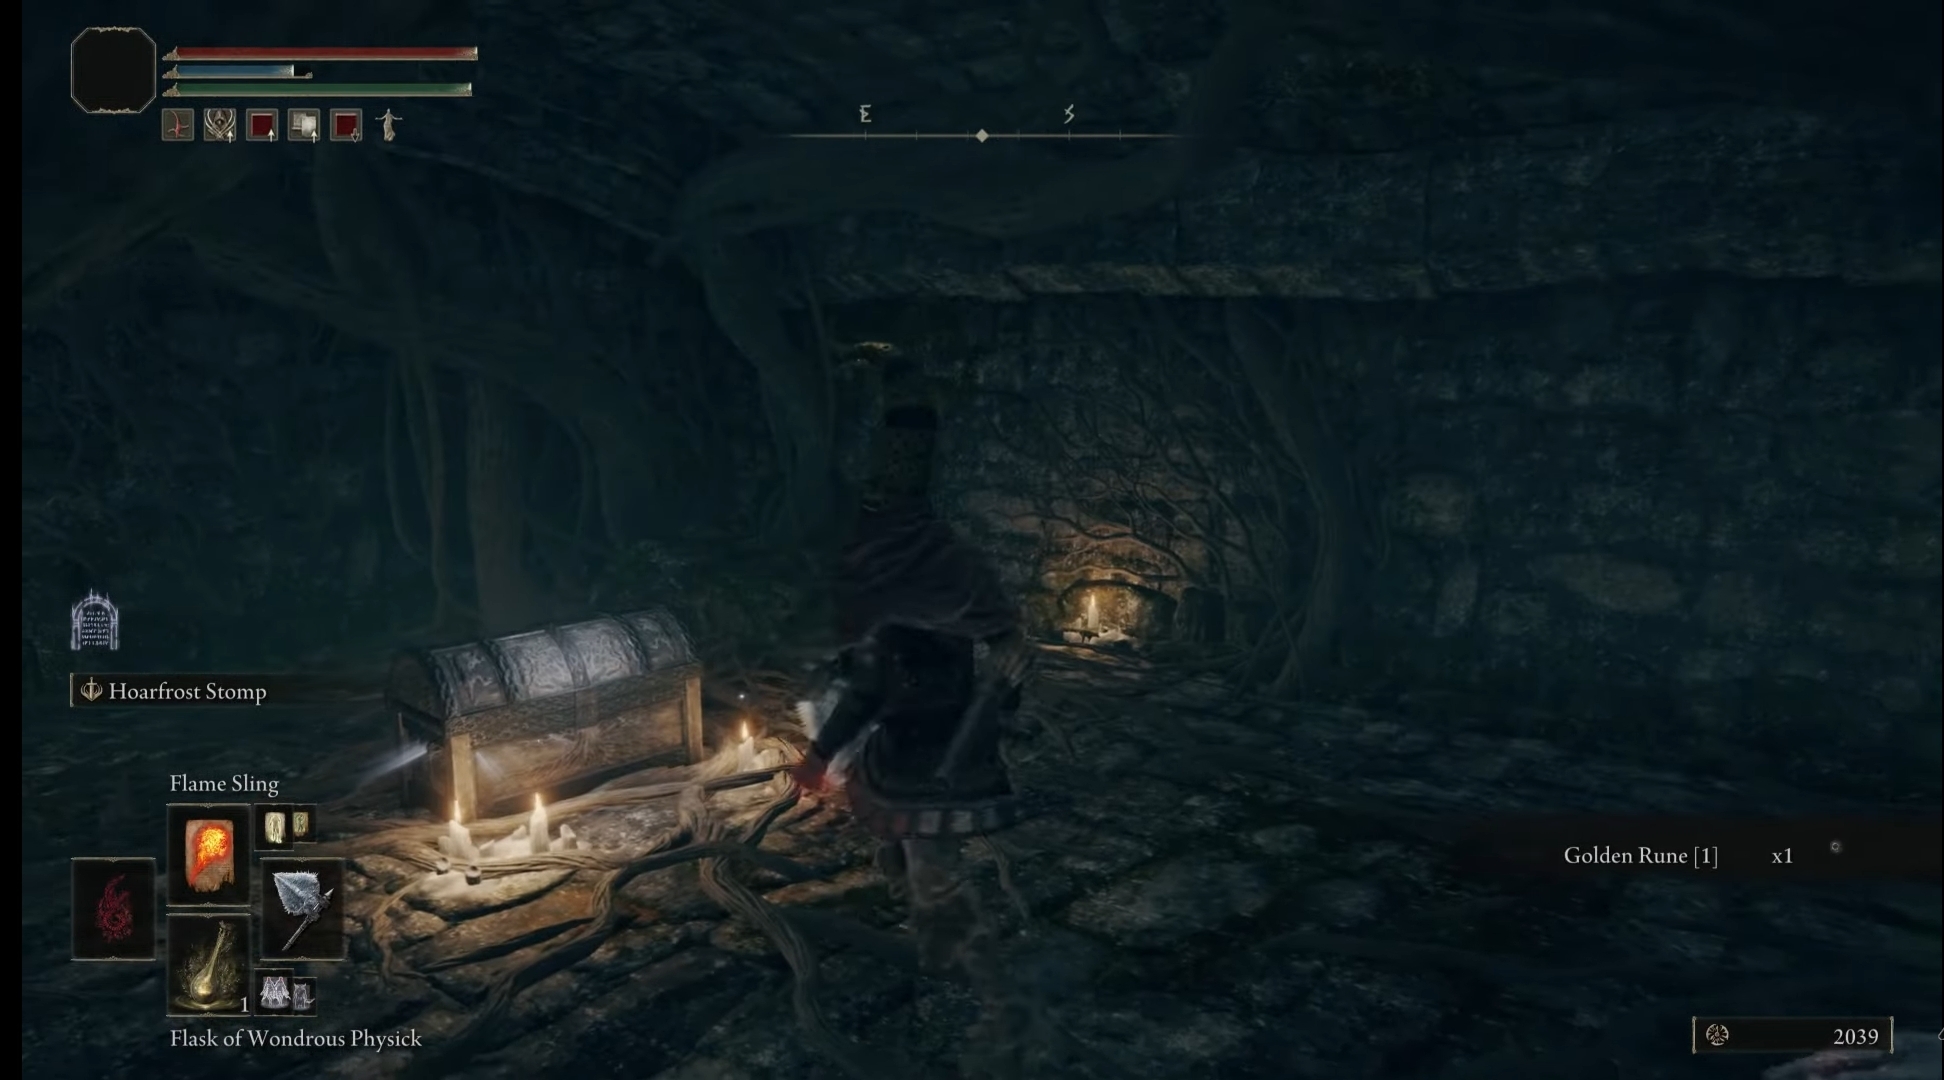
Dragon Burnt Ruins pose threats like undead soldiers, dogs, and rats but hide valuable items. Discover two chests; one holds the Twinblade, while the other, a trap, transports you to the Sellia Crystal Tunnel in Caelid.
Sellia Town of Sorcery
Another path that will lead you straight up to the Sellia Crystal Tunnel is going through the Sellia Town of Sorcery, which lies in the Eastern Caelid. I don’t recommend this method as it can take a while. The previous method is the one I prefer.
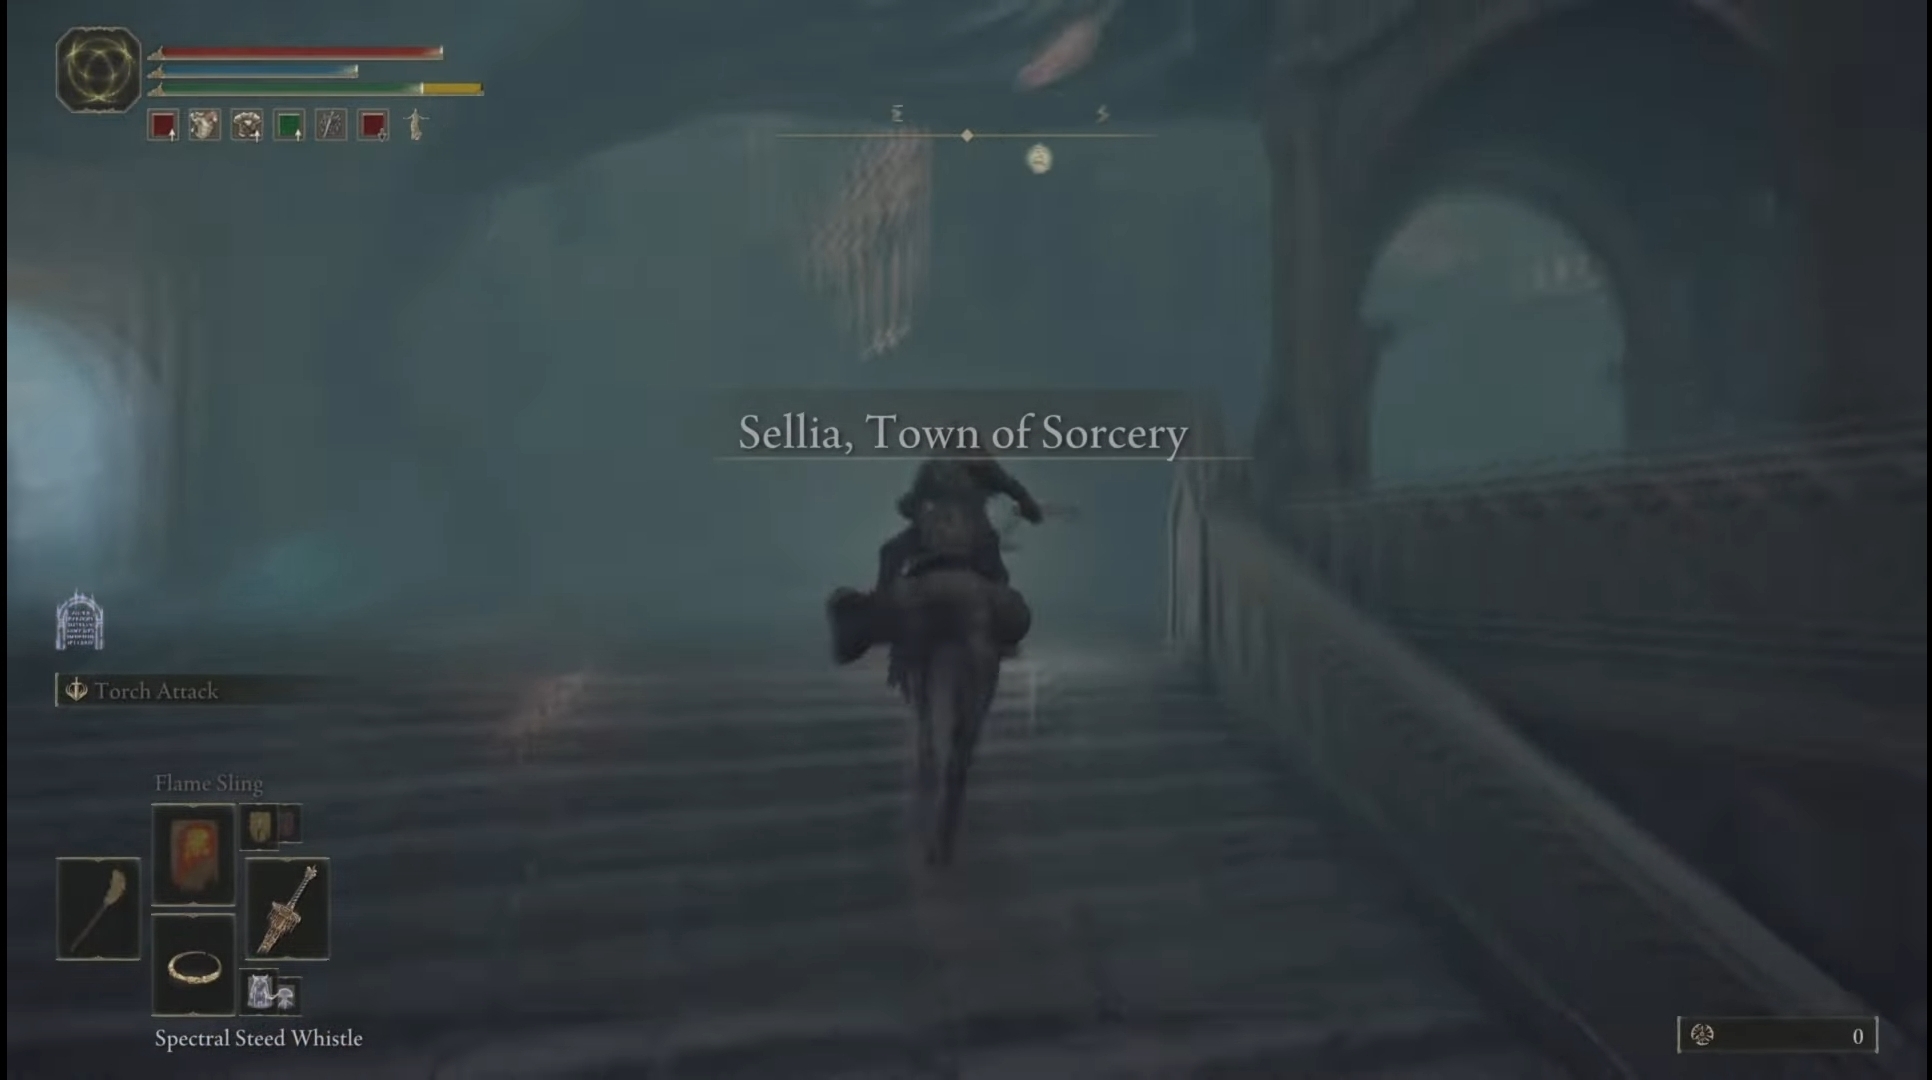
Players can get to the Sellia Town of Sorcery by following the Caelid Highway, going straight east, and then heading up north. The entrance to the Sellia Crystal tunnel lies very close to the walls of Sellia to the west.
Sellia Crystal Tunnel Walkthrough
Now that you have reached the location of Sellia Crystal Tunnel in Elden Ring, the next step is to explore it.
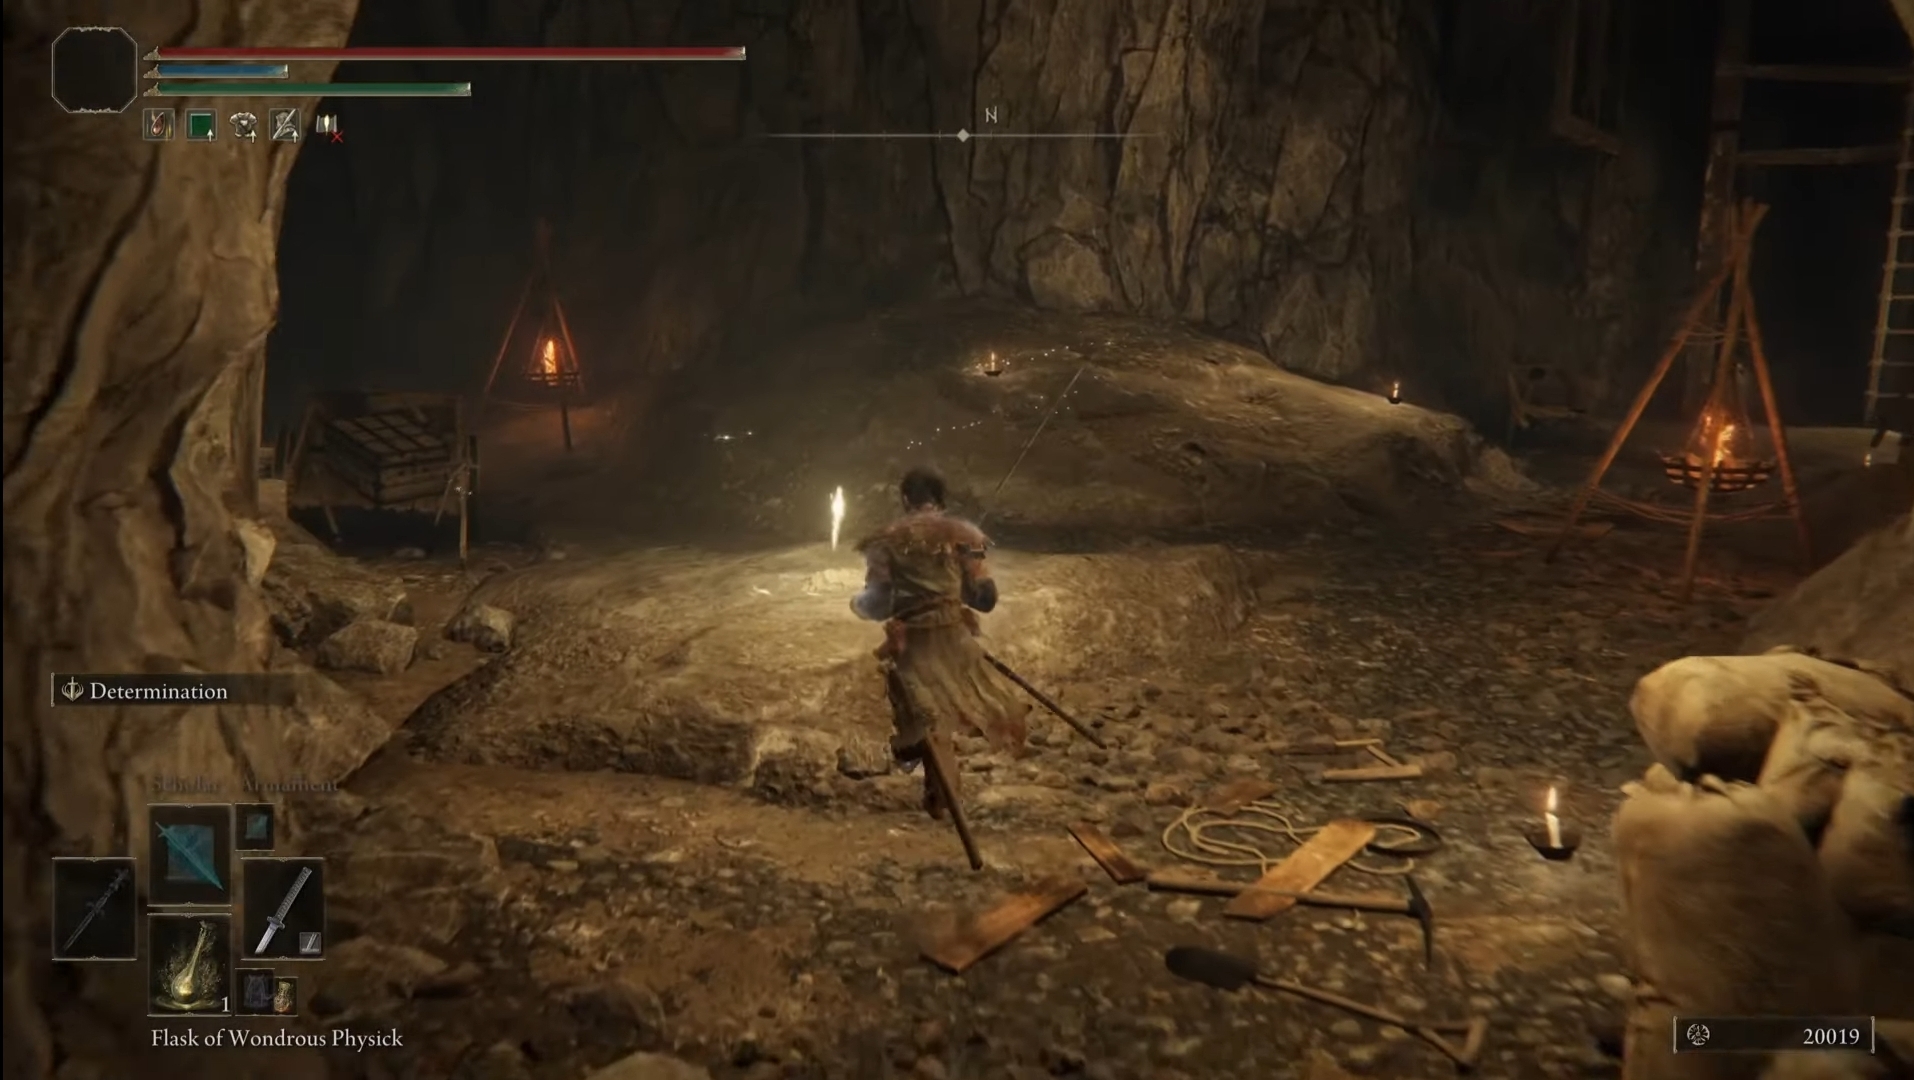
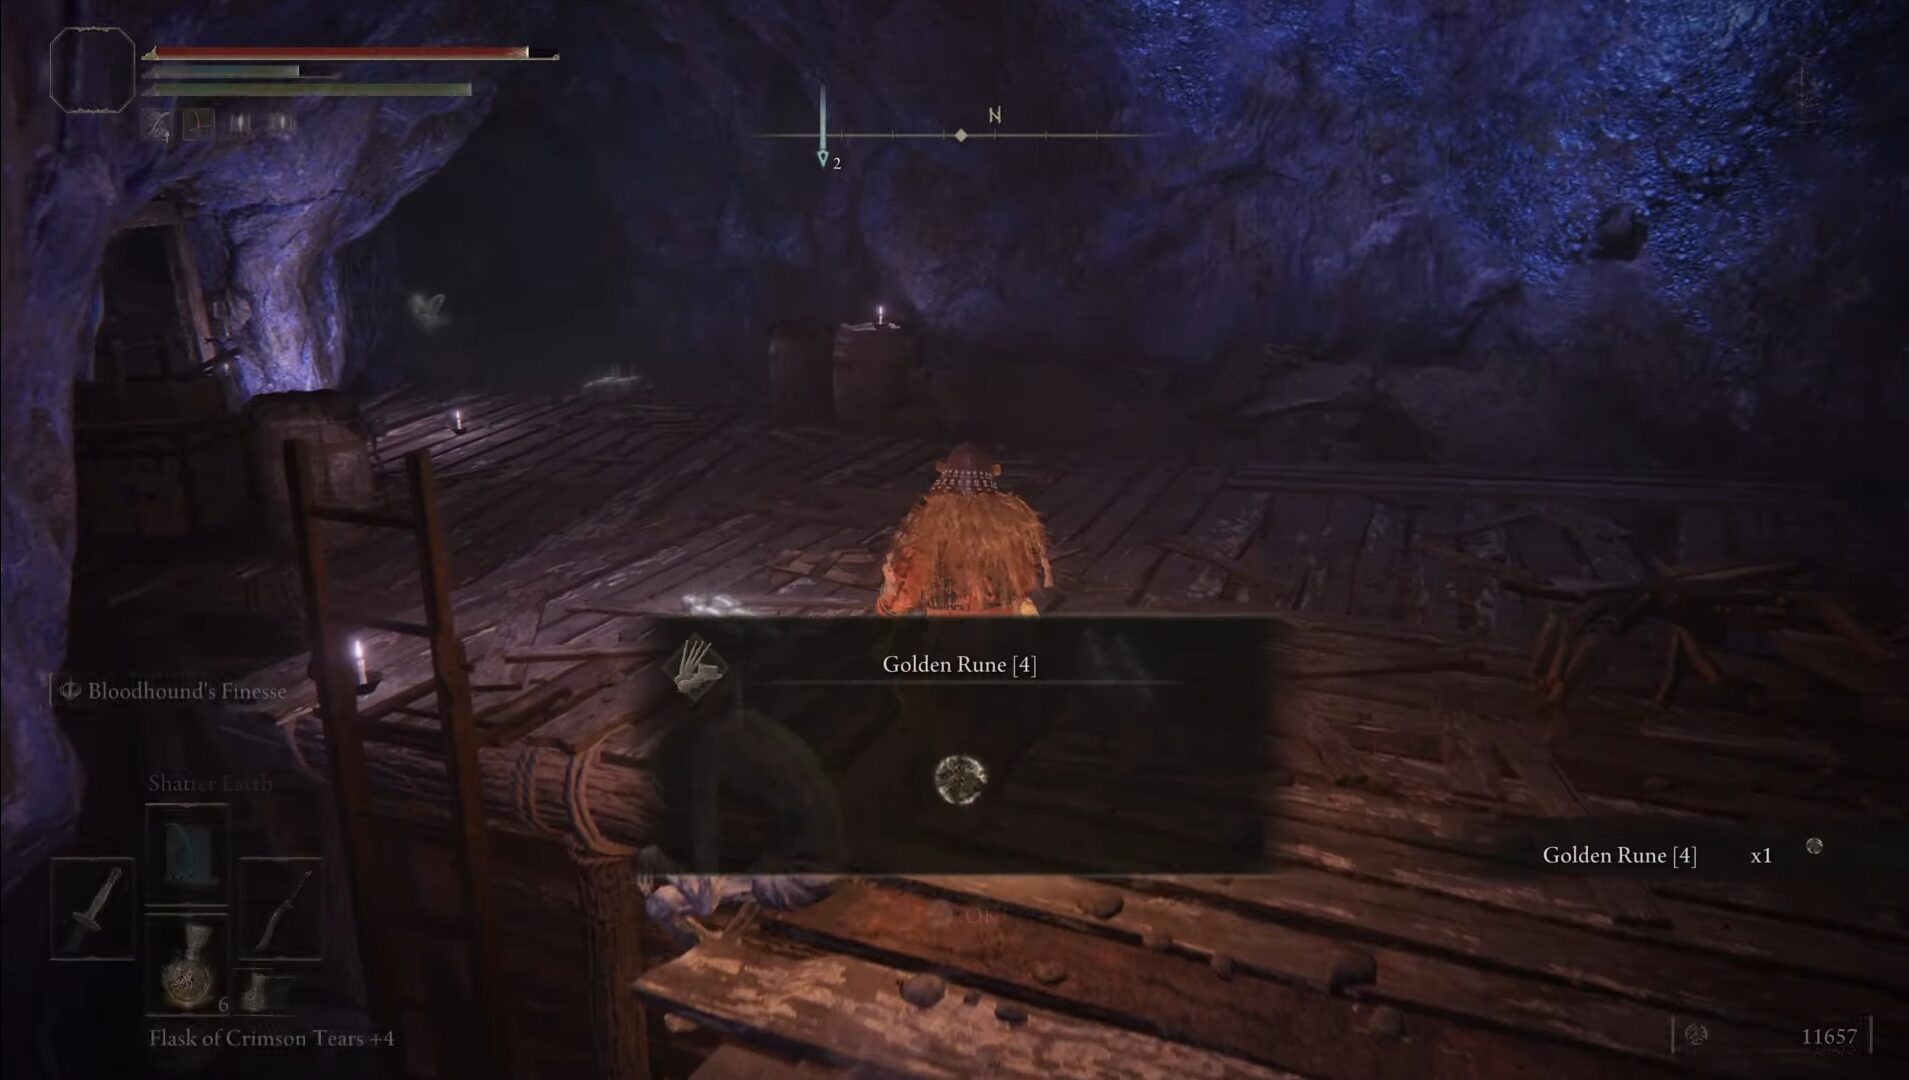
Make sure you go right and climb up the ladder. This will lead you to an open chamber. Make your way down to the wooden shack, and to the left side, you will find a corpse holding a Golden Rune. Continue up, and you’ll see another wooden shack where you would have ended if you were transported to this cave via the Dragon Burnt Ruins.
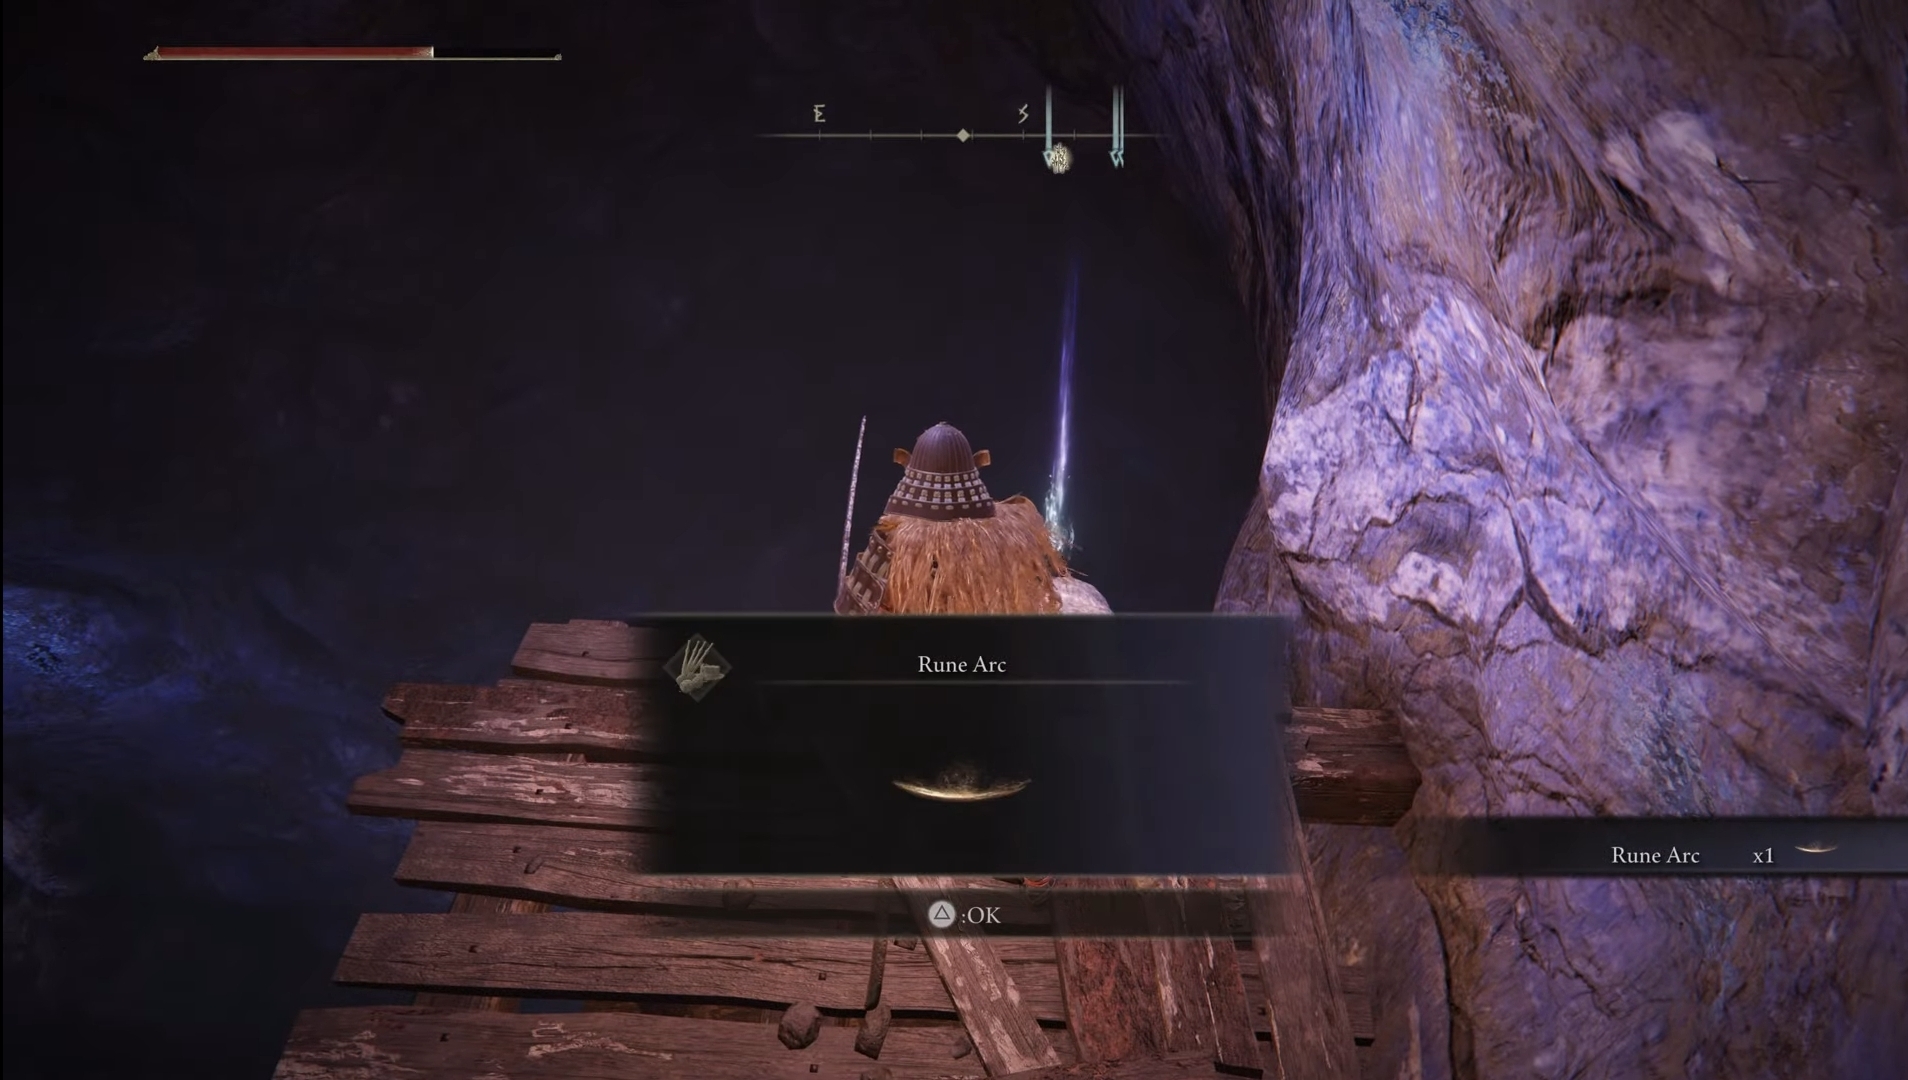
Keep moving upward, and you’ll see another Crystal Miner and a Lesser Kindred of Rot on a wooden beam on the left side. On the edge of this wooden platform, you’ll find a corpse holding a Rune Arc.
Drop down this wooden platform onto the one below and take out the Crystal Miner on it. Now jump on the top of the first wooden shack to get Glinstone Scrap from a corpse.
Moving Ahead For More Items And A Boss Fight
Your path ahead will be blocked by debris. To move forward, you will have to do a running jump onto the first wooden shack, then move forward to get to the location of the Sellia Tunnel in Elden Ring.
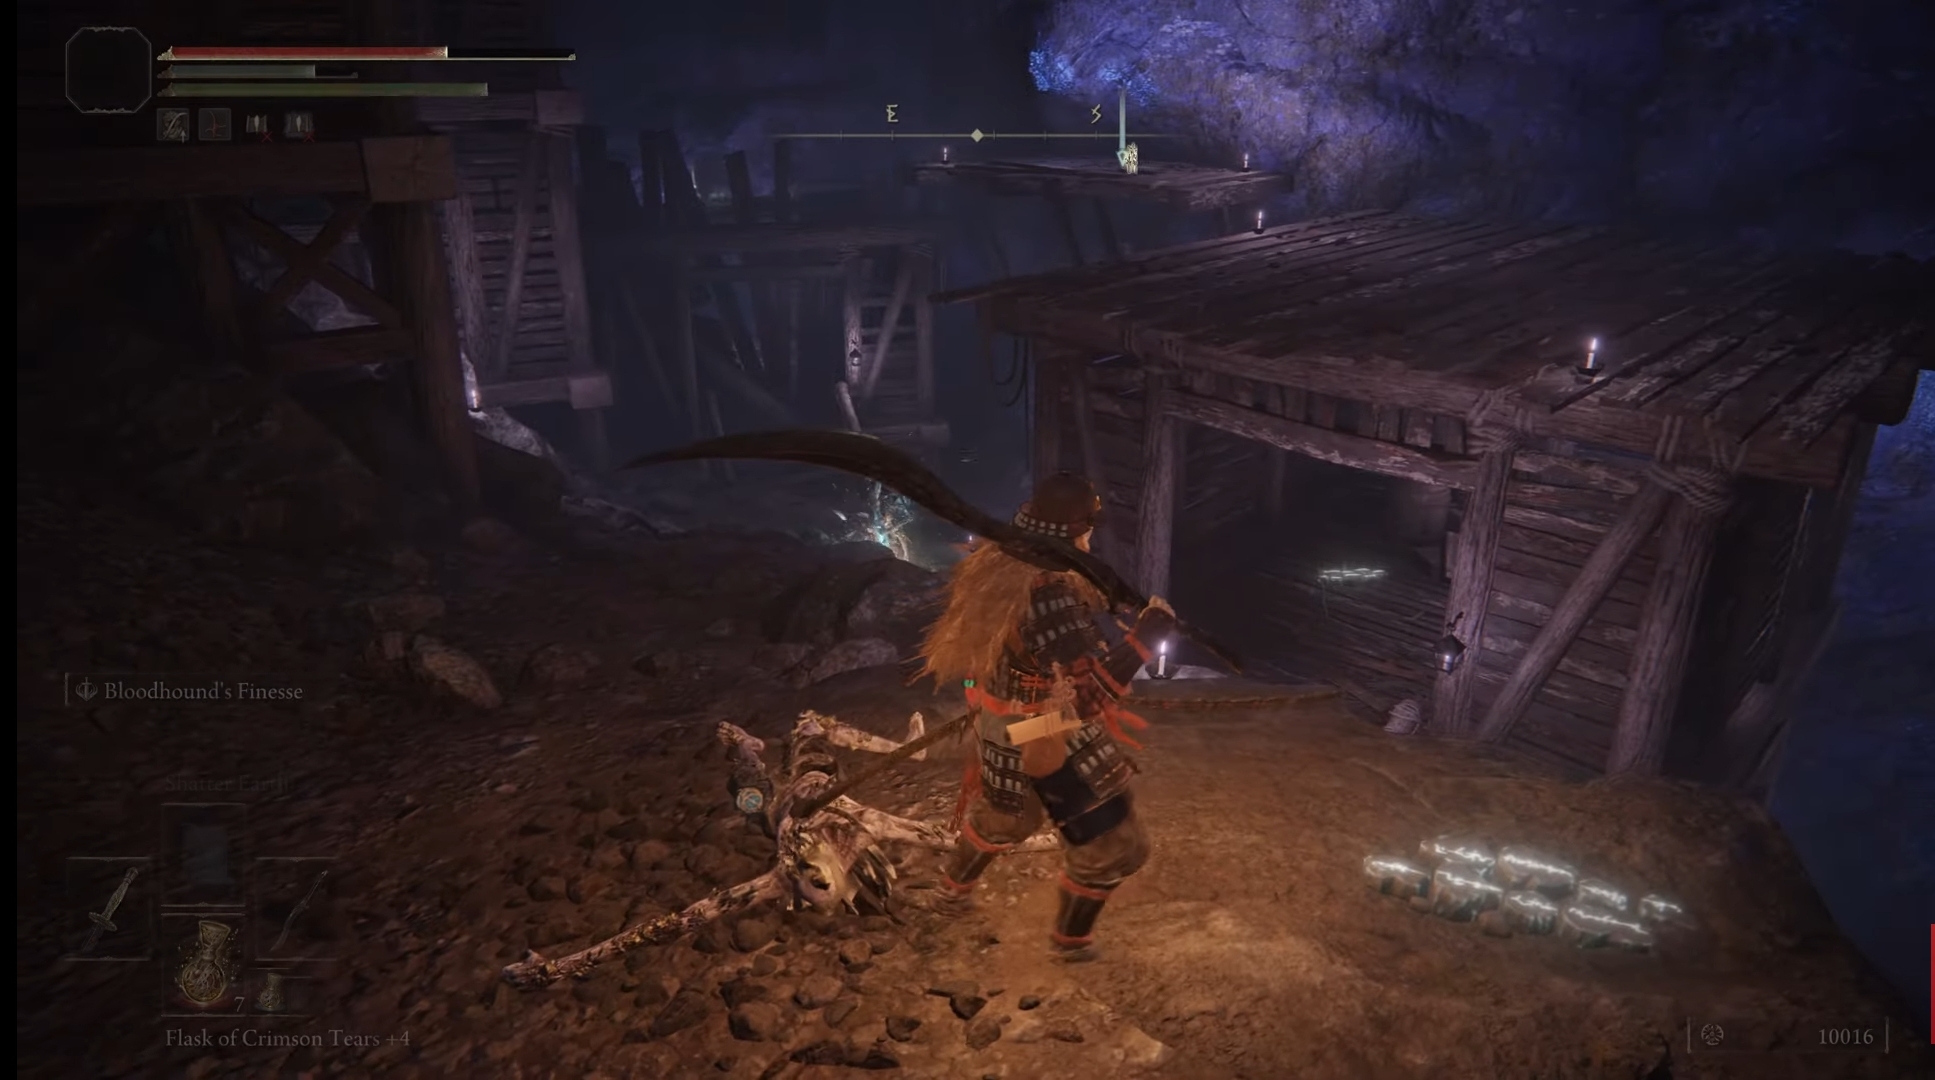
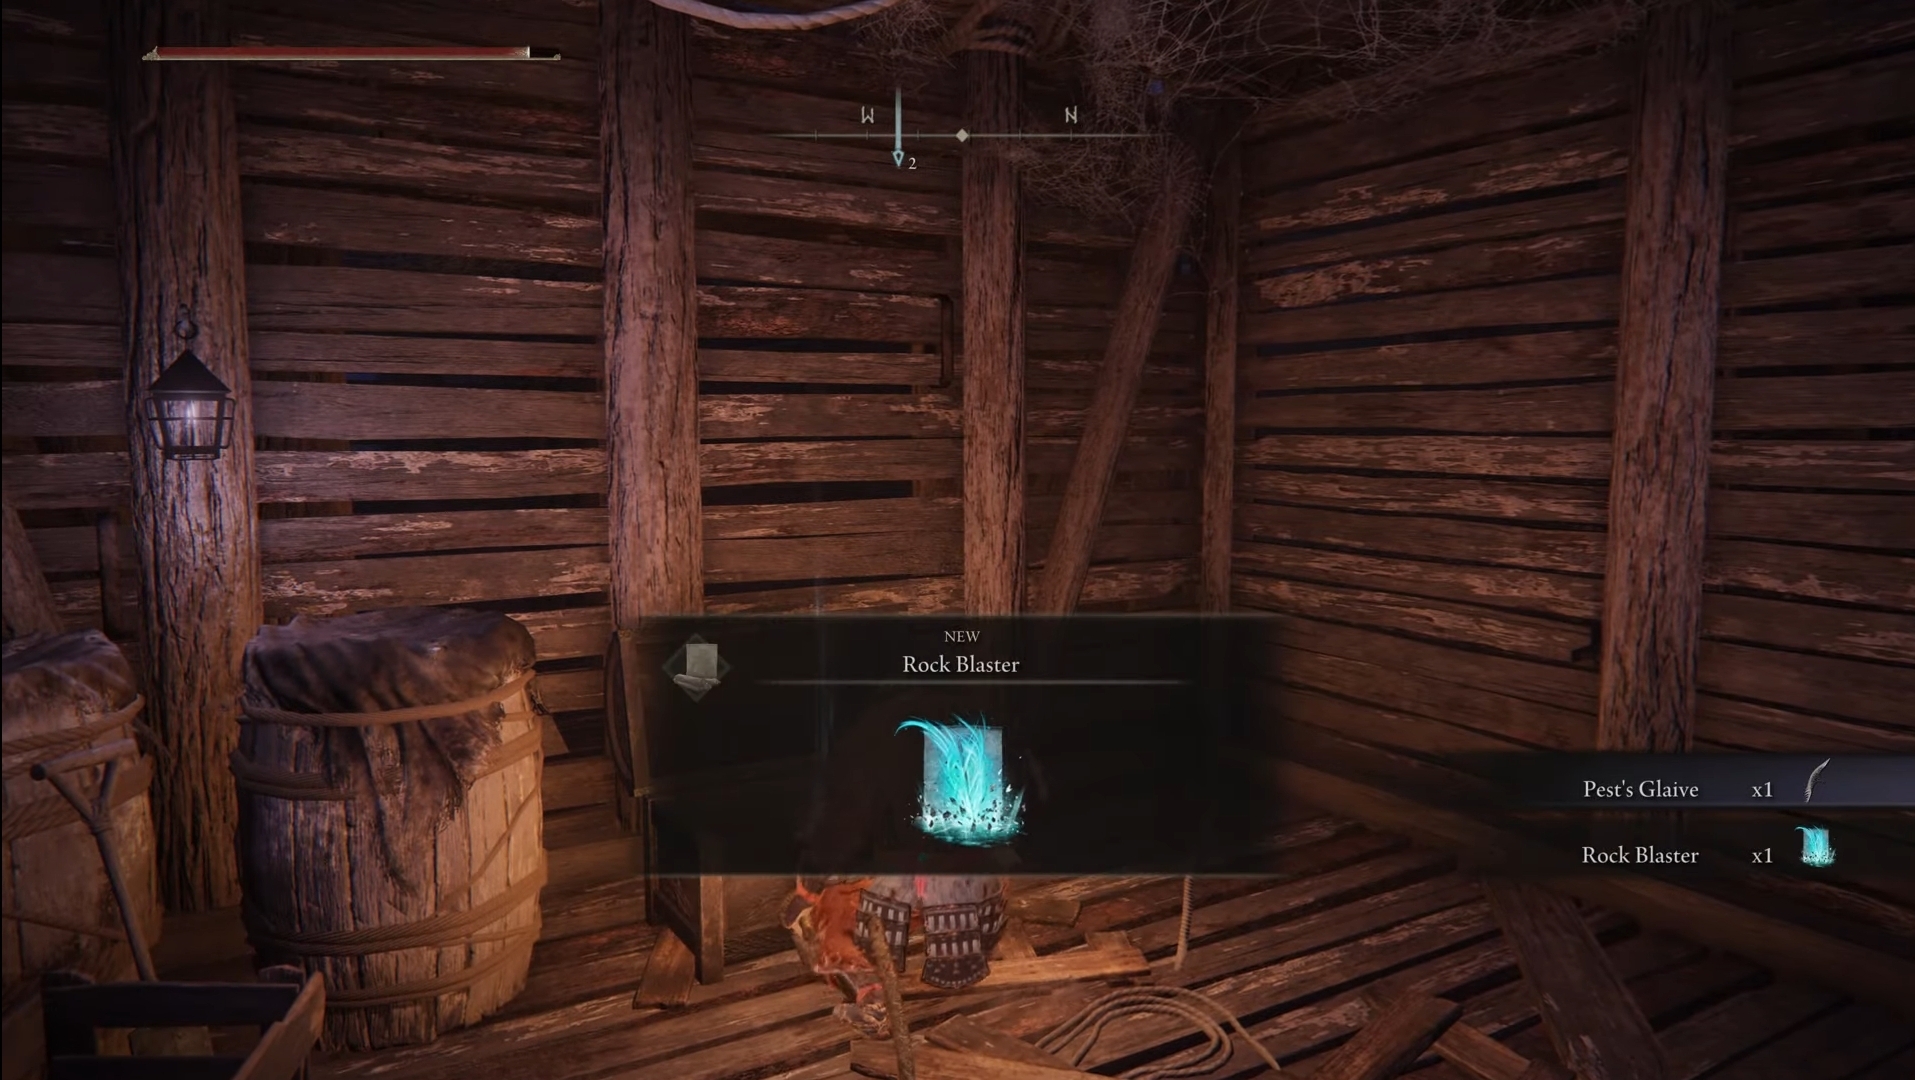
Jump on the wooden platform ahead to reach a corpse holding the Cuckoo Glinstone. Keep moving forward and find the Crystal Miner Ahead. You will enter a small cave at the top with a ladder on the right.
Head up the ladder, and you will see another corpse you can loot for a Somber Smithing Stone. Now, move ahead into the next cave, and you will be on the roof of the initial cave. Cross the wooden planks and head into the small wooden shack.
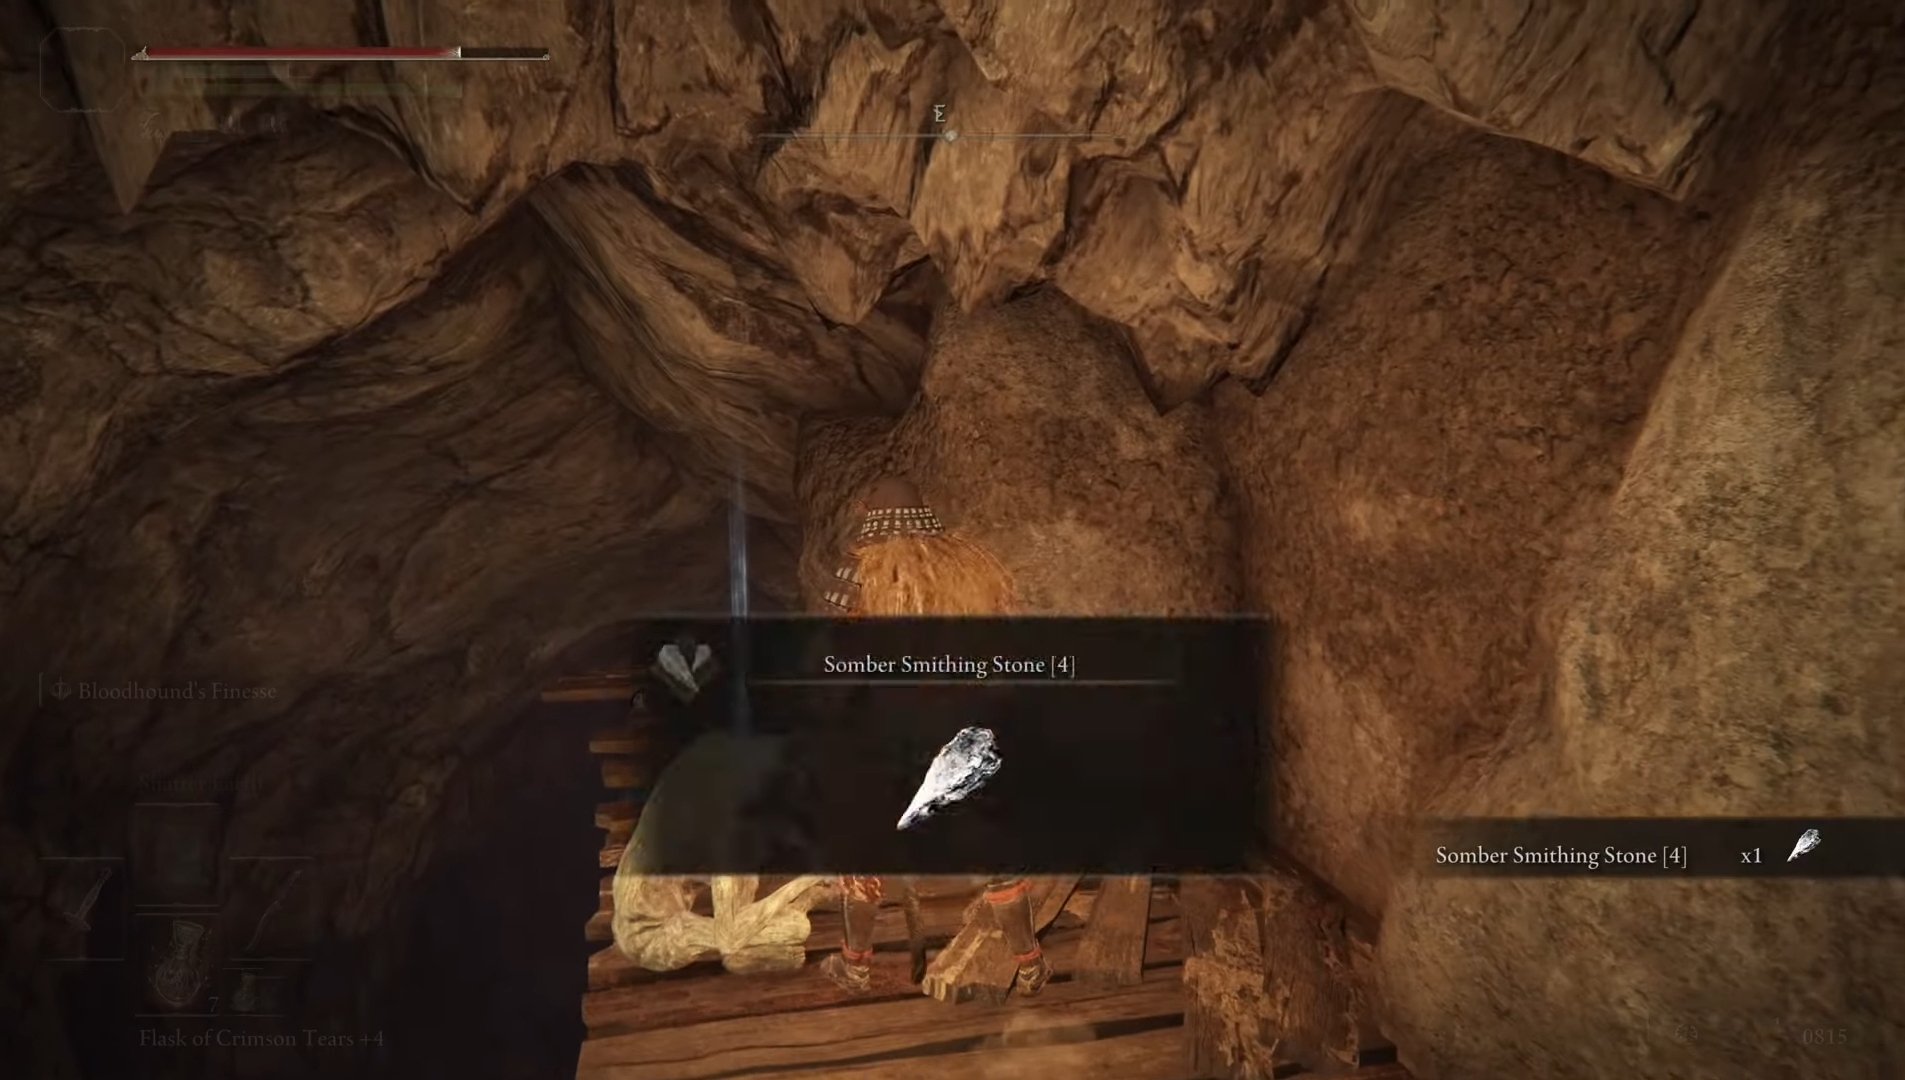
Loot the chest and smithing stones in the area.
On the left side of the shack, you will see a ladder at the end of the path. Kick this ladder in front of the corpse to create a shortcut. I would recommend getting the Somber Smithing Stone in the northwest corner of the cave as well.
Continue through the tunnel and make your way into another cave.
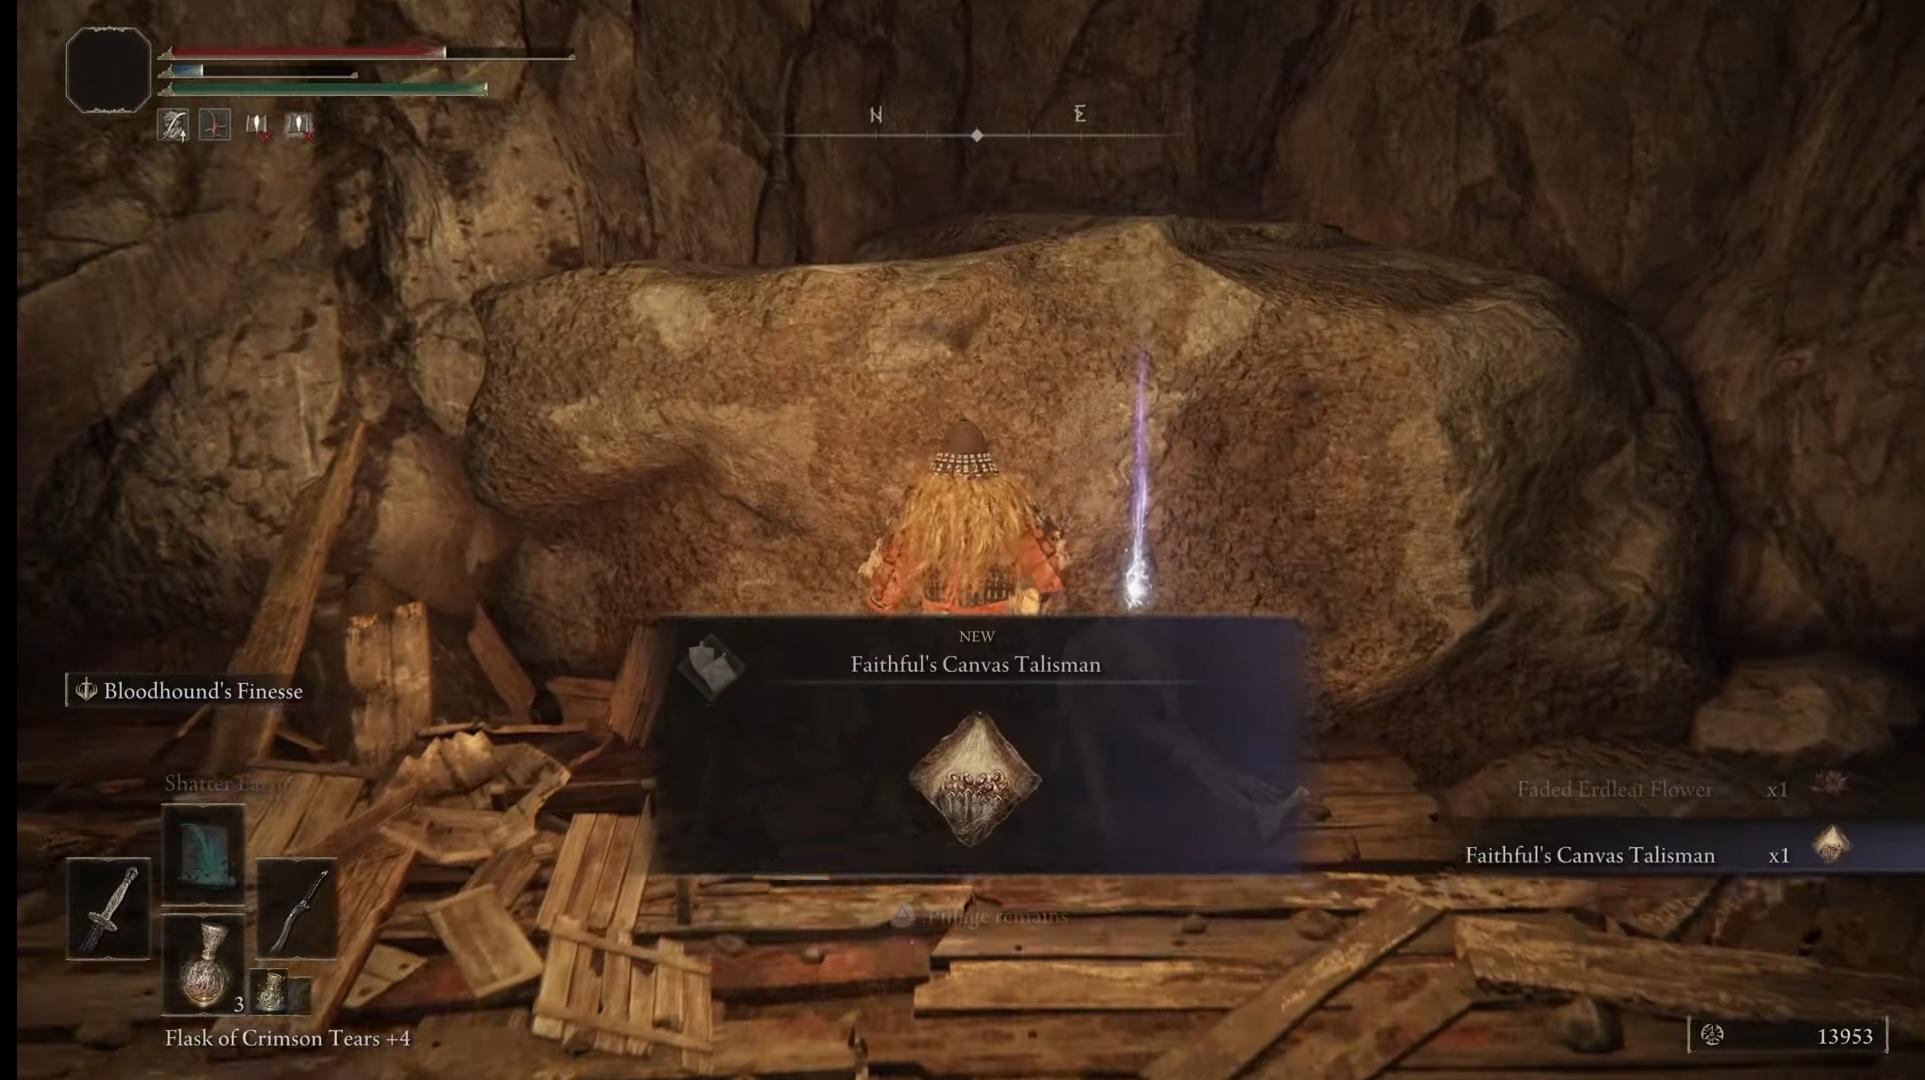
The alcove where the Lesser Kindred of Rot came out to attack you is a Somber Smithing Stone deposit. You will see another corpse where Lesser Kindred of Rot is praying. This corpse holds Faithful’s Canvas Talisman. On the left of the cave is also a Smithing Stone deposit.
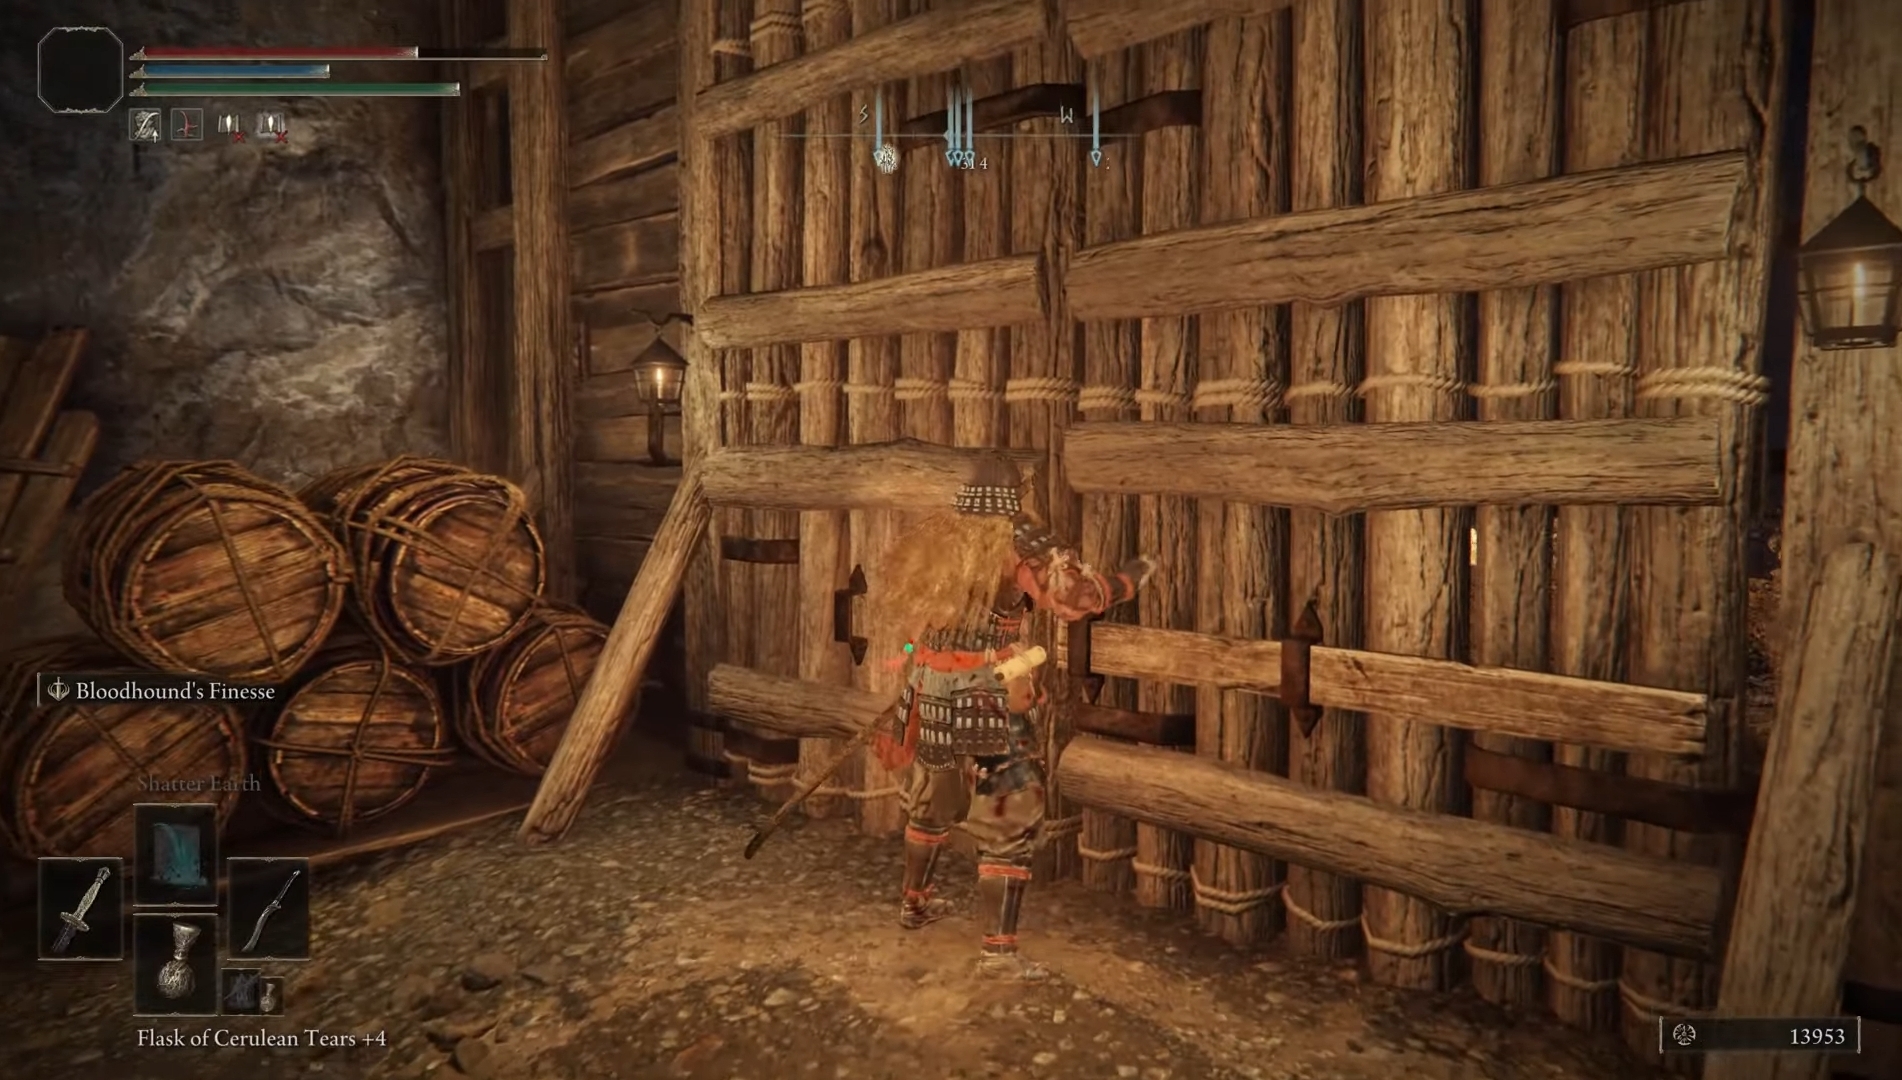
You will come across wooden double doors when heading down the tunnel and moving to the west. Behind these doors lies the Fallingstar Beast, the boss of the Sellia Crystal Tunnel.
Defeating Fallingstar Beast Boss
In my playthrough, defeating this particular Fallingstar Beast wasn’t hard, so hopefully, you will have a similar experience. Beware of its gravitational moves, creating a levitation radius. Dodge rock shard attacks by spotting sparks on the ground. Look for purple lightning between mandibles before an attack.
Defeating the Fallingstar Beast yields one Somber Smithing Stone, five Smithing Stones, ten Gravity Stone Chunks, and a Somberstone Miner’s Bell Bearing. Use the bell bearing at the Twin Maiden Husks in Roundtable Hold. That is almost everything you would want to know about the guide on the Location of Sellia Crystal Tunnel in Elden Ring.
Thanks! Do share your feedback with us. ⚡
How can we make this post better? Your help would be appreciated. ✍