Resident Evil 4 Remake has tons of side quests added to the newer remake, allowing players to indulge in even more content than the original. One of the side quests is called the Resident Evil 4 Remake Grave Robber Request, and players might need assistance figuring out how to complete it easily!
- The RE4 Remake grave robber request is known by many names, such as destroying the Tombstone Emblems and Twin Graves.
- Players are able to access the quest after they manage to reach chapter 3 in the main storyline.
- You need to access a request note that is located right outside the church towards a hidden corner.
- By completing the quest, players are able to be rewarded with 2 Spinels that can be retrieved from a merchant.
- In order to start the quest, players need to head to the left of the church, and towards the back, there is a note stuck to the wood.
- Two graves that are identical to each other need to be located, and players need to shoot at the emblems that are present on the graves.
- Merchant is available from Chapter 3 and onwards all the way until Chapter 16, where players can collect their rewards.
You can continue reading our Grave Robber Request guide or watch this video tutorial & learn more about it quickly.

How To Complete The Request
After you’ve managed to get hold of the request note outside of the church in chapter 3, players should be able to start the Resident Evil 4 Remake Grave Robber Request.
- After inspecting the note, turn around from where you were standing.
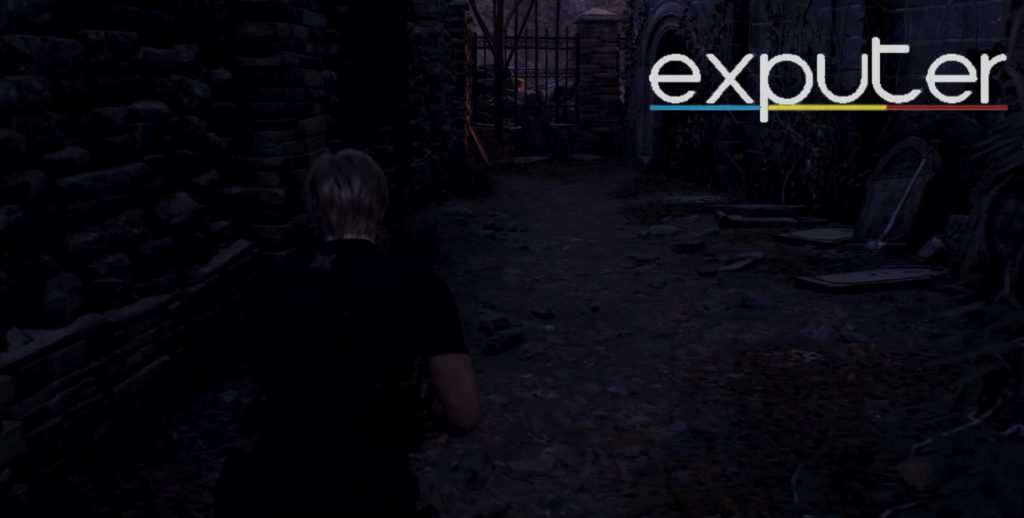
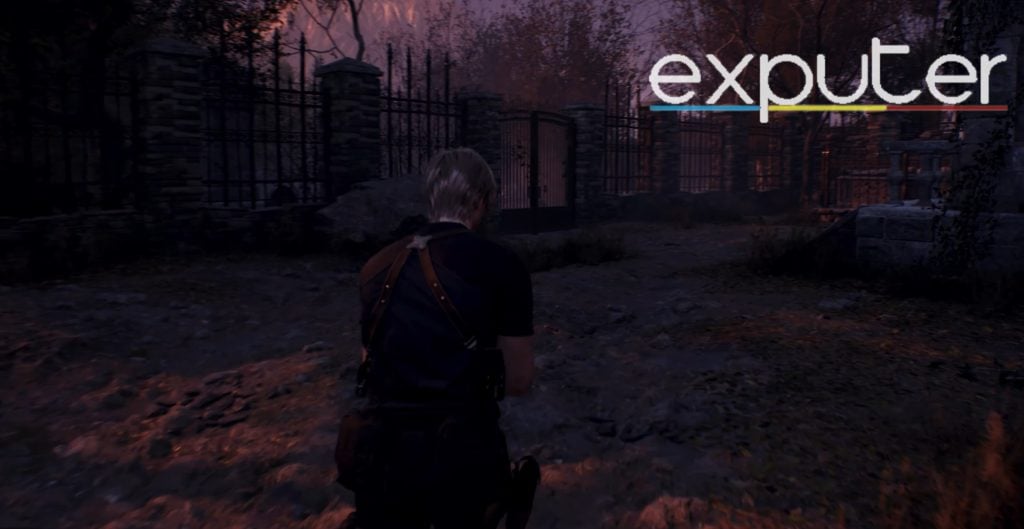
- Right in front of you, there should be a gate located a few feet away from you, and players want to start running for the gate.
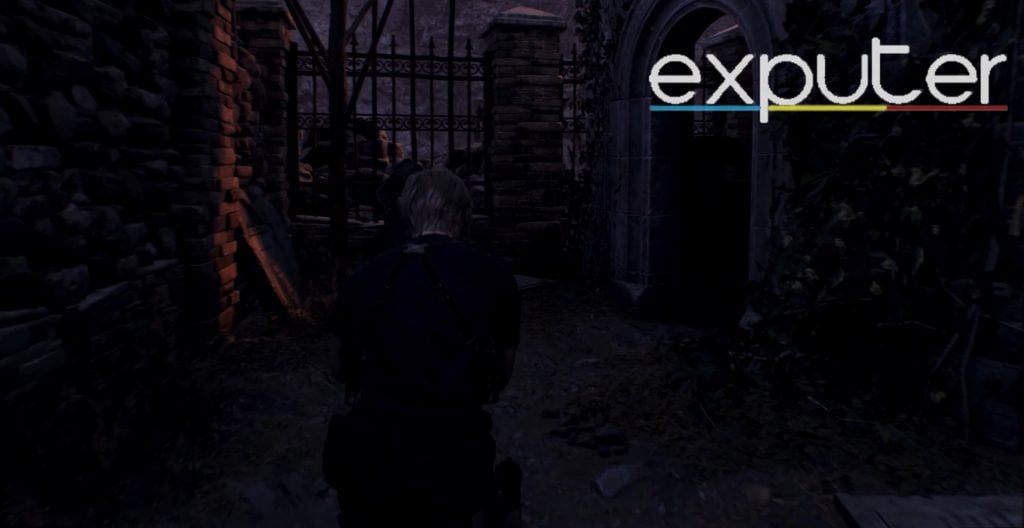
- From there, look towards your right, and you should be able to encounter an arched doorway. Start making your way in there.
- Start heading through the area and pass the door towards your right.
- Head past the narrow alleyway until you enter the open area.
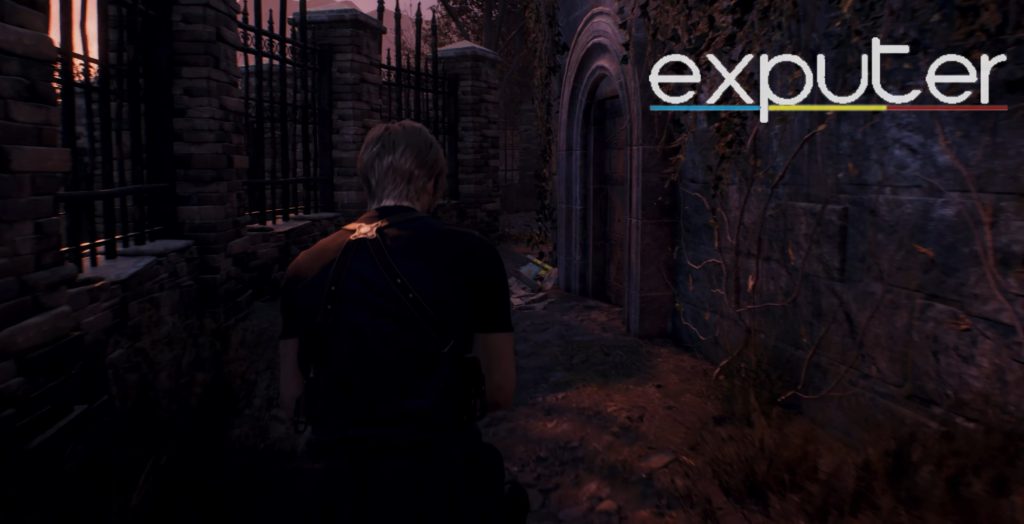
- From here, a few feet in front of you, you should be able to locate a gate that seems a bit different from the walls surrounding it towards the left and right.
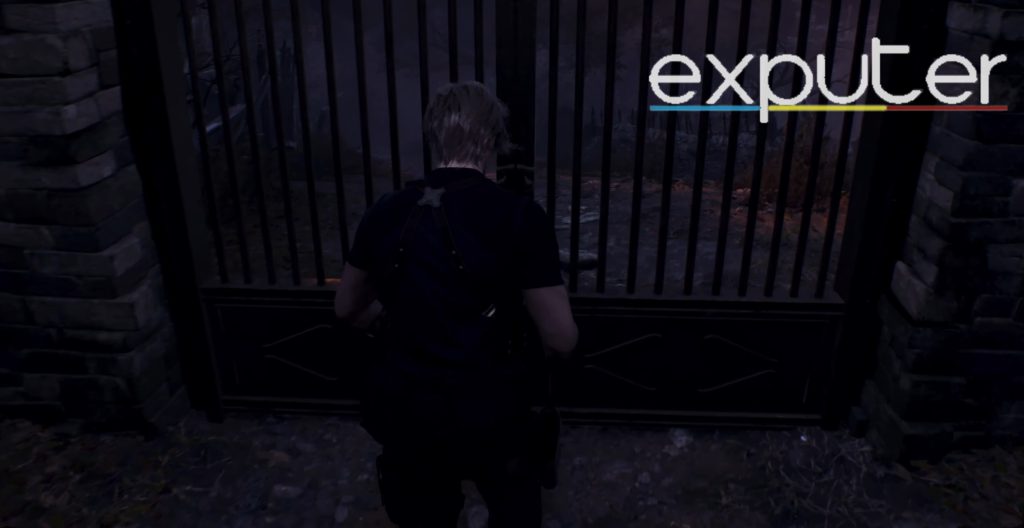
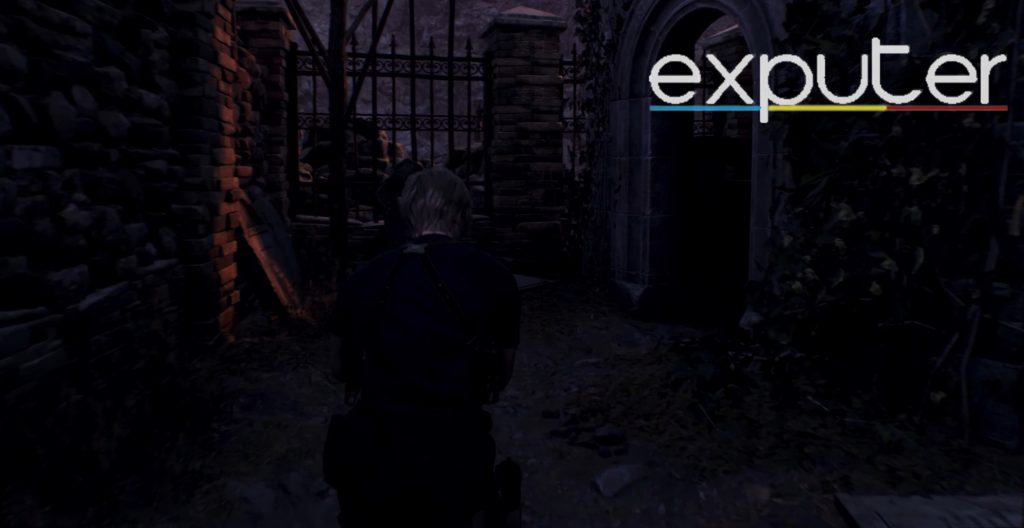
- Approach the door, and as you do so, you should be able to interact with it, which causes your character to push it open and make your way past it.
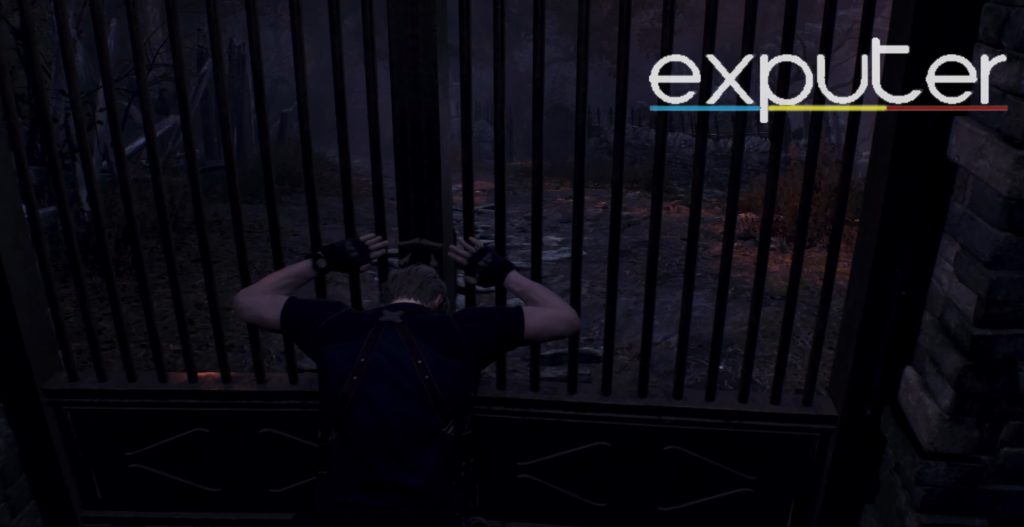
- Open the door, and instead of heading down the path, players want to turn right from the gate and start running toward the cemetery.
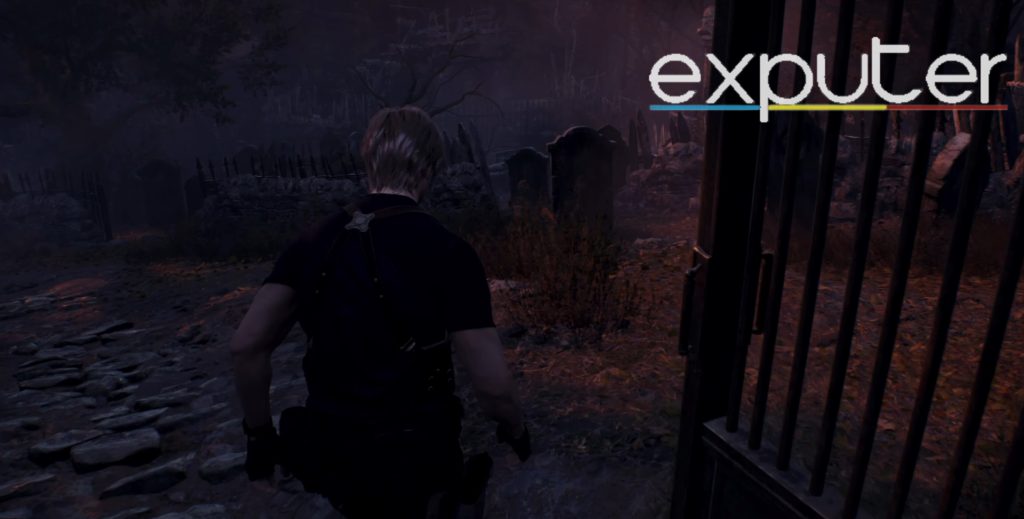
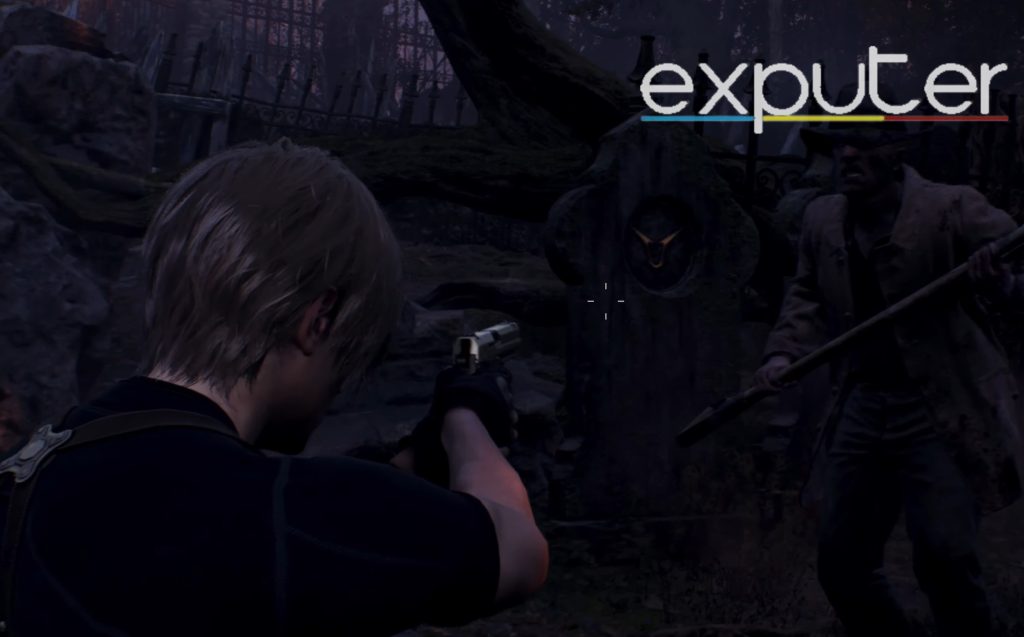
- Run towards the very back toward the fences at the back, and run down until you encounter a tree where two graves look similar.
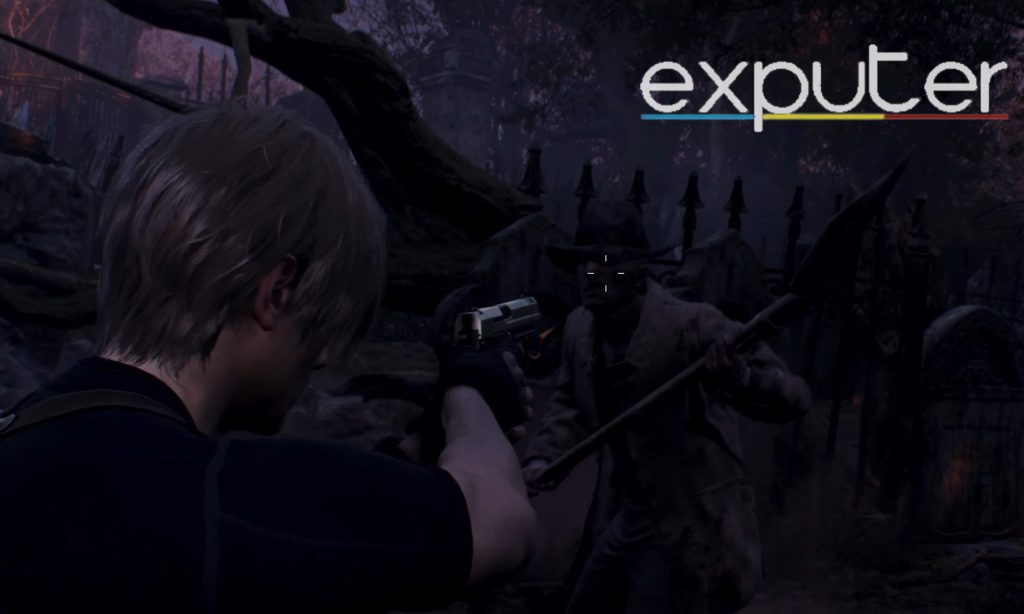
- There is an enemy will be present at the grave site, and he will be ready to attack you instantly. Therefore, players need to instantly take him out to get one step closer to completing the Resident Evil 4 Remake Grave Robber Request.
The best way to murder the enemy is to use a ranged weapon and simply one-shot it by carrying out a headshot, which causes its head to explode, and he ends up falling on his knees and dying.
- After the assassination has been carried out, face the graves, and if you inspect them closely, you should be able to take note of an emblem that is present towards the top of each tombstone.
- The emblems are identical, and they are destructible.
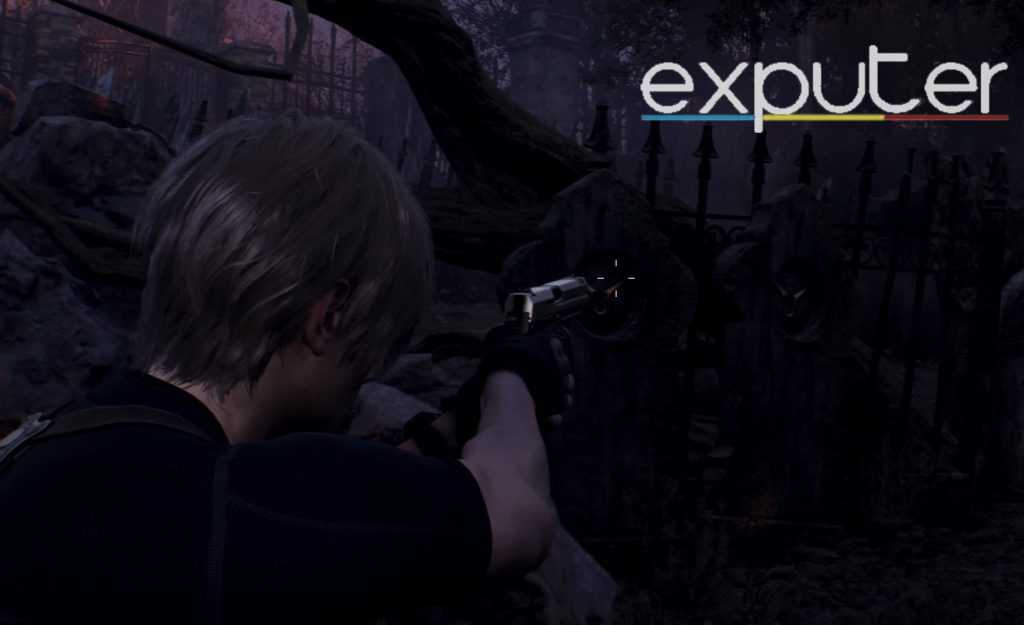
- Players need to use a gun to take out the emblems with ease.
- Stay at a bit of distance, aim your gun at the emblems, and first shoot directly at the emblem on the left grave, followed by carrying out the same attack on the emblem present on the right grave.
- When you attack each emblem, it falls out, and an indicator on the screen tells the player how many emblems they have broken.
This completes your main mission, and the main thing left to do and collect your rewards.
Where To Collect Quest Rewards?
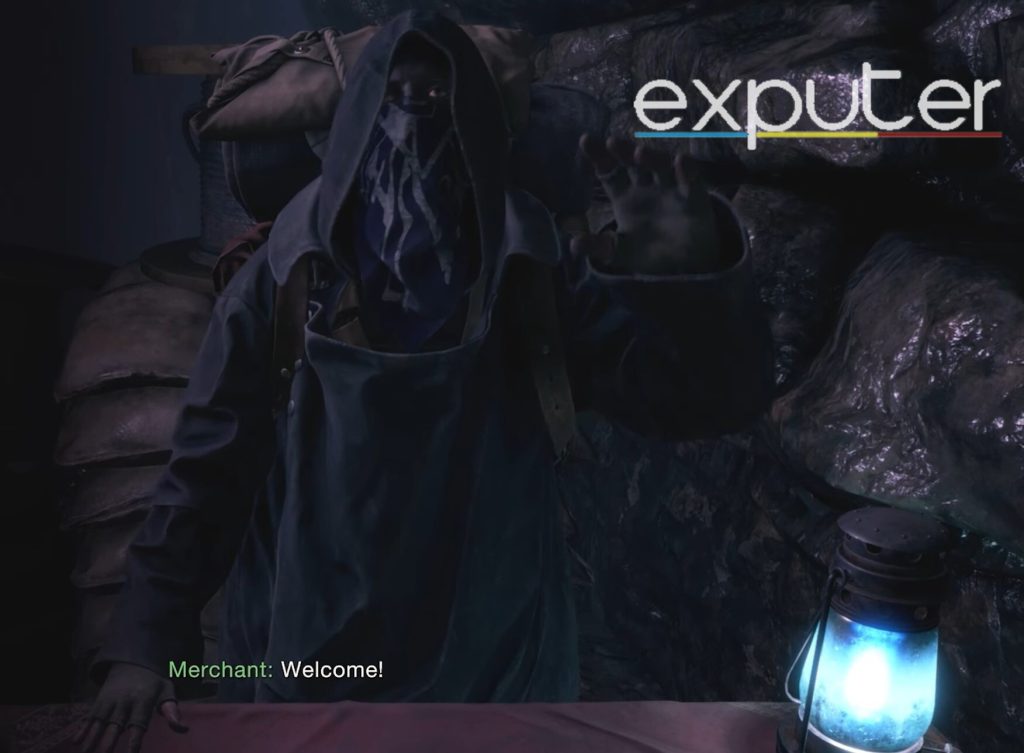
Now that the quest has been completed, players need to go collect their rewards which are two spinels, and the main way they can get their rewards is by heading over to any merchant location and interacting with them. Know that the merchant does appear in chapter 2 as well, but since the quest isn’t present in chapter 2, it’s being skipped.
| Merchant Location | Chapter |
| Once you head towards the village, there should be a Town Hall where you can go, and players want to head past it to get to the merchant. | Chapter 3 |
| In the Quarry area, players can encounter the merchant first in chapter 3 and again in the next chapter. | Chapter 4 |
| In the Farm area, players should be able to locate it towards the Windmill area. | Chapter 5 |
| The Villa also has a merchant location. | Chapter 6 |
| While close to the slaughterhouse, players can encounter the merchant again. | Chapter 6 |
| In the Audience chamber area, players should be able to encounter the merchant. | Chapter 7 |
| Apart from that, towards the beginning of the castle, there should be another merchant area too. | Chapter 7 |
| If you head close to the Castle Battlements, another merchant are should be present there. | Chapter 8 |
| The Wine Cellar should also have a merchant. | Chapter 8 |
| After heading towards the southern end of the Grand Hall, a merchant can be found there too. | Chapter 9/10 |
| The waterway also has a merchant area. | Chapter 10 |
| Once you make it to the Hive, there should be a merchant there too. | Chapter 11 |
| The Underground Tunnel can also grant players their spinels as a reward. | Chapter 11 |
| The clocktower area should have another merchant location. | Chapter 12 |
| Towards the northern area of the Ballroom, players should be able to locate a merchant. | Chapter 12 |
| Utilities has another merchant area where the rewards can be collected. | Chapter 13 |
| Towards the eastern wharf end, another merchant can be found. | Chapter 13 |
| The Ruins, Waste Disposal, and Cargo Depot have merchants. | Chapter 14 |
| The specimen storage and a cliff behind the ruins area have merchants. | Chapter 15 |
| The loading docks also have a merchant location. | Chapter 16 |
Summary
And there you have it! All that players need to know about Resident Evil 4 Remake Grave Robber Request, and with that, I will wrap up my guide! If you want to catch the Lunker Bass, then you might want to check out our Resident Evil 4 Remake Get Lunker Bass guide since it covers all the details regarding it! In order to get the rocket launcher, players would have to know its location, which can be found by reading our Infinite Rocket Launcher guide!
Mendez can be one hell of a village chief, and getting his eye is no easy feat. Therefore, our Resident Evil 4 Remake Mendez False Eye guide is an eye-catcher for sure (nice pun). Alongside that, you can skim through our How To Get Blackmail guide!
Up Next:
- Resident Evil 4 Remake How To Get LE5 SMG
- Resident Evil 4 Remake Get Matilda
- Resident Evil 4 Remake Keycard Locations
- Resident Evil 4 Remake Red9 Location
Thanks! Do share your feedback with us. ⚡
How can we make this post better? Your help would be appreciated. ✍