It’s essential to know the locations of the Self-Service Bounty Clearance Kiosk in Starfield because they can spare you from both trouble and potential jail time. These terminals allow you to clear bounties without surrendering yourself or paying fines to local authorities.
- Bounty Clearance Kiosks in Starfield swiftly clear bounties without fines or surrender.
- Find them in cities, bars, space stations, and player-built Outposts.
- Alternatives to fines include jail (with XP loss) or bribery (lower cost, no removal of the bounty).
All Bounty Clearance Kiosk Locations In Starfield
Here, I’ve listed down the Summary of All Bounty Clearance Kiosk Locations in Starfield:
| Bounty Clearance Kiosk Location | How To Find | Planet | Star System |
|---|---|---|---|
| New Atlantis | In the Viewport Bar, go to the back corner after descending the ramp from the Spaceport. | Jemison | Alpha Centauri |
| Cydonia | Inside the Broken Spear Bar on Mars, it's on your left after entering through the main entrance in the Central Hub. | Mars | Sol |
| Akila City | Look for the kiosk next to the regular mission board inside the Hitching Post bar near the Galbank after landing at the spaceport. | Akila | Cheyenne |
| Neon | Take the elevator down from the Spaceport, turn right, and follow the signs at the bottom of a long set of stairs to the Astral Lounge. | Volii Alpha | Volii |
| Hopetown | Head to the Pit Stop Bar on Planet Polvo in the Valo Star system; you'll find the kiosk next to the bar service desk in the rear left corner. | Planet Polvo | Valo |
| Trident Luxury Lines Space Station | Find the kiosk near where you leave your ship after docking and exiting your spaceship. | Akila Orbit | Cheyenne |
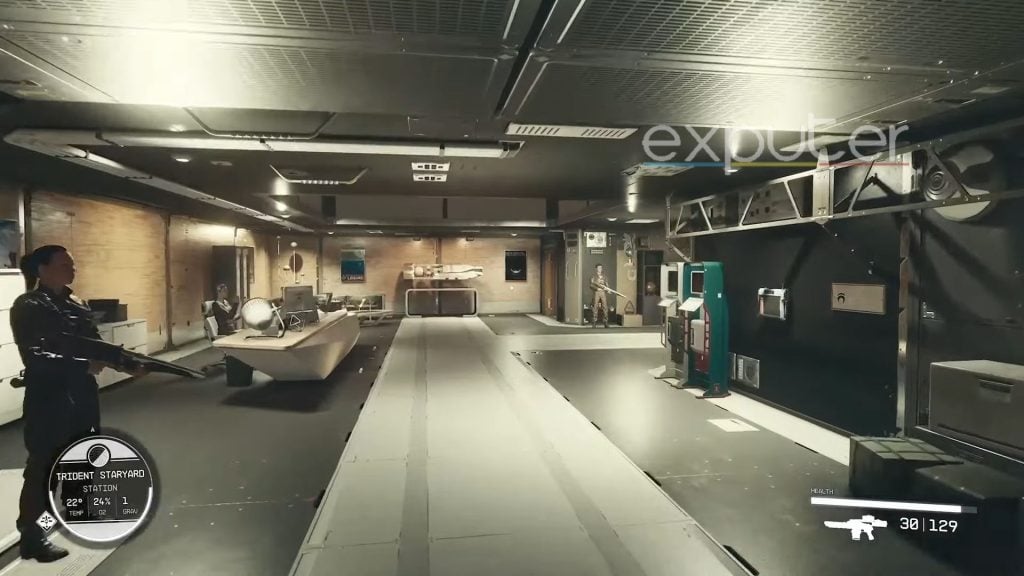
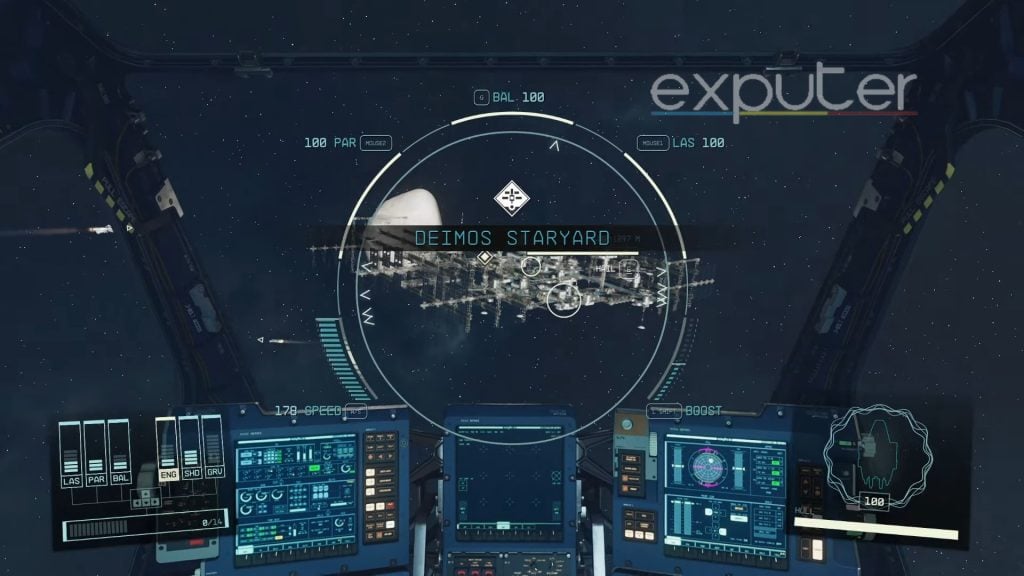
| Deimos Staryard | Inside the station, make a left at the primary desk, and the kiosk will be right in front of you, marked with "Victory Hall" signage. | Mars Orbit | Sol |
| Outpost | Build one in your outpost by entering Build Mode and accessing the Miscellaneous tab; it requires specific resources. | - | - |
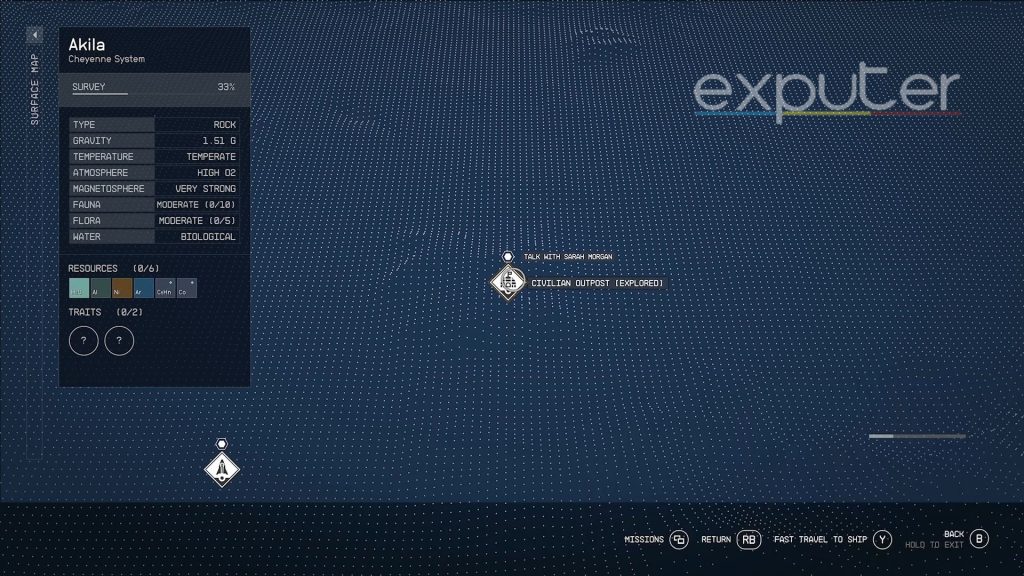
| Civilian Outpost | Some randomly appearing civilian outposts may have both a mission board and a Bounty Clearance Kiosk. | - | - |
New Atlantis
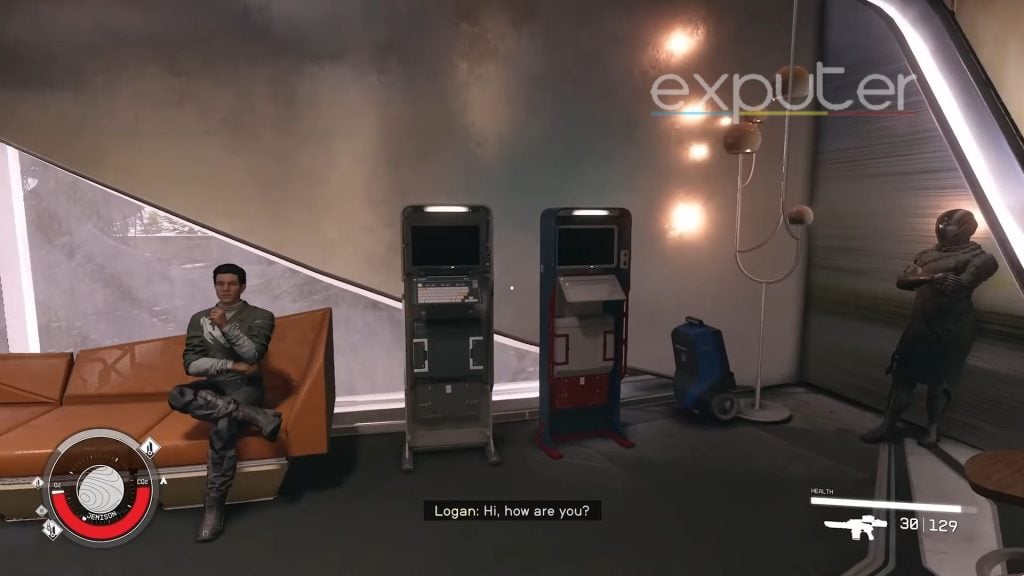
New Atlantis, a primary city in the Alpha Centauri star system’s Jemison, is among your initial major destinations.
- The New Atlantis Self-Service Bounty Clearance kiosk is situated within the Viewport Bar.
- It took me some time to find the kiosk, to find it simply head to the back corner of the bar.
- To reach The Viewport, descend the ramp from the Spaceport, turn left, climb the stairs, and follow the Hotel & Shopping sign.
- Keep moving forward until you spot Jemison Mercantile, and you’ll find the Viewport Bar on your left.
Cydonia

The Cydonia’s Bounty Kiosk is situated within the Broken Spear Bar on Mars in the Sol star system.
- To reach the Broken Spear, simply land at Cydonia, proceed through the airlock, and take the door leading to the Central Hub.
- Once inside, you’ll find the Broken Spear as the first doorway on your right.
Akila City
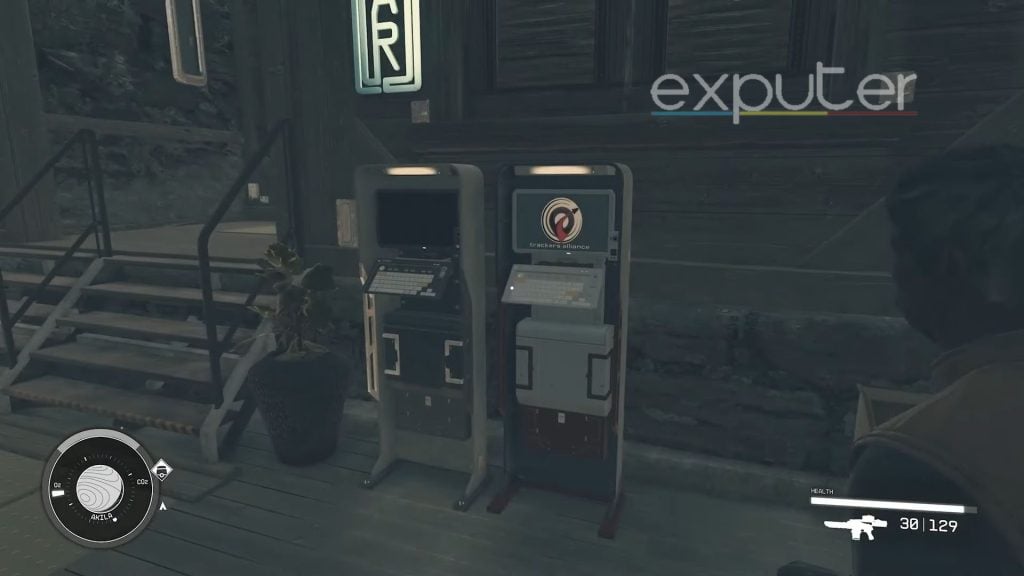
Akila City, situated on the planet Akila within the Cheyenne system, serves as the capital of the Freestar Collective.
- Upon landing at the spaceport, proceed through the main gate.
- Look for the Hitching Post bar near the Galbank on your right, and head inside.
- Inside the bar, you’ll spot the Bounty Clearance kiosk conveniently located next to the regular mission board.
Neon
Neon City Kisok is located on the Volii planet within the Volii star system.
- To find the Astral Lounge, take the elevator down from the Spaceport.
- Turn right and proceed to the end of the street.
- Look for the Astral Lounge sign at the bottom of a long set of stairs.
- Ascend the stairs, then take another elevator from Neon Core to Trade Tower: Astral Lounge.
- You’ll find the Bounty Clearance Kiosk there.
Hopetown
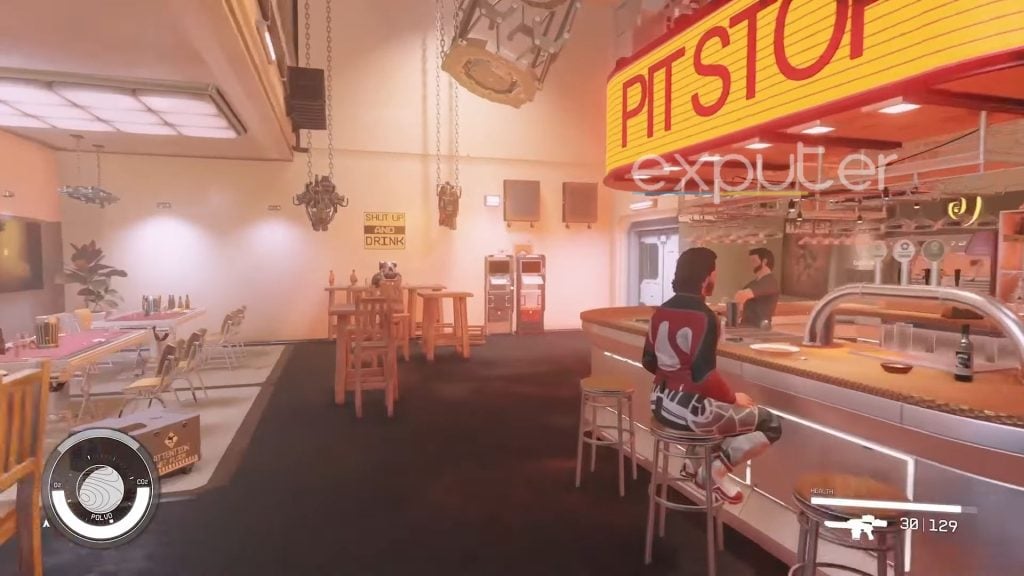
- Upon arrival, navigate to the Pit Stop bar.
- Once inside, proceed to the rear left corner, next to the bar service desk, where you’ll discover a Bounty Clearance kiosk along with a mission board.
Trident Luxury Lines Space Station
You can locate it near the area where you leave your ship in Starfield.
Deimos
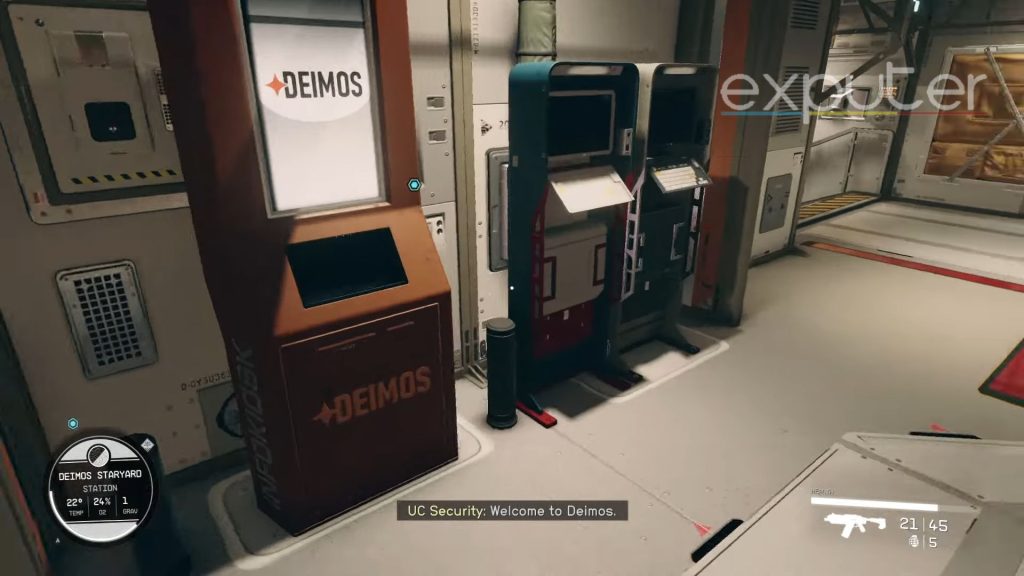
- As you enter, move straight ahead and make a left at the primary desk.
- The Bounty Clearance Kiosk will be right in front of you, positioned to the right of the entrance.
Outpost
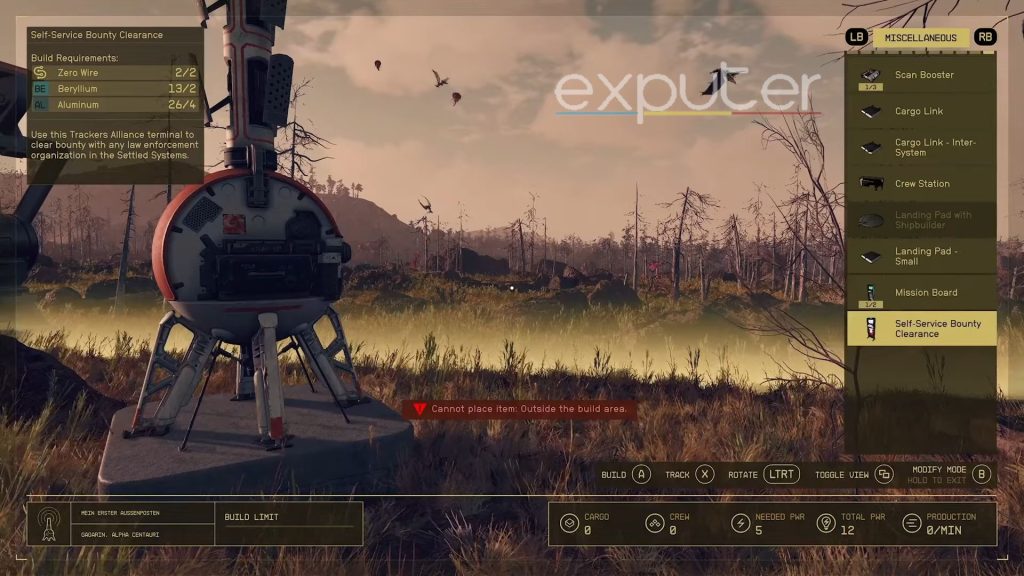
- To create a Bounty Clearance Kiosk, enter Build Mode and access the Miscellaneous tab.
- There, you’ll locate the Self-Service Bounty Clearance kiosk.
Building one of the Bouty Clearanec Kiosk requires the following resources:
- 2x Beryllium
- 2x Zero Wire
- 4x Aluminum
Each Outpost can contain a single Bounty Clearance Kiosk, and you can have up to eight Outposts simultaneously, resulting in eight kiosks spread throughout the Starfield universe.
Civilian Outpost
How To Remove A Bounty In Starfield
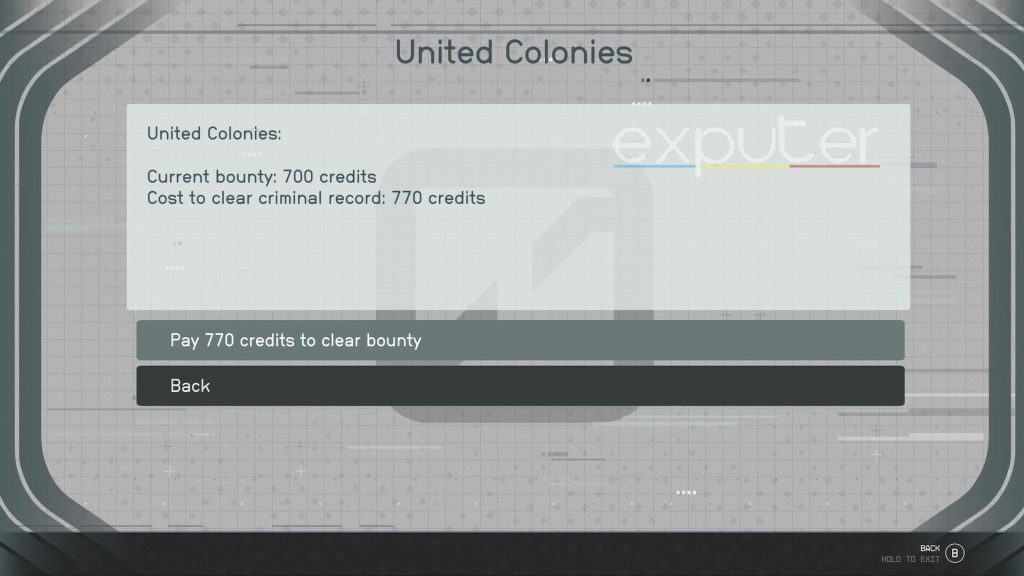
- Locate a Bounty Clearance Kiosk and interact with it.
- If you have an active bounty, you’ll receive a prompt to pay the fine. Keep in mind:
- You must be in a system not controlled by the faction that issued the bounty.
- The fine amount can vary based on your crimes and may be quite expensive.
- Choose to Clear the Bounty and pay the fine to remove the bounty.
Alternatively, you can opt for other actions that I’ve listed below:
- Going to jail will reduce your XP level and confiscate stolen goods.
- You can bribe your way out at a lower price; however, that won’t eliminate the bounty, leaving you susceptible to future arrests.
My Thoughts
Almost every Bounty Clearance Kiosk in Starfield is easy to find; however, I recommend creating one on your outpost, as it will be easy to find if you’re ever lost in some city with no map. You can create an outpost almost anywhere; once you do that, it offers a swift and hassle-free solution to clear bounties, sparing you from potential jail time or fines.
That’s everything you need to know about the Starfield Self-Service Bounty Clearance Kiosk. Sometimes. you’ll get into fights so I recommend making use of the Best Weapons in annihilating your opponents. For your survival, the Best Armor Sets are a must in Starfield. Getting the Best Starting Skills will give you a good startup in your starting journey at Starfield.
Next:
- Starfield: Temple Locations & Their Abilities
- Starfield: Best Fighter Ship
- Starfield: Terrormorph
- Starfield: Item IDs
Thanks! Do share your feedback with us. ⚡
How can we make this post better? Your help would be appreciated. ✍