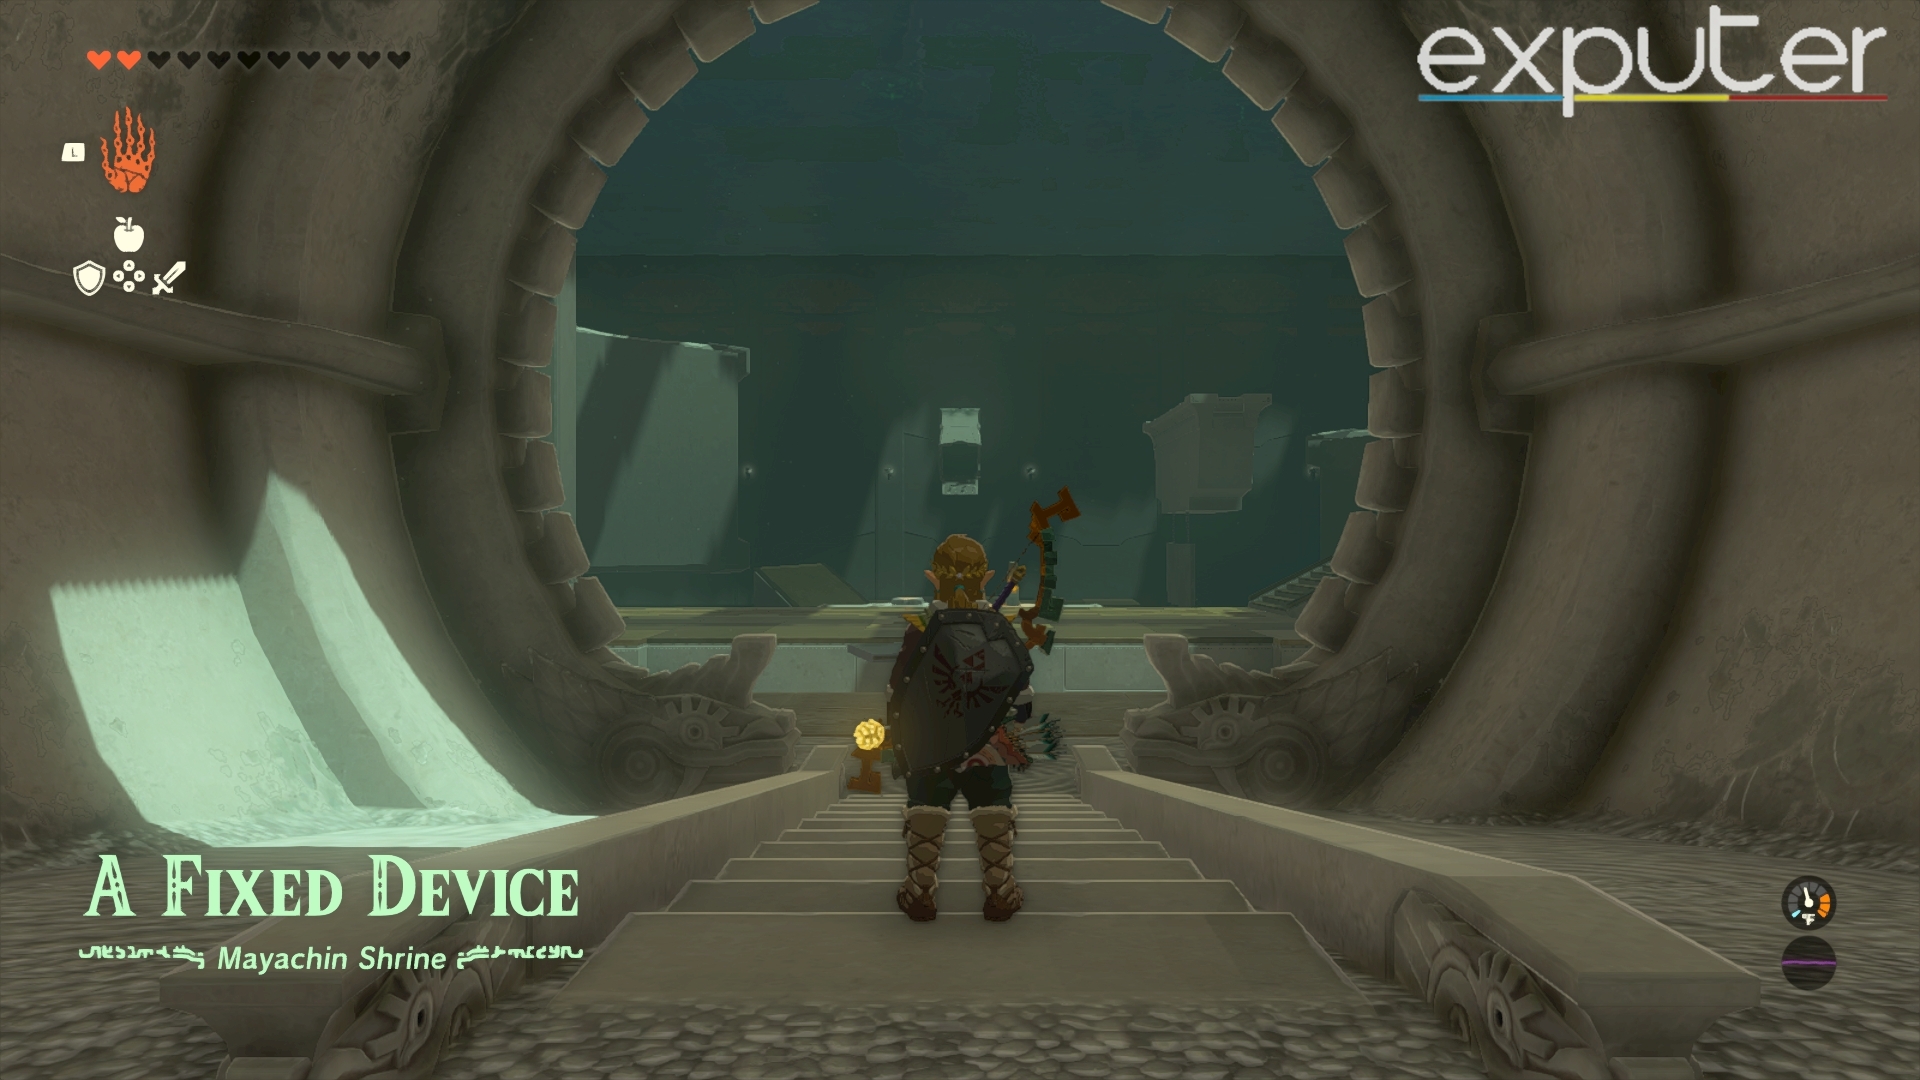
The sequel to Breath of the Wild has a wide variety of shrines, each having its own unique puzzle and reward. Tears of the Kingdom Mayachin Shrine is located southwest of Lookout Landing, where you have to solve a pinball-like puzzle to obtain an Energizing Elixir.
- Mayachin Shrine is one of the various Shrines in Tears of the Kingdom.
- To solve the Mayachin Shrine puzzle, you will have to build a giant bat and strike the ball in order to hit the targets.
- There are two targets in Mayachin Shrine.
-
To hit the first target:
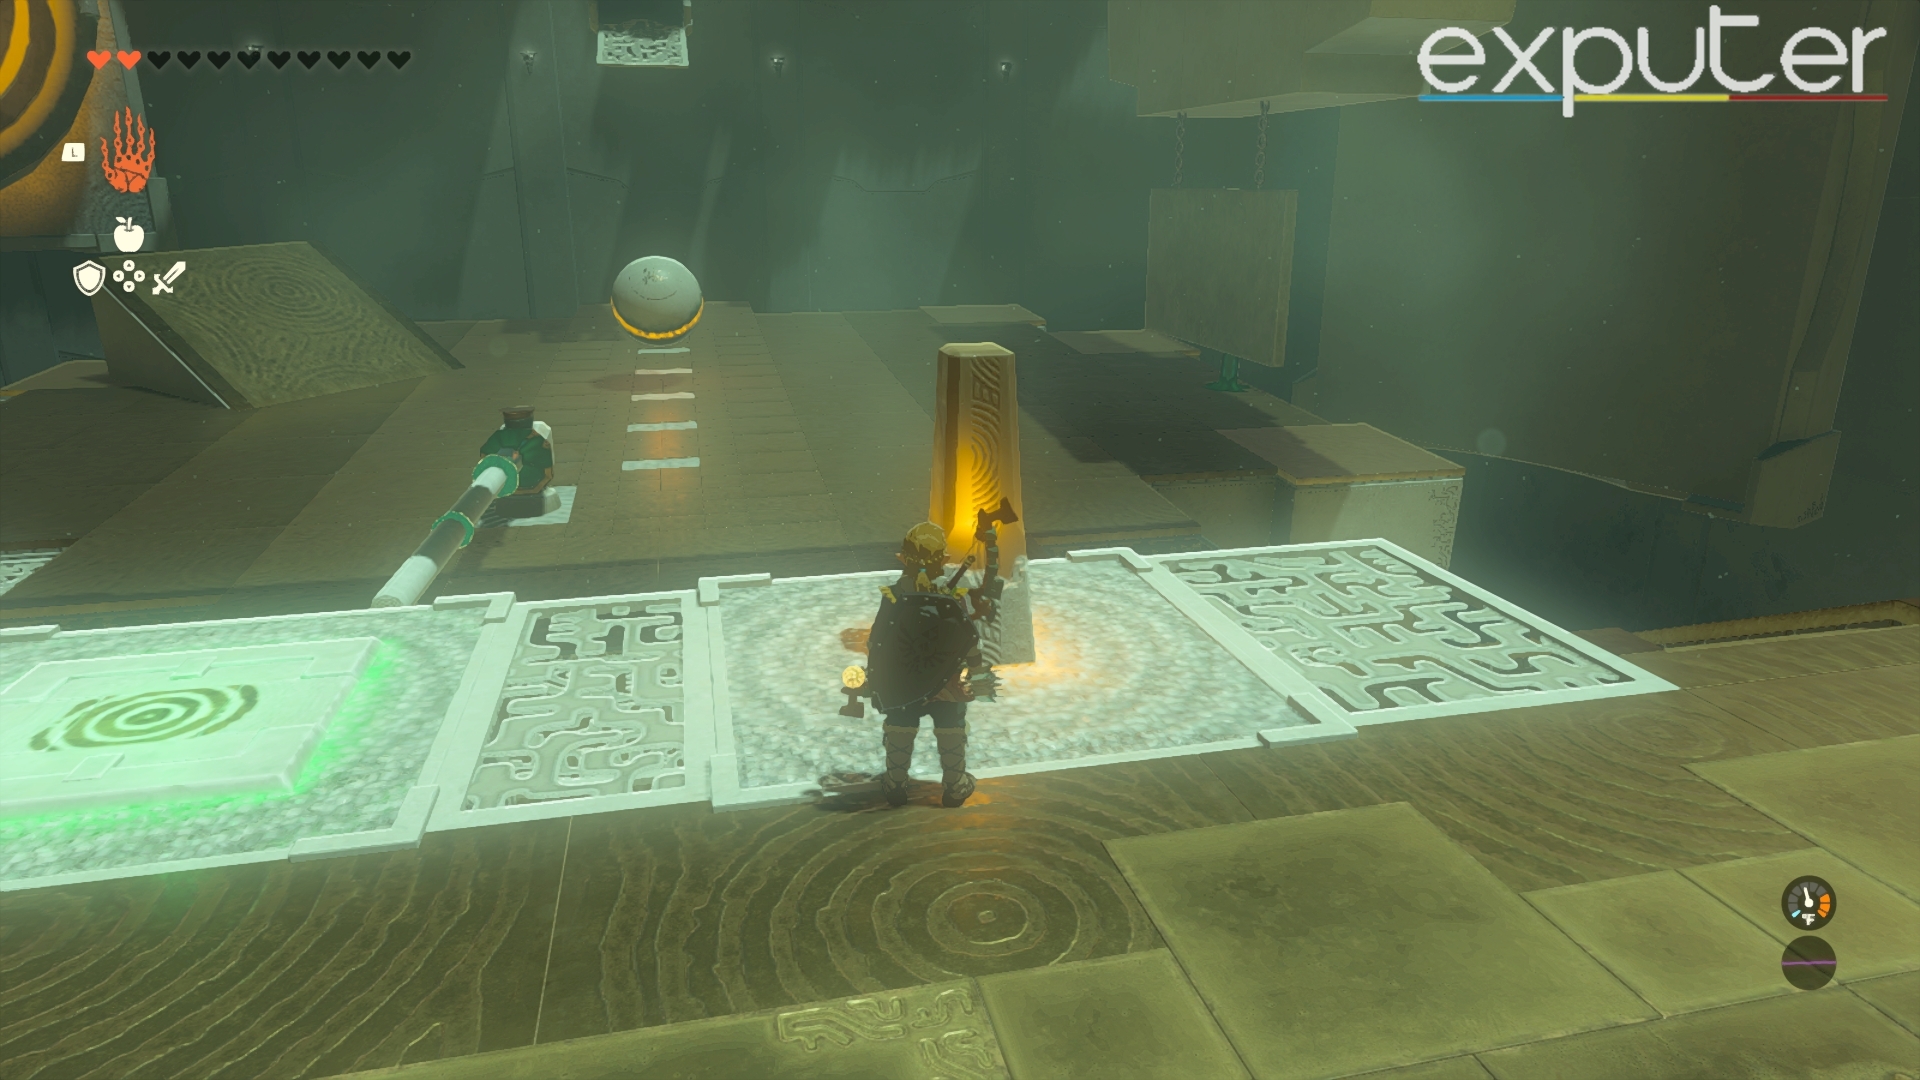
1. Insert the nearby stake and logs inside the switch using the Ultrahand.
2. Strike the glowing stone in the room to hit the ball.
- To hit the second target:
1. Pick up the stake below the stone slab and insert it inside the upper part of the wall.
2. Attach the slab to the stake.
3. Use the switch again to strike the ball.
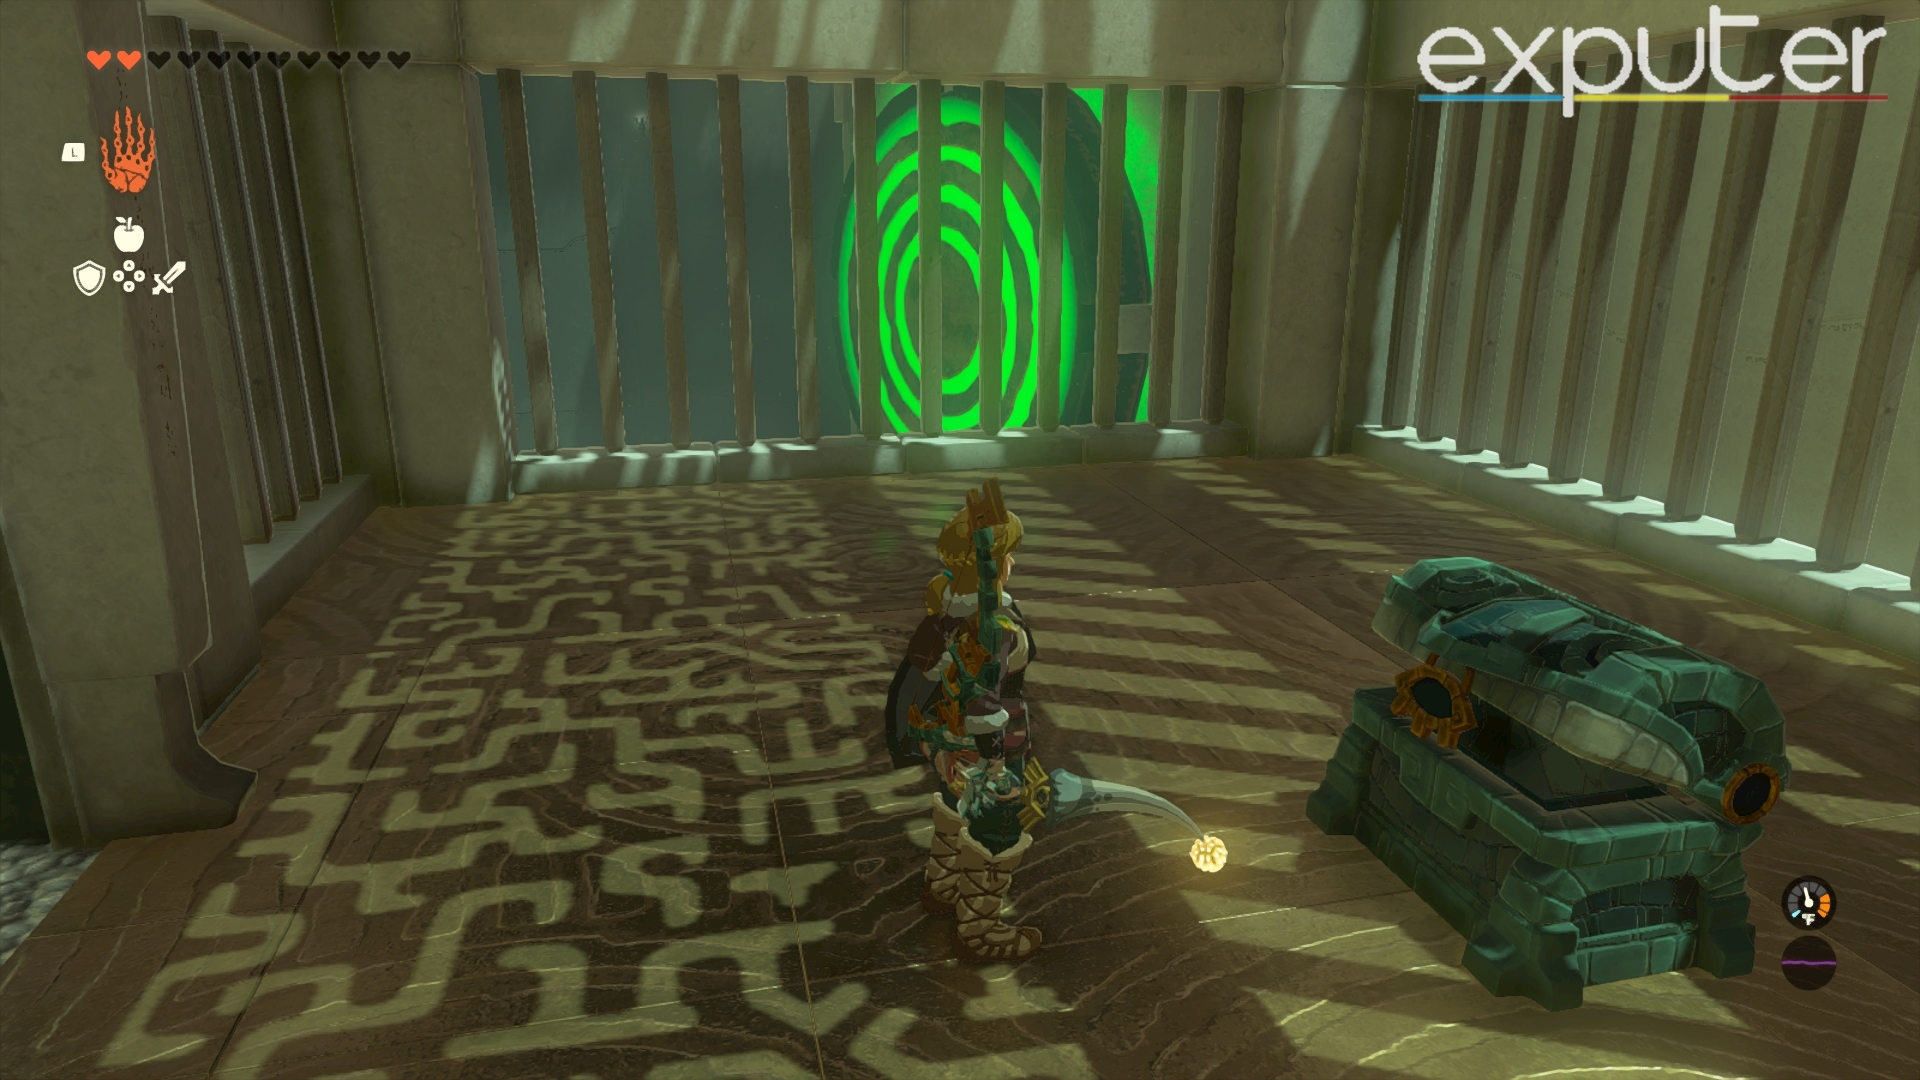
- A bottle of Energizing Elixir is the reward for solving this puzzle.
- Energizing Elixir replenishes your stamina while climbing or swimming.
What Is Mayachin Shrine
Location And Puzzle Of Mayachin Shrine
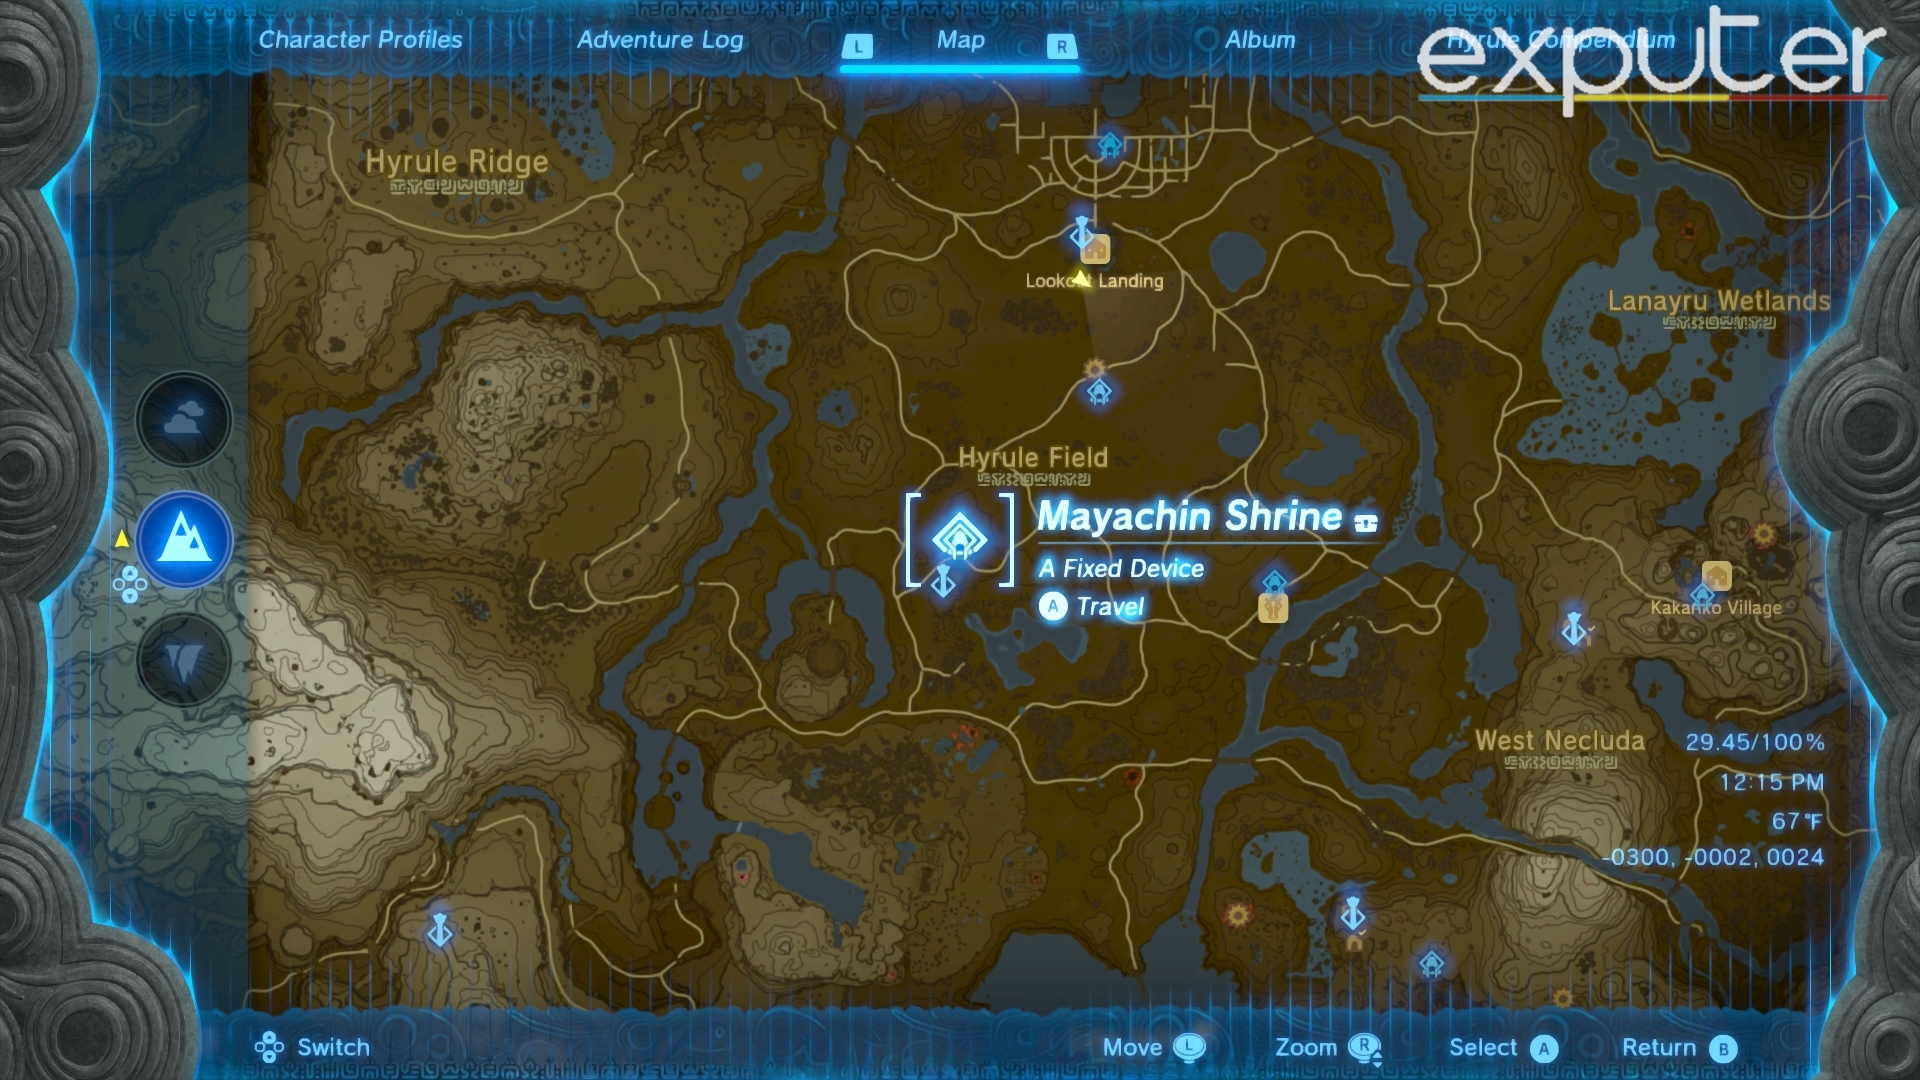
- Mayachin Shrine is situated to the southwest of Lookout Landing in Tears of the Kingdom.

Location of Mayachin Shrine in Tears of the Kingdom [Image Credit: eXputer} - Once inside the room, you’ll see a giant ball constantly falling out of the stone pipe.
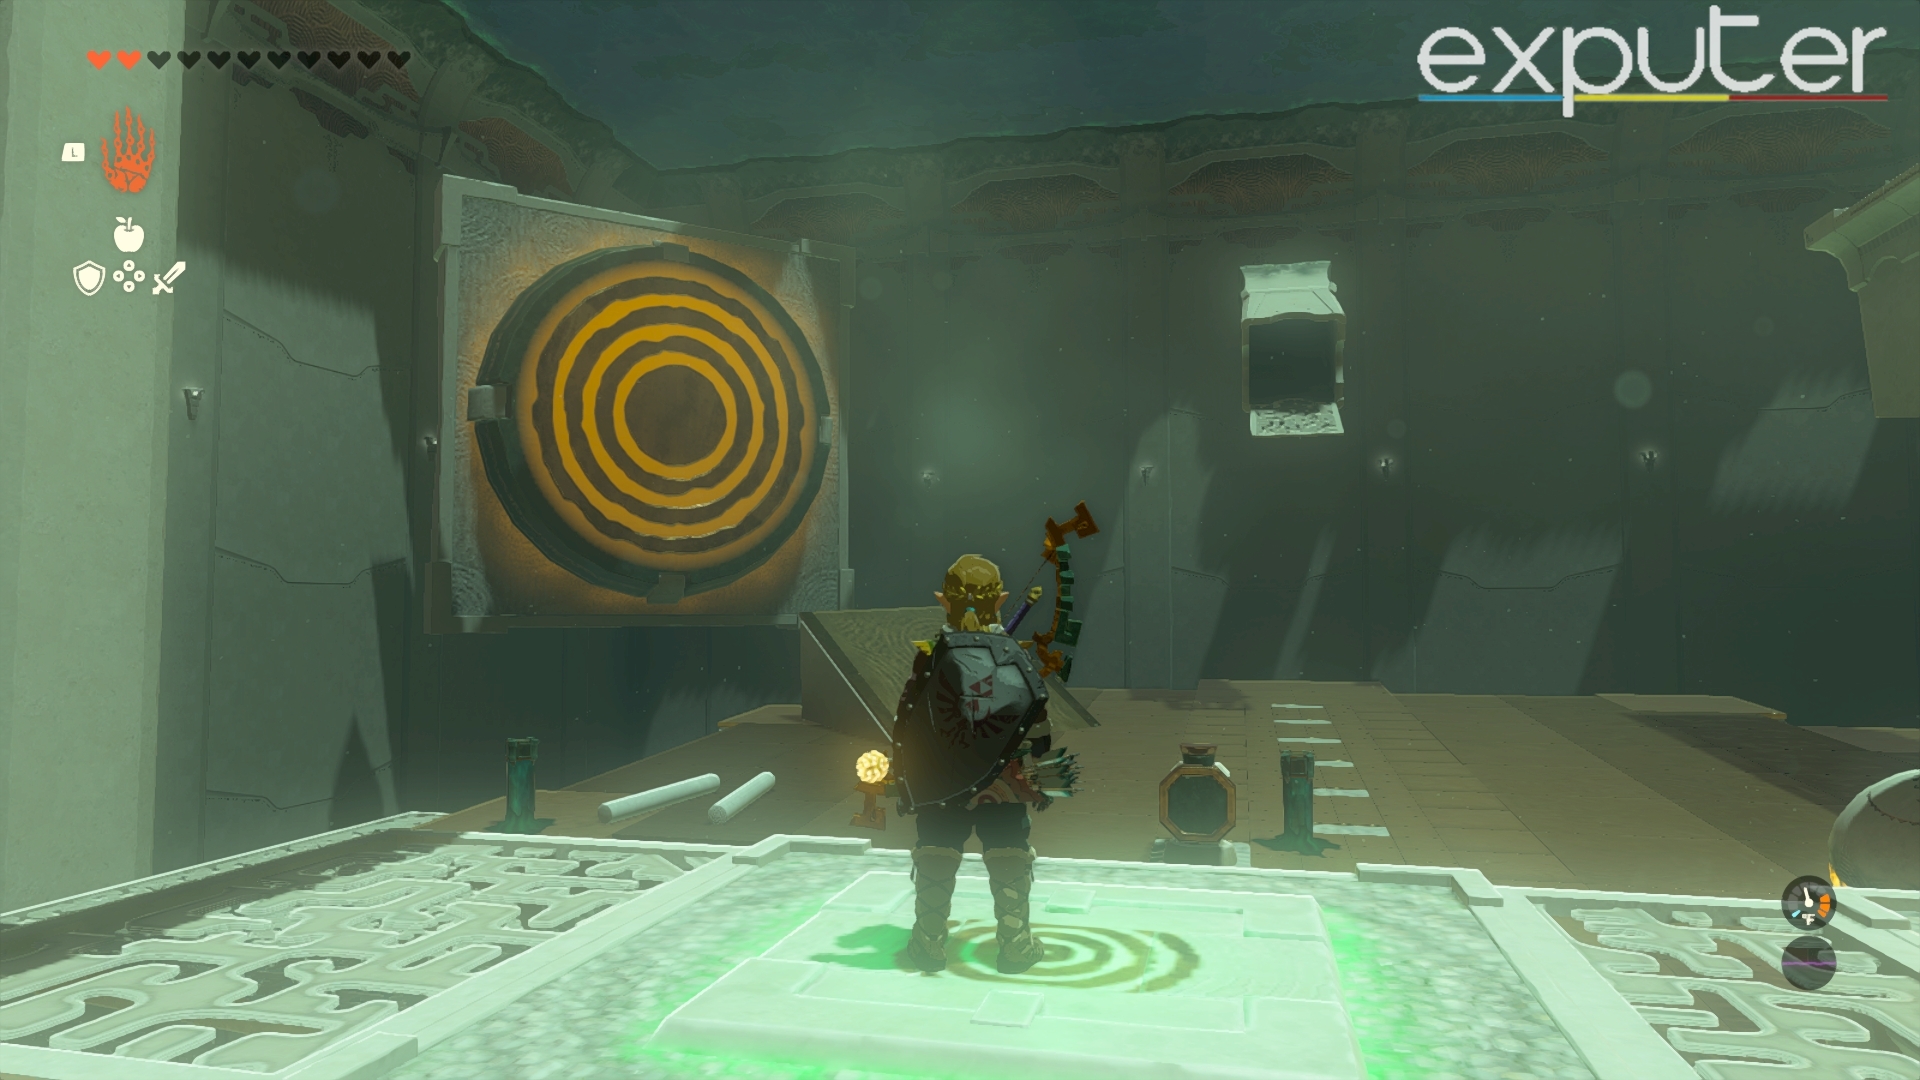
- Step on the stone plate to reveal the first bullseye.
Standing on the stone plate [Image Credit: eXputer} - The first thing you have to do is to build a flipper or bat, whatever you call it.
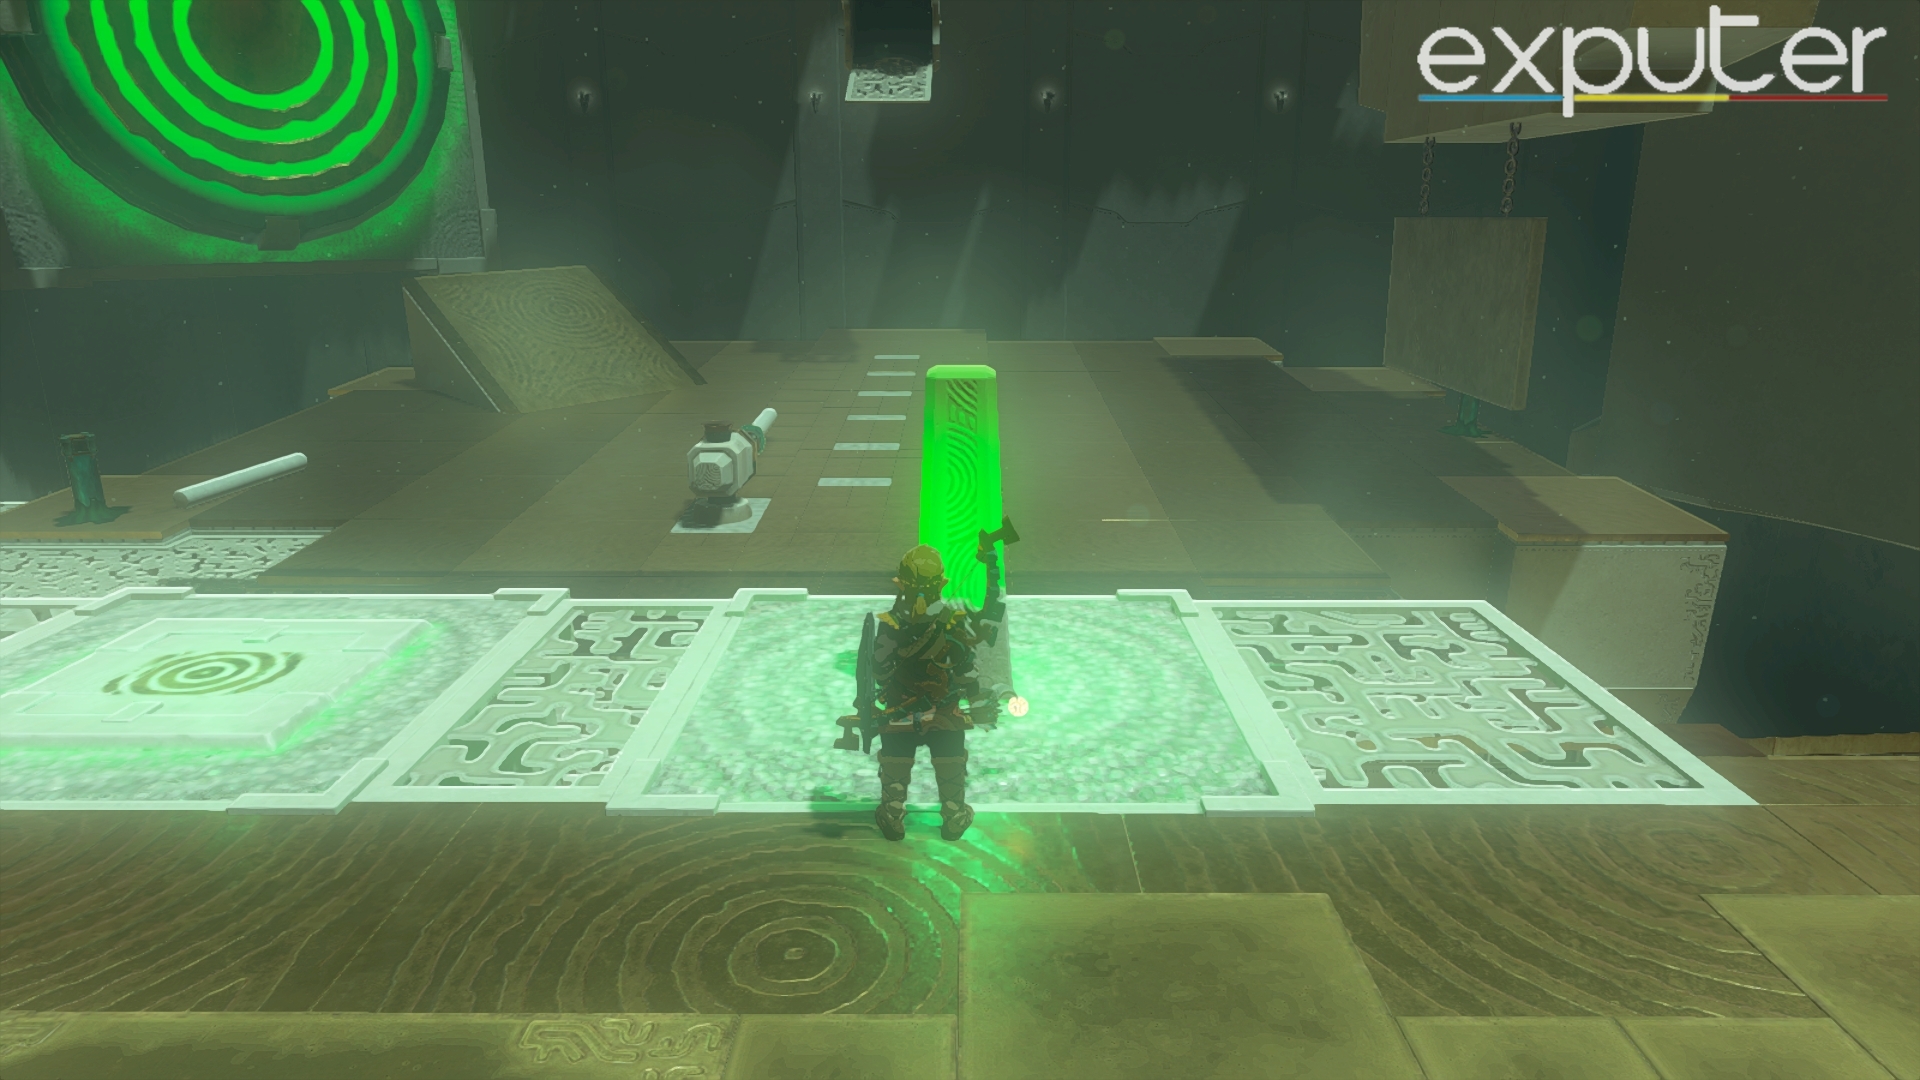
- To do this, pick up the nearby stake and insert it inside the switch.
Inserting the stake into the switch [Image Credit: eXputer} - Now pick up the nearby logs, and attach them behind the stake.
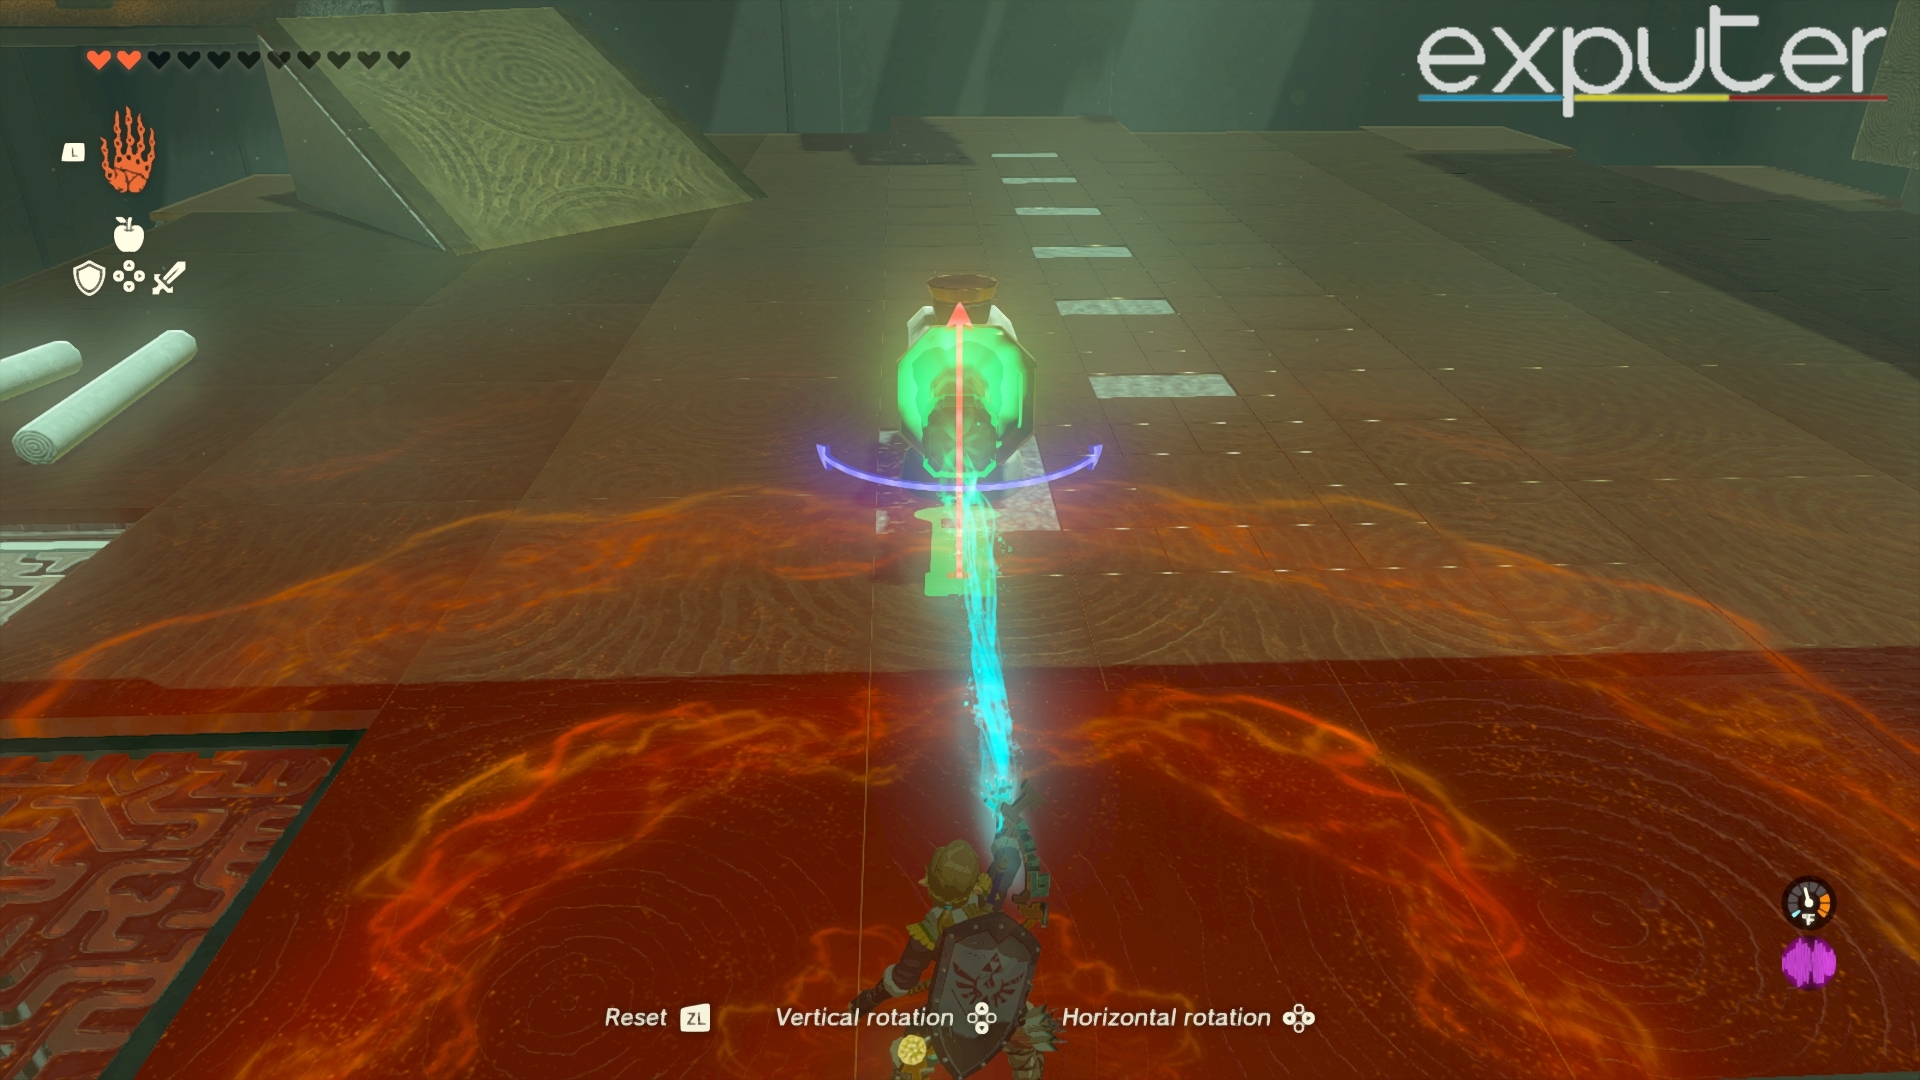
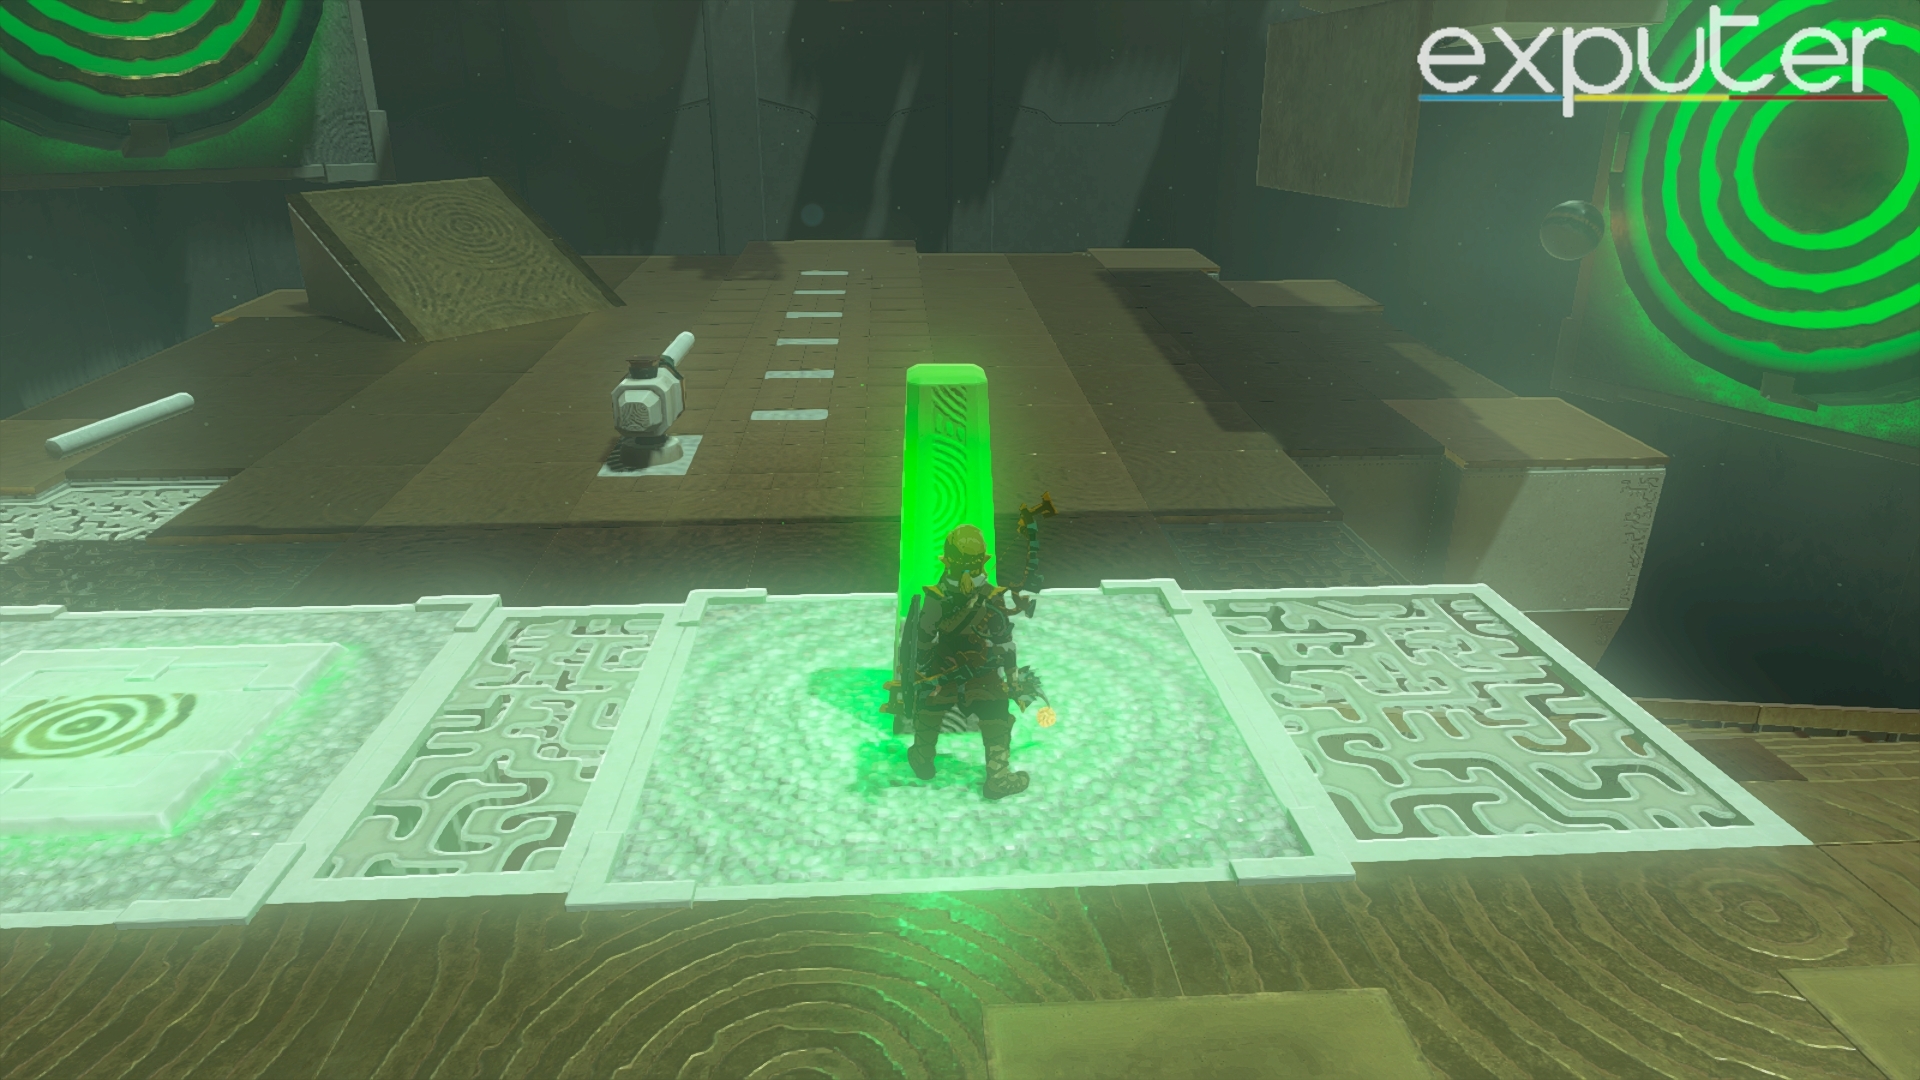
Building a bat/flipper [Image Credit: eXputer} - Once the flipper is ready, head back to the upper platform and strike the orange switch with your weapon.
Glowing orange switch [Image Credit: eXputer} - The timing is key here; strike the ball as soon as it lands. The ball will fall somewhere else if you are too late or too early.
First Target down [Image Credit: eXputer} - Don’t worry if you fail your attempt; just reset the bat every time you fail.
- After a successful attempt, the next bullseye will reveal itself.
- To hit the second target, you’ll have to take care of the stone slab hanging in front of it.
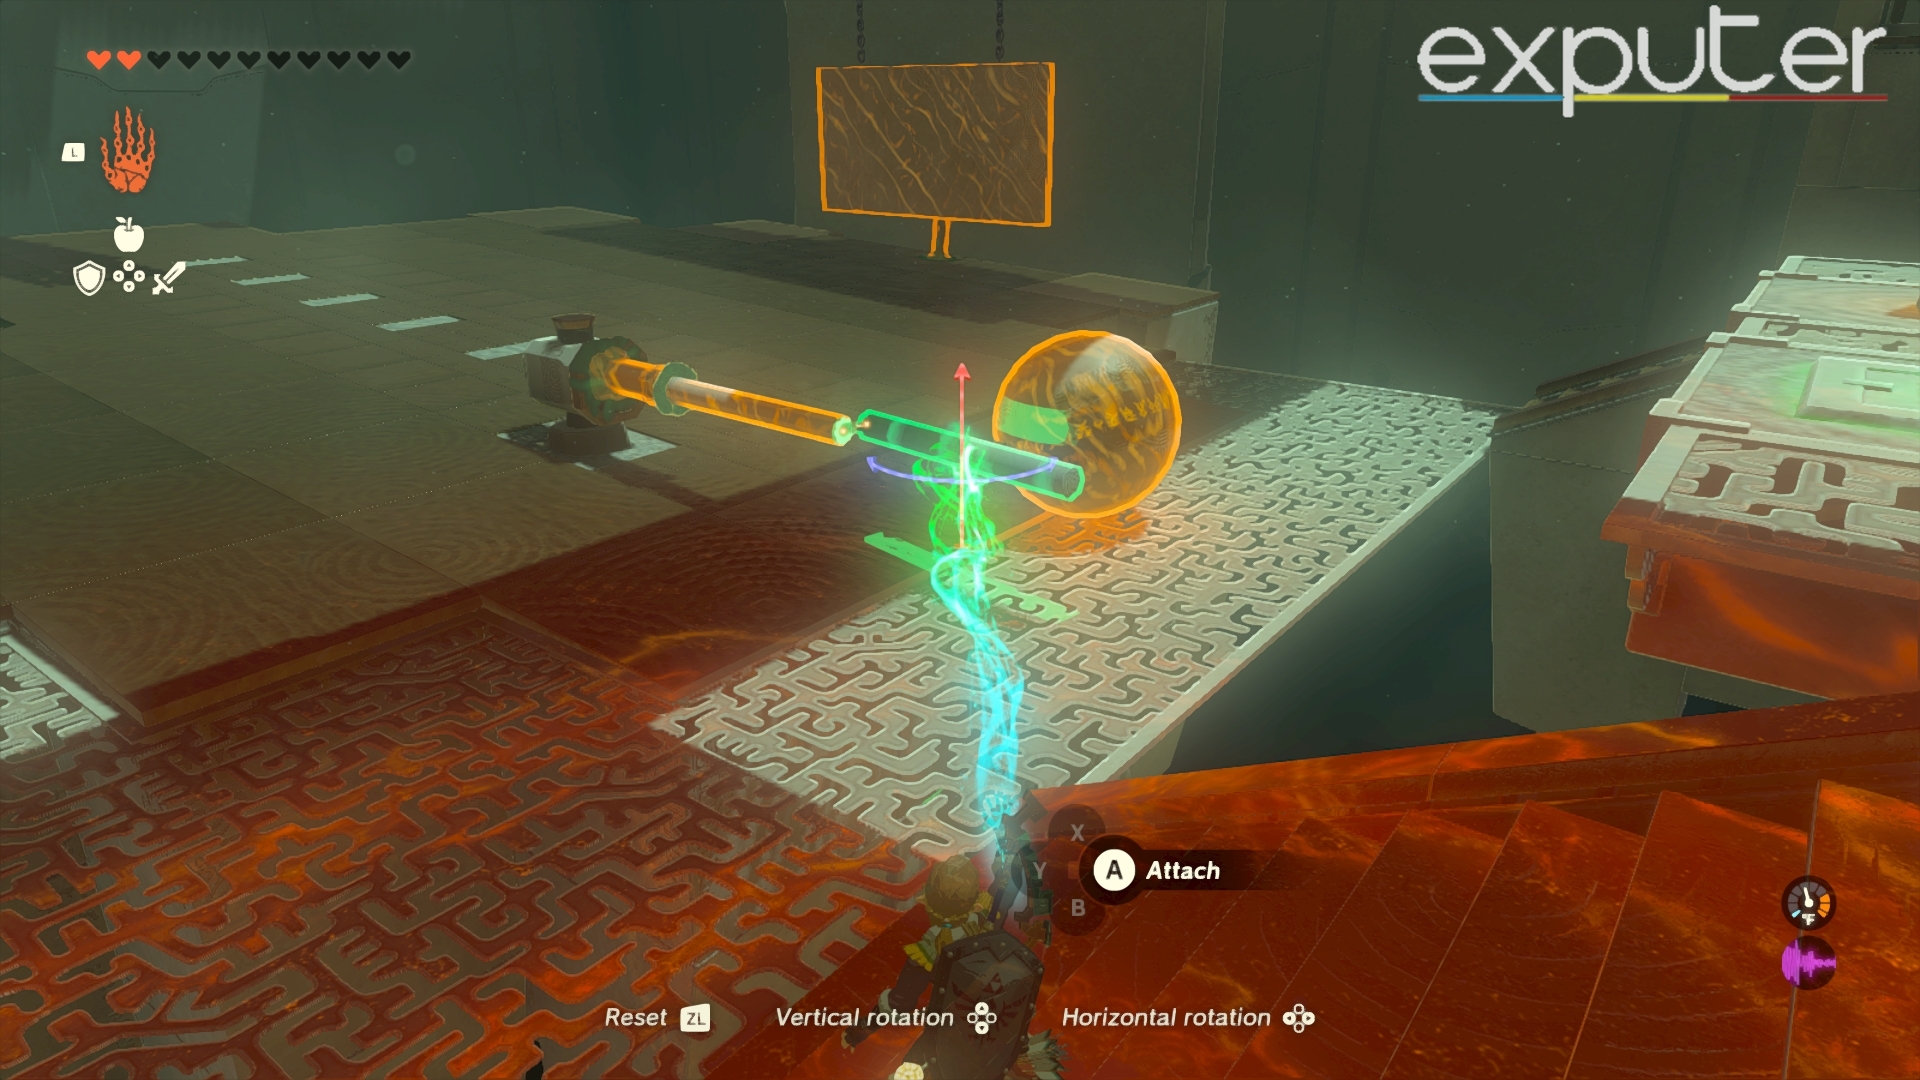
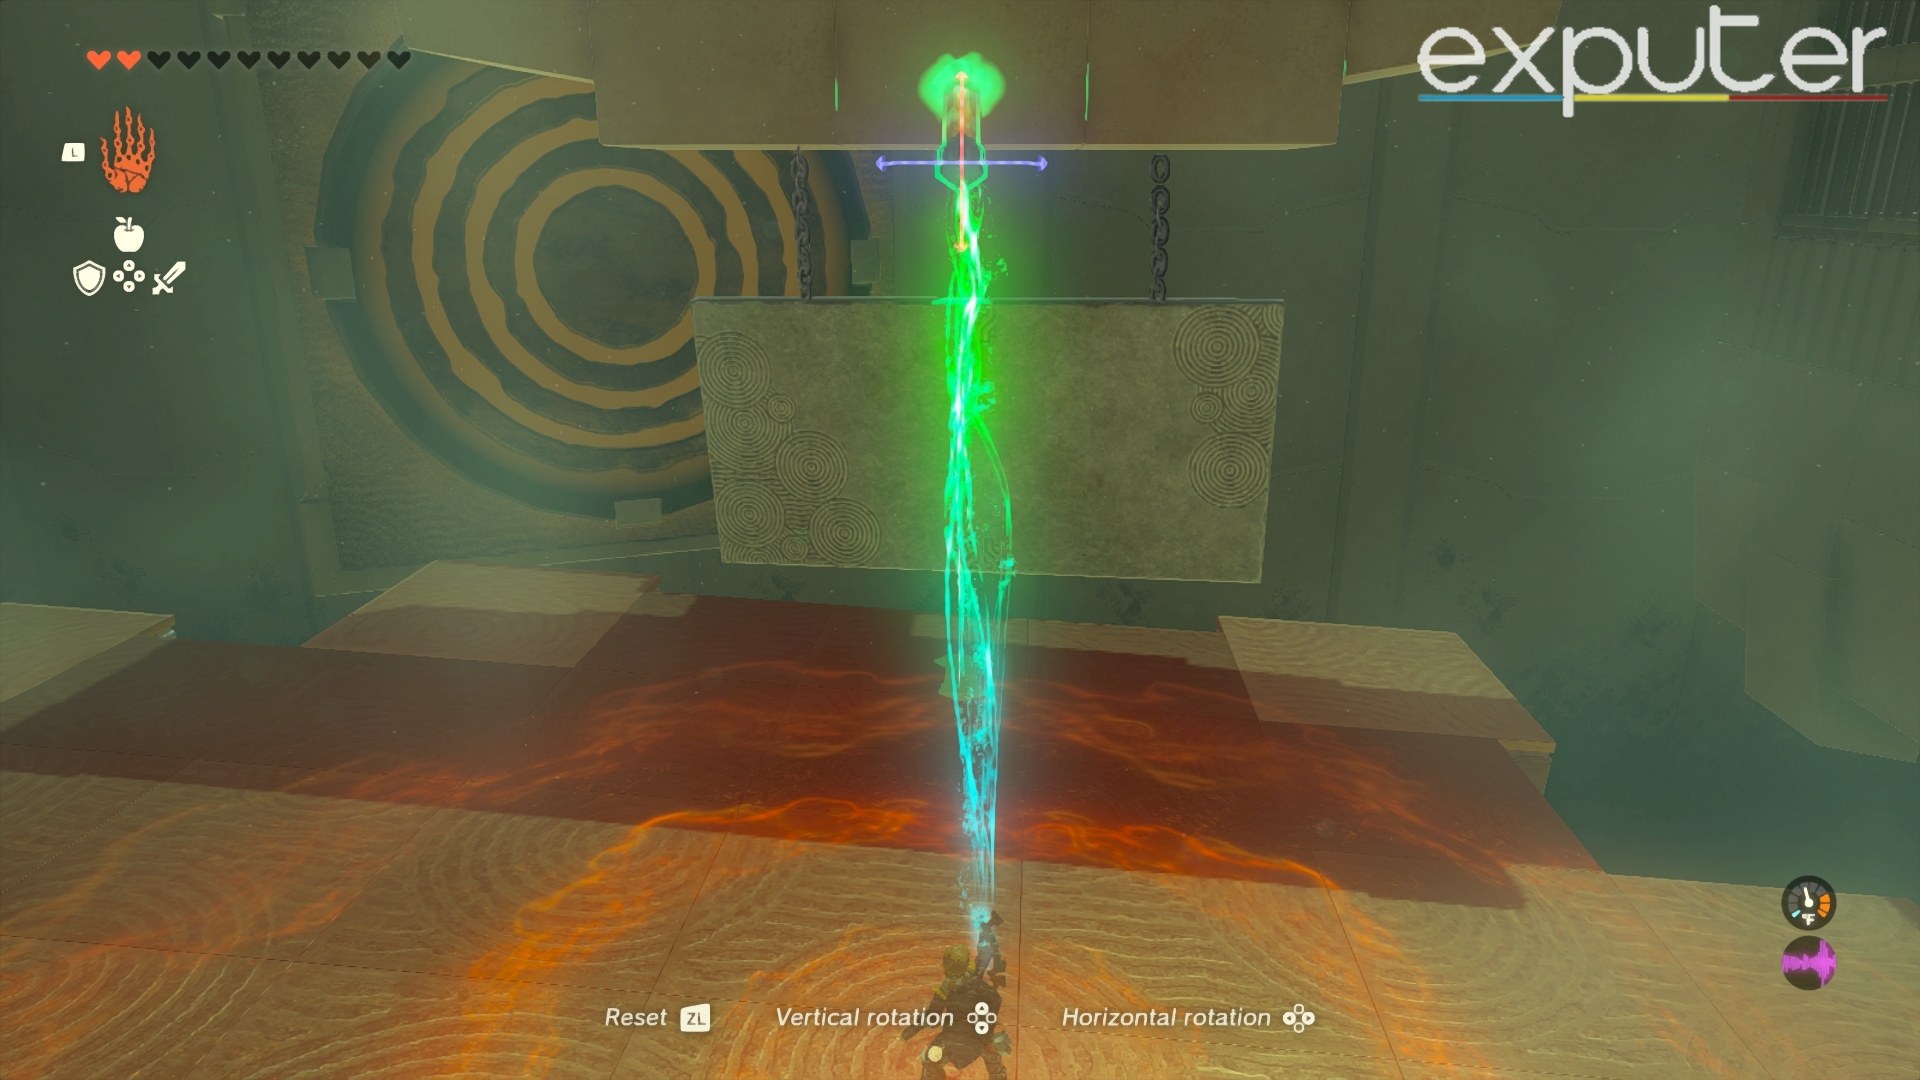
- In order to take care of this problem, pick up the stake below the slab and attach it to the upper part of the wall.
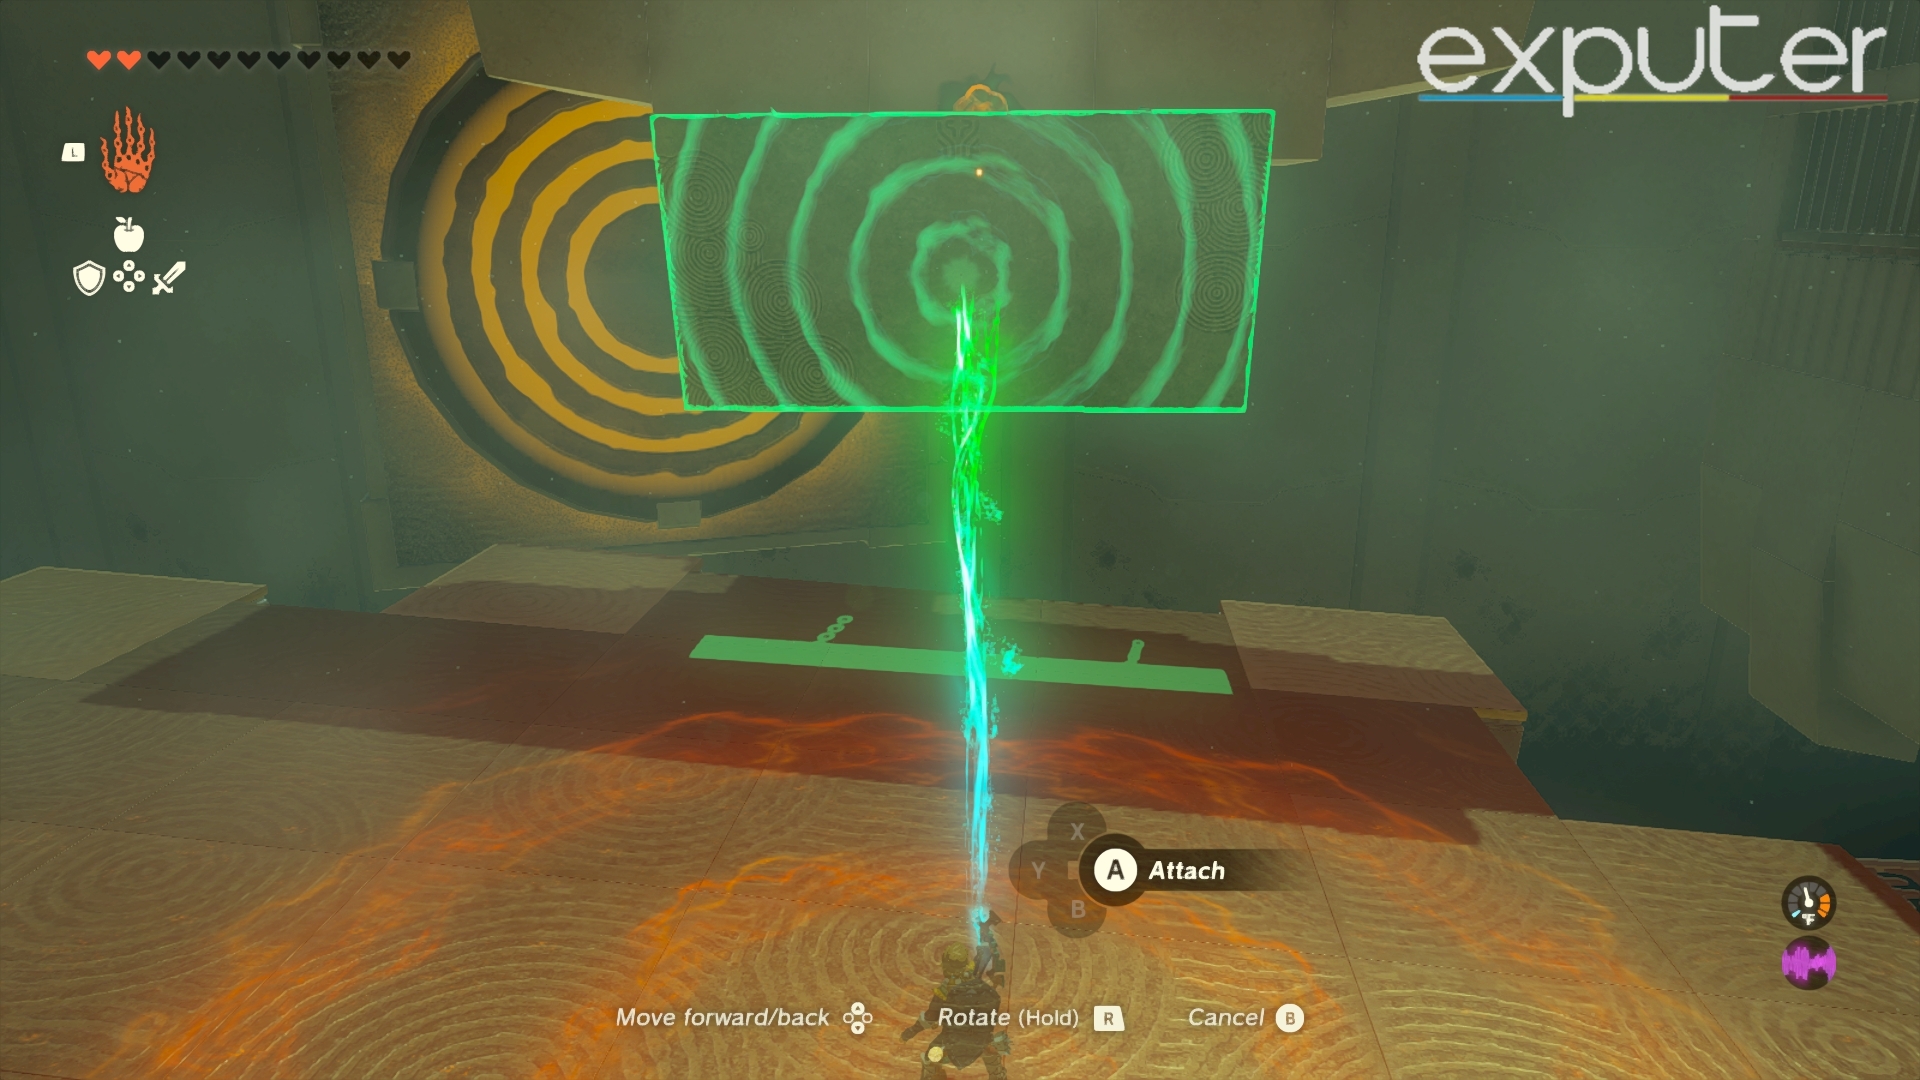
Using the Ultrahand to insert the stake into the wall [Image Credit: eXputer} - Now use the Ultrahand to attach the stone slab to the stake, such that the trajectory of the ball and the target are clear. It should look something like this.
Attaching the stone slab with the stake [Image Credit: eXputer} - Strike the switch once the ball is past the last stripe. Again timing is the key here.
Second Target down [Image Credit: eXputer} - After hitting the second target, the treasure door will open.
Reward
As mentioned above, there are a plethora of shrines in Tears of the Kingdom, and solving them requires a fair amount of critical thinking. If you want to know how to solve other shrines in the game, consider reading our guides on Ishodag Shrine, Yamiyo Shrine, Jio Sin Shrine, and Tukarok Shrine.
Next:
- Zelda Tears of the Kingdom Archaic Tunic Location
- Zelda Tears of the Kingdom: Wing Tears
- Legend of Zelda Tears of the Kingdom Ganondorf
- Legend of Zelda Tears of the Kingdom All Editions
Thanks! Do share your feedback with us. ⚡
How can we make this post better? Your help would be appreciated. ✍