 Fact Checked By
 In the fast-paced environment of The Finals, gadgets are vital for success, offering utility, mobility, and combat advantages. They complement weapons, but selecting the best ones can be daunting. This guide simplifies the choice by evaluating The Finals gadgets based on their effectiveness, synergy, and battlefield impact, assisting in making informed decisions for competitive play.
- Author Note: After spending 20+ hours in The Finals and experimenting with different gadgets, I’ve devised an authentic list that’s backed up with experience and reasoning.
All The Finals Gadgets and Comparison
Here are all of The Finals Gadgets showcased, along with their types, class, and damage.
| SERIAL NO | GADGETS | TYPE | TIER | CLASS | DAMAGE |
|---|---|---|---|---|---|
| 1 | Stun Gun | Equipable | S Tier | Light | N/A |
| 2 | Defibrillators | Equipable | S Tier | Medium | N/A |
| 3 | Glitch Grenade | Grenade | S Tier | Light | N/A |
| 4 | APS Turret | Defensive | S Tier | Medium | Indefinite |
| 5 | RPG-7 | Equipable | S Tier | Heavy | 180 |
| 6 | Gas Mine | Mine | A Tier | Medium | 22/sec |
| 7 | C4 | Deployable Explosive | A Tier | Heavy | 240 |
| 8 | Dome Shield | Grenade, Defensive | A Tier | Heavy | N/A |
| 9 | Frag Grenade | Grenade | A Tier | All Builds | 149 |
| 10 | Breach Charge | Deployable Explosive | B Tier | Light | 199 |
| 11 | Motion Sensor | Grenade, Deployable | B Tier | Light | N/A |
| 12 | Explosive Mine | Mine | B Tier | Medium | 245 |
| 13 | Jump Pad | Deployable | B Tier | Medium | N/A |
| 14 | Sonar Grenade | Grenade | B Tier | Medium | N/A |
| 15 | Zipline | Deployable | B Tier | Medium | N/A |
| 16 | Explosive Mine | Mine | B Tier | Heavy | 245 |
| 17 | Pyro Mine | Mine | B Tier | Heavy | 25/sec |
| 18 | Flashbang | Grenade | B Tier | All Builds | N/A |
| 19 | Gas Grenade | Grenade | B Tier | All Builds | 22/sec |
| 20 | Goo Grenade | Grenade | B Tier | All Builds | N/A |
| 21 | Pyro Grenade | Grenade | B Tier | All Builds | 12/sec |
| 22 | Smoke Grenade | Grenade | C Tier | Light | N/A |
| 23 | Vanishing Bomb | Grenade | C Tier | Light | N/A |
| 24 | Glitch Trap | Mine | C Tier | Medium | N/A |
| 25 | Barricade | Deployable | C Tier | Heavy | N/A |
| 26 | Thermal Vision | Utility | D Tier | Light | N/A |
| 27 | Tracking Dart | Equipable | D Tier | Medium | 1 |
S-Tier
Moreover, the dazed faces of enemies upon being hit by a Stun Gun never get old; pair it with a disruptive disabling gadget such as Glitch Grenade, and voila, you have a recipe for disaster for the enemy’s gadgets and specialization.
A-Tier
Furthermore, C4 can take out enemies or destroy structures to cater to your advantage. The Dome Shield is a deployable shield that can protect from gunfire and explosions. Lastly, the trusty old Frag Grenade, available to all classes, can be used to damage or kill enemies.
B-Tier
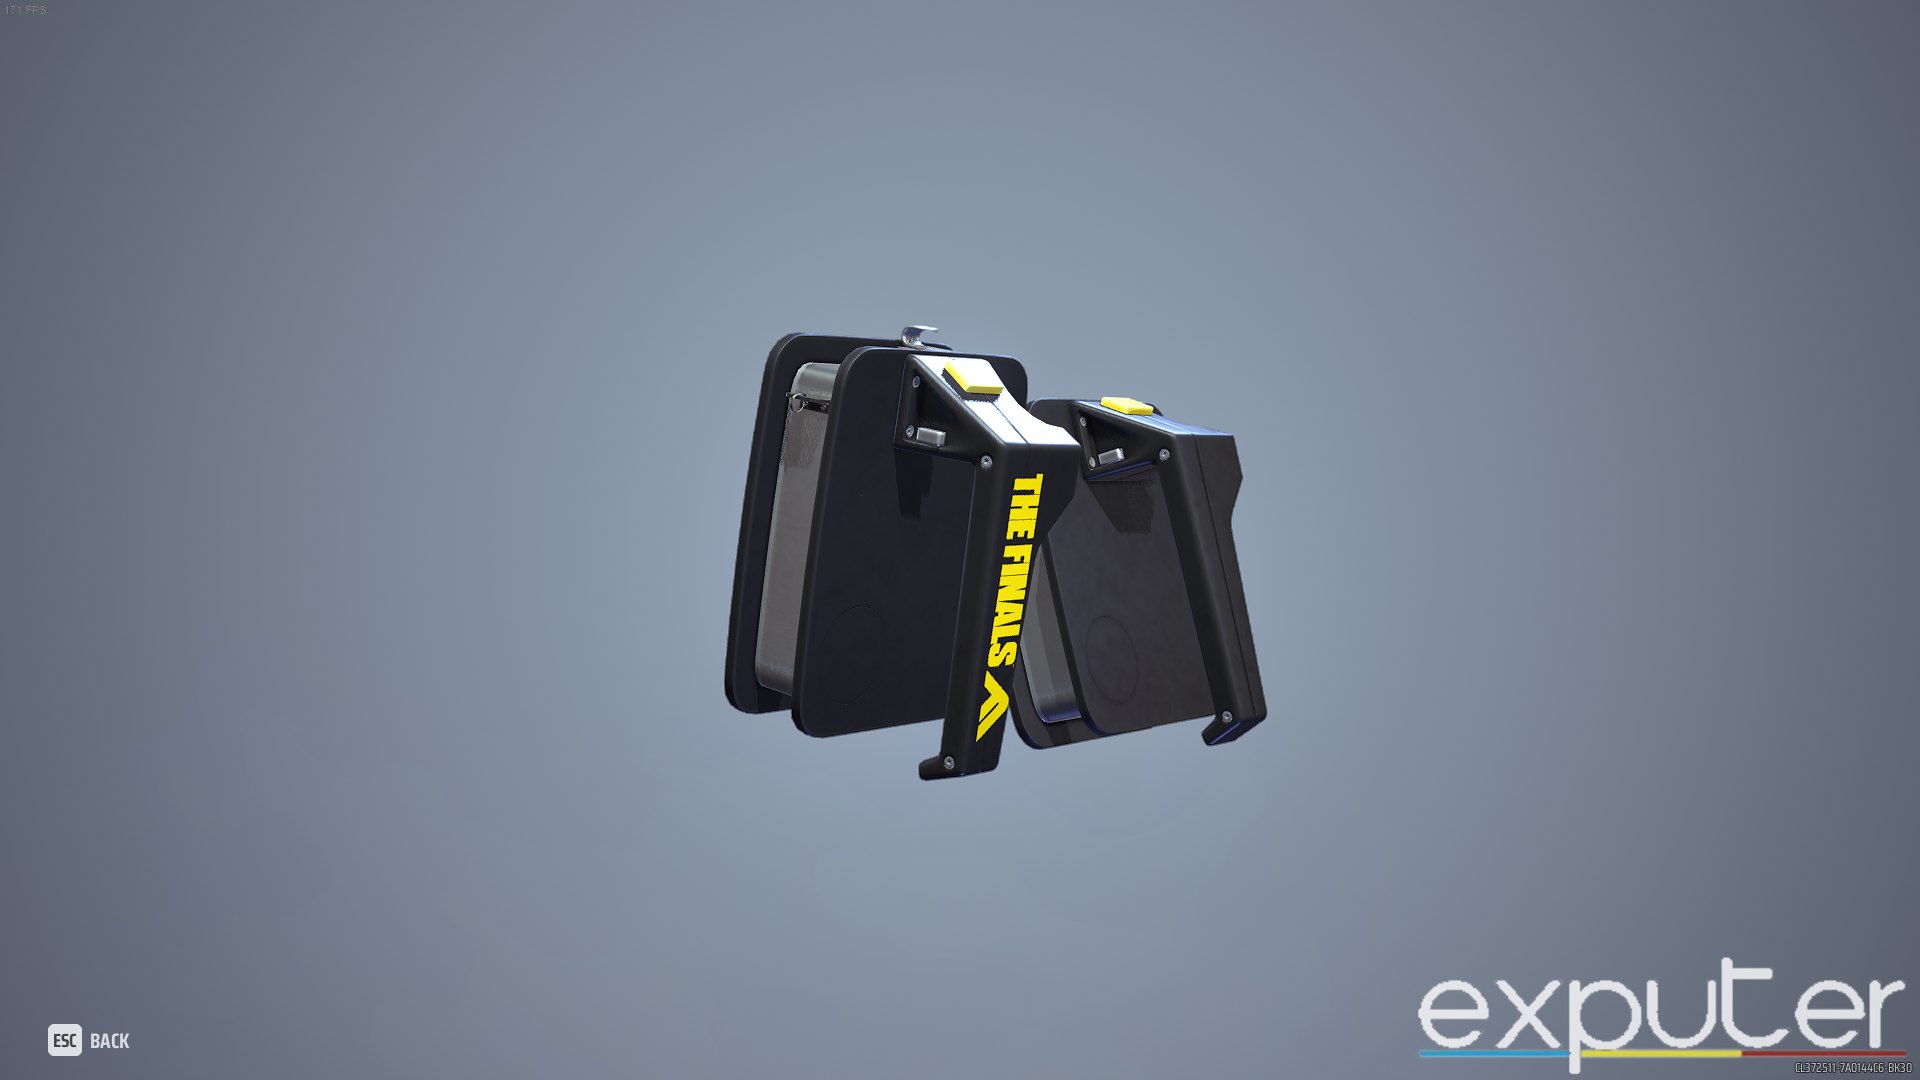
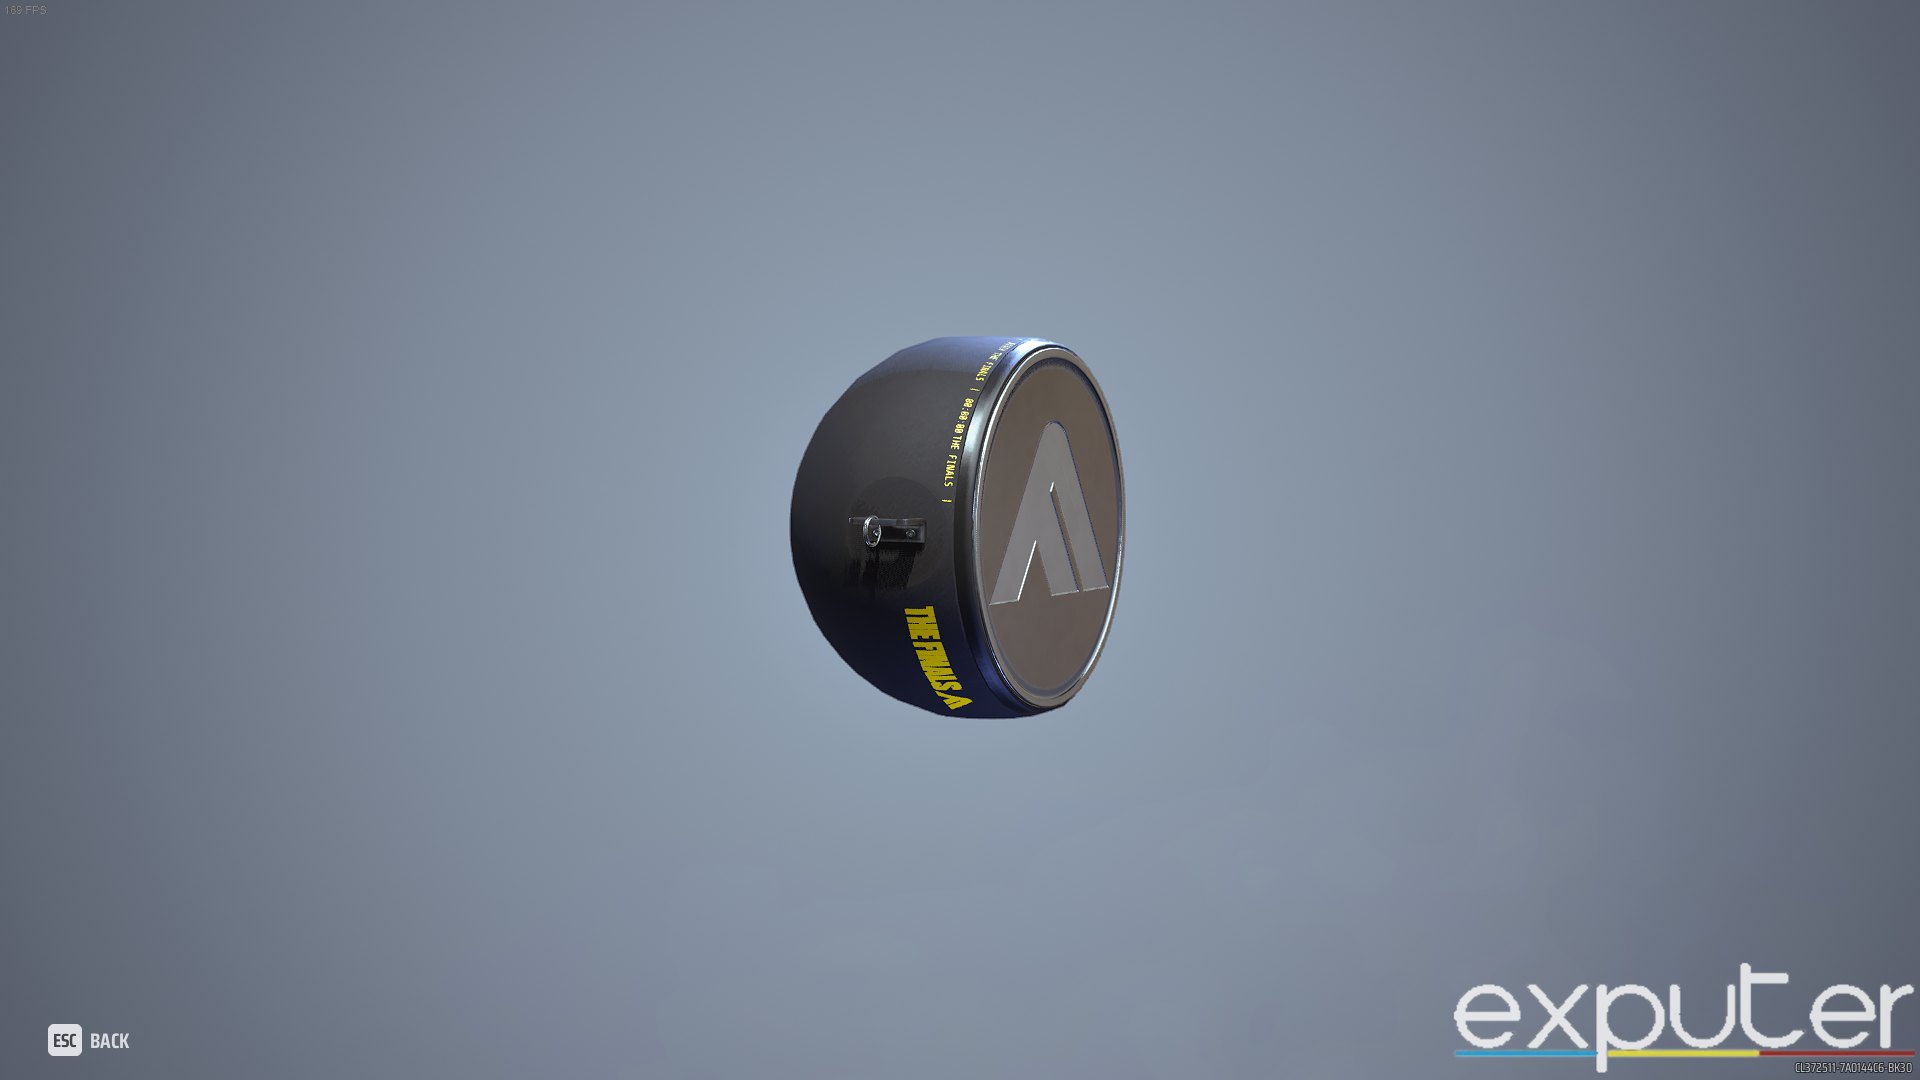
![Tier-B The Finals gadgets [Image Credits: Me]](https://exputer.com/wp-content/uploads/2023/12/B-Tier-Gadget.jpg)
Having the same function as its elder brother, C4, the Breach Charges are lacking in the damage department but are still a good starting option for the light build. The damage might seem high moving towards the Explosive and Pyro Mines, but the cumulative damage and usage compared to a Gas Mine put them in this tier.
The grenade family, including the Flashbang, Pyro, Goo, Gas, and info-gathering grenades such as Motion Sensors and Sonar Grenades, seems like a wary choice. Still, when fused with the right build, it can easily reap havoc on the battlefield.
Apart from these gadgets, deployable such as the Jump Pad and the Ziplines are viable starting gadgets for escaping a sticky situation and/or offering unexpected flanks, perfect for confusing enemies and breaking the deadlocks.
C-Tier
| SERIAL NO | GADGETS | TYPE | TIER | CLASS | DAMAGE |
|---|---|---|---|---|---|
| 1 | Smoke Grenade | Grenade | C Tier | Light | N/A |
| 2 | Vanishing Bomb | Grenade | C Tier | Light | N/A |
| 3 | Glitch Trap | Mine | C Tier | Medium | N/A |
| 4 | Barricade | Deployable | C Tier | Heavy | N/A |
As we move further down the list to the C-Tier, these include niche gadgets with limited utility that are best suited for specific strategies or personal preferences. They might not pack the punch of their higher-tier counterparts, but they offer utility catered to specific strategies.
For example, if you are rocking a light build, specifically towards infiltration and catching your enemies off guard, then the Smoke Grenade and the Vanishing Bomb are for you. But if you are rocking a heavy build with team defense and objective considerations in mind, I recommend you opt for either Barricade or Glitch Traps to set your team up for the win.
D-Tier
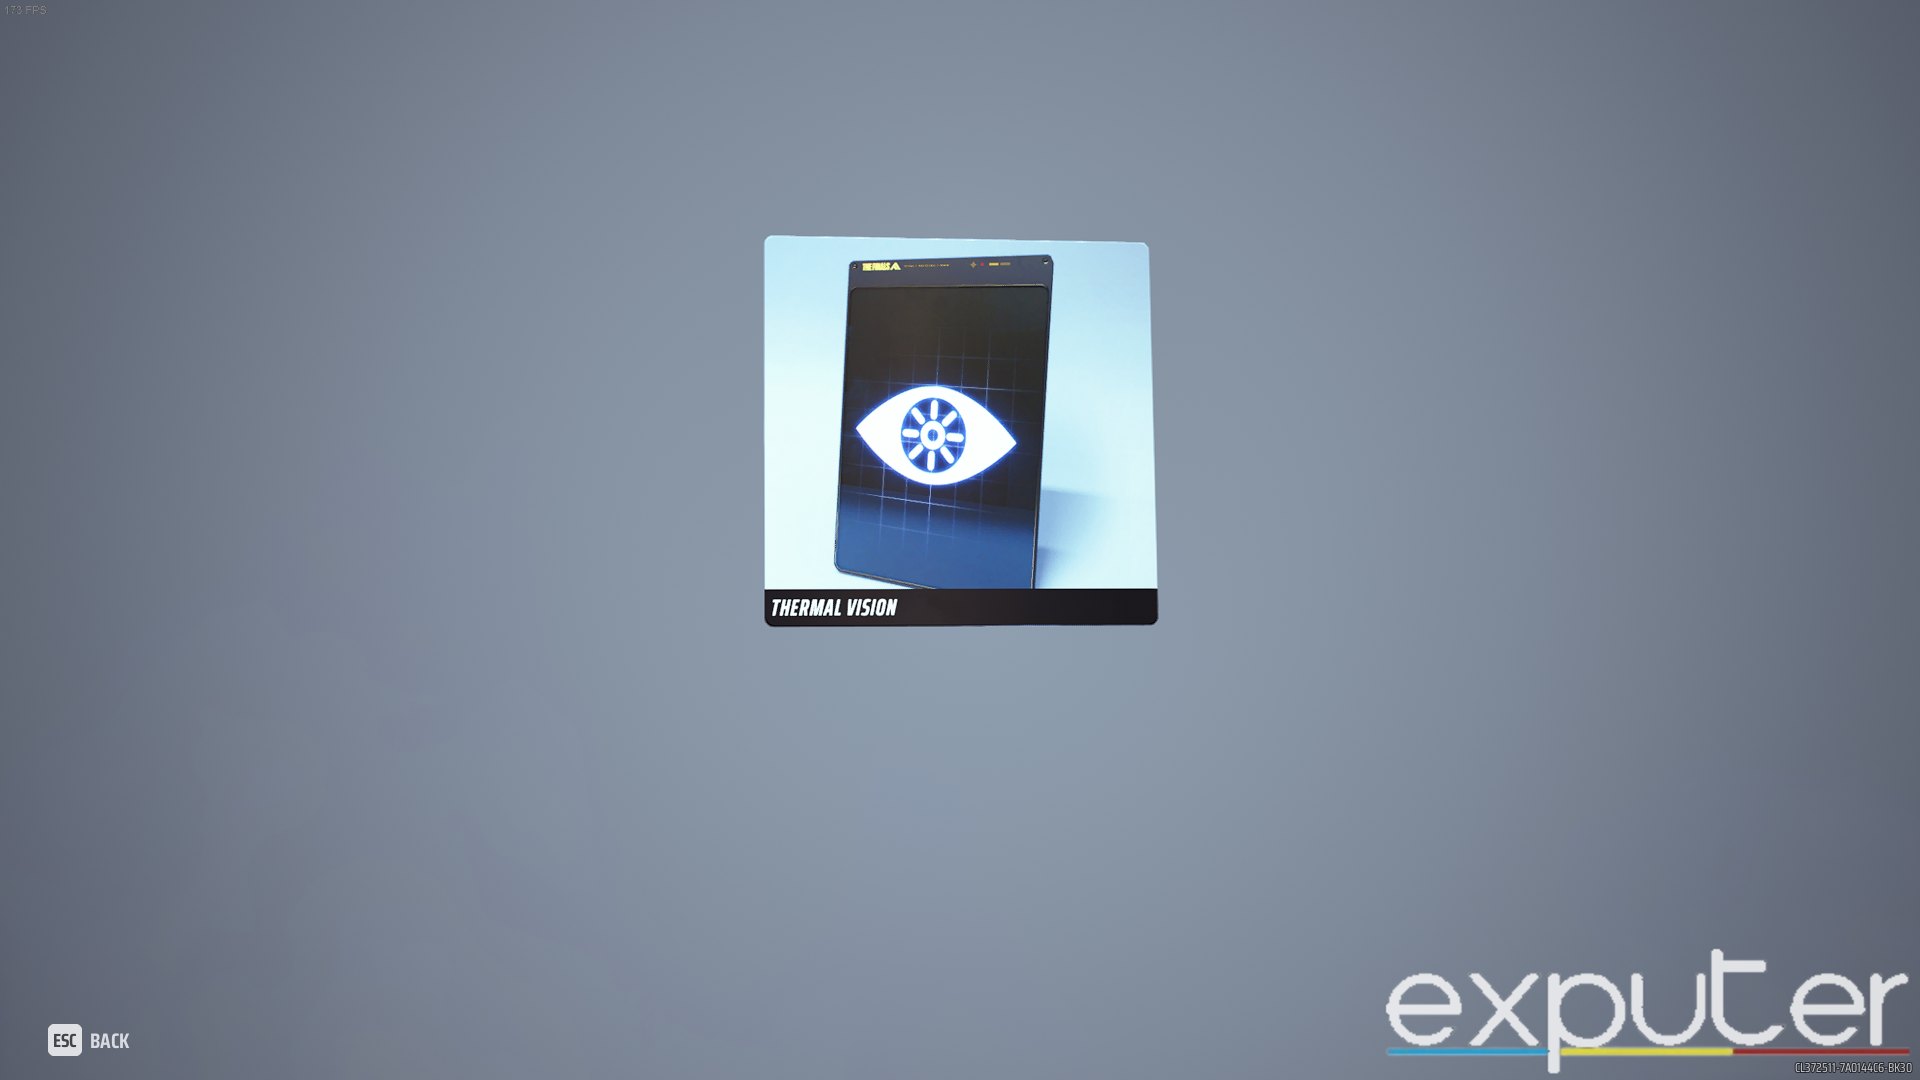
However, some D-Tier gadgets can excel in specific scenarios or appeal to players who enjoy using unconventional tools. For example, for those low-light combat situations in the Seoul Map, Thermal Vision can be combined with a Motion Sensor to camp the deposit machine, especially to take enemies off-guard. Or, if you are a medium-build support player in general, you can opt for the Tracking Dart.
While I would generally not necessarily recommend the use of D-Tier gadgets for most players or situations, these gadgets can serve specialized purposes or accommodate particular playstyles. While they might be entertaining and experimental, going for higher tiers is usually recommended for a greater likelihood of wins.
The Finals Gadgets Tier List Criteria
The way I have curated this tier list is based on a number of factors that include:
- Utility and Impact.
- Synergy with Class and Weapon.
- Map and Objective Effectiveness.
- Risk vs. Reward.
- Overall Performance and Balance.
This tier list is a guide, not a definitive ranking. Factors like individual player builds in The Finals, skill, map layouts, and specific team compositions can influence gadget effectiveness. Experiment, consider the situational context, and choose the gadgets that best suit your playstyle and strategy.
Up Next
- The Finals: Best Weapons
- The Finals: Best Specializations
- The Finals: Leaderboards
- The Finals: How to Add Friends
Thanks! Do share your feedback with us. ⚡
How can we make this post better? Your help would be appreciated. ✍
Motion sensor should be higher
Frag should be alongside Stun in the S tier. These two are the most useful imo
nice
Thank god there are classes with each gadget
Motion sensor is soo good bring it higher