The Pray gesture is one of the 17 gestures in Lies of P that you can use at multiple points during your playthrough. You can obtain it as part of Cecile’s side quest in St. Frangelico’s Cathedral towards the end of Chapter 4. Fortunately, besides one major prerequisite, you can breeze through this quest reasonably easily.
- Unlocking the Pray Gesture is part of Cecile’s side quest in Lies of P’s St. Frangelico Cathedral in Chapter 4.
- To unlock the gesture, players must first interact with Cecile and then give her the Archbishop’s Holy Mark.
- After killing the Fallen Archbishop Andreus boss, they must return to Cecile’s original location and read the Written Confession left by her to get the Pray gesture.
- Players can use this gesture to receive a Humanity Point by praying in front of the White Angel’s Statue near the Cathedral Chapel.
- They can also use it in front of the Broken Puppet located near the Barren Swamp.
Alongside reading my guide, you can also view eXputer’s video on unlocking the Pray Gesture:
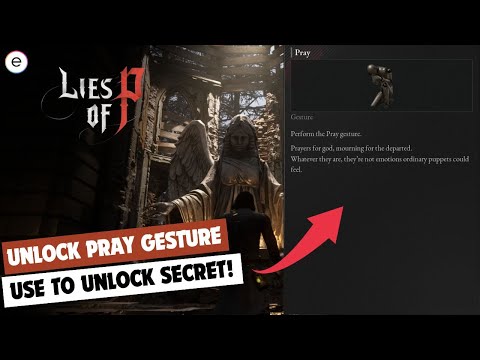
How To Get The Pray Gesture
Players can unlock the Pray Gesture by reading Cecile’s Written Confession, picked up in St. Frangelico’s Cathedral Library after giving Cecile the Archbishop’s Holy Mark and killing Fallen Archbishop Andreus.
As highlighted earlier, you’ll first need to reach Chapter 4’s St. Frangelico Cathedral. Most of the enemies here will spread the Decay status effect, so I’d suggest reserving some Attribute Resistance Ampoules and any Decay-preventing Defense Parts.
Here’s how you can obtain the Pray Gesture in Lies of P:
- Starting from the St. Frangelico Cathedral Library Stargazer, talk to Cecile in the hall on your left.
- Upon exhausting her dialogue, you must head beyond the nearby arch and continue following the straight path through the cathedral.
- Eventually, you’ll reach a broken walkway; sprint straight ahead to a room with two angel statues outside.
- Inside the room, you’ll find the Archbishop’s Holy Mark and a safe with the Workshop Union Strengthening Frame Defense Part.
- Exit the room and continue your way through the cathedral’s upper floor until you descend a ladder and pull a contraption’s chain to unlock a shortcut that takes you back to the Library Stargazer.
- Give the Holy Mark to Cecile, then return to your original path and defeat Fallen Archbishop Andreus, the main boss of Chapter 4.
- Once you kill the Archbishop, return to Cecile, and instead of her, you’ll find the Divine Service Record and a Letter, Cecile’s Written Confession, which you must read till the last page to get the Pray Gesture.
 Meeting Cecile near the Library (Image taken by me)


Uses Of The Pray Gesture
You can utilize the Pray Gesture in the following manner:
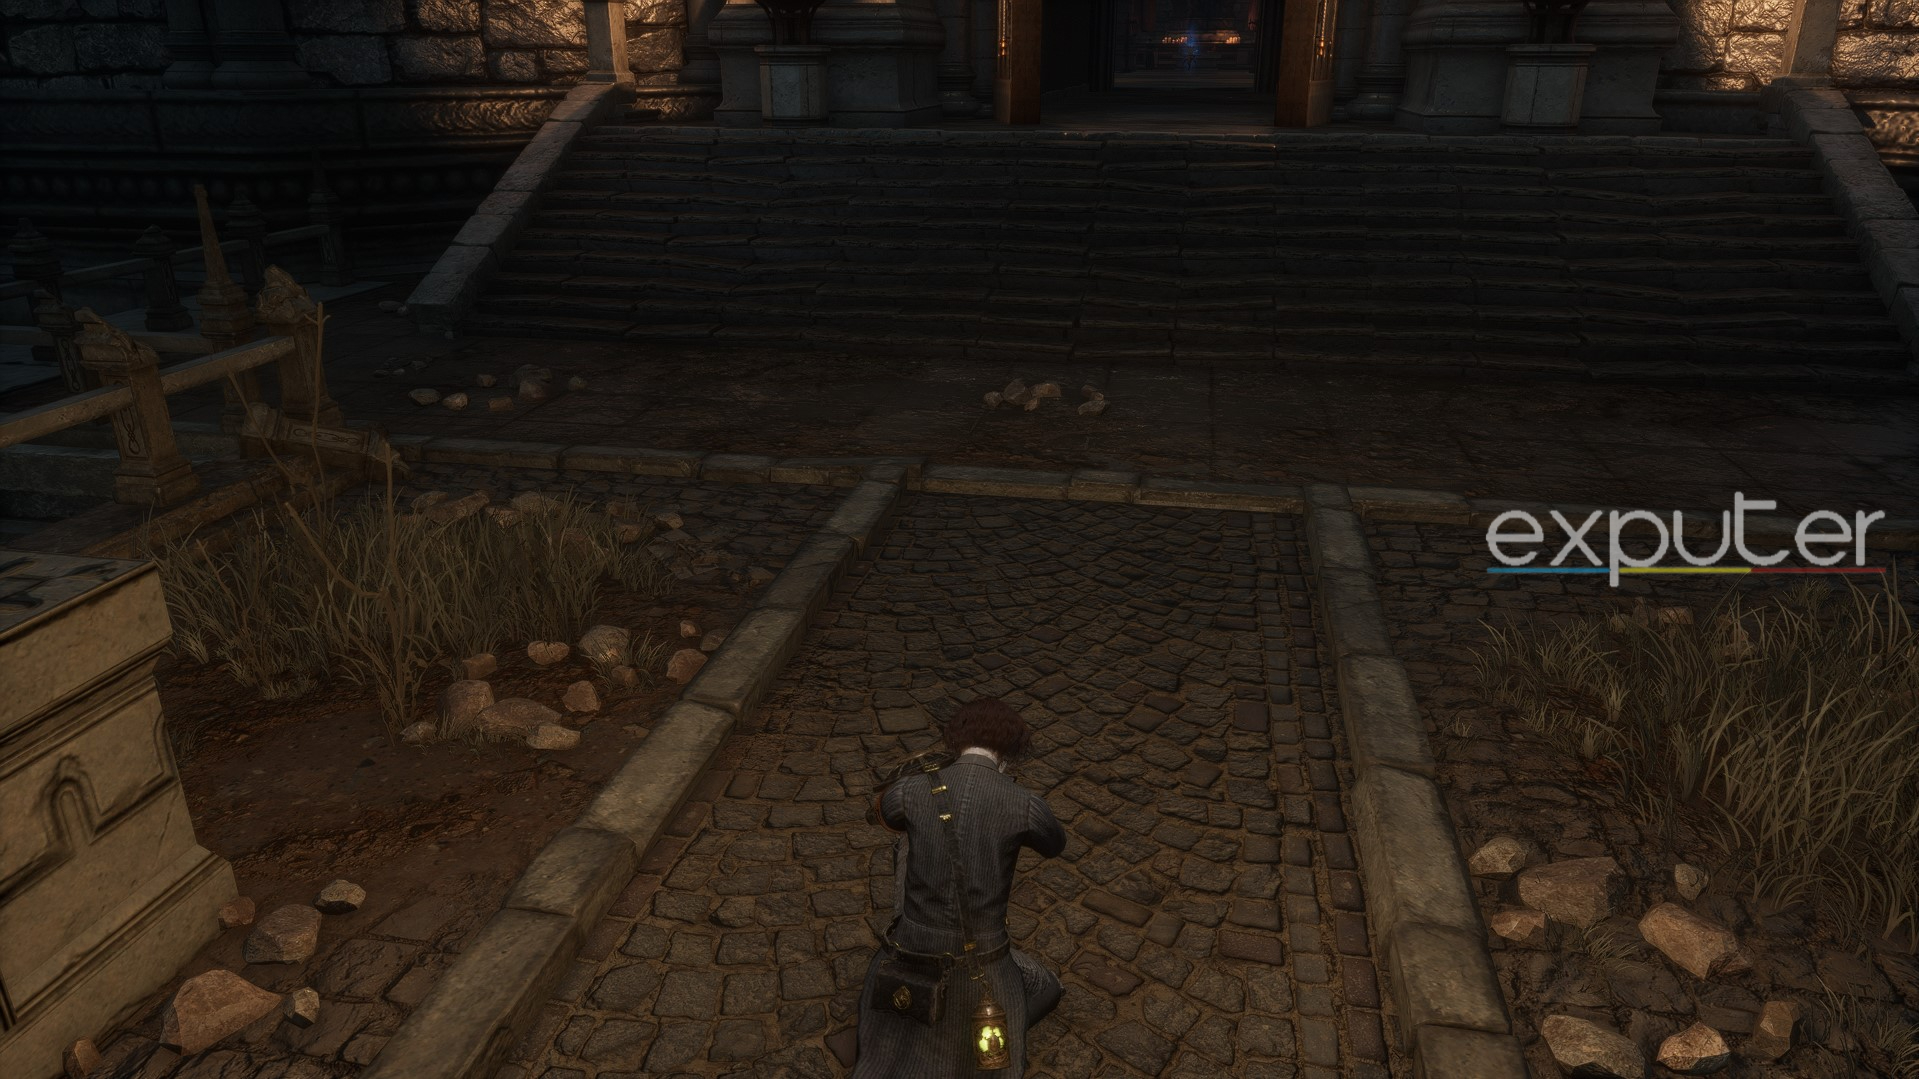
- From the St. Frangelico Cathedral Chapel Stargazer, turn around and sprint across the bridge until you’re next to the white angel’s statue on the other side.
- Once you’re next to the statue, go to the Gesture Tab in your Bag menu and use the Pray emote.
- While praying, you’ll receive a Humanity Point indicated by the “Your Springs Are Reacting” prompt on-screen.
- White Angel's statue (Image Captured by me)


That wraps up my brief guide on unlocking and using Lies of P’s Pray Gesture. Unfortunately, the lack of multiplayer support in this title means players, including myself, often forget to use gestures. After all, the whole point of gestures in Soulslike games is to express emotions to other players during PvP. However, I personally enjoy these subtle uses of emotes, and the Pray Gesture is one of the more used emotes in-game.
For taking part in other intriguing but longer side quests, check out my detailed guide on solving the phone riddles in Lies of P. If you’re instead focused on improving your build to tackle the mid-game and late-game challenges, here are the best weapons you can find and equip. And for a reliable secondary weapon, Roaim Chohan has an in-depth guide on the Best Legion Arms in Lies of P.
Next:
- Lies of P: How To Obtain Dark Moon Moonstone Of The Covenant
- Lies of P: How To Unlock And Use The Puppet Ripper?
- Lies of P: All Endings & How To Unlock Them
- Lies Of P: Noblesse Oblige
Thanks! Do share your feedback with us. ⚡
How can we make this post better? Your help would be appreciated. ✍