The Final Providence Trial in Risk of Rain Returns, Judgement, offers a straightforward concept: select a survivor and battle through nine consecutive waves of enemies to conquer the challenge.
- You must beat the Judgement Trial in Risk of Rain Returns by battling ten total waves of diverse enemies and challenges.
- A strategic selection of items is crucial to build your character effectively and successfully navigating past the nine challenges.
- You need to defeat Providence and the Umbras of survivors in the Final Wave.
- Completion grants a Providence-themed skin for your survivor.
How To Beat The Judgement Trial
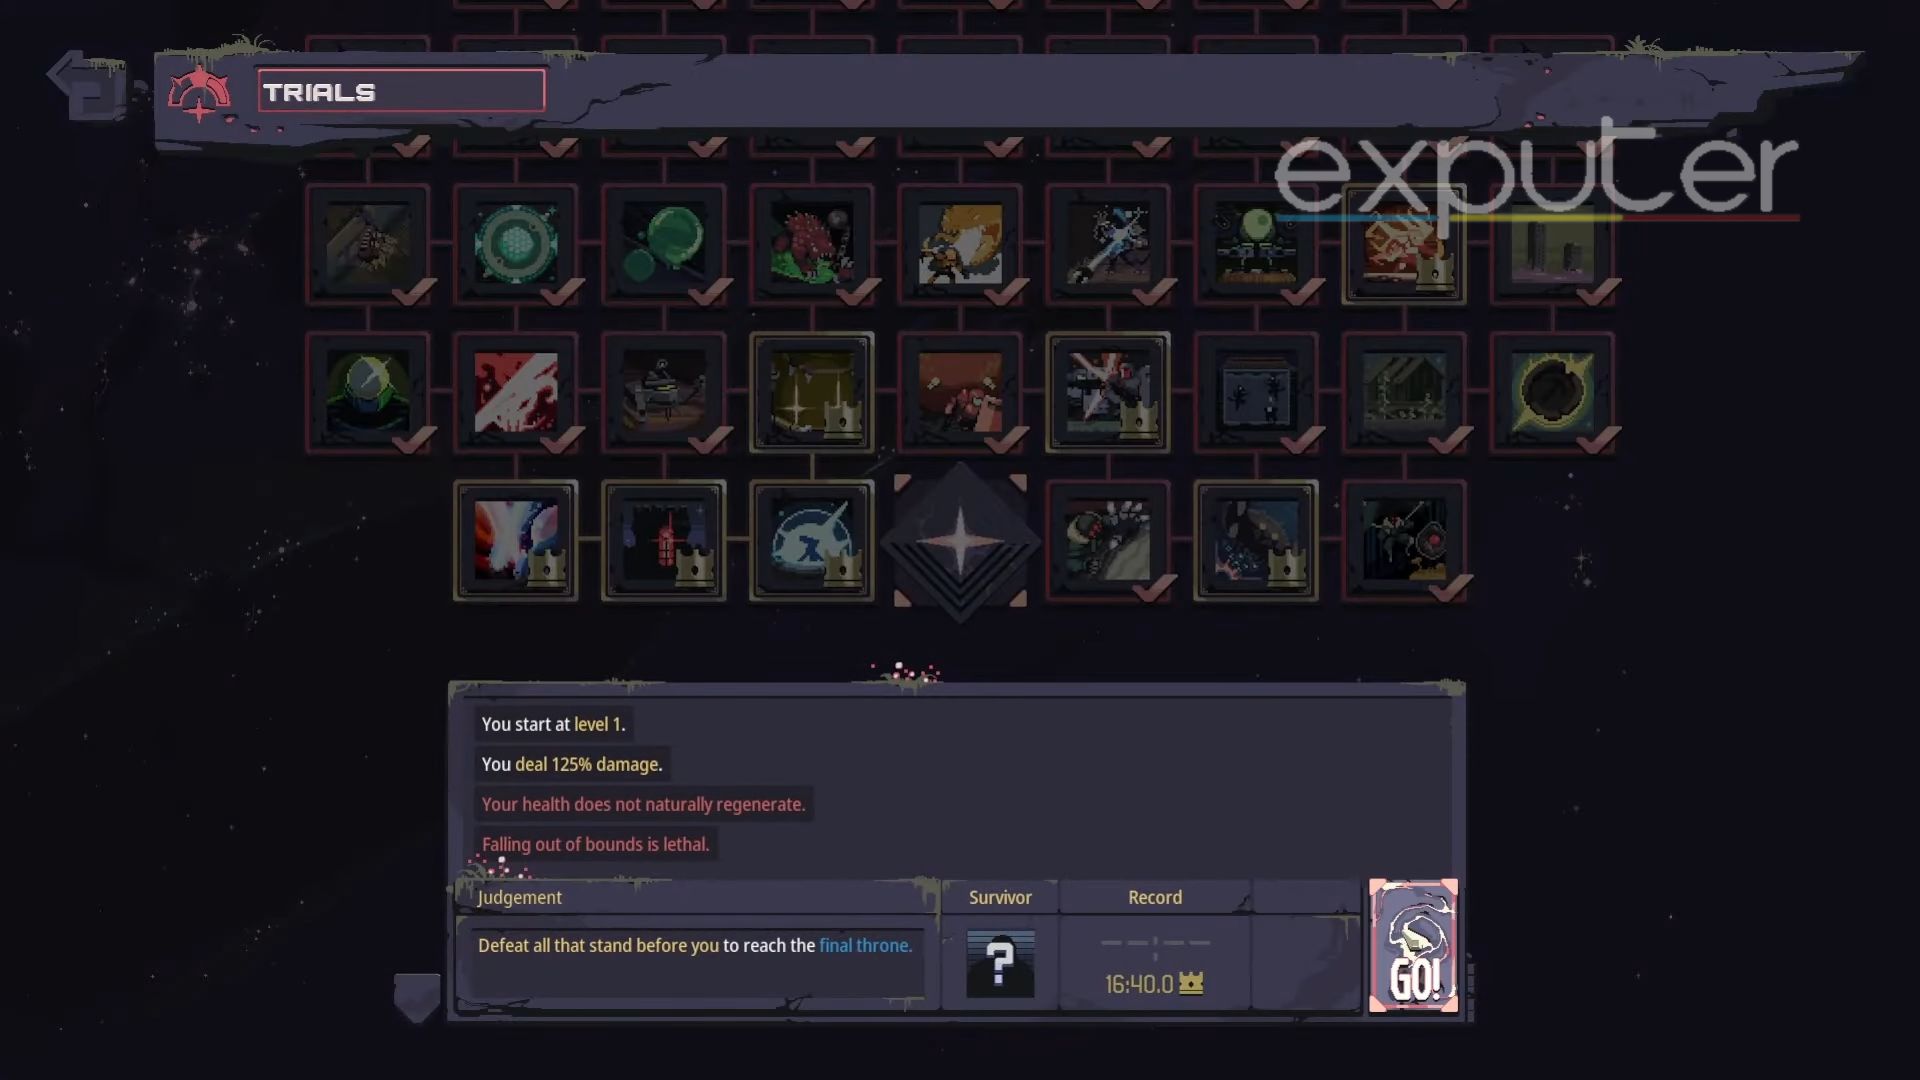
You’ll need to adjust your tactics and use the items you’ve collected to tackle each wave successfully.
Wave 1

| Available Items | Gigantic Amethyst, Ancient Scepter, The Hit List, Guardian’s Heart, Ukulele |
| Enemies | Lemurian, Trokk, Rock Golem, Jellyfish, Wisp, Greater Wisp, Colossus |
During the initial wave of the Judgement Trial in Risk of Rain returns, you’ll need to beat simpler enemies, as listed above. However, remember that health doesn’t regenerate throughout the trial, so be cautious about maintaining your health.
Recommended Items:
- Guardian Heart grants a shield that protects you from fatal damage, proving immensely valuable in sustaining your survival throughout the trial.
Wave 2
| Available Items |
|
| Enemies | Sand Crab, Lemurian, Wisp, Tuber, Jellyfish, Magma Worm |
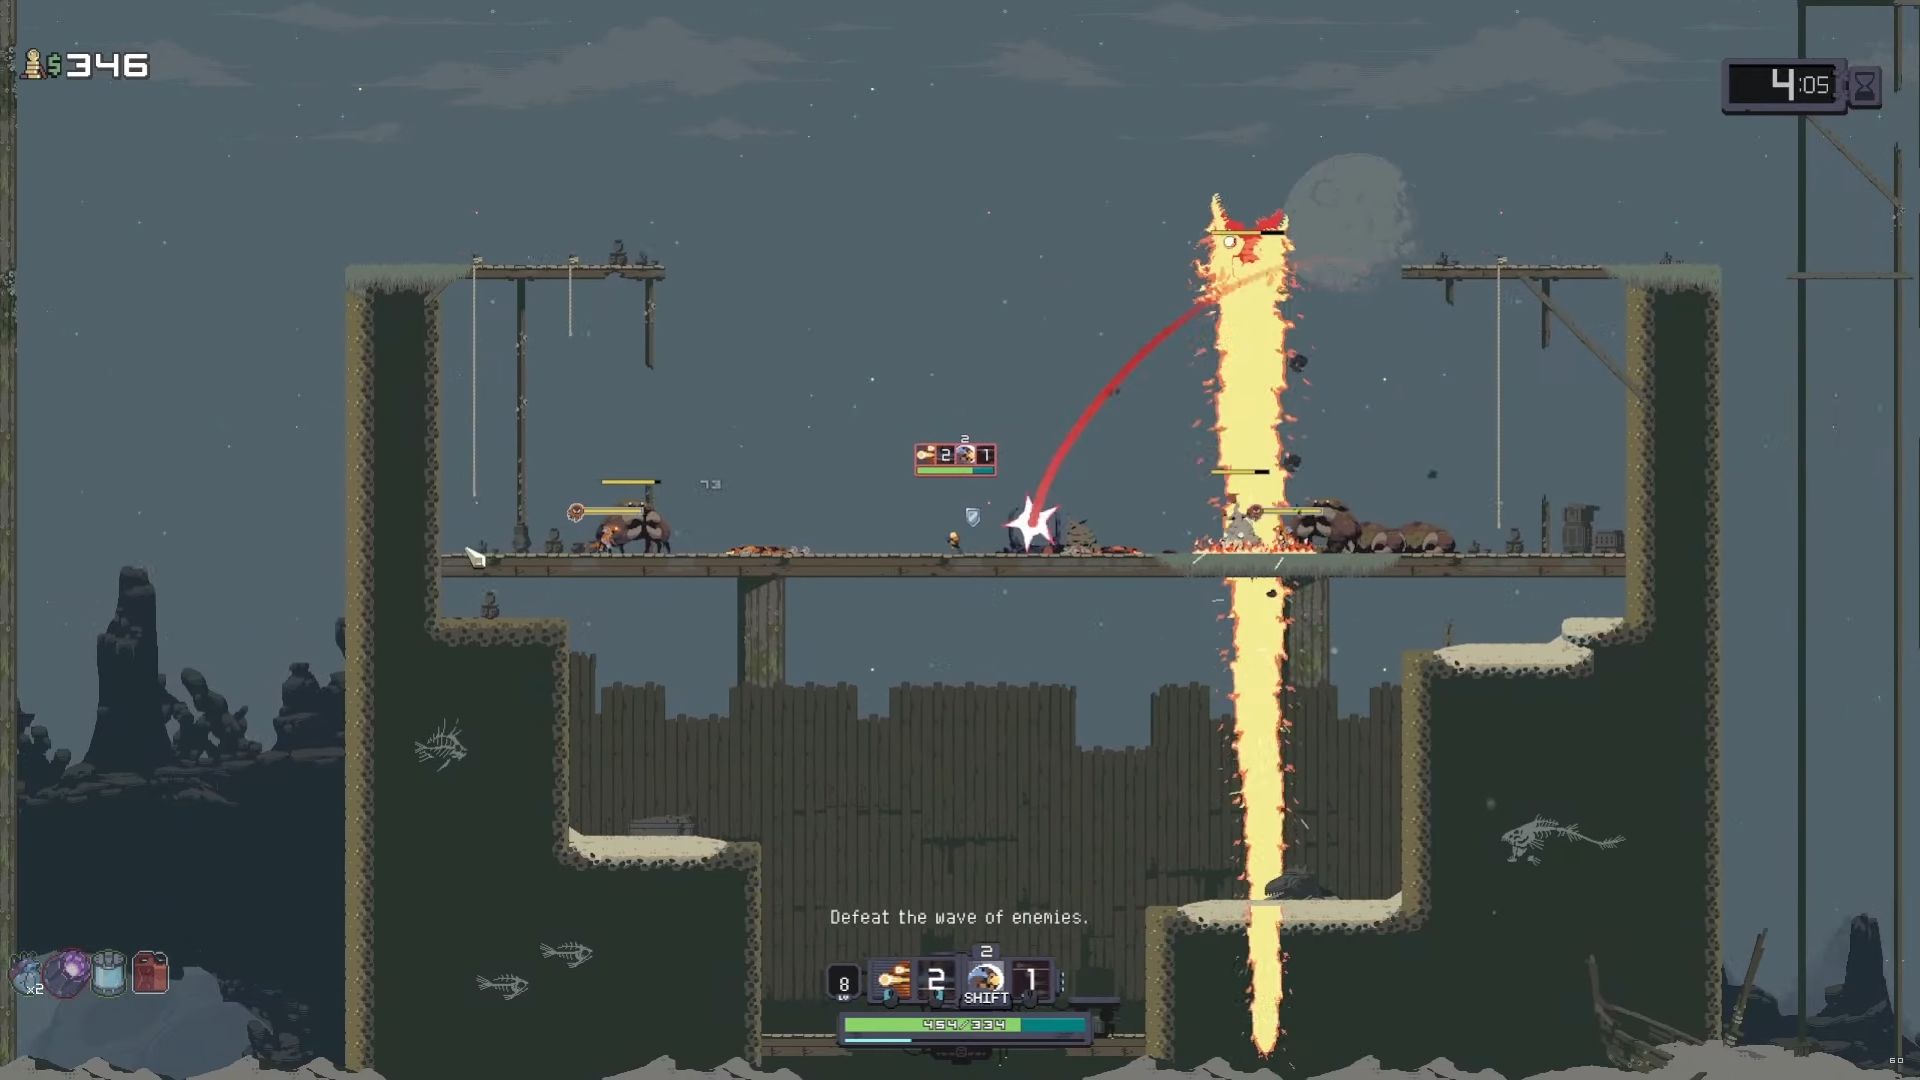
The second wave can pose challenges, especially when a Magma Worm joins halfway through. This worm can be tough to handle, but it becomes more manageable with agile movements and effective evasion of its attacks.
Recommended Items:
- Use Hardlight Afterburner if your character relies heavily on utility skills; it’s almost essential for characters like Huntress and Commando.
- Hopoo Feather: Extra jump that enhances your mobility, aiding in reaching higher areas and avoiding hazards.
- Barbed Wire: Beneficial for inflicting consistent damage as you navigate through the crowd of enemies.
- Gasoline burns the ground for 60% damage as you kill an enemy.
Wave 3

| Available Items |
|
| Enemies | Lynx Tribe, Mushrum, Spitter, Imp, Tuber, Lynx Totem |
By this wave, you should be getting accustomed to the challenges. If not, you can put an ace up your sleeve with these recommended items:
- Unstable Watch temporarily pauses time for 7 seconds.
- Used with the Beating Embryo, it extends to 14 seconds at times.
- Backup Magazine provides an additional charge for your secondary ability.
- Lens Maker’s Glasses for increased critical chance to deal double damage.
Wave 4

| Available Items |
|
| Enemies | Child, Parent, Wisp, Greater Wisp, Imp, Bramble, Jellyfish, Ancient Wisp |
Be cautious during this wave as it’s populated with numerous Wisps. Individually, Wisps might not pose a significant threat, but their ranged attacks can slowly chip away at your health, which, as a reminder, doesn’t regenerate during the trial.
Recommended Items:
- Scorching Shell Piece provides a shield and unleashes a barrage of projectiles upon breaking.
- Frost Relic encircles you with icicles when you kill an enemy that damages nearby enemies every 0.33 seconds.
- The Ukulele causes your attacks to chain lightning to neighboring enemies.
Wave 5

| Available Items |
|
| Enemies | Swift, Snow Golem, Clay Man, Bighorn Bison, Mechanical Spider, Ifrit |
This wave is relatively easier compared to the others. Simply jump to dodge Ifrit’s attacks, and you’ll defeat it effortlessly. The only concern here is the Swifts, as they tend to swoop down and barely scrape you.
Recommended Items:
- Predatory Instincts significantly increase your attack speed as you deliver double-damage critical hits.
- AtG Missile Launcher is a dependable damage-dealing item that will greatly assist your progress.
- Be sure to acquire the Hopoo Feather as an extra jump will prove beneficial in forthcoming waves.
Wave 6
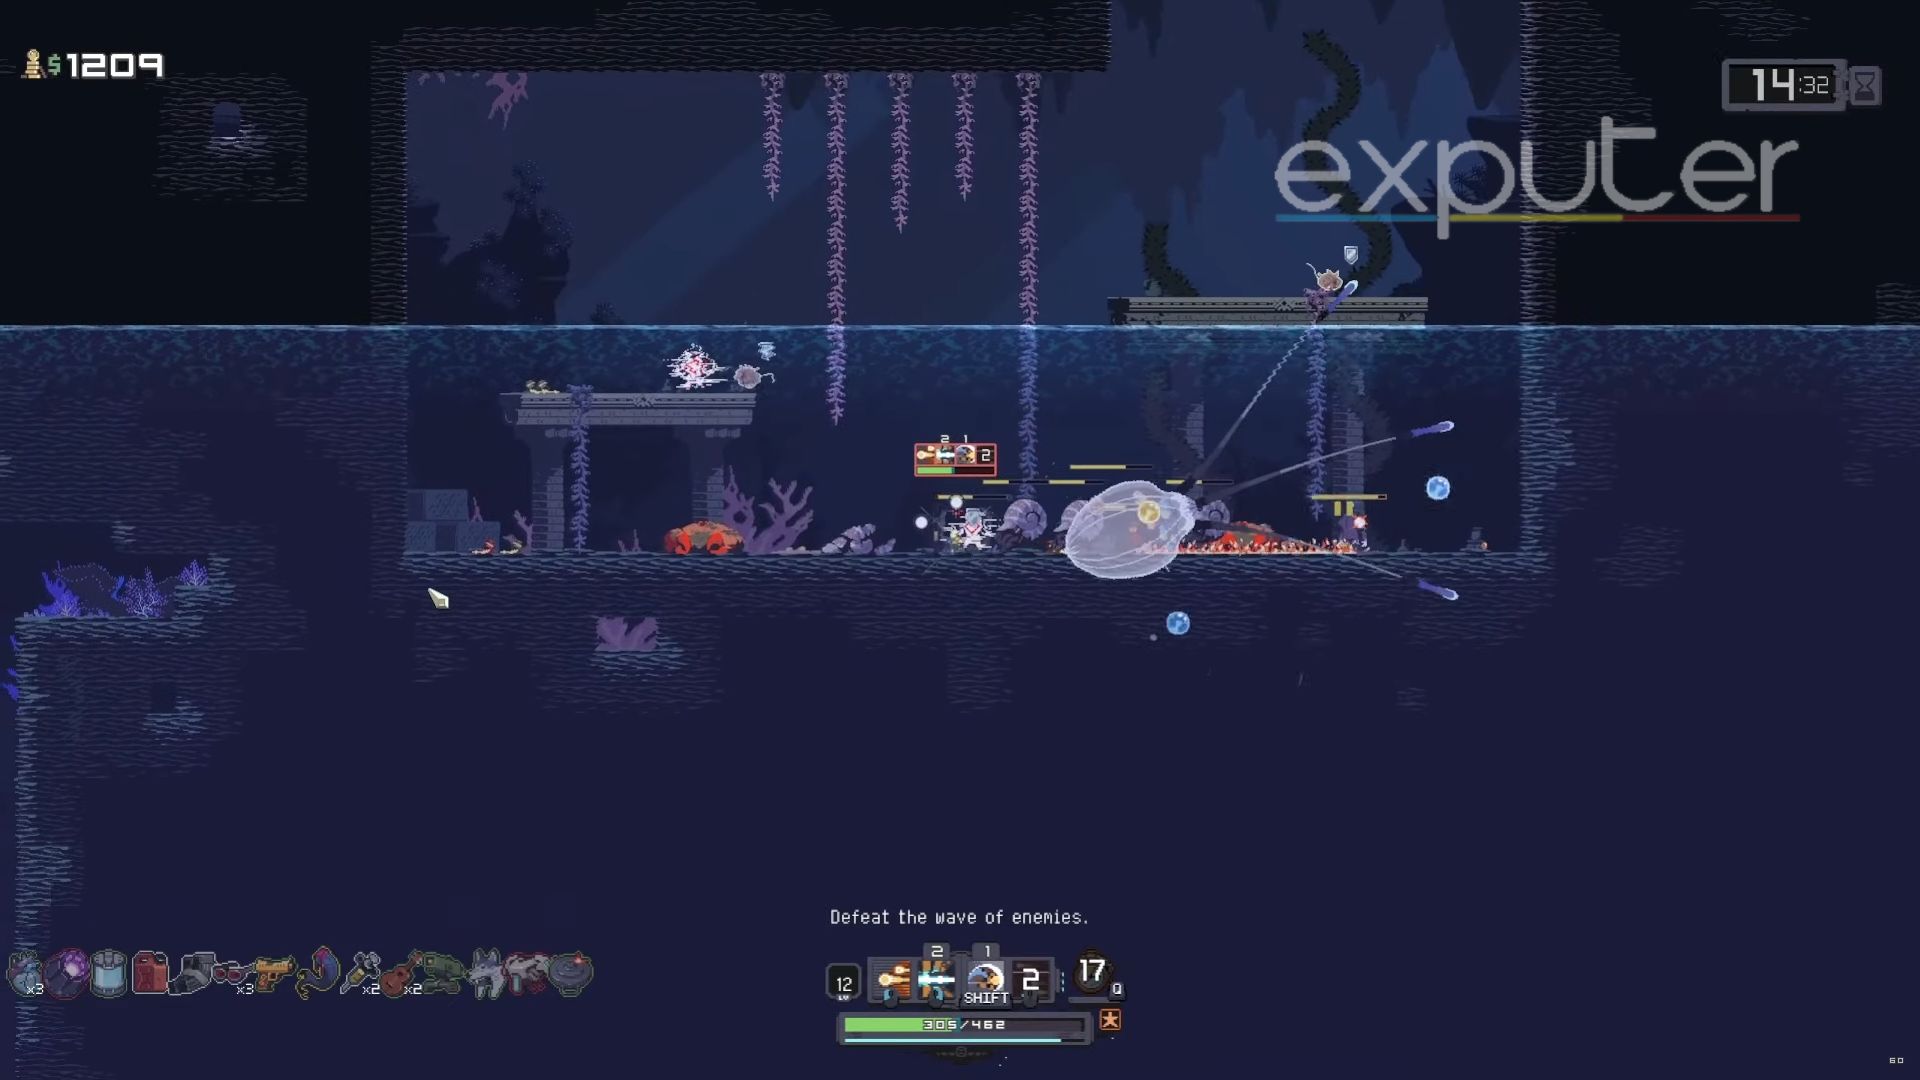
| Available Items |
|
| Enemies | Sand Crab, Clay Man, Macrobe, Black Imp, Whorl, Jellyfish, Wandering Vagrant |
Watch out for the Macrobe and the Whorl enemies in this wave – the Macrobe bounces around, causing damage upon contact and making it challenging to strike. Conversely, the Whorl is more accessible to hit but can slow you down with its attacks.
Recommended Items:
- You must choose between Repulsion Armor and Permafrost, both valuable items.
- Choose Repulsion Armor if you’re concerned about taking hits as it reflects incoming damage for 400% damage and gives armor after six hits.
- Choose Permafrost if you’re worried about enemies closing in, as it gives a chance to freeze enemies, slowing them down and preventing their attacks.
- Pair it with Panic Mines, which drop mines upon being hit.
- Choose Soldier’s Syringe to boost your attack speed
- You can stack either Guardian’s Heart or choose Toxic Centipede, which infects a nearby enemy upon contact for 6 seconds, causing 50% damage every 0.5 seconds.
Wave 7
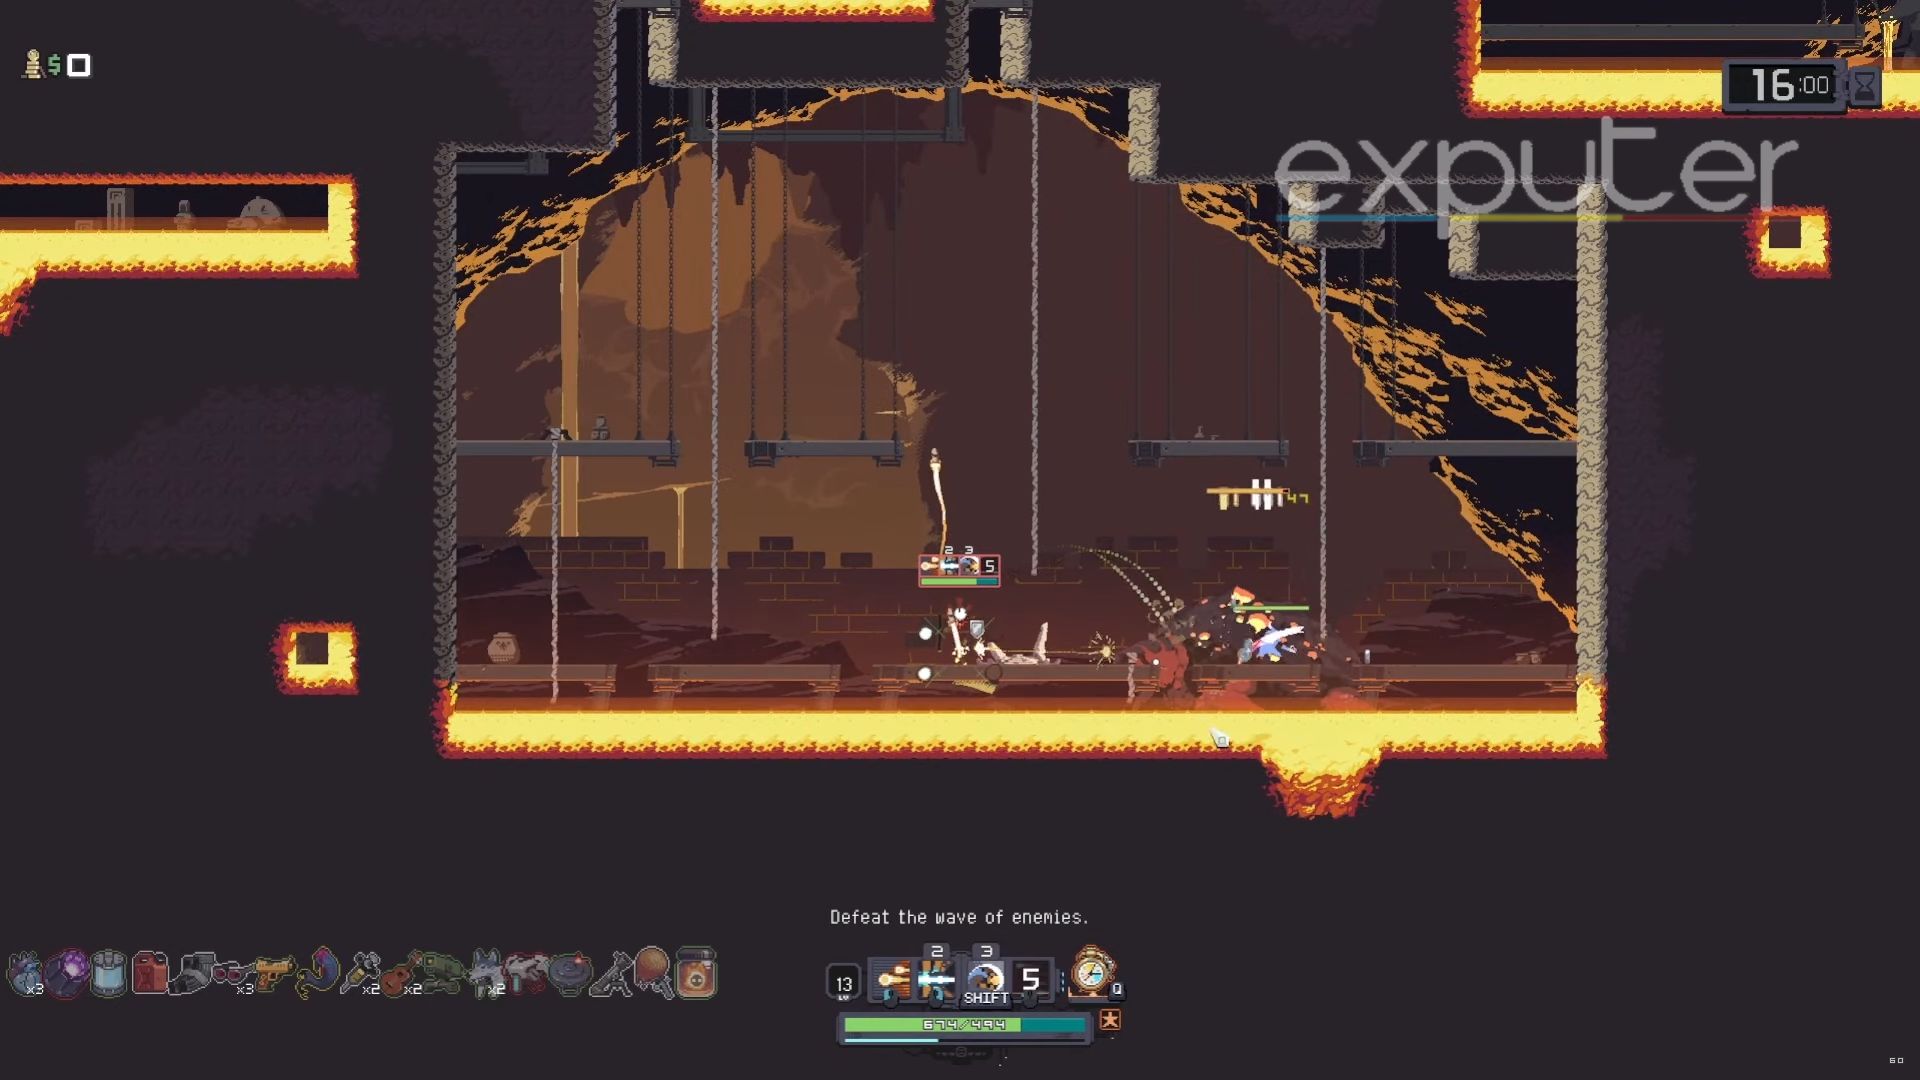
| Available Items |
|
| Enemies | Wisp, Elder Lemurian, Bighorn Bison, Mechanical Spider, Evolved Lemurian, Macrobic Predator, Cremator |
In this wave, the Magma Barracks map presents a threat with its lava underneath and small floor holes. Falling into these openings is manageable, but it’s crucial to remain cautious.
Recommended Items:
- The Toxin inflicts debuffs upon enemy contact, proving particularly useful when you’re in motion and interacting with enemies.
- Will-O’-The-Wisp offers a chance to detonate enemies upon killing them.
- A Mortar Tube provides an opportunity to launch a mortar, dealing 170% Total damage.
- Predatory Instincts increase attack speed through critical strikes.
Wave 8
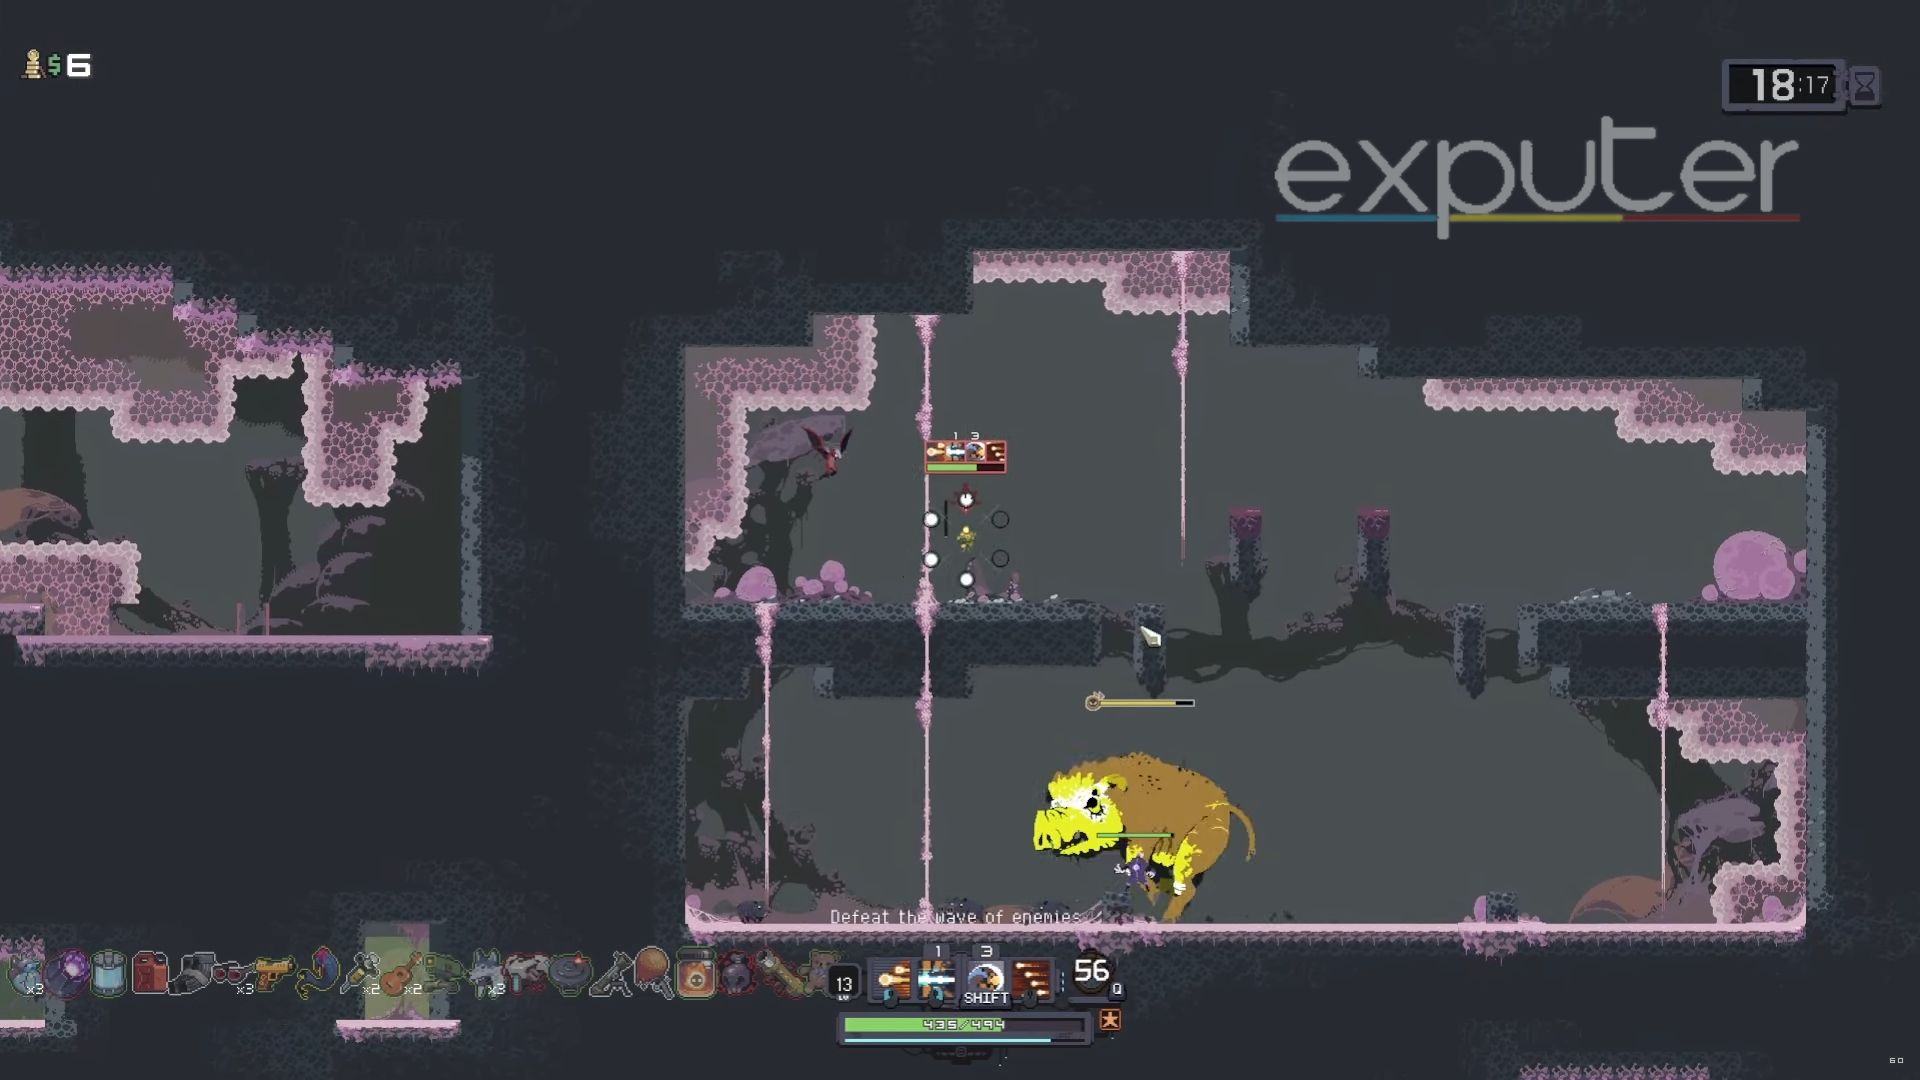
| Available Items |
|
| Enemies | Gup, Parent, Spitter, Evolved Lemurian, Toxic Beast, Boarlit |
The primary enemy here is the Frenzied Toxic Beast that appears immediately; this powerful boss can swiftly deal damage and potentially terminate your character before you can respond. When it charges at you, jump to avoid its attack while landing your attacks as it turns around for another strike.
Recommended Items:
- The Tesla Coil zaps nearby foes for 120% damage without requiring activation, offering consistent area control.
- The Topaz Brooch grants a temporary barrier to you upon defeating enemies.
- The Alien Head minimizes skill cooldowns by 30%, allowing more frequent skill use.
- Stacking AtG Missile Launchers increases the chance of firing a high-damage missile by 10% upon hitting.
Wave 9
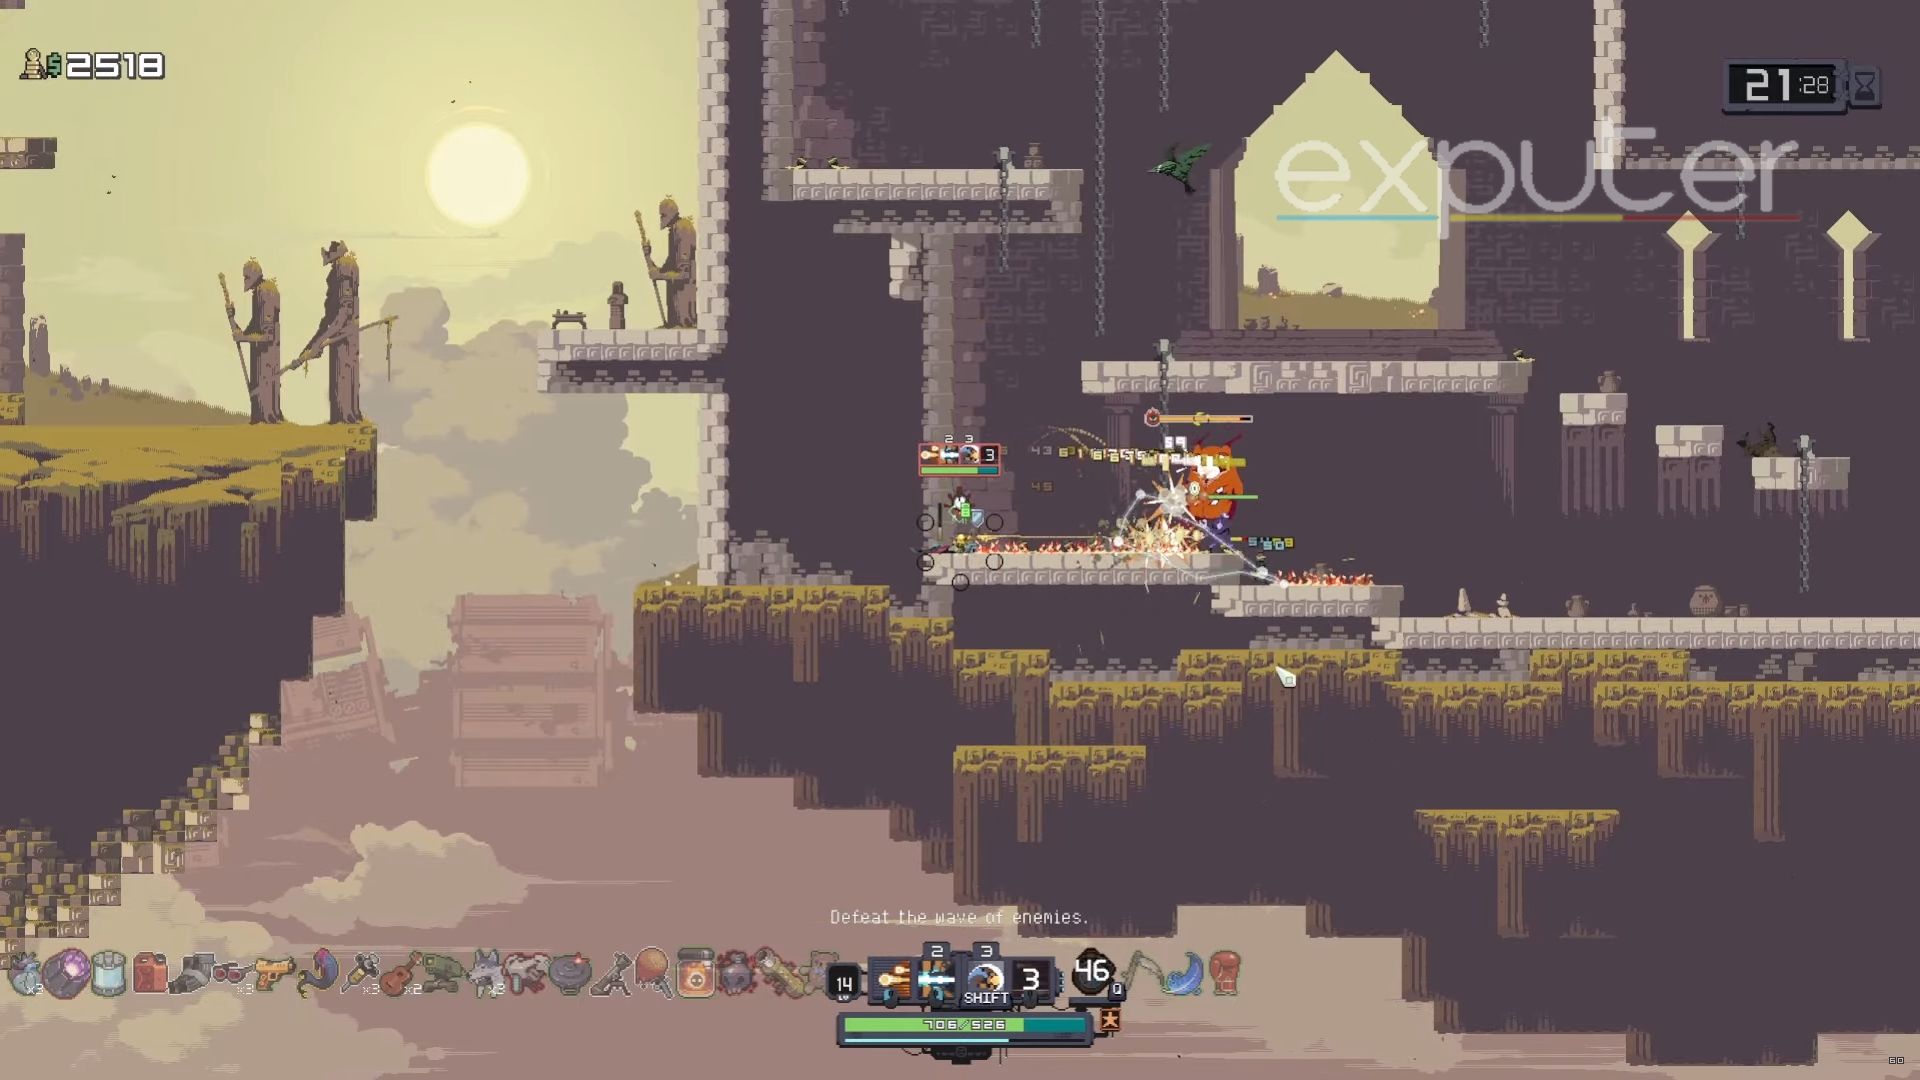
| Available Items |
|
| Enemies | Temple Guard, Clay Man, Evolved Lemurian, Bramble, Imp Overlord |
This wave can be very difficult due to the need to dodge numerous projectiles. Temple Guards, positioned strategically, pose a threat with their easily avoidable shots, but keeping track of their aim while battling multiple enemies can prove challenging. Attending to them is crucial to prevent significant damage.
Recommended Items:
- Harvester’s Scythe, particularly if you’ve been collecting Lens Maker’s Glasses, is a better choice, as it will heal you for critical strikes.
- To enhance damage output, I suggest you stack items, which would be beneficial as the following wave will be the final.
The Judgement (Wave 10)
| Available Items |
|
| Enemies | Providence, Gilded Wurms, Umbras of Enforcer, Sniper, HAN-D, Mercenary, and Bandit |
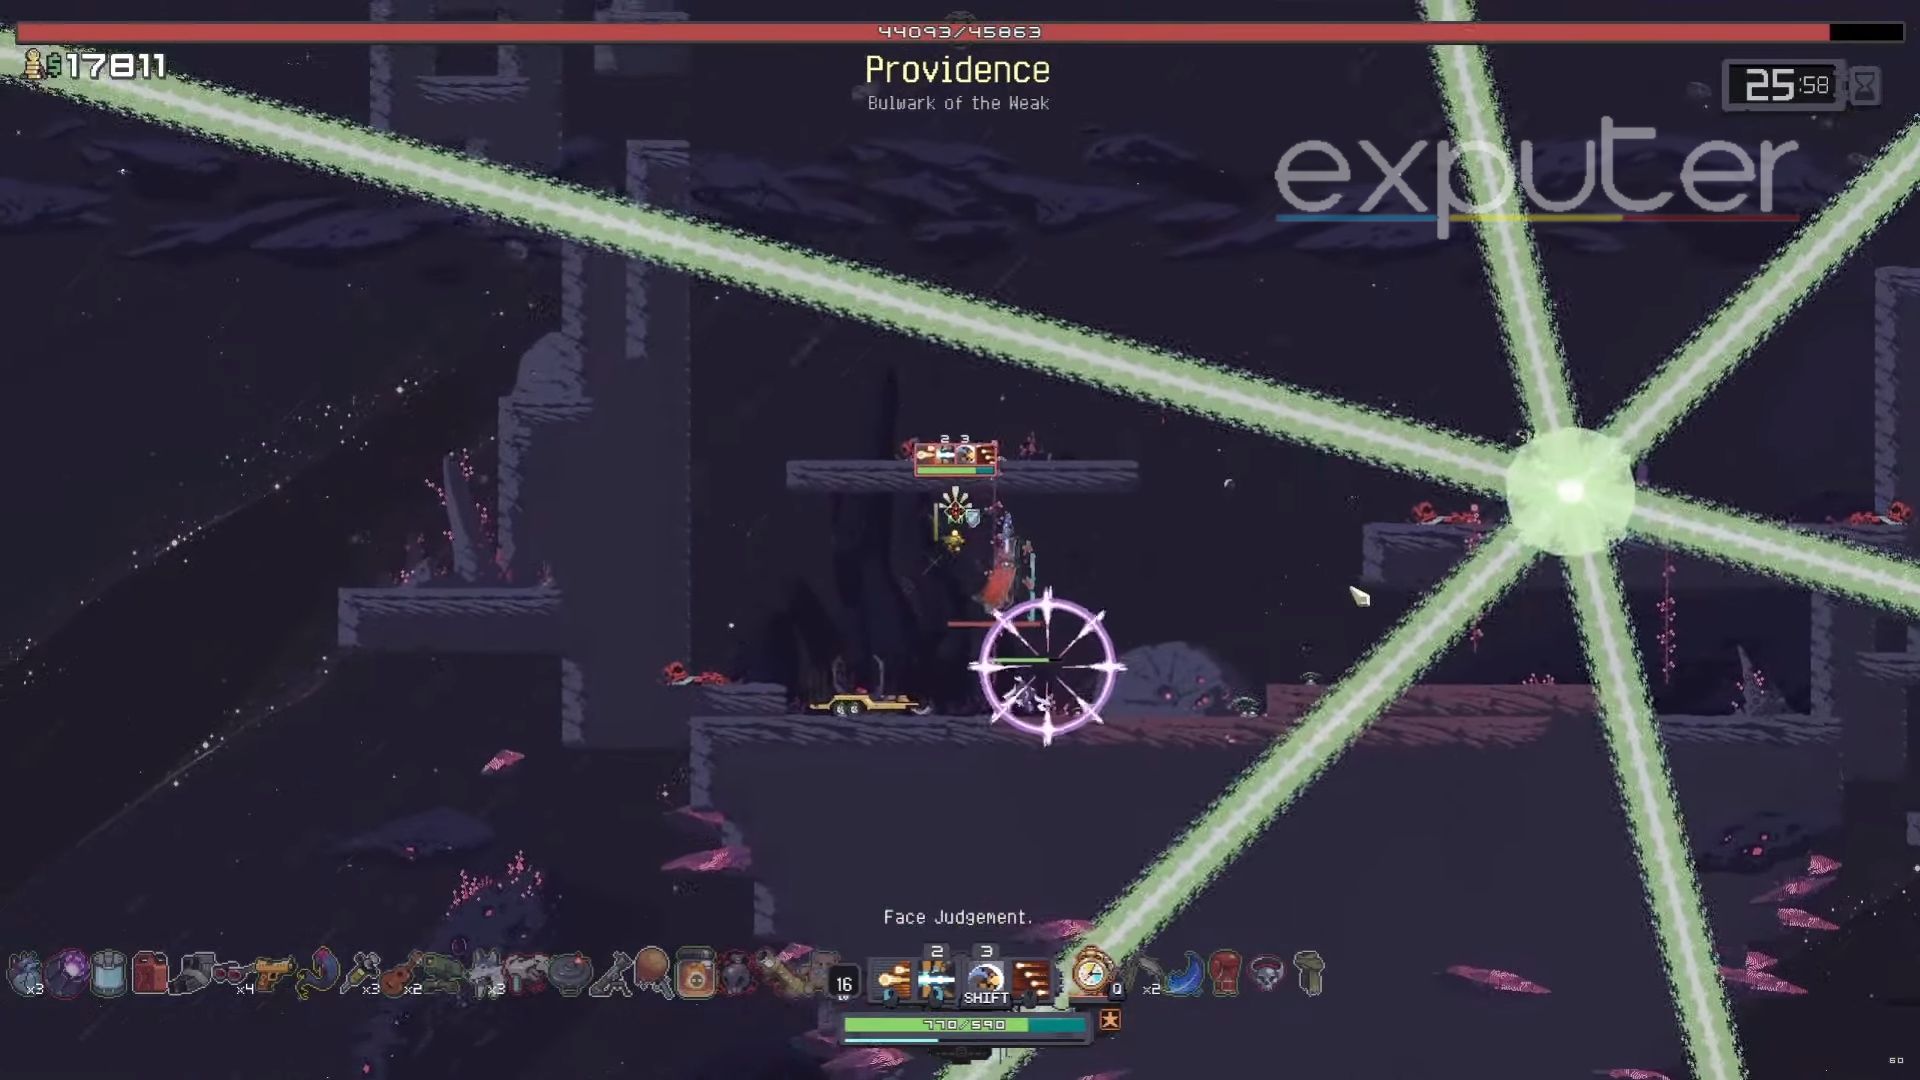
This is the showdown of the Judgement Trial in Risk of Rain Returns, where you must beat the Providence. It is relatively less chaotic, centered around one major threat – Providence.
- Be prepared for swift movements, as Providence unleashes numerous melee and ranged attacks, which can overwhelm less experienced players.
- During his fourth phase, steer clear of the colossal lasers he summons, as they can swiftly deplete your health.
- Be cautious of the areas of effect he generates, often obstructing your path.
Successfully defeating Providence earns you a Providence-themed skin for your survivor. However, beating your high score awaits the next challenge.
Recommended Items:
- Hyper-Threader triggers a laser dealing 40% damage, bouncing to two other enemies when striking enemies.
- Sticky Bomb gives a 9% chance per hit to attach a bomb to an enemy, detonating for 140% total damage.
My Thoughts On The Judgement Trial
The Judgement trial in Risk of Rain Returns is a difficult yet satisfying challenge, putting your skills and understanding to the test. It personally took me over two attempts to beat the Judgement Trial in Risk of Rain Returns, so if you fail on your initial try, don’t be discouraged.
Moreover, you can visit the official wiki of Risk of Rain Returns to find out the Description of All Items.
Since you can select any character in the Judgement Trial, you might as well choose the Best Characters in Risk of Rain Returns. And with the Best Builds, the Judgement Trial shouldn’t be difficult for you.
Next:
- Risk of Rain Returns: Acrid
- Risk Of Rain Returns: Chef
- Risk of Rain Returns: How To Unlock Artifact Of Command
- Risk Of Rain Returns: How To Unlock Bitter Root
Thanks! Do share your feedback with us. ⚡
How can we make this post better? Your help would be appreciated. ✍
