Hammers are one of the weapon types available to players in Elden Ring, featuring slower attack animations but powerful strikes that can deal significant damage and briefly stun enemies. With Elden Ring’s wide variety of weapons and customizations, there is a hammer suitable for any player’s build if they choose to use one. Choosing the right hammer is crucial for optimizing your character’s performance and defeating challenging enemies.
Key Takeaways
Hammers are a potent weapon type in Elden Ring, offering high damage but slower attack animations.
There are different types of hammers, including Great Hammers, each with its strengths and weaknesses.
Hammers excel in dealing impactful blows, often allowing players to stagger opponents and create openings for further attacks.
Here is a quick look at the comparison between the Best Hammers in Elden Ring:
Weapons
Type
Physical (ATK)
Physical (Guard)
Crit
Boost
Varre’s Bouqet
Hammer
46
38.0
100.0
25.0
Mace
Hammer
115.0
45.0
100.0
30.0
Club
Hammer
103.0
41.0
100.0
27.0
Hammer
Hammer
131.0
68.0
100.0
44.0
Morning Star
Hammer
118.0
47.0
100.0
31.0
Monk’s Flamemace
Hammer
126.0
49.0
100.0
33.0
Spiked Club
Hammer
114.0
45.0
100.0
30.0
Scepter Of The All-Knowing
Hammer
99.0
36.0
100.0
27.0
Stone Club
Hammer
122.0
52.0
100.0
36.0
Envoy’s Horn
Hammer
96.0
38.0
100.0
28.0
Nox Flowing Hammer
Hammer
122.0
51.0
100.0
34.0
Ringed Finger
Hammer
121.0
38.0
100.0
28.0
Marika’s Hammer
Hammer
101.0
44.0
100.0
33.0
Brick Hammer
Great Hammer
122.0
74.0
100.0
48.0
Battle Hammer
Great Hammer
131.0
68.0
100.0
44.0
Rotten Battle Hammer
Great Hammer
126.0
68.0
100.0
44.0
Greathorn Hammer
Great Hammer
134.0
65.0
100.0
42.0
Celebrant’s Skull
Great Hammer
138.0
63.0
100.0
40.0
Devourer’s Scepter
Great Hammer
112.0
62.0
100.0
42.0
Beastclaw Greathammer
Great Hammer
116.0
62.0
100.0
42.0
Envoy’s Long Horn
Great Hammer
120.0
58.0
100.0
39.0
Cranial Vessel Candlestand
Great Hammer
98.0
71.0
100.0
48.0
Great Stars
Great Hammer
135.0
68.0
100.0
44.0
While all weapons in Elden Ring have their own unique strengths, hammers can provide an advantage in specific situations with their high damage output and stun potential, as has been discussed in a subreddit post. By selecting the right hammer for your playstyle and build, you can ensure that your character is well-equipped to take on any challenge that lies ahead.
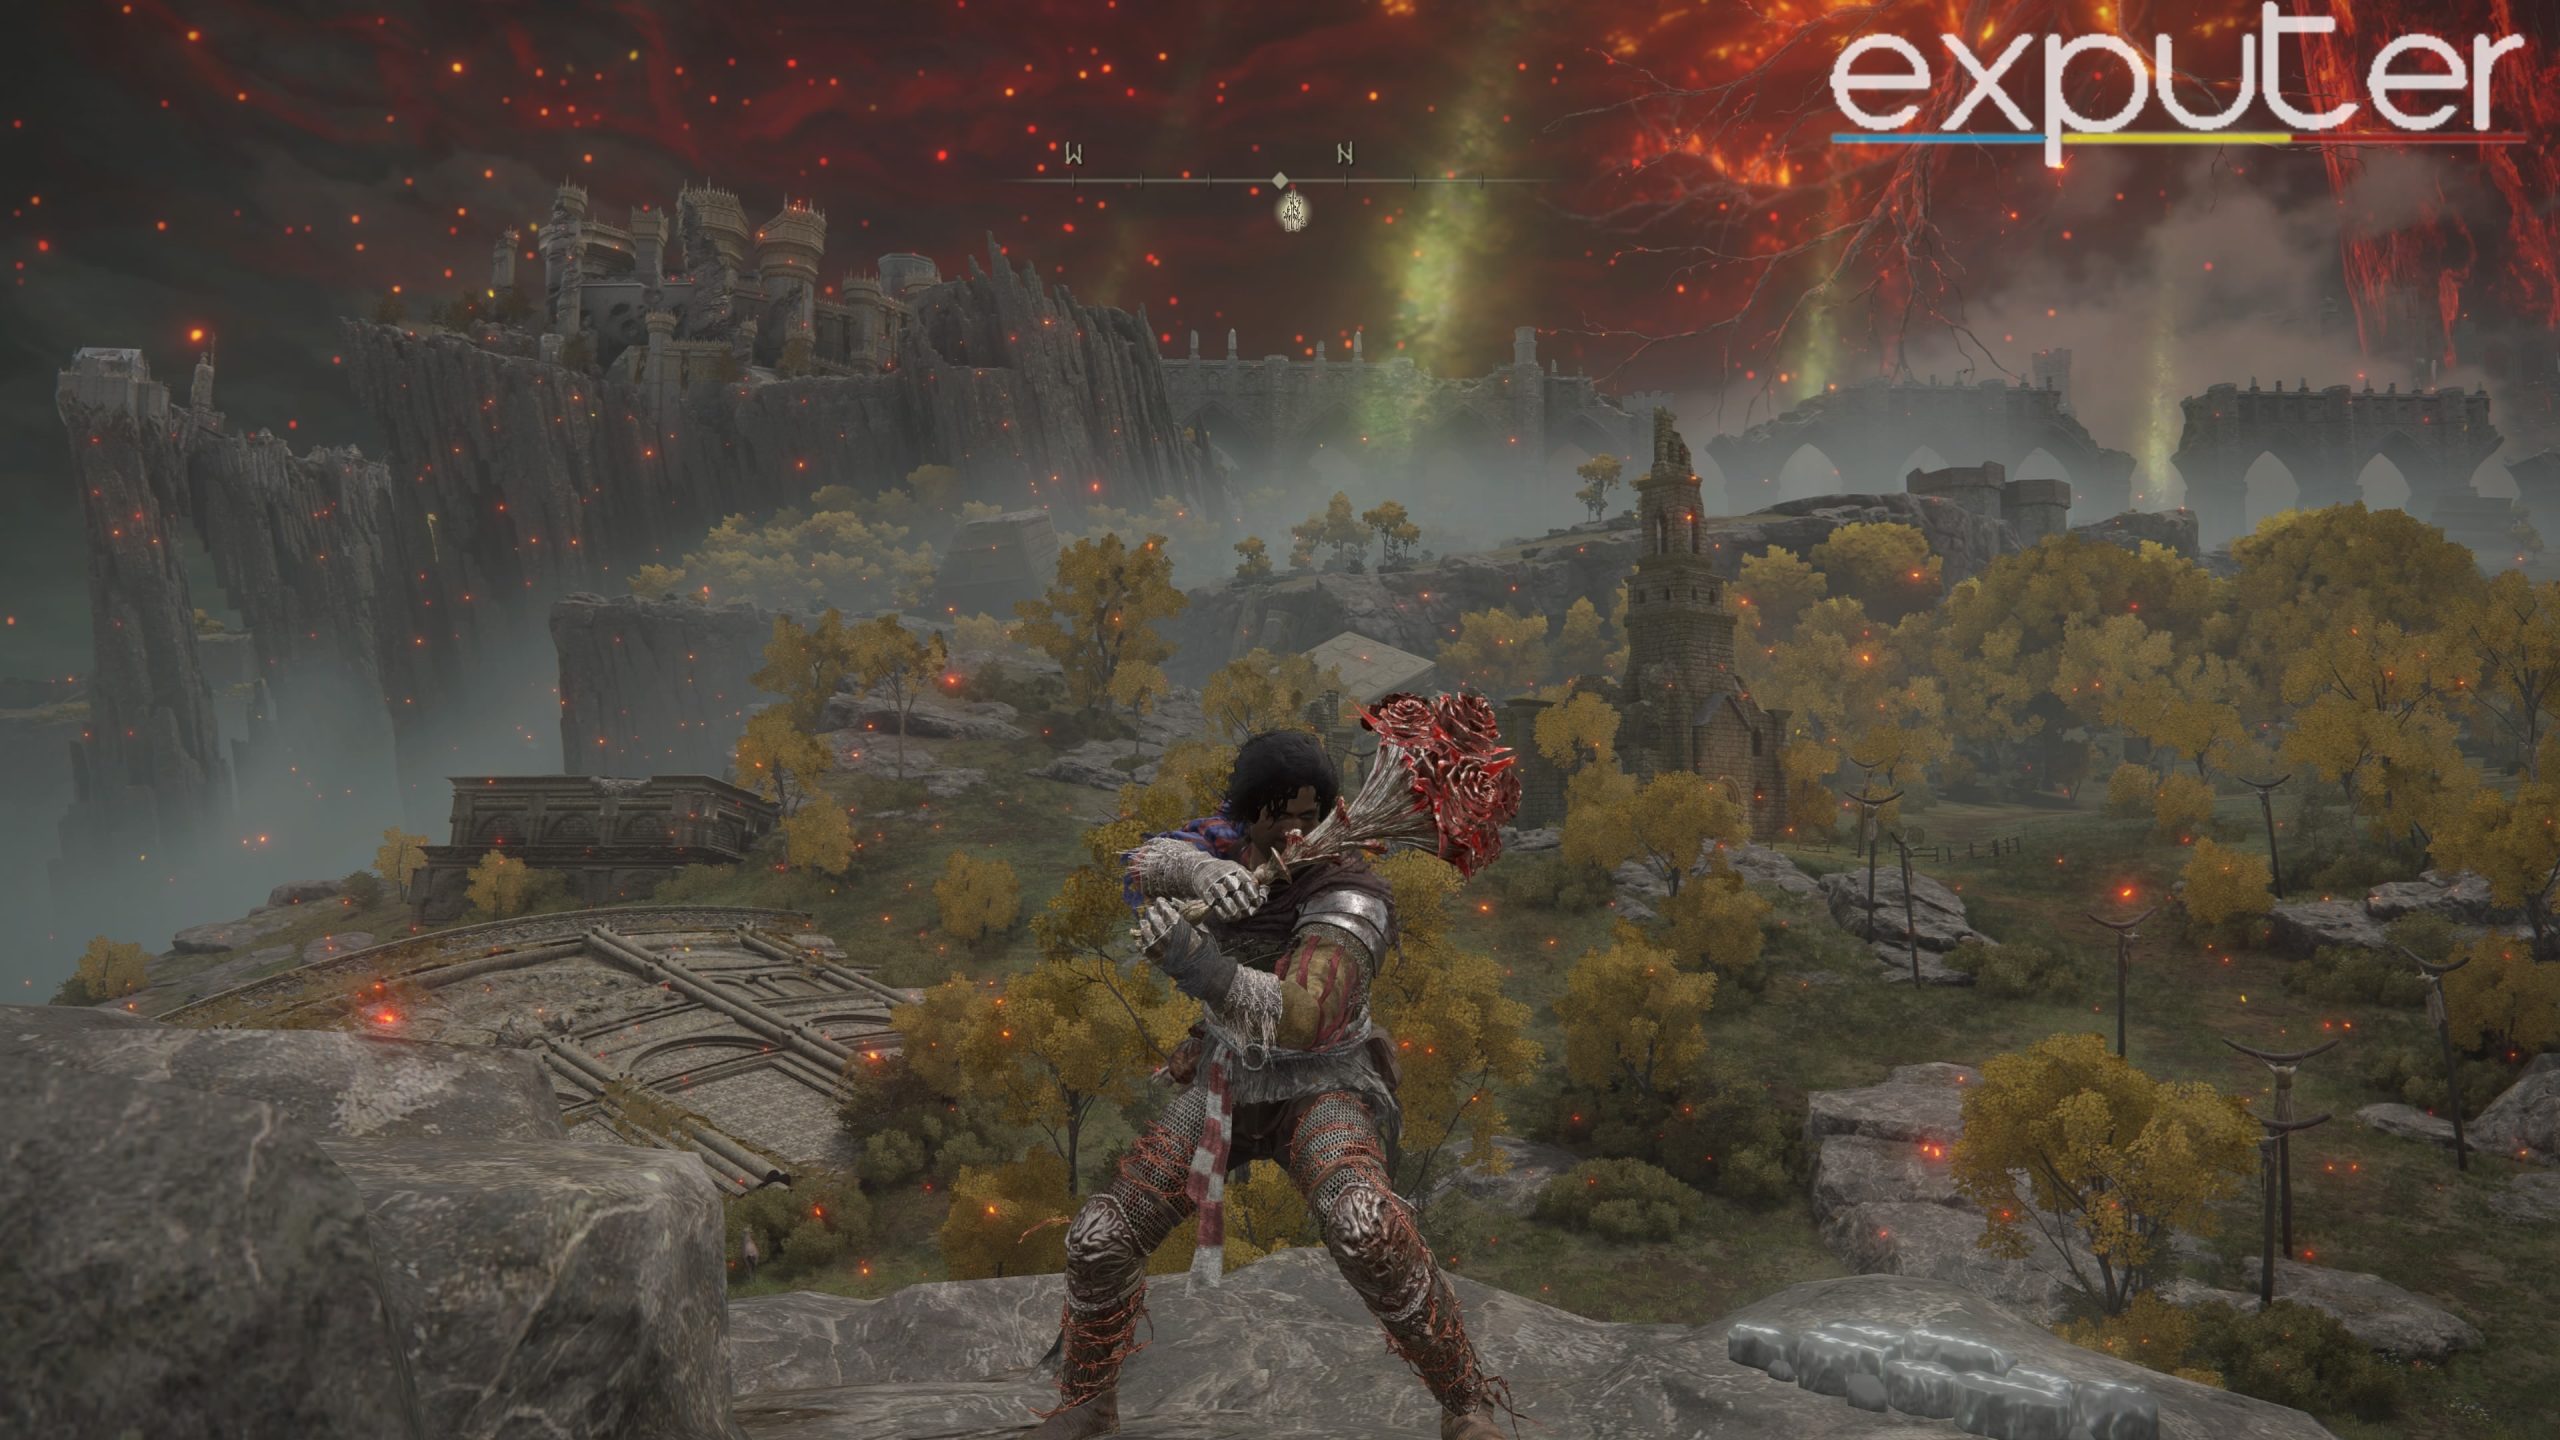
Varre’s Bouquet
Deadly Bleed-Inflicting Hammer
Varre’s Bouquet In Elden Ring [Screenshot by eXputer]Looking for a weapon that stands out from the rest? Look no further than Varre’s Bouquet in Elden Ring. This unique weapon has a distinctive design, but its low base attack may make it seem unappealing at first. However, with the right build and strategy, Varre’s Bouquet can be a deadly weapon in your arsenal.
Base Stats
Attack
Guard
Physical
46
38
Magic
0
25
Fire
0
25
Light
0
25
Holy
0
25
Critical/ Boost
100
25
Show Full Text
To help you better understand the strengths and weaknesses of Varre’s Bouquet, here are some key points to keep in mind:
Unique design: The unique appearance of Varre’s Bouquet makes it stand out from other weapons in the Elden Ring.
Buffable with items and magic: Despite being an arcane weapon, Varre’s Bouquet can be buffed with items and magic to enhance its effectiveness in combat.
Blood Tax skill: The Blood Tax skill is a unique feature of Varre’s Bouquet, allowing players to build up bleed on enemies and restore their own HP with each hit in the combo.
High base bleed effect: With a high base bleed effect on all attacks, Varre’s Bouquet is a weapon that can quickly wear down enemies with consistent pressure.
One of the unique features of this weapon is its Blood Tax skill. When activated, Blood Tax unleashes a quick flurry of attacks that build up bleed on enemies and steal HP for each hit in the combo. With a high base bleed effect on all attacks, this skill allows players to pressure enemies while restoring their own HP constantly.
In summary, while Varre’s Bouquet may not have the highest base attack in the game, its unique design, balanced requirements, and powerful Blood Tax skill make it a weapon worth considering for any player looking for a distinctive and effective weapon in Elden Ring.
Unique design stands out.
Buffable with items/magic.
Blood Tax skill: Builds bleed, and restores HP.
High base bleed effect.
A Low base attack initially.
Limited elemental damage options.
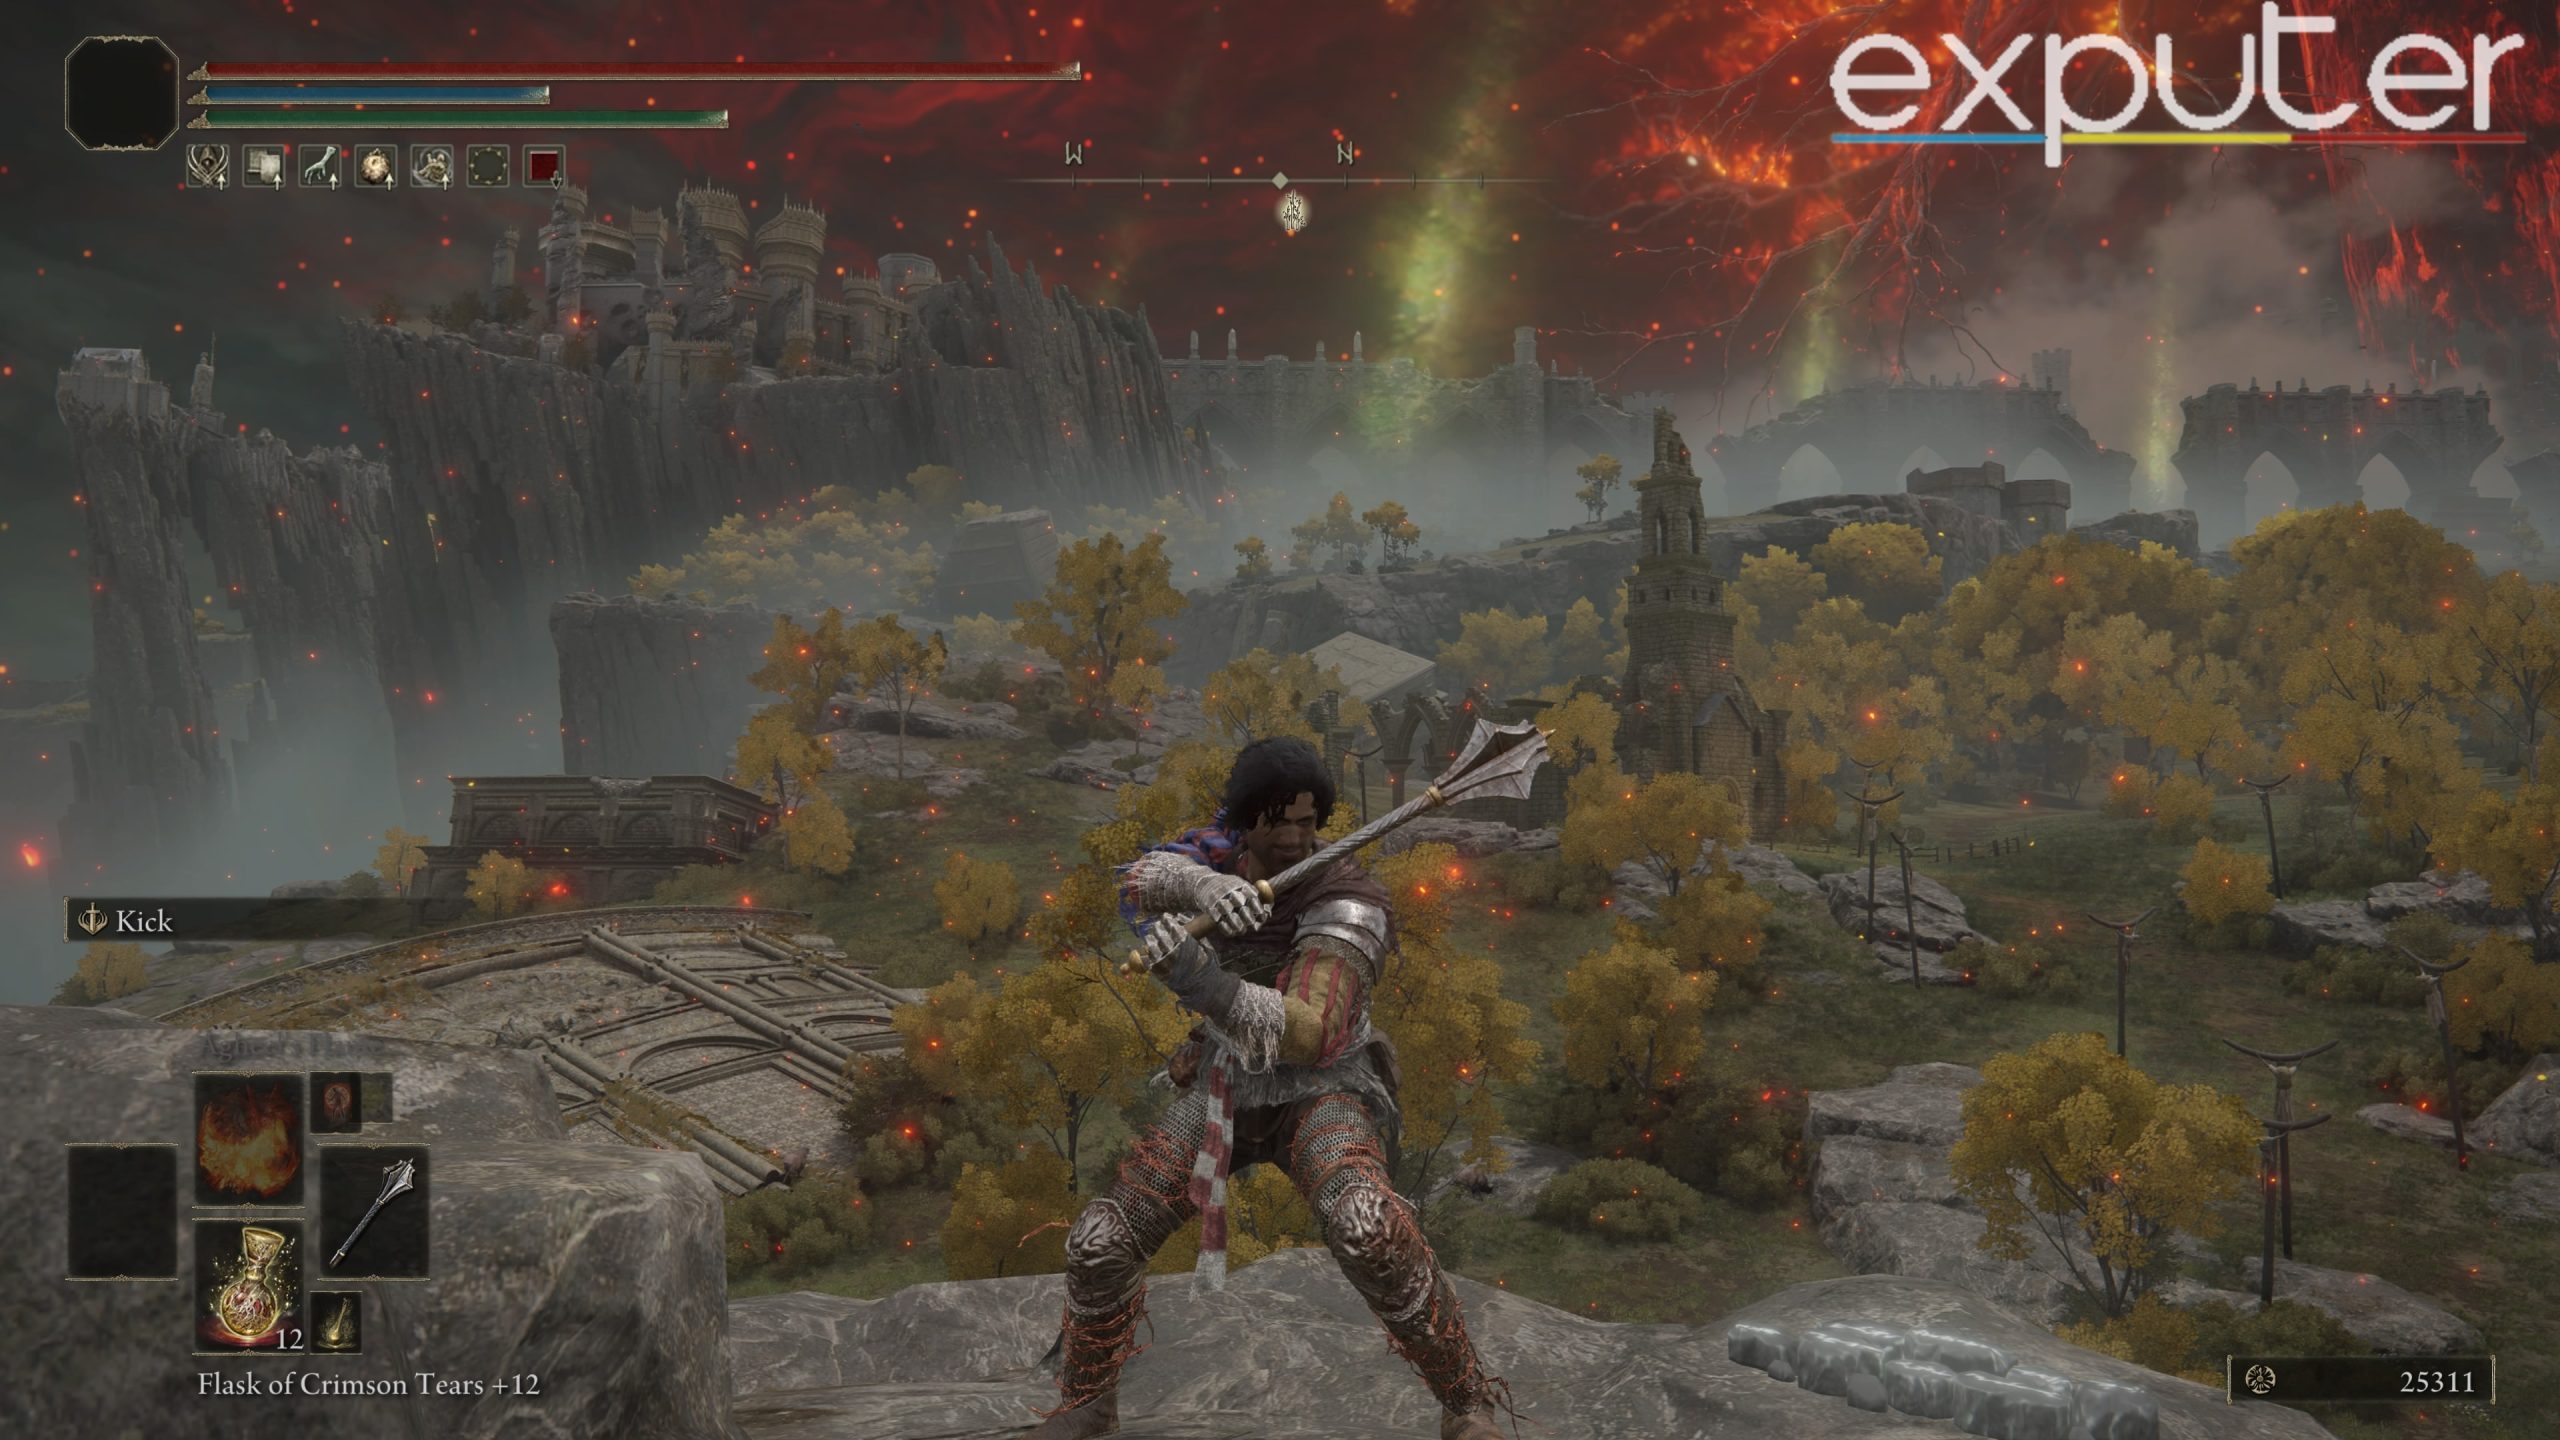
Mace
Best Versatile Strength Hammer
Mace In Elden Ring [Screenshot by eXputer]Upon reaching Roundtable Hold in Elden Ring, players can acquire the Mace, one of the first hammer weapons available in the game. With a strength requirement of 12 and a dexterity requirement of 7, this weapon scales primarily with strength. It offers decent base damage, making it a versatile option for players to customize their builds.
Base Stats
Attack
Guard
Physical
115
45
Magic
0
30
Fire
0
30
Light
0
30
Holy
0
30
Critical/ Boost
100
30
Show Full Text
The Mace comes equipped with the Kick skill, which may not be the most useful in combat but can be swapped out for other ash of war options.
Additionally, the Mace can be infused with items and magic to imbue it with elemental damage.
When infused to be Heavy, the Mace’s base damage slightly decreases, but its strength scaling greatly improves, making it an ideal choice for higher-level builds. Overall, the Mace offers a solid foundation for players looking to create a hammer-based build in Elden Ring.
Versatile for builds
Decent base damage
Strength scaling
Kick skill not impactful
Decreased damage when Heavy
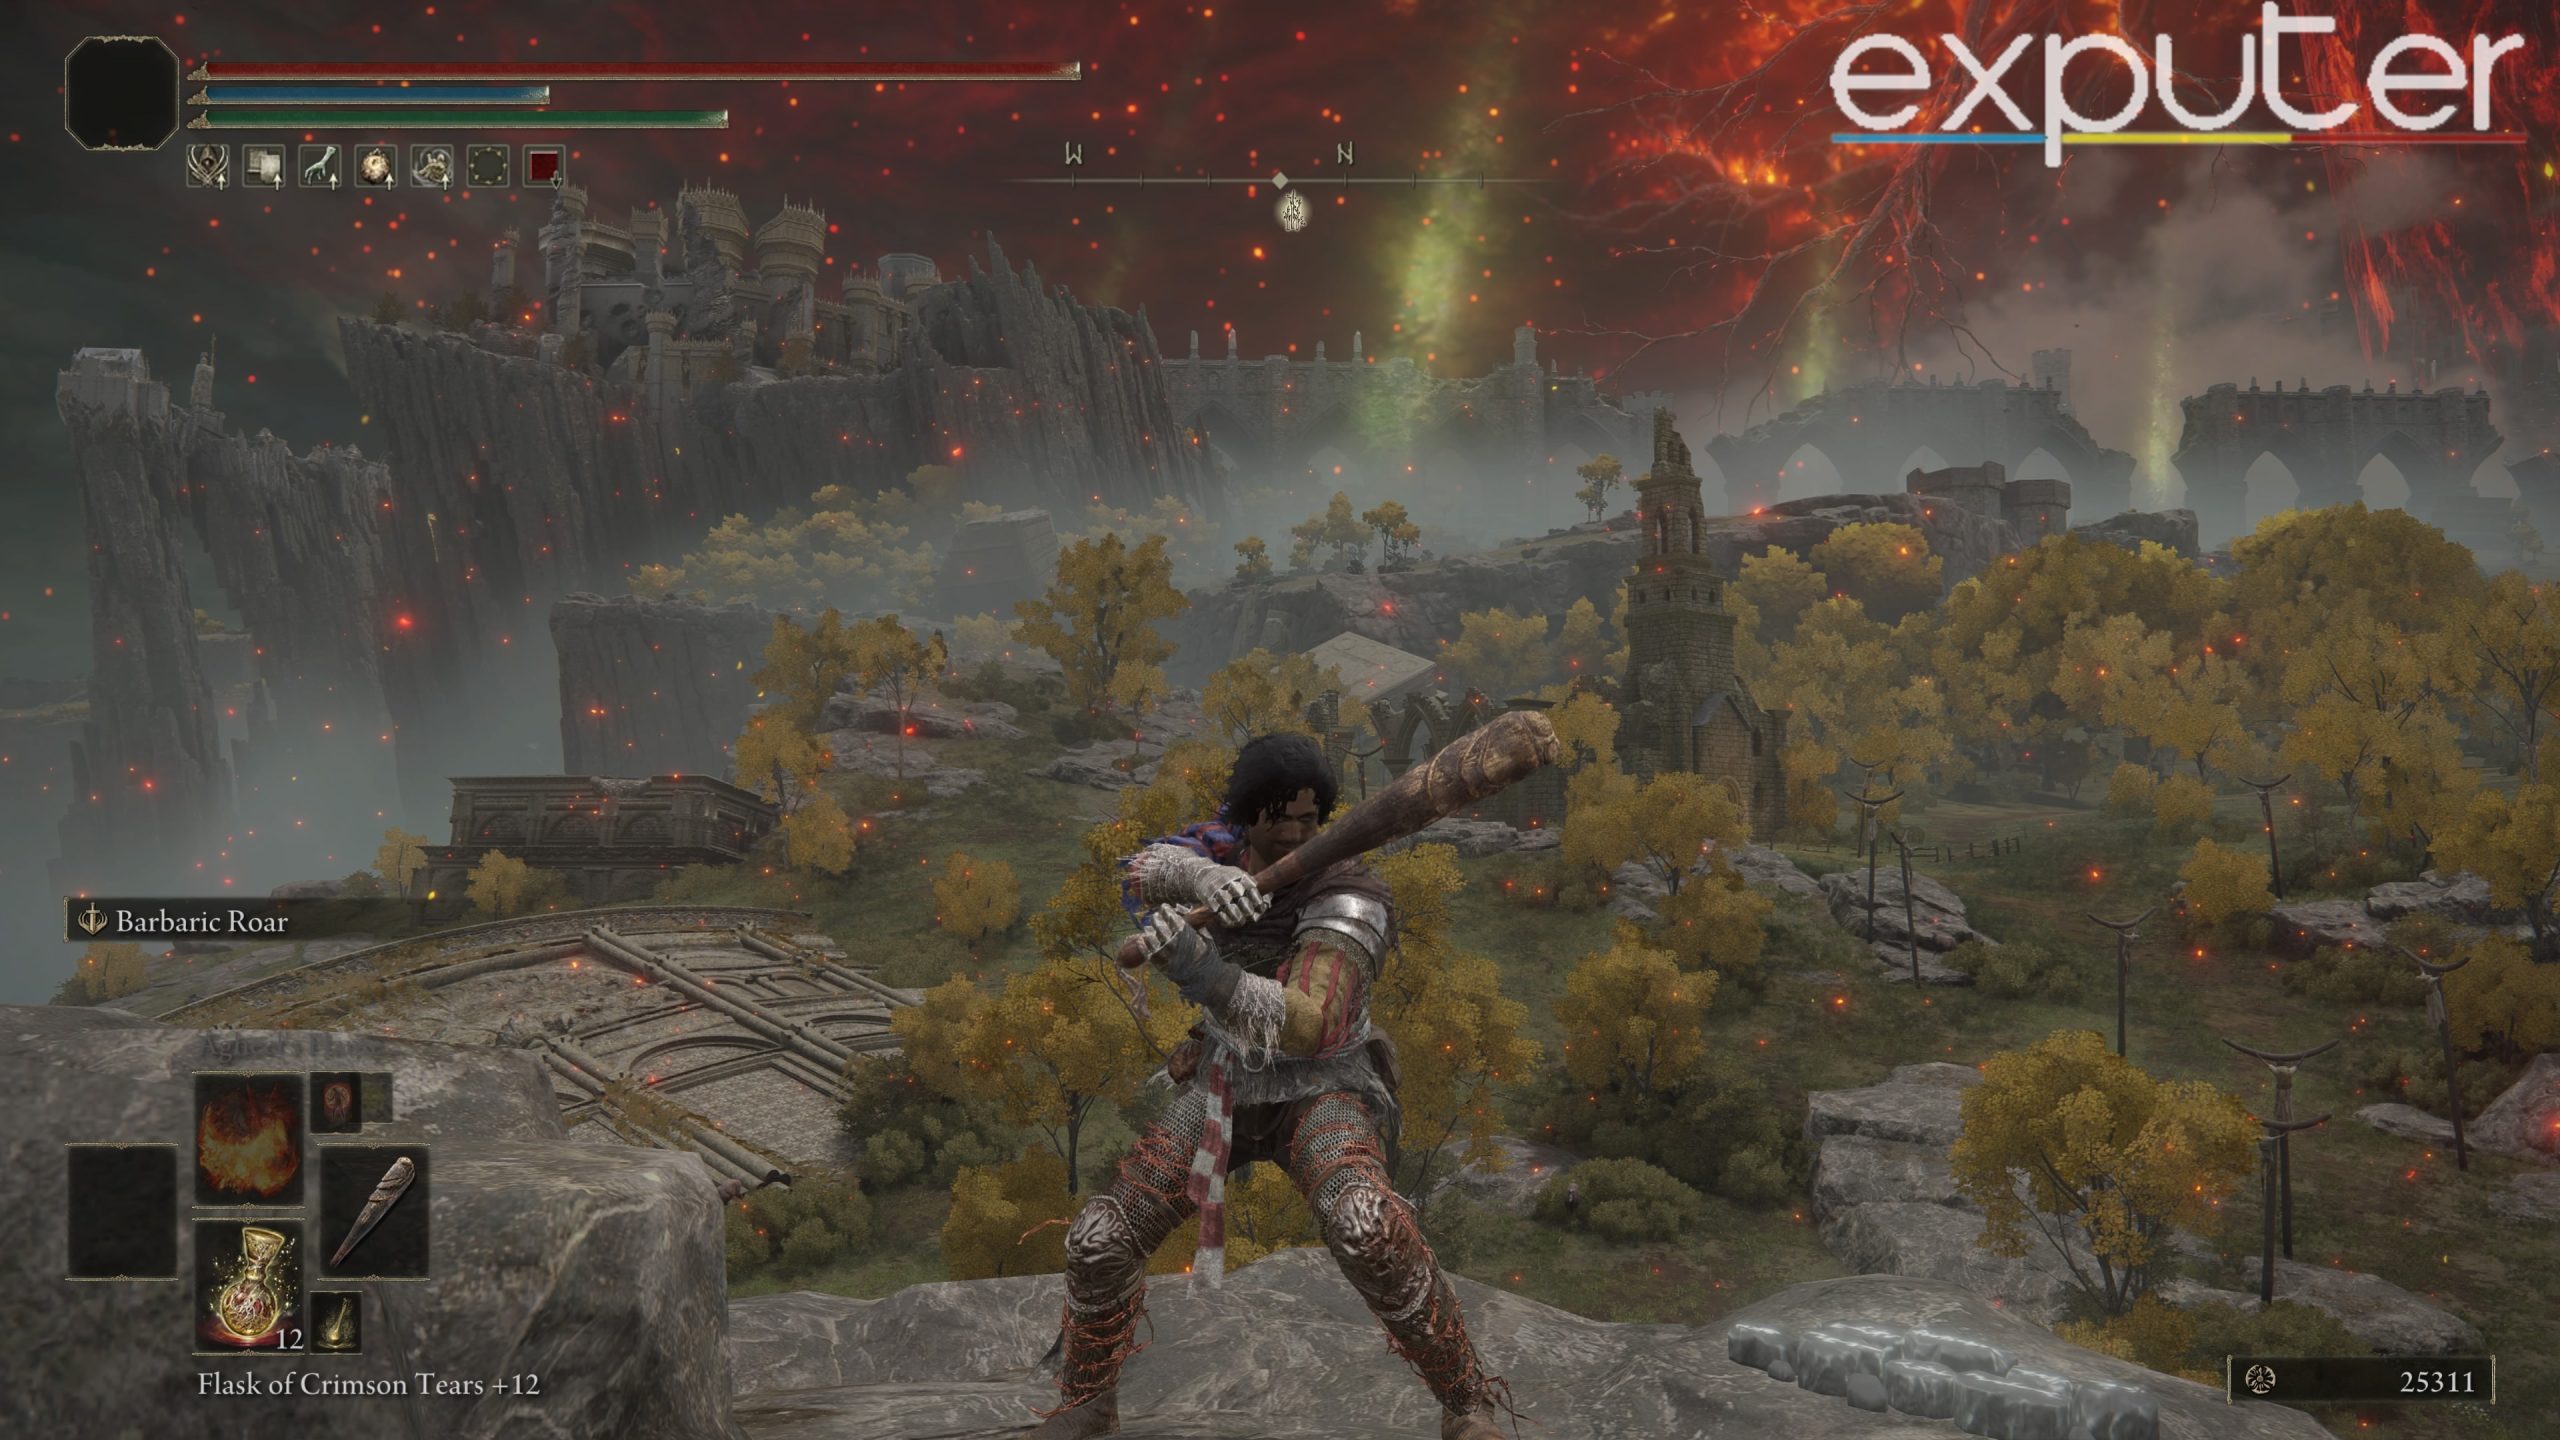
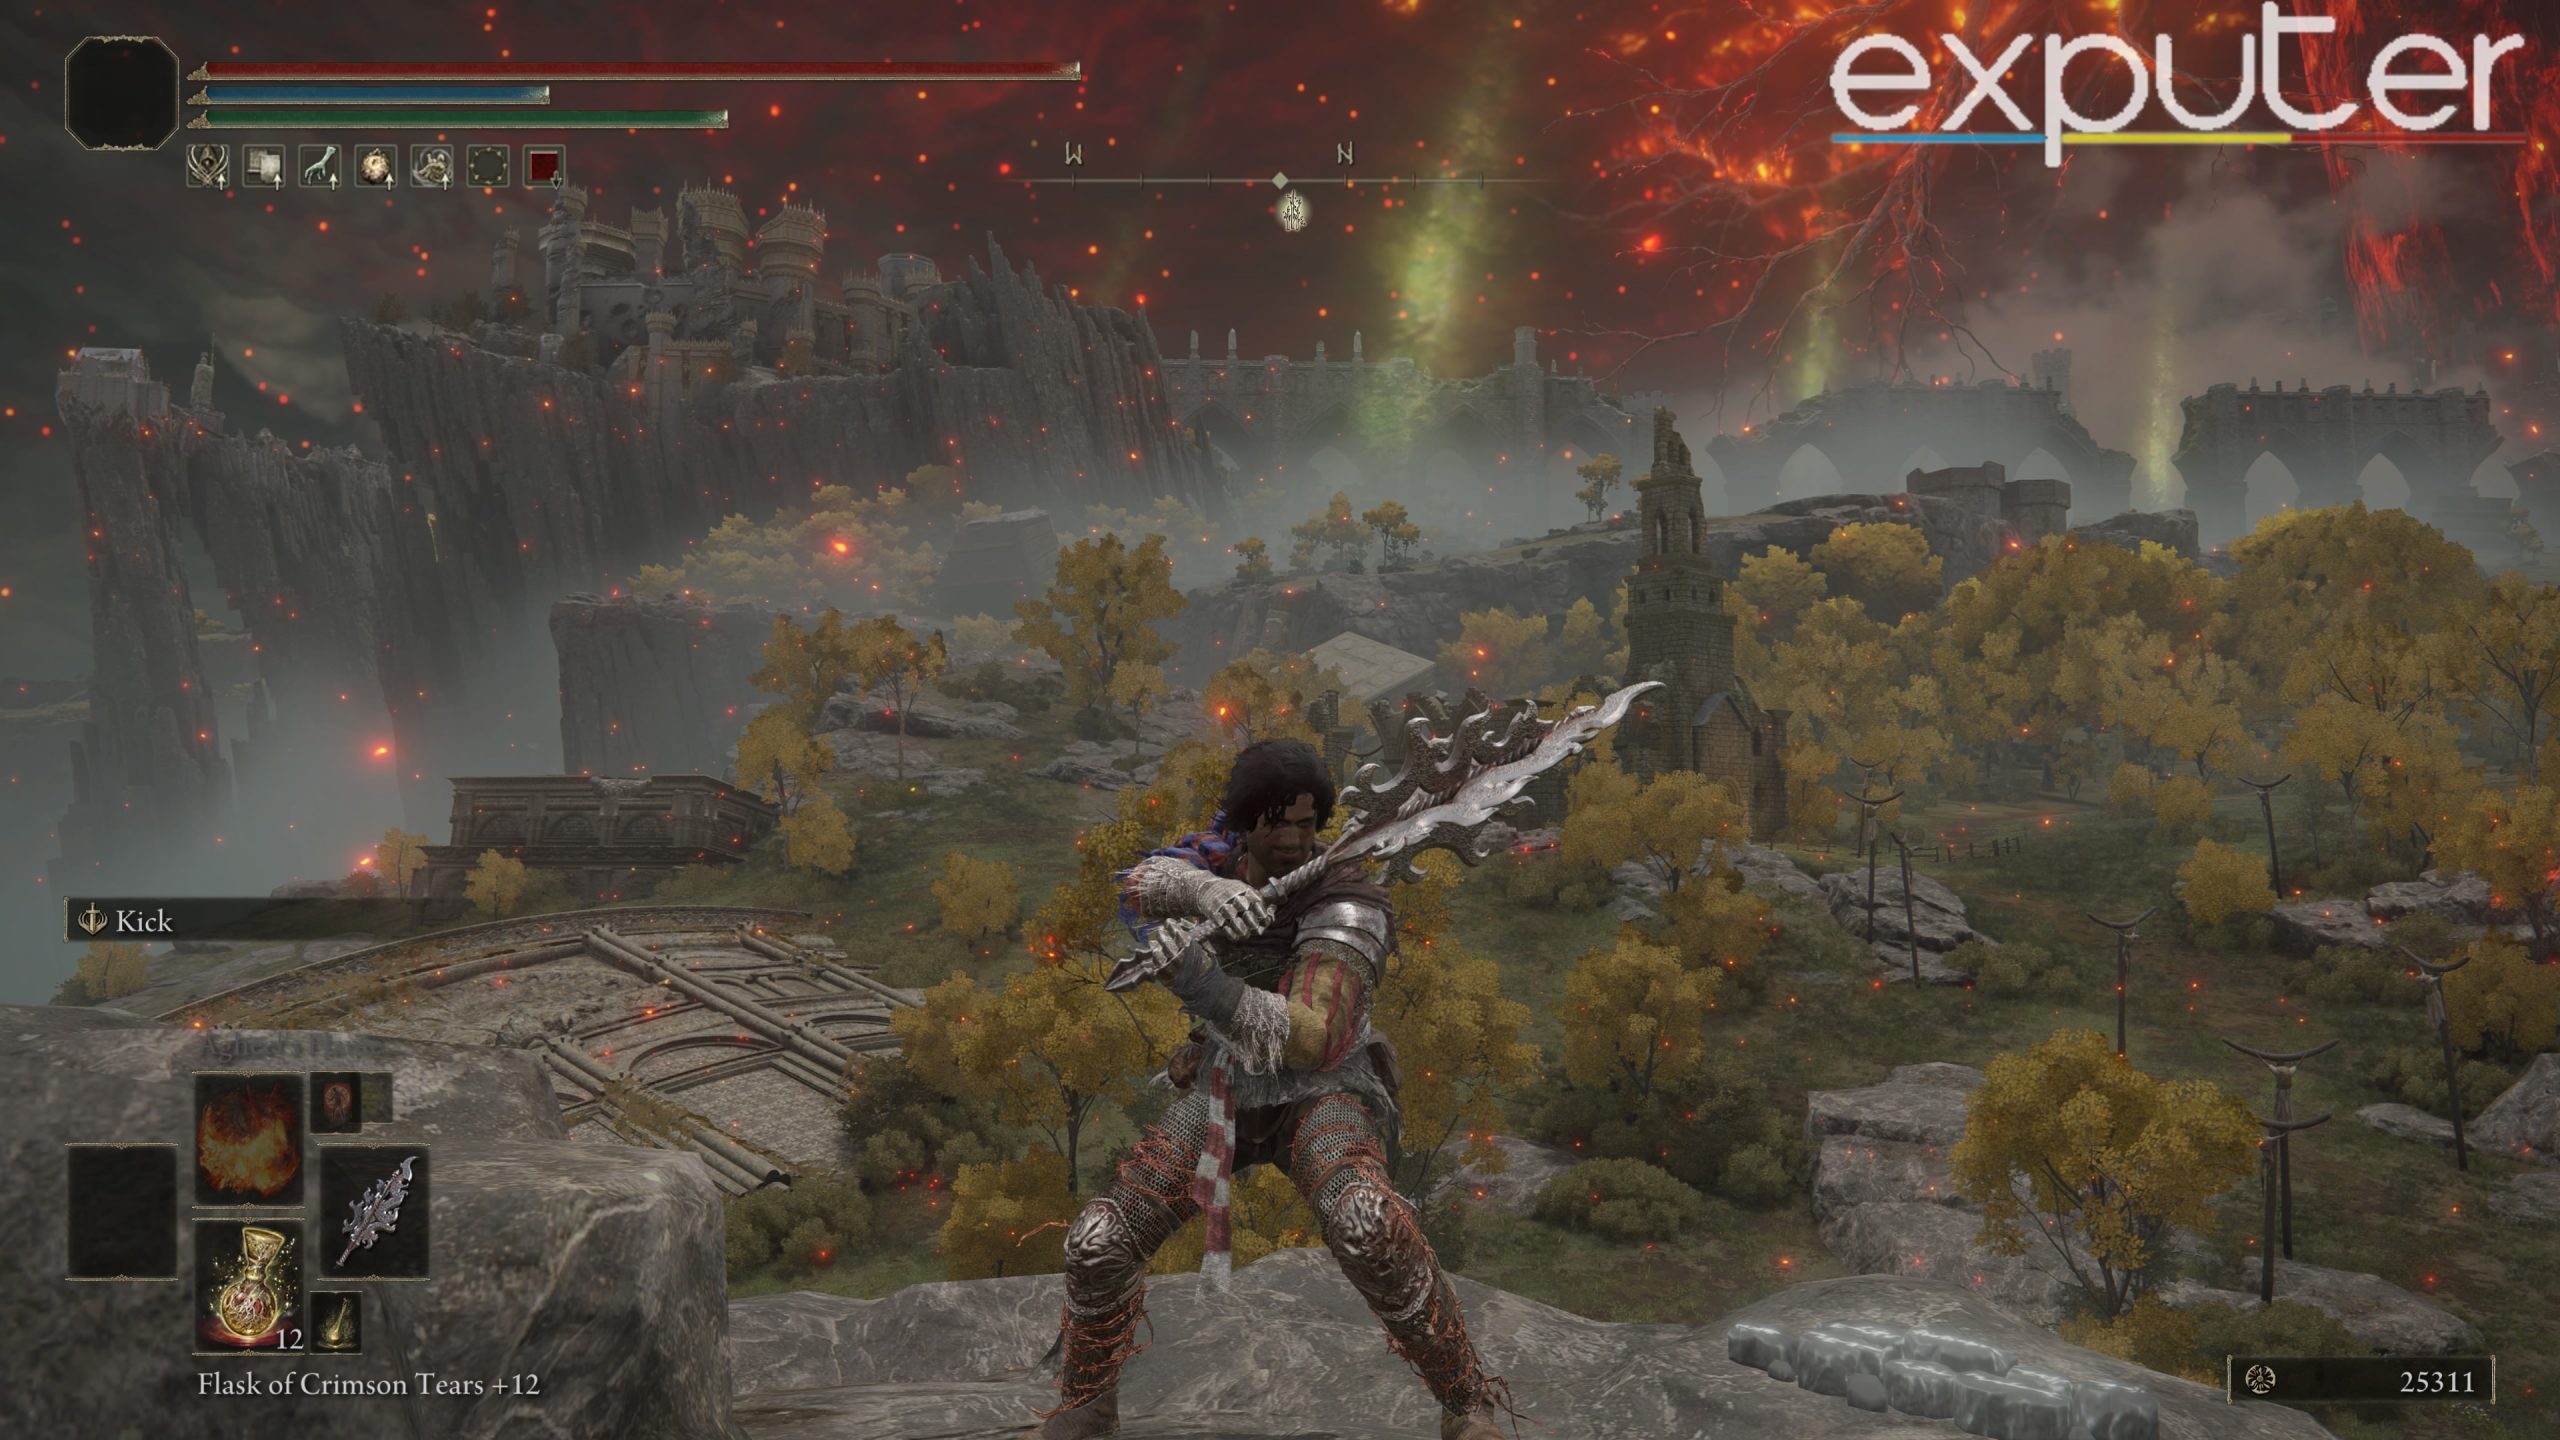
Club
Best Starting Hammer
Club In Elden Ring [Screenshot by eXputer]The Club is a Hammer-type weapon in Elden Ring with low damage output and various weaknesses common to the weapon type. While there are more powerful Hammer options available in the game, the Club can be useful for players looking to start with a Hammer right from the beginning.
Base Stats
Attack
Guard
Physical
103
41
Magic
0
27
Fire
0
27
Light
0
27
Holy
0
27
Critical/ Boost
100
27
Show Full Text
To wield the Club, players must have a Strength stat of at least 10.
Despite its lackluster performance, the Club is the starting weapon for the Wretch class and can be a good option for players with a specific goal in mind.
While there are better alternatives to the Club available in the game, such as the ones mentioned in my list of Best Hammers in Elden Ring, it can still serve a purpose for those who want to use a Hammer from the start. However, it’s important to note that upgrading to a better Hammer as soon as possible is recommended for players looking to maximize their damage output.
Starter hammer
Accessible for Wretch class
Low damage output
Better alternatives exist
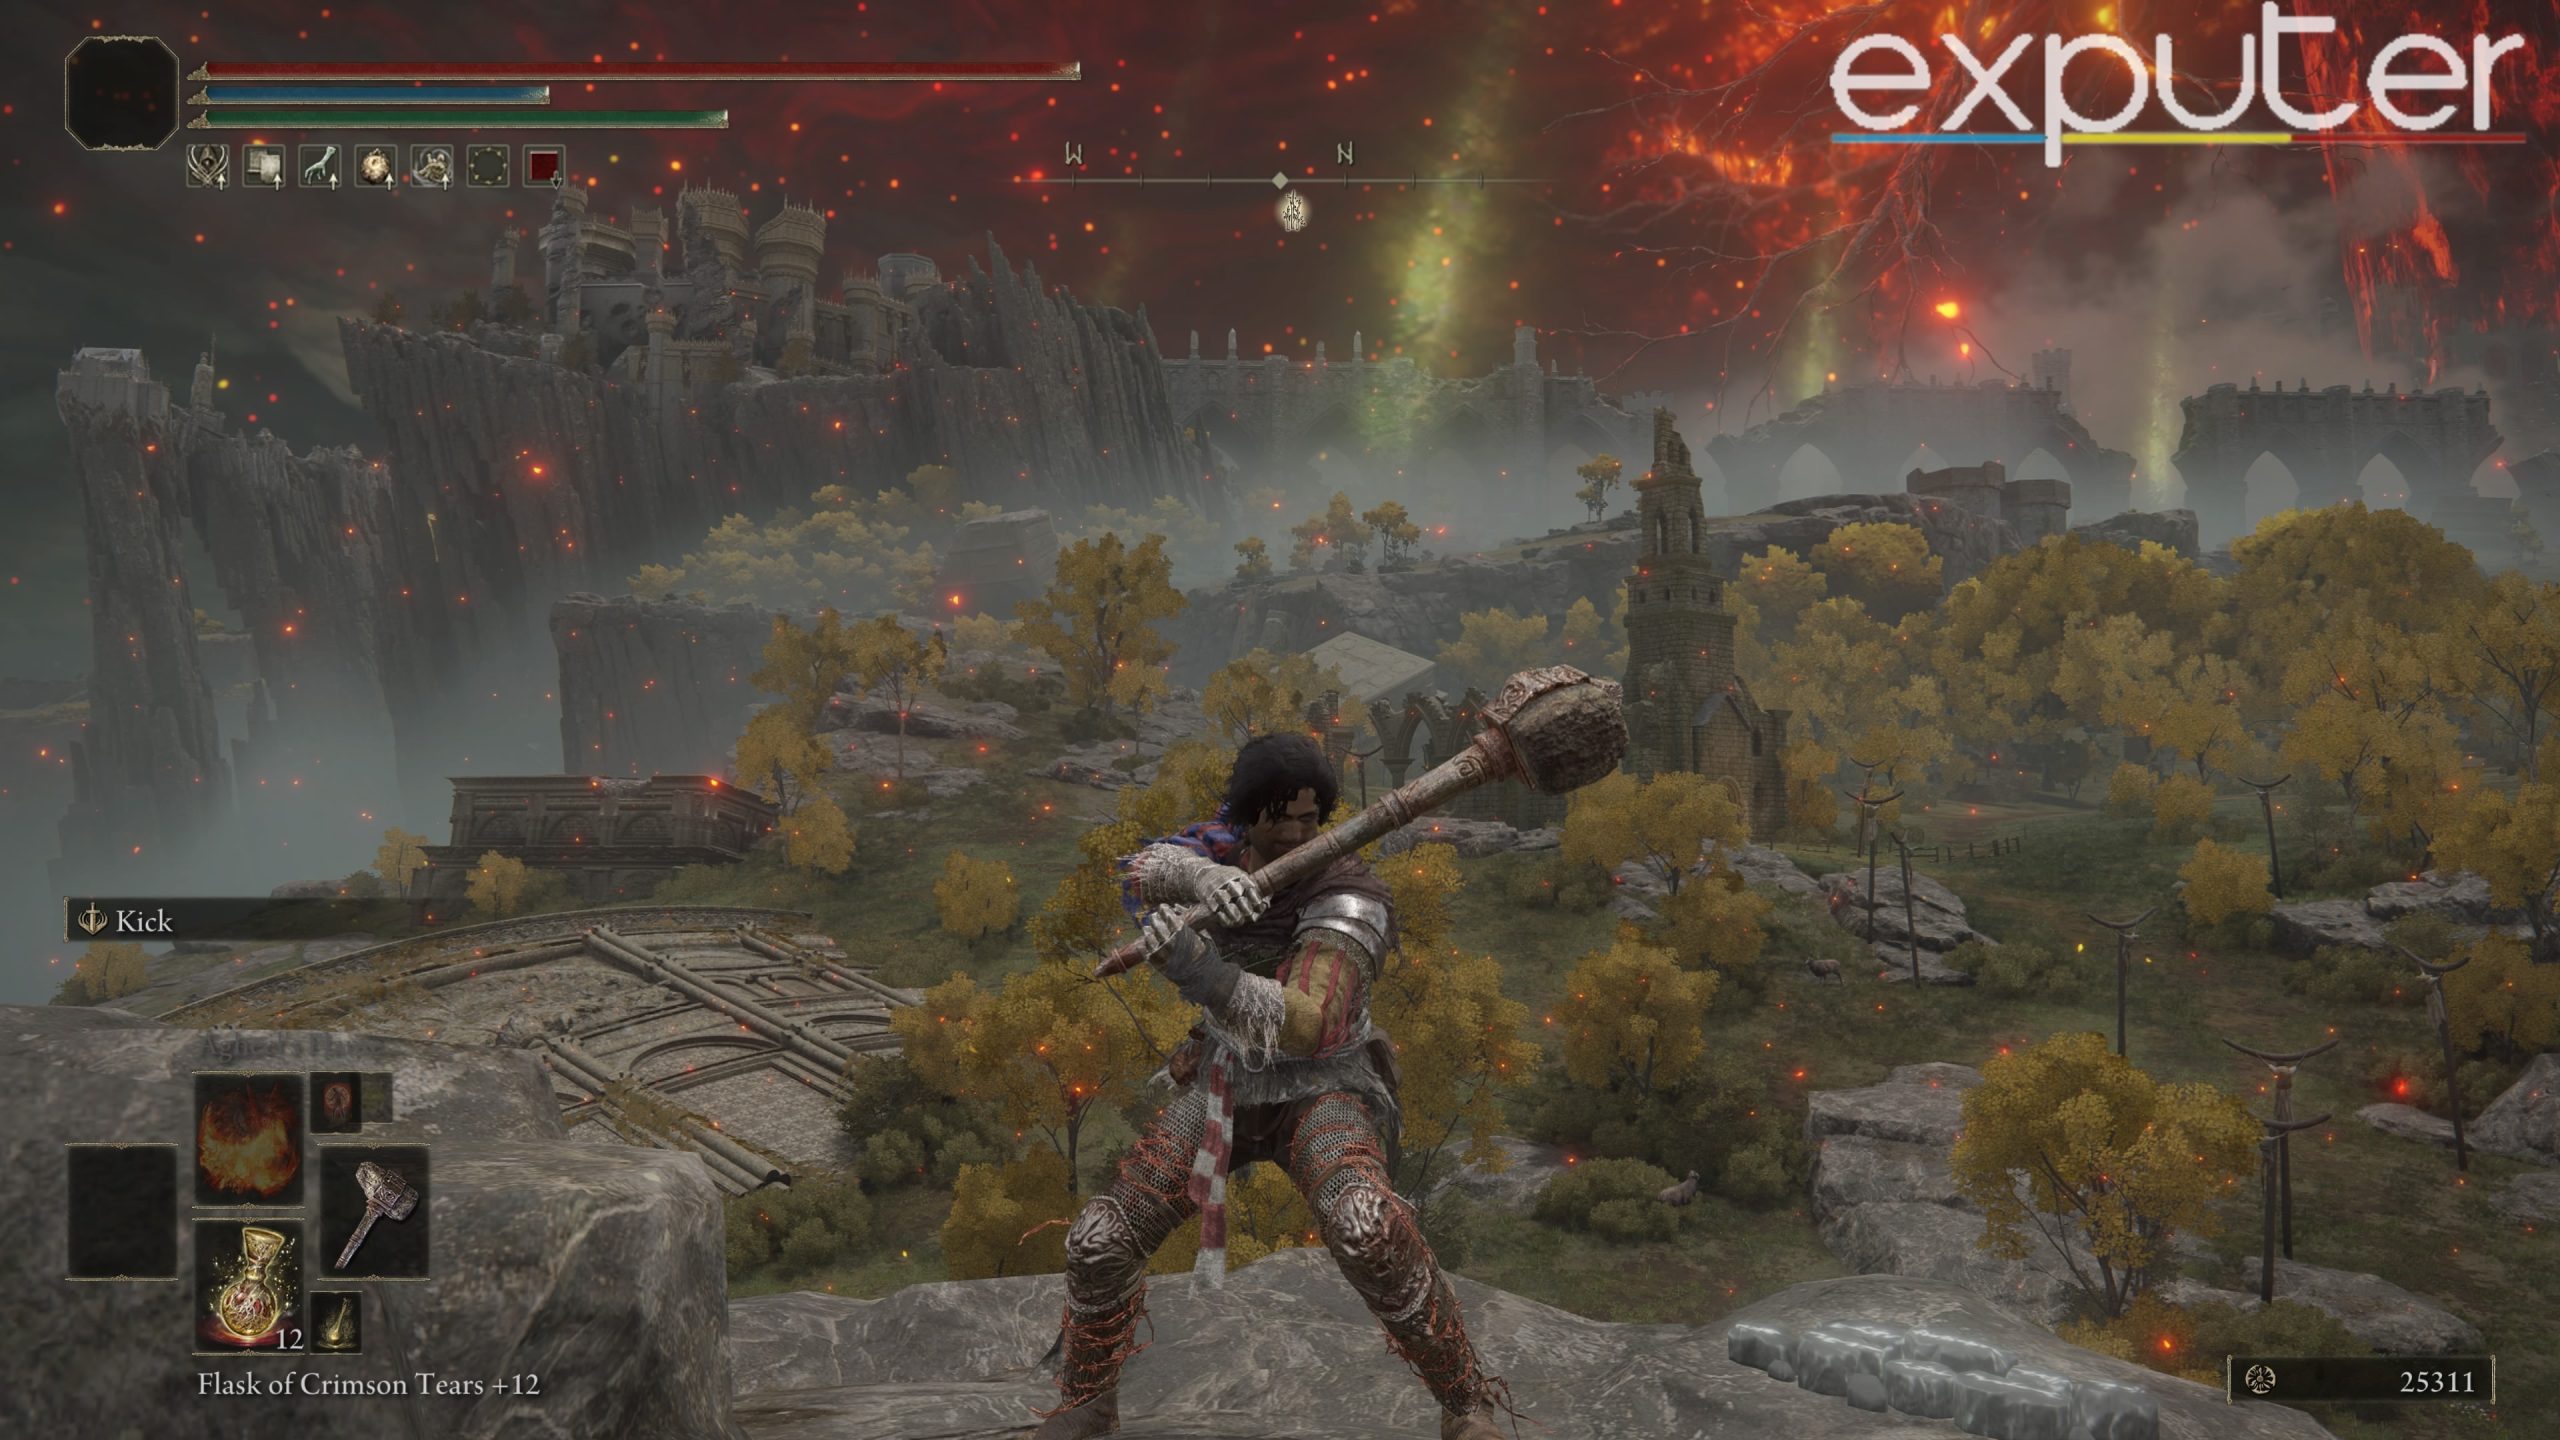
Hammer
The Longest Hammer
Hammer In Elden Ring [Screenshot by eXputer]The Hammer is a basic weapon found in the copy of the Roundtable Hold in Leyndell, Royal Capital. While it may not be the most powerful weapon, it has the advantage of being the longest Hammer you can give Affinities to. This makes it a versatile option compared to the more unique weapons that come later on in the game.
Base Stats
Attack
Guard
Physical
124
51
Magic
0
34
Fire
0
34
Light
0
34
Holy
0
34
Critical/ Boost
100
36
Show Full Text
This weapon is a solid choice for players who prefer physical damage output. It requires 14 strength and 7 dexterity to wield and scales slightly more from strength than dexterity. Although it is similar to the Mace, the Hammer boasts a higher base damage output.
Like the other weapons on this list, the Hammer comes with the skill Kick and can be infused with another ash of war to give it elemental damage. Infusing the Hammer with the Heavy infusion is a popular choice among players, as it increases the weapon’s strength scaling and damage output. At higher levels, infusing this weapon will outclass its base damage with scaled damage. However, at that point, players should consider upgrading to another weapon beyond the Hammer.
Versatile with Affinities
Longest Hammer available
Solid physical damage output
Higher base damage than Mace
Can be infused for elemental damage
Not the most powerful
Scales slightly from dexterity
May require upgrading to another weapon
Morning Star
Best Early Bleed Damage Hammer
Morning Star In Elden Ring [Screenshot by eXputer]The Morning Star is a versatile weapon that can be obtained early on in the game with relatively low requirements. To wield this weapon, players must have a minimum of 12 strength and 8 dexterity. While the weapon scales slightly more from strength, it can still be effective for those with a more balanced build.
Base Stats
Attack
Guard
Physical
118
47
Magic
0
31
Fire
0
31
Light
0
31
Holy
0
31
Critical/ Boost
100
31
Show Full Text
One of the benefits of the Morning Star is its high base damage output, making it an excellent option for the early sections of the Lands Between.
This weapon is also effective against enemies with high armor due to its innate ability to deal with the bleed build-up for each hit.
The Morning Star comes with the skill Kick, but players should consider infusing it with other ashes of war for added benefits.
For instance, infusing it with the ash of war that corresponds to the desired elemental damage type can greatly improve its performance against specific enemy types.
Additionally, the Morning Star is a great option for players who want to take advantage of the bleed build-up for each hit. While it doesn’t offer as much bleed as some other weapons, it still provides a decent amount for how early it can be obtained. With this weapon, players can quickly dispatch enemies while also dealing extra damage over time through the bleed effect.
High base damage output
Effective against armored enemies
Bleed build-up capability
Early game availability
Limited bleed compared to some weapons
Monk’s Flamemace
Best Versatile Dexterity Hammer
Monk’s Flamemace In Elden Ring [Screenshot by eXputer]Looking for a Hammer that excels in Dexterity scaling? Look no further than the Monk’s Flamemace. This weapon is unique as it gets A scaling in Dexterity when infused with the Keen Affinity. This is particularly useful against enemies with thick skin like Crystalians, as most Dex weapons are too light to penetrate them.
Base Stats
Attack
Guard
Physical
126
49
Magic
0
33
Fire
0
33
Light
0
33
Holy
0
33
Critical/ Boost
100
33
Show Full Text
Monk’s Flamemace, despite its fiery appearance, deals only physical damage, requiring 13 strength and 13 dexterity for use, primarily scaling from dexterity. This rarity suits early dexterity builds, excelling against tough enemies with potent strikes categorized as Strike damage. Acquiring it involves farming Fire Monks.
Armed with this weapon, you can take on challenging foes as early as Liurnia of the Lakes. It features the Kick skill and accepts ash of war infusions, with Keen infusion enhancing dexterity scaling while maintaining versatility. A powerful choice for Dexterity builds, the Monk’s Flamemace offers unique scaling and high damage output for a valuable addition to your arsenal.
High base damage output
Effective against armored enemies
Bleed build-up capability
Early game availability
Limited bleed compared to some weapons
Spiked Club
Best Arcane Bleed Hammer
Spiked Club In Elden Ring [Screenshot by eXputer]The Spiked Club is a unique Hammer with innate Bleed buildup. While the Morning Star has better base damage, the Spiked Club’s A scaling in Arcane with the Occult Affinity out-damages it. It is a top contender in the Bleed category because of its significant advantage over other hammers, even though using a Hammer to trigger bleed is not the most effective option.
Base Stats
Attack
Guard
Physical
114
45
Magic
0
30
Fire
0
30
Light
0
30
Holy
0
30
Critical/ Boost
100
30
Show Full Text
The Spiked Club stands out for its low stat requirements, needing only 12 Strength and 7 Dexterity, making it an ideal choice for early-game Bleed builds. It’s conveniently located in Elden Ring’s starting area, but you’ll need to farm Demi-Humans to obtain it, specifically those wielding it.
Here are some more details on the Spiked Club in Elden Ring:
Damage Type: Strike
Bleed Buildup: High
Skill: Leaping Smash
Infusion: Occult
Scaling: A scaling in Arcane with Occult Infusion
Location: Starting area of Elden Ring
Required Stats: 12 Strength, 7 Dexterity
In addition to the above details, here are some tips on how to make the most of the Spiked Club:
Infuse with Occult: Infusing the Spiked Club with Occult enhances its damage output, especially for Bleed builds, thanks to its A scaling in Arcane.
Farm Demi-Humans: Ensure you’re farming Demi-Humans who wield the Spiked Club for the best chance of obtaining it; other Demi-Humans won’t drop it.
Utilize Leaping Smash: The Spiked Club’s Leaping Smash skill aids in closing the gap with enemies, making it easier to land hits and trigger Bleed buildup.
Pair with a Bleed Weapon: For a dedicated Bleed build, consider combining the Spiked Club with another Bleed weapon to maximize your damage potential.
Bleed Buildup
Strong Arcane Scaling
Low Stat Requirements
Accessible Early Game
Farming Specific Enemies to acquire
Limited Damage Types
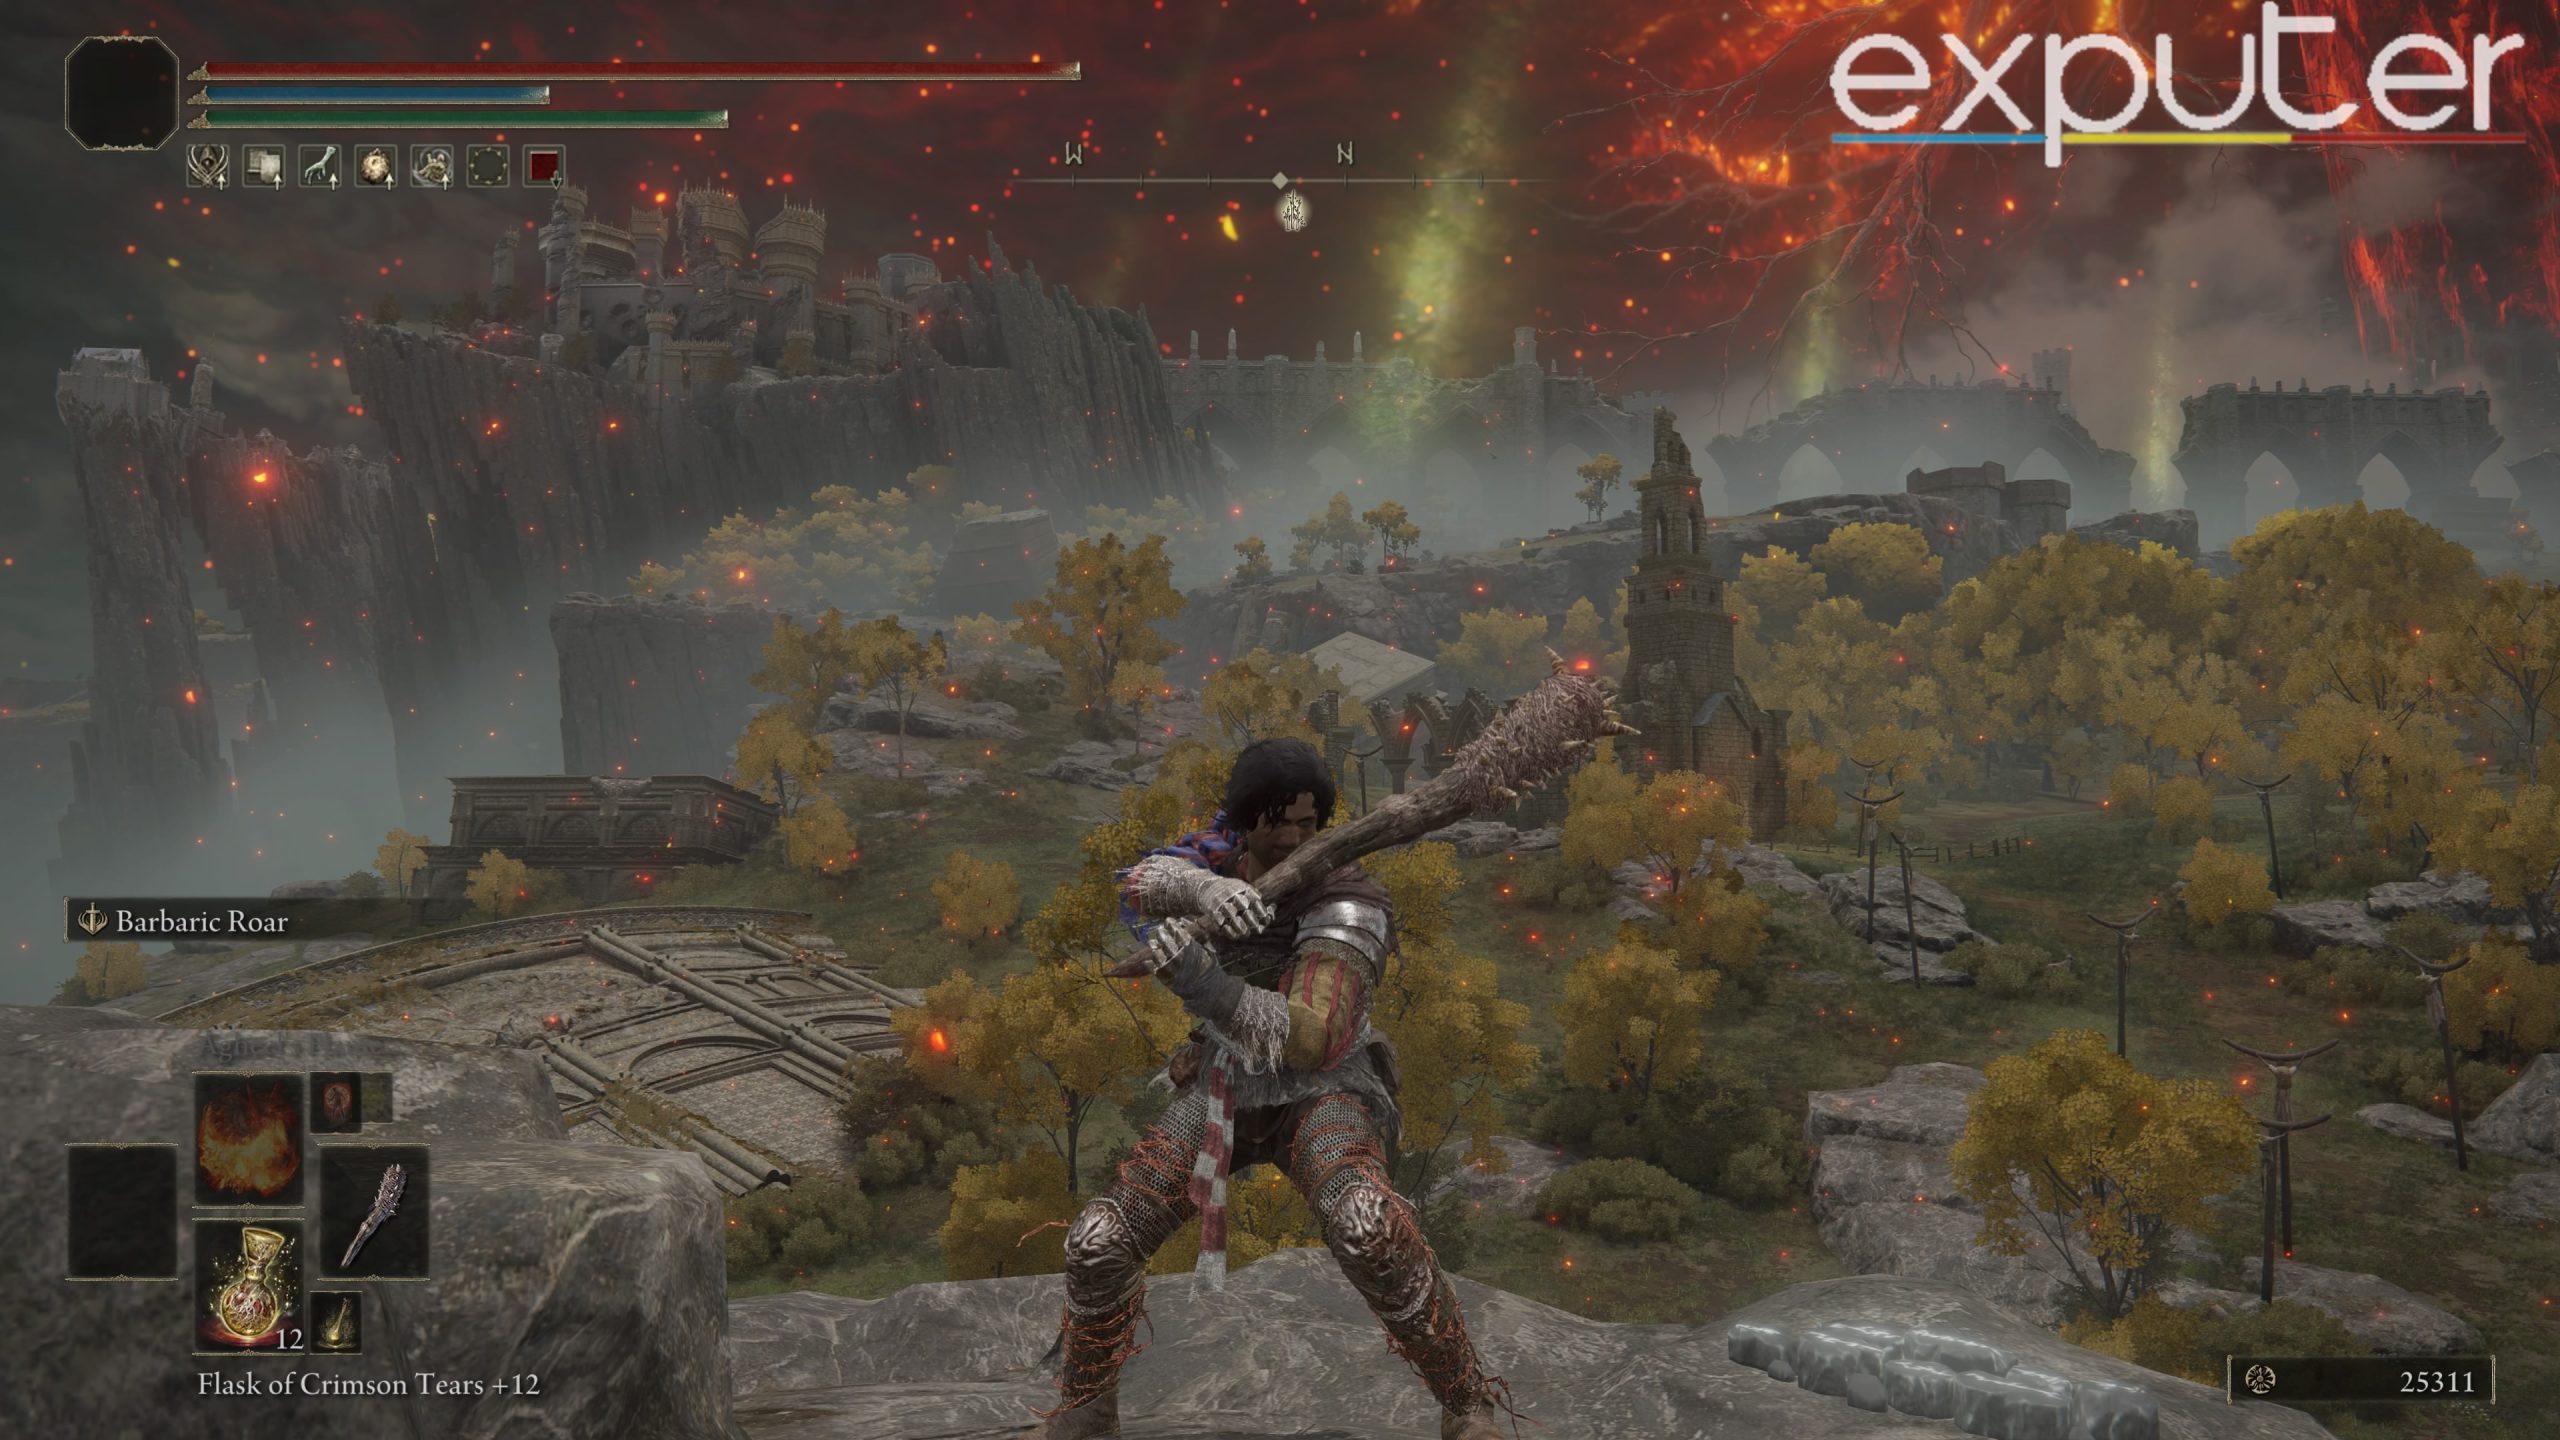
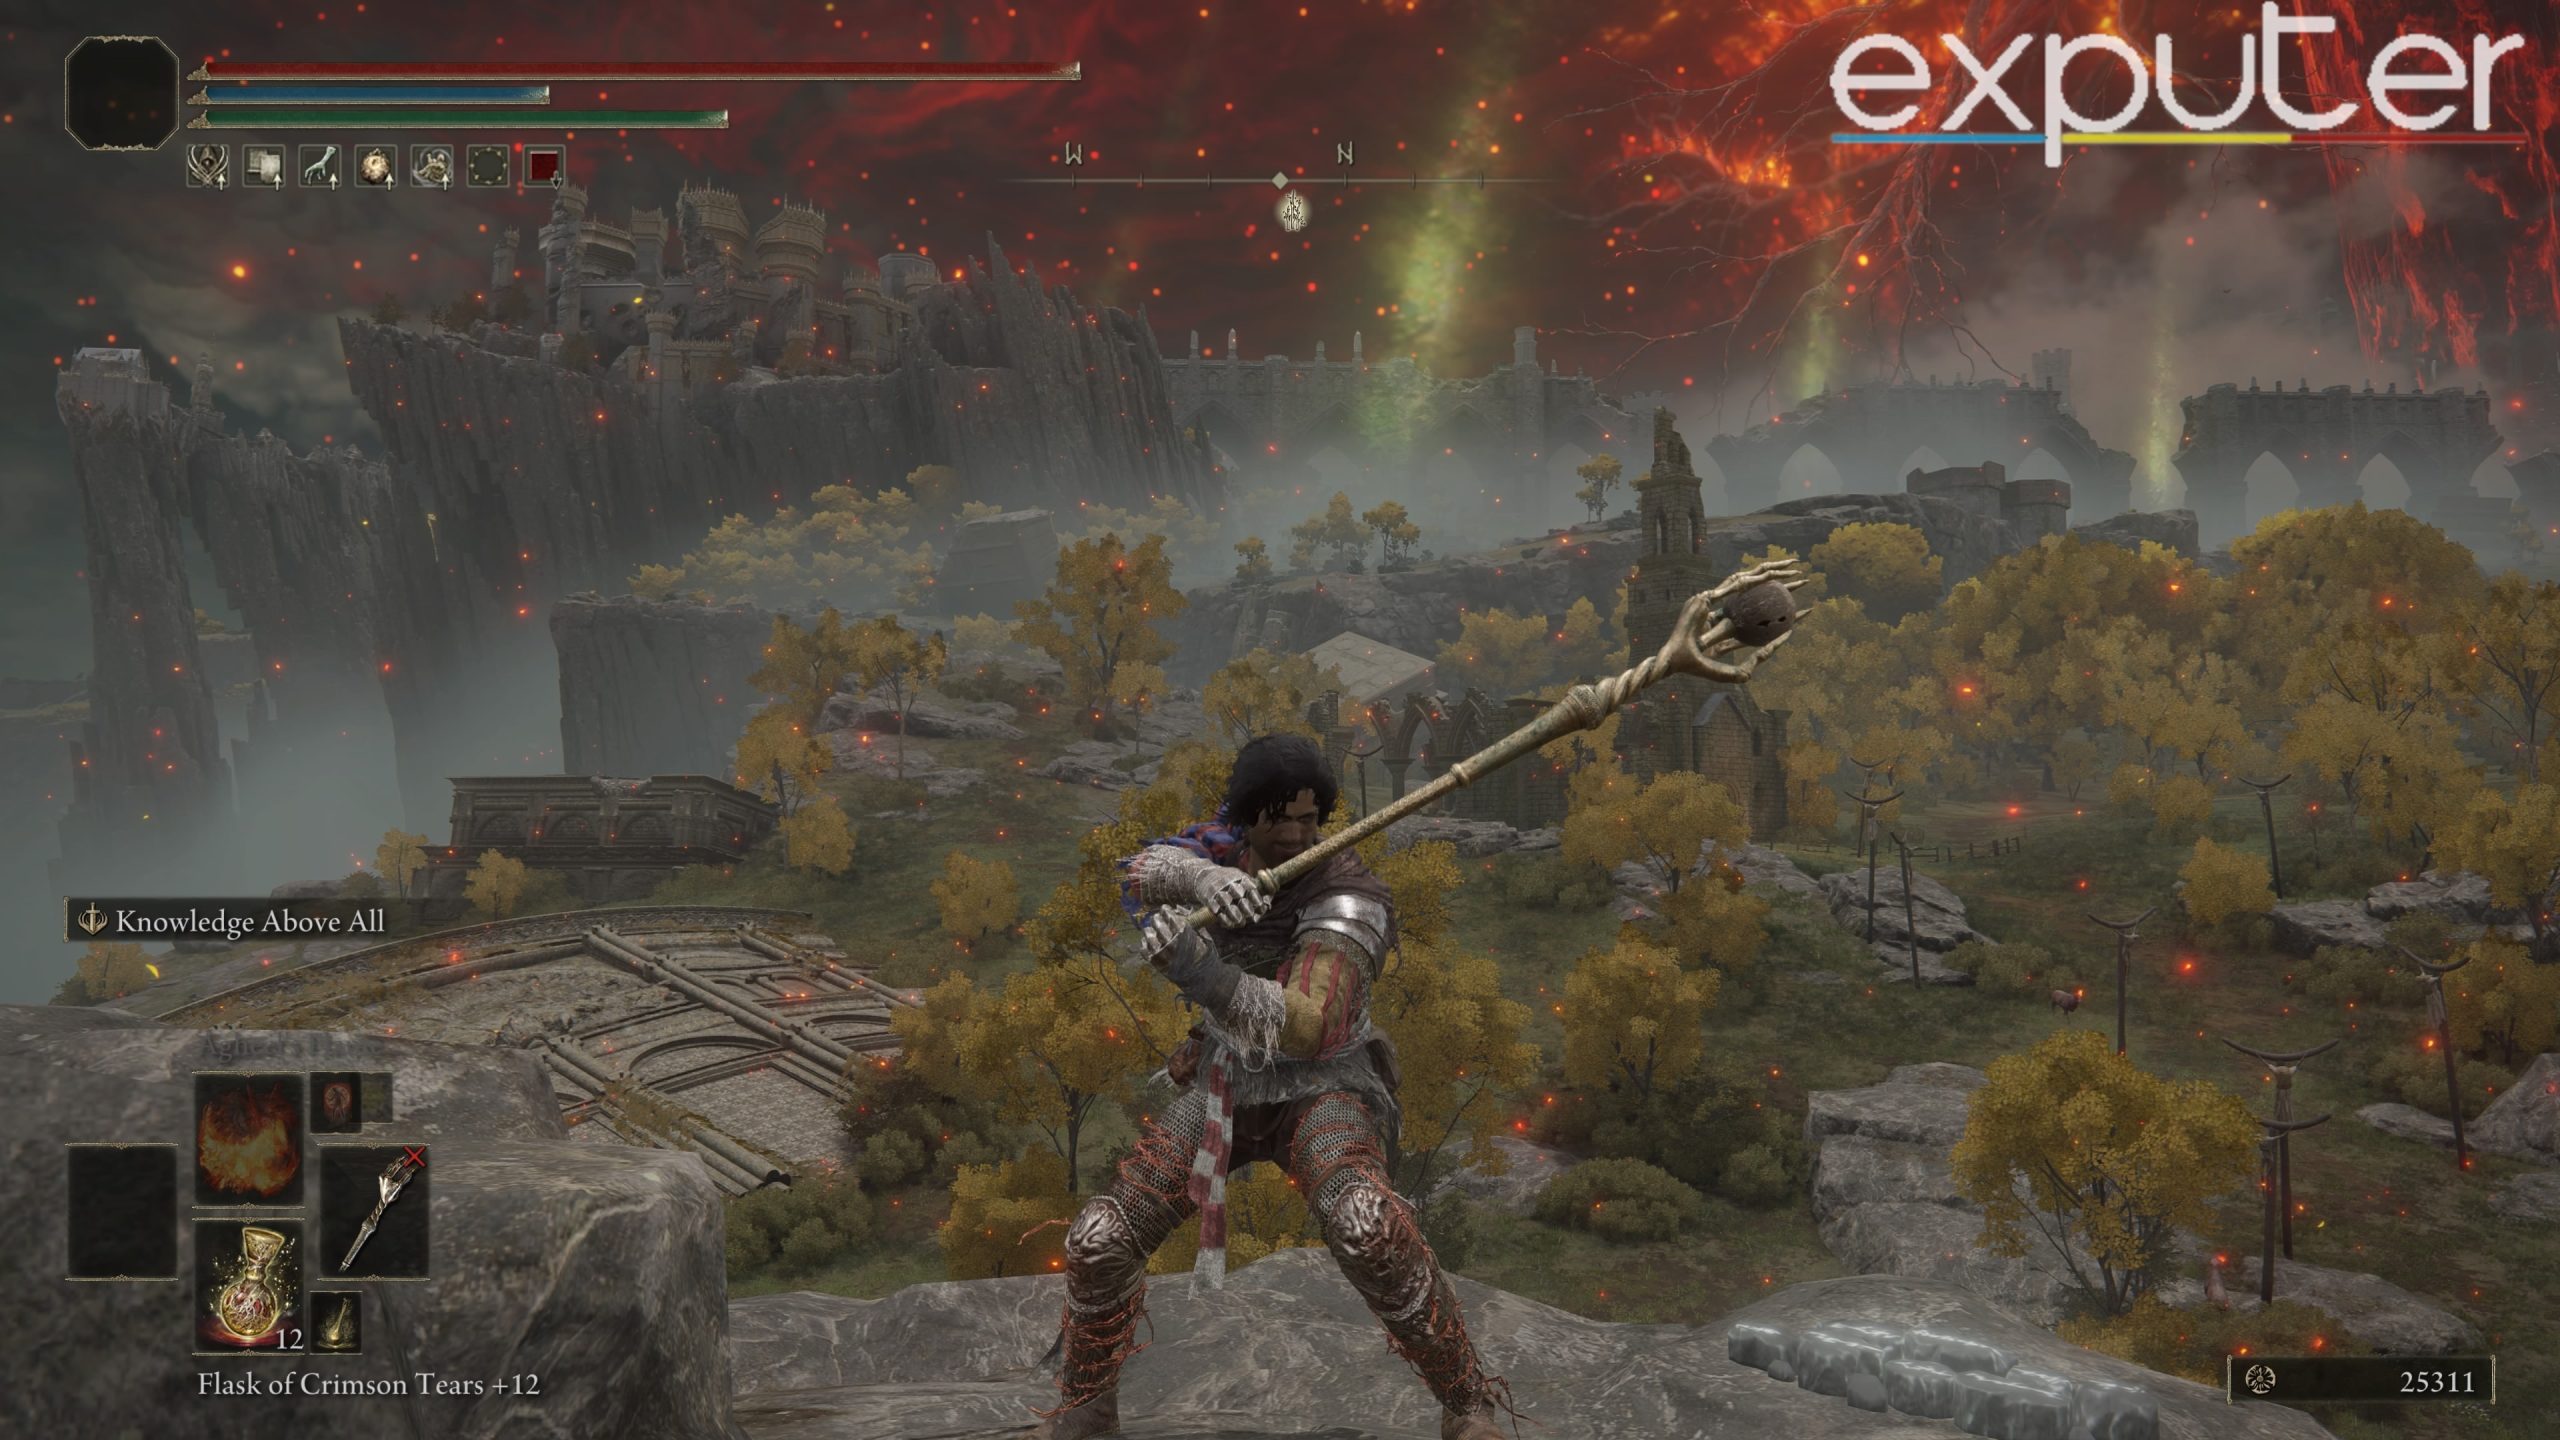
Scepter Of The All-Knowing
Best for Intelligence Build
Scepter Of The All Knowing In Elden Ring [Screenshot by eXputer]The Scepter of the All-Knowing is a unique weapon in the Elden Ring that can be obtained by defeating Sir Gideon Ofnir in the final stages of the game. This weapon, which is essentially the walking stick of Sir Gideon Ofnir, is the only hammer with innate Intelligence scaling and can deal a significant amount of Magic damage. The Scepter is an excellent choice for players who enjoy using both physical and magic damage and prefer weapons with longer reach.
Base Stats
Attack
Guard
Physical
99
36
Magic
64
36
Fire
0
25
Light
0
25
Holy
0
25
Critical/ Boost
100
27
Show Full Text
In summary, some of the key features of the Scepter of the All-Knowing are:
Unique hammer with innate Intelligence scaling
Deals both physical and magic damage, scaling mostly with Intelligence and Dexterity
Requires a minimum Strength of 12, Dexterity of 18, and Intelligence of 21 to wield
Weapon Skill, Knowledge Above All, lowers the resistance of nearby enemies to Magic and Holy damage by ten percent
Has a longer reach compared to other hammers
This weapon’s versatile scaling and dual damage types make it suitable for combat against a range of foes. Its unique Weapon Skill, Knowledge Above All, provides a slight reduction in enemy resistance to Magic and Holy damage, benefiting spellcasters. However, users should exercise caution, as this debuff also affects the caster and could pose challenges when facing specific adversaries.
In conclusion, the Scepter of the All-Knowing serves as an excellent choice for players seeking a versatile weapon capable of delivering both physical and magic damage. When employed thoughtfully, it can become an invaluable asset within any player’s inventory.
Unique Intelligence scaling
Deals physical and magic damage
Longer reach than most
Lowers enemy resistance slightly
Debuff affects the caster
Situational challenges against foes
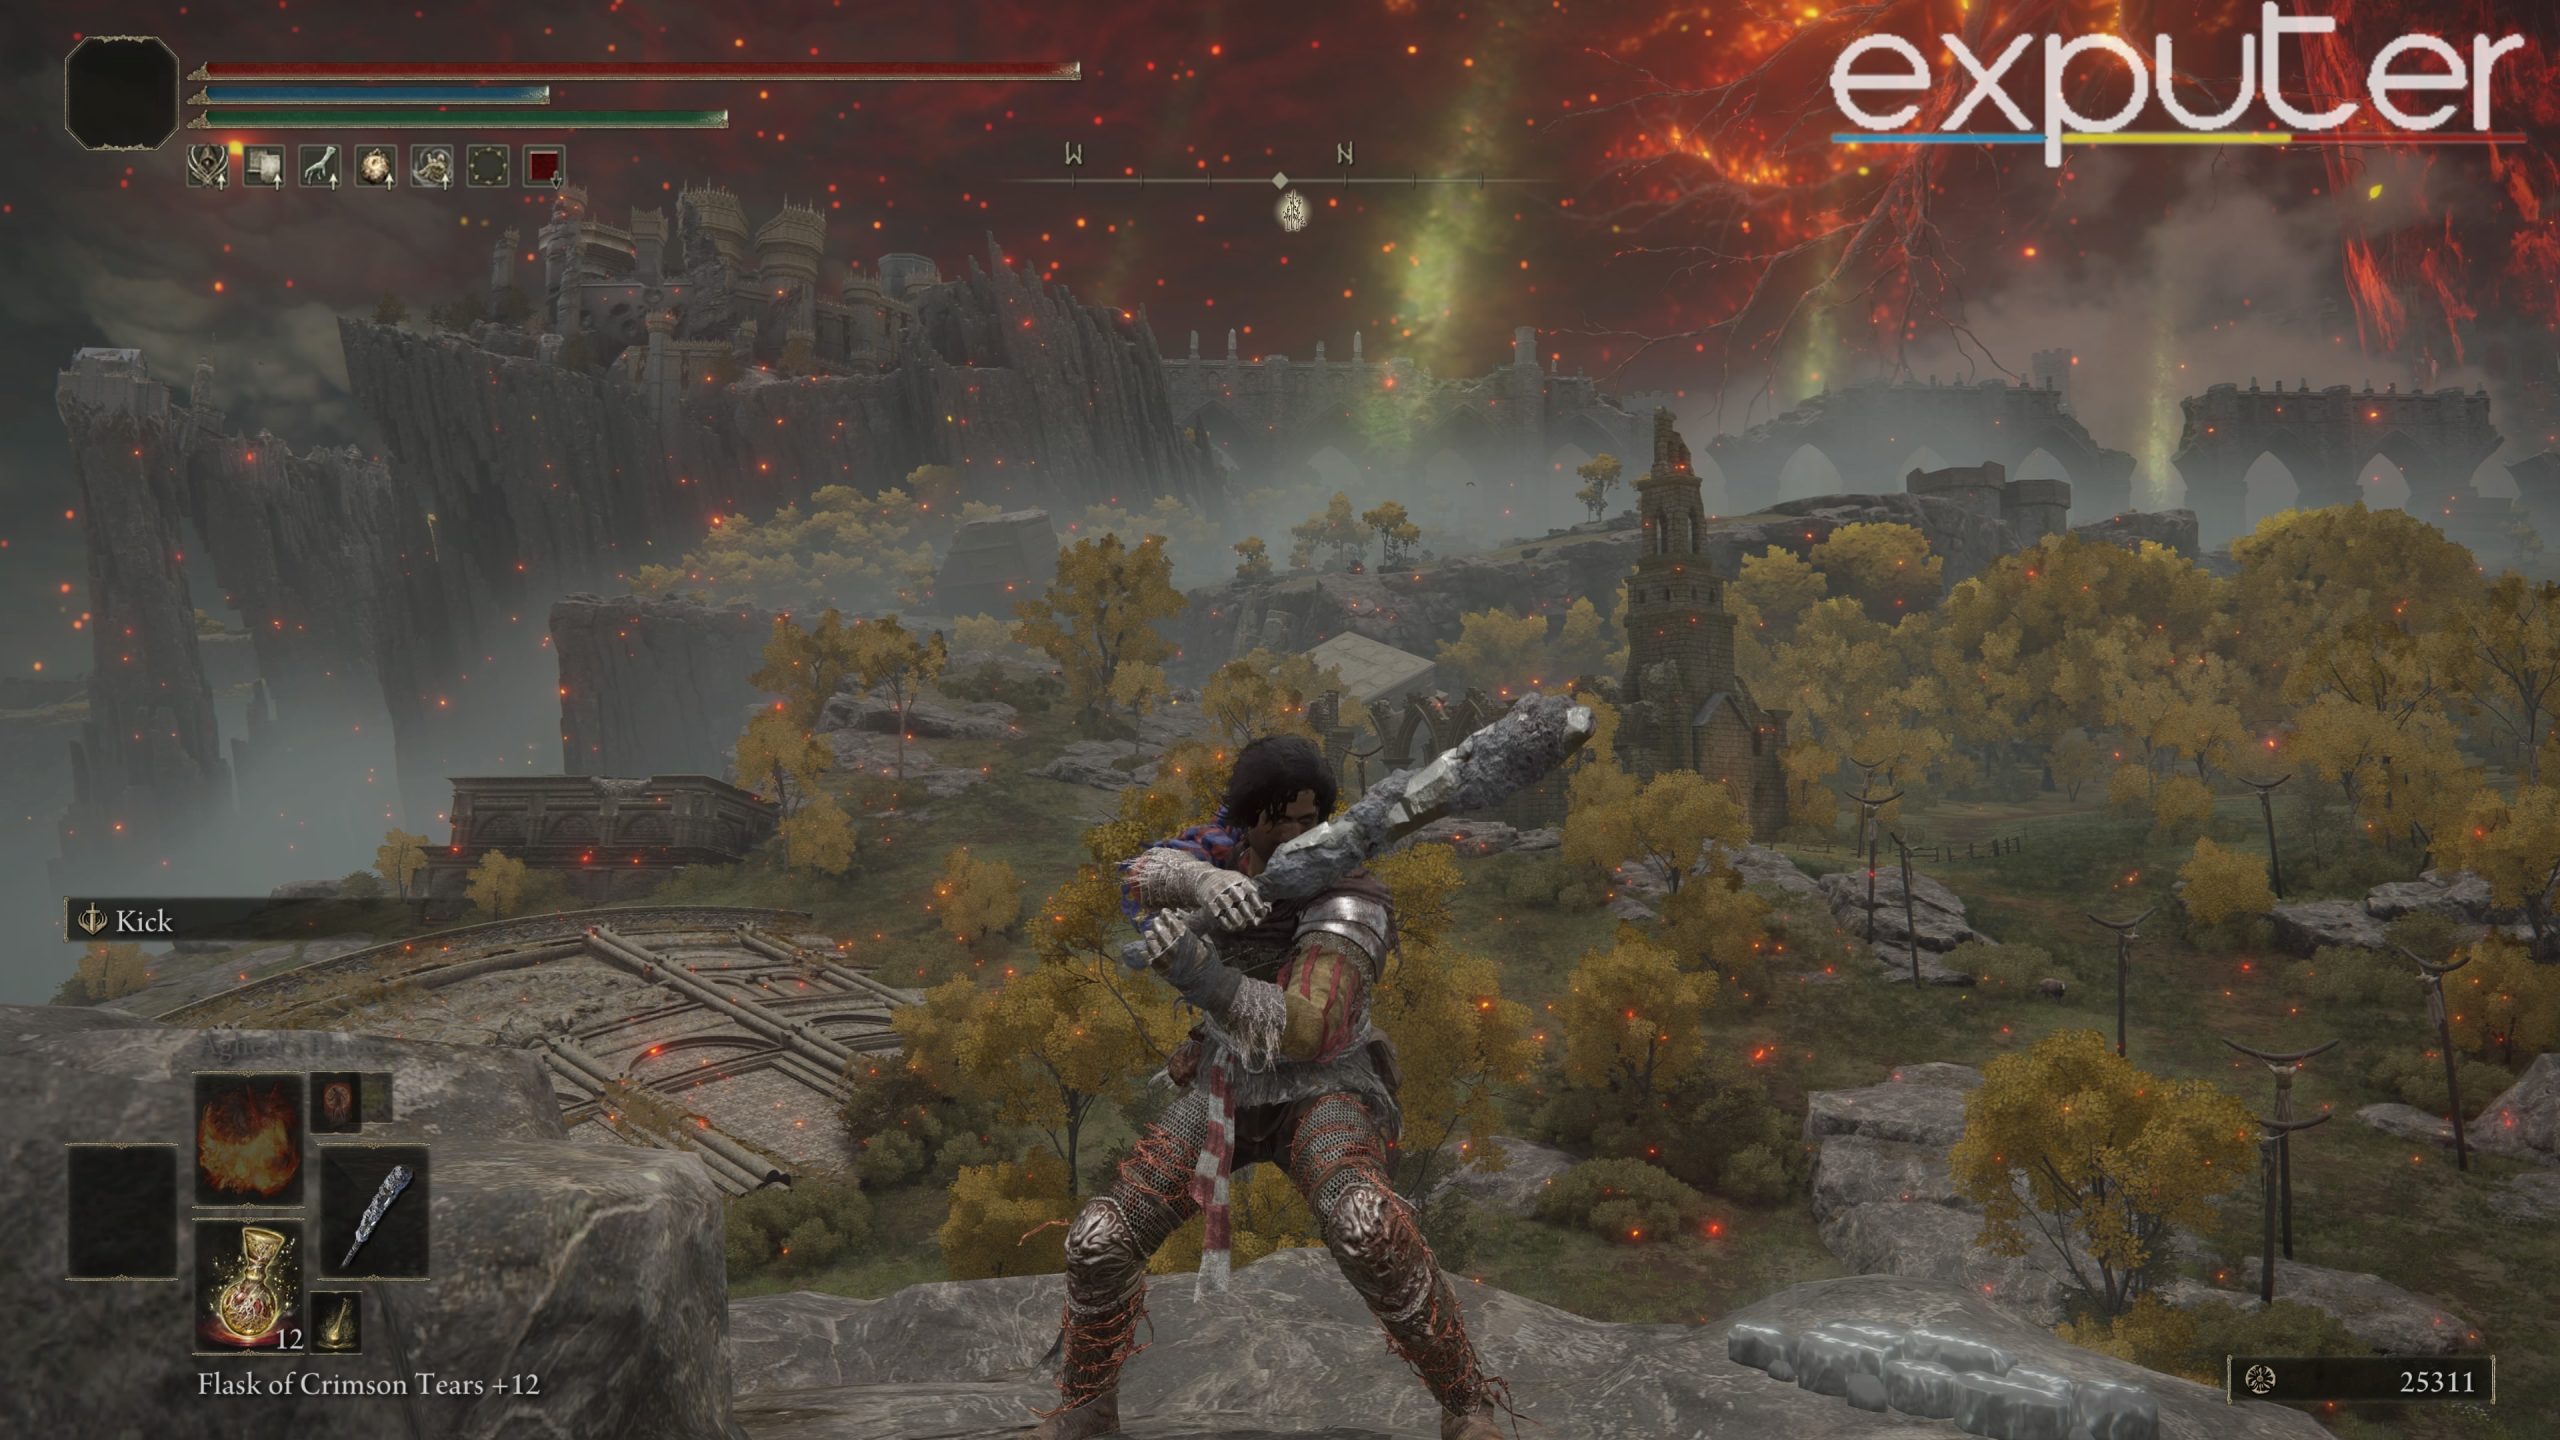
Stone Club
Best for Strength Builds
Stone Club In Elden Ring [Screenshot by eXputer]
Base Stats
Attack
Guard
Physical
122
52
Magic
0
35
Fire
0
35
Light
0
35
Holy
0
35
Critical/ Boost
100
36
Show Full Text
In Elden Ring, the Stone Club is a favored choice among players who appreciate the straightforwardness of wielding a hefty club. While lacking finesse, it compensates with raw power, offering the satisfaction of smashing foes with a massive stone. Here’s a comprehensive overview:
Damage and Scaling: Surprisingly, the Stone Club outshines other hammers with comparable base damage and scaling. When bestowed with the Heavy Affinity, it attains an impressive A scaling in strength, rendering it formidable in the hands of a skilled player.
Acquiring the Stone Club: Obtaining the Stone Club involves vanquishing Battlemages scattered across various locations in the Lands Between. While tracking down and defeating these adversaries demands time and effort, the raw power of the Stone Club justifies the investment, particularly for players favoring strength-based approaches.
In conclusion, the Stone Club may not be the most elegant or sophisticated weapon in the Elden Ring, but it is a highly effective tool for players who enjoy using sheer force to take down their enemies. Whether you’re looking for a weapon to use early on in the game or simply enjoy the feeling of wielding a giant rock, the Stone Club is definitely worth considering.
Raw power
High base damage
Excellent scaling
Suitable for strength builds
Requires effort to acquire
Heavy and cumbersome
Envoy’s Horn
Best for Faith Builds
Envoy’s Horn In Elden Ring [Screenshot by eXputer]The Envoy’s Horn weapon uses the Oracular Bubble weapon skill, which plays music while firing a small, slow-moving bubble of Holy magic. While it may seem like a silly weapon at first glance, the Envoy’s Horn can actually do significant damage.
Base Stats
Attack
Guard
Physical
96
38
Magic
0
26
Fire
0
26
Light
0
26
Holy
62
38
Critical/ Boost
100
28
Show Full Text
To use the Oracular Bubble weapon skill, players must meet the Envoy’s Horn’s stat requirements of 10 Strength, 12 Dexterity, and 16 Faith. This weapon scales equally from all three stats, making it a versatile weapon that can fit into a variety of builds. It deals both physical and holy damage, with the additional holy damage being a great addition to a faith-heavy build.
The Envoy’s Horn is a weapon in Elden Ring that uses the Oracular Bubble weapon skill, firing a small, slow-moving bubble of Holy magic while playing music.
This weapon scales equally from Strength, Dexterity, and Faith and deals both physical and holy damage.
The Envoy’s Horn is a speedy weapon and a necessary part of a bubble weapon-based build.
Compared to other bubble weapons like the Envoy’s Longhorn and Envoy’s Greathorn, the Envoy’s Horn has a significant advantage in terms of speed. Its Oracular Bubble skill comes out quickly, making it useful against fast-moving enemies. While it may not be as powerful as the other bubble weapons, it’s still a necessary part of a bubble weapon-based build.
To acquire the Envoy’s Horn, players must farm the Oracle Envoys in Leyndell, Royal Capital, and Miquella’s Haligtree. Once acquired, players can use the Oracular Bubble skill to fire a small bubble of holy damage towards enemies. This is a cheap ability to cast and only does a bit of damage, but it is great for giving players a ranged option for damage if their spell slots are being used for other support-oriented incantations.
Holy damage versatility
Balanced scaling stats
Quick Oracular Bubble skill
Ranged damage option
Limited damage output
Relatively low base stats
Specific farming requirement
Lesser power compared to alternatives
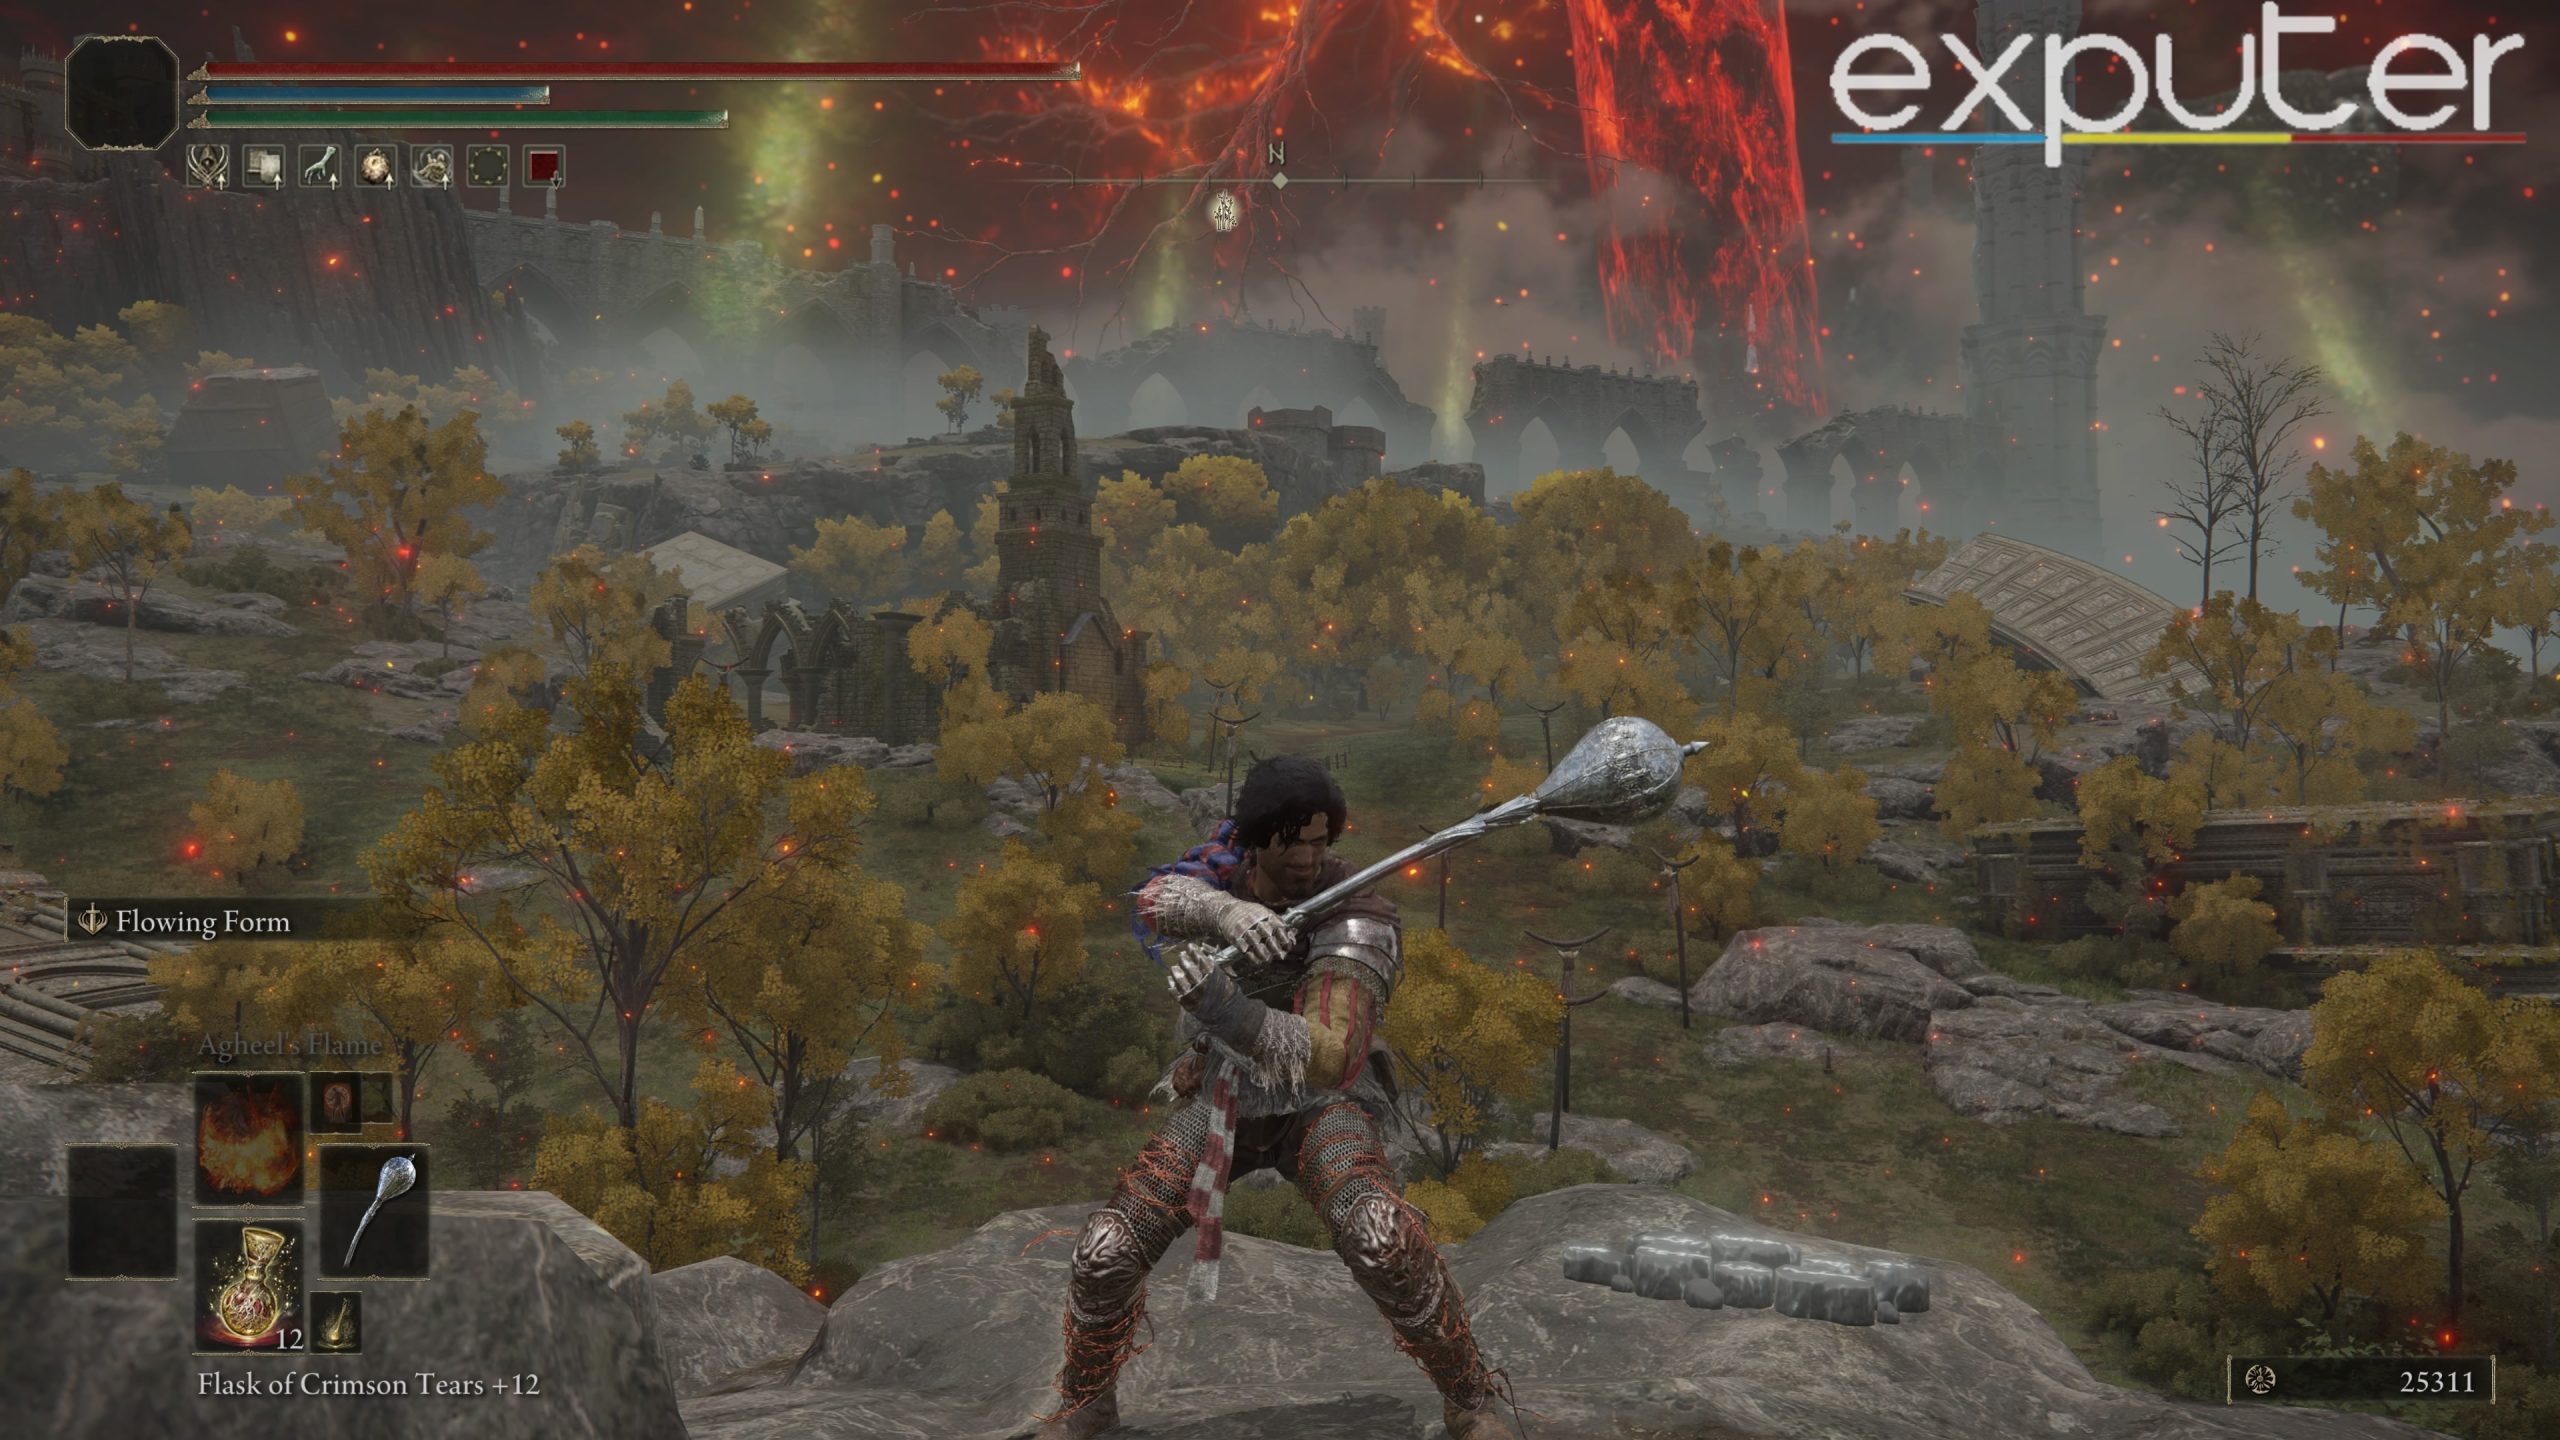
Nox Flowing Hammer
Most Shortest Powerful Hammer
Nox Flowering Hammer In Elden Ring [Screenshot by eXputer]The Nox Flowing Hammer is a short yet powerful weapon in Elden Ring that boasts a unique Weapon Skill called Flowing Form, making up for its limited reach. This weapon is a must-have for players who enjoy the hammer’s playstyle and its unique mechanics.
Base Stats
Attack
Guard
Physical
122
51
Magic
0
34
Fire
0
34
Light
0
34
Holy
0
34
Critical/ Boost
100
34
Show Full Text
Stat Requirements:
Strength: 17
Dexterity: 7
Regular Attacks:
Inflicts physical damage
Scales with strength and dexterity
Offers decent base damage
Weapon Skill:
Flowing Form: Swings the hammer in a wide circle above the player’s head, delivering significant area damage
The Nox Flowing Hammer is an exception among hammers due to its extended reach, ideal for those who prefer close combat.
Acquisition: To obtain the Nox Flowing Hammer, players must explore the optional area of Nokron, Eternal City, which demands advanced traversal skills to navigate rooftops and windows.
In conclusion, the Nox Flowing Hammer, despite its compact size, is a potent weapon with a unique and powerful Weapon Skill, making it a valuable asset for players looking to overcome the limited range typical of hammers.
Powerful Weapon Skill: Flowing Form
Decent base damage
Ideal for close combat
Limited reach compared to other weapons
Ringed Finger
Most Unique Hammer
Ringed Finger In Elden Ring [Screenshot by eXputer]The Ringed Finger is one of the most unconventional weapons in Elden Ring due to its design. Shaped like a severed finger with rings on it, it is definitely not for the faint of heart. However, this Hammer still manages to make a name for itself thanks to its impressive capabilities.
Base Stats
Attack
Guard
Physical
121
38
Magic
0
26
Fire
0
26
Light
0
26
Holy
0
38
Critical/ Boost
100
28
Show Full Text
The Ringed Finger boasts a decent damage output and is tied for the longest Hammer in the Elden Ring. Its base damage is already impressive, but when combined with its scaling off of strength, it becomes one of the most powerful Hammers available. With a strength requirement of 15 and a dexterity requirement of 9, this weapon can pack quite the punch in the right hands.
The weapon skill of the Ringed Finger, Claw Flick, is perhaps its most notable feature.
Upon activation, the Finger swells up and then flicks out, dealing significant damage and sending smaller enemies flying.
This skill has a bit of a charge-up, but it is well worth it for the impressive results it delivers.
The Claw Flick can be a lifesaver in tough battles, allowing players to quickly knock back foes and gain the upper hand.
To obtain the Ringed Finger, players must journey to the Gelmir Hero’s Grave, a Catacombs filled with lava and frustration.
Once players have acquired the weapon, they will find that its unique design and impressive capabilities make it a valuable addition to any arsenal.
In summary, the Ringed Finger is a highly unique and powerful weapon in the Elden Ring, with a design that is sure to turn heads. Its long reach, impressive damage output, and unique skill make it a valuable asset in any battle. With a bit of skill and determination, players can obtain this one-of-a-kind weapon and add it to their collection.
Unique design
High damage output
Longest Hammer
Scaling off strength
Powerful weapon skill
Charge-up for skill
Obtained in a challenging location
Marika’s Hammer
Most Powerful Holy Hammer
Marika’s Hammer In Elden Ring [Screenshot by eXputer]Marika’s Hammer is a powerful weapon that deals physical and holy damage and has a unique skill called Gold Breaker. To wield this weapon, players need to have a strength of 20, dexterity of 12, and faith of 19. While the weapon scales most from strength, faith is a close second.
Base Stats
Attack
Guard
Physical
101
44
Magic
0
30
Fire
0
30
Light
0
30
Holy
65
44
Critical/ Boost
100
33
Show Full Text
One of the most significant advantages of Marika’s Hammer is its Weapon Skill: Gold Breaker. The player can perform this move by hovering in the air before launching forward and slamming the hammer into the ground. The point of impact causes a massive explosion of physical and holy damage that deals massive damage to anything it hits. This makes the weapon an excellent option for post-game bosses or New Game Plus.
To obtain Marika’s Hammer, players need to trade the Elden Remembrance with Enia at the Roundtable hold.
Unfortunately, the Elden Remembrance drops from the final boss, making Marika’s Hammer one of the hardest weapons to obtain.
However, the wait is worth it for players looking for a powerful weapon to use in New Game Plus.
In addition to its unique ability, Marika’s Hammer also has decent base damage and scales well from strength, making it a reliable weapon for dealing damage.
The weapon’s faith requirement is higher than most hammers, but it is still a worthwhile investment for players looking to use holy damage against their enemies.
Powerful damage output
Unique skill: Gold Breaker
Excellent for tough enemies
Solid base damage
Reliable scaling with strength
Challenging to obtain
High faith requirement
Relies on end-game content
Alternative Hammers
While my top 13 list focuses on the best Hammers in Elden Ring, there are some alternative Hammers that you can also consider using.
Warpick: Simple but effective weapon, scales primarily with Dexterity and Strength, good for breaking an enemy’s guard.
Curved Club: Hard, curved club, scales primarily with Strength and Dexterity but, it is heavy.
My Experience And Take Towards Hammers
In my experience, Hammers are a generally weak weapon class, with abysmal regular and charged attacks, along with an underwhelming Ash of War. The only exception is Marika’s Hammer, which I consider exceptionally strong against large bosses and hordes of enemies. Besides that, however, I wouldn’t recommend using hammers in Elden Ring unless you’re looking for a unique playstyle.
My Elden Ring hours (Steam ID: WaterJuice)
I started using hammers on my third playthrough, and the issues I mentioned became apparent right from the start. All the way up till the Elden Beast boss fight, they felt clunky and lackluster, and I missed the simplicity and reliability of swords throughout my playthrough. My only saving grace, as mentioned, was Marika’s Hammer, for which I consistently leveled up my Mind stat so I could keep spamming its Ash of War.
Whether you prefer the versatility of the Battle Hammer or the sheer power of the Brick Hammer, there’s definitely a hammer that suits your playstyle. My personal experience with these hammers has shown me their effectiveness in vanquishing formidable foes throughout the game.
Looking for more weapon options in Elden Ring? Check out our guides on the best Whips in Elden Ring, the best Curved Greatswords, and the best Scythe Builds. These guides will provide you with in-depth analysis and rankings of the best weapons in their respective categories, giving you an edge in your battles. So gear up and face the challenges that await you in the land of Elden Ring!
How can we make this post better? Your help would be appreciated. ✍
Summary
Hammers are one of the weapon types available to players in Elden Ring, featuring slower attack animations but powerful strikes that can deal significant damage and briefly stun enemies. With Elden Ring's wide variety of weapons and customizations, there is a hammer suitable for any player's build if they choose to use one. Choosing the…
Daniyal is a Guides Writer and Editor at eXputer with over one year of experience in content writing. He's had a passion for tech and gaming for more than 15 years. Ever since his first console, the PS2, he's constantly branching off to different genres, and his go-to at the moment is the Souls experience pioneered by FromSoftware, which is evident by his 1,500+ hours of game time on Elden Ring. You can learn some more about Daniyal's gaming journey on his Steam & Xbox profiles.
Experience: 1+ Years || Mainly Covers Guides || Education: Bachelors in Computer Sciences.
Enjoyed this article? Discuss the latest gaming news, get expert help with guides and errors, and chat about all things gaming on eXputer Forums and Discord Server. Connect with fellow gamers who share your passion by becoming a part of eXputer's community.