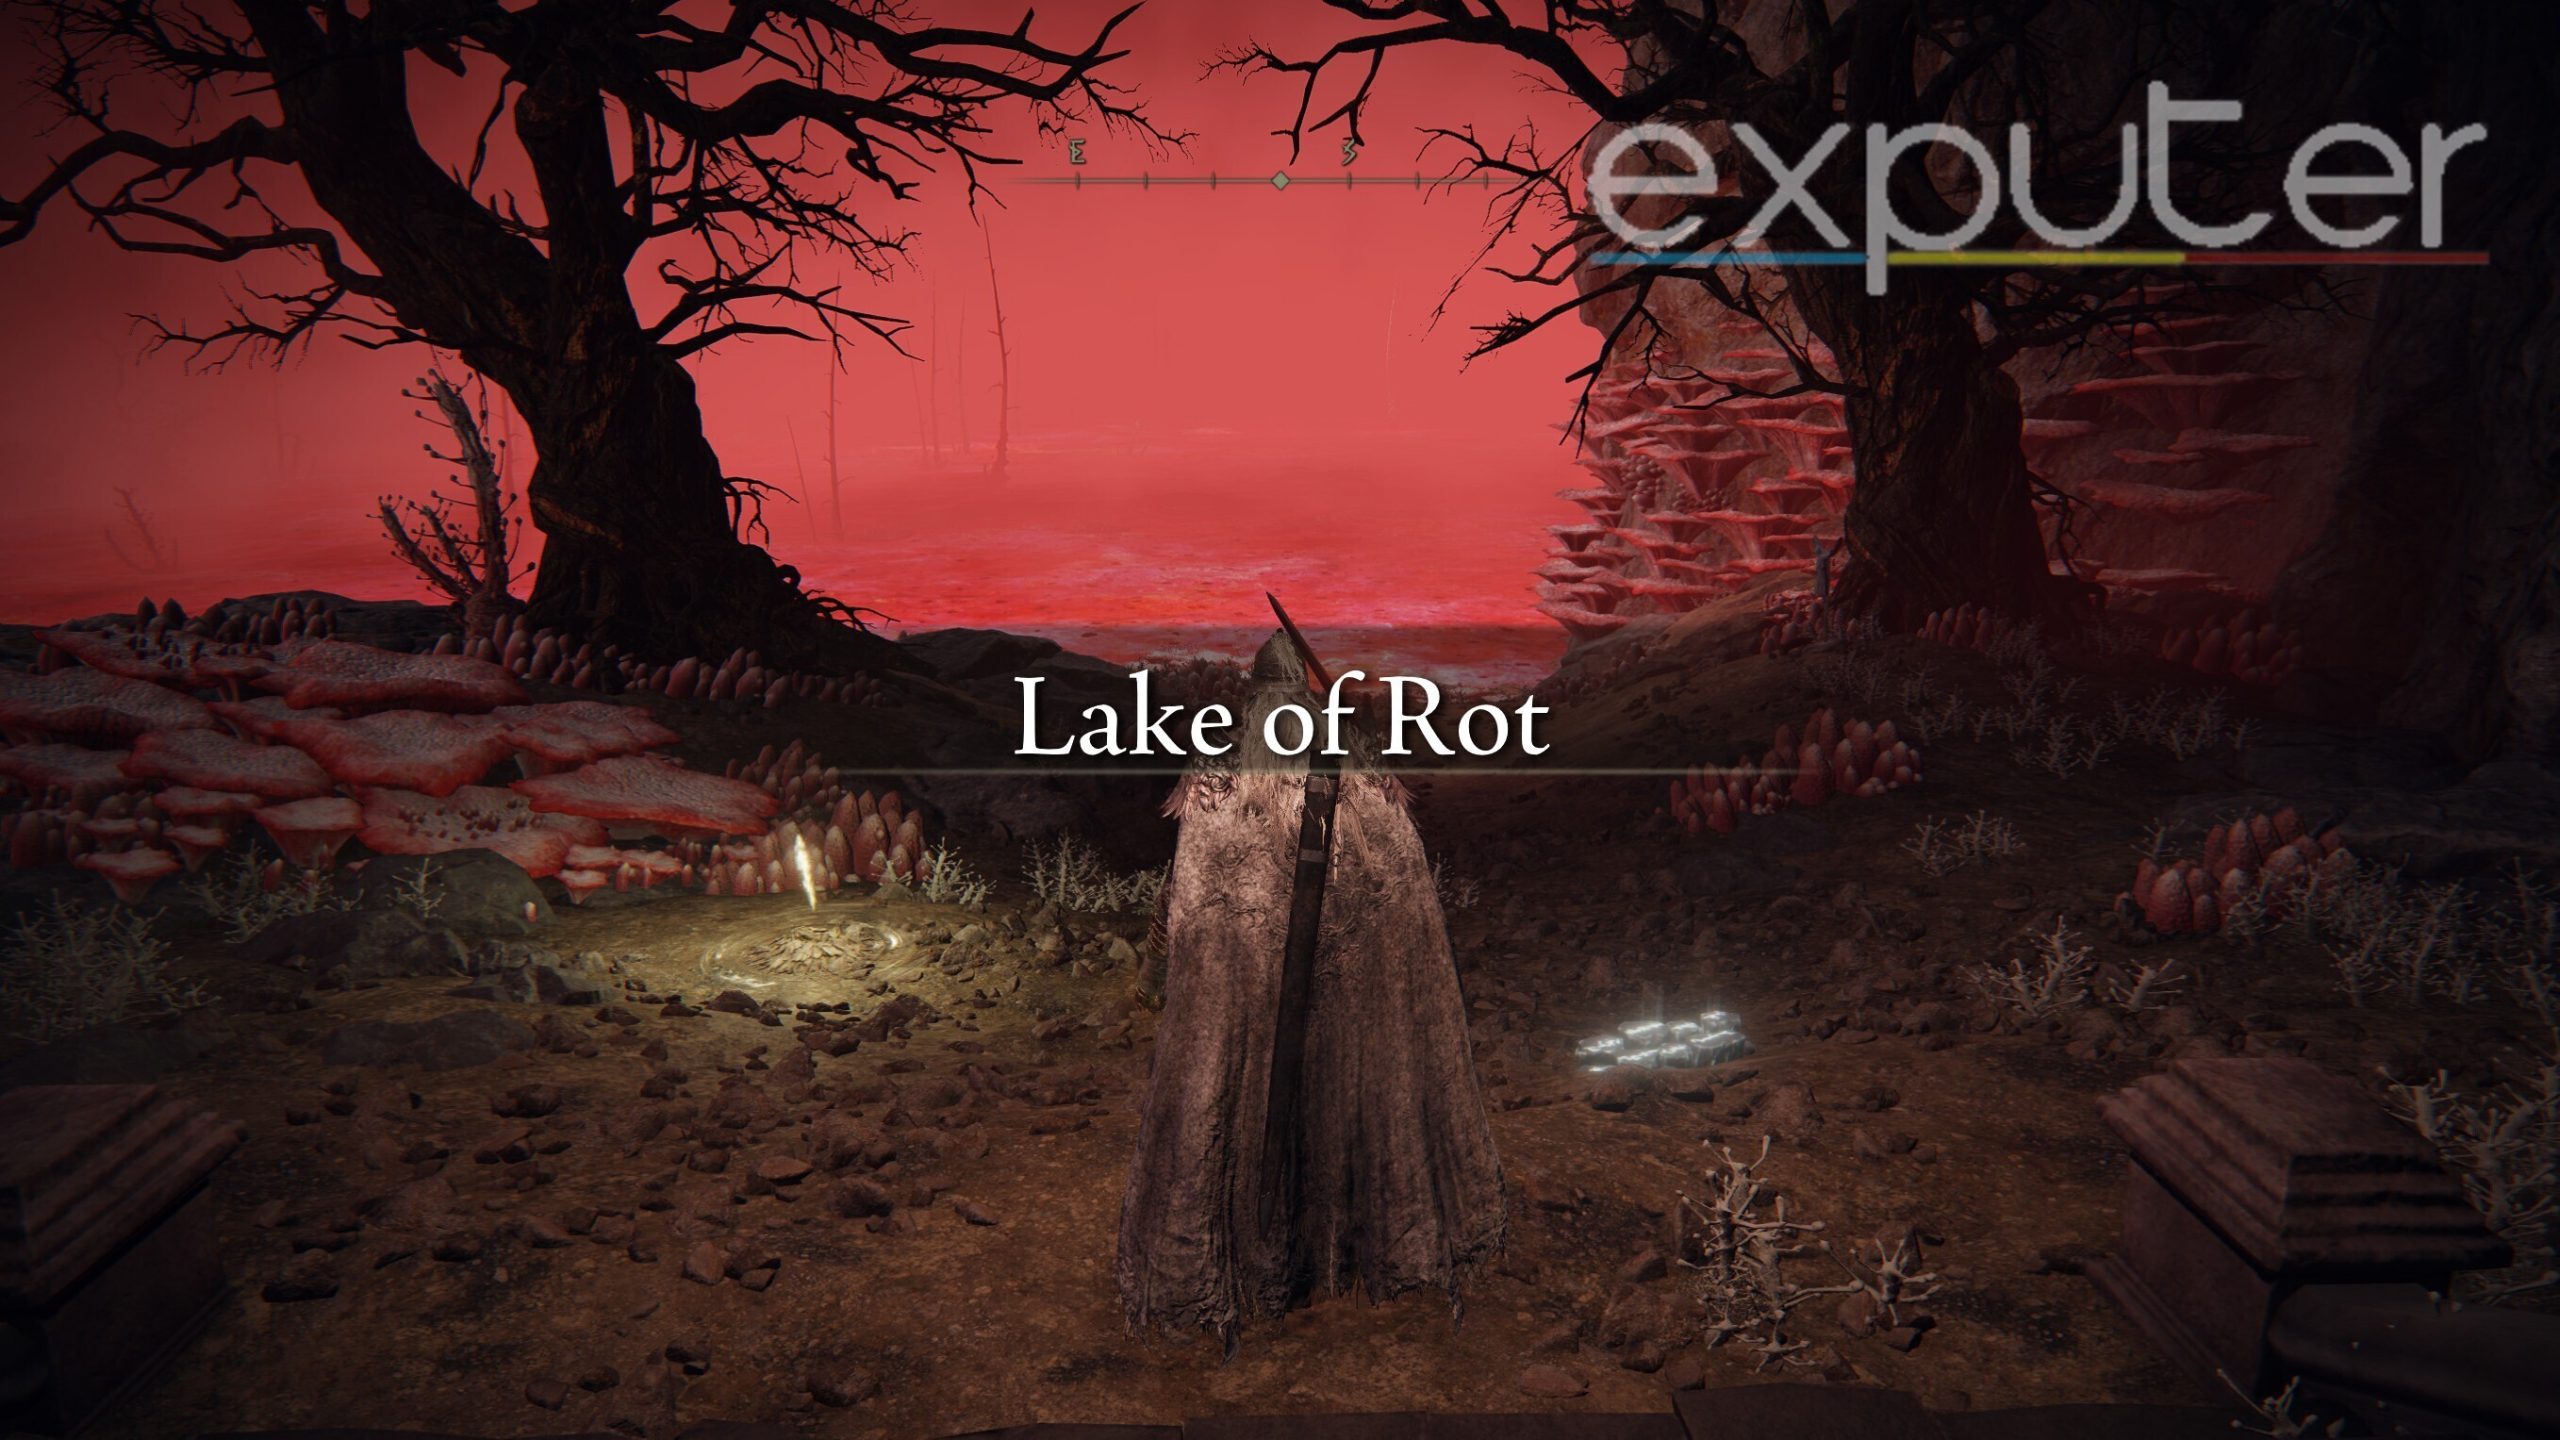
The Lake Of Rot in Elden Ring is a location that is primarily accessed via Ranni’s Questline. It is a location composed of, well- Rot, but its notable feature is that it connects to a few other underground areas here, along with an important boss fight linked to the questline. However I would recommend being careful while treading through here as your character will be slowed down and inflicted with the Rot status ailment, as well as enemies ambushing you.
- The Lake of Rot, a significant location in Elden Ring’s Lands Between, is often missed by players following Ranni’s quest line.
- Lake of Rot is accessible without engaging in Ranni’s quest to defeat Starscourge Radahn to unlock the underground area near Mistwood Ruins.
- This leads to Nokron, and from there, players can reach the Lake of Rot by navigating through the Siofra River, Deeproot Depths, and Ainsel River.
- Be cautious; the area can impede movement, apply the Rot status, and surprise players with enemy ambushes.
- Why Trust Us: Daniyal has spent more than 750 hours in Elden Ring, making his guides trustworthy!
Have you mastered the lore and legends of Elden Ring? Prove it by taking our challenging quiz!
Defeat Starscourge Radahn In Caelid
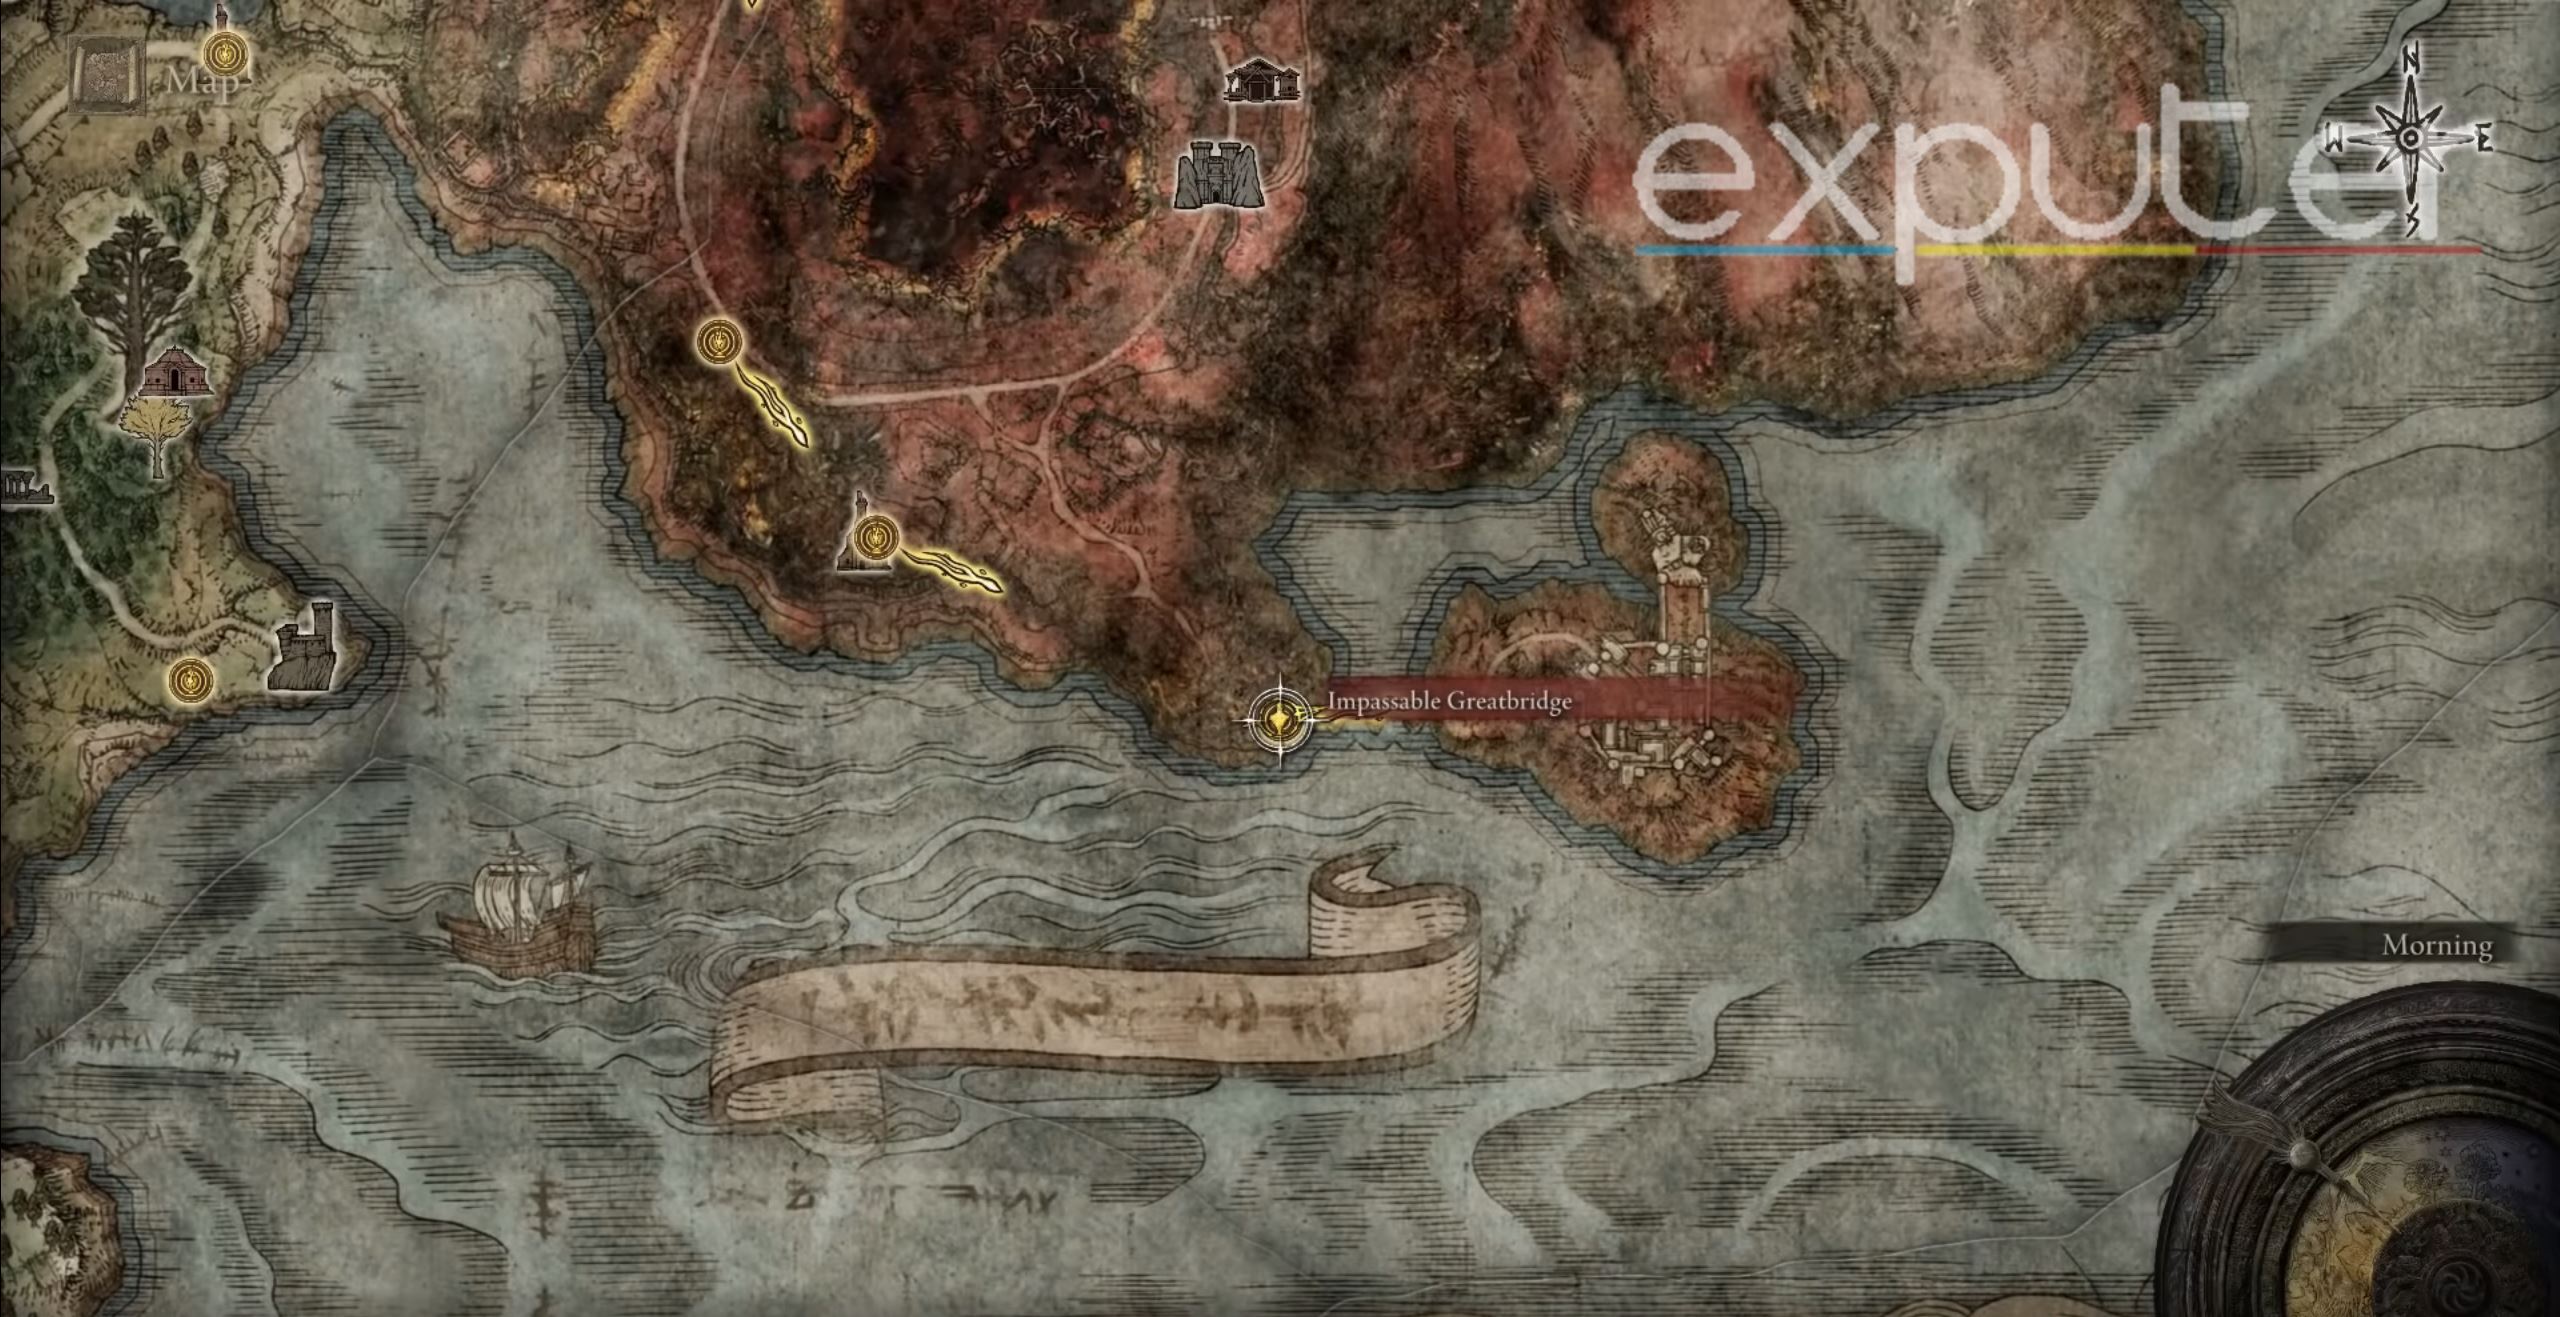
As shown in the image above, you can fight Radahn by traveling to the Redmane Castle through a Waygate near the Impassable Greatbridge site of Grace.
However, before you even access the waygate teleporter, you will first need to trigger the Radahn Festival at the Castle, which can be done in quite a few ways, the easiest one being that you can activate a site of Grace in the Altus Plateau, which will then instantly trigger the Festival in order for you to fight against Starscourge Radahn. However, keep in mind that doing this will temporarily lock you out of other NPC quest requirements here.

Overcoming the boss fight itself shouldn’t be too taxing, as though Radahn may hit hard using his size and strength. You can easily maneuver around the battlefield using Torrent to your advantage to dodge most of his attacks with ease. Furthermore I would advise calling in various NPC summons around the arena in order to make the entire fight a pushover, especially during the first phase.
Travel To Nokron, Eternal City
In order to unlock the path to Nokron, Eternal City in Elden Ring, I followed the following steps:
- You will need to head back to Limgrave, where Radahn will have formed a massive crater to travel to the game’s underground worlds.
- The Falling Star Crater can be found between Fort Haight and the Mistwood Ruins.

Falling star crater location (Image Captured by eXputer) - Talking to NPCs such as Iji and Sorceress Sellen will allow you to receive hints about this crater, Nokron, and where you can find it in-game.
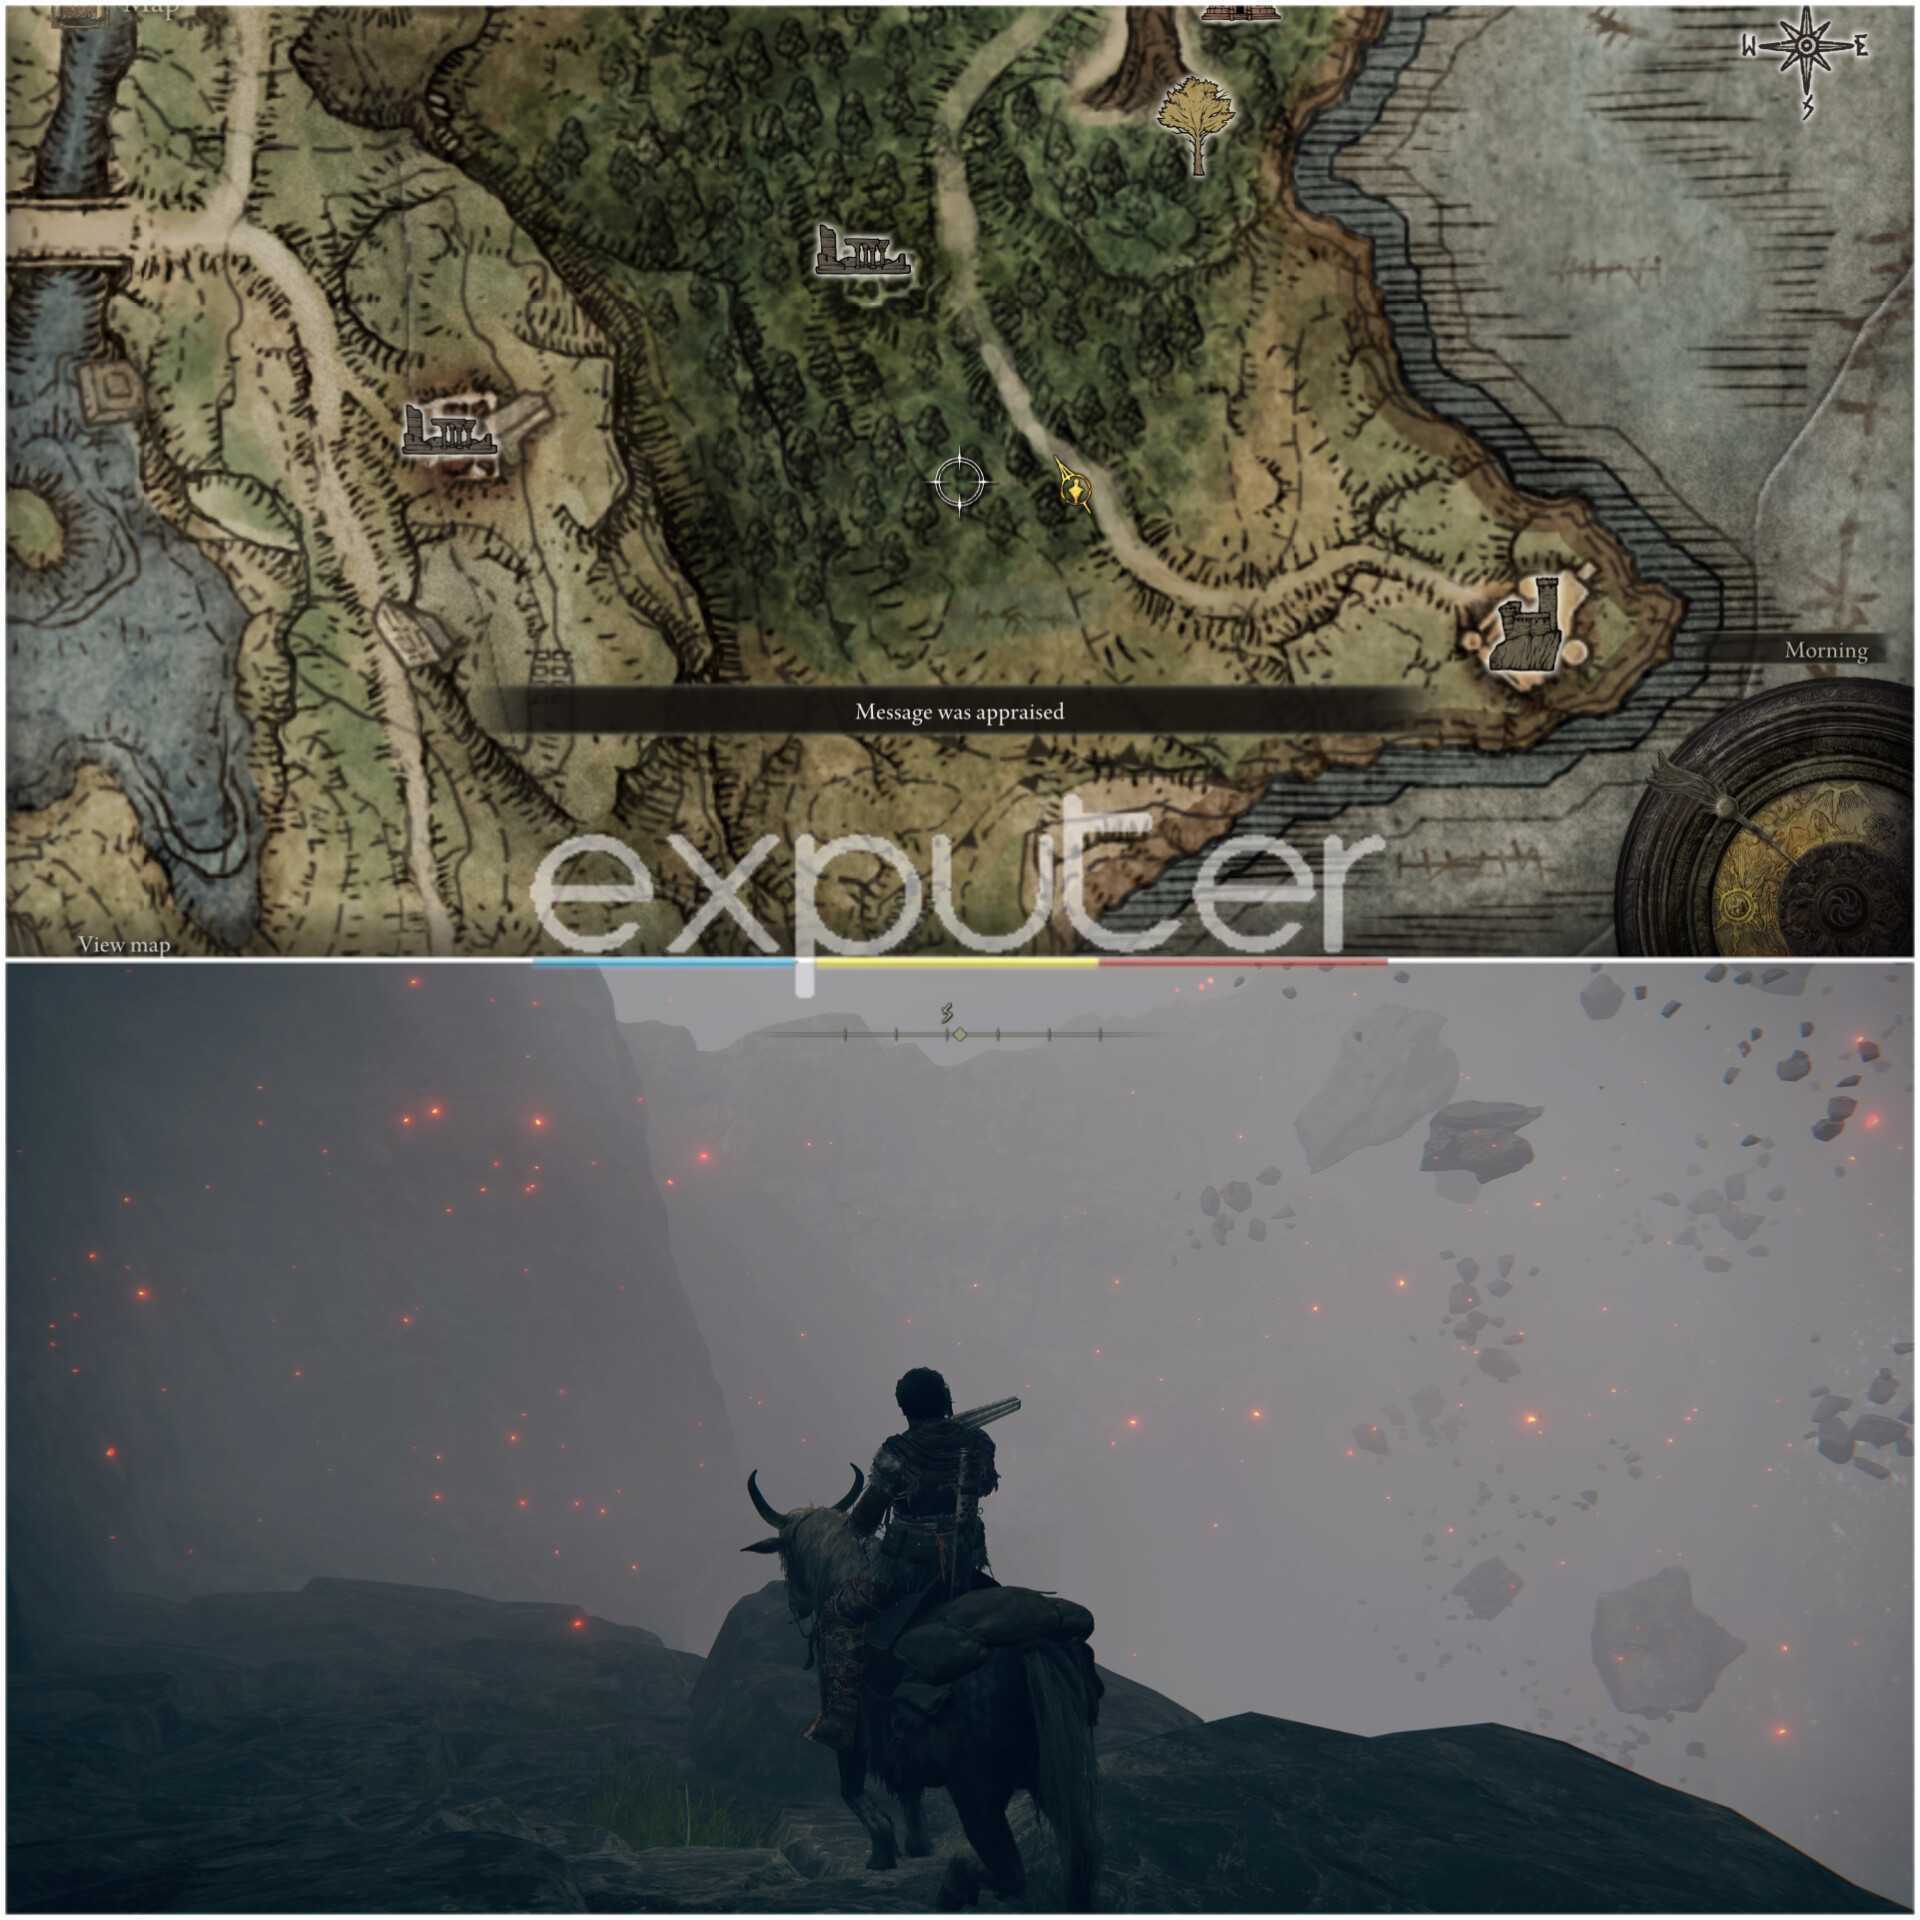
- Head through the Crater via Torrent, traversing down through the floating rocks and boulders to reach an opening leading to Nokron, Eternal City.
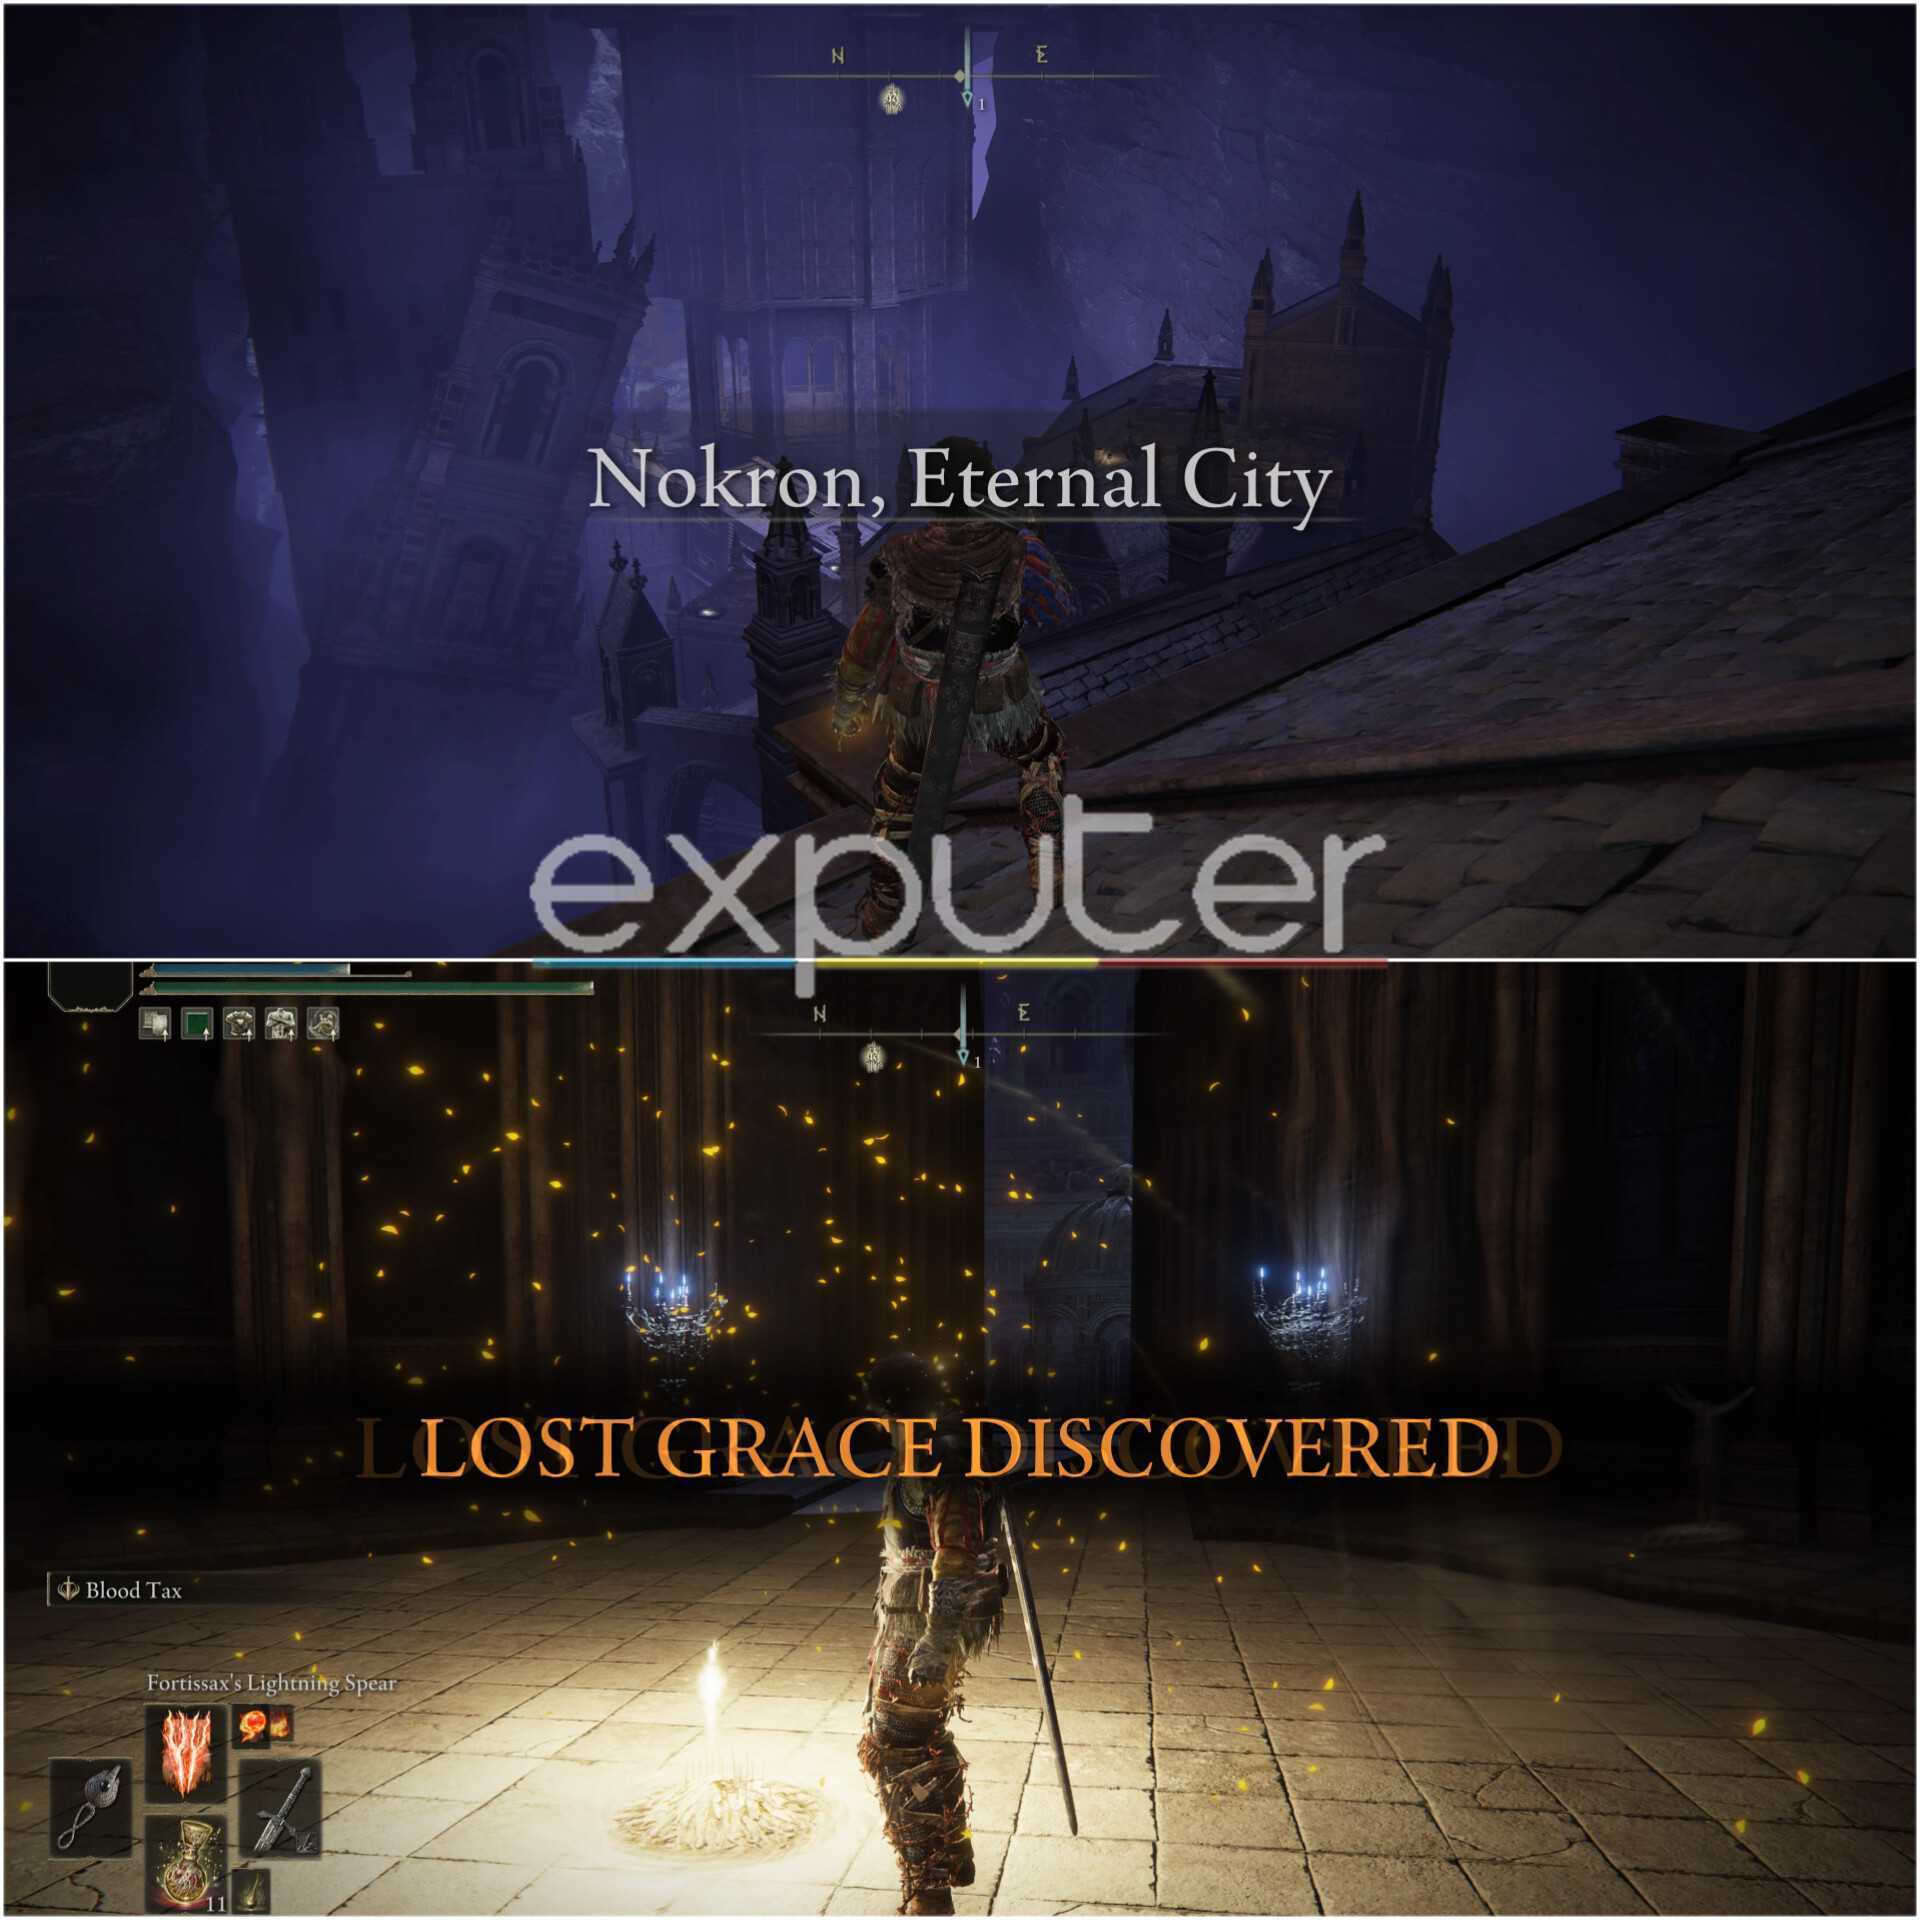
- Make sure to carefully follow through this area with the rooftops until you eventually reach a crevice with an opening in it.
Eventually, you will reach the main Site of Grace for the opening section of this area. Activate it and rest up if you want to because you will soon be battling a mini-boss in order to progress onwards to the path.
The Mimic Tear Boss Fight
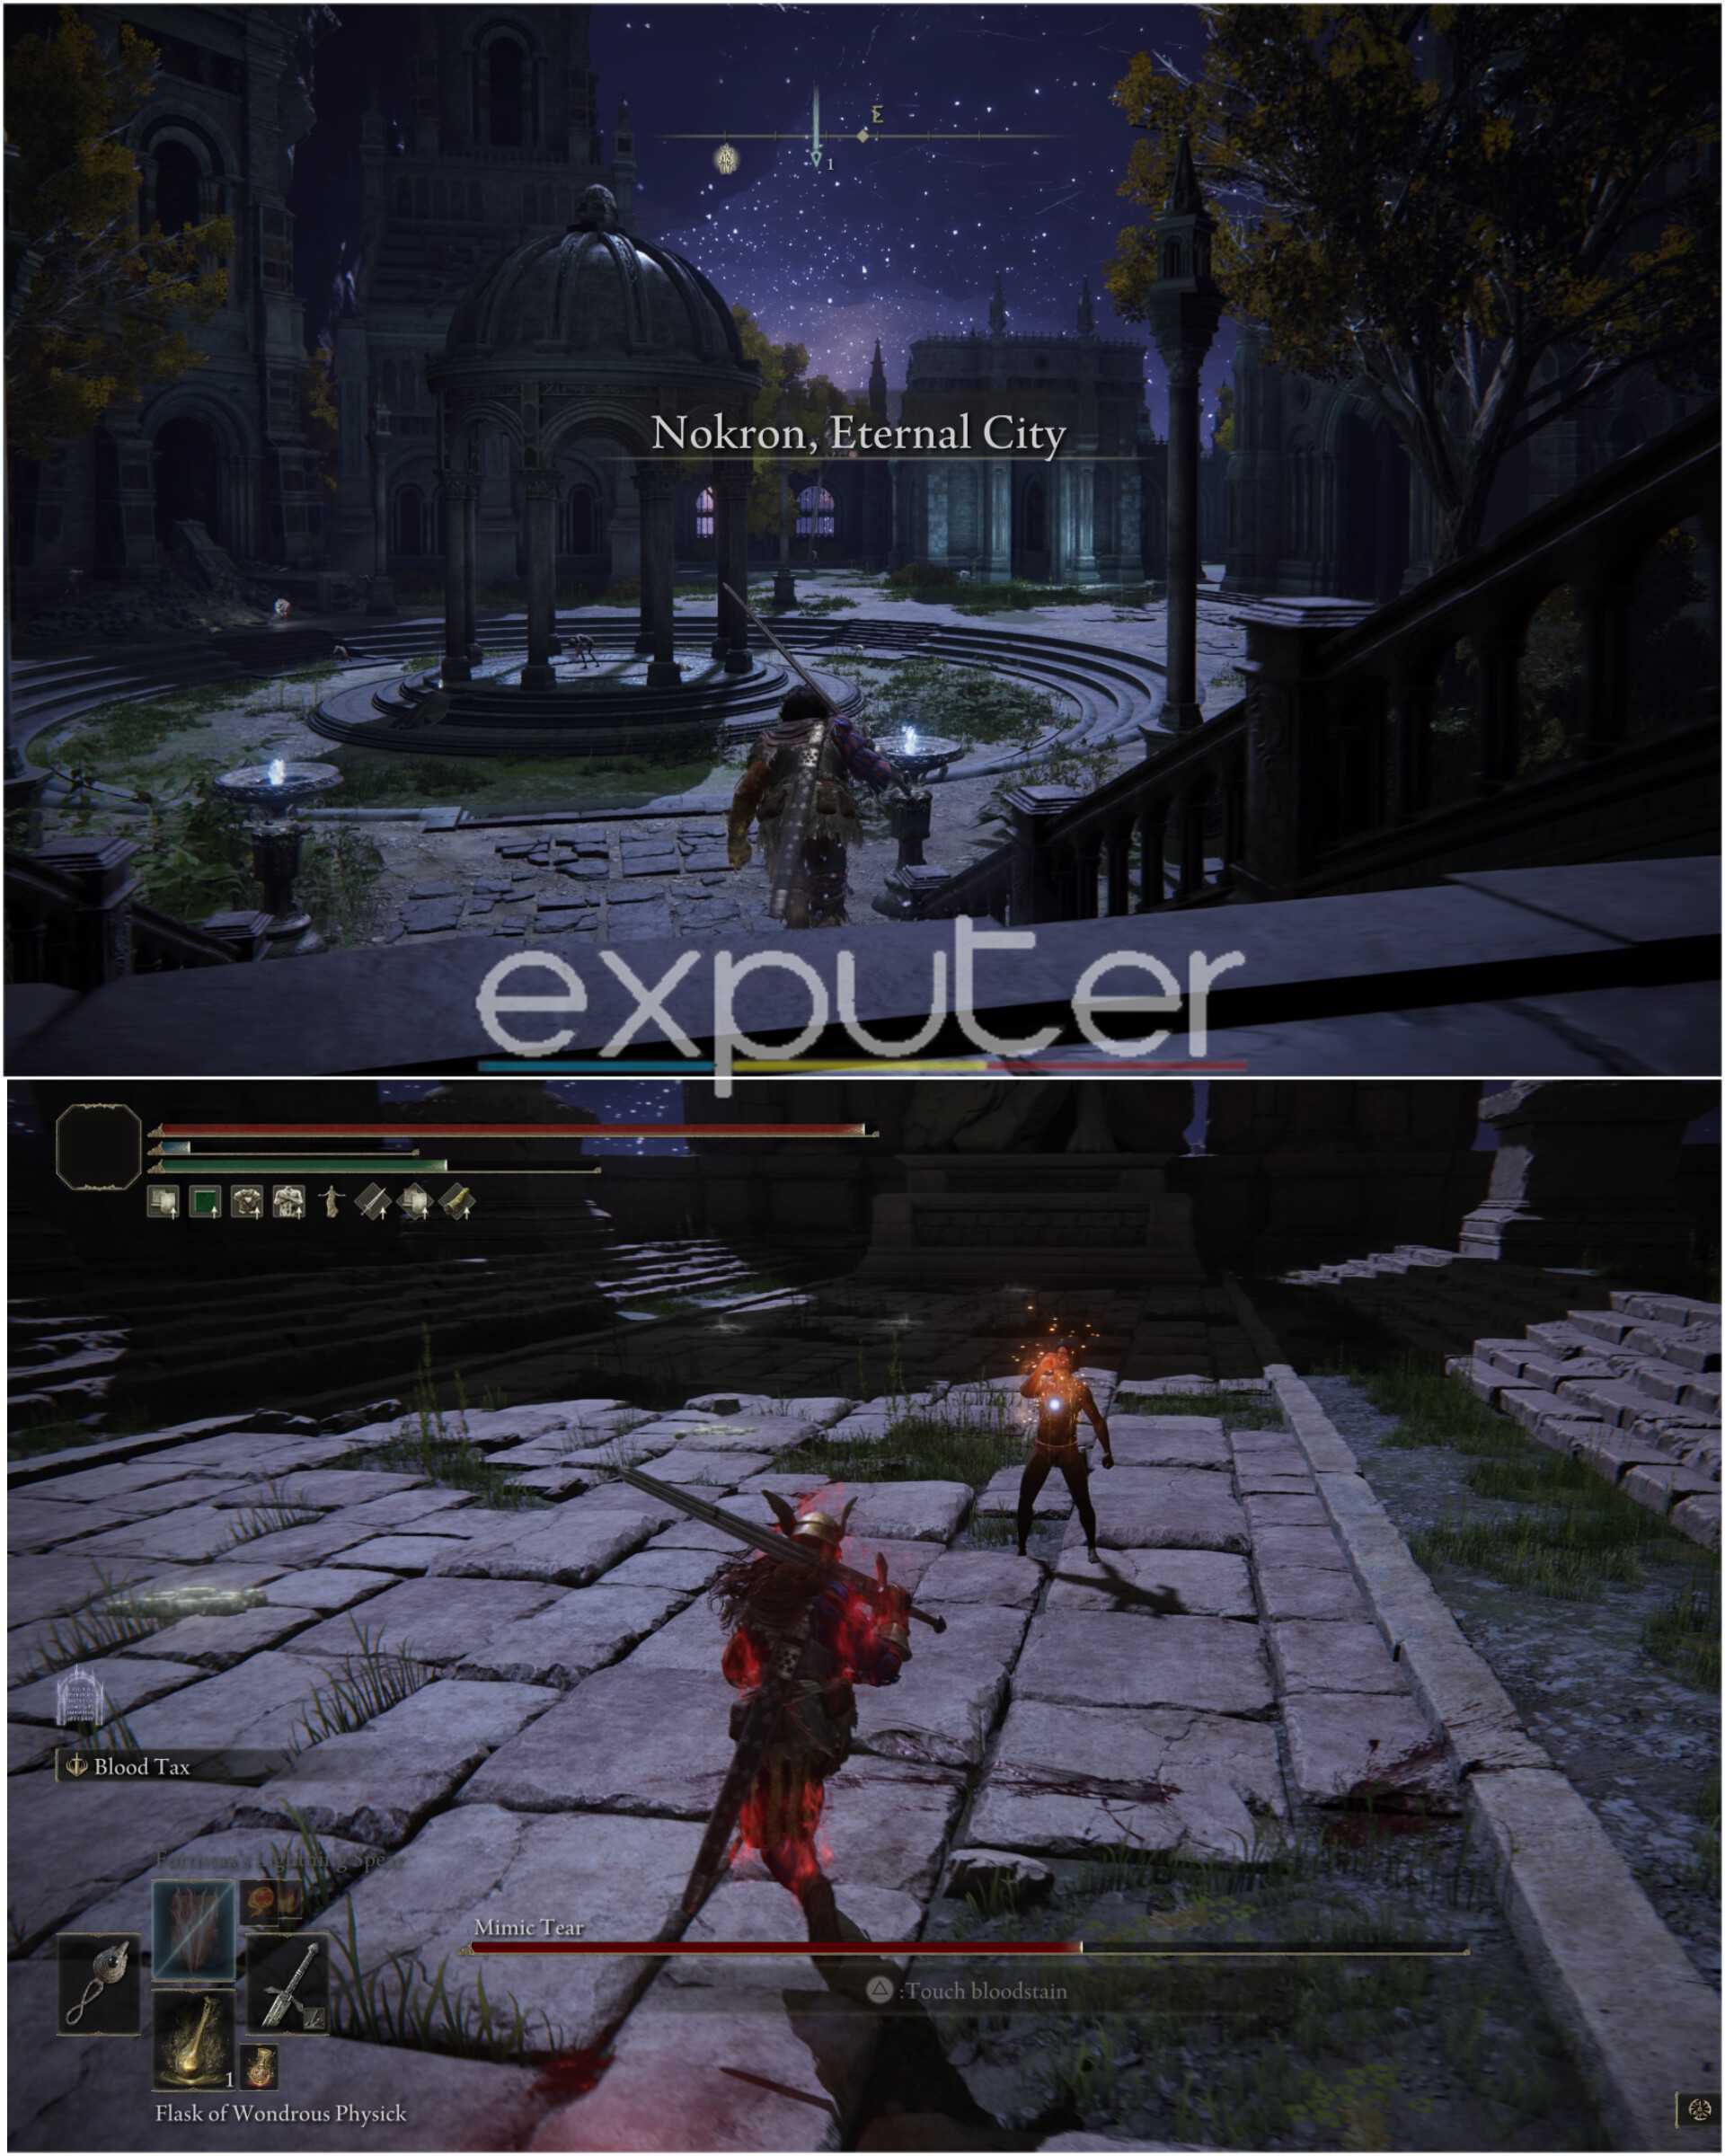
Proceed to the indicated destination. Descend the staircase to face the Mimic Tear Boss. Unequip all items before entering to weaken the boss. Reequip your gear to defeat it
After defeating the mimic tear, rest at the grace and head left to the main Nokron City area. Proceed to the Twin Valiant Gargoyle boss fight to unlock a Coffin transport to the Deep Root depths.
Reach Siofra Aqueduct
To get the Lake Of Rot in Elden Ring, you have to go to Siofra Aqueduct and fight the boss.
Here’s the path that I would recommend to reach the Siofra Aqueduct:
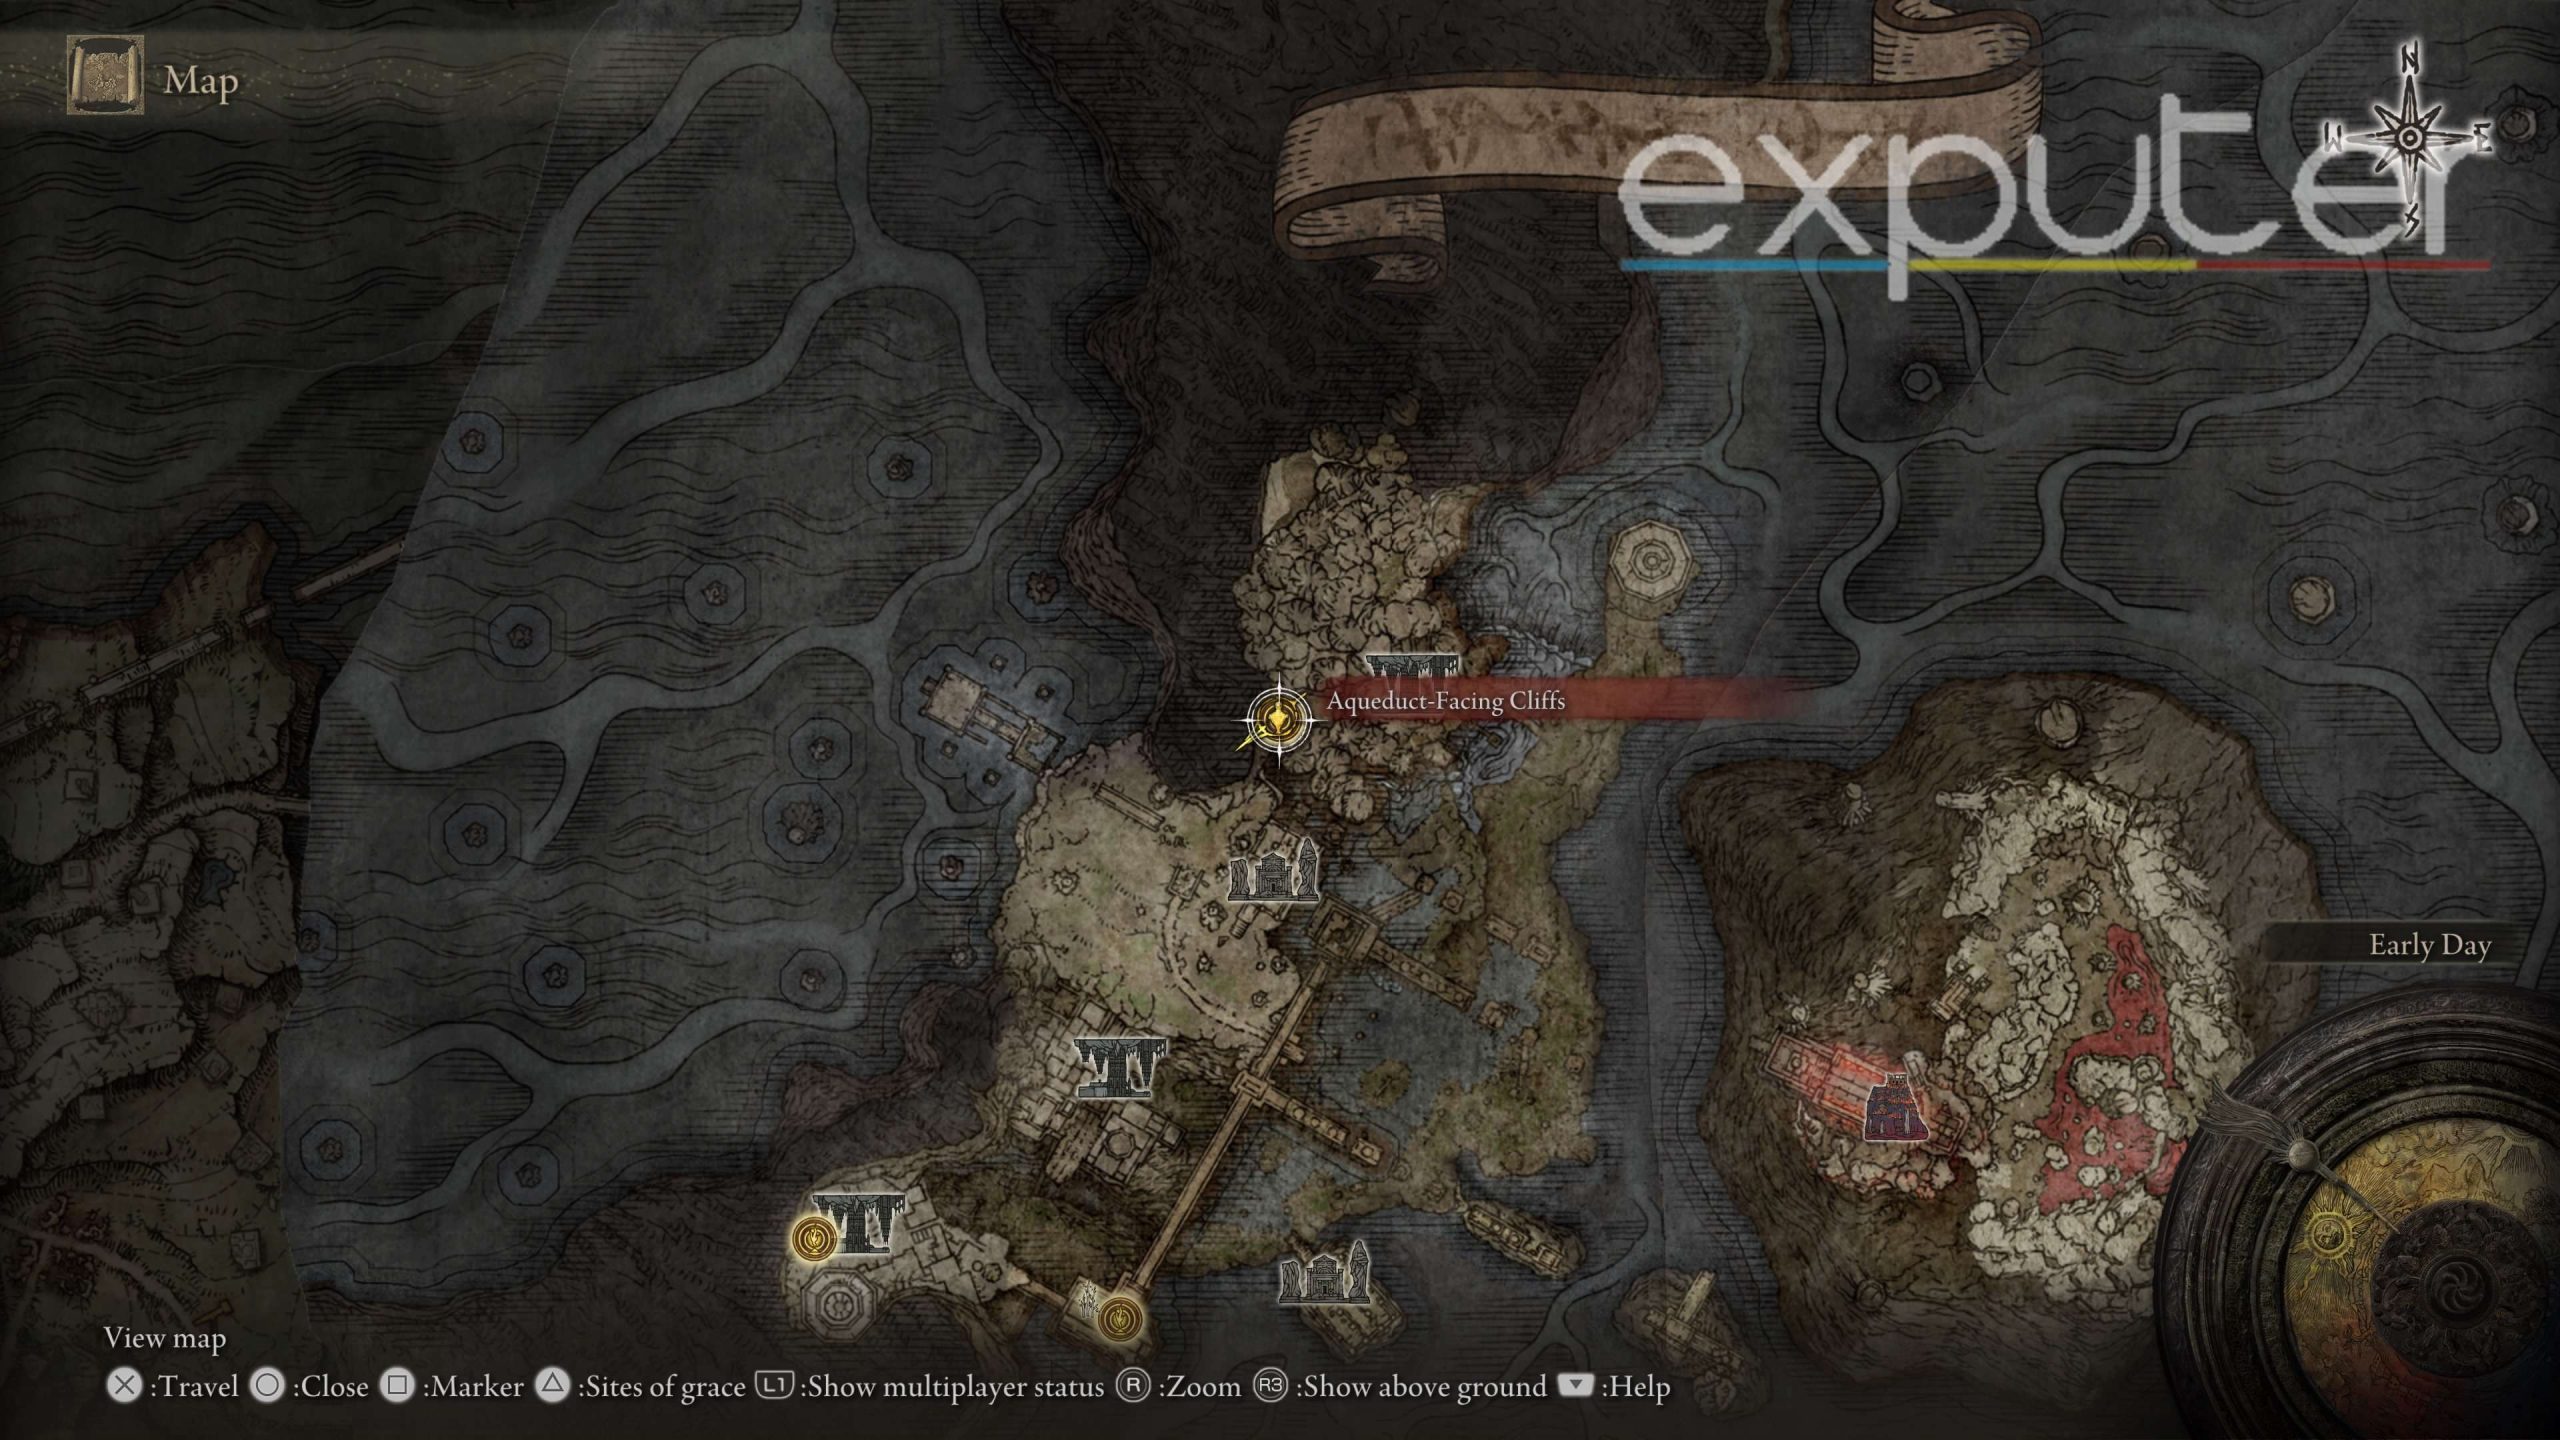
- As shown in the image above, you must now make your way across Nokron to reach the ‘Aqueduct – Facing Cliffs’ site of grace.
- It’s a little tricky, but you must follow the map in a straight line towards the left of the path.
- Amidst a few trees, you will notice a couple of harmless Jellyfish wandering about.
- It is essentially an indication that there is something of interest along the path.
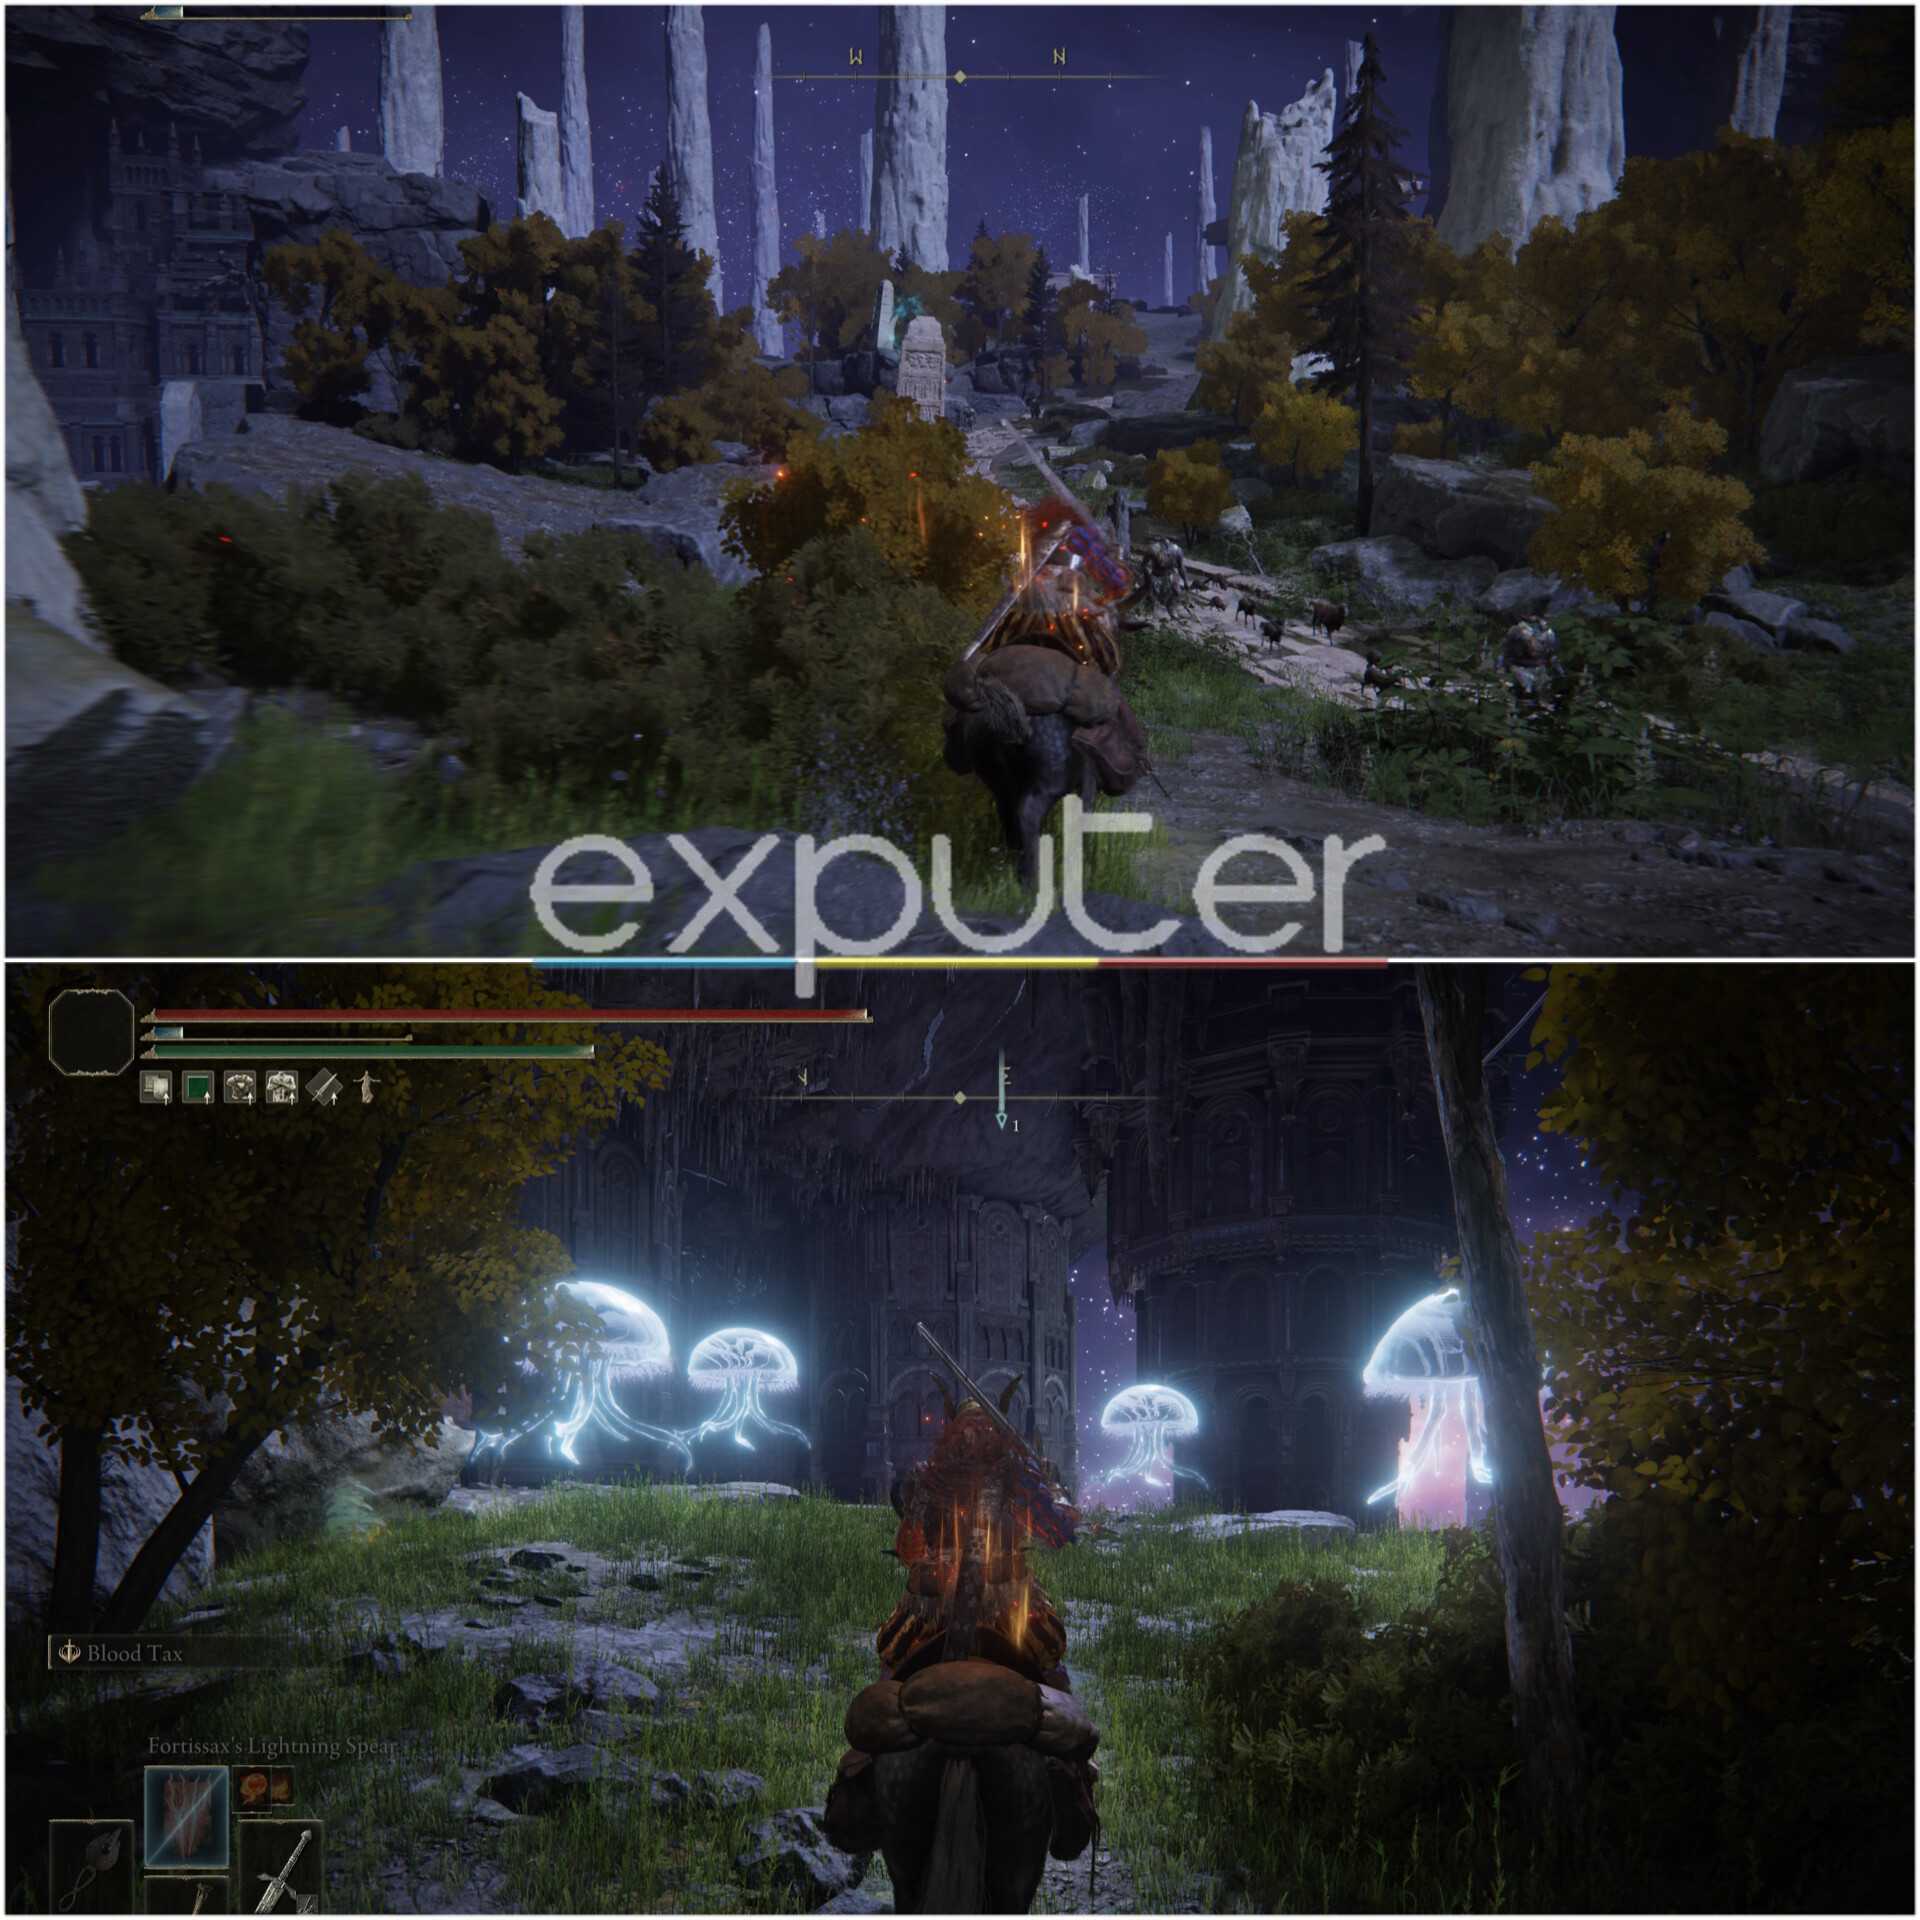
- You will know you’re in the right place when you reach a plethora of them, as shown in the image above.
- Look to the left of them and carefully jump down using torrent or on foot.
- Continue along the path with more Jellyfish along the way, and you will soon reach a small cliff overlooking the aqueduct with the site of grace.
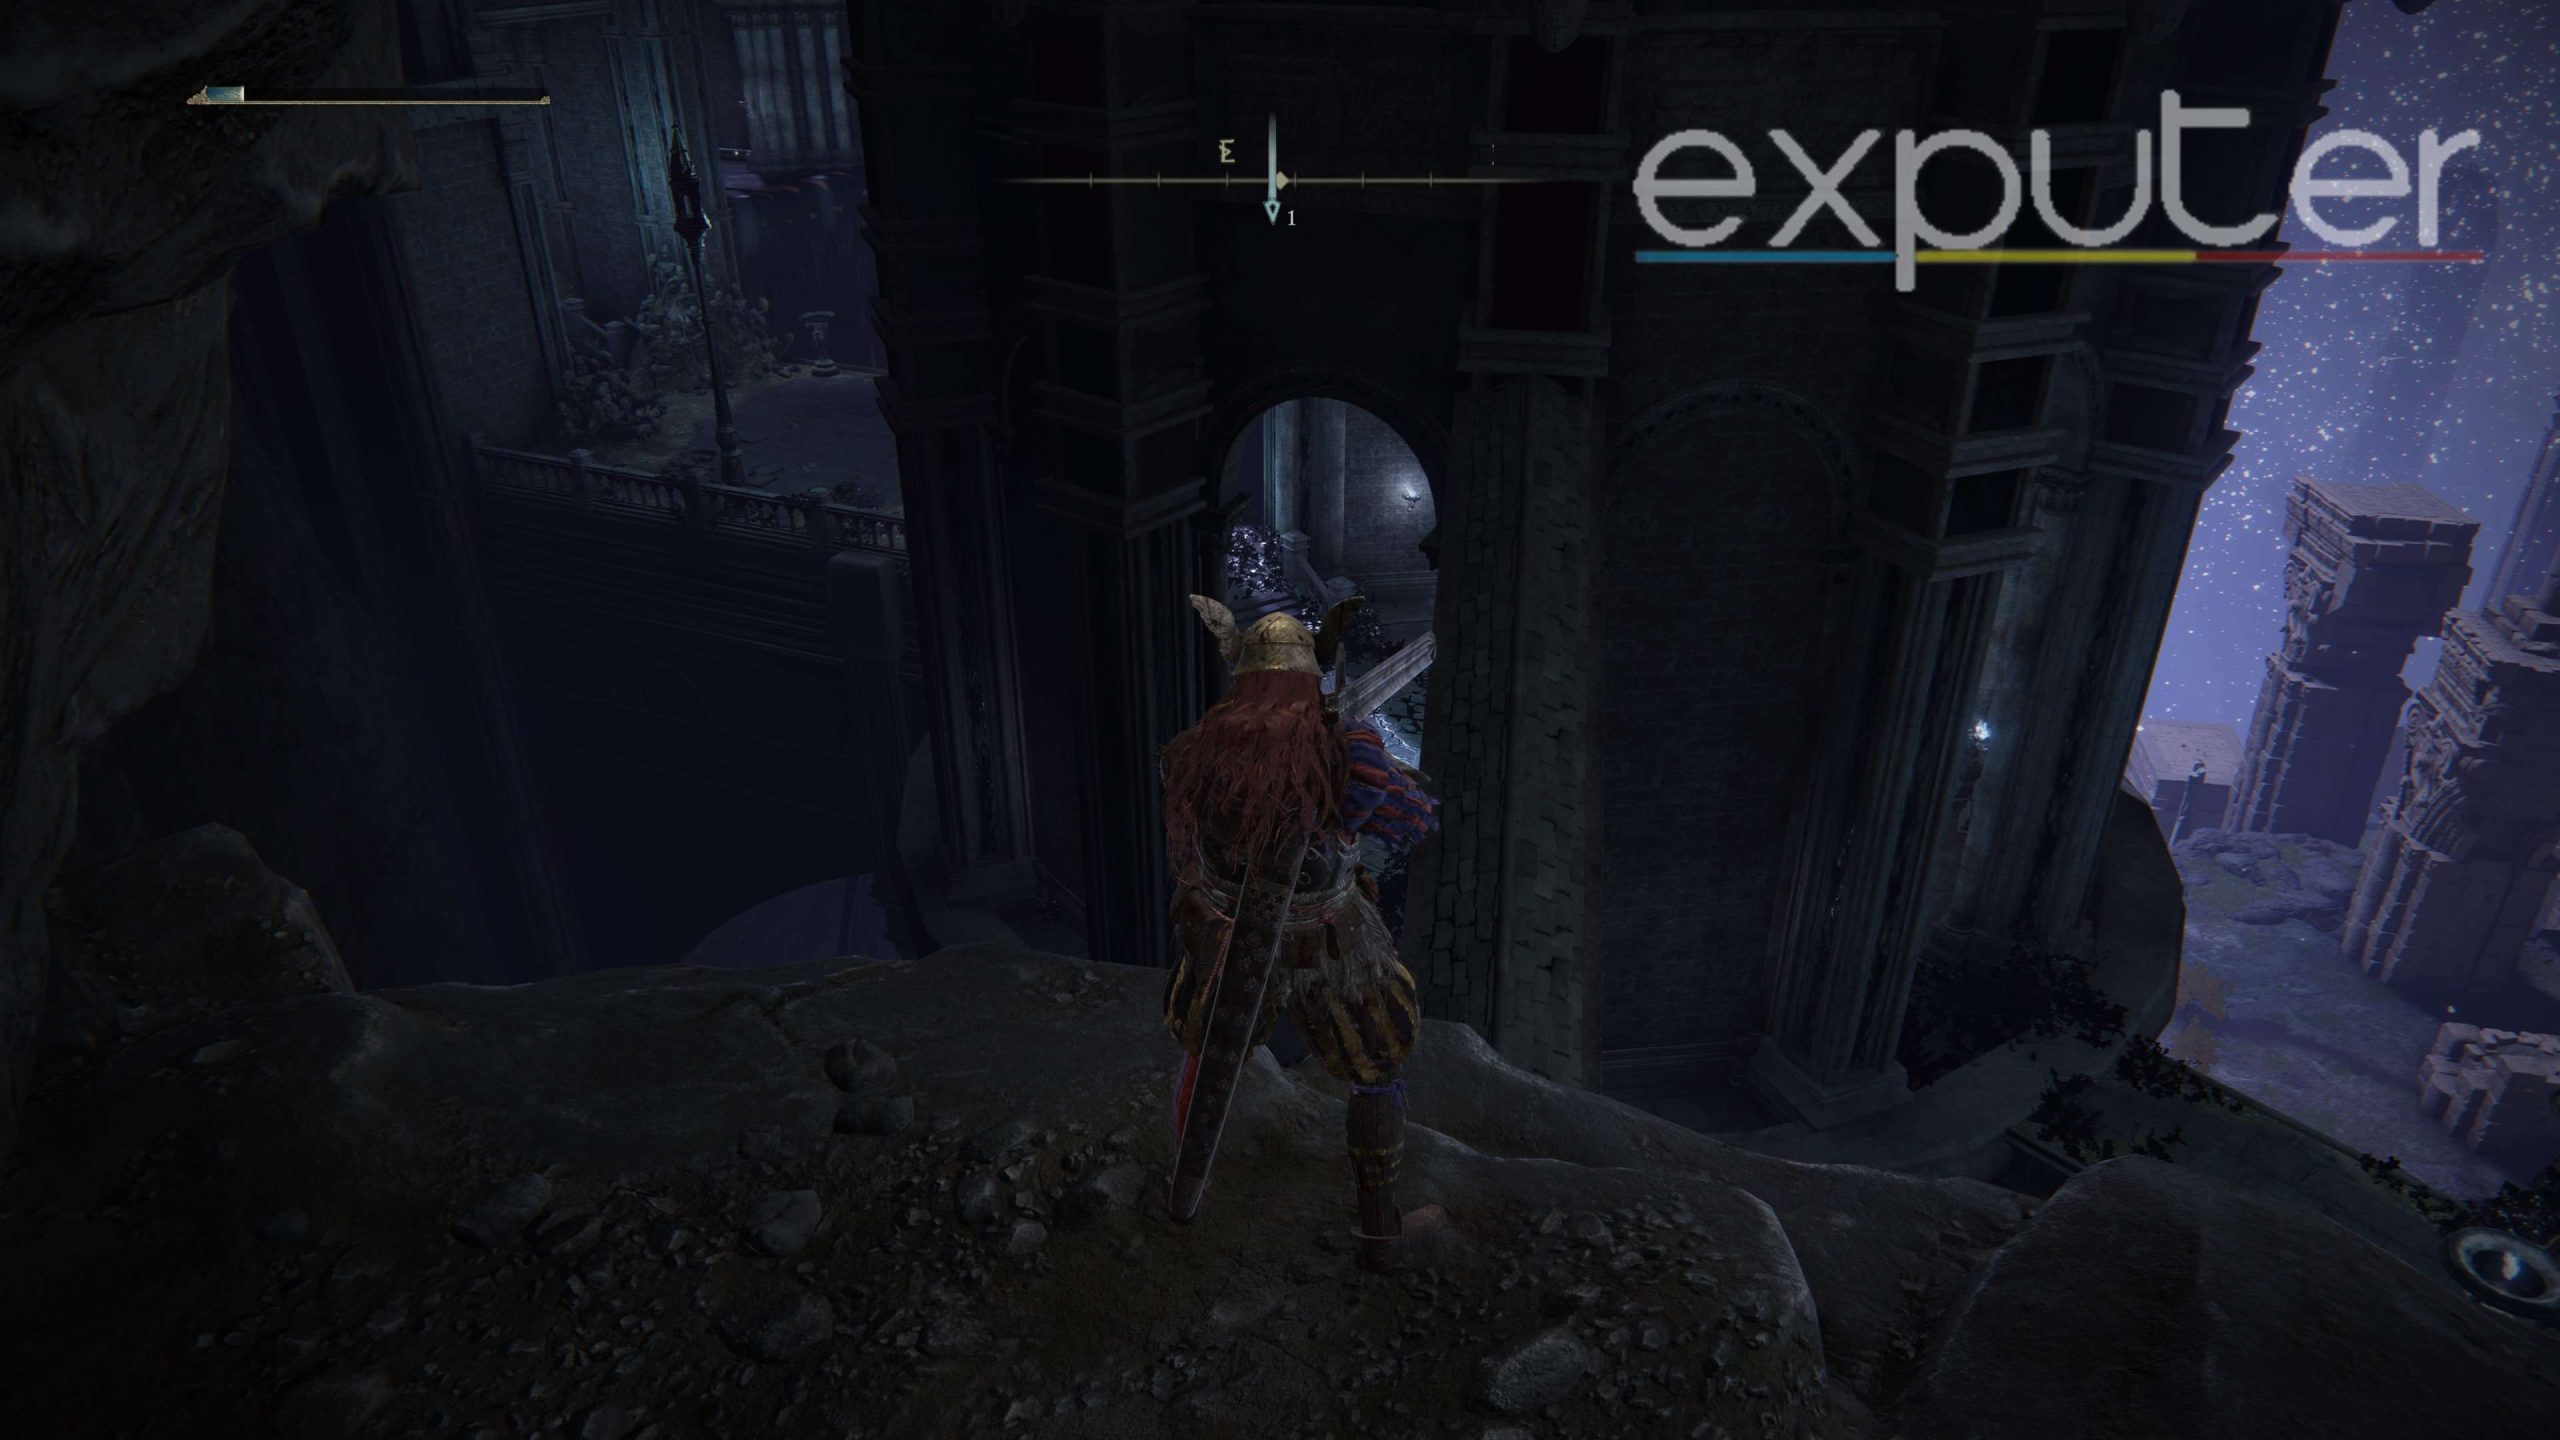
- From here, you basically need to reach the Valiant Gargoyle boss fight by heading to the left side of the area.
- Crucible Knights are patrolling the area, so make sure to cautiously navigate past them or fight them if you’re skilled enough.
- Whichever way you make it past them, get ready for the Twin Valiant Gargoyle boss fight.
The Valiant Gargoyle Duo Boss Fight

The Twin Valiant Gargoyle Boss Fight is quite possibly your biggest hurdle in reaching closer and closer to the Lake of Rot in Elden Ring. By the time I played the game, the fight was pretty much a battle of attrition and survivability. As soon as you bring the first Gargoyle’s health down by 25 or 50 percent, the second one will spawn immediately, making the entire encounter more chaotic than usual.
Following are the tips I would recommend for fight:
- Consider using the Best Ashen Remains against the challenging enemies you mentioned to aid you in the battle.
- If you find your character struggling, it might be beneficial to respec your character and customize them with the Best Builds available.
- After successfully defeating the enemies, access the coffin situated at the end of the arena beneath the waterfall. This will teleport you to the Deeproot Depths location.
Traversing The Deeproot Depths

To get the Deeproot Depths, I did these steps:
- Your next step is simply venturing past everything and reaching the next Coffin to reach Ainsel River and, finally, The Lake of Rot.
- Rest up at the nearby grace near where you woke up from the coffin.
- Summon Torrent and head to the Nameless Eternal City site of grace, where you can locate the next coffin, as shown in the image above.
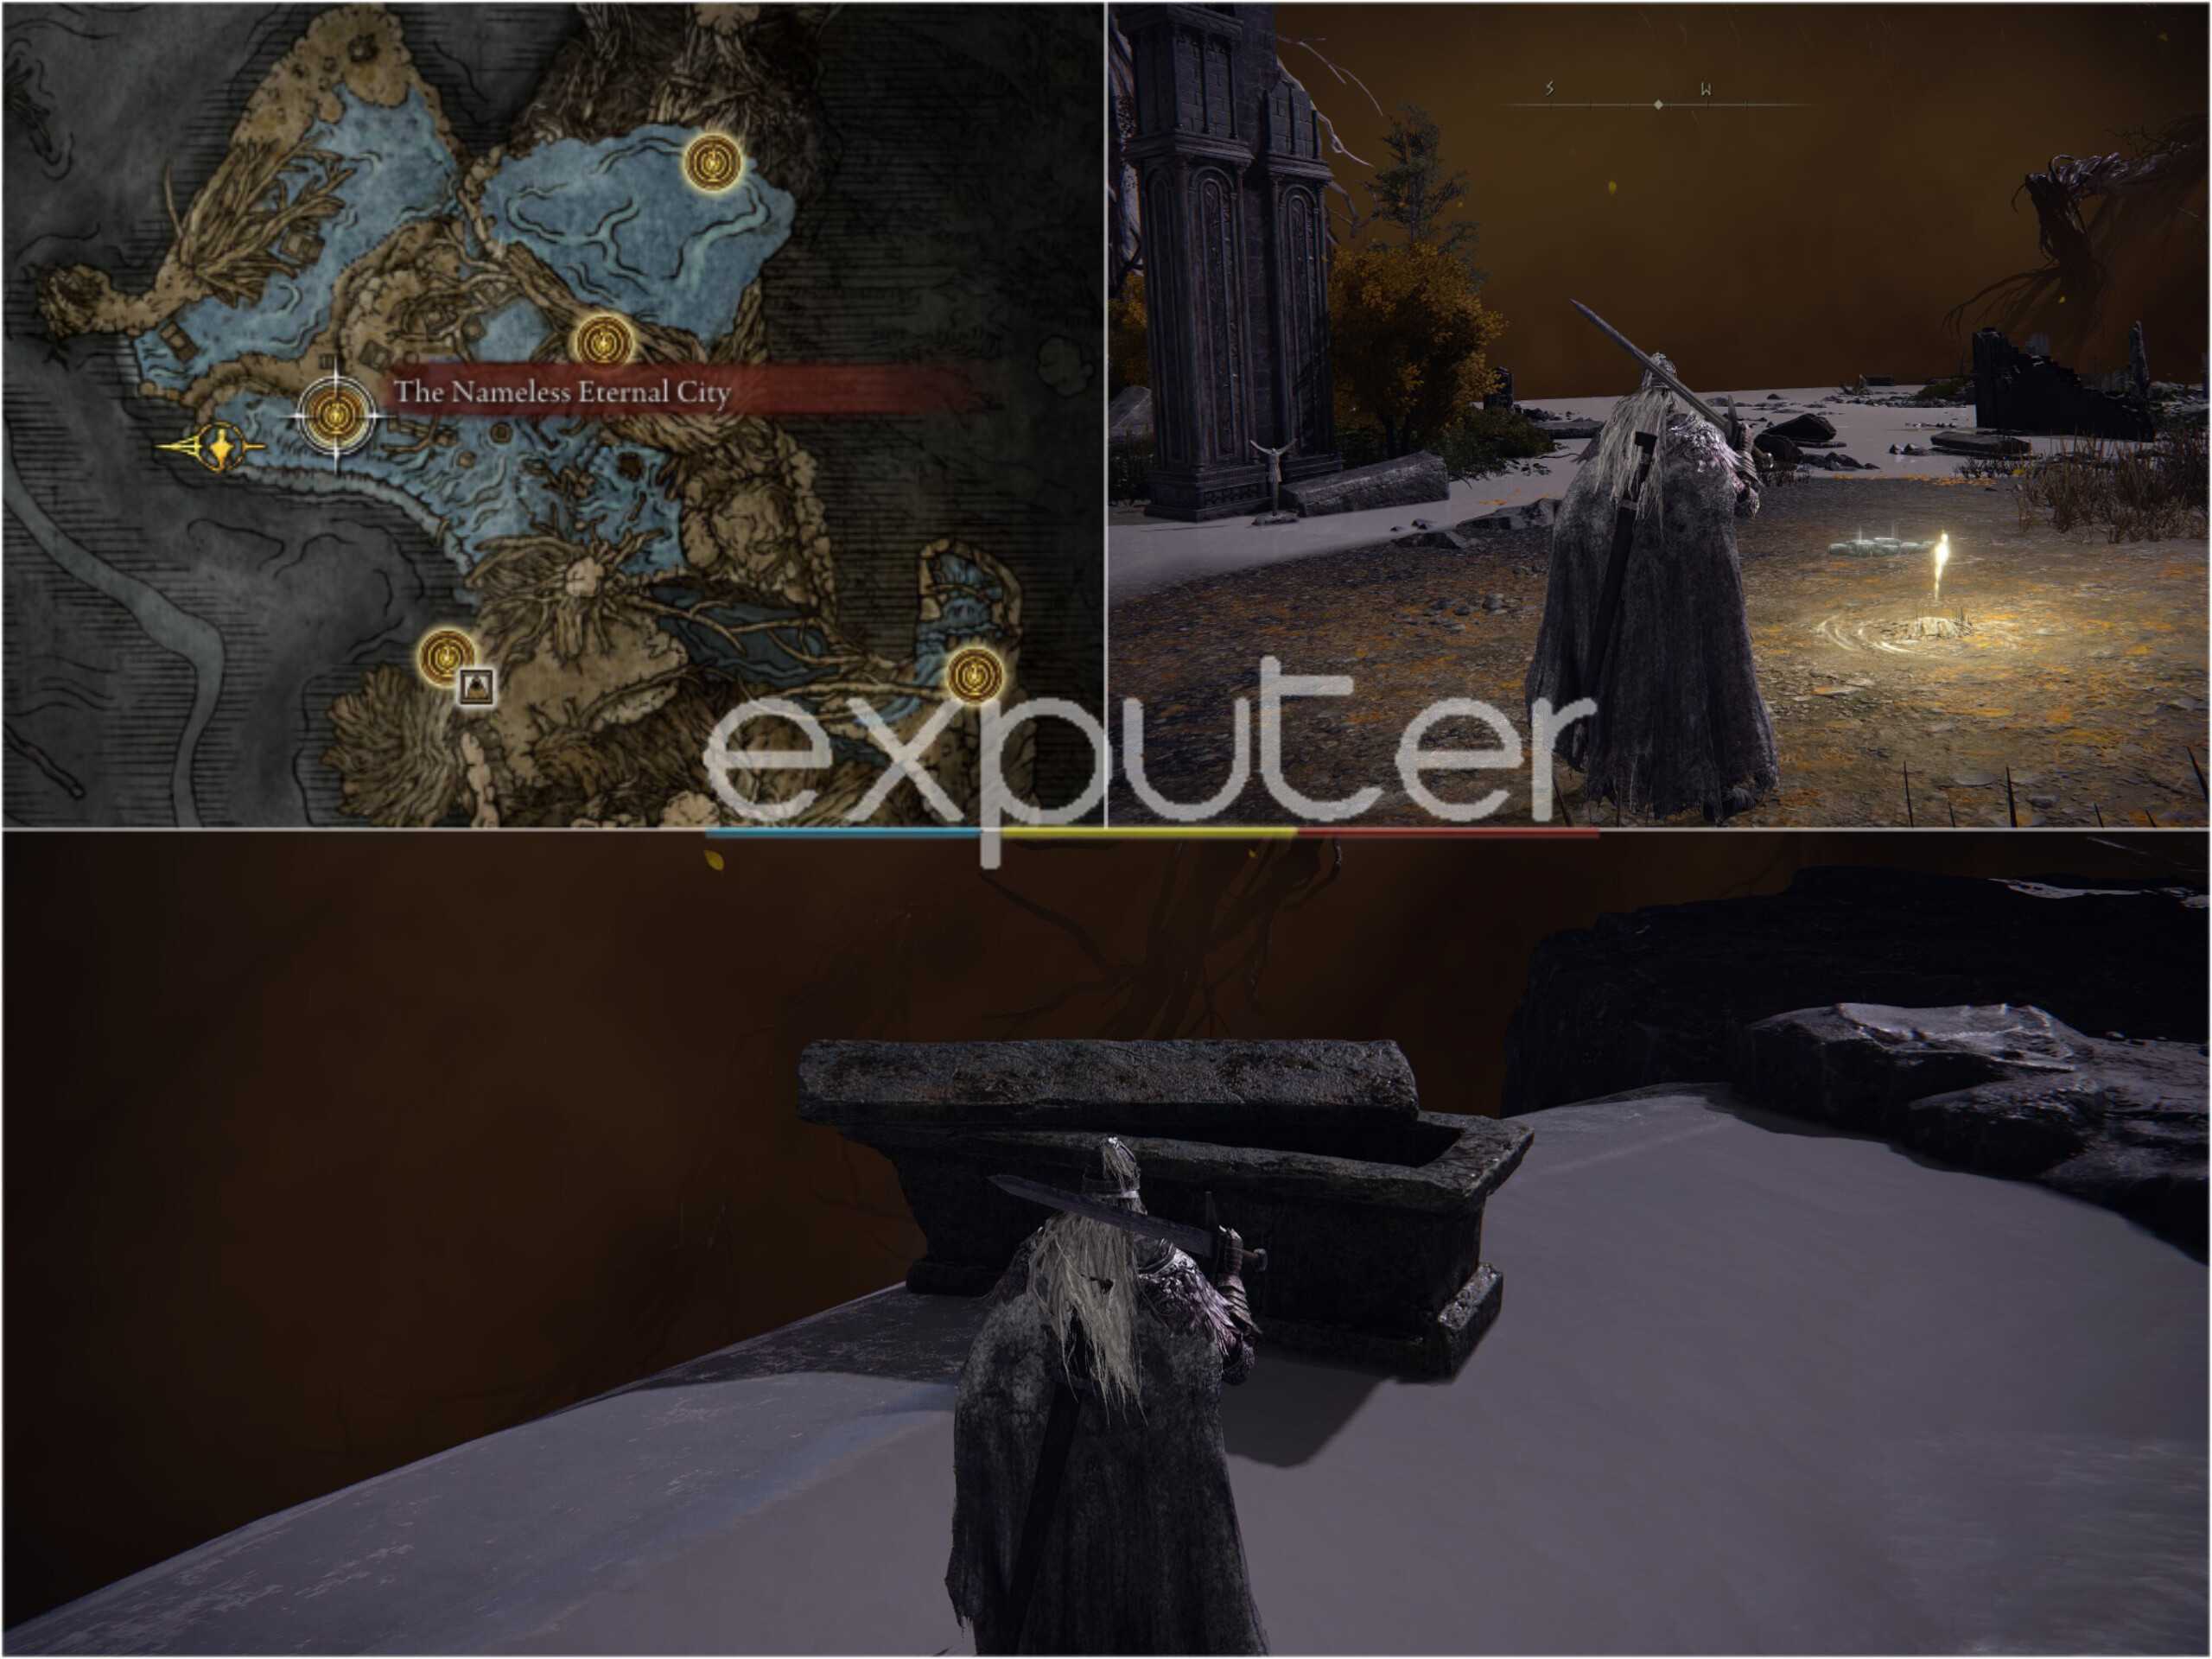
- The entire area is filled with Ants, Basilisks, and other dangerous creatures, so remain vigilant as you rush to the area.
- Navigate on these large branches that I have shown in the image above.
- There will also be another grace in between the starting one and the one above near the coffin, so feel free to grab it.
- Once you arrive in the area, hop into the Coffin here to get to the Ainsel River.
River Ainsel To Lake Of Rot
I followed this path to go from River Ainsel to Lake of Rot:
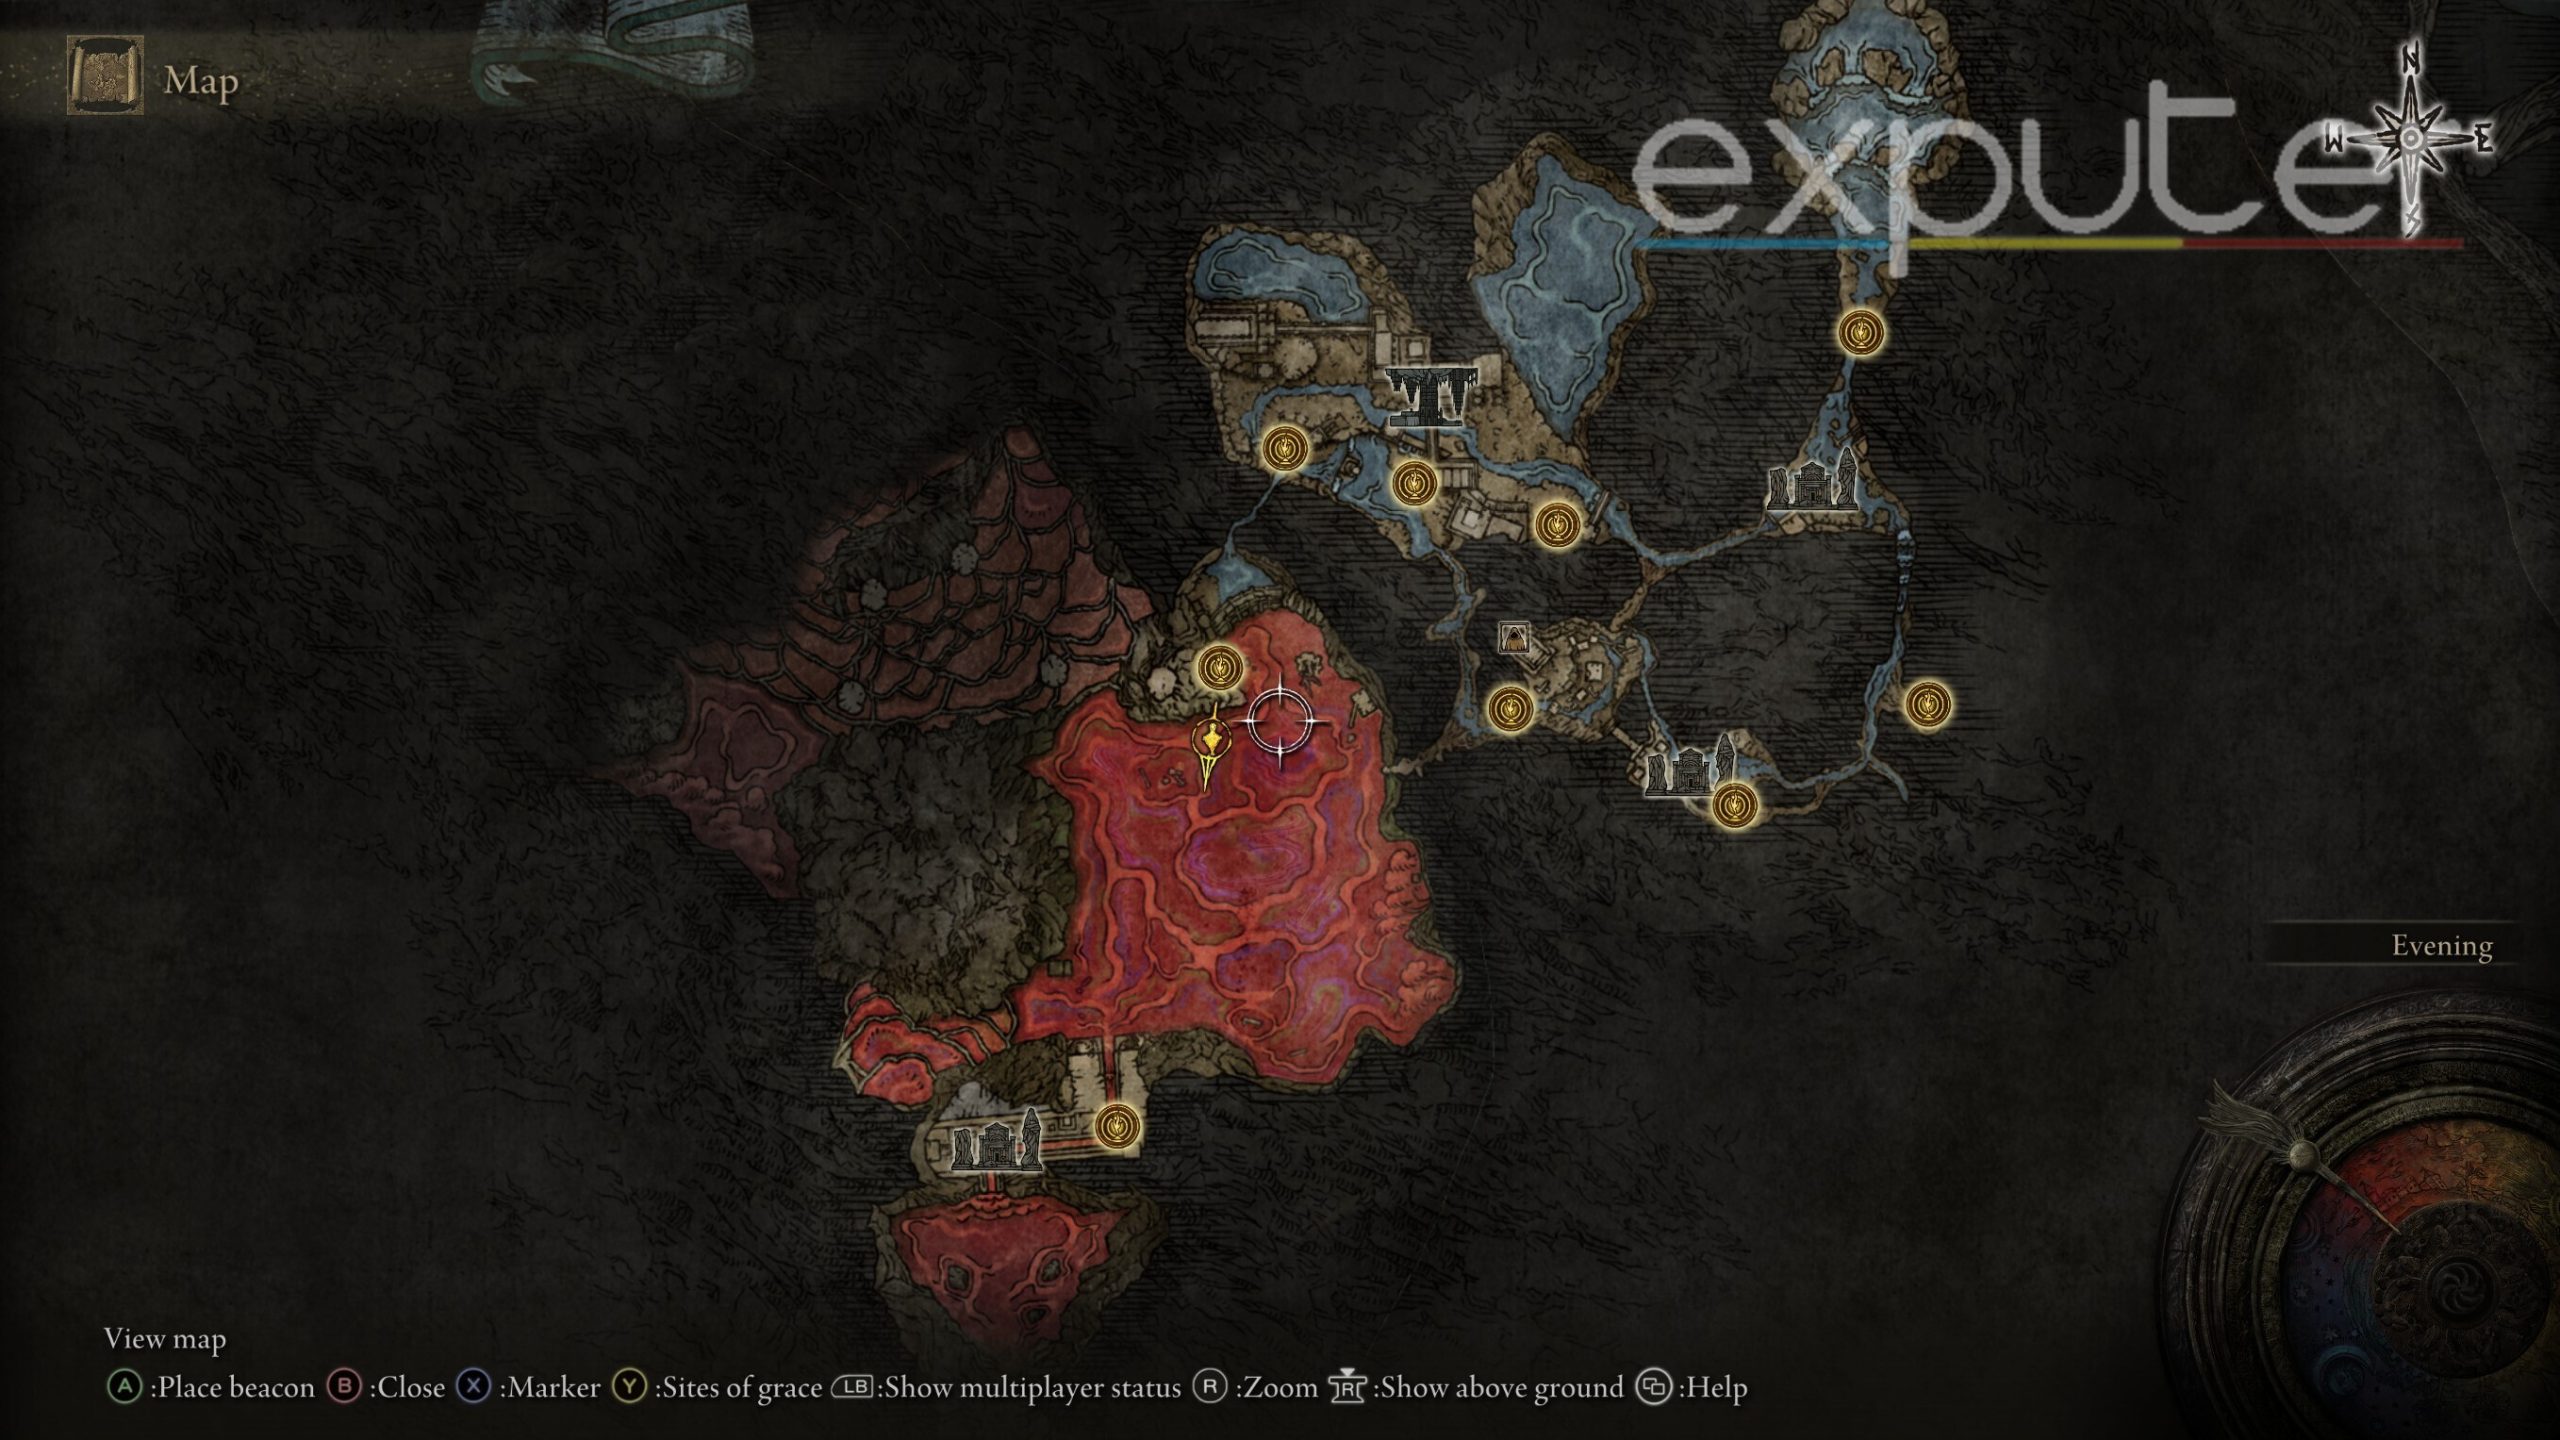
- The last part of the Lake Of Rot route in Elden Ring always comes down to crossing the Ainsel River.
- Without engaging with Ranni, you have now reached the part where you can steadily get to the site without her involvement.
- Ainsel River is situated right next to the entrance to the Lake of Rot.
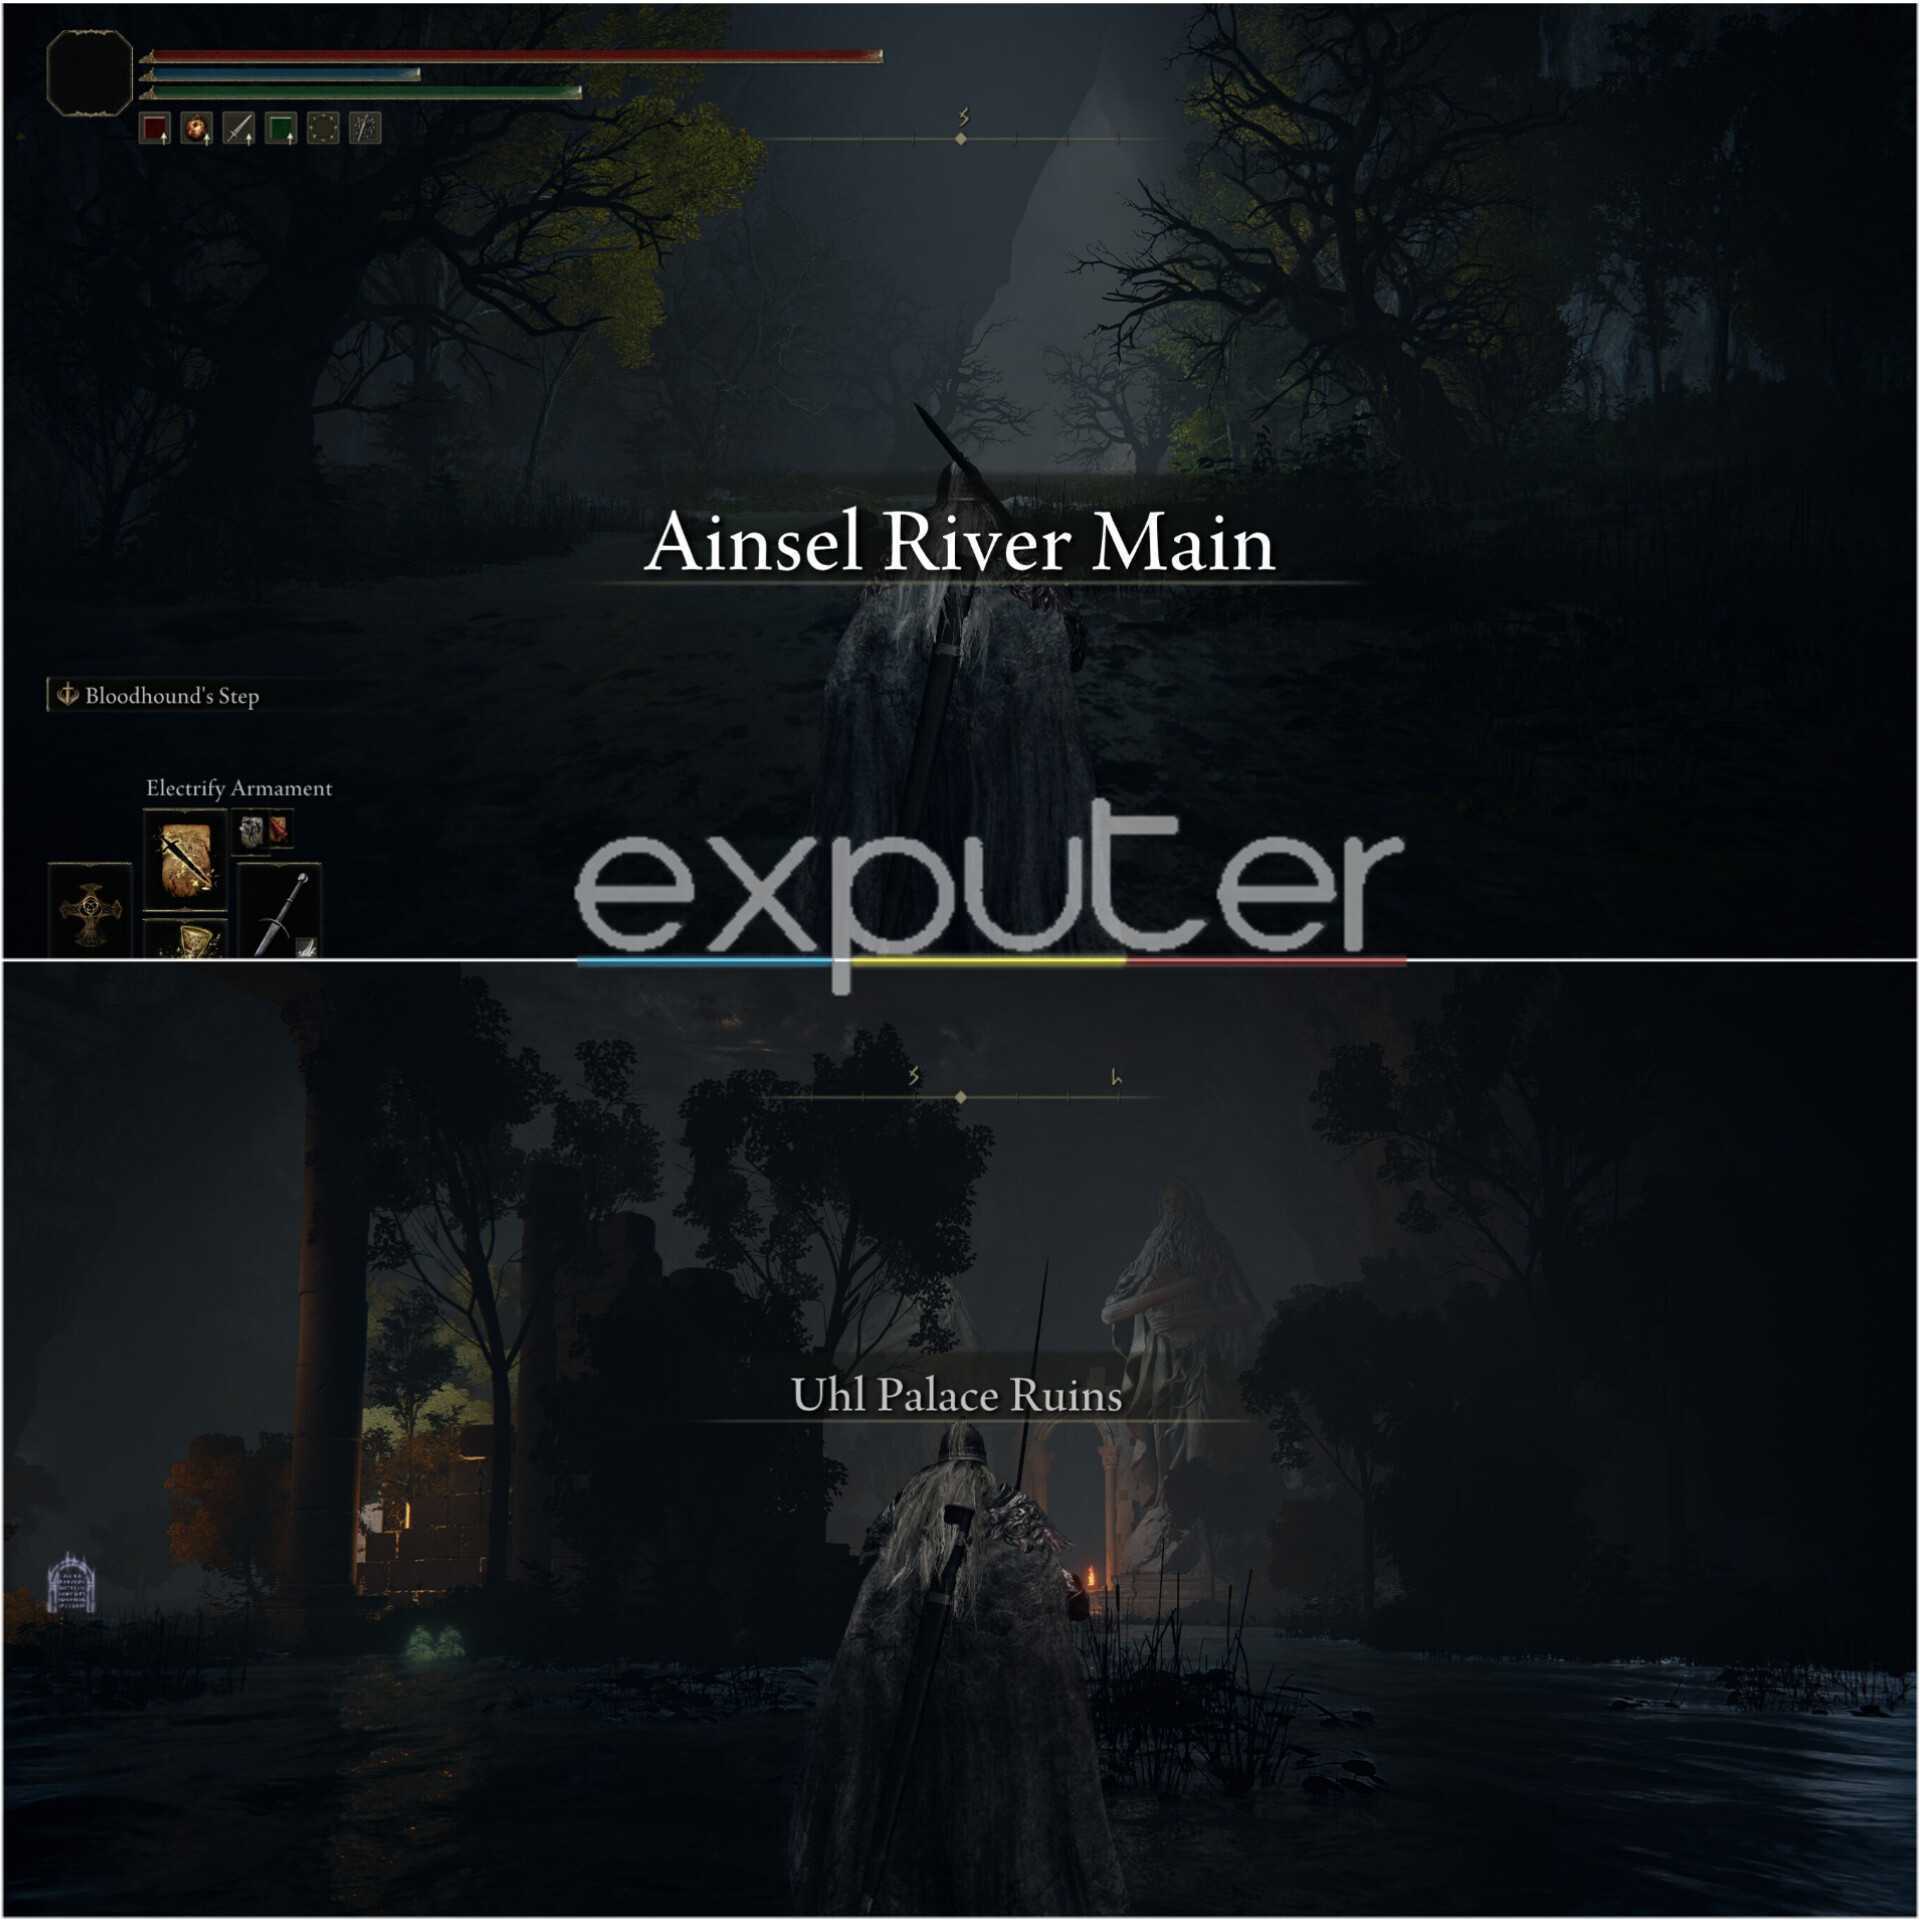
- You will spawn in the Ainsel River Main from the top-right, and all you have to do is head straight and follow the middle path until you reach Uhl Palace Ruins.
- Be careful of the Malformed Star enemy, whose attacks can instantly kill you if you’re not careful enough.
- Other enemies may also include the dozens of Clayman, which don’t pose too much of a threat.
- Continue onwards into the Uhl Palace Ruins, and you will encounter a couple of Ants.
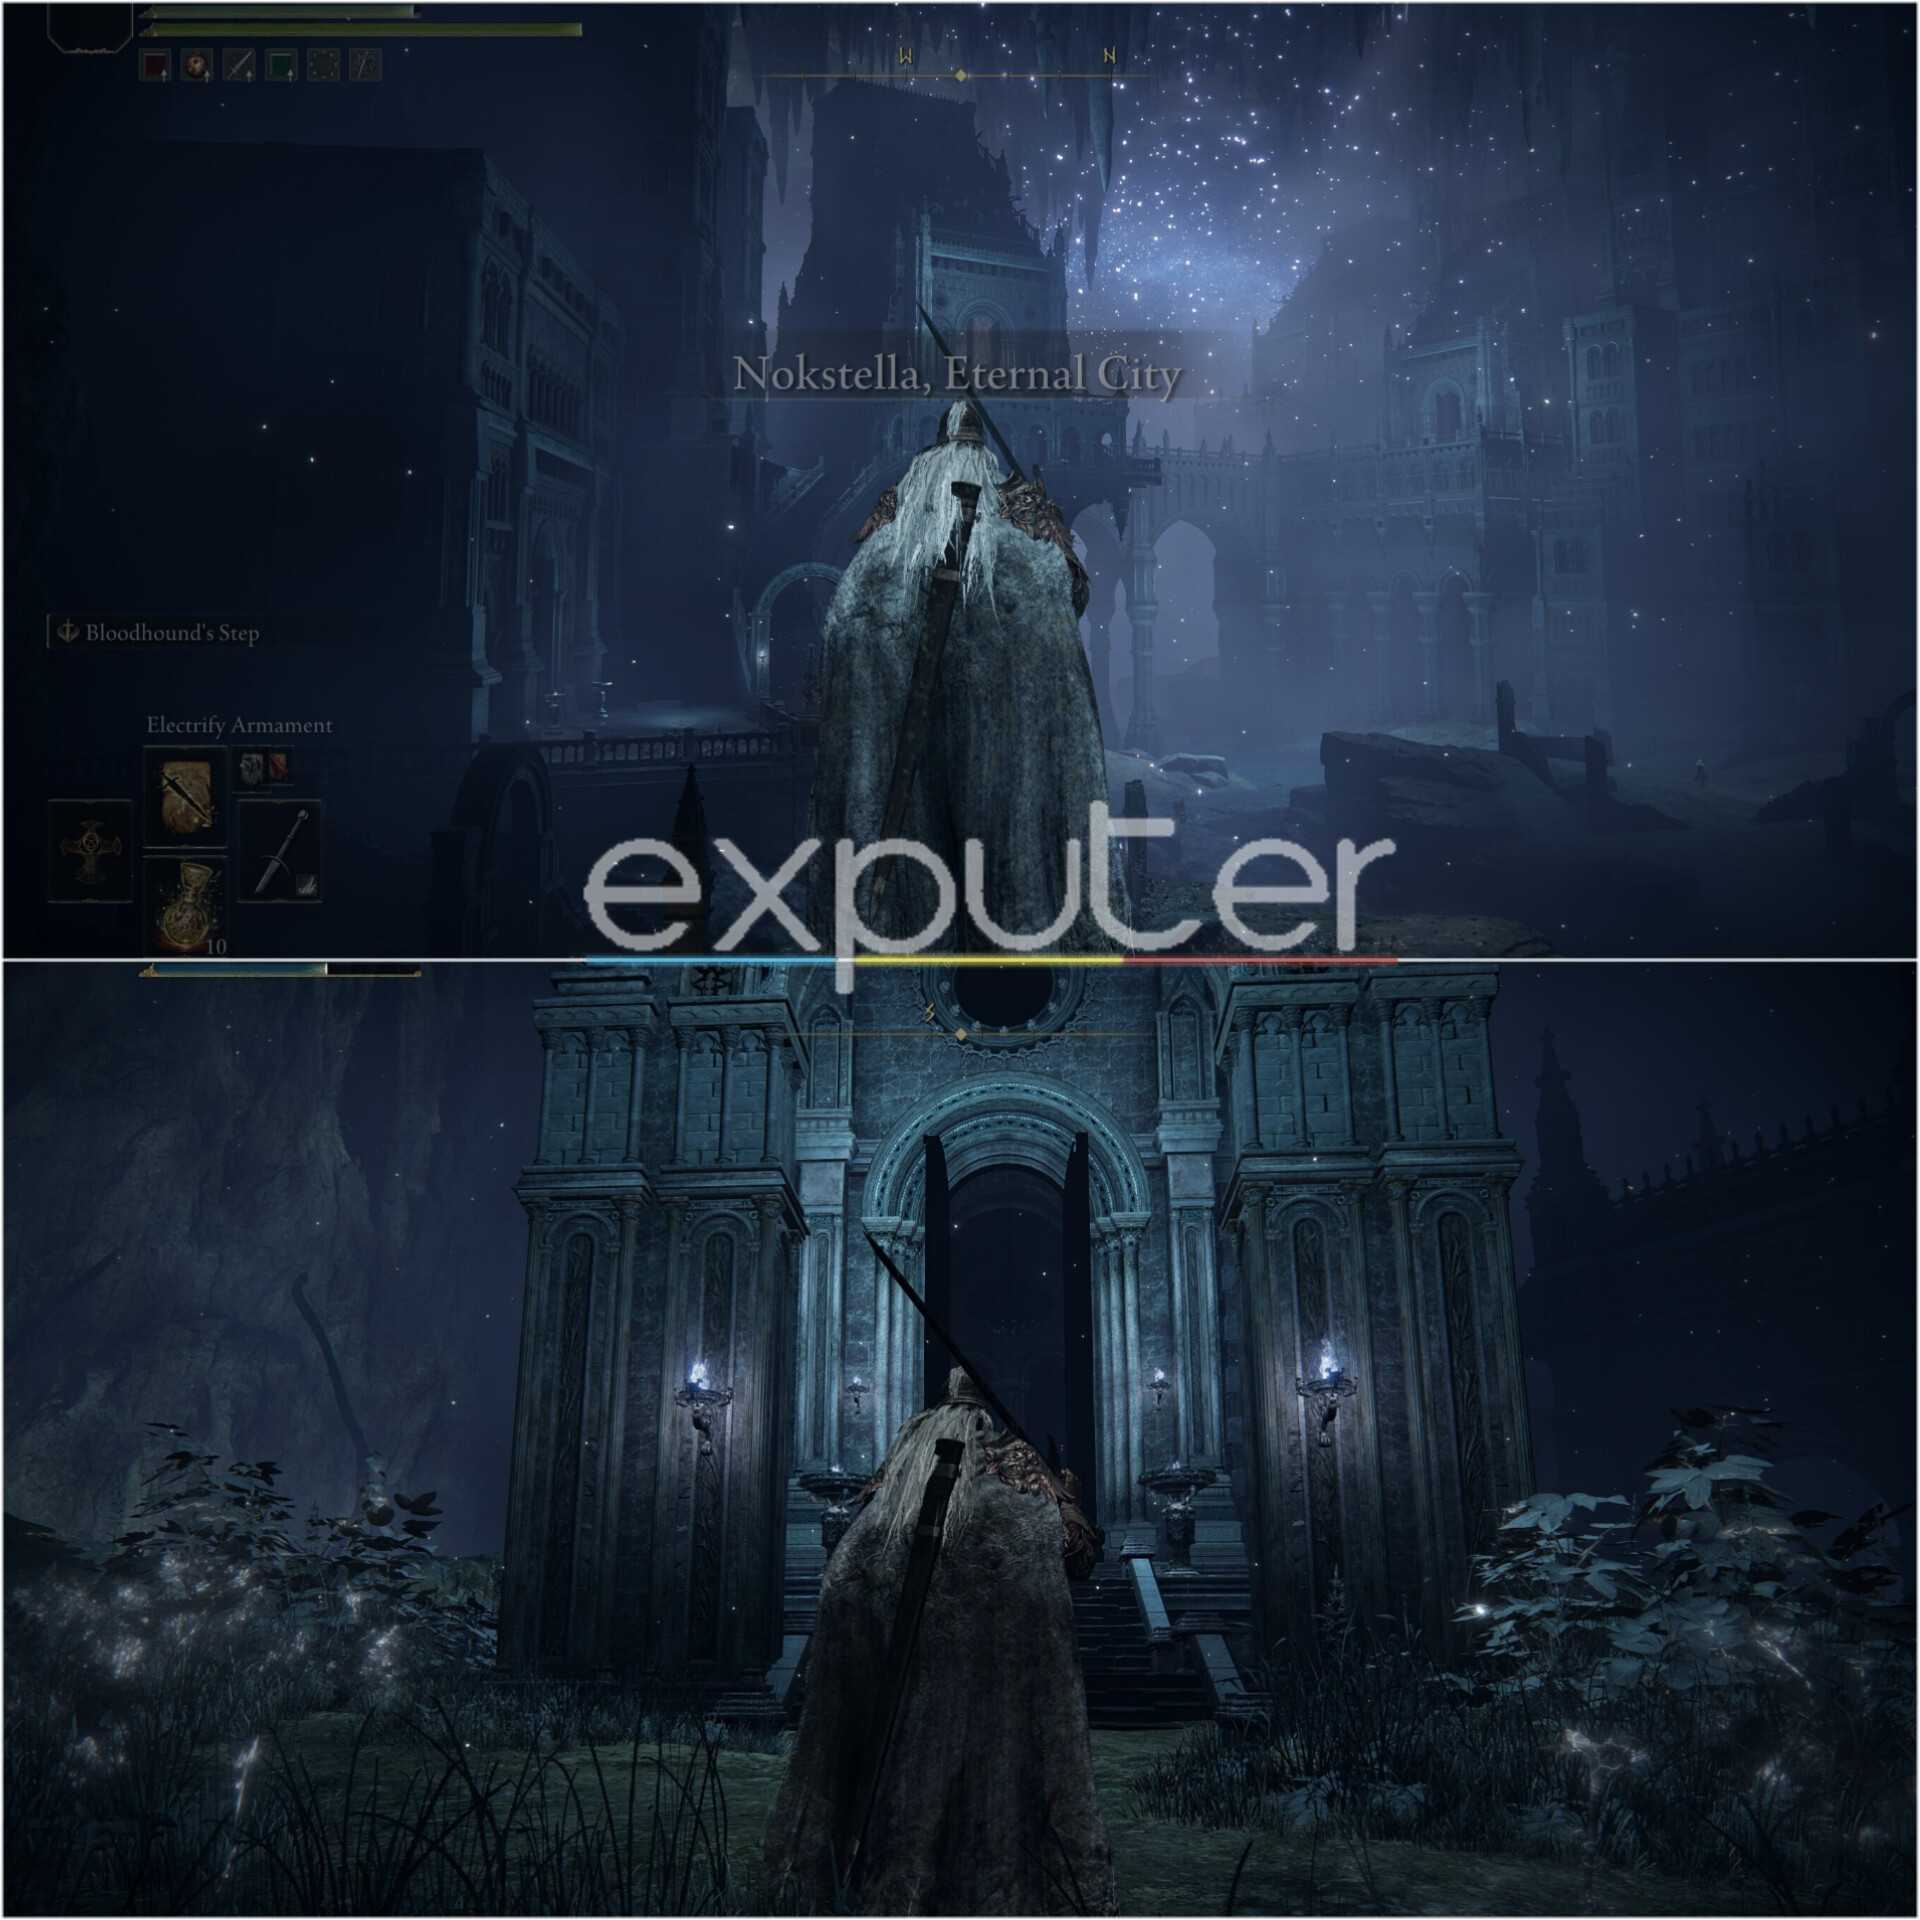
- Following onwards from that cave, you will eventually reach Nokstella, Eternal City.
- You can reach an elevator on the other side of the area shown in the image above to head further downward.
- Be sure to avoid multiple enemies here, such as the Silver Tears and the Ant-riding Nox maidens.
- Once you emerge from the elevator, you can rest at another site of grace.
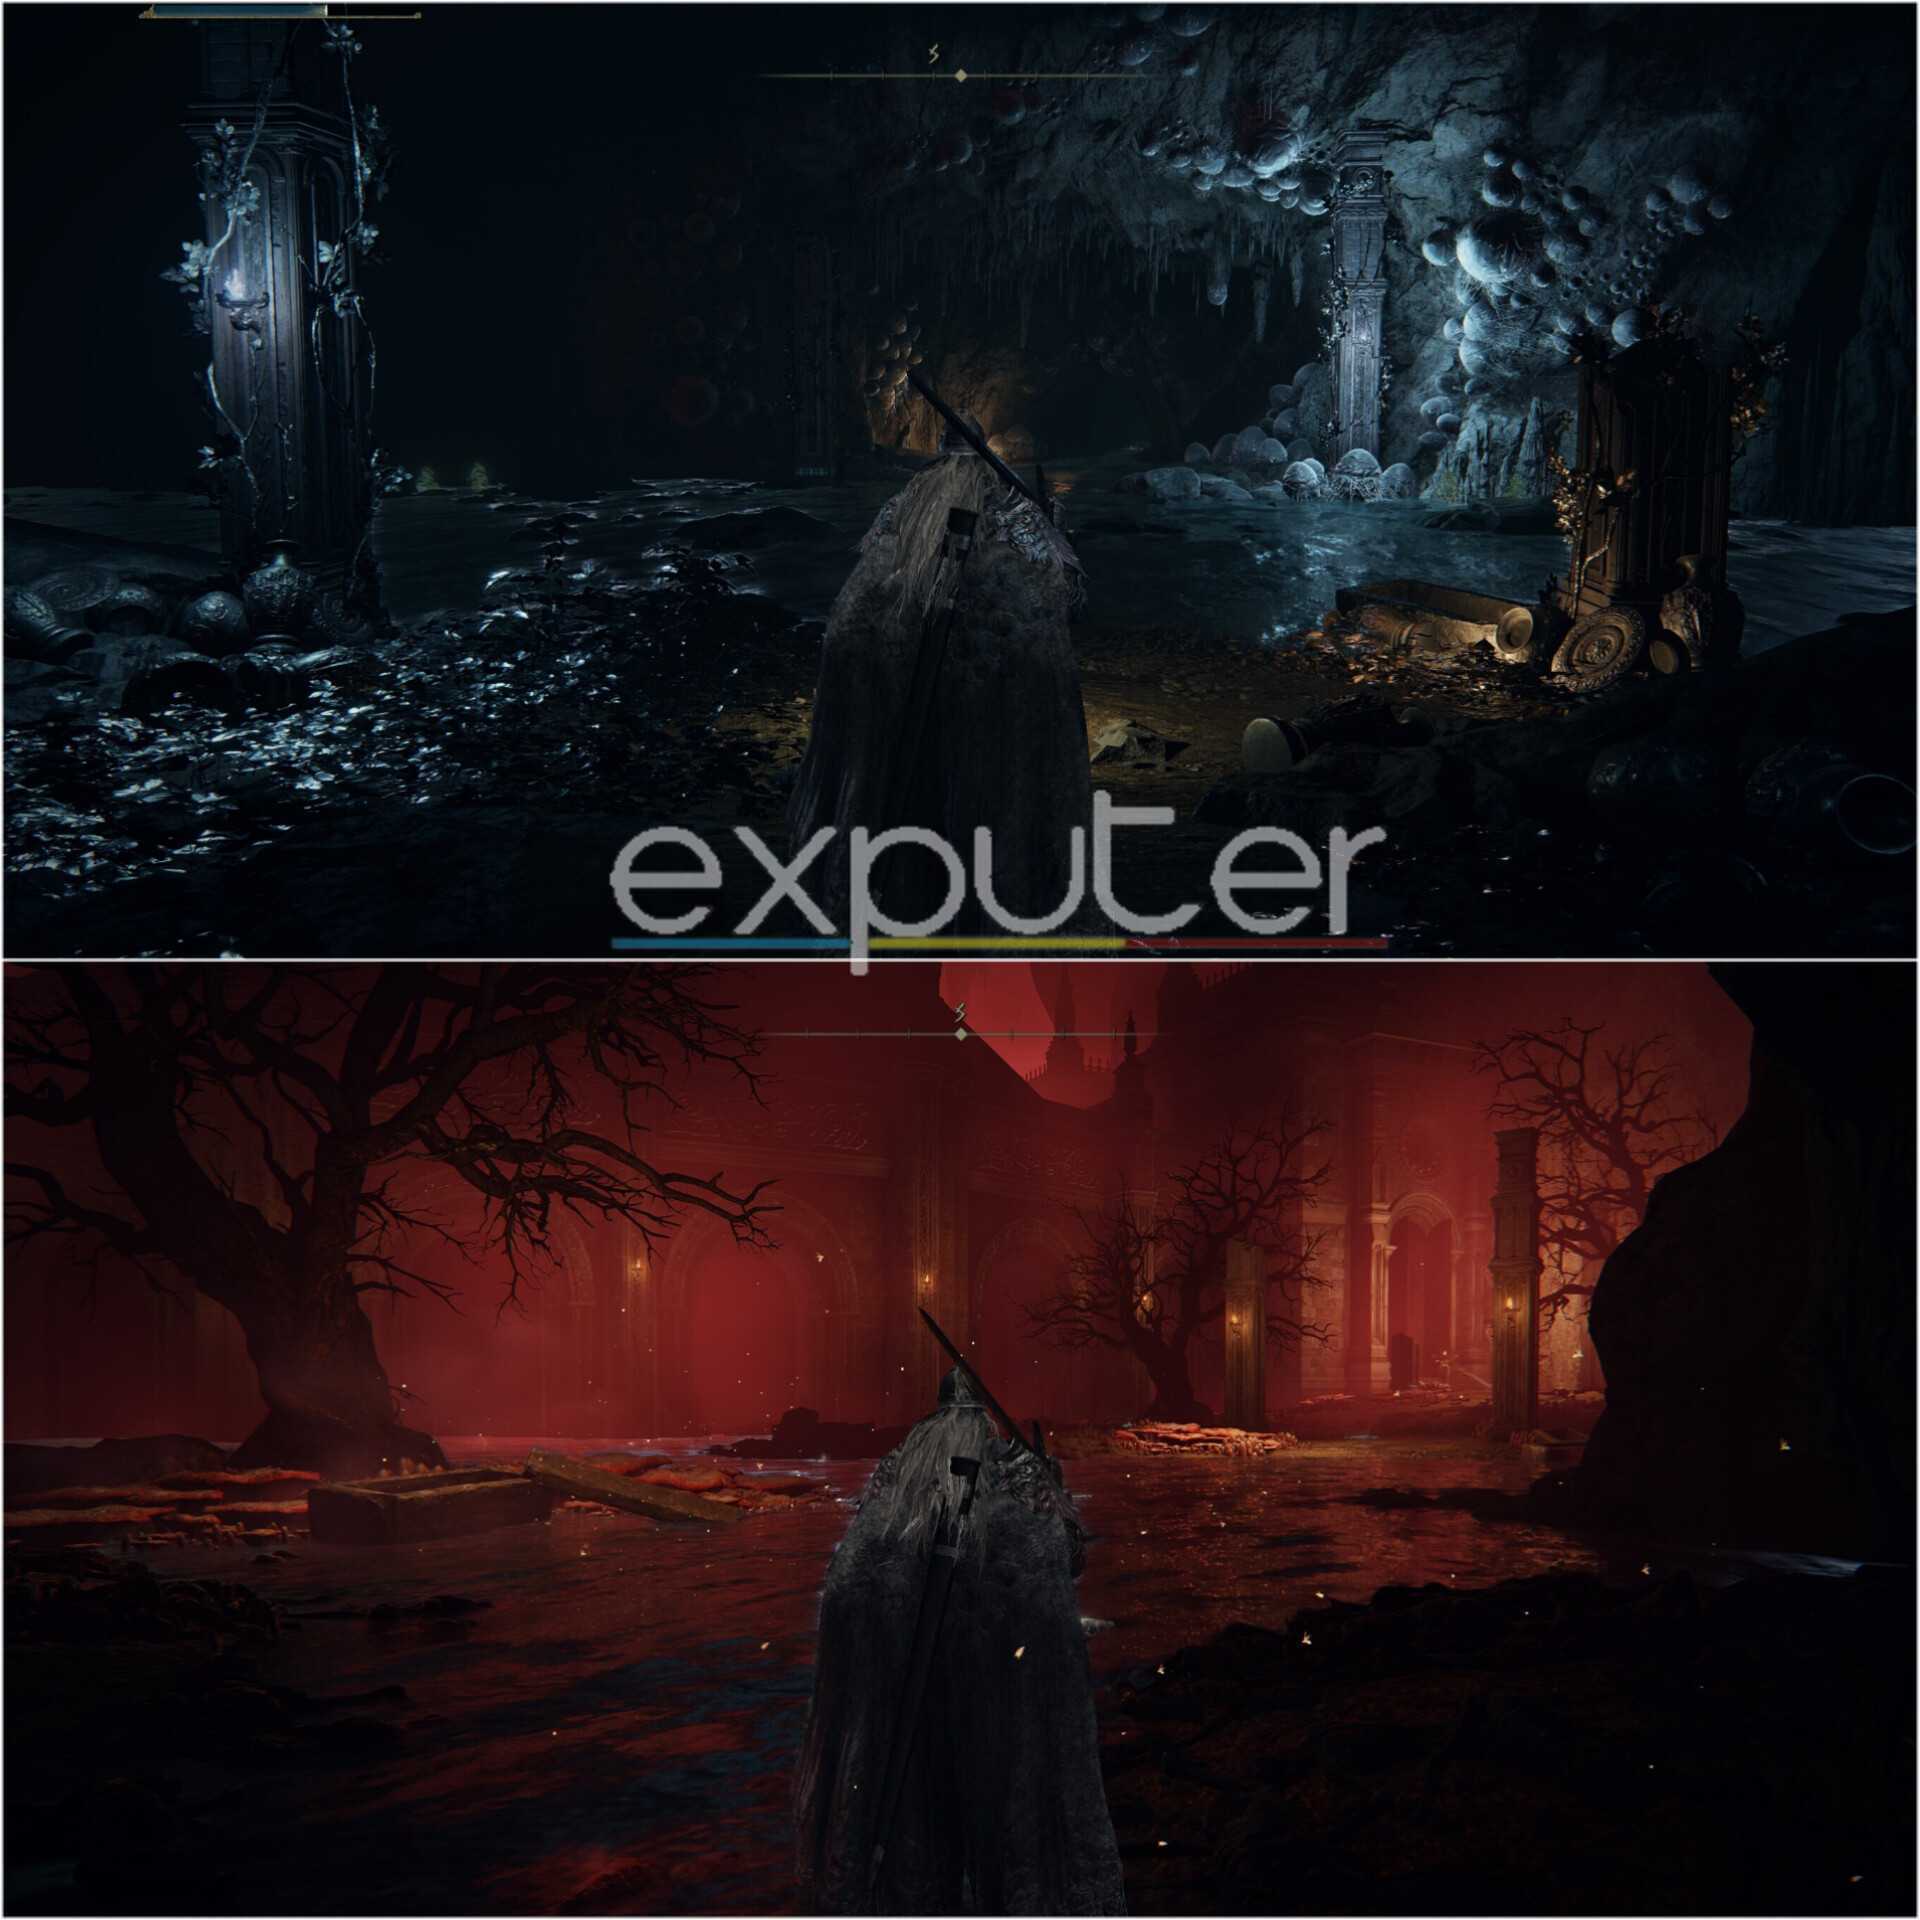
- Make a straight bee-line towards the cave, where you will reach the last elevator to the right, as shown in the image, which will take you straight down to the Lake Of Rot.
The Lake Of Rot is a dangerous place filled with Basilisks ready to jump from the pool of Rot at you at any given moment, so caution is advised when traveling through here. There are various kinds of platforms nearby that can help you navigate around the giant pool of rot with ease. Most importantly, the location also allows you to access the Astel Naturalborn of the Void boss fight, which is essential to complete Ranni’s questline.
My Experience Going Through The Lake Of Rot
Every time I replay Elden Ring, the Lake of Rot is still a pain to traverse or explore. In my first playthrough, I didn’t explore much and rushed to Astel using the Bloodhound Step. However, in later playthroughs, when I had to explore inevitably, it was unavoidable to die over 2-3 times due to the obnoxious enemies.

I spent a good hour searching every ruin but didn’t stay for long because of the progressive Scarlet Rot buildup. The Dragonkin Soldier of Nosktella Boss fight was luckily easy due to me being over-leveled, but otherwise, the location was quite difficult for me to go through. Like me, you’re definitely going to need some Bolluses to tackle the Scarlet Rot and go through this area.
However, this wraps up my guide on how to reach the Lake Of Rot in Elden Ring. If you have any questions related to the game, then feel free to ask them in the comments section below, and I will be more than happy to guide you on the correct path, as reaching the Lake of Rot is no easy task for a new player!
Up Next:
Thanks! Do share your feedback with us. ⚡
How can we make this post better? Your help would be appreciated. ✍