There are many side quests and collectibles, such as Survey Drones, Relic Ruins, and more, in Horizon Forbidden West to keep players busy for hours on end. Returning players may recall the prequel having “errand missions” offering many collectibles. Horizon Forbidden West Signal Towers and their lenses are among the many collectibles within the game.
Horizon Forbidden West features six Signal Towers locations:
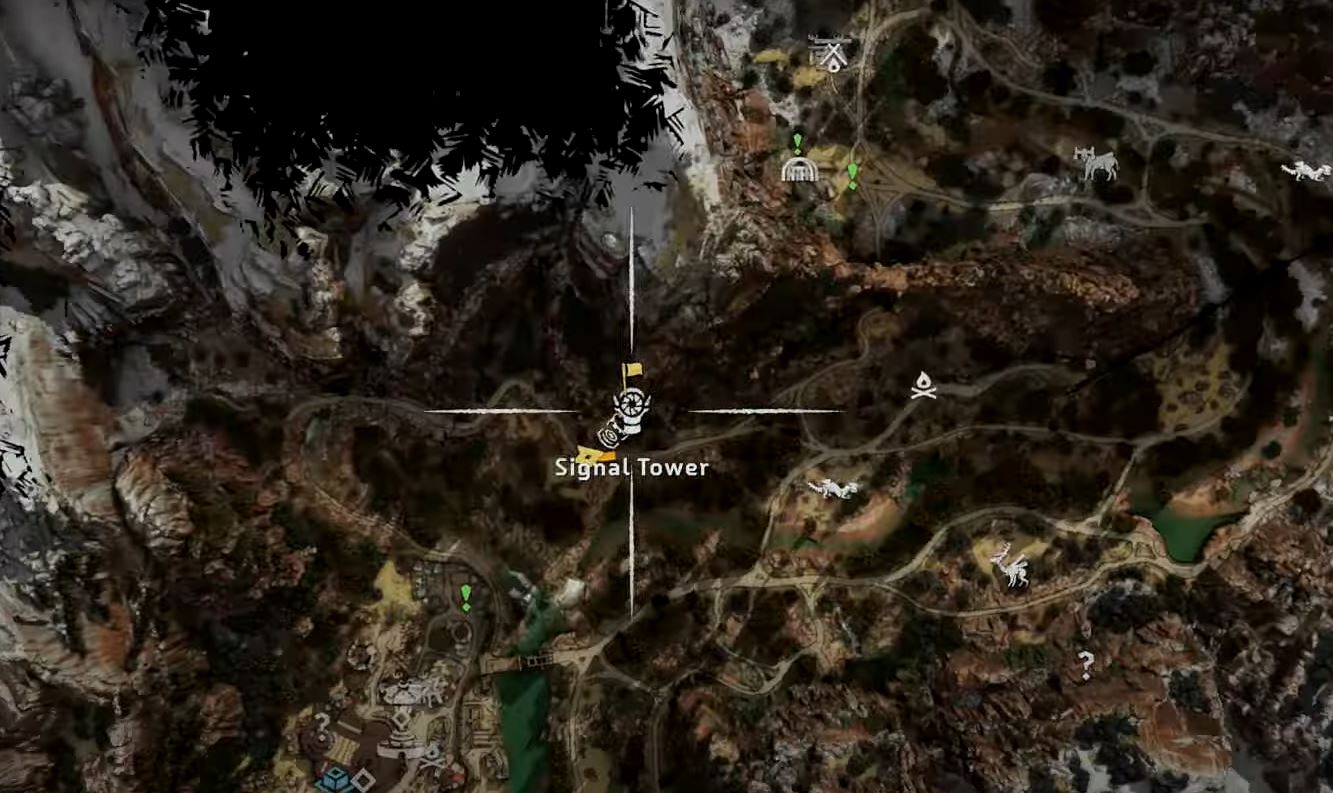
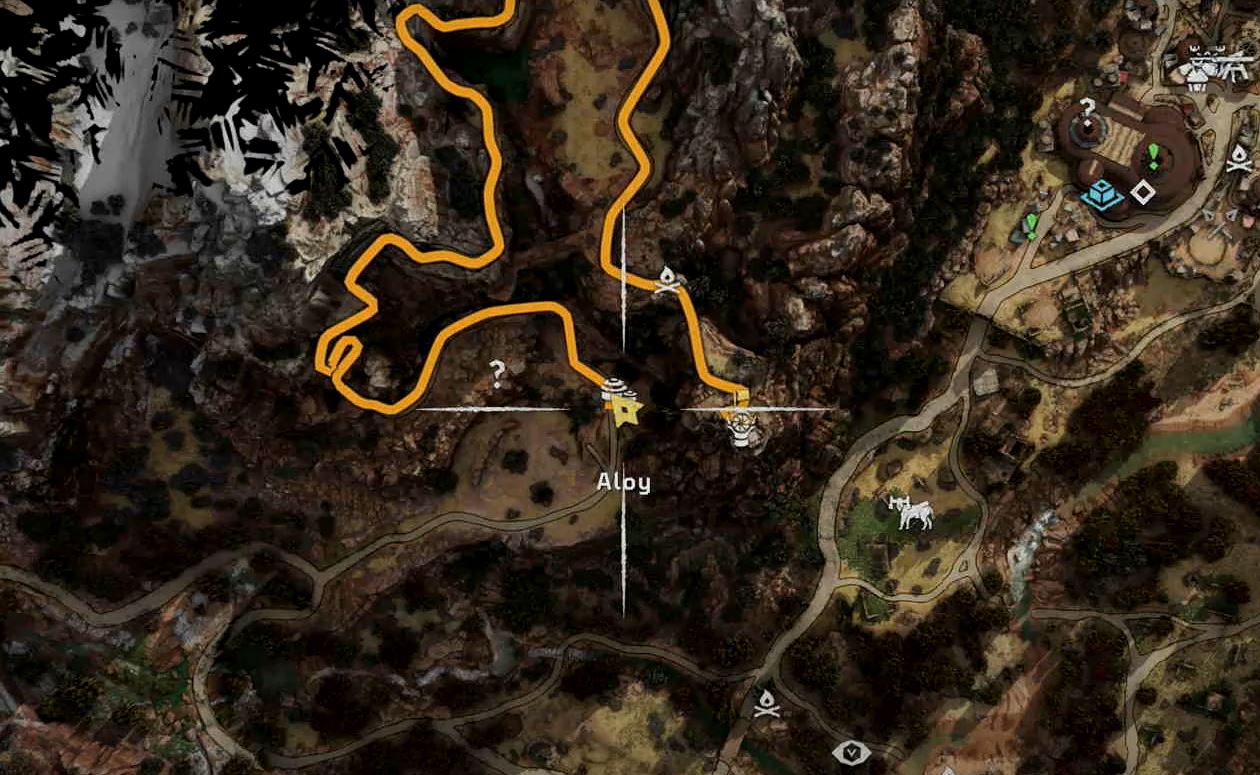
- Lens of Dawn: Located in the extreme northern part of The Daunt, east of the mine.
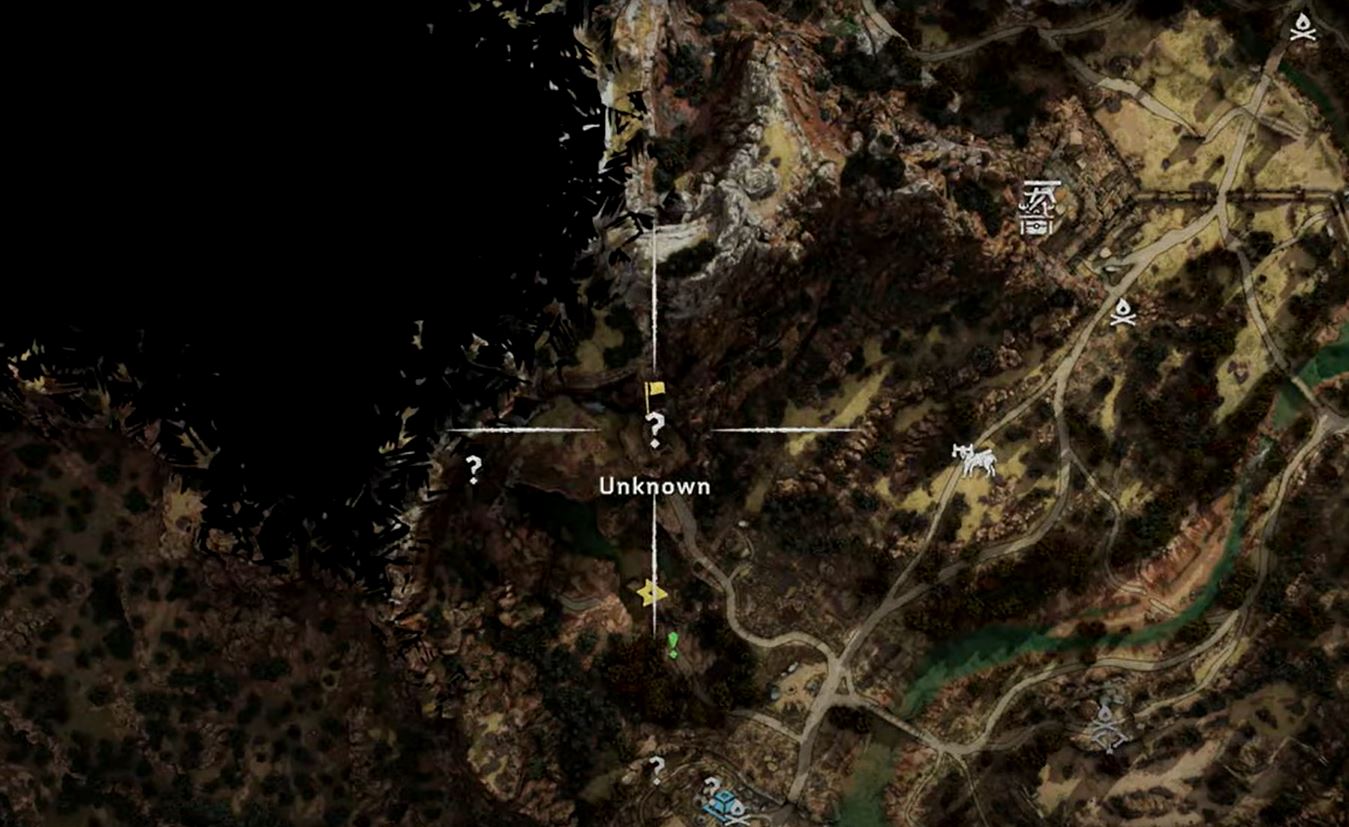
- Lens of Morning: Found around 250 meters north of the Chainscrape as you enter the open world.
- Lens of Midday: Located atop a mountain across a valley, requiring careful climbing and use of the Focus Pulse.
- Lens of Afternoon: Discovered 230 meters west/southwest of Chainscrape, often found during the Twilight Path side quest.
- Lens of Twilight: Positioned east of Barren Light in the southeastern portion of The Daunt.
- Lens of Evening: Obtained during the side quest “Signals of the Sun.
Horizon Forbidden West Signal Tower Locations
Following is a summary of the all the Horizon Forbidden West Signal Towers:
| Signal Towers | The Daunt Locations |
|---|---|
| Lens of Dawn | Signal Tower at the northeast end of The Daunt |
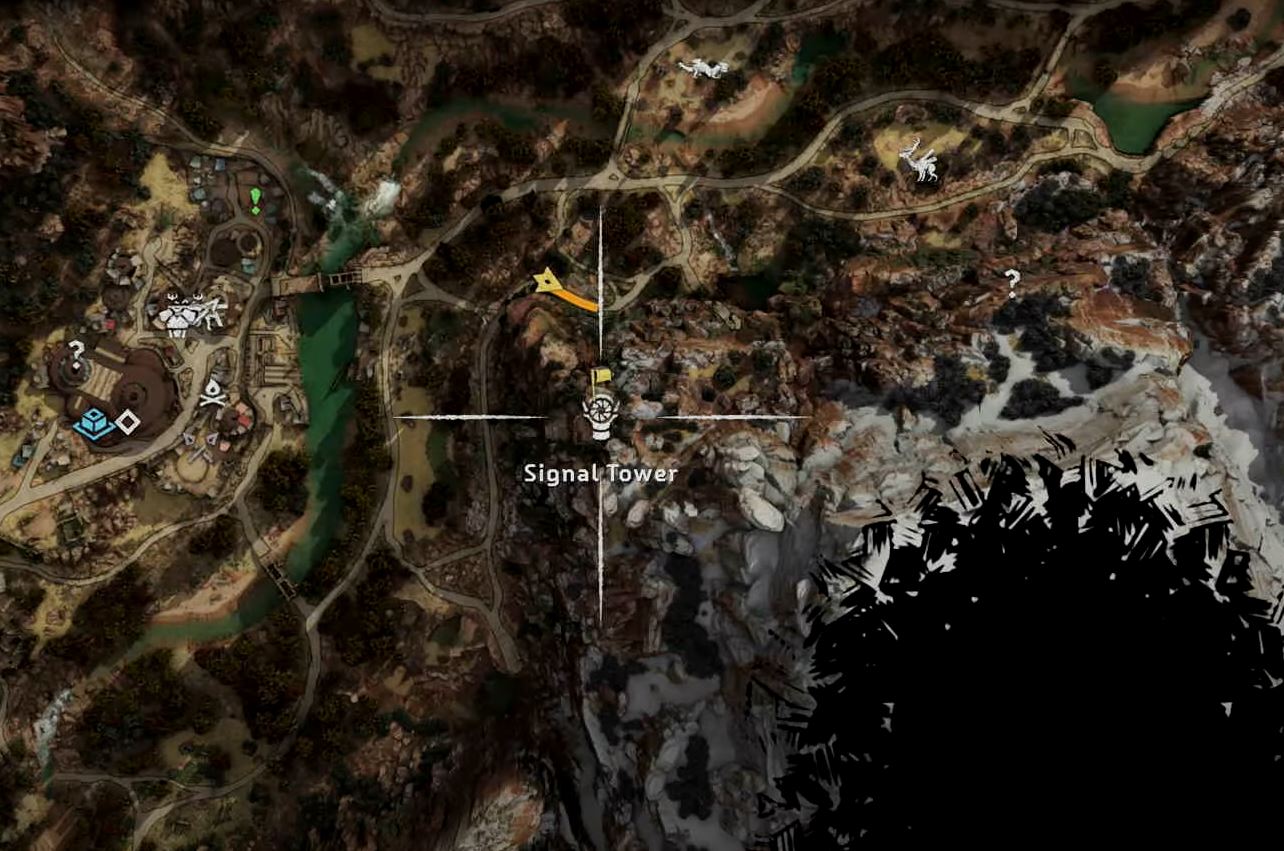
| Lens of Morning | Signal tower northeast of Chainscrape. |
| Lens of Midday | Signal tower at the east of Chainscrape. |
| Lens of Afternoon | Signal tower that you visit during "The Twilight Path" Side Quest, southwest of Chainscrape. |
| Lens of Twilight | Signal tower at the east of Barren Light. |
| Lens of Evening | Signal tower at the north of the Barren light |
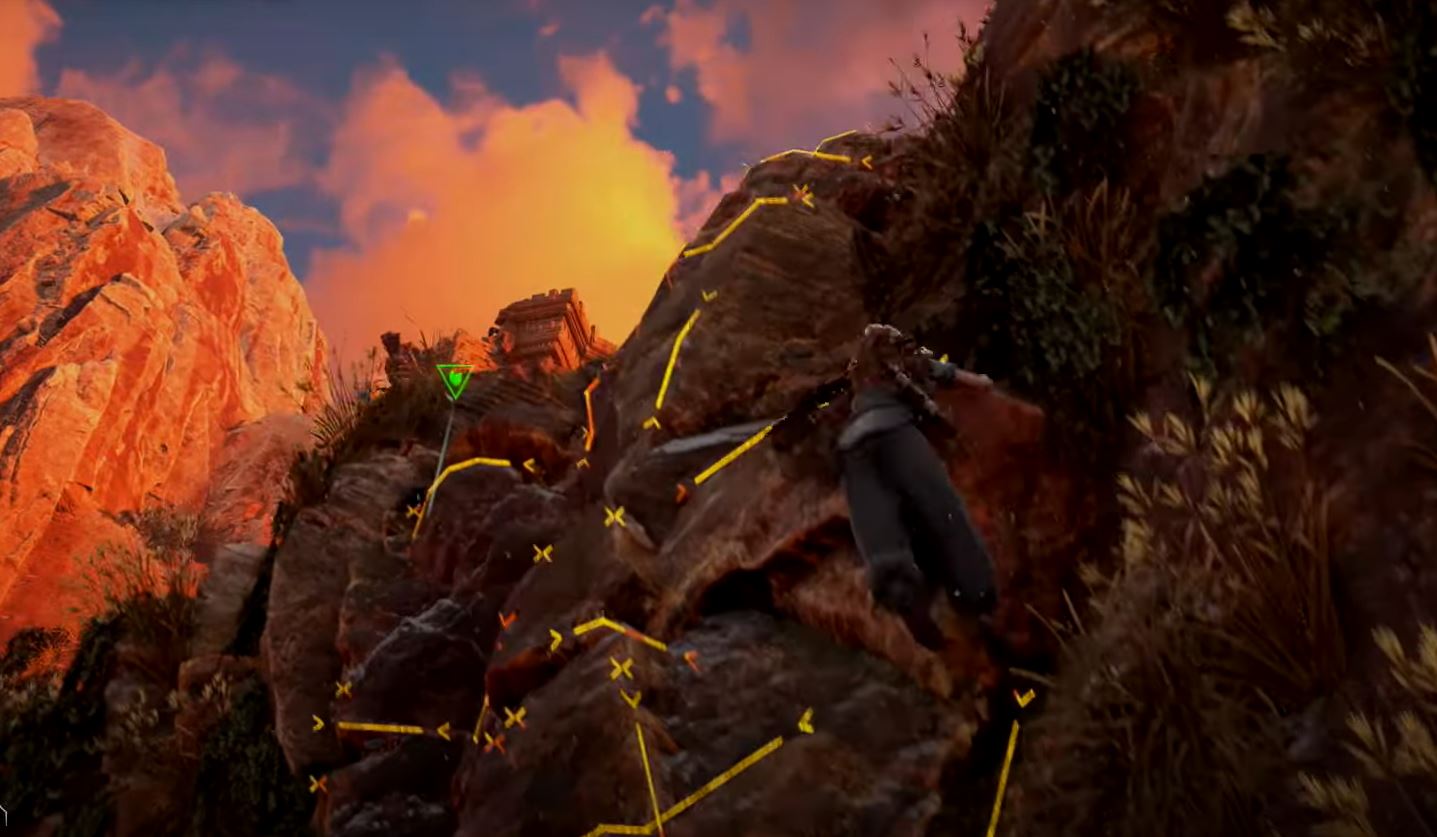
1. Lens Of Dawn

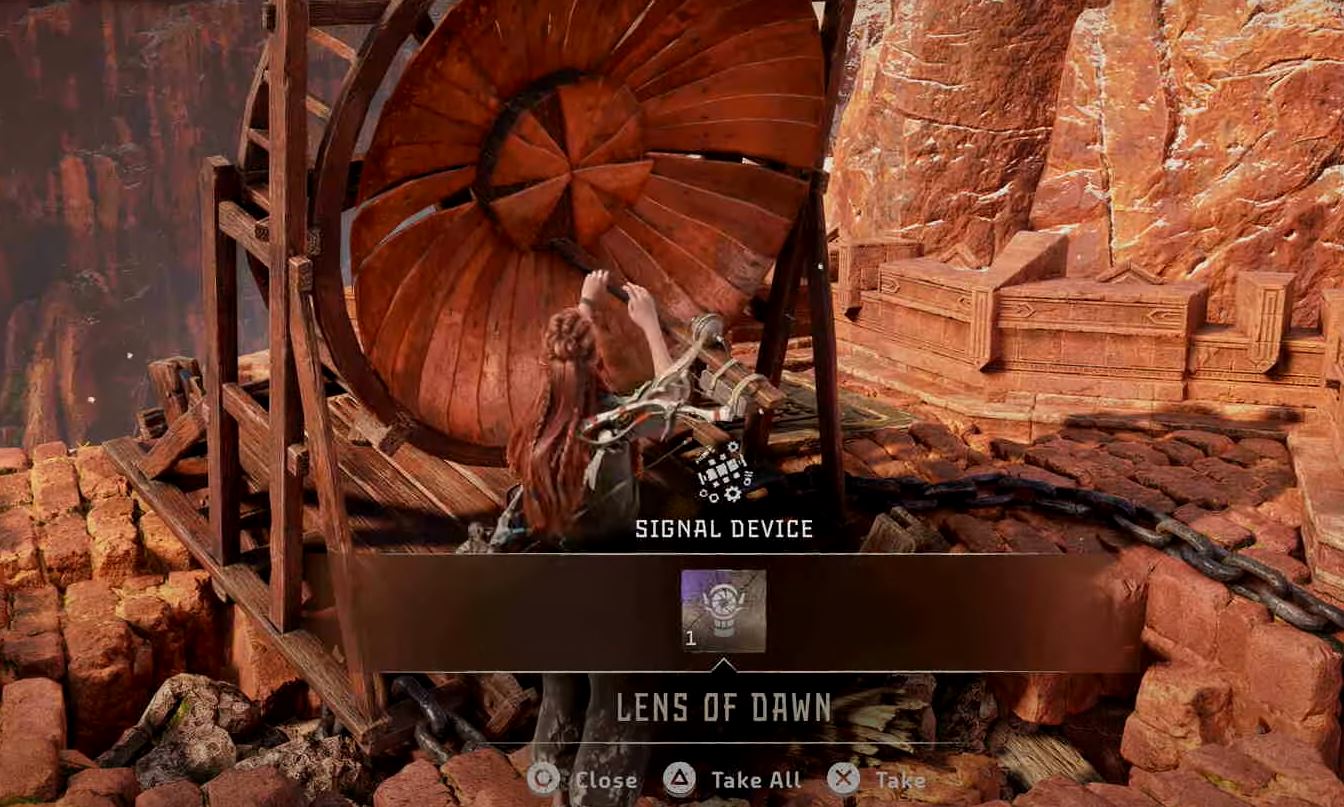
To find the Lens of Dawn:
- Head to the northern part of The Daunt.
- Locate a mountain east of a mine from the Deep Trouble side-quest and north/northeast of a campfire.
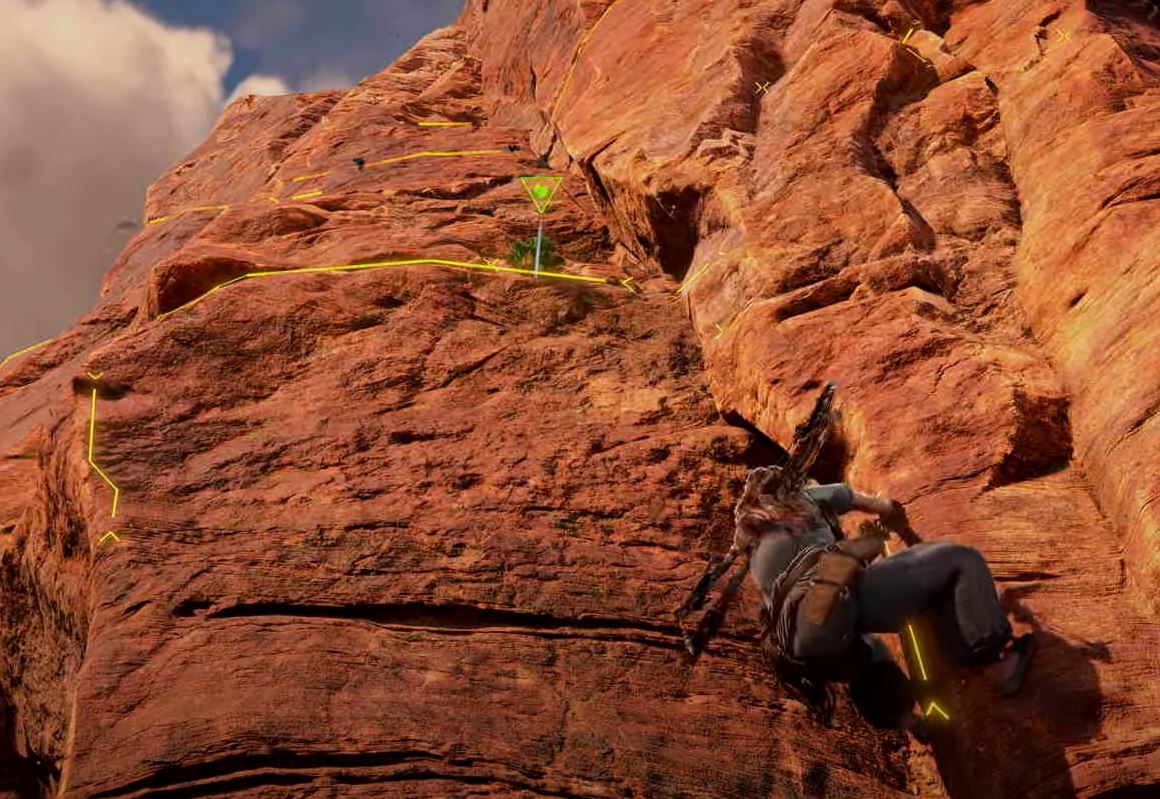
- Begin climbing using grapple points and handholds, starting with a broken wooden structure at the bottom.
- Use your focus to highlight handholds for guidance.
- Continue climbing to reach the tower.
- Climb the yellow wooden beams at the top to claim the Lens of Dawn and enjoy the view.
Also, Check out: Horizon Forbidden West Best Armors
2. Lens Of Morning
An Interesting Read: Horizon Forbidden West Face Paint
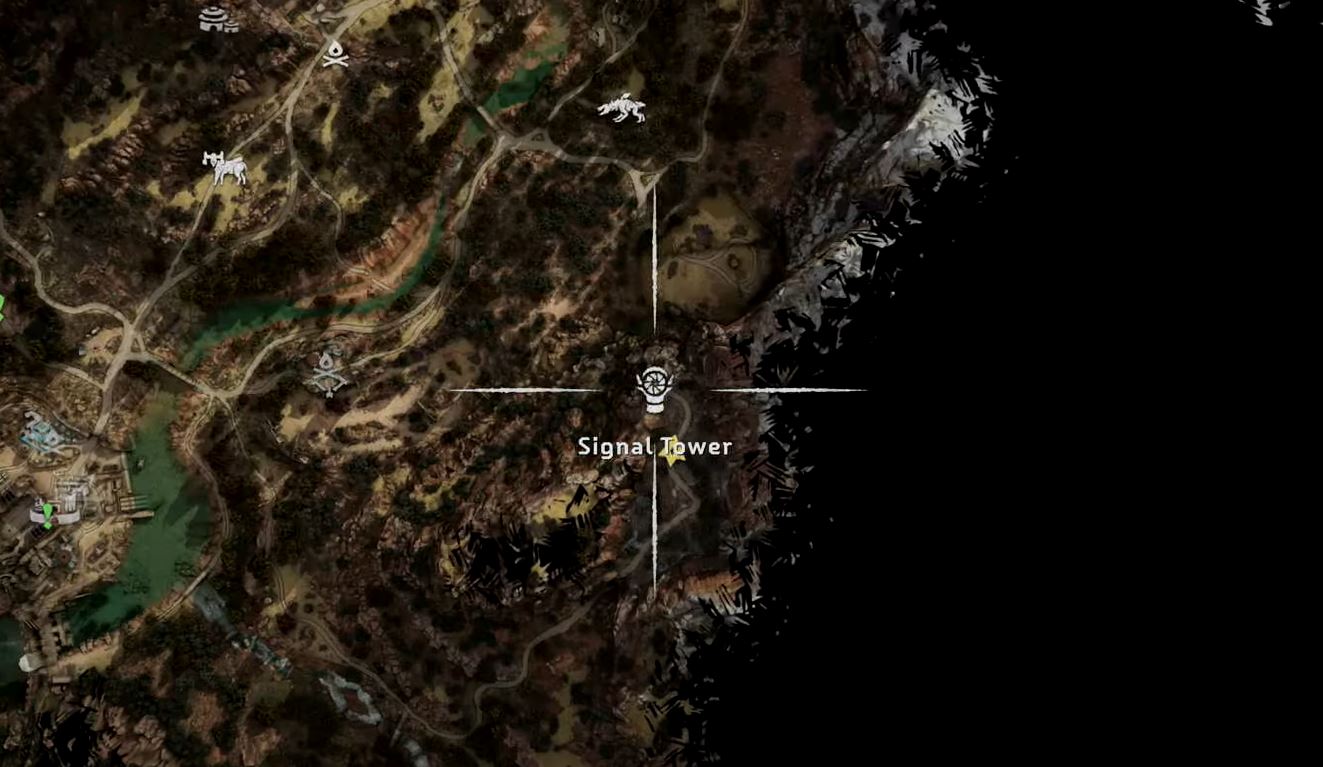
To reach the Signal Tower and Lens of Dawn:
- Head 250 meters north of Chainscrape.
- Start your journey after taking the elevator down during the “Point of the Lance” quest.
- Look for a ruined brick structure north of the first campfire and use your grapple to ascend.
- Continue climbing using handholds.
- You’ll come across a metal flower, which you can’t clear early in the game. Progress to the 12th main quest, “Seeds of the Past,” to use the vine cutter and access it for a supply chest and valuable chest.
- If you skip the metal flower, jump to the window on its right and climb inside.
- Navigate around the tower to reach the top and collect the Lens of Dawn.
3. Lens Of Midday
To reach this Signal Tower, follow these steps:
- Prepare for a 3-minute climb.
- Use the Focus pulse to navigate broken structures and stairs.
- Head south from the Lens of Morning, across the valley.
- Climb a ladder and follow broken wooden structures.
- Utilize grapple points and the Focus pulse for direction.
- Stay on the path, and you’ll eventually reach the tower.
This climb is lengthy, but you’re halfway through collecting the Horizon Forbidden West Signal Lenses, with three more to go.
An Interesting Read: Horizon Forbidden West Wings of the Ten
4. Lens Of Afternoon

To access the Signal Tower 230 meters west/southwest of Chainscrape, follow these steps:
- Complete “The Twilight Path” side quest to collect the lens.
- If you missed the quest, get it from Petra in Chainscrape.
- Shoot down a ladder with your bow to begin the climb.
- Double-jump between ladders and perform a wall jump.
- Cross a broken bridge by double-jumping and grappling.
- Continue the climb, which includes some challenging elements.
- Reach the top of the tower; there’s no disk this time, just pick up the lens from the rubble.
Completing this climb will help you acquire another Signal Lens.
5. Lens Of Twilight

To find the Lens of Twilight signal tower:
- Go east of Barren Light, located in the southeastern part of The Daunt.
- Look for a campfire at the mountain’s base leading to the tower’s path.
- Start from the campfire and use your grapple and focus to navigate upwards.
- Follow through the abandoned camp to reach the tower’s base.
- Zoom in on the map and follow the road to make it easier.
- Go to the left side of the tower along the road.
- Find a blue grapple point for your Pullcaster and use it to break a destructible wall.
- Climb the tower, a short climb, to reach the top and collect the lens.
6. Lens Of Evening

To obtain the Lens of the Evening:
- Start the “Signals of the Sun” side quest, which reveals all Signal Tower locations.
- After defeating the machines and speaking with Raynah, head to the tower.
- Use the Focus pulse to navigate the terrain effectively.
- You’ll encounter a section where you must double-jump over a broken bridge and grapple onto a point before reaching the machines.
- Defeat the machines, then talk to Raynah, who provides guidance about the towers.
- Use the Pullcaster to pull down a destructible wall, then another one.
- Upon entering the upper half of the tower, destroy another wall, allowing you to climb to the top.
- Collect all the lenses and return them to Raynah in Barren Light to claim your reward, as discussed in the rewards section of this article.
Useful Tips To Reach Signal Towers
If you wait to do this collectible quest near the end of the game, it will be an absolute breeze for you. This is because the quest mostly involves climbing and traversing the land, making a flying mount the shortcut. If you have the Sunwing mount, you can easily just land on top of the towers and skip the tedious journey.
But if you ask me, the climbing portions of the quest are quite interesting and showcase the game mechanics nicely. That is why you might prefer to do it without a flying mount. If that is the case, you should get accustomed to using the Focus pulse to scan your surroundings. You can activate the pulse by pressing R3, and it will highlight all the handholds, engulfing them in a golden glow.
Rewards
Considering it is an early-game quest, the scavenger hunt does have excellent rewards. Go speak with Raynah in Barren Light after you’ve collected all the Lenses; she’ll be near the campfire fast travel spot.
She gives you the following:
- 1 Bronze Ingot
- 2 Greenshine Silver Ingots
- 15 Metal Shards per lens (90 in total)
These are some good weapon upgrade materials that can be hard to come by. Save these for later; they’ll come in handy when upgrading your weapons at the workbench.
With that, we have all the Horizon Forbidden West Signal Tower Locations. It is certainly a fun quest to explore the climbing mechanics in the game. Additionally, you get some nice rewards, so it’s worth the time, especially considering the simplicity of the quest.
Furthermore, the Signal Lenses also contribute towards an unlockable trophy. If you’re looking to unlock more trophies, you should consider reading this: Vista Point Locations. If you have any questions, let us know in the comments below!
Next: Regalla’s Wrath
Thanks! Do share your feedback with us. ⚡
How can we make this post better? Your help would be appreciated. ✍