Blacksmith Gerlinde is an early-game NPC in Lords of the Fallen who you can find and release to upgrade your weapons and shields later in your playthrough. Most in-game NPCs are already available when you first reach Skyrest Bridge, but unfortunately, you’ll need to complete a series of puzzles before you can access the Blacksmith’s shop.
- Blacksmith Gerlinde is an NPC in Lords of the Fallen who can sell items and upgrade equipment at Skyrest Bridge.
- To find her, players must first reach the Pilgrim’s Perch Bellroom Vestige, then follow the pathways ahead while staying in Umbral.
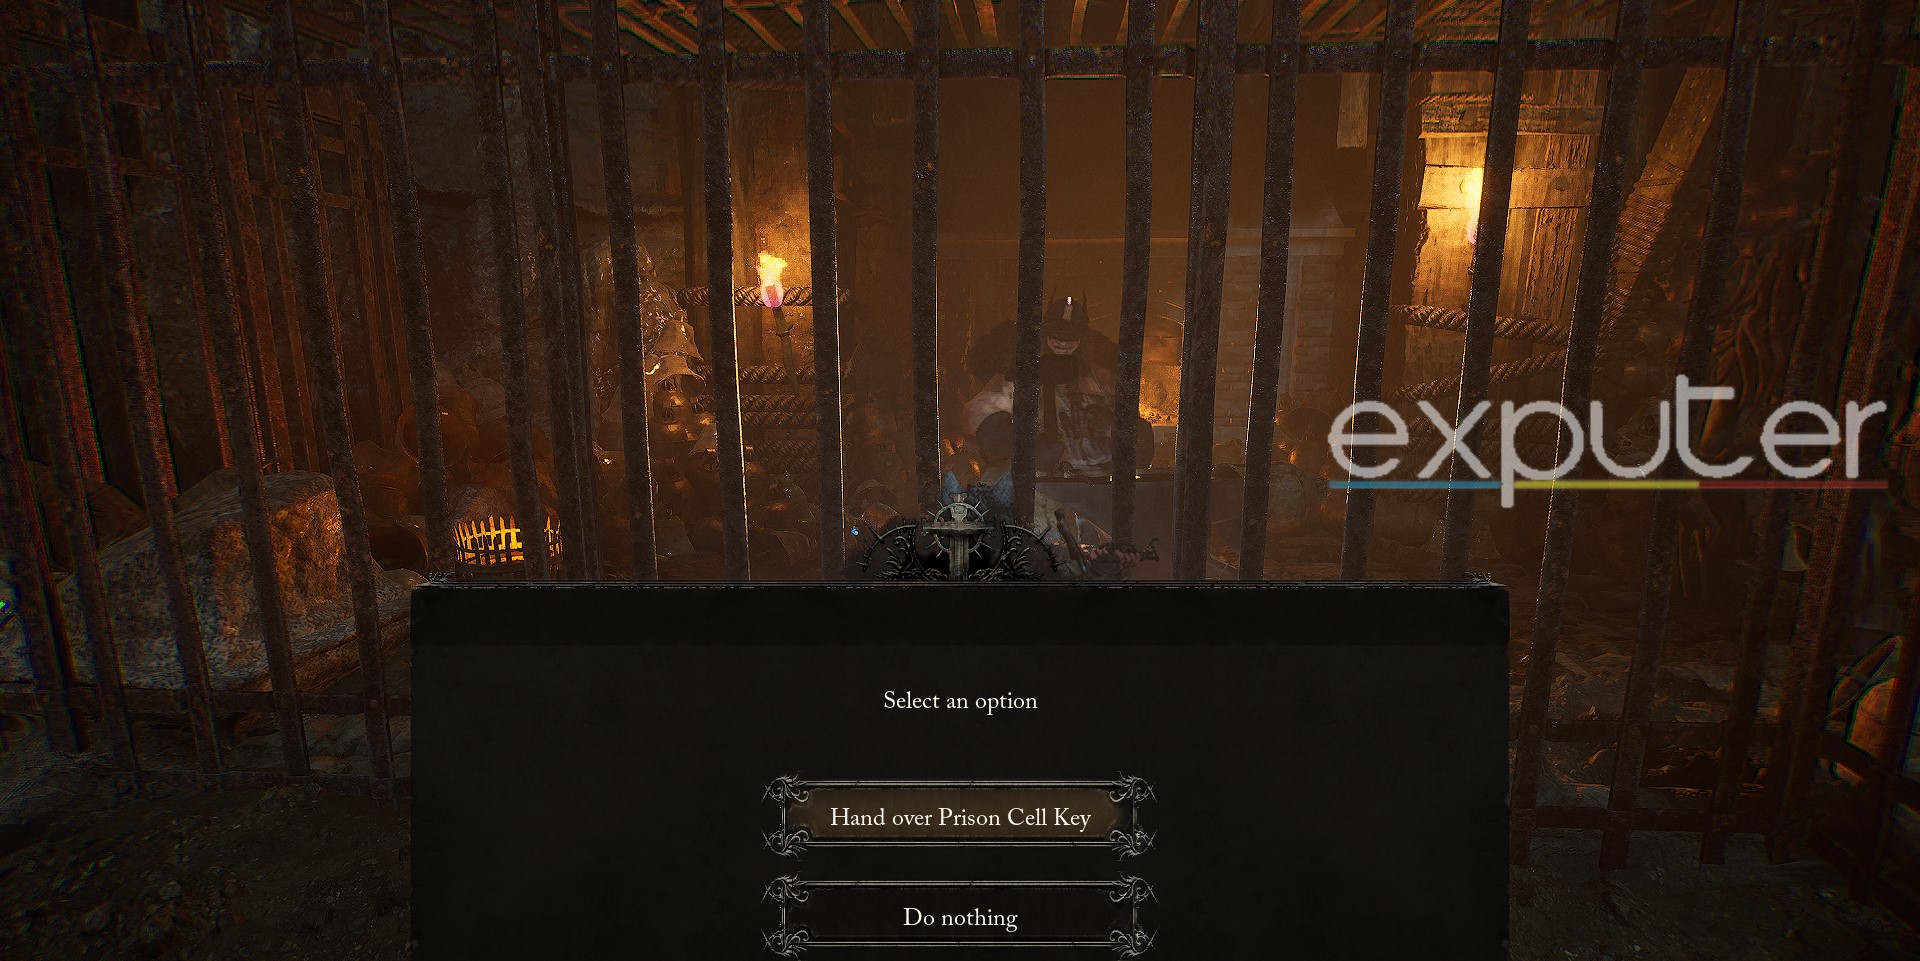
- Following the path, players will eventually reach a cave where they’ll find Gerlinde locked alongside her companion, Sparky, in a Prison Cell.
- Handing over the nearby Prison Cell Key will let her teleport to Skyrest Bridge, after which players can exhaust her dialogue to access her shop and services in Lords of the Fallen.
Here’s our YouTube video you can follow to reach Blacksmith Gerlinde and upgrade weapons in Lords of the Fallen:

Where To Find Blacksmith Gerlinde In Lords Of The Fallen
Players can find Blacksmith Gerlinde in Lords of the Fallen in her Prison Cell near the Pilgrim’s Perch Bellroom Vestige, which they can open using the nearby key to help Gerlinde escape.
Blacksmith Gerlinde is in Lords of the Fallen’s early-game area, the Pilgrim’s Perch. While the path to reach her has no challenging encounters or tedious runbacks, there are a few puzzles that may be confusing and take some time to figure out.
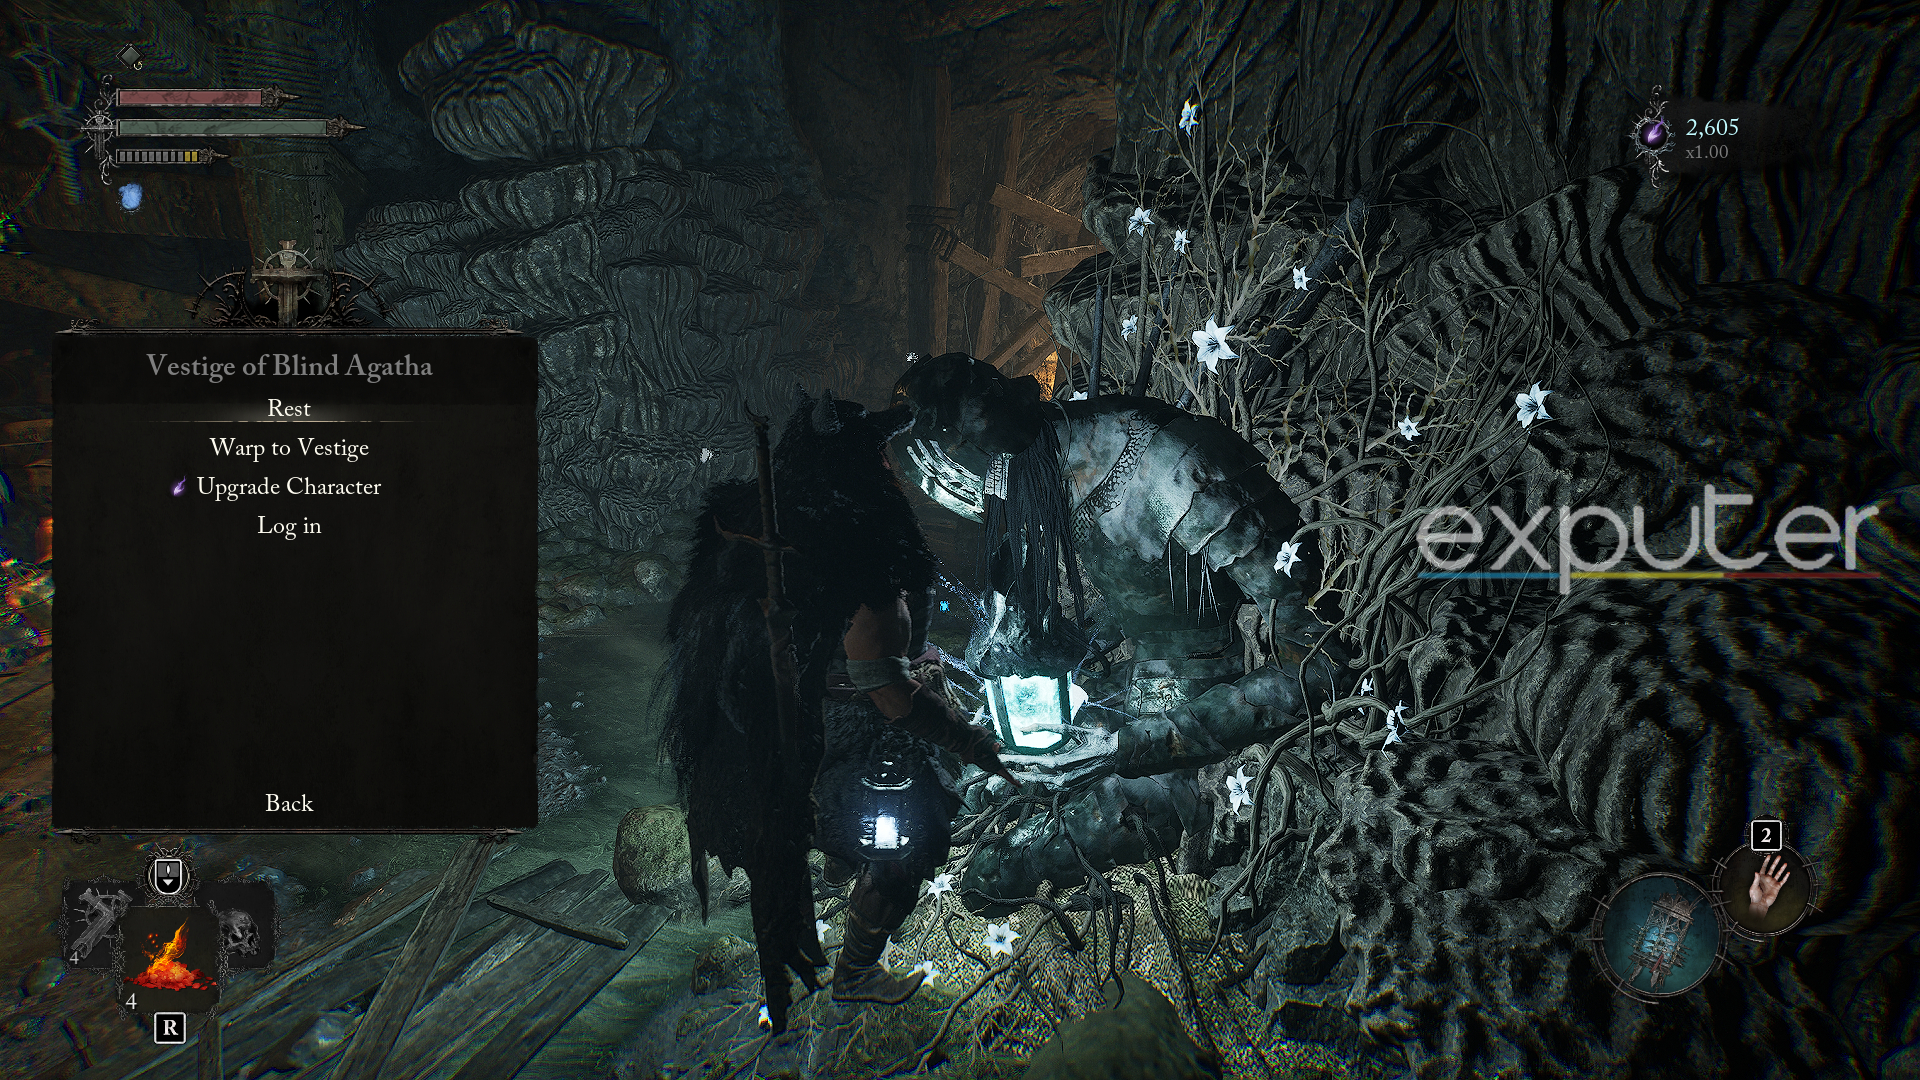
Here’s a detailed walkthrough on how to reach Blacksmith Gerlinde in Lords of the Fallen’s Pilgrim Perch:
- Starting from the Pilgrim’s Perch Bellroom Vestige, proceed through the narrow tunnel until it leads you out into the open.
- Jump onto the rotating platform on your left, then onto the following platform on your right, and proceed ahead.
- At the end of the walkway, descend the ladder and transition into the Umbral plain.
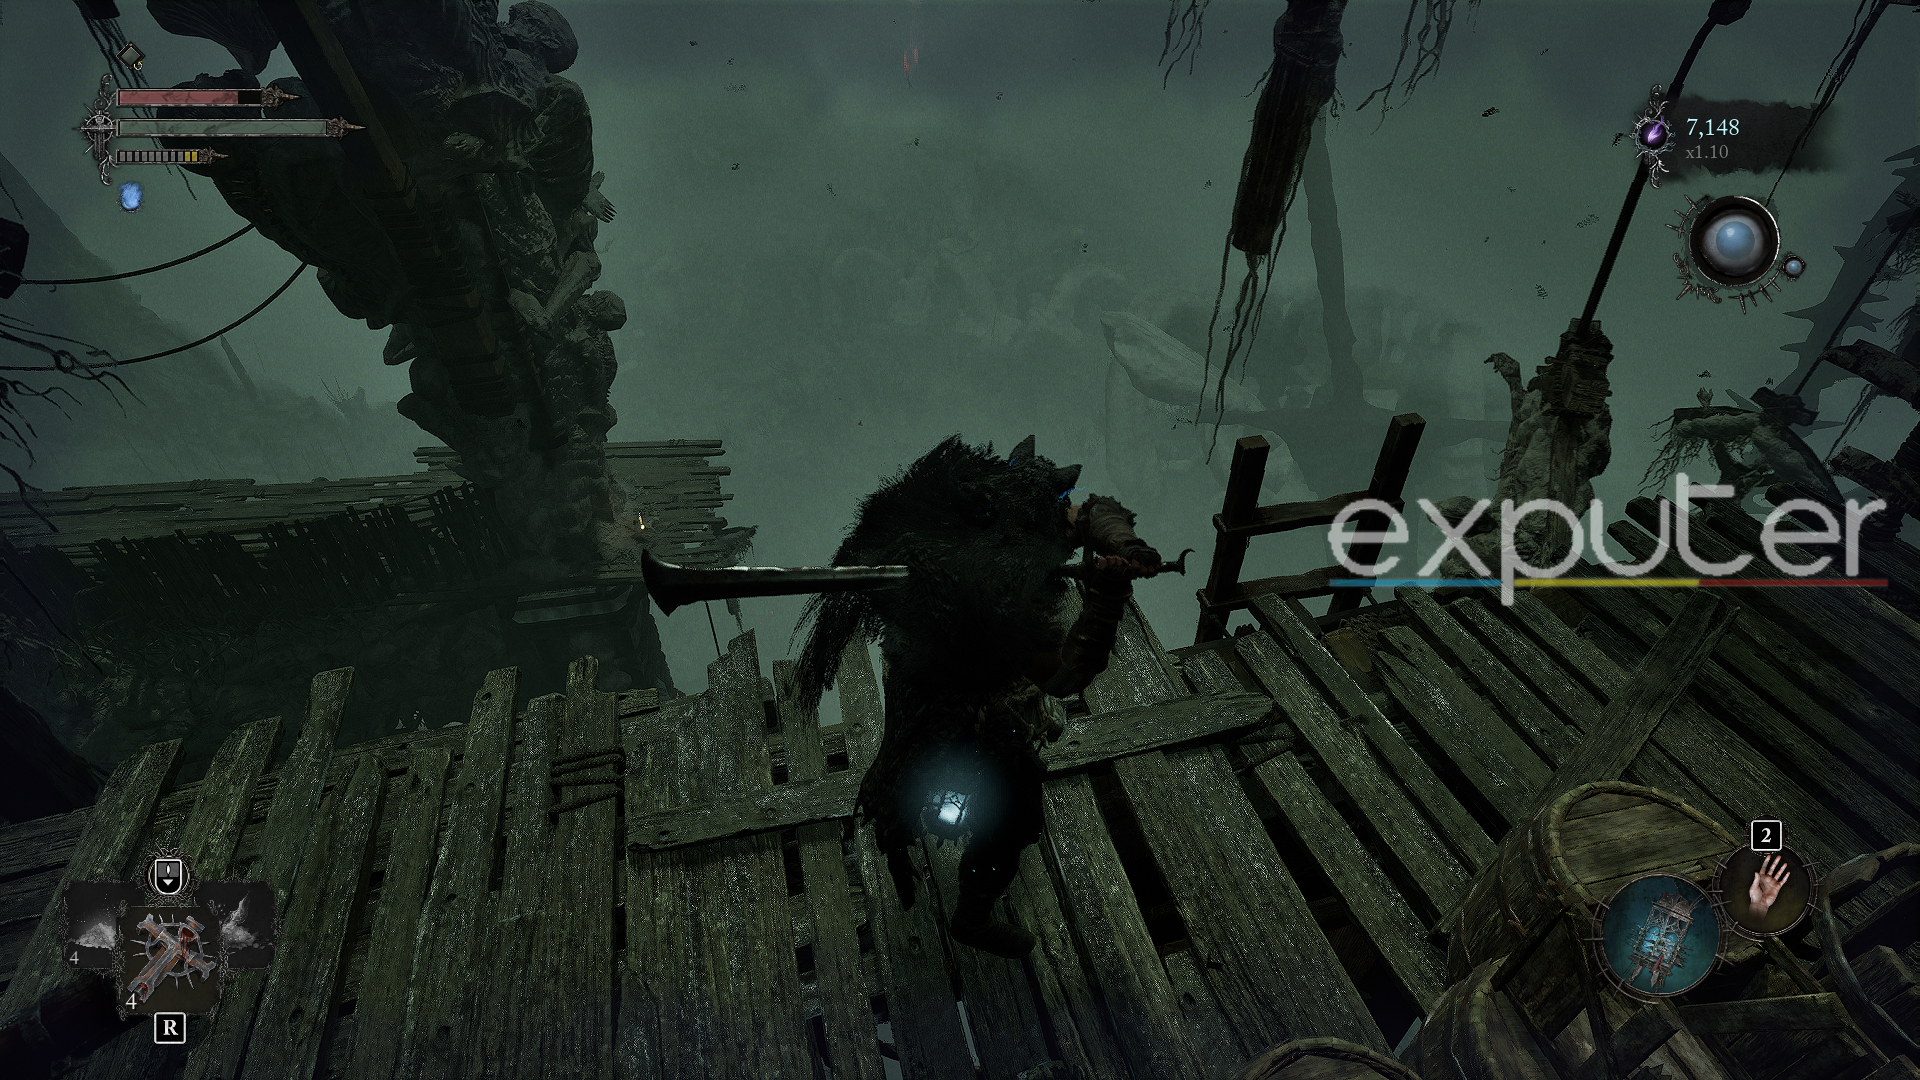
- If you have a Vestige Seed, you can place it below the ladder as a spawning point.
- Climb down the wooden ladder beside you and use your lamp to Soulflay the statue at the center to get a Bowl of Revelations and 2 Umbral Scourings.
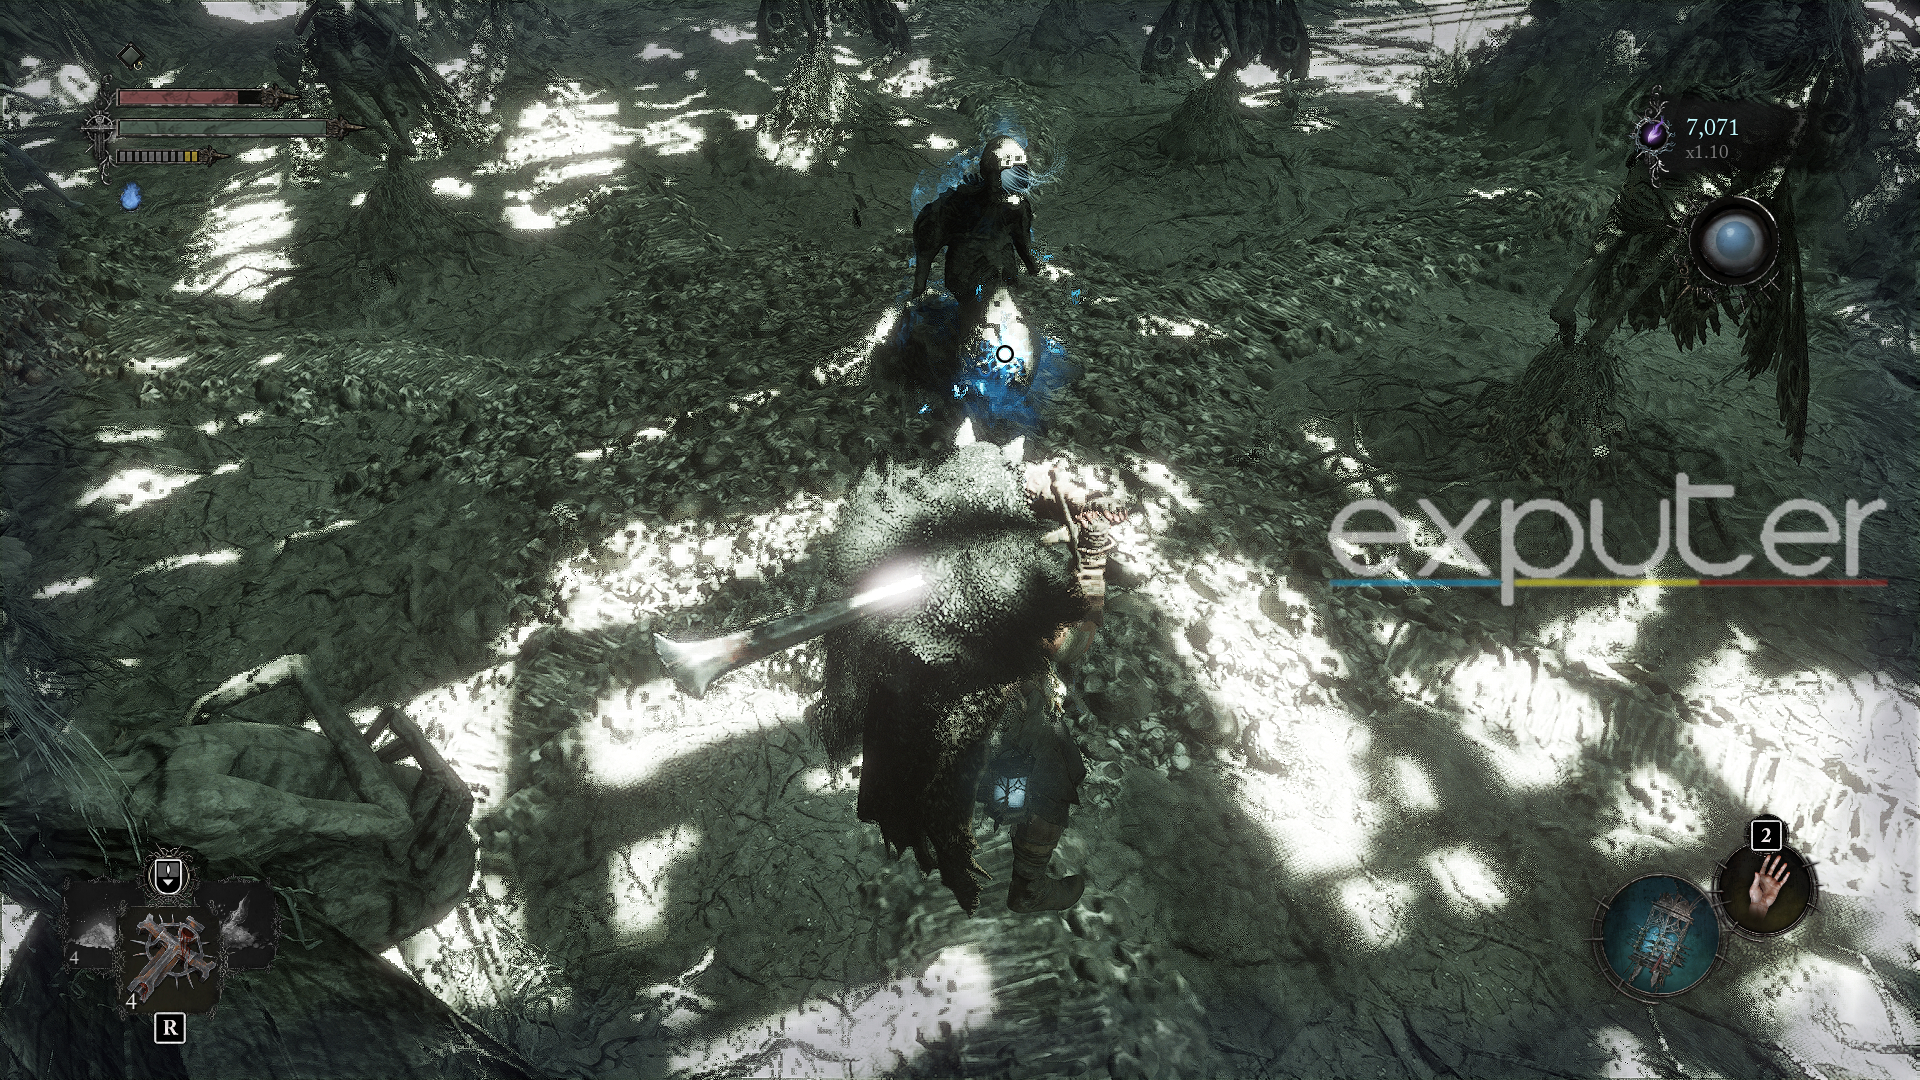
- Head up the ladder located on your northeast, climb the subsequent ladder next to it, and follow the narrow skull bridge.
- Interact with the statue in front to emerge from Umbral, and follow the straight path next to it until you reach a wooden platform past another ladder.
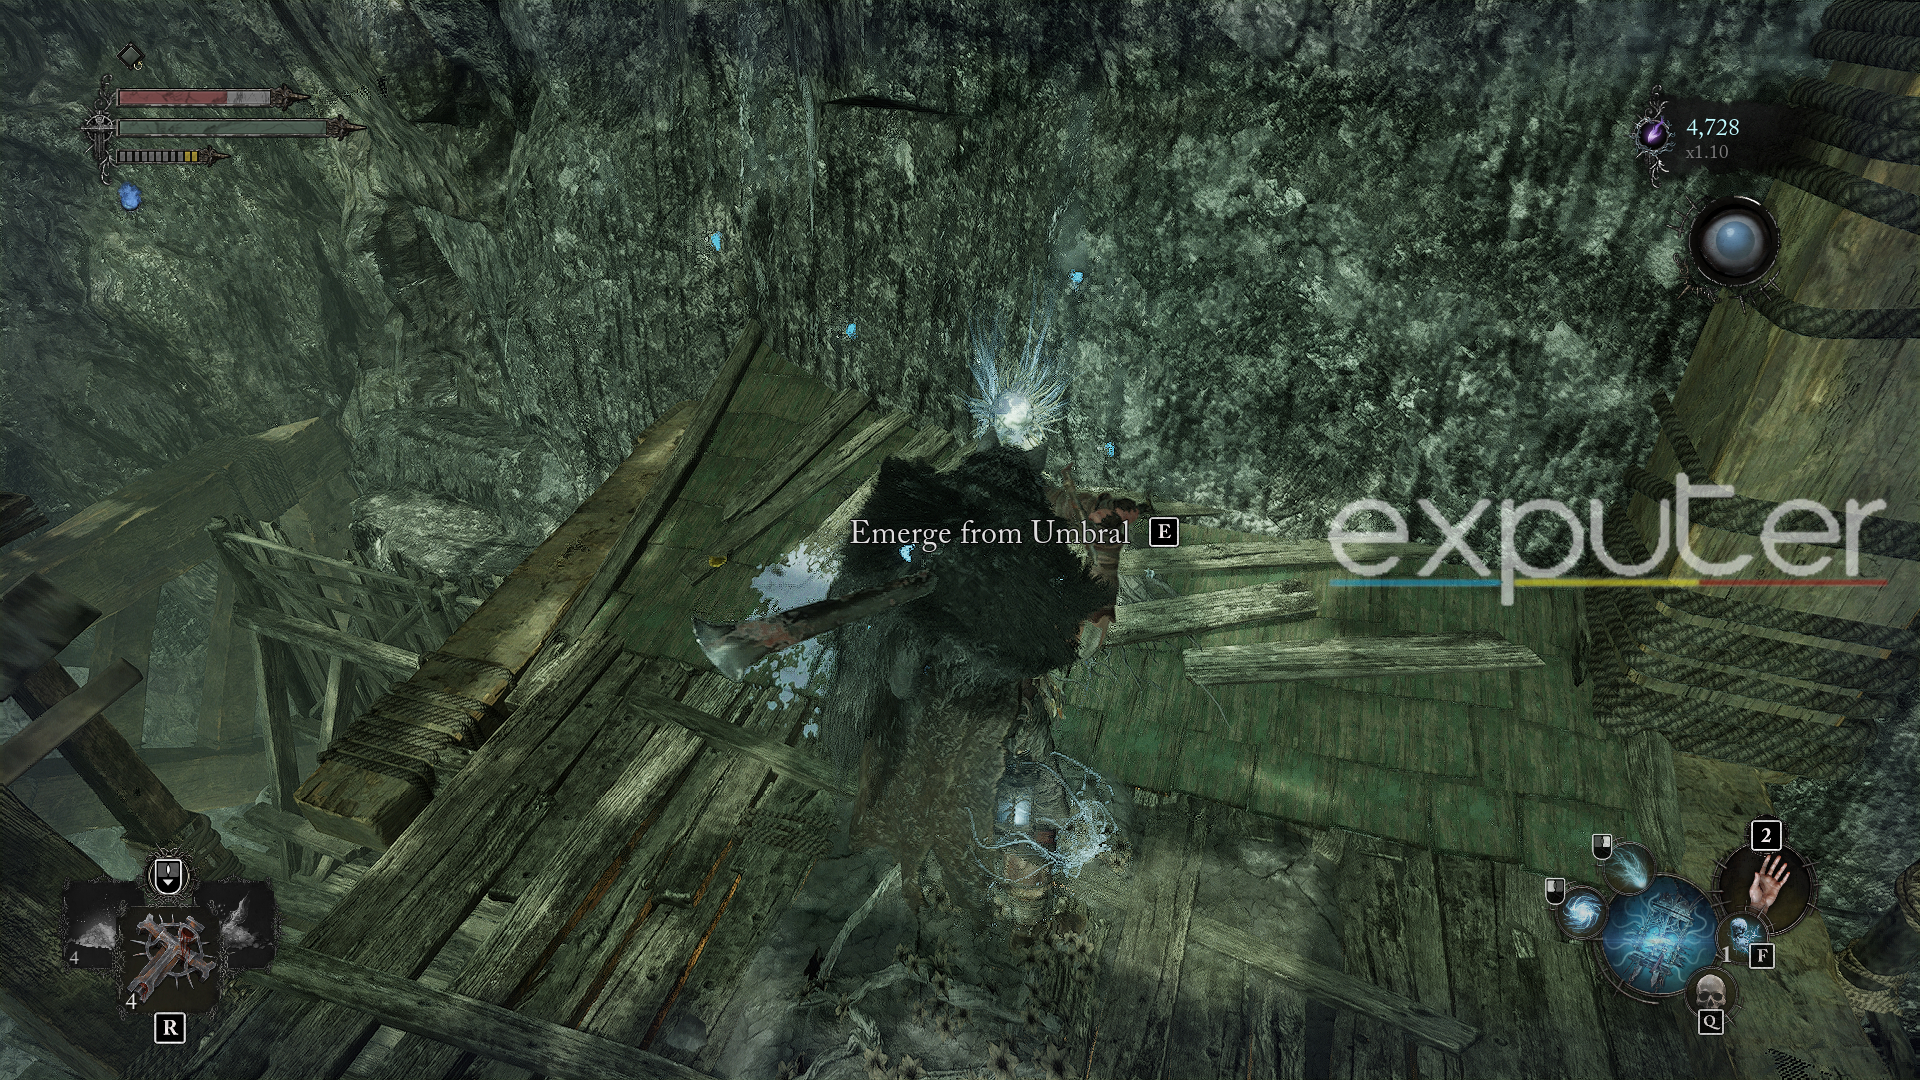
- Transition into Umbral again, and now you must Soulflay three dangling entities located in the following order:
- Above the giant eyeball on the platform.
- Near the edge of the area below the platform, which you can reach via the hidden path.
- Below the two masts near the ladder, you initially climb down to get to the platform.
- After Soulflaying all three enemies, return to the giant eyeball and Soulflay the entity attached to the wall to unlock the path forward.
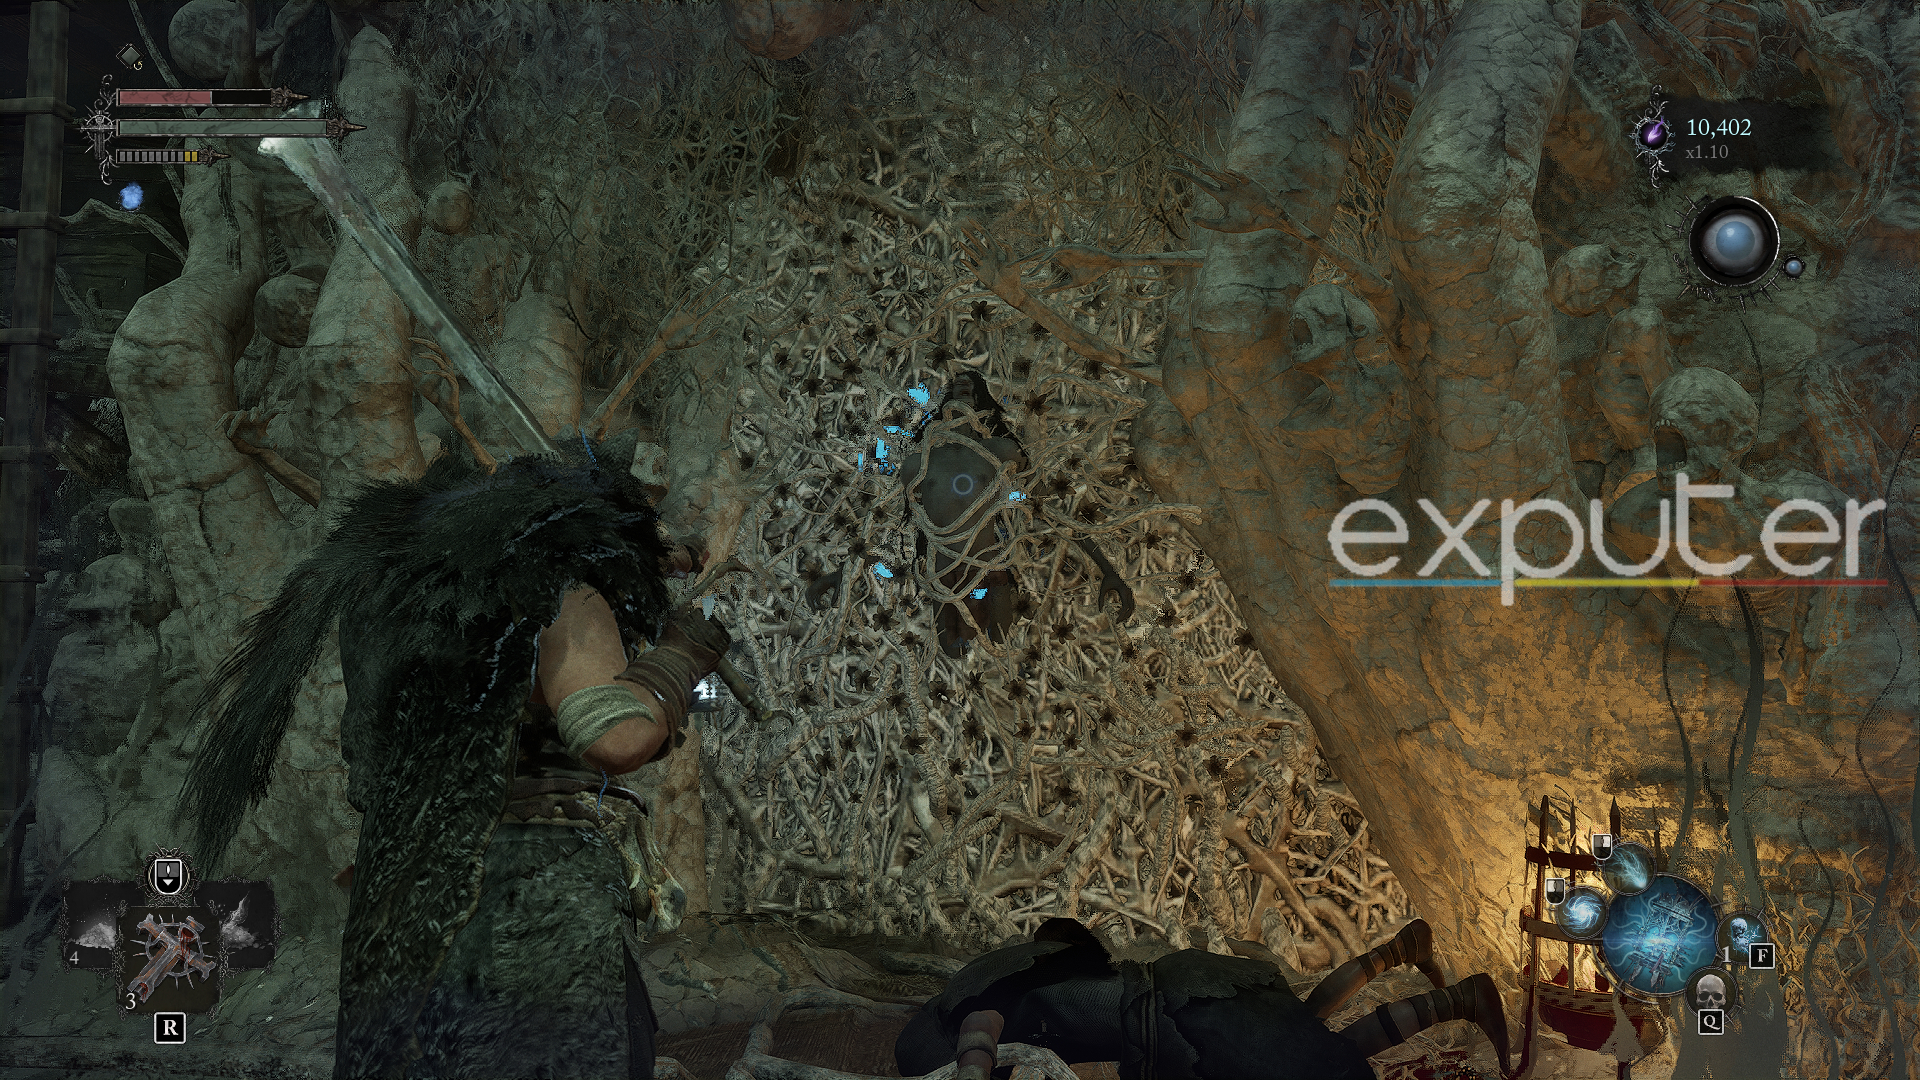
- Continue following the series of ladders and narrow pathways and drop to the bottom of the cave, and you’ll see Gerlinde locked behind a cell.
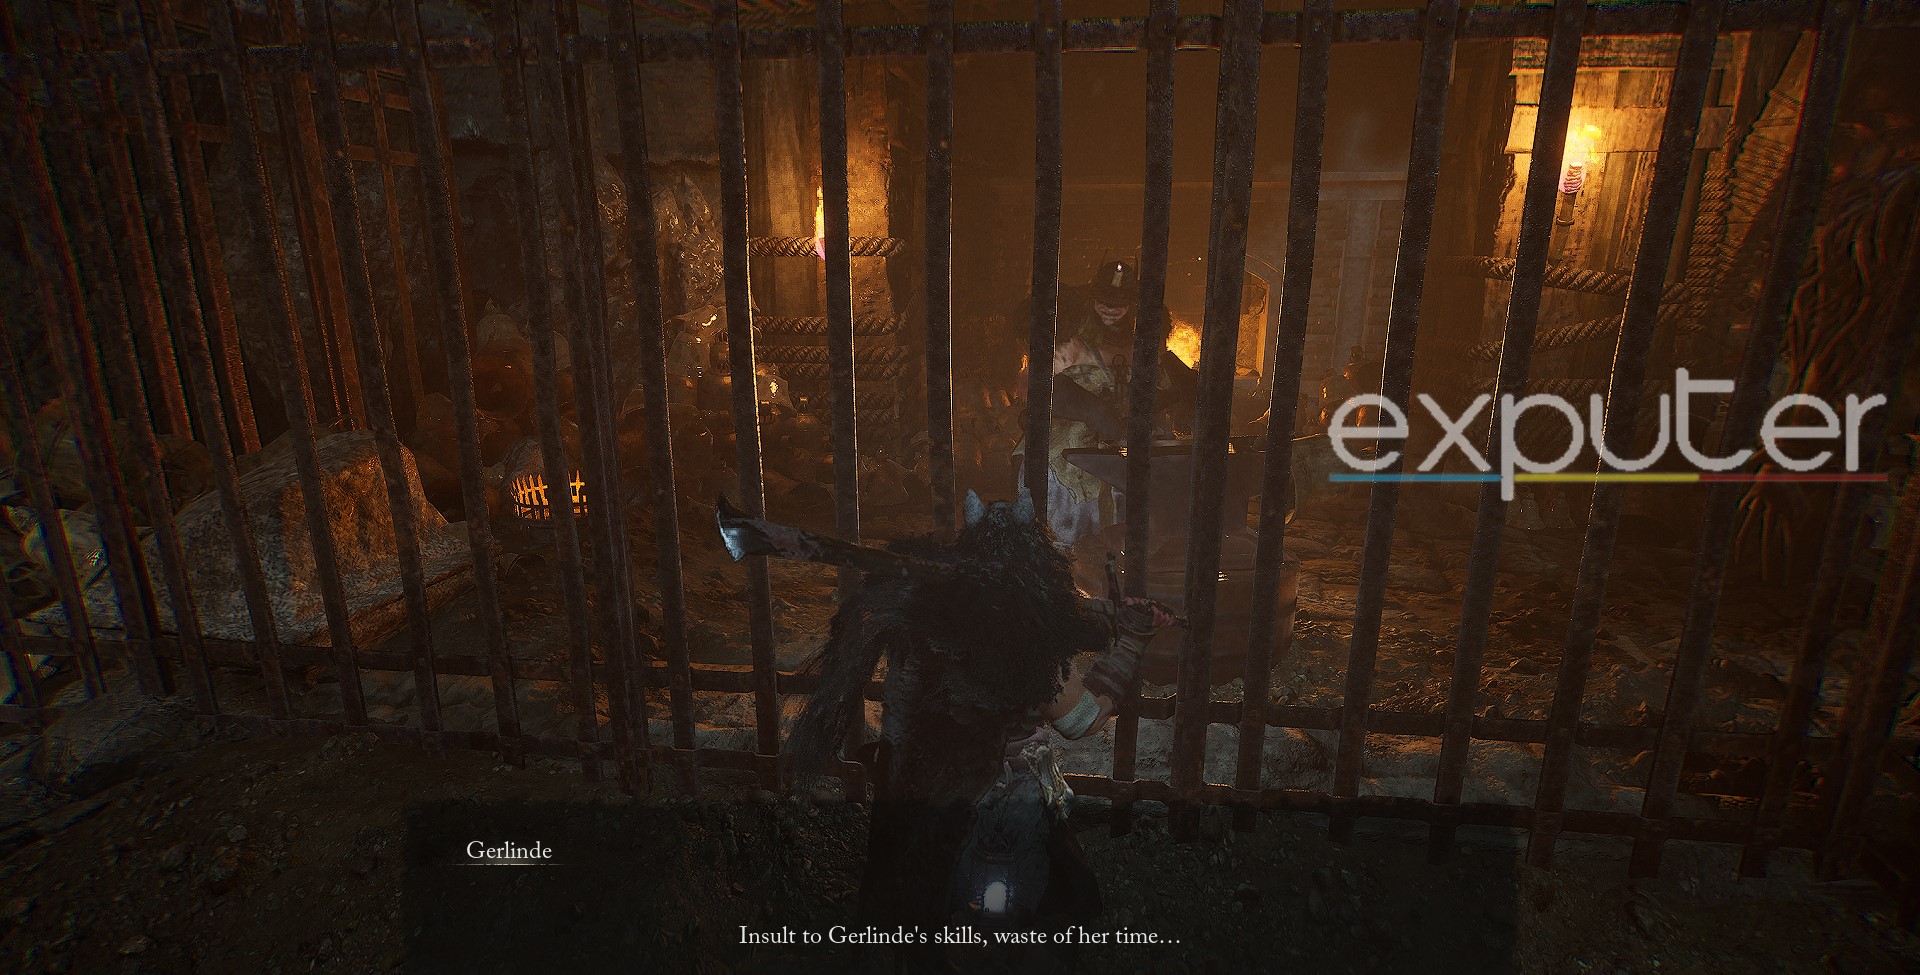
- Pick up the Prison Cell Key near her and give it to her so she can escape to Skyrest Bridge.
How To Upgrade Weapons And Shields?
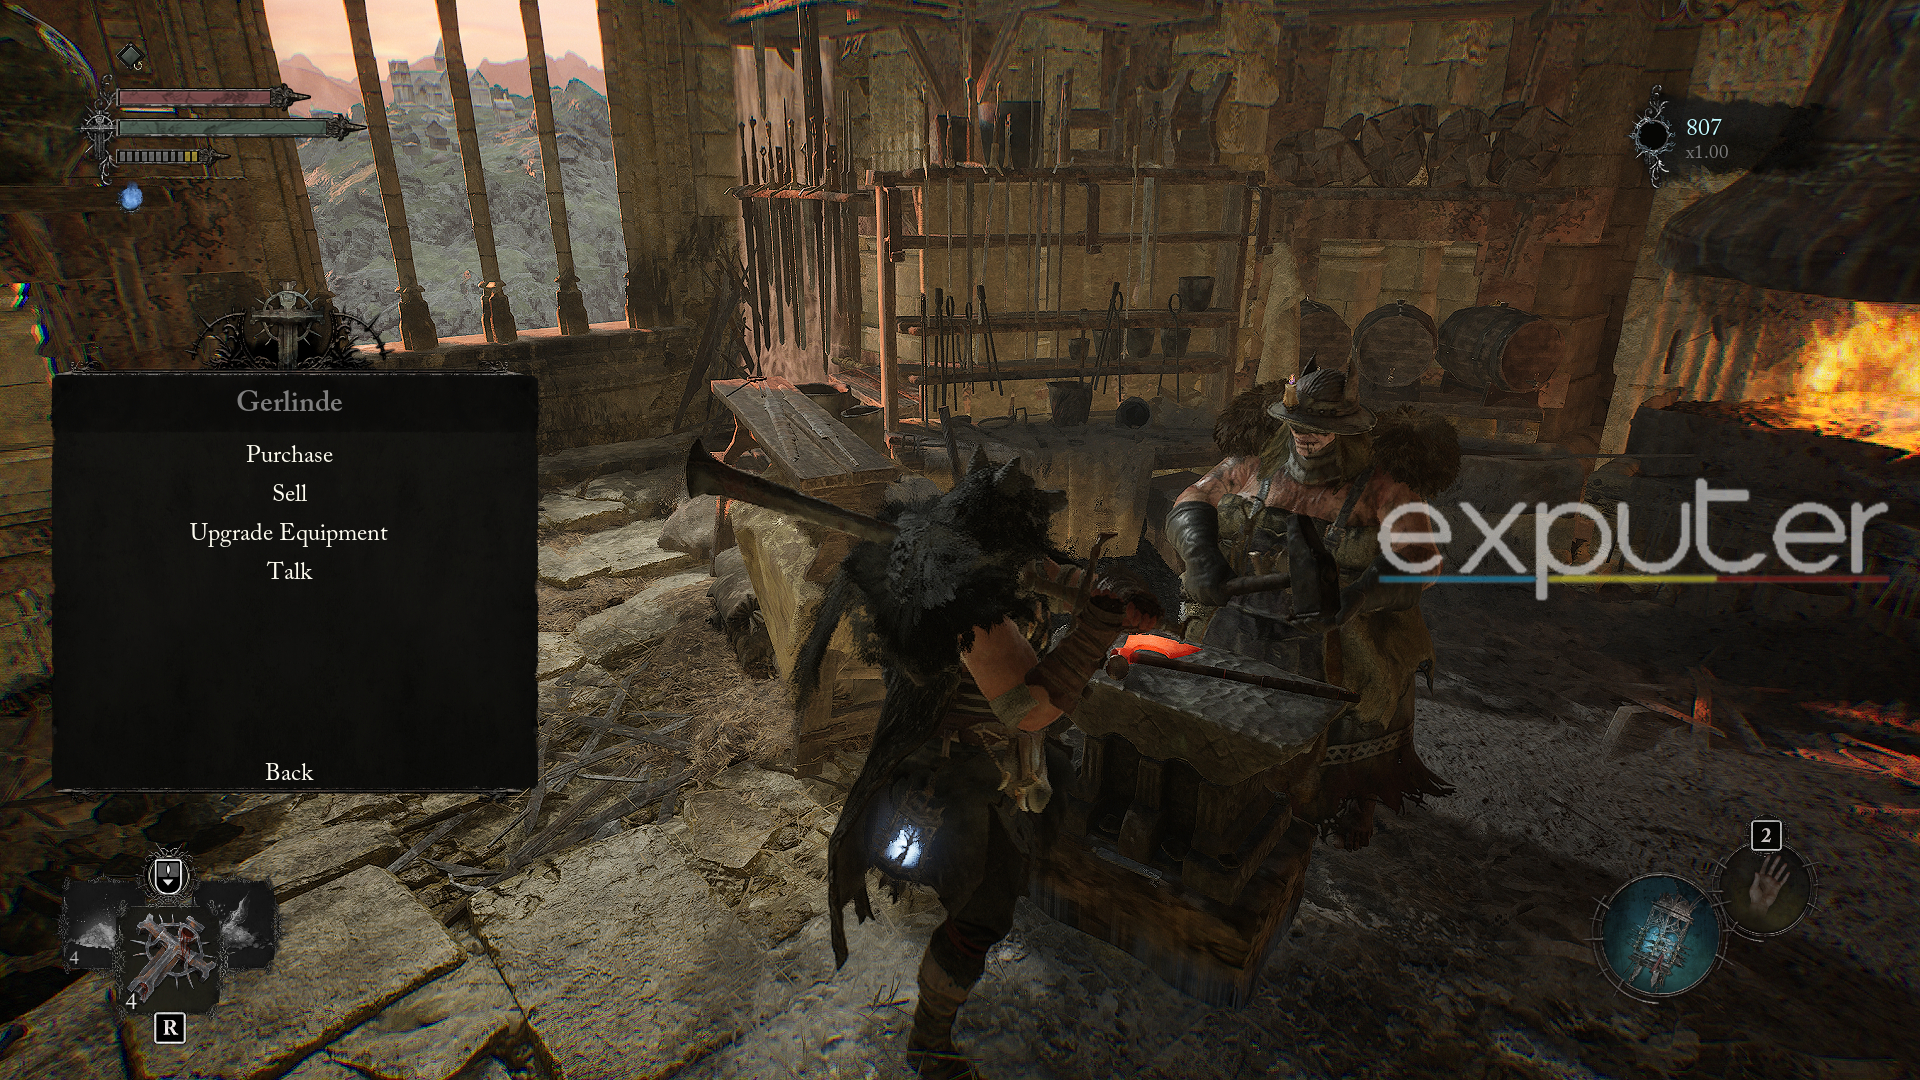
Upon teleporting to your hub area in Lords of the Fallen, you’ll find Blacksmith Gerlinde on one of the uppermost floors. After exhausting her dialogue, you can upgrade your weapons and shields at her shop. Her first few weapon upgrades will primarily cost vigor and roughly 2 Small Deralium Nuggets, but the requirements will become much more challenging as you continue upgrading.
That wraps up my brief guide on finding Blacksmith Gerlinde and bringing her to Skyrest in Lords of the Fallen. As mentioned, she’s a vital NPC that you’ll need to upgrade your favorite weapons and gear, so she’s directly tied to your in-game progression. Thus, before starting, I’d recommend visiting the following Lords of the Fallen wiki page to catch an early glimpse of what weapons you should expect to upgrade.
Be sure to read Roaim’s detailed guide on the Skyrest Bridge Key in Lords of the Fallen to unlock all the hidden secrets within the title’s hub area. For more early-game recommendations, check out the best starting classes in Lords of the Fallen, curated by eXputer’s expert writer, Irfan Ansari. Of course, if you’re struggling to collect enough vigor to upgrade your favorite weapons, here’s a guide on the best places to farm XP from Huzaifa Amjad.
Next:
- Lords of the Fallen: How To Get Plucked Eyeballs
- Lords Of The Fallen: How To Unlock All Secret Classes
- Lords of the Fallen: Best Hallowed Knight Build
- Lords of the Fallen: THE BEST Udirangr Warwolf Build
Thanks! Do share your feedback with us. ⚡
How can we make this post better? Your help would be appreciated. ✍
