The RE4 Remake’s Wandering Dead Merchant Request can be picked up after the wrecking ball section in Chapter 14, whose rewards can be traded in for obtaining exclusive items from the Merchant’s shop. However, unlike most blue requests that simply involve finding hidden targets, this one requires killing a tanky Iron Maiden. As such, you’ll need to prepare your arsenal before heading into this side challenge.
- The RE4 Remake Wandering Dead Request involves fighting an amped Iron Maiden at the Incubation Lab.
- Follow these steps, and you will complete the request in no time:
- From the Request’s location, head southeast through the gate until you reach the Merchant’s shop.
- After that, make your way to the Facility 1 Storage area located past the door opposite the Merchant.
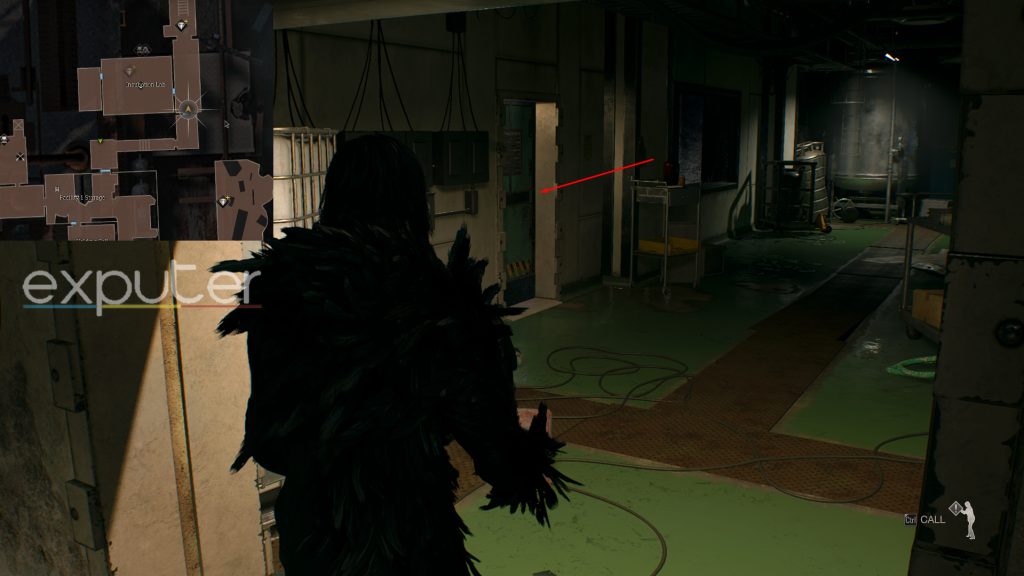
- Finally, take the first left after entering the area, follow down the narrow path, and you’ll reach the Incubation Lab.
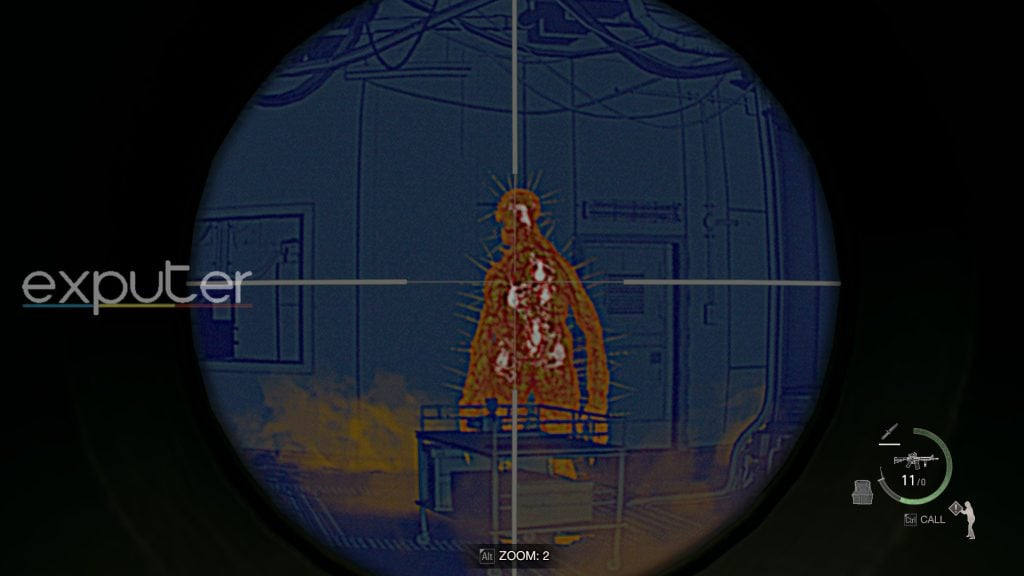
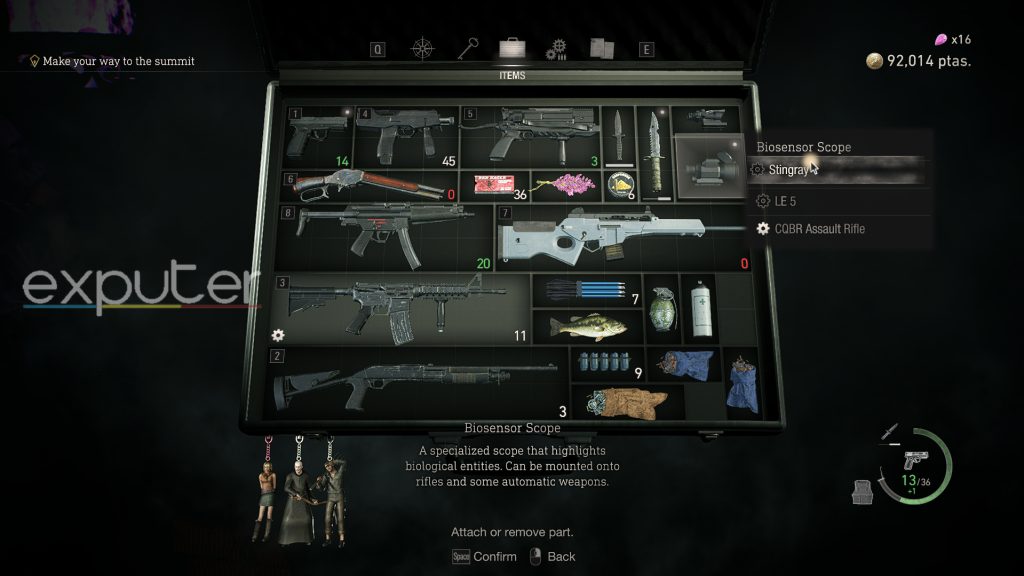
- Equip your Biosensor Scope with any compatible weapon to shoot 7 out of the 8 parasites inside the Iron Maiden.
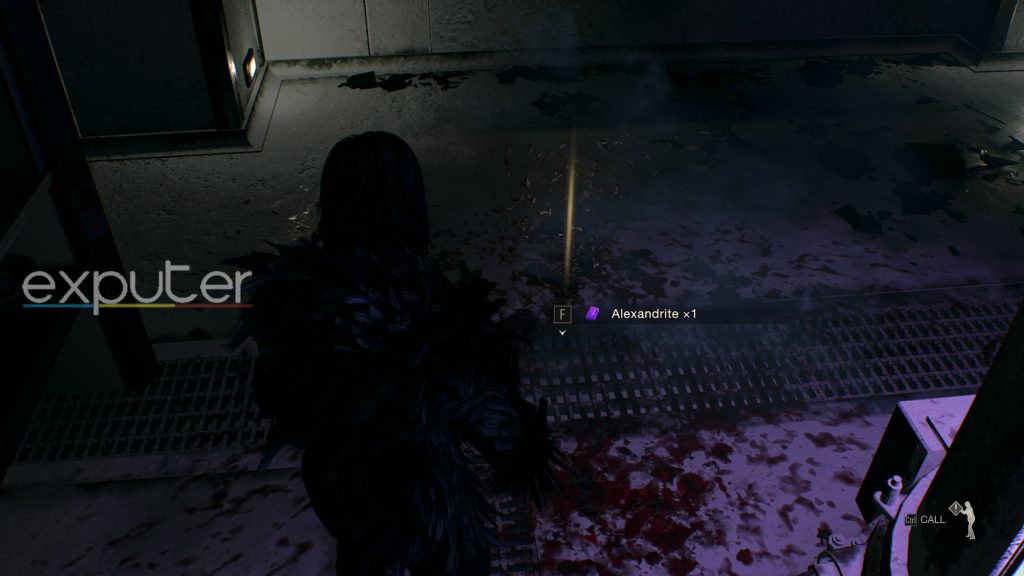
- Once you kill the monster, collect the Alexandrite dropped from it and go back to the Merchant.
- For your reward, you’ll receive 8 Spinels which can be traded in for certain items, attachments, and consumables that the Merchant has in the inventory.
How To Complete The Wandering Dead Request?
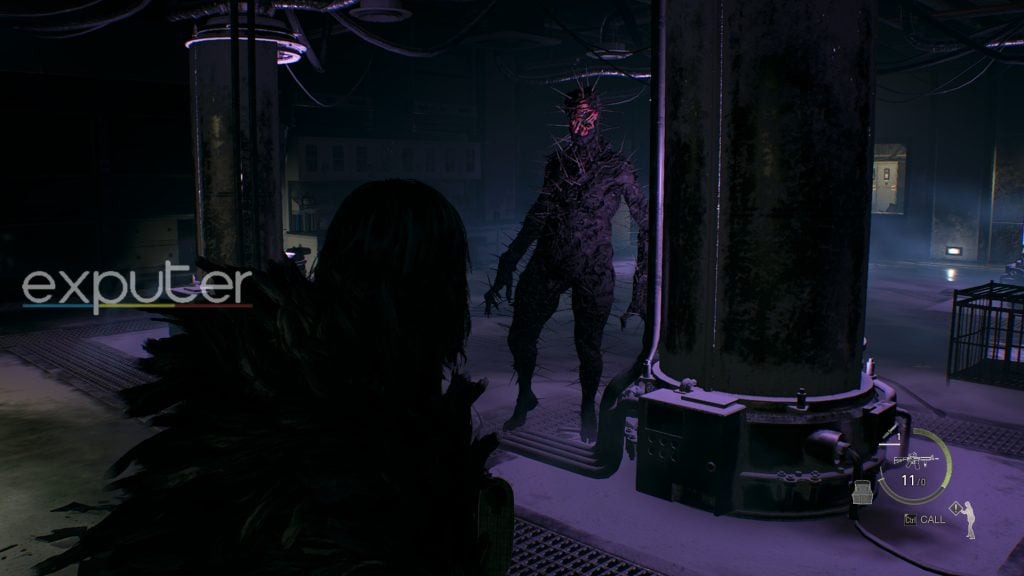
Looking at the Notice Request, you’ll quickly spot the clues of what and where your objective is. You’ll need to kill a ‘Strong Threat’ down in the Incubation Lab to receive 8 Spinels. The threat here is an Iron Maiden you’ve frequently faced in the previous chapters. However, this Iron Maiden is much stronger, faster, and tougher to take down.
Reaching The Incubation Lab
Our first objective is to go back to the Incubation Lab, where we previously fought 4 Regeneradors and several commandos and got the Level 3 Keycard.
-
- After getting the Wandering Dead Request, open the rustic blue door to your right and take the stairs down.
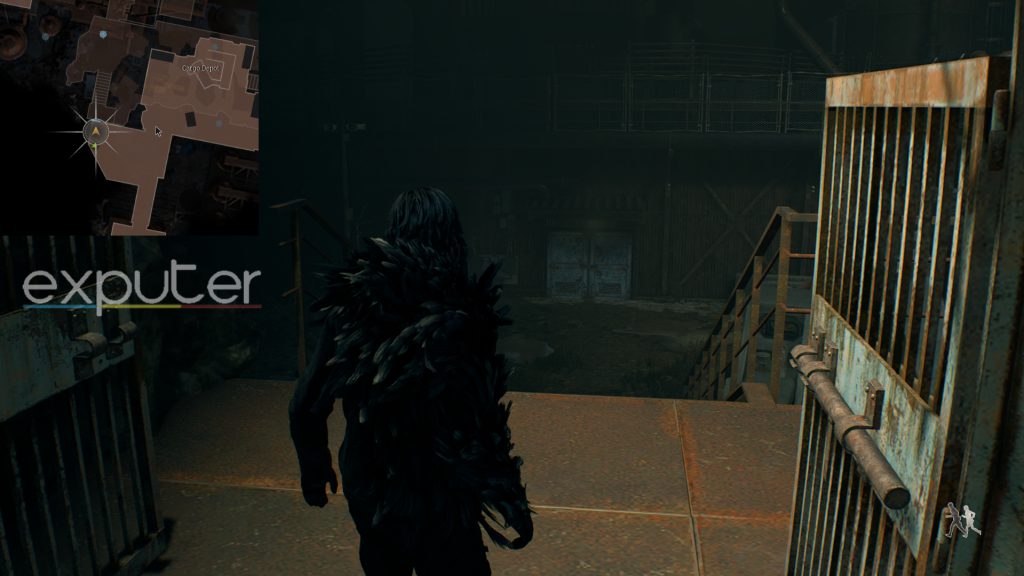
-
- Proceed straight ahead, open the metal door in front, and you’ll end up at the Merchant’s Shop along with a Typewriter to save your progress up till now.
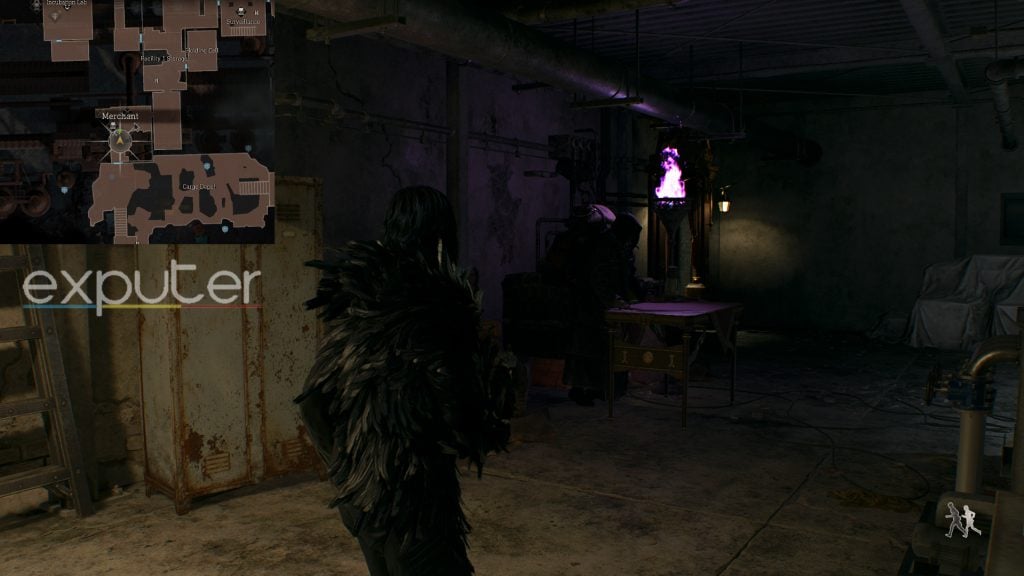
At the shop, you can now purchase or upgrade items in your inventory before your encounter with the Iron Maiden. You should ideally look to buy a Large Resource and Health items or upgrade your Rifles and/or LE 5 since those are the weapons you’ll be mainly using against the monster. You can also head down to the Shooting Range to earn a few Tokens and possibly get a rare charm for your Attache Case.
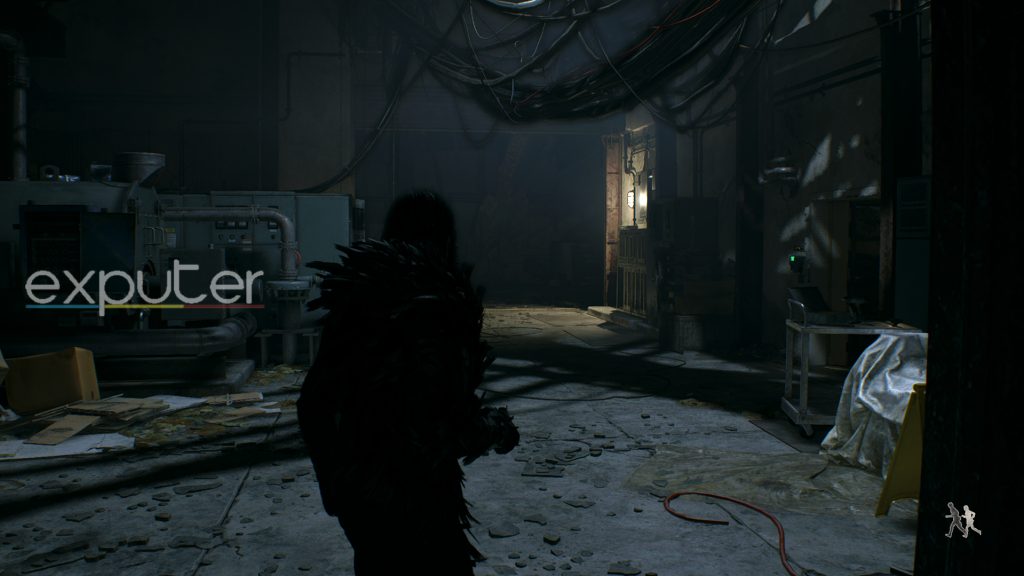
- From here, go through the door opposite the shop and follow the straight path until you reach Facility 1 Storage, where you previously rescued Ashley from Krauser.
- After reaching the Storage area, take the first left, go through the metal gate, and order Ashley to hide in the locker to keep her safe.
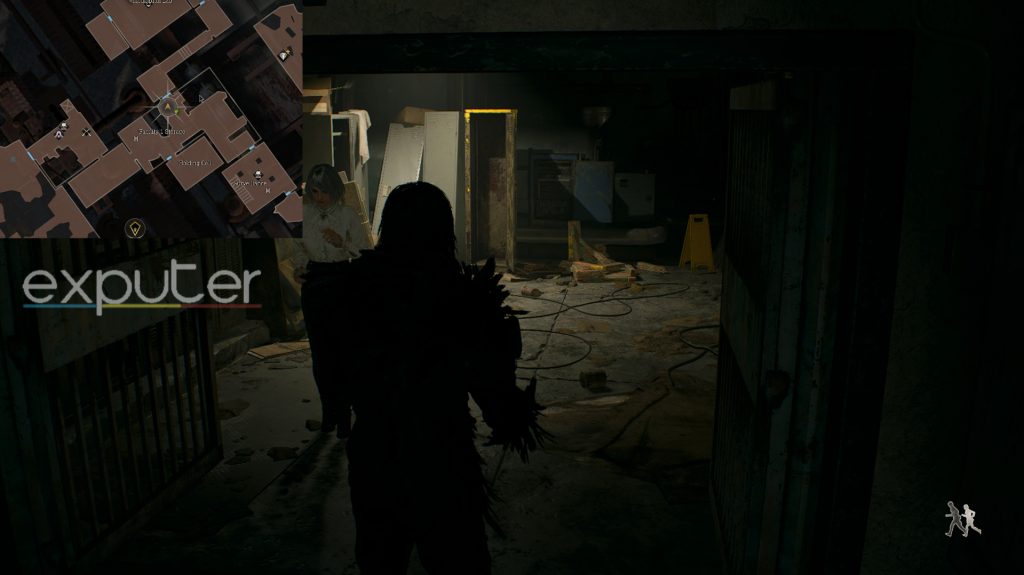
- Lastly, follow the pipelines beside you down the narrow path, and you’ll reach the Incubation Lab’s entrance to your right.
Killing The Iron Maiden
Regeneradors and Iron Maidens are invincible with a specific weakness, unlike other mobs, and this stronger variant is no exception. You’ll need to equip your Biosensor Thermal Scope with a weapon to locate and shoot 7 out of the eight parasites inside the monster. And since this is a more powerful version of an already resilient enemy type, you should follow this strategy for fighting it:
- Register your most powerful SMG and Rifle to your primary Shortcuts and use your leftover Large Resources and Gunpowder to make their ammo.
- Now, stand at the Lab’s entrance door and shoot off 1 or 2 parasites from the Iron Maiden with the Thermal Scope.
-
- Once you’ve gotten the headstart, lure the Maiden out and vault over into the Lab once the monster’s outside.

-
- Take this time to shoot off an extra limb or parasite to immobilize the target while it’s standing still.
- When the Maiden gets back into the Lab, continue using your scope to aim for the parasites.
-
- Always aim for its chest for better precision and maintain your distance, as most of the Maiden’s major attacks are at close-range.
- If your Thermal-equipped weapon runs out of ammunition, attach the scope to your next rifle or SMG in the Inventory and repeat the process.
-
- Once you knock off 7 parasites, the Maiden will start erupting and eventually explode, dropping a square-shaped Alexandrite Gemstone, which can be sold for 6000 Pesatos or inlaid into different Treasure Items.
- And with that, you’ll have successfully completed the challenge in RE4 Remake’s Wandering Dead Merchant Request.
Collecting The Reward
After killing the Iron Maiden and collecting the purple Alexandrite, call back Ashley and head over the back to the Merchant’s shop near the Facility Storage. Once you talk to the Merchant, you’ll see a screen showing the completion of the Wandering Dead, rewarding you with 8 Spinels that you can trade in for exclusive items in RE4: Remake.

That wraps up our guide on completing RE4 Remake’s Wandering Dead Merchant Request. As you approach the final boss, this small side challenge will definitely help you obtain items crucial for the endgame.
Next:
- Defeating Lord Salazar in RE4
- Best RE4 Remake weapons
- More Pest Control in RE4: Remake
- Resident Evil 4 Remake: All Bosses
- Resident Evil 4 Remake Infinite Rocket Launcher
- Resident Evil 4 Remake: How To Unlock Cat Ears
- How To Get Mendez’s False Eye In Resident Evil 4 Remake
Thanks! Do share your feedback with us. ⚡
How can we make this post better? Your help would be appreciated. ✍