Resident Evil 4 Remake has featured the Shooting Range, which comes with a whole new mechanism and reward system. The feature comes with new challenging rewards and lets you play with some of the best weapons in the game. You can find the Shooting range in various locations on the map where you can stay by and practice your combat skills.
- Shooting Range is a mini-game arena in Resident Evil 4 Remake that allows you to hit dummy targets to improve your skills and earn rewards.
- There are a total of four Shooting Ranges in the game where you can practice your skills and get Silver and Gold Tokens.
- Here are the locations:
- The first Shooting Range is in the Merchant’s Hideout in Chapter 3.
- The Second range is in the Grand Hall of the Castle, which you get access to during Chapter 9.
- You can find the third range in The Mines entrance, accessible in Chapter.
- The last Range can be found in the Facility area of the Holding Prison in Chapter 14.
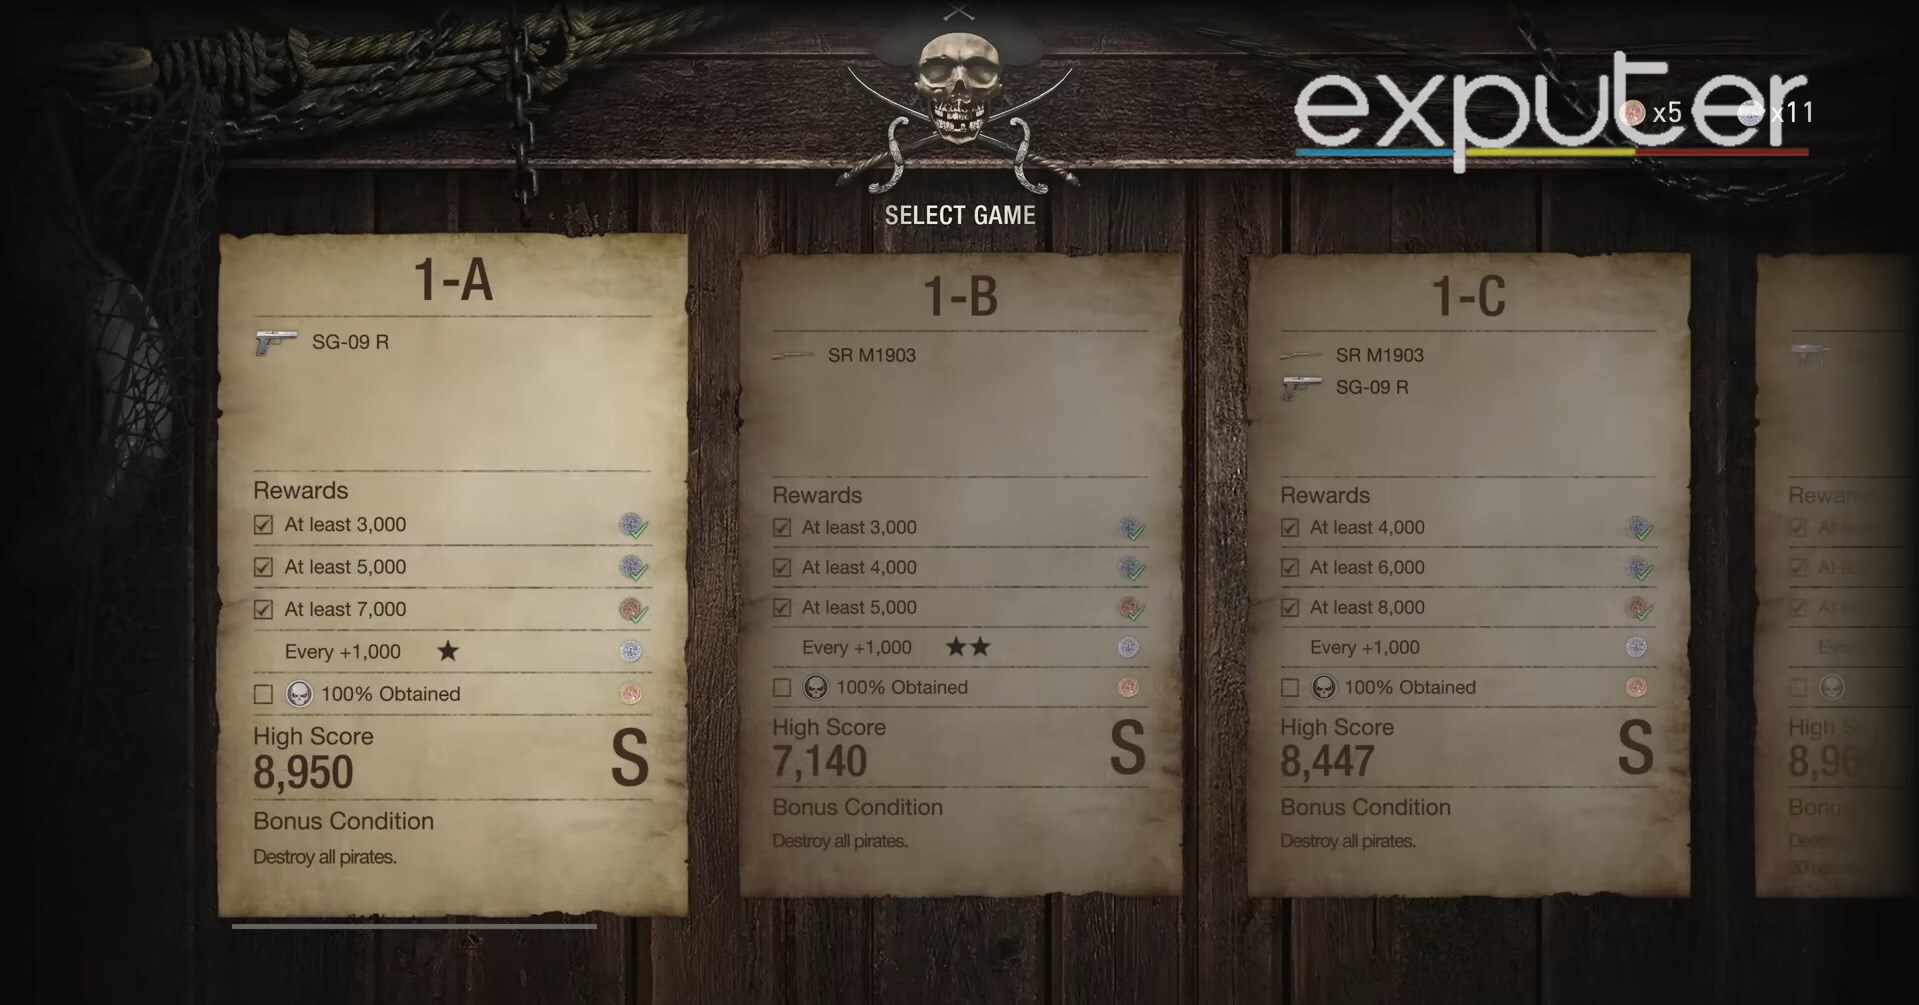
- Each Shooting Gallery offers three courses with specific weapons. You have to complete the challenge in a given time period to earn your points and tokens.
- The goal is to take down all the targets that spawn during the challenge and get extra bonus rewards by completing specific tasks.
- At the end of a challenge, you’ll be rewarded with Gold and Silver tokens, depending upon your performance. You can use these tokens in the machine to get the best RE4 Remake Charms.
Resident Evil 4 Shooting Range
Shooting Range Locations
During your story progression, you will come across different shooting ranges in various chapters. There are a total of four Shooting Ranges in RE4 Remake that offer different challenges, weapons, and rewards.
You can find these Shooting Ranges in the following locations:
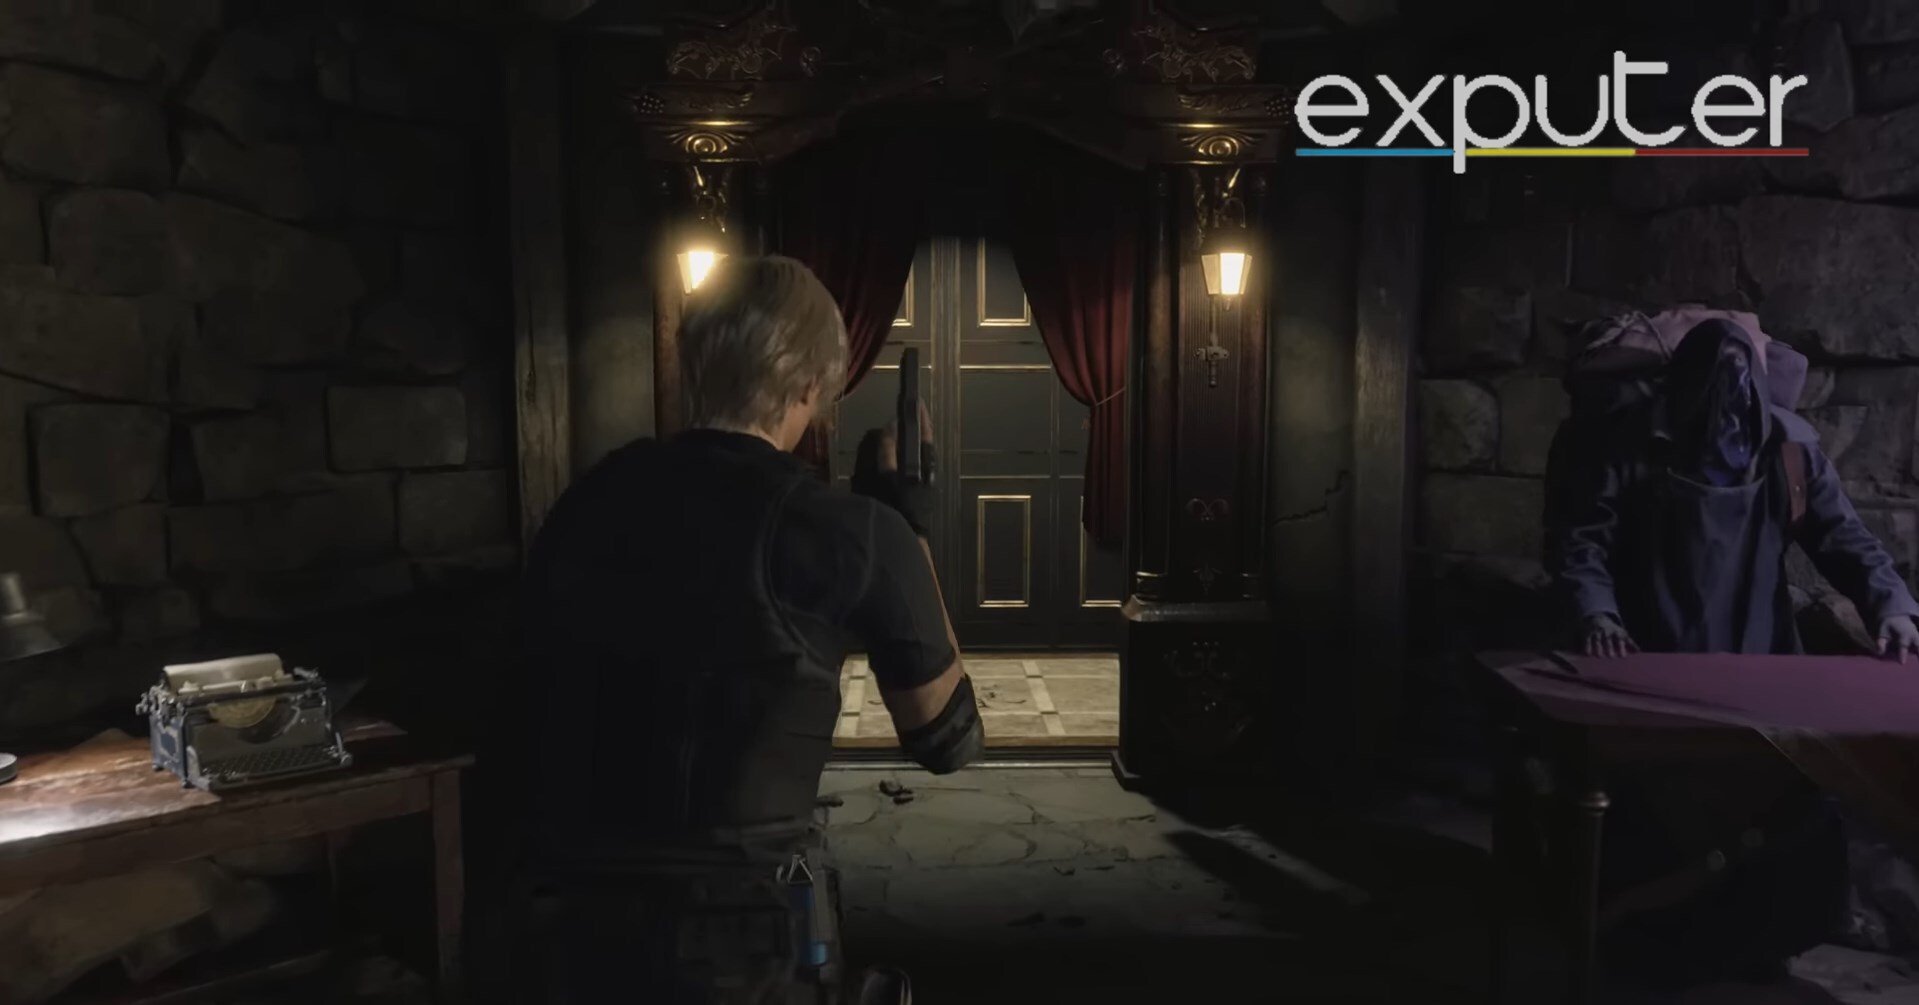
- The Merchant’s Hideout: The first range is in the Merchant’s Hideout in Chapter 3, which is located in the village region near the Quarry side.
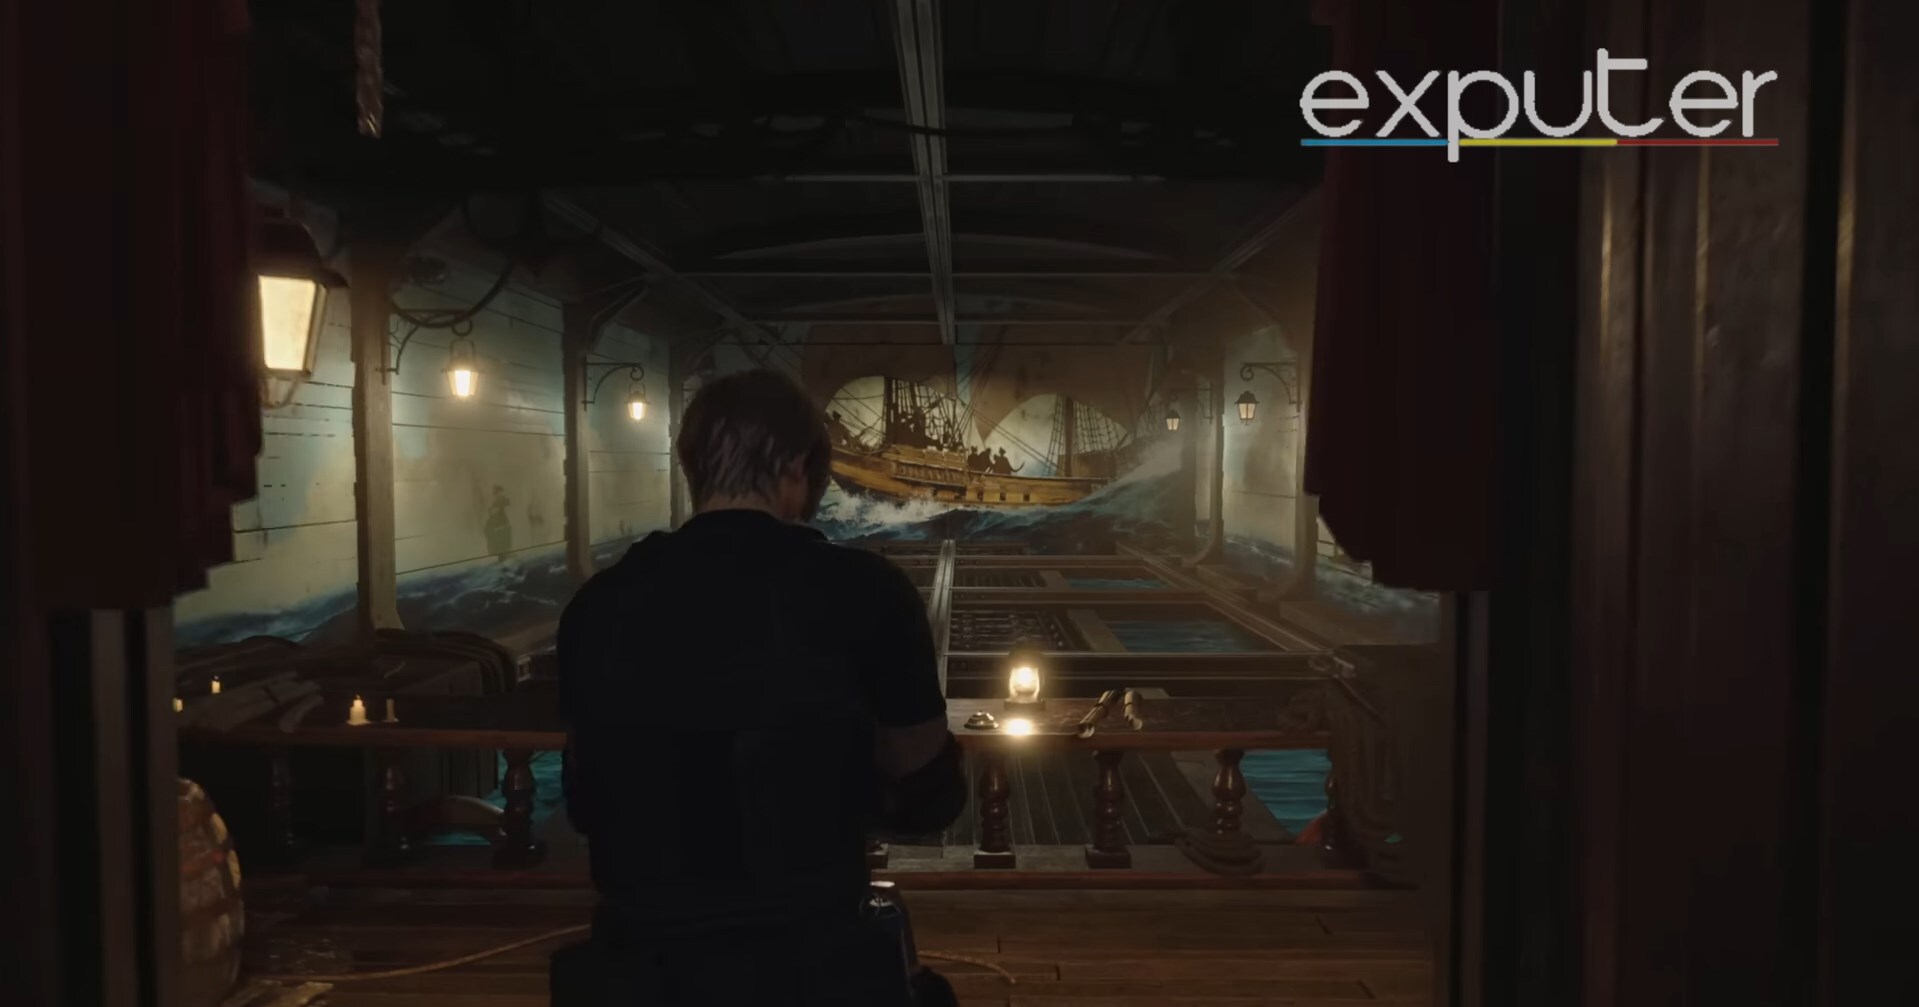
- The Grand Hall: The next Shooting Range is available in the Grand Hall of the Castle, on the Rear side of the Audience Chamber. You can access the area during Chapters 9, 10, and 12.
- The Mines: The third range is available during Chapter 11, when you come across the small entrance of the mine area just below the main castle.
- The Facility: The last range can be found in Chapter 14, in the Holding Cell of the Facility Area in The Island Region.
| Locations | Courses | Available Weapons |
| Merchant’s Hideout | 1-A, 1-B, 1-C | SG-09 R Handgun, SR M1903 Rifle |
| The Grand Hall | 2-A, 2-B, 2-C | TMP Submachine Gun, W-870 Shotgun |
| The Mines | 2-D, 2-E, 2-F | Punisher, Red9 Pistol |
| The Facility | 3-A, 3-B, 3-C | All previous weapons plus Bolt Thrower |
Shooting Range Scores
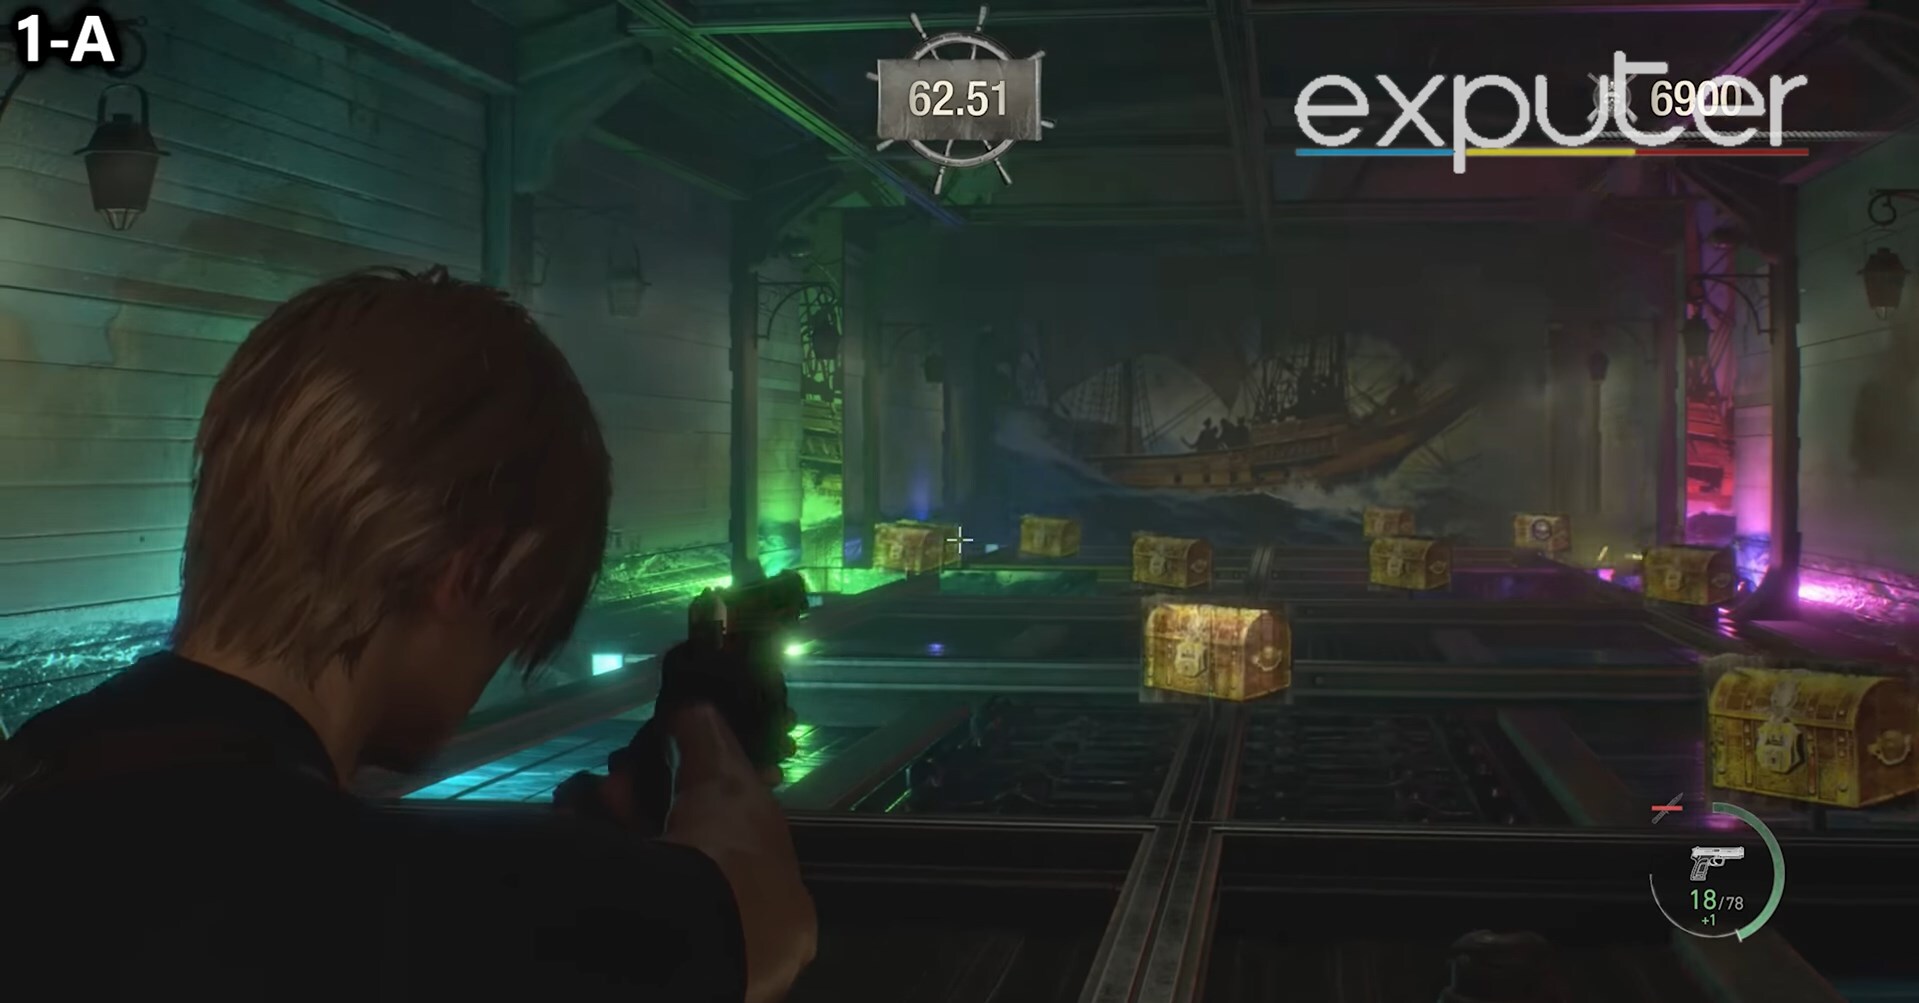
Here is the scoring mechanism for each target:
- Captain (400 points): Prioritize shooting the Captain, as it offers the highest point yield. The spinning motion adds an extra challenge, making it ideal for aim practice.
- Skull medal (300 points): Shoot dummies with a Skull Medal for an additional 300 points.
- Parrots (300 points): Target these small, distant birds to enhance long-range accuracy.
- Mob (200 points): Shoot the relatively larger Mobs either in the head or the barrel they spawn from for points.
- Hanging Pirates (200 points): Take down Pirates hanging from the ceiling for 200 points.
- Dogs (100 points): Shoot fast-moving ground-level Dogs for 100 points each.
- Treasure chests (100 points): During the bonus round, shoot spawned treasure boxes for an extra 100 points.
- Dynamite: A bonus perk that clears visible targets when shot. Dynamite appears randomly.
- Sailor (-500 points): Avoid shooting Sailors, as they deduct points. Watch out for them to maintain your score.
Shooting Gallery Achievements
| Trophy | Achievement Conditions |
| Amateur Shooter | Finish one game at the shooting range. |
| Respectable Marksman | Earn S rank in a Shooting Range course. |
| Trick Shot | Destroy 5 targets in a single shot by shooting through. |
| Perfect Game | Destroy all the targets in the game without missing your shots. |
| Real Deadeye | Earn S rank in all the 12 Shooting Range challenges. |
Shooting Gallery Rewards
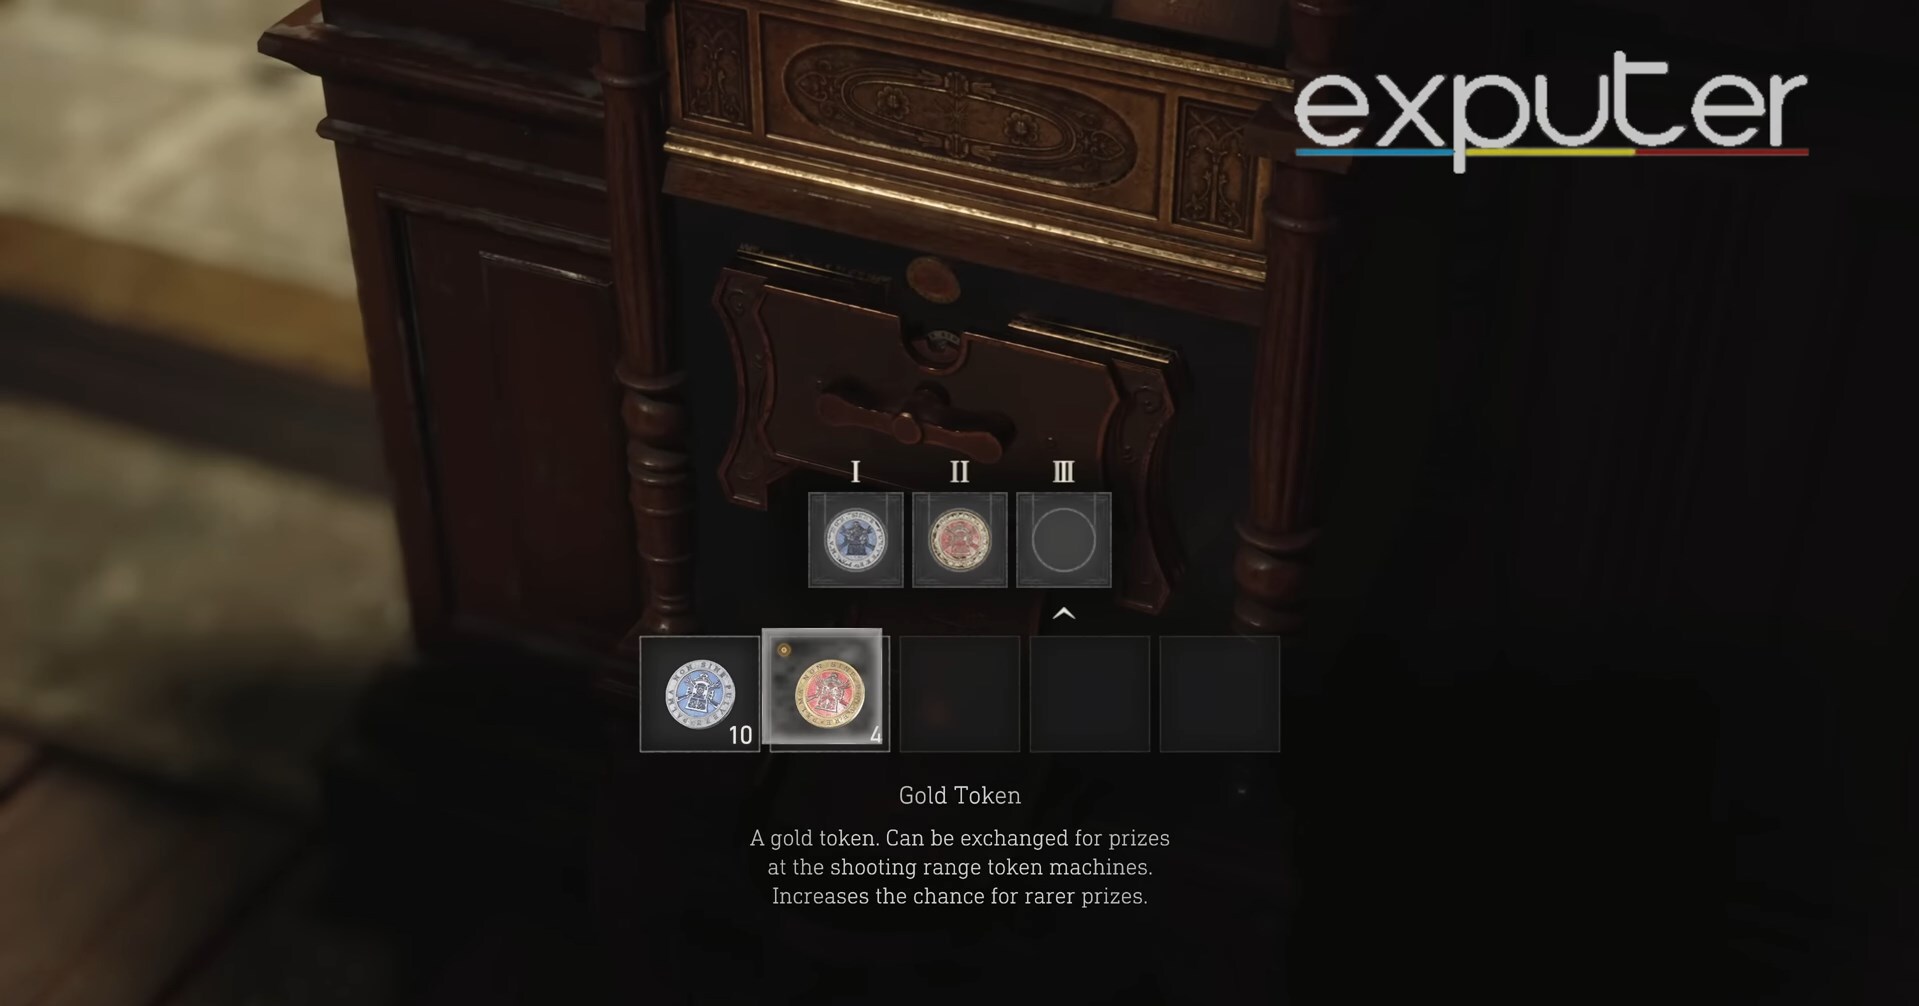
- There are different types of Charms available in the game, including increased healing, better loot drops, discounted items, etc.
- You can also sell the charms in exchange for Pesetas.
- You can use any Token combination of the Gold and Silver tokens in the machine to test out your luck.
- However, inserting more Gold tokens will reward you with better and rare Charms.
Shooting Range Tips & Tricks
Here are some general tips for achieving a high score in each of the courses:
- Improve aim and accuracy through practice, especially with different firearms for various enemies.
- Prioritize headshots for more damage and efficient elimination of opponents.
- Utilize designated reload times or the start of rounds to reload weapons, even with unlimited ammo in challenges.
- Choose shotguns for close-range targets and SMGs or Assault Rifles for distant targets in challenges.
- Maintain mobility by moving around the shooting range and approaching targets from different angles.
- Check for secondary goals in challenges to earn extra points and tokens.
- Use penetrating weapons to shoot through multiple targets, but avoid hitting non-targets, as it deducts points.
- Observe spawn and movement patterns of targets; repeating a stage allows strategic planning for more effective completion and increased token earnings.
Wrapping Up
The Shooting Range in Resident Evil 4 Remake is a fun and challenging mini-game. It is an optimal way of practicing your aim and getting used to the different types of weapons available.
Each Shooting Range offers different challenges and weapons that help you master every weapon in the game so that you can use the right weapons against sturdy monsters and fight them effectively. So, make sure to spare some time for the range to become unstoppable against your enemies.
Now that you’ve mastered your shooting skills, also learn about how you can solve the Stone Dias Puzzle and Four Slots Wall Puzzle effectively. Also, don’t forget to check out our detailed guide on Mendez’s False Eye. Lastly, I recommend you go through Resident Evil 4: How To Get Riot Gun, How To Get Matilda, and Chicago Sweeper guides to dominate your opponents with the best weapons in the game.
Next:
- Resident Evil 4 Remake How To Parry
- Resident Evil 4 Remake Vs Original Comparison
- RE4 Remake Bolt Thrower
Thanks! Do share your feedback with us. ⚡
How can we make this post better? Your help would be appreciated. ✍