Sons Of The Forest allows players to access hunting items, crafting items, weapons, and more that are deadly towards enemies and can annihilate anyone but make it a torturous journey to find the item, such as the Sons Of The Forest Crossbow. Players might need assistance figuring out how they can get their hands on it, as well as the items that are needed beforehand!
- Players need a maintenance key, shovel, and crossbow ammo to acquire the crossbow.
- The crossbow is in a cave bunker near two buggies, leading to a luxurious hideout.
- To obtain the shovel, players require a zipline and scuba gear to swim through underwater streams.
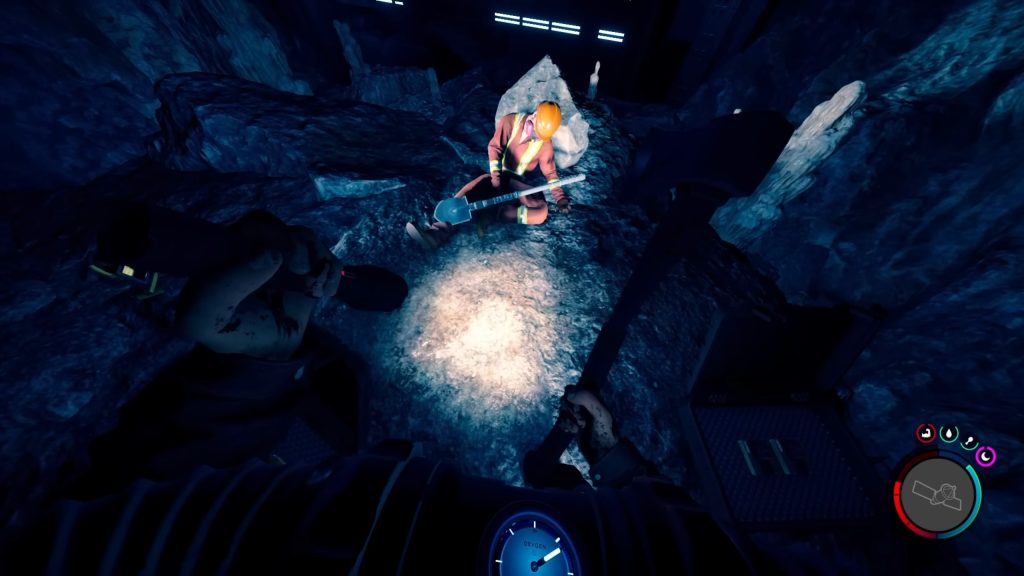
- The shovel is found near the end of the cave, placed by a deceased worker.
- The maintenance key is hidden in a bunker near a golf cart and surveyor tripod, accessible by using the shovel.
What Items Are Required To Get Crossbow?
One of the most important things that players need to keep in mind is that before they can even think of getting their hands on the precious crossbow, there are a few things that players need to get, which are crucial to getting the Sons Of The Forest Crossbow.
- One of the first items that players need is a shovel, which is needed to dig out the bunker.
- Another thing that you need is a maintenance key since there are doors present inside the bunker that absolutely cannot be opened without it.
How To Locate Crossbow
The crossbow in Sons of The Forest is essentially an end-game item that isn’t easy to obtain. Players need quite a few items before they can even get it, such as the maintenance key and the shovel. Here is a complete step by step guide:
- Obtain Necessary Items:
- To acquire the crossbow, players need specific items such as the maintenance key and shovel.
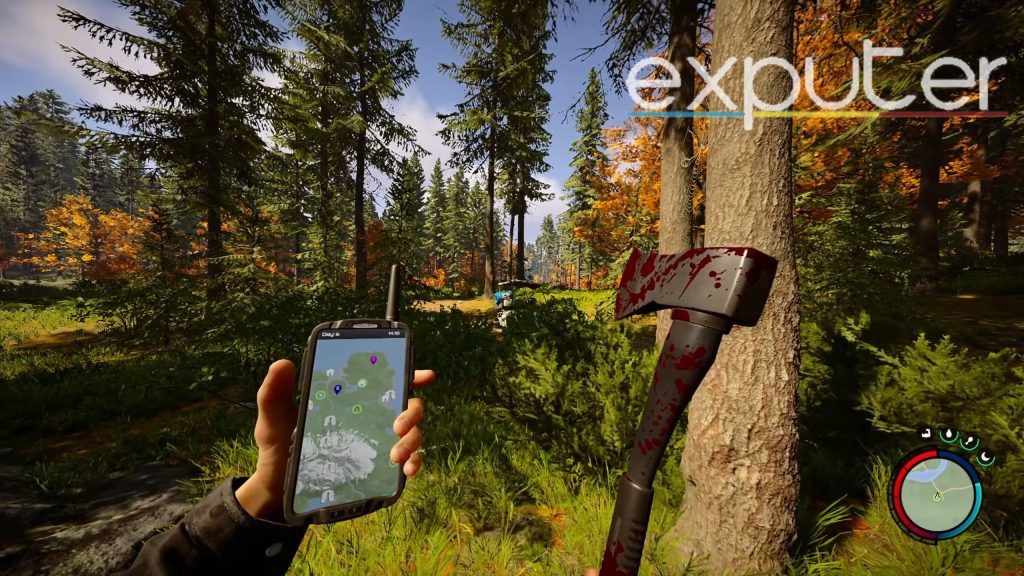
- Locate the Bunker Entrance:
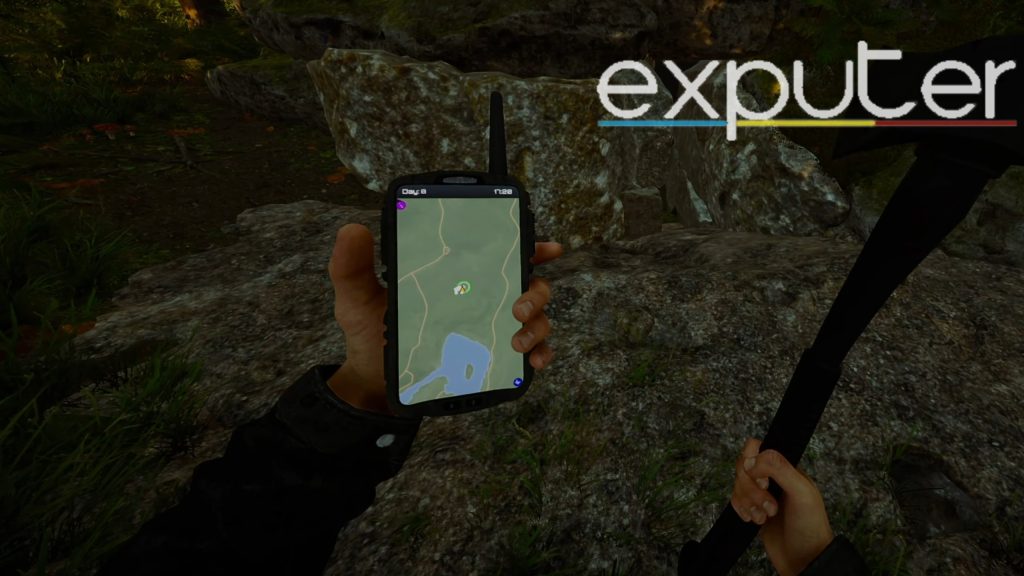
- Head to a location marked by a green circle on the map, near a visible golf cart.
- Find a surveyor tripod nearby.
- Behind the surveyor’s tripod, locate a small dirt patch marked with a shovel icon.
- Dig into the dirt to uncover a bunker containing the maintenance key.
- Find the Cave Entrance:
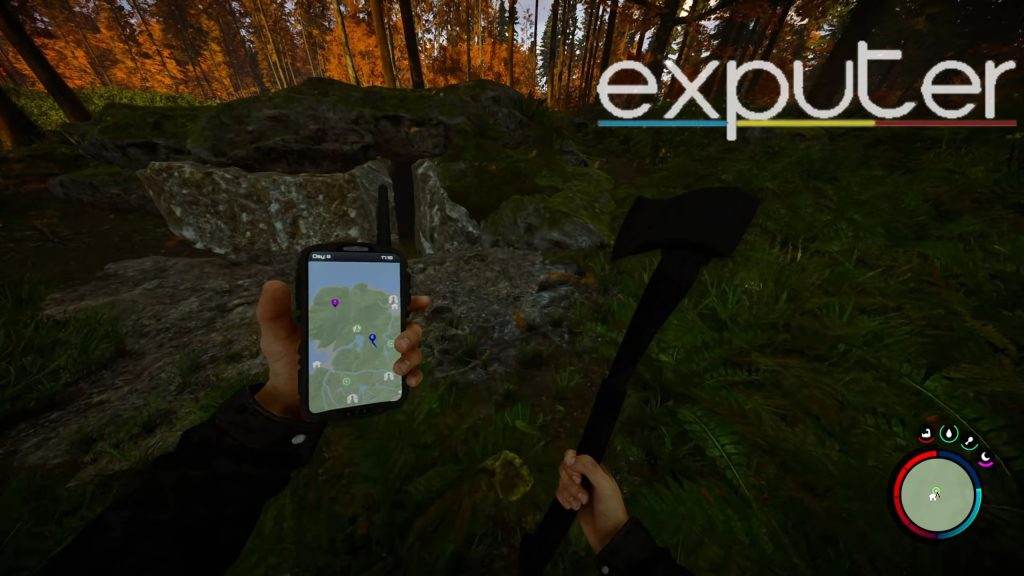
- Look for a cave with two buggies parked outside, one of which is white and parked further from the entrance.

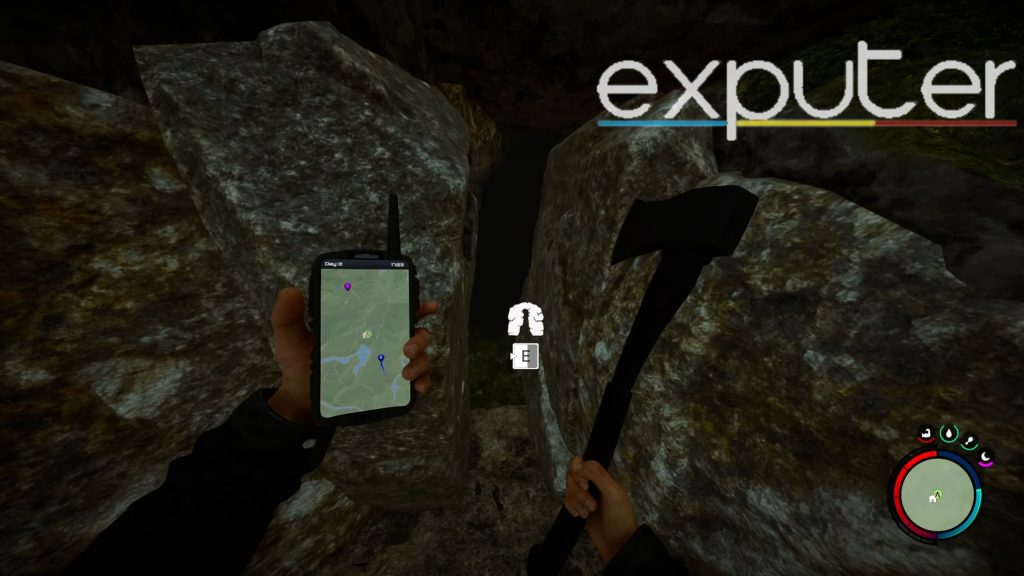
Two White Buggies (Image Credits Exputer) - The entrance to the cave is hidden between two stones; proceed carefully to avoid missing it.
Entrance Of Cave (Image Credits Exputer)
- Look for a cave with two buggies parked outside, one of which is white and parked further from the entrance.
- Enter the Cave:
- Interact with the entrance by holding down the “E” key.
Split Between Stones (Image Credits Exputer) - Navigate through the narrow passageway to enter the cave.
- Interact with the entrance by holding down the “E” key.
- Traverse the Cave:
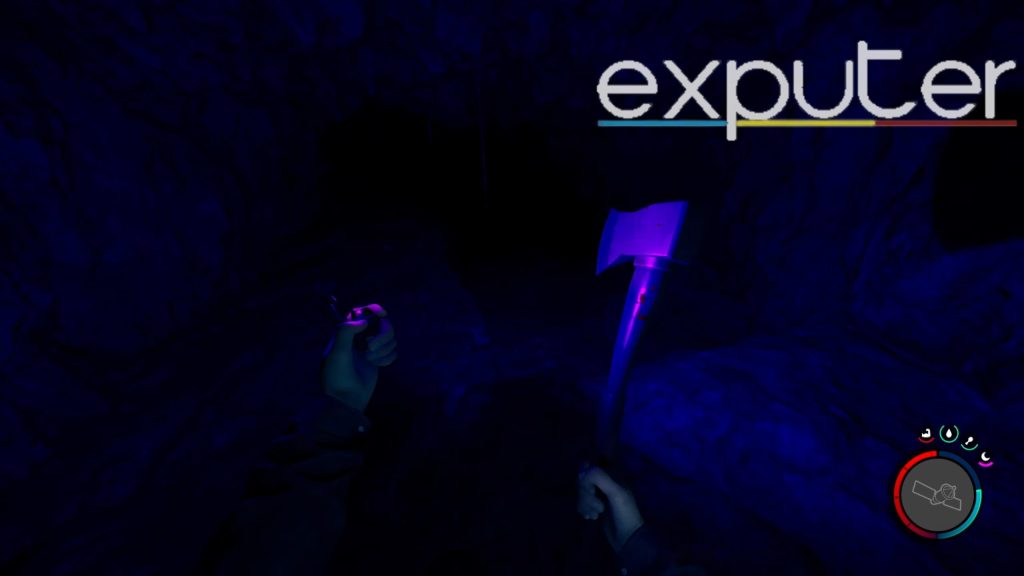
- Use a torch to illuminate the dark cave interior.
Using Torch To Traverse (Image Credits Exputer) - Descend through the narrow pathways leading down.
- Proceed towards the very end of the cave where a bunker is located.
- Use a torch to illuminate the dark cave interior.
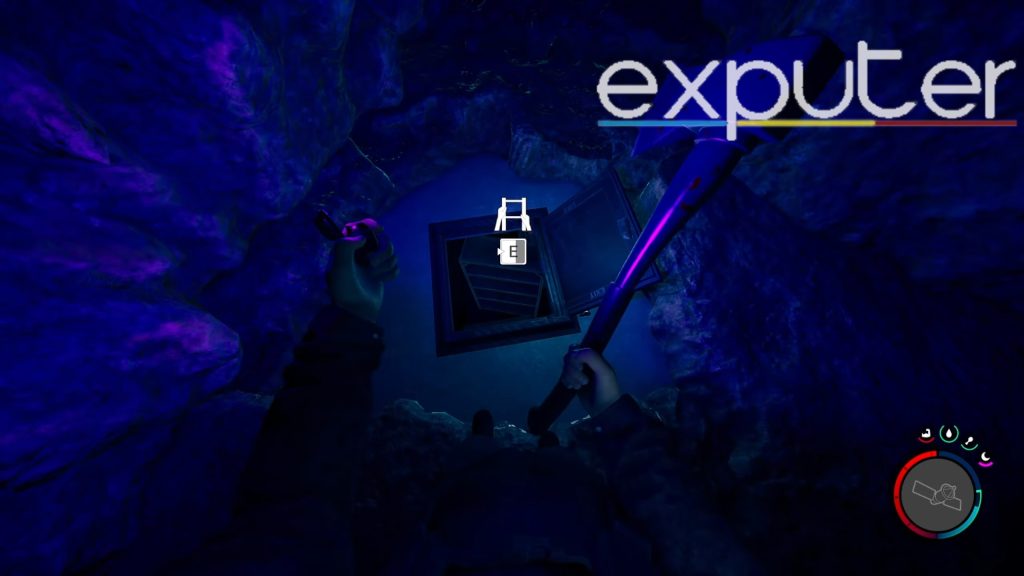
- Access the Bunker:
- Interact with the bunker entrance by pressing “E” to open it.
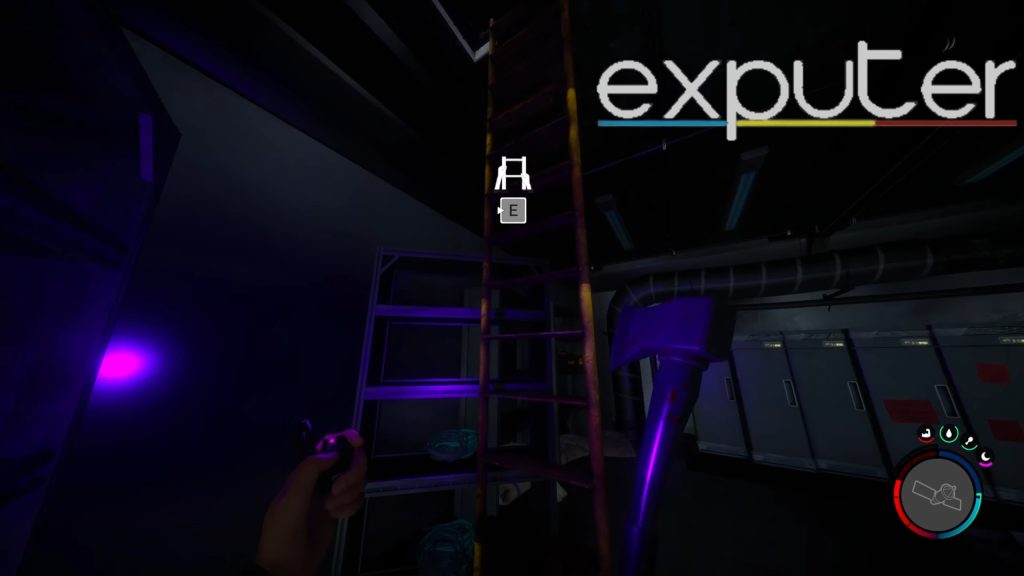
Interacting With Entrance (Image Credits Exputer) - Hold onto the yellow ladder and carefully descend into the bunker.
Yellow Ladder (Image Credits Exputer)
- Interact with the bunker entrance by pressing “E” to open it.
- Explore the Bunker:
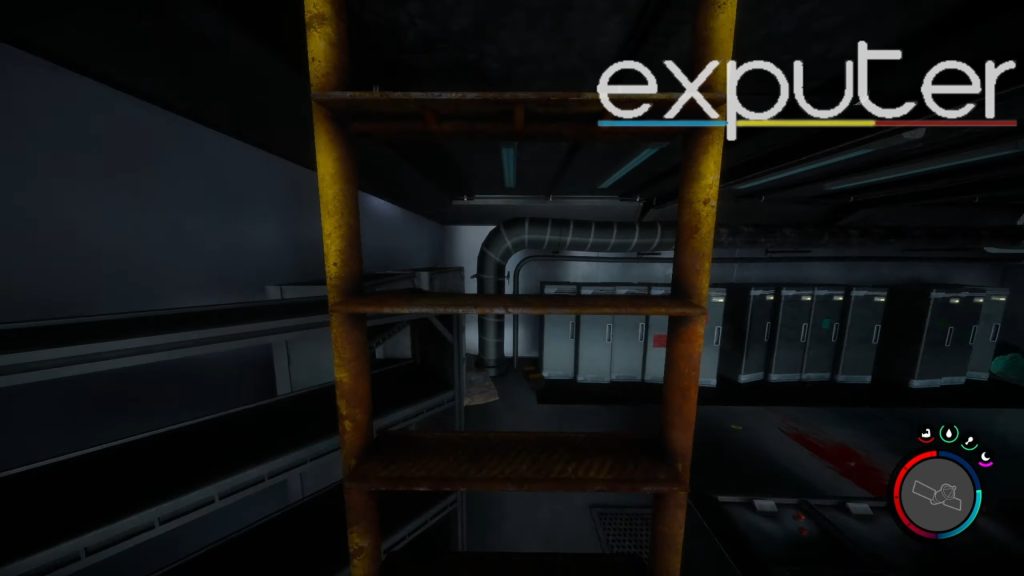
- Upon reaching the bottom, enter a massive room resembling a disaster-safe bunker.
Finding The Bunker (Image Credits Exputer) - Navigate through the room and head towards the door with a small icon on the right side.
Bookshelves With Ladder (Image Credits Exputer) - Use the maintenance key to unlock the door and access the plant room beyond.
Door With Maintenance Key (Image Credits Exputer)
- Upon reaching the bottom, enter a massive room resembling a disaster-safe bunker.
- Discover the Crossbow:
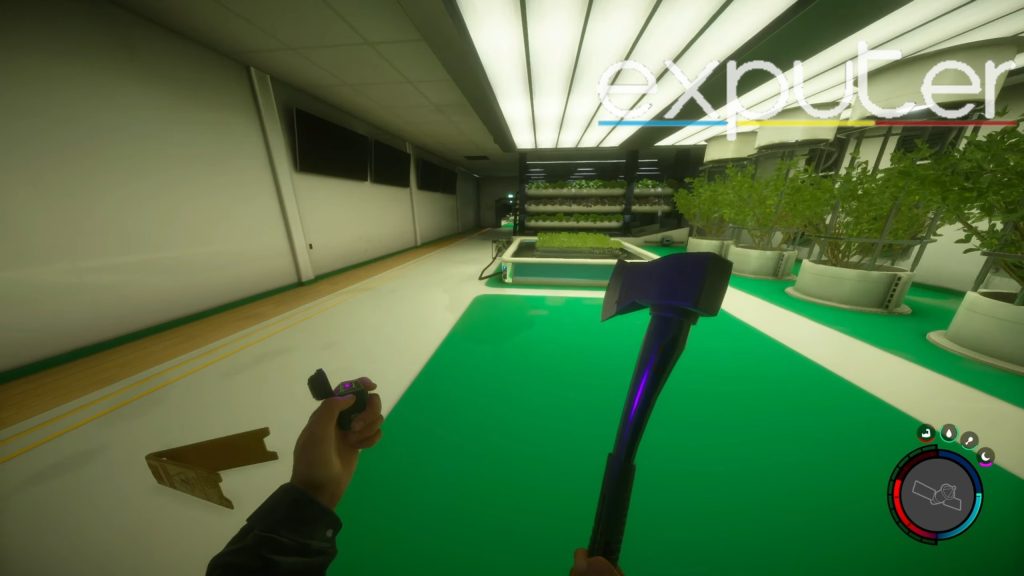
- Explore the brightly illuminated plant room filled with plants and greenery.
Plant Room (Image Credits Exputer) - Proceed towards the back of the room to find an extension.
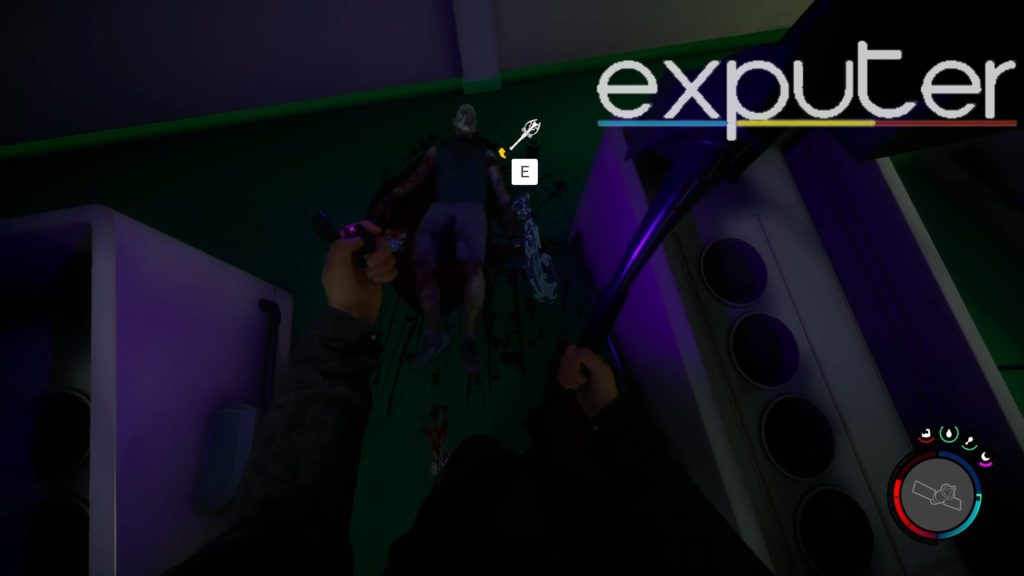
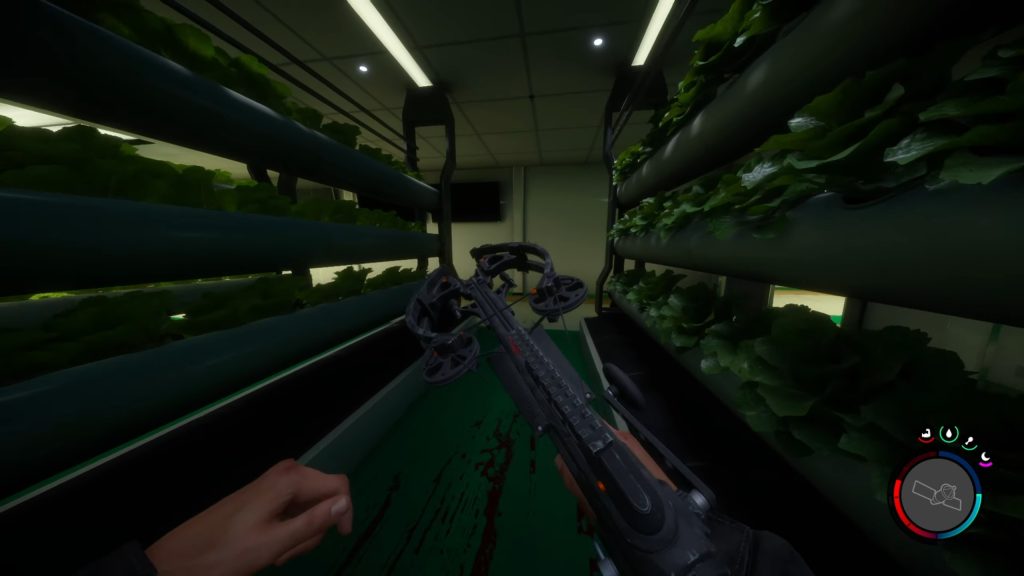
Extension Of Plant Room (Image Credits Exputer) - Between planters 2 and 3, observe a trail of blood leading to a dead body.
Dead Body Beside Bloody Trail (Image Credits Exputer) - The crossbow is located beside the dead body, on the right side.
Using The Crossbow (Image Credits Exputer)
- Explore the brightly illuminated plant room filled with plants and greenery.


Maintenance Key Location
Moving on, you also need another item, the maintenance key. The main use of it is simply to grant players the ability to open up doors that would otherwise be completely inaccessible to head into.
- Start by heading east around snowy mountains.
- Reach an area with a surveyor tripod and surrounded by golf carts.
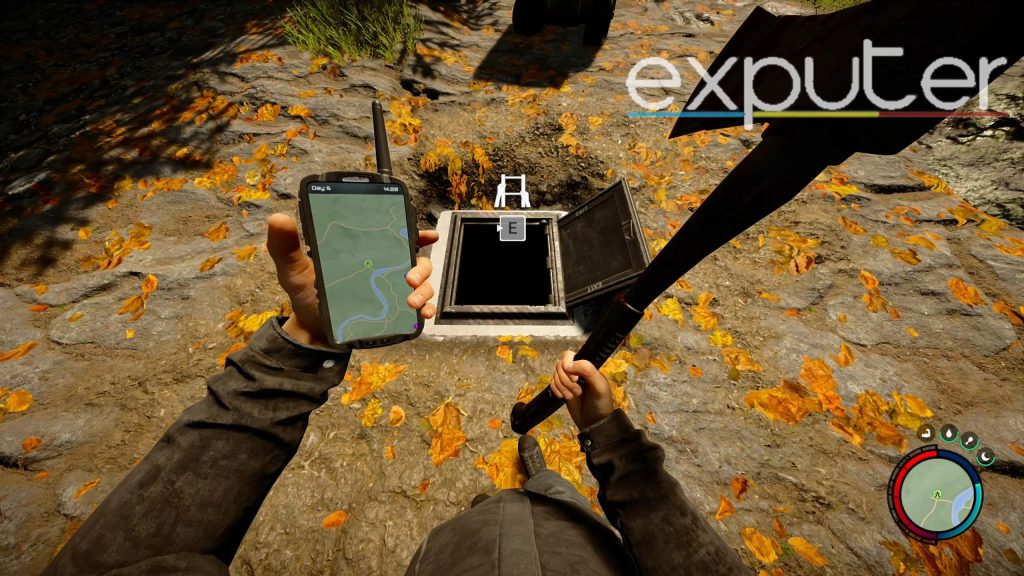
After that, go ahead and go towards the area where there are tons of yellow leaves, and as they get closer to the leaves, they can use their shovel in order to dig.
- Digging into the area reveals a square bunker, and the door of the bunker opens up to allow players inside.
- Hold E to interact with the bunker.
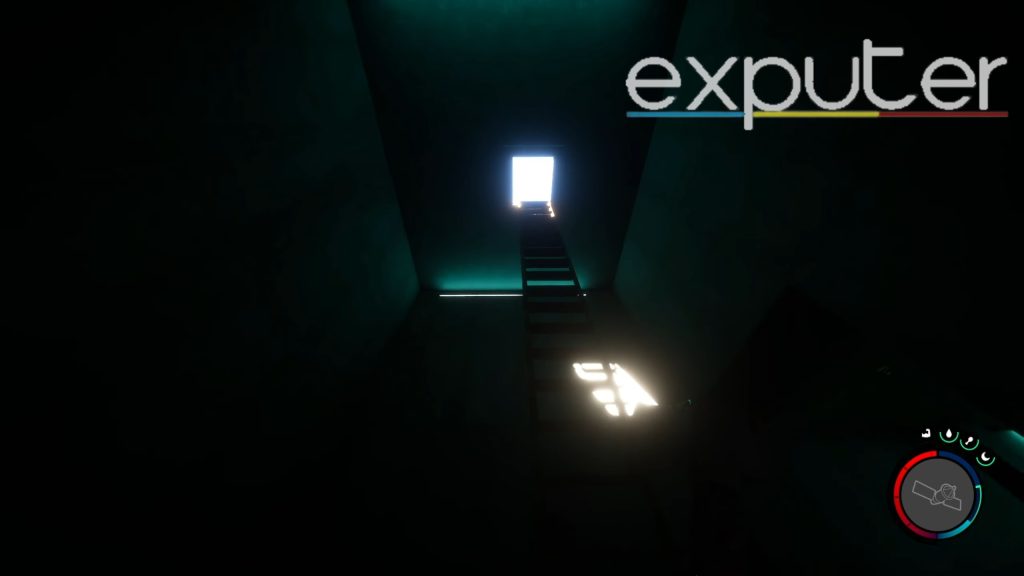
- Descend the ladder to find a dark room with teal lighting.
- Proceed carefully down the steps and turn right to discover a lit hallway.

- Start heading past the dead body that is propped up against the wall and keep running past the long corridor.
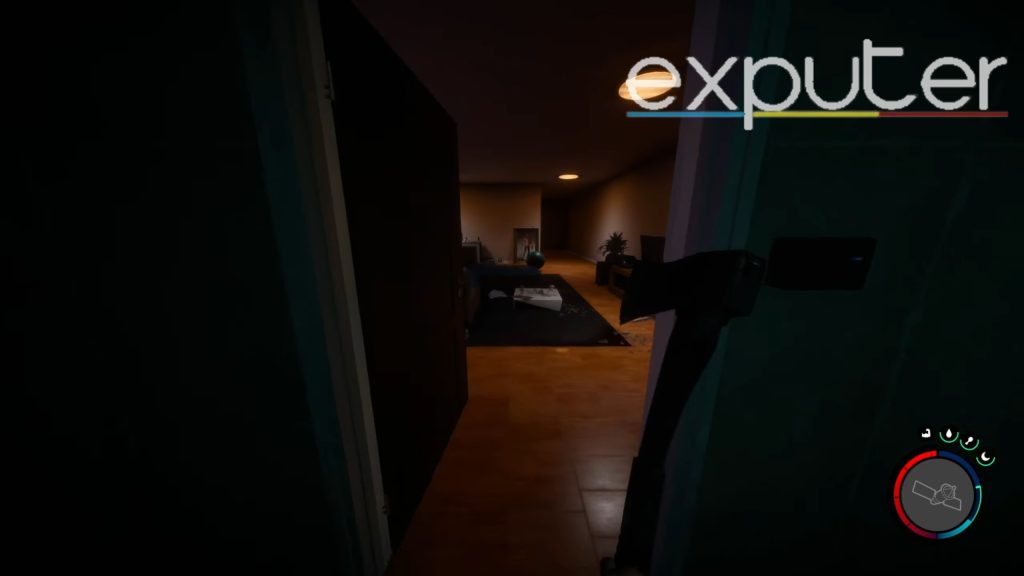
- Towards the middle of the corridor, players come across a door to the right that leads into an apartment.
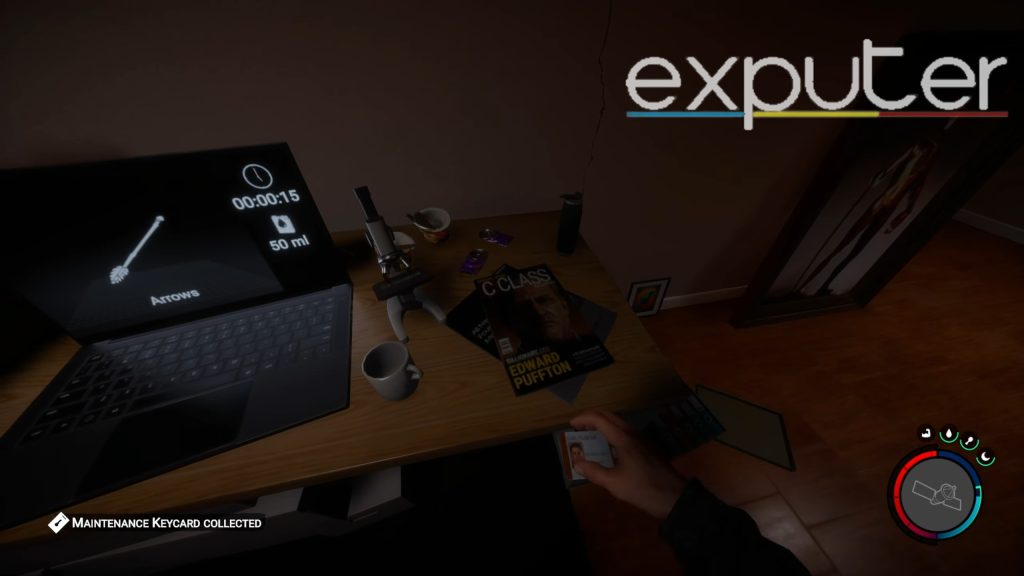
- Towards the very far end of the room, there is a table that has been placed against the wall, and on the table, there is a 3D printer.
- The maintenance key is located to the right of it.
And here I will wrap up our guide! Make sure to read up on the Sons of The Forest Cannibals guide, which covers all types of cannibals that you can find in the game! If you want to know how to get your hands on the rebreather in-game, then the Sons of The Forest Get Rebreather guide will be just for you!
Up Next:
- Sons Of The Forest Tips Tricks
- Sons Of The Forest Endings
- Sons Of The Forest Arm Door
- Sons Of The Forest Recruit Virginia
Thanks! Do share your feedback with us. ⚡
How can we make this post better? Your help would be appreciated. ✍