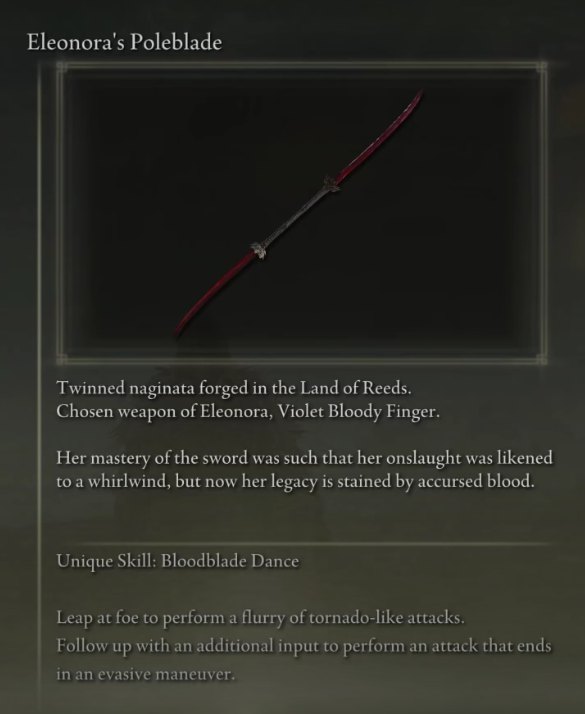
Like there are Colossal weapons in the game, or any other weapon type for that matter, Eleonora’s Poleblade is also a distinct kind of armament found within Elden Ring’s Lands Between. It’s actually a Twinblade, comprising a formidable rank in the Elden Ring weapons Tier List.
- Why Trust Us: Daniyal Malik has spent 700+ hours on Elden Ring, which makes him highly trustable!
To Acquire Eleonora’s Poleblade:
- Obtain both halves of the Dectus Medallion by visiting Fort Haight and Fort Faroth, located inside Greyoll’s Dragonbarrow.
- Follow Bloody Finger Hunter Yura to a lake near Murkwater Cave.
- Defeat Bloody Finger Nerijus in the north.
- Acquire Academy Glinstone Key from the Glinstone Dragon Smarag in the Lands Between.
- Return to Raya Lucaria Academy with the key and defeat Bloody Finger Ravenmount Assassin.
- Go to the Second Church of Marika with Yura to confront Violet Bloody Finger Eleonora and get Eleonora’s Poleblade.
To Use Eleonora’s Poleblade Effectively:
- Use the Poleblade’s Art strategically. Its moveset is well-suited for fast and relentless attacks.
- Pair the Poleblade with the Godskin Peeler or other complementary items and Ashes of War to enhance its capabilities further.
Do you remember the intricate details of Elden Ring’s lore? Test yourself with our extensive quiz!
How to Get Eleonora’s Poleblade
Eleonora’s Poleblade doesn’t warrant the player to go through extravagant questlines that end up with a terrifying boss fight. While this indeed was a slight nod to the Fia questline in Elden Ring, it’s safe to say that the armament in question is relatively easily obtained.
However, you must go through a couple of steps to get this tip-top Twinblade effectively. When you’re done with this endeavor, and you finally have the Eleonora’s Poleblade in your hands, watch your enemies as they bow down to you and cower in fear.
Acquire the Two Halves of the Dectus Medallion in Full
One of these places is spotted as Fort Haight on the map, while the other is known as Forth Faroth inside Greyoll’s Dragonbarrow. If you’d like step-by-step instructions with screenshots on how to get yourself the two pieces of the Dectus Medallion, check out our curated guide on the Elden Ring Dectus Medallion.
Acquiring the Dectus Medallion is simply one part of this multi-faceted affair. After getting this crucial quest item, continue reading from the next section to find out what to do.
Locate and Interact With Bloody Finger Hunter Yura
The next step in line that pertains to picking up Eleonora’s Poleblade Elden Ring revolves around locating a special NPC in the Lands Between. Without this forthcoming figure, you’ll struggle to proceed with the question at hand. The individual I’m on about goes by the name of Bloody Finger Hunter Yura.
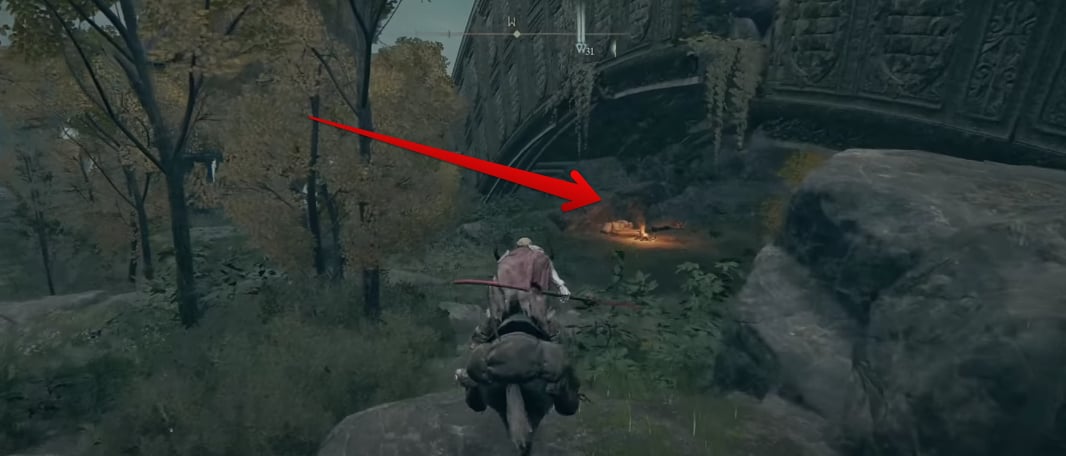
Bloody Finger Hunter Yura is underneath a bridge-like structure near a campfire. His exact whereabouts can be determined by heading northwest from the Agheel Lake South Site of Grace in the Lands Between. Head east from The First Step until you come across the bridge-like space. Check out the following screenshot for a visual explanation of where to go from here.
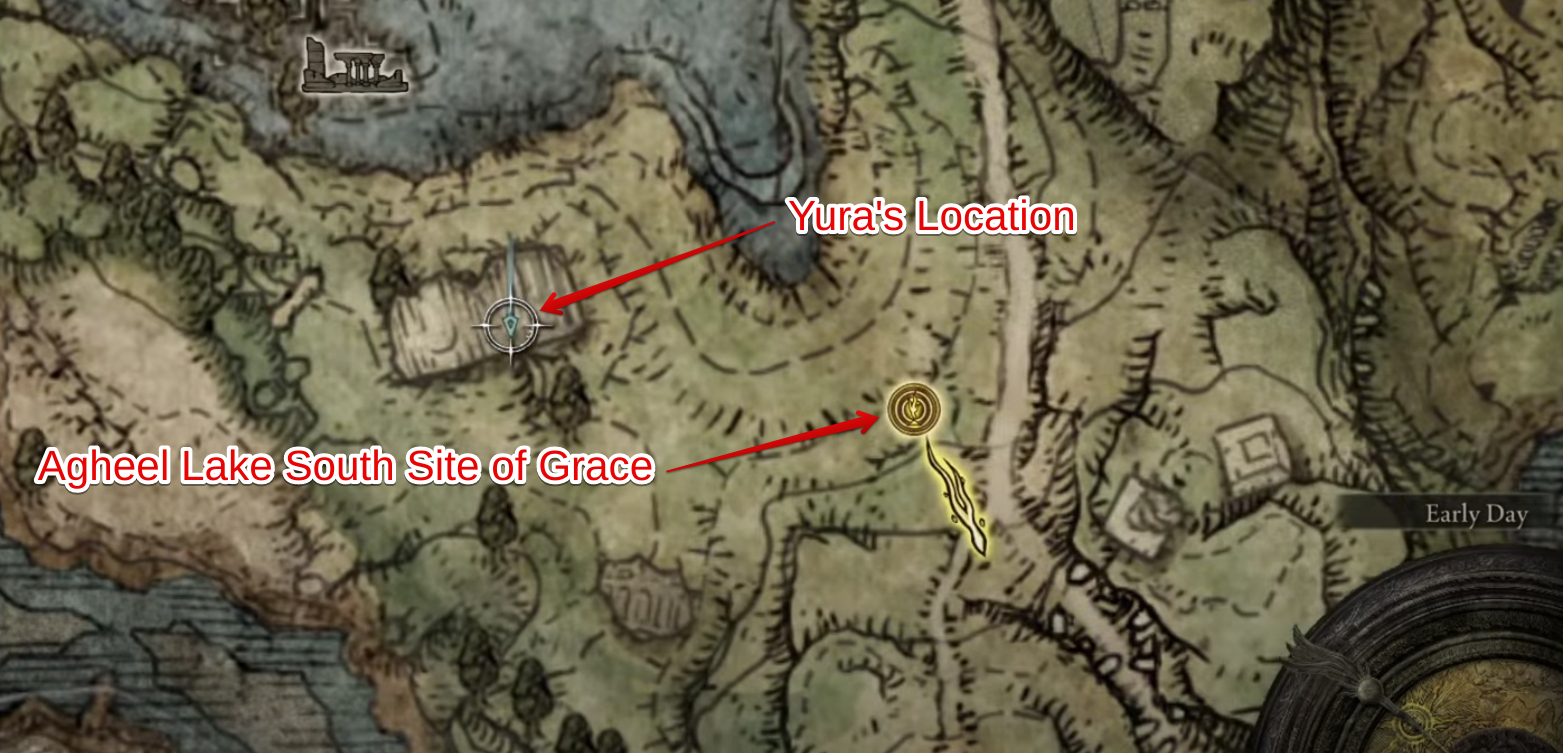
Make haste toward the area and get close to the campfire section. If you’ve been playing like normal up until now, Yura will be standing in the section, awaiting your arrival to send you on a small-scale quest. However, there is a possibility that the NPC won’t be where he is supposed to be.
Head to the Lake Near Murkwater Cave and Slay Bloody Finger
The next step in line is to head to the lake near the Murkwater Cave Site of Grace, but make sure you don’t go around the area and approach the route in a straight direction. This area of interest where you have to proceed subsequently after meeting up with Yura lies in the north direction.
Check out the following screenshot for more:

Call your magical Torrent and gallop across the area to the lake. Upon approaching the section and proceeding forward, you’ll soon be invaded by Bloody Finger Nerijus. This NPC is why Yura warned me not to venture into the lake.
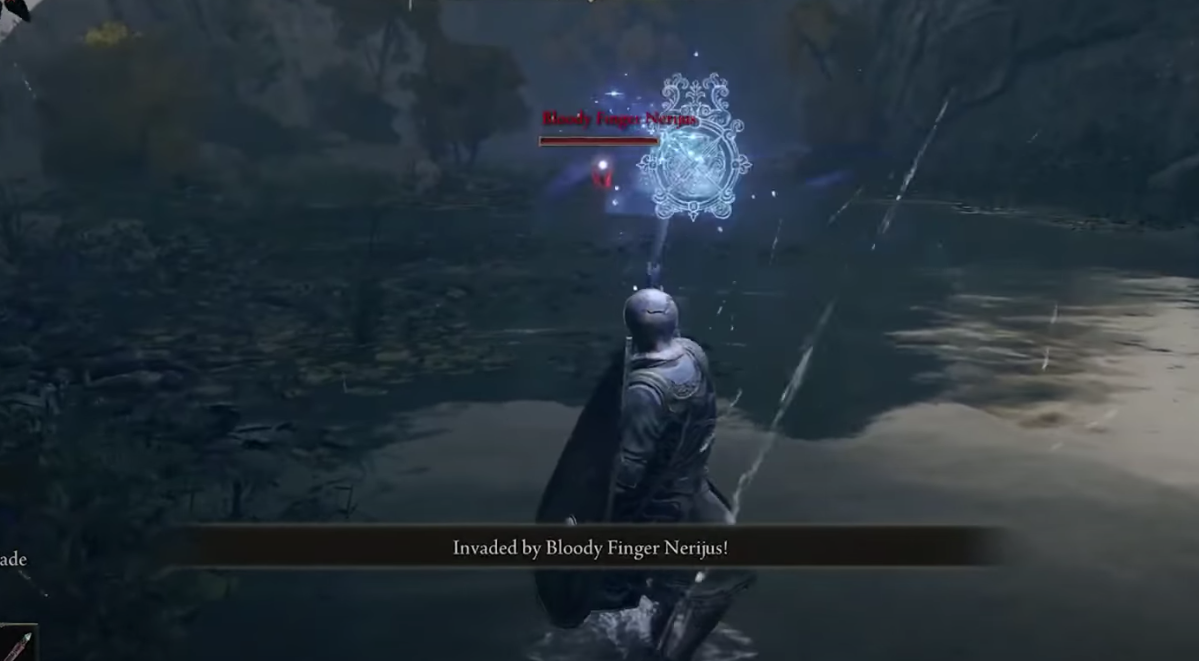
After cutting down Nerijus for good, continue reading from the next section.
Talk to Yura and Gain Access to the Raya Lucaria Academy
You’ll be led into a constricted pathway down to a ruined section of the place. Yura will be standing nearby. Talk to him and receive his warning (sigh) yet again. This time, though—I’ll admit—the threat he talks about is more concerning. Yura speaks of a dragon lurking in another lake in a different part of the map.
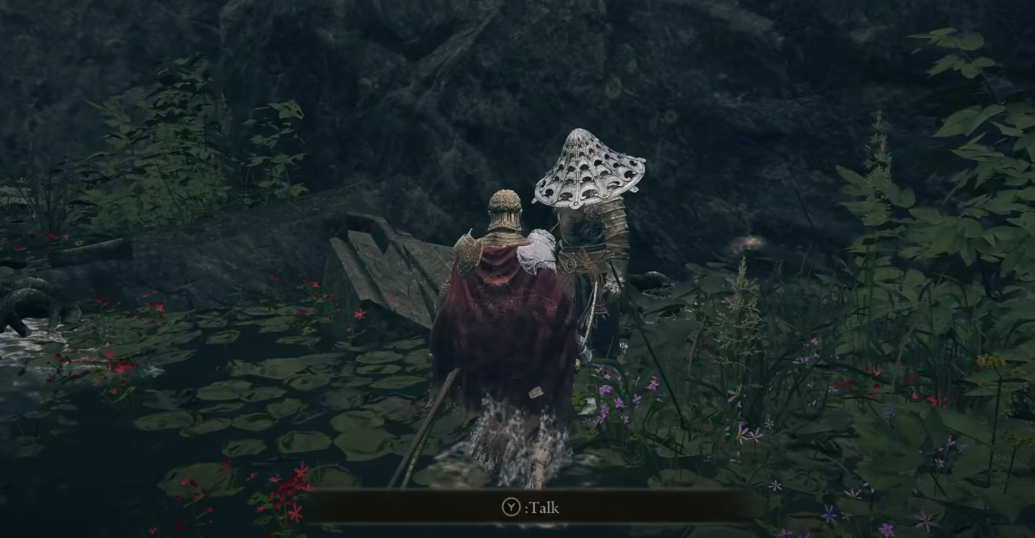
Don’t lose your breath. It’s not the Dragonlord Placidusax that Yura is going on about—thank heavens. It’s just the Glintstone Dragon Smarag, a formidable opponent waiting in his slumber to claw you down, now on to the more demanding part of this scenario.
You have to gain access to the Raya Lucarian Academy in Elden Ring, the main boss fight of which is housed by Rennala, Queen of the Full Moon. This region is located far in the northwest section of the Elden Ring map. It’s pointless to get to Raya Lucaria Academy without acquiring the Academy Glintstone Key first. And just check out the coincidence here for a mere moment.
Check out the following screenshot for the location of the Glintstone Dragon:
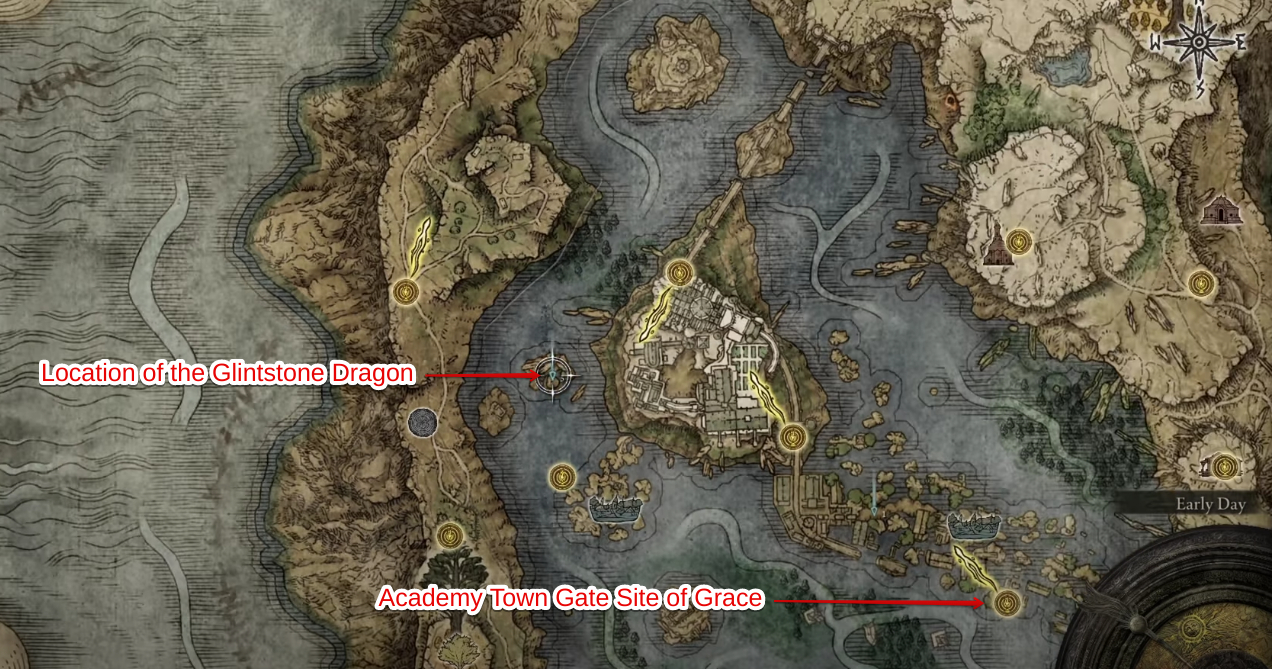
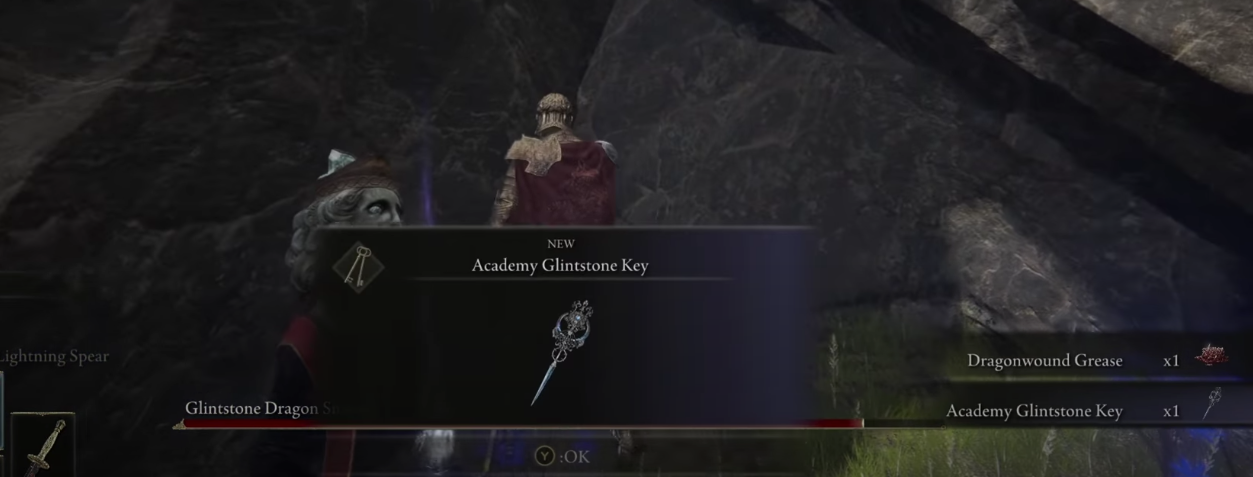
Make your way to the location of the Glintstone Dragon Smarag by following the waypoint designated above. When you get there, it’ll be easy to spot a vastly open lakeside area. Lurk beyond that, and you’ll soon find our fire-breathing foe with the Paladin build in Elden Ring. It’s possible to simply sneak around the Glintstone Dragon and grab the Academy Glintstone Key.
Now, you need to go back to the Raya Lucaria Town area. A quick and easy way to do that is by backtracking your steps and getting to the Academy Town Gate Site of Grace. From there, it’ll be much easier to get where you need to rather than meddling around exploring independently.
The screenshot given below should be replicated on your end:
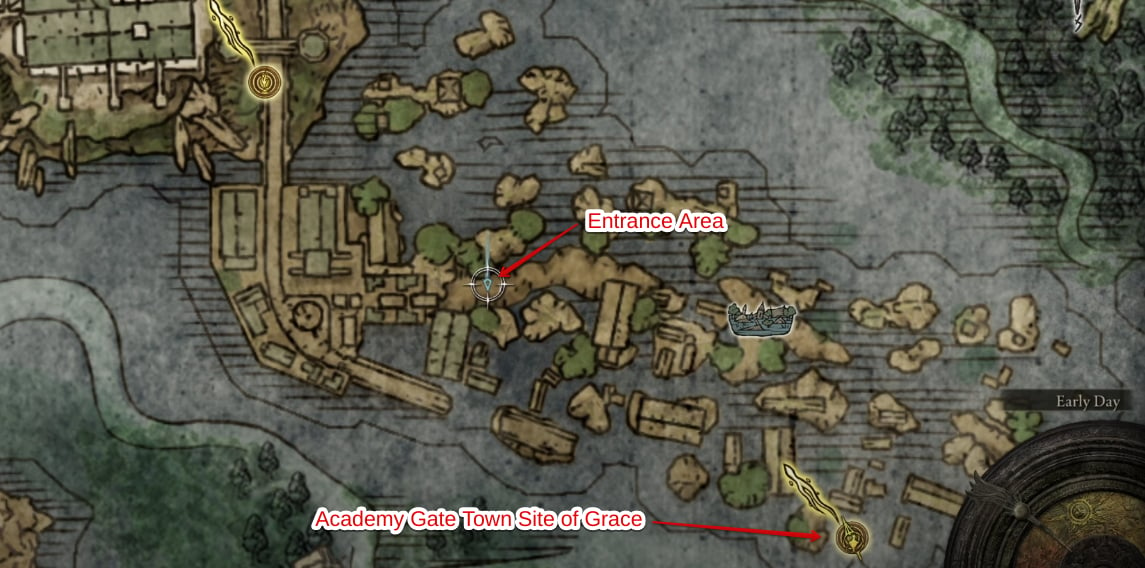
You should see a staircase leading up to somewhere once you arrive at the place.
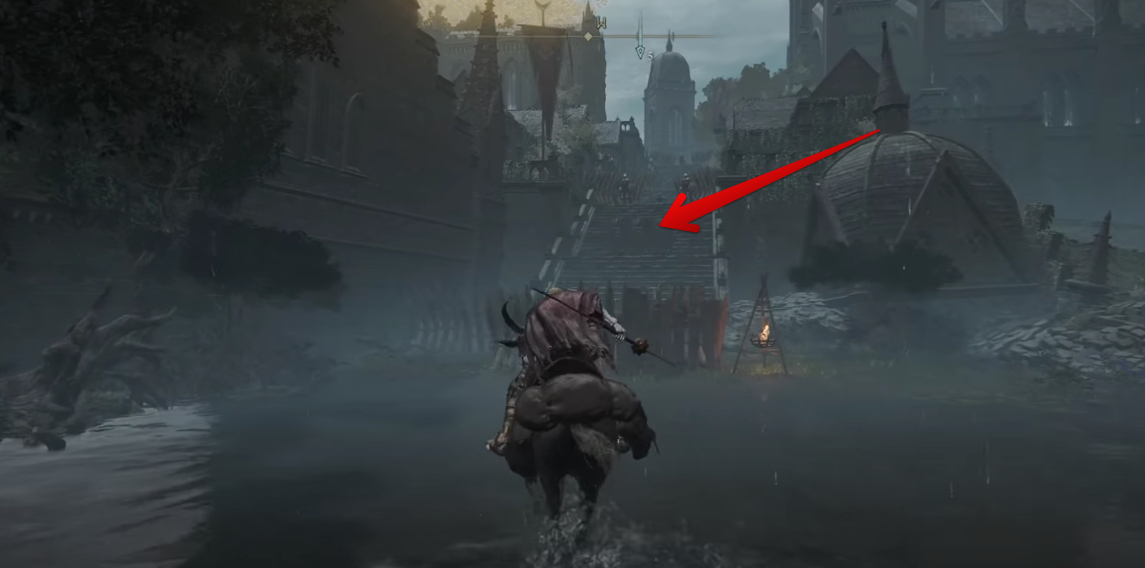
Go up the stairway until you reach the top of it. I recommend that you ignore the trash fodder enemies in the area. When you arrive at the surface, take a right.
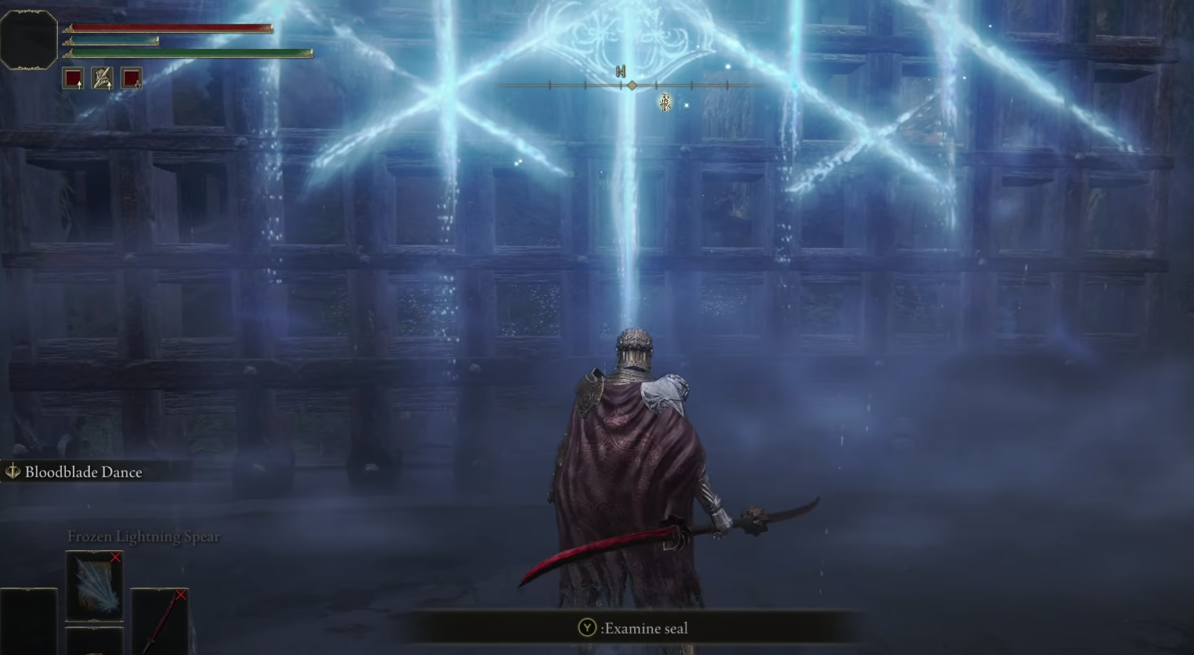
Keep heading straight until you observe a blue-colored seal. Approach the seal and interact with the doorway. You’ll shortly get teleported to the other side that way.
Great going so far! You’re almost at the end of Eleonora’s Poleblade affair. Keep reading from the next section to find out what to do after getting to the other side.
Help Yura Cut Down Bloody Finger Ravenmount Assassin
Using the seal above will take you straight to the top of the Raya Lucaria Academy.
Reach the center of the area you’re teleported to and take a right. You’re bound to observe another seal in that direction. Go straight from the seal until the very end of the bridge. Interact with the summon sign in the image below and agree to proceed.
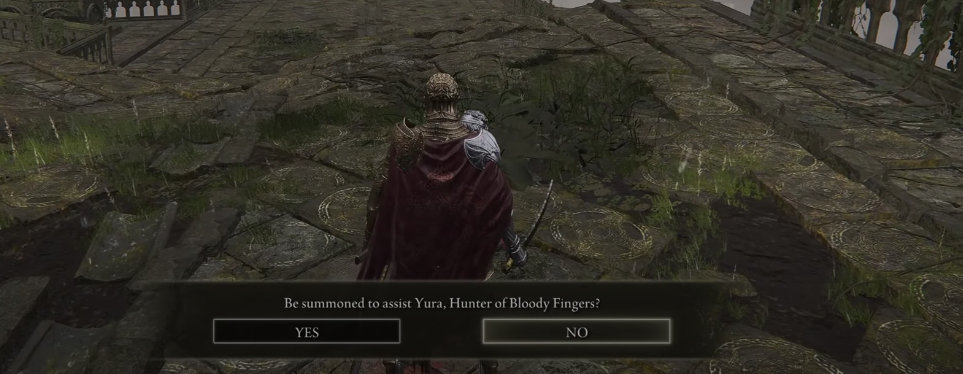
As soon as you agree to help Yura, start attacking Ravenmount Assassin.
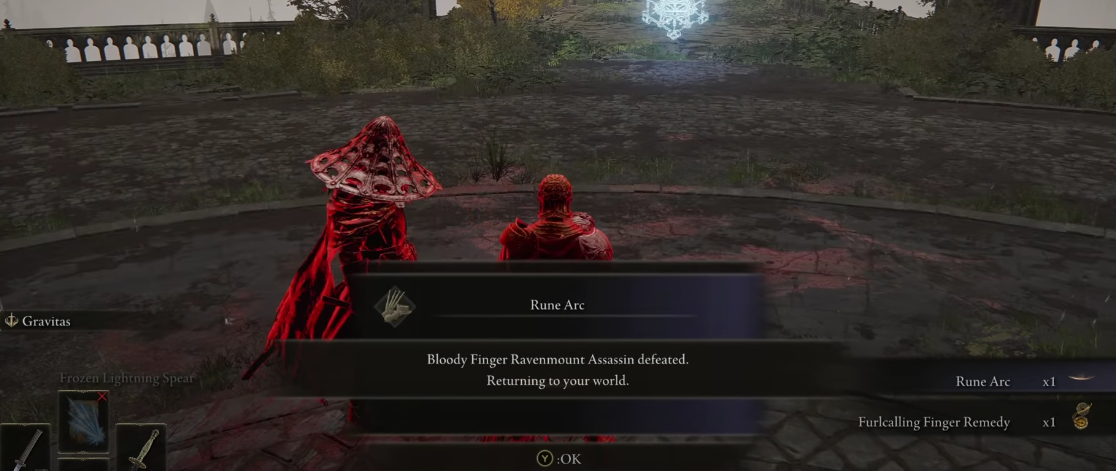
Killing off the NPC does get you a fair bit of rewards, including the Raptor of the Mists’ Ash of War skill.
Go to Second Church of Marika
After returning to your world, Yura will be standing exactly to your right when you spawn, thanking you for the assistance and then telling the whereabouts of Eleonora’s Poleblade Elden Ring. He’ll tell you about the Second Church of Marika—a distant location in the northmost corner of the Lands Between.
Check out the screenshot below for more:
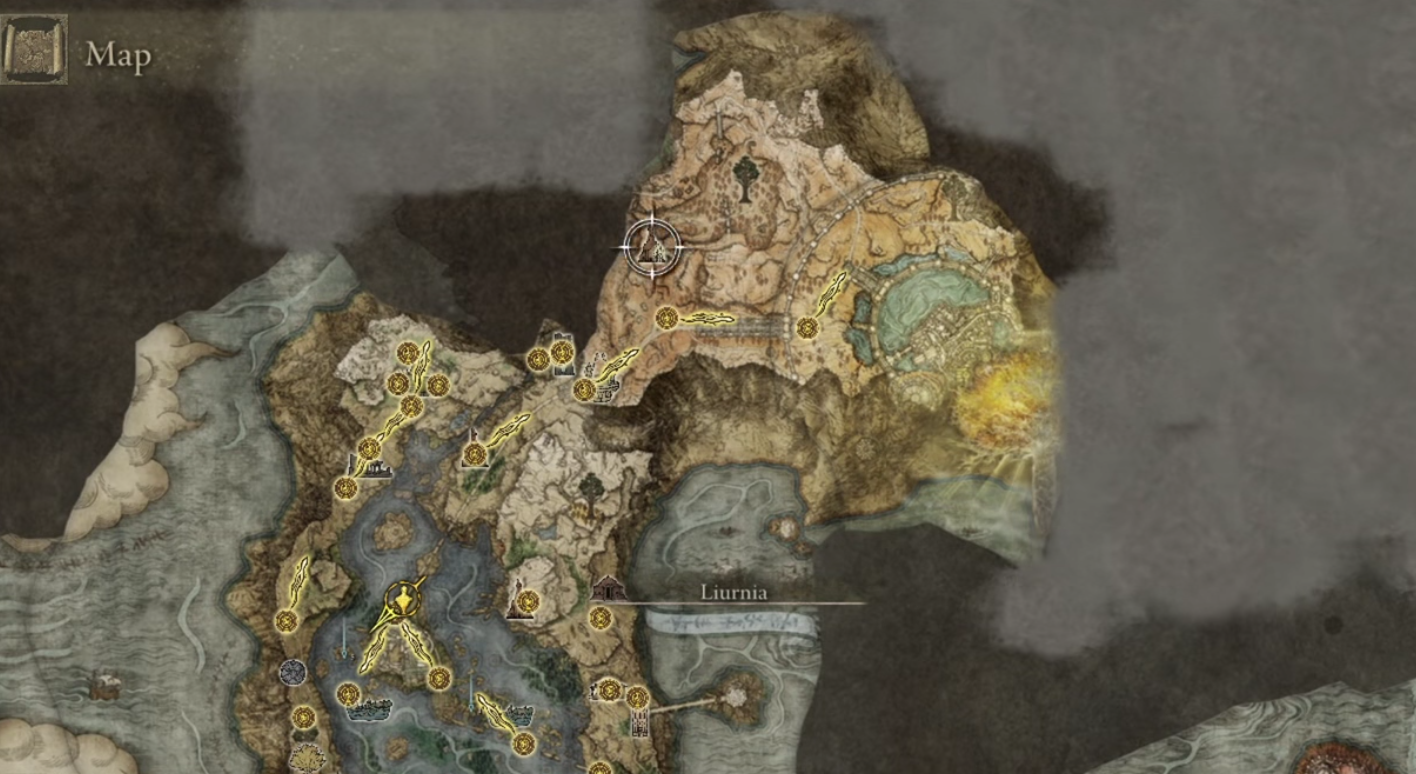
To close in on the Second Church of Marika as best as possible, you only need to teleport to the Grand Lift of Dectus. Simply head northeast from the Liurnia of the Lakes region, and you’ll get there quickly.
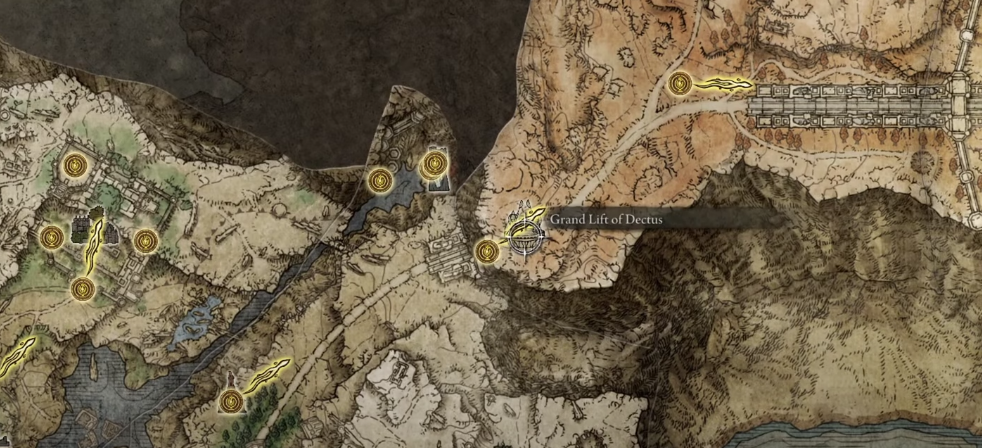
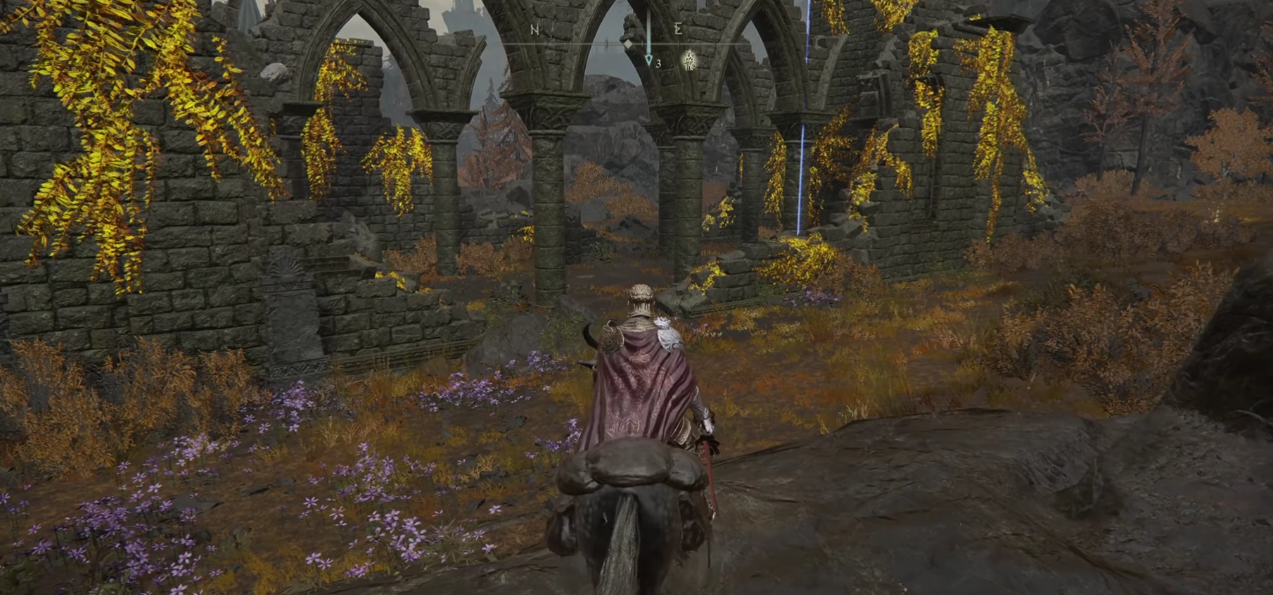
Keep going straight from Bellum Highway, and you’ll soon come across the Grand Lift of Dectus. Hoist the Dectus Medallion you collected earlier at the lift to get to the next area. Once done, head straight until you reach the Second Church of Marika. Approach it to complete this section of the quest.
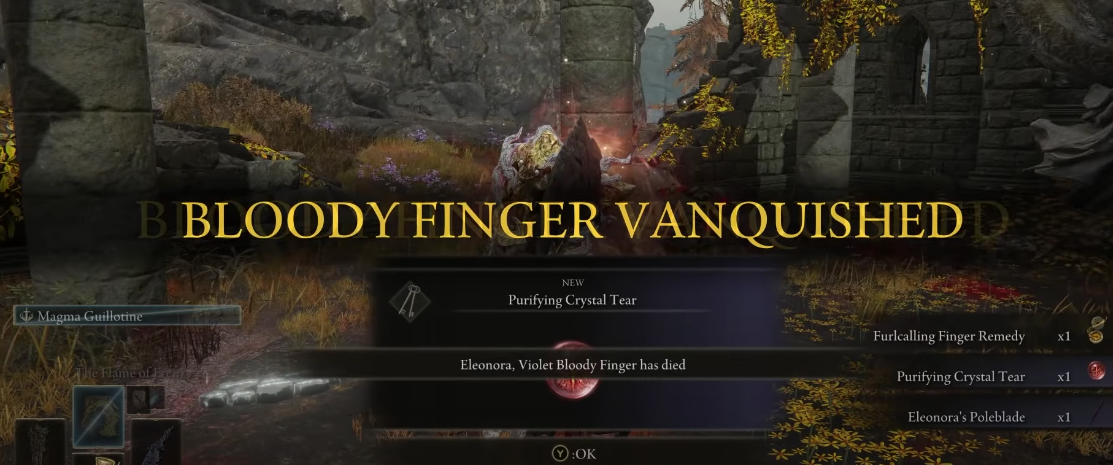
Battle Eleonora and Acquire the Poleblade
After arriving at the Second Church of Marika, you’ll notice Yura fell to the ground. Talking to him will add the Nagakiba katana to your inventory, but that’s not all; you will also be invaded by the Violet Bloody Finger Eleonora. You need to kill Eleonora to get yourself Eleonora’s Poleblade.
That’s about it for learning how to get Eleonora’s Poleblade in Elden Ring. I hope you’ll enjoy the procedure as much as I did on my first playthrough. Before I conclude the article, though, let us talk about some of the best tips and tricks to help you have one whale of a time with this Twinblade.
My Take On Eleonora’s Poleblade
I was surprised by how good and underrated Eleonora’s Poleblade was. However, while it has superior range and better regular attacks, I’d still prefer the Rivers of Blood over the Poleblade simply because it’s much faster and builds up Bleed much quicker.
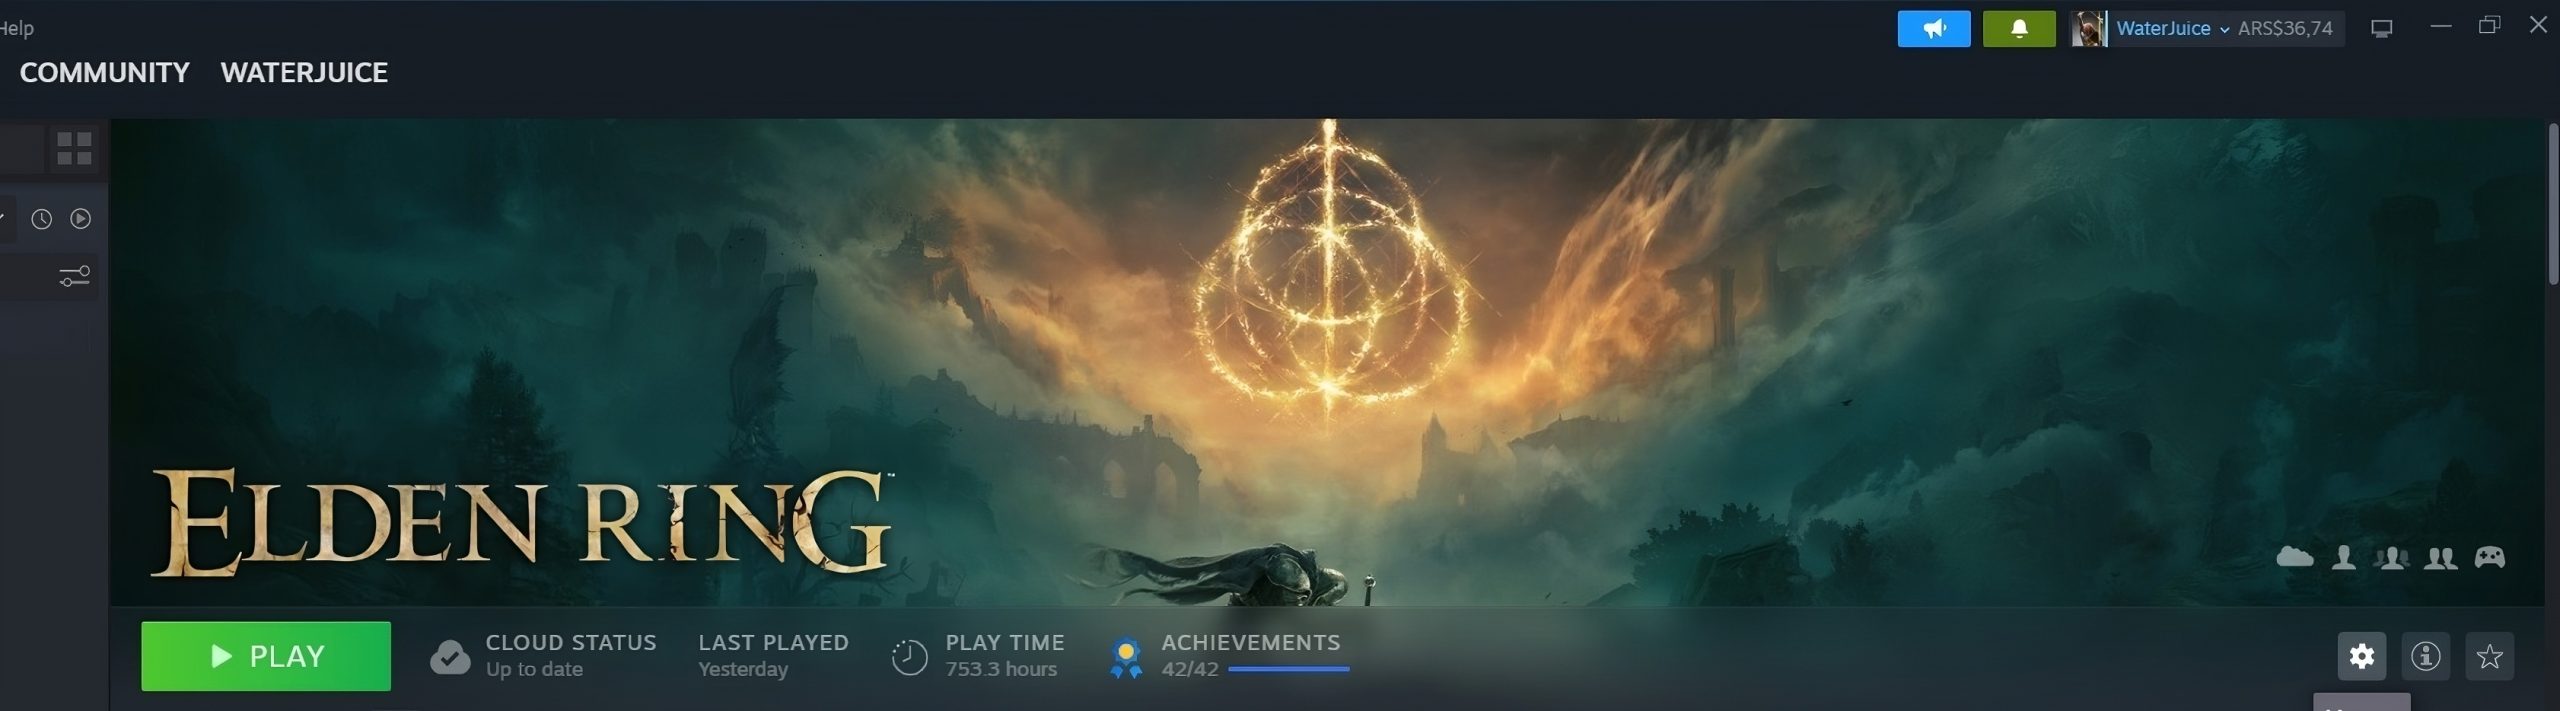
However, with all the recent nerfs to Bleed weapons in the recent patches and with over 750 hours on my Steam profile, I can confirm that Eleonora’s Poleblade is nowhere near as effective as it was when I first picked it up in Elden Ring’s v1.2.
However, if you’re a fully-fledged Arcane user and don’t have the Rivers of Blood in your inventory, I think there’s no better option than the Poleblade. Let me know in the comments section if you found this guide useful for your cause.
Before You Go:
- Elden Ring Regal Ancestor Spirit Location
- Elden Ring: Seppuku Location
- Elden Ring: Raya Lucarian Sorcerer Set Location
- Elden Ring: Mountaintops of the Giants Location
Thanks! Do share your feedback with us. ⚡
How can we make this post better? Your help would be appreciated. ✍
I played 500+ hours trying to get every weapon. Help me