Elden Ring features 4 scythes/reapers that players can use, ranging from the best weapons, including the Winged Scythe, Scythe, Halo, and Grave Scythe. Players might want to know where all of the Elden Ring Scythe Locations are present; therefore, a detailed walkthrough might assist them with finding it! In my opinion, Scythes hold ultimate power and can decimate opponents in a few slashes with their unique movesets.
- Players will be able to encounter a total of 4 scythes or reapers, including the Winged Scythe, Scythe, Halo Scythe, and Grave Scythe.
To get the Winged Scythe, I suggest players follow these steps:
- Players need to go to the Bridge of Sacrifice site of grace.
- Players must go through the mountains and the main road from here until they encounter a wooden bridge.
- Cross the wooden bridge to go to the Church of Pilgrimage.
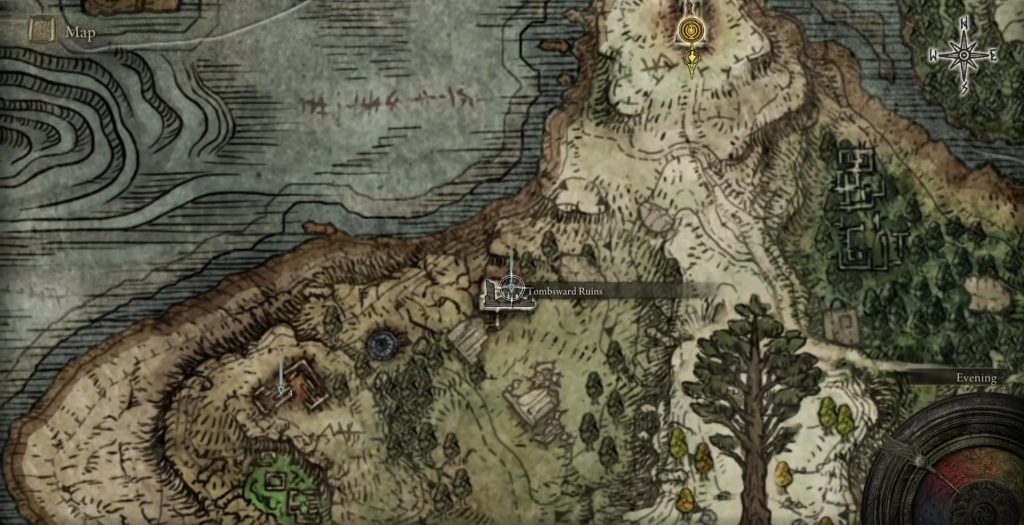
- From the church, head past towards the ruins to encounter the Tombsward Ruins, in which the Scythe is present.
Route to obtain a basic scythe:
- Players need to teleport to the Cliffbottom Catacombs.
- From here, go to the arched door, down the stairs, and pull the lever to bring up the square platform.
- Go down, and head deeper into the tomb.
- After crossing a few corridors, come across a room to your left, and the Scythe is inside the room.
As for the Halo Scythe:
- To get the Halo Scythe, players need to defeat the Cleanrot Knight.
- The chances of the Scythe dropping are extremely low. Therefore, players need to farm the Knight until they get it.
- The best place to farm it is in the Swamp of Aeonia area.
Path to find the Grave Scythe:
- Players need to eradicate the Gravekeeper Skeletons to get the Grave Scythe.
- The best farming spot is in the Lake Facing Cliffs area.
- Teleport there, head down, and enter the graveyard, and three skeletons are present that are ready to fight.
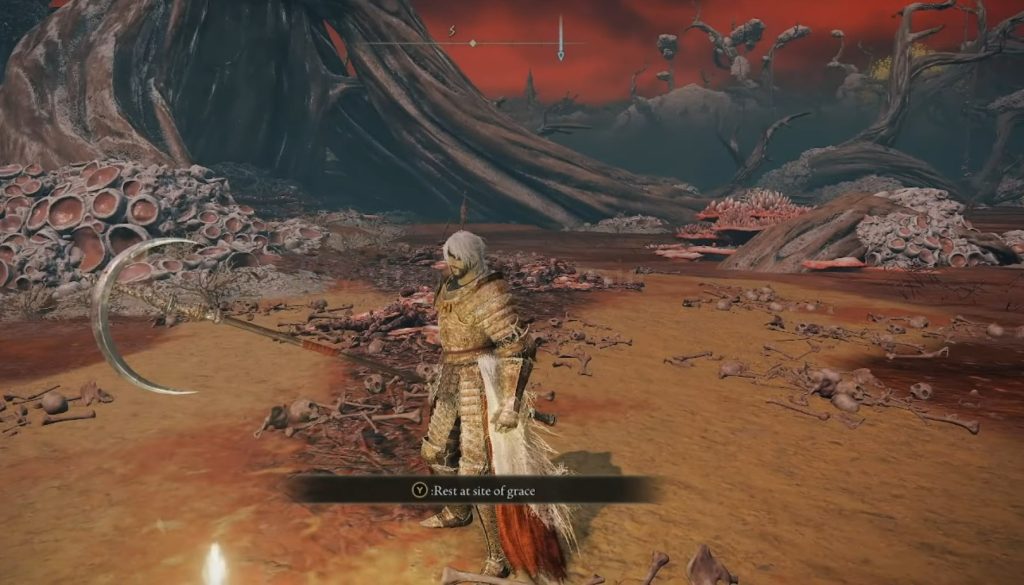
Winged Scythe
One of the first weapons players can find is the Winged Scythe. It is located inside the Tombsward Ruins, and getting to the location can get pretty daunting, therefore here’s the path that I’ve written for the players to follow:
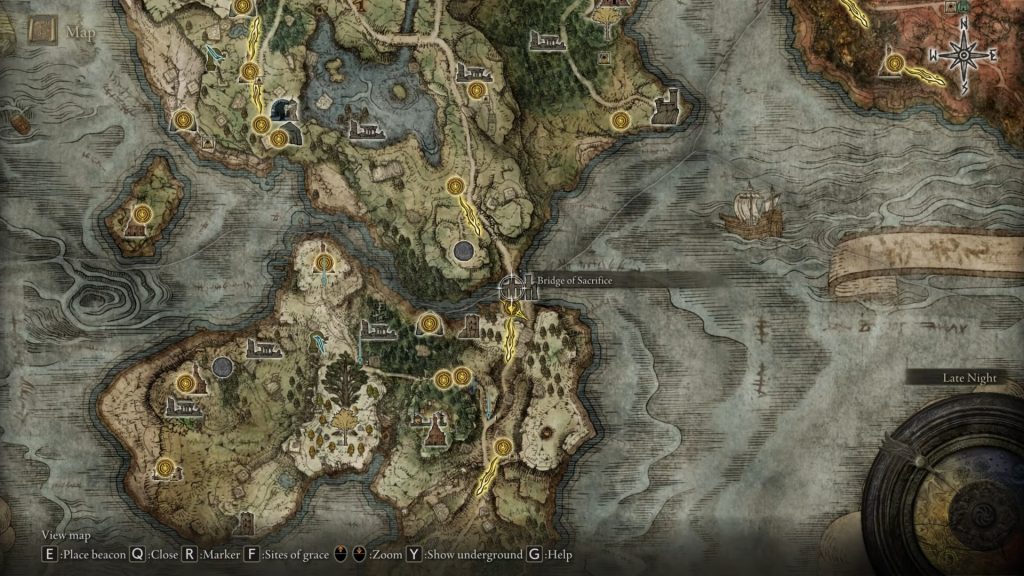
- Players can start the location at the Bridge of Sacrifice, and the area can be seen on the map as follows.
- Teleport to the location, and you will arrive at the site of Grace. From there, players want to call for their ride to make traveling easier.
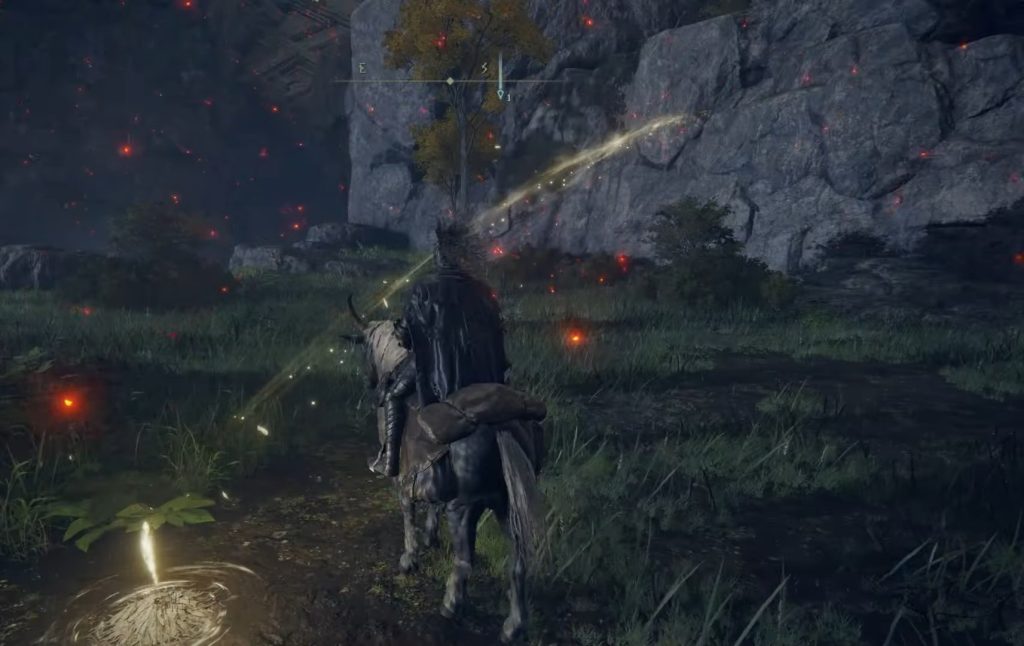
- I recommend panning your camera to the right, start traveling down, and hop off the edge.

- Head right and start traveling through the space between the mountains.
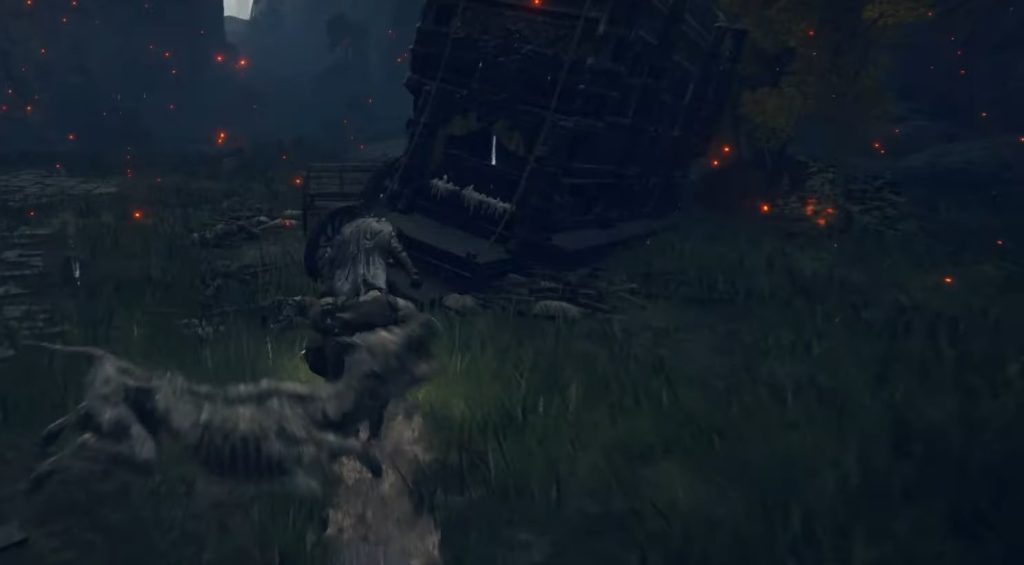
- After you leave the mountains, keep heading straight and past the carriage.
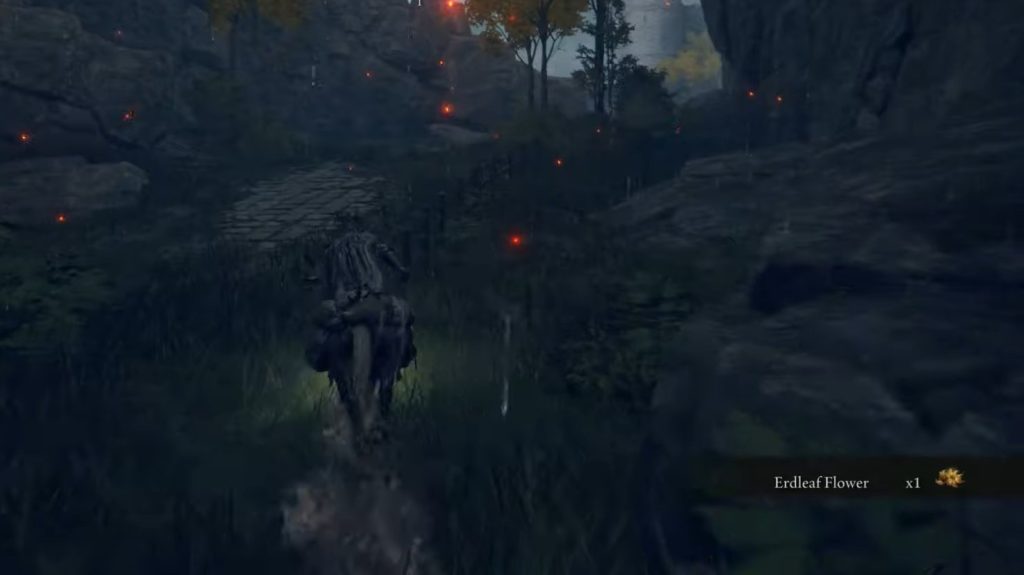
- Start heading up the main road, and you might encounter a few enemies; ignore them and keep running straight, as shown on the map.
- From here, I suggest steering left and heading deeper down into the jungle.
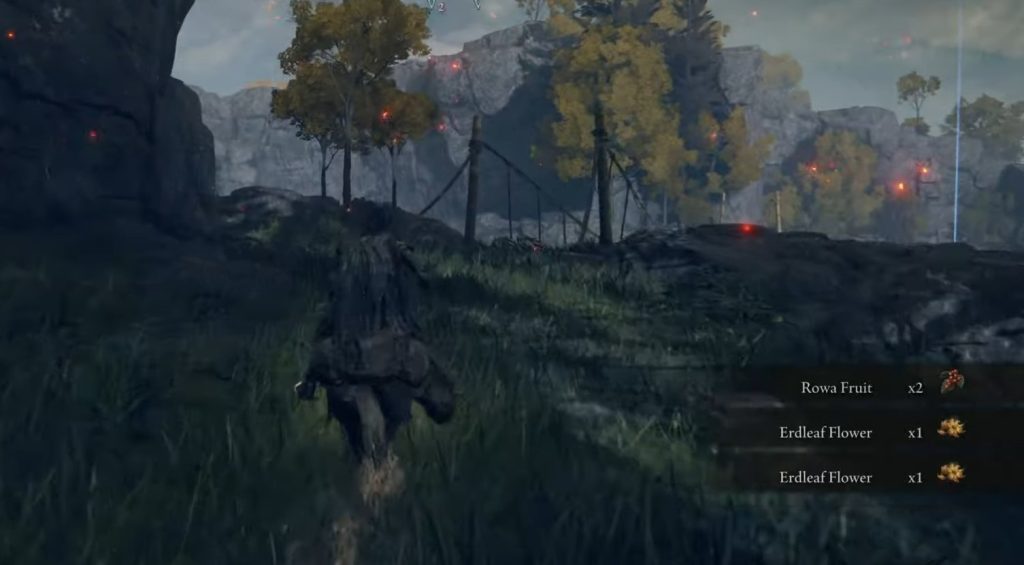
- Players should be able to start heading up the mountain cliff edges a few feet away from you, and far away, therefore, there should be a wooden bridge you can encounter.
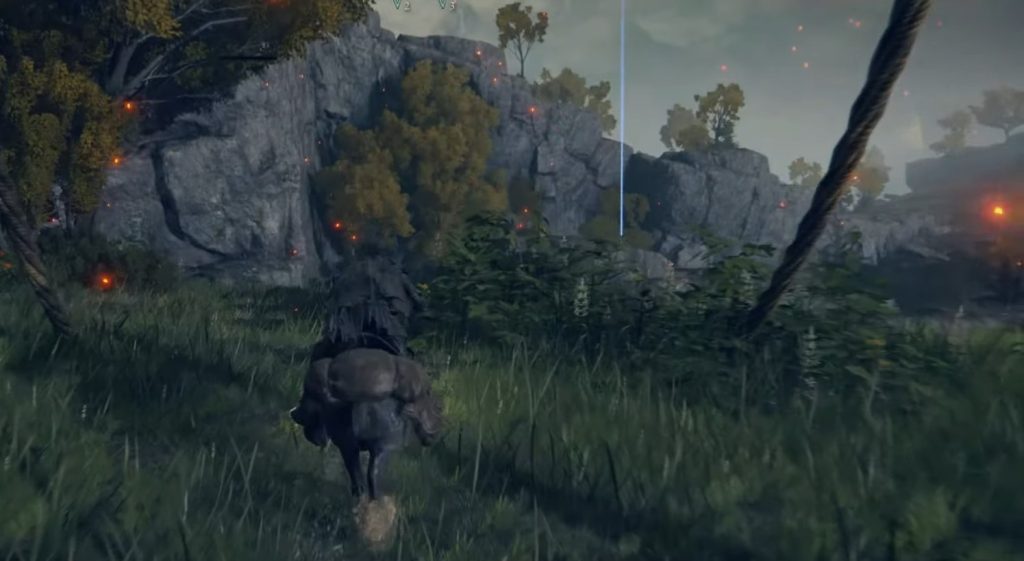
- Start heading for the bridge in the distance, and an opponent will await players and be ready to annihilate you.
- Instead of wasting time while fighting the enemy, all that players need to do is ignore it, start heading through the wooden bridge, and keep going until they reach the end of the bridge.
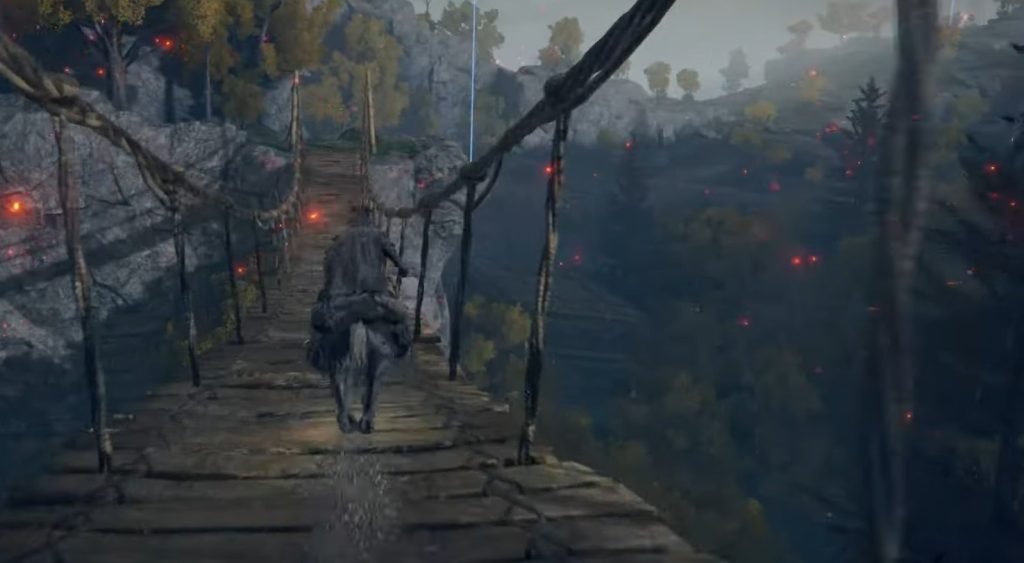
- After getting to the end of the bridge, players don’t need to turn anywhere. Instead, they should continue heading straight.
- After traveling for a while, get towards the right edge of the cliff, and head towards the beam infront.
- From here, the path leads straight up, and you want to keep heading straight.
- As you’re heading up in the far distance, I recommend you try to make out the silhouette of the Church of Pilgrimage.
Church Of Pilgrimage
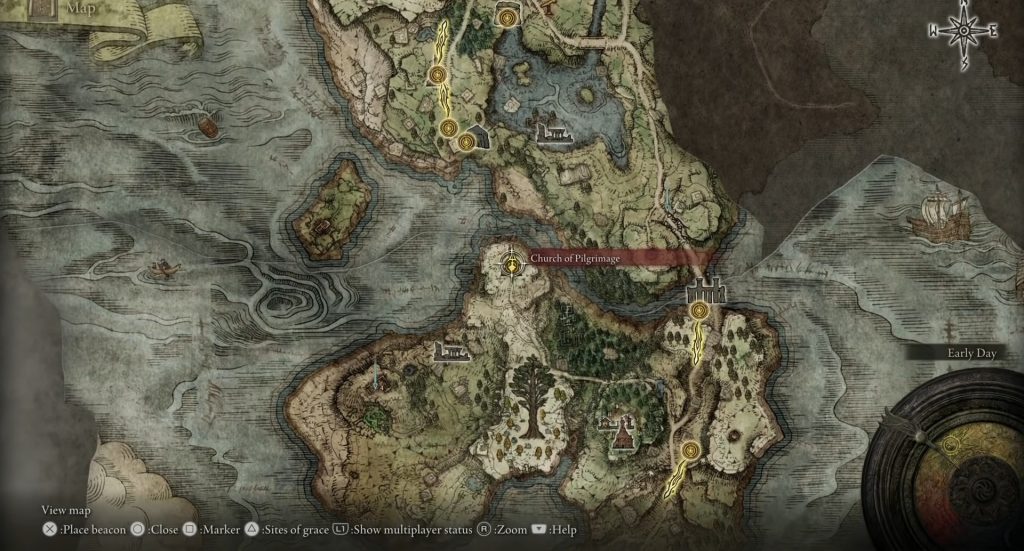
After players have reached the Church of Pilgrimage, the map shows the location as follows.
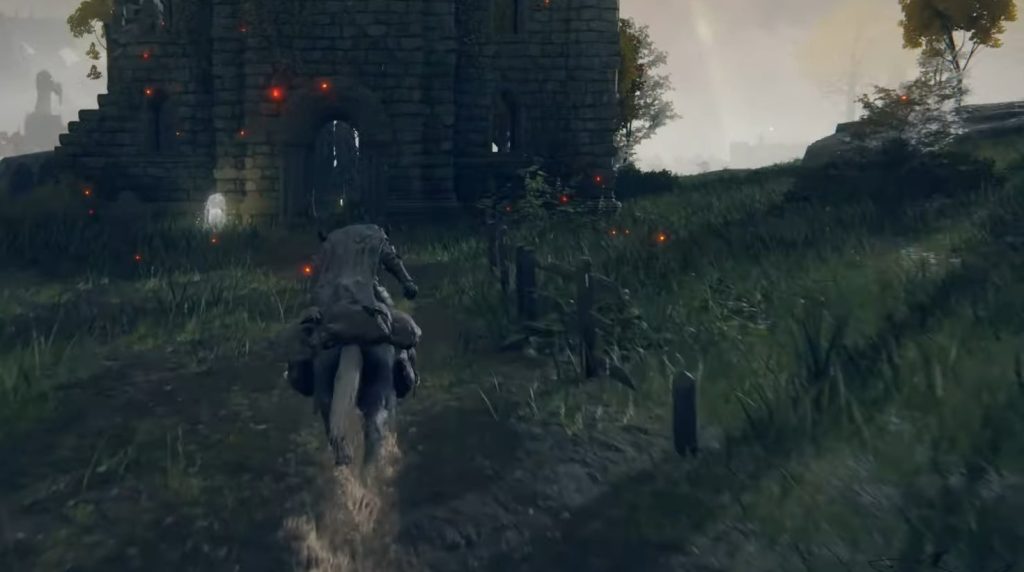
- After getting to the Church, players want to start going to the Tombsward Ruins.
- Call for your ride from the spot you are at, and start heading past the fences placed in the ground.
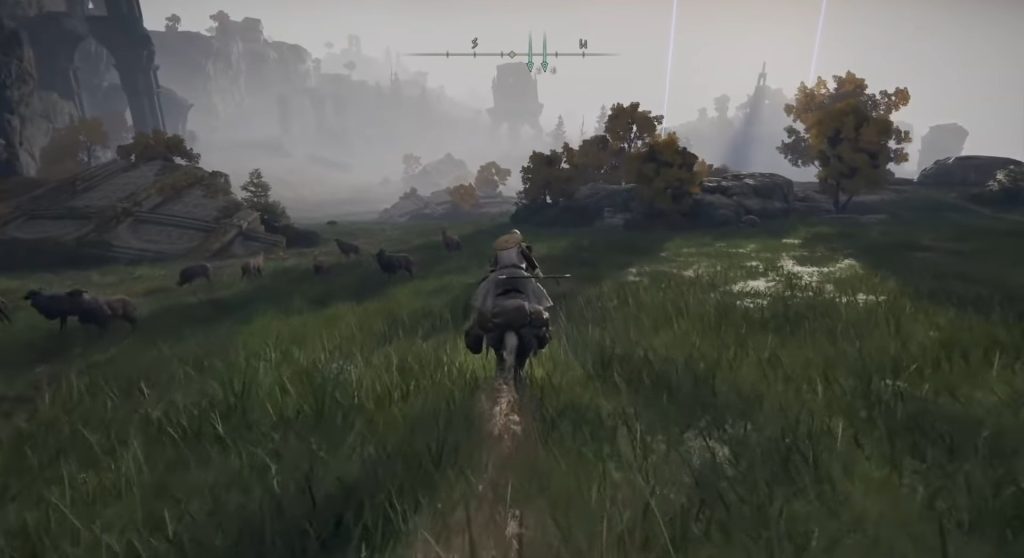
- Steer to the right, start riding down, and head past the herd of animals you can see.
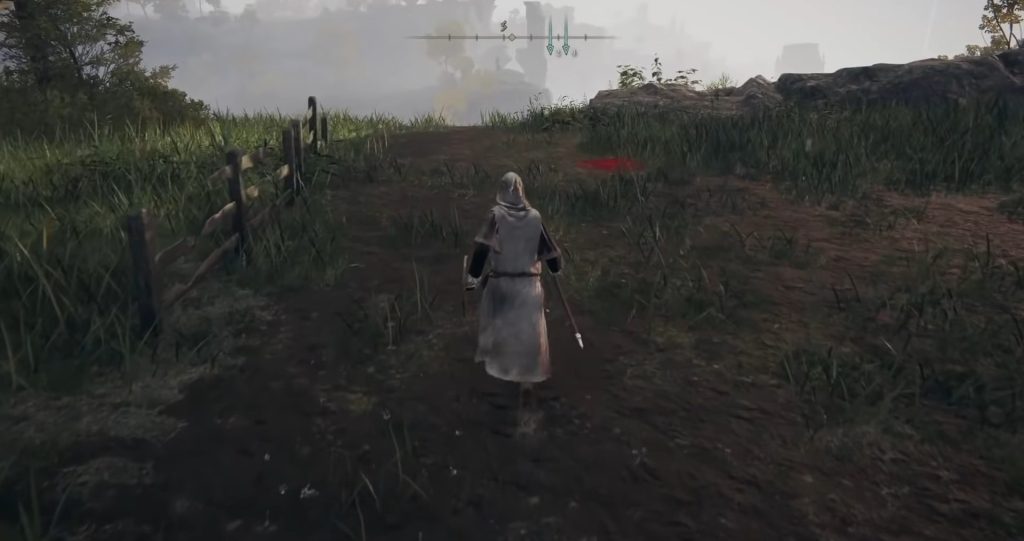
- In my opinion, players should steer further right from the animals and keep heading straight.
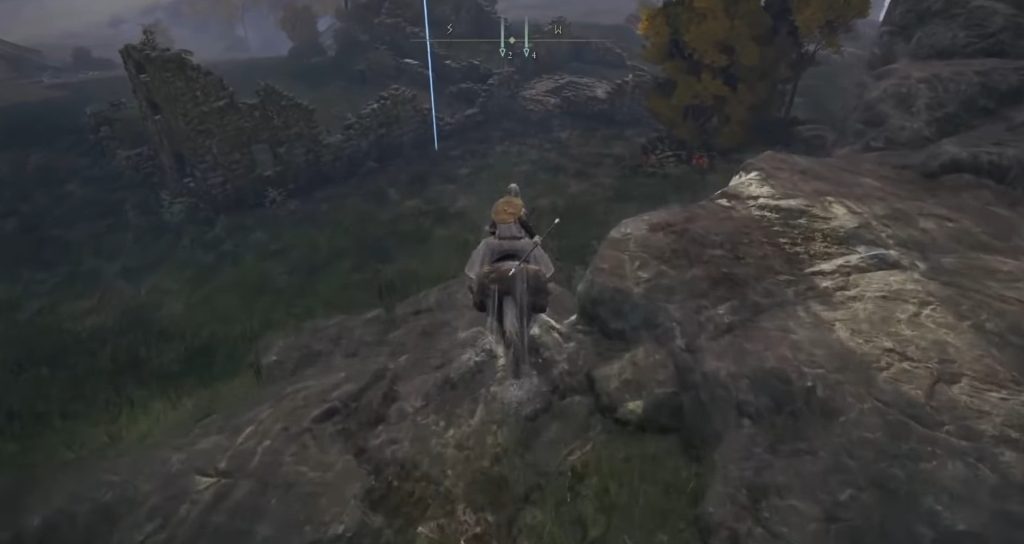
- Players might also be able to encounter a few small ruins that are infront of them, and you want to start heading for the ruins.
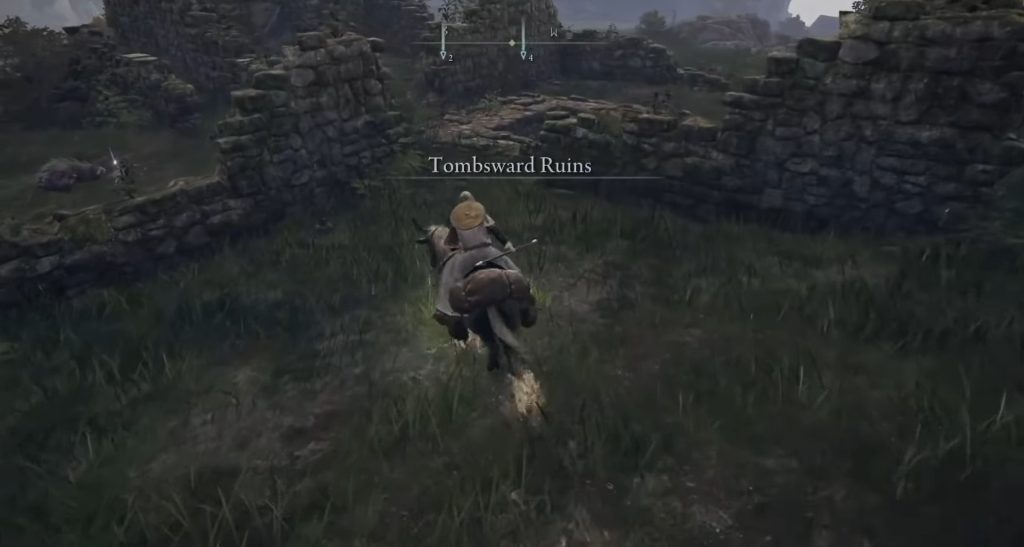
- The ruins themselves are the Tombsward Ruins, and you can recognize the place once its text appears on the screen, indicating that you have arrived at the correct place.
Tombsward Ruins
As you head towards the Tombsward Ruins, you should be able to encounter a place where there are stairs leading down.
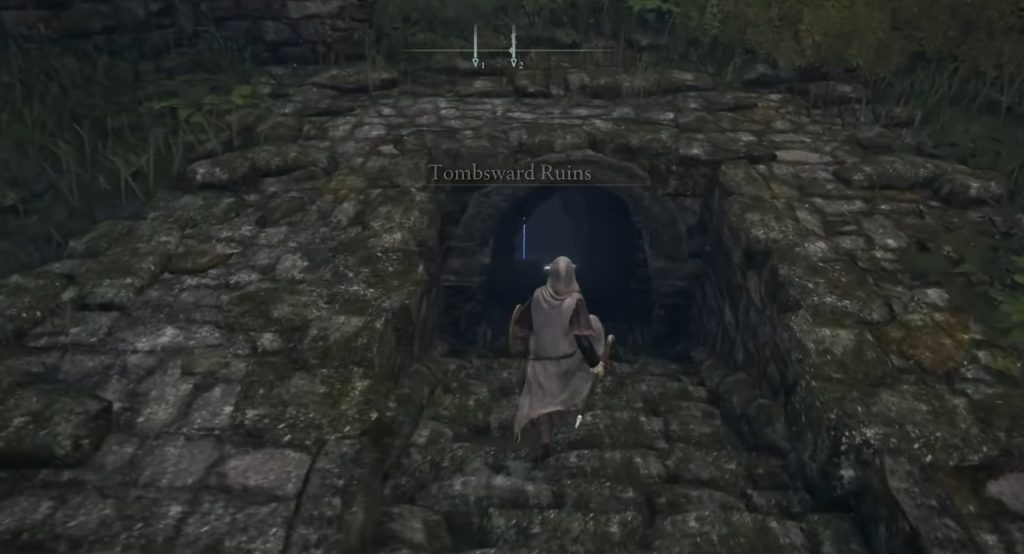
- The stairs lead down and are the entrance to the ruins. Therefore, players need to now be on foot to head further in.
- As you head in, a few enemies will await you, one that will be there as soon as you step inside and one when you cross the arched gateway and are down the stairs fully.
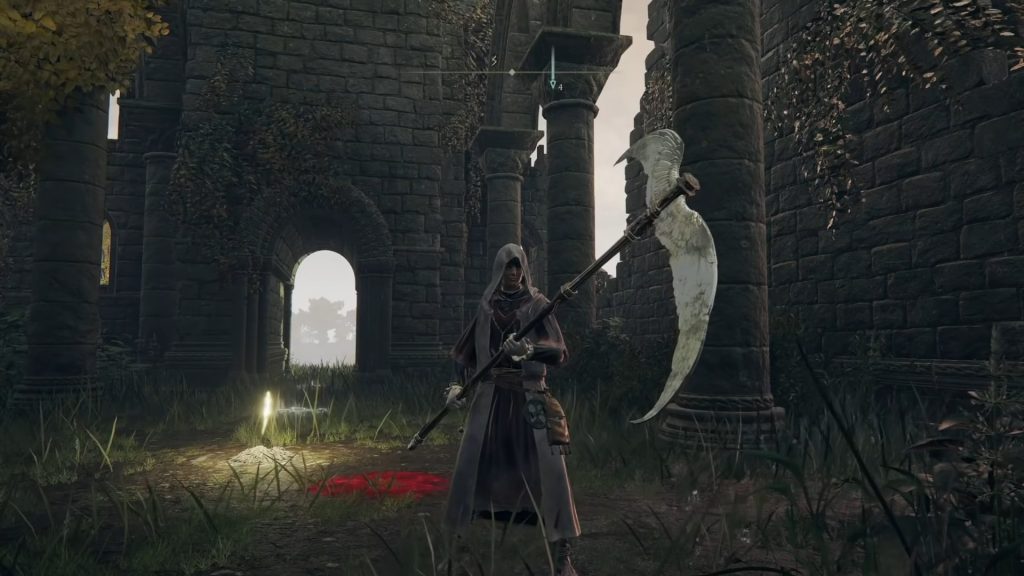
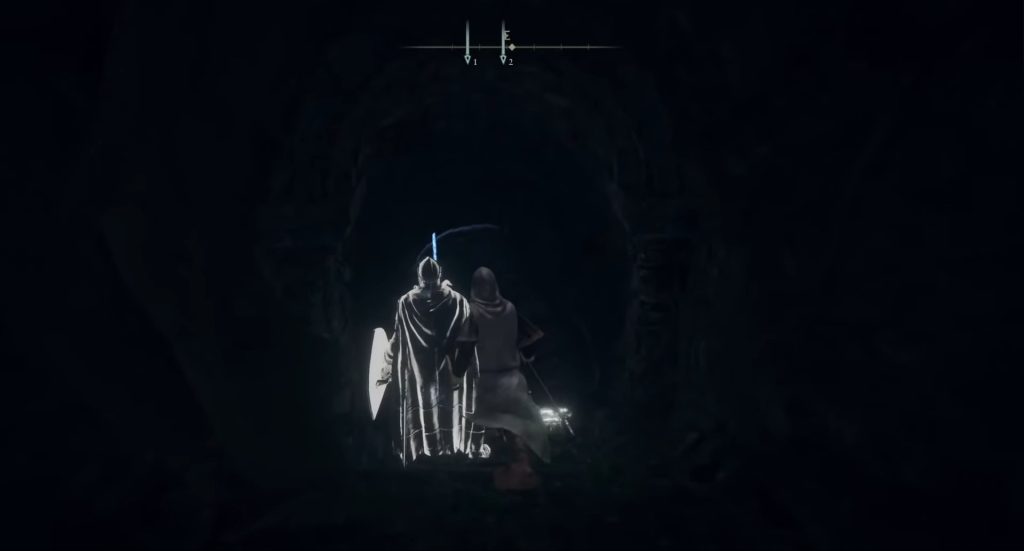
- Go to the very back of the ruins, and there should be a room where the Winged Scythe should be present.
- Get close to it, and players should be able to interact with it easily.
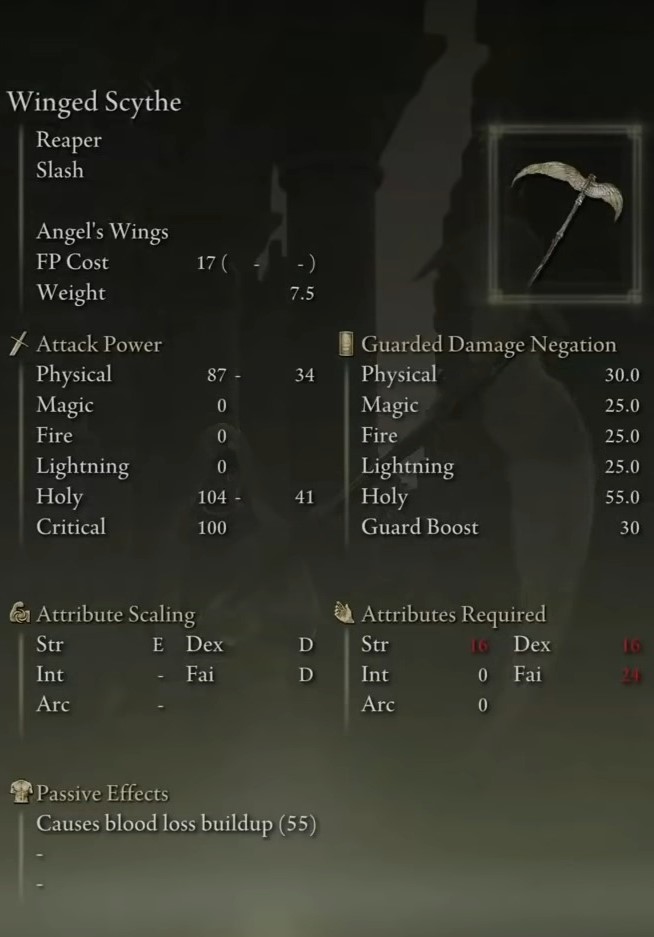
| Winged Scythe | Attack | Guard |
|---|---|---|
| Magic | 0 | 25 |
| Physical | 87 | 30 |
| Light | 0 | 25 |
| Holy | 104 | 55 |
| Fire | 0 | 25 |
| Crit | 100 | - |
| Scaling | E Strength D Faith D Dexterity |
Scythe Location
Moving on, the next weapon that I think players can access the Scythe Locations of is the traditional Scythe.
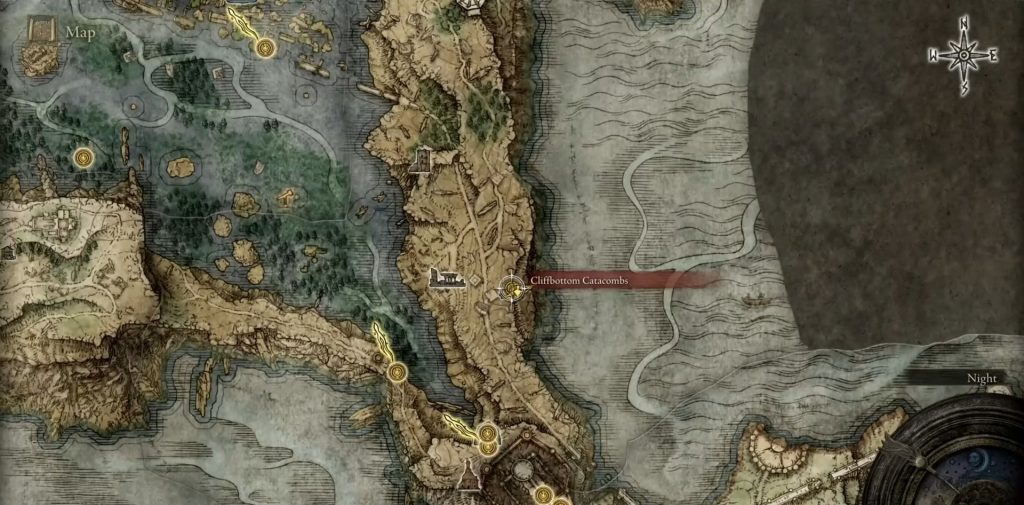
- Players need to be at the Cliffbottom Catacombs for this weapon in question.
- The Cliffbottom Catacomb location should be prominent whenever players open their map. Hover over it to select it.
- From there, players want to teleport to the Cliffbottom Catacombs and arrive there.
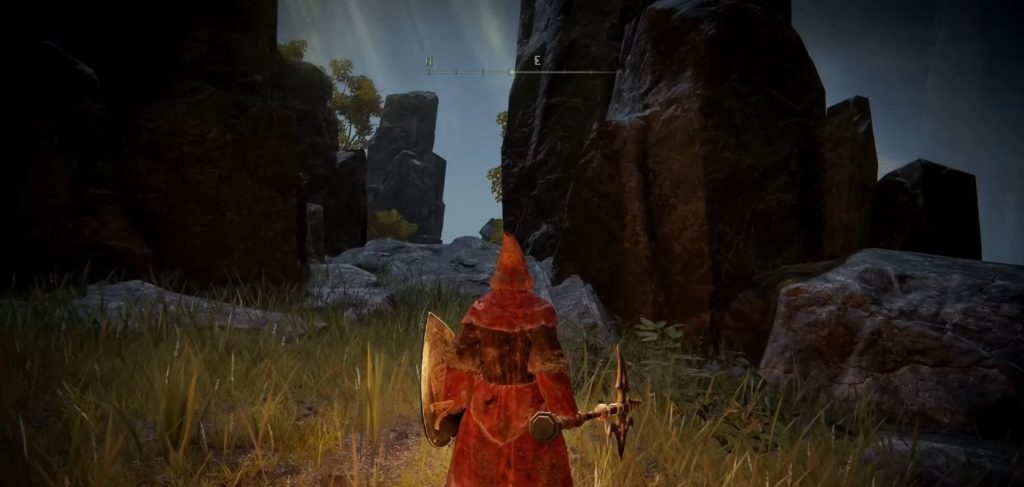
- Whenever you teleport here, you should be able to spawn in the site of grace that is located here.
- Pan your camera to the left, and in the distance, players might be able to see an arched door that is present.
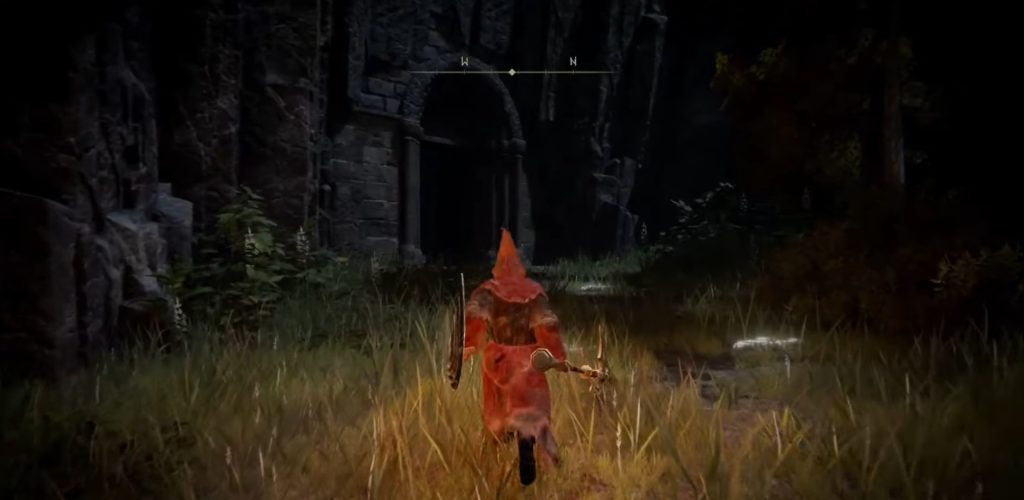
- Head towards the arched door, which is open to allow players inside.
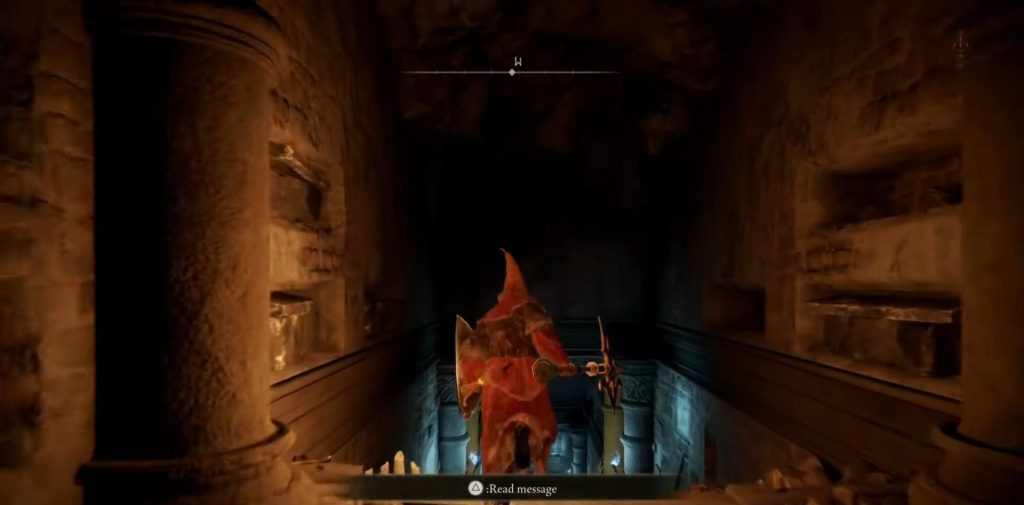
- As you head inside, I recommend making your way down the flight of stairs, and pass by the torches illuminating the room, both on the left and right of the player.
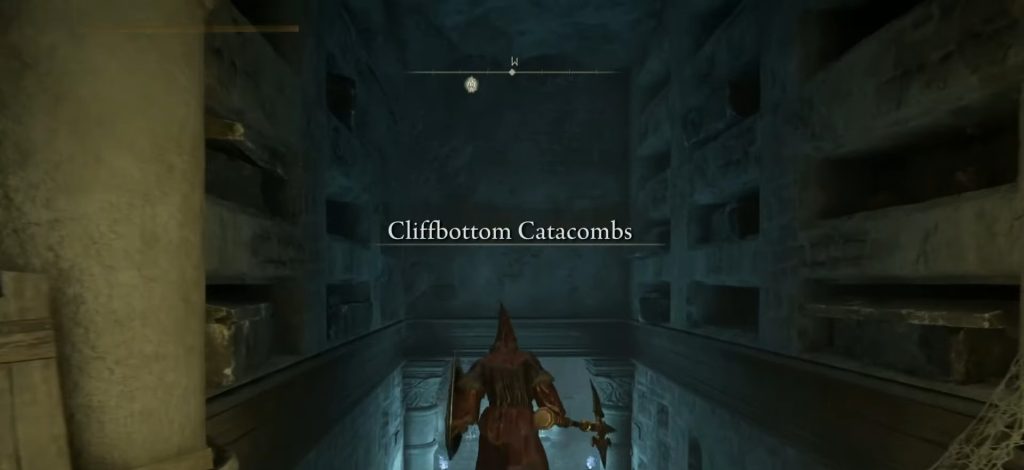
- You’ll know you’re at the right place once the text for the Cliffbottom Catacombs appears on your screen.
- When you reach the bottom of the stairs, players are met with blood splatters on the floor at the edge.
- Towards your right, players should be able to notice a lever that is placed right in front of an open box.
- Head over to it, and you should be able to get a prompt that says “Pull lever,” which allows players to interact with it and pull it.
- Go back to the edge, and after waiting for a few seconds, there should be a platform that starts to rise from the ground, and it ends up stopping right when it meets the floor.
- From here, take note of the square platform; you should be able to walk and step on it simply.
- Once you do so, players can have the platform take them down, which takes them down about 3 floors.
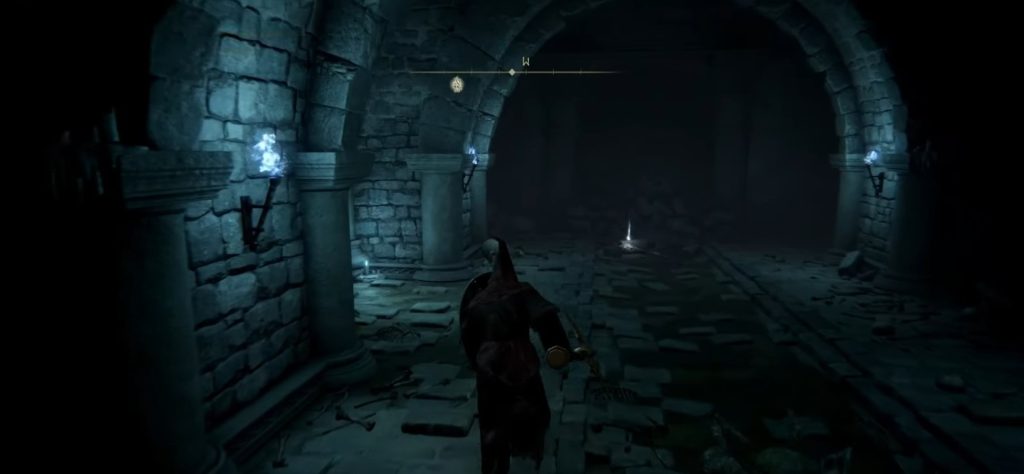
- Right in front of you, an arched door should lead even deeper into the tombs.
- However, I suggest keeping your eyes peeled, as an enemy will also be ready to take you on; you can take the opponent head-on if you feel like a daredevil.
- After that, run through the corridor, take the first left turn that you can take, and head in.
- As you turn left, you can see that there are stairs that lead down, and players want to simply take them and head down.
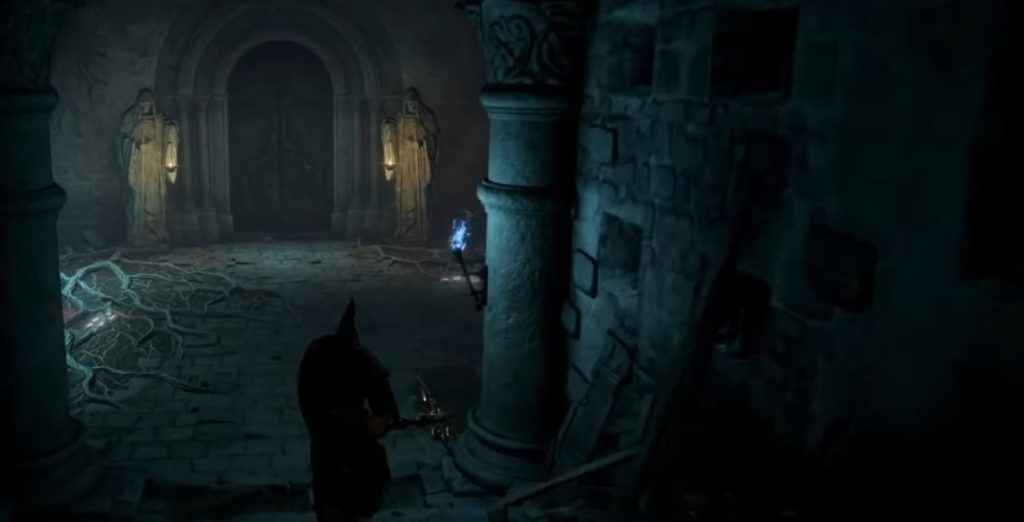
- As you head down the stairs, there should be a locked gate with two statues standing to the left and right of it.
- From the gate, you want to turn right and then head down the flight of stairs yet again.
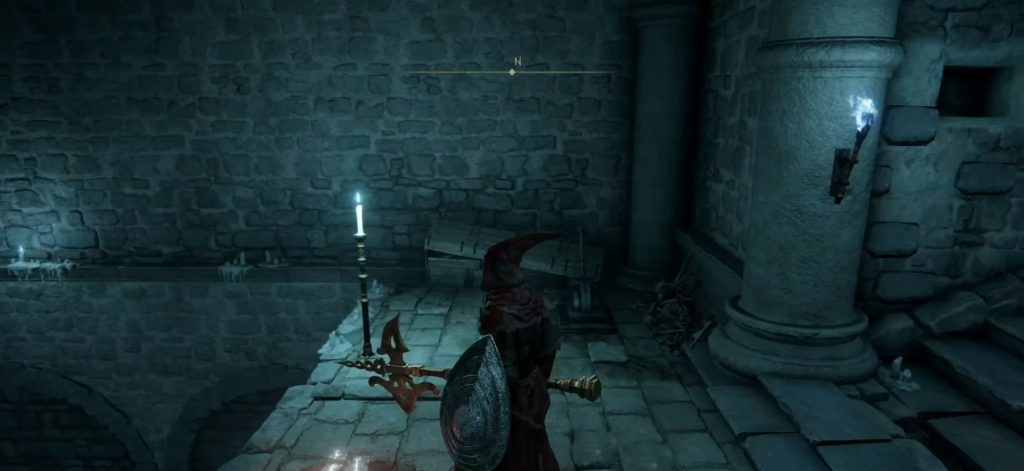
- Take the first left, run past the blue-flamed candle, and venture even deeper into the hallways.
- As you reach the arches, a ramp should take you down, and players need to head down it.
- Continue heading straight, and keep running on. While you can keep fighting, I recommend just ignoring the enemies that fight with you.
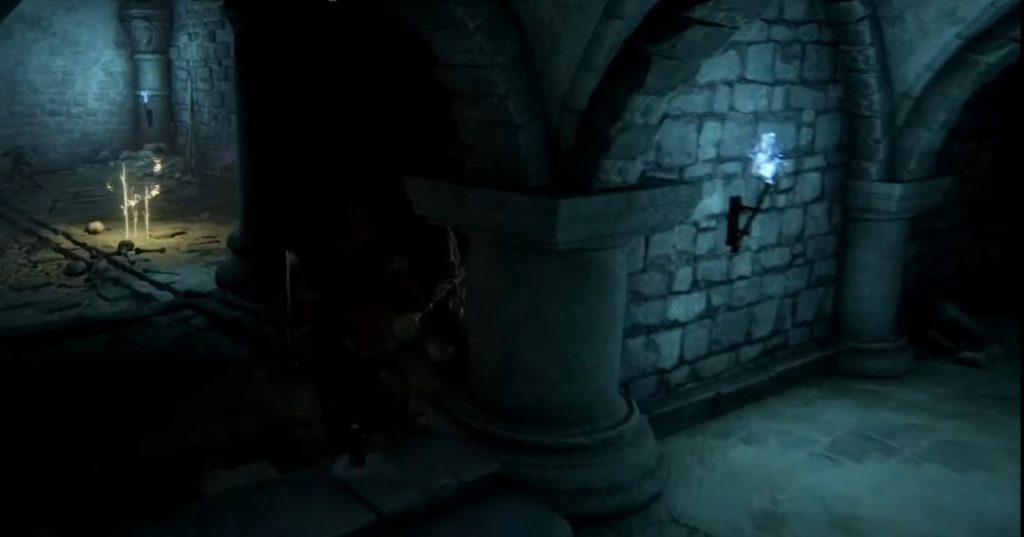
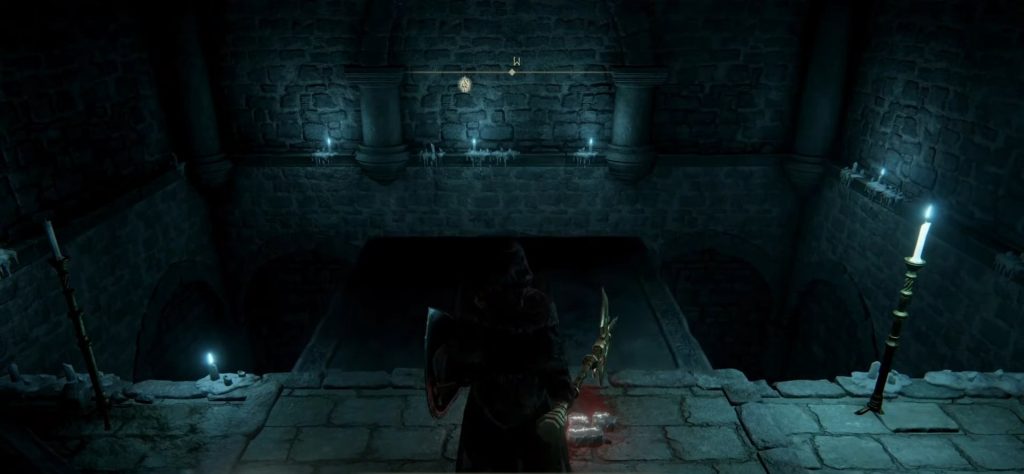
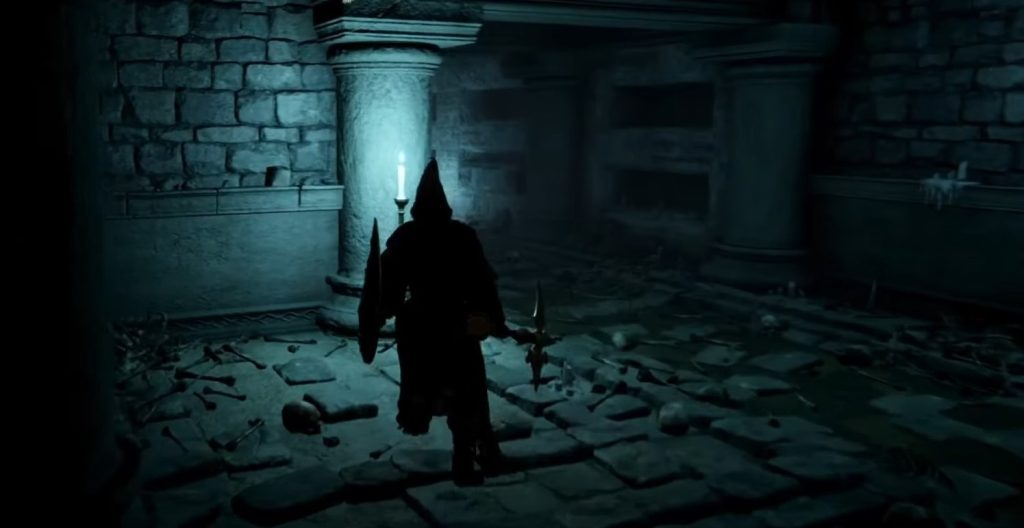
- Take the right turn, and start making your way up the stairs.
- Run through the entrance, and after heading forth a few feet, take another right turn.
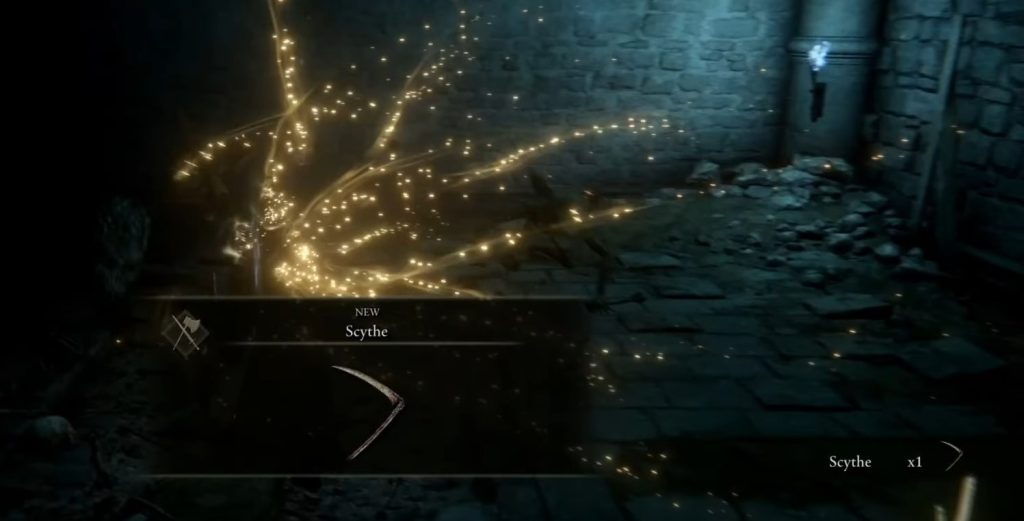
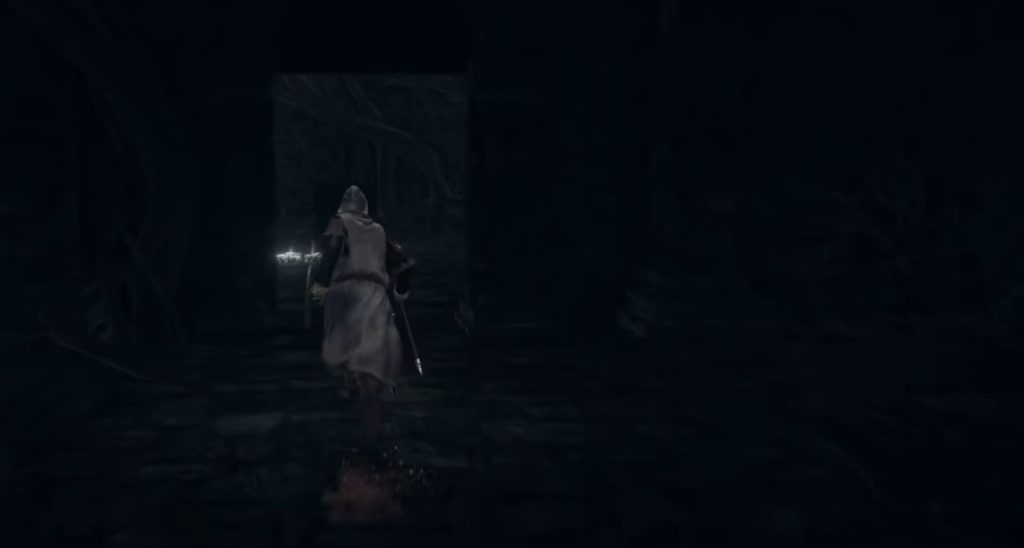
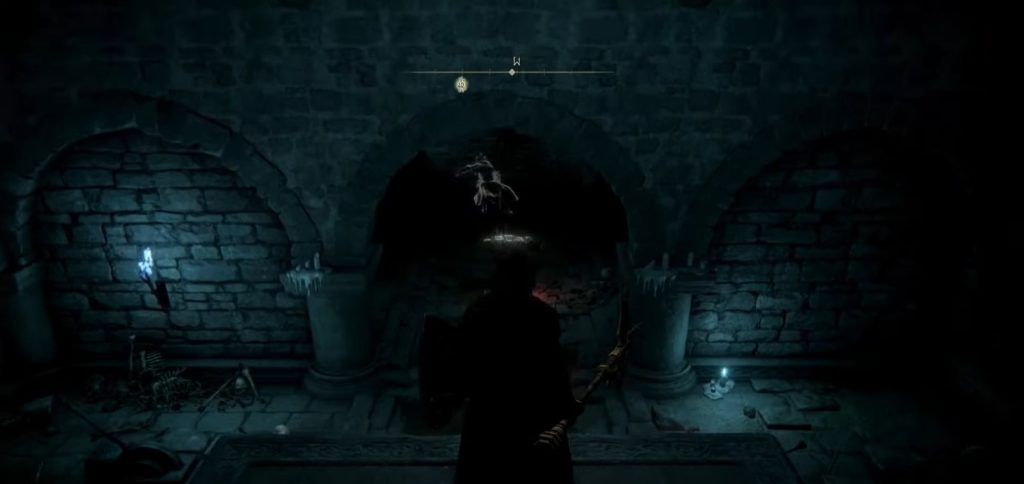
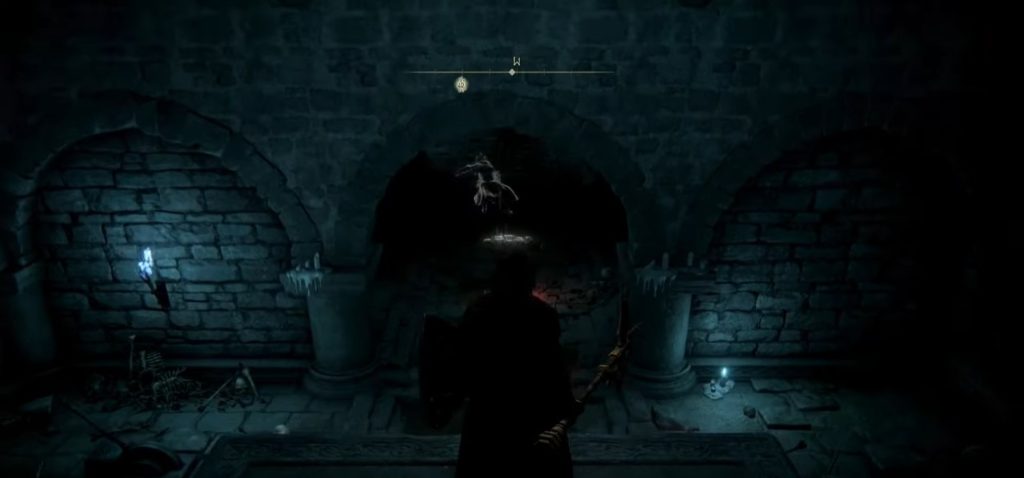
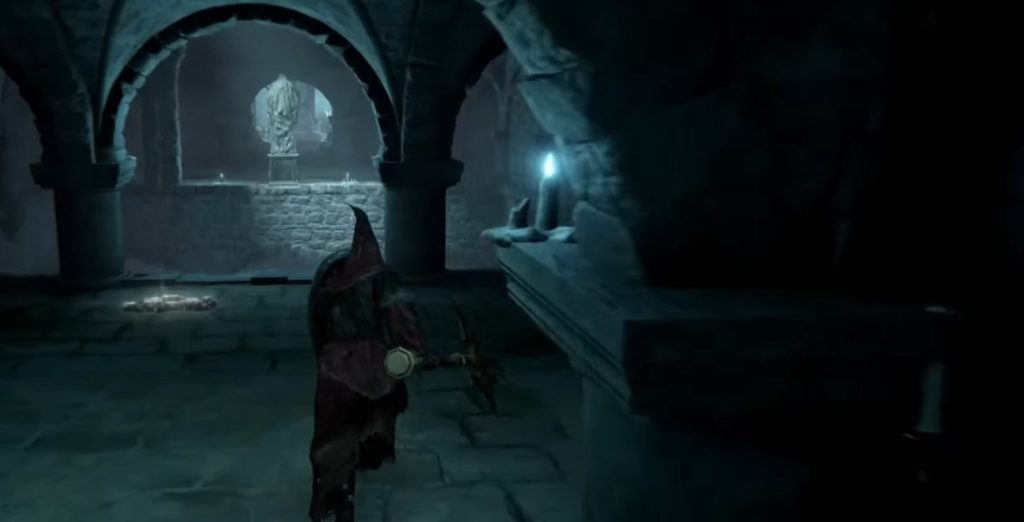
- After going through the corridor, players should be able to turn left and locate a room with a glowing yellow light inside.
- The scythe will be present in the room, and players should interact with it, and as they do so, it will end up being added to your inventory from where you can use it.
| Scythe | Guard | Attack |
|---|---|---|
| Magic | 30 | 0 |
| Physical | 45 | 125 |
| Light | 30 | 0 |
| Fire | 30 | 0 |
| Holy | 30 | 0 |
| Crit | 100 | - |
| Scaling | E Strength C Dexterity | - |
Halo Scythe
Moving on, the next Scythe Locations that players can encounter is the Halo Scythe, which, in my opinion, has to be one of the coolest scythes available for players in Elden Ring.
- The main location players will want to look into is the Swamp Area, which is in the Aeonia Area.
- Deeper into the swamp, there will be four sites of grace that players can get, such as the Inner Aeonia, Aeonia Swamp Shore, and two more locations.
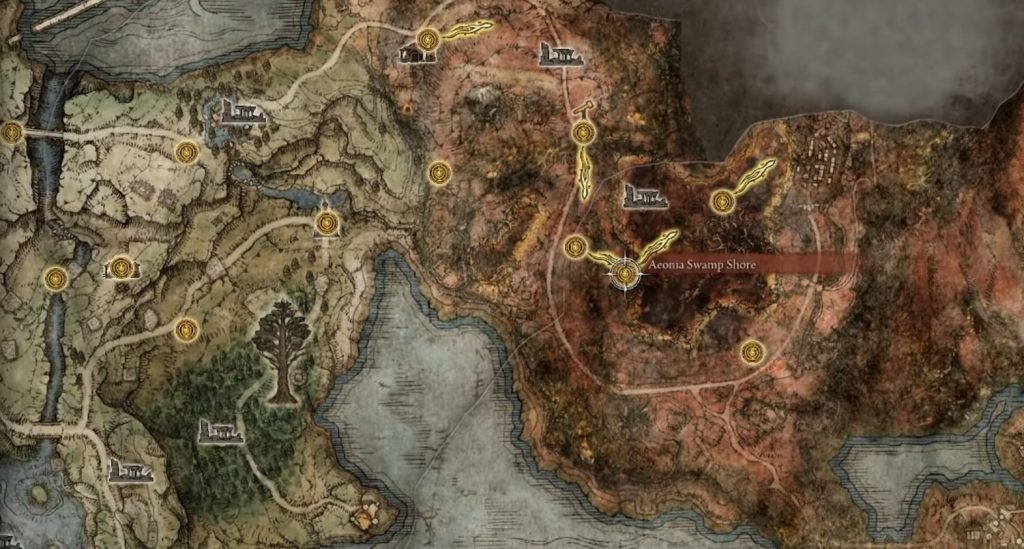
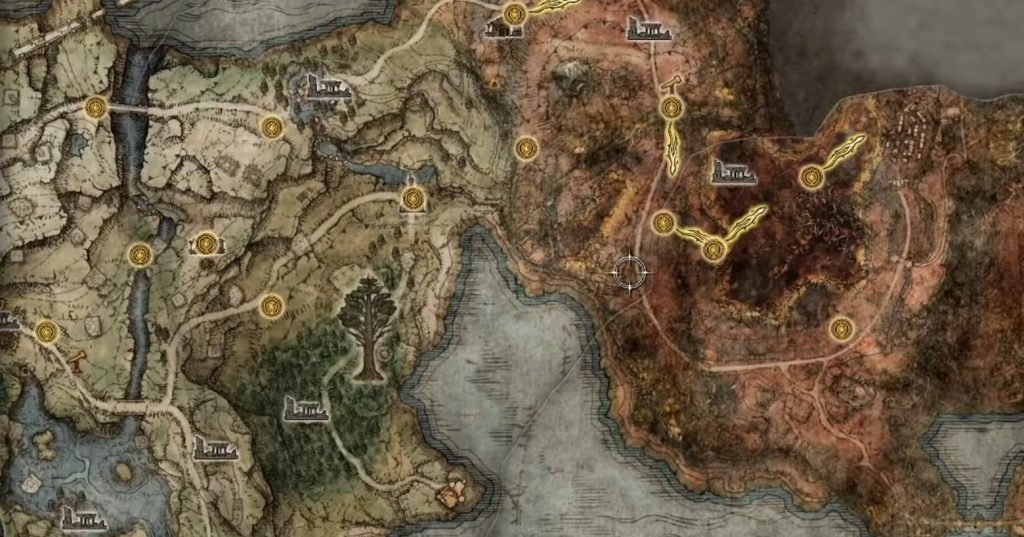
- Located right smack in the middle of the swamp location, if players open up their map, they should be able to take note of the Aeonia Swamp Shore, and players want to teleport there.
- The main enemy that players need to fight for the Halo Scythe is present towards the Eastern side of the Aeonia Swamp shore site of grace.
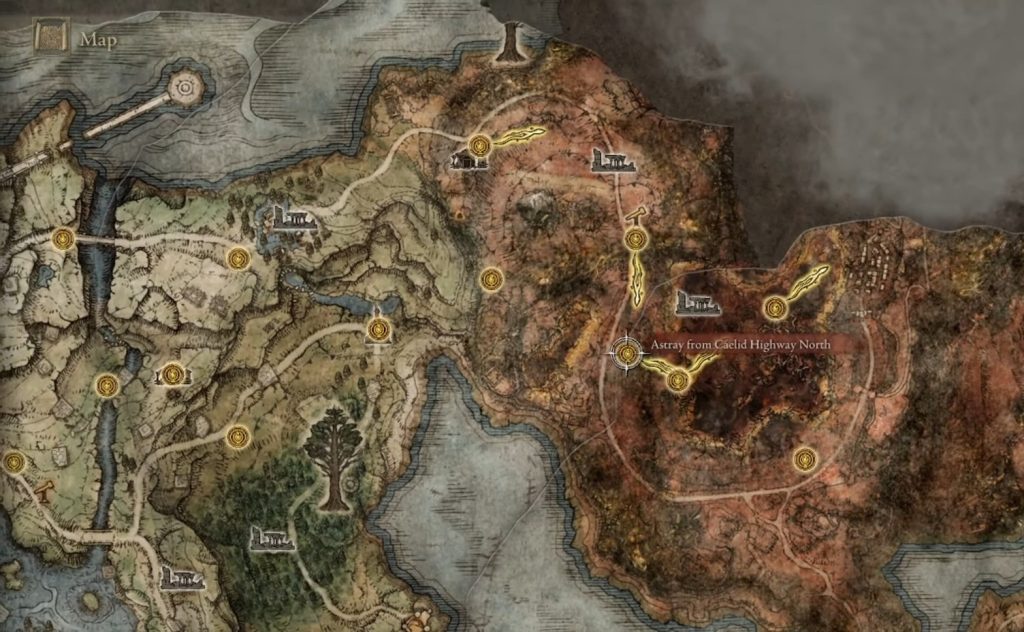
- If players go up the main road from this site, they should also be able to get the Astray From Caelid Highway North Grace.
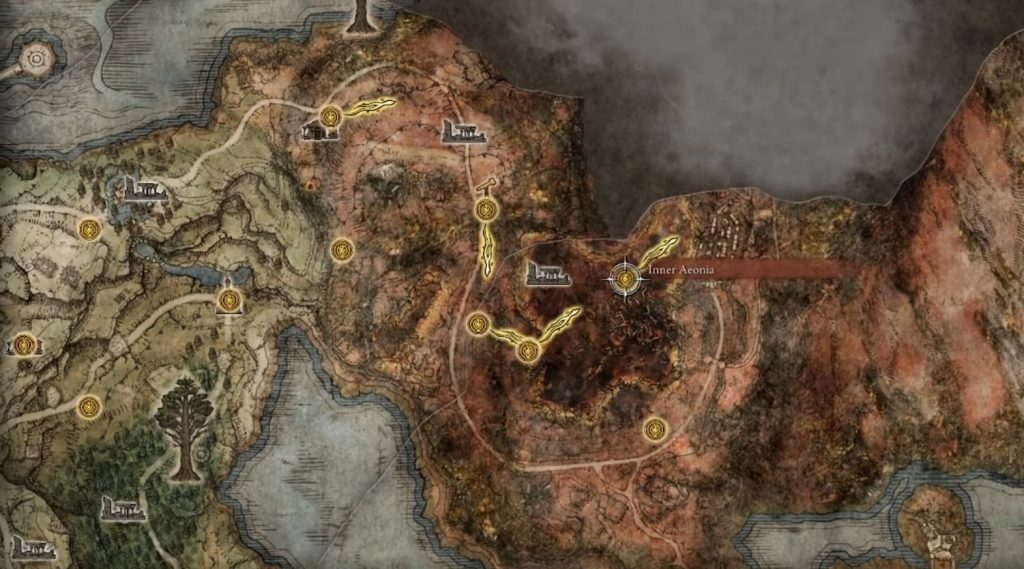
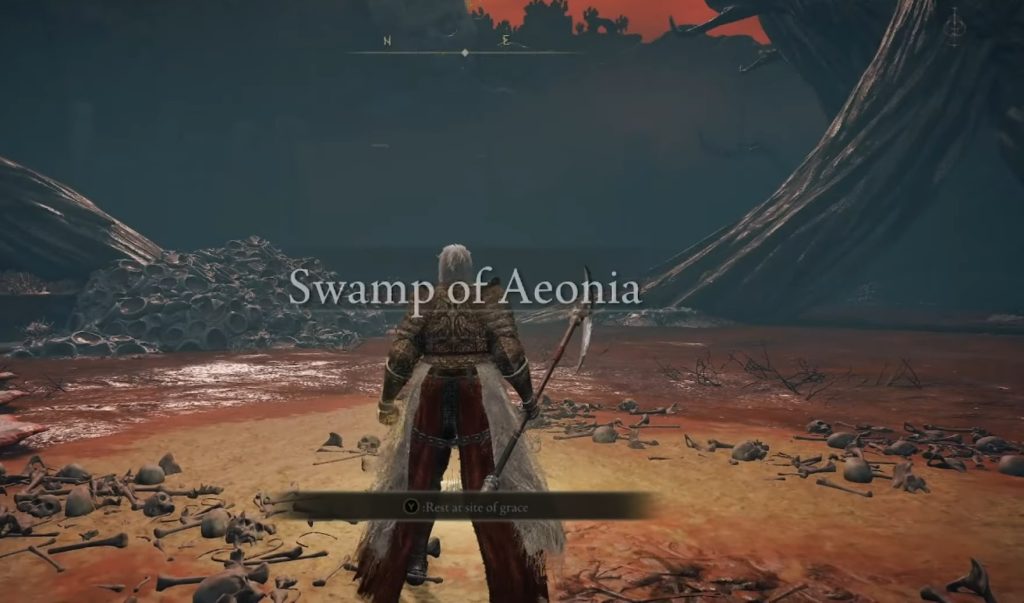
- After that, teleport to the Inner Aeonia site of grace.
- Once you’ve teleported, you should be able to get the text Swamp of Aeonia on your screen.
The main reason I believe that players might want to choose the Inner Aeonia grace to fight the enemy is that there is one present by itself, a bit further away from the site of grace.
- From the site of grace, start heading towards the giant tree that is a few feet away.
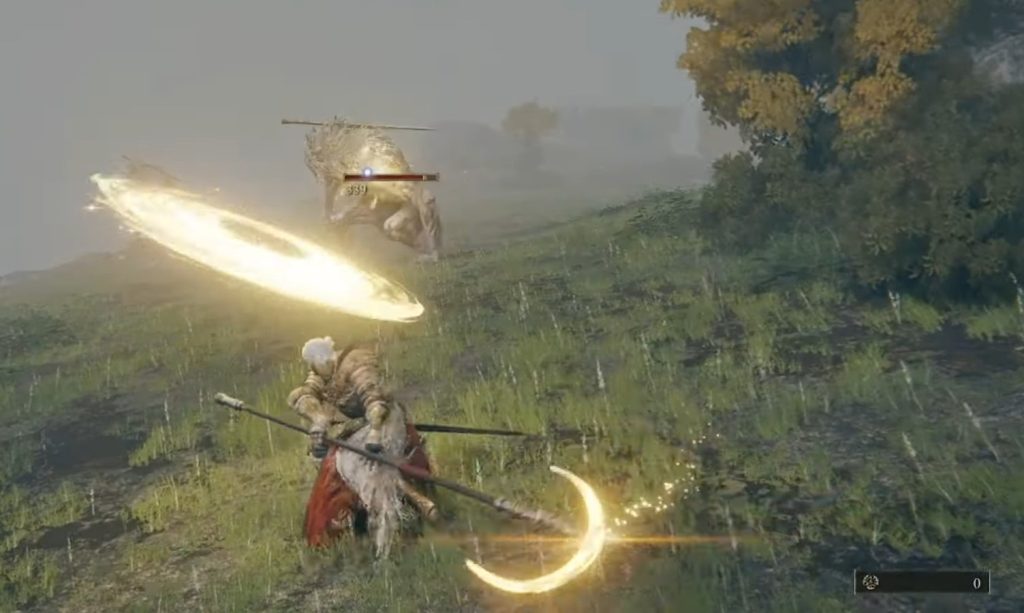
- Head towards the tree trunk, and if players turn right, there should be a small gap present, and the enemy should stand a bit further away.
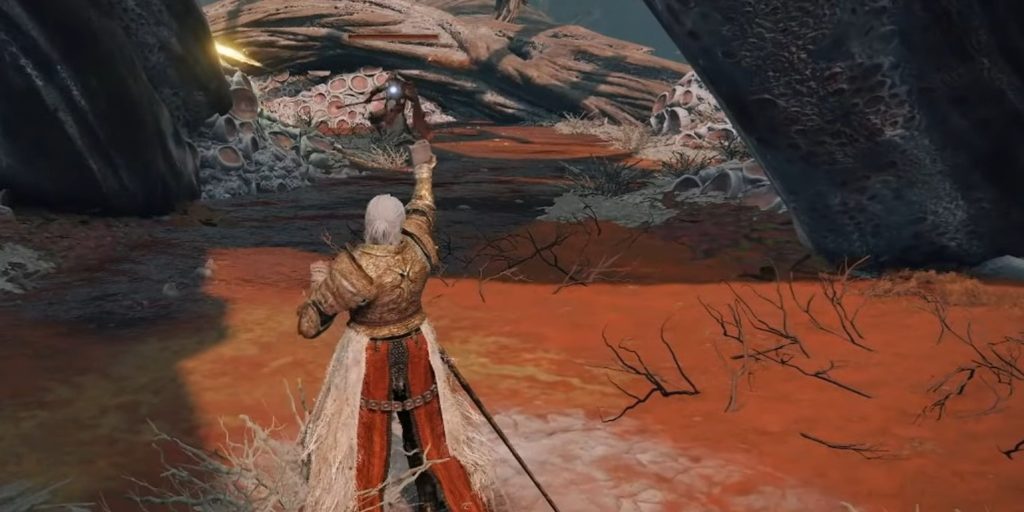
The enemy does end up having the Scythe while he is fighting you. In my opinion, the fight might end up getting a little difficult.
- After the enemy has been defeated, players will need to wait for a little bit before it respawns, and players need to farm the cleanrot knight until they end up getting lucky enough where the Scythe drops.
| Halo Scythe | Guard | Attack |
|---|---|---|
| Magic | 29 | 0 |
| Physical | 42 | 118 |
| Light | 29 | 0 |
| Fire | 29 | 0 |
| Holy | 42 | 0 |
| Crit | 100 | - |
| Scaling | D Strength E Faith D Dexterity | - |
Grave Scythe
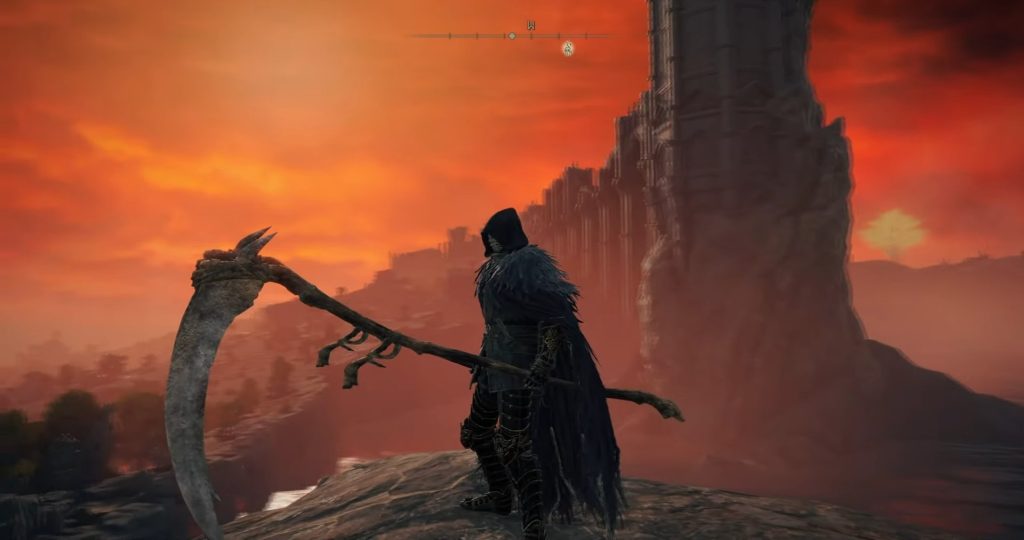
Last but not least, the final weapon players can obtain in the game is the Grave Scythe, which unfortunately happens to be another weapon players can only get as a certain drop from murdering an enemy.
- From here, I recommend focusing on dreaded the Gravekeeper Skeletons, and there is a chance that they can drop the weapon for you.
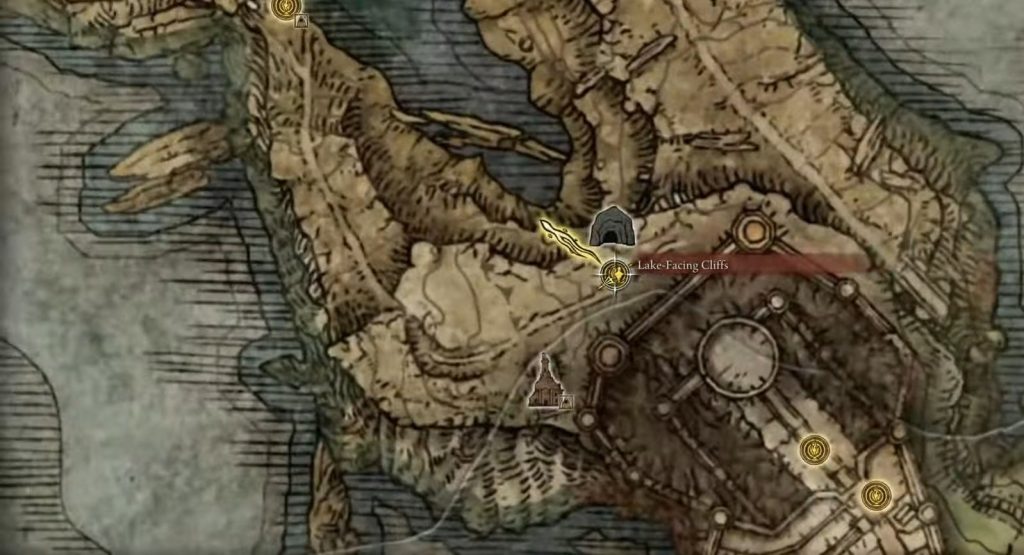
- Open up your map, and players should be able to locate the Lake Facing Cliffs site of grace on the map, and this is one of the best farming spots that players can try out for the Grave Scythe.
- Go ahead and teleport to the site.
- Start heading down, and you want to steer right as you’re starting to go down the path.
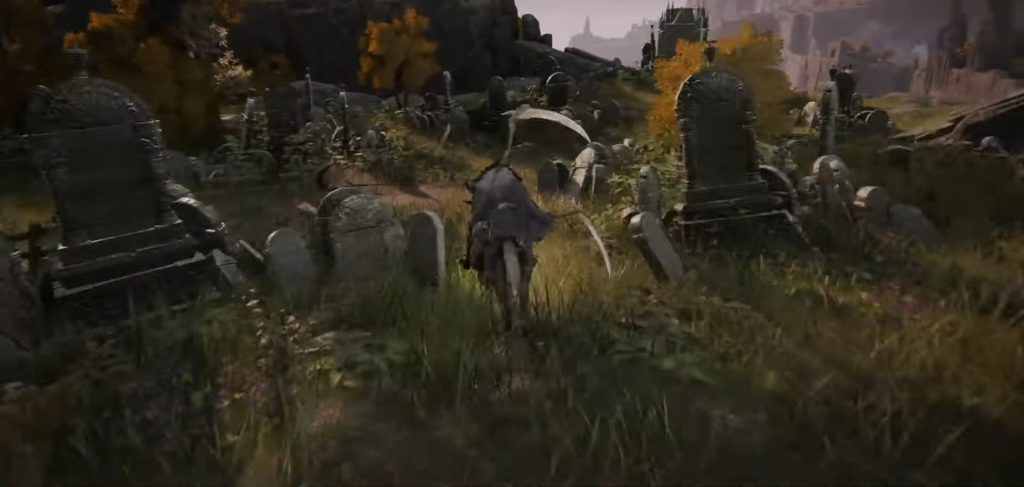
- A bit further from the site of grace, you might be able to encounter a few graves, which is exactly where players need to go towards.
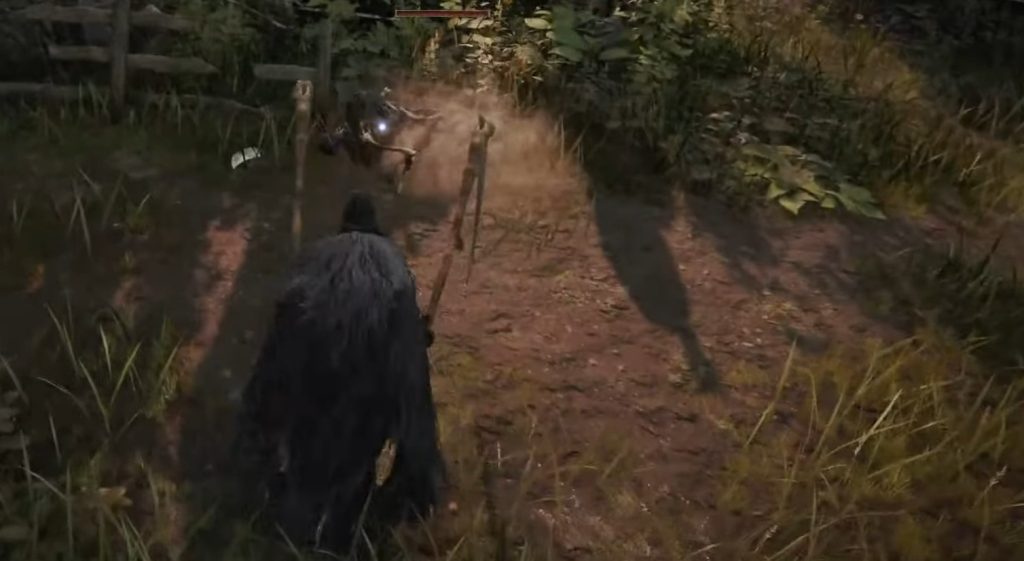
- As you enter the graveyard, an animation should occur whereby a skeleton crawls out of the ground from where it has been buried, and it is essentially the enemy I suggest you tackle.
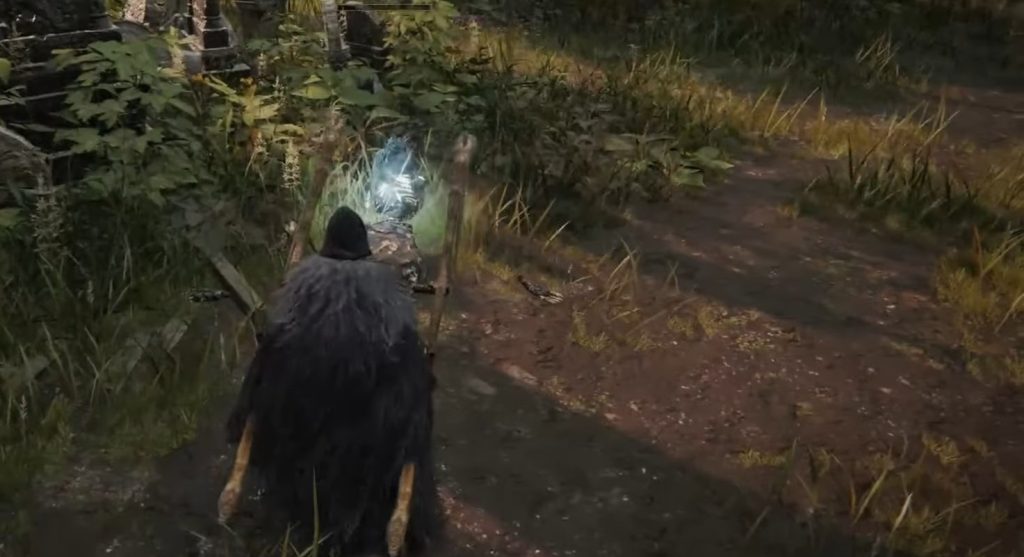
- Once you kill the first one, if you pan your camera to the right, there should be two other skeletons you can fight in the distance, ready to take you on.
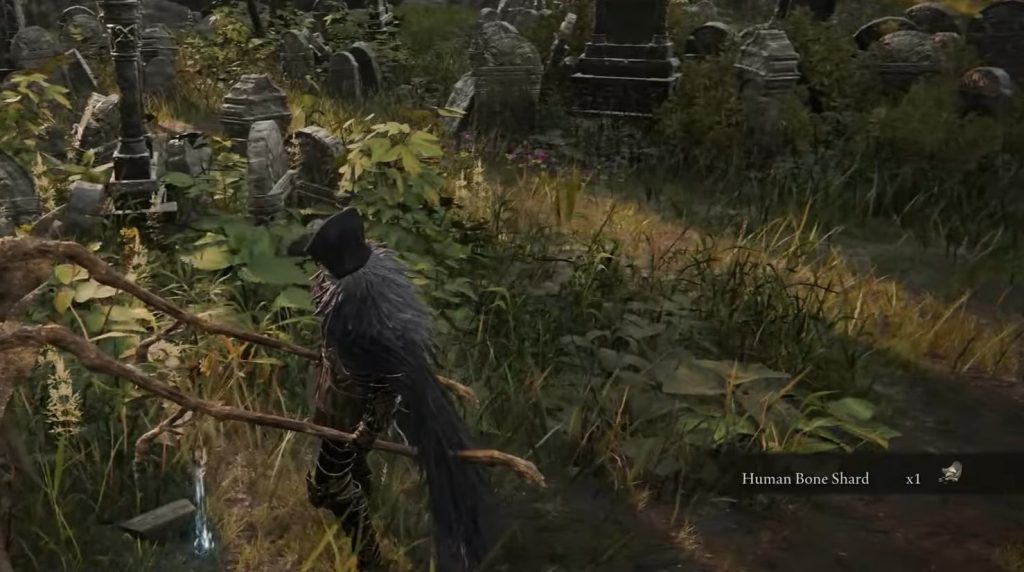
The only thing that players need to do now is to farm these skeletons over and over, and the best way to do that is after you’re done massacring them (as if they hadn’t suffered enough), fast travel back to the Lake Facing Cliff’s site of grace, and then you can just go back and murder them again.
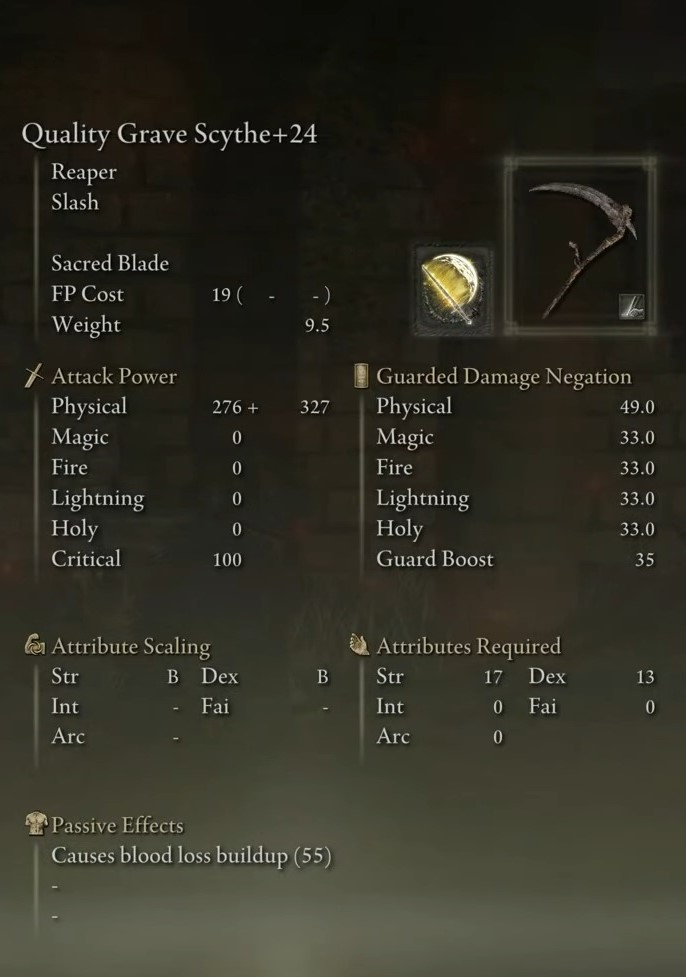
| Grave Scythe | Guard | Attack |
|---|---|---|
| Magic | 33 | 0 |
| Physical | 49 | 144 |
| Light | 33 | 0 |
| Fire | 33 | 0 |
| Holy | 33 | 0 |
| Crit | 100 | - |
| Scaling | D Dexterity D Strength | - |
Summary
And there I have done it! All that players need to know about the Scythe Locations, and with that, I will wrap up my guide.
While you’re here, you might want to read up on our Elden Ring Best Swords guide since it details which swords you should take with you on your journey and which ones might be the best in combat. Alongside that, if you want to know where poison mist is located, then you can read through our Poison Mist guide since it goes into detail about its general location and overall stats
Locating Fort Faroth can be a feat on its own; read our Fort Faroth guide to know where it might be located and how you can obtain the items within. Lastly, knowing which Rapiers might be the best can become quite daunting; therefore, checking out our Elden Ring Best Rapiers guide can remove any confusion you might have!
Up Next:
- Elden Ring Endings
- Elden Ring Best Armor
- Elden Ring How To Summon Spirits
- Elden Ring Upgrade Spirit Ashes
Grave Scythe Credits: CloudPlays on Youtube
Halo Scythe Credits: Skullie on Youtube
Scythe Credits: GamingWithAbyss on Youtube
Church Of Pilgrimage Path Credits: SharkR on Youtube
COP And Tombsward Ruins Credits: TheRealGodzilla on Youtube
Thanks! Do share your feedback with us. ⚡
How can we make this post better? Your help would be appreciated. ✍