Grounded has 4 Black Widows that can be traced down in their respective locations and fought to obtain its drops. However, getting to the actual locations can be difficult if it is improperly sorted out. Therefore, players might require a step-by-step walkthrough of how to get to each one.
- The Black Widow is a vicious, giant spider found in various areas of Grounded, and is extremely Hostile towards players and can attack them.
- The Black Widow can drop items like the Black Widow Fang, Spider Chunks, and the Super Spider Venom.
- There are 4 Black Widows that can be found scattered and hidden across in Grounded map.
- The first location is towards a toolbox.
- Another location for the Black Widow is in the Undershed area.
- The next location is towards the Car Battery.
- Lastly, the Black Widow can be found in the Moldorc Castle area.
Toolbox
Now, one of the main Grounded Black Widow Locations includes one that is near the Toolbox.
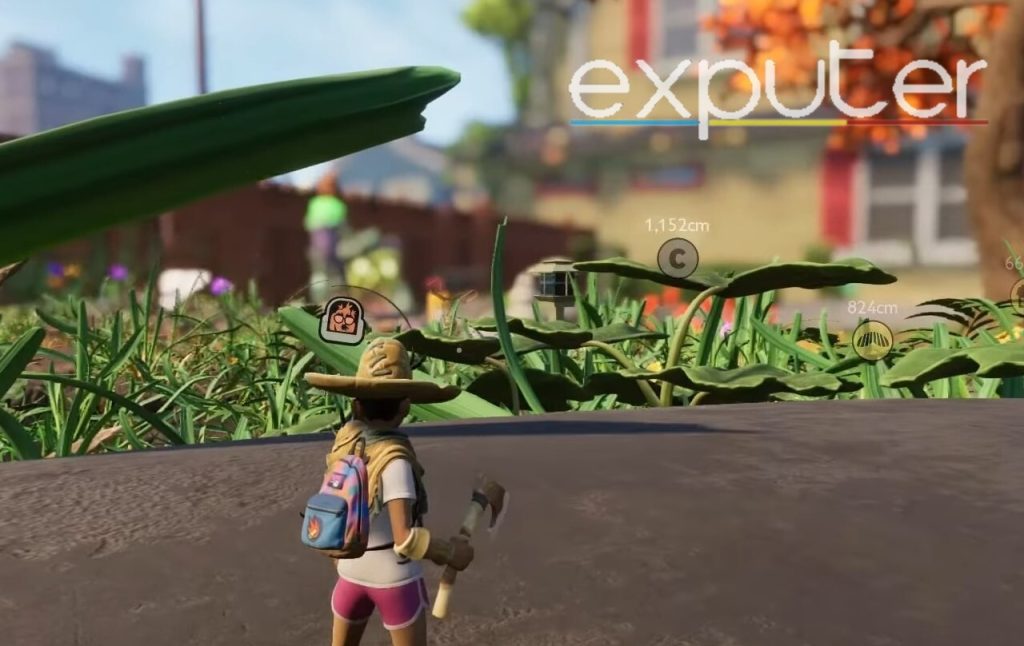
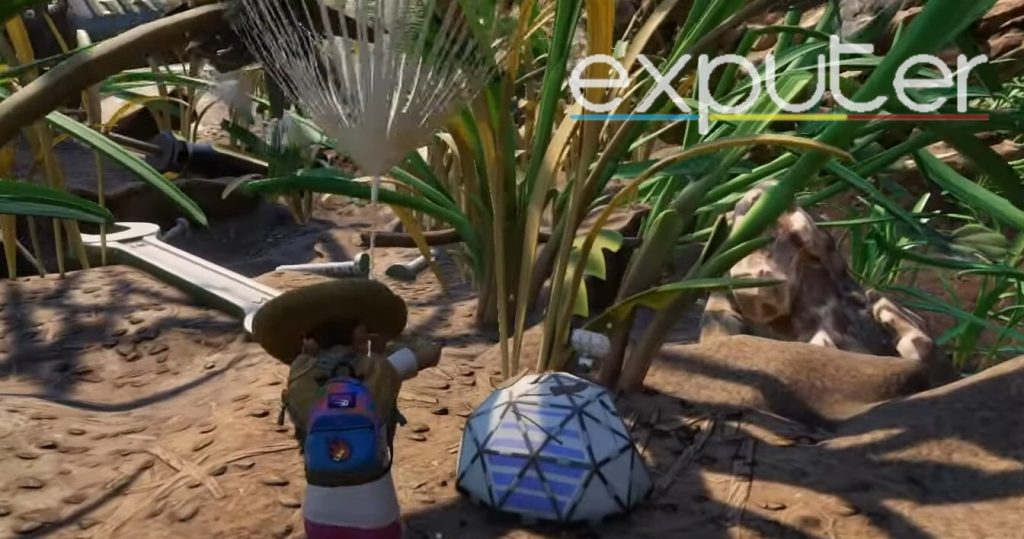
- As you start, you should be standing near a few plants, and there should be a hill that leads down deeper into the grassy area.

Grassy Area (Image Credits Exputer) - If you pan your camera to the left, there should be a toolbox that is colored red, and the toolbox will appear extremely big compared to the size of the character you are playing.

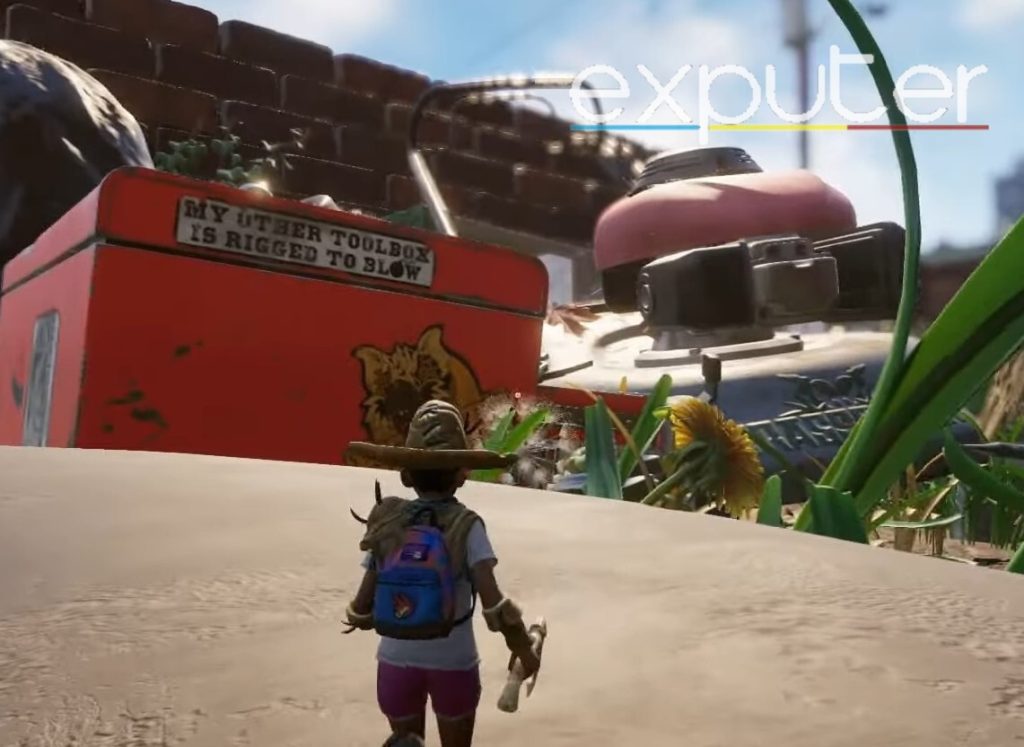
Toolbox (Image Credits Exputer) - The toolbox can be identified by the text on top that reads something along the lines of “My other toolbox is rigged to slow”, and there should be a few stickers placed on the front of the toolbox, indicating that it has been personalized.

Jumping Off The Edge (Image Credits Exputer) - After taking note of the toolbox for tools, start heading forth, jumping down from the edge and onto the lower level of the ground, where the grass has practically covered all ends of the land.
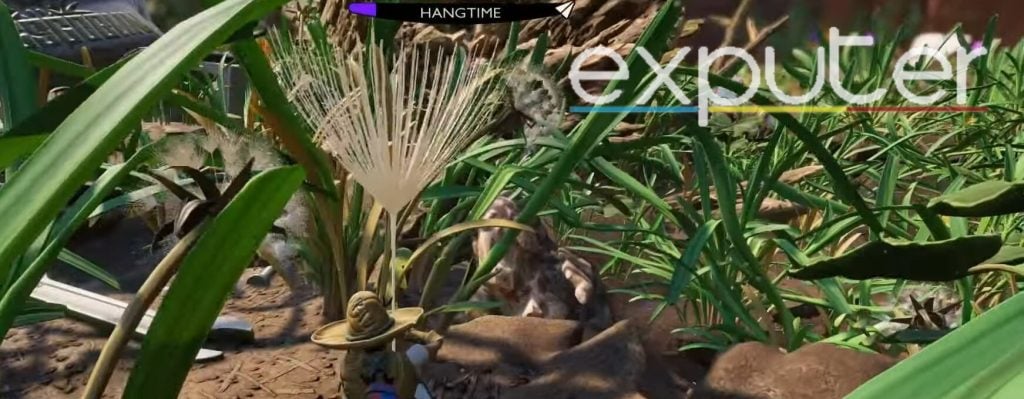
- If you’re unaware, you can hang while in the middle of the air to avoid taking fall damage, and there will be a hangtime meter on top of your screen indicating the total amount of time you can spend in the air.

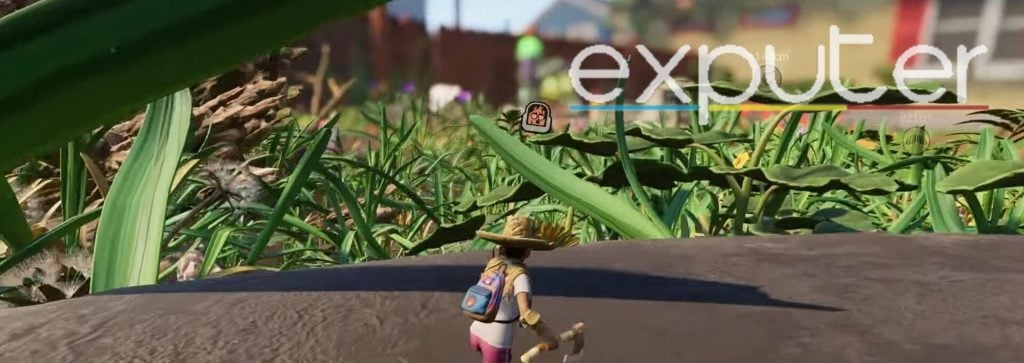
Hanging (Image Credits Exputer) - After landing on the ground, you can start running forward.
- Right in front of you, there should be a giant spanner on the ground, which is a bit towards the left side of the space you are standing on.

Spanner In The Distance (Image Credits Exputer) - From where you are standing, start running across the span of the spanner (nice pun), and keep making your way across until you cross it fully.
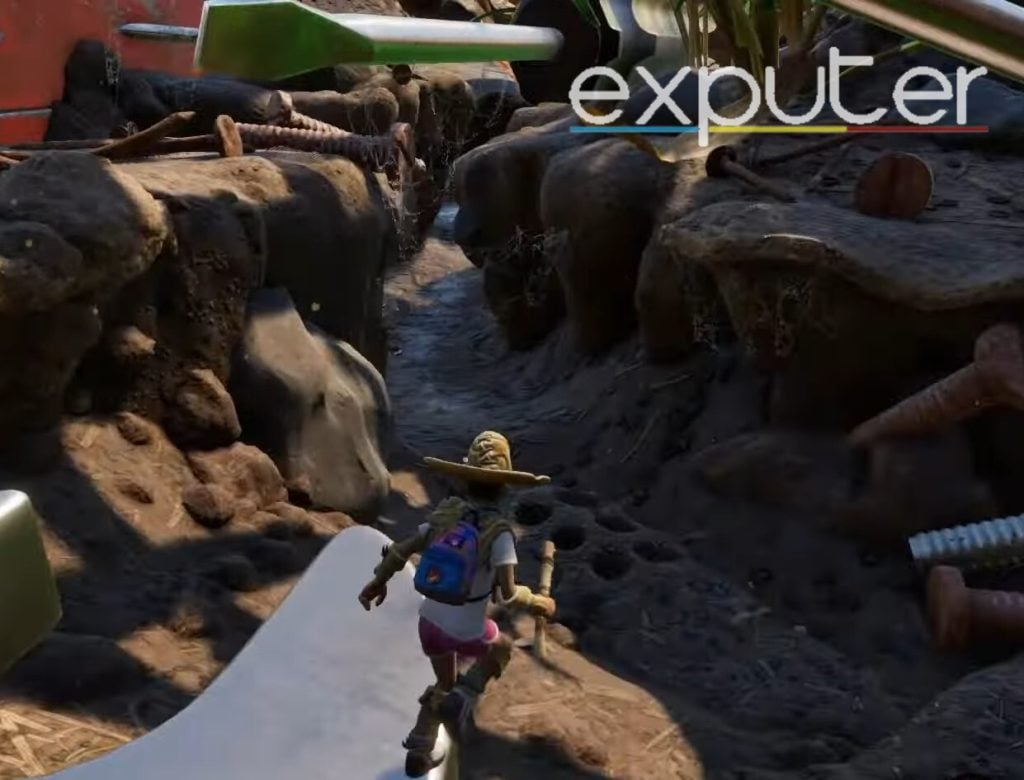
- After you’ve reached the edge of the spanner, all you need to do is jump off it so that you can make your way into the muddy pathway laid down before you, and it is sort of a small tunnel.

Muddy Path (Image Credits Exputer) - From here, all you need to do is start running a few feet forward from where you are standing.
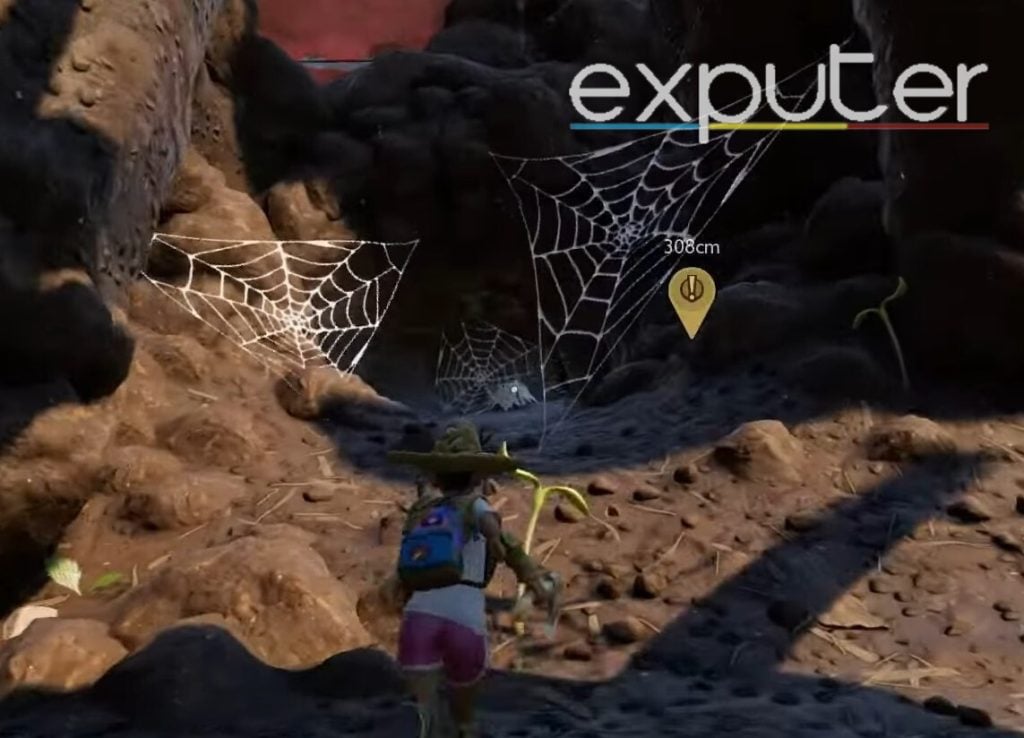
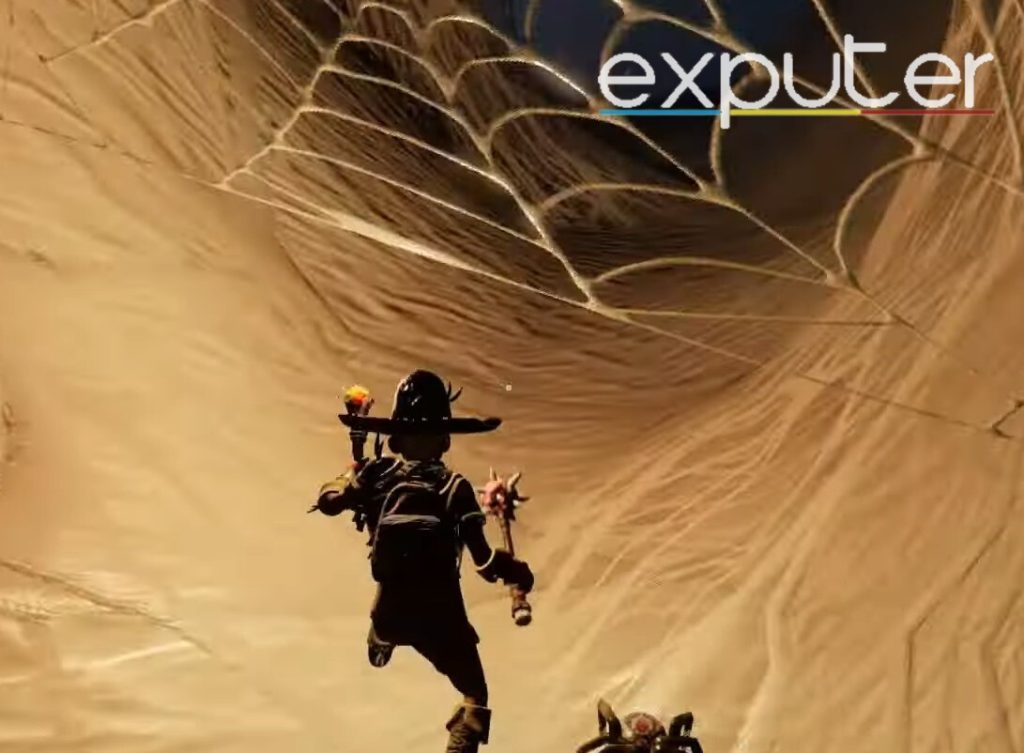
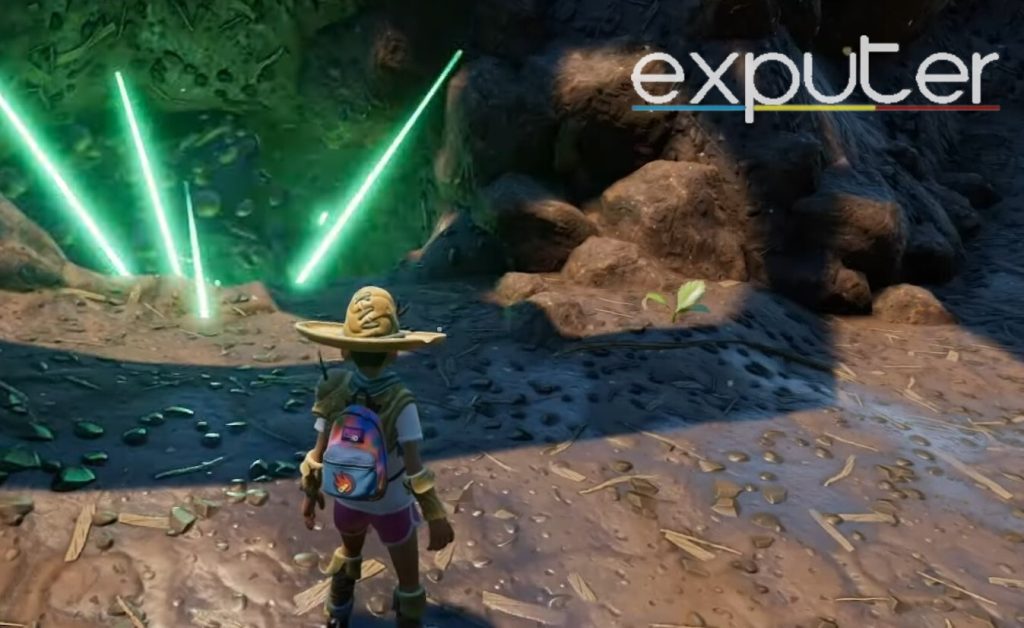
- After that, if you look to your left, you should come across a hole that spiderwebs have covered, and there are going to be a total of 3 spiderwebs that have been placed first on the start of the hole, then on the left of it, and then a bit deeper inside the cave-area.

Cave Entrance (Image Credits Exputer) - As you head inside, you might be able to come across the location of the First Black Widow in Grounded.
Undershed Location
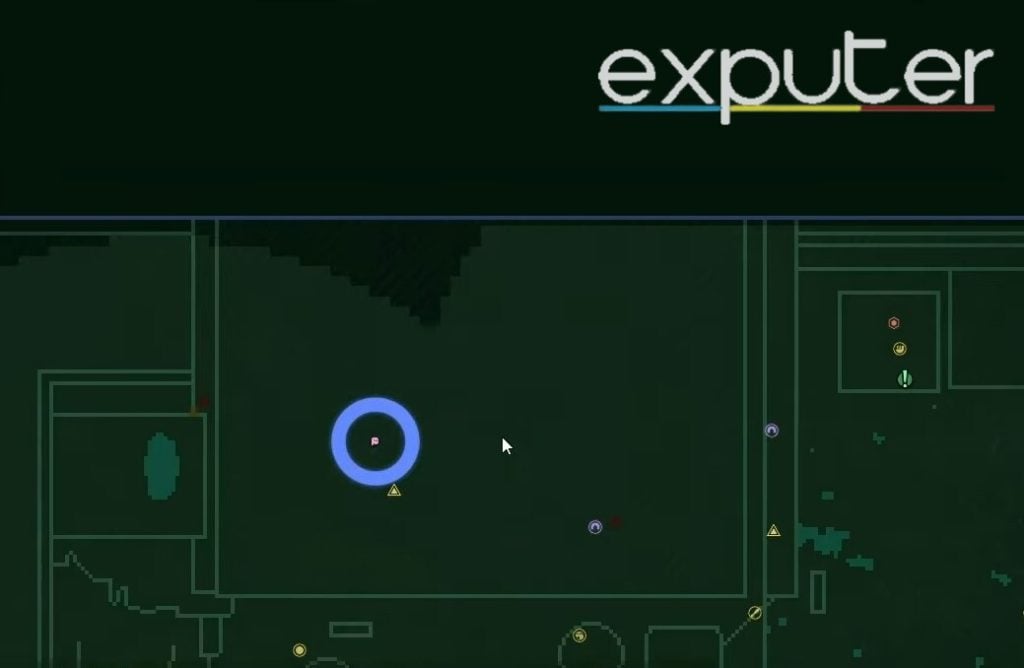
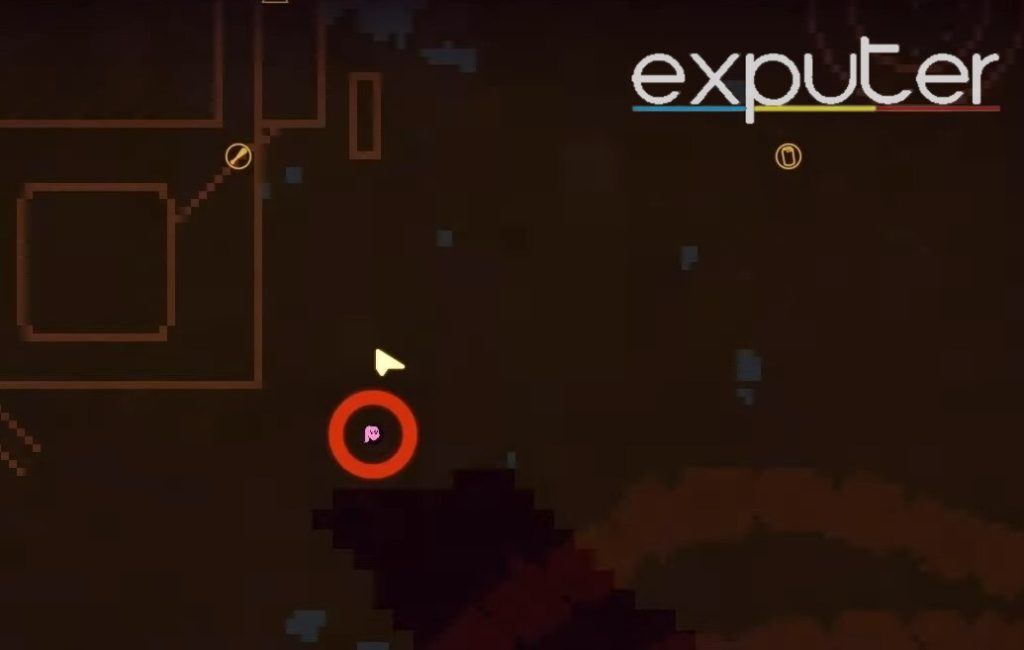
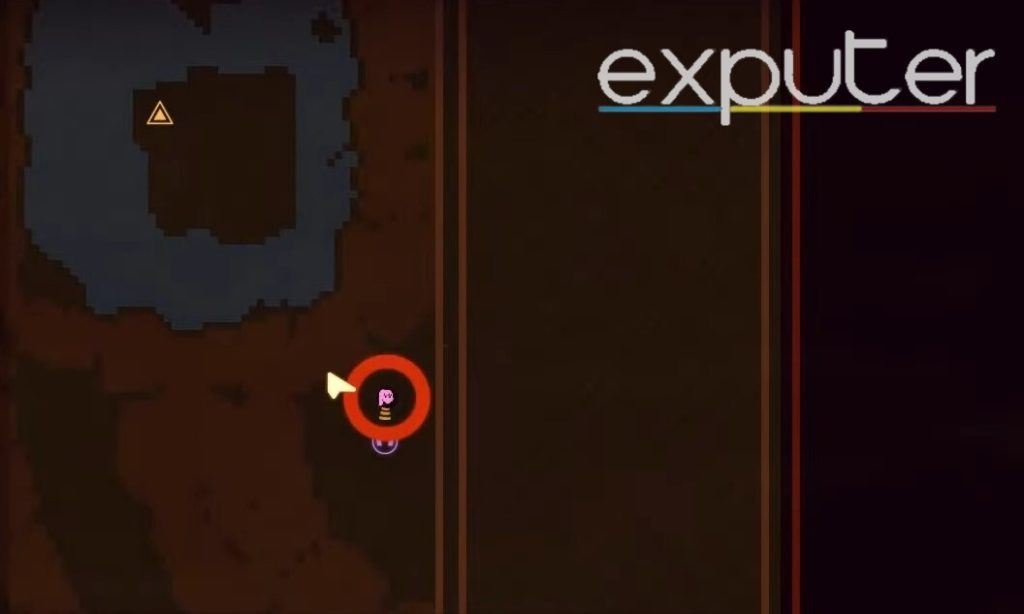
Regarding the second of the Grounded Black Widow Locations, you can make your way to the location displayed here on the map as follows.
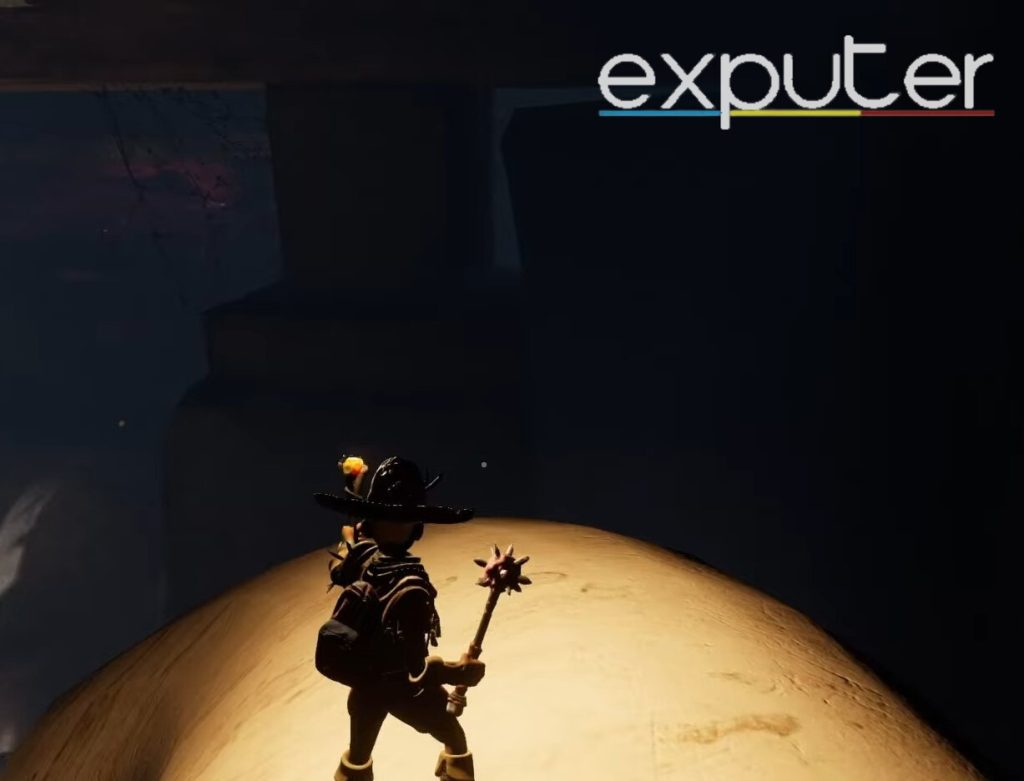
- As you are standing on top of a pipe, you can start running down from it, and if you look to your left, there should be a pipe connecting to the ceiling.

Yellow Pipe (Image Credits Exputer) - Start running down the pipe, and as you are running down it, you should be able to take note of the path towards the right side of the yellow pipe, and you should be able to hop onto it and easily get to safety.

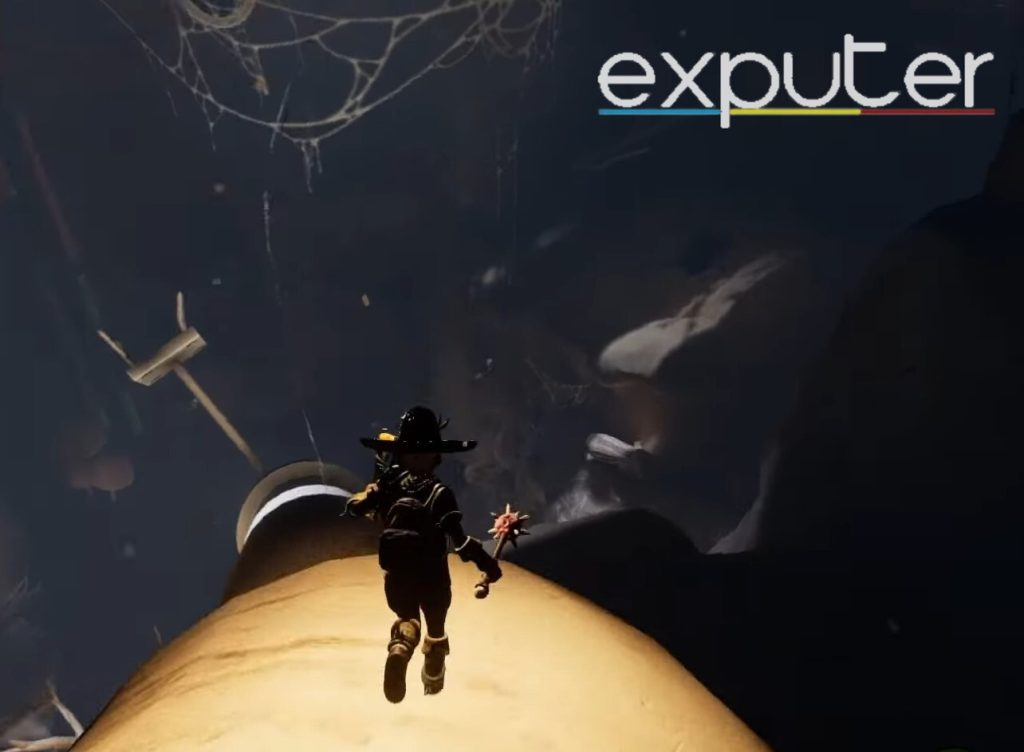
Running Down The Pipe (Image Credits Exputer) - Hang for a bit if you feel like you’ll end up taking fall damage.
- After that, go towards the edge of the path, and if you look down, you should be able to take note of a few spiderwebs that are off into the distance.

Off The Edge (Image Credits Exputer) - From here, you want to leap faith and start hanging off until you can get close to the spiderwebs without falling.

Tunnel (Image Credits Exputer) - From here, you should see a tunnel that leads deeper inside; even more spiderwebs will be scattered across the tunnel.
- Keep heading deeper into the tunnel, and eventually, the tunnel opens outwards, through which you should be able to see a giant spider present a few feet away from where the tunnel ended.
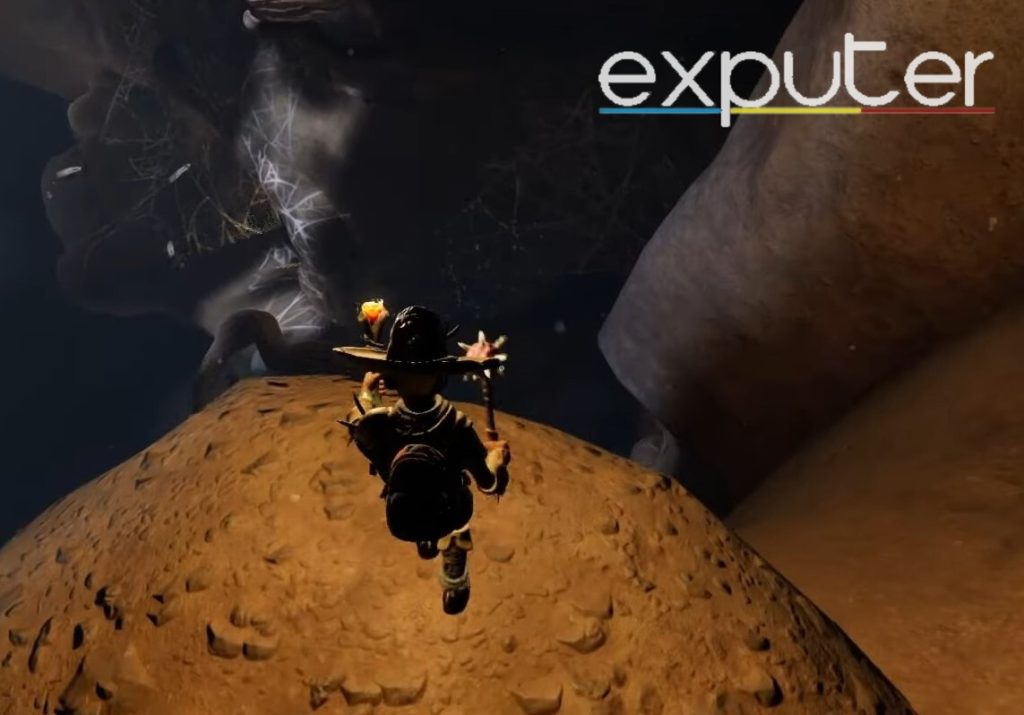
Getting close to the spider, you can encounter the Black Widow, and you can easily fight it if you are strong enough, as to take it out, you will need to defeat it.
Car Battery
Now, when it comes to the third Grounded Black Widow Location, it will be inside a car battery that can be found in Grounded.
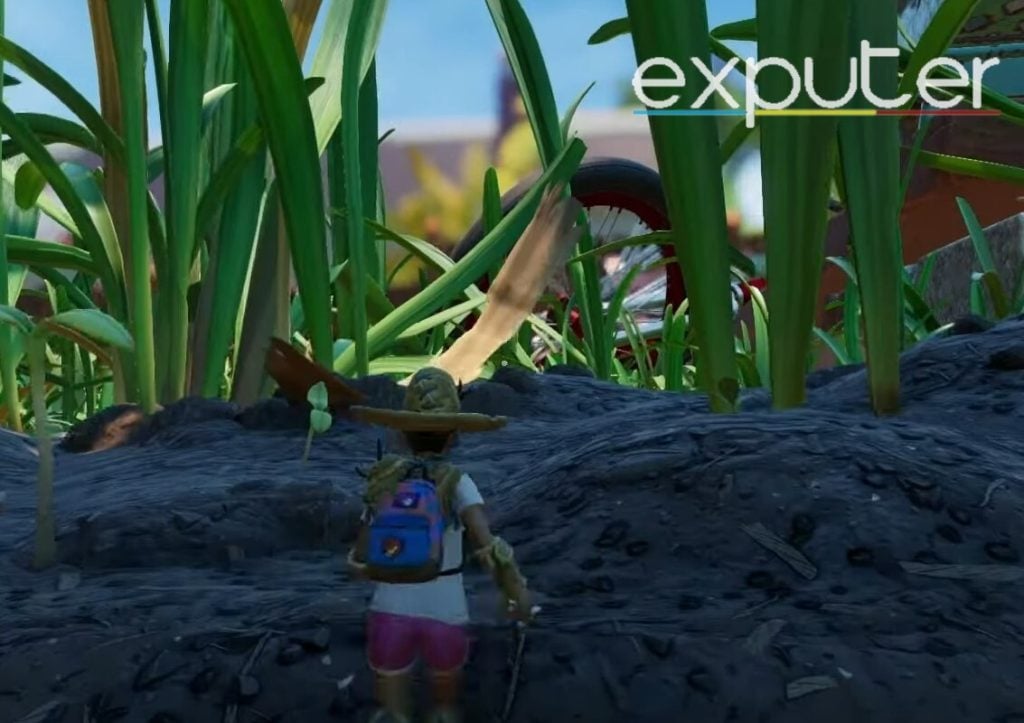
- Start by being at a place where tons of blades of grass surround you, and there is nothing but grass that can be seen for miles ahead.

Blades Of Grass (Image Credits Exputer) - As you head across the ground, if you look to your right, there should be a mound of mud piling up for a while, and the mud has dried up, indicating that you are heading to the right area.

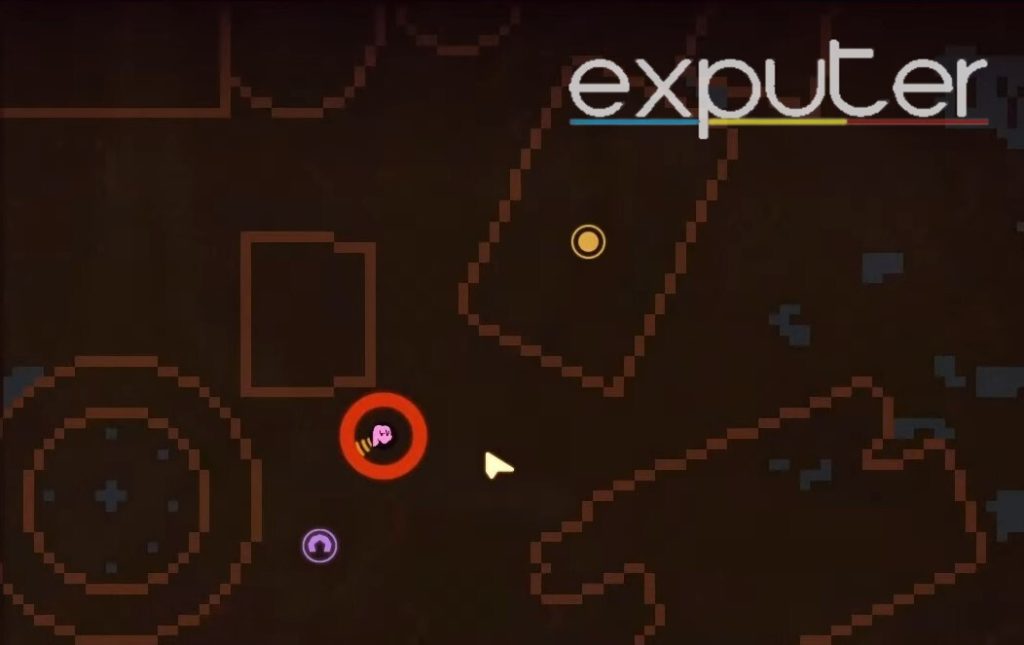
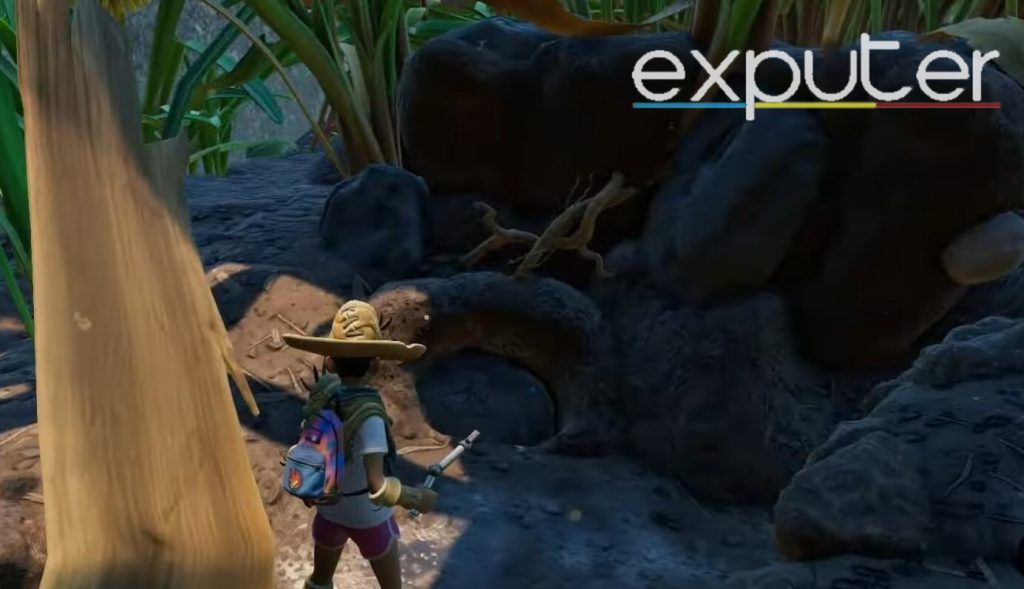
Mound Of Dirt (Image Credits Exputer) - From here, you want to head towards the mound of dirt that has formed a circle, and there is a small hole in the middle of it, and that is the place you want to head towards.

Blocked Path (Image Credits Exputer) - However, the hole will be blocked, and you can’t break it until and unless you have access to a bomb, which you can use from your inventory, which will come in handy to blow up the pathway blocking you from heading inside.
- Aim the bomb and throw it towards the middle of the hole that has been blocked, and then run a bit further away so that you don’t end up taking damage from the bomb, and just wait until the bomb does its job blowing up the blocked path.

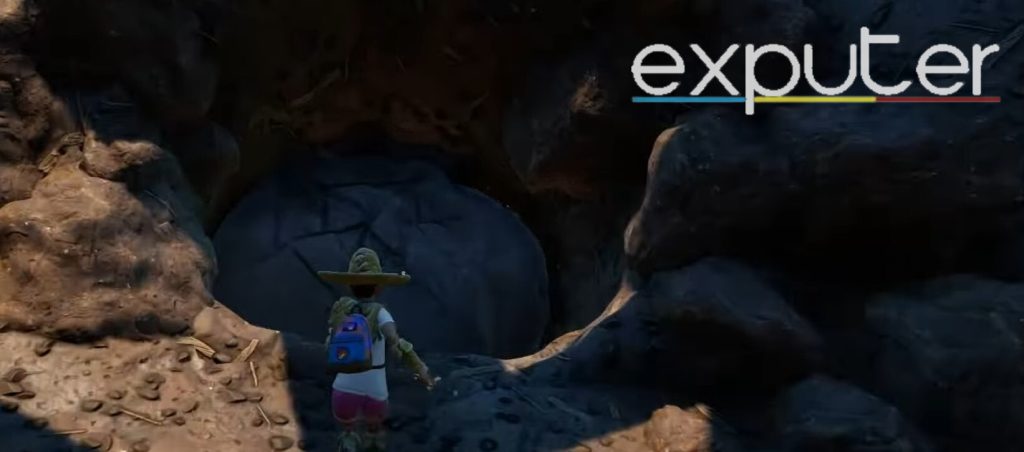
Explosion (Image Credits Exputer) - As the path is cleared, you can start heading inside, which opens up a small tunnel that you need to head further deep inside first, and all that you want to do here is simply start running down the tunnel and heading further inside.
- As you head inside, you might find it easier to have a source of light on hand. Therefore any item that can light up your path can be used to make travelling a whole lot easier for you.

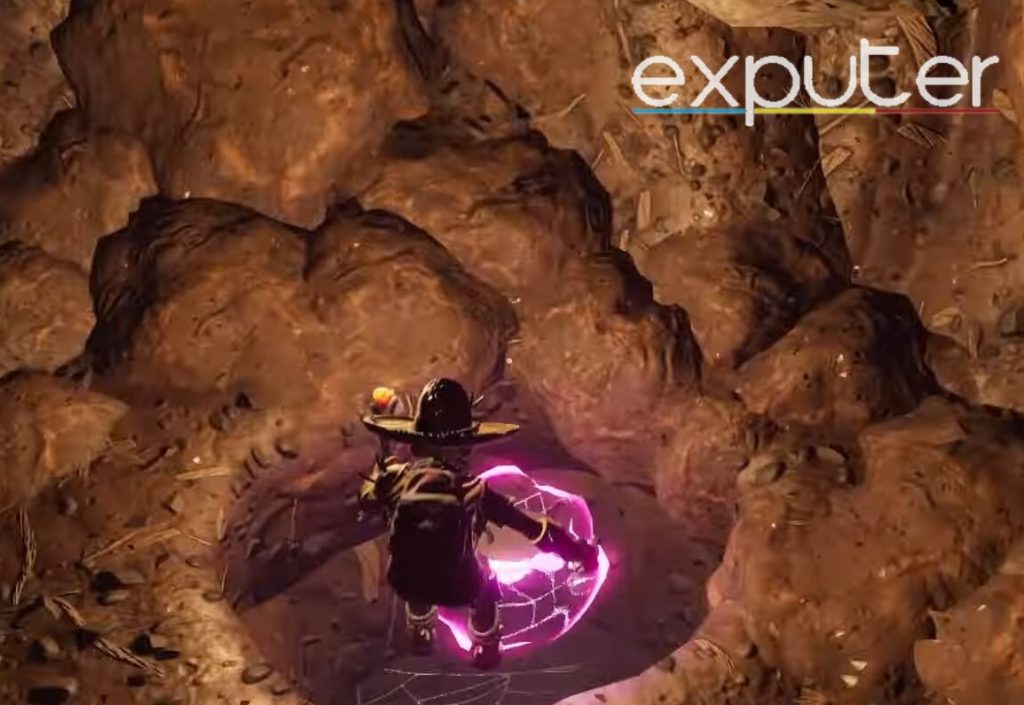
Jumping Into The Hole (Image Credits Exputer) - A hole should be located a few feet deeper into the entrance, and you can jump down it to reach even further into the depths.
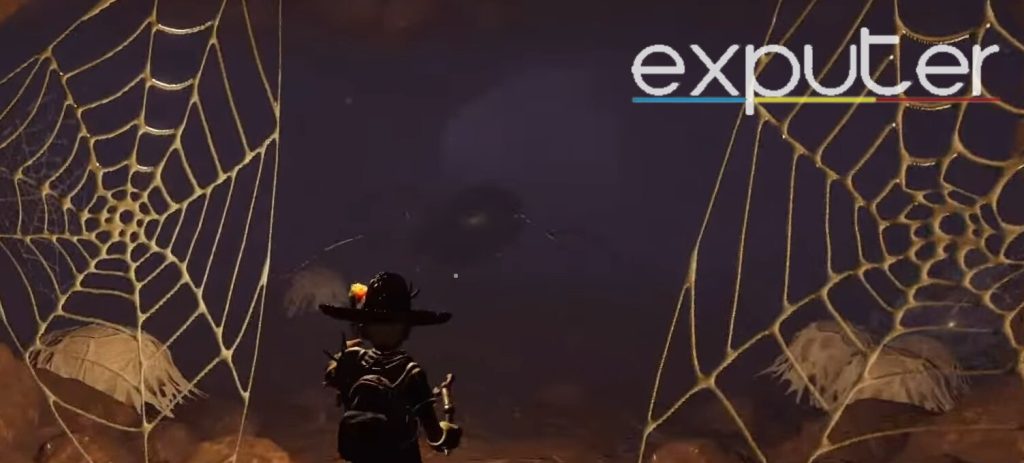
- If you jump down, you head straight into a few spiderwebs, specifically two towards the right and left sides of the mud walls.

Spiderwebs (Image Credits Exputer) - Looking further into the distance, the Black Widow will be located, ready and waiting for you to approach closer before it can pounce on you and attack you, and you can then go ahead and eradicate it.
Moldorc Castle Area
Last but not least on this locations guide, the fourth and final Grounded Black Widow that you might be able to come across will be quite close to the Moldorc Castle.
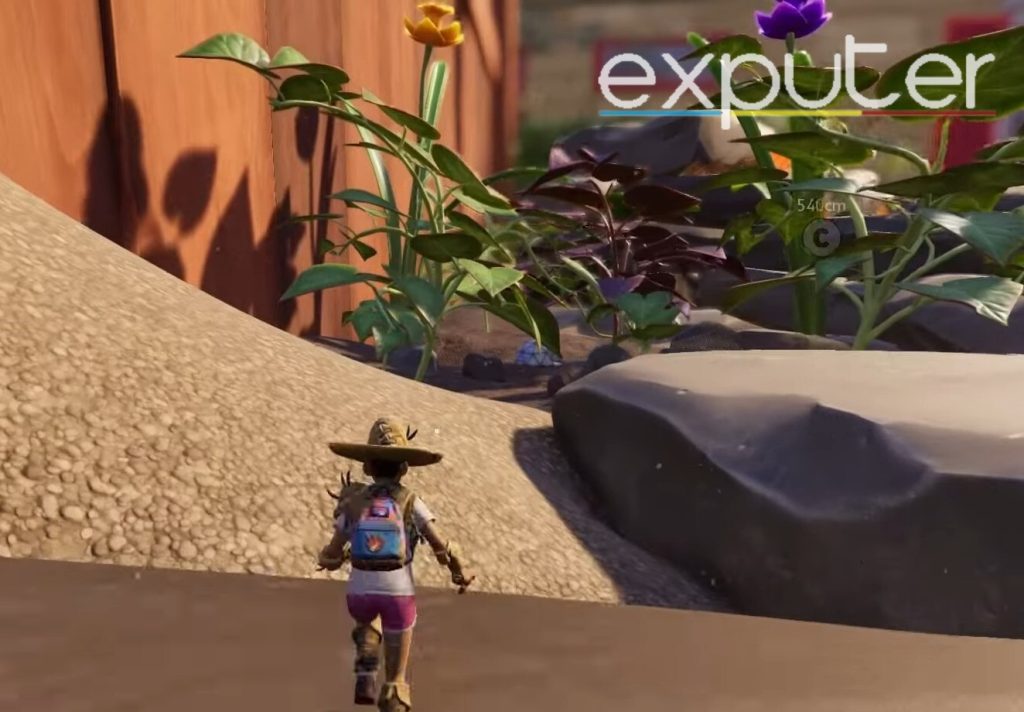
- Whenever you start, you will need to be in an area surrounded by loads of rocks piled on top of each other, and you want to simply start heading across them until you have completely crossed them.
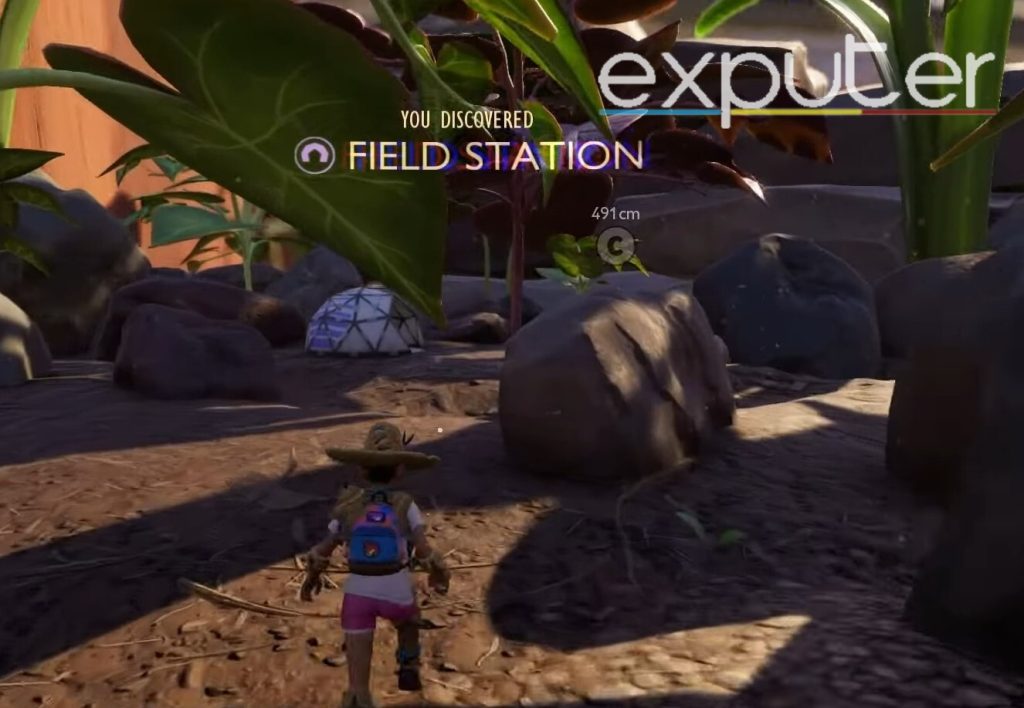
- Keep heading forward until you come across an area known as the Field Station, which will be the main indication that you are heading toward the right location.

Map Location (Image Credits Exputer) - Head further into the Field Station area, and there will be even more rocks piled on top of each other, and you need to start heading up the pile of rocks.

Pile Of Rocks (Image Credits Exputer) - Ensure you don’t get attacked by the enemies surrounding the Field Station, as they can be quite annoying when you are trying to reach the Black Widow.
- As you are searching the area of the rocks, there you might encounter an area that is closed off and hidden underneath the rocks, except it leaves just enough space to cross it.

Field Station (Image Credits Exputer) - As you head closer to it, you will encounter spiderwebs, which indicates that you are heading toward the Black Widow’s location.
What Is The Black Widow?
The Black Widow itself is essentially a legendary killer spider that is black and red, and it is a vicious spider that can eradicate you if you are not careful.
- It can drop down items such as the Black Widow Fang, Spider Chunks and Super Spider Venom.
Now, when it comes to the overall behavior of the Black Widow, they don’t like to be disturbed by anyone. Hence they reside in seclusion, wanting to be as far away as possible, and for that reason alone, they can create spiderwebs that protect their lairs and don’t want to be discovered.

- They rarely go to sleep, which allows them to guard and protect the widow-lings close to them.
- The best way to take out a Black Widow is by using stabbing since they are extremely resistant to all types of damage, making them incredibly resistant; therefore, players need to keep that in mind before heading forth to charge at them.
Summary
And that’s just about it! All that players need to know about the Grounded Black Widow Locations, so let’s wrap up this guide! While you’re here, why not read up on the Grounded Shared Worlds Explained guide since it details how to share your worlds with the friends you might be playing with. Other than that, the Grounded Sandbox guide tells you all you need to know about the sandbox and what it entails!
The Grounded Pond Lab guide showcases everything regarding the Pond Lab in great detail!
Up Next:
Thanks! Do share your feedback with us. ⚡
How can we make this post better? Your help would be appreciated. ✍