Collectibles are optional items scattered all over the maps in Sniper Elite 5. Whether you are a completionist who is going for a 100% trophy or someone who wants to find items that might give him an edge in future encounters, you have come to the right place. Today, in my guide, we’ll be covering the location of all the collectibles found in Mission 6 of Sniper Elite 5, “Liberation.”
- In Sniper Elite 5’s “Liberation” mission, find 5 Personal Letters, Classified Documents, and 3 Hidden Items, Stone Eagles, and Workbenches.
- Get two Personal Letters from a soldier at the abandoned village and a patrolling bald soldier.
- Hidden Items are obtained by taking down two enemies near fiery smoke inside the windmill east of the city and in a north building past the bridge.
- The SMG Workbench is inside the windmill east of the city.
- The Pistol Workbench is in the building under construction near the Bridge Farmhouse.
- Find the Rifle Workbench by climbing into a vine-covered building in the northern town.
- Stone Eagles are on top of the windmill northwest of the starting area, on the roof of a damaged building near the wrecked church, and on a Nazi flag in the northern town.
Collectibles In Liberation
| Collectible Type | Location |
|---|---|
| Stone Eagle 1 | At the top of a damaged windmill near the starting point |
| Personal Letter 1 | In an abandoned village, looted from a soldier |
| Classified Document 1 | Inside the main two-story building of Bridge Farmhouse |
| Classified Document 2 | In a double-story house with a Nazi flag |
| Pistol Workbench | In a building under construction near the Windmill |
| Classified Document 3 | In a small village with 2-3 buildings |
| Hidden Item 1 | Near the previous collectible, close to fiery smoke |
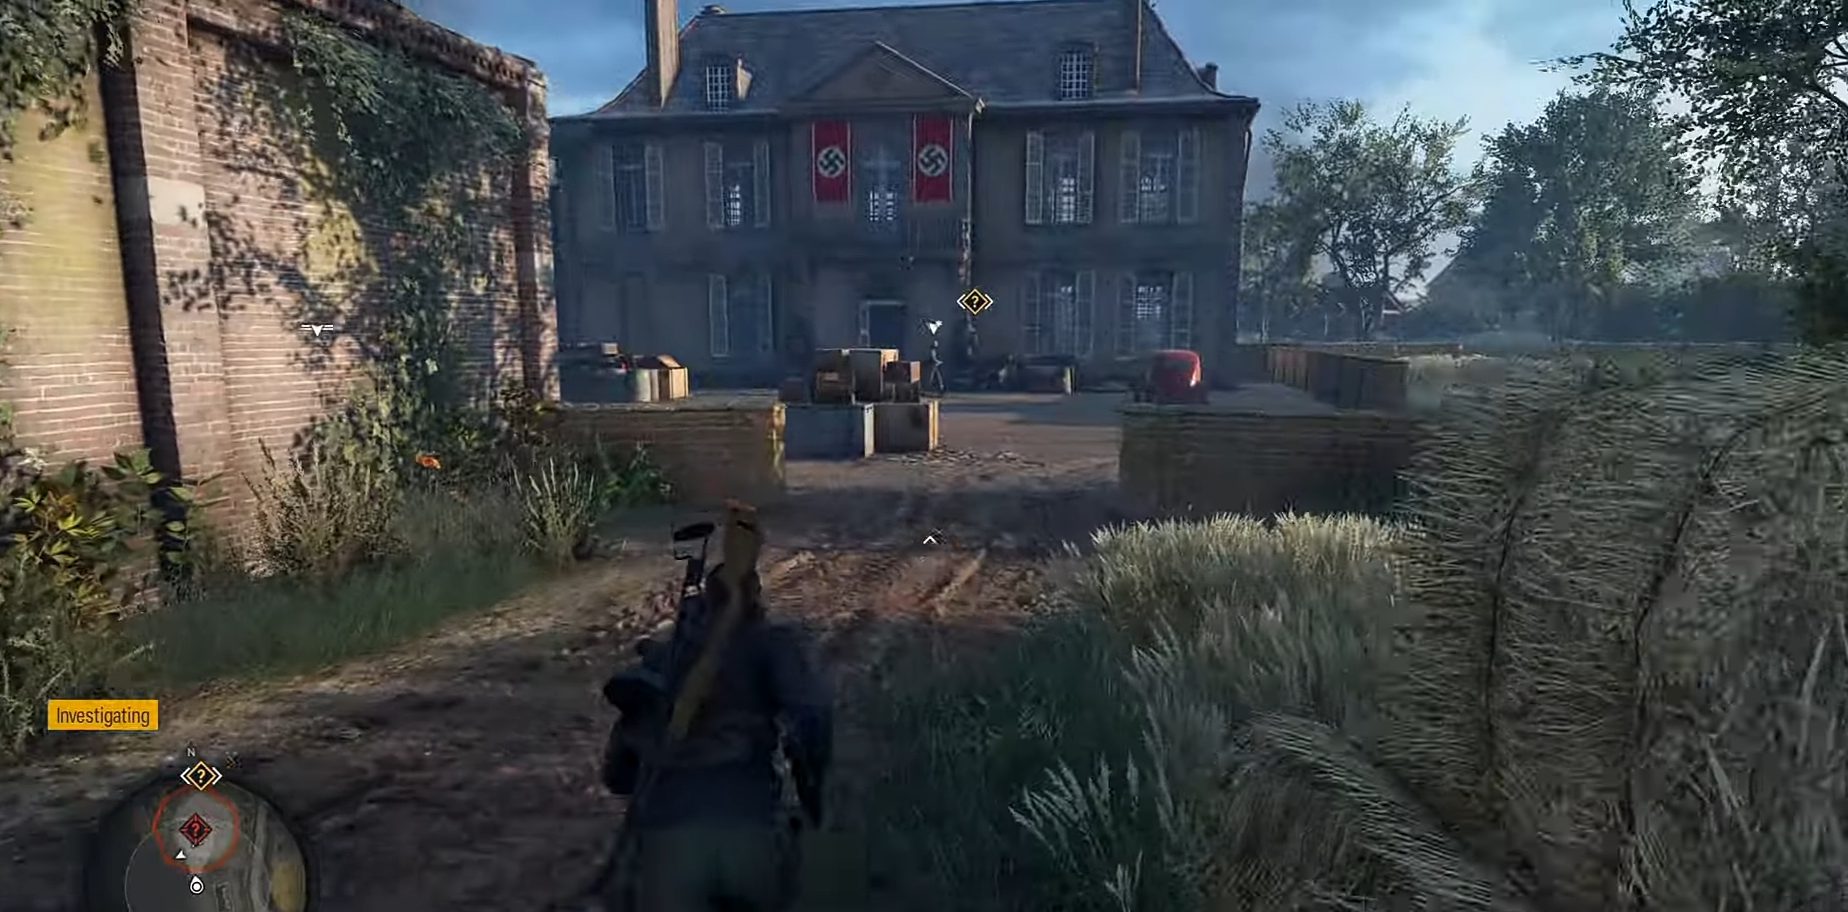
| Personal Letter 2 | In a mansion with two Nazi flags displayed |
| Personal Letter 3 | In a house with blue windows in an eastern village |
| Stone Eagle 2 | On a church with a sniper hiding in it |
| Classified Document 4 | In a building at the end of the main road near Field Camp |
| Hidden Item 2 | In a windmill providing electricity to the town |
| Personal Letter 4 | In a green building beside a watch tower |
| Personal Letter 5 | In the trenches, next to an artillery cannon |
| Classified Document 5 | In the first bunker before exiting the trenches |
| Rifle Workbench | In a building in the last town of Liberation |
| Hidden Item 3 | In a building in the same town, on the second floor |
| Stone Eagle 3 | Above a Nazi Flag, visible from a window in the town |
19 collectibles can be found in each mission of Sniper Elite 5, and Mission 6 Liberation is no different in that regard. You can find 5 Personal Letters, 5 Classified Documents, 3 Hidden Items, 3 Stone Eagles, and 3 Workbenches.
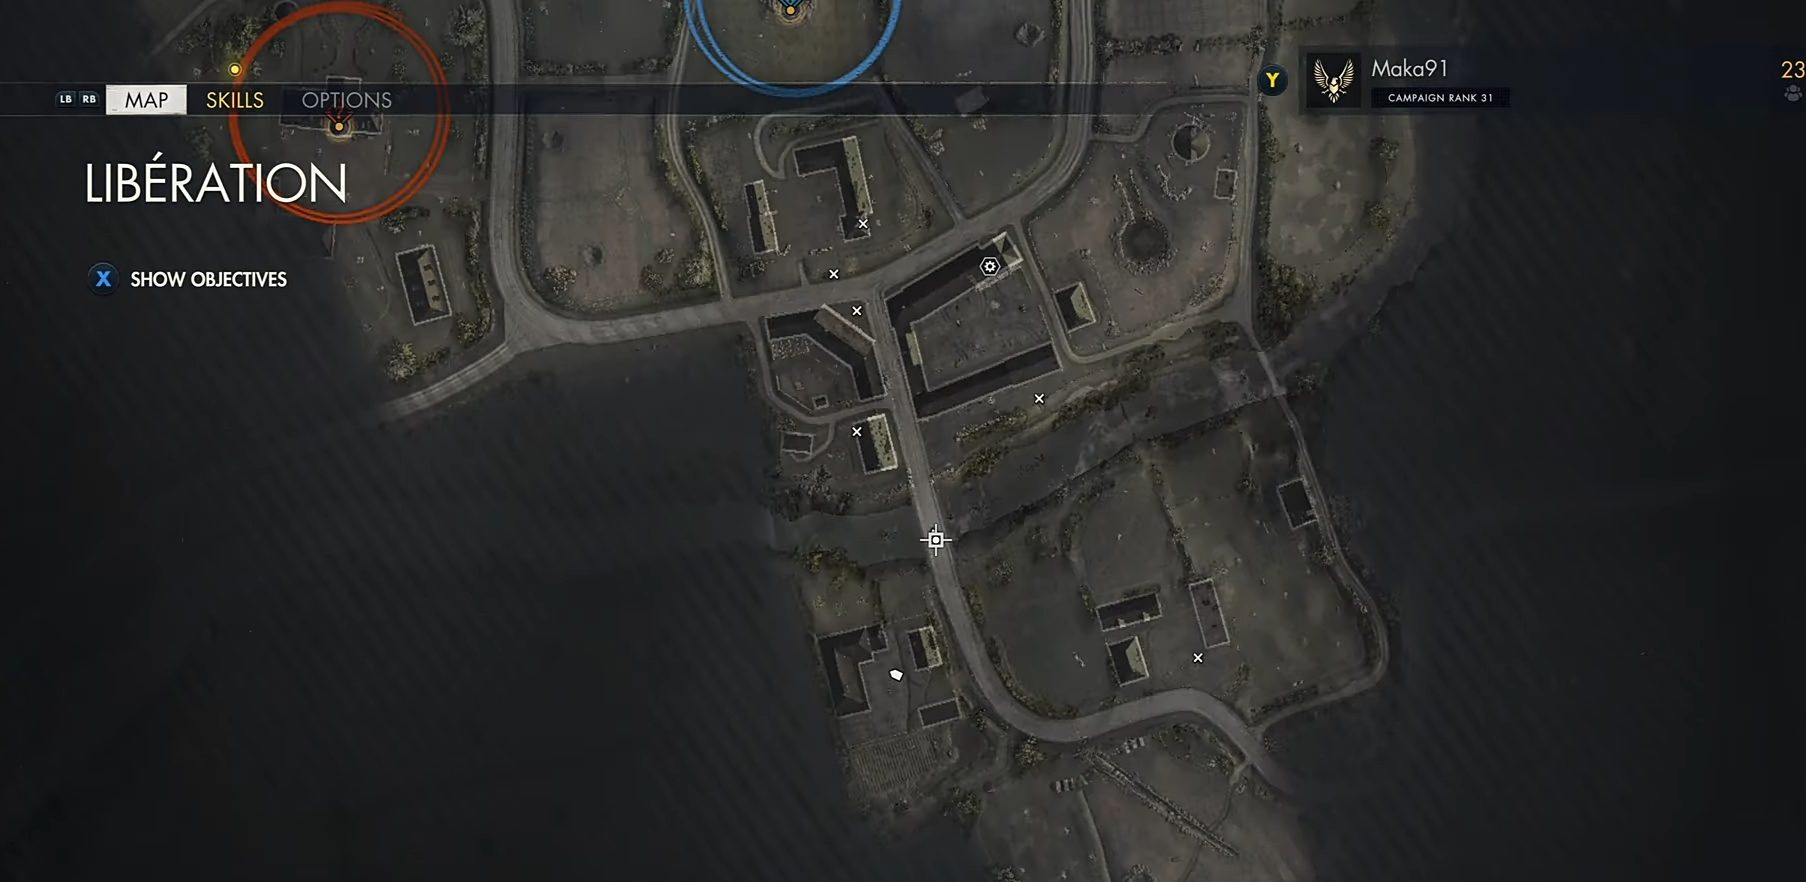
Stone Eagle 1
The first collectible can be found directly where you start your Mission # 6 Liberation in Sniper Elite 5. Move a little forward from your starting location and look towards your north-right. You’ll notice a damaged windmill. Take out your sniper and zoom in on the windmill.
After zooming in, You’ll see your first Stone Eagle sitting on the top of the windmill. Shoot at it, and this is how you get your hands on Stone Eagle 1 in Liberation.
Personal Letter 1 ‘They’re Out There’

From where you just shot Stone Eagle 1, move towards the north, and you’ll end up in an abandoned village. The soldier carrying the letter will arrive in the village in a cargo truck. So make sure to check if the cargo truck has arrived or not.
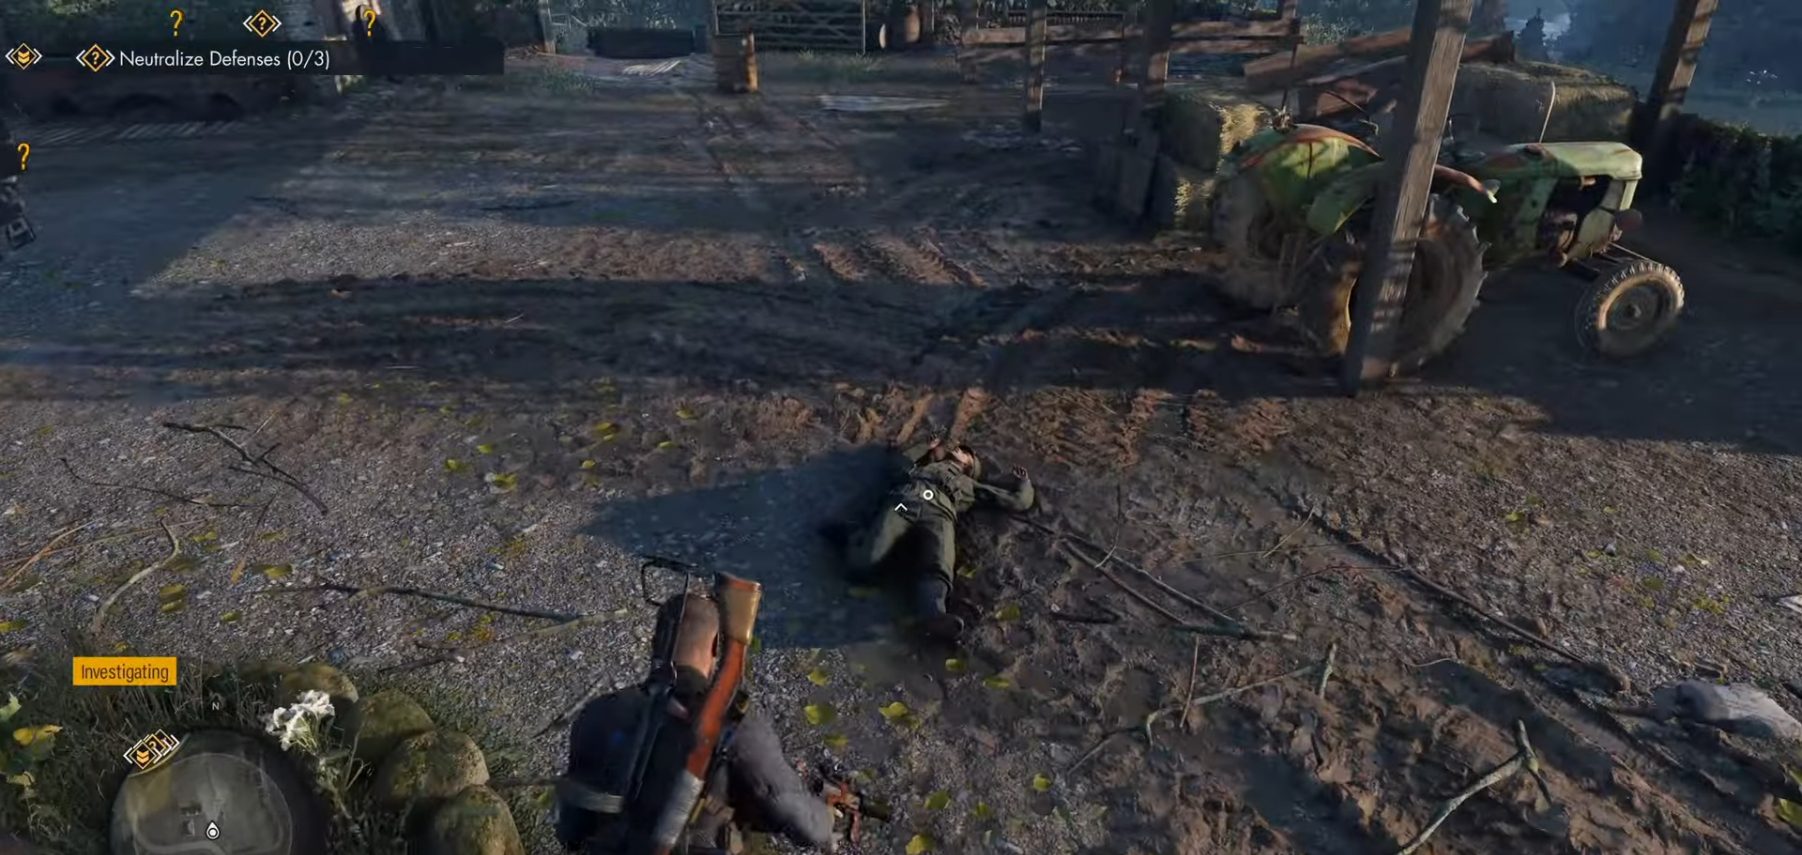
After the arrival of the cargo truck, take down the soldiers getting off the truck, and upon looting the soldiers, you’ll get your first Personal Letter. Also, the soldier carrying the letter goes by the name Ralph Botrich.
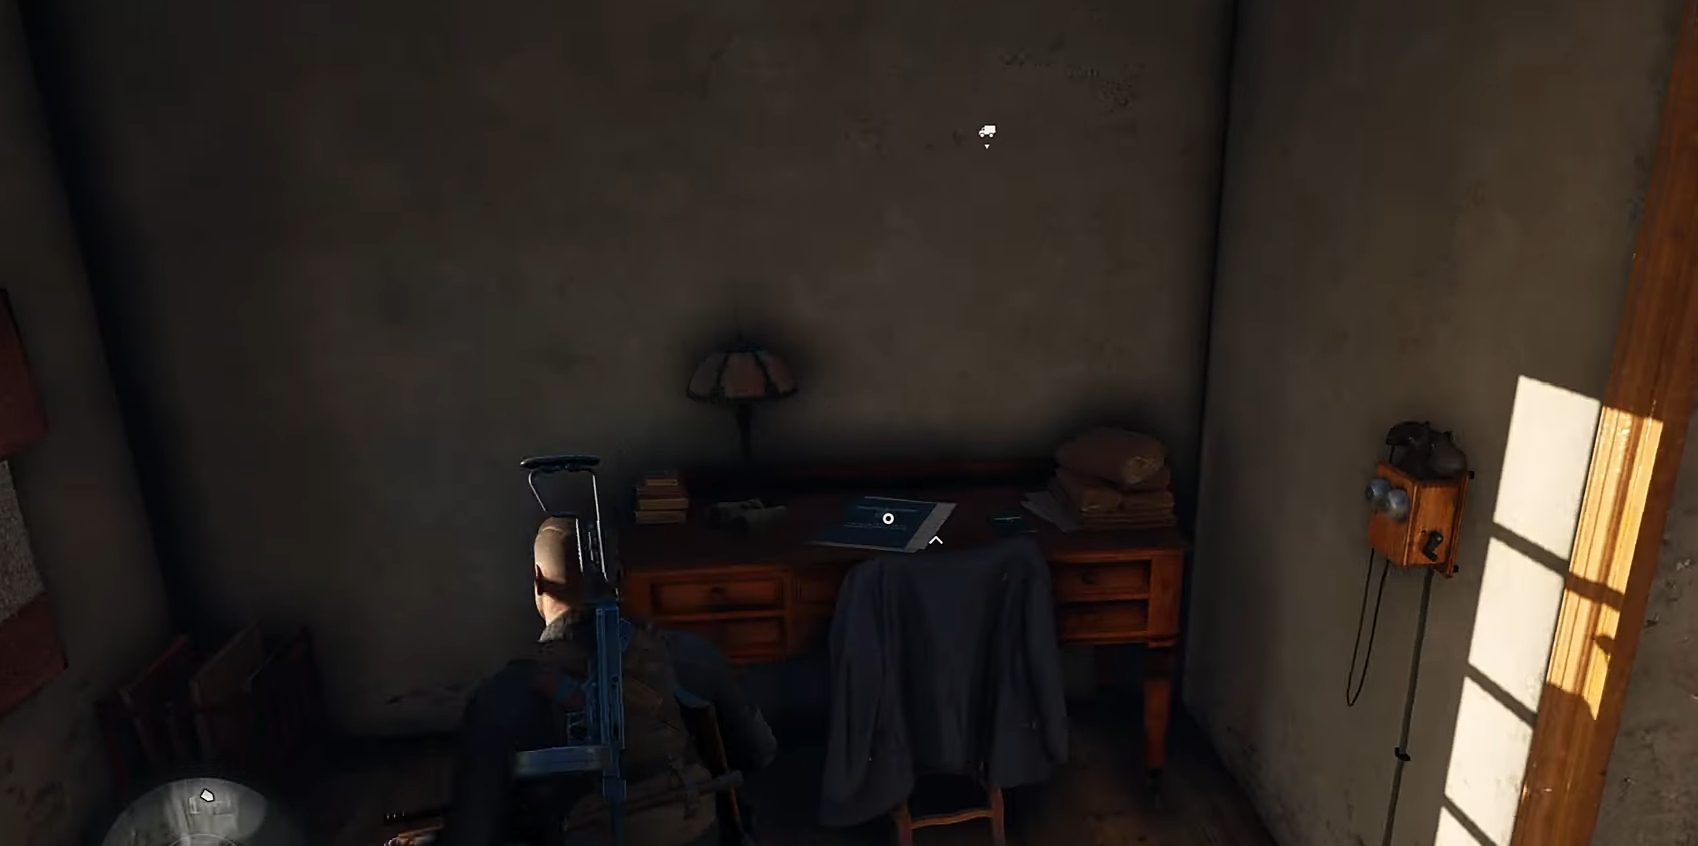
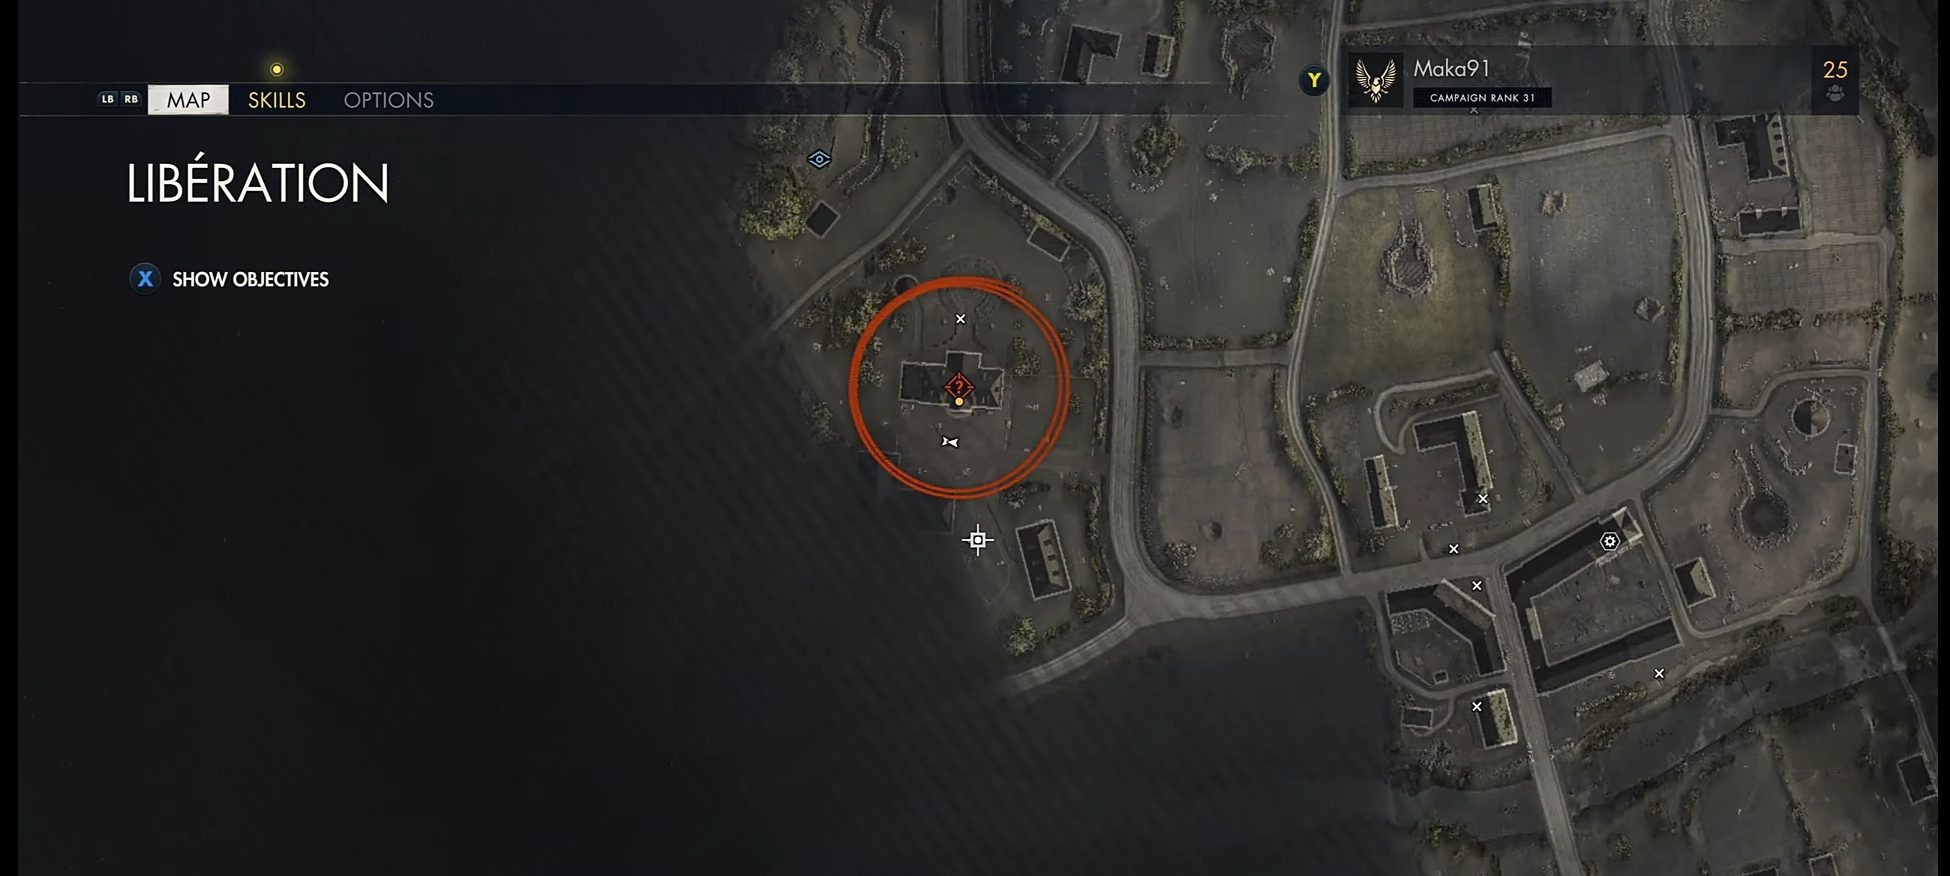
Classified Document 1 ‘Unfit for Duty’
Go directly to your west from the abandoned village until you reach the Bridge Farmhouse. Go inside the main two-story building using the outside stairs. Turn right after entering the building, and there is another room at the end of the hallway.
Enter the room and get your hands on the first Classified Document, which is found on a desk.
Classified Document 2 ‘Hold the Line’
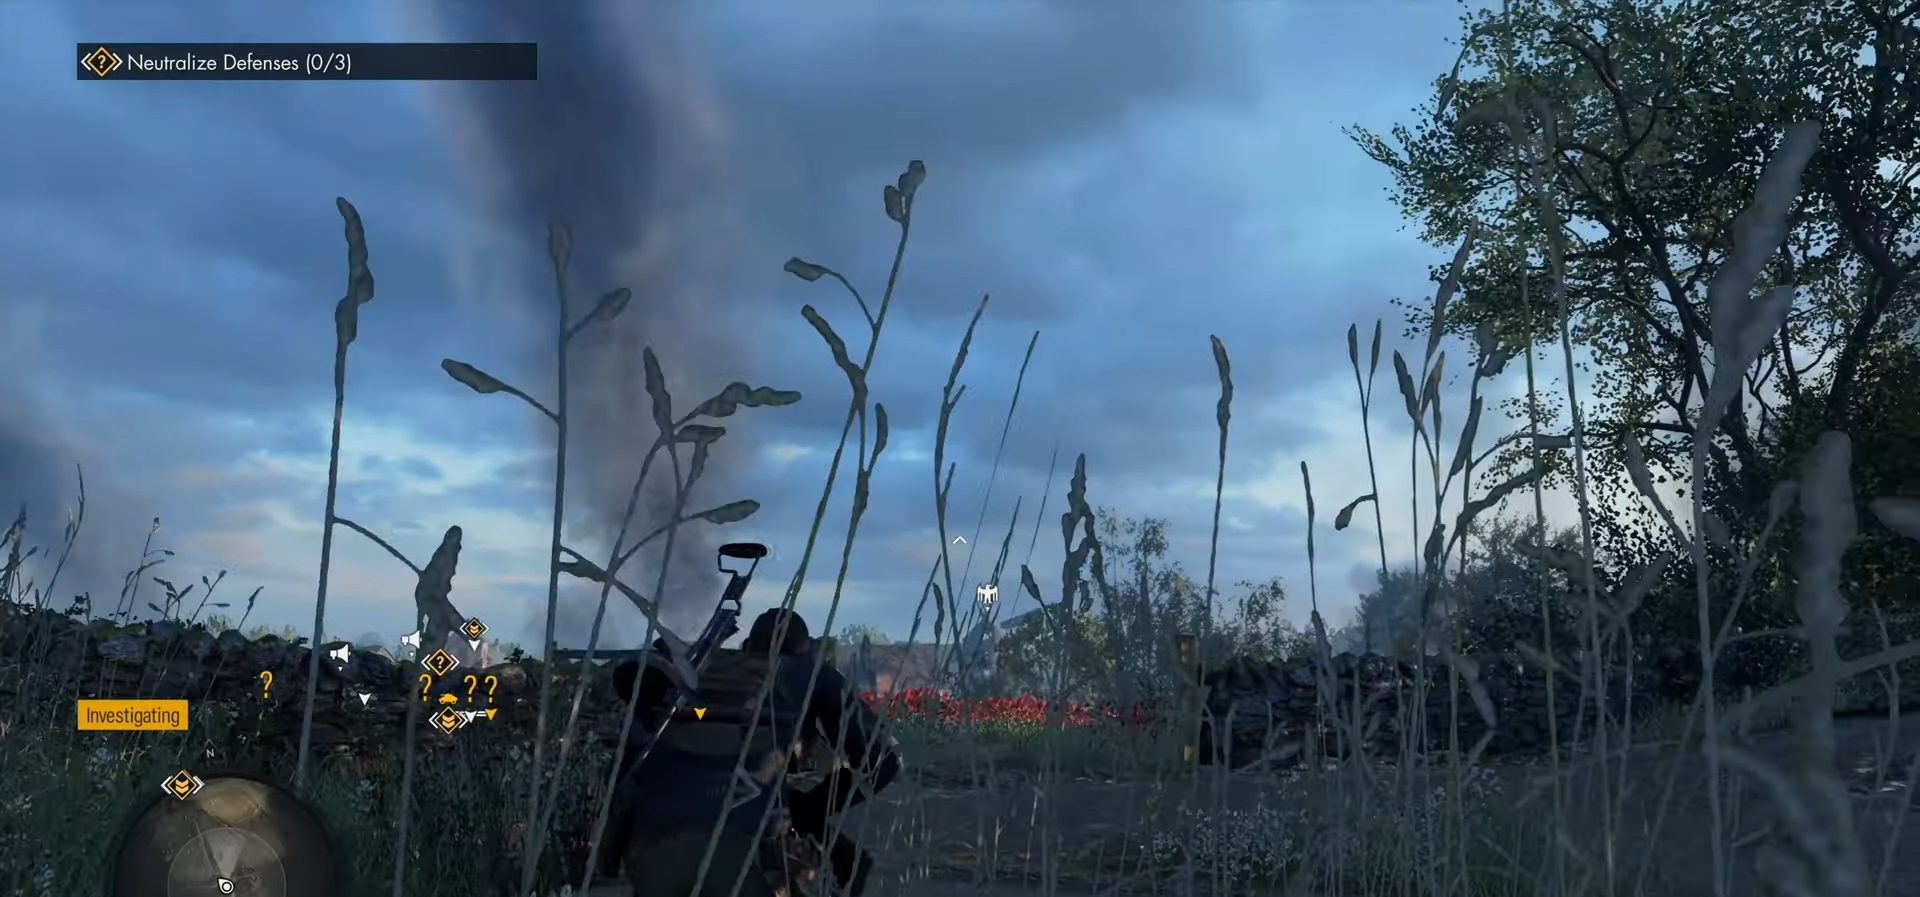
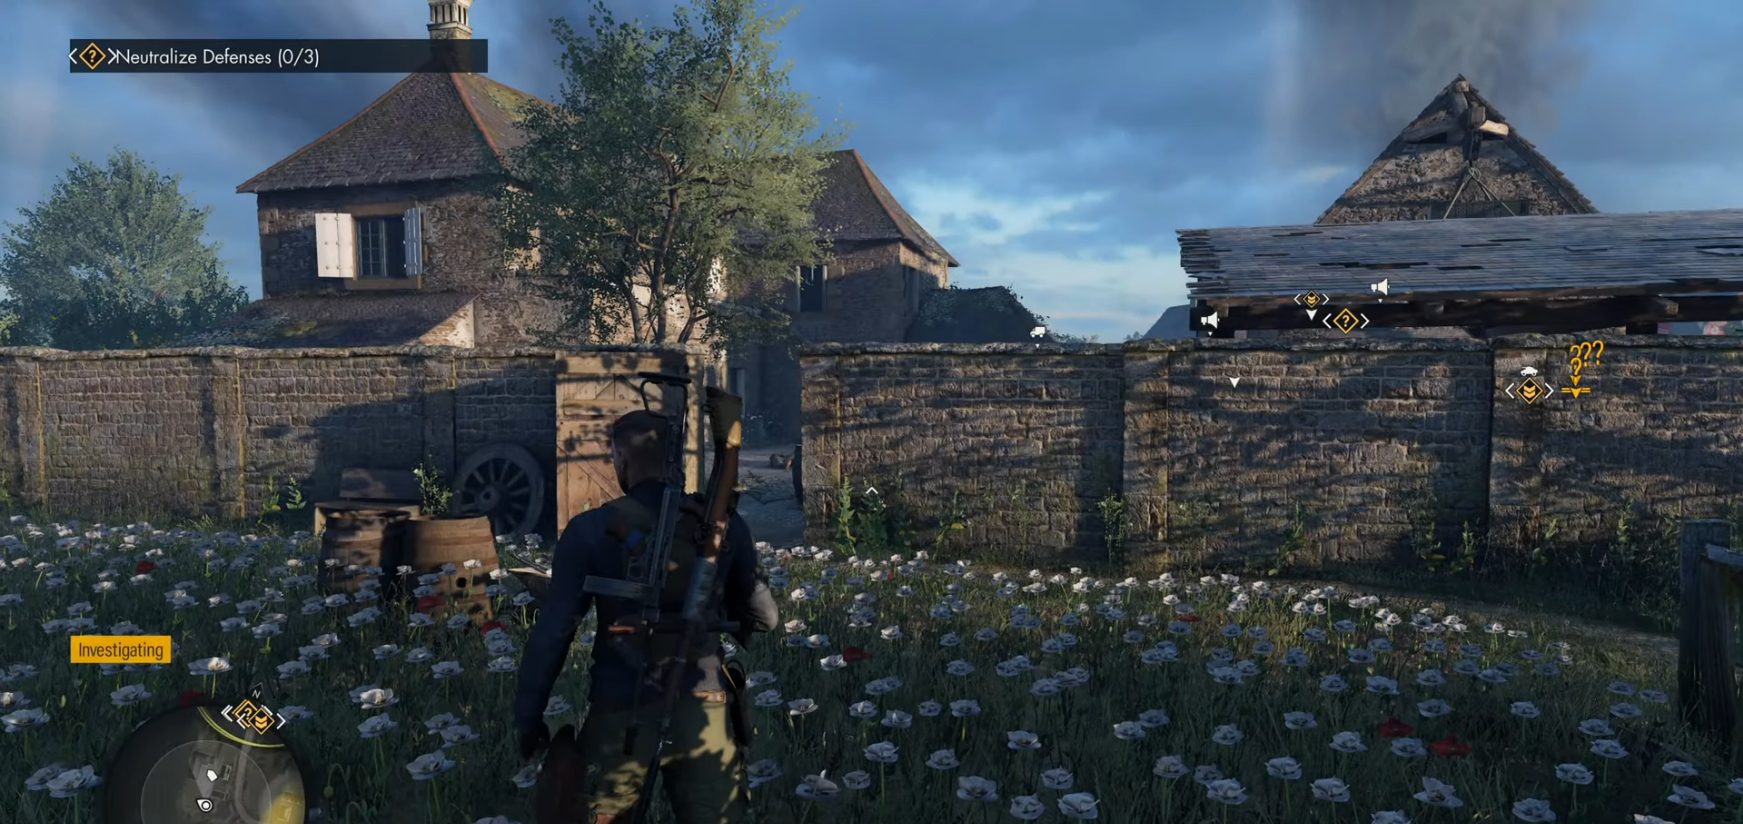
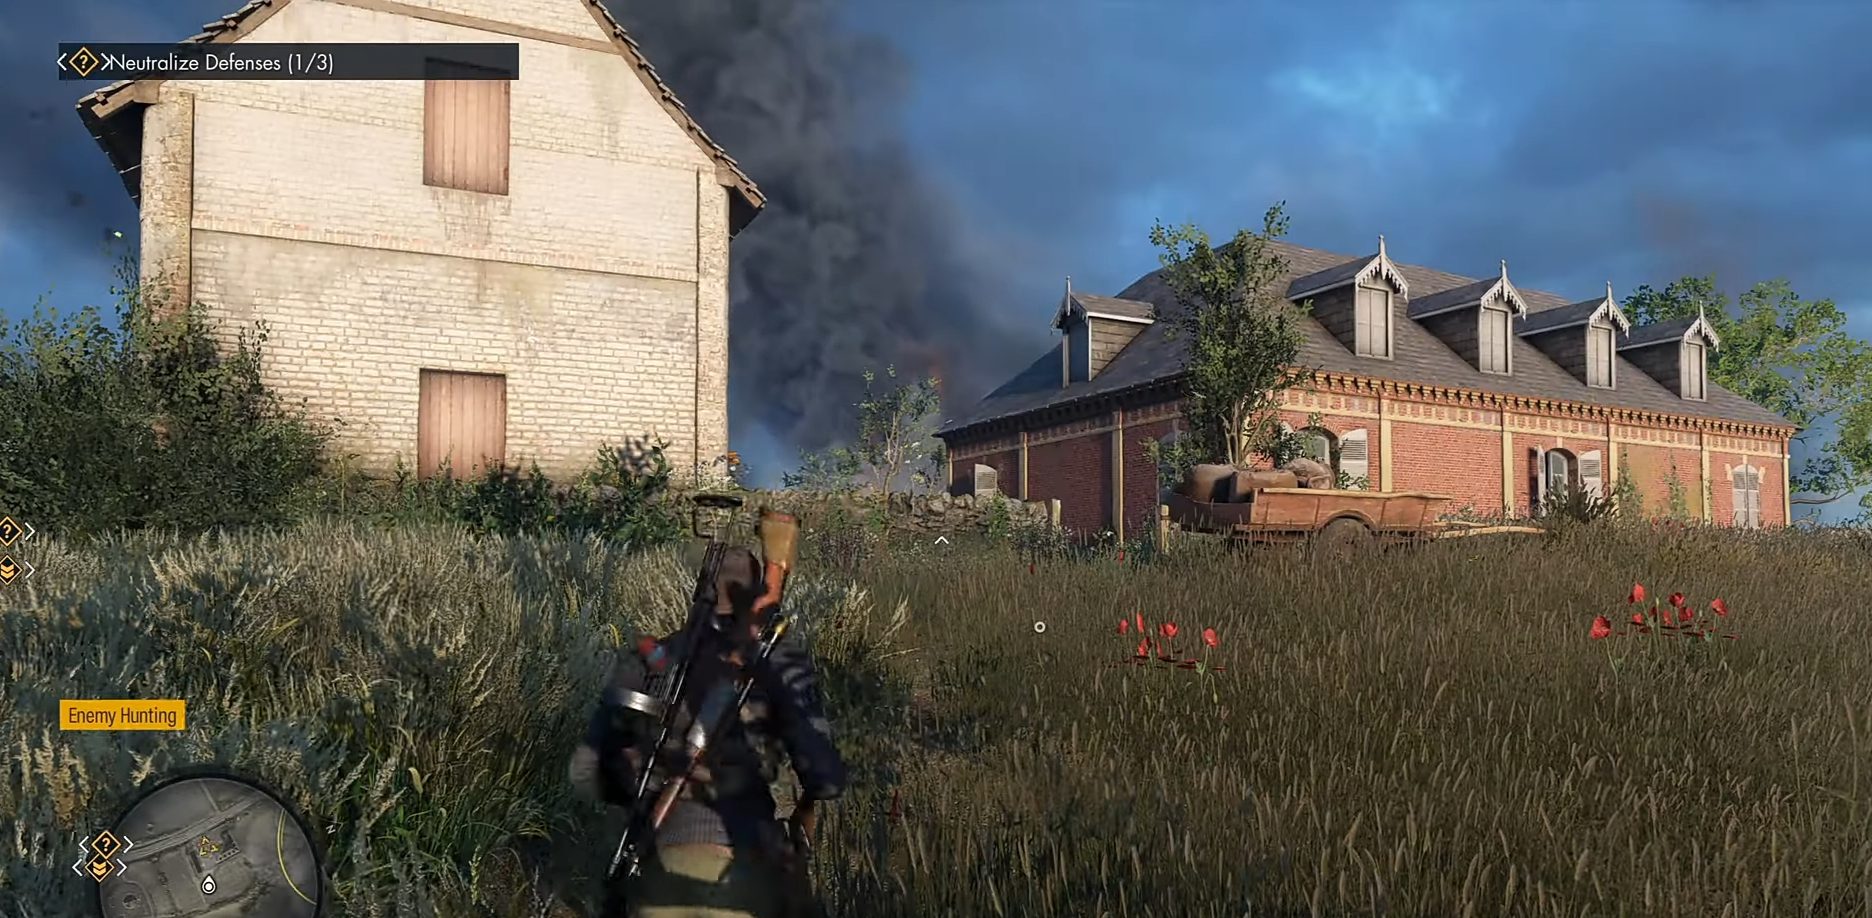
Before getting your hands on Classified Document 2, make sure you disable or take out all the defenses near the bridge. After you are done with that, cross the bridge, and you’ll notice a double-story house with a Nazi flag.
Enter the building and go upstairs. Go inside the first room you see after reaching the second floor and pick up the Classified Document 2 from there.
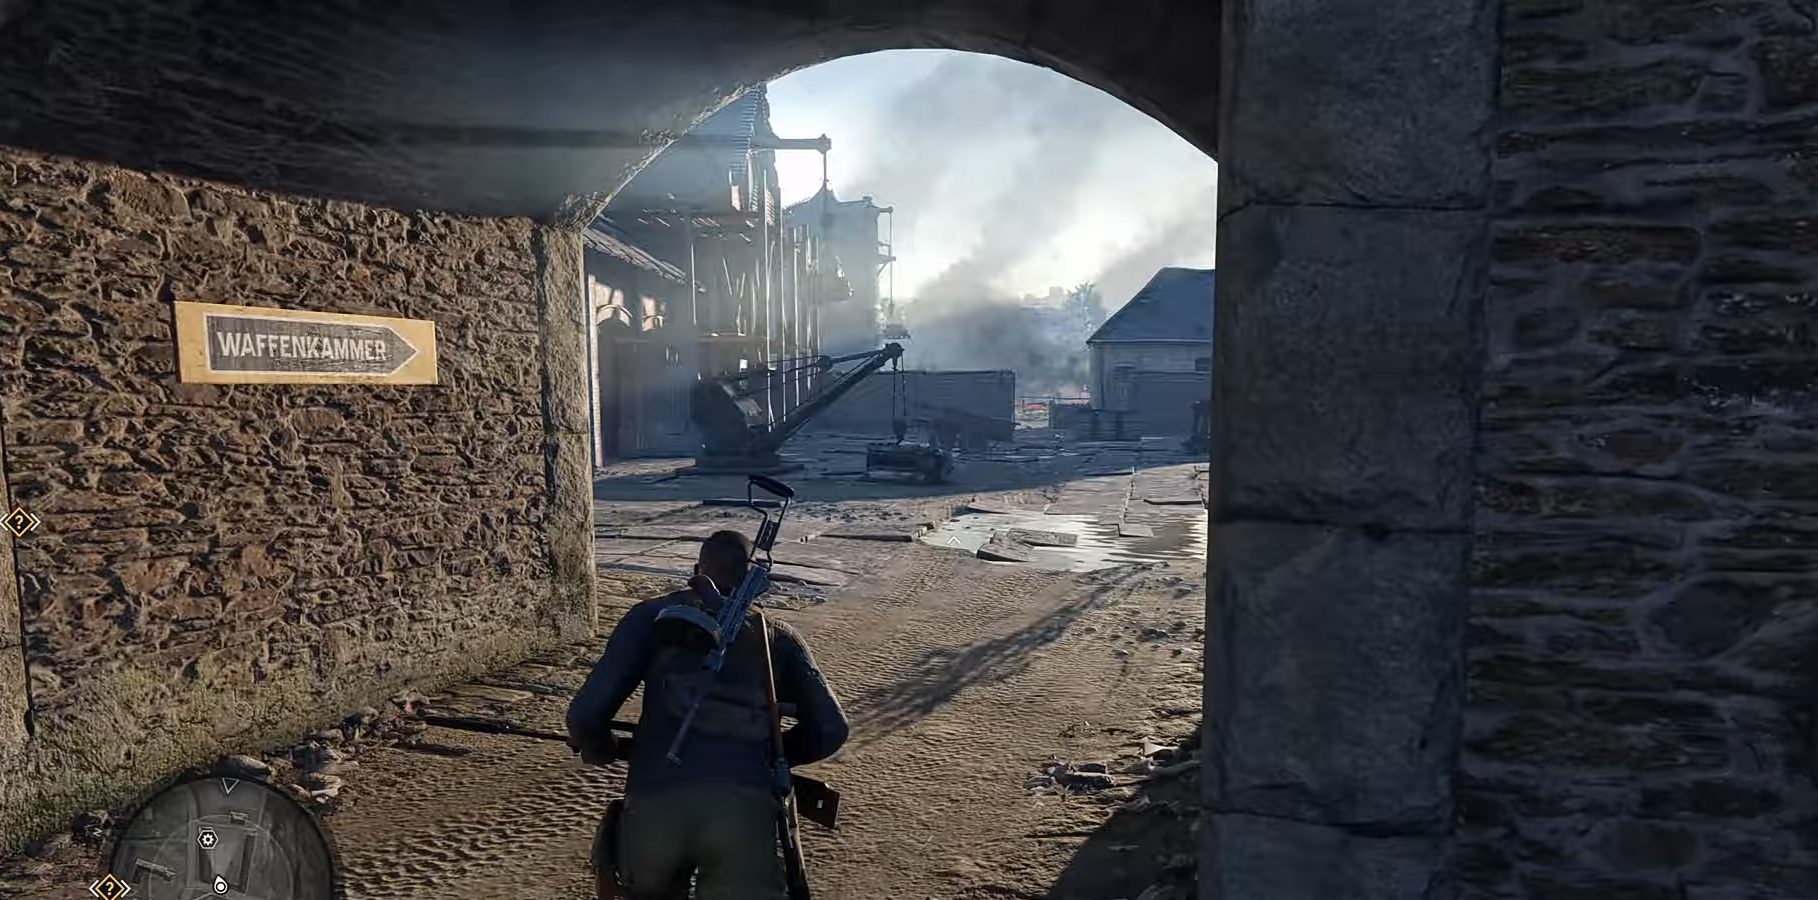
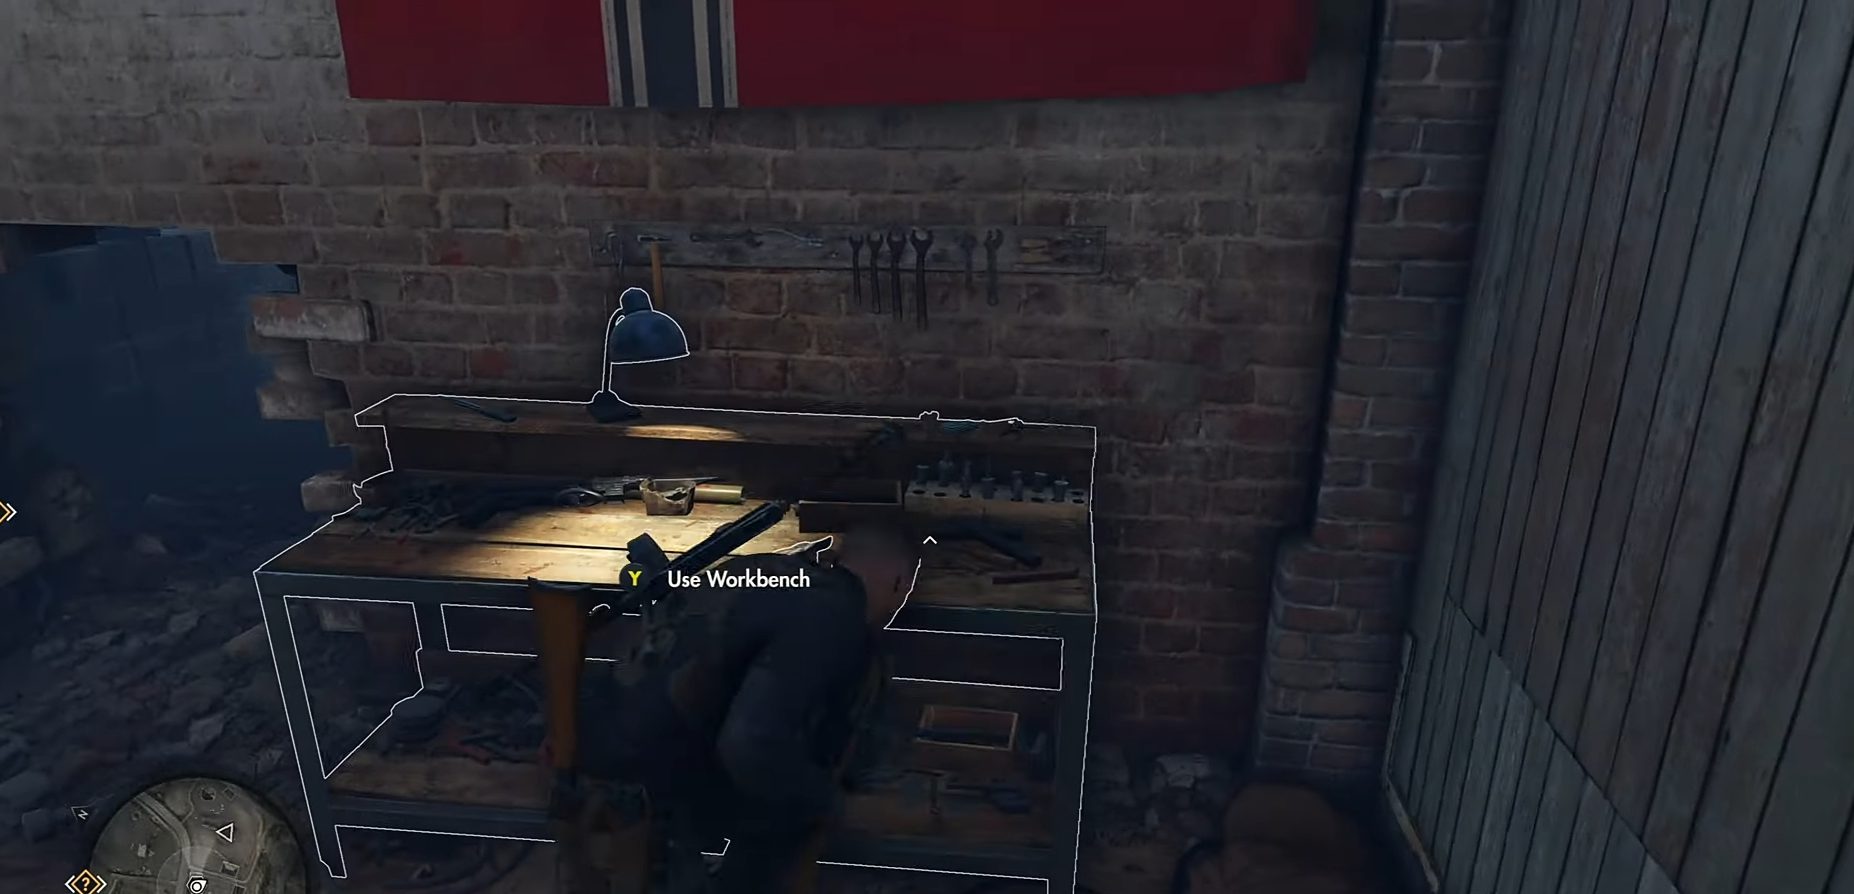
Pistol Workbench
You can also easily get to the Pistol Workbench while you are here. Exit the building you are in, follow the main road towards the north, and turn right towards an open courtyard. Go into the building, which is under construction, and go upstairs.
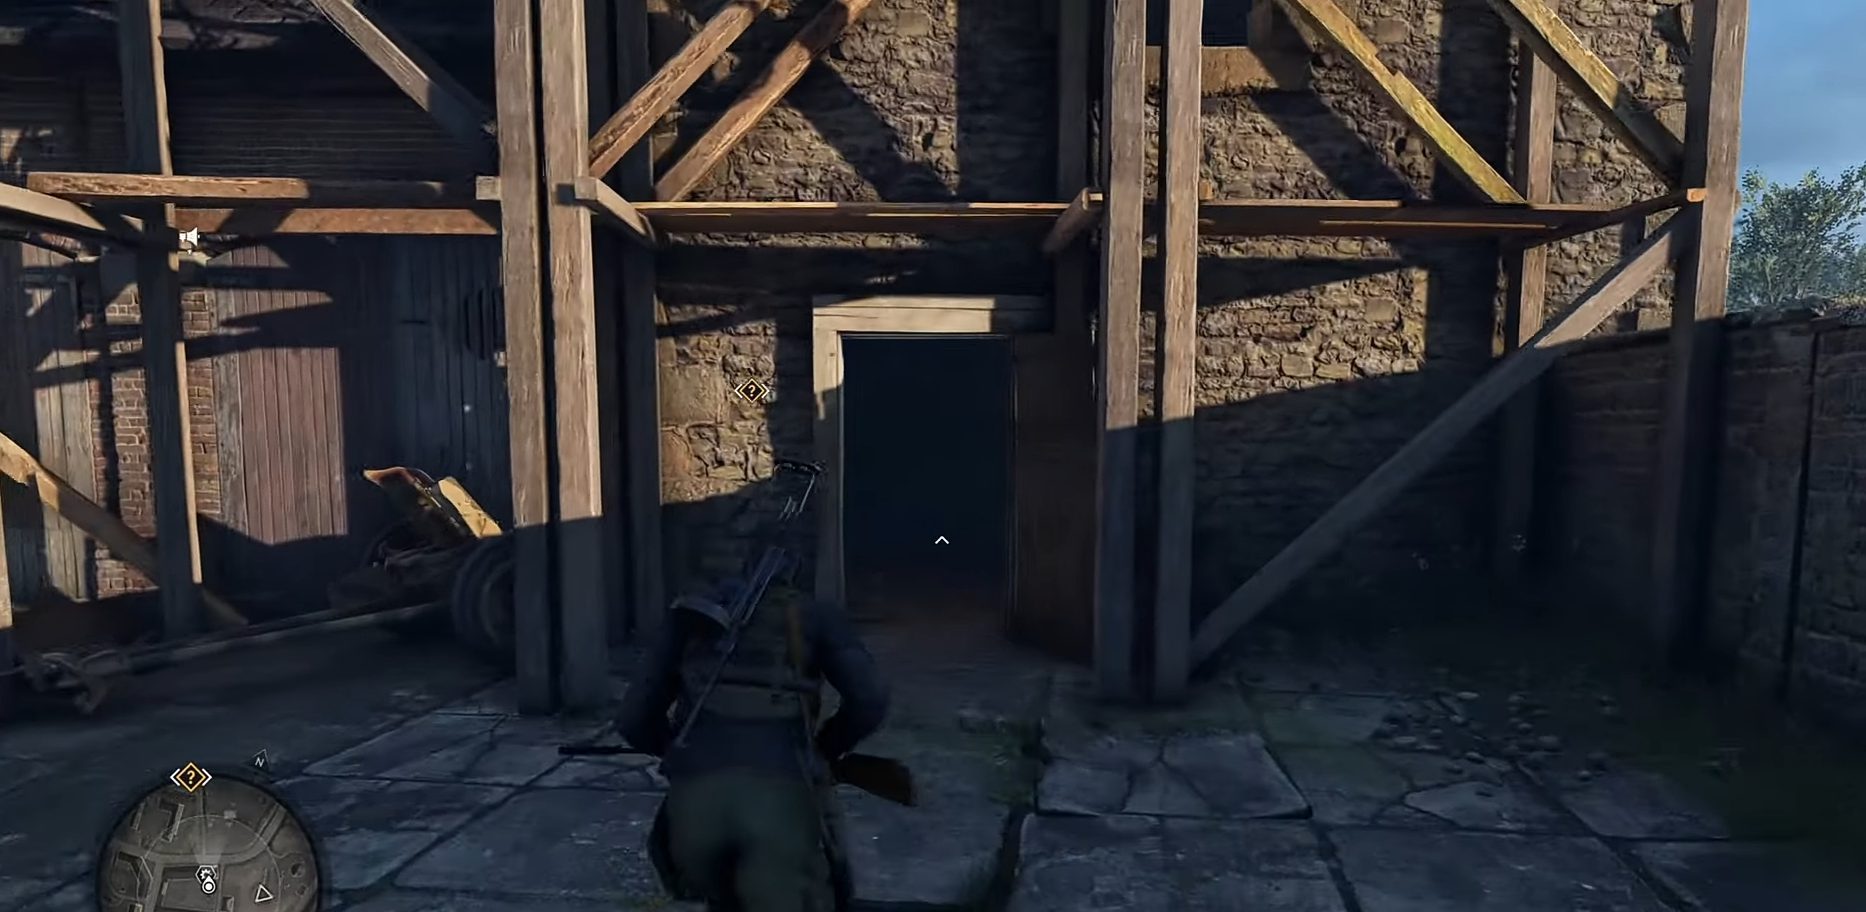
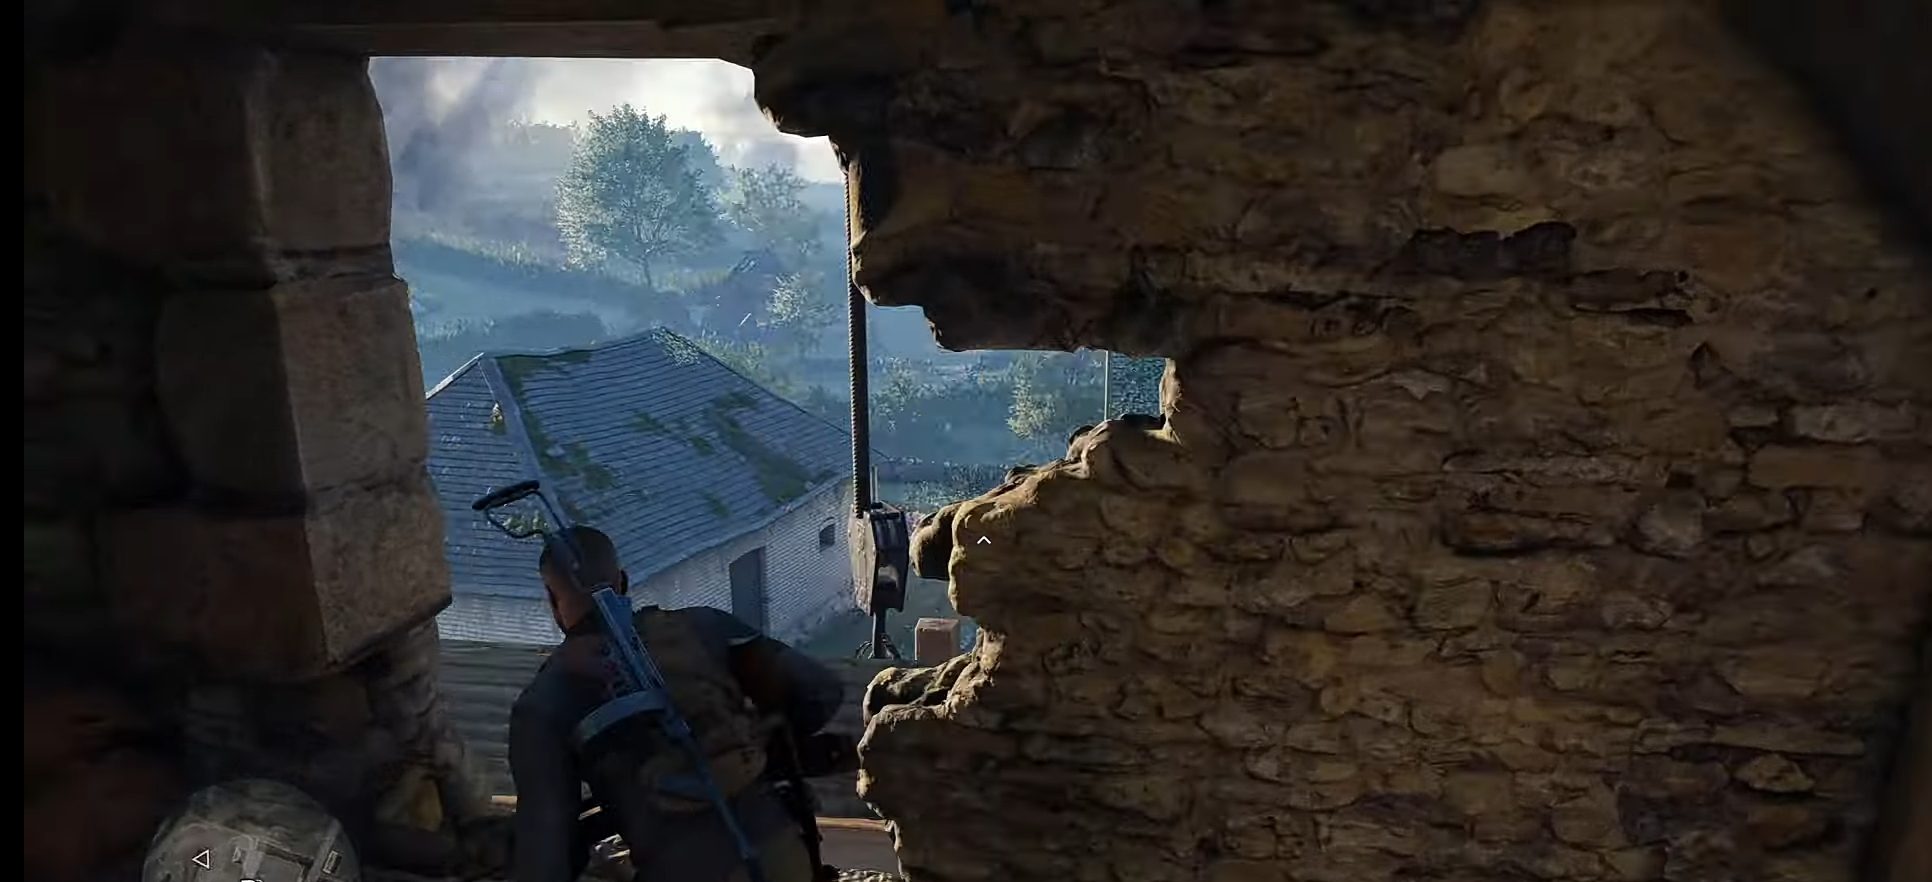
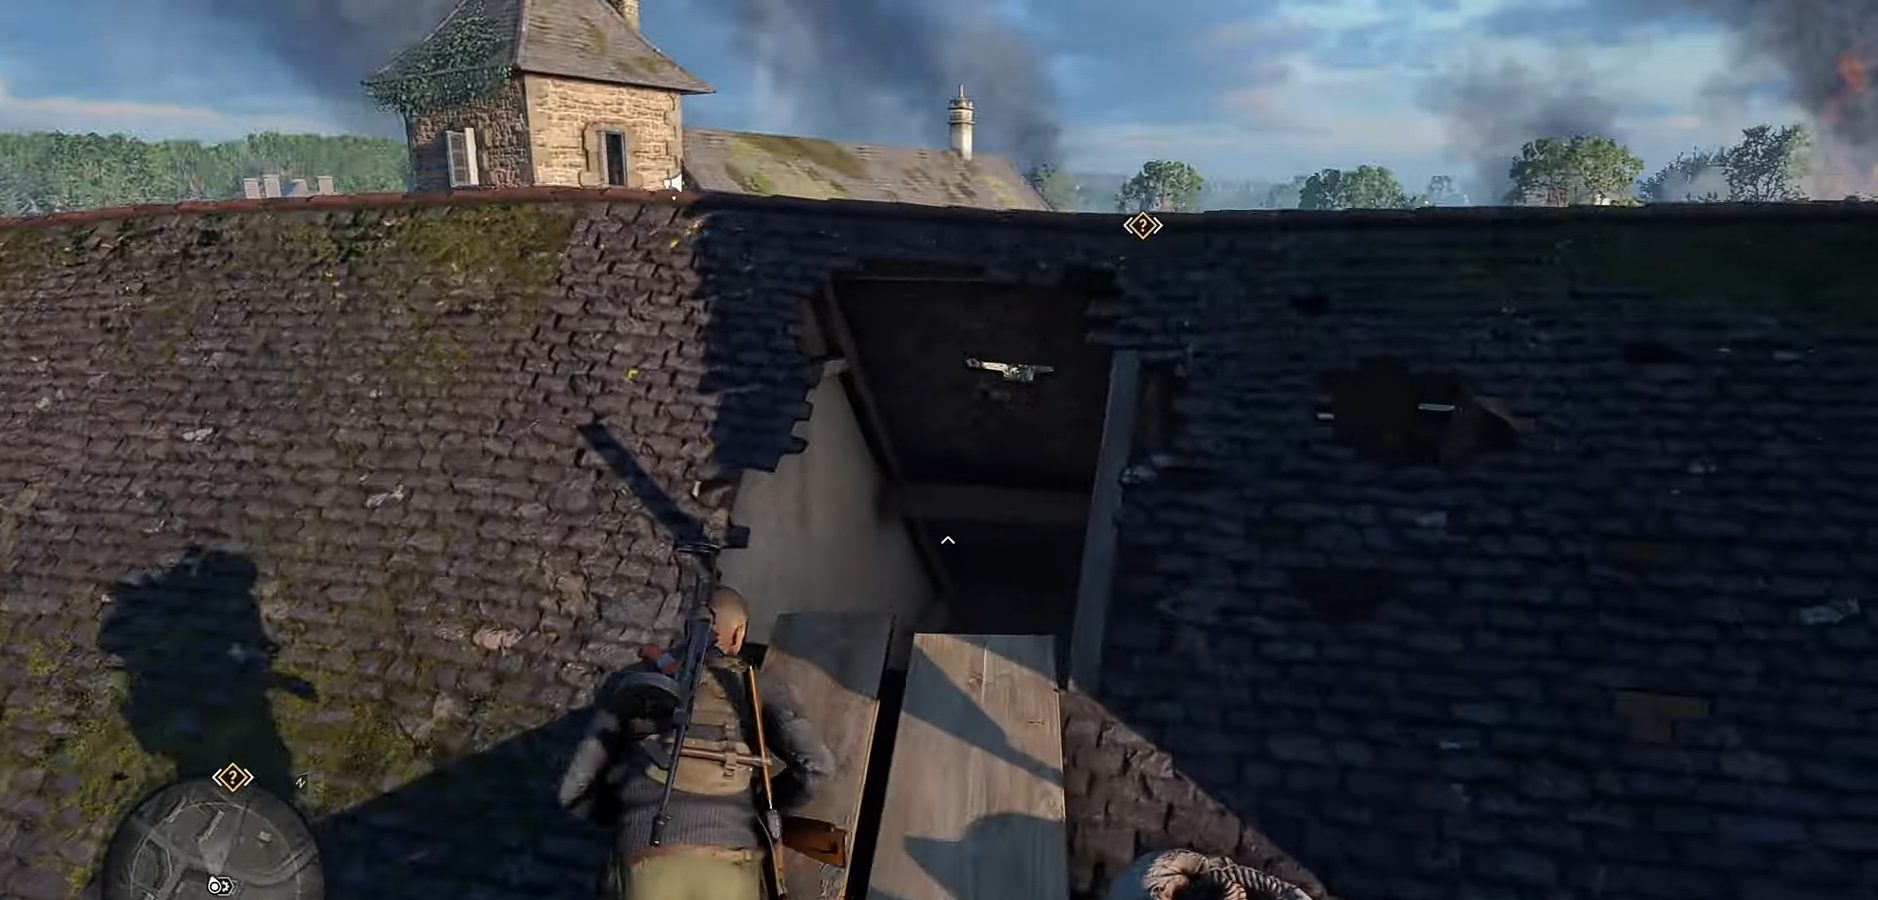
After going up the second set of stairs, you’ll notice a huge hole in the wall. Get outside the building through the hole, and after following the wooden platform, you’ll notice another hole located on the rooftop.
Get inside through this hole, and you’ll arrive right where the Pistol Workbench is located.
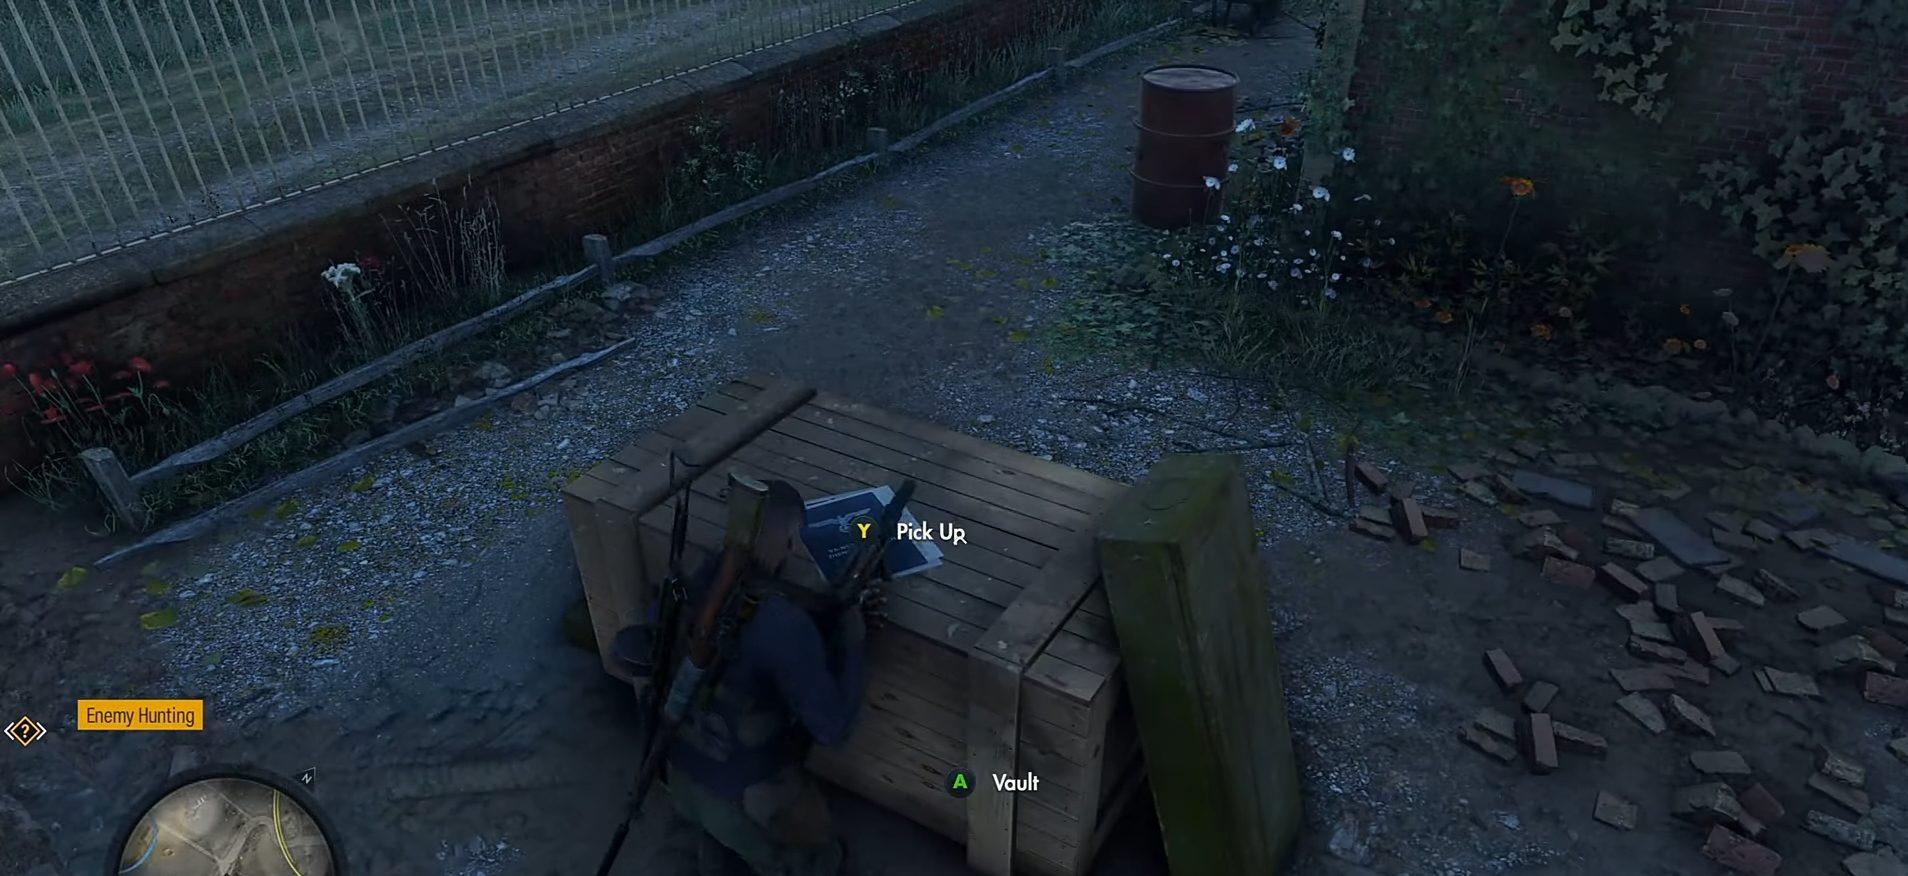
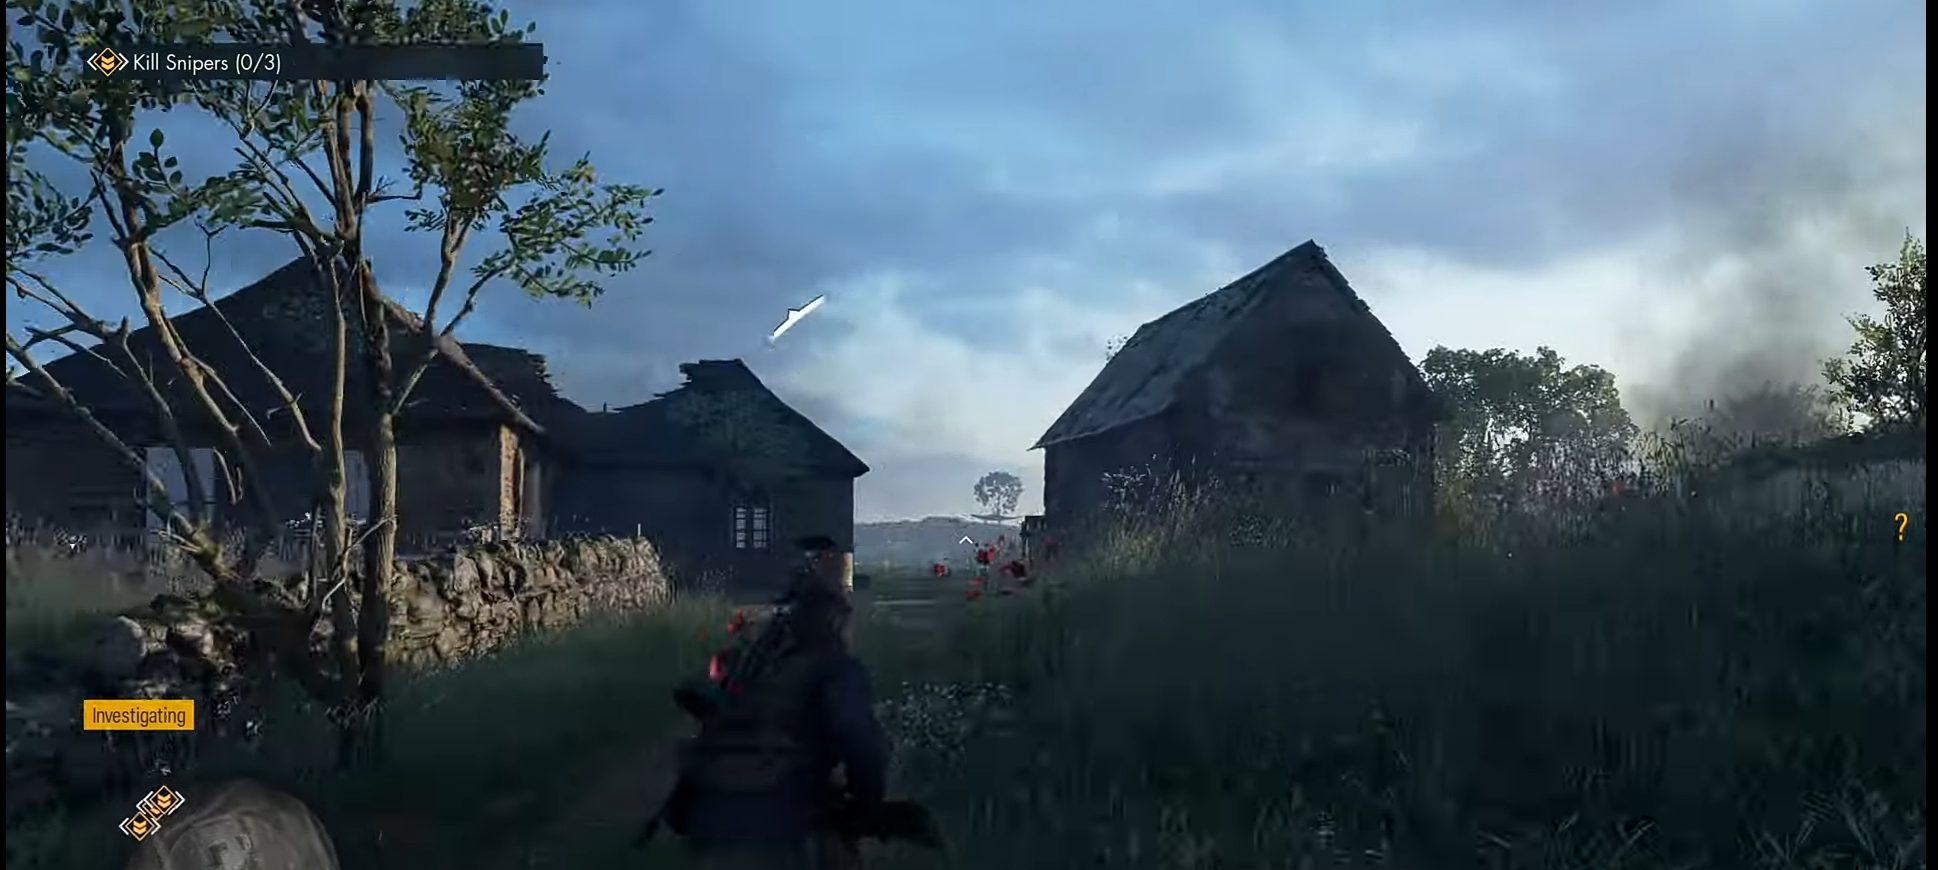
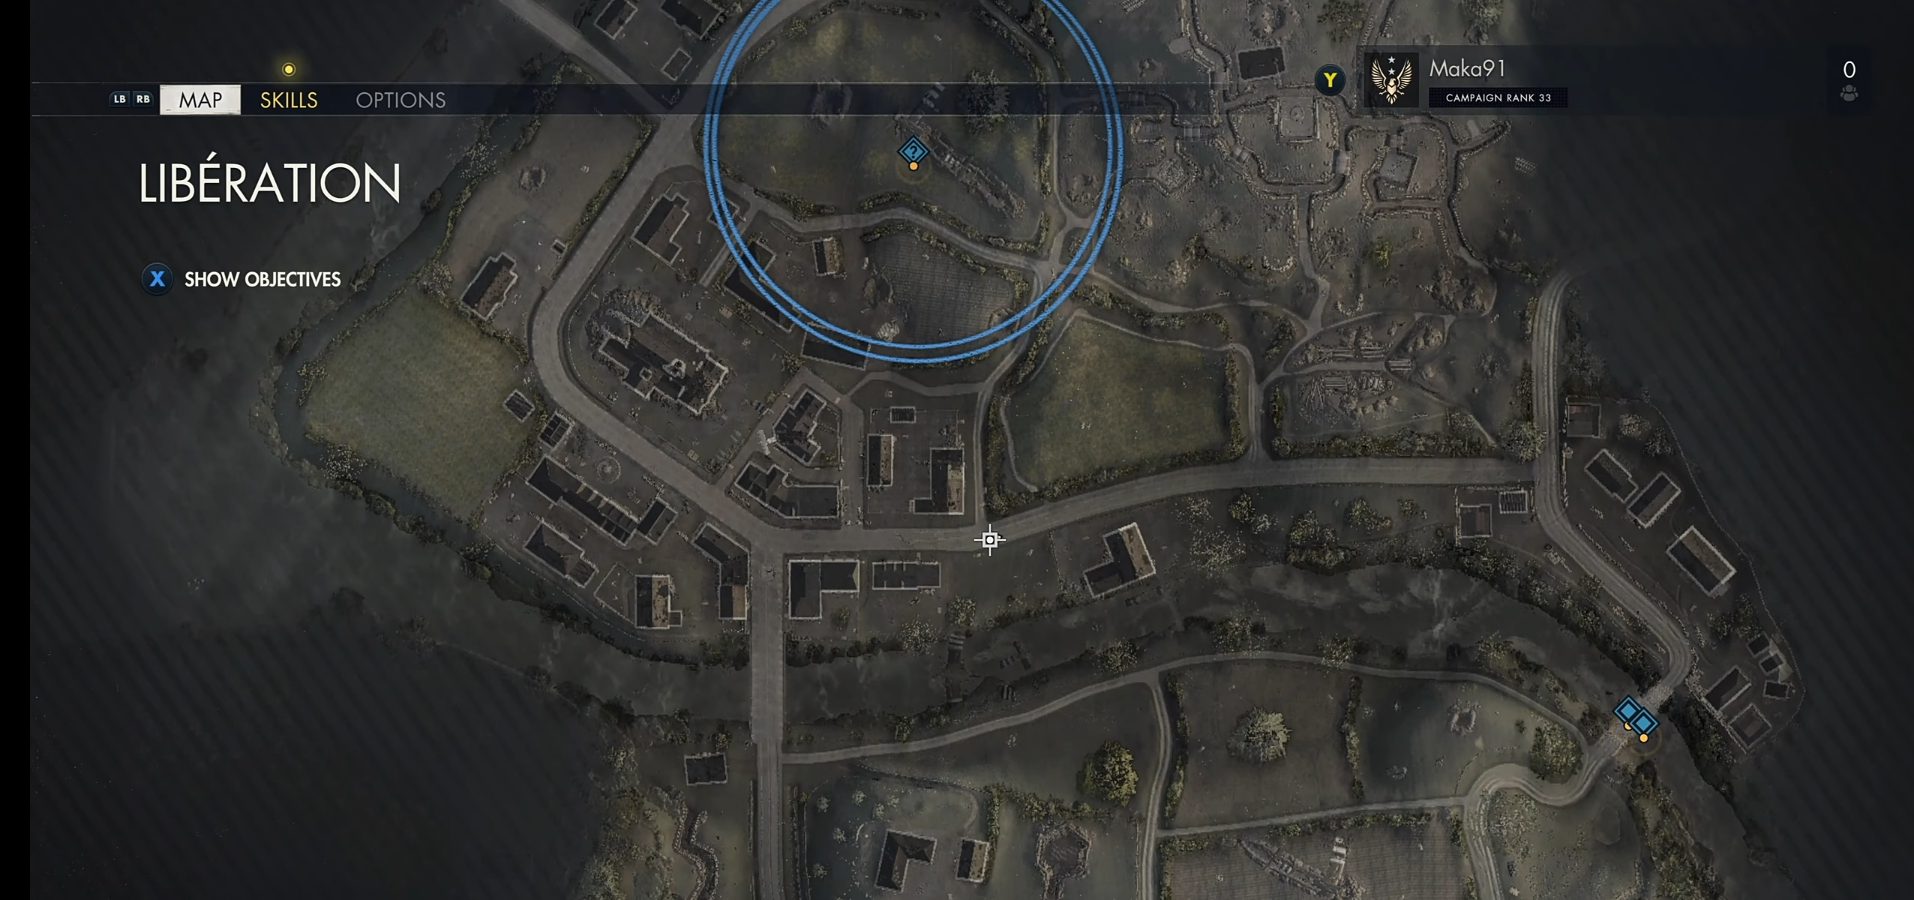
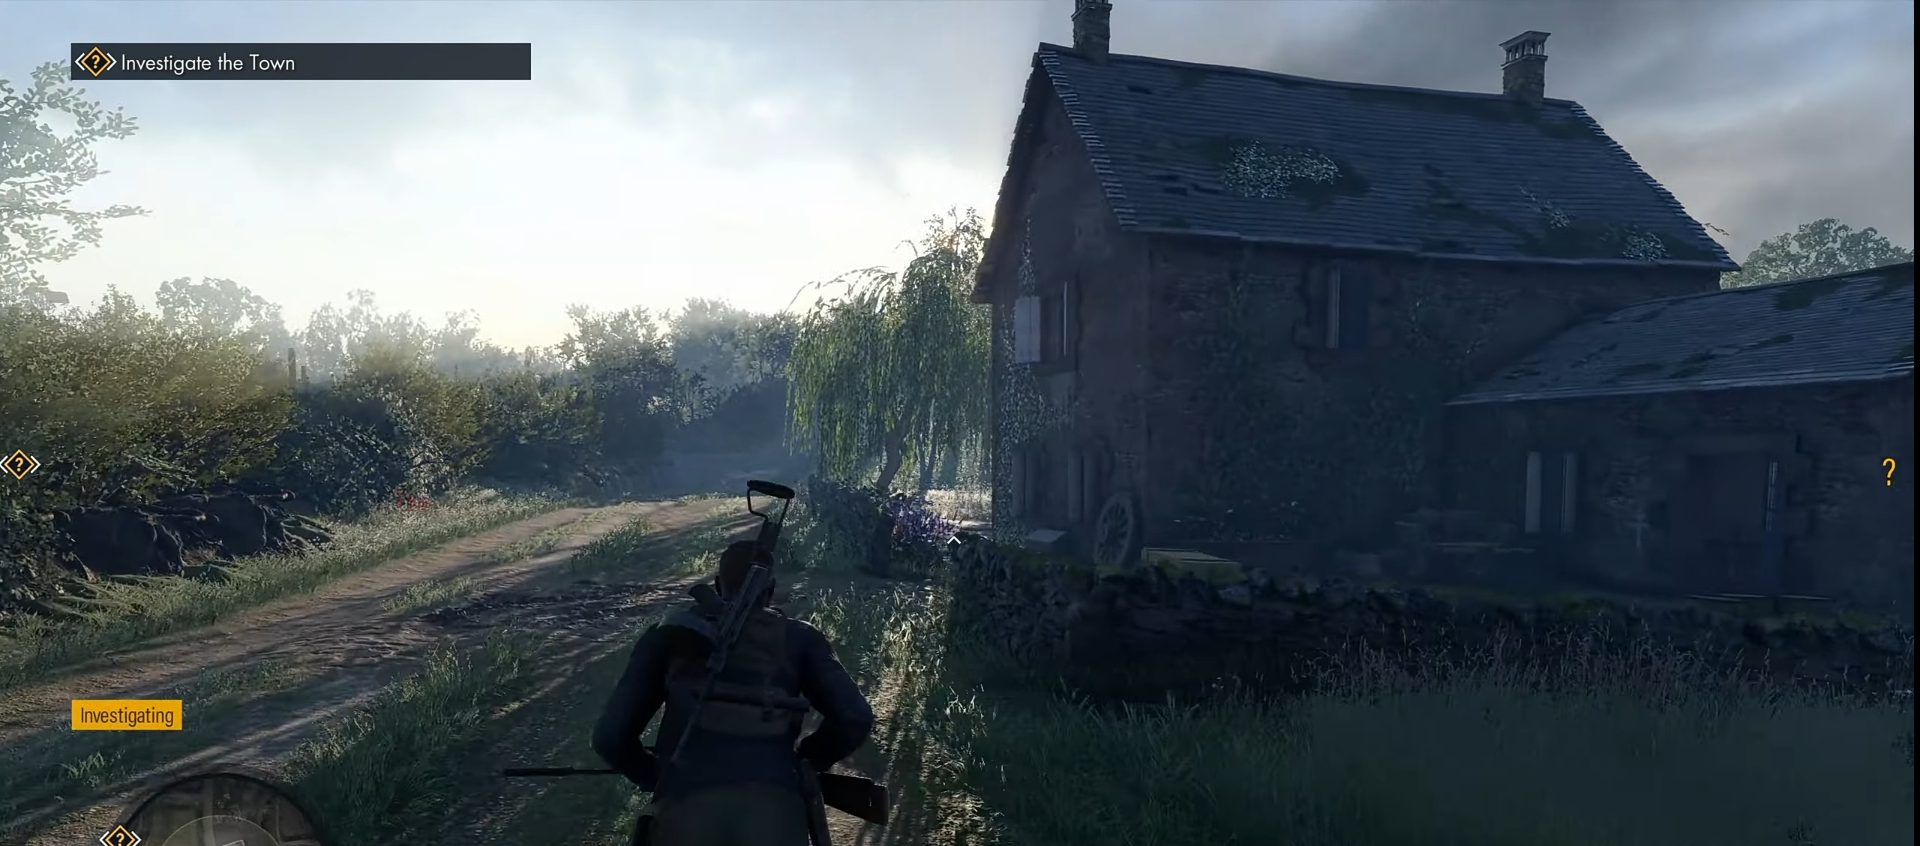
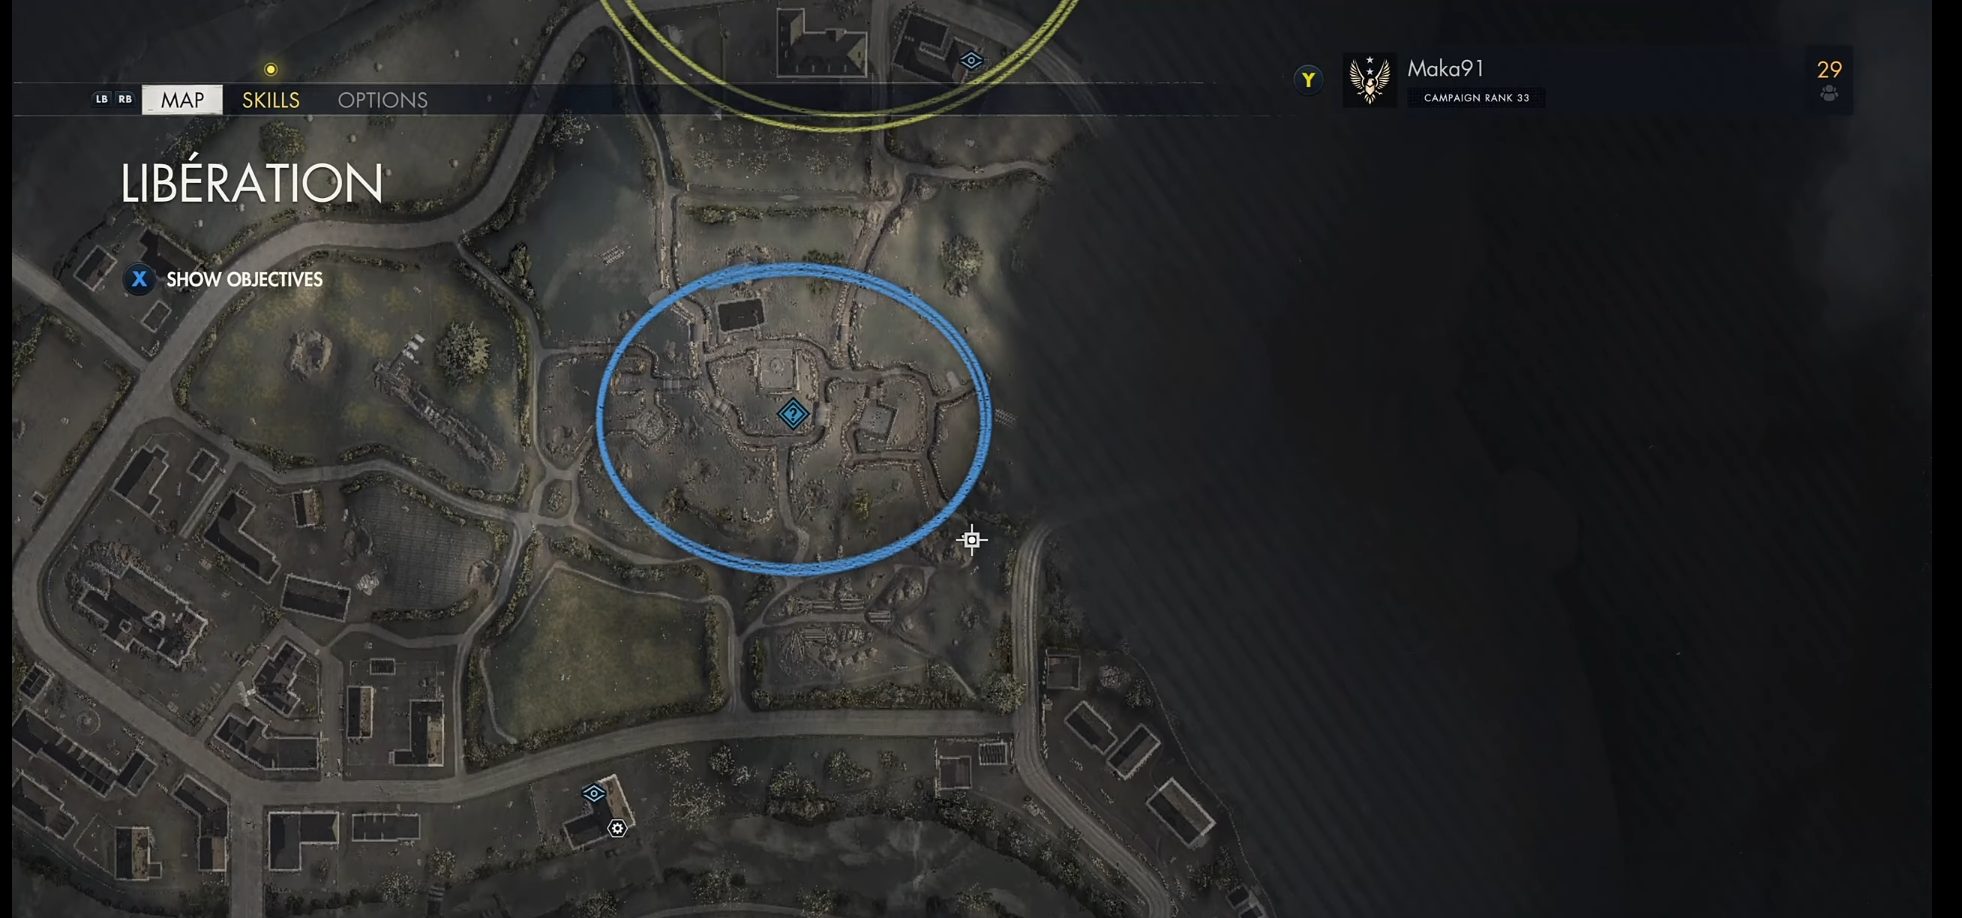
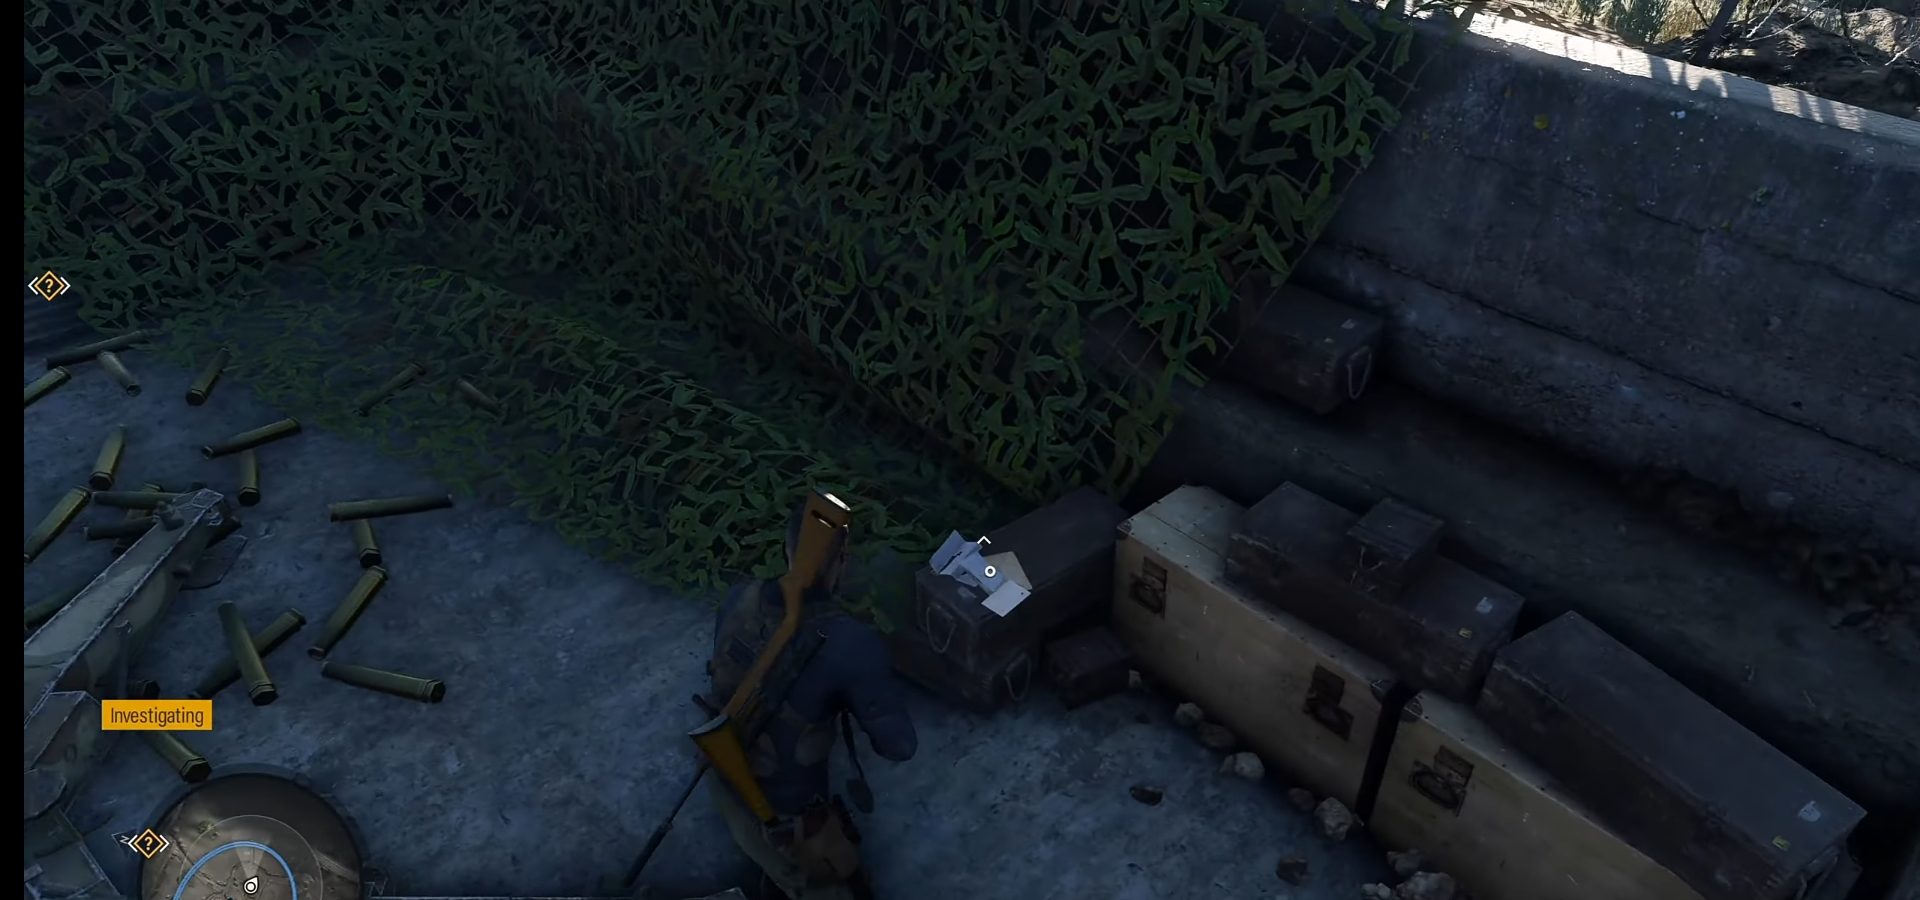
Classified Document 3 ‘A Surplus Bridge’
Head into the eastern fields of the map. Once there, head into the village with 2 or 3 small buildings. After you take out the enemies, pick up the classified document 3 lying on top of the wooden crate located near the fence.
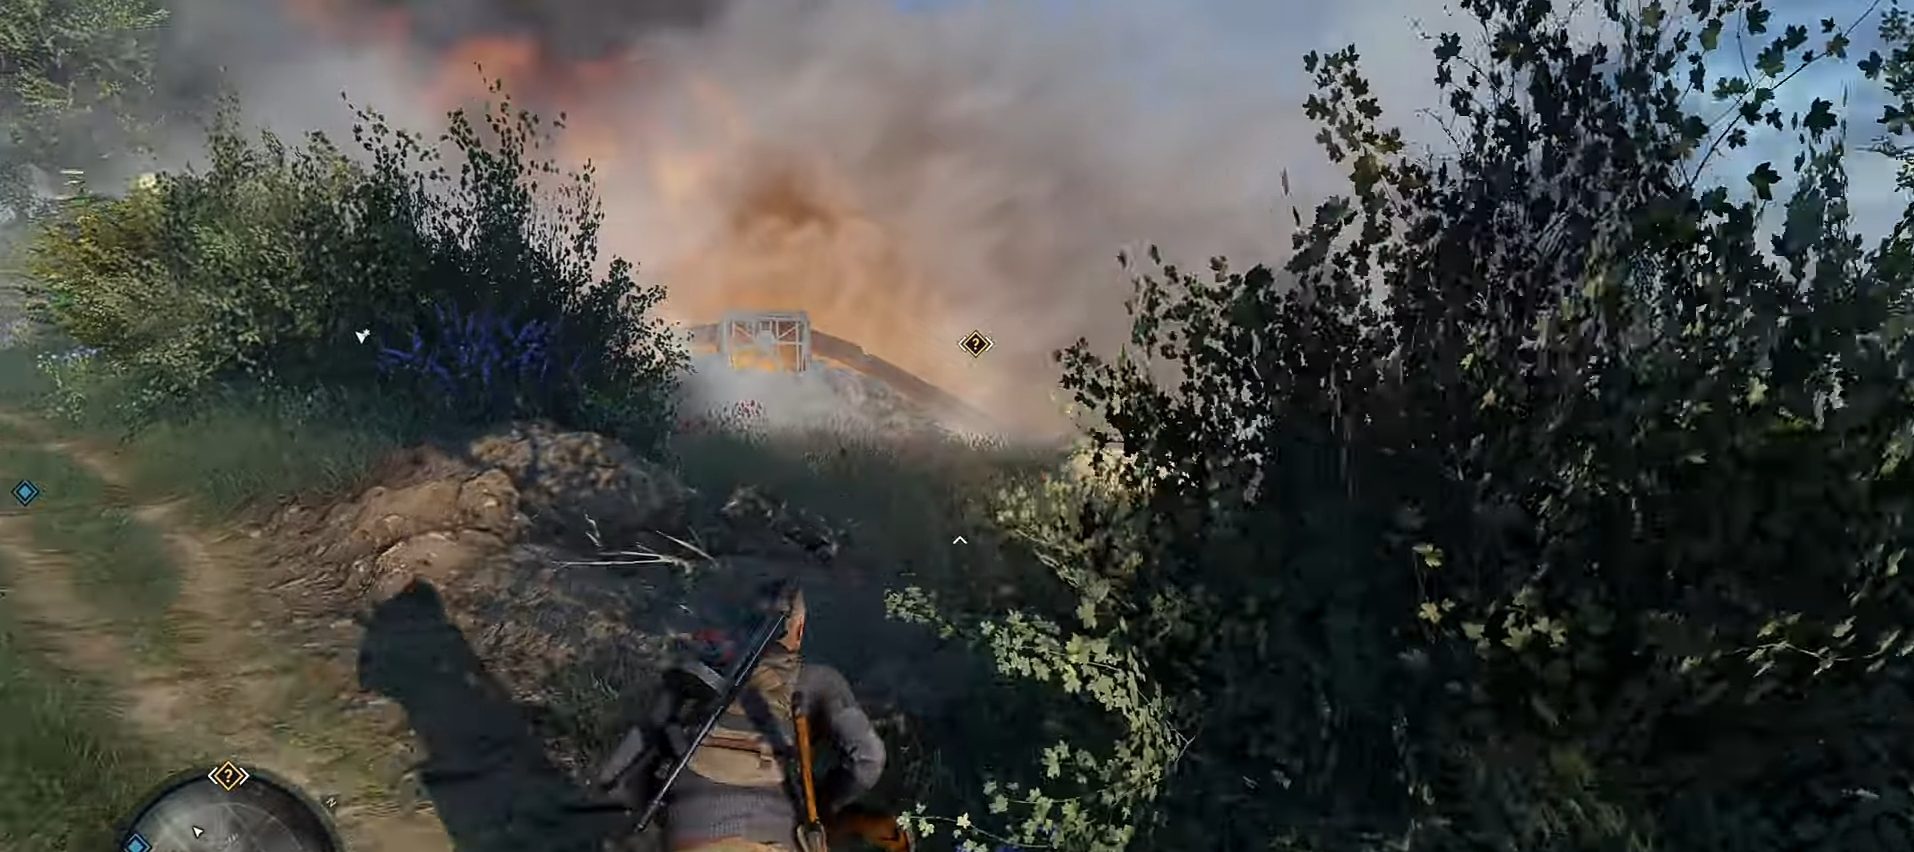
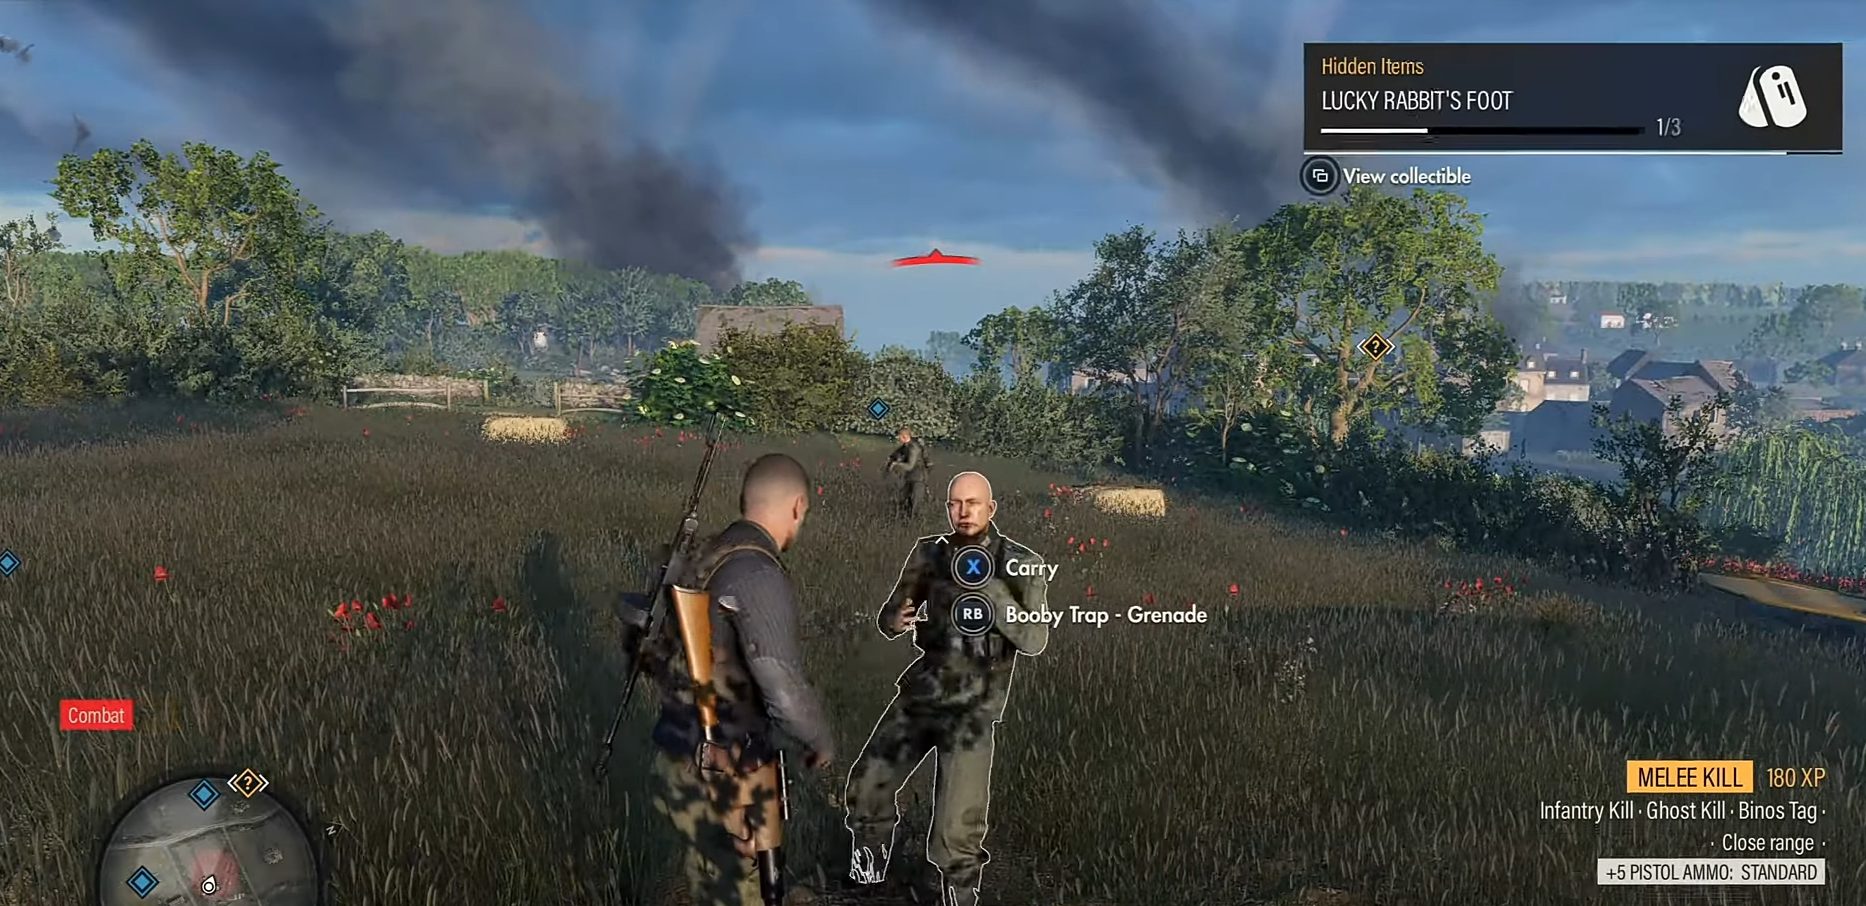
Hidden Item 1 ‘Lucky Rabbit’s Foot’
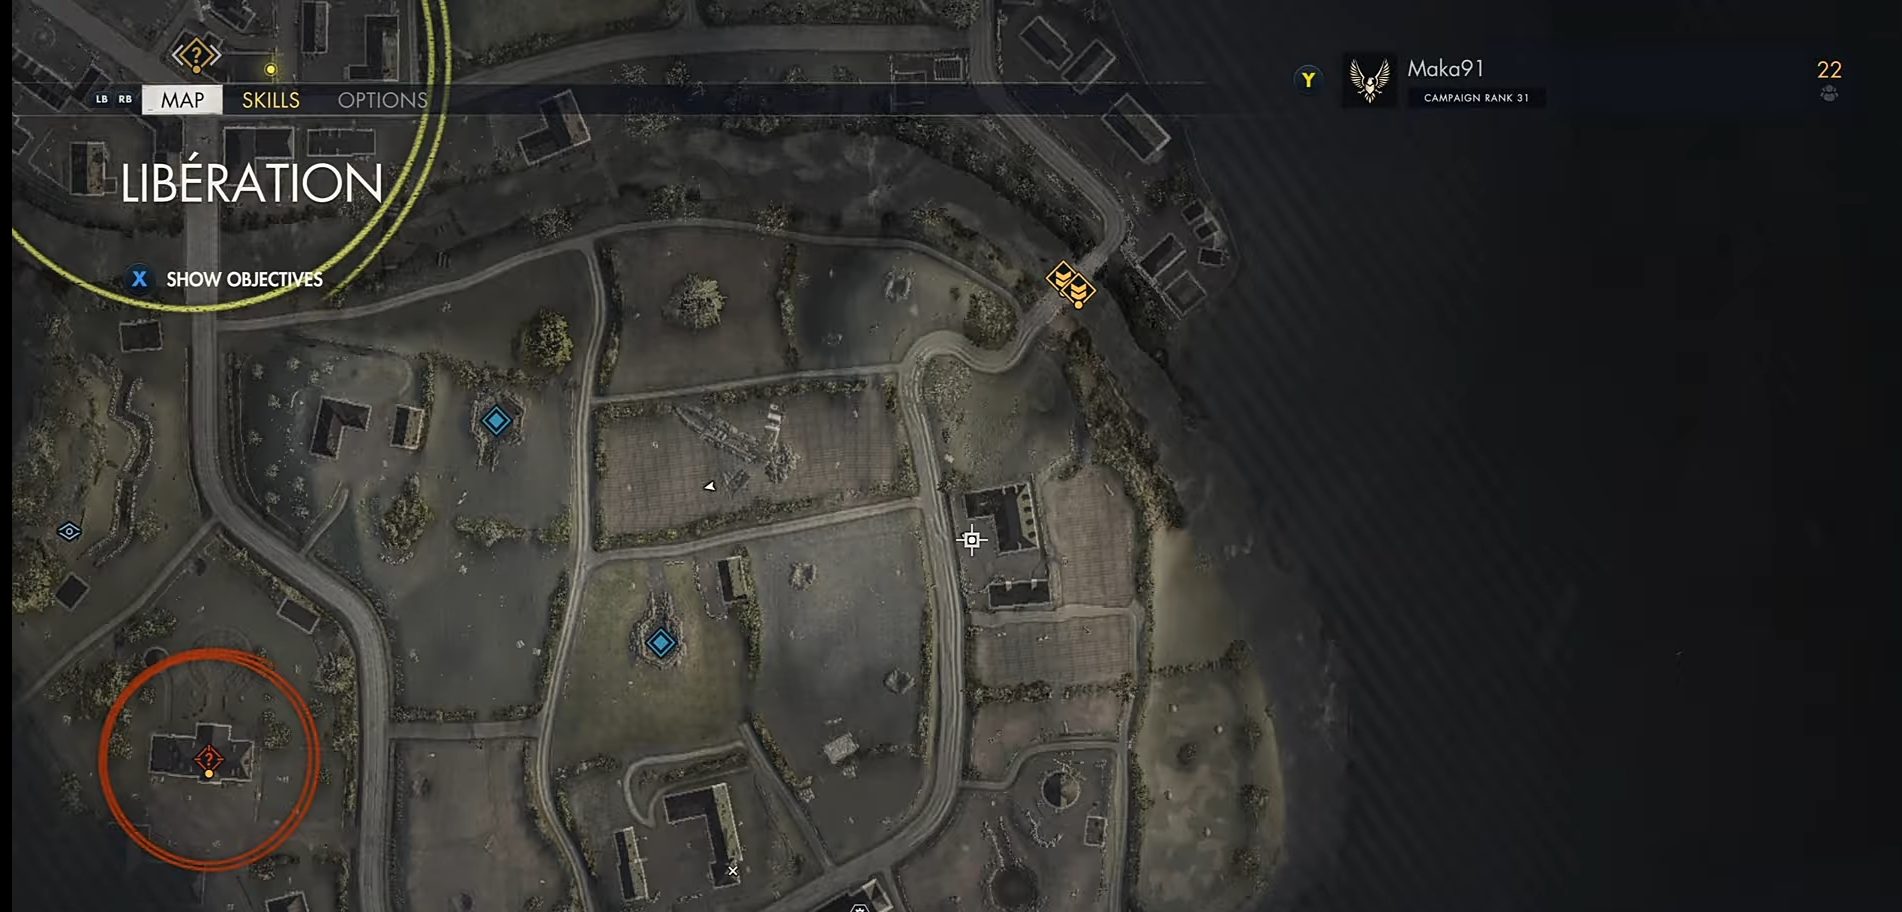
Just near the previous collectible, you can find Liberation’s first Hidden Item, called Lucky Rabbit’s Foot. Exit from the gate near the fence and head towards the fiery smoke visible in the distance. There, you will spot two enemies. Take them down and collect your first hidden Item.
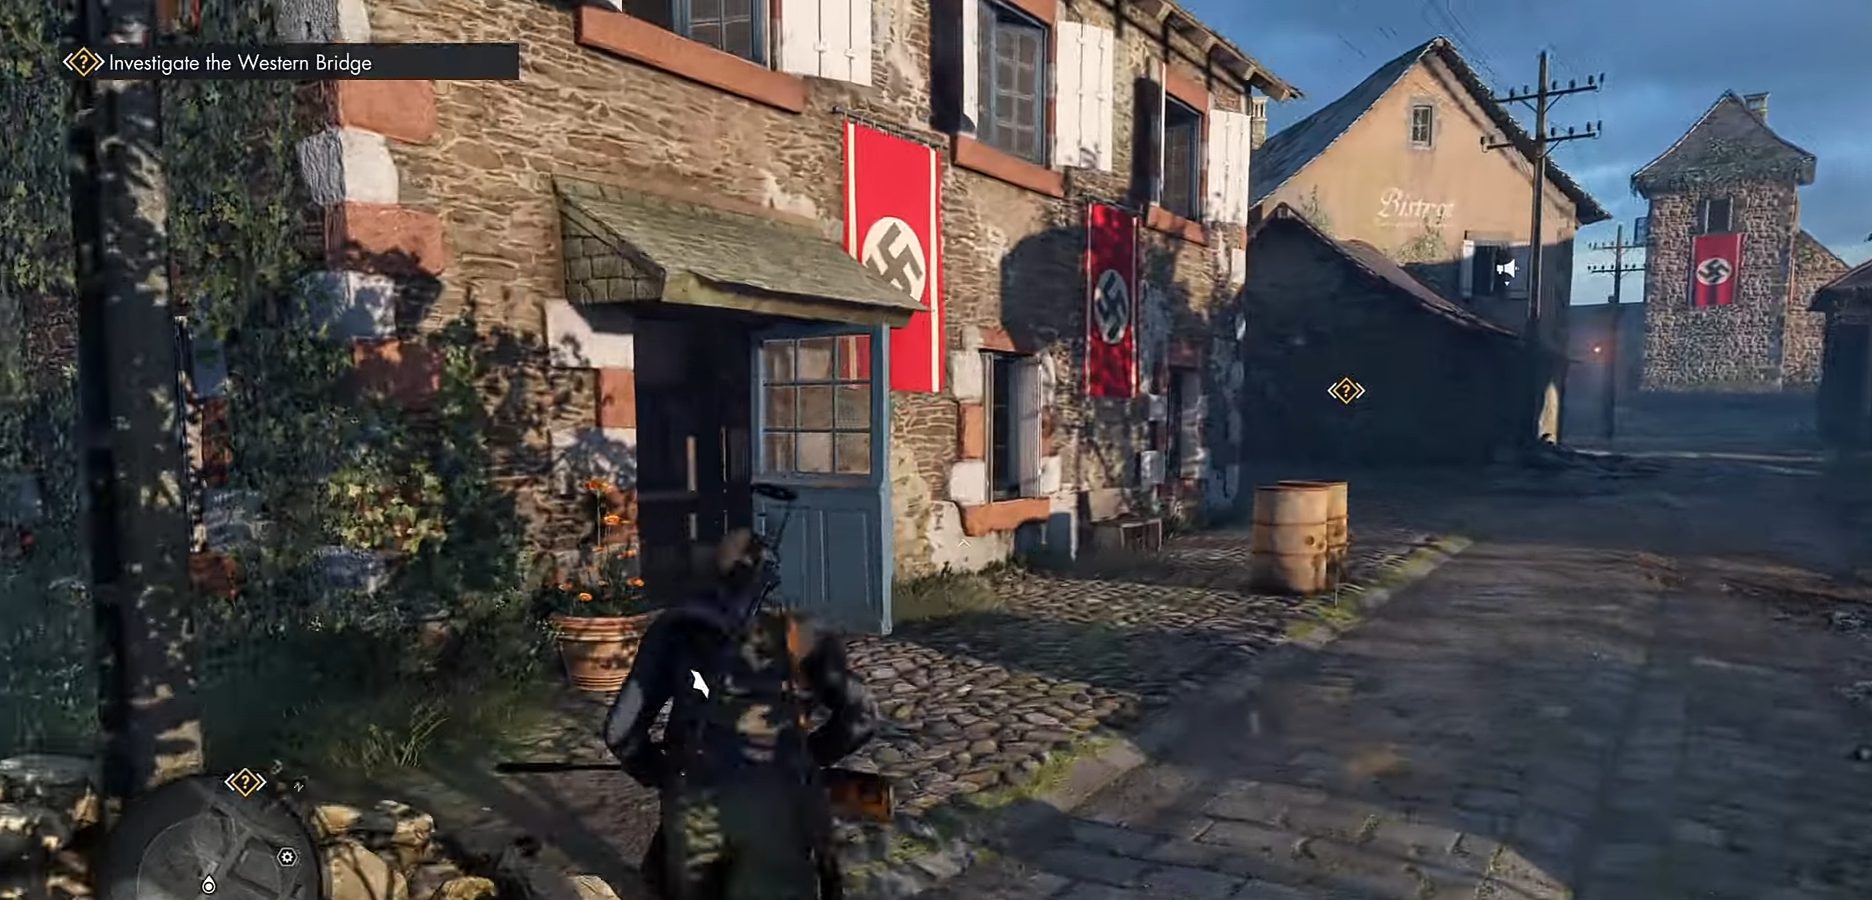
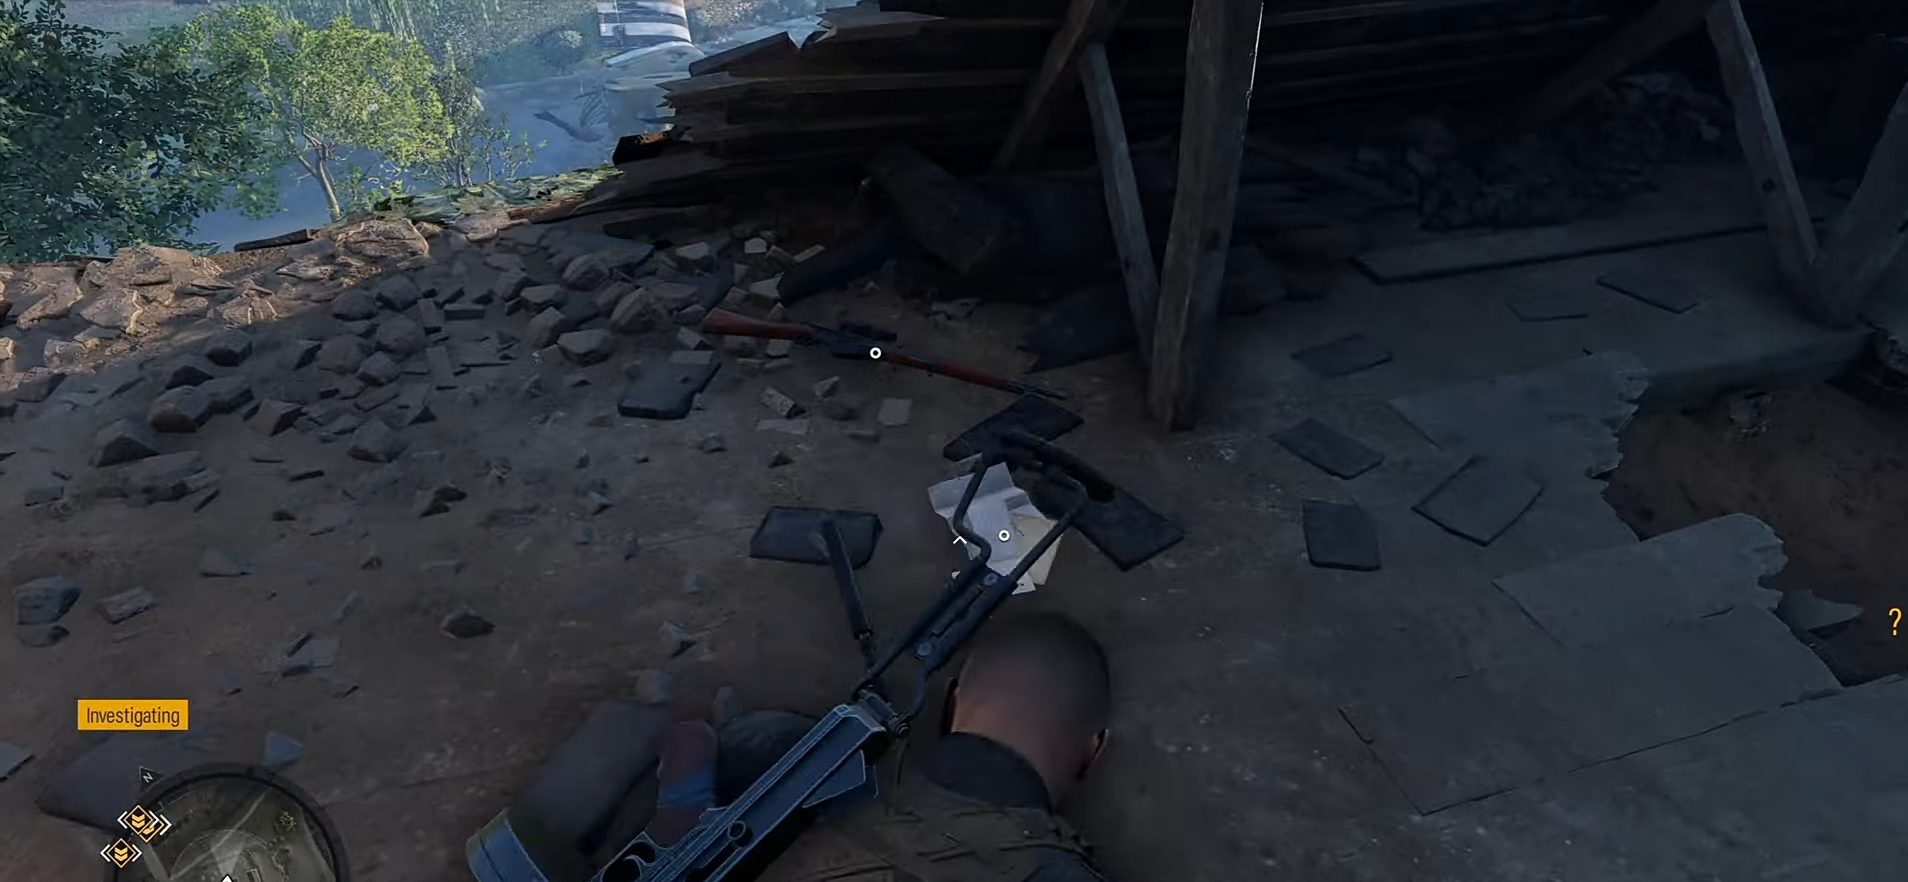
Personal Letter 2 ‘Vengeance is Nigh’
Now go to the western side of the map, where you can see a mansion with two Nazi flags displayed on it.
There will be a couple of guards patrolling the area outside the mansion. Take them out and loot the bald soldier to collect your second Personal Letter in Sniper Elite 5’s Mission 6 “Liberation”.
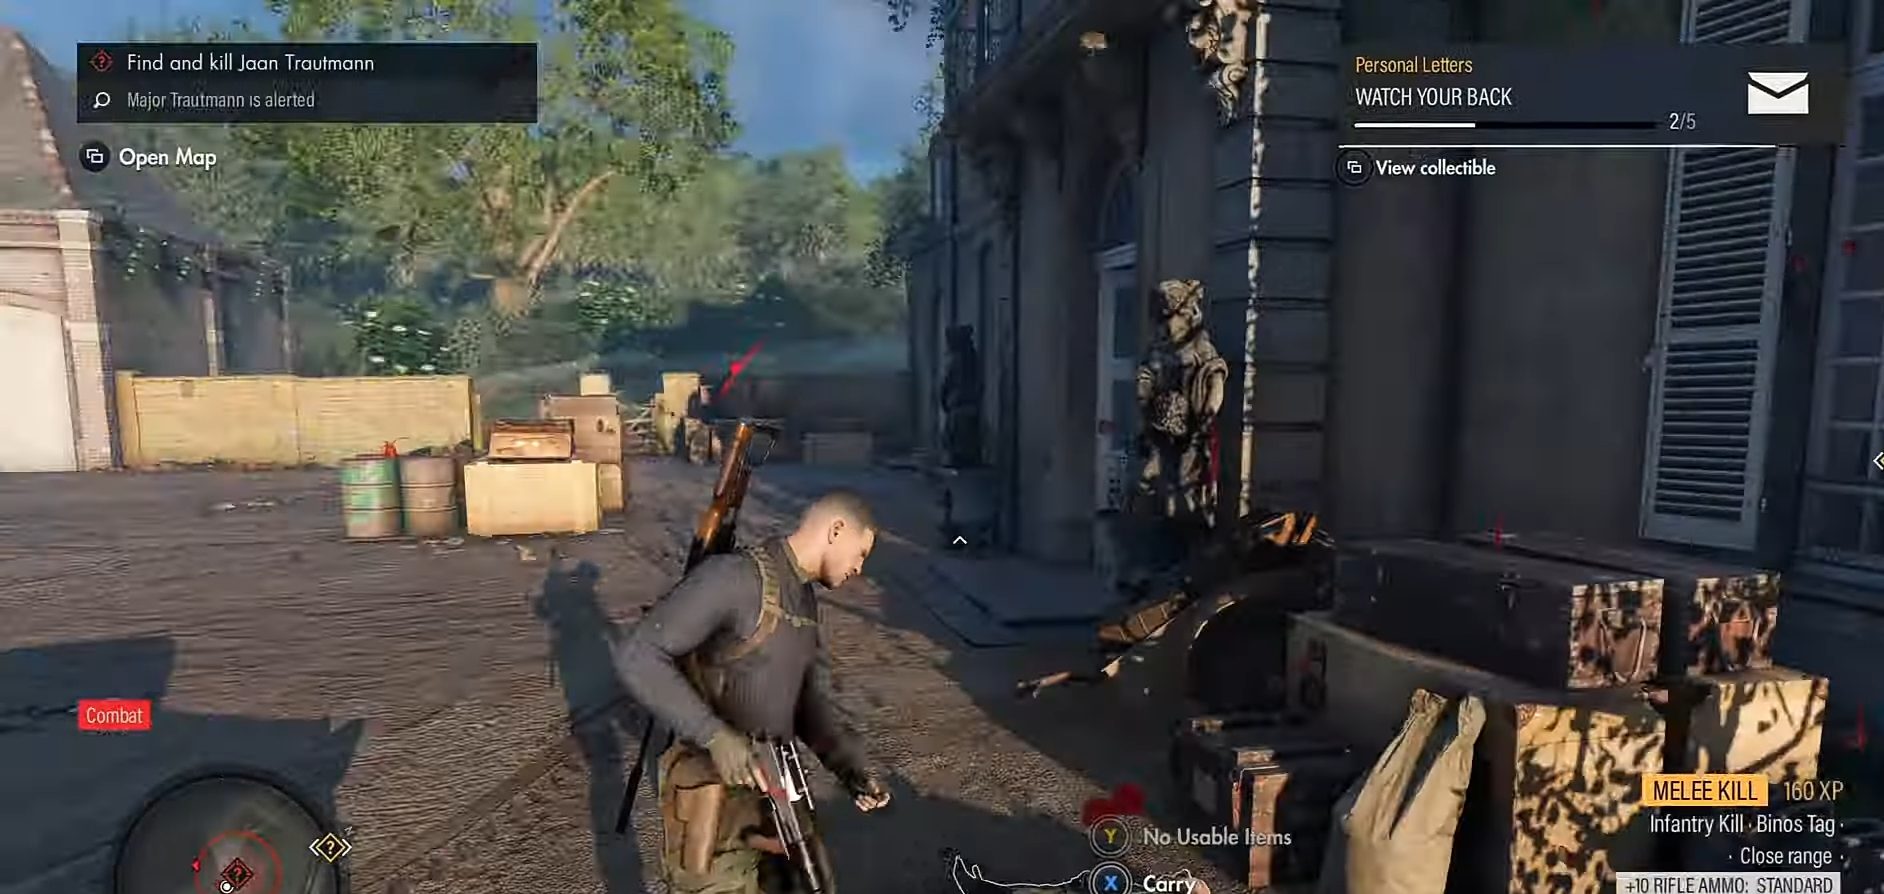
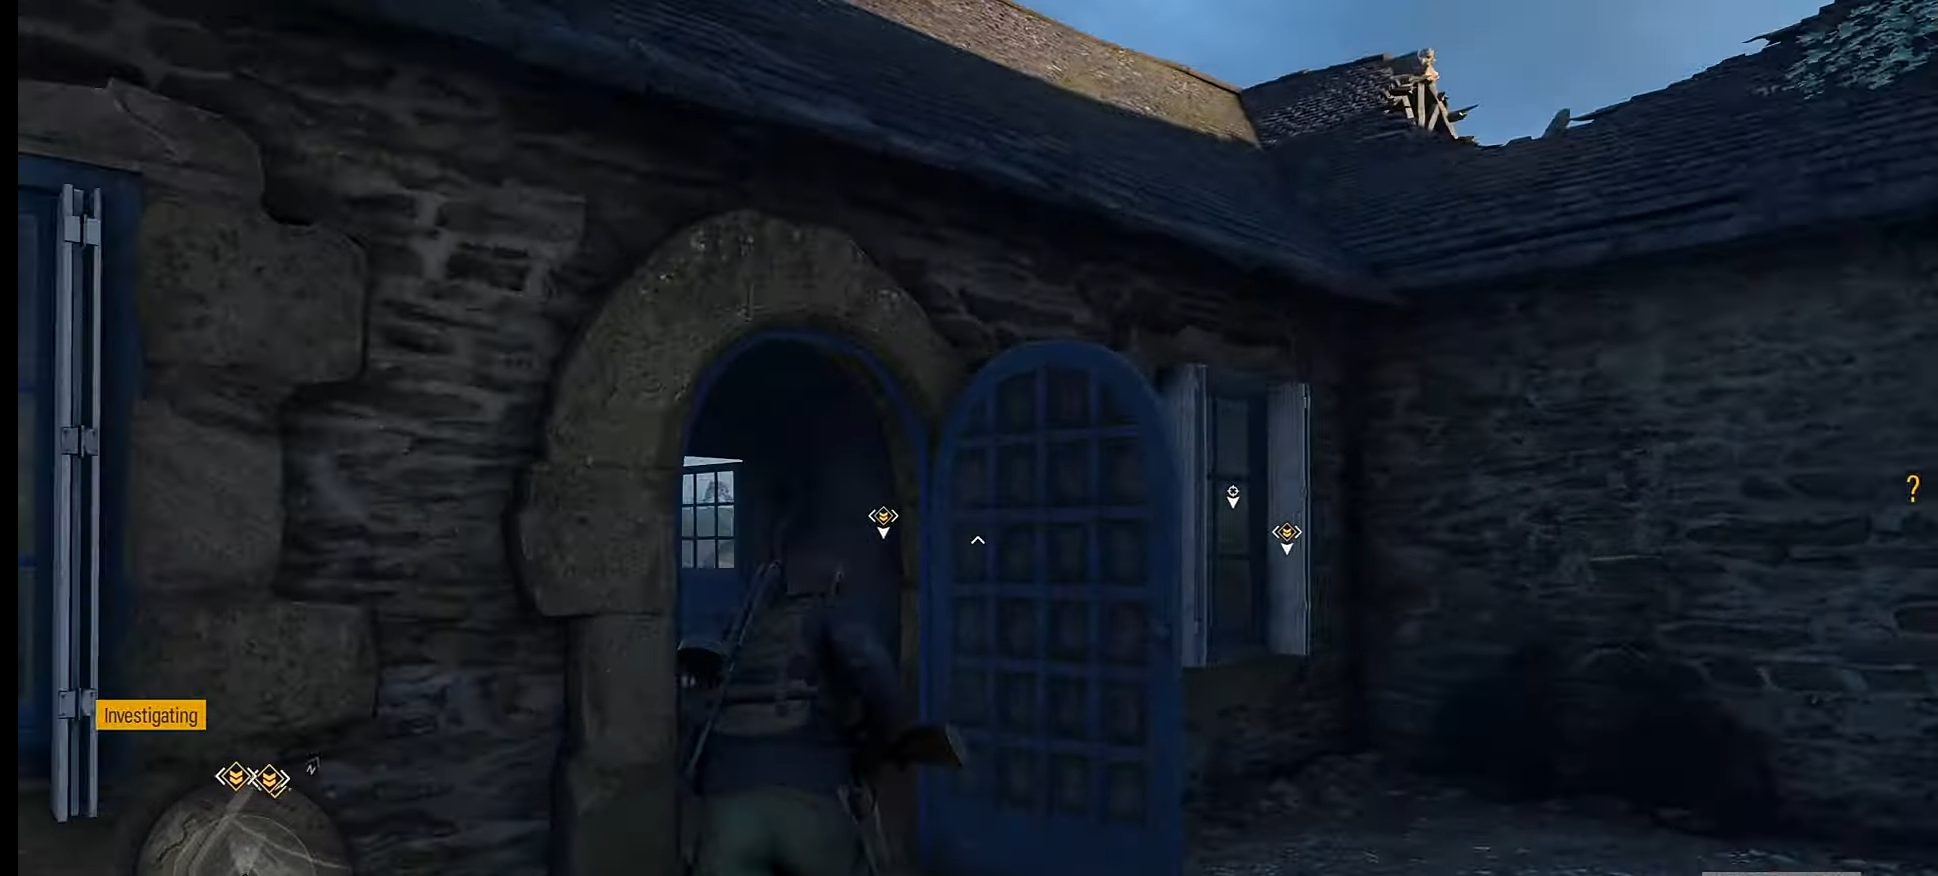
Personal Letter 3 ‘Watch Your Back’
Now, move north from your current location until you reach a small outpost with tree houses. Go inside the house with blue windows. Climb up the ladder and collect Personal Letter 3.
Before reading further, why not go through our guide on Sniper Elite 5 Rat Bomb and learn about its location and various uses?
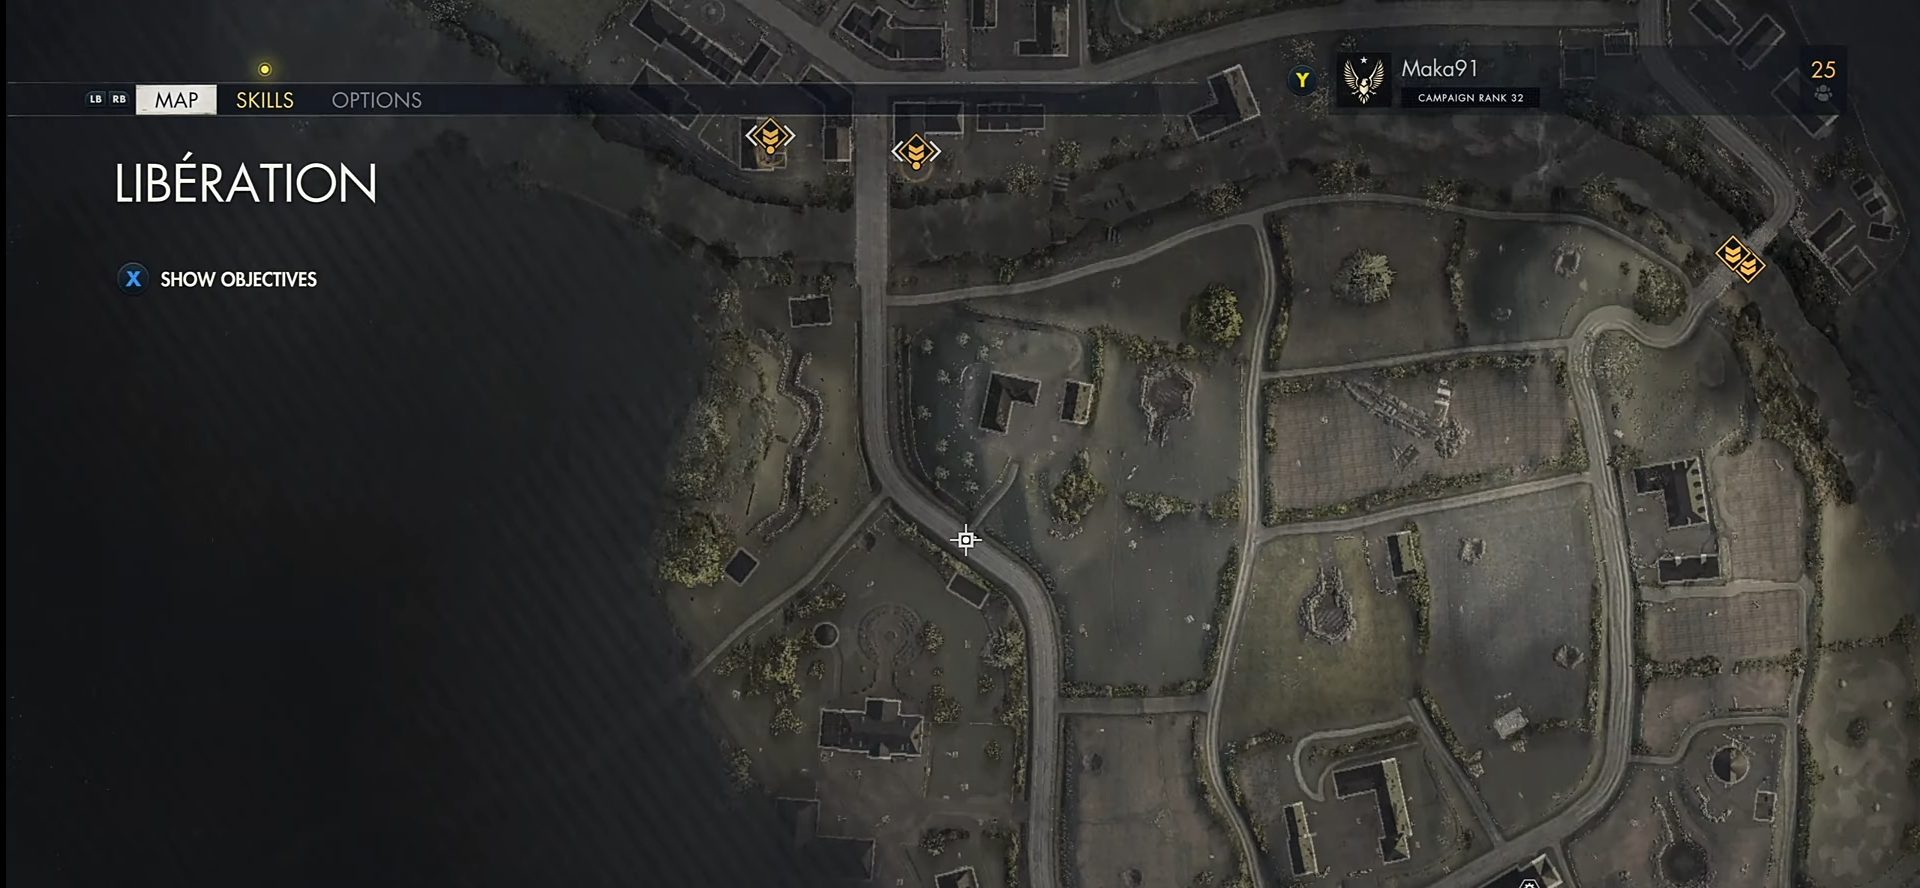
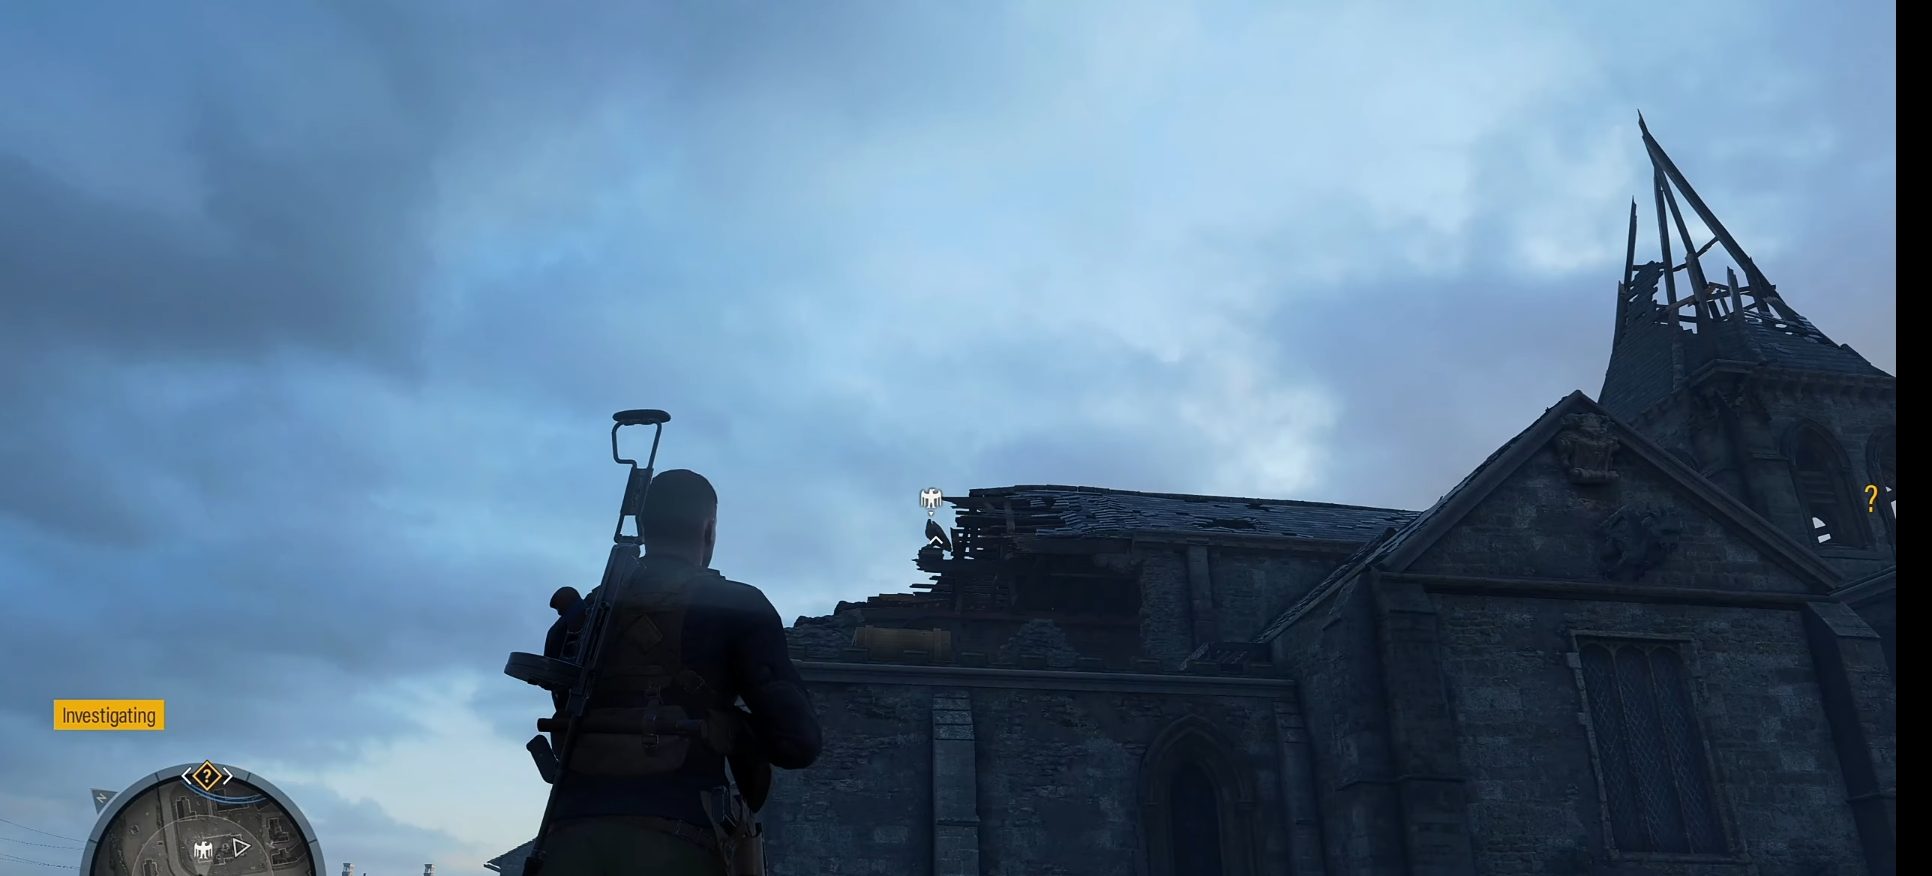
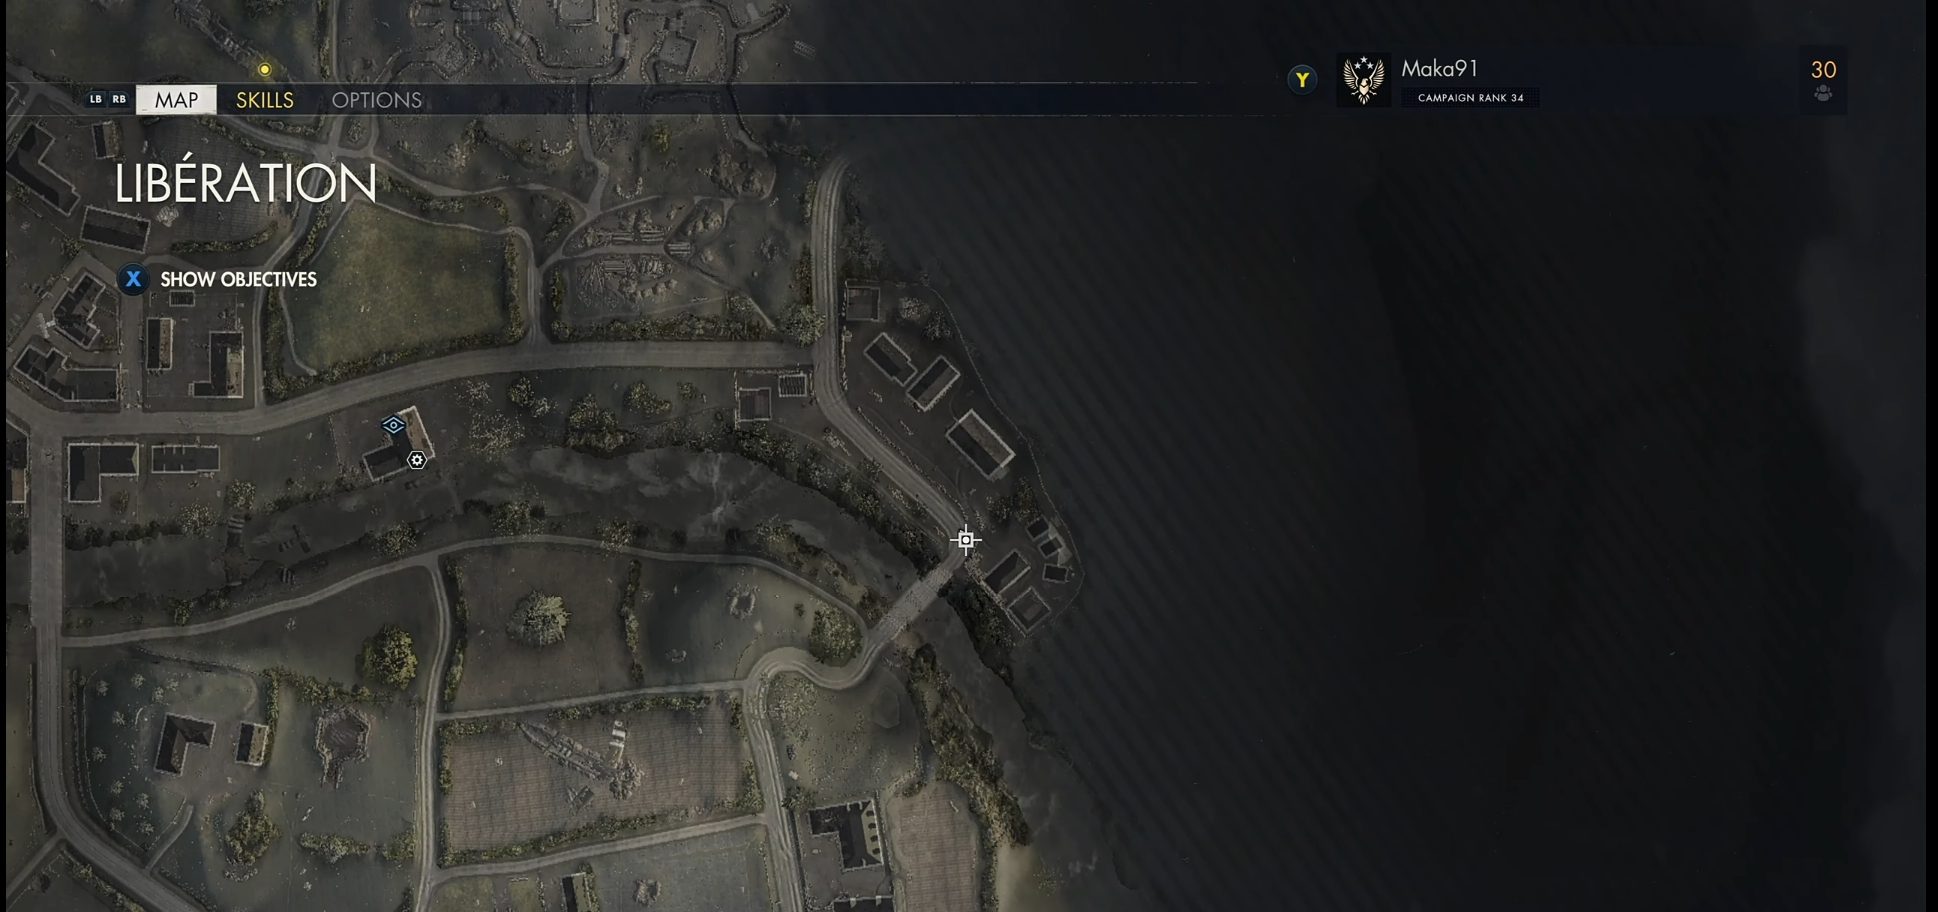
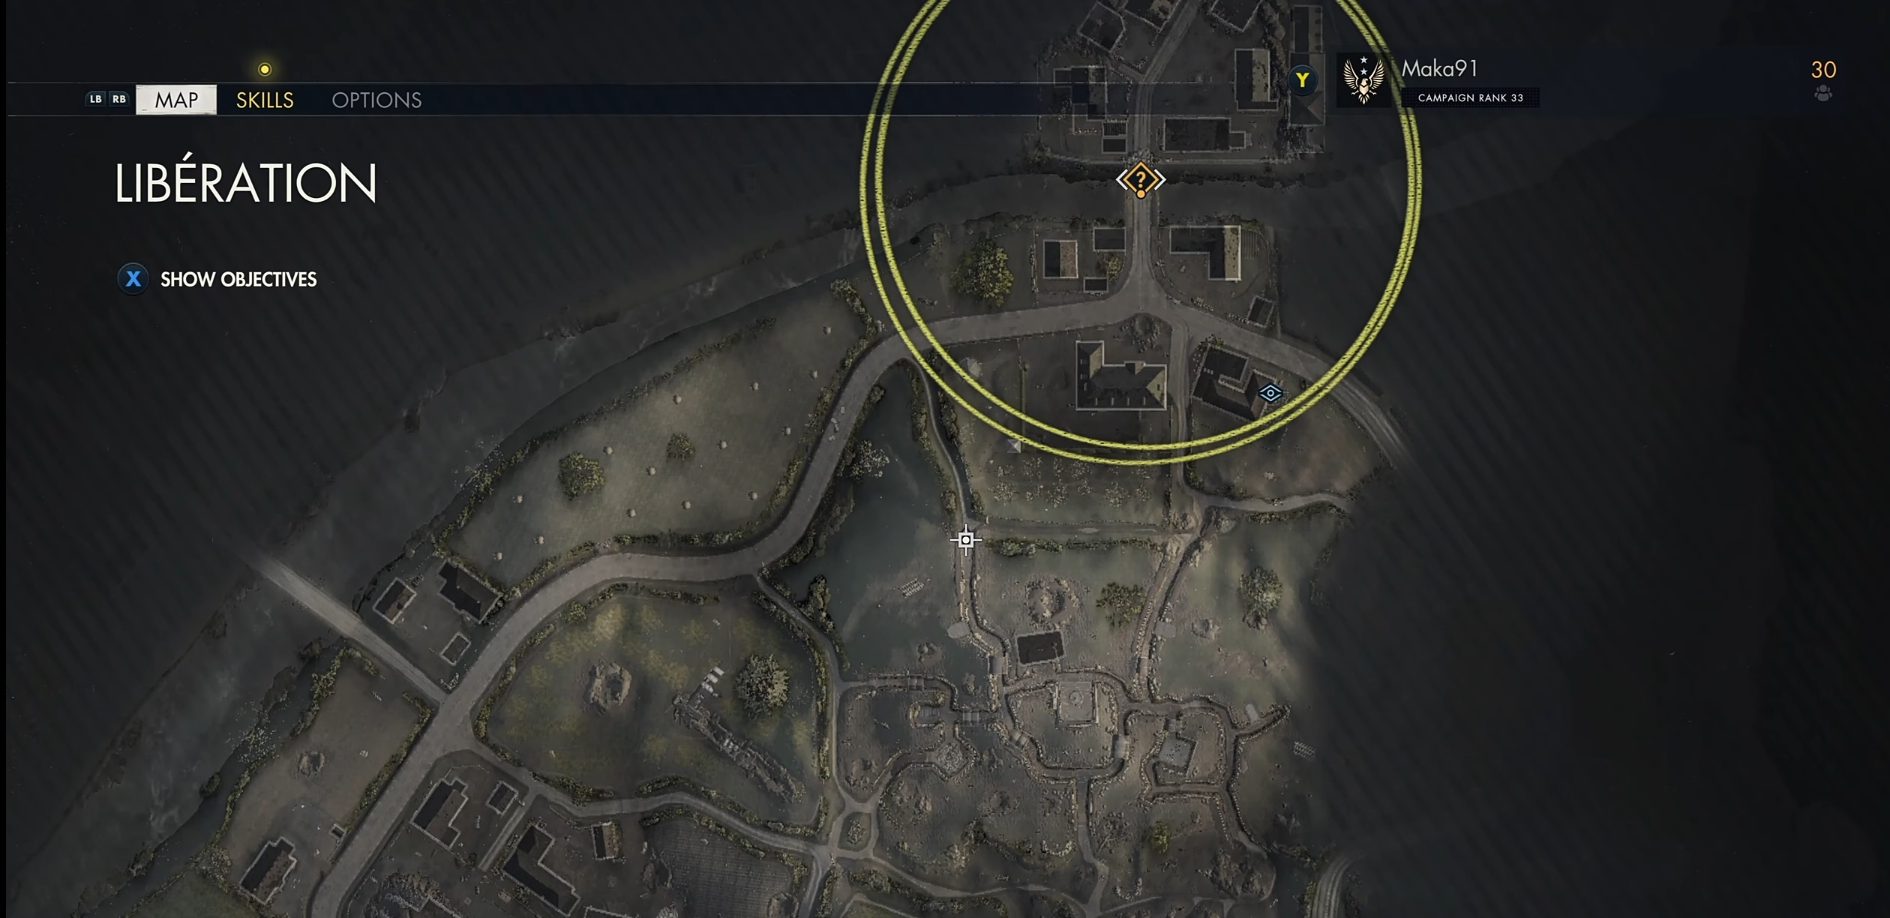
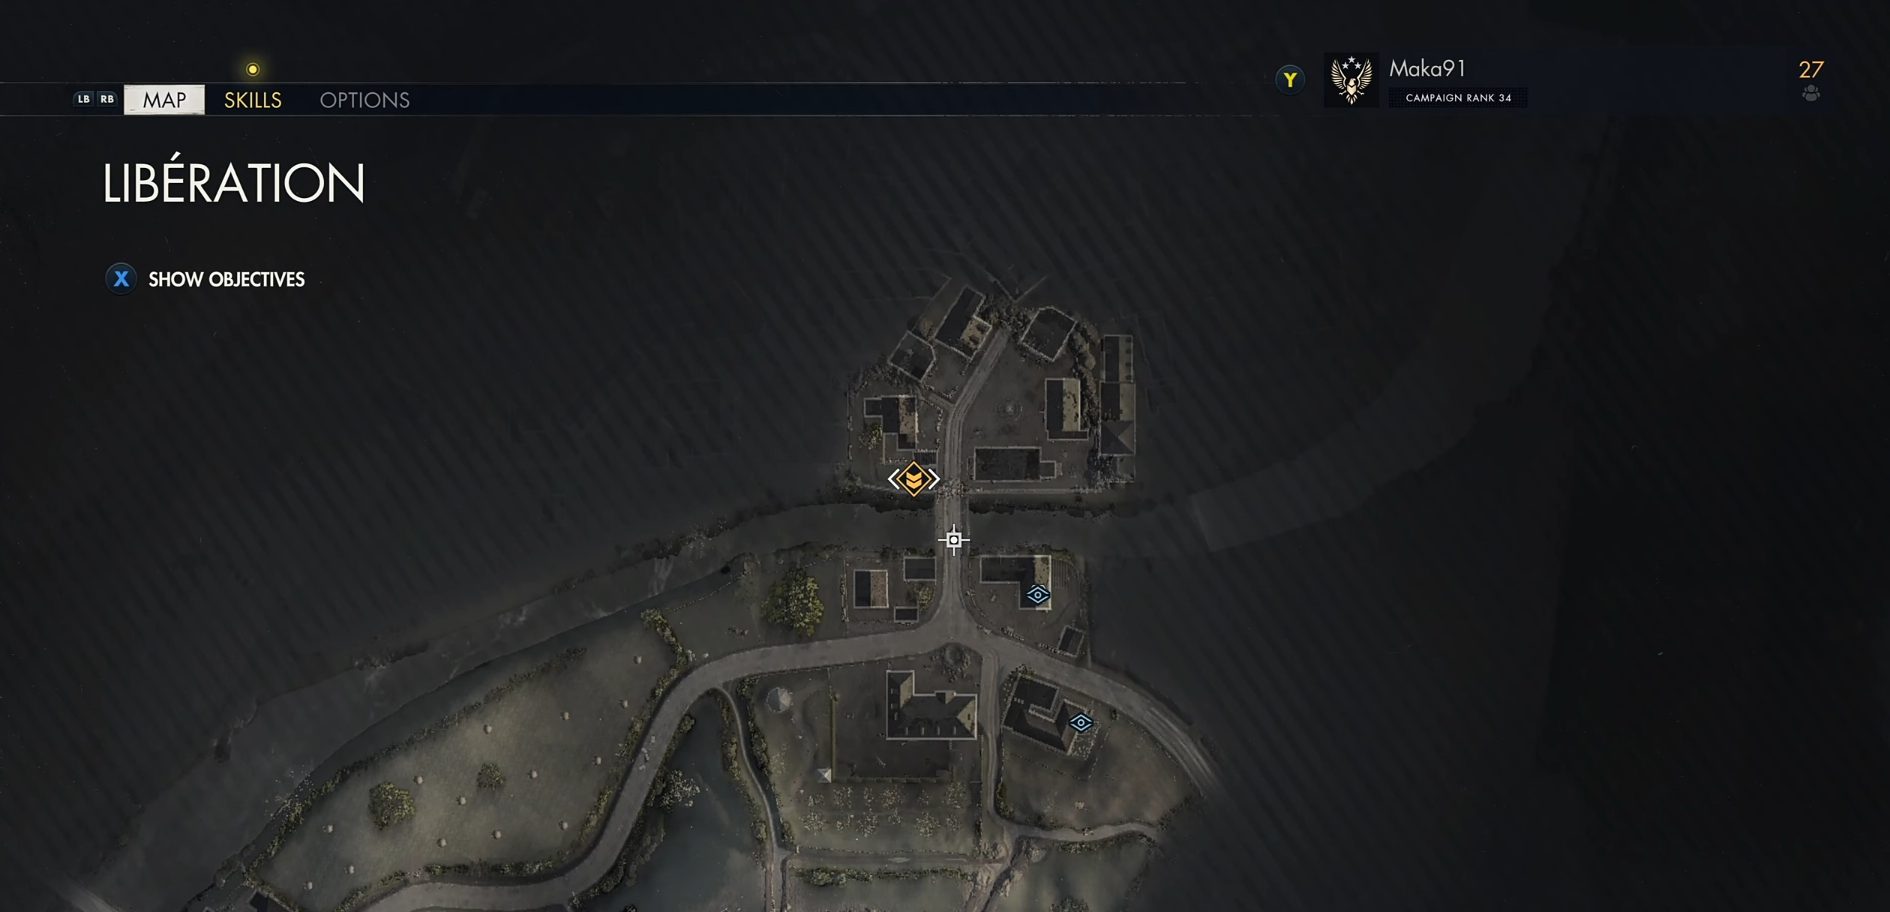
Stone Eagle 2
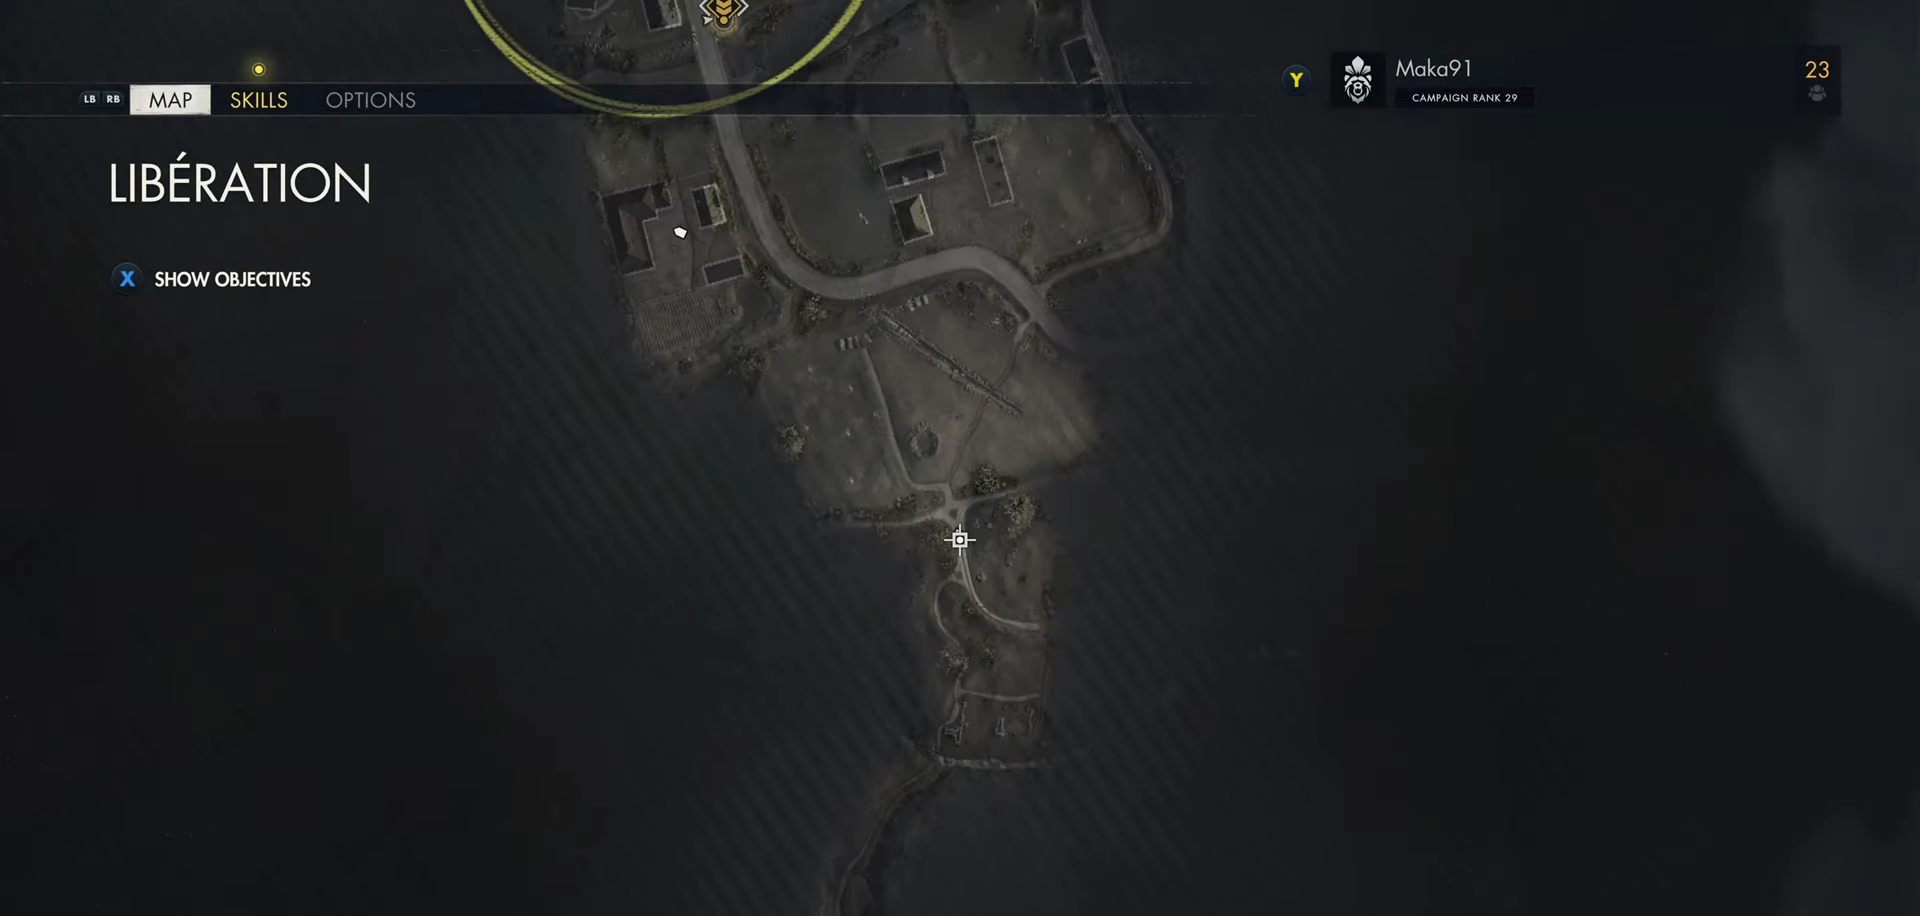
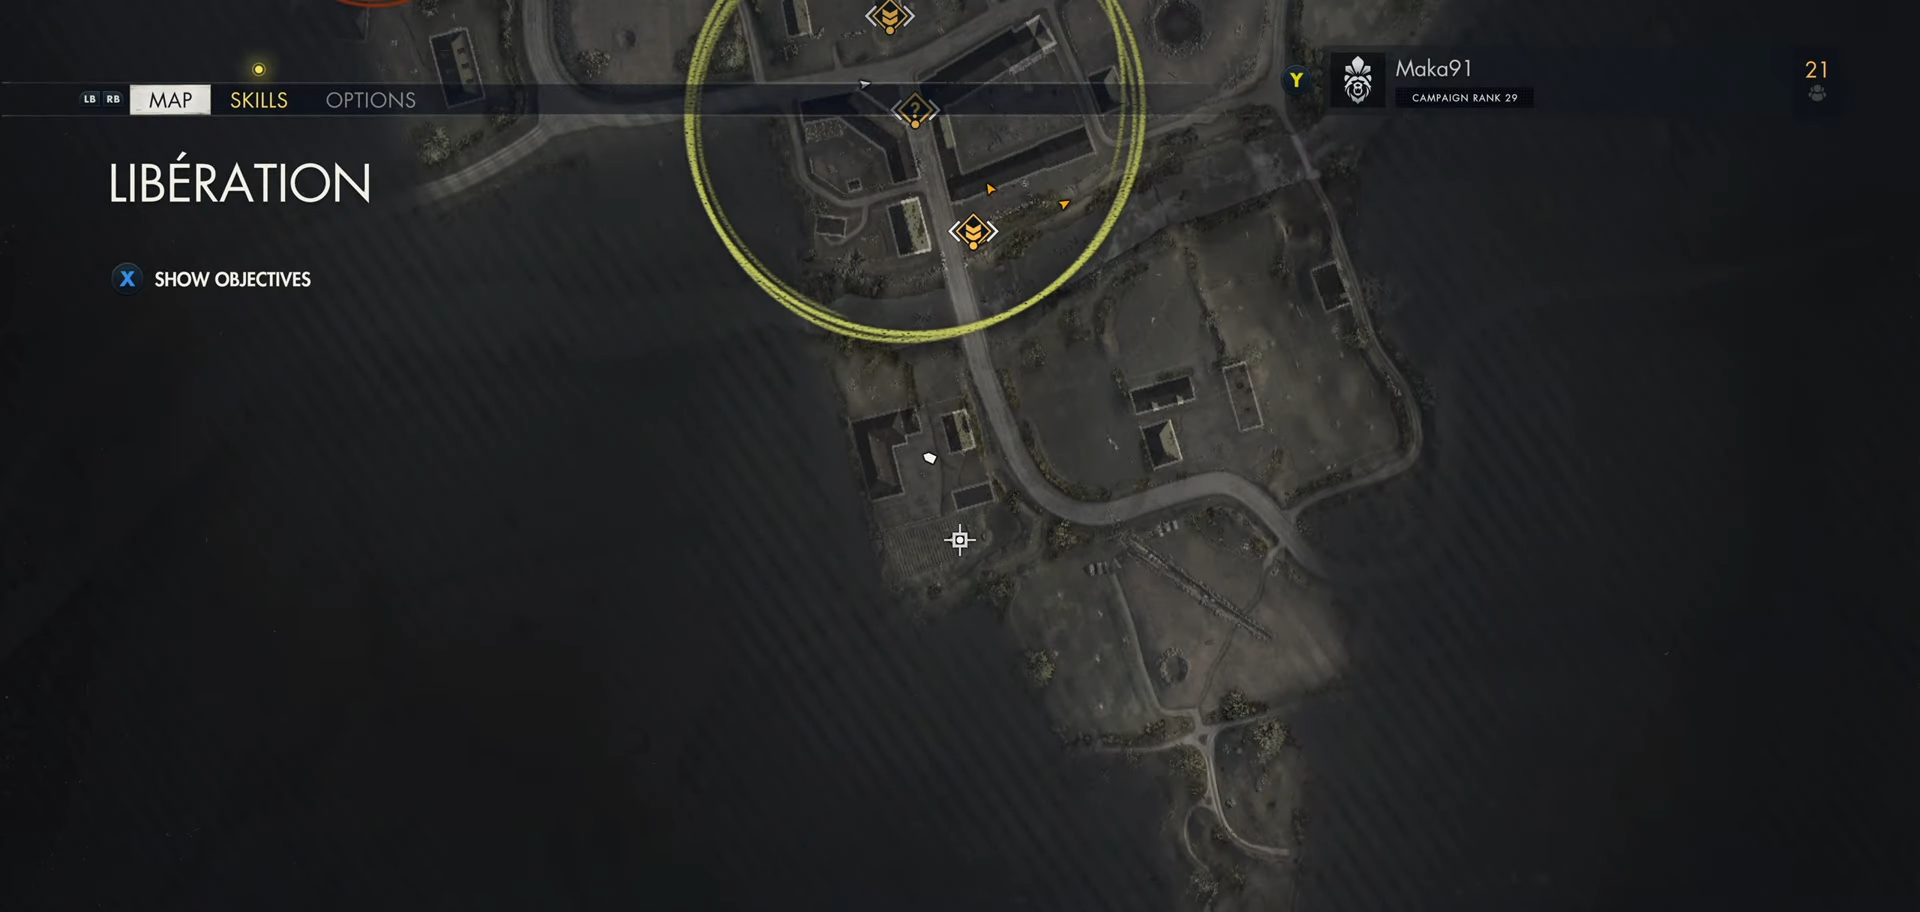
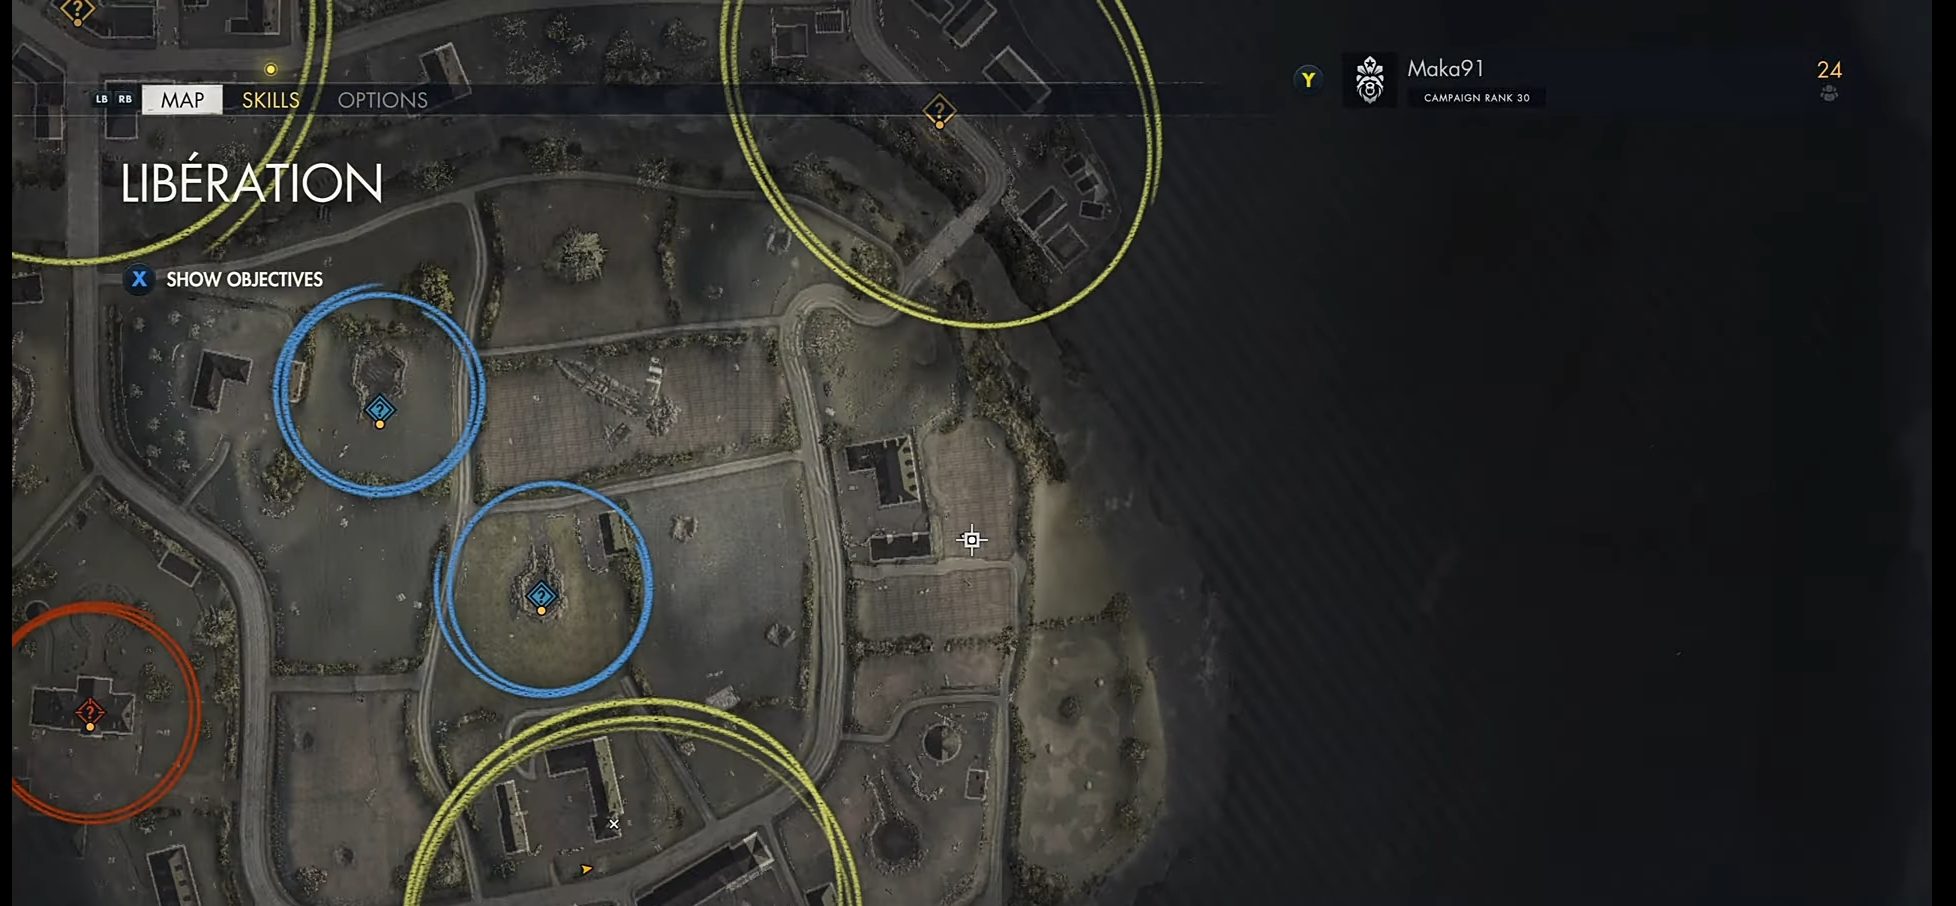
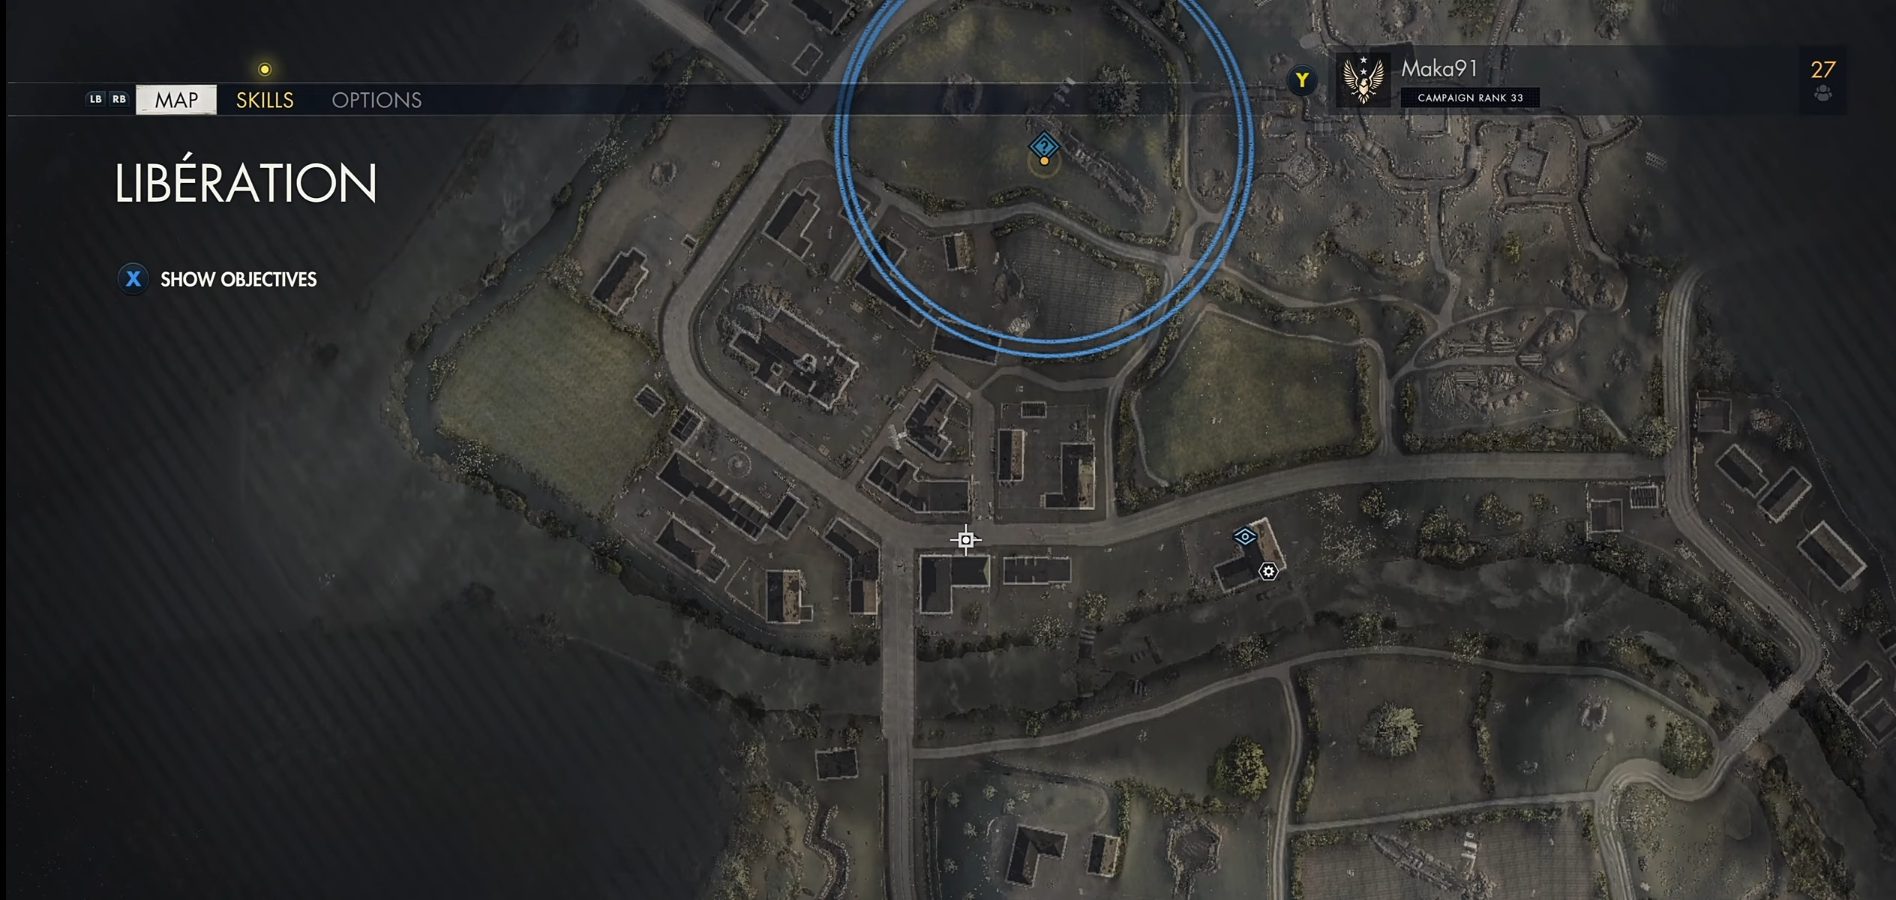
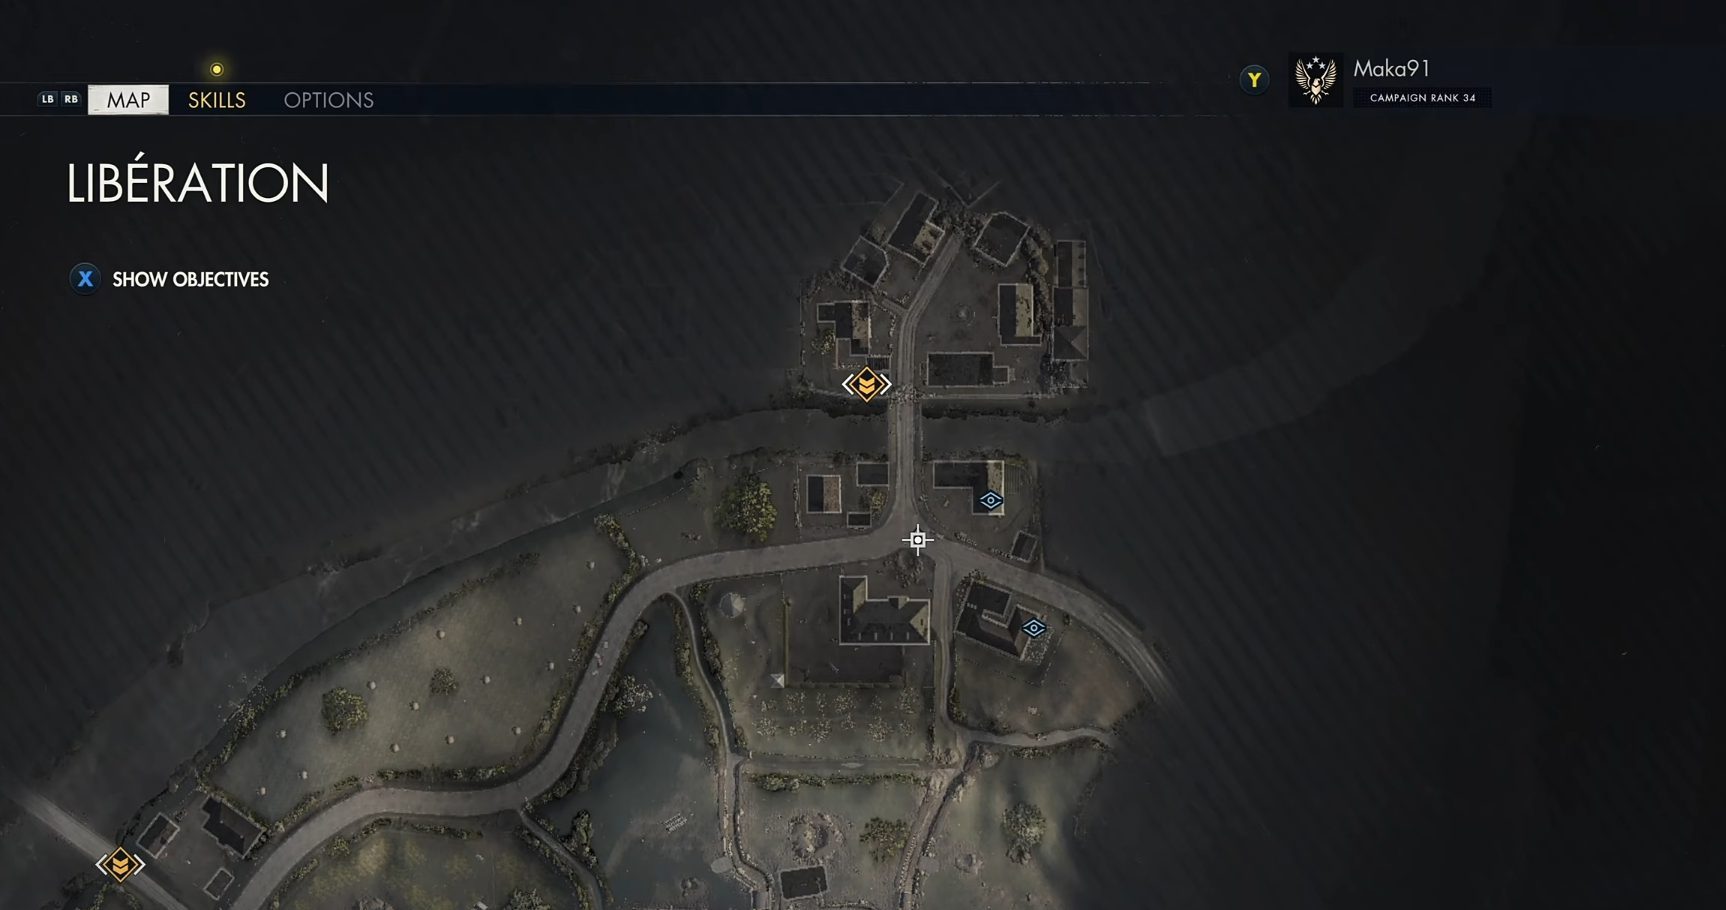
Move towards the location marked on the map below.
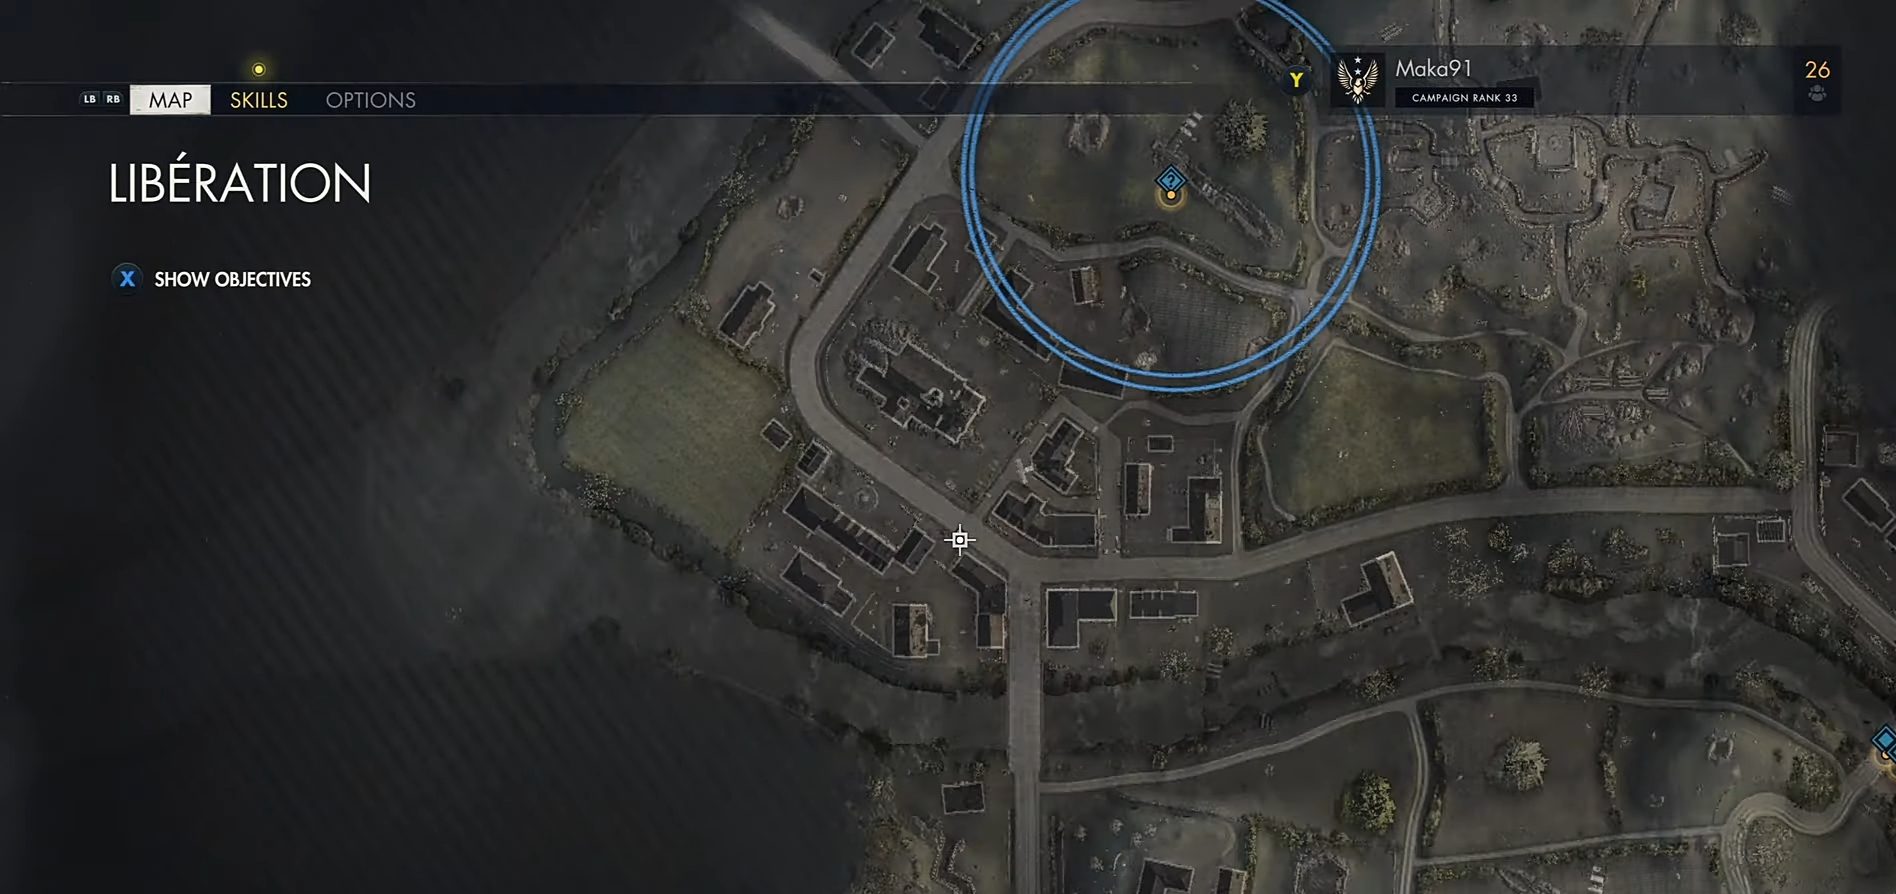
There you’ll see a church with a sniper hiding in it. Once you take out the sniper, follow the road and move towards the northwest corner of the building until where the building has a giant chunk of it missing. Take out your sniper, zoom in, and you’ll spot a Stone Eagle there. Shoot at it, and obtain your second Stone Eagle collectible of the mission.

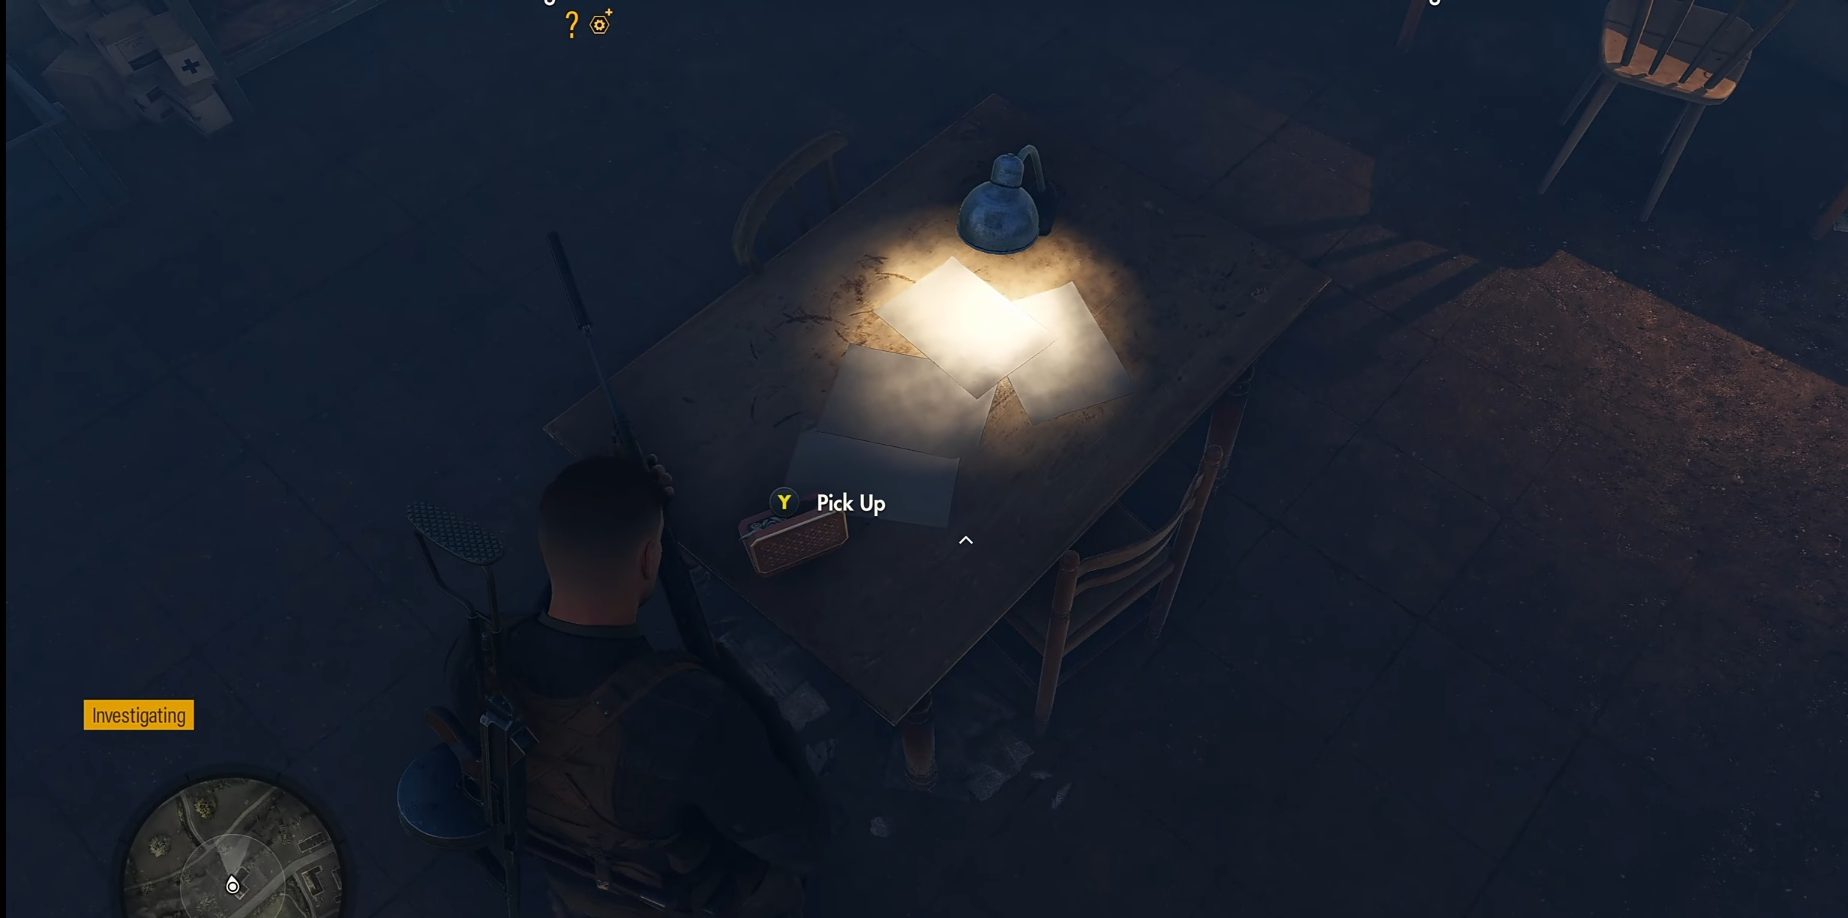
Classified Document 4 ‘Resistance Fanatic Located’
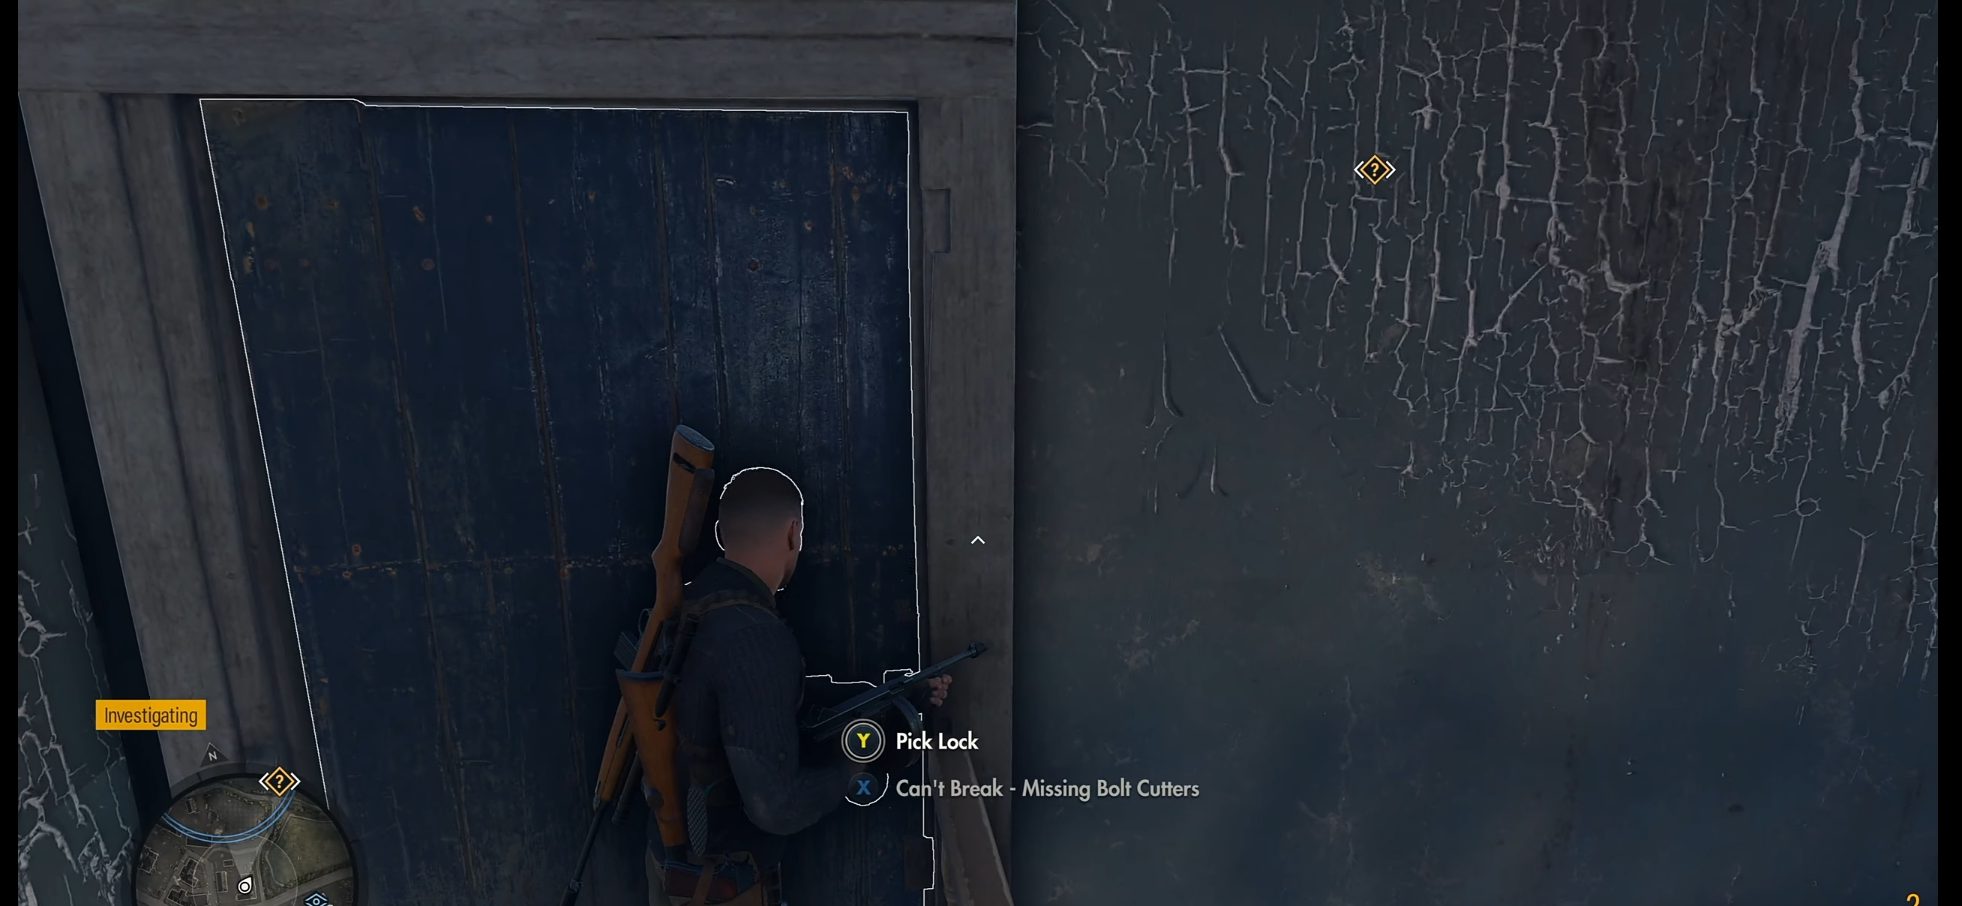
Now, head east from your current location and keep following the main road. As you are exiting the city, enter the last building on your left. Go upstairs and picklock the locked door. Once inside, pick up the Classified Document 4 lying on the table.
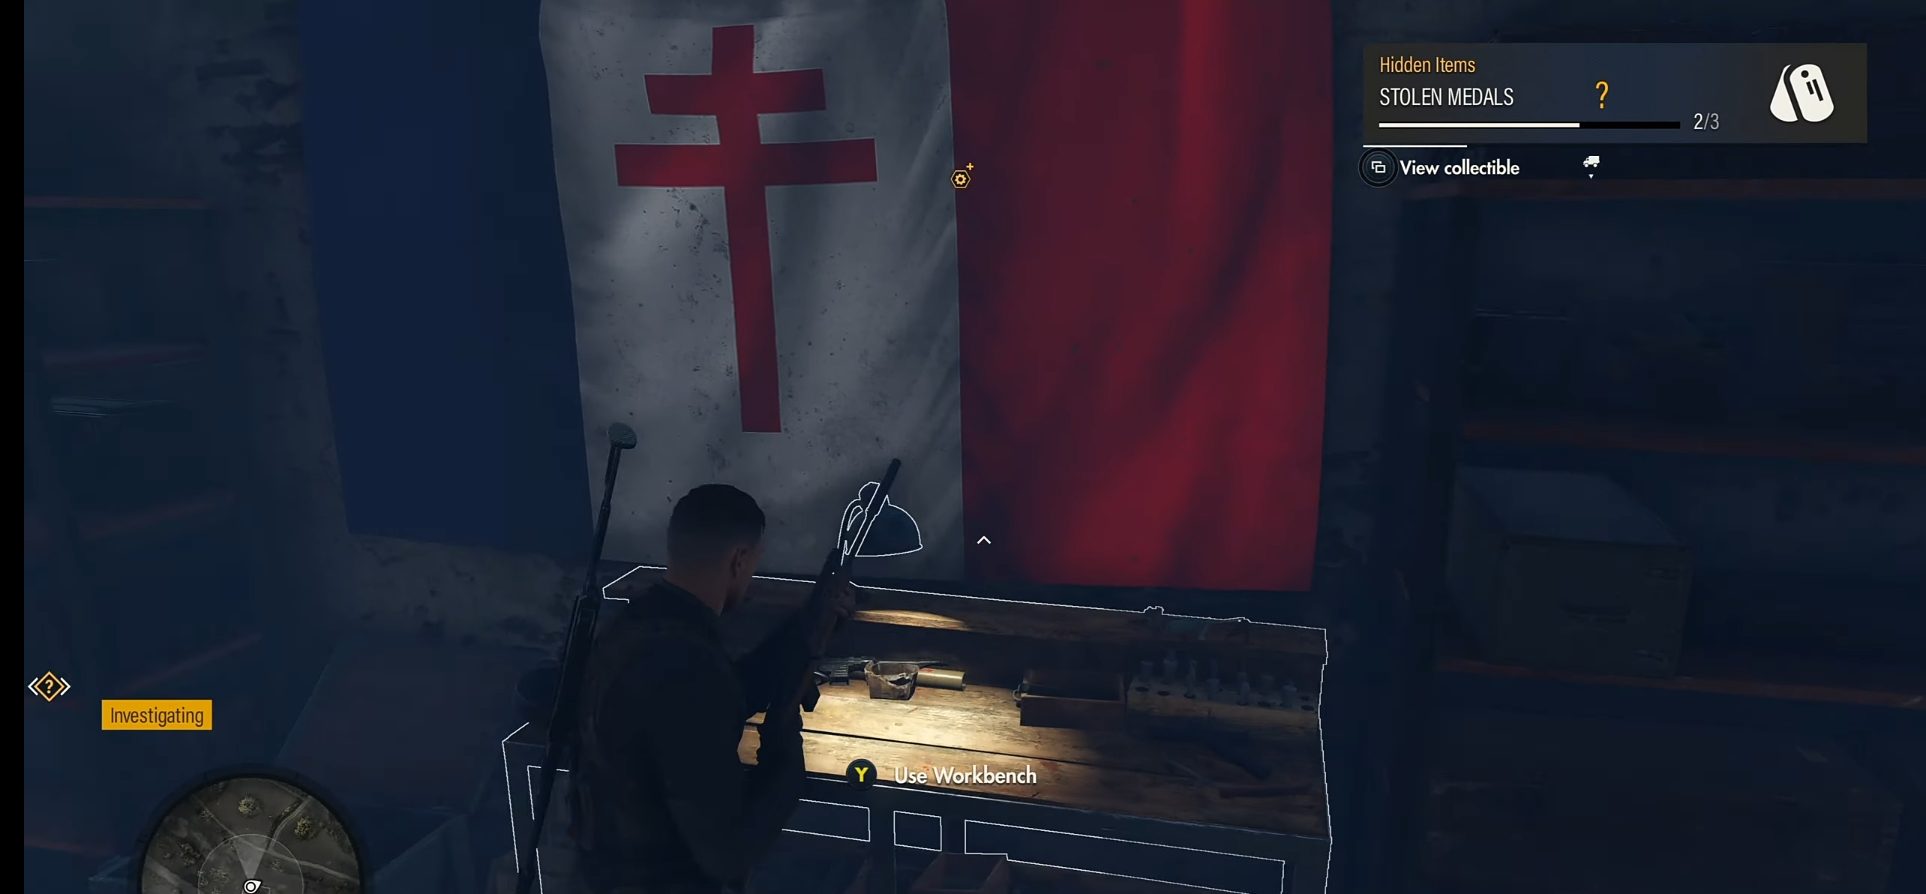
Hidden Item 2 ‘Stolen Medals’ & SMG Workbench
Keep heading east while following the main road until you come across a Windmill that provides electricity to the entire town. This windmill will be the last building on the road. Go inside the building, and you’ll see a hole in the ground patched with wood.
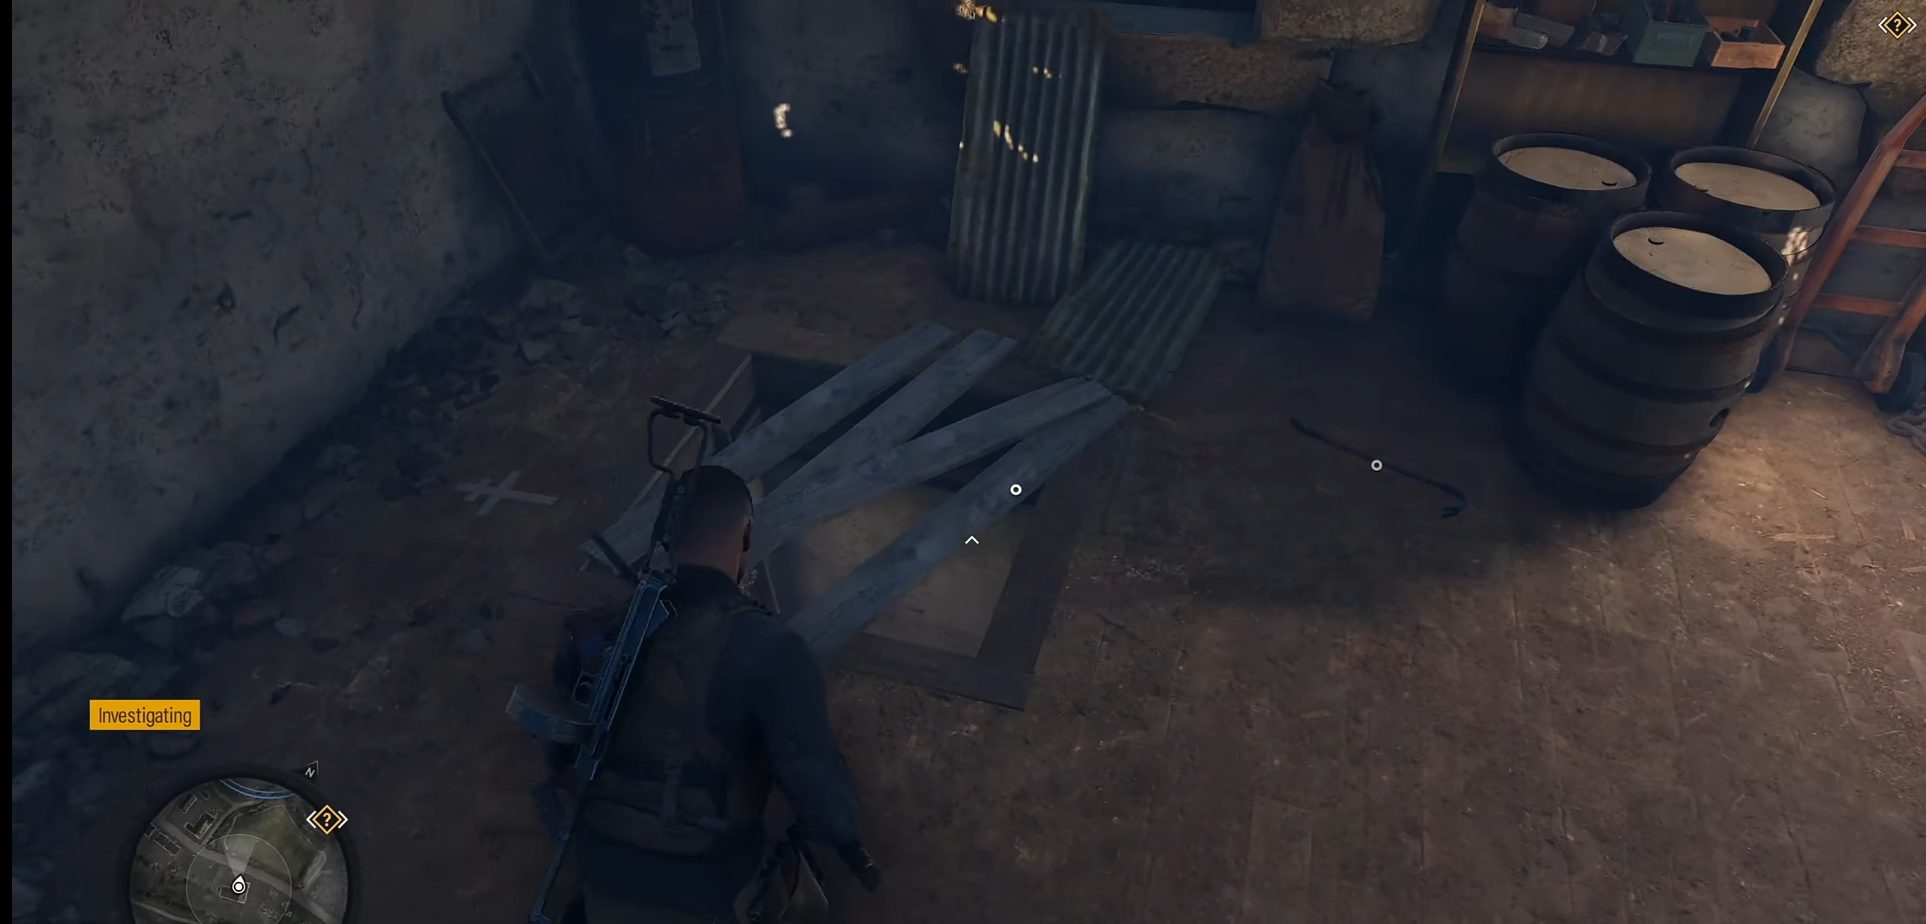
Pick up the crowbar nearby and break open the patch. Go inside the hole, and you’ll find the Hidden Item 2 on the table with the SMG workbench present in the same room. Before going further, consider reading our guide on Sniper Elite 5 Mission 1 Workbenches.
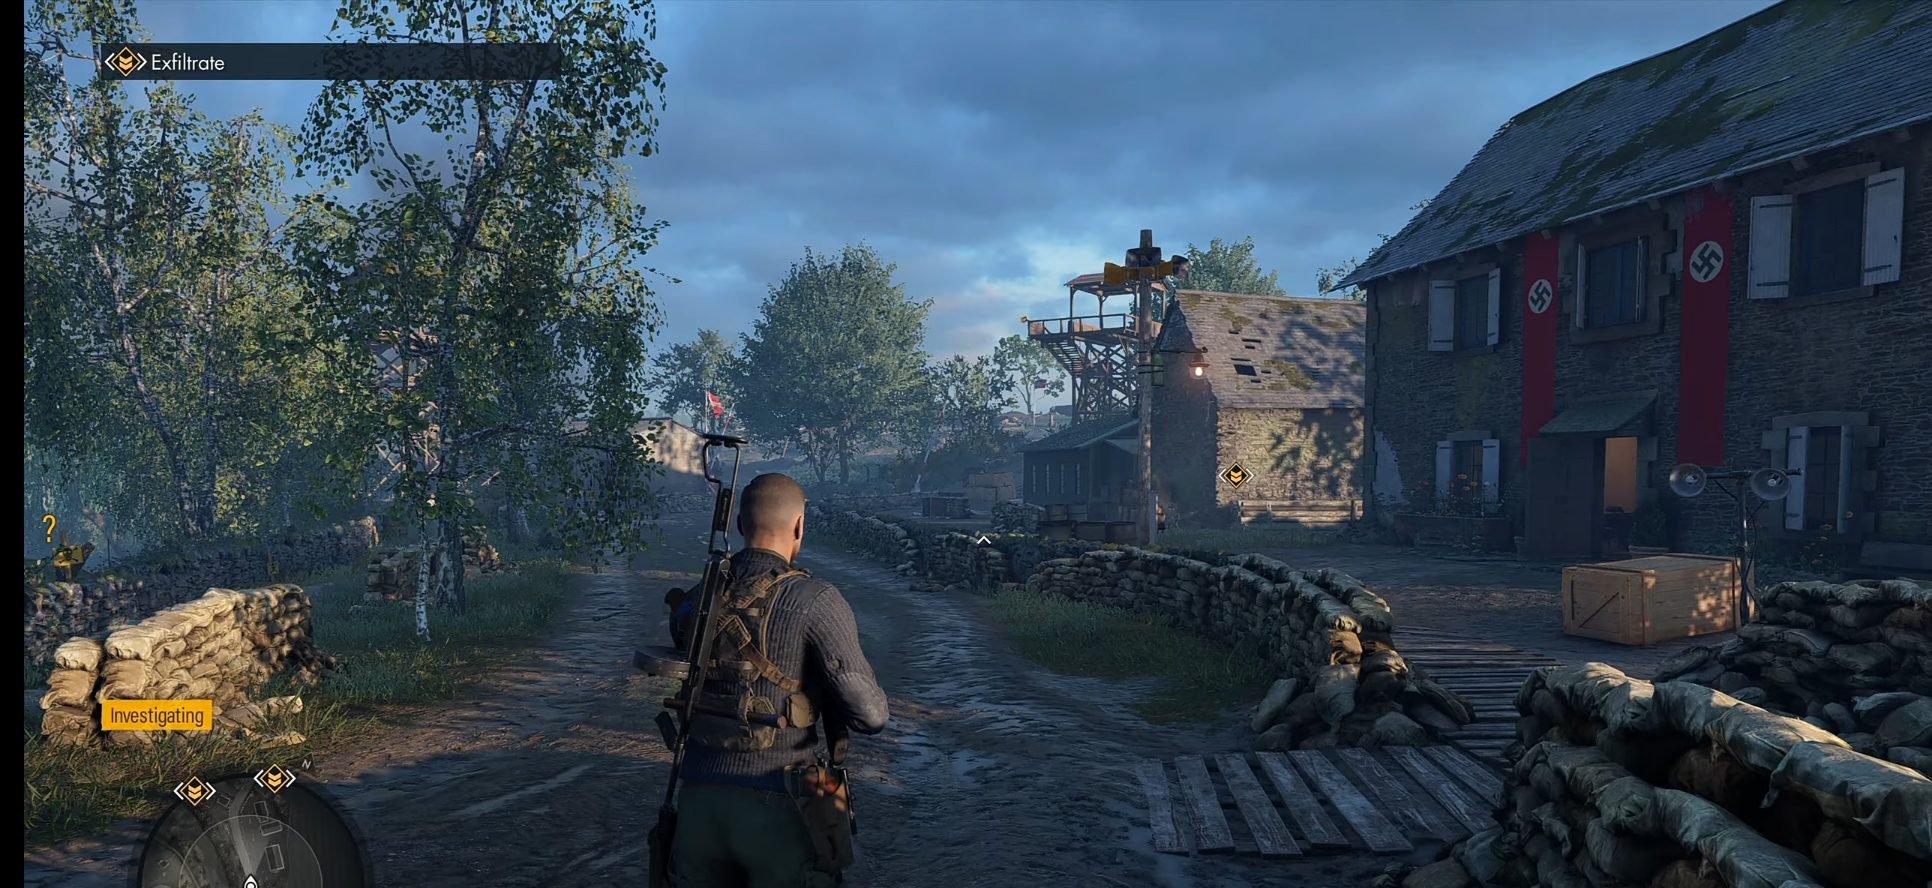
Personal Letter 4 ‘Give Me Strength’
Make your way all the way to the east side of the map, where you’ll find the second bridge, with a Field Camp nearby. Once there, go towards the watch tower on the right beside the green building.
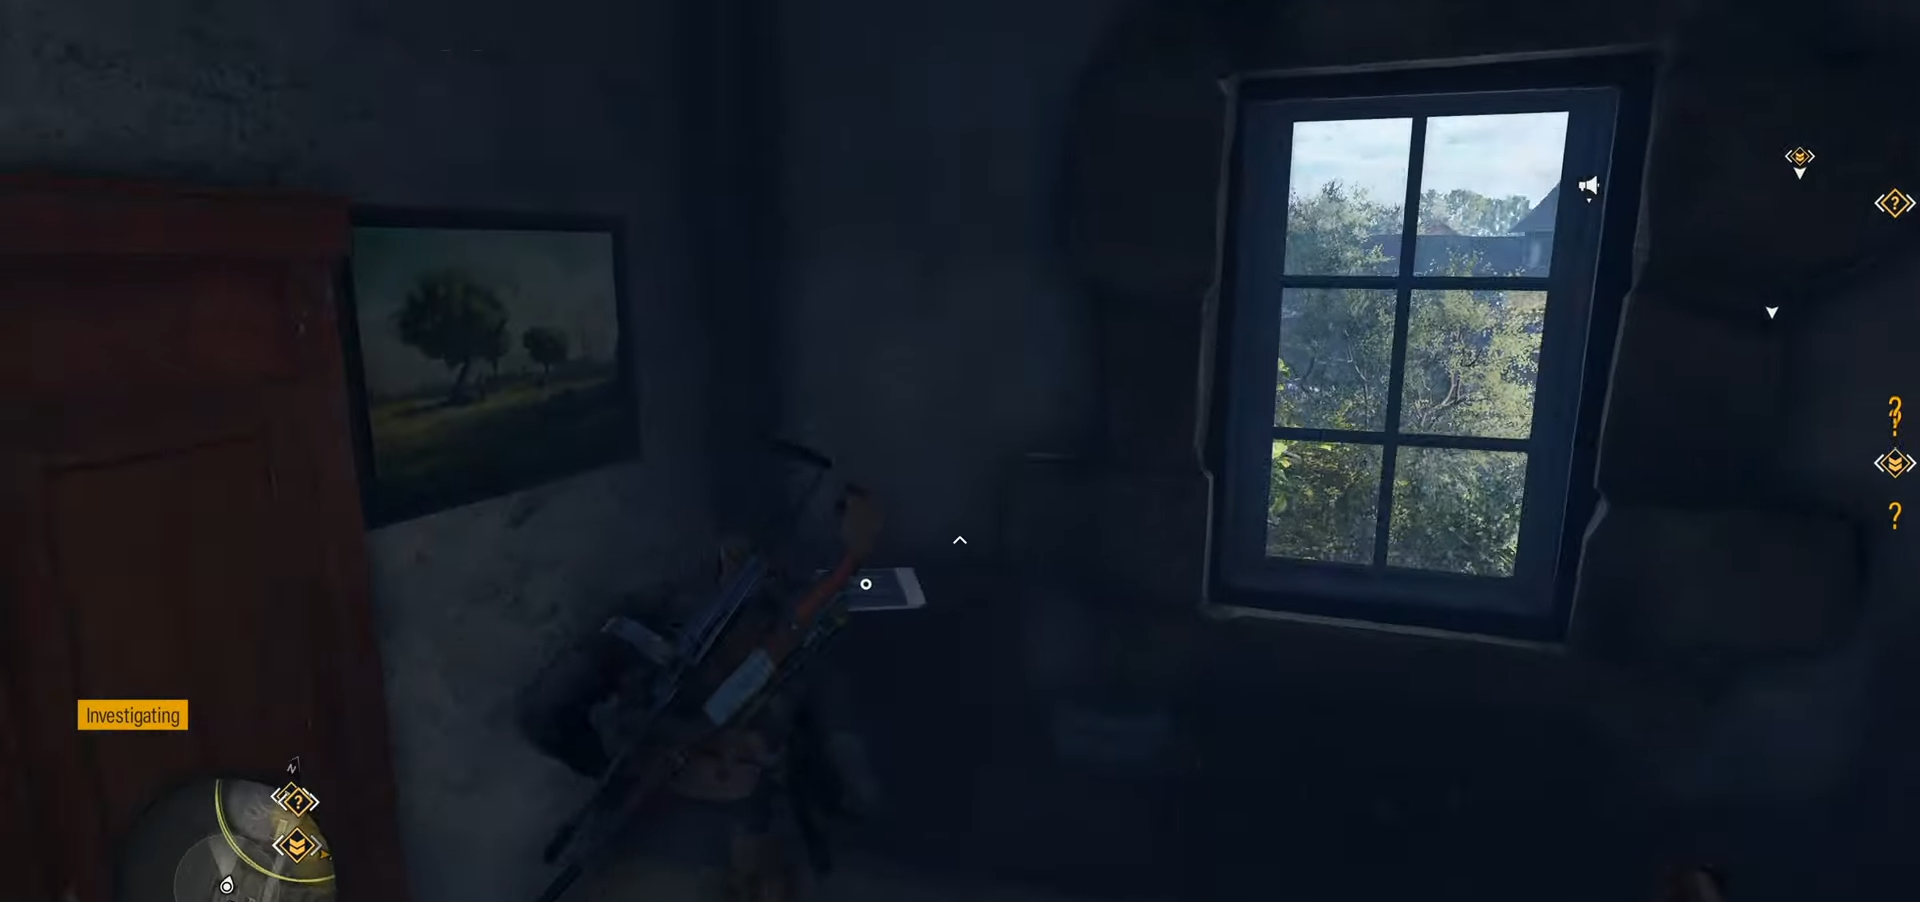
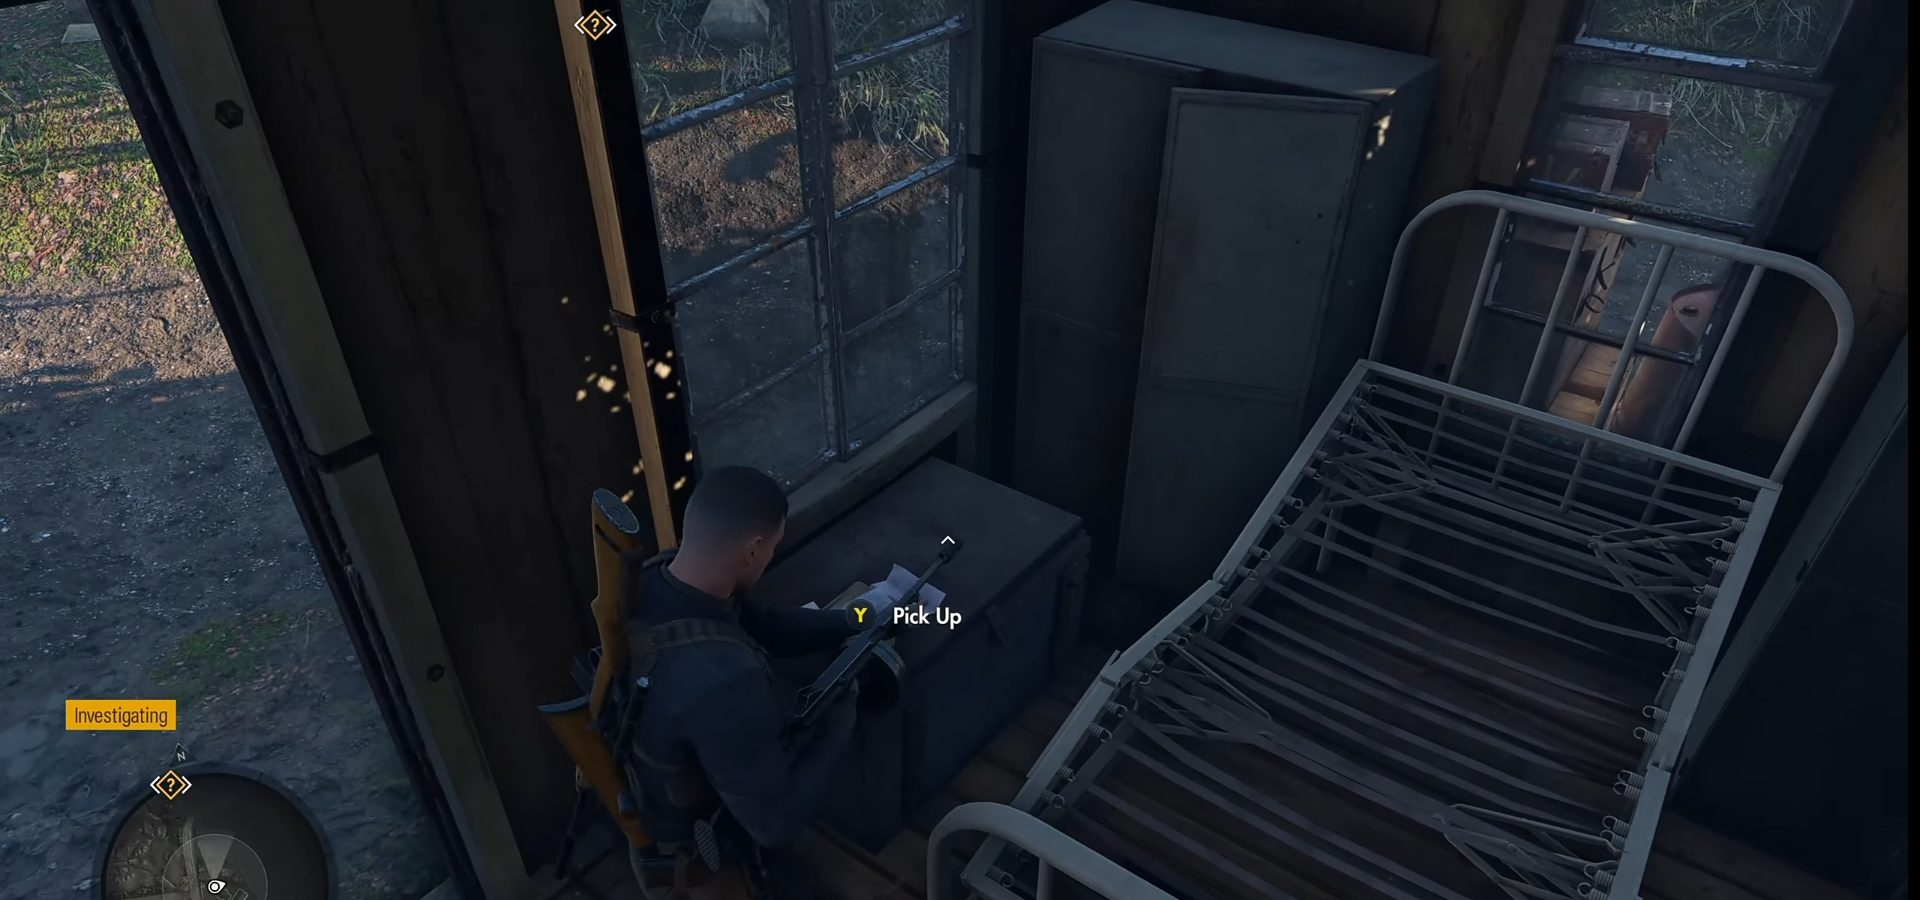
Enter the green building and immediately look towards your left, and you’ll the Personal Letter 4 lying on the table near the bed. While you are on it, why not go through our guide on Sniper Elite 5 Antiques Location.
Personal Letter 5 ‘Barely Escaped’
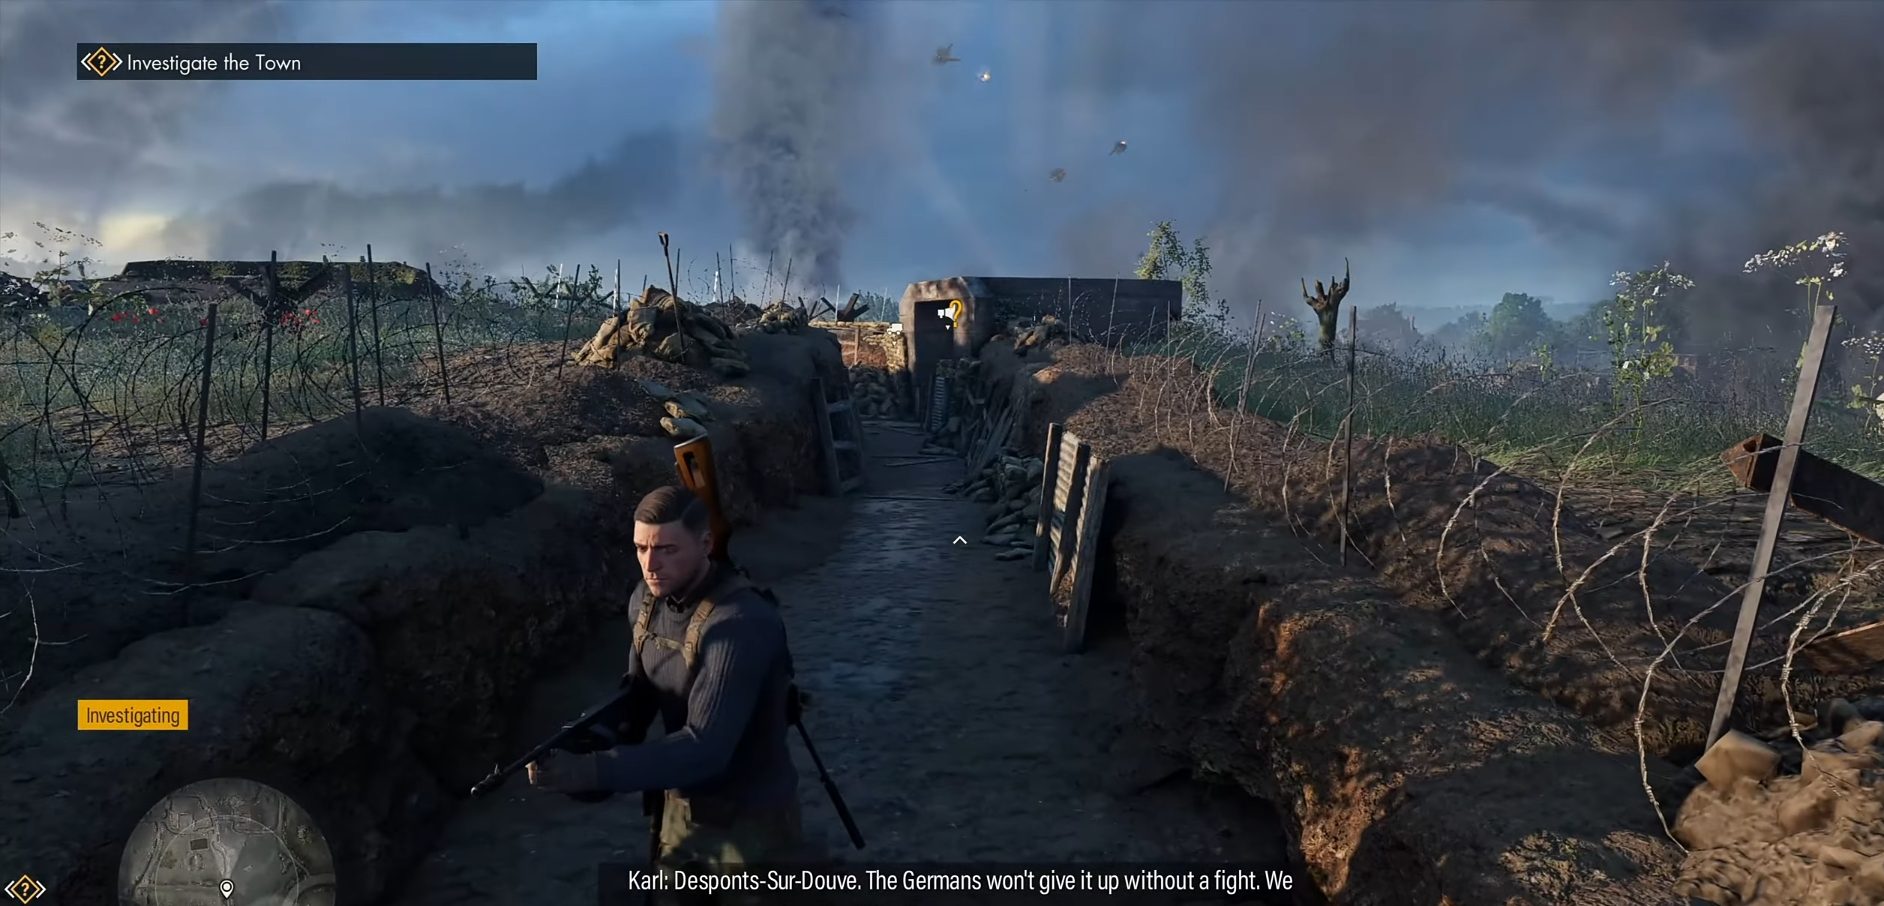
From the Field Camps, head in the northeast direction until you come across the trenches. Enter the trenches from the northeast side and look for the artillery cannon. Next to the artillery cannon, you can find the fifth Personal Letter.
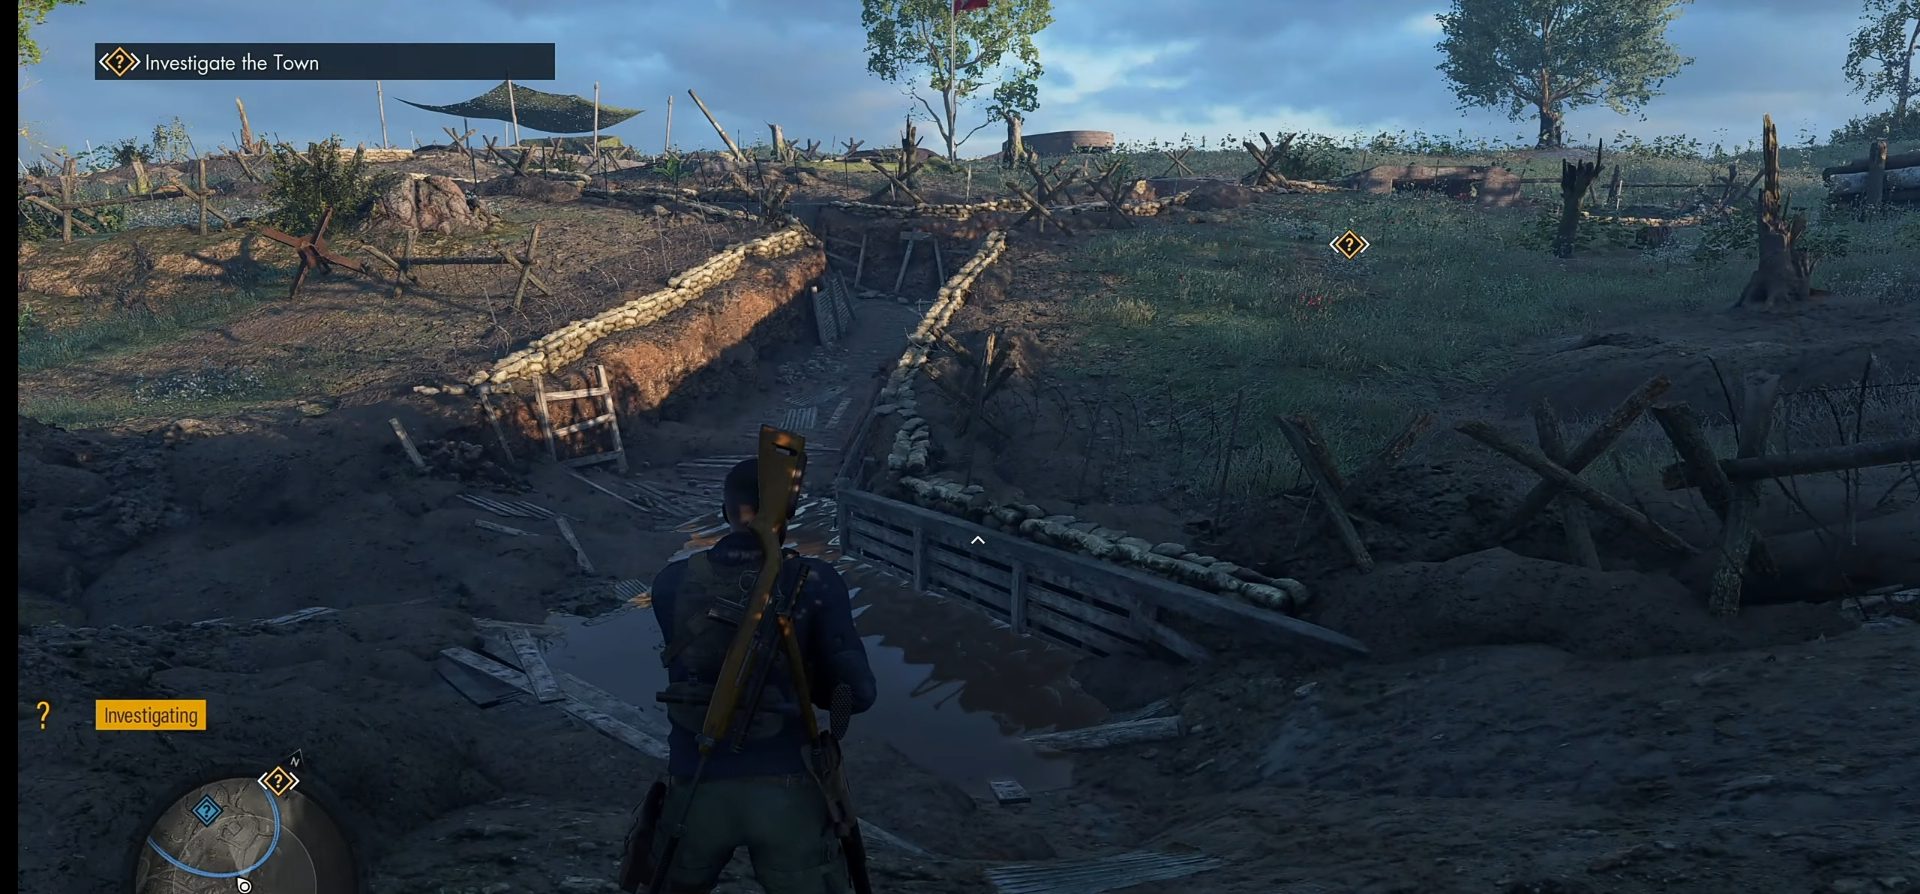
While you are here, you can also investigate the glider and go into the bunker in the middle of the trenches. There you can gain some intel and unlock a secondary objective as well.
Classified Document 5 ‘Incoming Armour’
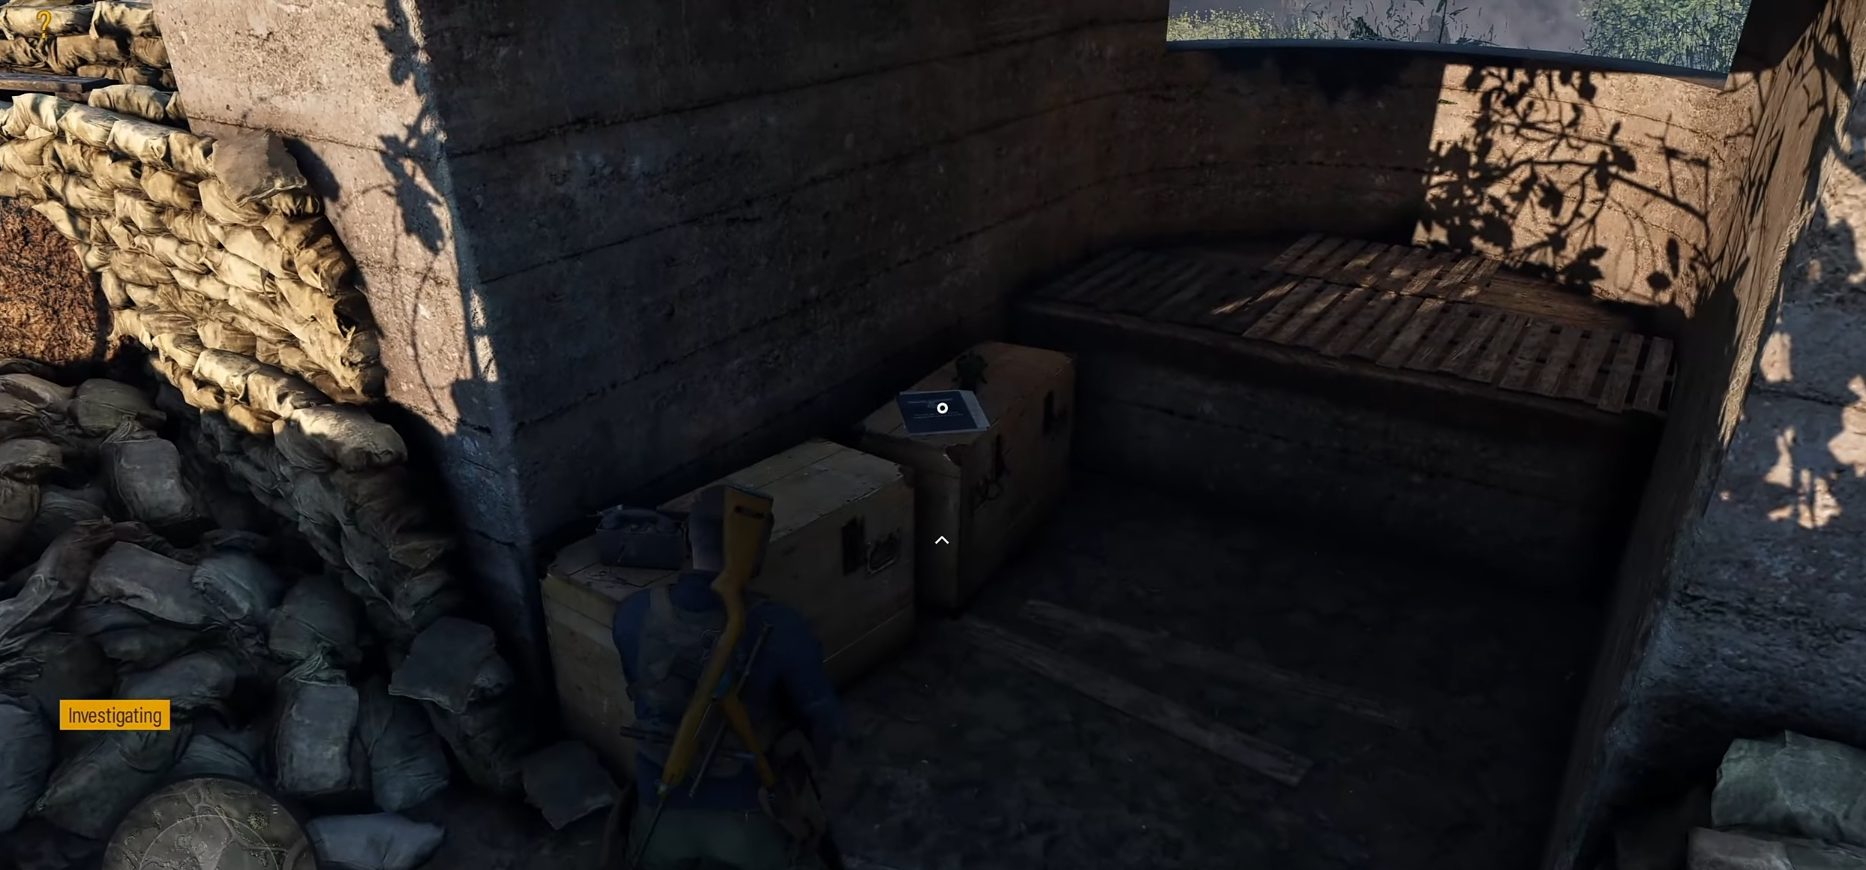
For the next collectible, make your way to the northwest corner of the trenches, from where you can make your way into the next town.
Just before the exit, backtrack a little and enter the first bunker; here, you can find the fifth Classified Document.
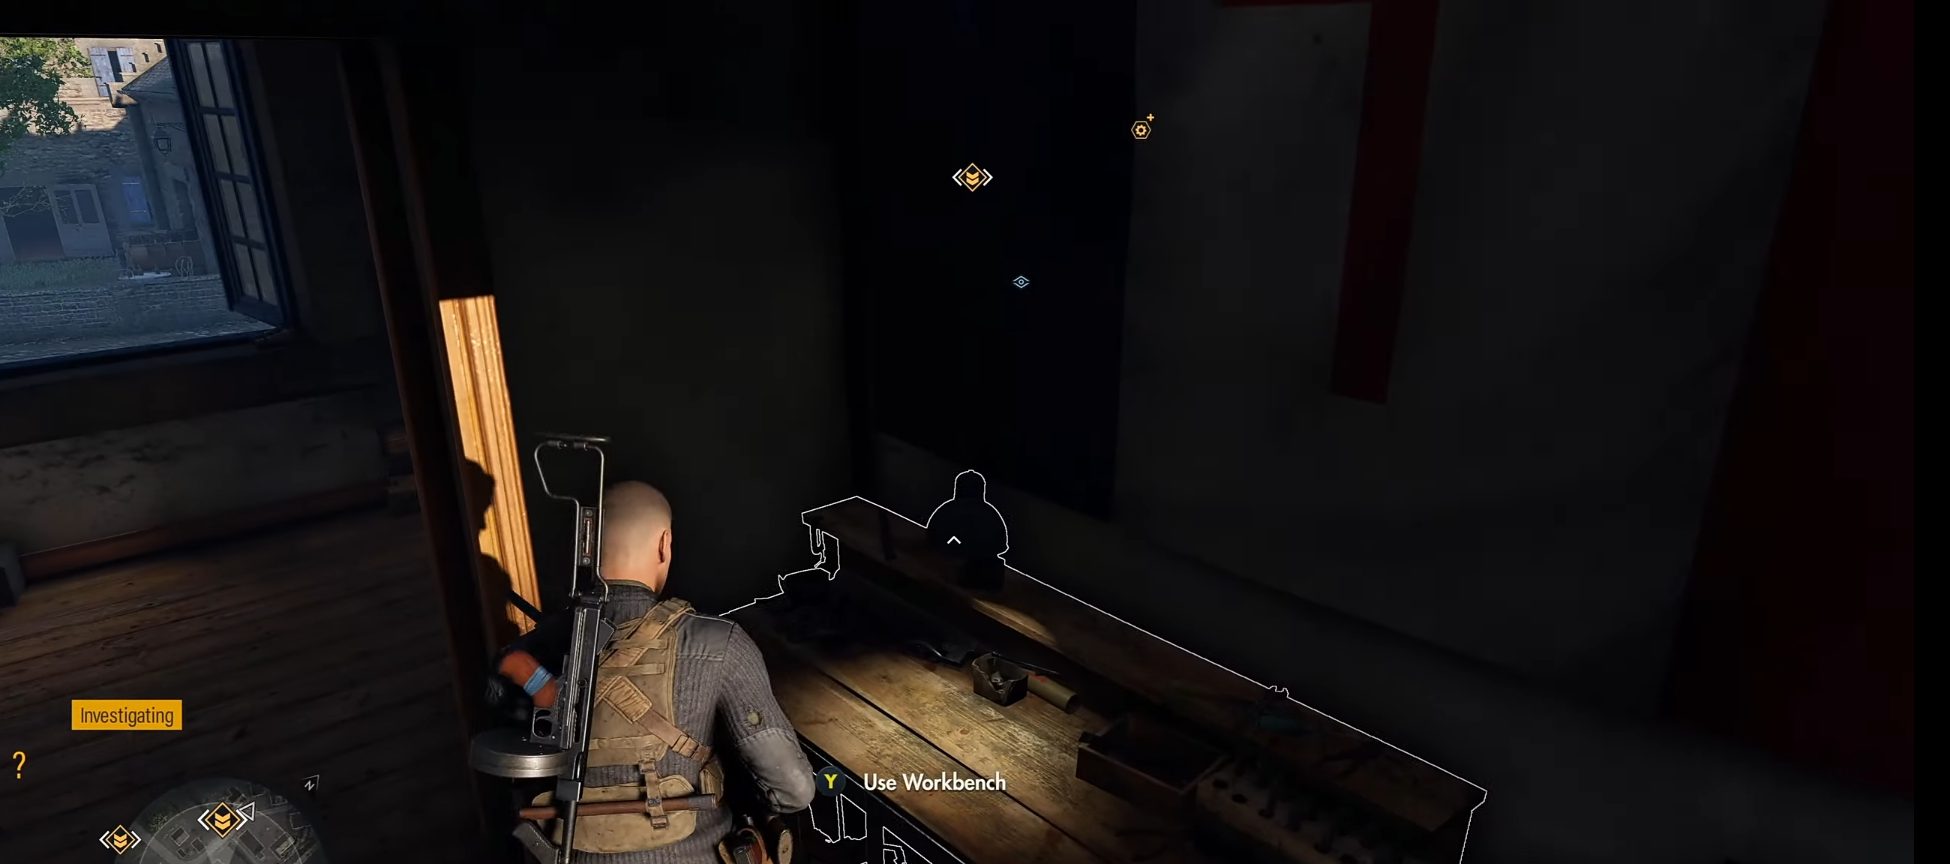
Rifle Workbench
The Rifle Workbench can be found in the northmost corner of the map, where the last town of Liberation is situated in Sniper Elite 5. Before the bridge where you plant the explosives as a part of your main objective, head towards the building on your right when facing north.
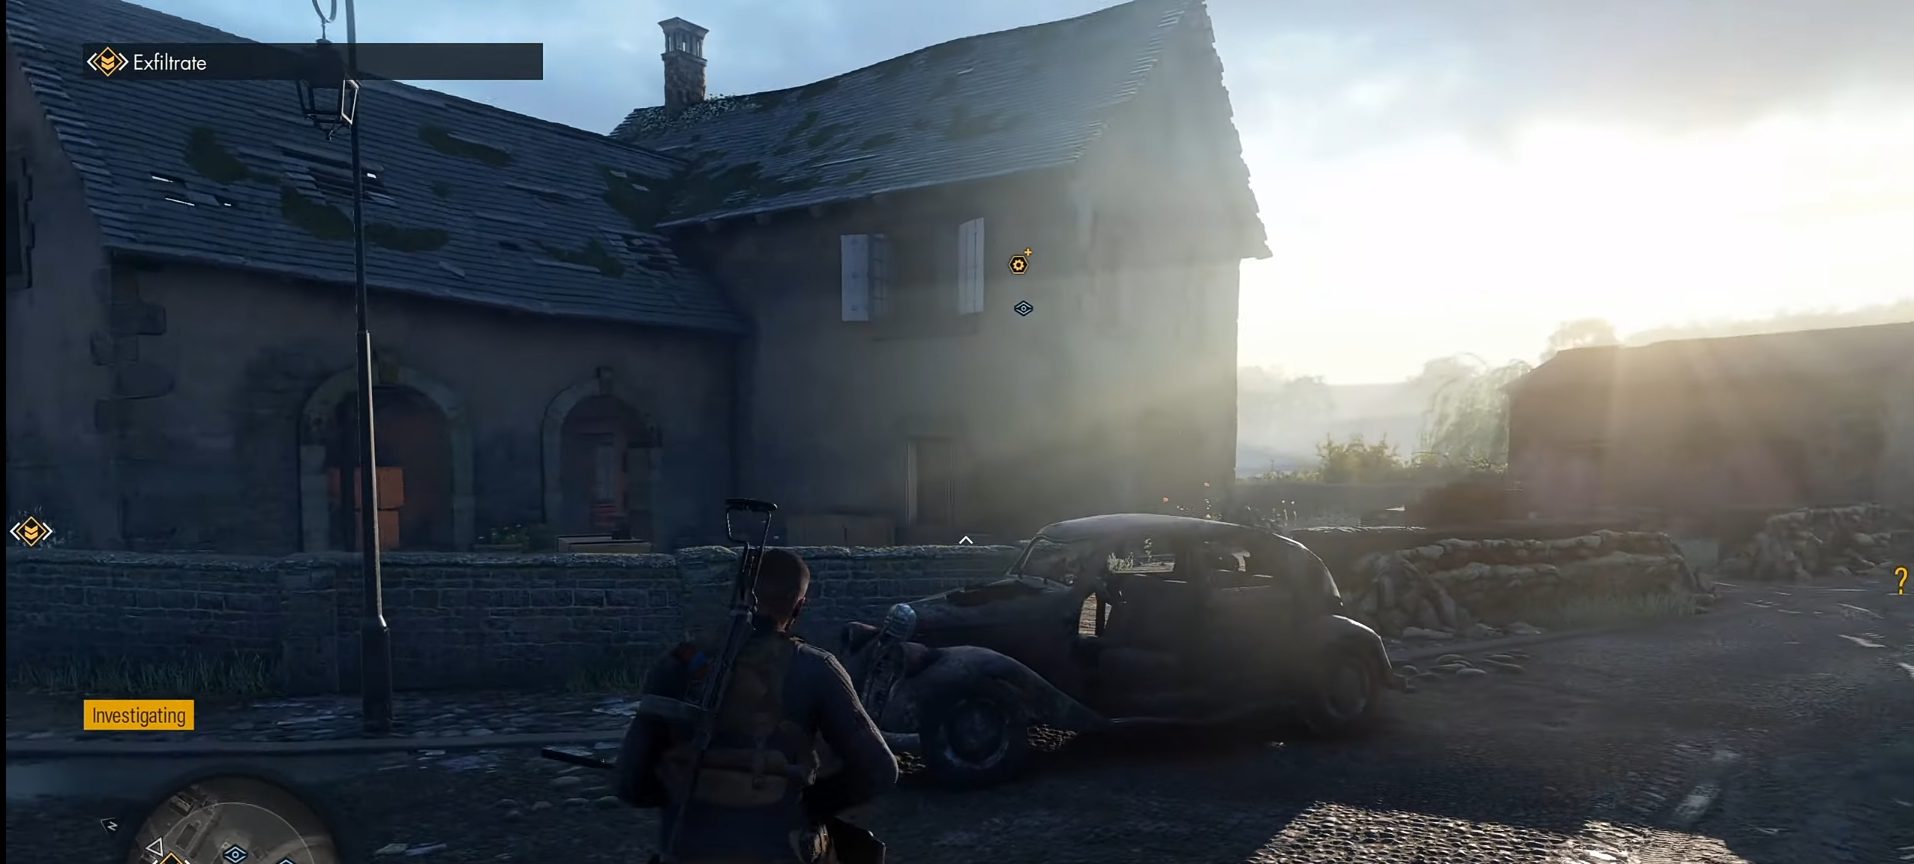
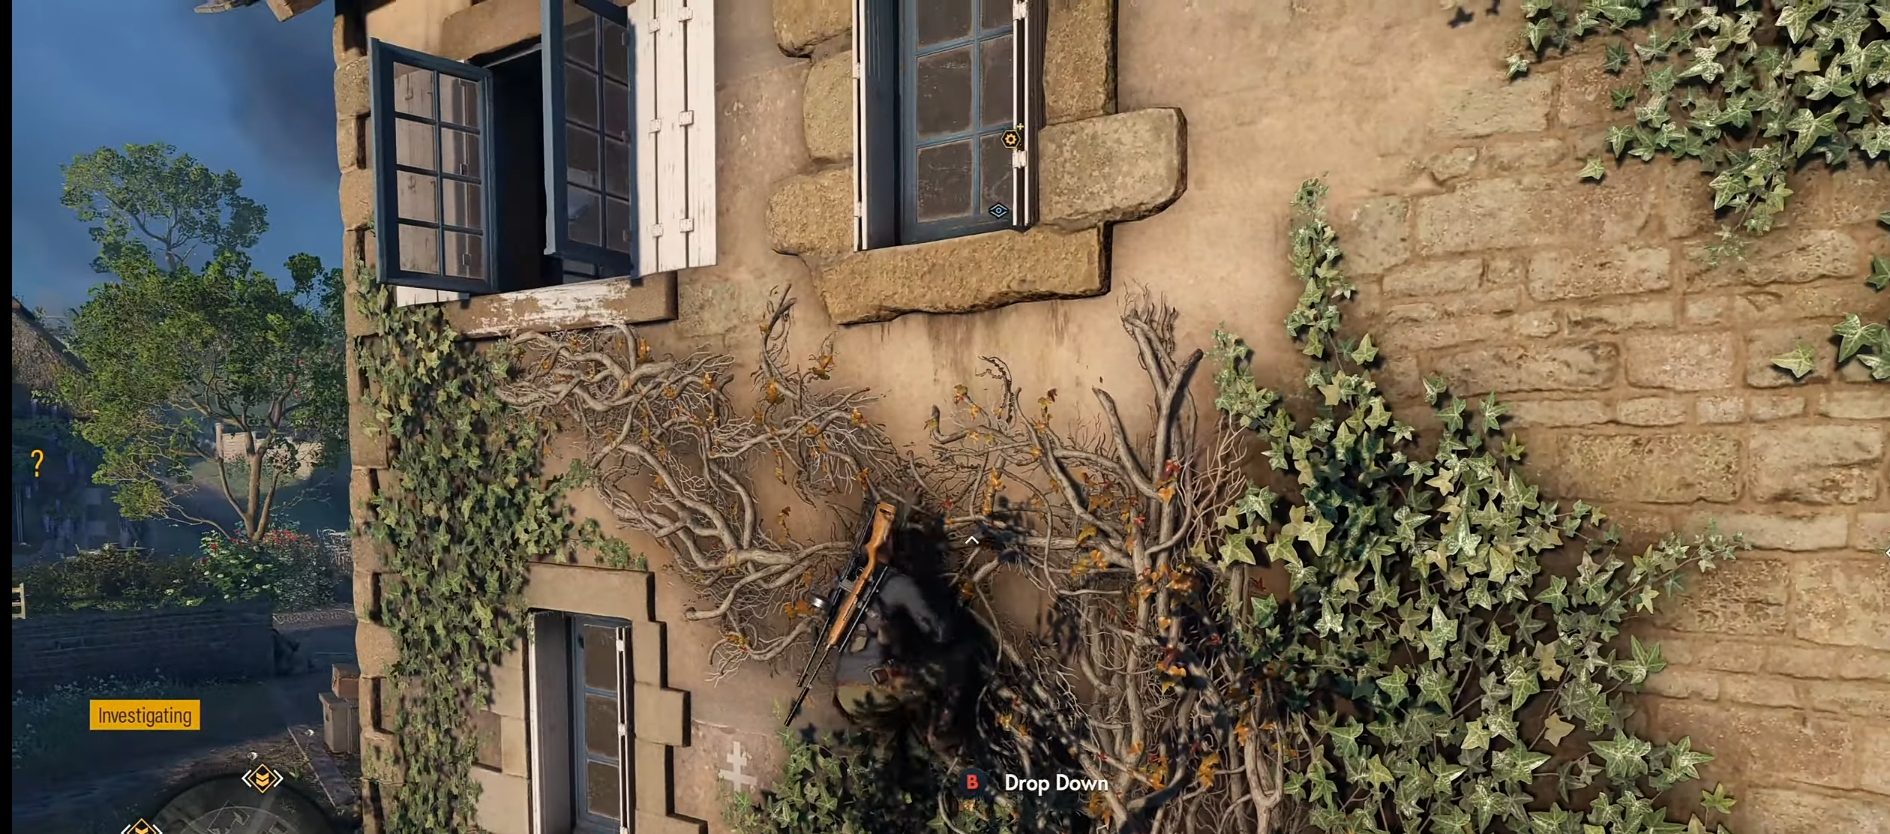
Enter the building through the vines located on the left side of the building, and once you are on the second floor, you’ll be able to see the last workbench of this mission. While you are at it, also go through our Sniper Elite 5 Soy Academy workbenches location guide.
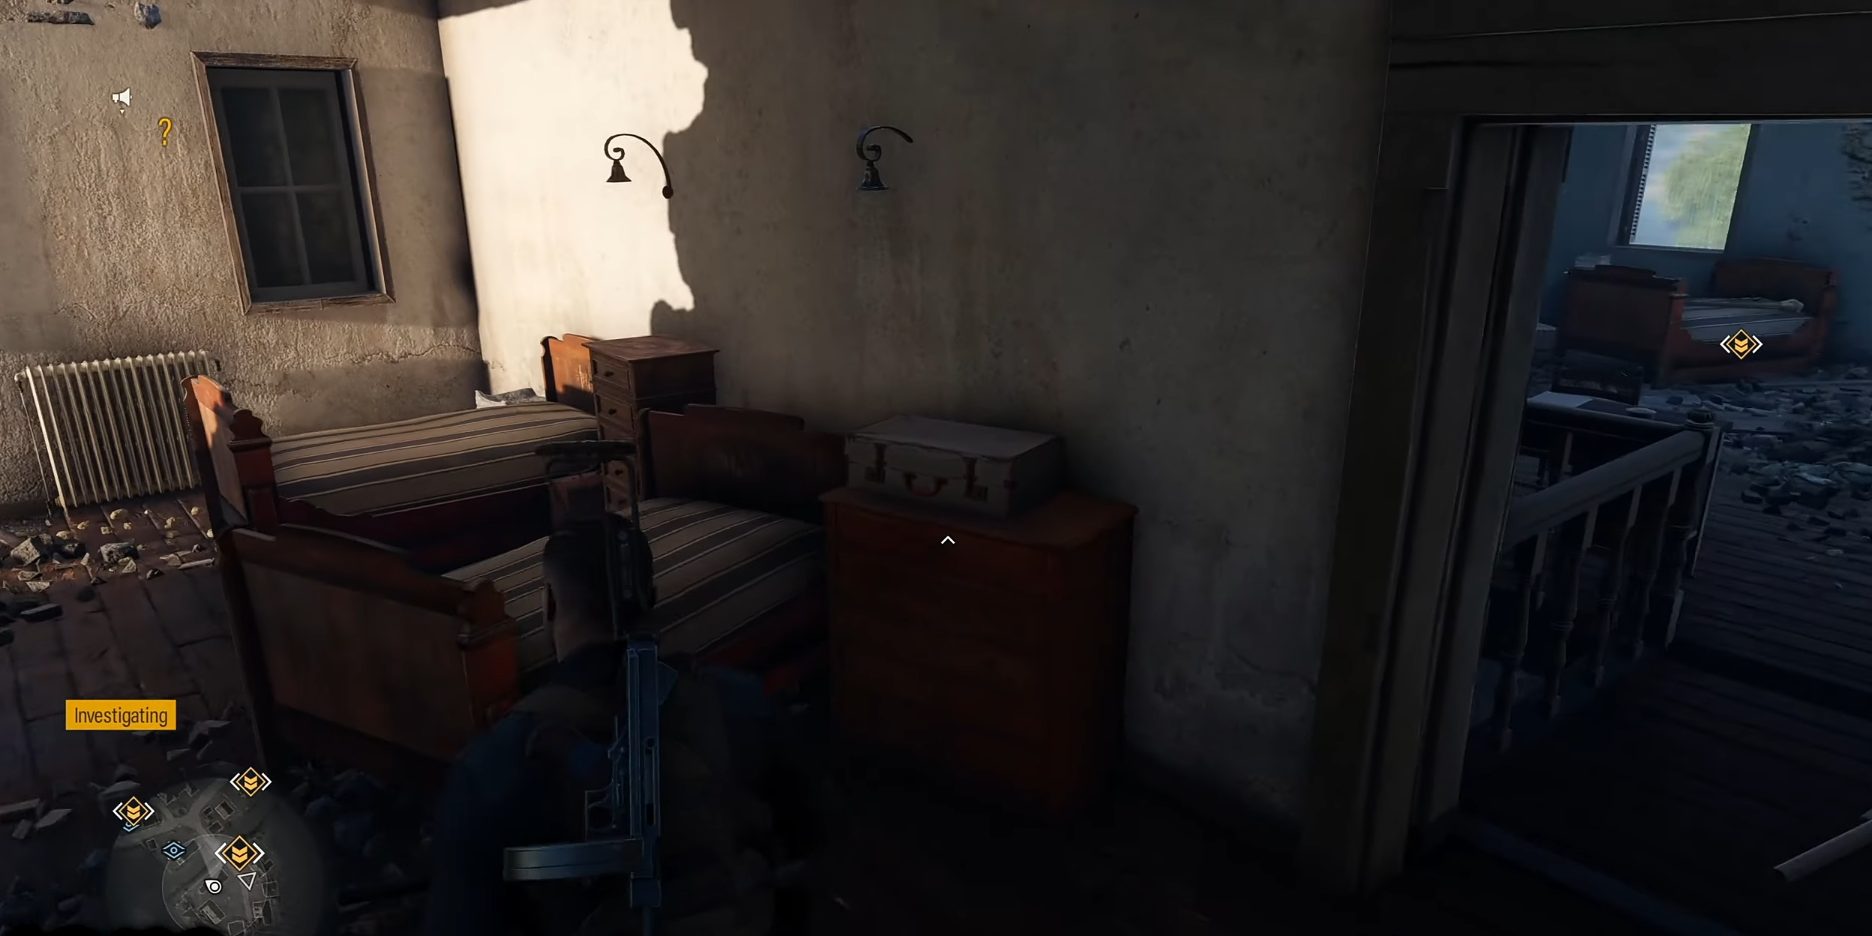
Hidden Item 3 ‘Engraved Lighter’
Additionally, you can also find the last hidden item of this mission in the same town.
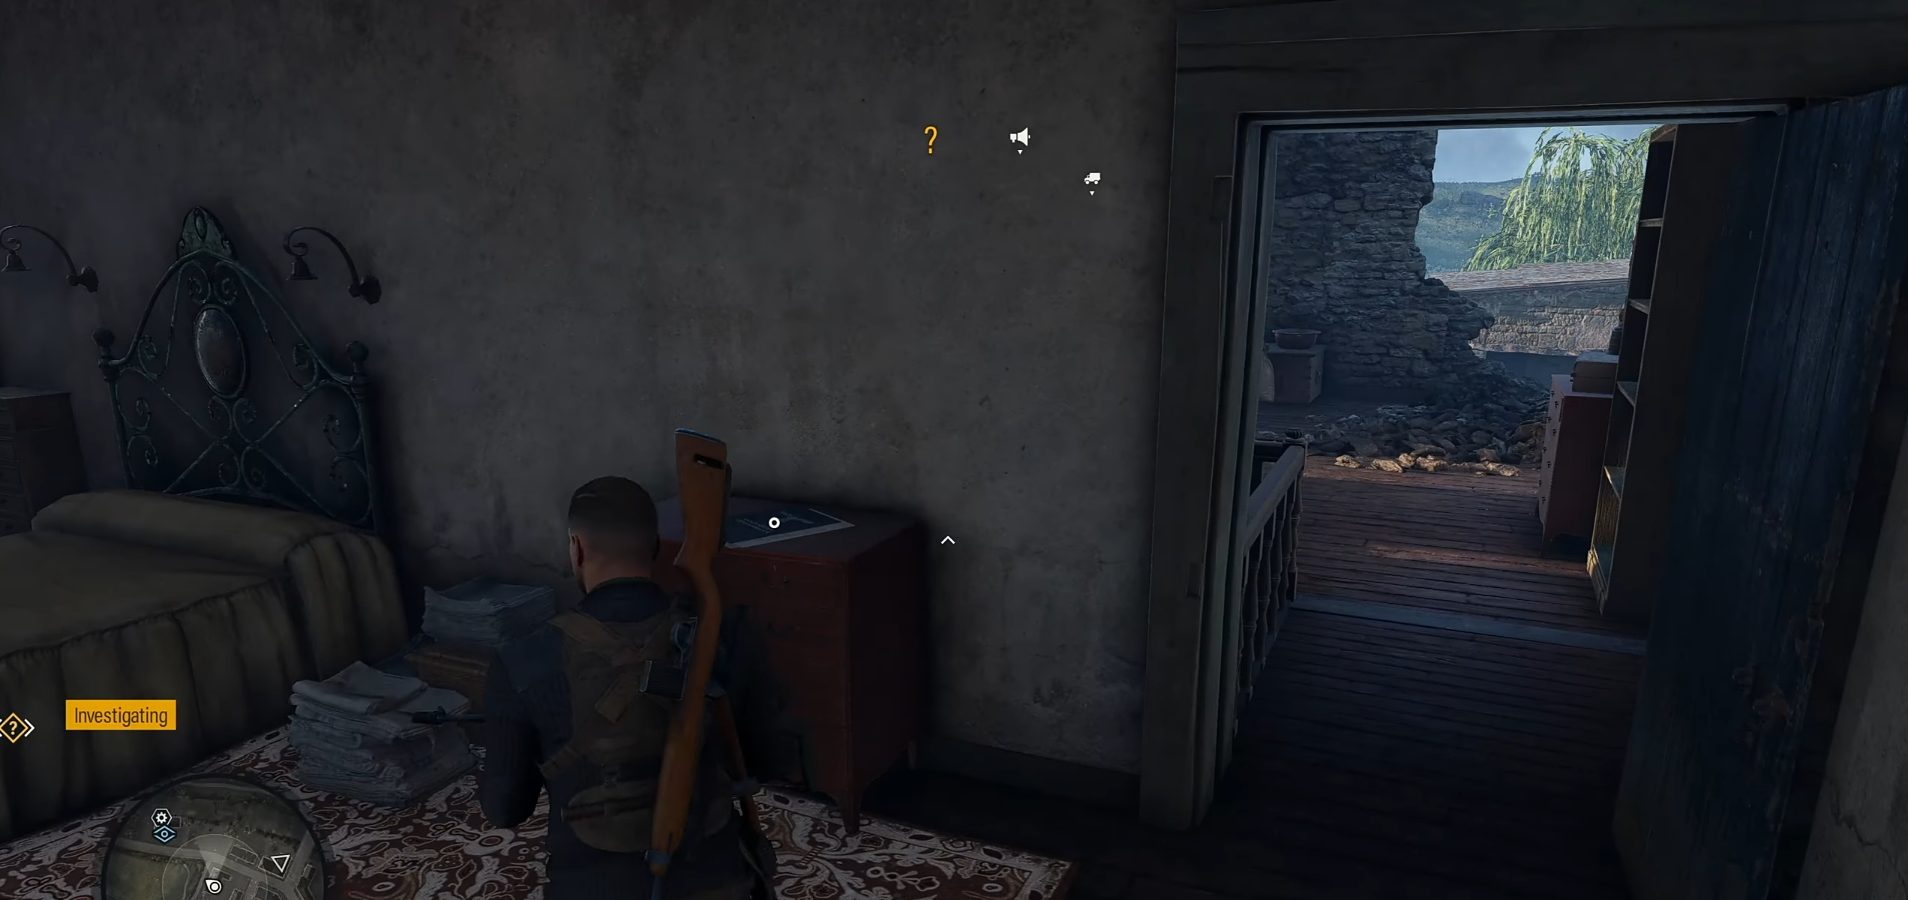
Follow the bridge heading north and enter the first building on your right. Enter the building and go upstairs. After reaching the second floor of the building, you can pick up the last hidden item lying on the dresser near the entrance of a side room.
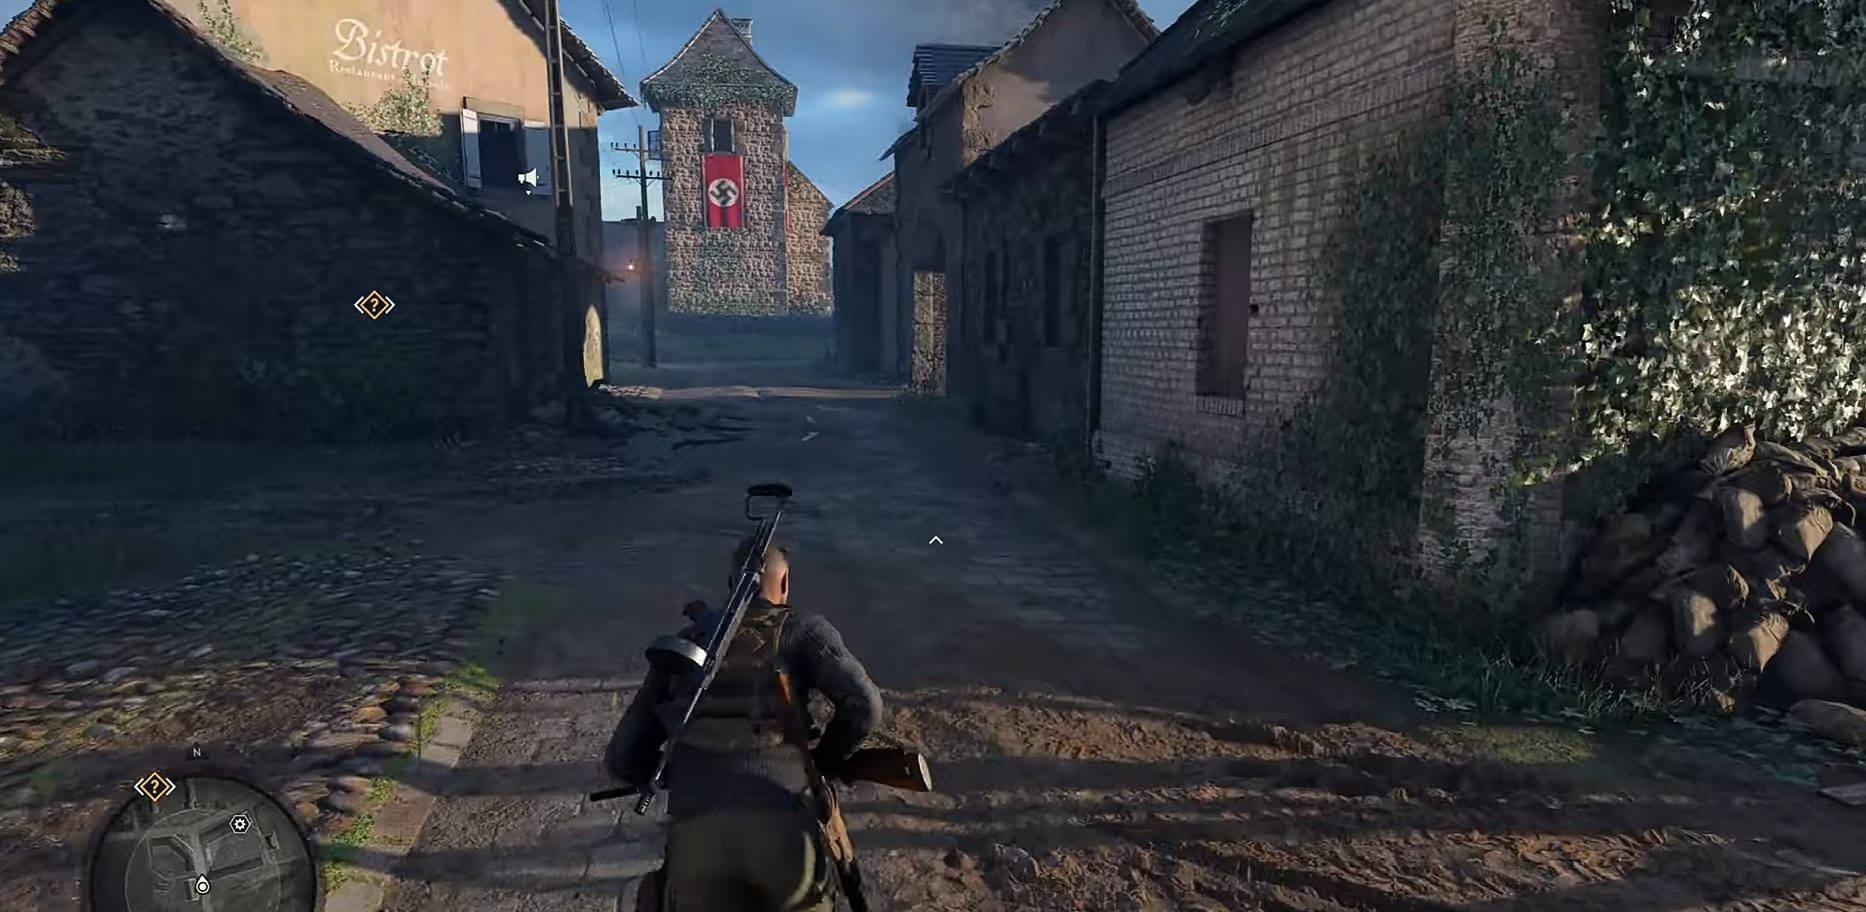
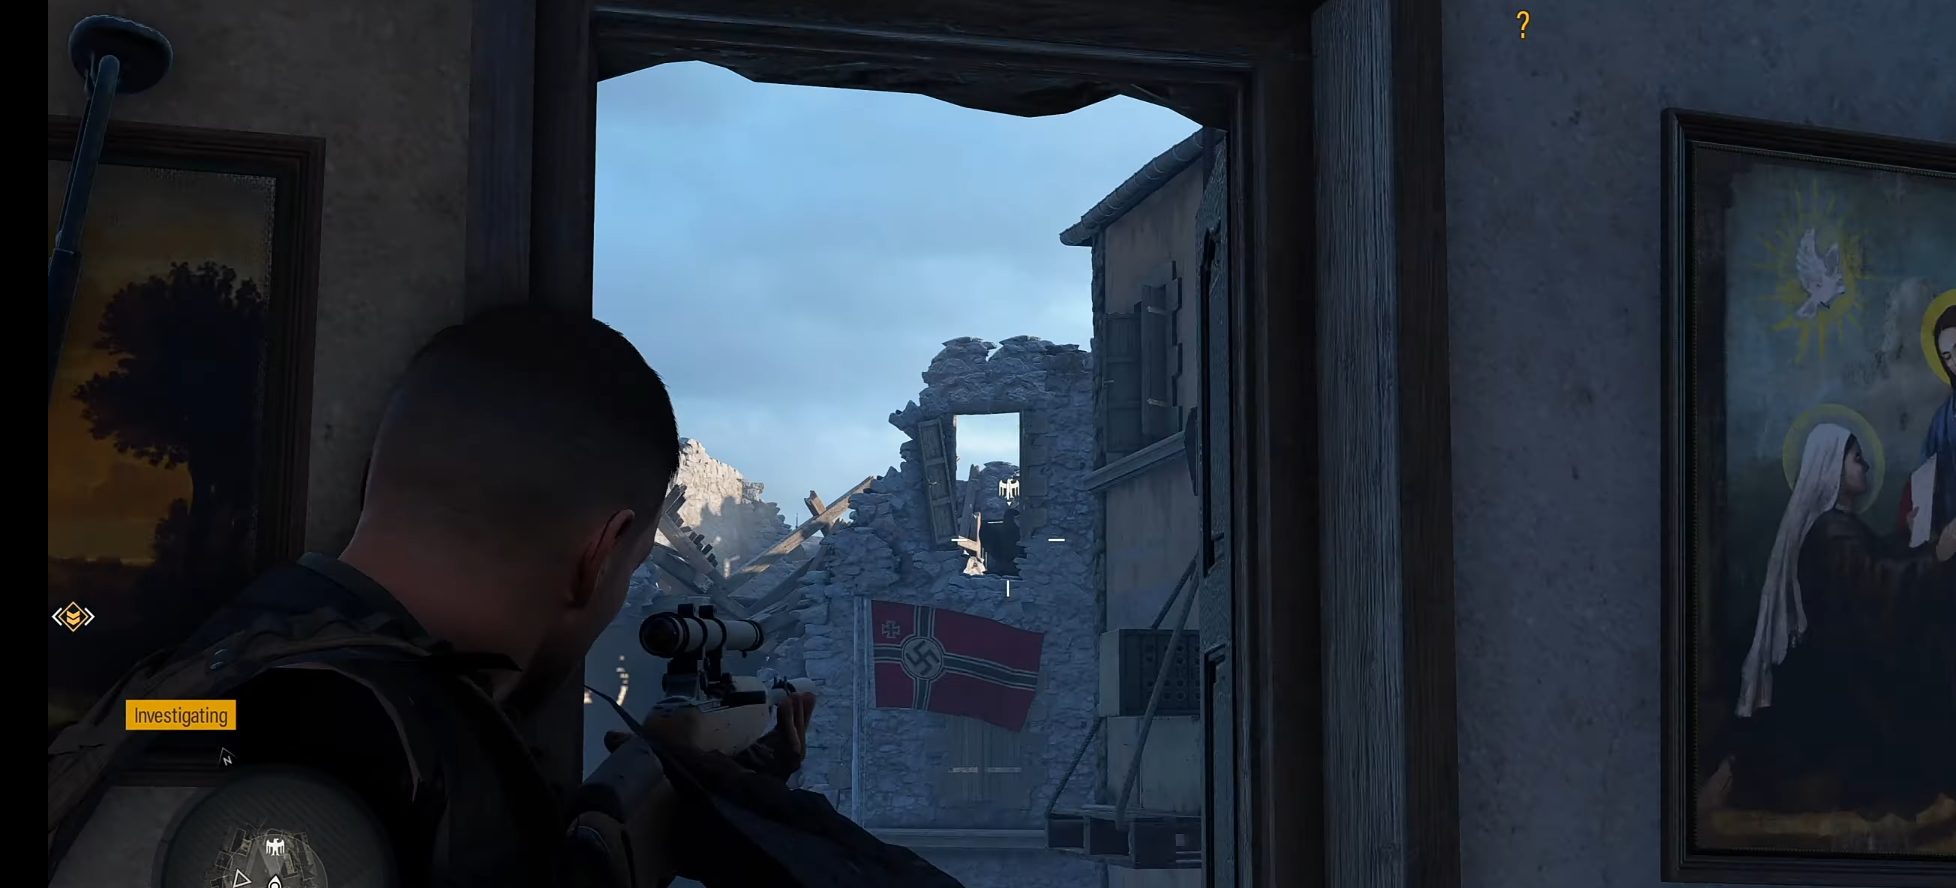
Stone Eagle 3
The final collectible of Sniper Elite 5’s Mission 6 Liberation can be spotted from the room where you picked up the previous collectible.
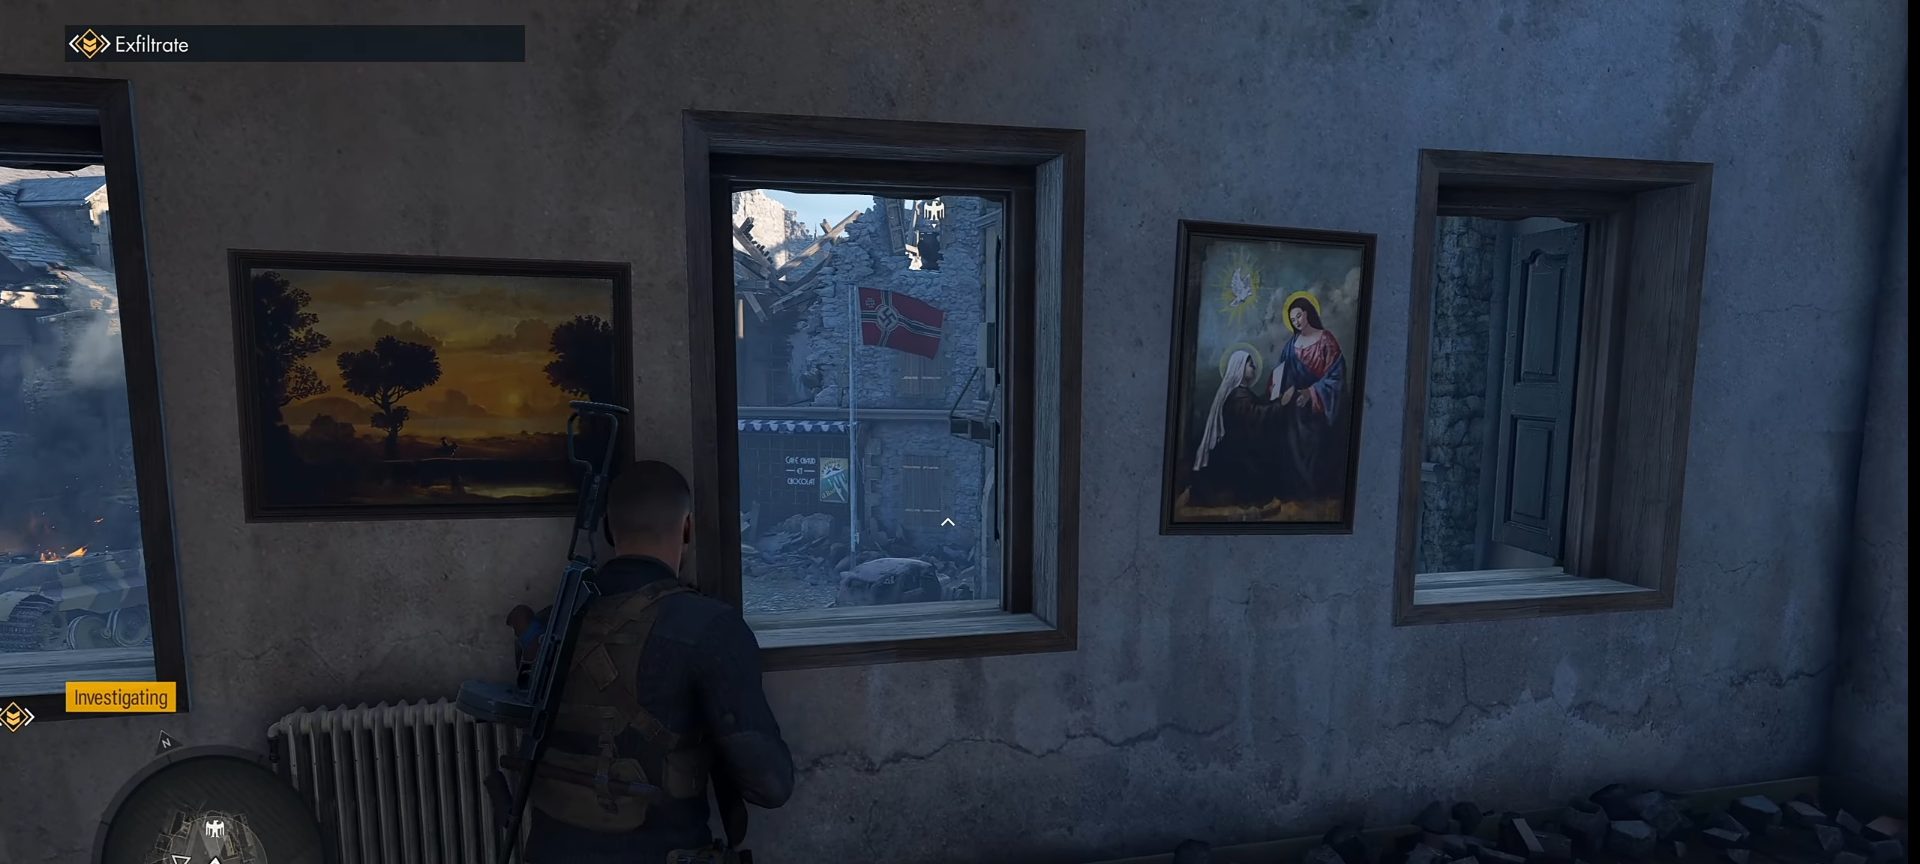
Take out your sniper, look out from the middle window, and you’ll be able to see the Stone Eagle above the Nazi Flag. Shoot it, and this will be it for all the collectibles located in the Mission 6 Liberation of Sniper Elite 5.
This wraps up my guide on the collectibles located in Mission 6, Liberation of Sniper Elite 5. Let me know what you think about my guide in the comments below.
Aside from locating collectibles within the Liberation mission, players can use some of the best snipers in Sniper Elite 5 the series has to offer while also featuring this new upgrade system of workbenches located around the maps, which essentially lets you upgrade all of your weapons during the mission. On top of that, you can also engage in completing optional kill challenges, finding Raid Weapon Lab locations, or testing your prowess in the Survival Mode.
Thanks! Do share your feedback with us. ⚡
How can we make this post better? Your help would be appreciated. ✍
absolutely fab