Zelda Tears of The Kingdom brings with it a ton of new content for the players. That includes new locations, Armor sets, and many more. Among many others, the Fierce Diety Tears of The Kingdom Armor Set with its sword is unique. The Armor Set once belonged to a hero, and now it is your job to retrieve and utilize it. Therefore, let’s begin with how you can get the Fierce Deity Armor Set!
- The Fierce Deity Armor Set is one of the unique Armor Sets.
- The Armor Set, with its Mask, Armor, Boots, and Sword, once belonged to a Hero.
- It is retrieved during the quest “Misko’s Treasure: The Fierce Deity.”
- Players have to head inside the cave and locate the Treasure Chest hidden by Misko.
- When the Trousers are retrieved, the quest starts as players get their hands on Misko’s bottled message.
- The Message indicates other Armor pieces’ location.
- Armor Piece is hidden in a cave on the East North-Eastern side of the map in a cave near the Domizuin Shrine.
- The Boots are found at Mount Daphnes, to the west of the Hyrule Field.
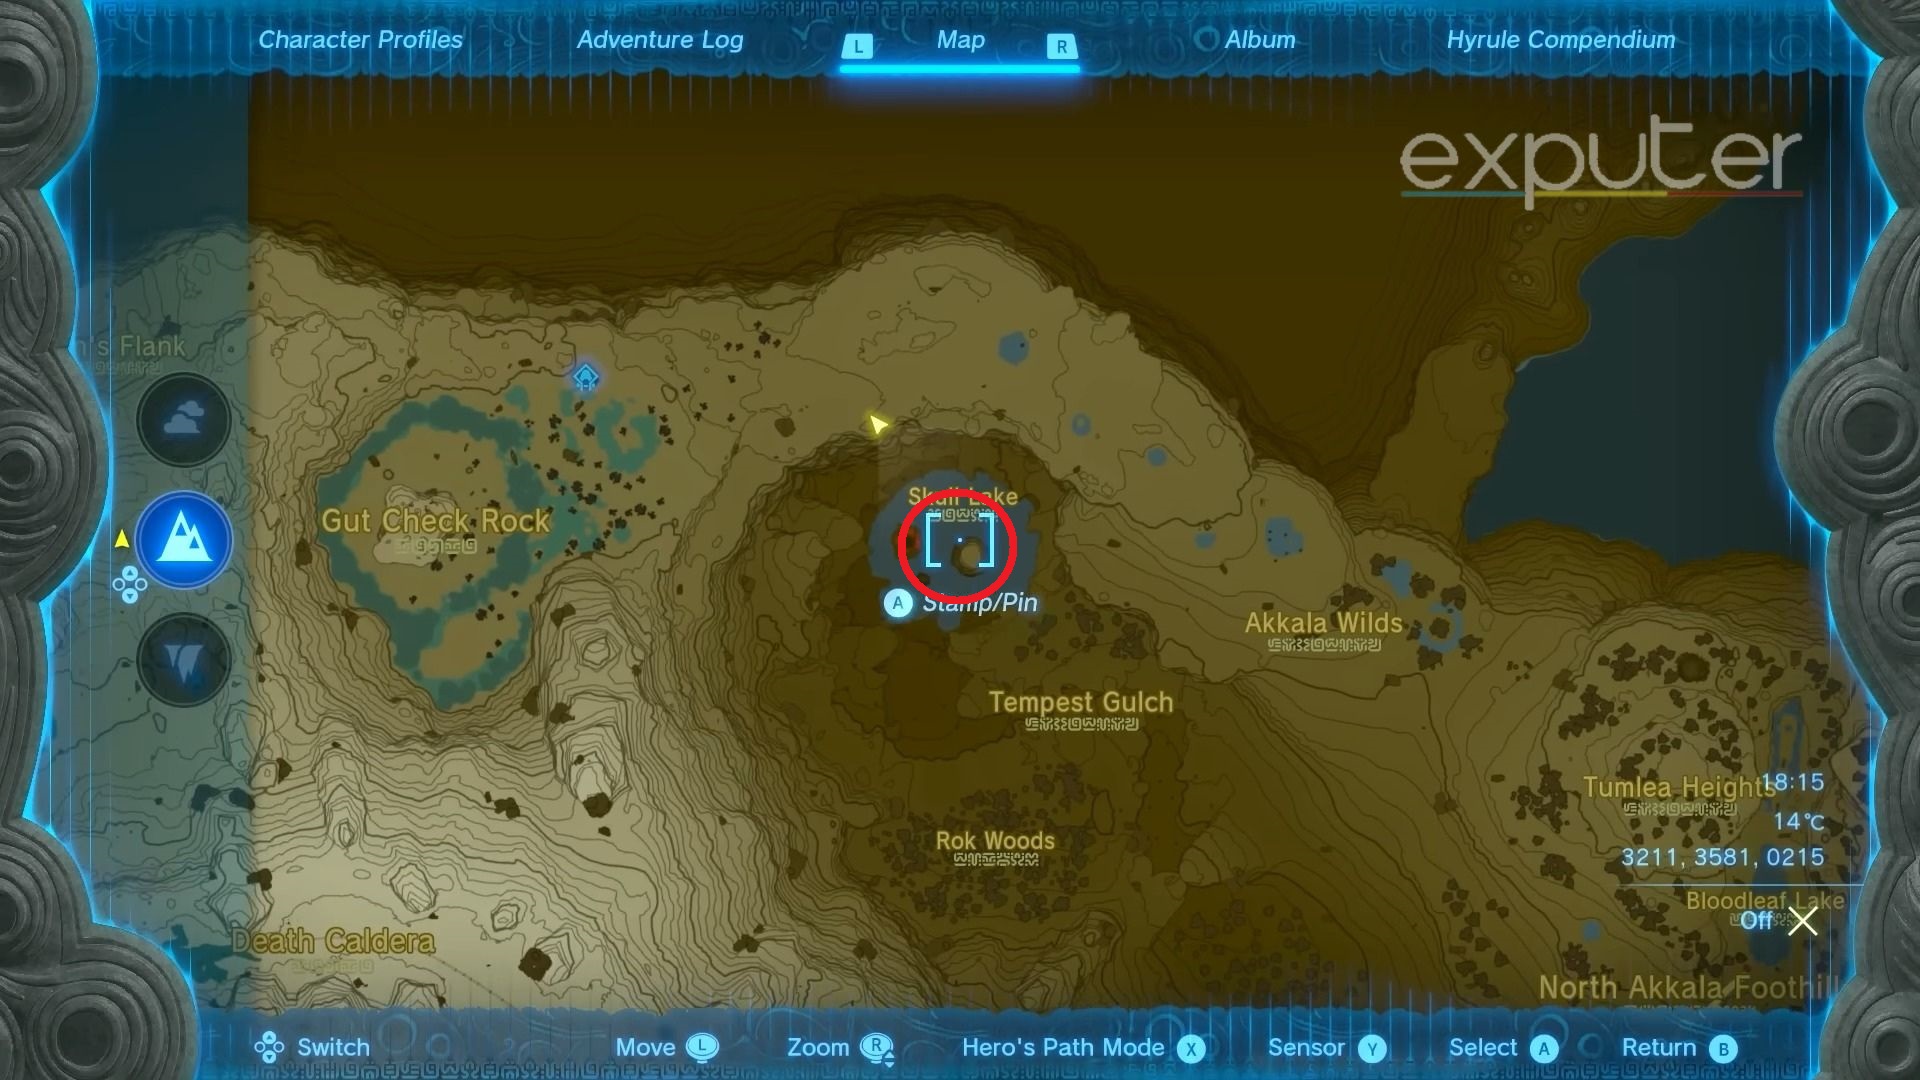
- The Mask is hidden in the North Eastern corner of the map, in the Skull Lake Cave.
- Once the player has all three Armor Pieces, they can go back to the cave where the quest started to retrieve the sword.
- To upgrade the Fierce Deity Armor Set, players will have to acquire a set of items.
- The Armor Set is upgradable to Level 4 for each piece.
Fierce Deity Armor Set In Tears Of The Kingdom
The Fierce Deity is an armor and Sword set hidden in a few different caves. The Armor set is said to be worn by a hero that saved his world. With the Armor, that hero felt godlike powers in him. So you must find the Armor Set to feel the power.
The Armor set has Mask, Armor, and Boots. They can either be acquired through the amiibo Unlocks or through a quest known as the Misko’s Treasure: The Fierce Deity. I’ll go through how players can acquire the Armor piece. If you still haven’t found the quest, later on in the guide, there will be a guide on how to get the quest.
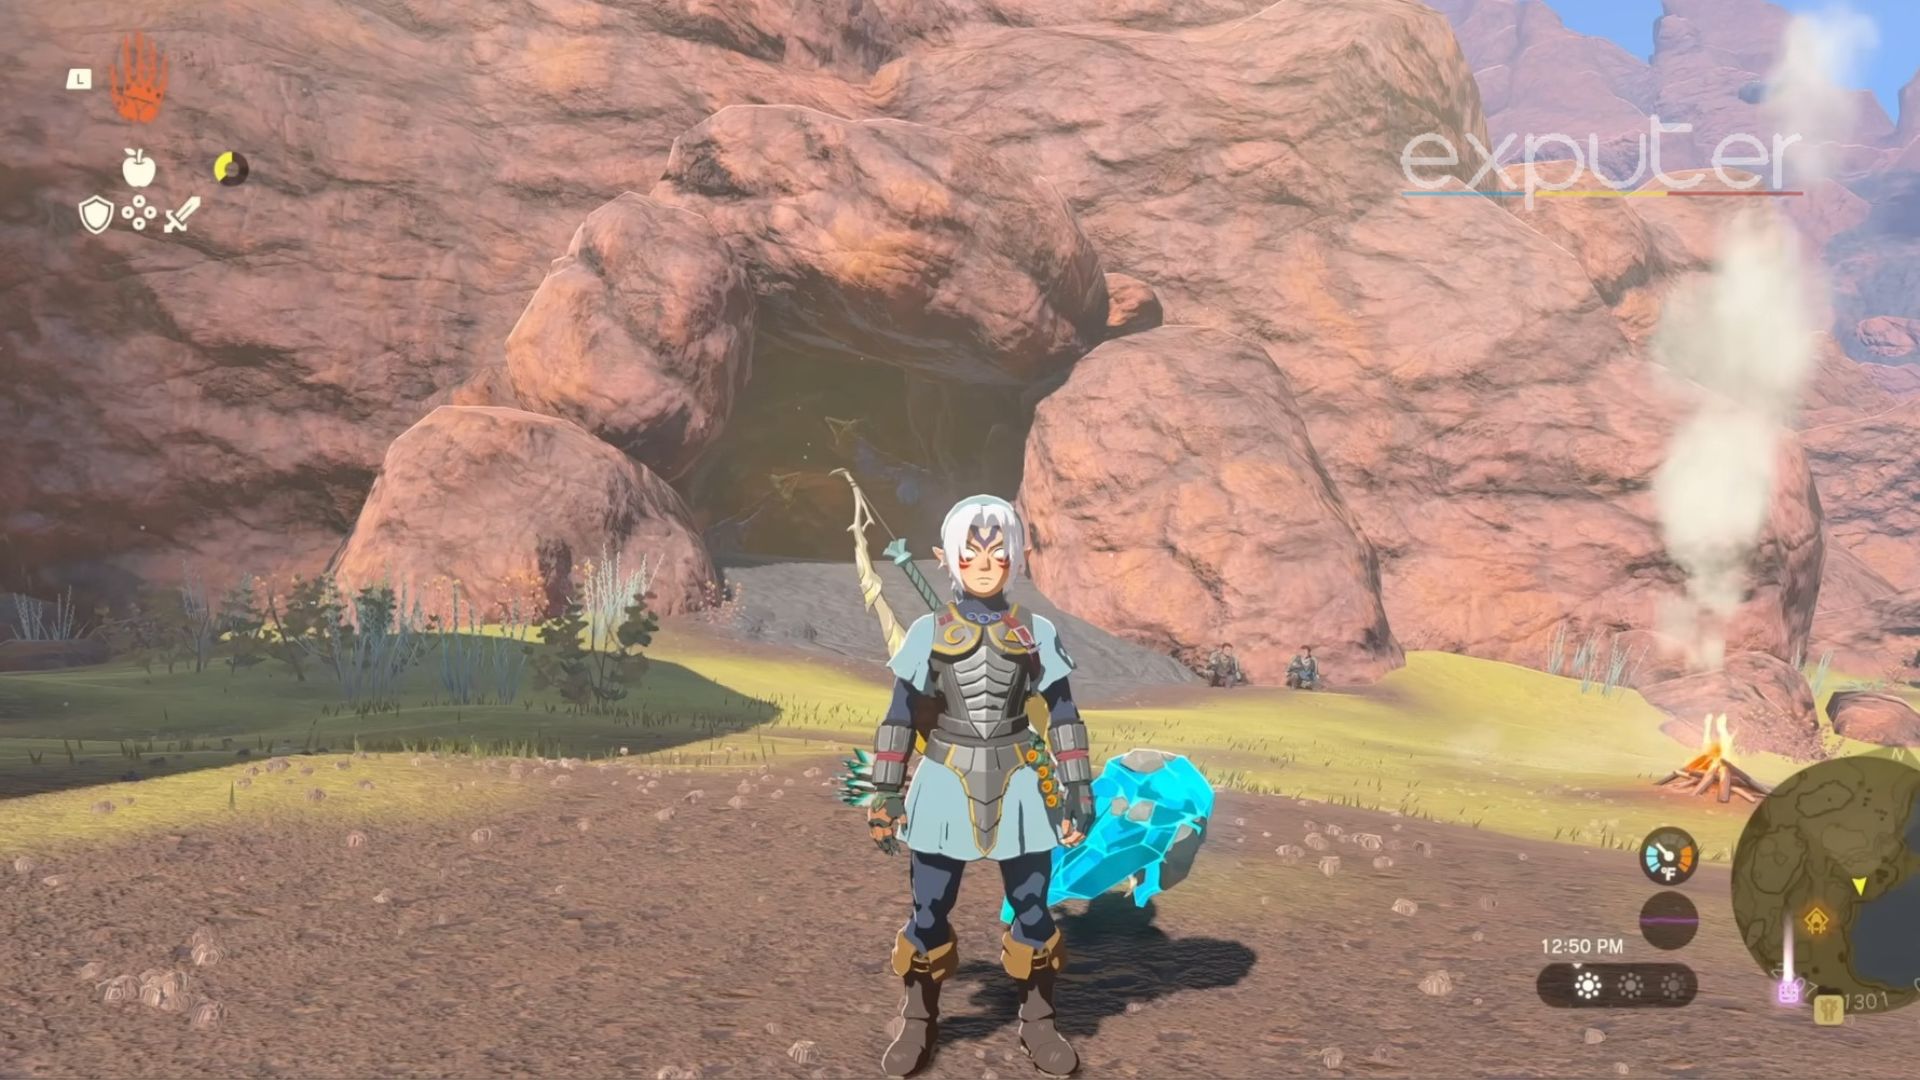
Locating Armor Set
While conversing with the Treasure Hunters, you must focus on their words. Domidak will exclaim that the only way to find the treasure is to have a ‘nose like a dog to sniff and locate the treasure. Then Prissen will say that giving Food to the Dog will make it like you, and then you can take its help to find the treasure. Although it seems like a jest, that is one of the few possible solutions to locating the treasure.
- For that, go to their Dog near the Treasure Hunters’ tent.
- You will have to feed it Meat, Apples, or other consumables.
- When I fed it the apples, it led me inside the Cave.
- And there, it pointed me to a chest with the treasure the hunters sought.
- When you open the chest, you will receive the Ember Trousers.
- These trousers provide 2 Armor and the Hot Weather Attack.
- It isn’t the Fierce Deity Armor piece, but it will help you start the journey.
Then, the Treasure Hunters will enter the Cave behind you and congratulate you. They will open a chest which will have a bottle with a message. Feeling disappointed at that, they will leave the Cave, and you can read the bottled message from Misko. By reading the letter, the side quest Misko’s Treasure: The Fierce Deity will start.
Fierce Deity Armor
The Fierce Diety Armor piece is found on the East North-Eastern side of the map. It is located to the south of the Akkala Highlands and to the east of the Eldin Canyon. You will have to get to the Domizuin Shrine. They can fast-travel there and then get into the Ruins.
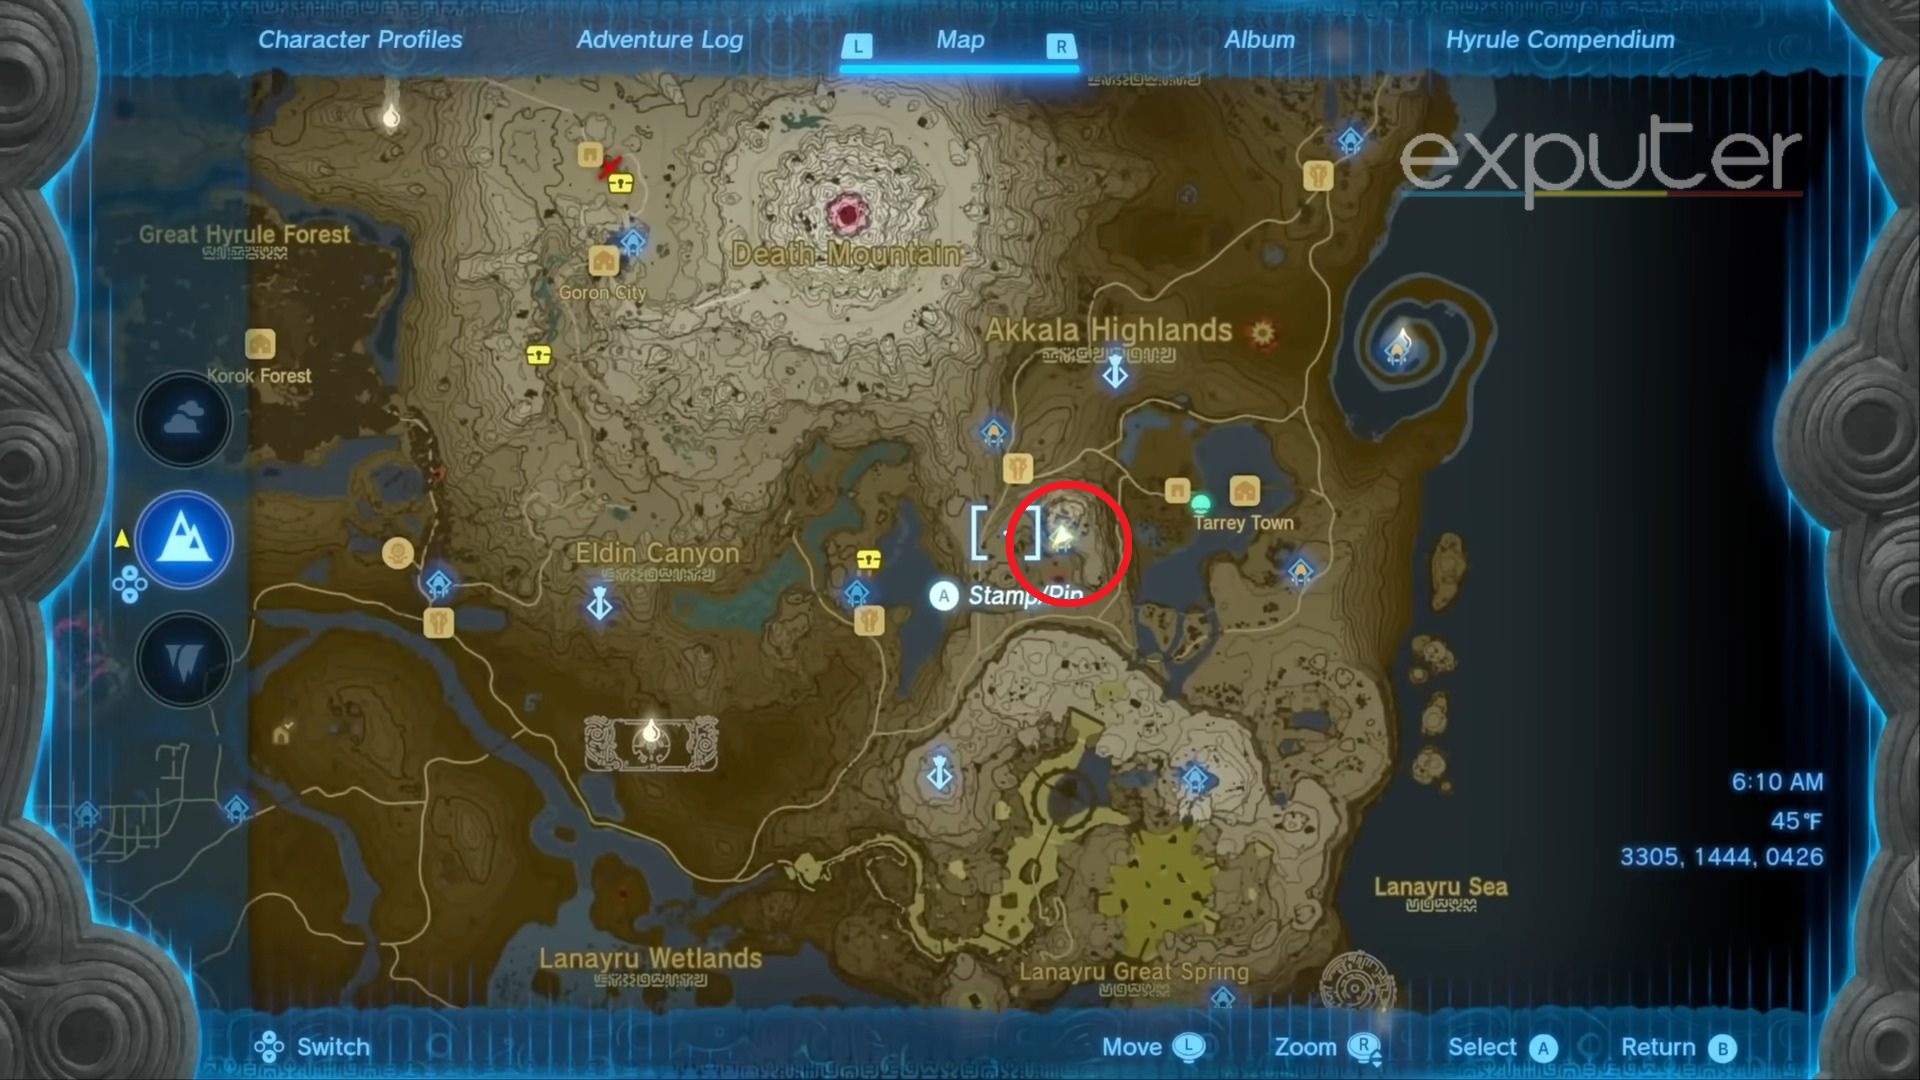
- Head to the southwestern corner of the ruins, where you will find a hole in the Wall. If you can’t find it, wait for the day to clear up, as that will make it a lot easier to locate the hole.
- Head inside the crack in the wall, and then you will find a hole in the ground.
- Get in it, and there will be the chest.
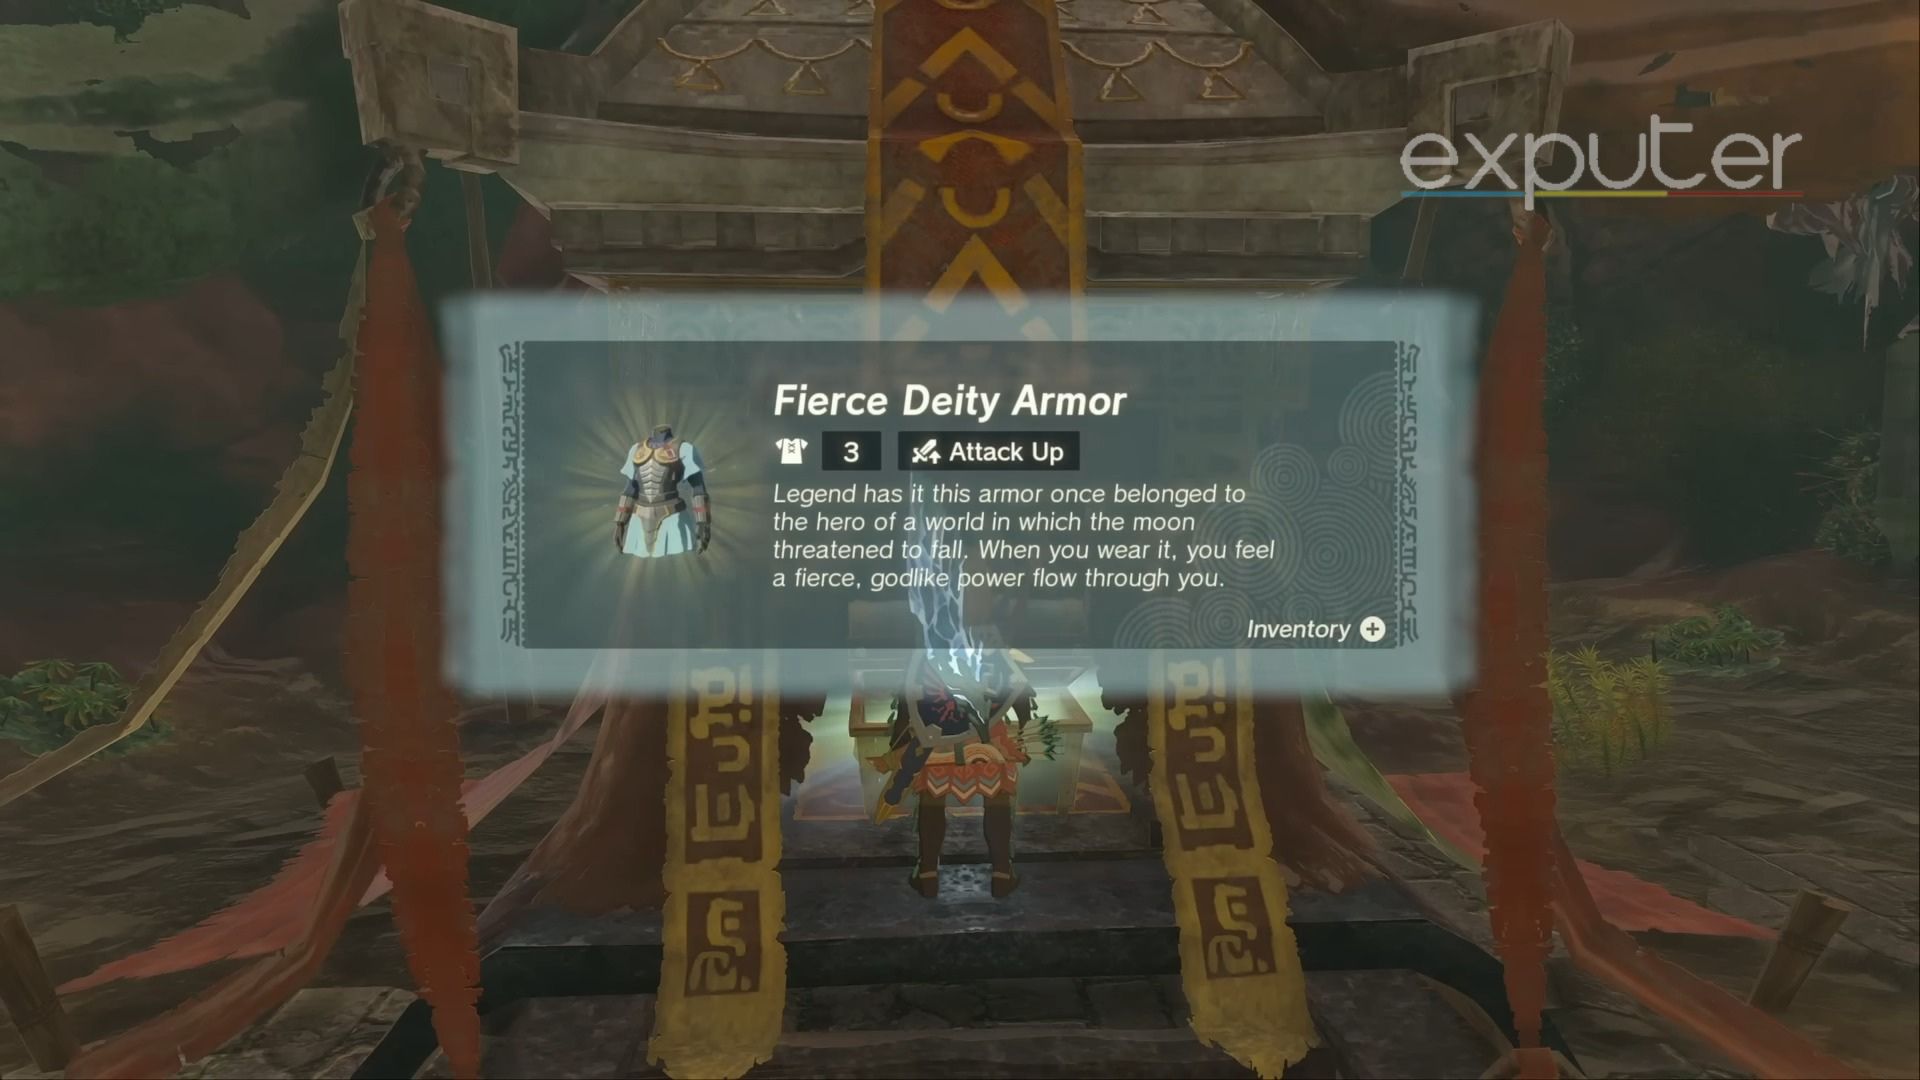
- Open the chest, and you will find the Fierce Deity Armor inside. It has 3 Armor and Attacks effect.
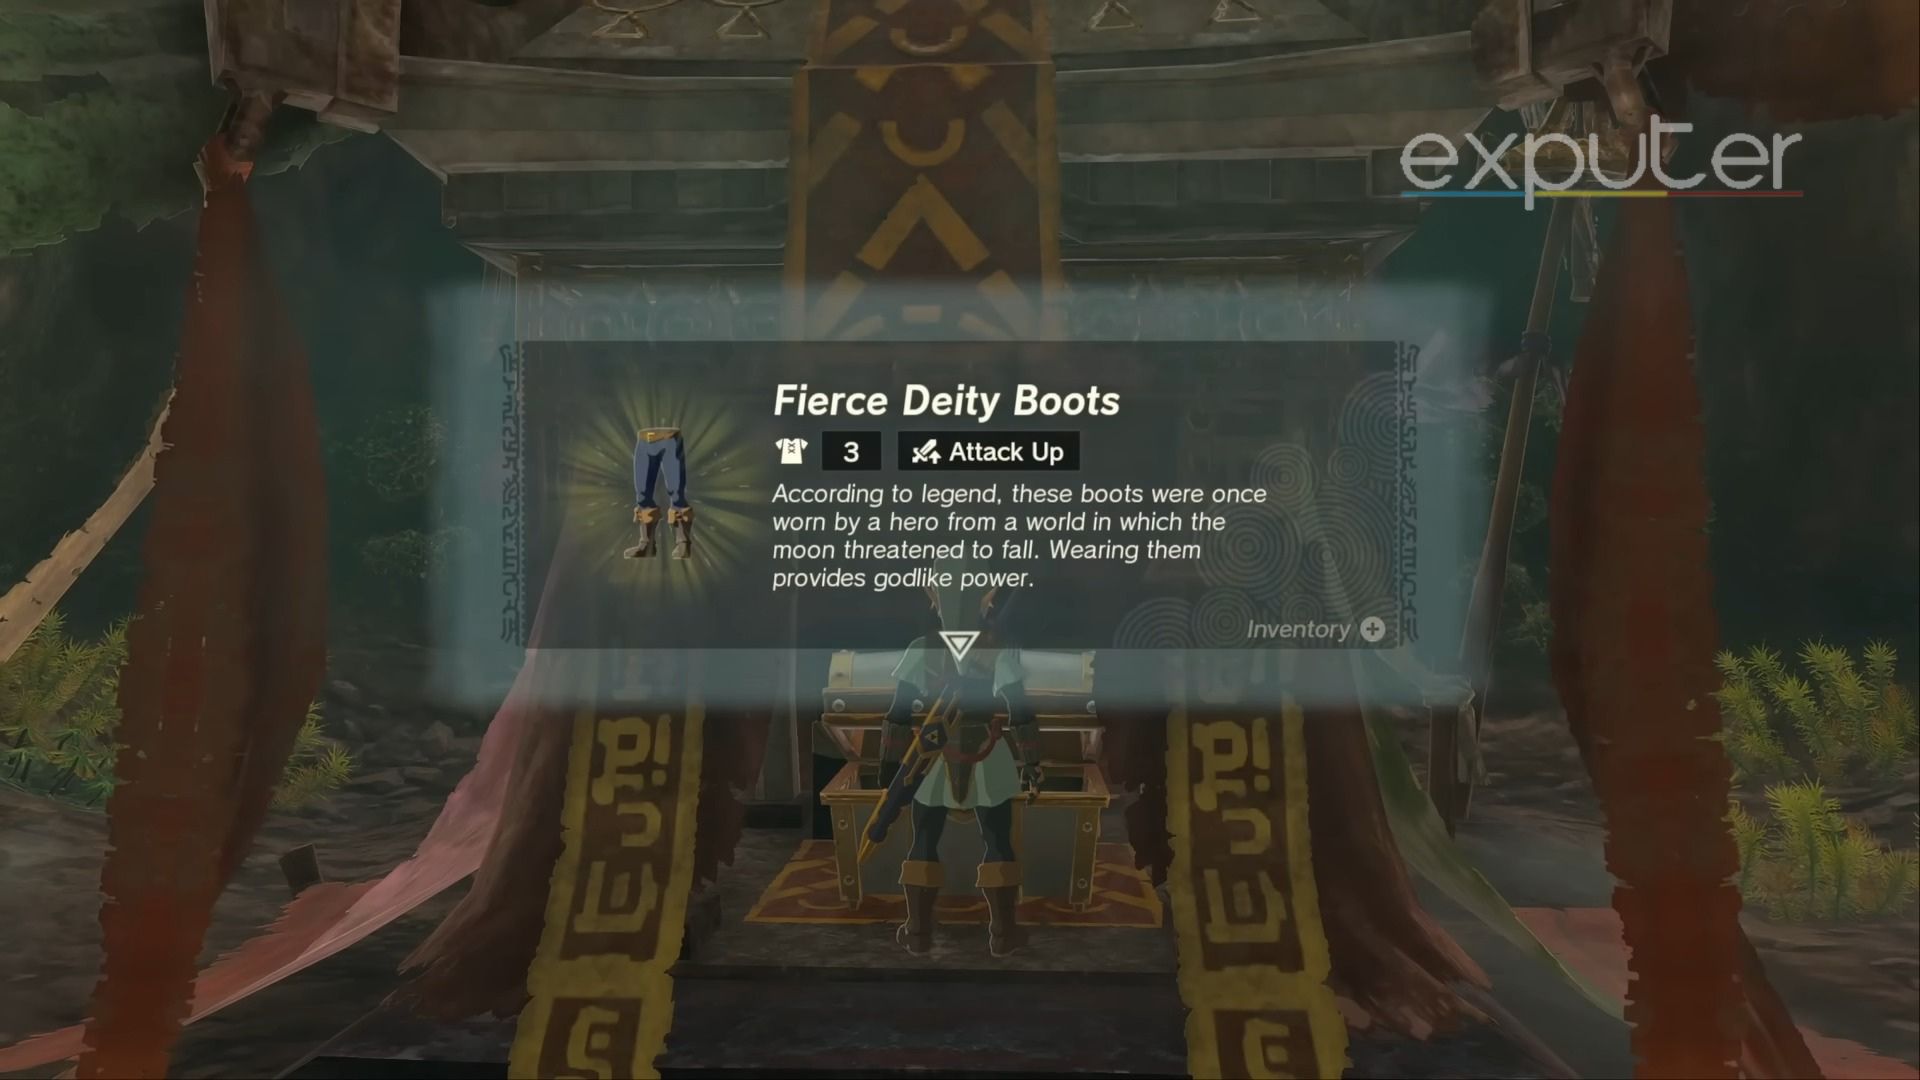
Fierce Deity Boots
The Fierce Deity Boots can be found in Mount Daphnes. Mount Daphnes is located to the West of the Hyrule Field and the South West of Lookout Landing. We’ll have its location down below to help you find it.
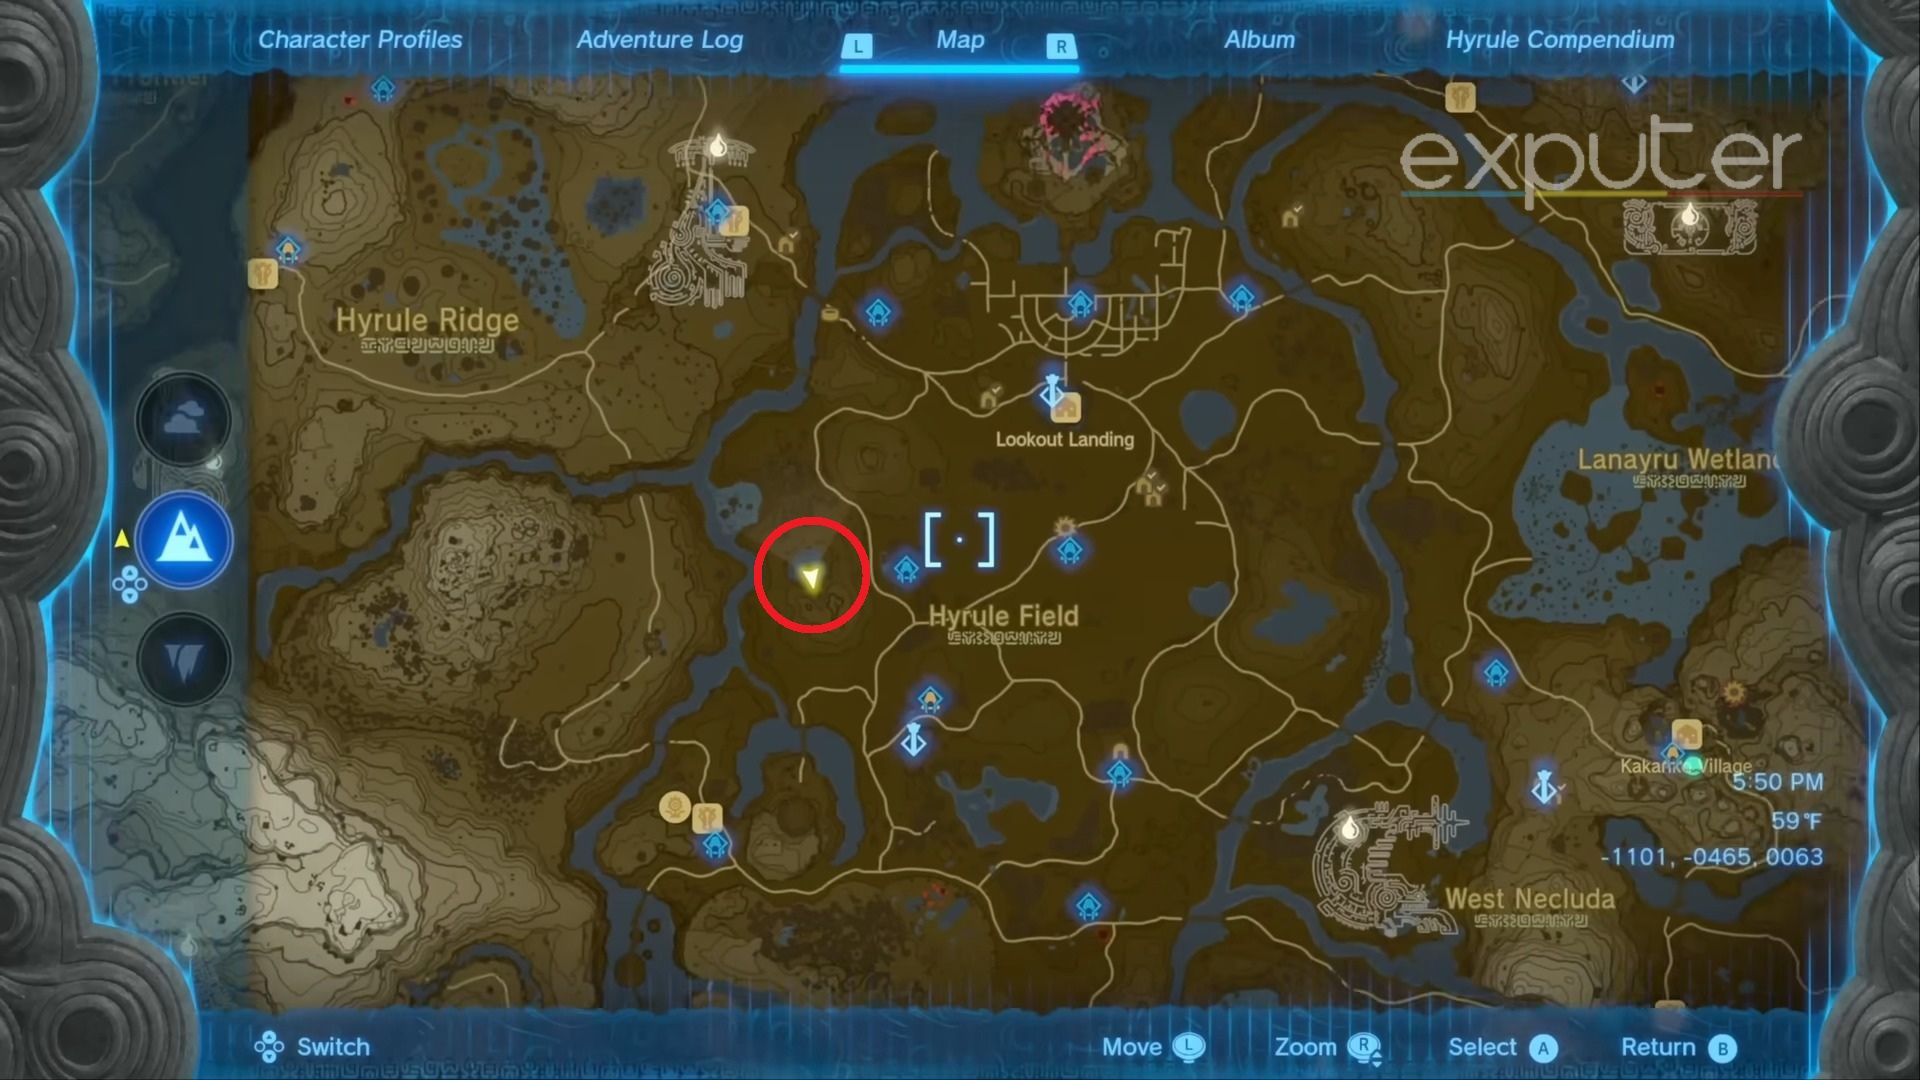
- Once you make it there, travel to the Susuyai Shrine.
- Then, climb on top of the hill that is to the west of the Shrine.
- There is a hollow tree stump right next to the cliff, and it goes all the way down into the Lake.
- You must get on the wooden bridge connecting the Tree stump with the cliff.
- When you get to the Tree Stump, there is a hole; jump down in it.
- While falling down, open your glider and glide yourself to a safe spot for landing.
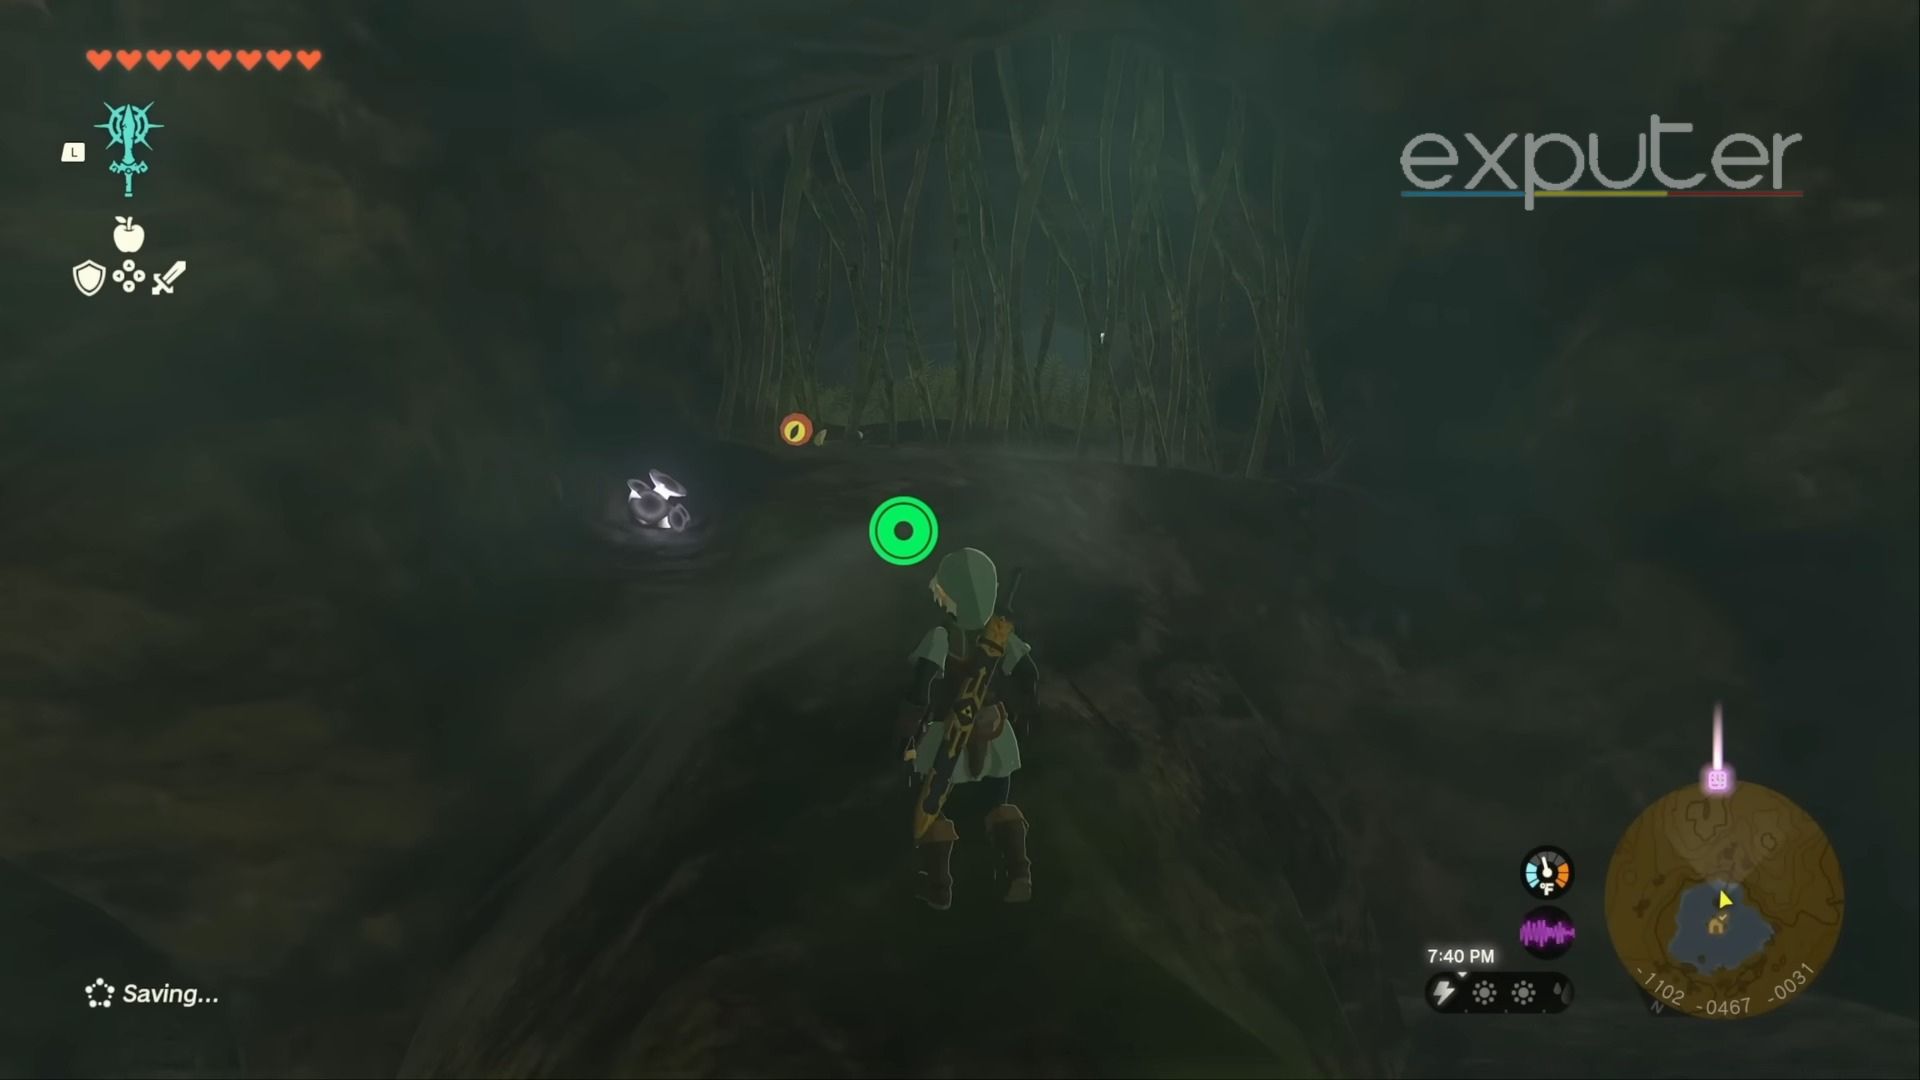
- Now, locate an opening in the walls. It will be covered with vines, and you will have to attack them to clear the vines. You can either shoot the vines with a Fire Arrow, a bomb, or even with a sword.
- Head ahead, and you will find a large Trunk going up in a cave system.
- Climb on it until you get to the top. There will be some more vines covering the path. Hit them to open the path.
IMPORTANT: When Climbing on the Trunk, make sure to manage your Stamina, as you will fall down if you run out of Stamina. Players can rest on Platforms on the way up to restore their Stamina.
Cut the Vines using a sword, fire Arrow, or any explosive. [Image Credit: eXputer] - When you head inside the chamber, you will find a Treasure Chest.
- Go ahead and open it. It will contain the Fierce Deity Boots. These boots have 3 Armor and the Attack Up status.
Fierce Deity Mask
Fierce Deity Mask is located in the North East corner of the map. You’ll find it in Skull Lake, inside the Skull Lake Cave. Fast Travel to the Kamatukis Shrine as it is the nearest to the location. Now, you have to get on top of the Stone Pillar in the center of the Lake. You will have a few options to get there. You can either elevate yourself using a rocket and then glide into the Cave. Or you can make a machine to get you high above.
- Once on top, jump inside the hold in the pillar. Now Link will dive into the hole. There is a pool at the bottom of the hole, so you won’t need to use the glider.
- You can then keep heading ahead while avoiding or fighting the skeletons until you come up to a stone wall.
- Use your hammer or an explosion to blast open the Stone Wall.
- Once you are on the other side, you will encounter several skeleton enemies.
- Although you can fight them, it is recommended that you skip past them and get on the platform in the center.
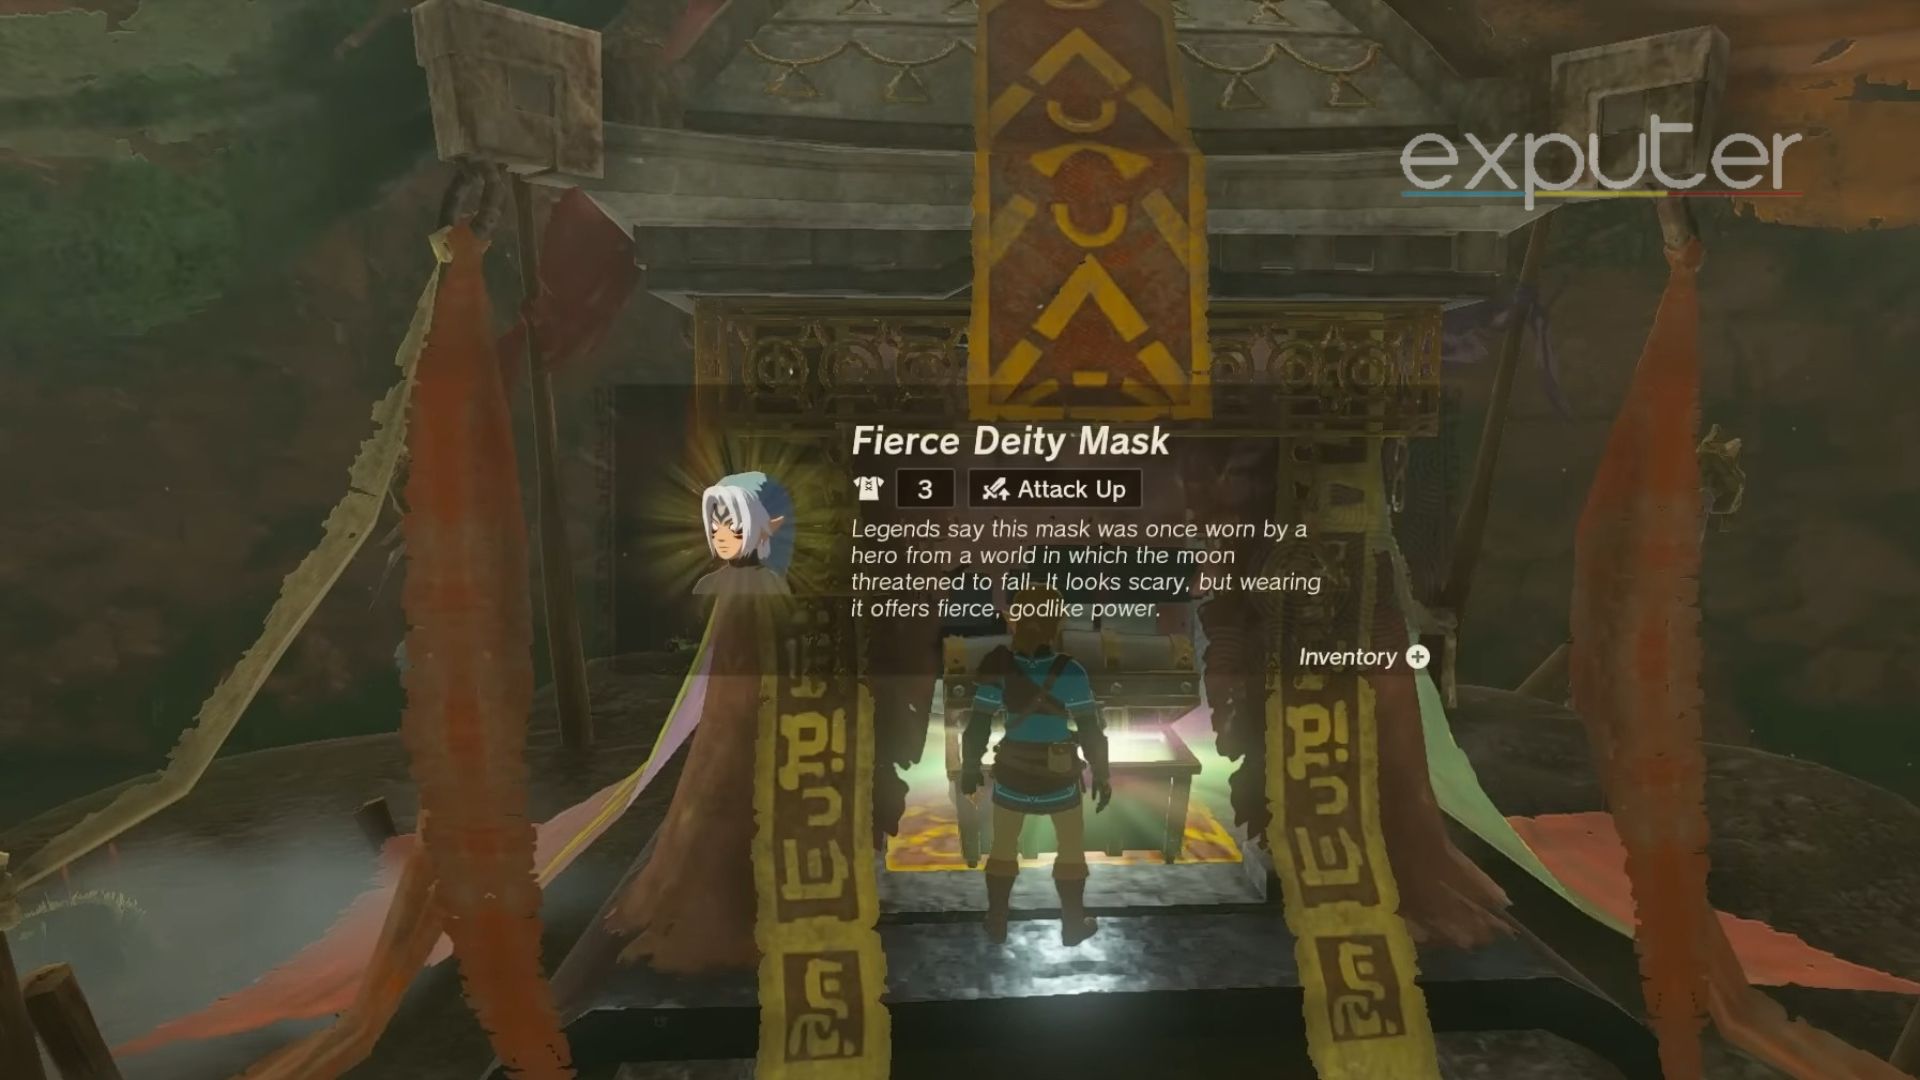
- There should be a chest on the platform. Open it up, and it will contain the Fierce Deity Mask.
That will conclude your search for the Fierce Deity Armor set. The Mask has 3 Armor and the Attack Up bonus. With the chest, there will be another Bottled Message. That message will congratulate the player as they have earned the Fierce Deity Sword.
Fierce Deity Sword
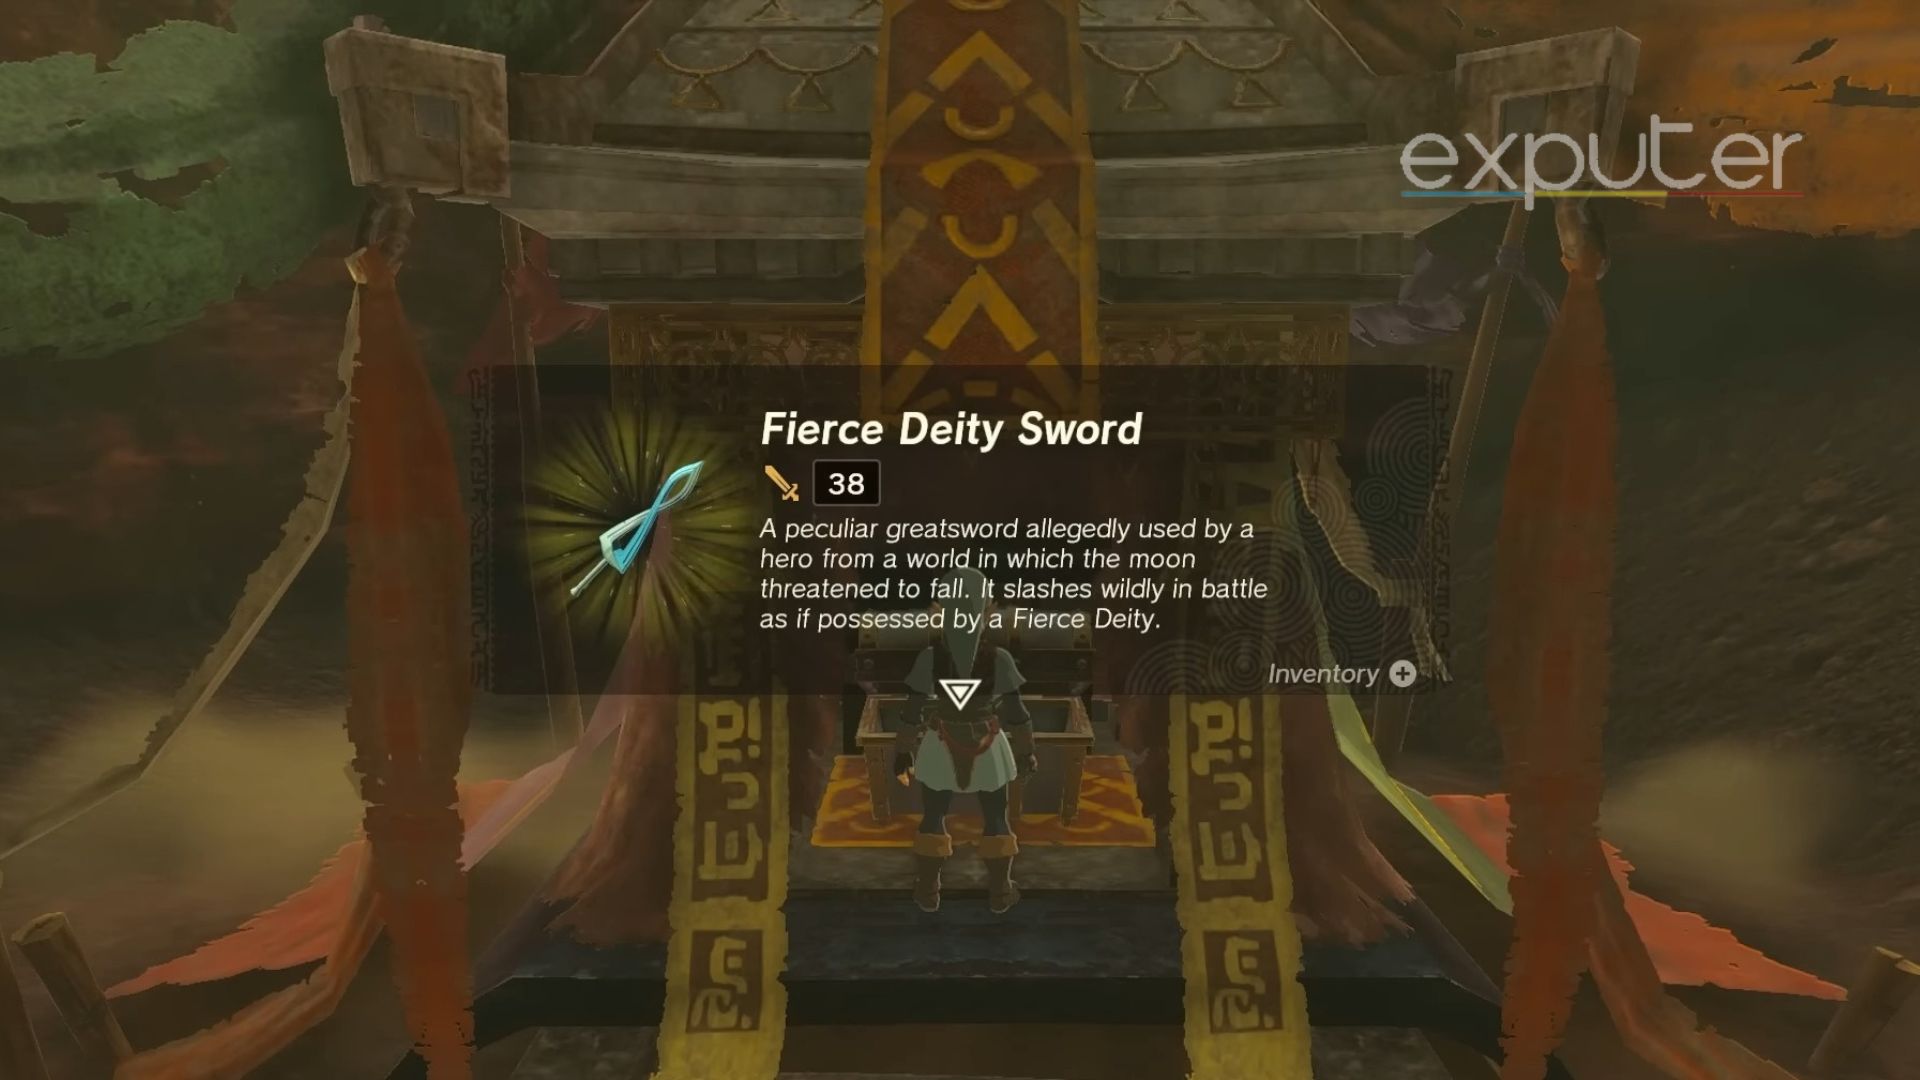
Once you have collected all of the Armor Pieces, it is time to head back to the Cave where it all started. Travel to the Western side of Cephla Lake, where you started the quest.
- Now, head inside the Cave and to the area that was filled with chests.

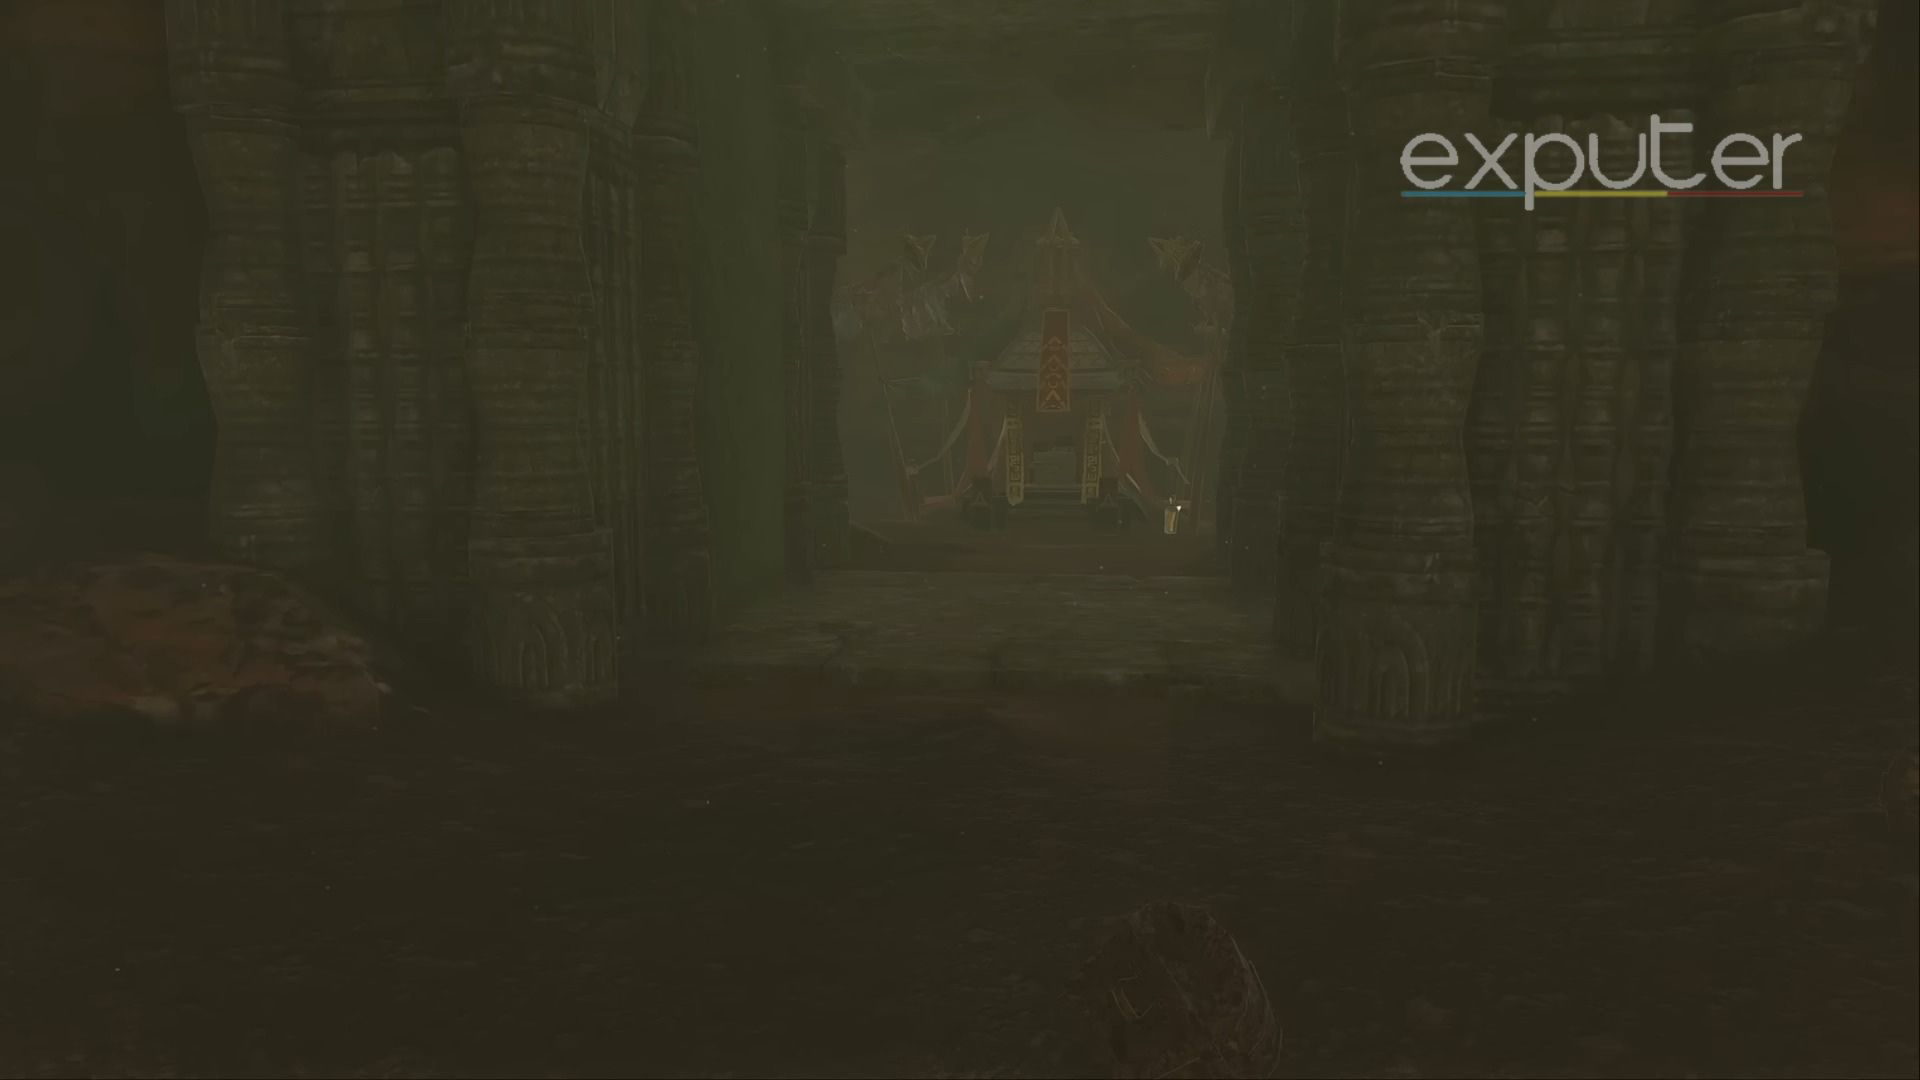
The Hidden Chamber is unlocked when players have three pieces of Fierce Deity Armor. [Image Credit: eXputer] - When you go to that area, a hidden passage will open.
- There will be a chest in the newly opened space.
- When you interact with the chest, it will give you the Fierce Deity Sword.
That will conclude your search for the Fierce Deity Armor Set. You can go on and equip it to use it.
Starting The Quest
You can start the quest by heading to Cephla Lake. There, to the left side of the Lake, is a cave where you will start the quest. You’ll find the map with the location highlighted right below. To get there quickly, you can Fast Travel to Kisinona Shrine.
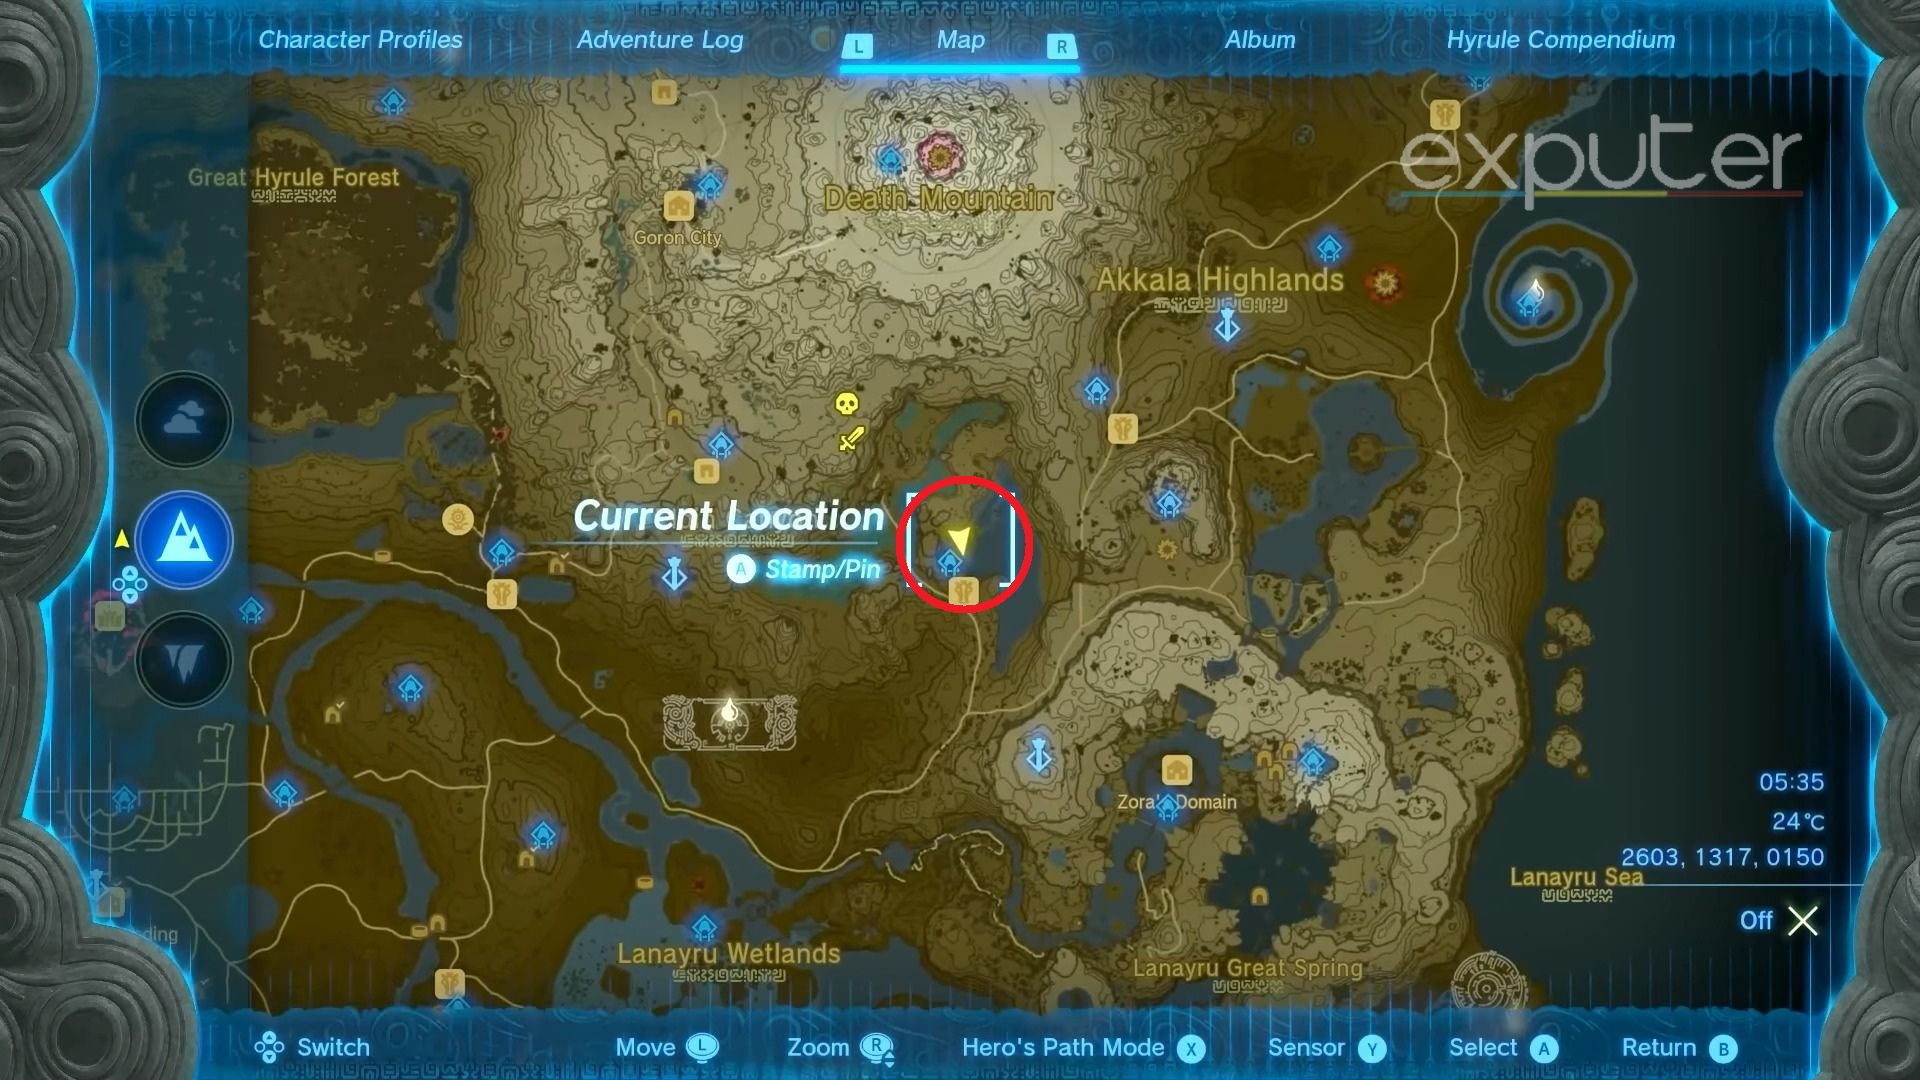
When you are talking with Domidak and Prissen, they will tell you that they were only able to find Green Rupee inside the chests in the Cave. And there are tons of chests inside the Cave with no chance of locating the treasure.
Upgrading Fierce Deity Armor
Once you have acquired the Fierce Deity Armor Set with its Sword, you can use it to fight against some enemies. If you feel like it is getting outdated with its defense stats, you can get it upgraded. For that, I recommend that you get it upgraded to the highest level possible, that is, Level 4. Okay, so here is how you can upgrade each of the Fierce Deity Armor piece.
But Before I get into that, here are all of the Armor pieces and their Stats. The Armor Piece, Boots, and Mask all have the same stats on each Level.
| Level | Fierce Deity Boots Level | Fierce Deity Armor Level | Fierce Deity Mask Level |
|---|---|---|---|
| 3 | 3 | 3 | |
| ★ | 5 | 5 | 5 |
| ★★ | 8 | 8 | 8 |
| ★★★ | 12 | 12 | 12 |
| ★★★★ | 20 | 20 | 20 |
Fierce Deity Boots
The first item that I went on to upgrade was the Fierce Deity Boots. So, here are all of the items that you’ll need to upgrade to the highest Level.
Level 1
To upgrade to level 1, you will need the following items.
- 5x Hinox Toenail
- 1x Farosh’s Scale
- 190x Rupees
Level 2
Upgrading to level 2 requires these items.
- 5x Hinox Tooth
- 1x Farosh’s Claw
- 275x Rupees
Level 3
You’ll need to have these items when you upgrade the Boots to level 3.
- 2x Hinox Guts
- 1x Shard of Farosh’s Fang
- 380x Rupee
Level 4
Lastly, when you upgrade to Level 4, here are the items you’ll need.
- 2x Lynel Guts
- 1x Shards of the Farosh’s Horn
- 555 Rupees
Fierce Deity Mask
Up next, we have the Fierce Deity Mask for the upgrades. To upgrade it to a new level, here are all of the items required.
Level 1
Upgrading to level 1, you will need the following items.
- 5x Hinox Toenail
- 1x Dinraal’s Scale
- 190x Rupees
Level 2
Whereas when you upgrade to level 2, it requires these items.
- 5x Hinox Tooth
- 1x Dinraal’s Claw
- 275x Rupees
Level 3
For the Level 3 upgrade of the boots, You’ll need to have these items.
- 2x Hinox Guts
- 1x Shard of Dinraal’s Fang
- 380x Rupee
Level 4
As for the upgrade to Level 4, here are all of the items you’ll need.
- 2x Lynel Guts
- 1x Shards of the Dinraal’s Horn
- 555 Rupees
Fierce Deity Armor Piece
Lastly, the Fierce Deity Armor Piece will be left for the upgrades. For that, here are all the items required.
Level 1
Upgrading to level 1, you will need the following items.
- 5x Hinox Toenail
- 1x Naydra’s Scale
- 190x Rupees
Level 2
Whereas when you upgrade to level 2, it requires these items.
- 5x Hinox Tooth
- 1x Naydra’s Claw
- 275x Rupees
Level 3
You’ll need to have these items for the Level 3 upgrade of the boots:
- 2x Hinox Guts
- 1x Shard of Naydra’s Fang
- 380x Rupee
Level 4
As for the upgrade to Level:
- 2x Lynel Guts
- 1x Shards of the Naydra’s Horn
- 555 Rupees
That concludes the guide on Fierce Deity Armor Set in Tears of the Kingdom with its Sword and the relevant upgrades. It is a great armor, one that is worth going out for. Although finding the locations of the hidden pieces can be hard to get, the guide helps you with that.
Tears of The Kingdom isn’t all about Finding Princess Zelda. There are many other aspects of the game that you should definitely enjoy. Like Cooking some of the best recipes. Or you can get to one of many stables to get Horses and other services. There are a ton of bosses in Tears of the Kingdom that you will have to defeat. For that, you’ll need the best Builds available.
More From eXputer:
- Legend of Zelda Tears of the Kingdom All Editions
- Legend of Zelda: Tears of the Kingdom: All Characters
- Legend of Zelda Tears of the Kingdom Plot
Thanks! Do share your feedback with us. ⚡
How can we make this post better? Your help would be appreciated. ✍
