Understanding the strengths and weaknesses of the numerous Zelda Tears of the Kingdom bosses that you encounter is paramount to your success as a hero. Each boss embodies a unique challenge designed to test your wits, agility, and mastery of Link’s best weapons and armor.
Deep knowledge of these adversaries not only helps you devise effective strategies to counter their powerful attacks but also gives you the upper hand in exploiting their vulnerabilities, turning the tide of these epic battles in your favor.
- Here are the 11 bosses, along with their weaknesses or easy-to-defeat patterns, that you will encounter during the Zelda Tears of the Kingdom plot.
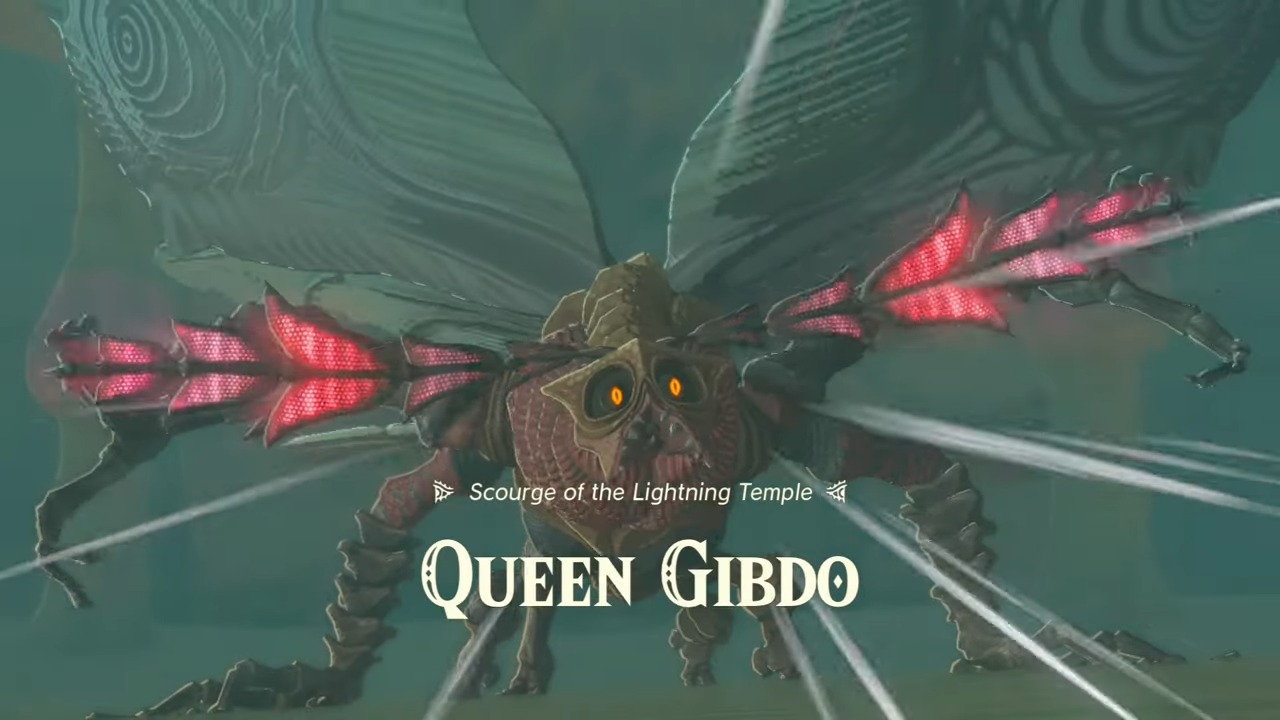
- Queen Gibdo: Exploit her weakness to fire and evade her powerful necromantic spells.
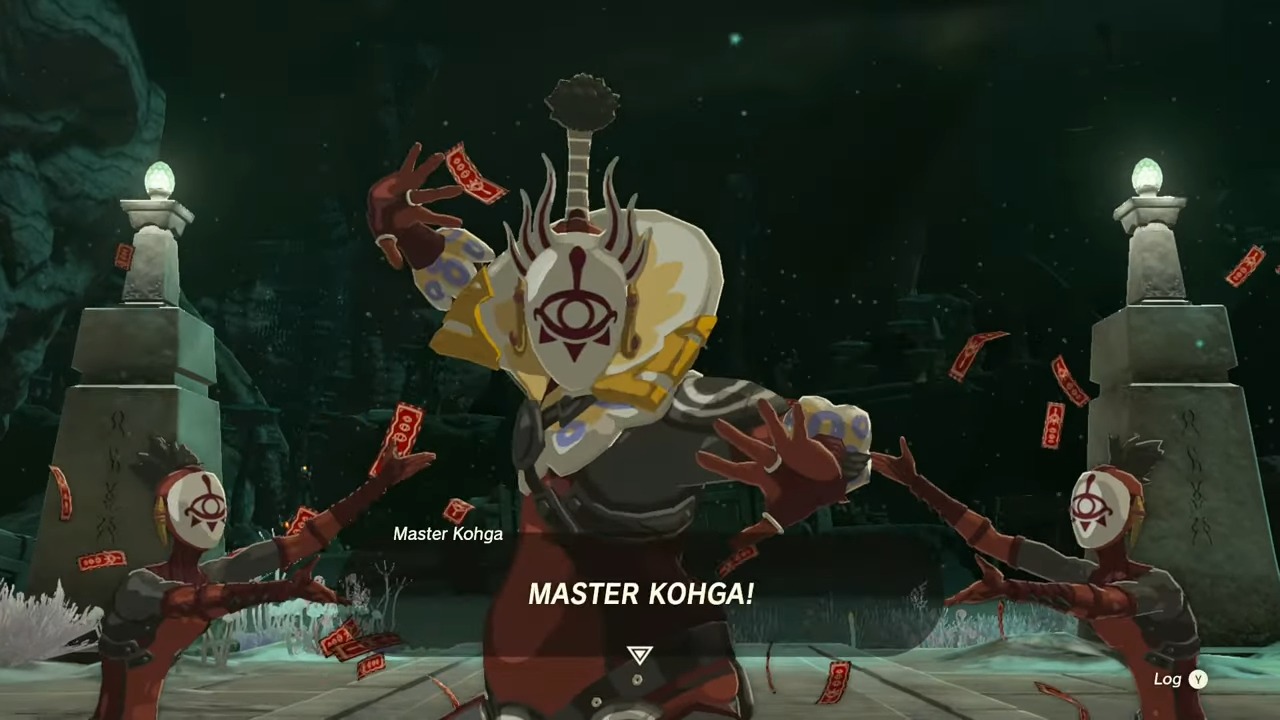
- Master Kohga: Adapt to his varying attack patterns across multiple encounters, stunning him to create openings for damage.
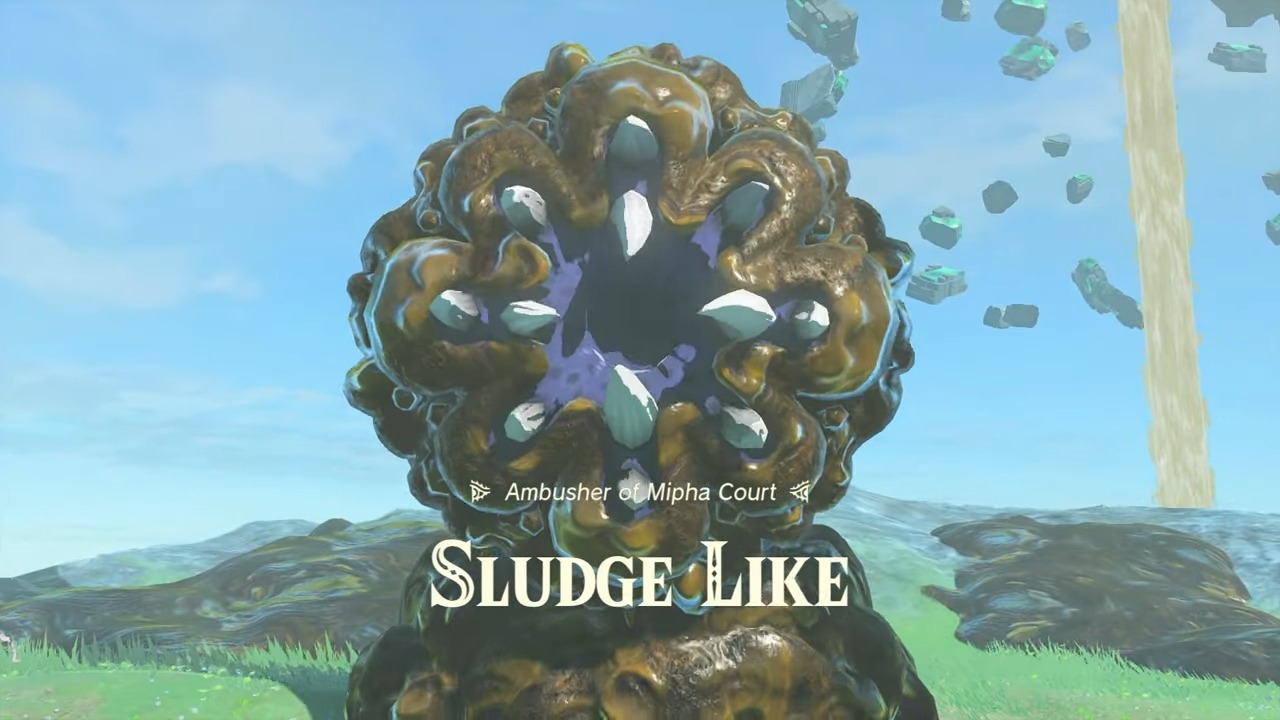
- Sludge Like: Drain the sludge pool surrounding it, and then strike its core when exposed.
- Mucktorok: Use bombs to blast off its armor, revealing its weak point to attack.
- Moragia: Illuminate the arena with light arrows to disperse its shadowy form, then target its eyes.
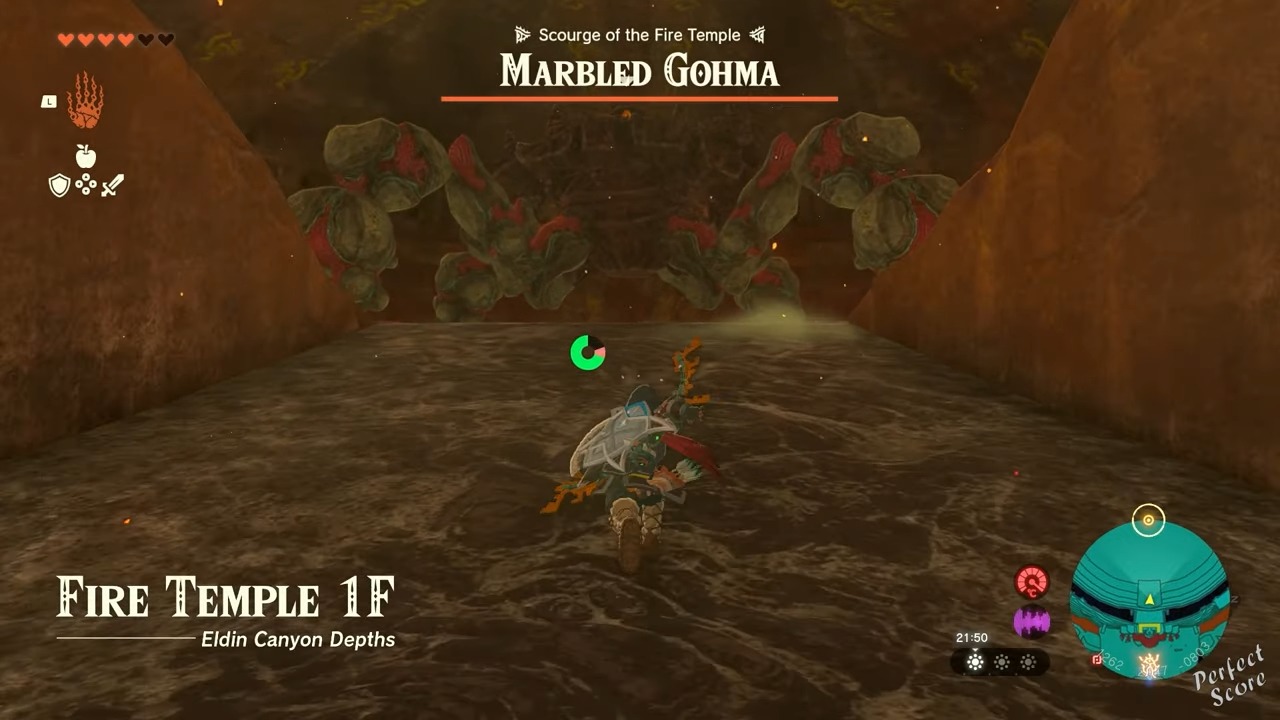
- Marbled Gohma: Strike its eye to stun it and then attack its legs, causing it to topple over for a major attack.
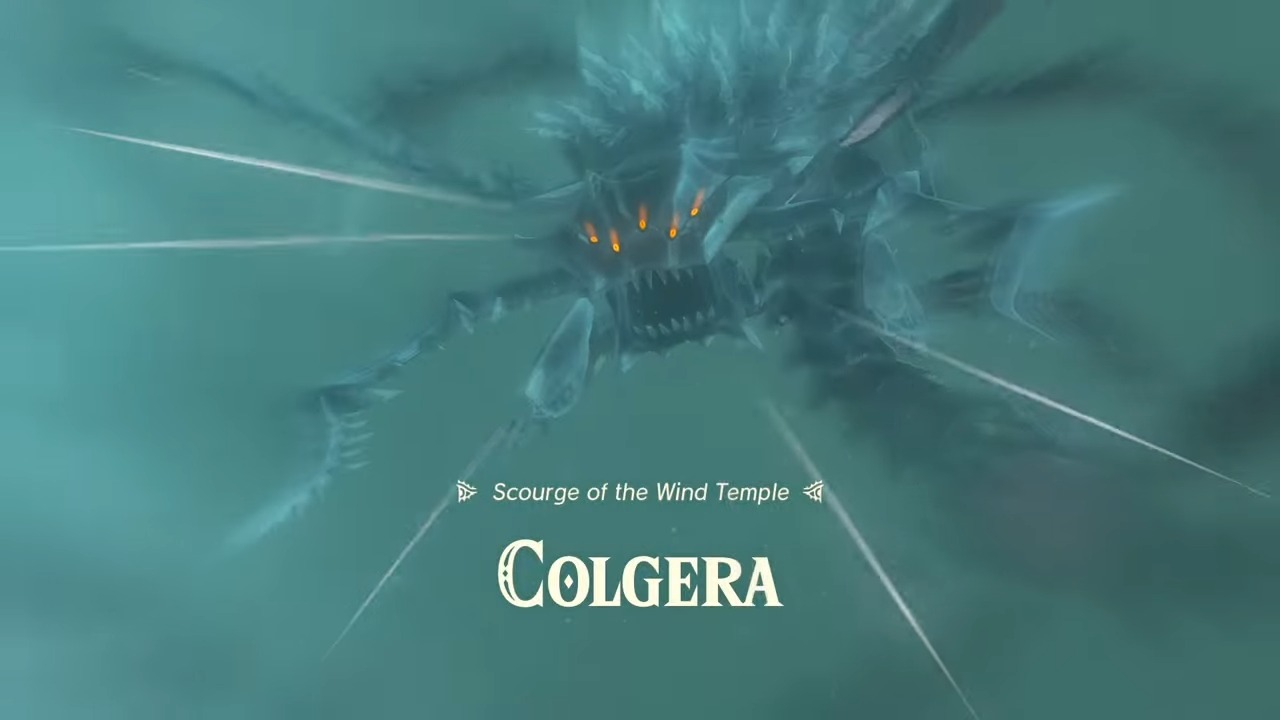
- Colgera: Pull yourself close and strike its vulnerable core when it emerges from the sand.
- Phantom Ganon: Reflect his energy balls back at him with your sword and exploit the openings this creates.
- Seized Construct: Destroy the dark crystals controlling it, then strike at its joints to disable it.
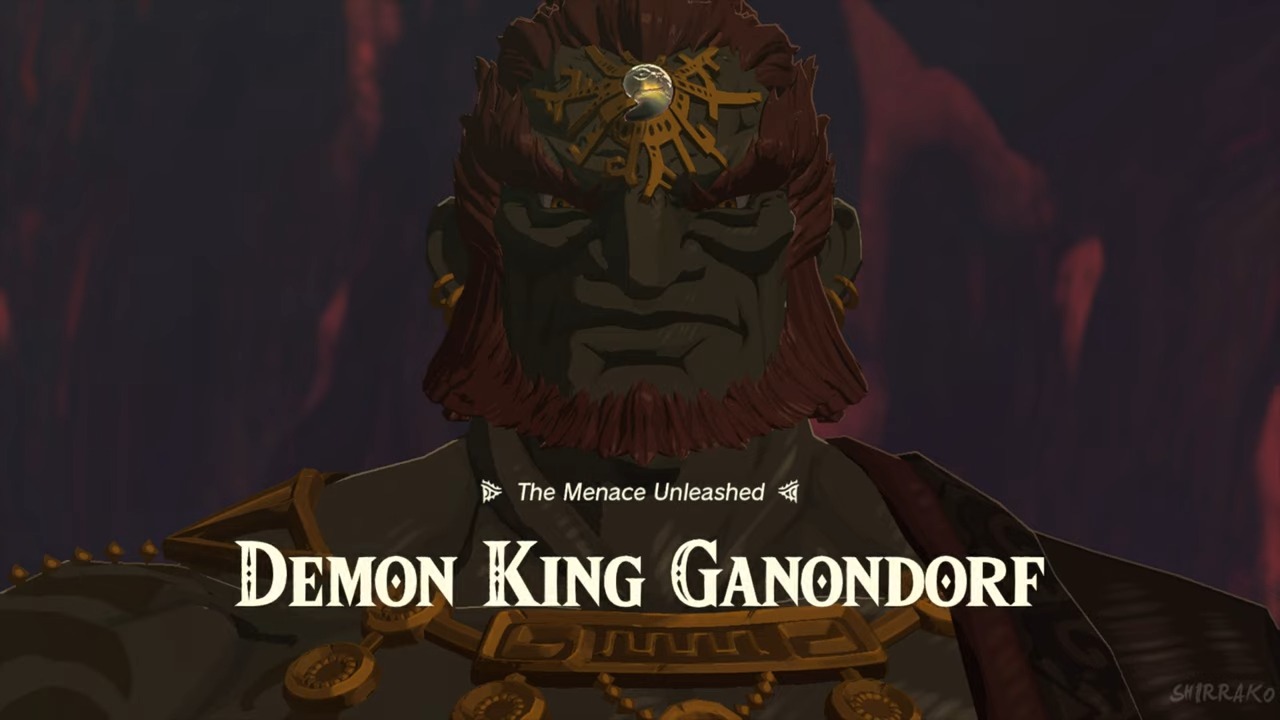
- Demon King Ganondorf: Use light arrows to disrupt his dark magic, then rush in to attack when he’s vulnerable.
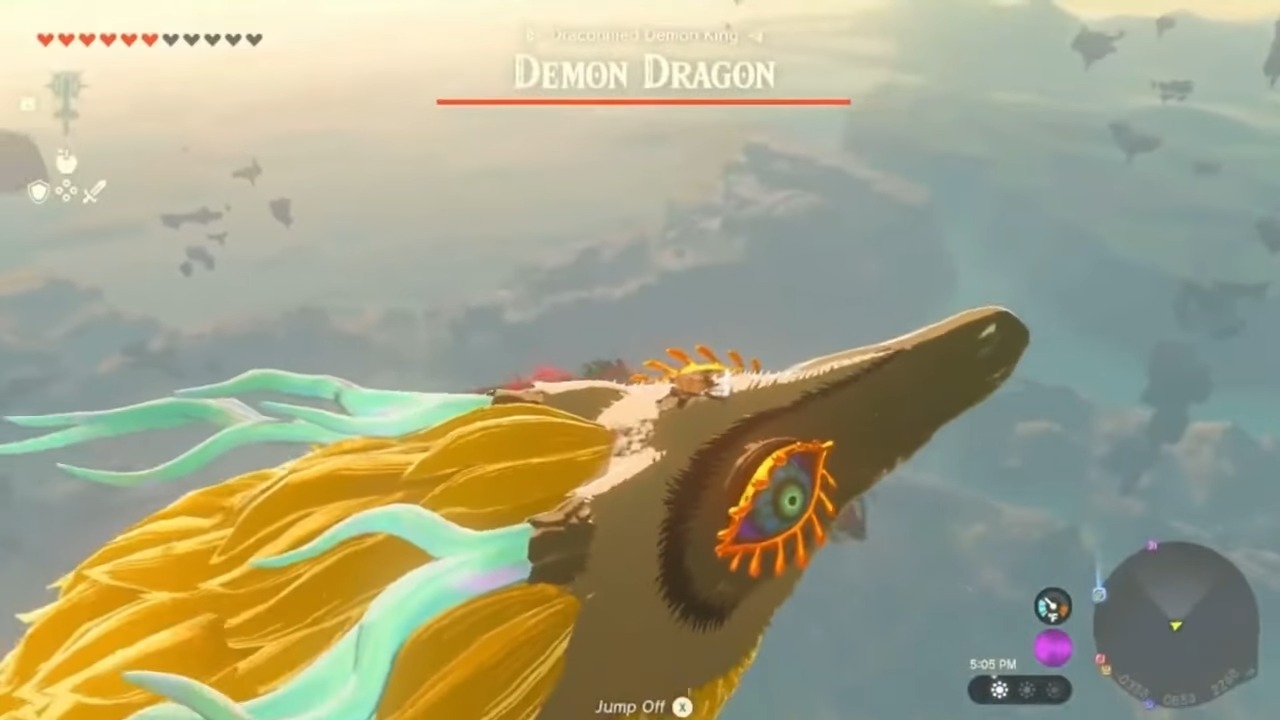
- Demon Dragon: Skydive onto his body to strike the glowing scales and finally destroy the Secret Stone on its forehead with Master Sword.
Tears of the Kingdom Bosses
Let’s first check out the overview of every Tears of the Kingdom Bosses:
| Boss | Rewards | Location |
|---|---|---|
| Queen Gibdo | - Heart Container - Riju's Vow | Lightning Temple |
| Master Kohga | Thunder Helm | Yiga Clan Hideout |
| Sludge Like | Royal Claymore | Mipha Court |
| Mucktorok | - Heart Container - Sidon's Vow | Water Temple |
| Moragia | None | Death Mountain |
| Marbled Gohma | - Heart Container - Vow of Yunobo: Sage of Fire | Fire Temple |
| Colgera | - Heart Container - Tulin's Vow | Wind Temple |
| Phantom Ganon | - Dark Clump - Heart Container | - Hyrule Castle - The Depths |
| Seized Construct | - Heart Container - Vow of Mineru: Sage of Spirit | Spirit Temple |
| Demon King Ganondorf | N/A | Central Hyrule |
| Demon Dragon | N/A | Central Hyrule |
Queen Gibdo
| Rewards | Location | Weaknesses |
|
Lightning Temple |
|
In the sprawling realm of “The Legend of Zelda Tears of the Kingdom”, Queen Gibdo reigns as a formidable adversary. Towering over Link as an enormous, moth-like entity, she is encountered during the Gerudo main quest, ominously lurking within a desert-infested lair. The queen’s power and elusive nature demand strategic planning and skill to overcome her.
How To Defeat
Initial Encounter:
-
- Dodge sand beam attack.
- Solve Lightning Temple Puzzle.
Temple Arena:
-
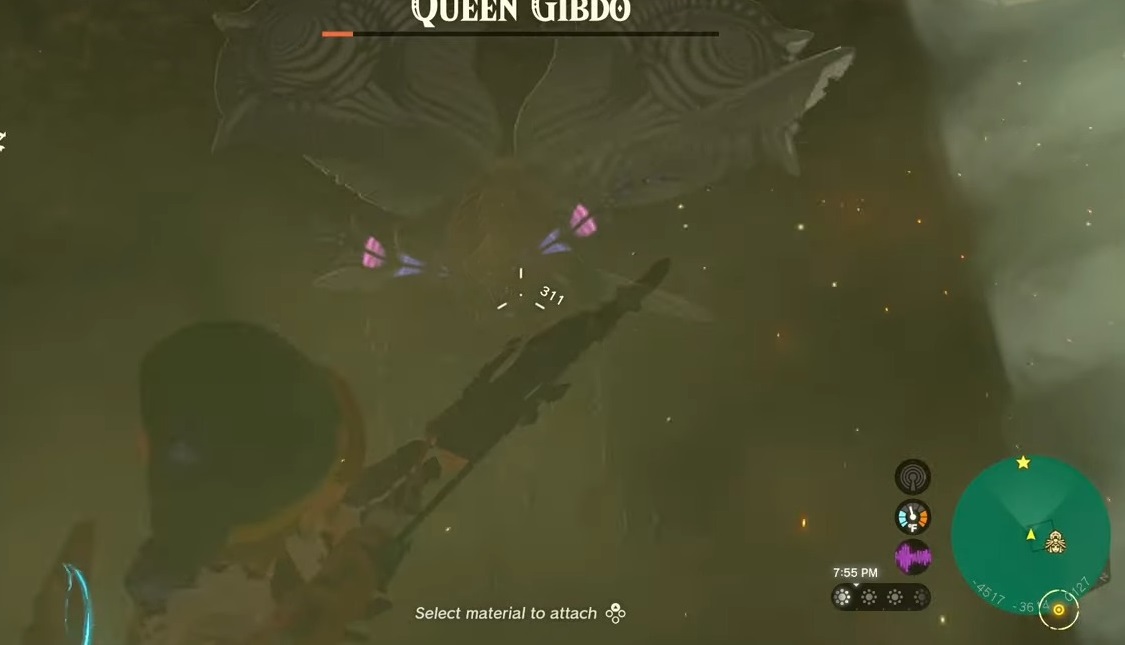
- Gibdo Mob at 50% HP.
- Destroy Gibdo Bulbs swiftly.
- Use Riju’s Lightning Strike ability on bulbs in golden AoE field.
- Prioritize eliminating summoned Gibdo enemies.
- Weaken Queen Gibdo with Lightning Strike.
- Unleash melee onslaught when stunned.
Strategy:
-
- Manage chaos effectively.
- Use Riju’s abilities wisely.
- Balance dodging and aiming arrows.
- Maintain a good supply of arrows.
- Patience, perseverance, and strategy essential.
Master Kohga
| Rewards | Location |
| Thunder Helm | Yiga Clan Hideout |
Master Kohga, one of the elusive Zelda bosses & leader of the Yiga Clan, serves as a recurring boss in Zelda Tears of the Kingdom, presenting a unique challenge with each encounter. Kohga’s battles are a test of wit and skill, taking place in the enigmatic Depths region of the Zonai facilities, where he employs a variety of mechanical contraptions to confound Link.
How To Defeat
Great Abandoned Central Mine:
-
- Dodge vehicle, avoid boulders.
- Jump onto a truck to strike Kohga.
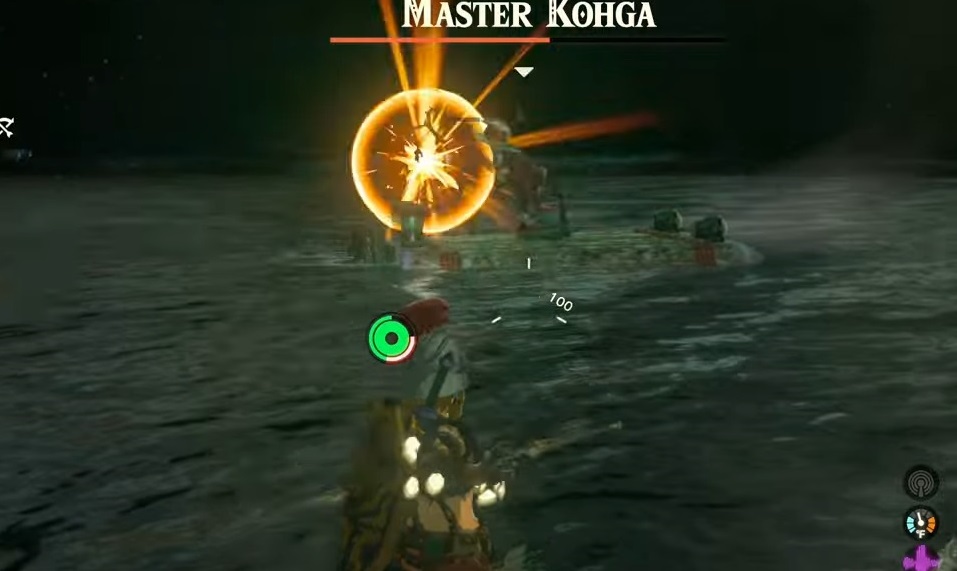
Abandoned Gerudo Mine:
-
- Avoid flame jets and missiles.
- Use environment, Wind Burst ability.
- Slow time for precise arrow shots to stun Kohga.
Abandoned Lanayru Mine:
-
- Use Yunobo’s Rolling Fireball ability.
- Defeat Yiga Ninjas swiftly.
- Stun Kohga.
Abandoned Hebra Mine:
-
- Manage threats: Homing Bombs, Laser Beams, Defense Matrix.
- Shoot bombs, interrupt lasers, land arrow shots.
- Push Kohga into spiked barricades for significant damage.
Sludge Like
| Rewards | Location | Weaknesses |
| Royal Claymore | Mipha Court | Water |
In the captivating universe of The Legend of Zelda Tears of the Kingdom, players encounter the Sludge Like boss, a grotesque worm-like creature enveloped in repugnant sludge. This unique adversary necessitates a particular strategy involving Sidon’s water bubble, challenging players to adapt to the Tears of the Kingdom’s dynamic landscape.
Sludge Like’s environmental manipulation and formidable defense mechanisms, such as raining sludge and immobilizing puddles, add a layer of complexity and urgency to the battle.
How To Defeat
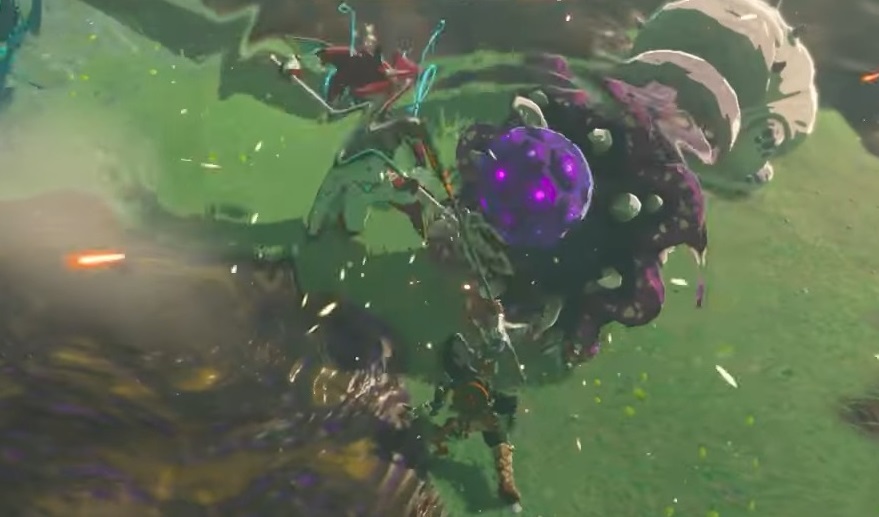
Initial Strategy: Use Sidon’s Water Bubble to launch a water attack on Sludge Like, dissolving its protective sludge layer to expose a vulnerable ball.
Key Target: Attack the exposed strange ball to stun Sludge Like, creating an opportunity for a flurry of attacks.
- Terrain Awareness:
- Be cautious of Sludge Like’s sludge rain attack and strategically placed sludge puddles which hinder movement.
- Maintain mobility by avoiding these puddles and keeping a keen eye on your surroundings.
- Defensive Maneuvers:
- Stay vigilant for the sludge rain spit attack from Sludge Like, which can surprise and damage you.
- Prioritize timing and precision in dodging to minimize damage and stay effective in combat.
Mucktorok
| Rewards | Location |
|
Water Temple |
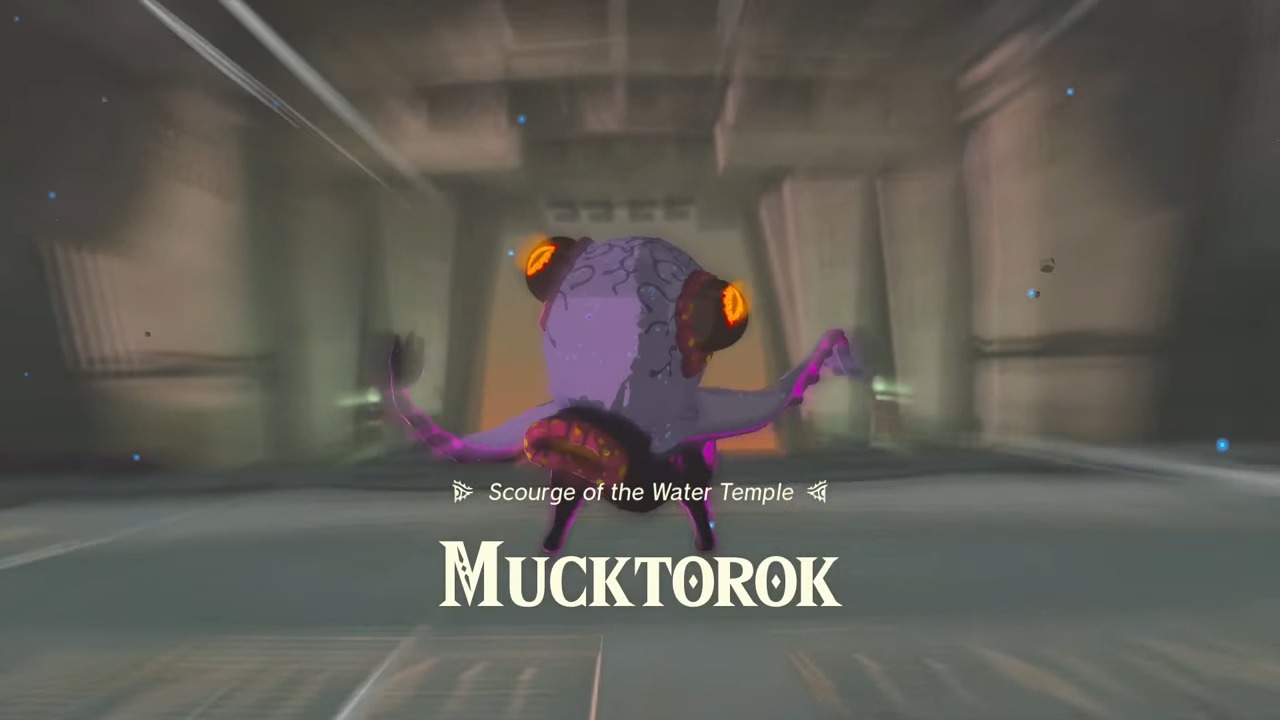
The Mucktorok, encountered in The Legend of Zelda’s Tears of the Kingdom, is a peculiar boss that personifies the grimy menace besetting the Zora Domain. Resembling a small, otherworldly Octorok, Mucktorok possesses the unique ability to shape-shift into a sludge shark, a form it utilizes for mobility and attack on the battlefield.
Despite its intimidating guise, the key to conquering Mucktorok, who easily qualifies as a hard one in the long list of bosses, lies in exploiting its vulnerability outside the sludge shark form.
How To Defeat
Preparation: Equip Sidon’s Water Bubble ability for shielding and ranged attacks, and carry a spear for enhanced attack range.
Phase 1:
-
- Use the Water Bubble to shield it from damage and clear sludge.
- Stun Mucktorok with arrows when it prepares to use an ability, then switch to melee with the spear.
- Conserve spear usage for crucial moments to maximize effectiveness.
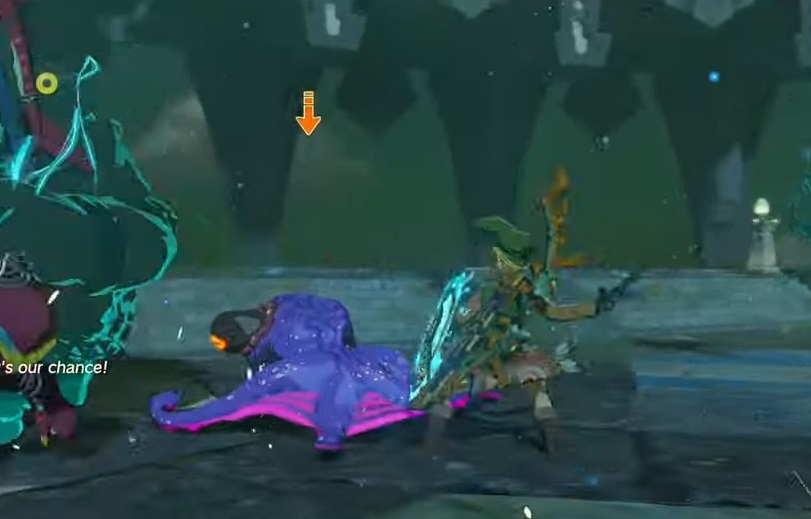
Phase 2 (Triggered when Mucktorok’s HP falls below 50%):
-
-
- Mucktorok retains its attack patterns but becomes more evasive and drops sludge across the arena.
- Use the Hydrant Zonai Device to clear sludge from the arena.
- Enhance arrows with Bomb Flowers for area damage when direct hits are challenging.
-
Advanced Strategy (If Tulin’s Wind Burst is available):
-
- Combine Zonai Fan or shield surf with a Spring fuse to launch into the air.
- Slow down time with your bow for precision shots.
- Use Wind Burst before landing to bypass sludge and approach Mucktorok rapidly.
Moragia
| Rewards | Location |
| None | Death Mountain |
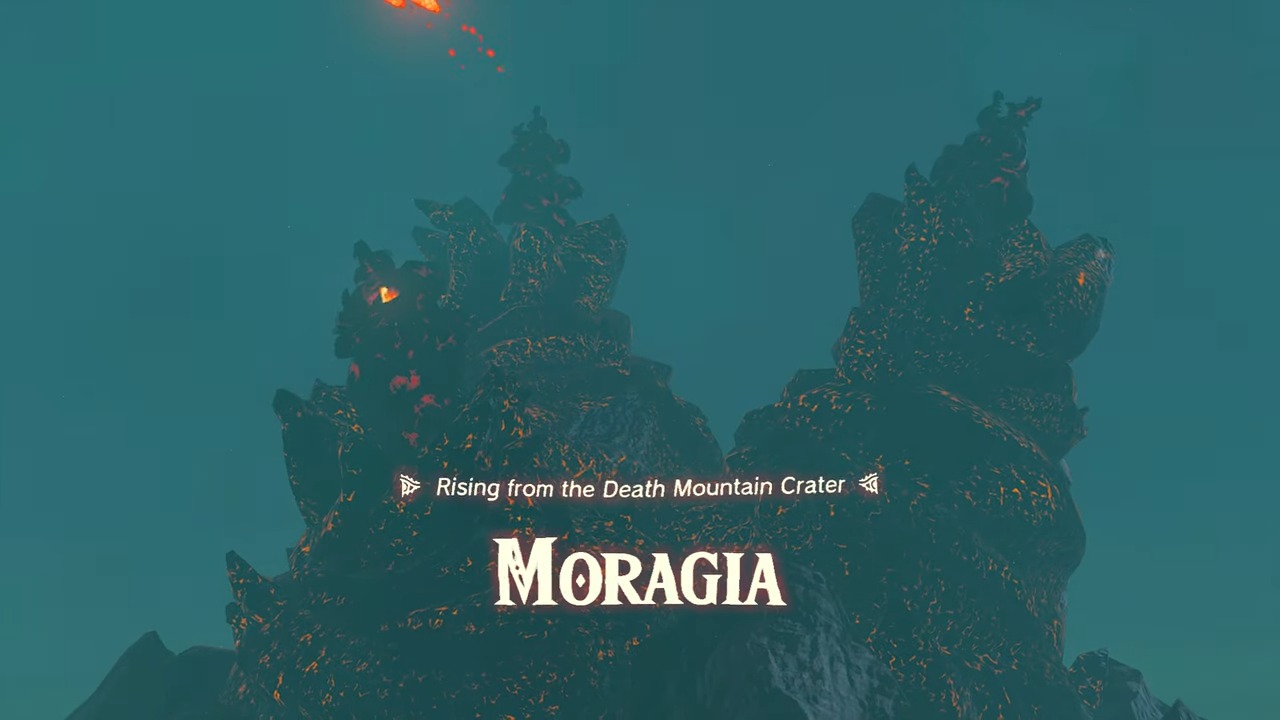
Moragia, the fiery menace of Death Mountain, is an intimidating boss in “The Legend of Zelda Tears of the Kingdom.” Composed of scorching lava and rock, it manifests as a tri-headed creature, each head spewing fireballs at will. This boss is integral to the storyline and is encountered during the Yunobo of Goron City quest.
How To Defeat
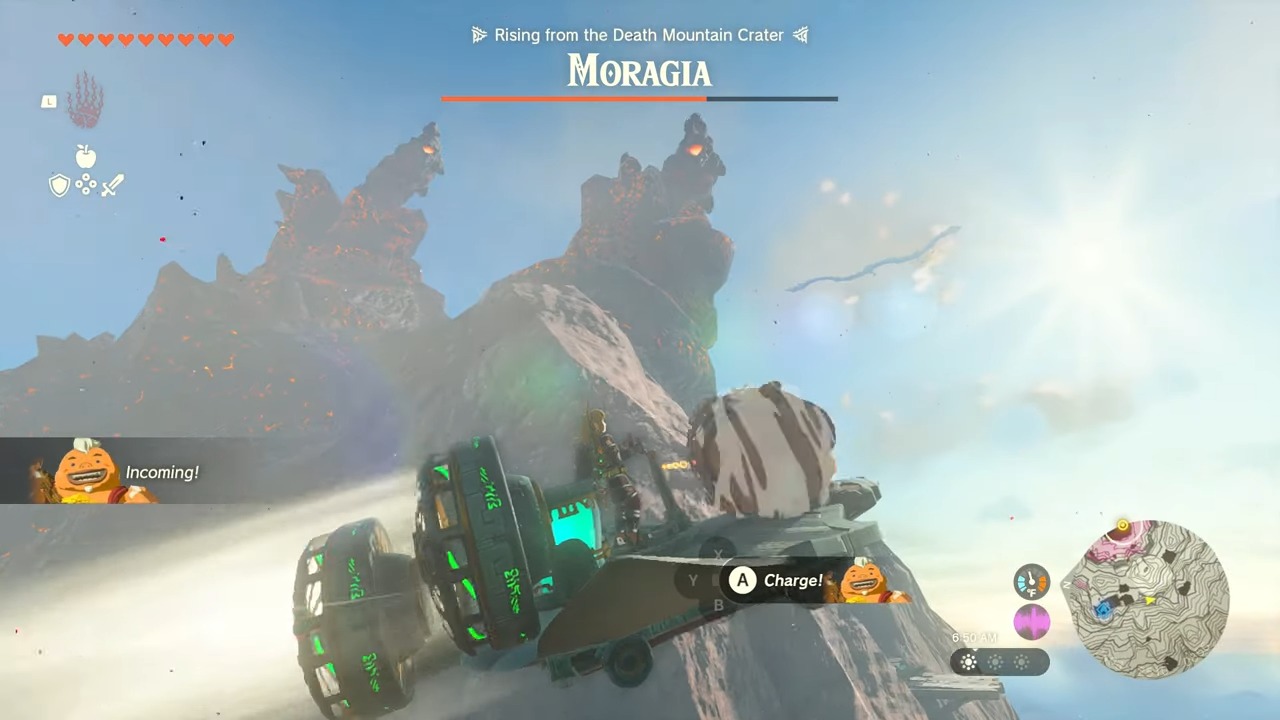
- Preparation: Utilize the Ultrahand skill to manipulate the Zonai Wing into an upright position and then climb aboard.
- Allies: Yunobo joins as your primary weapon for this battle.
- Main Strategy:
- Focus on dodging the volley of fireballs from Moragia’s three heads using the Zonai Wing’s mobility, ideally moving diagonally to confuse the fire-breathing heads.
- When opportune, launch Yunobo at each of Moragia’s heads for direct hits. Each head goes down with a single hit, no specific targeting is required.
- Battle Dynamics:
- Prioritize precision and agility—keep moving to evade fireballs and wait for the right moment to strike back.
Marbled Gohma
| Rewards | Location |
|
Fire Temple |
In the heart of the Fire Temple within The Legend of Zelda Tears of the Kingdom, players encounter the formidable Marbled Gohma, a boss that brings terror with its towering, arachnid-like form encrusted in rocks. Its intimidating presence marks a crucial juncture in Tears of the Kingdom’s narrative, demanding victory to progress further.
How To Defeat
Defeating Marbled Gohma requires strategic use of your resources and a keen understanding of its attack patterns, as most of the bosses require.
- Preparation: Use Yunobo’s Rolling Fireball skill strategically as it’s essential for stunning Marbled Gohma.
- Attack Patterns:
- Target Marbled Gohma’s rocky legs with the Rolling Fireball to weaken its defenses.
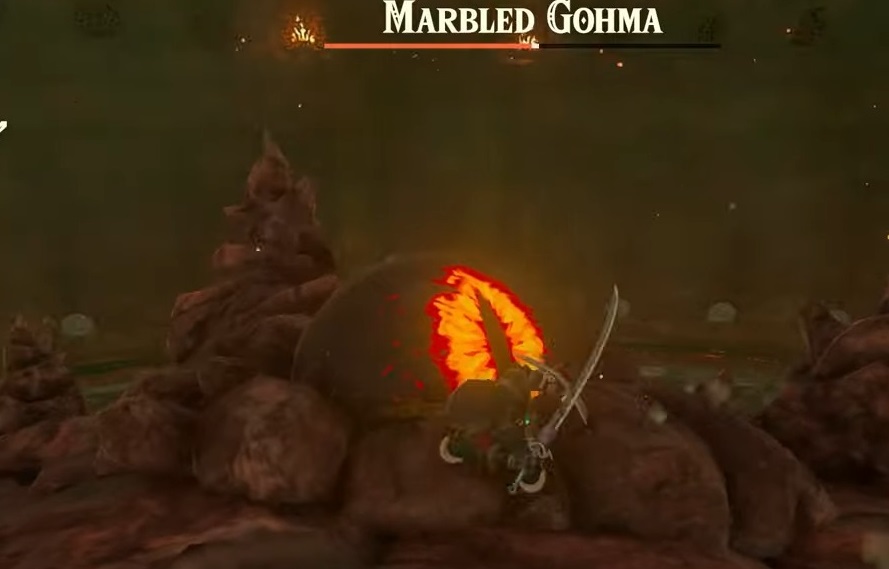
- Once stunned, climb onto its body and attack the vulnerable eye. Be cautious to avoid triggering a fierce counterattack.
- Watch for specific attacks:
- Legdrop: Dodge when Gohma lifts a leg, indicating a ground strike.
- Rock Bombs: Evade before they explode.
- Angry Roar: Use this brief window to deal damage.
- Phase 2 (After health drops to half):
- Gohma attaches itself to the ceiling; aim the Rolling Fireball upwards to continue attacks.
- Counter the Rock Bomb Cage either with a strong, blunt weapon or the Rolling Fireball.
Colgera
| Rewards | Location |
|
Wind Temple |
Colgera, the majestic and towering Ice Serpent of the Wind Temple, is a formidable boss in the Zelda Tears of the Kingdom. With its ability to generate blizzards, it challenges players with a unique airborne battle, requiring both skill and strategy to overcome. Colgera is an essential part of the storyline, as its defeat is necessary to progress further into Tears of the Kingdom.
How To Defeat
Strategizing against Colgera is a thrilling exercise in aerial combat. Players can prepare for this boss fight by donning the Snowquill Set for cold resistance and stocking up on arrows and useful items like Aerocuda Wing, Fire Fruit, and Bomb Fruit.
- Phase 1:
- The battle begins in the clouds. Avoid Colgera’s Ice Portal attack by dodging the incoming serpent.
- No need to manage stamina closely, as paragliding replenishes it.
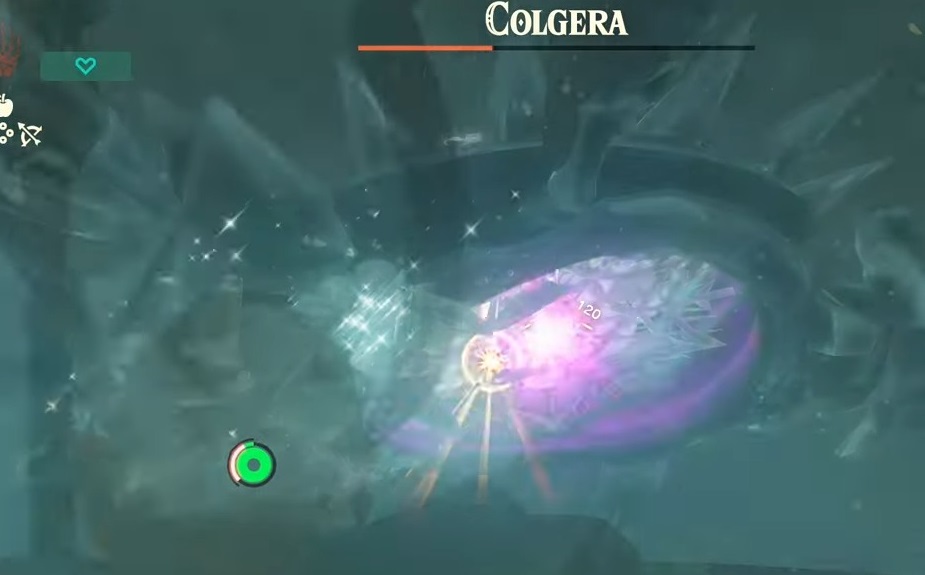
- Target Colgera’s three ice plates on its underside with arrows, using Fire Fruit for enhanced damage.
- Destroy all three plates to trigger Phase 2.
- Phase 2:
- Colgera casts powerful tornadoes and introduces Ice Spikes and Terrible Tornadoes attacks.
- Use Tulin’s Wind Burst to dodge the spikes and navigate through the tornadoes.
- Continue targeting the weak points, but be cautious of spikes protecting them.
- Victory:
- Shatter the three weak points again to defeat Colgera.
- Collect the Heart Container left behind, as it does not automatically add to your heart pool.
Phantom Ganon
| Rewards | Location | Weaknesses |
|
|
|
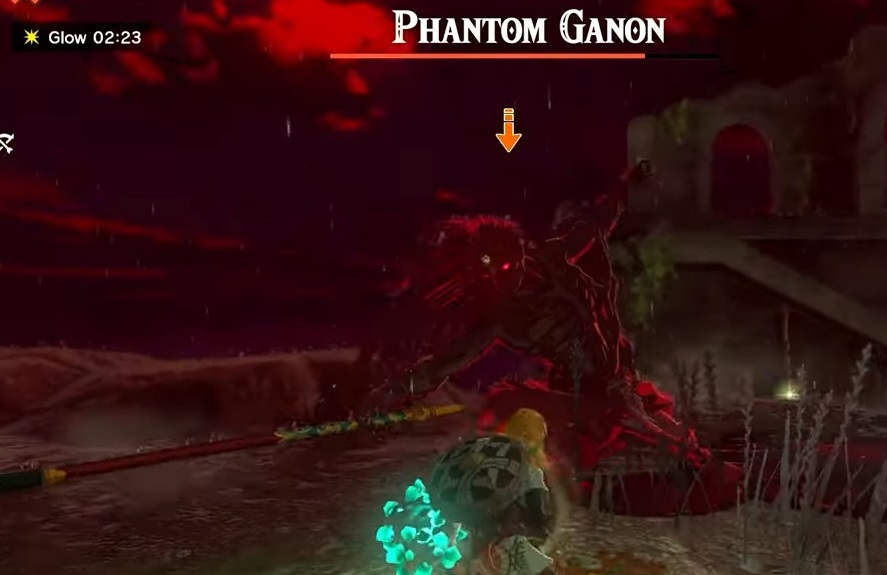
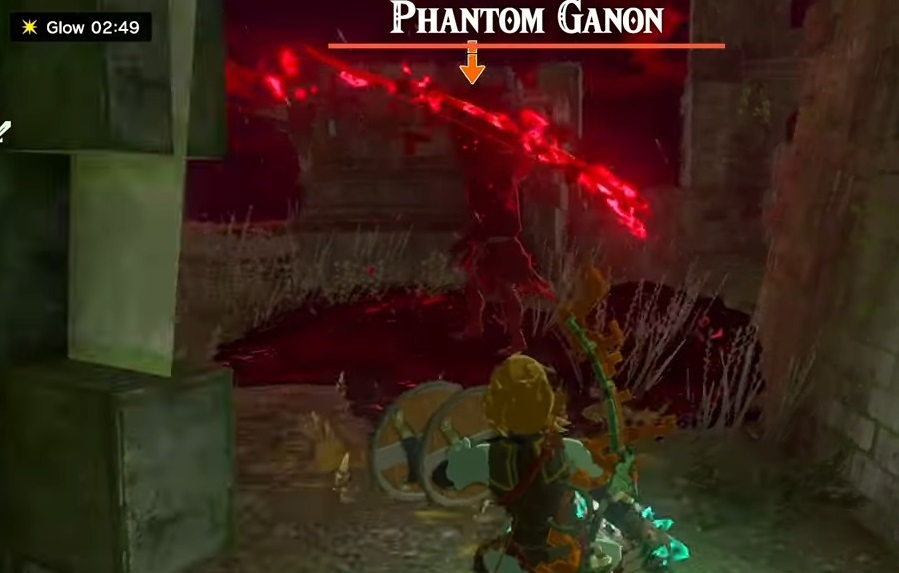
Phantom Ganon, the spectral nemesis of Link, takes center stage as a formidable adversary in the Legend of Zelda Tears of the Kingdom. This spectral entity, a reincarnation of Ganondorf’s malicious spirit, is a menacing figure drenched in shadows and shrouded in an aura of malevolence. His form is a twisted reflection of Ganondorf, adorned with eerie ghostly armor and equipped with a spectral blade.
Phantom Ganon’s presence in the royal Hyrule Castle adds an additional layer of tension and dread to the Tears of the Kingdom’s narrative, making him a significant player in Link’s quest to restore peace in the kingdom.
How To Defeat
The key to defeating Phantom Ganon lies in strategic maneuvering, precise timing, and leveraging the strength of your Champion avatars. While most bosses would be relaxing, this one hits like a truck & is very punishing.
- Phase 1:
- Focus on one clone at a time using dodge-and-flurry tactics.
- Dodge their right and downward slashes.
- Exploit the stun after their spinning attack to land hits.
- Phase 2:
- Pay attention to the clone spreading gloom.
- Aim for a critical headshot with arrows to halt the gloom’s expansion.
- Use your Champion avatars to engage other clones, keeping them away from the gloom to avoid incapacitation.
- Adaptation:
- Be alert to clones switching weapons and introducing new attack patterns.
- Adapt to their new styles and continue focusing on one clone at a time to reduce their shared health pool.
- Victory Strategy: Maintain persistence, adaptability, and a thorough understanding of the attack patterns. Triumphing over Phantom Ganon will restore peace to the kingdom.
Seized Construct
| Rewards | Location |
|
Spirit Temple |
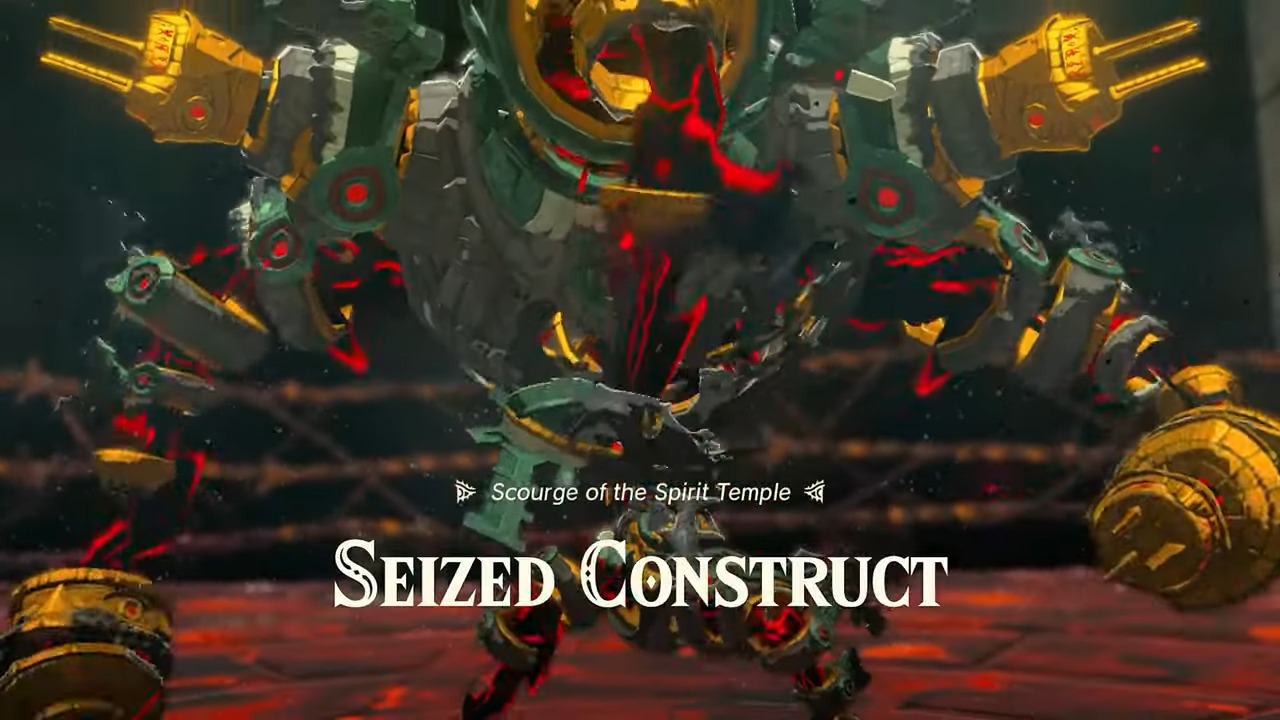
Emerging from the depths of the Spirit Temple, the Seized Construct, a formidable automaton powered by the Demon King’s magic, presents an unconventional boss battle in Zelda Tears of the Kingdom. This gargantuan mechanical beast, with its immense power and unique attack patterns, provides an electrifying test of the player’s strategic prowess and combat skills.
Notably, the Seized Construct is not an optional encounter, unlike the Tears of the Kingdom boss Bokoblin, and this one must be defeated for the narrative to progress.
How To Defeat
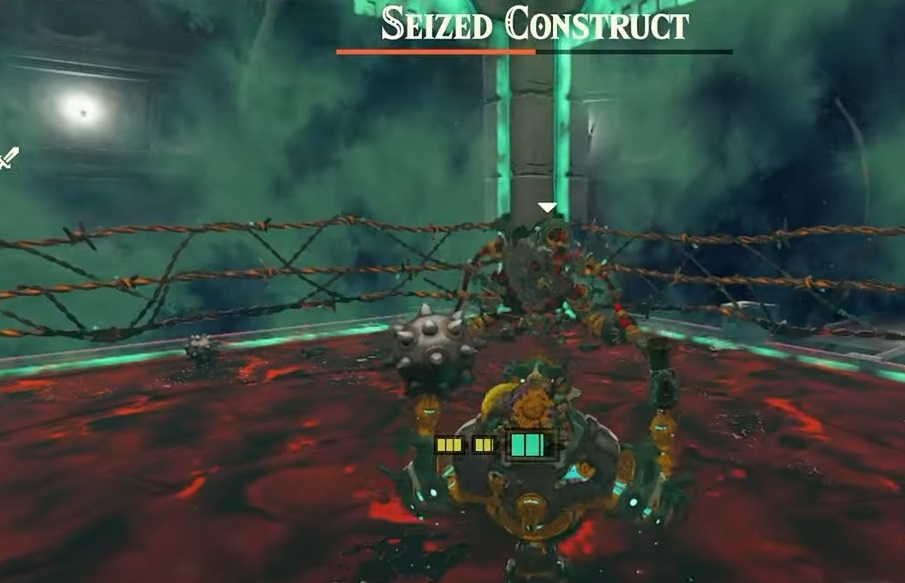
The strategy for defeating the Seized Construct requires a combination of quick reflexes, spatial awareness, and strategic use of your mech’s weapons. Prior to the fight, ensure your mech is equipped with a hand cannon and any available melee weapon.
- Main Strategy: Use the arena’s electrified walls to your advantage by slamming the Seized Construct into them for significant damage.
- Phase 1:
- Begin by staggering the Construct with the cannon.
- Quickly close the gap and strike it into the wall.
- The Construct is vulnerable to this tactic, allowing control over the battle’s flow.
- Phase 2:
- The Construct becomes more aggressive and may block melee attacks.
- Avoid melee when it raises its shield to prepare for a counter.
- Wait for it to lower its guard, then strike to knock it backward.
- Dodge the new Electric Lunge attack and use the stun window to land additional hits.
If you manage to maintain this rhythm and continually slam the Construct into the walls, you will ultimately emerge victorious, earning yourself a Heart Container and further advancing the story.
Demon King Ganondorf
| Rewards | Location |
| N/A | Central Hryule |
In Zelda Tears of the Kingdom, Demon King Ganondorf emerges as the final boss in a grand showdown taking place in the ominous Gloom’s Origin of the Central Hyrule Depths. This daunting adversary, a familiar figure in the Zelda franchise, is not just the mummified phantom encountered earlier in Tears of the Kingdom.
How To Defeat
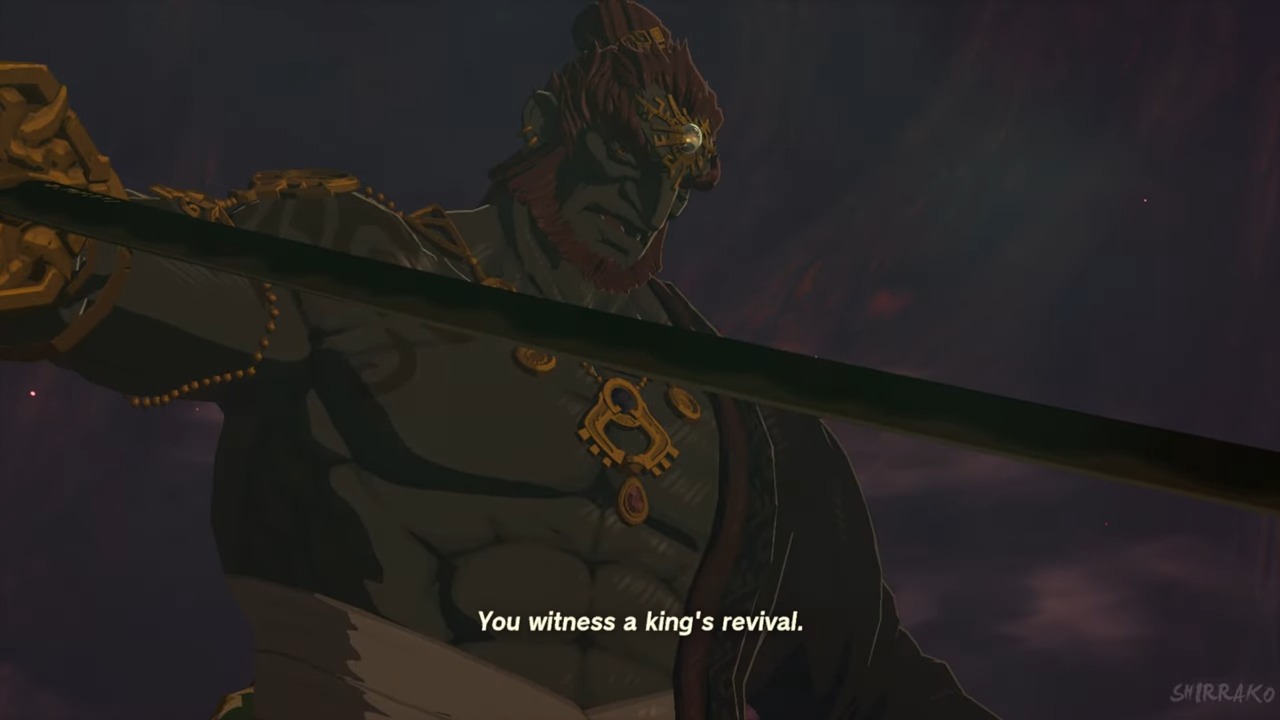
To conquer Ganondorf, you need to navigate through three-and-a-half phases of the boss battle, each demanding different strategies. This is why I believe that all Zelda Tears of the Kingdom bosses are on one side & this is just on another level of difficulty.
- Phase 1: Ganondorf dodges normal melee; use perfect dodges and Flurry Rushes to damage him.
- Phase 2A: Ganondorf summons phantom copies. Sage allies manage most, allowing focus on one phantom at a time with tactics similar to Phase 1.
- Phase 2B: Sages are stunned; face Ganondorf alone. He counters Flurry Rushes and introduces more powerful attacks that reduce max hearts.
- Offensive Strategy: Target Ganondorf during his Crimson Eruption and Seeker Arrow casts with arrow shots to his head, or use a shield and Spring/Time Bomb combo for aerial slow-motion aiming.
- Transformation: Defeating Ganondorf triggers his transformation into the Demon Dragon, beginning a new battle phase.
Demon Dragon
| Rewards | Location |
| N/A | Central Hryule |
In the epic finale of Zelda Tears of the Kingdom, the defeated Ganondorf consumes his Secret Stone, transforming into the mighty Demon Dragon. This aerial leviathan is more intimidating than it is dangerous, marking the easiest phase of the final boss encounter.
The battle against the Demon Dragon transcends to the skies of Hyrule, with Link riding atop the benevolent Light Dragon, also known as Dragon Zelda, setting the stage for an aerial duel of the ages.
How To Defeat
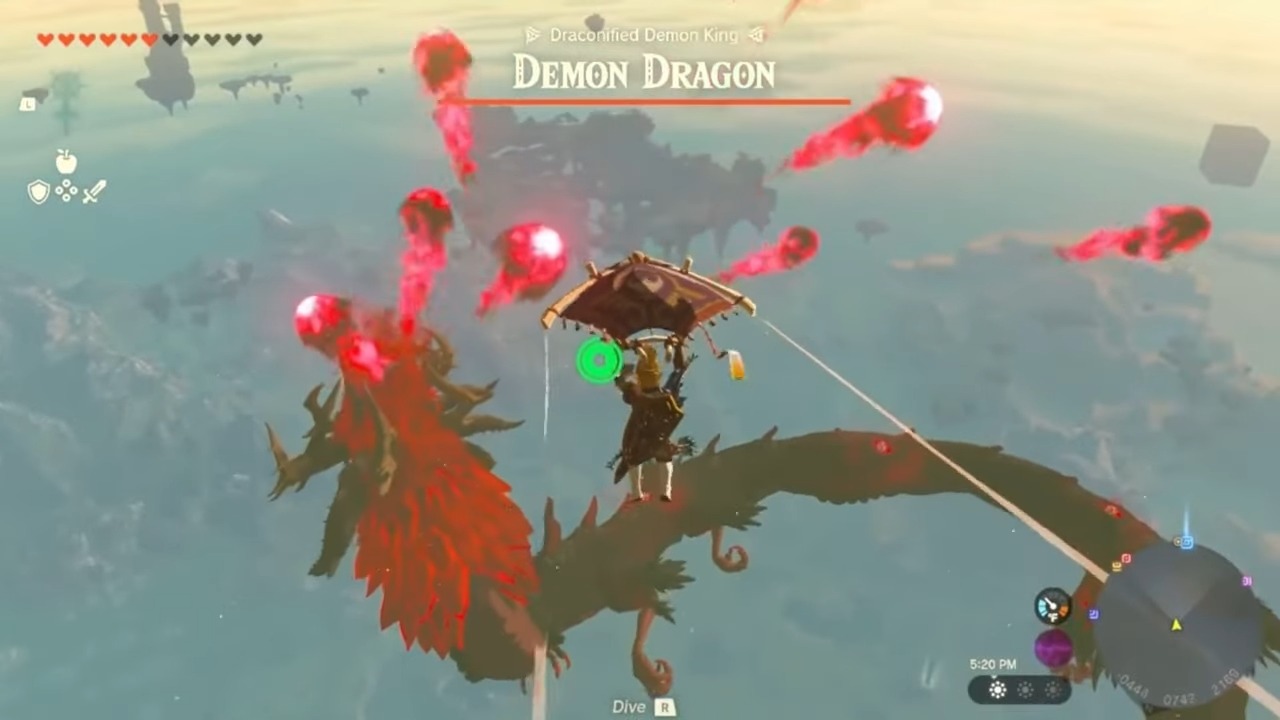
The aerial battle against the Demon Dragon demands precision and courage. Dragon Zelda swoops in to carry Link into the air, setting the stage for an epic clash in the sky. The primary target of the Demon Dragon is its glowing scales or spikes. Skydiving from Dragon Zelda towards these targets and striking them will throw Link back to Dragon Zelda, from where the process repeats.
While the Demon Dragon does possess some offensive capabilities, like the Crimson Rain of Fire and Crimson Fireballs, these are relatively easy to avoid, especially as the battle occurs in an expansive open area.
The Demon Dragon’s proximity inflicts Gloom on Link, but this effect can be easily cleaned by moving away or reaching Dragon Zelda.
Dragon Zelda also assists Link by catching him when he falls, ensuring his safety during the sky-borne battle. The grand finale comes when the Demon Dragon’s Secret Stone on its forehead begins to glow. At this point, a daring dive towards it, followed by a strike with Master Sword, spells the end for the Demon Dragon, culminating in the victorious conclusion of the campaign.
This brings me to the end of Zelda Tears of the Kingdom bosses guide, where I have listed all 11 bosses, their attack patterns & the best strategies to defeat each one of them. Now, before you leave the page, you must read Zelda Tears of the Kingdom Redead Guide, All 152 Shrine Locations, and Paya Guide.
Next:
- Tears of the Kingdom’s Best Horses
- Zelda Tears of the Kingdom: Jio Sin Shrine
- Zelda Tears of the Kingdom: How To Cook
- Zelda Tears of the Kingdom Beginners Guide
Thanks! Do share your feedback with us. ⚡
How can we make this post better? Your help would be appreciated. ✍
Thanks for telling me and I appreciate the help