Elden Ring has amazing questlines that are well thought out and meticulous, and Jerren Quest is one of them. This quest can give amazing rewards like Armor Sets and other valuable items.
- Start at Waypoint Ruins, and become Sellen’s apprentice.
- Meet Primeval Sorcessor Azur for Comet Azur sorcery.
- Find Master Lusat for Stars of Ruin sorcery.
- Locate Sellen’s real body in Witchbane Ruins for Sellen’s Primal Glintstone.
- Awaken Sellen’s duplicate in Three Sisters ruins.
- Defeat Renalla, Queen of the Full Moon, at Raya Lucaria Academy to choose between Sellen and Jerren for respective rewards.
Traveling To Waypoint Ruins & Meeting Sellen
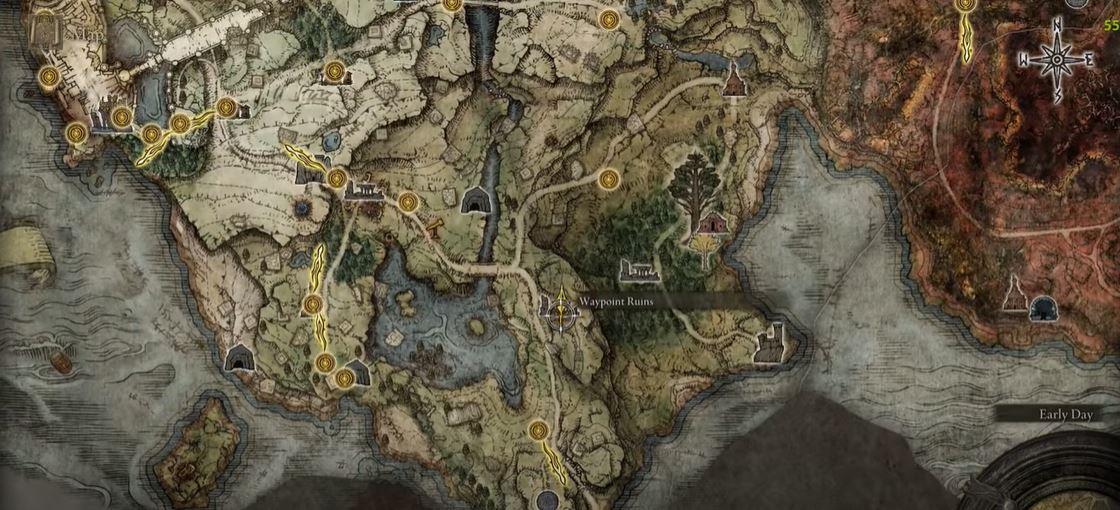
Start your journey at Agheel Lake North or South. From there you will have to make your way to the Waypoint Ruins. This journey consists of a simple path without any enemies or other obstacles. Once you reach the Waypoint Ruins, you will have to locate a Staircase that will take you to the basement.
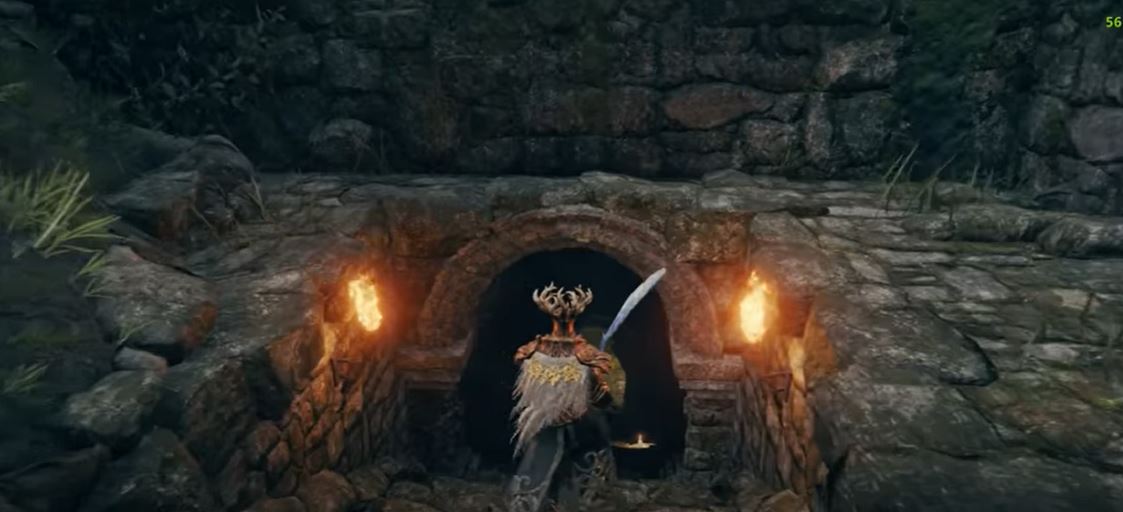
Once you make your way down these stairs, you will come across a path that is being blocked by mist.
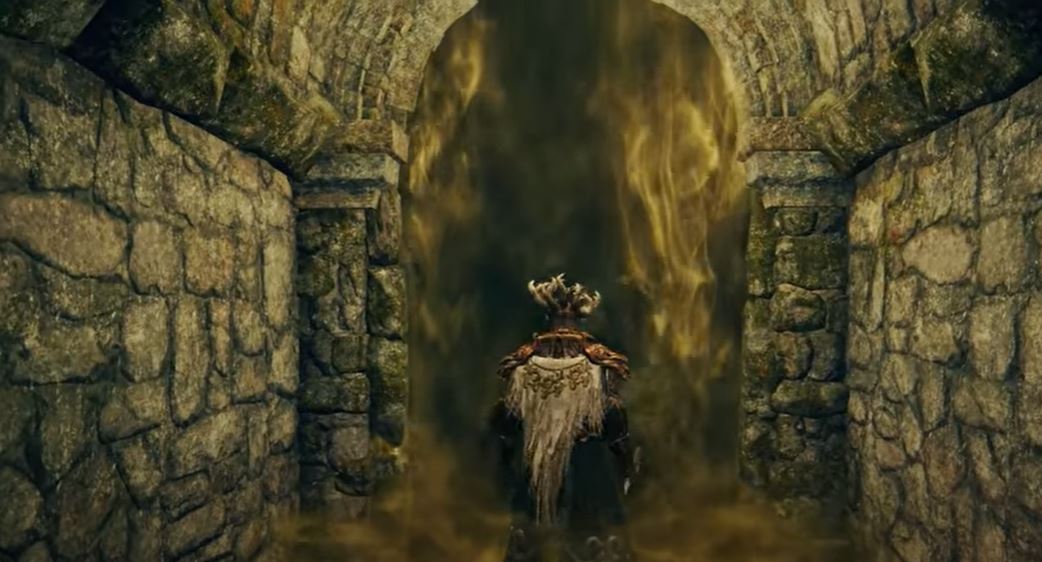
Making your way through the mist will trigger a fight with an enemy.
After you have defeated him, you will be able to make further progress. There will be a door located there that can easily be opened. Behind this door is Sellen the Sorcerer who you can talk with to start the quest.
Sellen is a merchant whom you can buy some unique items from. You can also find other merchants in the game by reading our Elden Ring Merchant Location guide. Acknowledge Sellen as your mentor, entrusting you with a series of quests to fulfill. Each assignment contributes significantly to unveiling the Elden Ring Jerren Quest, progressively leading you closer to its discovery.
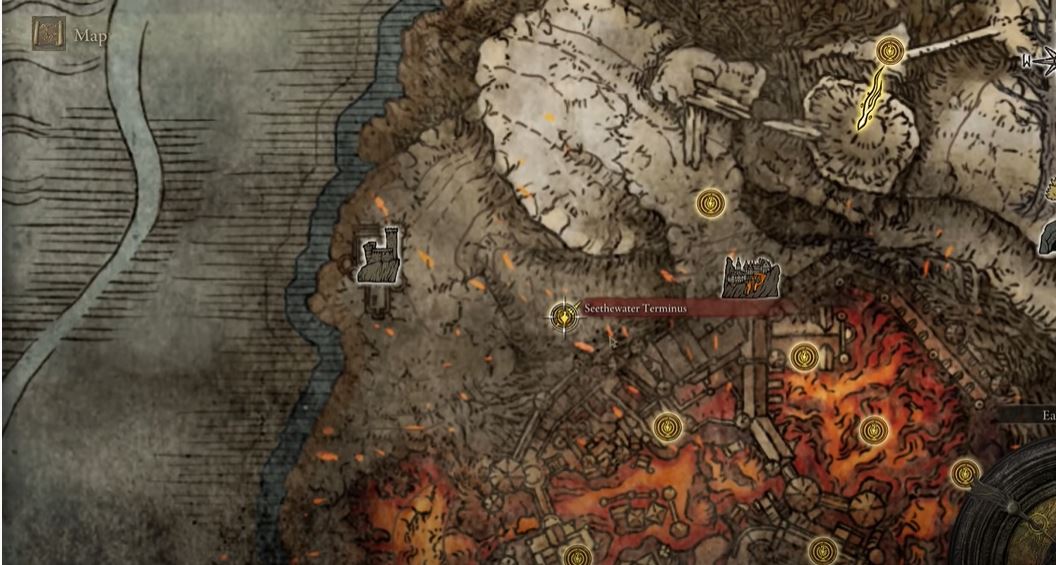
Talk To Azur In Seethwater Terminus
The first quest I’ll discuss requires you to travel to Seethwater Terminus and find Azur. This journey will require you to travel through the guest hall the Craftman’s Shack and Hermit Village. Once you have gone through these areas, you will reach the Primeval Sorcerer Azur.
You will have to make your way through an open field while avoiding enemies until you come across a series of rock formations.
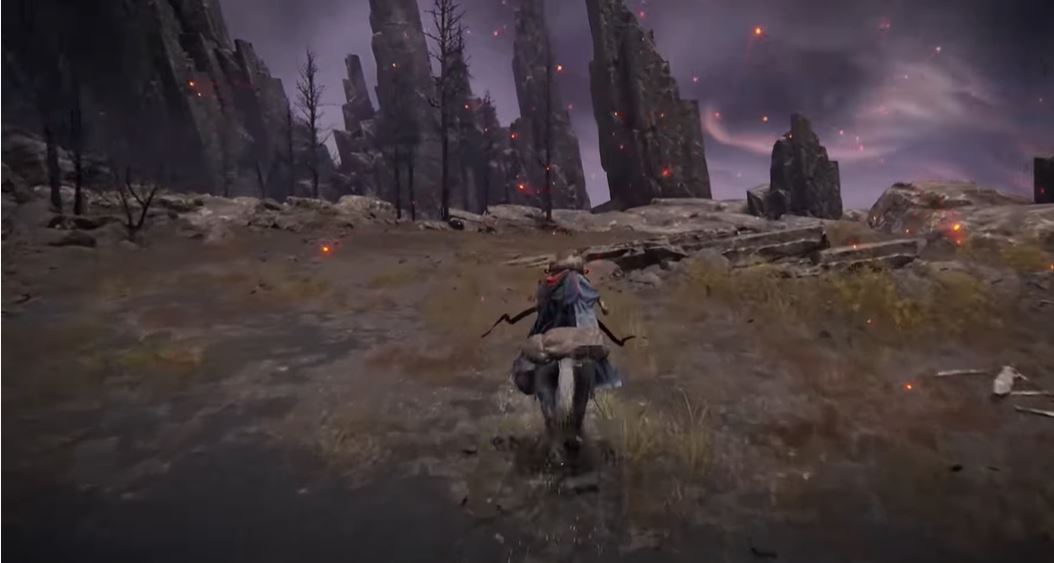
Following that point, continue straight ahead through an area enveloped by lava. Traversing this hazardous terrain will guide you to an opening encircled by tombs. Your path will entail navigating through this landscape until you finally arrive at Hermit Village.
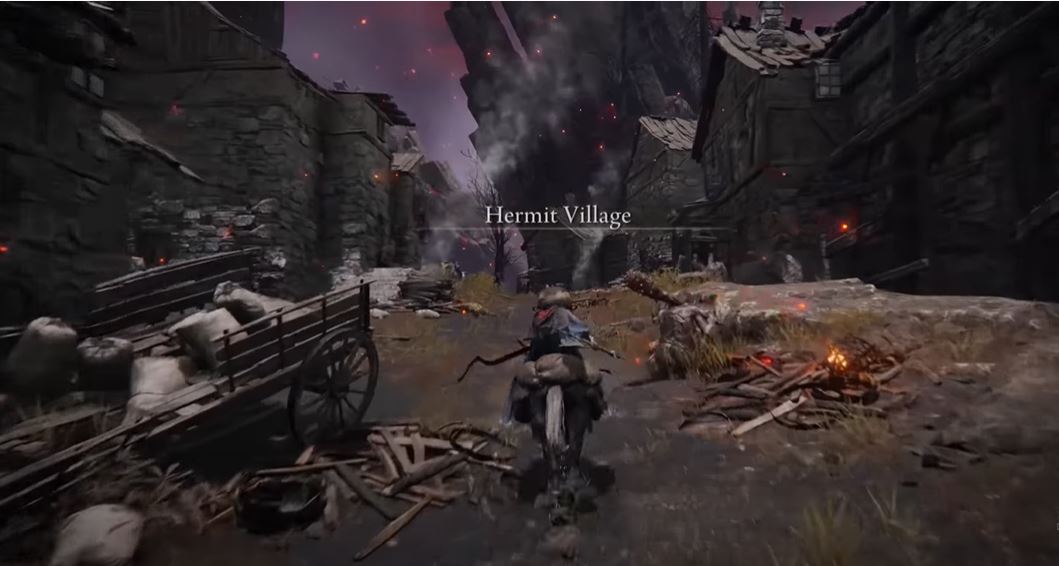
After reaching Hermit Village, you have to move across a rugged path to the area where Azur will be waiting for you.

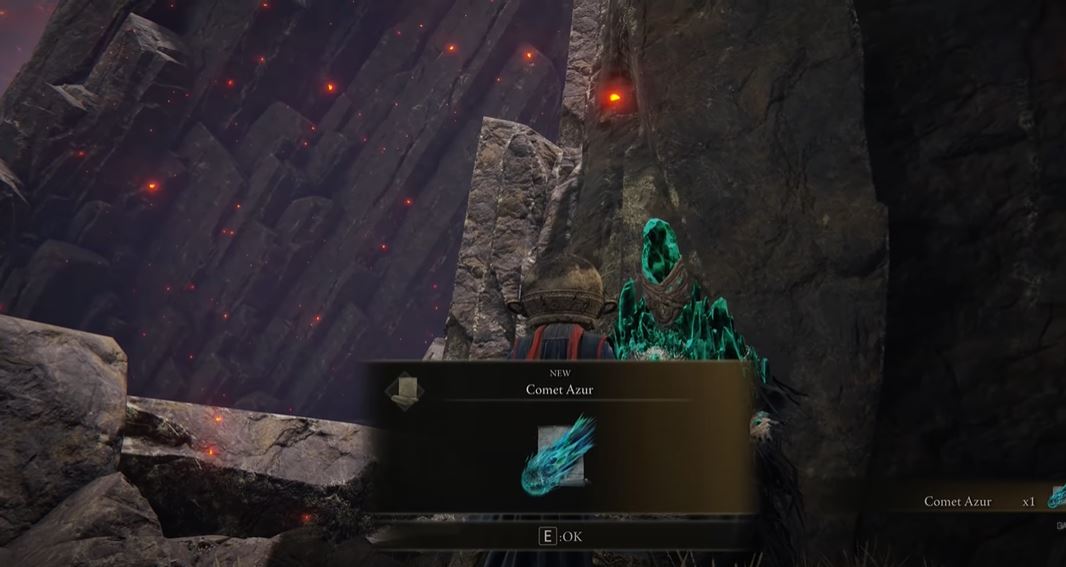
Once you interact with Glintstone, he will give you the Comet Azur. You will have to take this back to Sellen to progress in the questline and find the Elden Ring Jerren Quest and Location.
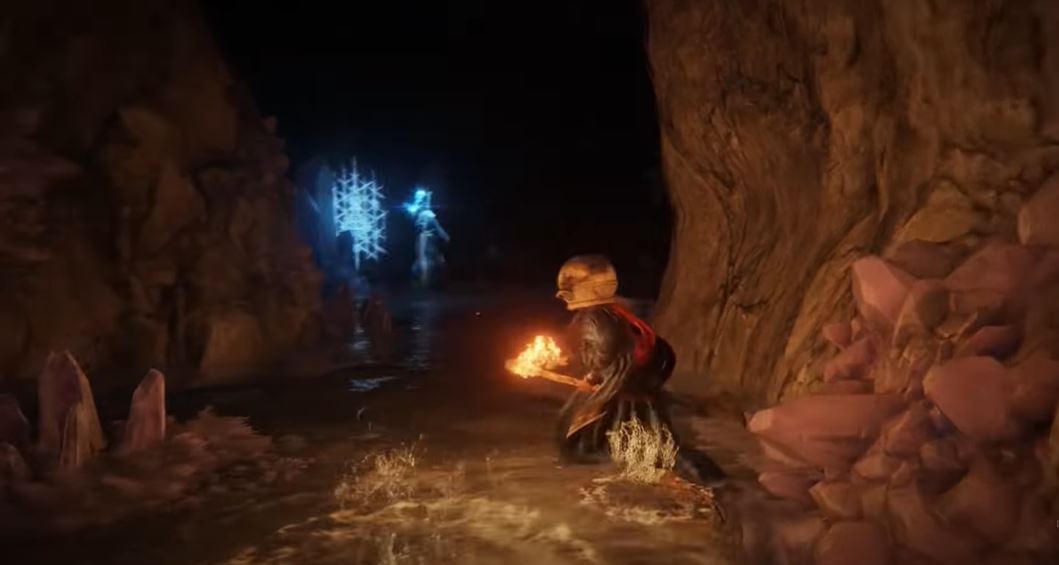
Locating Master Lusat
After conversing with Sellen the Sorcerer, focus on locating Master Lusat as the next task. Sellen entrustes you with the Sellian Sealbreaker, a vital item for this part of the quest. Utilize this tool wisely to progress and find Master Lusat. I suggest carefully searching for clues or hints to accomplish this phase and continue the journey successfully.
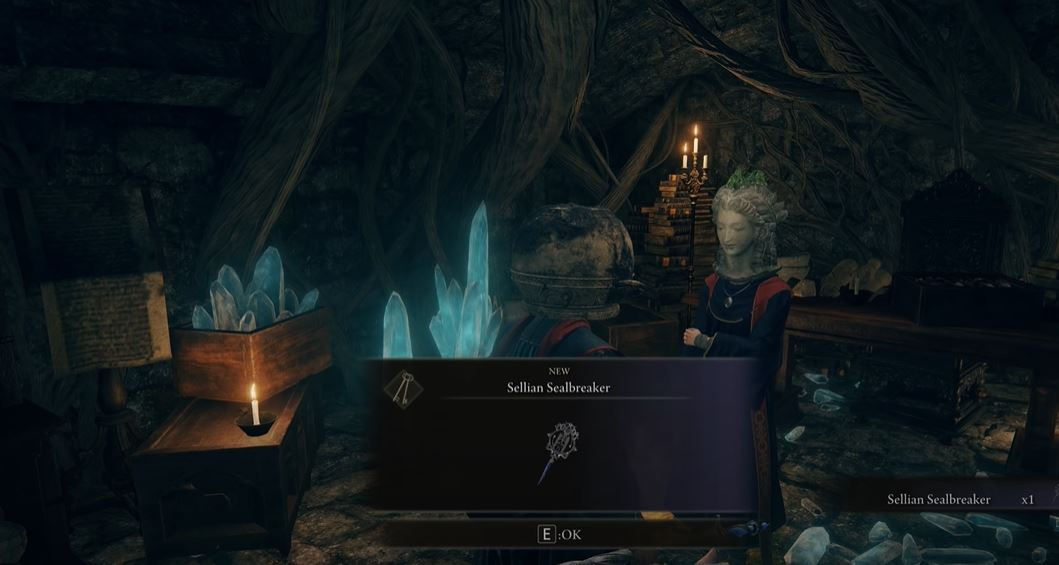
Sellian SealbreakerTo find Master Lusat, you will have to start your journey at Fort Faroth.
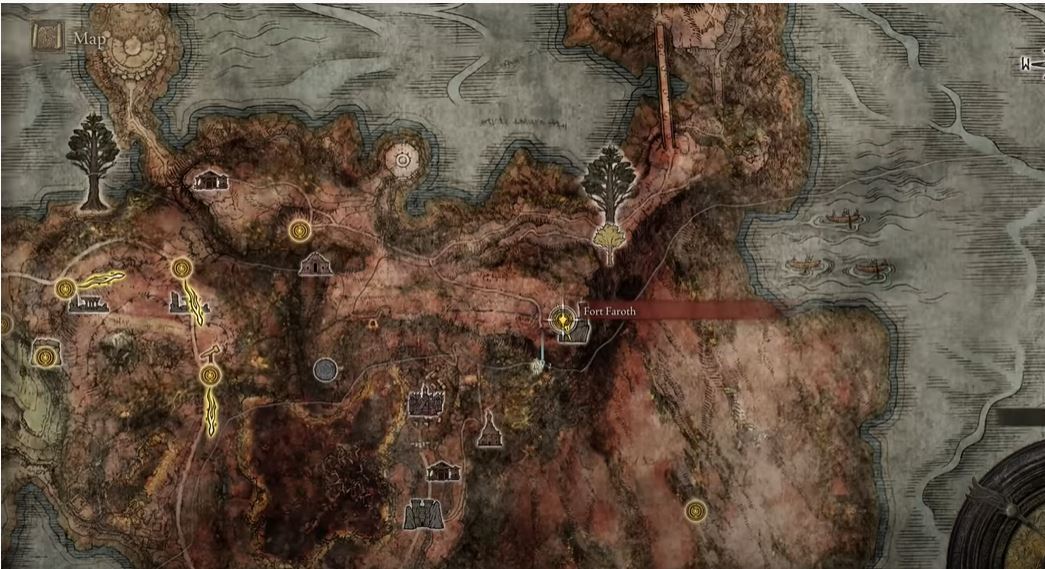
Once you are there, you will make your way through rugged terrain and jump down a cliff to reach Caelid.
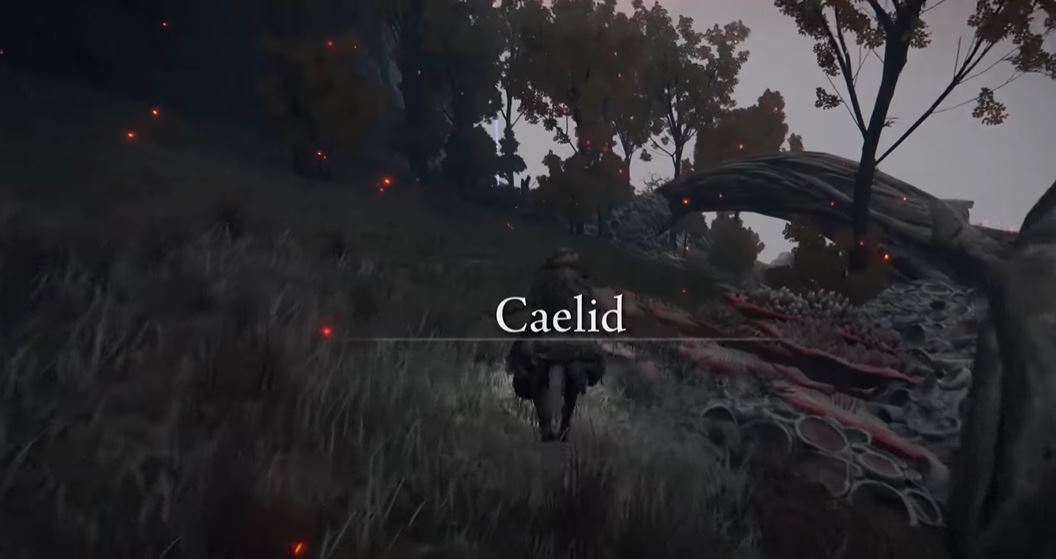
Caelid also has some hidden fragments which you can find by going through our Elden Ring Caelid Map Fragments Location guide. Continuing your journey through Caelid, you eventually reach a graveyard. In this graveyard, there will be a large tombstone.
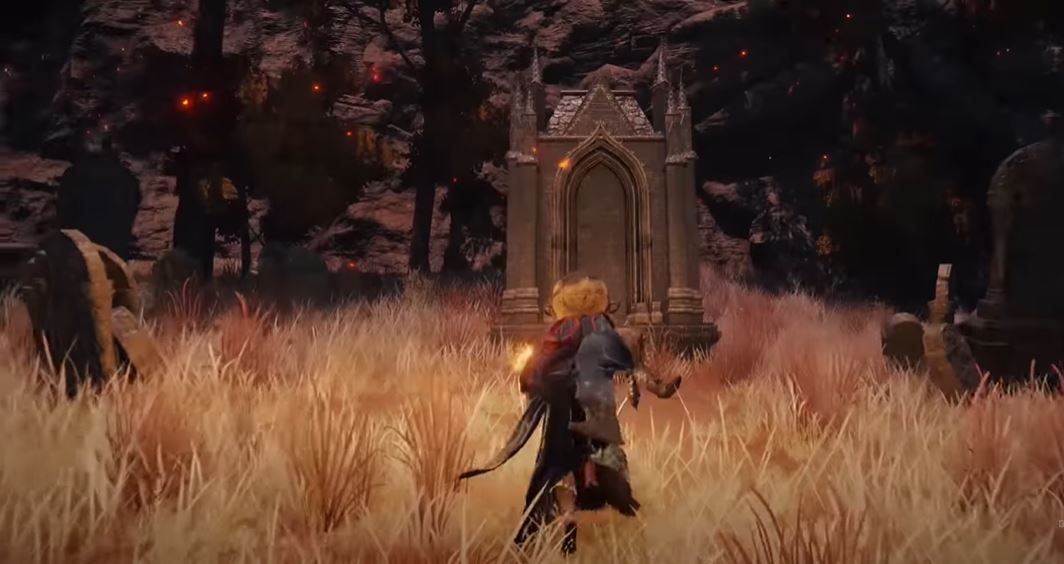
Behind this tombstone will be an illusory wall that will take you to the Sellia Hideaway.
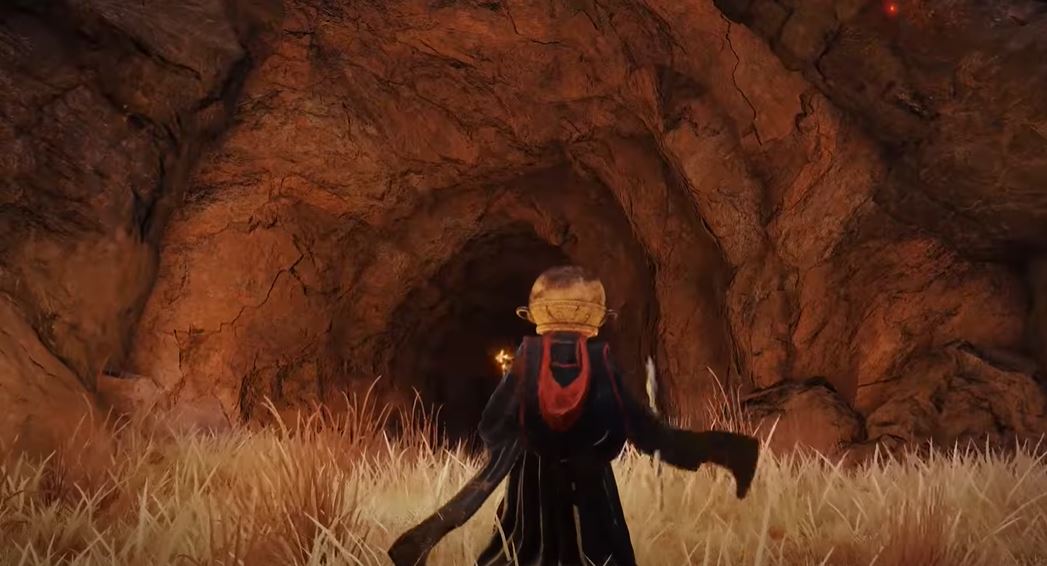
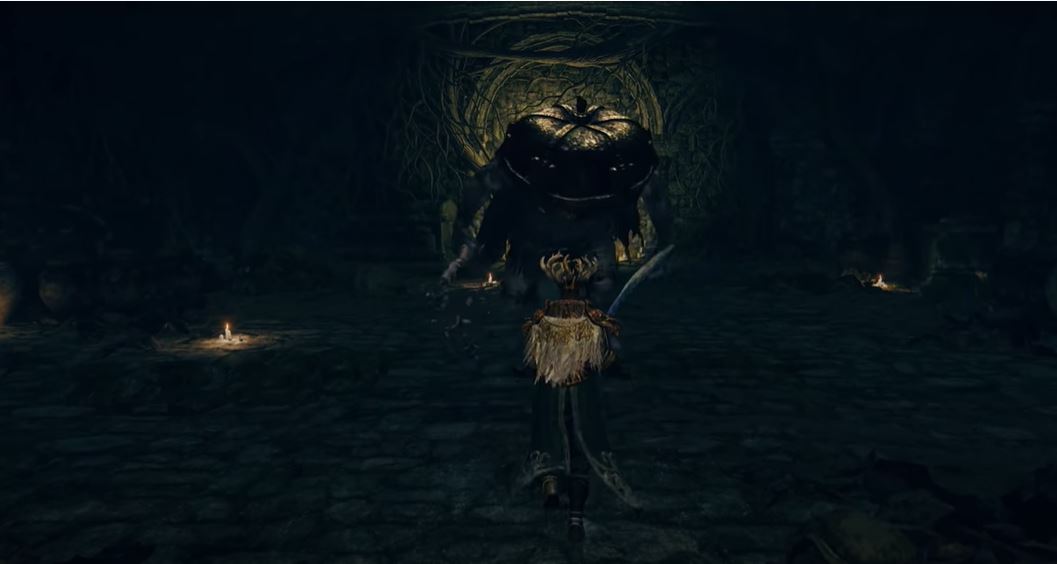
Upon entering the Sellia Hideaway, navigate through a narrow cave until reaching a diamond bridge. Cross the bridge and proceed straight ahead, leading to the cave’s termination. At this point, you’ll confront a prison door guarded by an enemy.
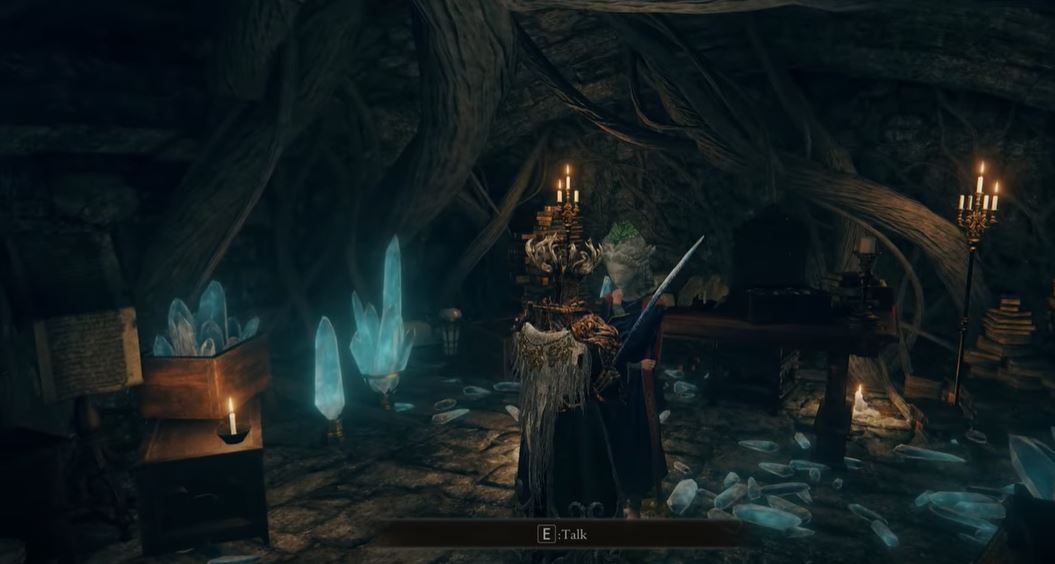
After defeating this enemy, you will make your way to this door and use the key given to you by Sellen. This will reveal another cave where Master Lusat will be located.
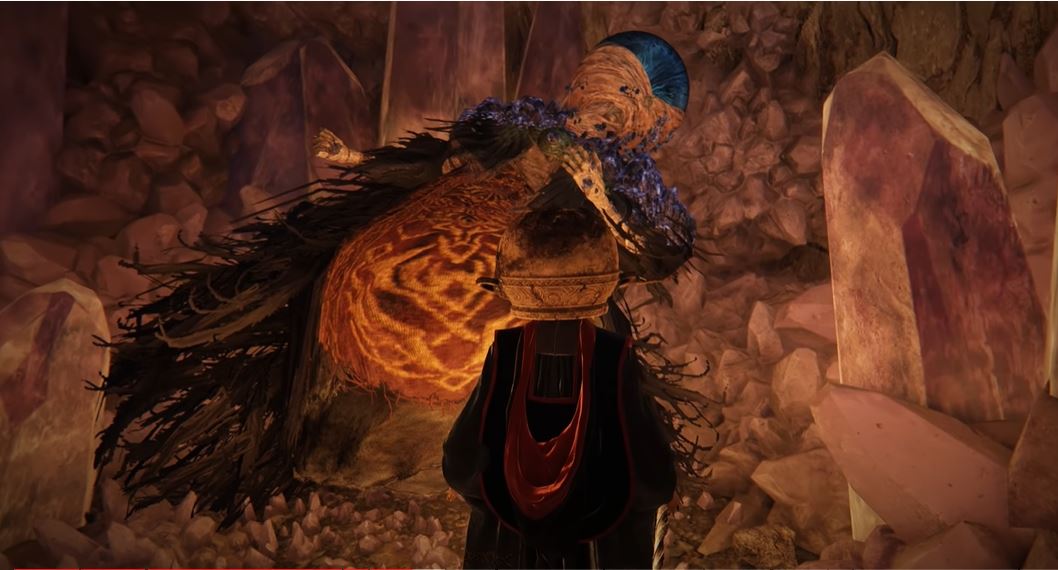
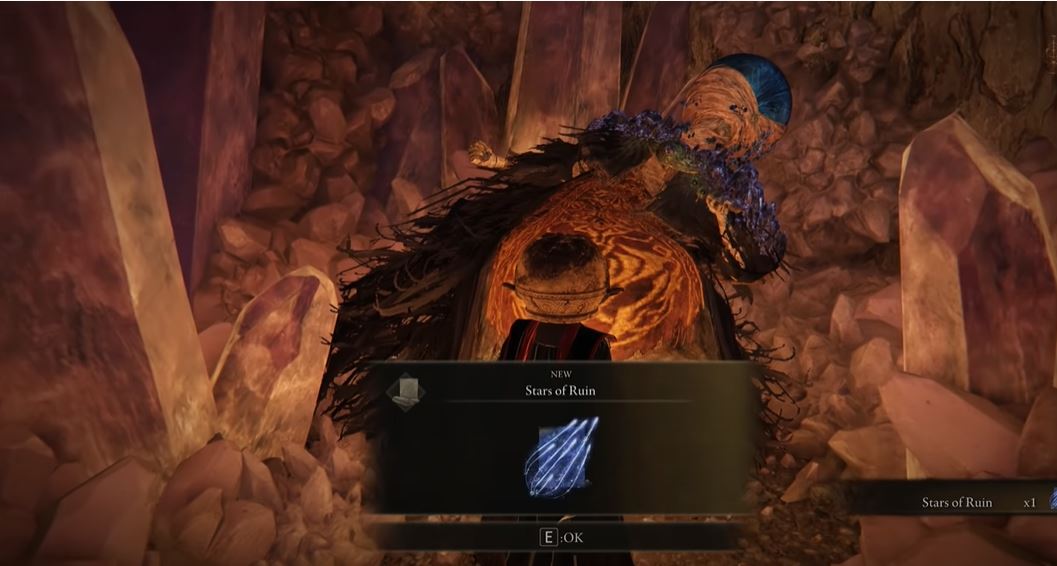
After interacting with Master Lusat, you will be given the Stars of Ruin that you will have to take back to Sellen. This will take you one step closer to finding the Elden Ring Jerren Quest and Location.
Finding Sellen’s Body
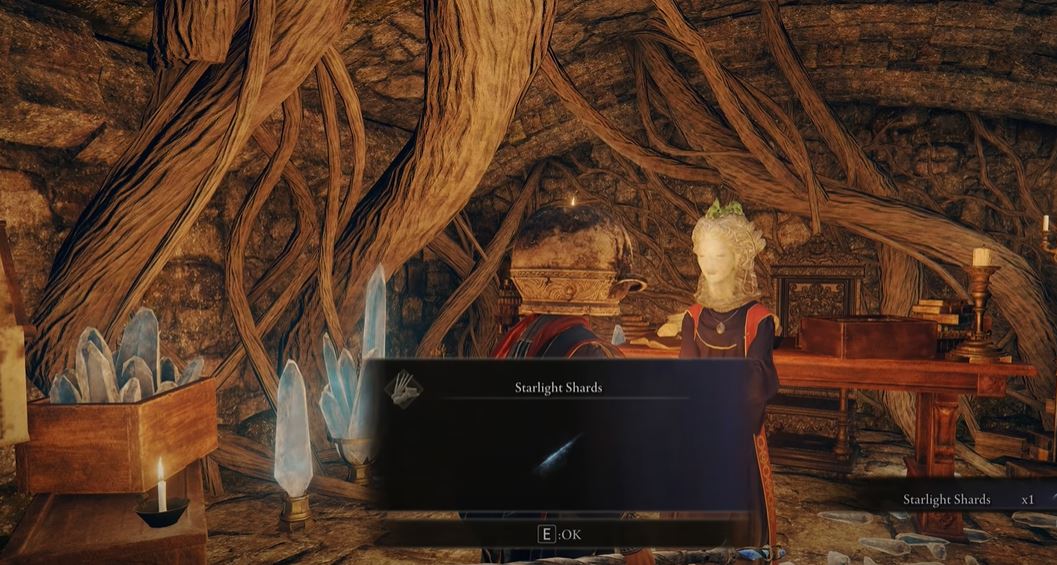
After talking to Sellen and handing her the Stars of Ruin, she will give you the Starlight Shards as a reward.
She will also ask you to locate her body. Continuing the dialog will reveal that her body is located in the Witchbane Ruins next to the Fourth Church of Marika.
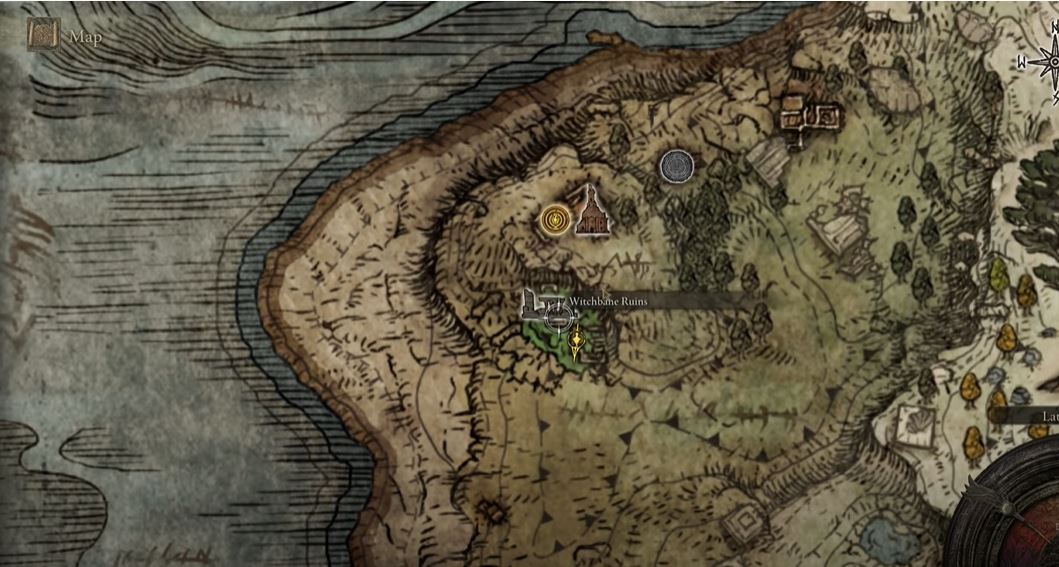
This will be a long journey that will require you to travel through Agheel Lake South and make your way to the Bridge of Sacrifice. Then, you must move through the South of the Lookout Tower until you get to the Church of Marika. After making your way to the Witchbane Ruins, you must locate a staircase that will lead you to the basement.
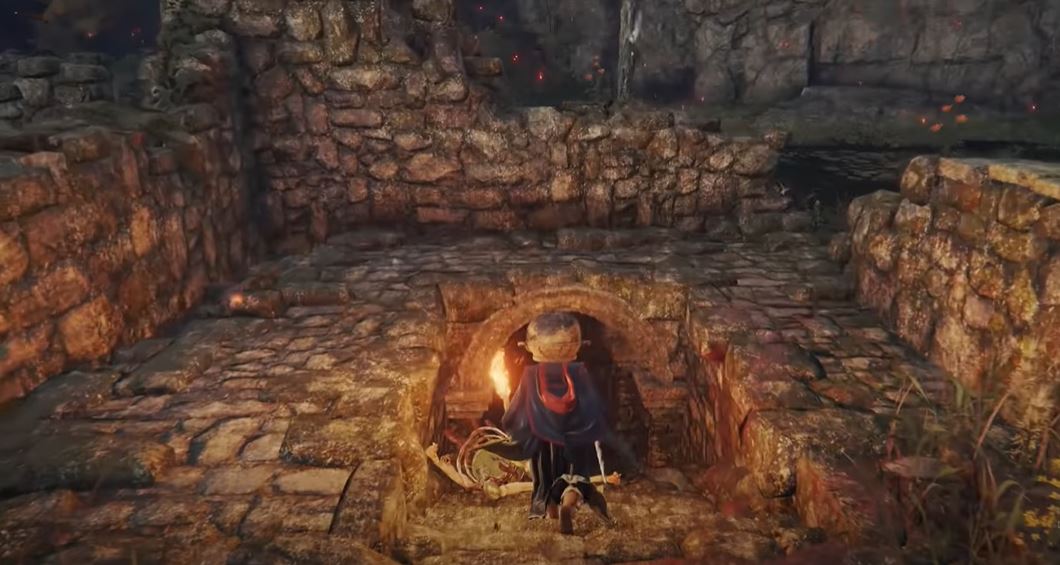
You will then have to go down these steps until you get to the door. Behind this door, you will find Sellen’s prone body shackled to the wall.
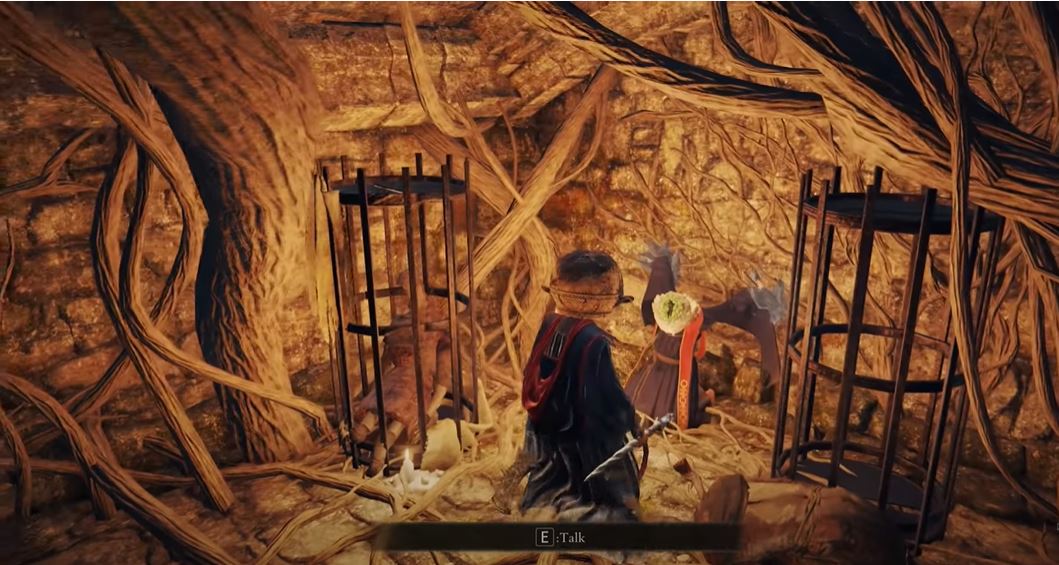
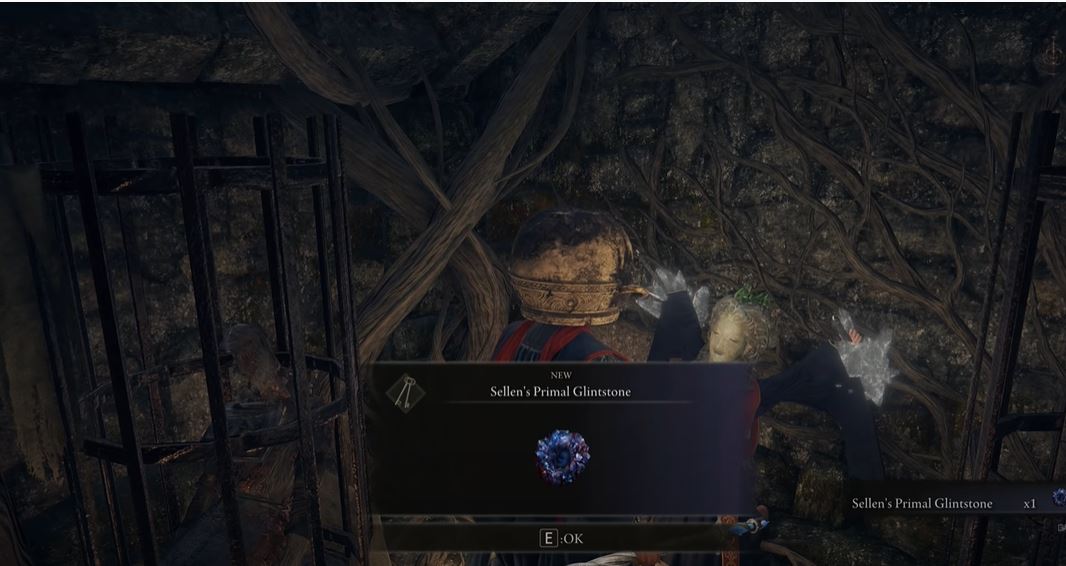
Interacting with her will give you Sellen’s Primal Glintstone. This stone will take you to the next part of the quest to help locate the Jellen Quest.
Searching Secret Puppet Room Near Ranni’s Rise
The next step of this questline will require you to travel to Ranni’s Rise and locate the Secret Puppet Room.
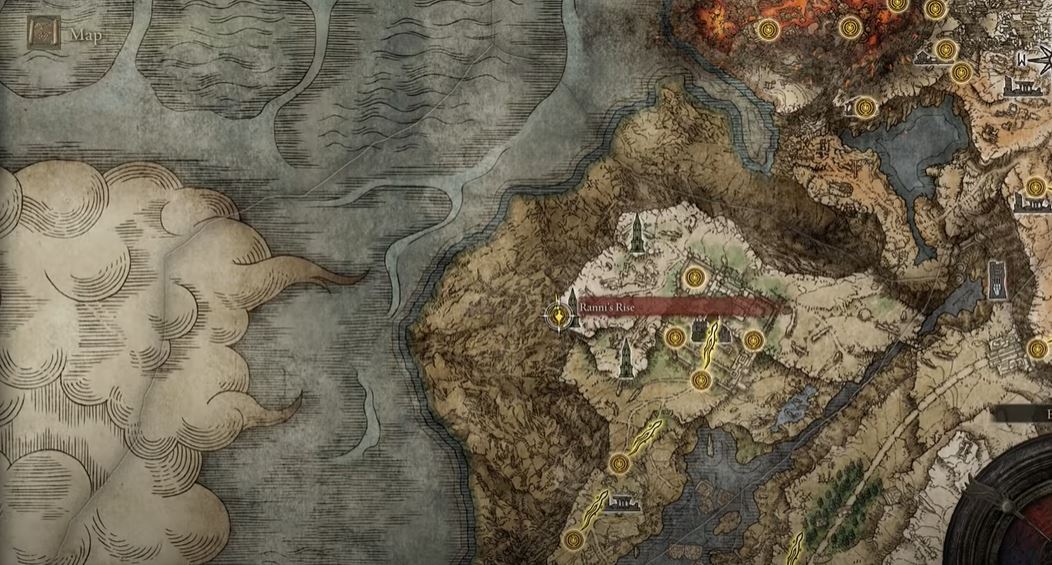
Once you have made your way to the location, you will have to leave the building and travel to the ruins outside Ranni’s Rise. Here, you will encounter an enemy which you will have to defeat to make further progress. After killing the enemy, you will have to attack the ground to uncover the secret passage behind it.
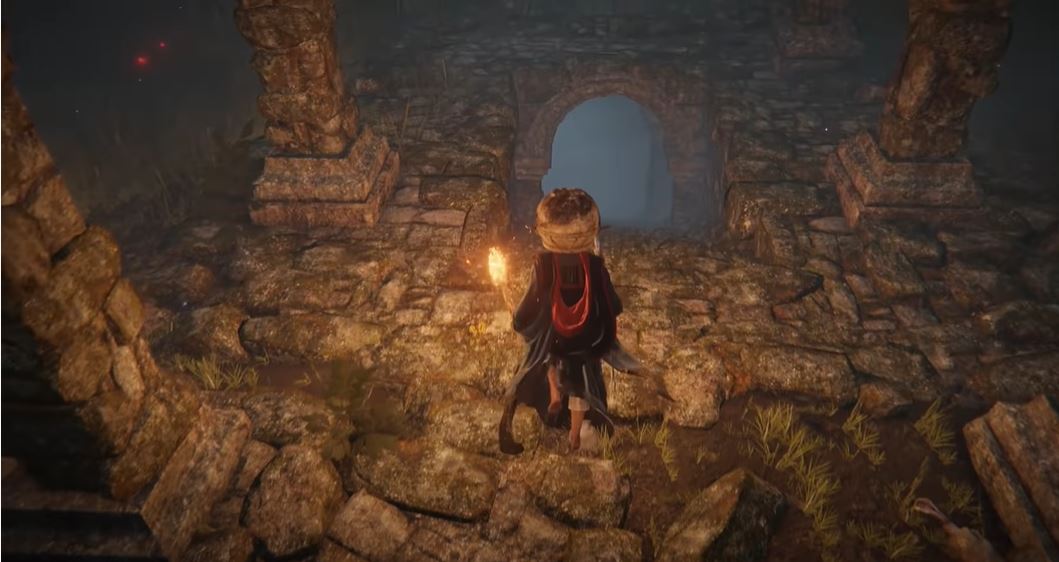
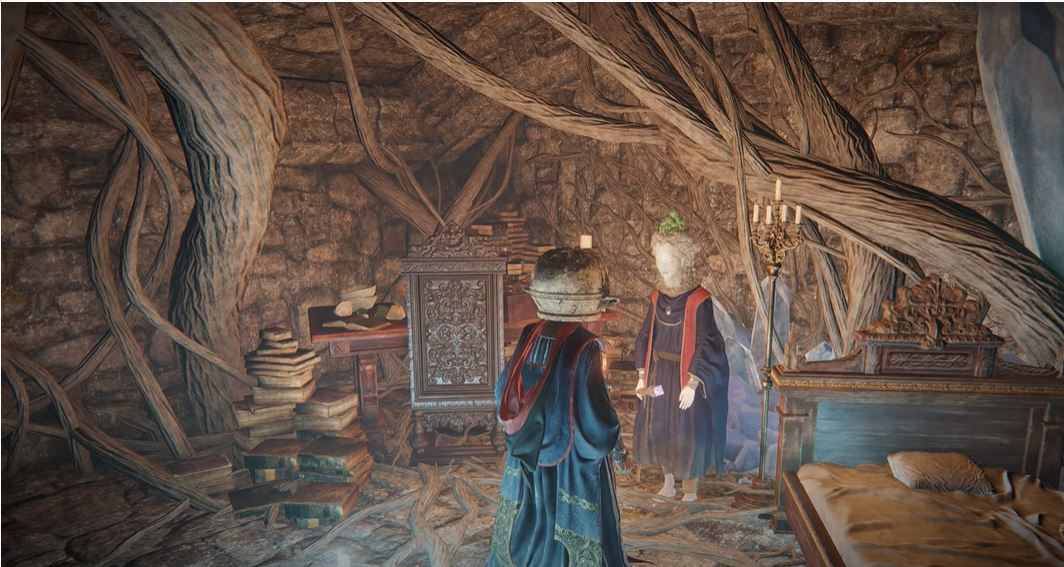
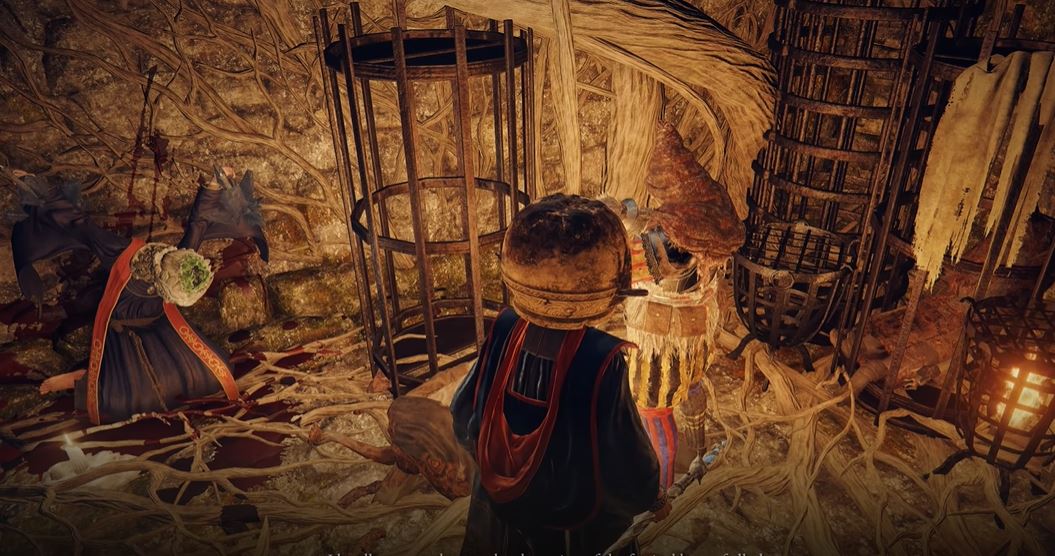
Making your way down these stairs, you will come across a room that is filled with all sorts of puppets. You will then have to walk to the corner of the room and attack a wall that will reveal another secret room behind it.
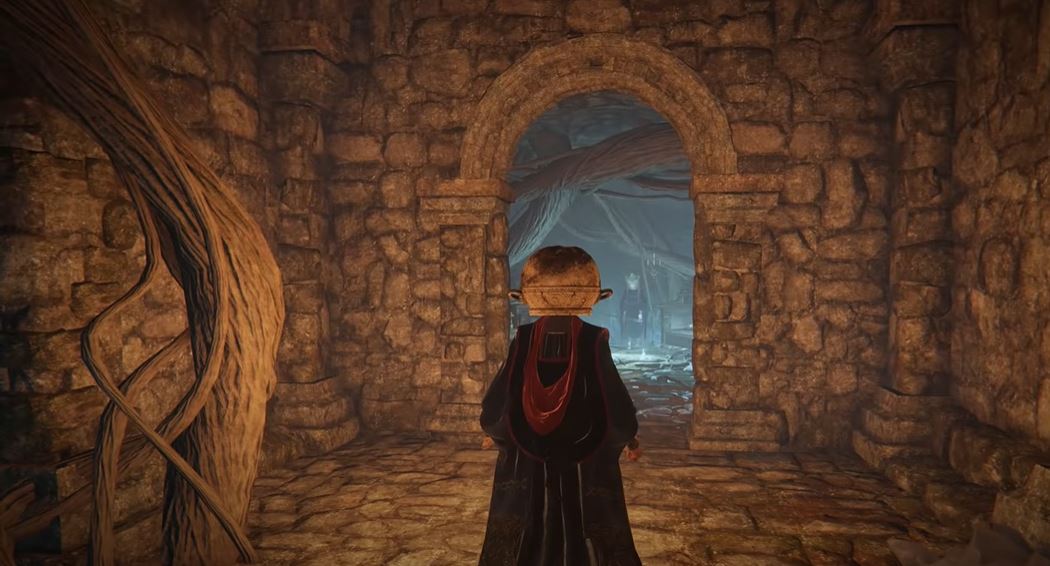
In this room, you will find the Secret Puppet, and interacting with it will return Sellen to life.
Defeating Radahn and Locating Jerren
In this step, you will find the Jerren Quest and its location. Before starting this part of the quest, you will have to defeat General Radahn.
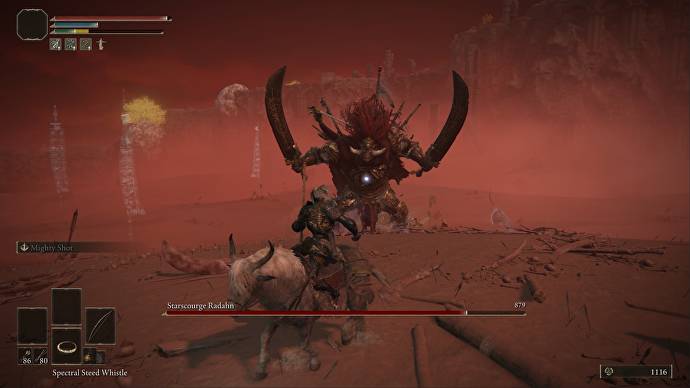
In my experience, Radahn was definitely a beast and an incredibly tough challenge compared to most in-game bosses. If you are having difficulty defeating Radahn, you can check out our Radahn Cheese method guide to get help. Afterward, you will have to make your way to the Chamber Outside the Plaza in the Redmane castle.
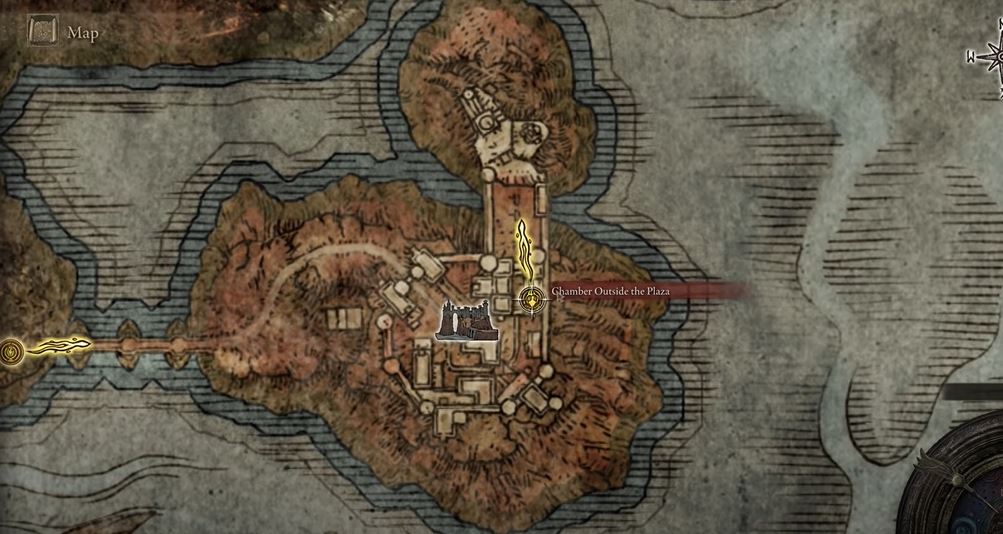
Traversing this area of the castle, you will have to follow a simple path until you locate Jerren. After your interaction with Jerren ends, he will go to the Witchbane Ruins where you found Sellen’s Body.
Deciding Between Sellen Or Jerren
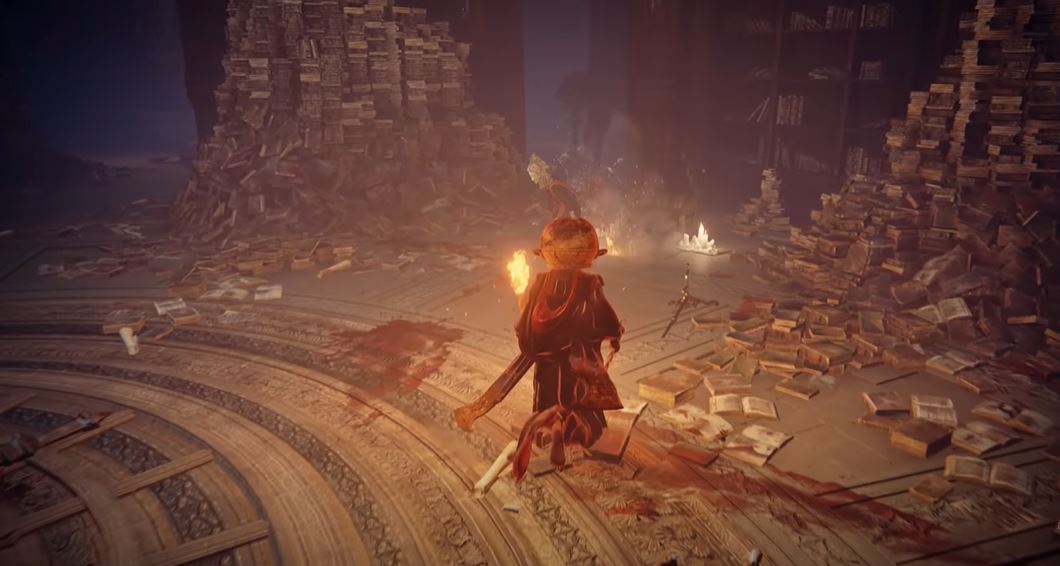
Here lies the part where you must decide between helping out Jerren or Serren. For both choices, you would first have to make your way to the Raya Lucaria Grand Library.
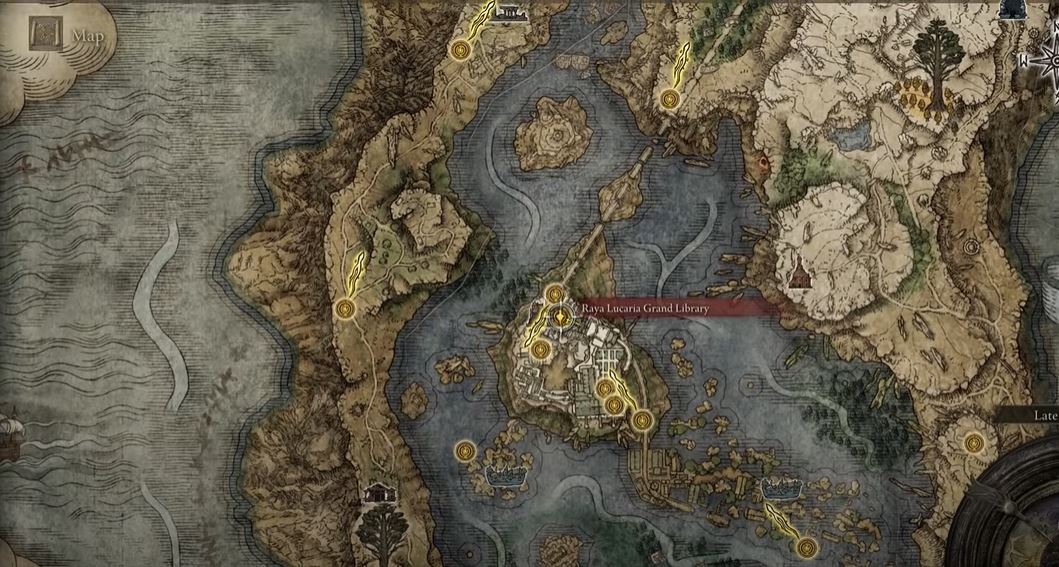
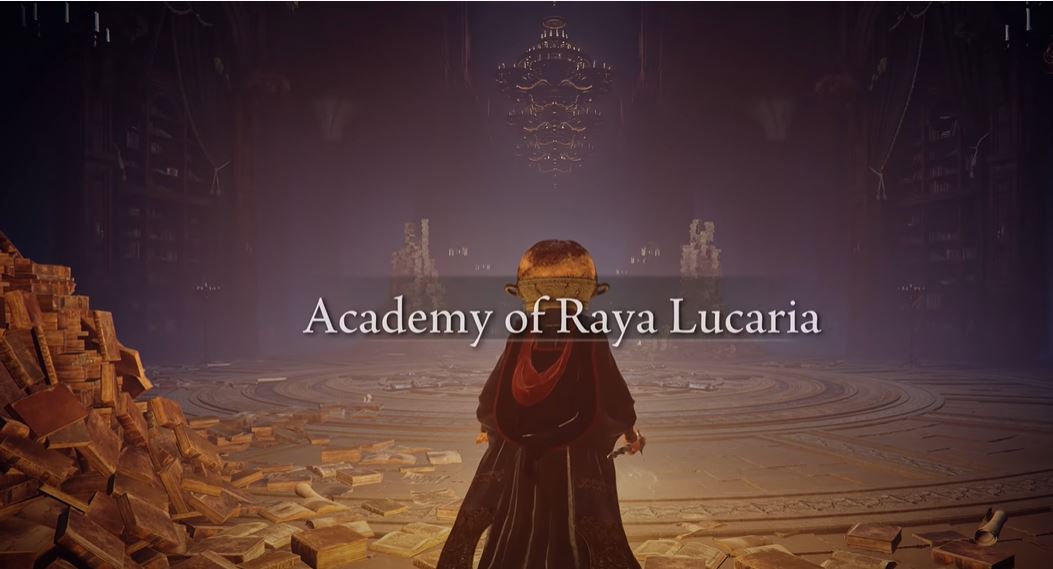
When inside, you will run through a pathway until you reach an open area. Here, you will be able to choose between helping either Sellen or Jerren.
Helping Sellen
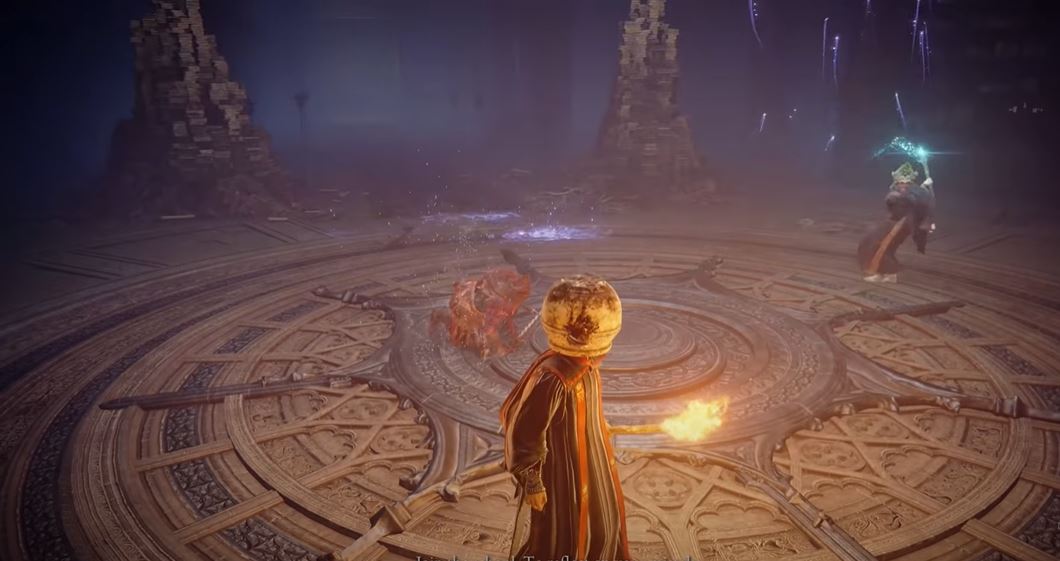
If you decide to help Sellen, you will be teleported back to the Academy of Raya Lucaria. A battle will commence between Sellen and Jerren where you can help Serren kill Jerren.
Rewards Received For Killing Jerren
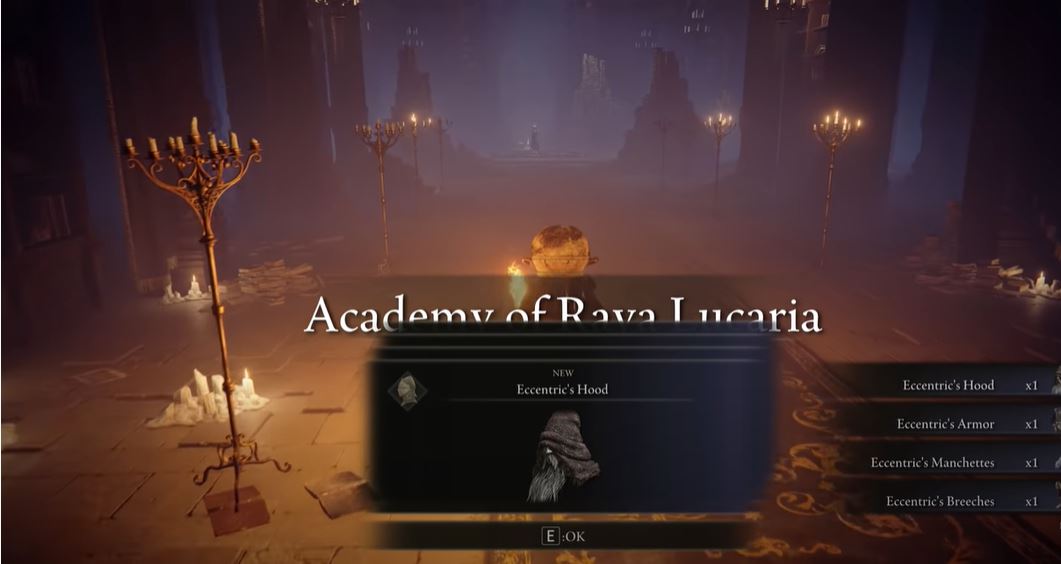
Once Jerren is dead, you will get the Eccentric Set.
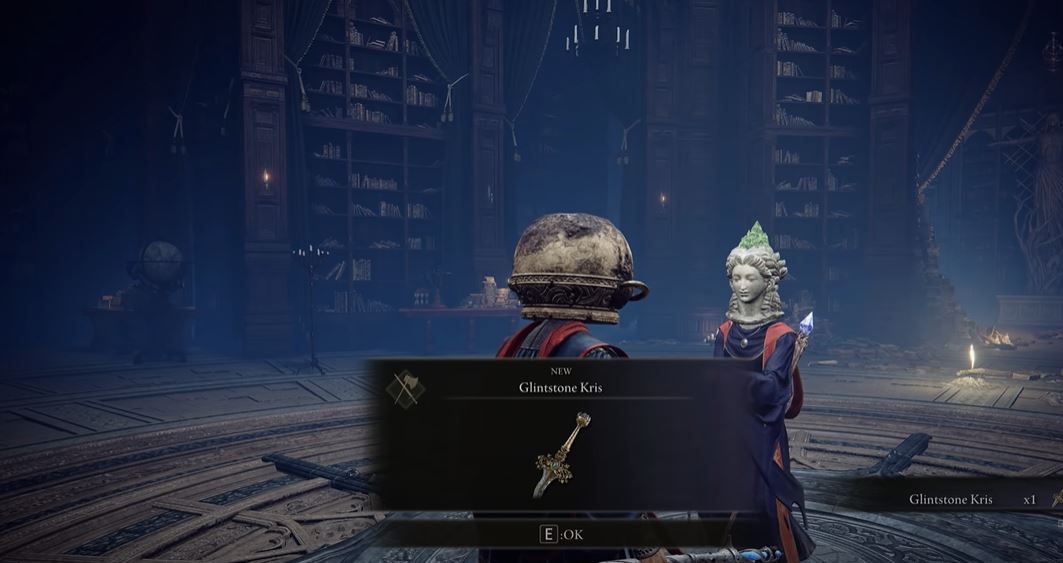
You will now be able to interact with Sellen, who will give you the Glintstone Kris.
Additionally, you will also unlock the Shard Spiral, which can be purchased from Sellen’s Shop. You will also be able to find the Azur and Lusat Glintstone Sets at the locations where you initially found them.
Helping Jerren
If you side with Jerren, you will again be teleported back to the Academy of Raya Lucaria. However, this time when the battle between Sellen and Jerren begins, you will help Jerren to kill Sellen.
Rewards Obtained By Killing Sellen
After killing Sellen, you will get the Rune Arc as a reward.

You will also get other items, including the Furlcalling Finger Remedy, Sellen’s Bell Bearing, and the Witch’s Glintstone Crown.
This concludes my guide on the Jerren Quest and its location in Elden Ring. The end choice is completely in your hands and will impact the rewards you get at the end. If you found this guide helpful, you can also read about how you find the Elden Ring Castle Sol Location. Let me know what you think about this guide in the comments below!
Thanks! Do share your feedback with us. ⚡
How can we make this post better? Your help would be appreciated. ✍
Good explainations!!! ... Thank you.