The Zelda Tears of the Kingdom Orochium Shrine is one of the 152 Shrines scattered across the entire map. These are essentially mini-dungeons that reward players with precious loot that can immensely aid Link on his journey toward saving Princess Zelda. Trying to solve the puzzle in the Orochi Shrine in Zelda’s Tears of the Kingdom can be tedious. Still, thankfully, with a structured walkthrough explaining the whole layout and puzzle mechanics, it becomes a cakewalk to complete.
- Locate the Orochium Shrine in Zelda Tears of the Kingdom, situated near the upper-left side of the Hyrule map, close to Snowfield Stables.
- Solve the puzzle by finding a spherical orb to unlock the gate with the Light of Blessing sigil.
- Head left, defeat enemies and use Ascend to reach the other side of the inaccessible building.
- Clear the first side objective by locating the Hidden Chest in the courtyard on the right side.
- Trigger the Lasers, follow the lower path carefully, and use Ascend to obtain the Shrine of Light key from a chest.
- Head upward using Ascend, defeat enemies, and use the key to unlock the gate and obtain the orb.
- Carry the orb upward using an elevator, unlock the wing contraption, and use it to transport the orb back to the other side.
- Use Ultrahand to place the orb into the pit and complete the Orochium Shrine.
Orochium Shrine Location In Tears of the Kingdom
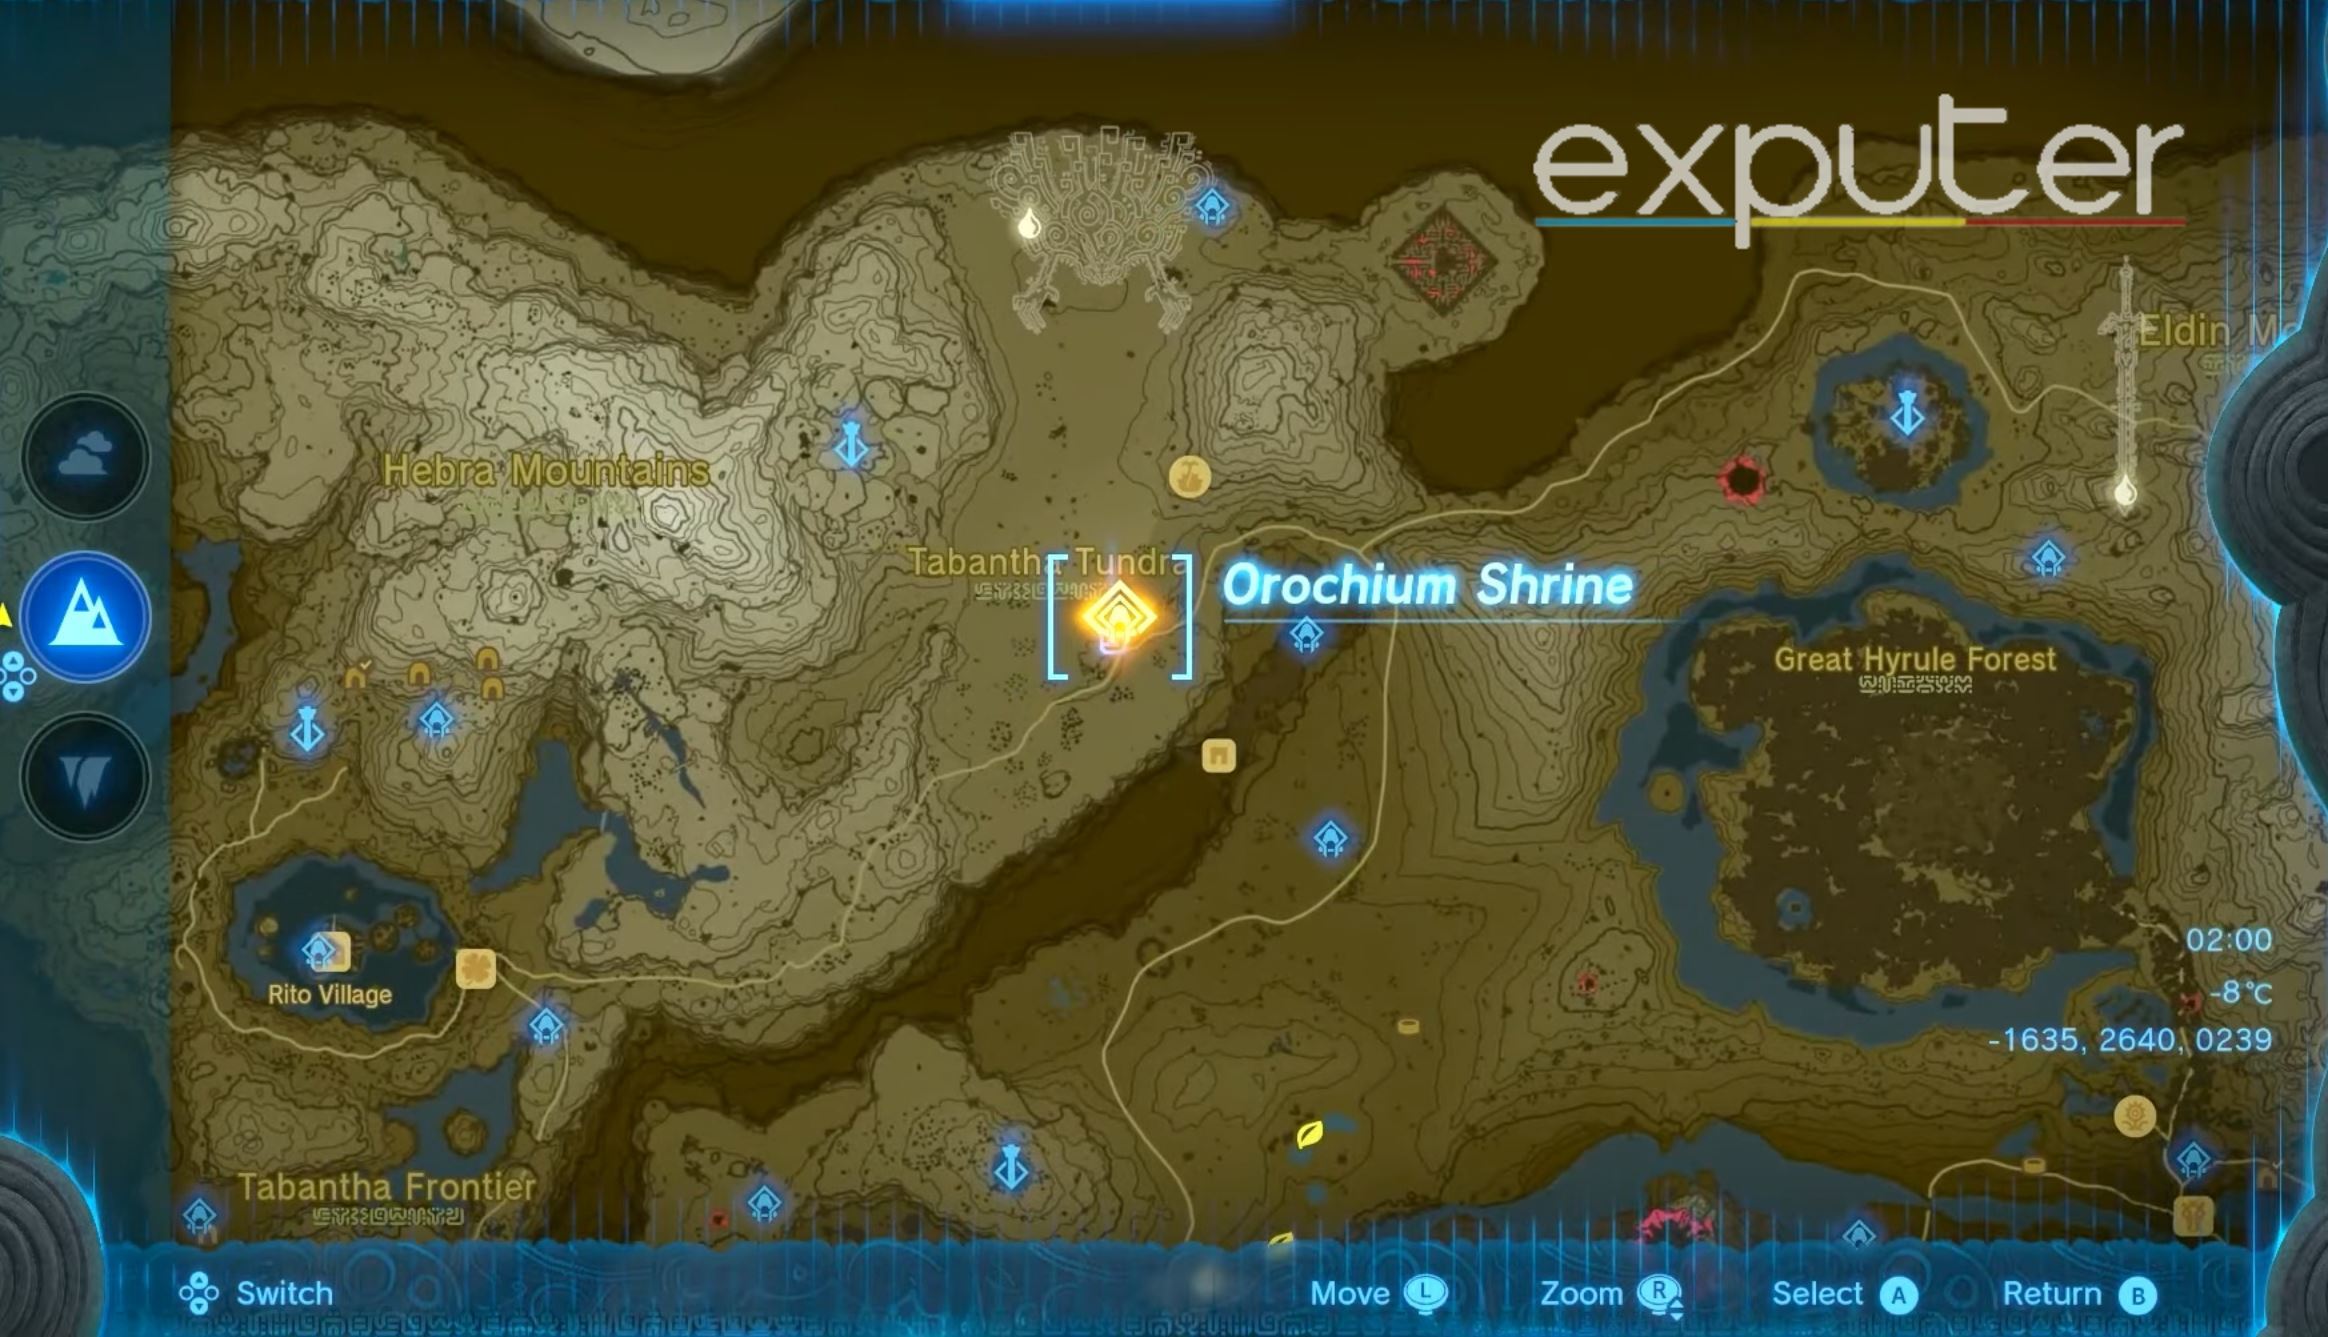
The exact location of the Orochium Shrine is shown in the image above, as it can be found towards the top-left of the map in the Hebra Mountains region, right in the sub-area known as the Tabantha Tundra. The entire region has a freezing climate, so we strongly suggest equipping Link with that can provide cold resistance, such as the Archaic Warm Tunic, which can prove highly beneficial when exploring this area.
It is hard to miss the Shrine as it will also be relatively near to the Snowfield Stables. The precise coordinates for the Shrine on the map compass are -1638, 2643, 0239.
Step-By-Step Walkthrough
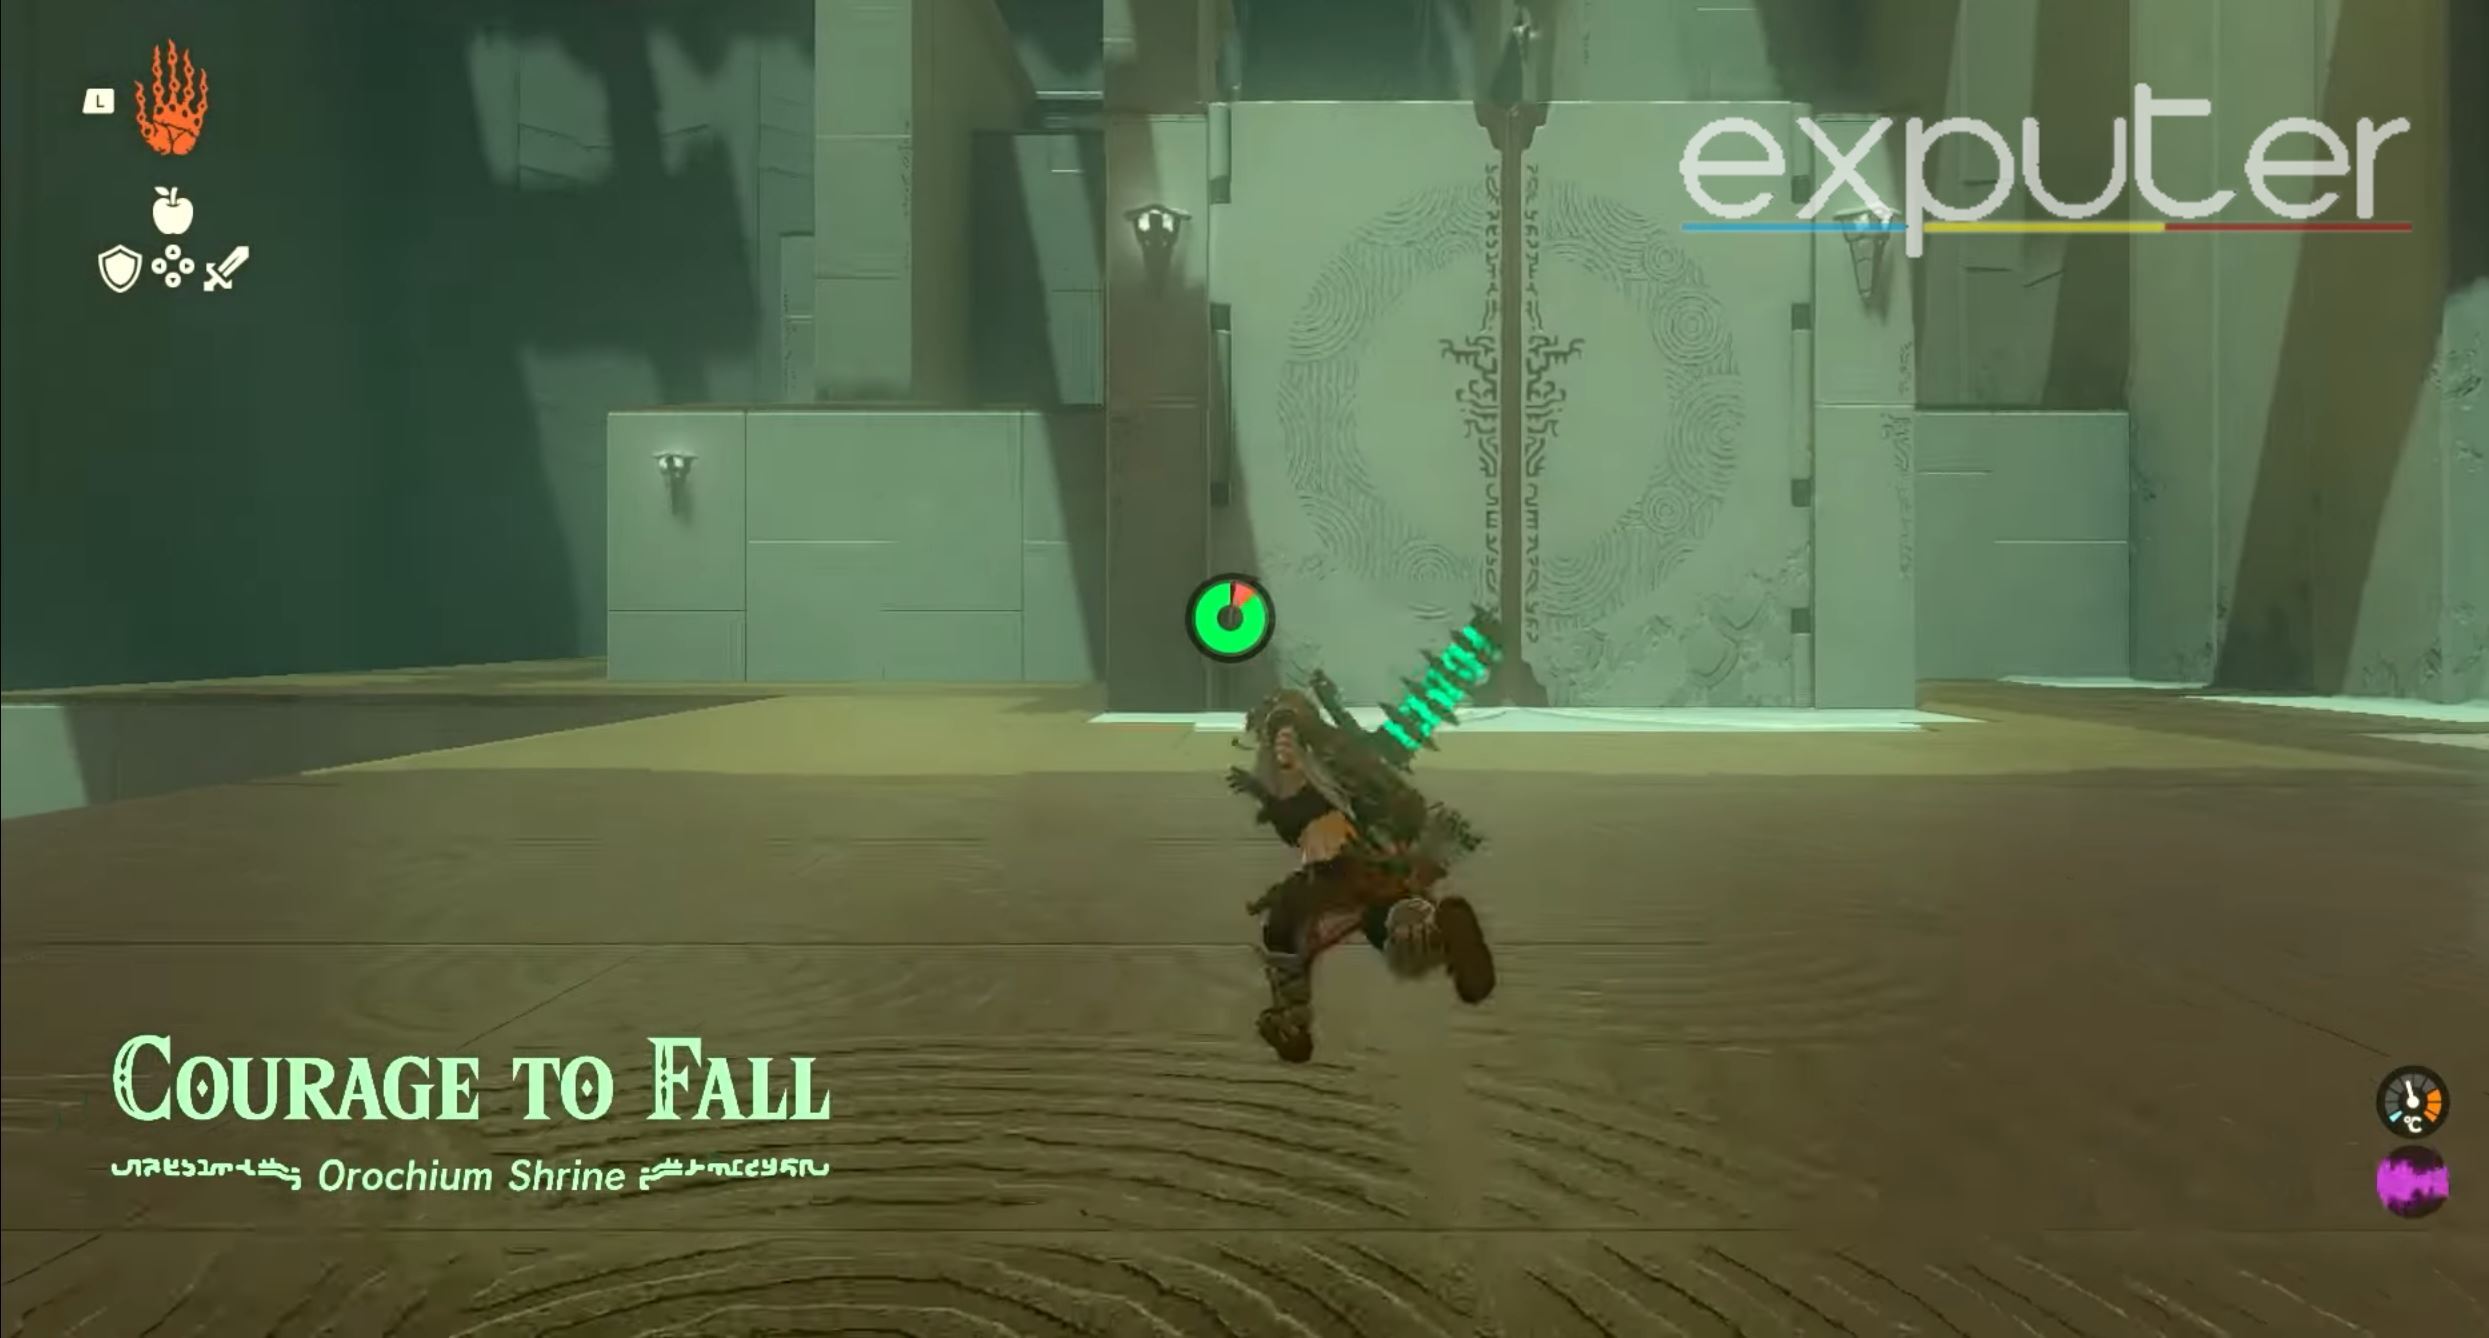
The primary trial of the Orochi Shrine is called “Courage to Fall.” Still, the main objective is that you will need to collect your Light of Blessing toward the end, and you can also collect a hidden chest along the way, which can provide you with some extra resources for your efforts. Lastly, caution is advised here, as you must defeat a few Soldier Construct enemies in order to progress, so bring your best weapons to use against them.
Loot The Hidden Chest
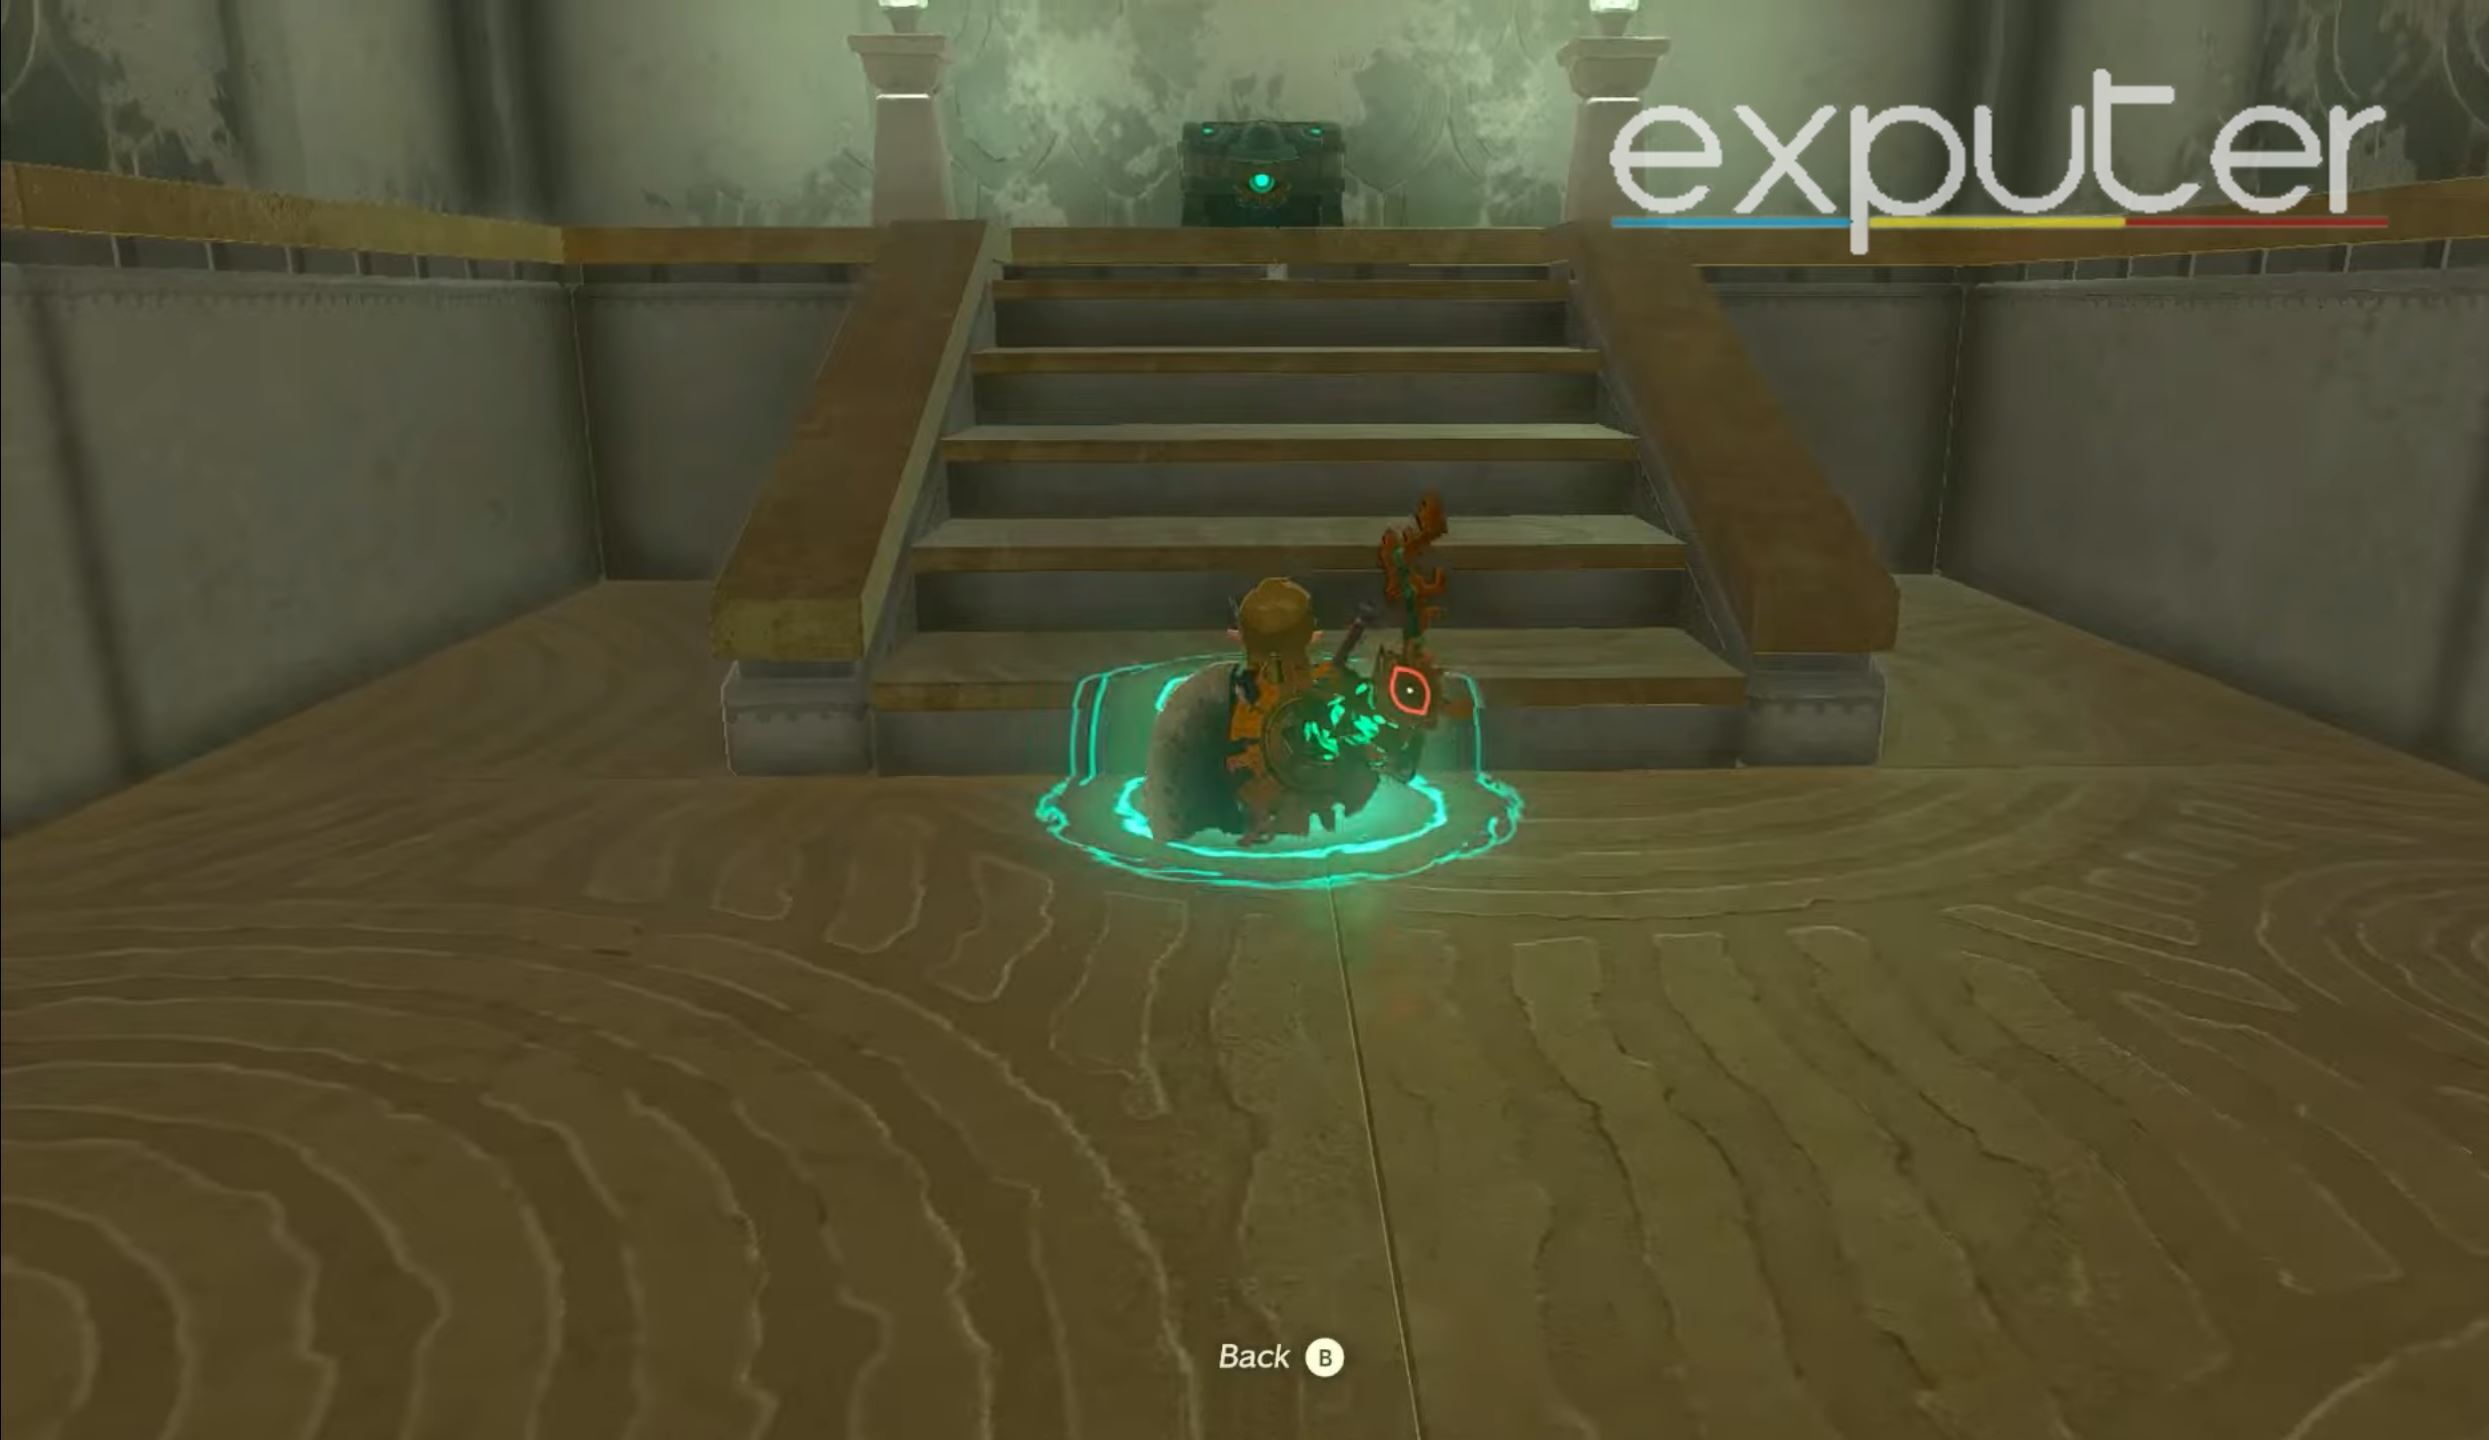
- First things first, as soon as you start the Shrine, you have the option to open up the large door in front of you using your Ultrahand ability, but unfortunately, that path will be blocked by lasers.

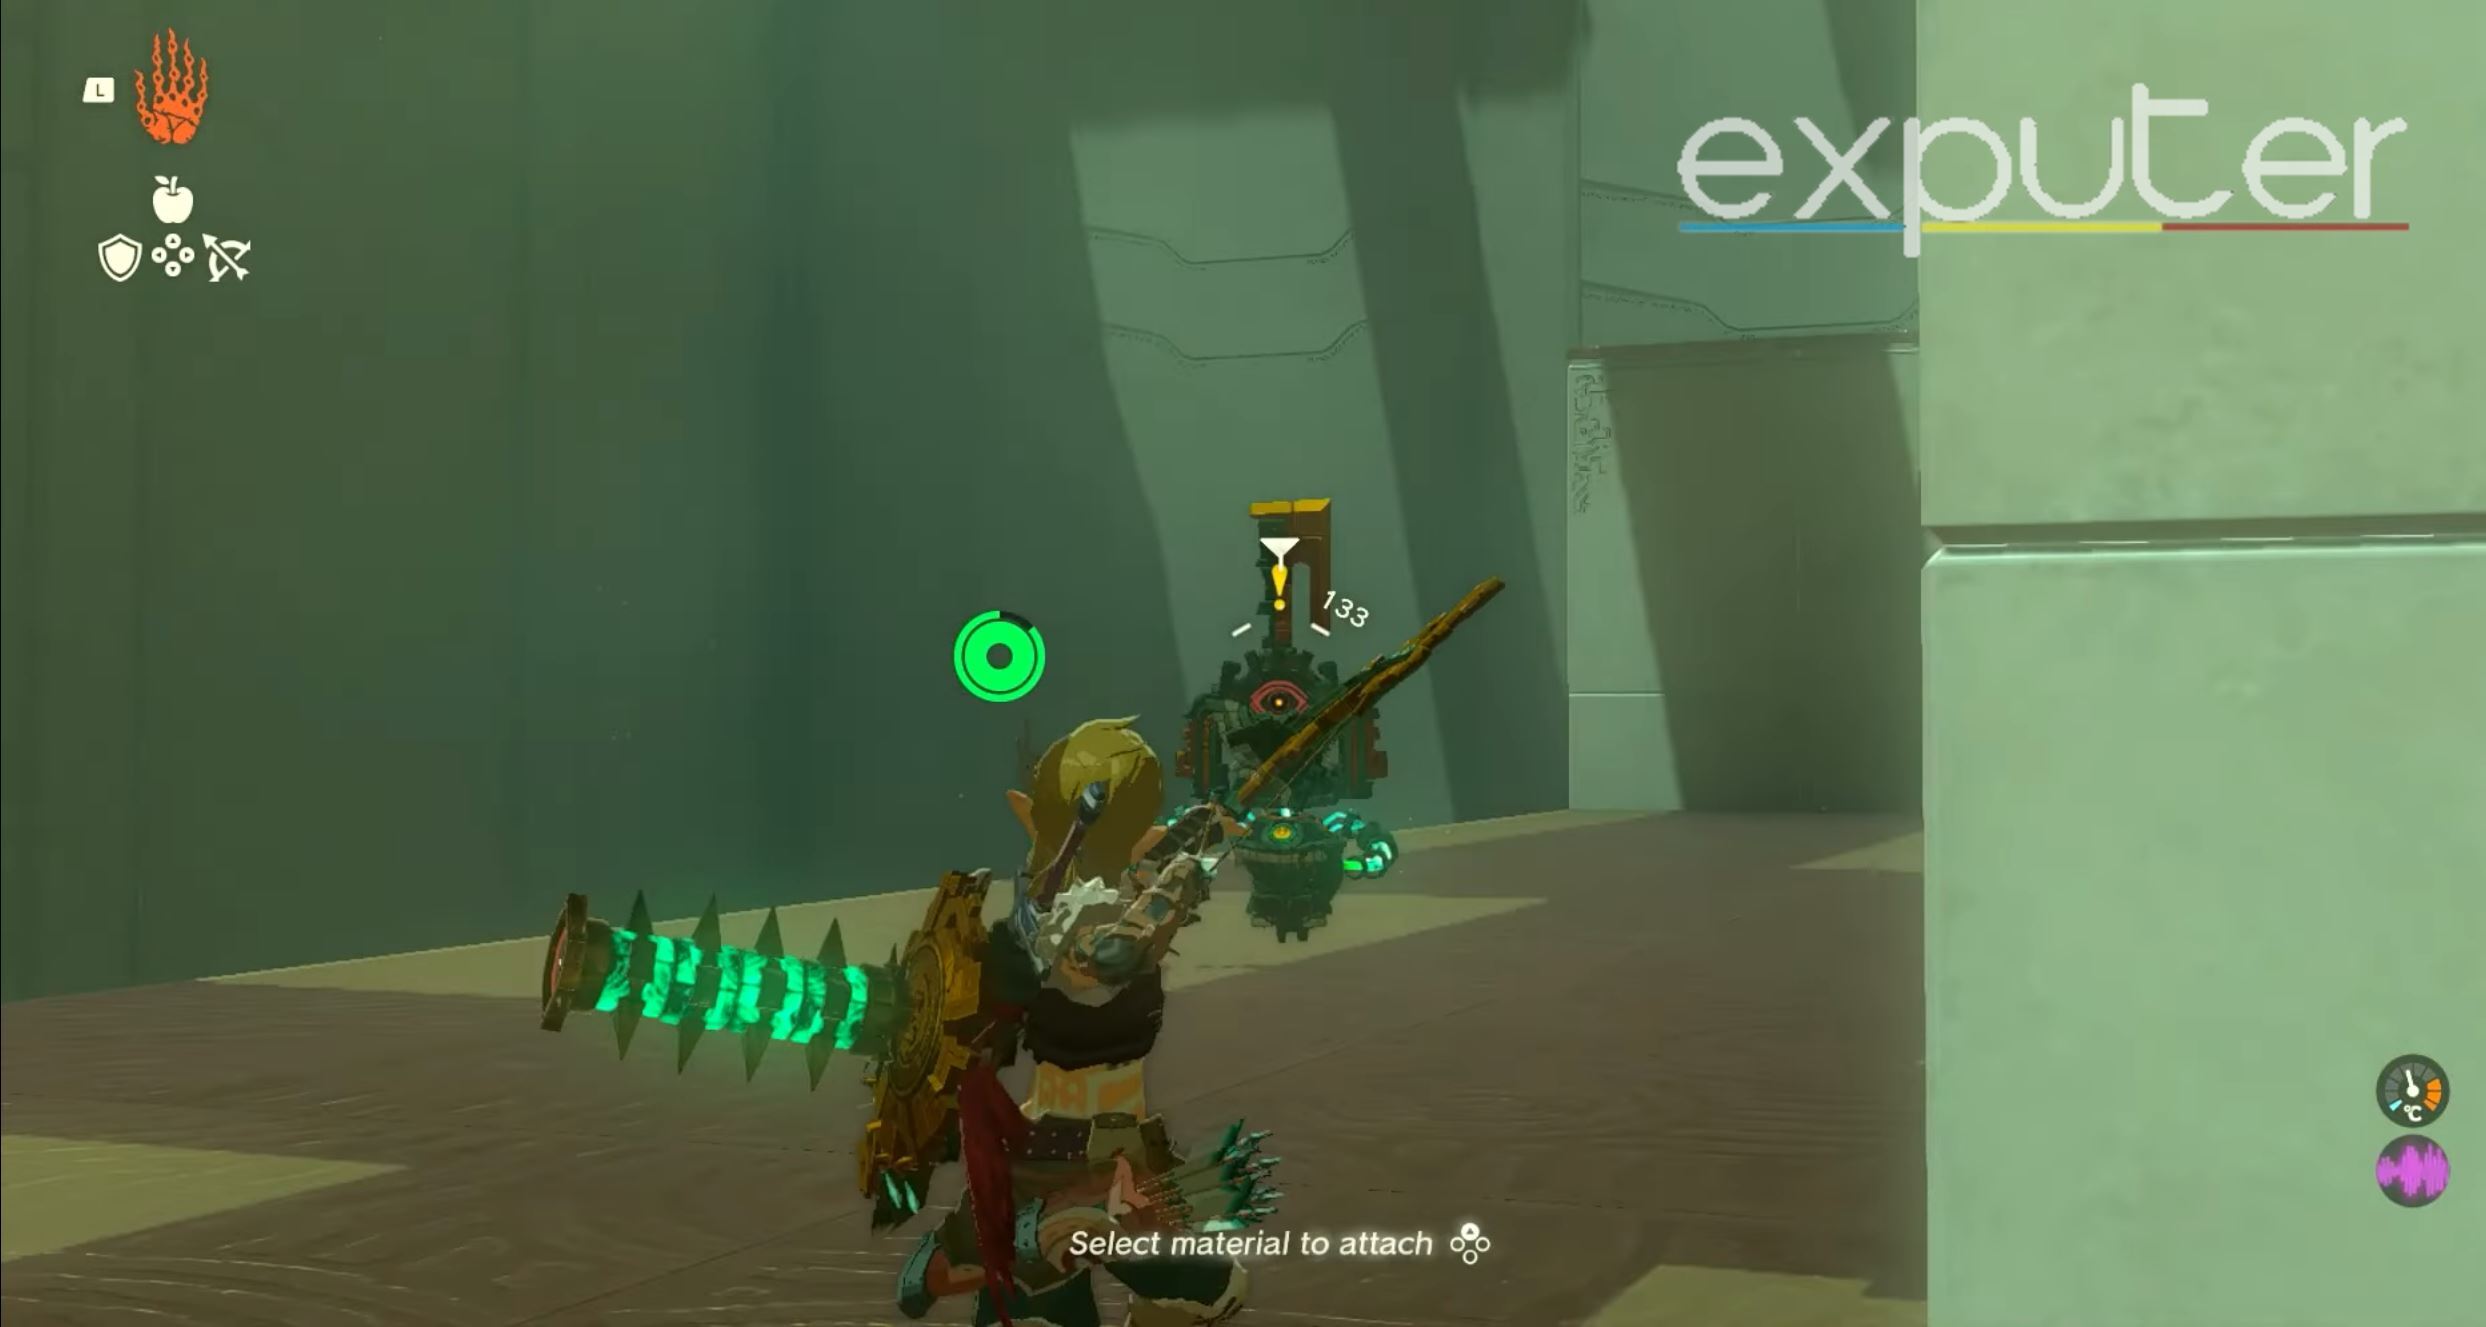
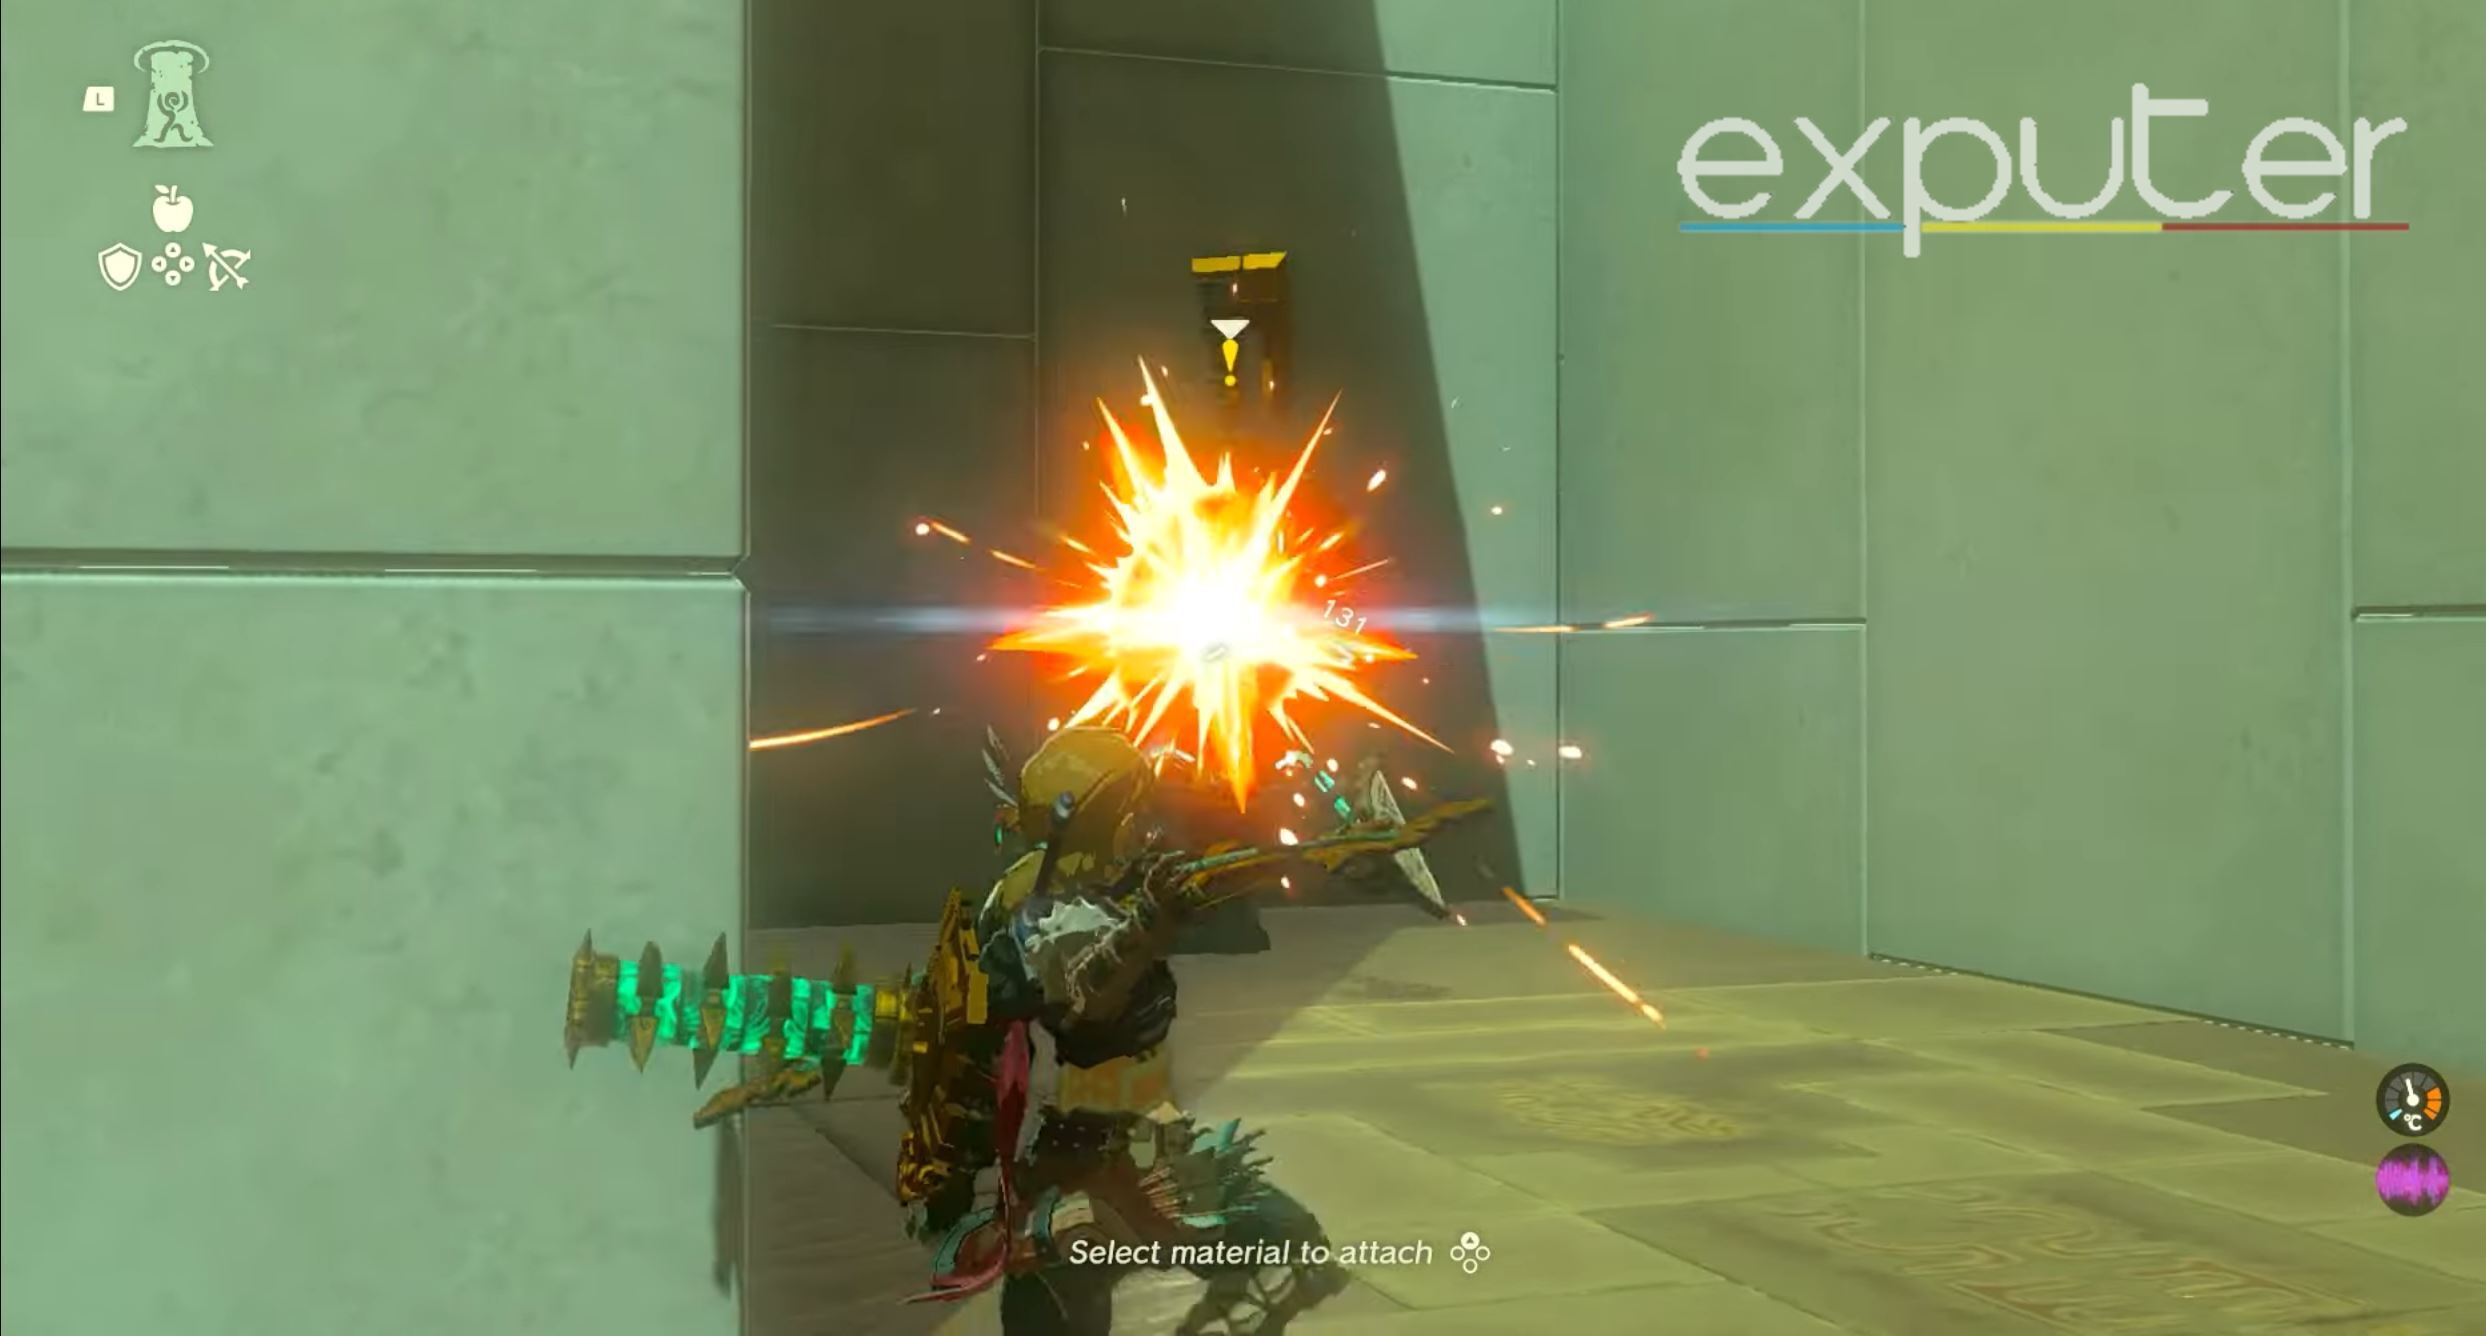
Soldier Construct II (Image Captured by Us) - Instead, head to the left from here and be prepared to equip your bow or sword to deal with the patrolling Soldier’s Construct II.
- These enemies can drop Soldier Construct II Horns as well as Zonai charges which are an invaluable resource in Zelda Tears of the Kingdom.

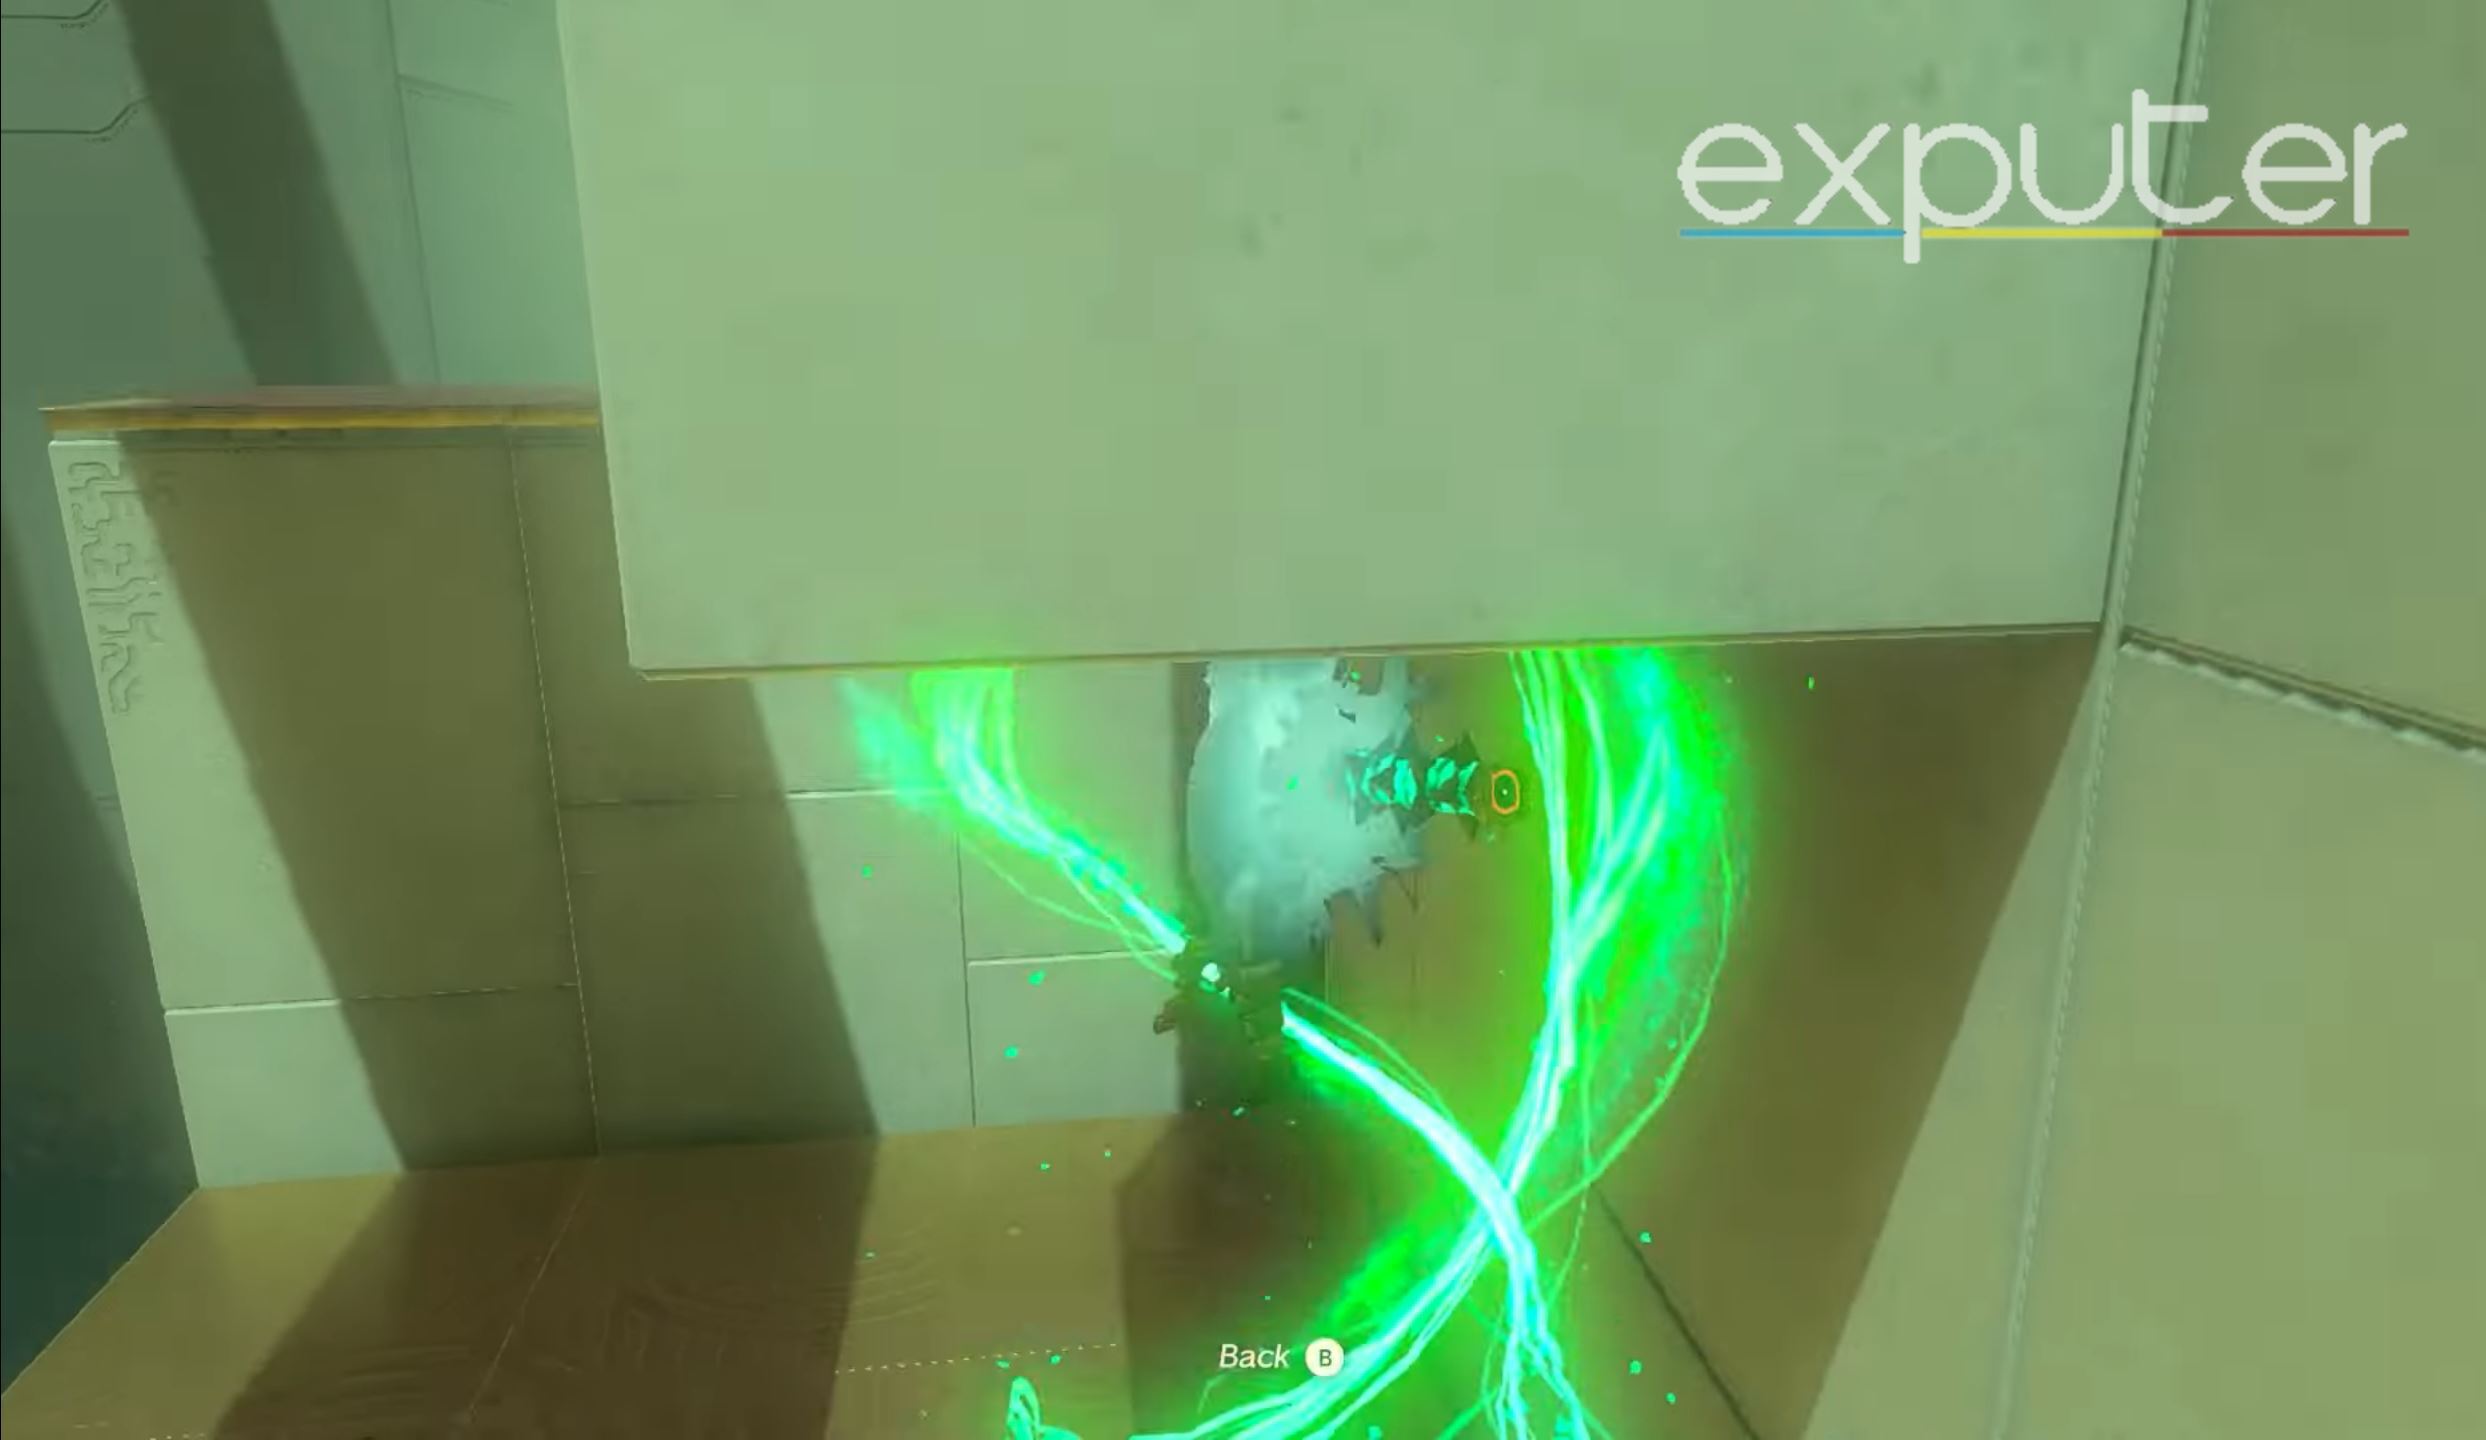
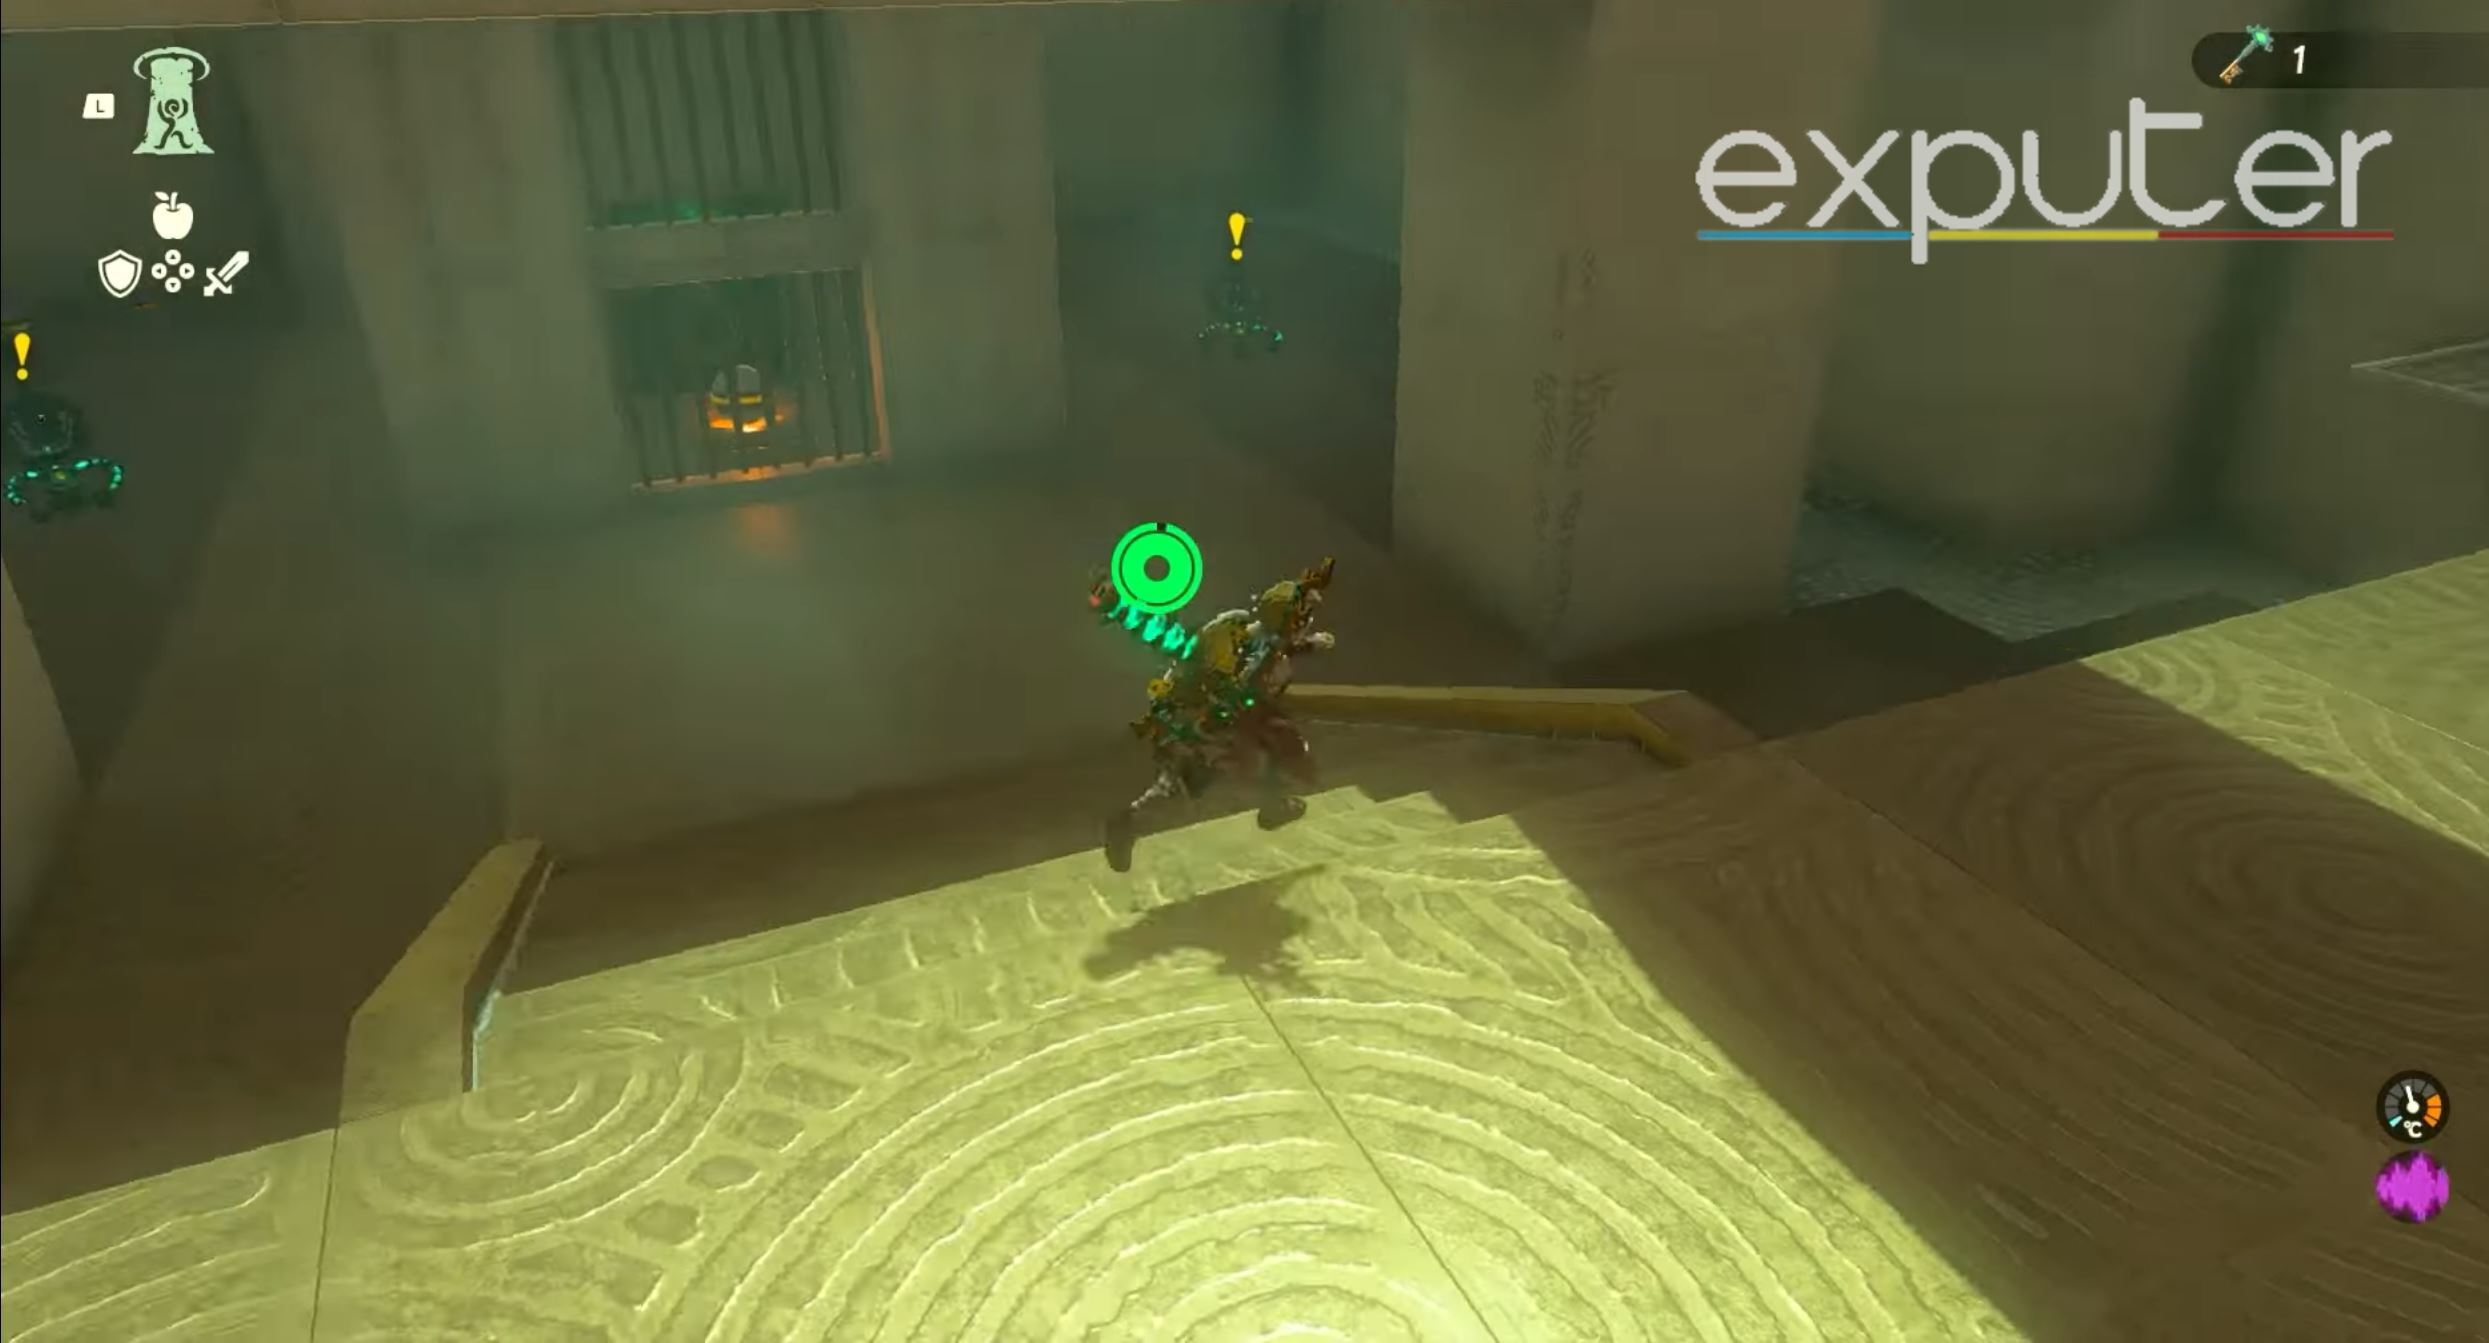
Using Ascend (Image Captured by Us) - After defeating the enemy, head forward on the left side until you see a ledge right above you; from here, it becomes pretty self-explanatory that you need to use Ascend and dive upwards to the platform, as shown in the image here.

A small opening (Image Captured by Us) - Climb the ladder, and you should spot a small space in the wall to crouch and make your way through.
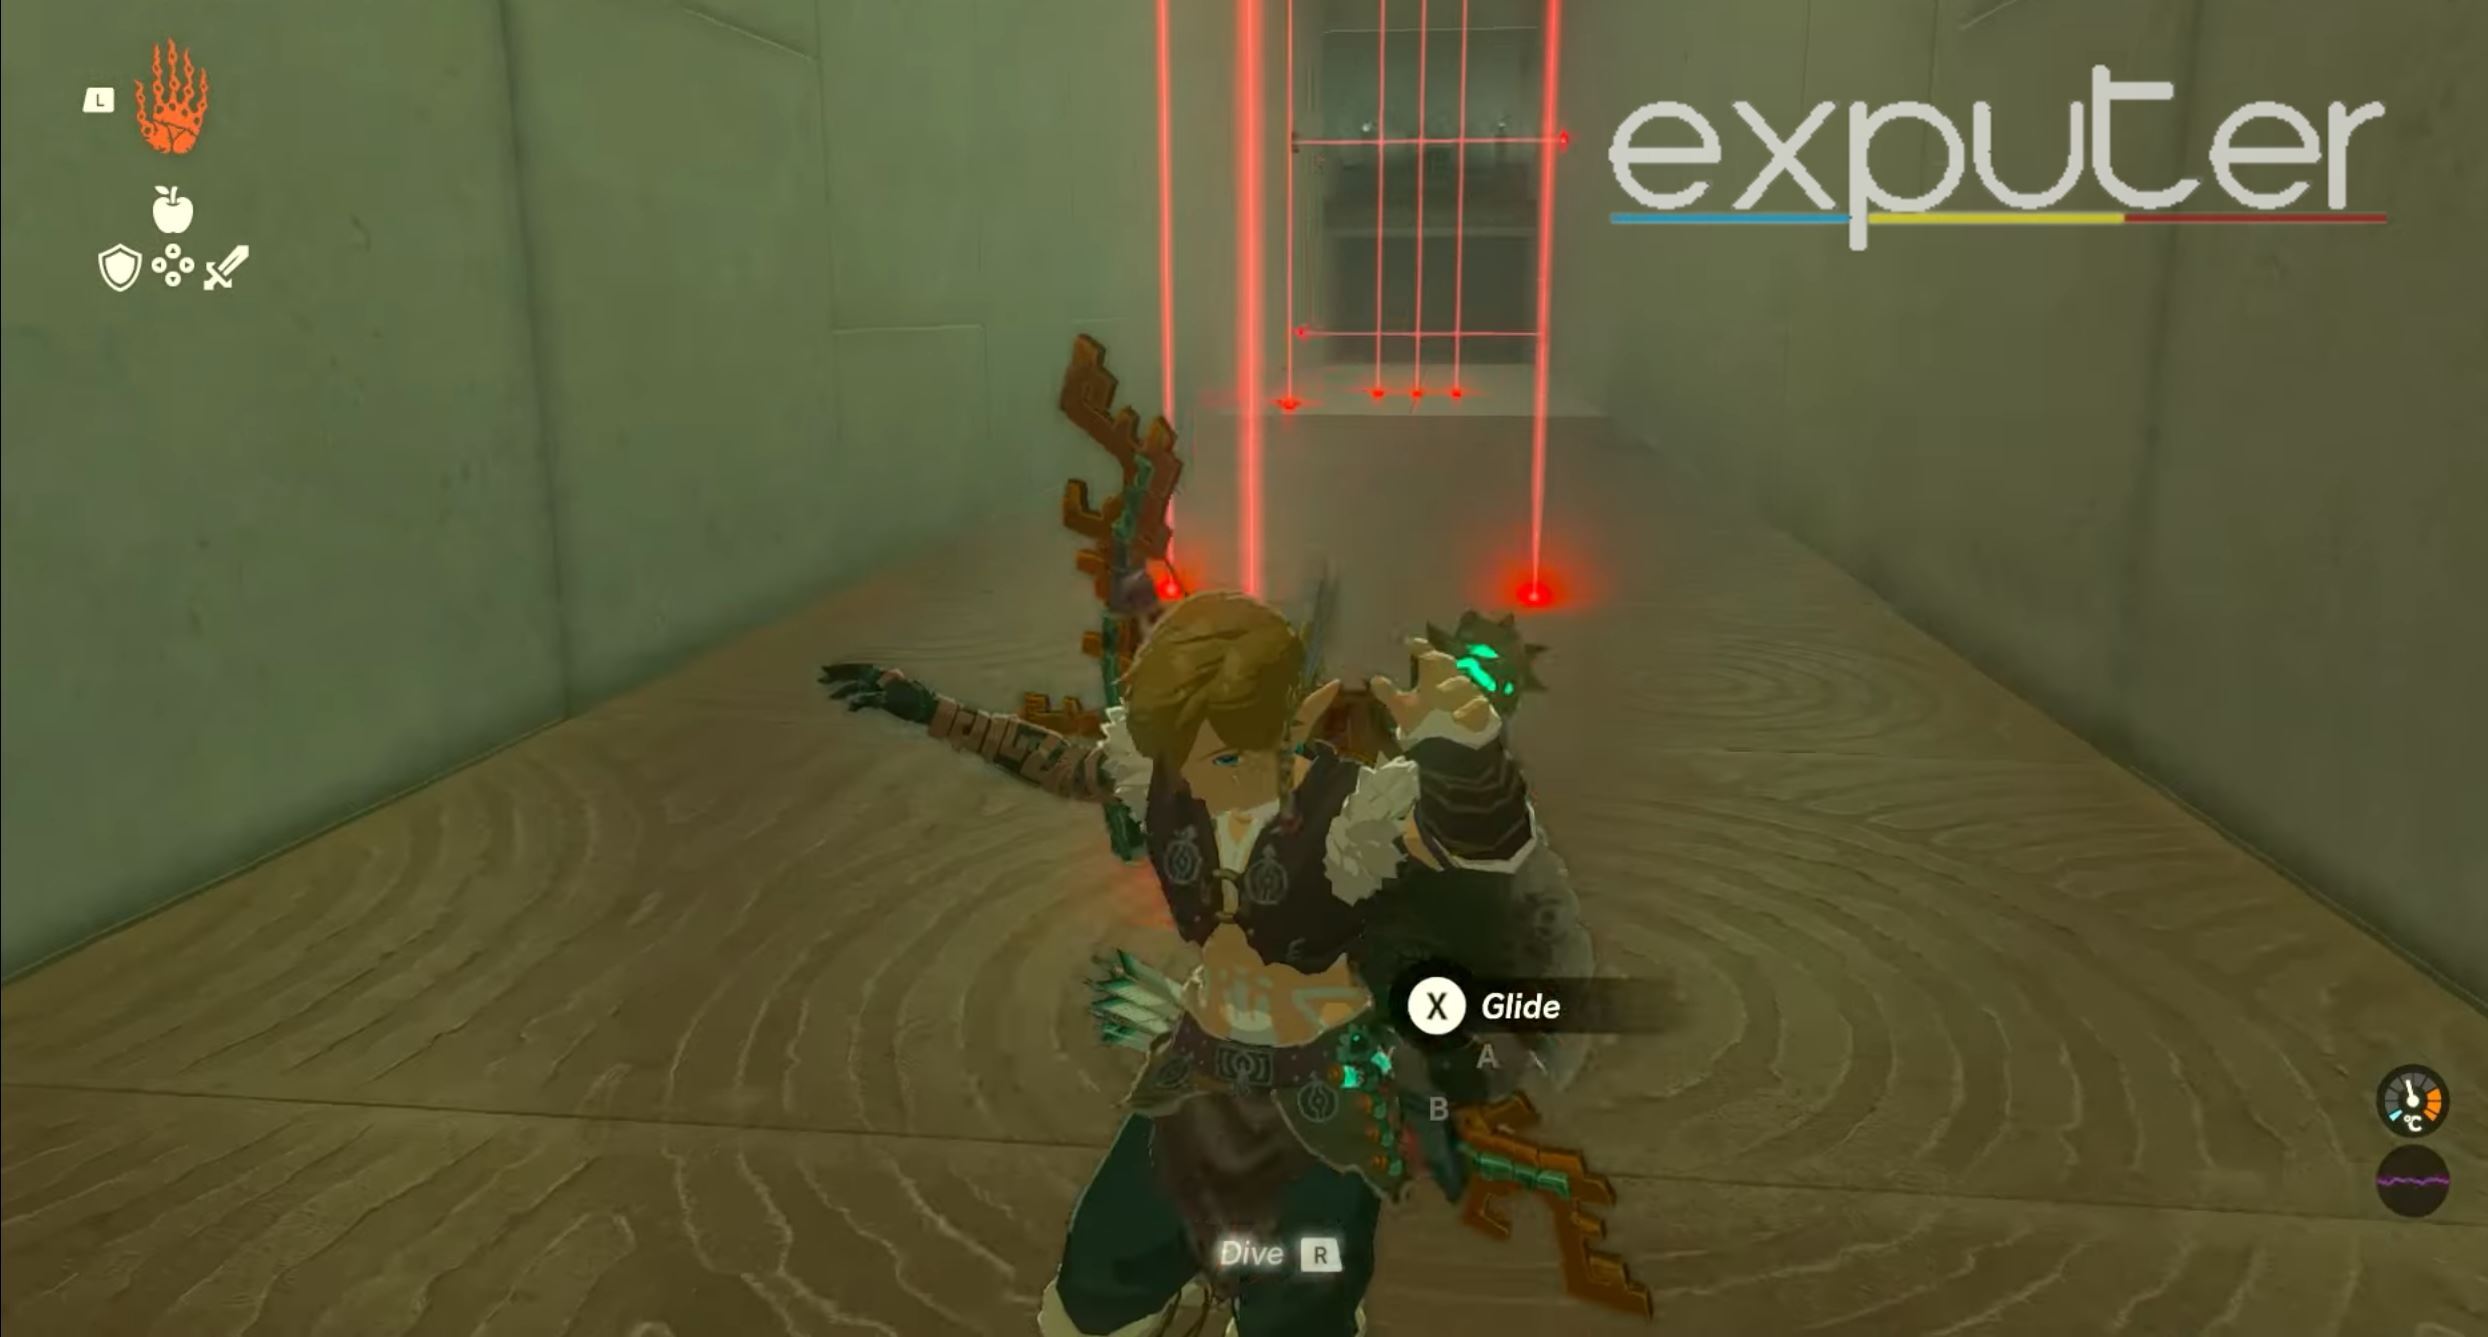
- Upon emerging through the crevice, you need to immediately glide and make your way down, as shown in the image above, but be careful, as there’s another Soldier’s Construct II at the bottom here.

Glide to the bottom near the enemy (Image Captured by Us) - If you time it correctly, you can get a Sneakstrike on him; otherwise, just take it out of the equation and move toward the left of this staircase for the Hidden chest.
- The Hidden chest is guarded with another Soldier’s Construct II to ambush you, so be careful as you make your way around the corner to loot the chest.

The Hidden Chest (Image Captured by Us) - This Hidden Chest will reward you with five arrows to use with your bow.
Obtaining The Shrine Of Light Key
Now that you have looted the hidden chest of the Shrine, you will need to obtain a key that will unlock a puzzle component, a spherical orb that will allow us to complete the Orochium Shrine’s tricky puzzle. Thankfully, acquiring the key is easier said than done in the following steps:
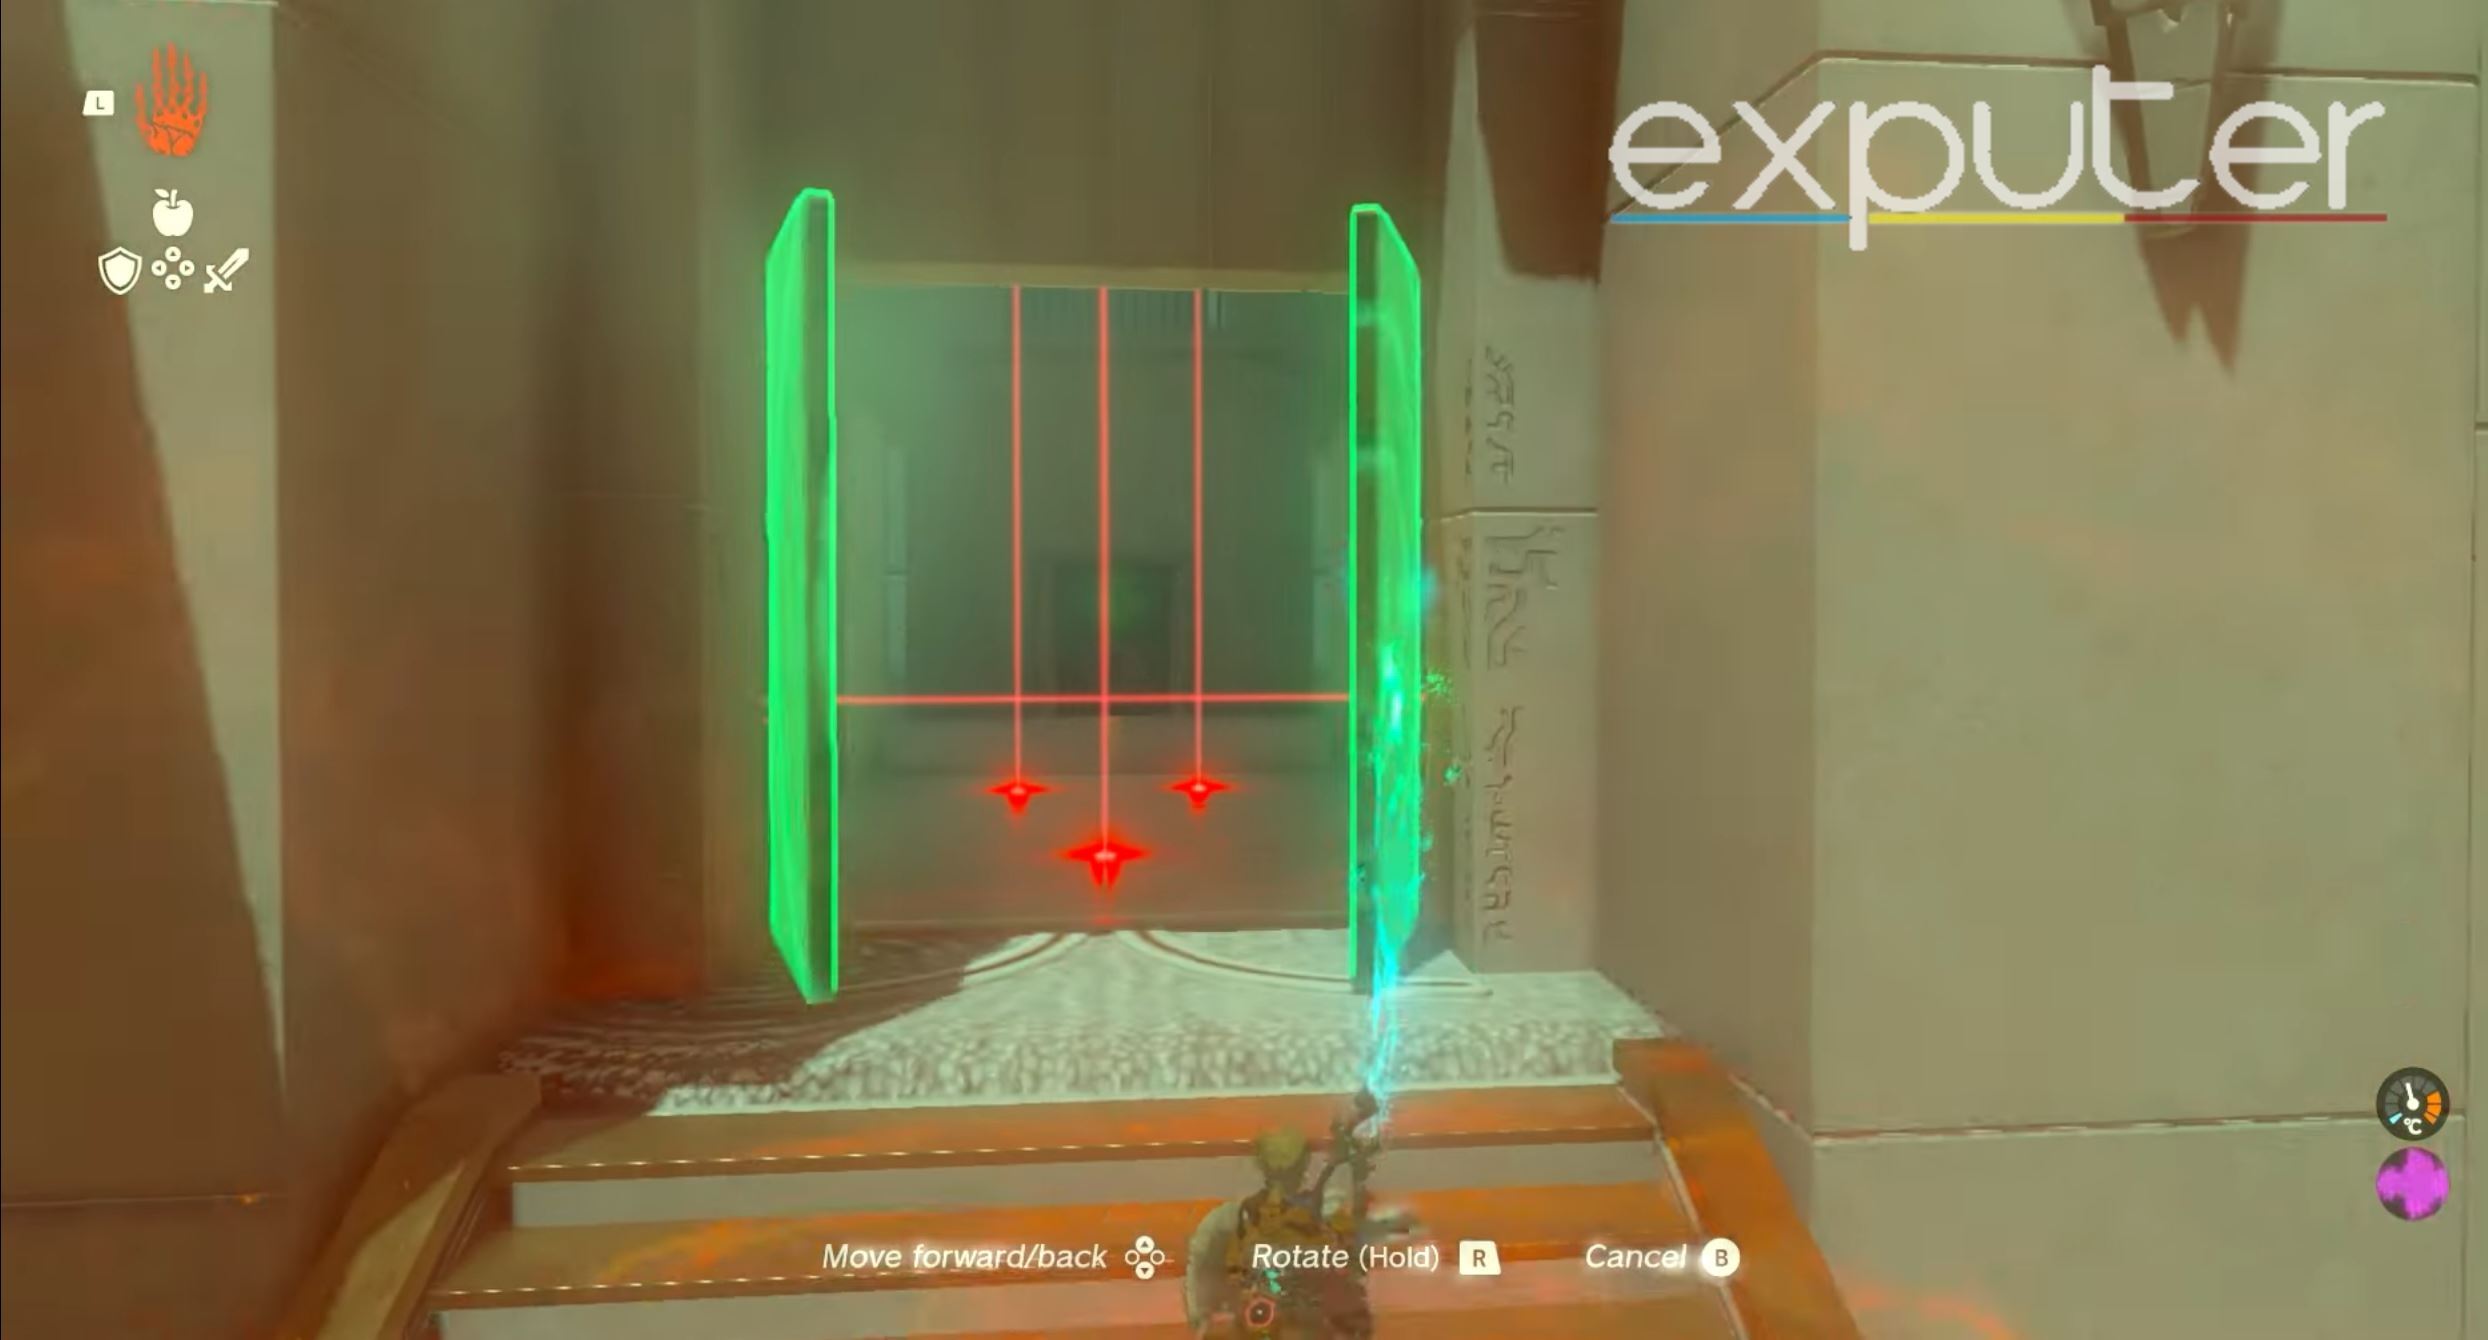
- From the Hidden chest, head to the middle and unlock the large door in the middle here using Ultrahand.
- This will open up another laser hallway, but from here, we actually need to get caught in one specific laser to enter a hidden pathway.

Get caught in the lasers (Screenshot Captured by eXputer) - As shown in the image, you need to be caught exactly via the very first lasers in the hallway at the start, and doing so will make you fall down below into the lower hallway.

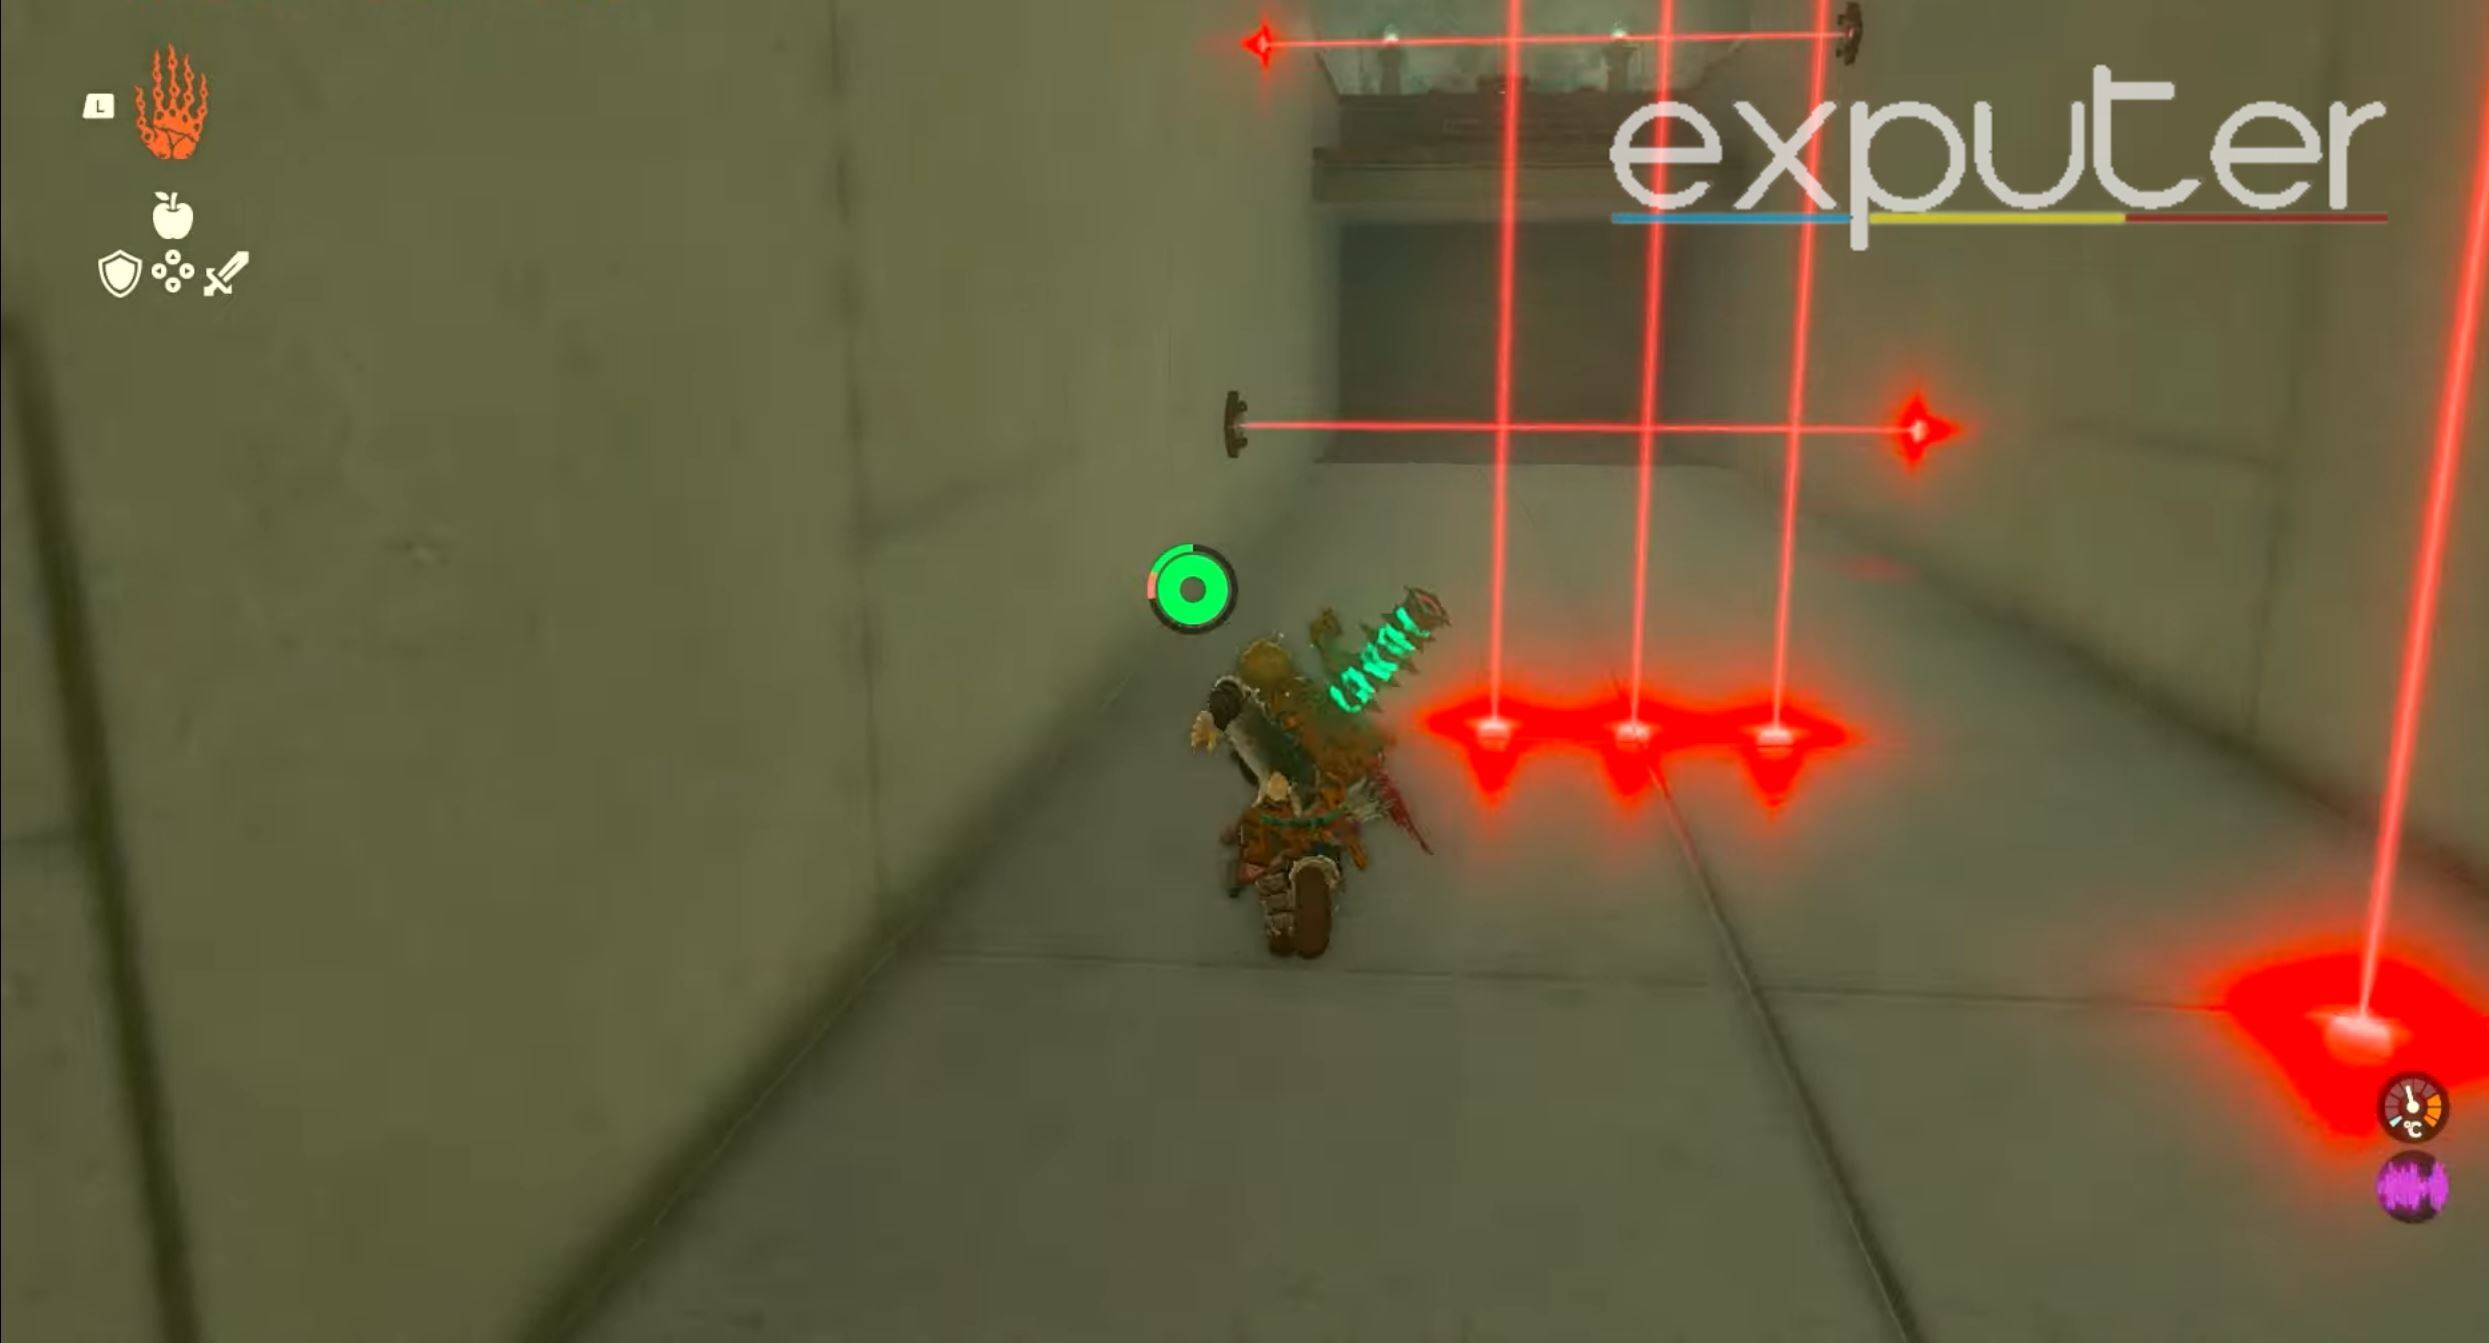
Run to the end (Screenshot Captured by eXputer) - Now, from here, carefully head forward while avoiding lasers and taking your time to reach the end of the hallway, as shown in the image here.

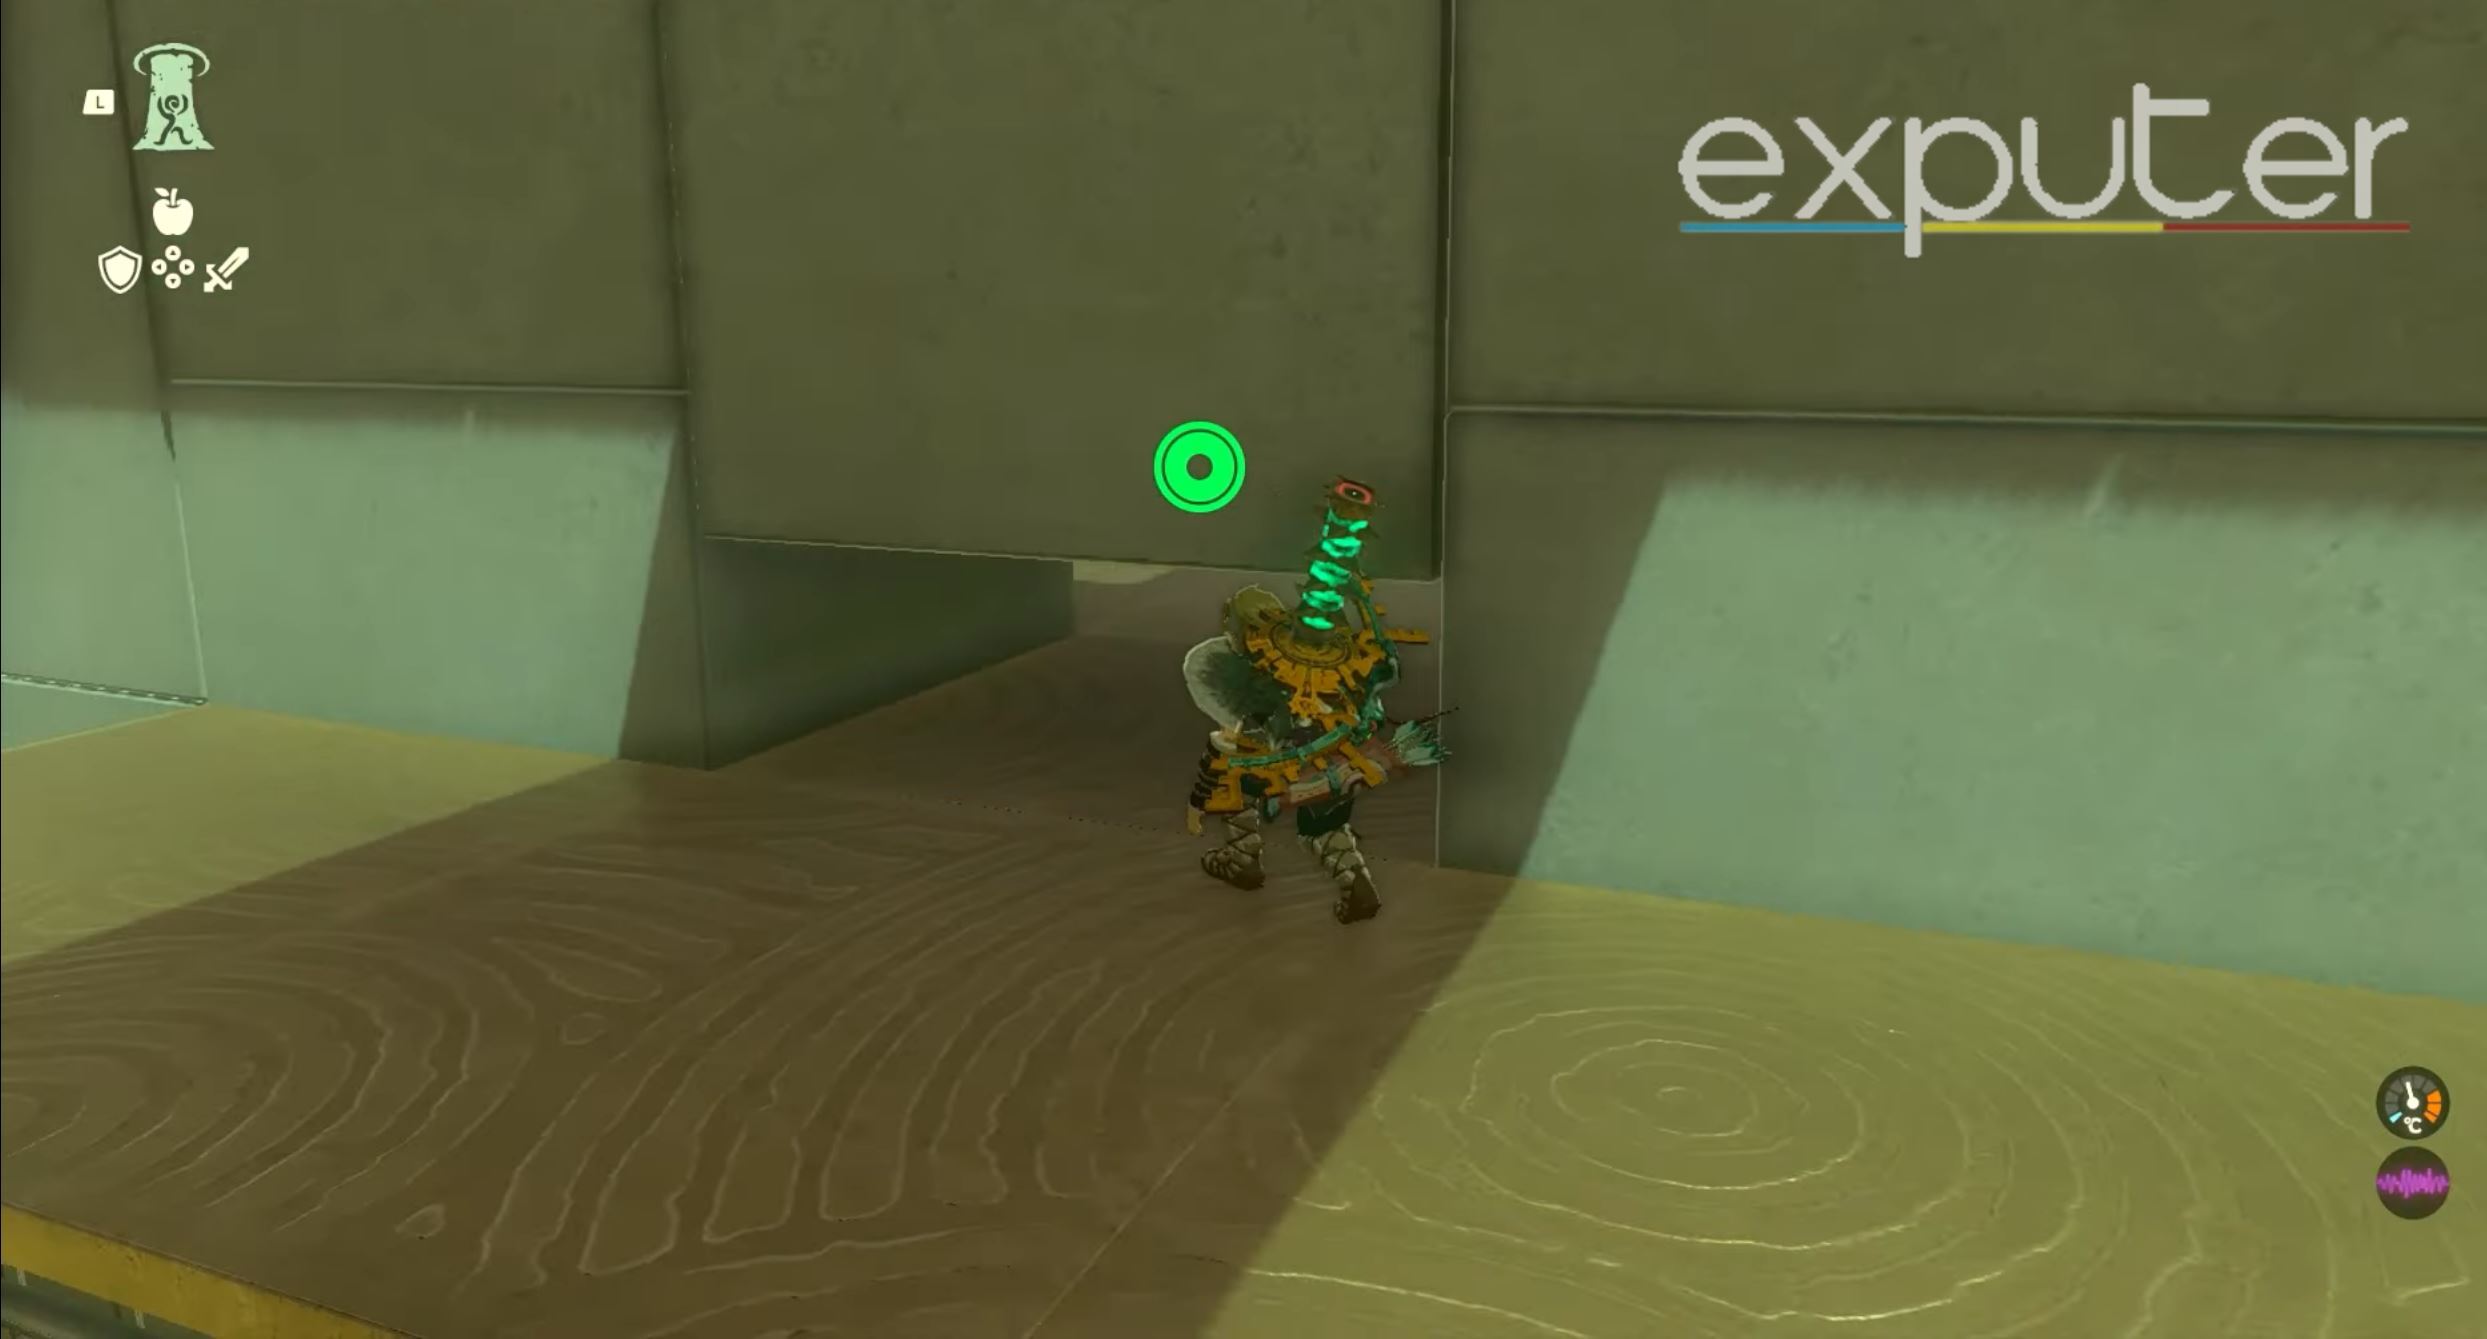
Ascend to the chest (Screenshot Captured by eXputer) - Now, while at the end, look upwards on the upper level and use Ascend here to travel up there.
- The chest containing the Shrine of Light key should now be in front of you for you to pick up.
Complete The “Courage to Fall” Trial
We are now on the last section of the Shrine and just now piecing together the components of the puzzle, which is correlated to attaching a spherical orb to a Wing contraption so that we can use it to unlock the gate containing the Sigil for the Light of Blessing.
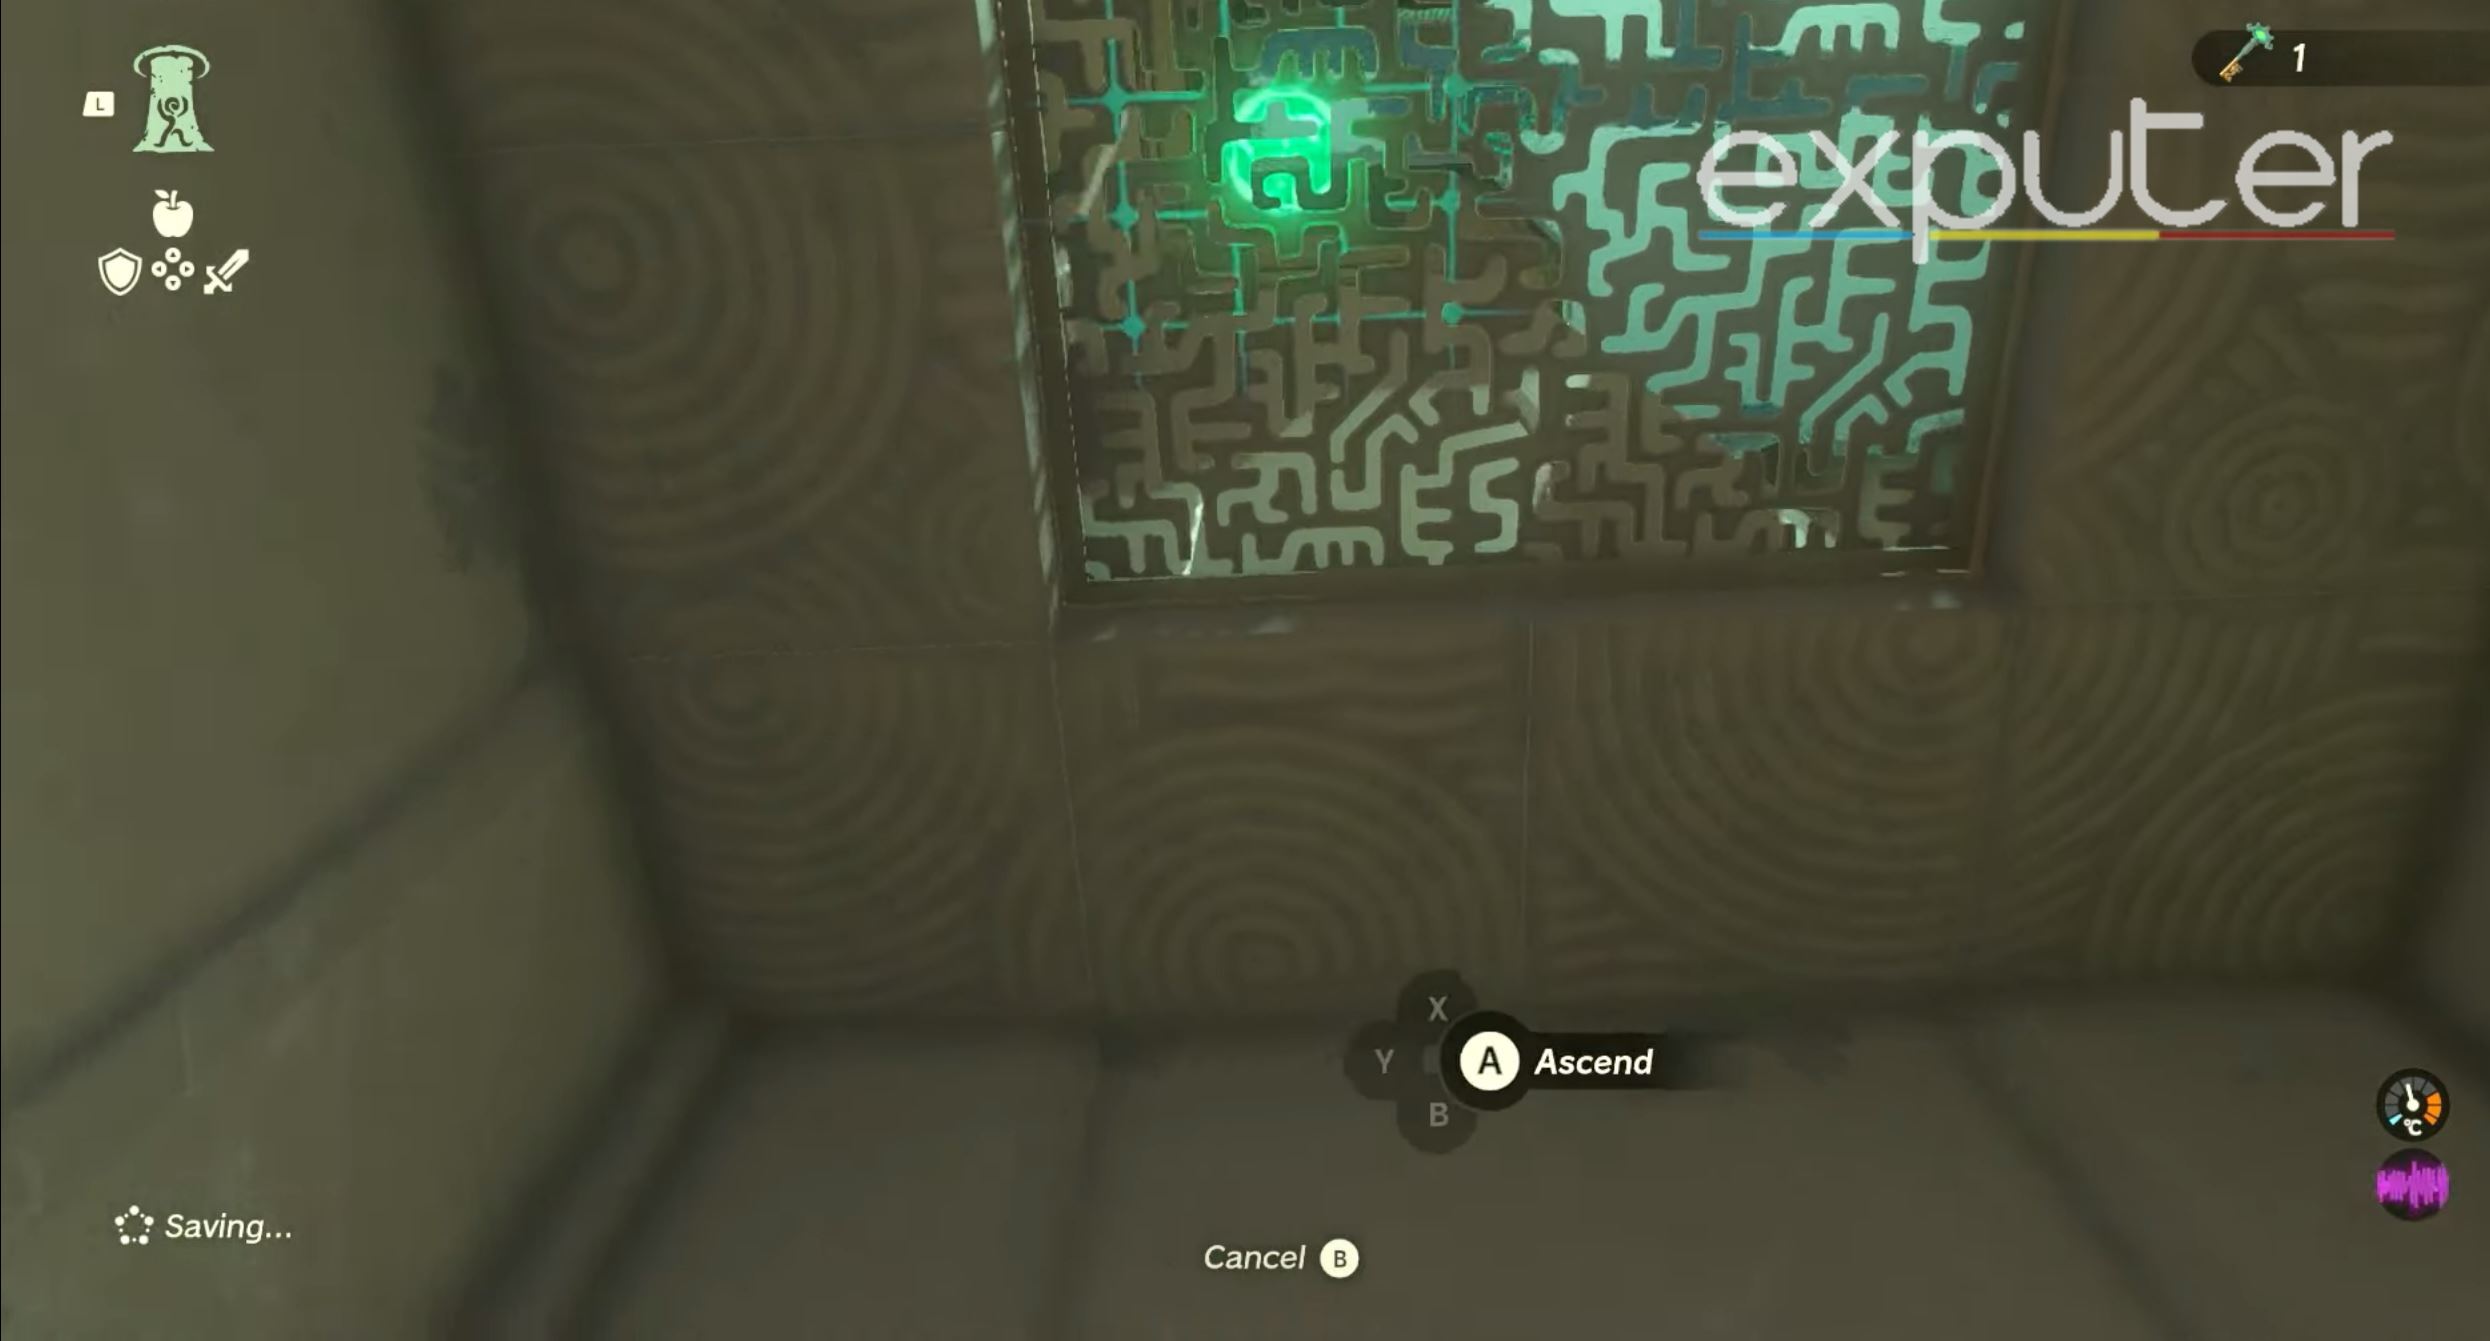
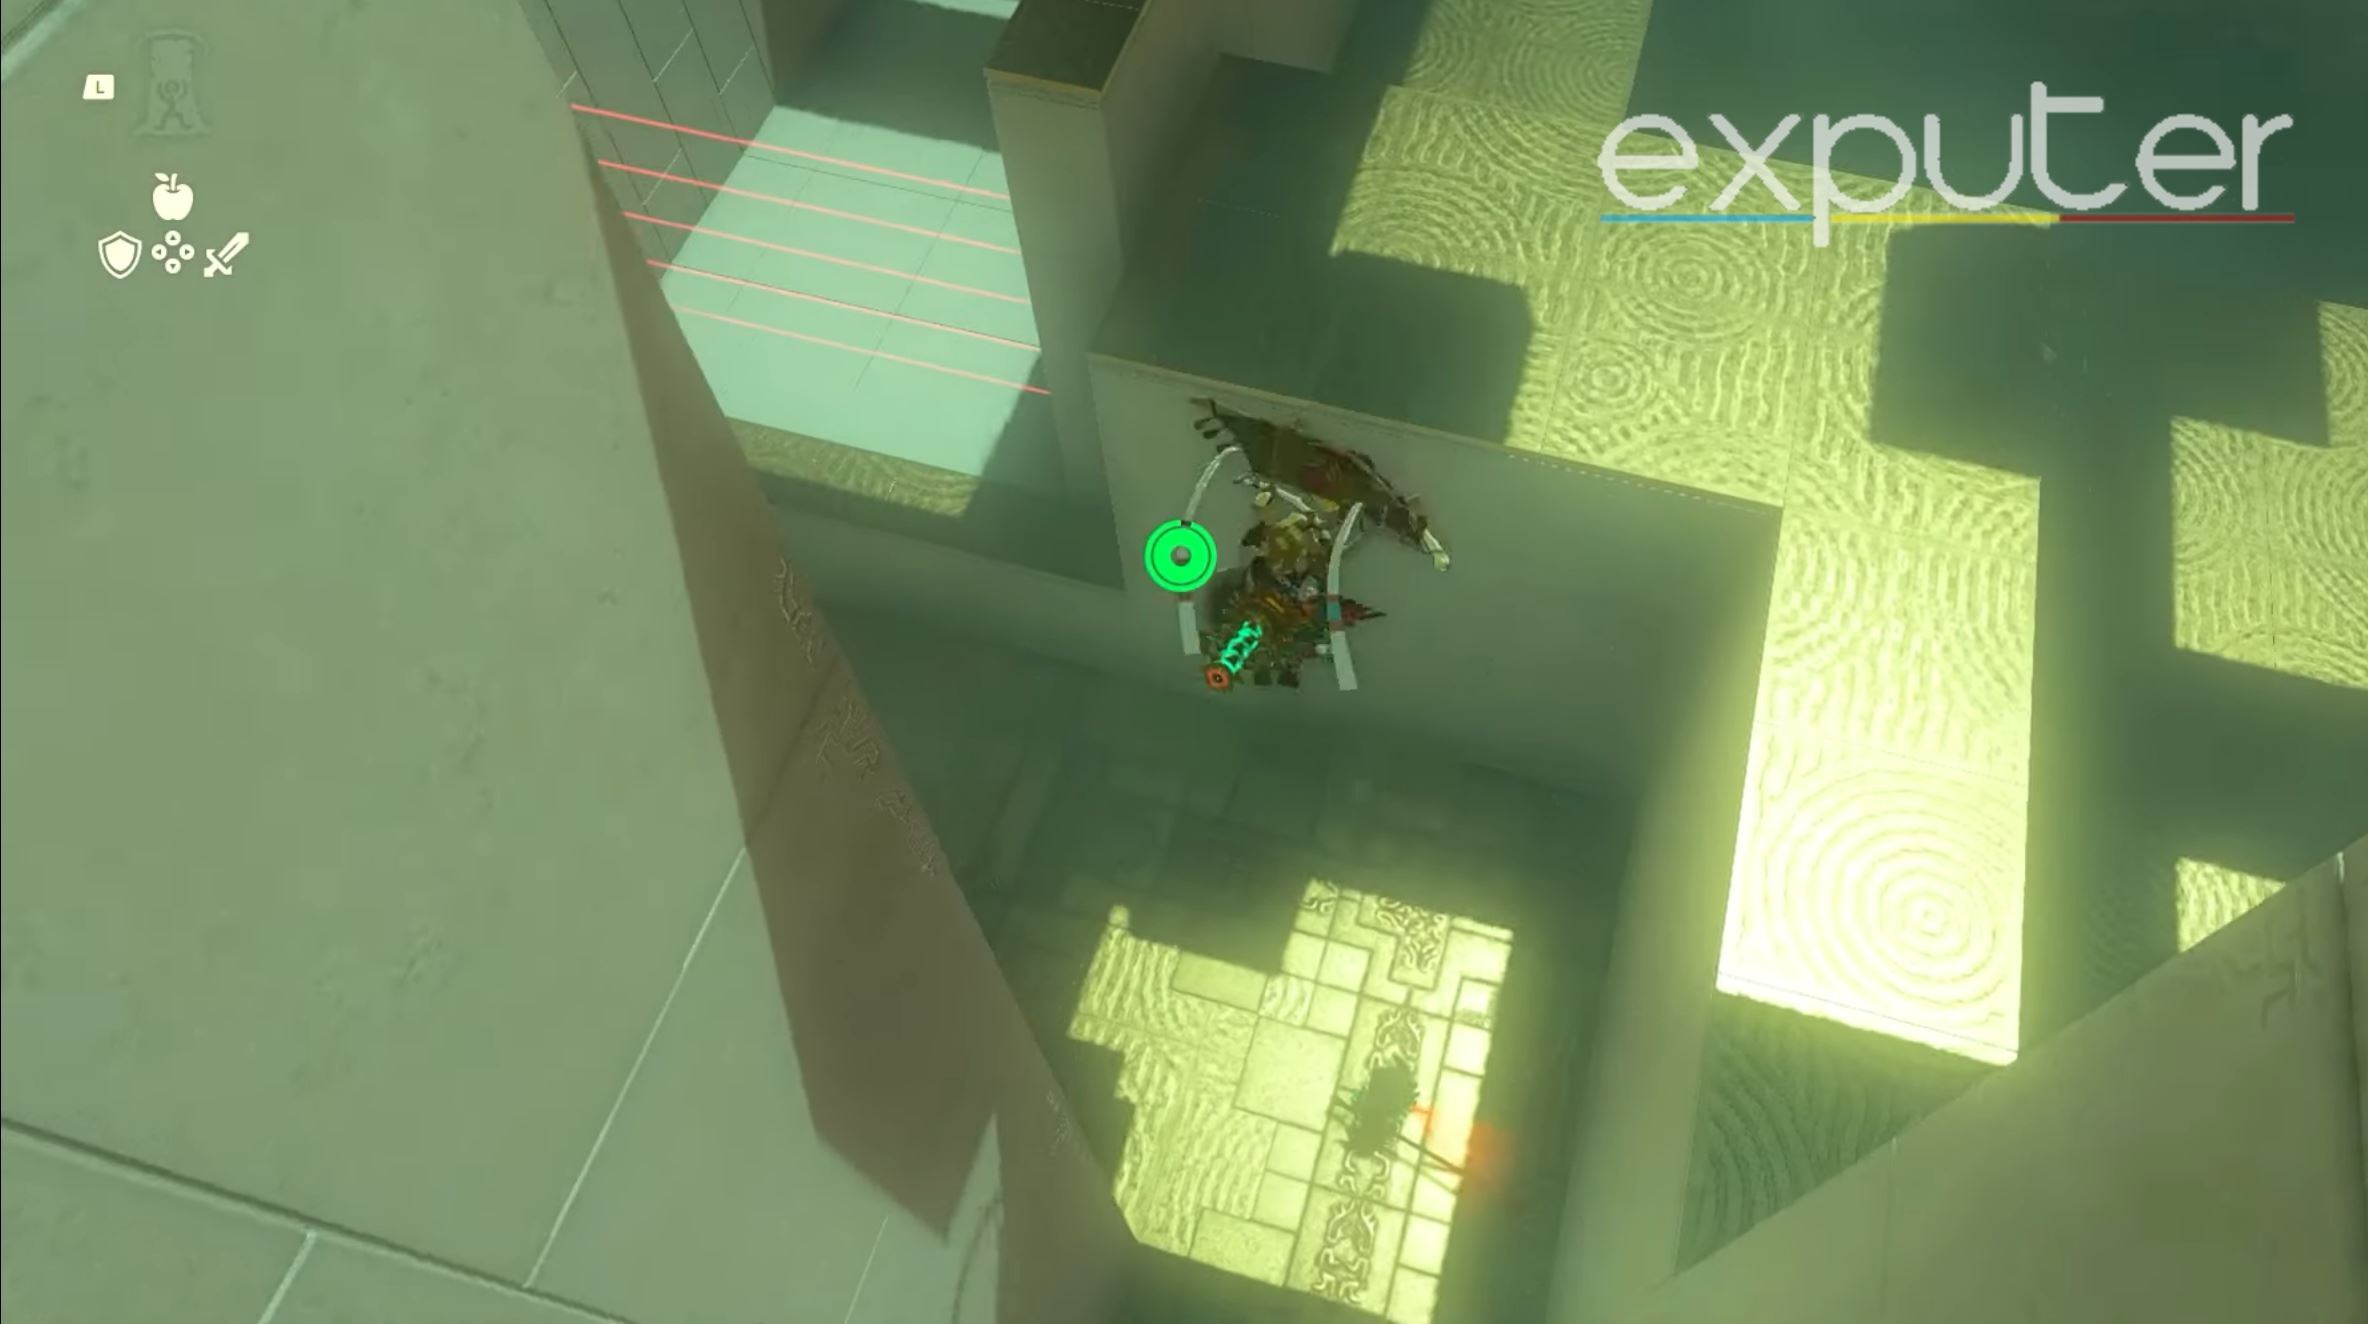
- From the Shrine of Light Key chest, look upwards and Ascend to the top level with the grating, as I’ve shown in the image above.
More enemies (Image credit: eXputer) - After emerging here, you will be confronted by two Soldier Construct II enemies, so be prepared to take them out in any way possible.

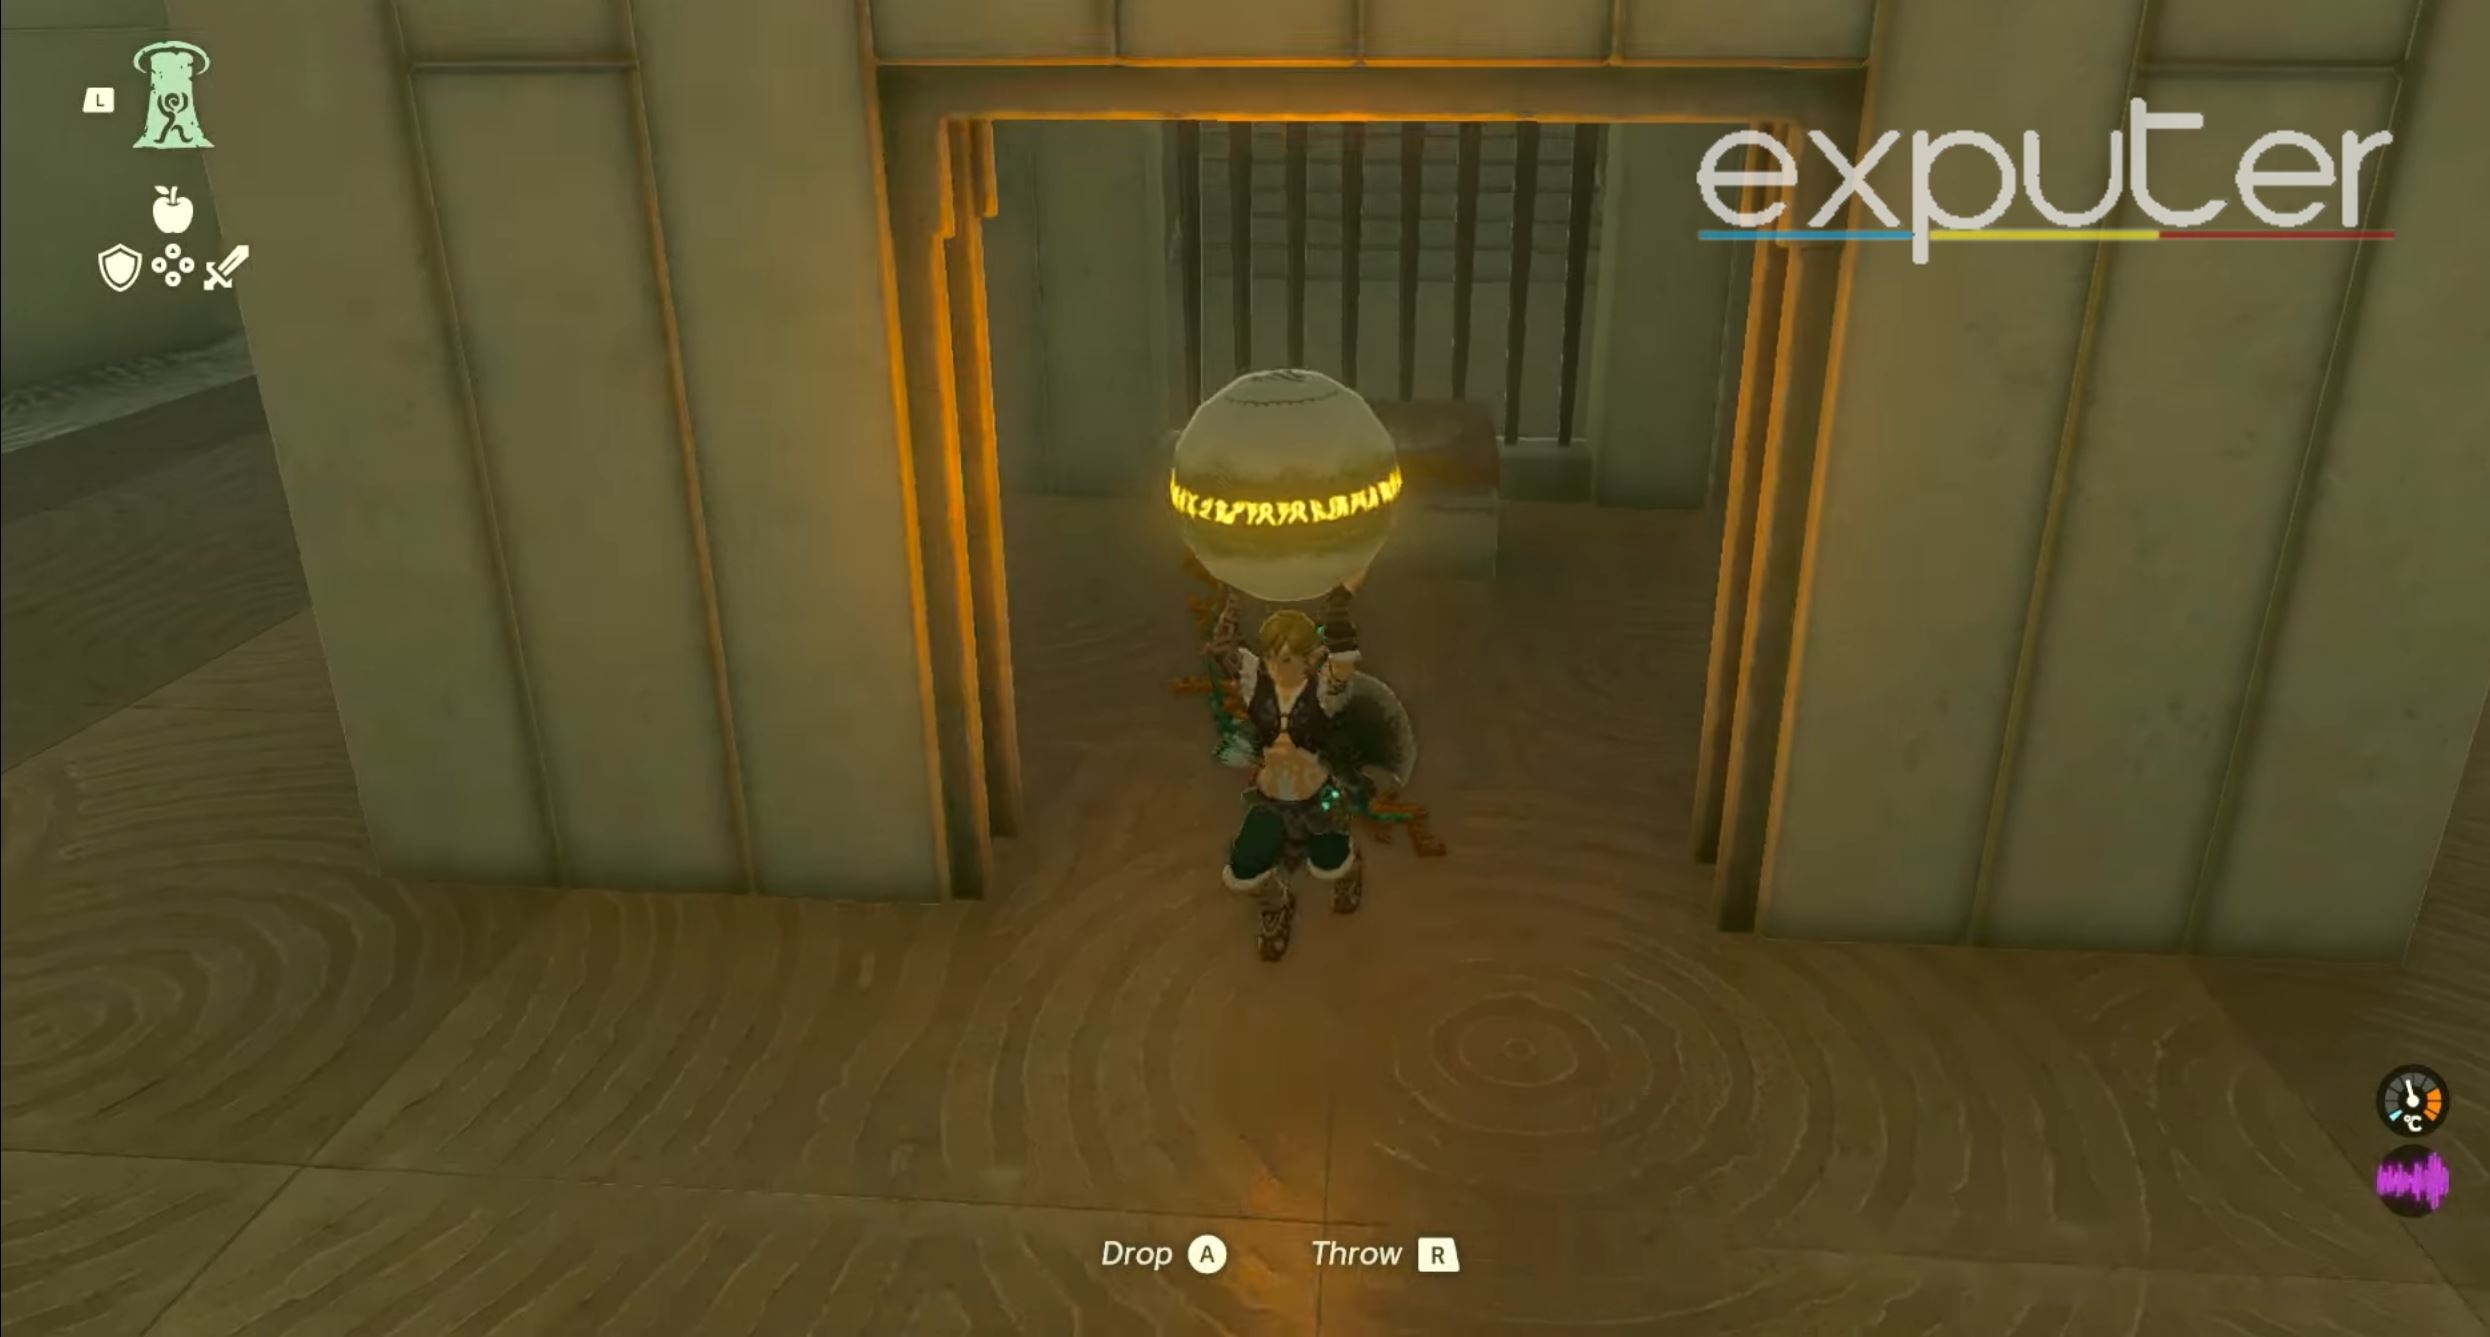
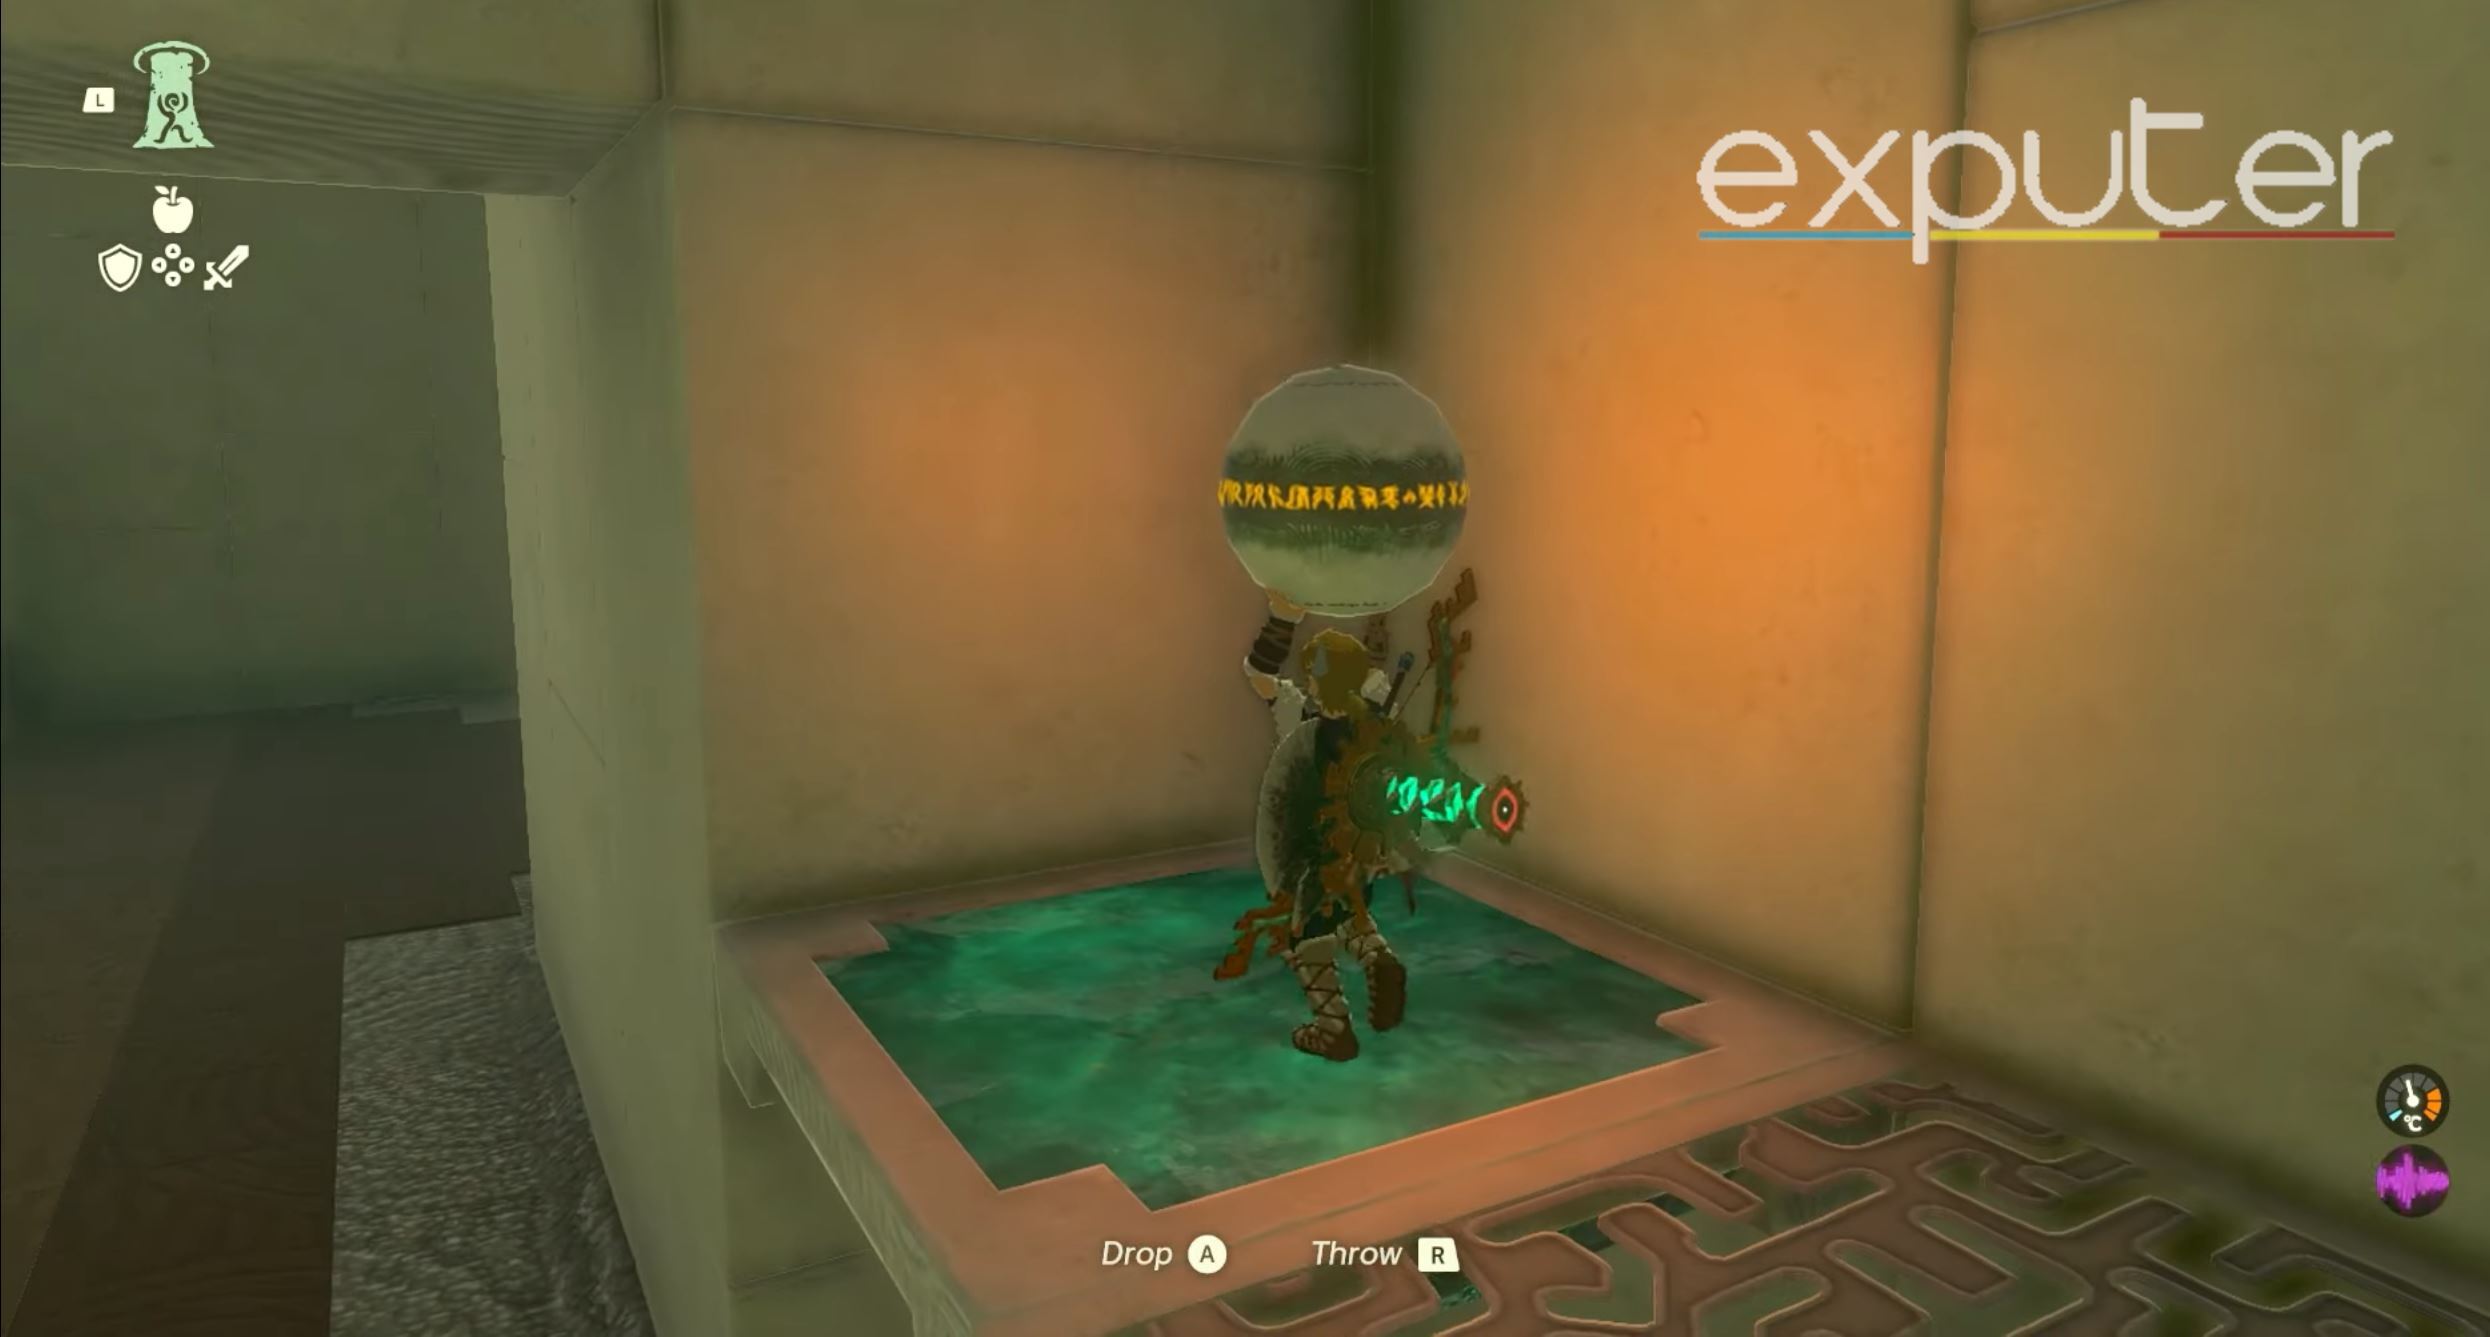
The Orb (Image credit: eXputer) - Now, with the key you obtained earlier, unlock the locked gate here containing the orb that we need, as shown in the image, and grab it.
Head up the lift (Image credit: eXputer) - Make your way to the right side of the staircase, facing the way we came up, and you will notice a platform where you can head up to the next level using an elevator, as depicted in the image here.

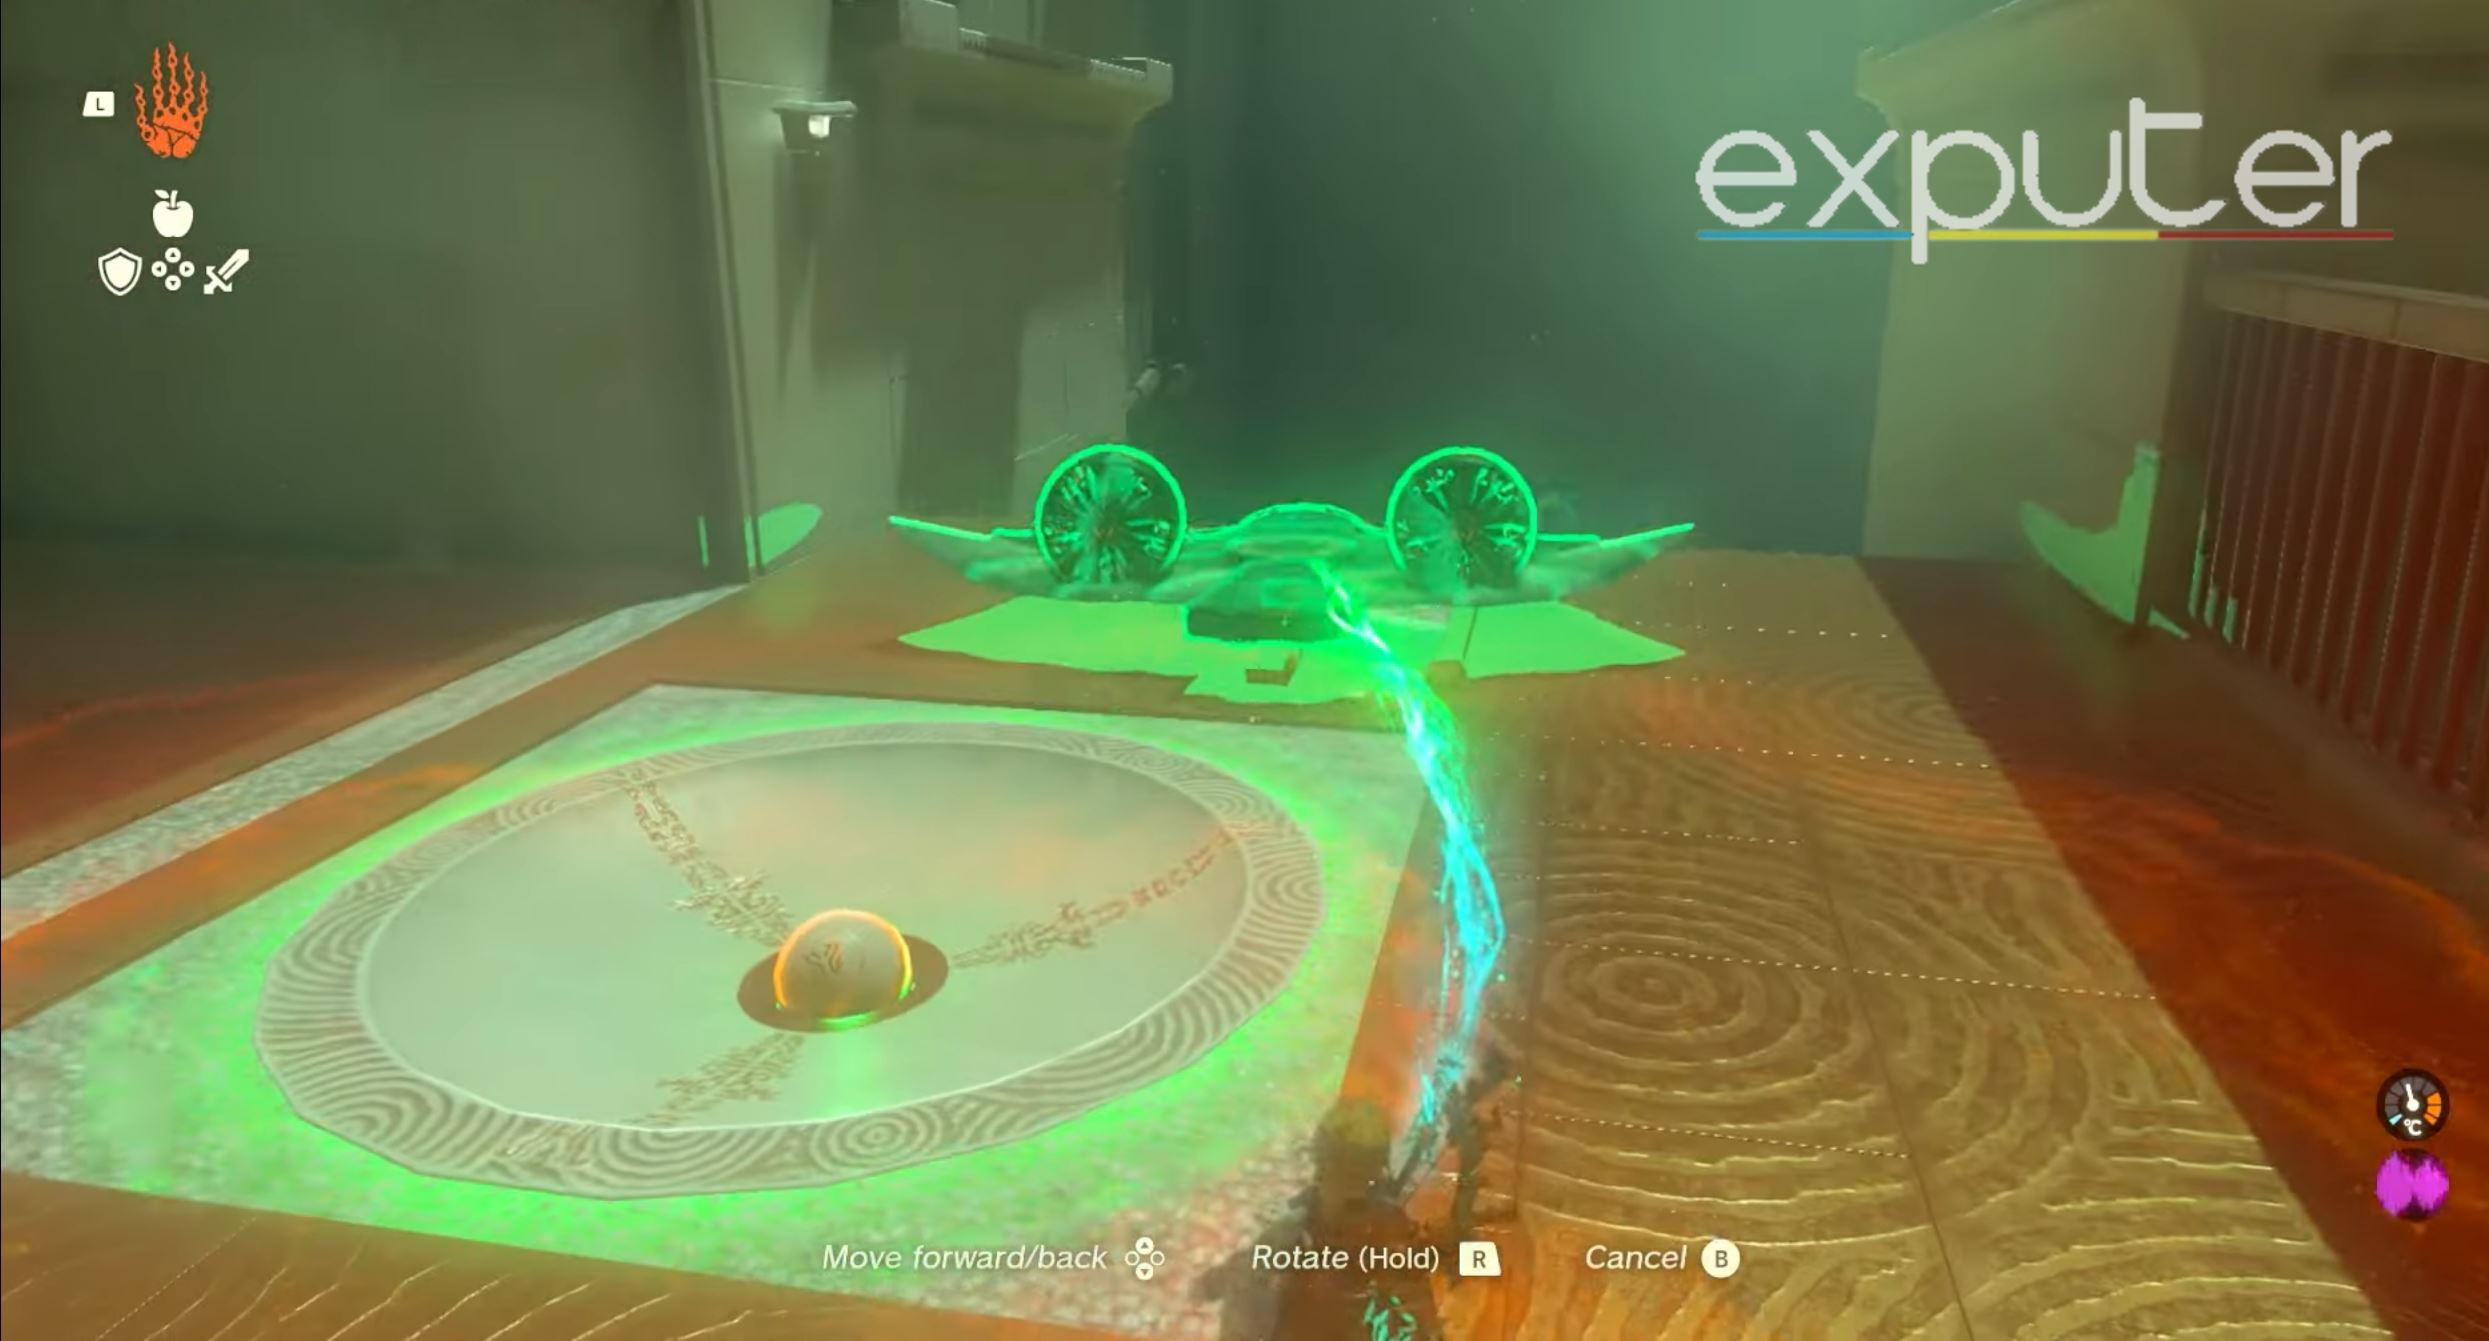
The Wing Contraption (Image Credit Copyright: eXputer) - Now, place the orb in the pit here, which will unlock the grating next to it, containing the Wing Contraption, which will you will need to carry the Orb across to the other side of the area.
- Use Ultrahand to place the Wing Contraption in a front-facing manner so that it can fly all the way toward the side where we first started the shrine.

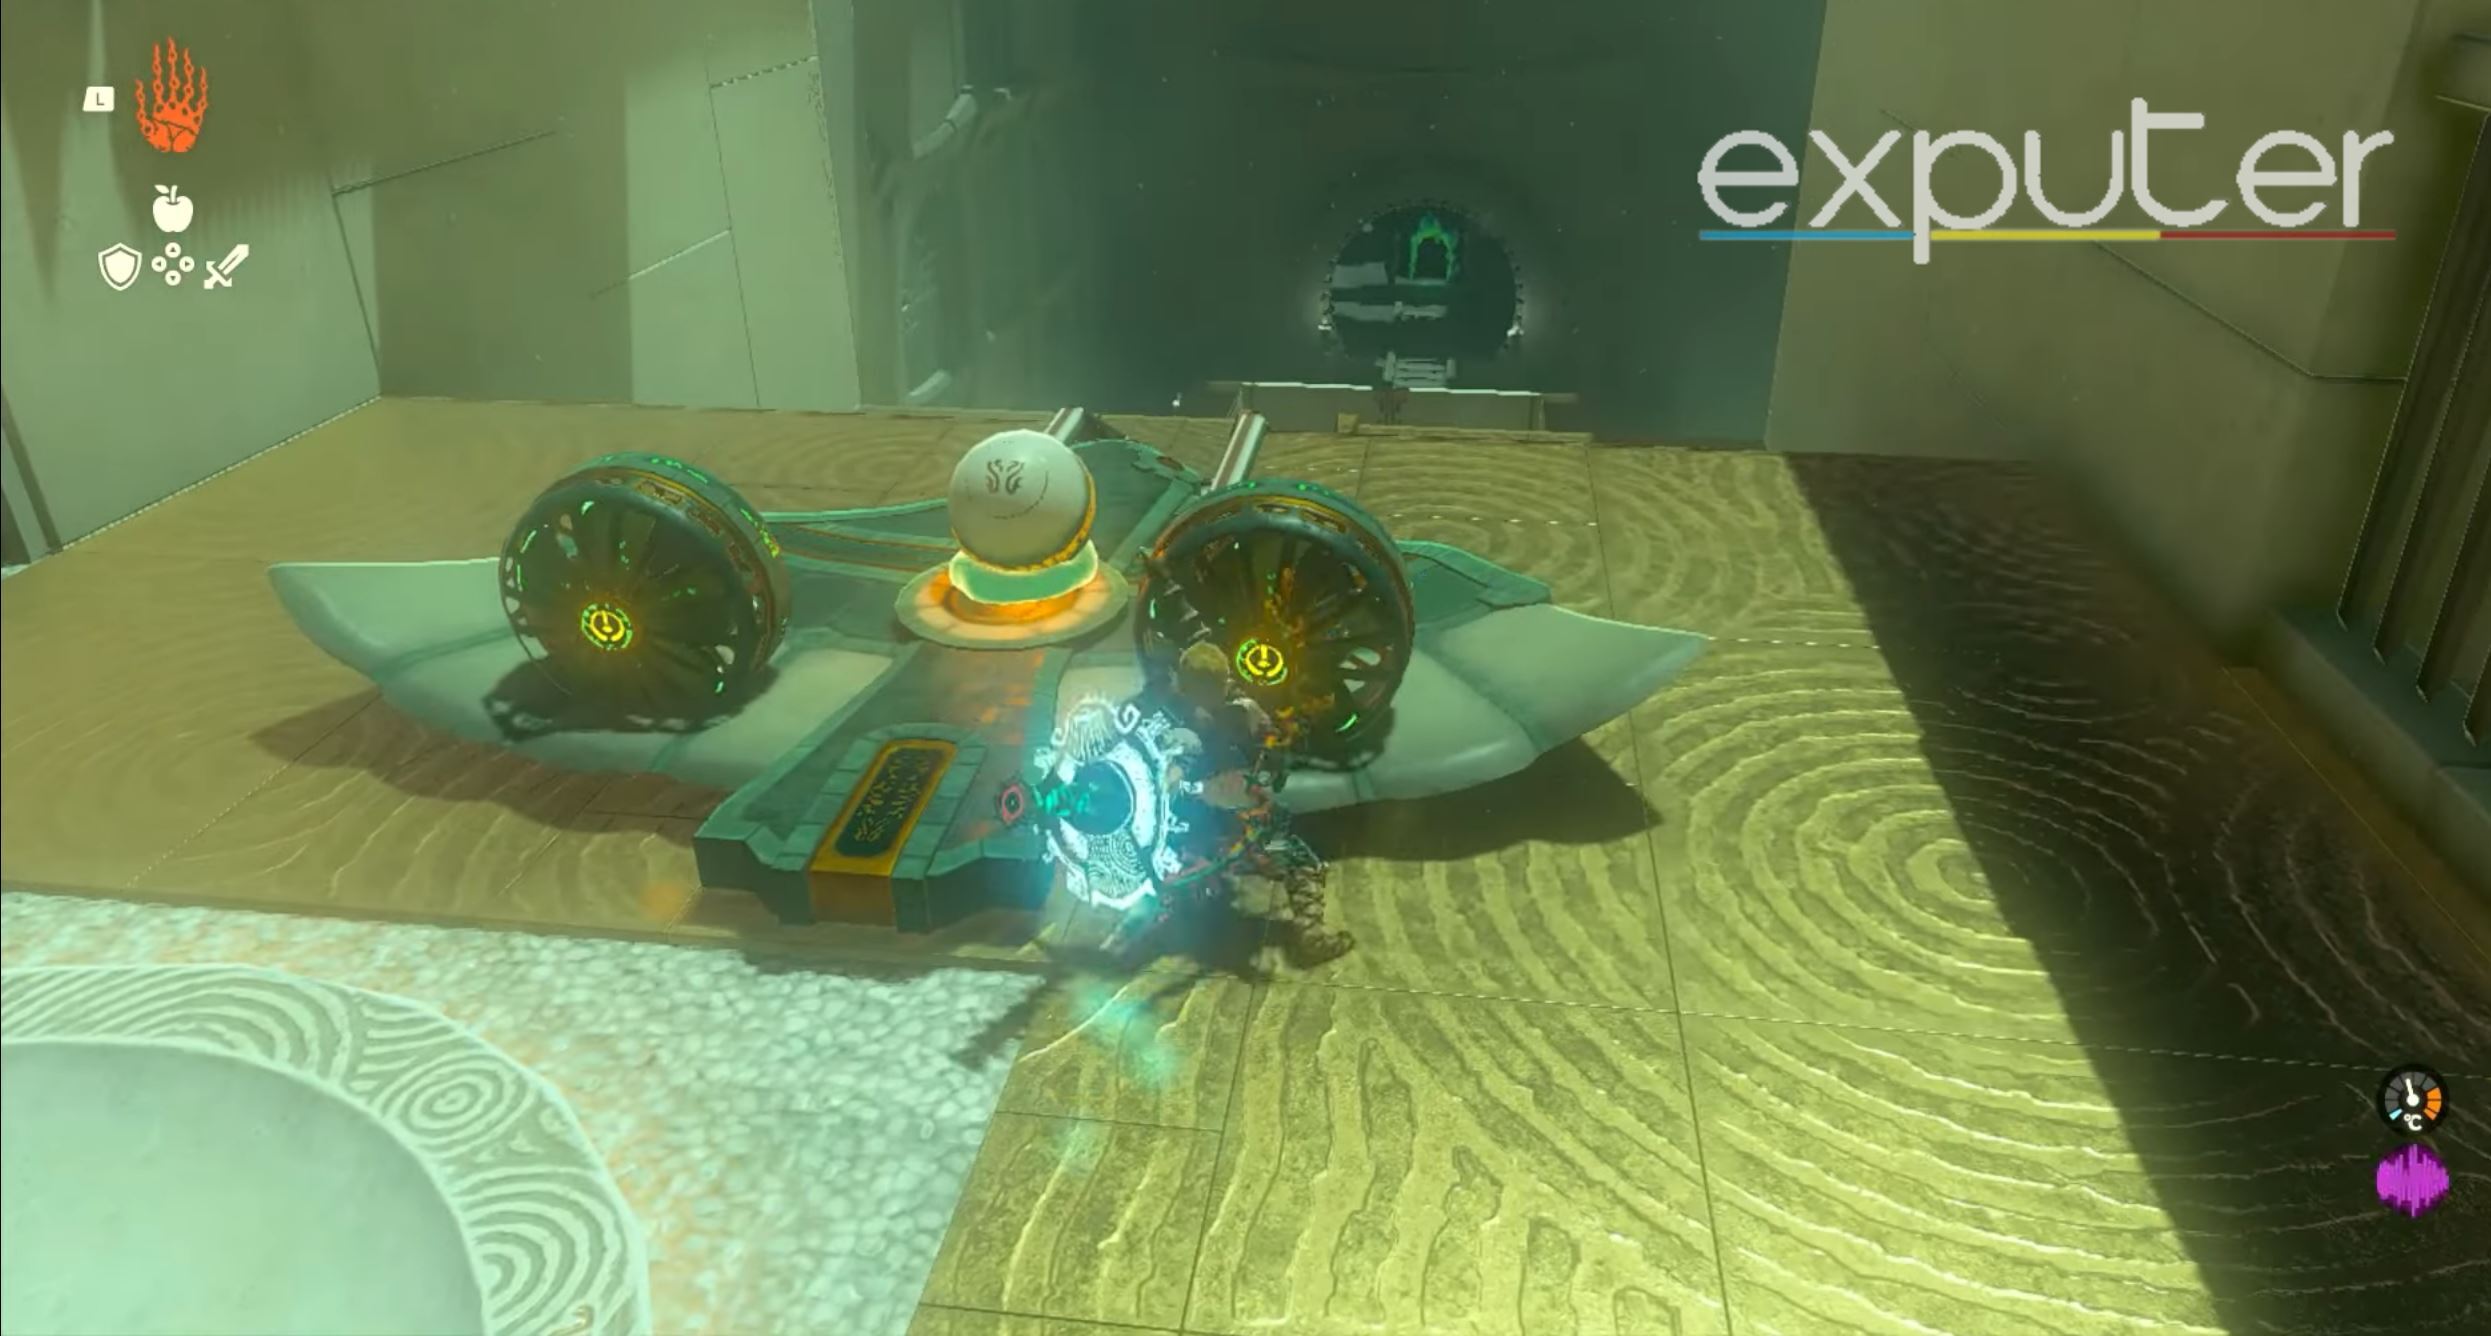
Activate the Wing (Image Credit Copyright: eXputer) - Place the Orb on its back, and now you have two methods to carry the orb back to the Sigil door.
- Upon putting the orb on the back of the Wing, you can ride along on it by hitting the fans and then throw it back on the ground to carry it to the pit.
- Alternatively, you can activate the Wing, and once it reaches the end of the other side, you can shoot an arrow at one of the fans on its side from afar to turn it off so it can drop the orb on the ground.

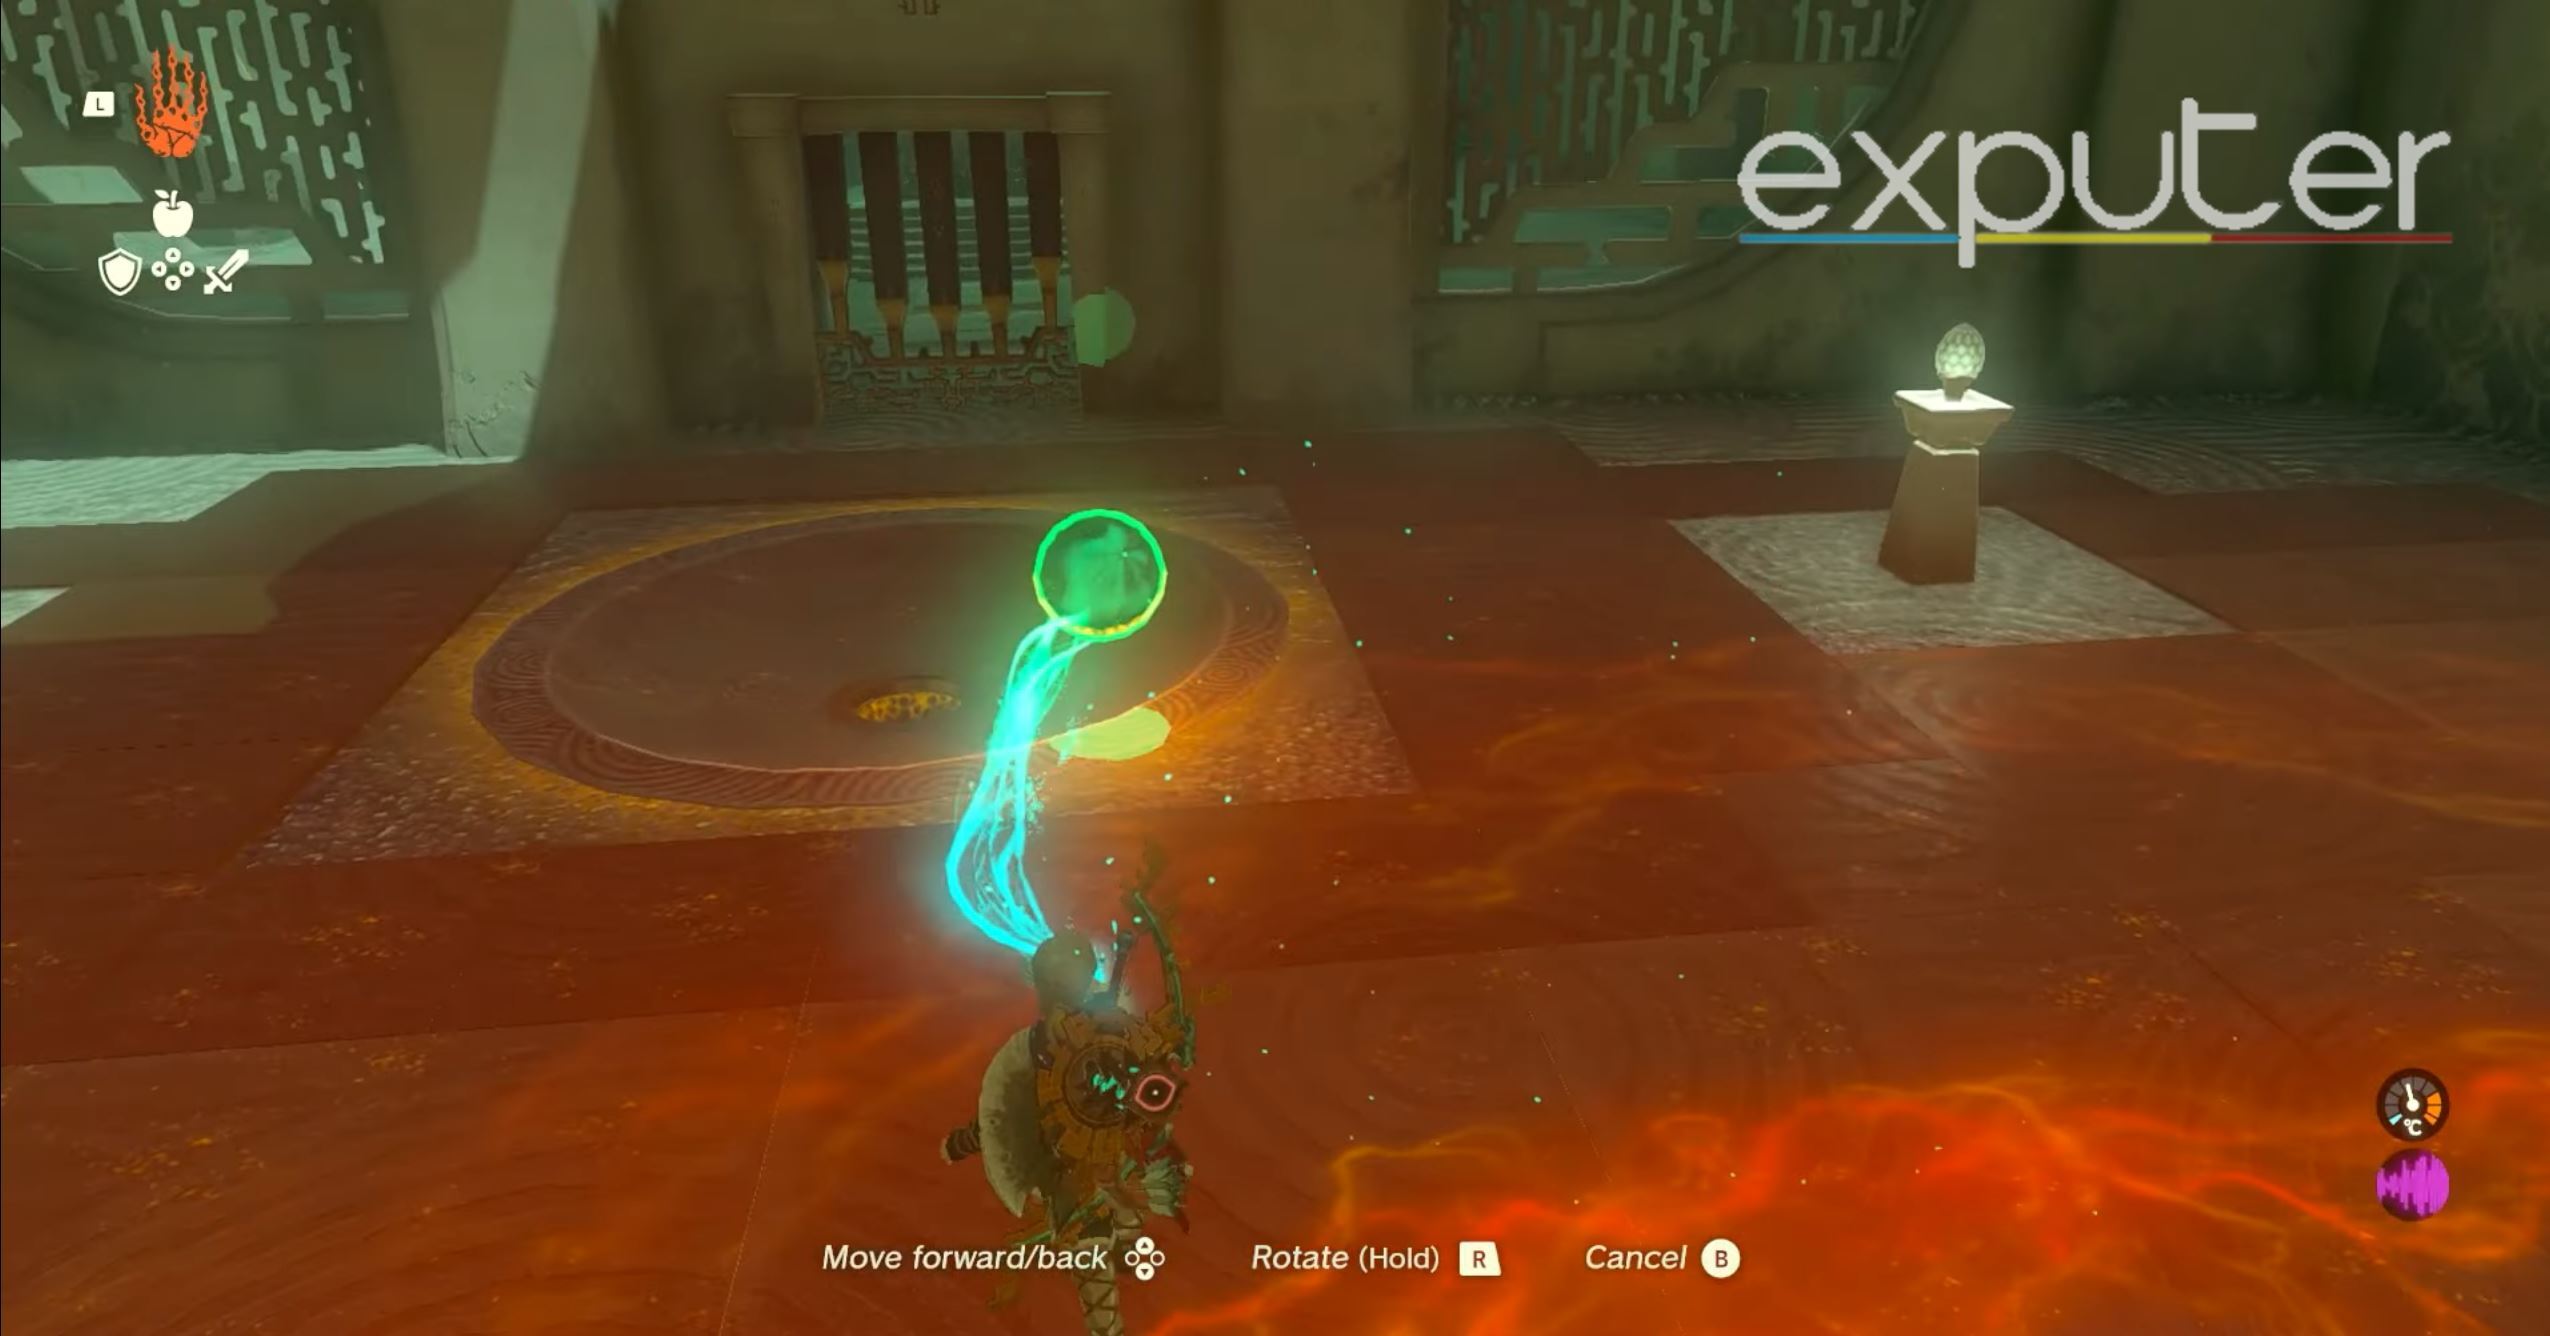
Placing the orb into the Sigil door pit (Image Credit Copyright: eXputer)
- Whichever method you manage to use, now bring the orb toward the Sigil door pit and unlock it.
- Interact with the Sigil to acquire the Light of Blessing and complete the Orochium Shrine in Zelda Tears of the Kingdom.
Summing It Up
The Zelda Tears of the Kingdom Orochium Shrine isn’t the only shrine to be found here as you can expect to stumble upon others on your adventures, too, such as the Mayausiy Shrine as well as the Mayachin Shrine. Not to mention, you may also stumble upon a few of the Great Sky Island Shrines.
The creative possibilities in Zelda Tears of the Kingdom are seemingly endless, as you can makeshift almost anything that comes to your mind. Learning the Best Ways to Farm Rupees will heavily benefit you as this currency will be your main source for purchasing Recipes used for Cooking or even buying gear for Link, such as the Best Shields.
However, for now, this wraps up the guide, and I sincerely hope you found it helpful to make it easier to complete the Shrine and its puzzles. If you have any other questions related to the guide or want to share your experience with the game, then be sure to let us know all about it in the comments section below!
Up Next:
- Zelda Tears of the Kingdom: Flux Construct Core
- Zelda Tears of the Kingdom: Clues To The Sky
- Tears of the Kingdom Royal Hidden Passage
- How To Cross Broken Rails In Tears of the Kingdom
Thanks! Do share your feedback with us. ⚡
How can we make this post better? Your help would be appreciated. ✍