Zelda Tears of the Kingdom features 152 shrines to discover while exploring its open world. Out of these shrines, Great Sky Island contains four shrines. Exploring these shrines will allow Link to gain different abilities that are necessary for further progress in Tears of the Kingdom. However, finding some of these shrines can be highly challenging. In this guide, I will share the locations of Tears of the Kingdom Great Sky Island Shrines, including a detailed walkthrough on how to reach these shrines.
- There are 152 shrines in Tears of the Kingdom & all of these can be explored.
- Players will find 4 shrines in the Great Sky Island area.
- These shrines include:
- Ukouh Shrine.
- In-Isa Shrine.
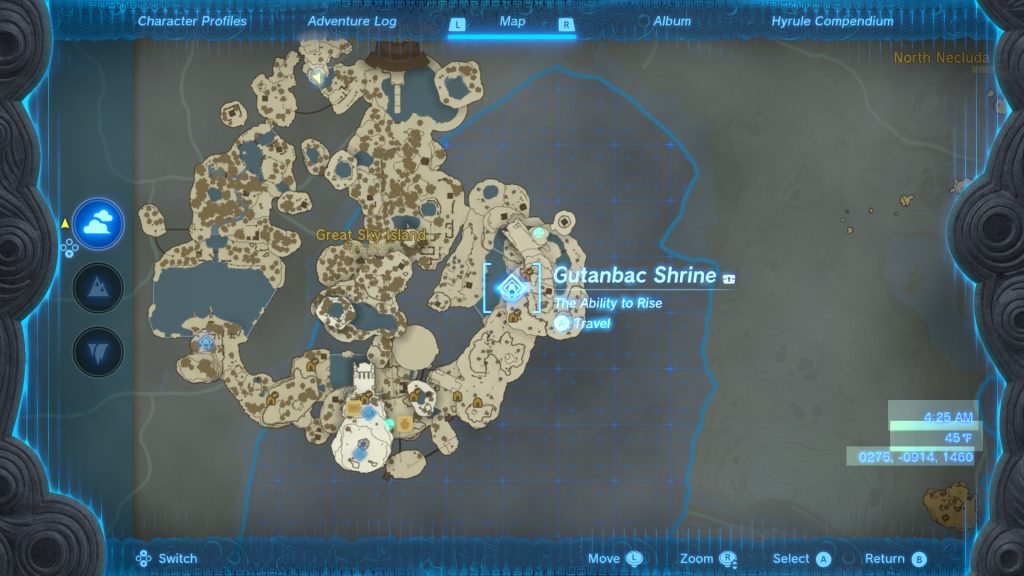
- Gutanbac Shrine.
- Nachoyah Shrine.
- Exploring each shrine will grant players a new ability.
- These Abilities include the following:
- Ultrahand.
- Fuse.
- Ascend.
- Life of Blessings.
- Exploring the Temple of Time before reaching the Nachoyah Shrine will grant Link the Recall ability.
Great Sky Island Shrines
| Shrines | Great Sky Island Locations | Ability |
|---|---|---|
| Ukouh Shrine | Southwest of Temple Of Time | Ultrahand Ability |
| In-Isa Shrine | On the southwest corner of the island | Fuse Ability |
| Gutanbac Shrine | In the snowy biome on the eastern side of the Great Sky Island region | Ascend Ability |
| Nachoyah Shrine | Southern area of the Great Sky Island | Light of blessings |
There are four Tears of the Kingdom Great Sky Island Shrines. Exploring each of these shrines is necessary and will grant Link a new ability. These shrines include:
- Ukouh Shrine: The first shrine players must visit on the Great Sky Island is Ukouh Shrine. Exploring this shrine will grant Link the Ultrahand ability.
- In-Isa Shrine: In-Isa is the second shrine where players will get the Fuse ability.
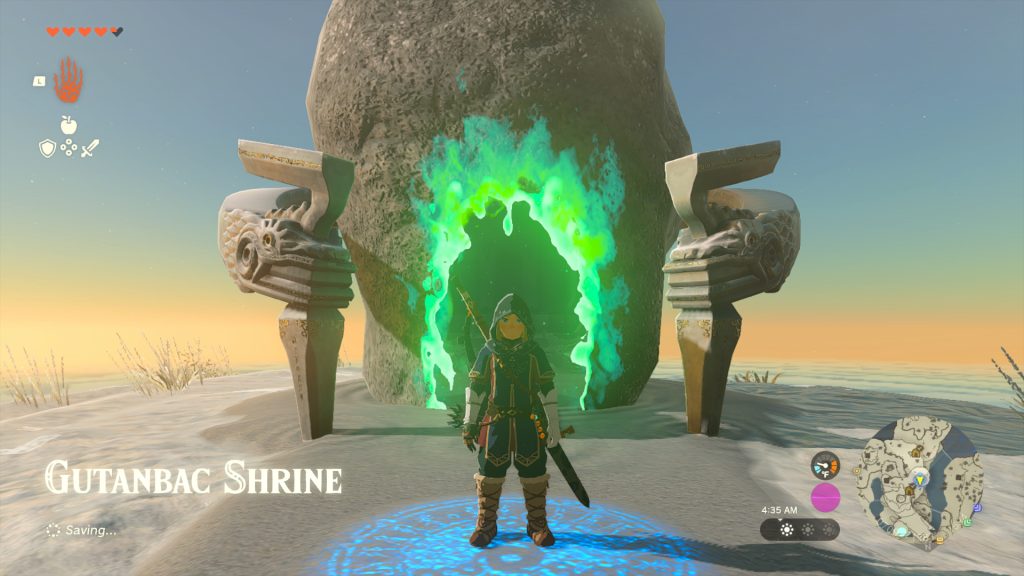
- Gutanbac Shrine: Gutanbac is the third Tears of the Kingdom Great Sky Island shrine. Exploring this shrine will grant Link the Ascend ability.
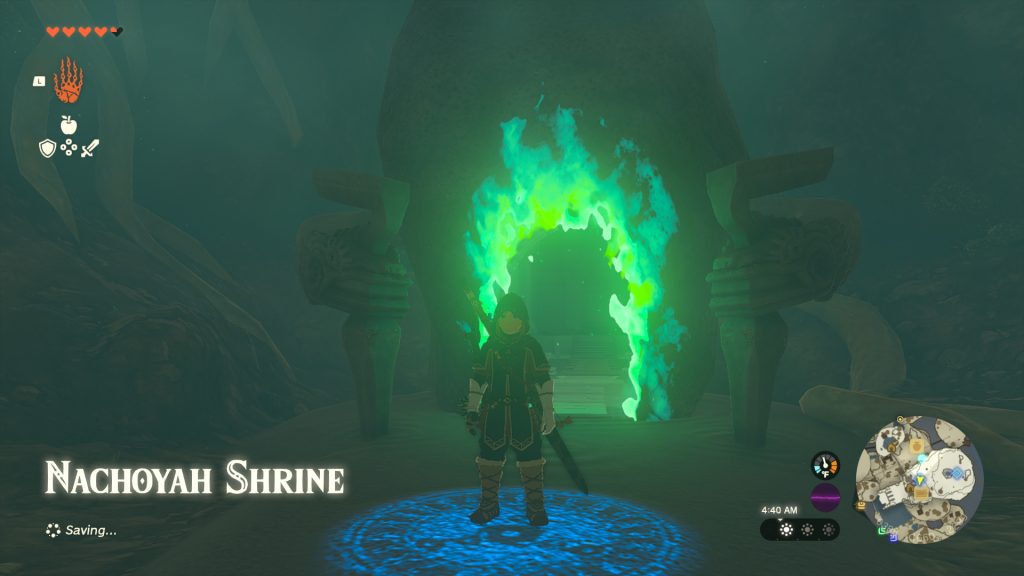
- Nachoyah Shrine: The fourth and last shrine on Great Sky Island is Nachoyah Shrine. After exploring this shrine, players will get the Light of Blessings which will upgrade the number of hearts.
Ukouh Shrine
The first shrine players visit as a part of the Tears of the Kingdom tutorial is the Ukouh Shrine. Exploring this shrine will grant Link the first ability of the Tears of the Kingdom. This ability is known as the Ultrahand. The Ultrahand allows you to perform a series of different actions. These actions include grabbing, lifting, rotating, dropping, moving, and attaching multiple objects together.
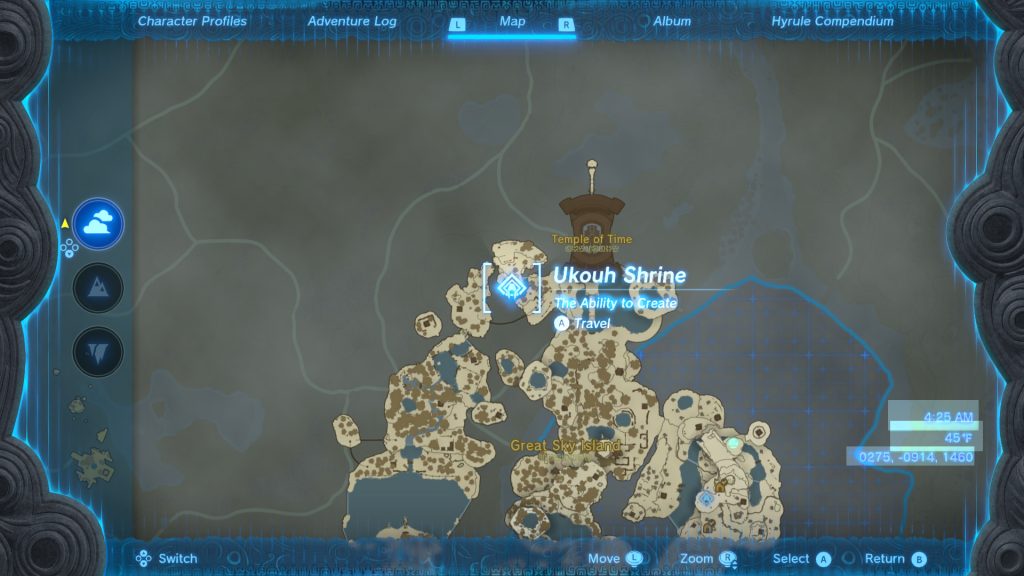
How To Reach Ukouh Shrine
- The Ukouh Shrine is located west of the Temple of Time, and reaching it is extremely simple.
- From the Temple of Time, keep moving in the west direction, and you will reach a river.
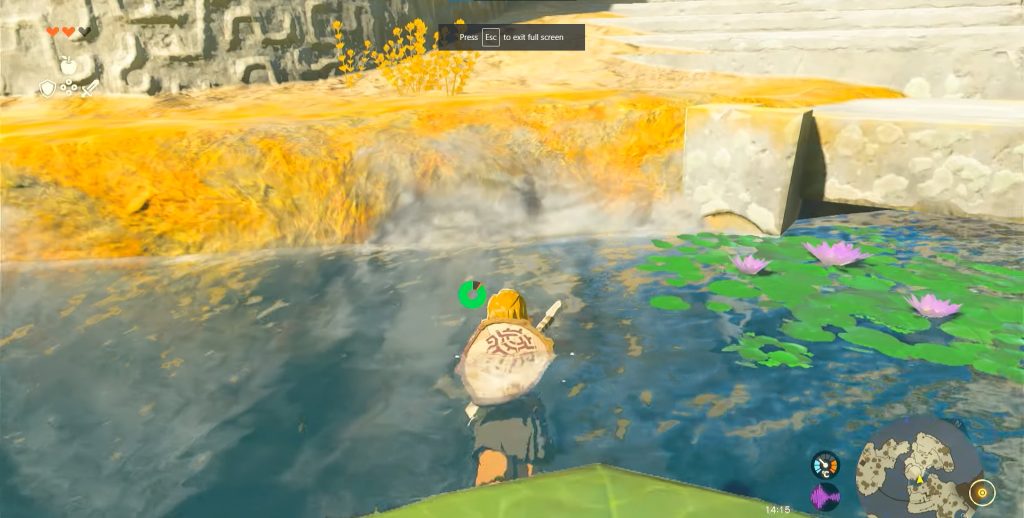
- Cross this river and climb the stairs in front.

Crossing the river - As the stairs end, climb the shrine wall and then jump to the next stairs area.
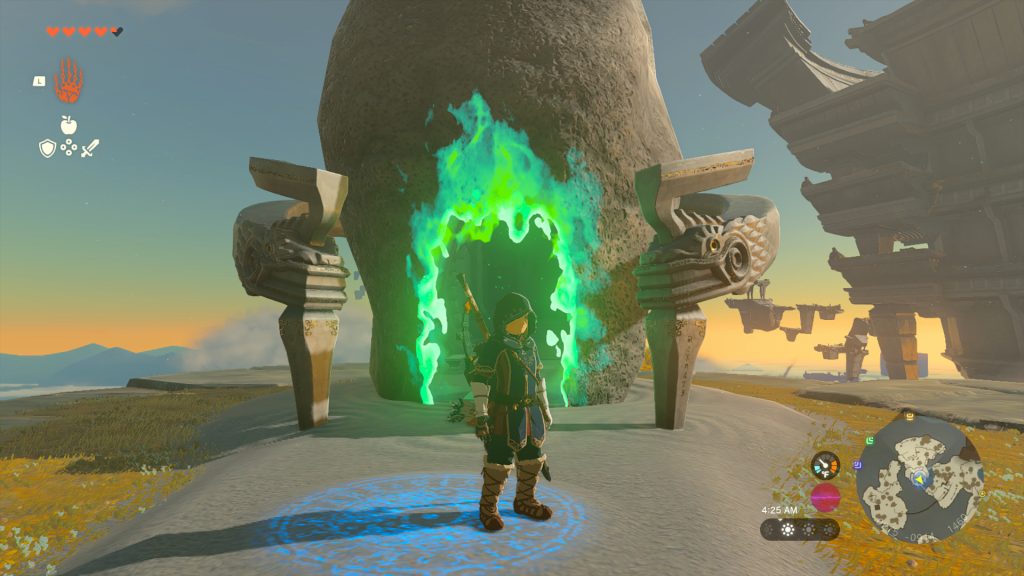
- Once you reach the top of this shrine wall, you will see the Ukouh Shrine.

The Ukouh Shrine - Now interact with the Green shrine seal and start exploring the shrine.
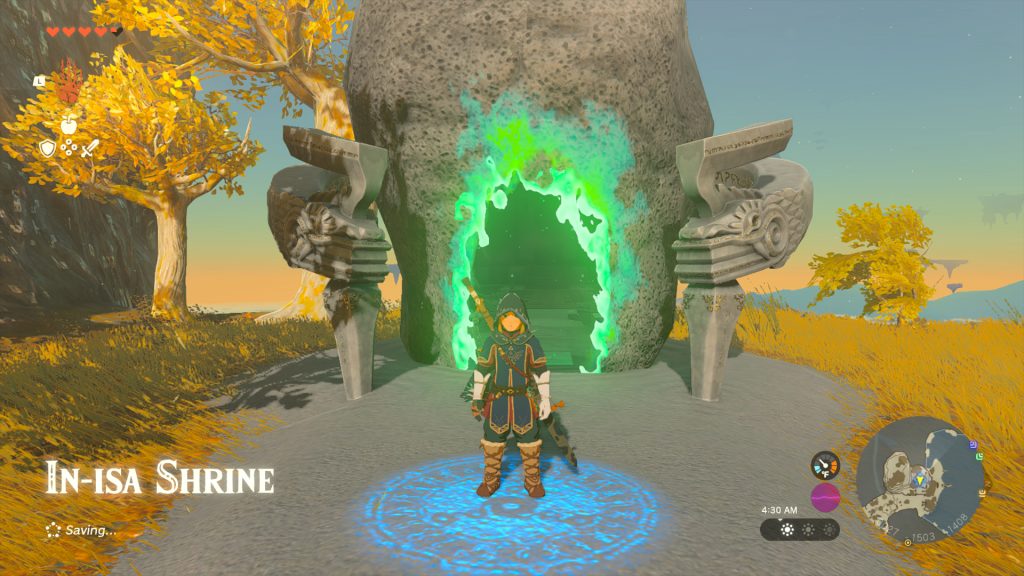
In-Isa Shrine
The second shrine situated on the Great Sky Island is the In-Isa Shrine. As mentioned above, exploring this shrine will grant Link the Fuse ability. Fuse is a new ability introduced in the Tears of the Kingdom. This ability allows Link to fuse the weapons with other weapons or items, which can increase the damage done by each weapon to a great extent.
However, getting to the In-Isa Shrine is a pretty complicated process, and there are multiple routes to reach the In-Isa Shrine. I have included detailed instructions for my route to reach the In-Isa Shrine in this guide.
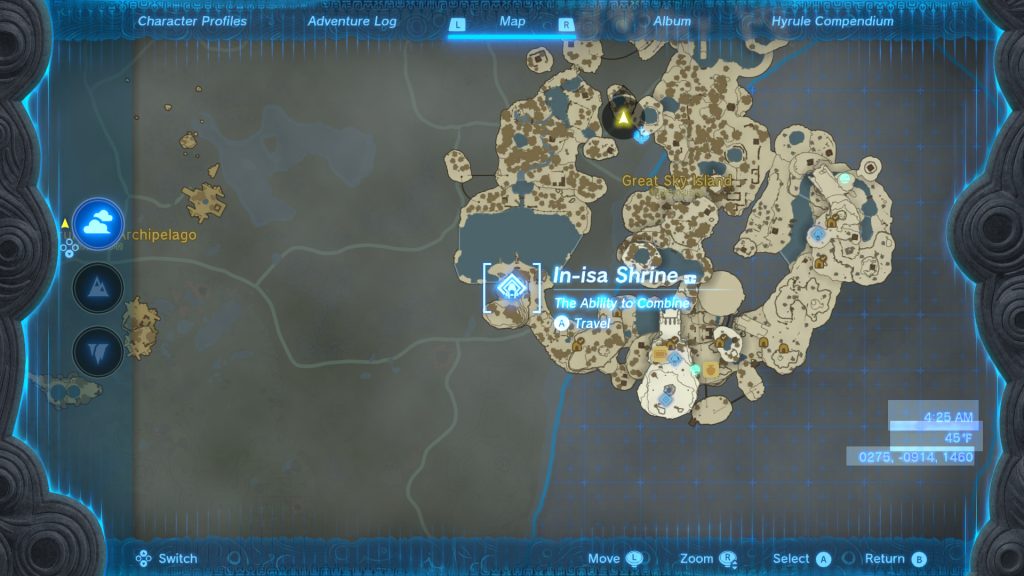
How To Reach In-Isa Shrine
- While at the Ukouh Shrine, jump into the water behind the shrine.
- Swim out of the water and climb the wall in front.
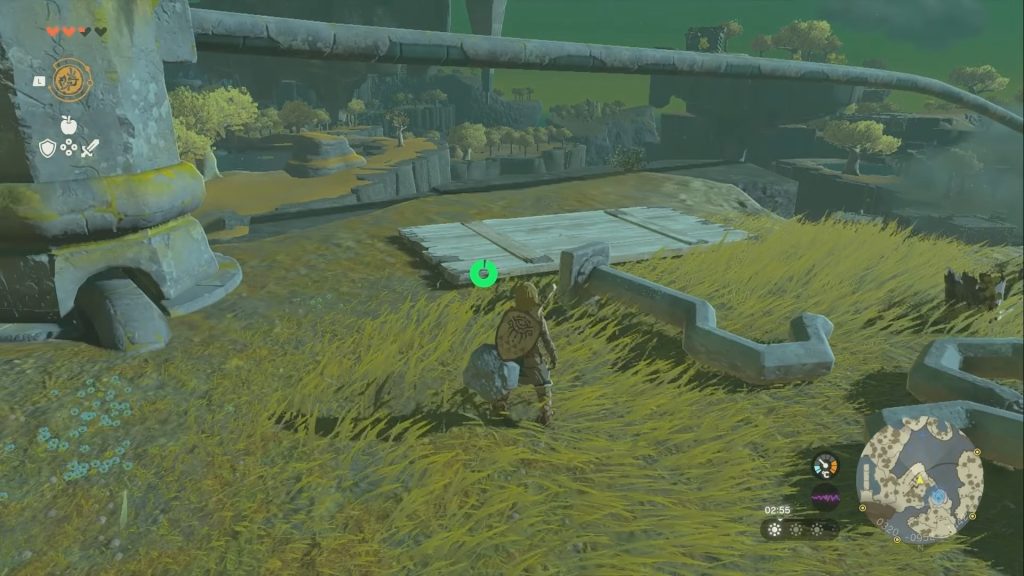
- After reaching the top of this platform, you will see a few items lying on the ground.
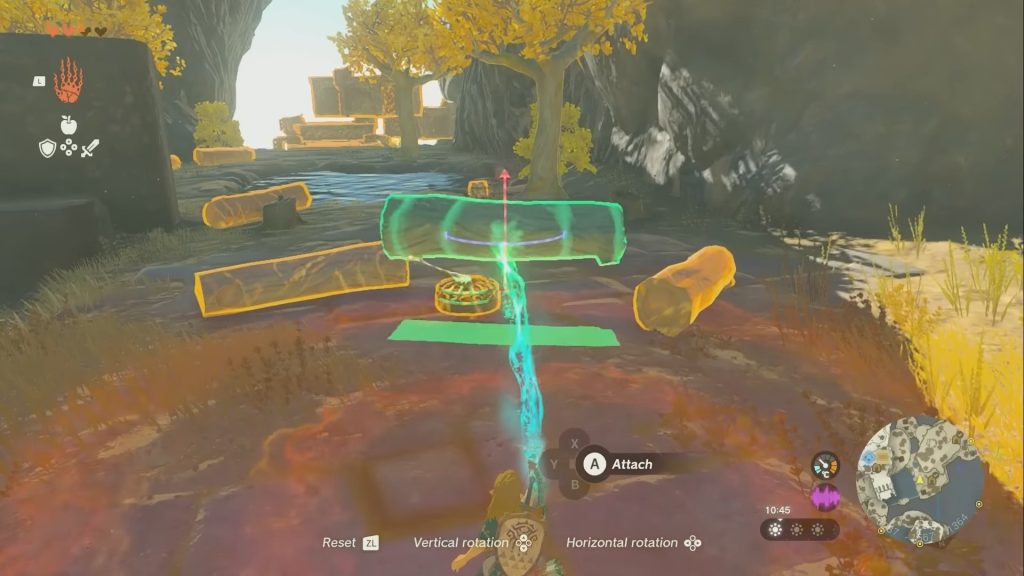
Items lying on the ground - Use the Ultrahand ability to build a raft that can be used for the zipline.
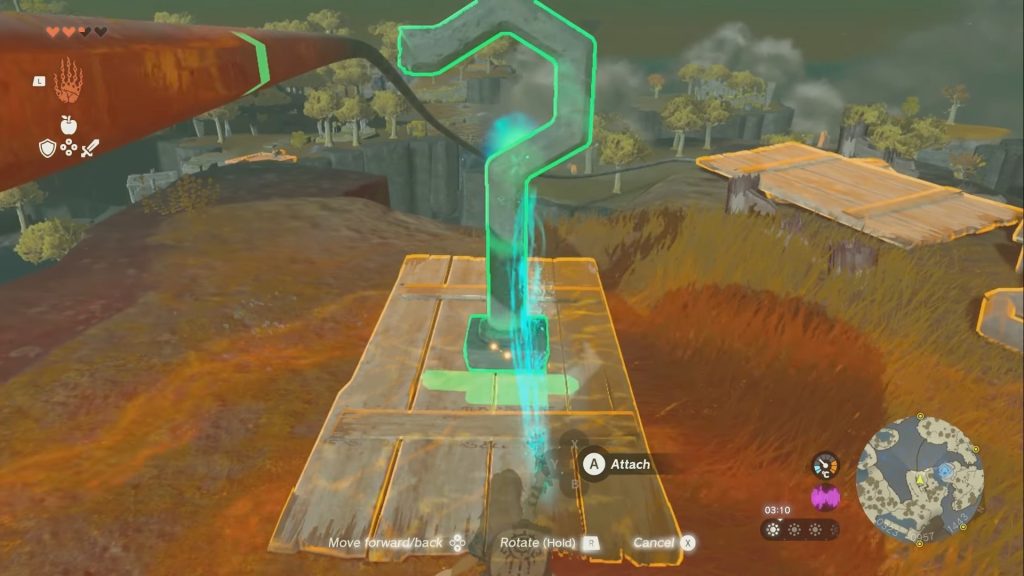
Building The Raft
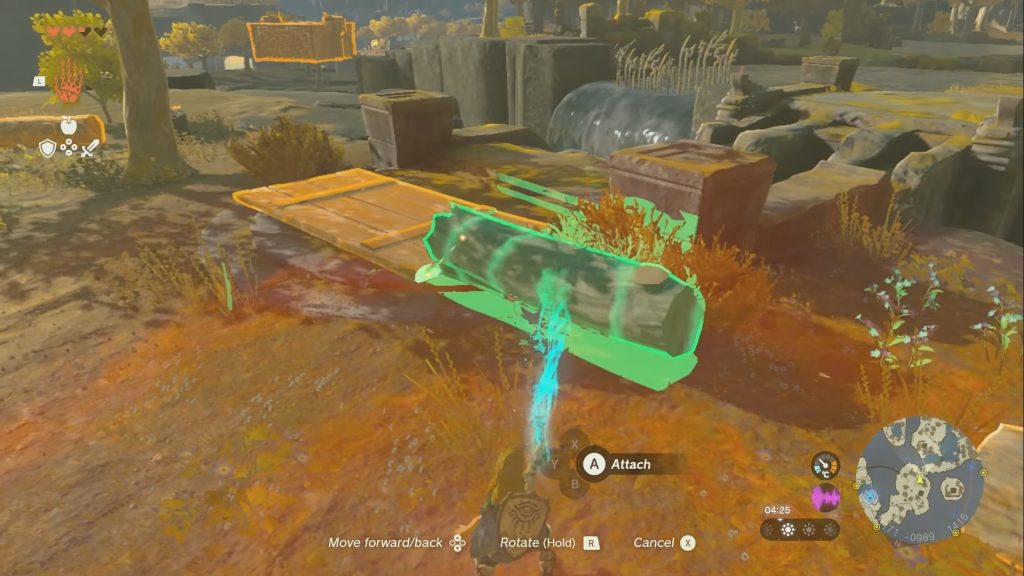
- Use Ultra hand and pick up the pipe lying on the ground.
- Rotate the pipe and attach it to the plank on the ground.
Building the Raft - The raft is created.
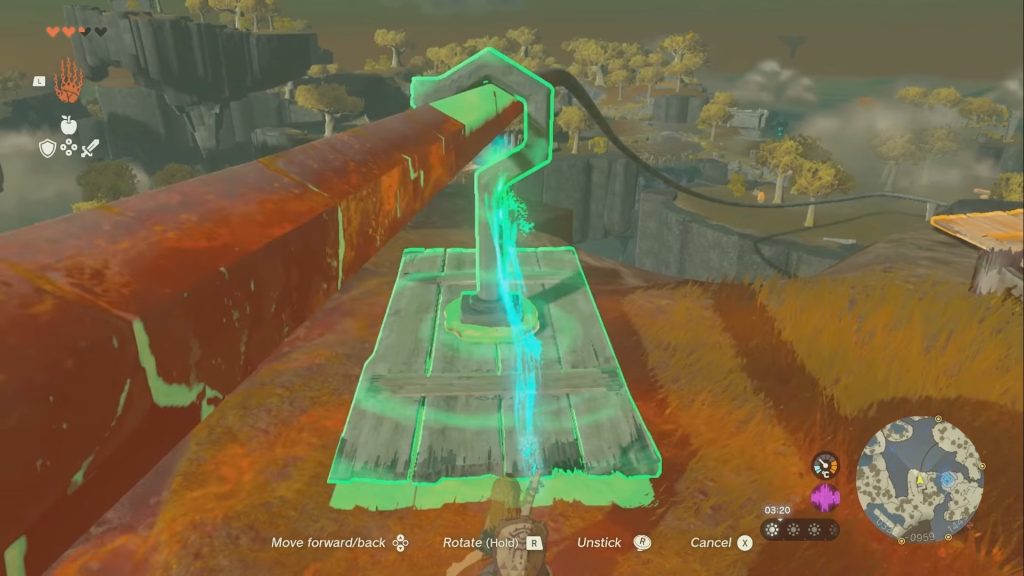
- Now place the raft correctly on the zipline and get to the next platform.
Placing the raft on the zipline
Once you reach the next platform, jump out of the raft and head to the left. There you will see two platforms separated from each other. Now you must connect these platforms using a bridge to cross to the platform in front.
Building A Bridge
- Go back to the zipline and separate the wooden plank from the pipe using Ultrahand.
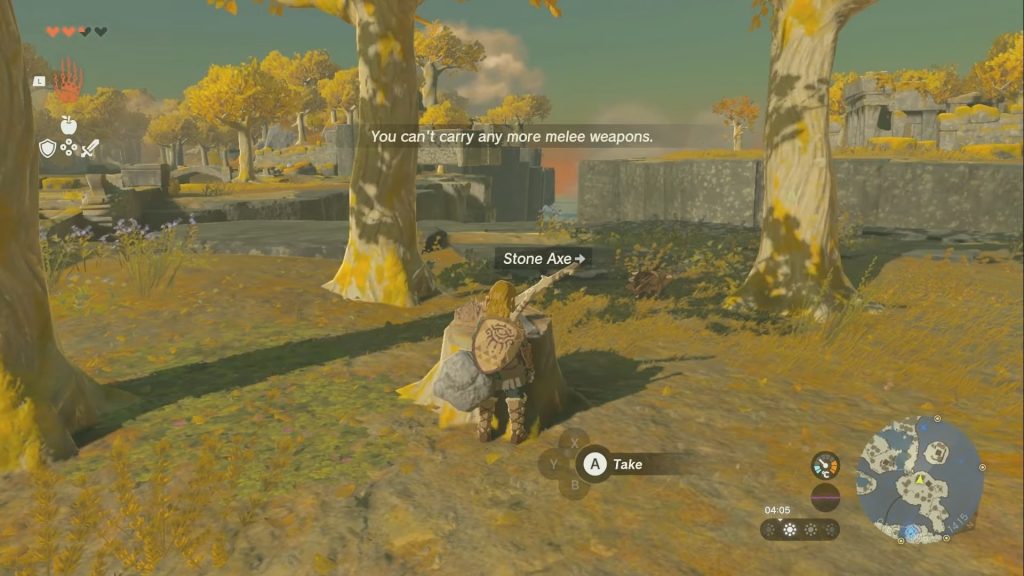
- Drop the plank on the ground and look for a stone axe on the right.
The Stone Axe - After getting the stone axe, chomp some trees to get logs.
- Now attach these logs to the wooden plank in order to create a bridge.
Building the Bridge - Place this bridge in such a way that it connects both platforms.
- Cross to the platform in front.
Keep moving forward; you will see a small bridge over the river on your left. After crossing this bridge, swim through the river on your right. Now follow the straight path until you reach a platform with a second zipline.
You don’t have to take the zipline this time but jump into the water beneath this platform. Once you cross this water, you will come across a few trees, and a wide river is in front of you. You must cross this river to get to the next platform. Use Ultrahand to make a boat and cross this river.
Making A Boat
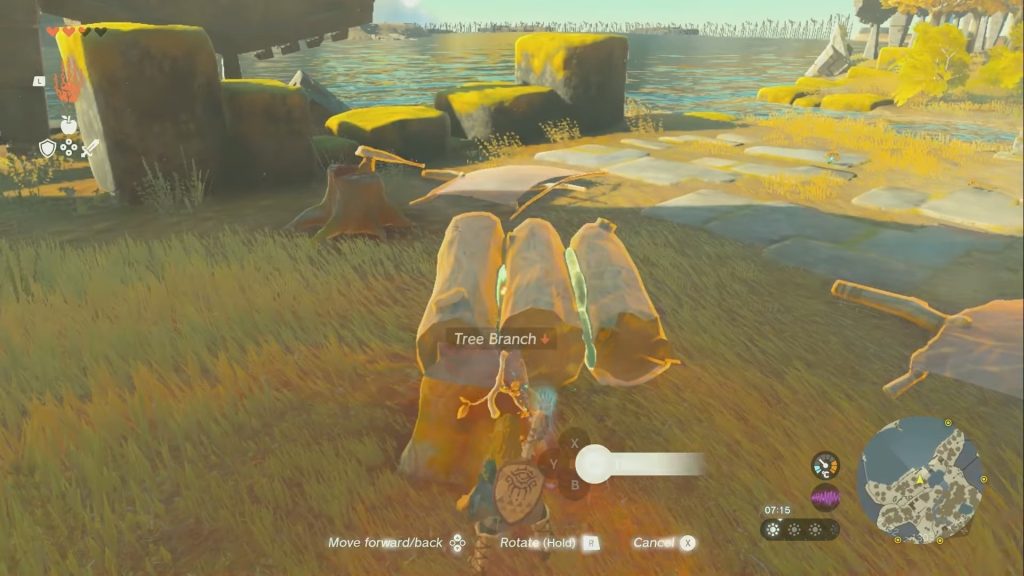
- As you come across quite a few trees, you can use the stone axe to cut down the trees as logs can be obtained from them.
- Use Ultrahand and attach these logs to each other in order to form a boat.
- Now pick up the sail lying on the ground and place it on the boat.
Building the Boat - Once done, pick up the boat and place it in the river, and jump on the boat.
- Sail to the next platform while riding the boat.
As you reach the platform across the river, cover some distance to the left, and you will encounter some stairs. Go up these stairs, and right in front, you will see the In-Isa Shrine.
Gutanbac Shrine
The third shrine that players must explore is the Gutanbac Shrine. Exploring this shrine will allow Link to get the Ascend ability. The Ascend ability allows Link to climb up surfaces without wasting any stamina. It is not like an average climbing ability, but it will enable you to swim through the ceilings of different surfaces.
Finding the Gutabac Shrine can be quite hard compared to the rest of the shrines. While looking for this shrine, I faced many problems but worried not, as I will explain in this guide how one can get to the Gutanbac Shrine easily.
How To Reach Gutanbac Shrine
- While you are at the In-Isa Shrine, climb down the stairs.
- Head to the right, and you will see some more stairs.
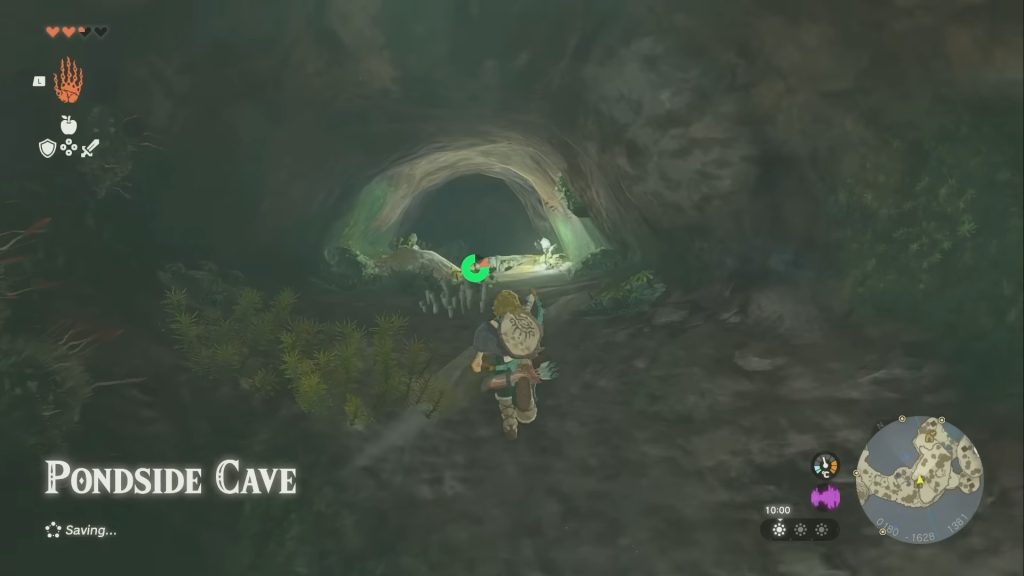
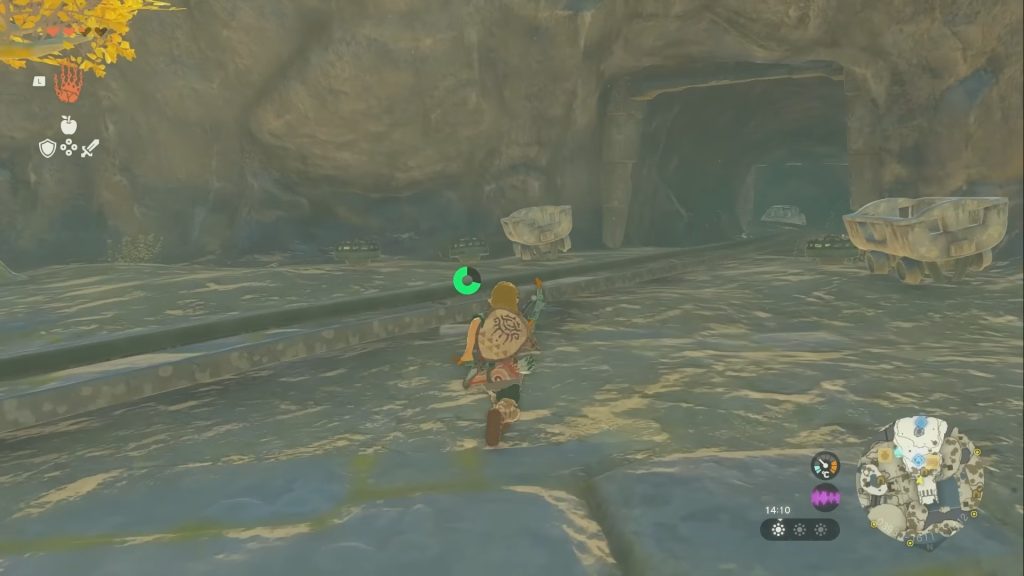
- After climbing down the stairs, keep moving until you reach the Pondside Cave.
The Pondside Cave - Inside the Ponside Cave, you will get your hands on the Archaic Tunic.
- After exiting the cave, you will see a few logs and a fan lying on the ground.
Logs and Fan lying on the ground - Use the Ultrahand ability to make a boat using these logs.
Building the Second Boat - Once the boat is built, attach the fan to its back.
- Now place the boat in the water, get on the boat, and hit the fan with a light weapon.
- Don’t use any of the best weapons, as it may break the fan.
- Once you reach the platform on the other side of the water, climb the stairs in front and head to the top.
- After reaching the top, you will see a mine.
The Mine Entrance - Follow the path that leads inside the side.
- Make sure to use Brightbloom Seeds, as it will be really dark inside the cave.
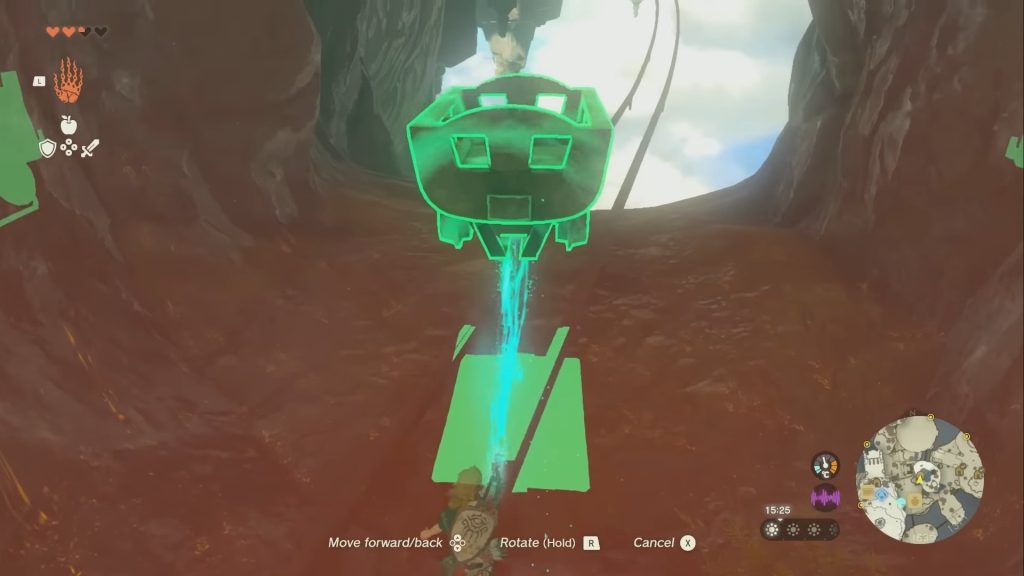
- Keep following the path inside the cave until you reach a cart track.
- Interact with the NPC on the left; it will drop you a mine cart and a fan.
- Attach the fan to the mine cart and place the cart on the track.
placing the cart on the cart track - Now get in the cart and again hit the fan with a light weapon.
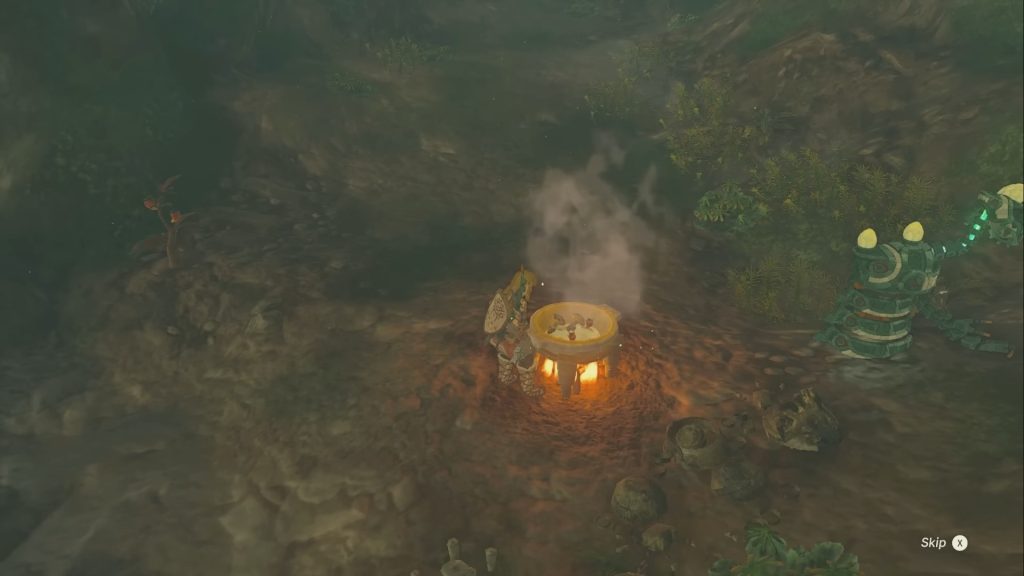
Cooking Food
As the track ends, get out of the cart and head to the east. You will reach a cave. But don’t go inside the cave yet. Outside the cave, you will see different ingredients. Make sure to pluck some Spicy Pepper. Now go inside the cave, and you will find a cooking utensil. Cook some food by mixing the spicy pepper with some other cooking ingredients.
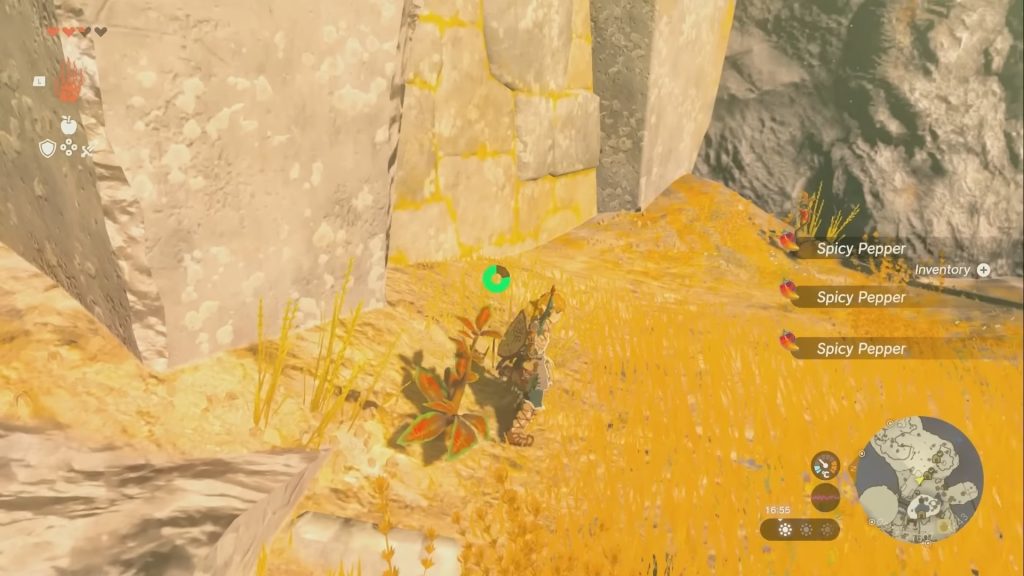
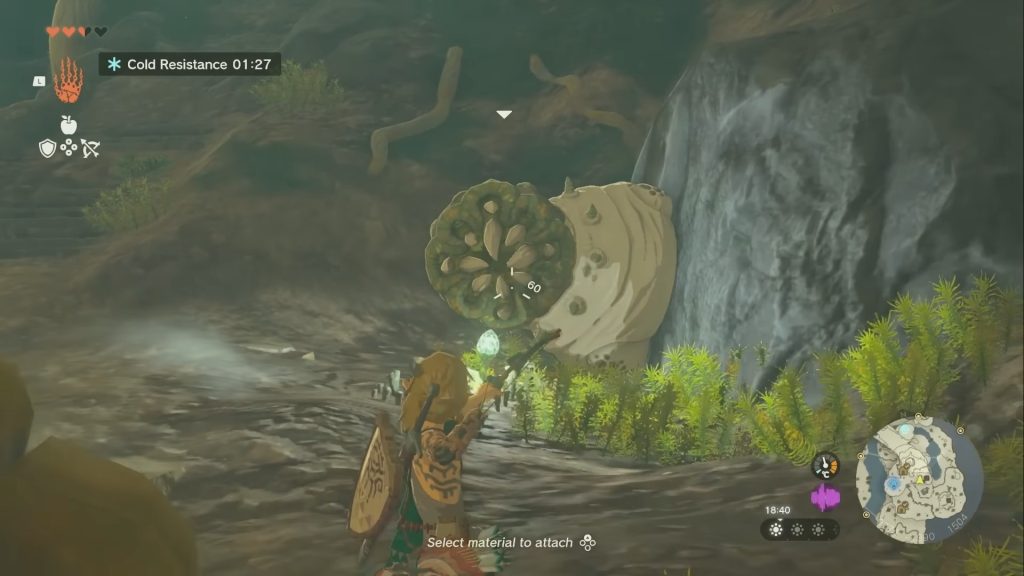
Cooking this food is essential because you will face snowy regions right after exiting the cave. The food will keep Link’s body warm and provide cold resistance. You can cook two spicy pepper and two sky-shrooms. The food created by these ingredients will provide 6 minutes of cold resistance. Furthermore, you can try different combinations of ingredients to make multiple dishes, each providing a different cold resistance duration.
Once you have enough food to face the snowy regions, the next thing is to get out of the cave.
- From the cooking area, go ahead and climb the ledge in front.
- Move forward, and now you will be facing a wall.
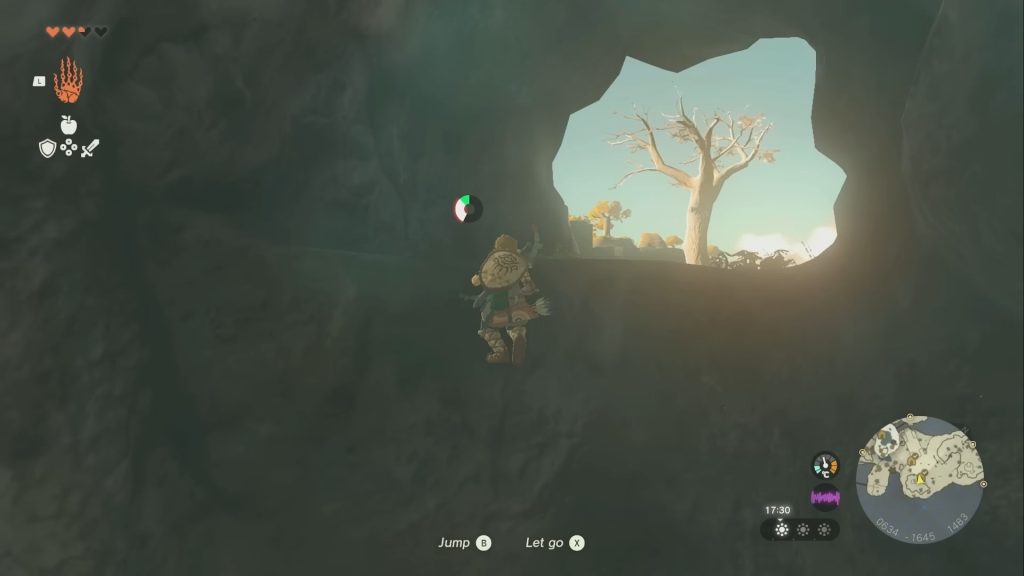
- Climb up this wall, and you will see an exit.
Cave exit - This exit leads to the snowy regions.
The Bottomless Shrine
- Keep moving through the snowy region, and you will reach the Bottomless Cave.
- Inside the Bottomless Cave, you will face quite a large number of foes.
Fighting foes inside the bottomless cave - Defeat them all in order to keep progressing through the bottomless cave.
- Once you exit the bottomless cave, then on the left, you will see an icy hill.
- Climb up this hill, and right in front, you will see an icy wall.
- But you won’t be able to climb this wall due to its slippery structure.
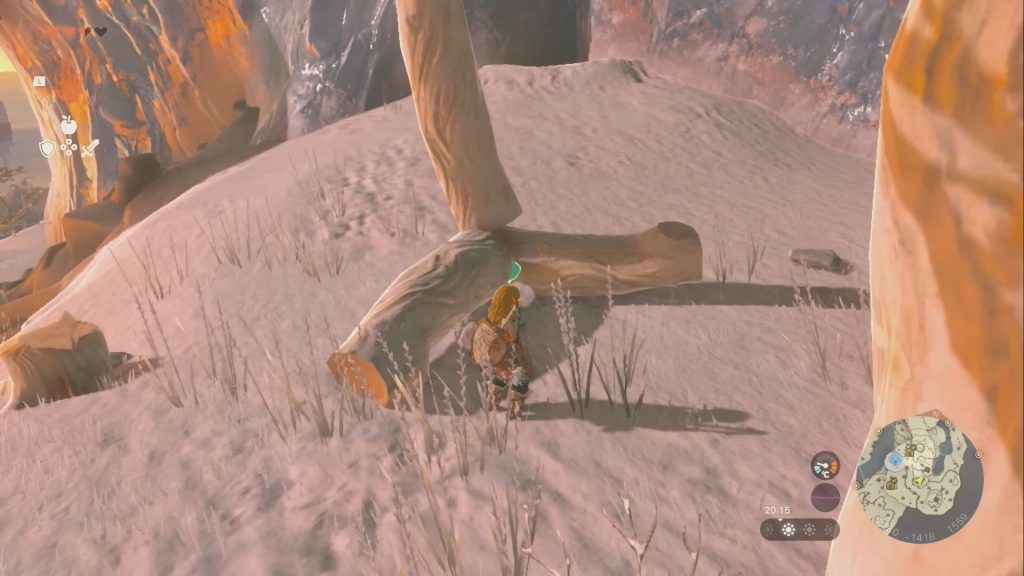
- Turn behind, and you will see a few trees.
- Chomp these trees using the stone axe to achieve logs.
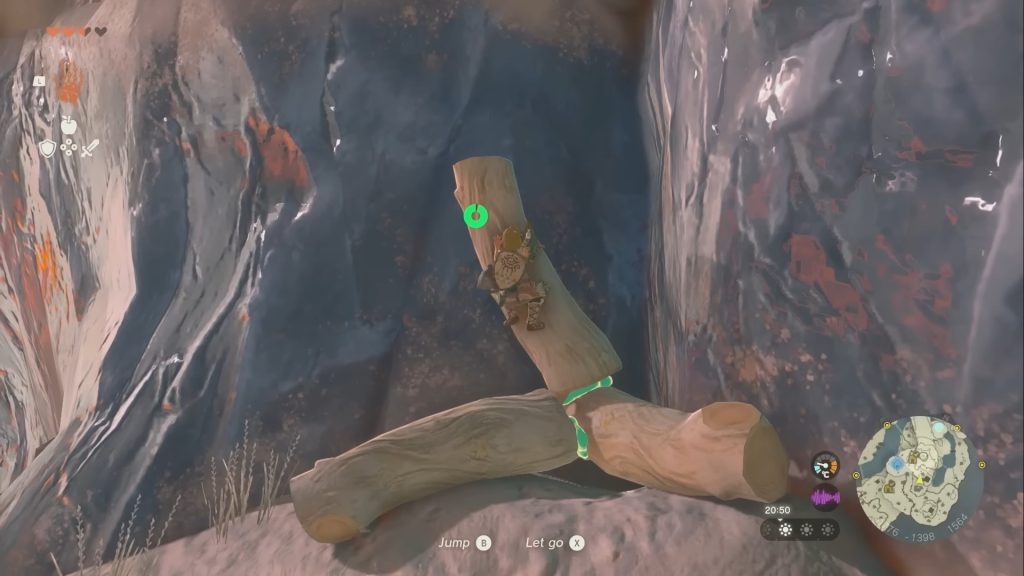
- Now attach these logs to each other in such a way that it will allow you to climb the icy wall.
- You can attach the logs in any manner or try the example in the image below.
Logs attached together - Once you have built the correct structure, place it close to the icy wall.
- Climb up the icy wall using the logs.
Climbing up the logs - After reaching the top, cover some distance to the left, and you will reach the Gutanbac Shrine.
Nachoyah Shrine
Moving on to the fourth and last shrine, Nachoyah. Unlike the other shrines, this shrine doesn’t grant Link any ability. However, the Nachoyah Shrine will give you a Light of Blessings that will increase the number of hearts. In simple words, the health baar.
Reaching the Nachoyah Shrine
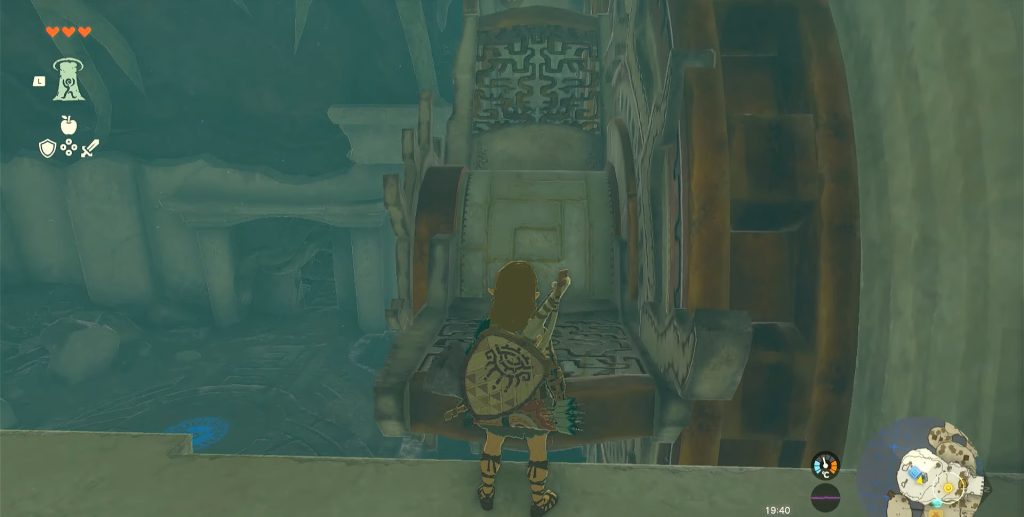
While you are at the entrance of the Gutanbac Shrine, get to the platform where you can use the Ascend ability. Once you are under this platform, use ascend ability to reach the above platform. Now keep moving until you get to the area with the wing devices.
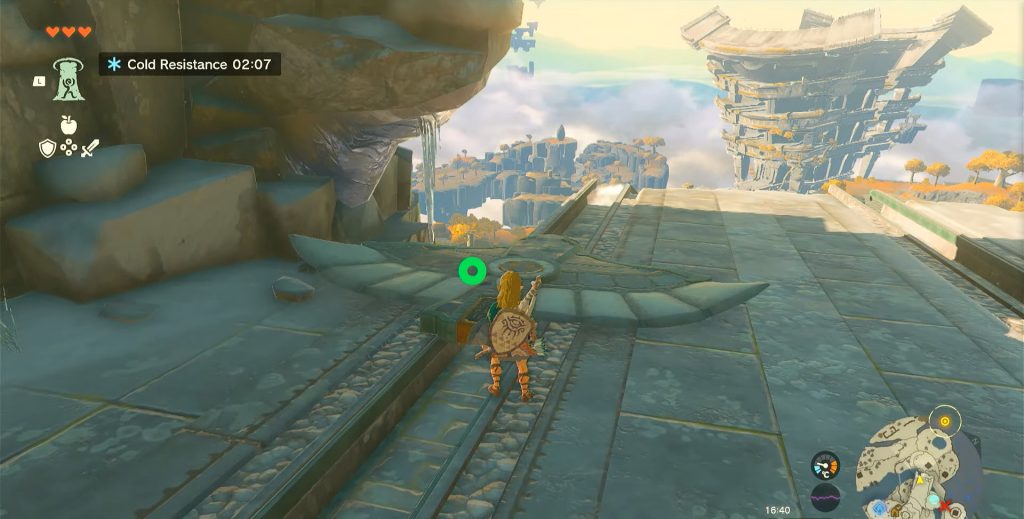
Pick up a wing device and place it on the track right in front. Now ride this wing device to reach the Temple of Time. Inside the Temple of Time, you will get the recall ability. This ability allows Link to rewind the time of a single object at a time.
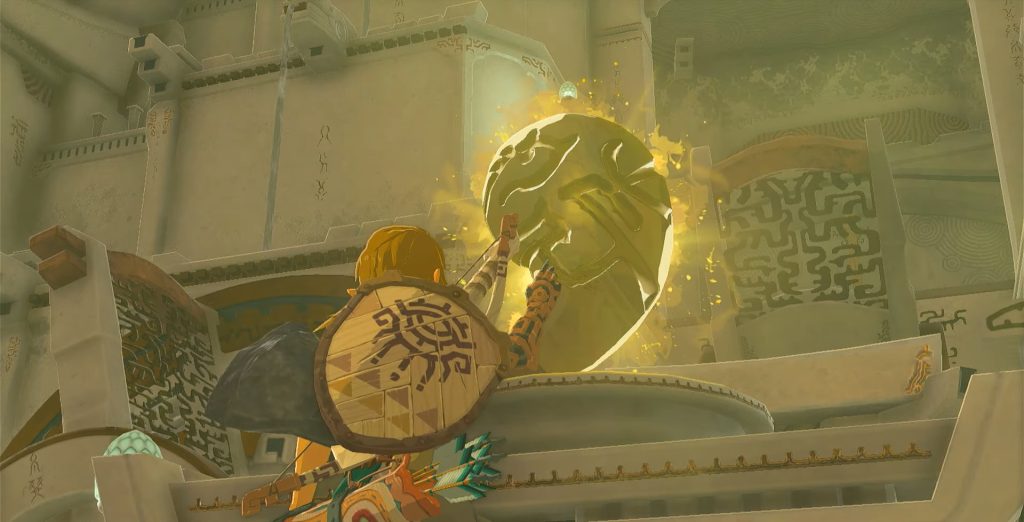
After getting the recall, use this ability to cross the cogs in front and get to the platform behind the cogs. Now you have to try to open the giant door but won’t be able to open it as you need more hearts than the current number of hearts.
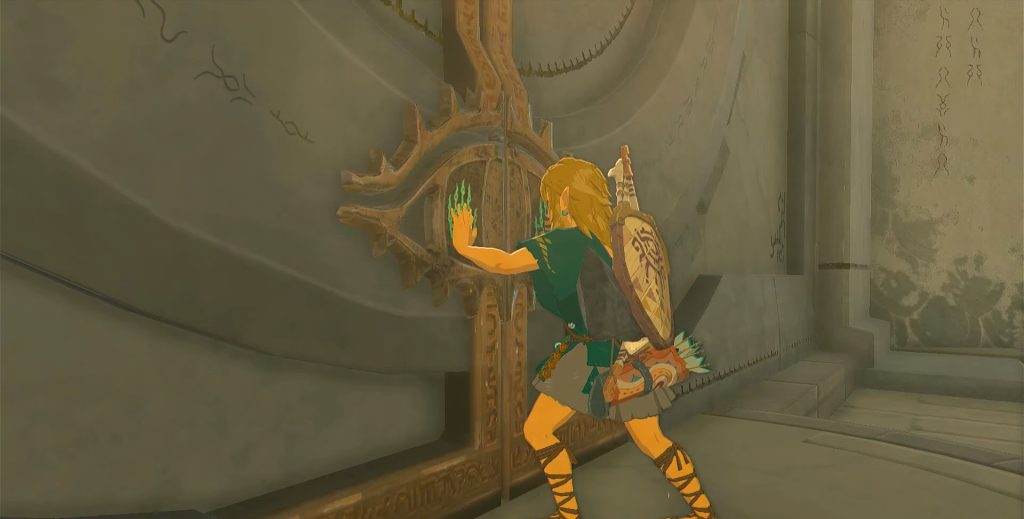
The next thing you have to do is fast-travel to the Room of Awakening. Follow the stairs from the fast travel point, and you will see two pillars on the left. Get in between these pillars and then ascend to the platform above. As you get to the above platform, you will see two cogs.
Use the recall ability to rewind the time of these cogs and cross them to get to the cave across. After crossing the cogs, follow the straight route inside the cave, and you will reach the Nachoyah Shrine.
Summary
With all the locations provided above, my guide on Tears of the Kingdom Great Sky Island Shrines finally comes to an end. In this guide, I have mentioned the locations of all the shrines available on the Great Sky Island, along with step-by-step instructions on how to reach these shrines.
Once you are done reading the current guide, then make sure to check out the rest of the guides on Tears of the Kingdom published by our team. Players struggling with boss fights can take help from our guide, Zelda Tears of the Kingdom: All Bosses & How To Defeat Them. Also, read the Dandelion puzzle walkthrough, Archaic warm tunic location, and Mayachin Shrine location.
Next:
- Tears of the Kingdom: Mayausiy Shrine Puzzle
- Stables Locations In Tears of the Kingdom
- Tears of the Kingdom Hearty Truffles
- Zelda Tears of the Kingdom: Clues To The Sky
Thanks! Do share your feedback with us. ⚡
How can we make this post better? Your help would be appreciated. ✍