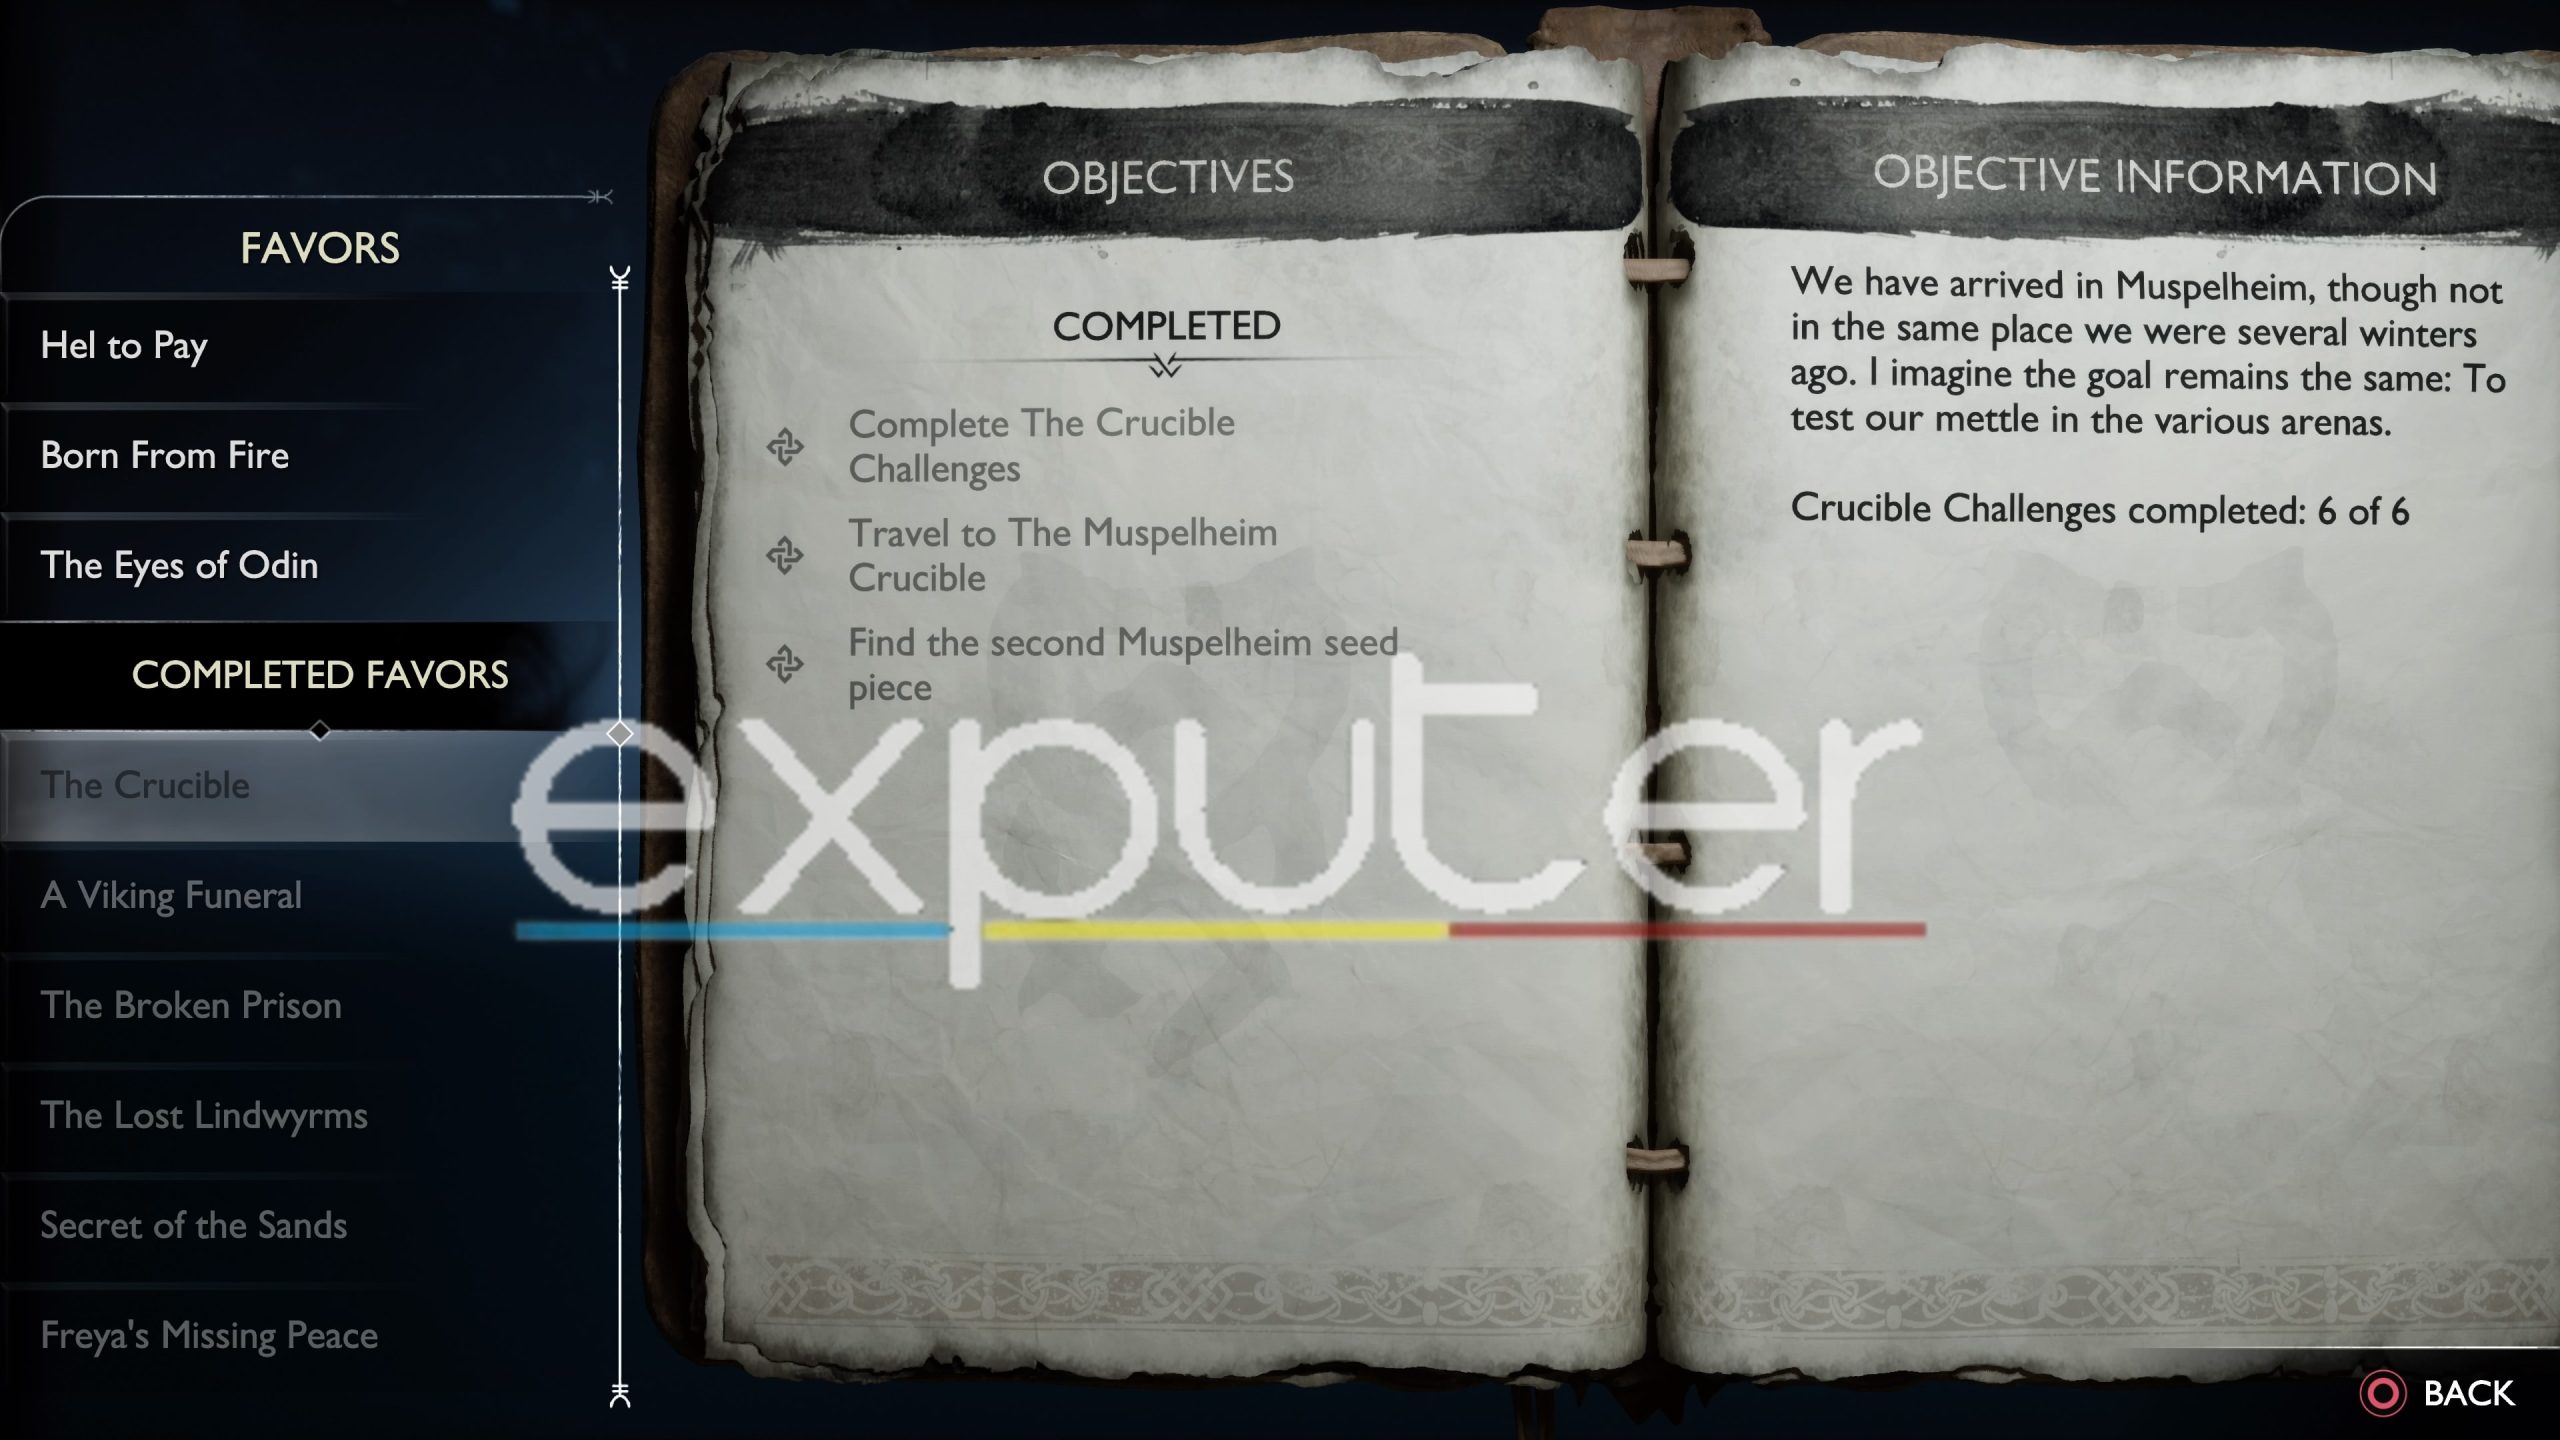
Just like its predecessor, God of War Ragnarok also features certain challenges in the realm of Muspelheim. However, you’ll need the Muspelheim seeds in order to reach the realm first. There is more variety in the design of these challenges or trials in Muspelheim, this time and completing will also complete 2 Side Quests known as The Crucible and The Final Challenges in God Of War Ragnarok.
The Crucible Muspelheim Trials
Here’s a complete list of all Muspelheim Trials and Challenges you can face in God of War Ragnarok:
| Name | How to get | Reward |
|---|---|---|
| Trial 1 | Eliminate 16 enemies in the given time | Shoulder Guard of Undying Pyres, Chest armor |
| Trial 2 | Use Draupnir Spear & Leviathan Axe to defeat the enemies | Hacksilver and XP |
| Trial 3 | Defeat 21 enemies | Bracers of Undying Pyres, Waist armor |
| Trial 4 | Close the rifts in the trail by throwing Orb | Hacksilver and XP |
| Trial 5 | Eliminate a specific number of bosses in the given time limit | Girdle of Undying Pyres, Waist armor |
| Trial 6 | Defeat enemies for stopping them entering the rings area | Hacksilver and XP |
| Boss Rush Challenge | Defeat five bosses | Muspelheim’s Essence, Amulet enchantment |
| Endurance Challenge | Eliminate 99 enemies in the given time limit | Chest piece of Surtr’s Scorched Armor Set |
| Onslaught Challenge | Stay alive for the 300 second duration | Wrist piece of Surtr’s Scorched Armor |
| Phantom Challenge | Fight Phantom boss and enemies at the same time | Surtr’s Scorched Girdle, Legendary wist armor |
| Ring Of Fire Challenge | Defeat enemies while staying inside the ring area | Muspelheim’s Endurance, Amulet enchantment |
| Shield Breaker Challenge | Defeat Einherjar Captain boss and a few enemies | Muspelheim’s Force, Amulet enchantment |
Trial #1

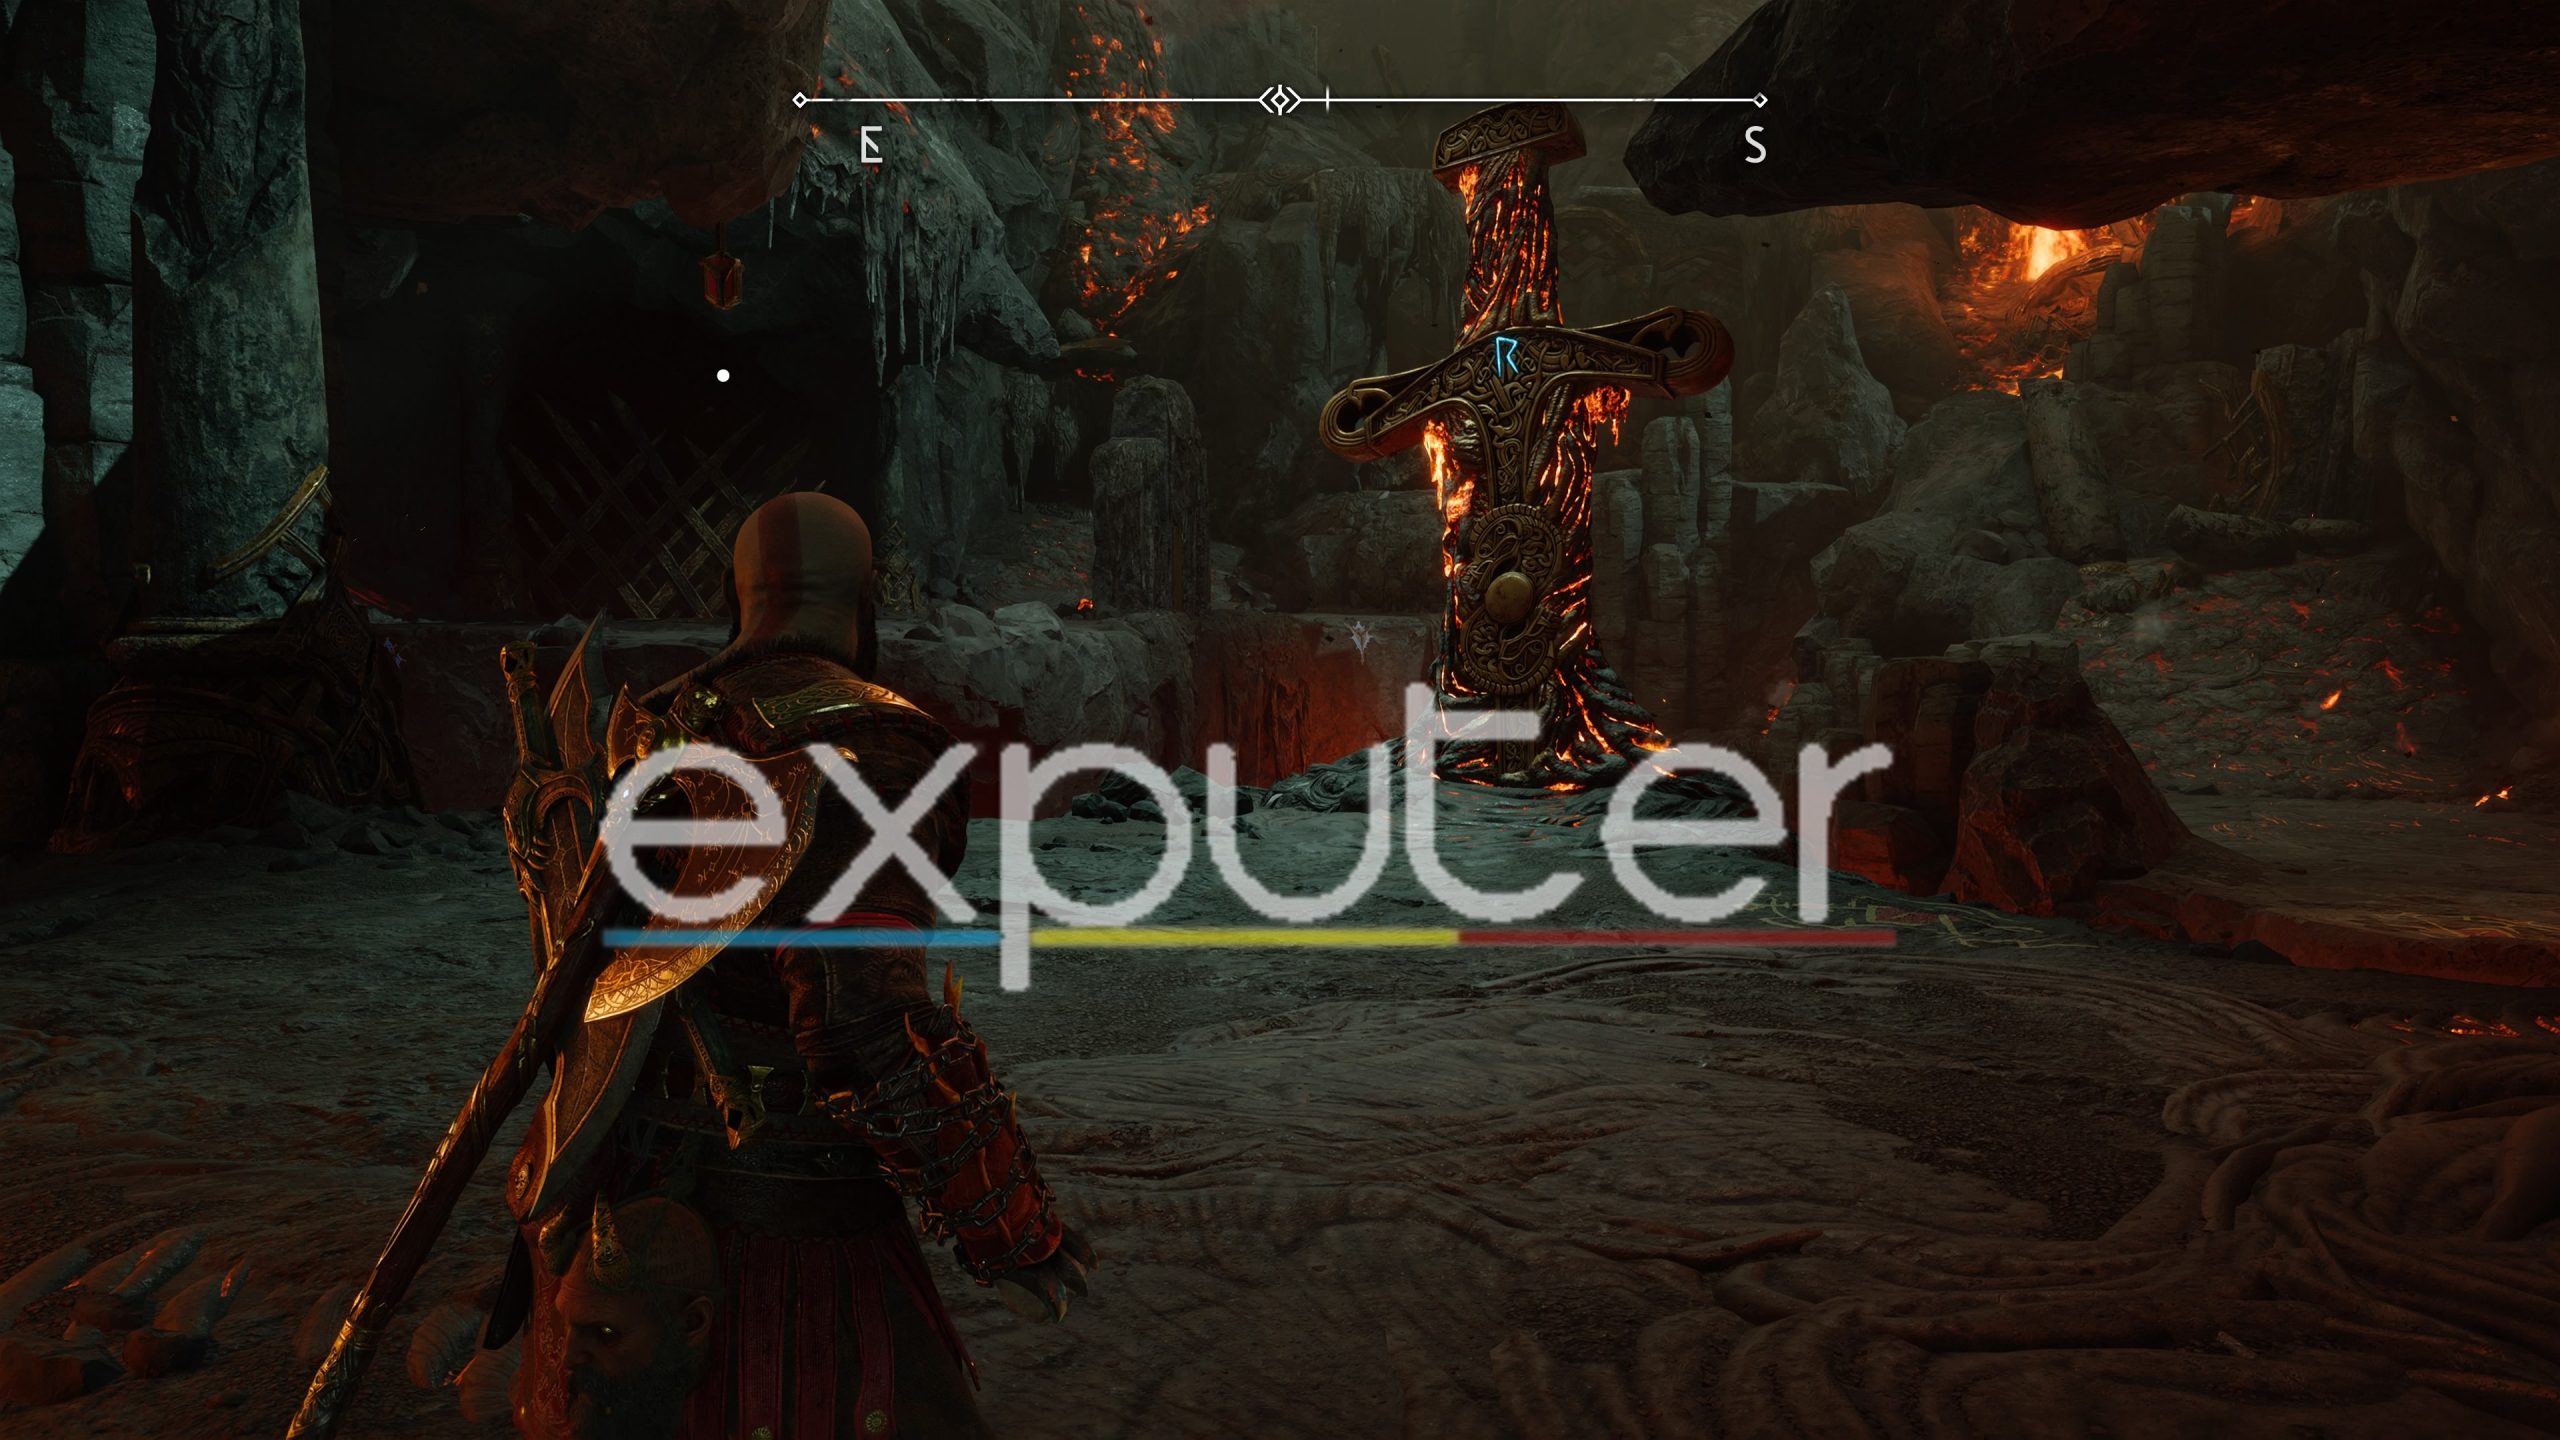
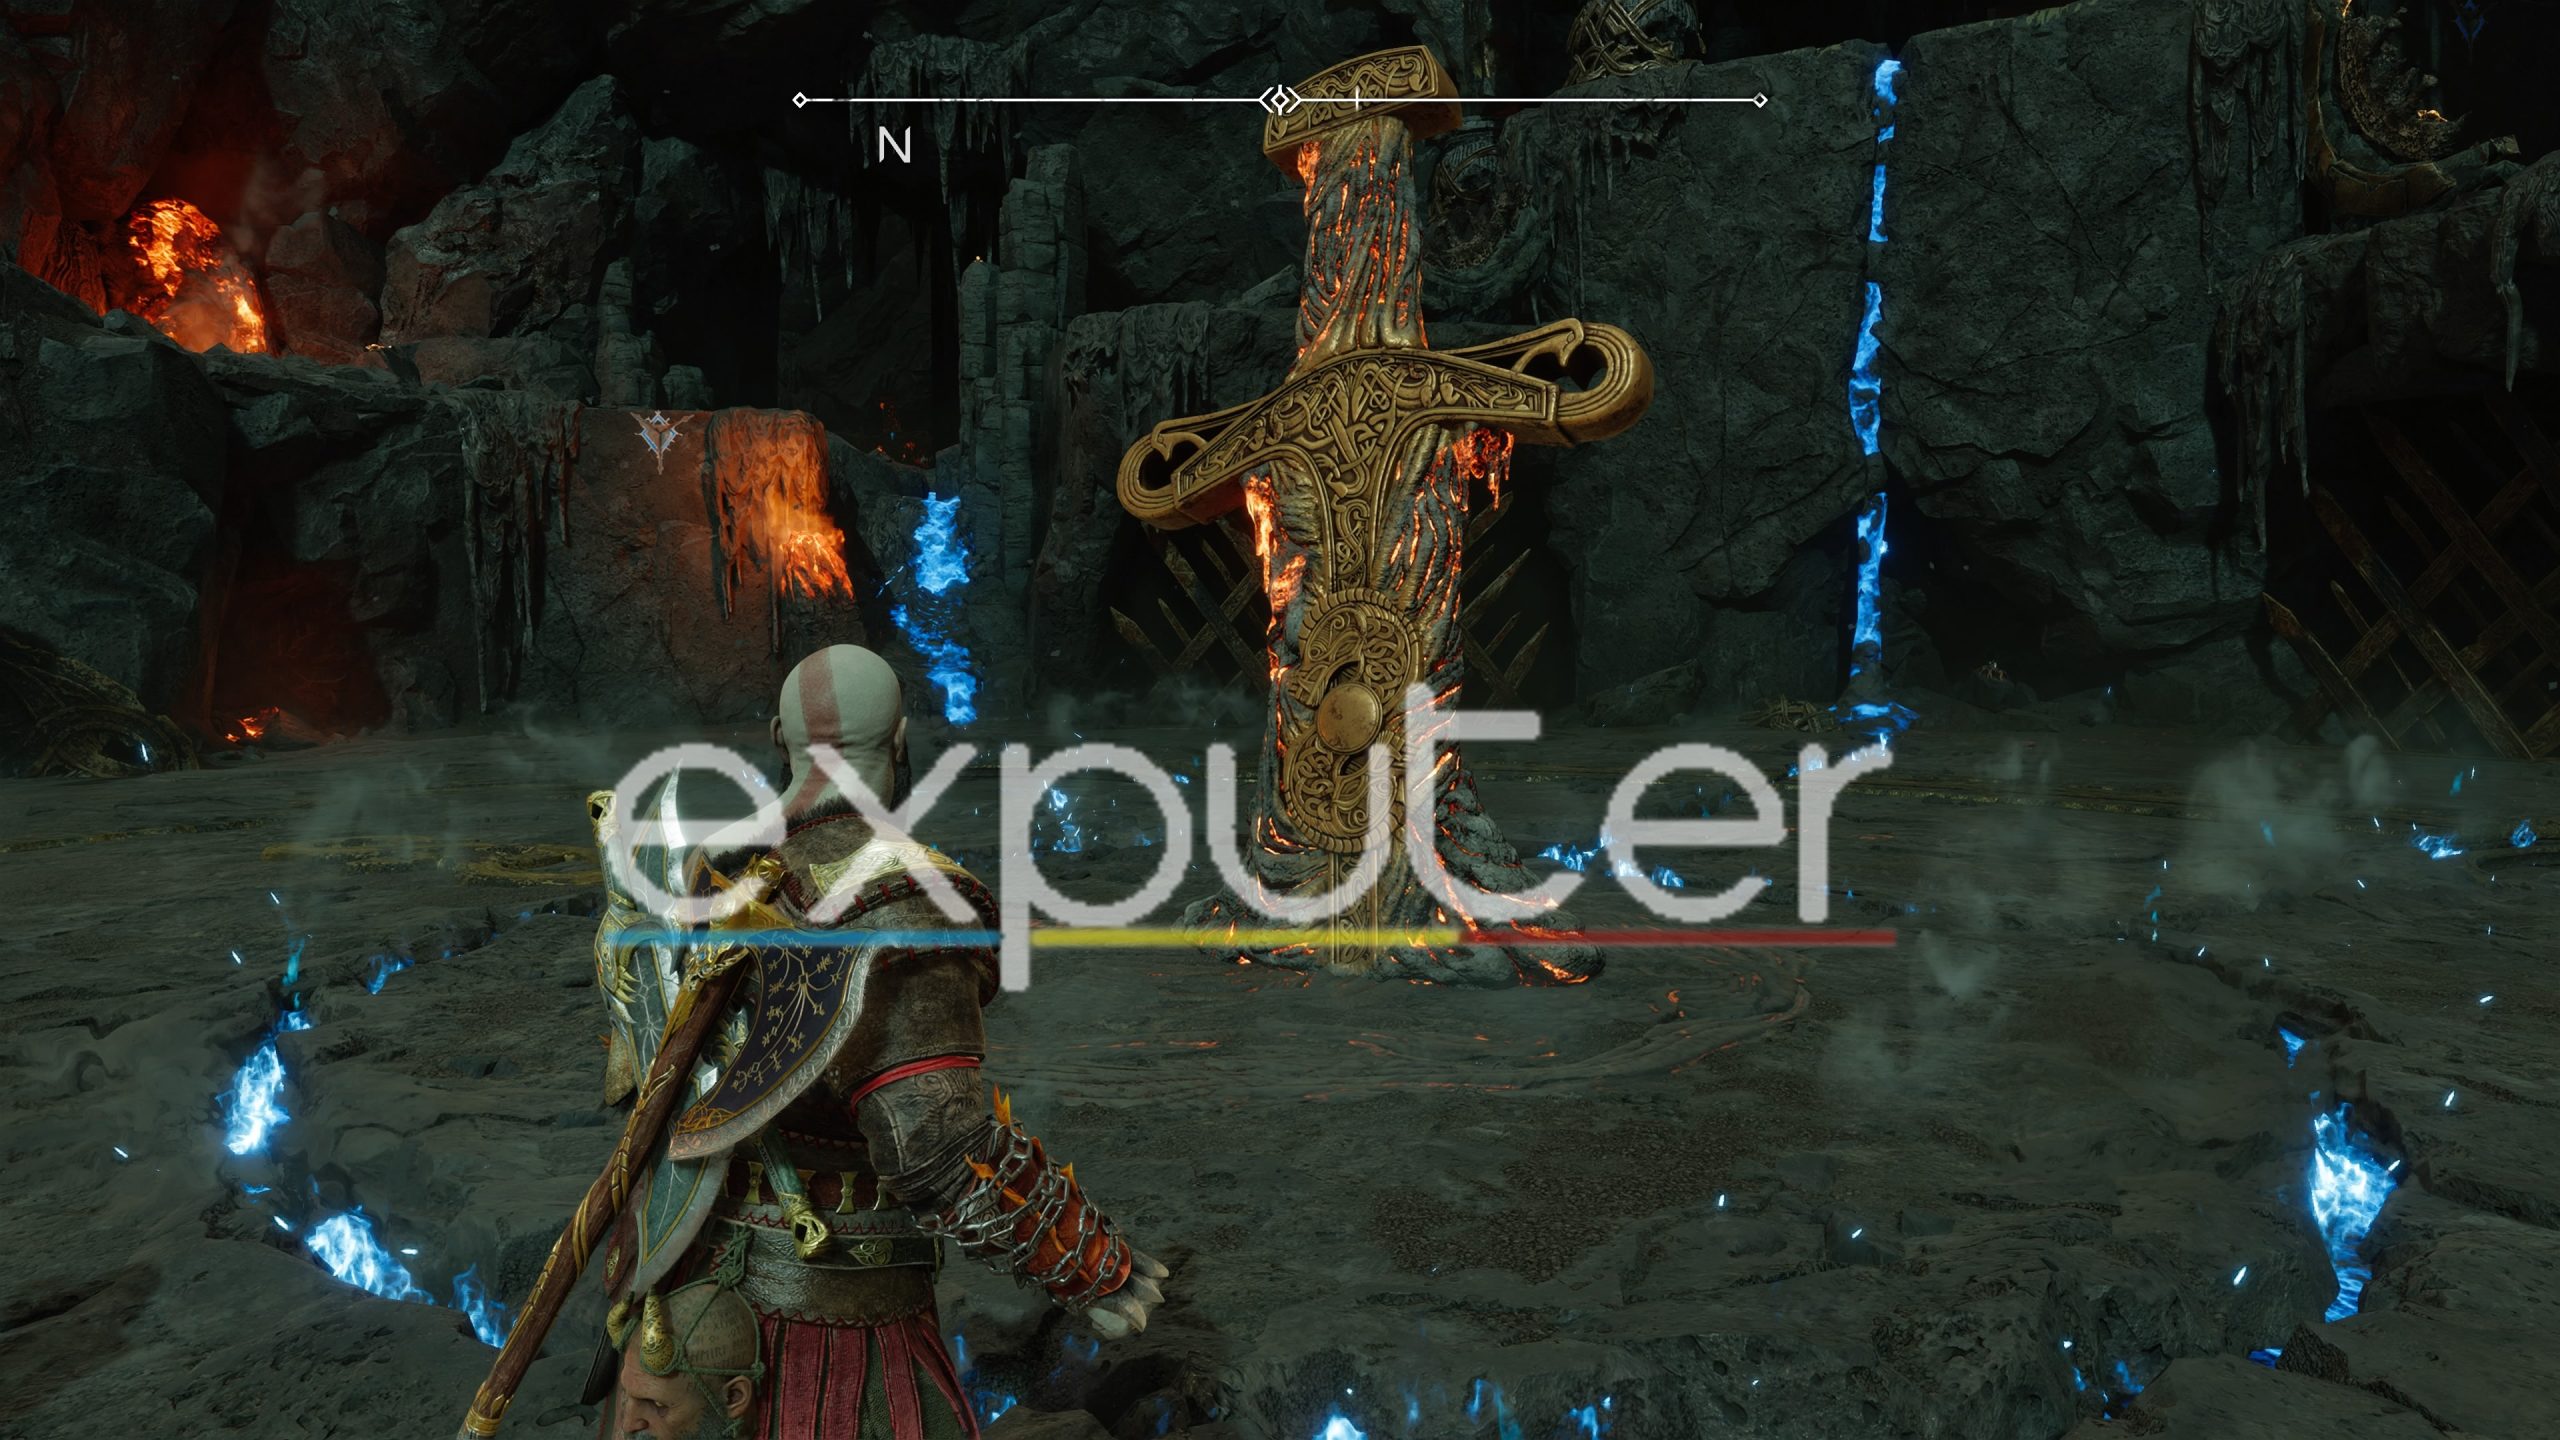
To reach the first trial in the realm, follow the path on the left once you reach Muspelheim. As soon as you enter through the path using the seeds, just go left. The road ahead is linear, and you should arrive at the first sword that houses our first two trials in Muspelheim.
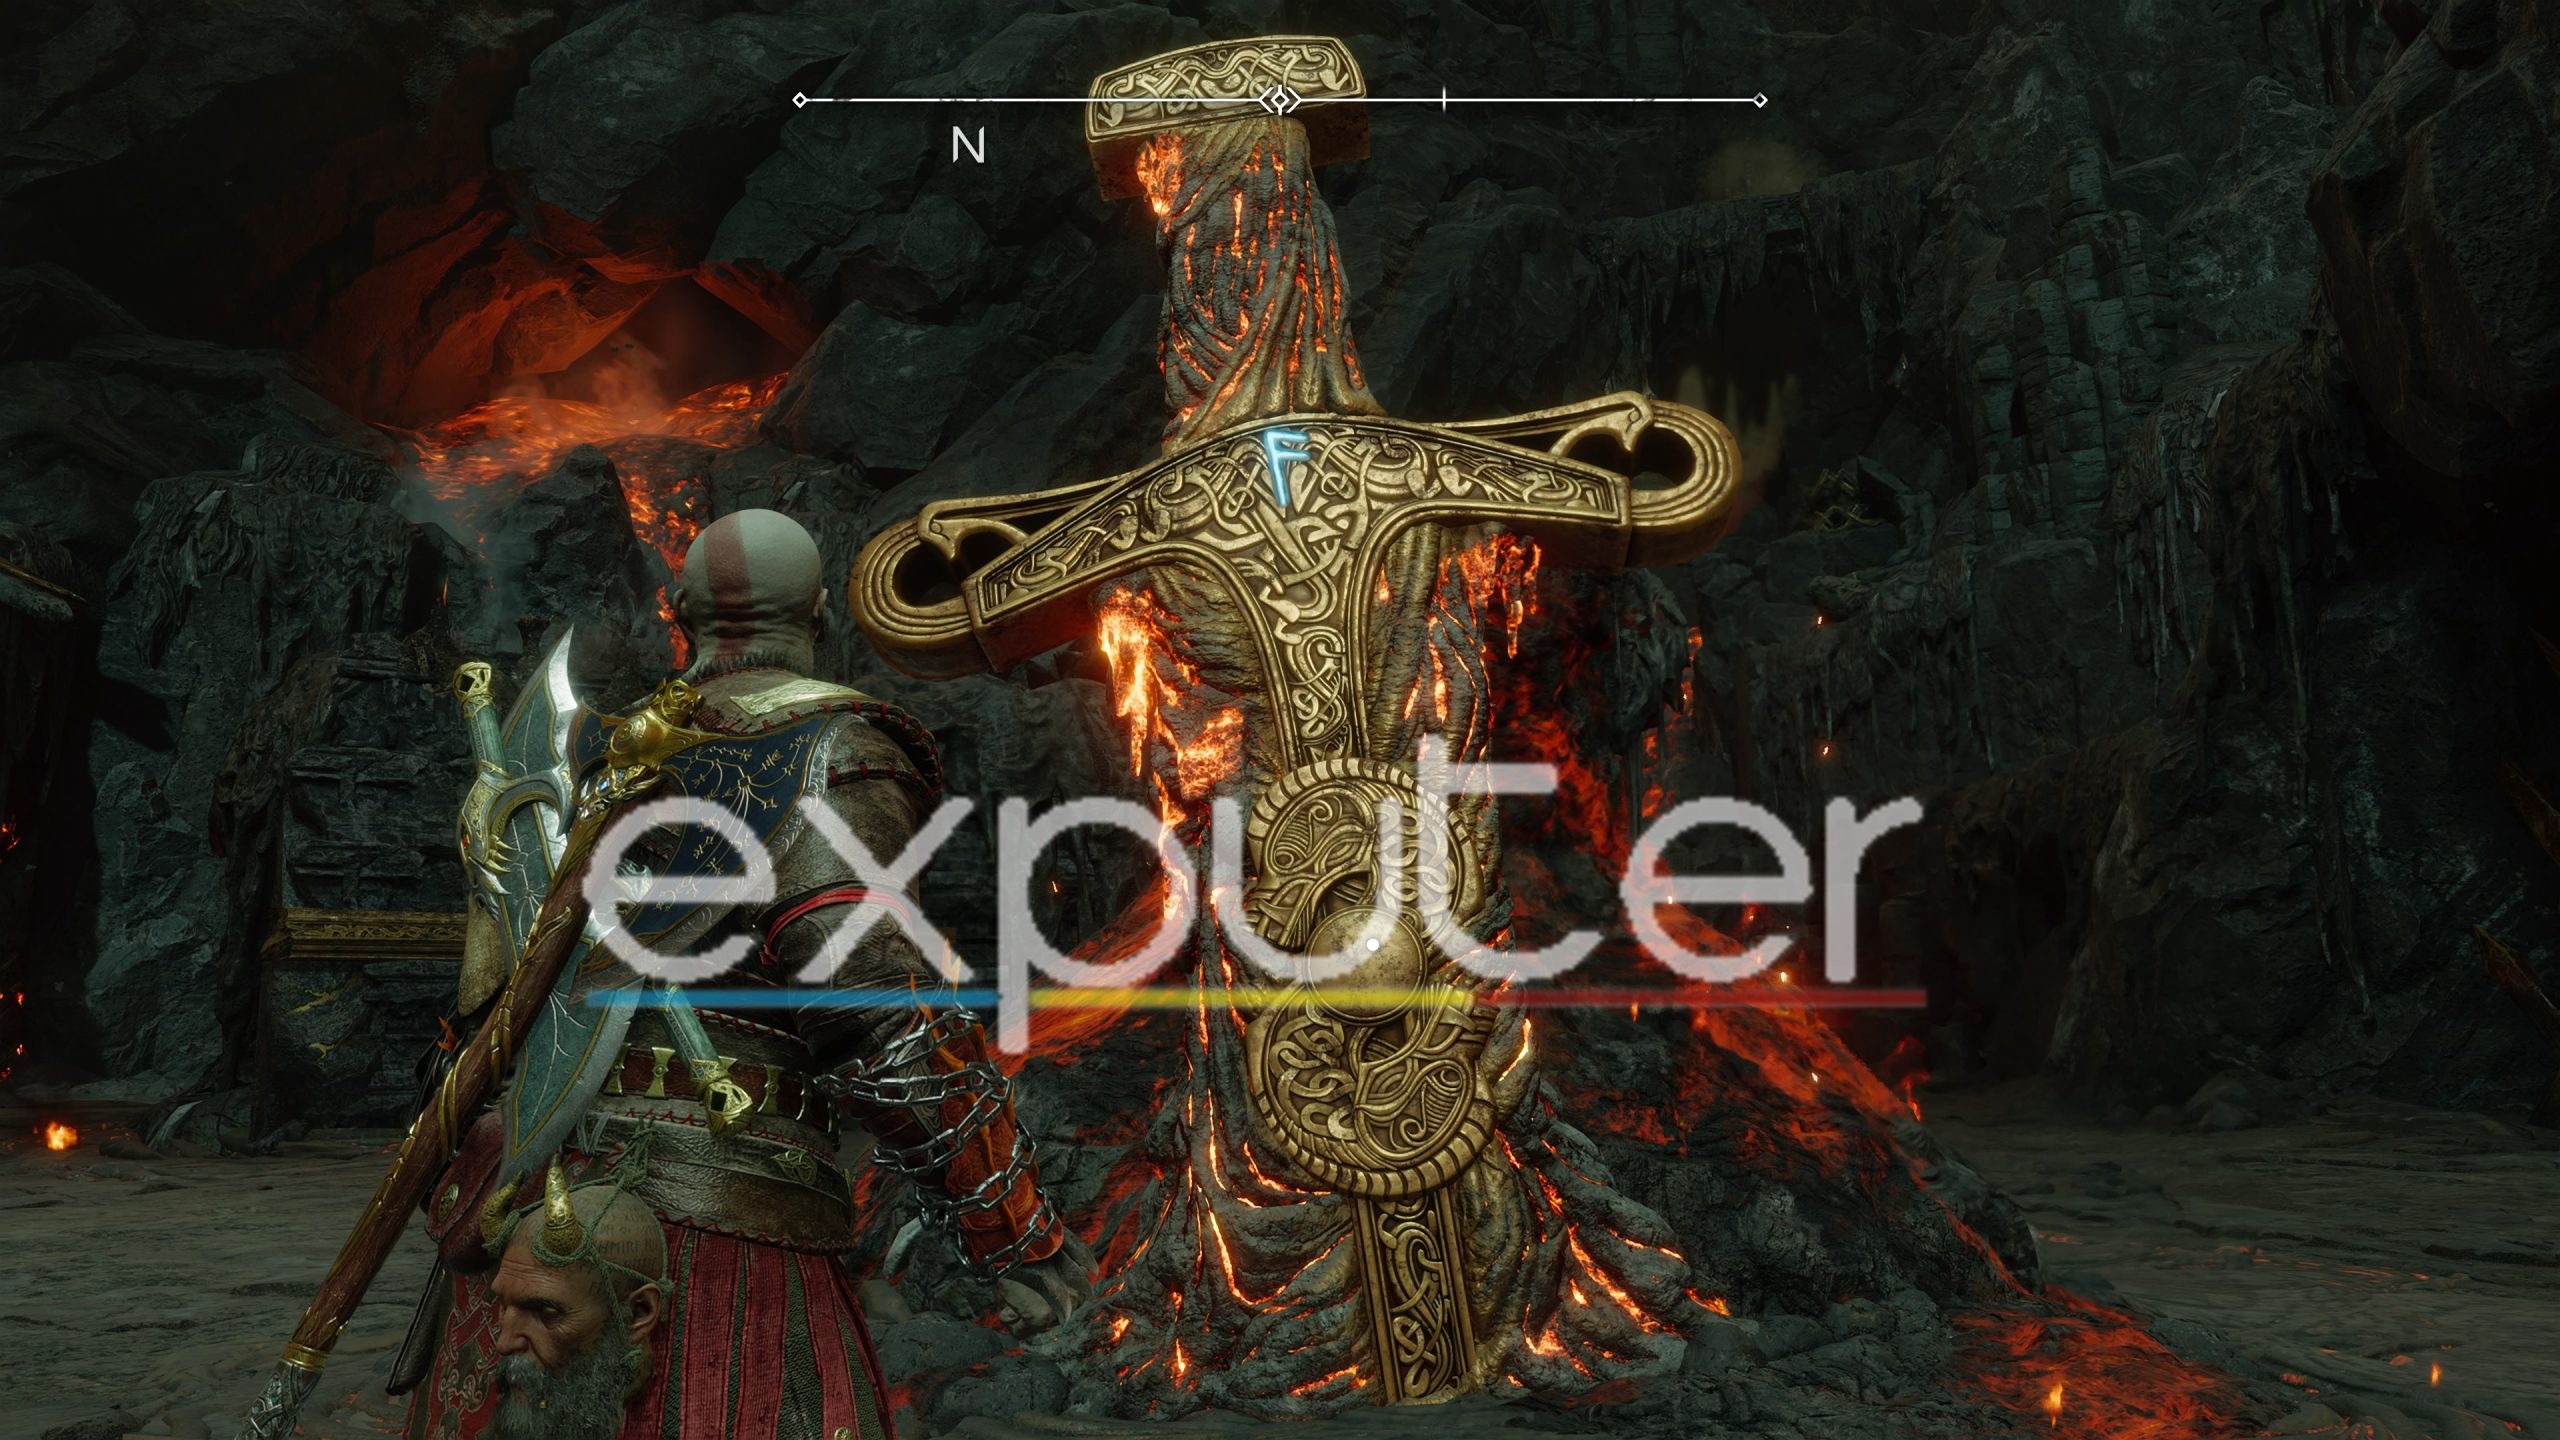
That is what the sword looks like, and you can also access your first 2 trials here.
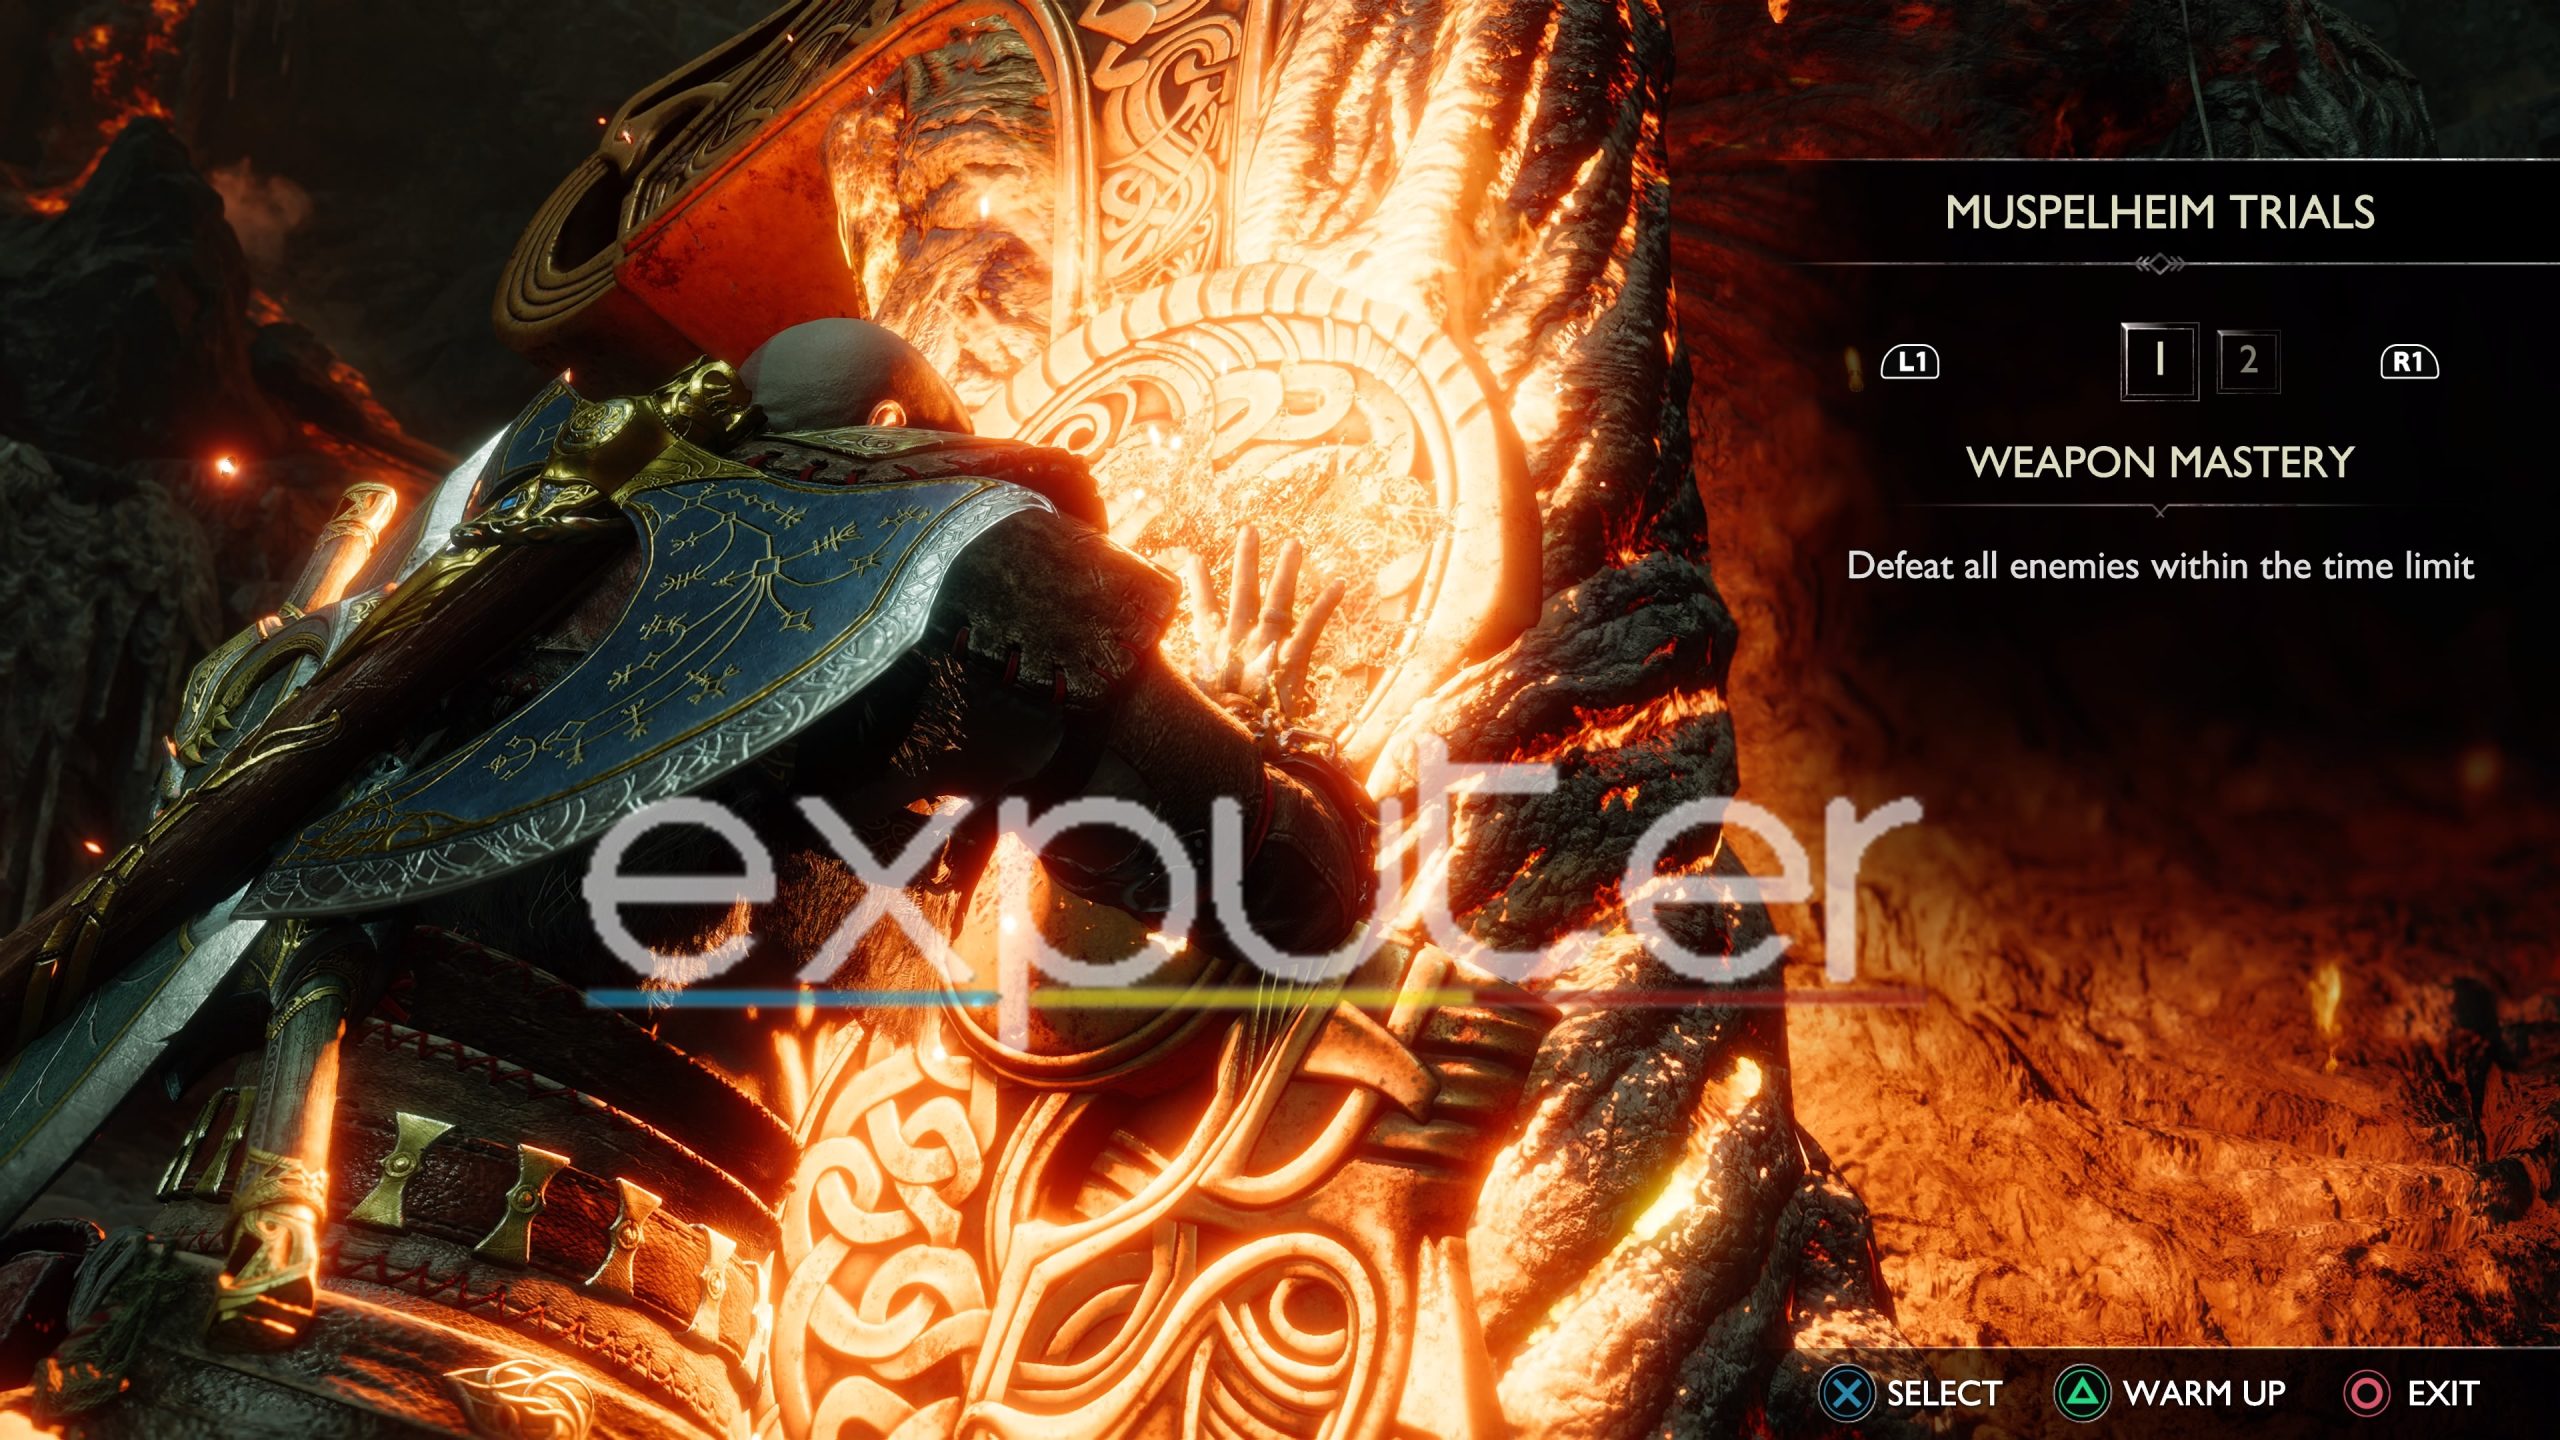
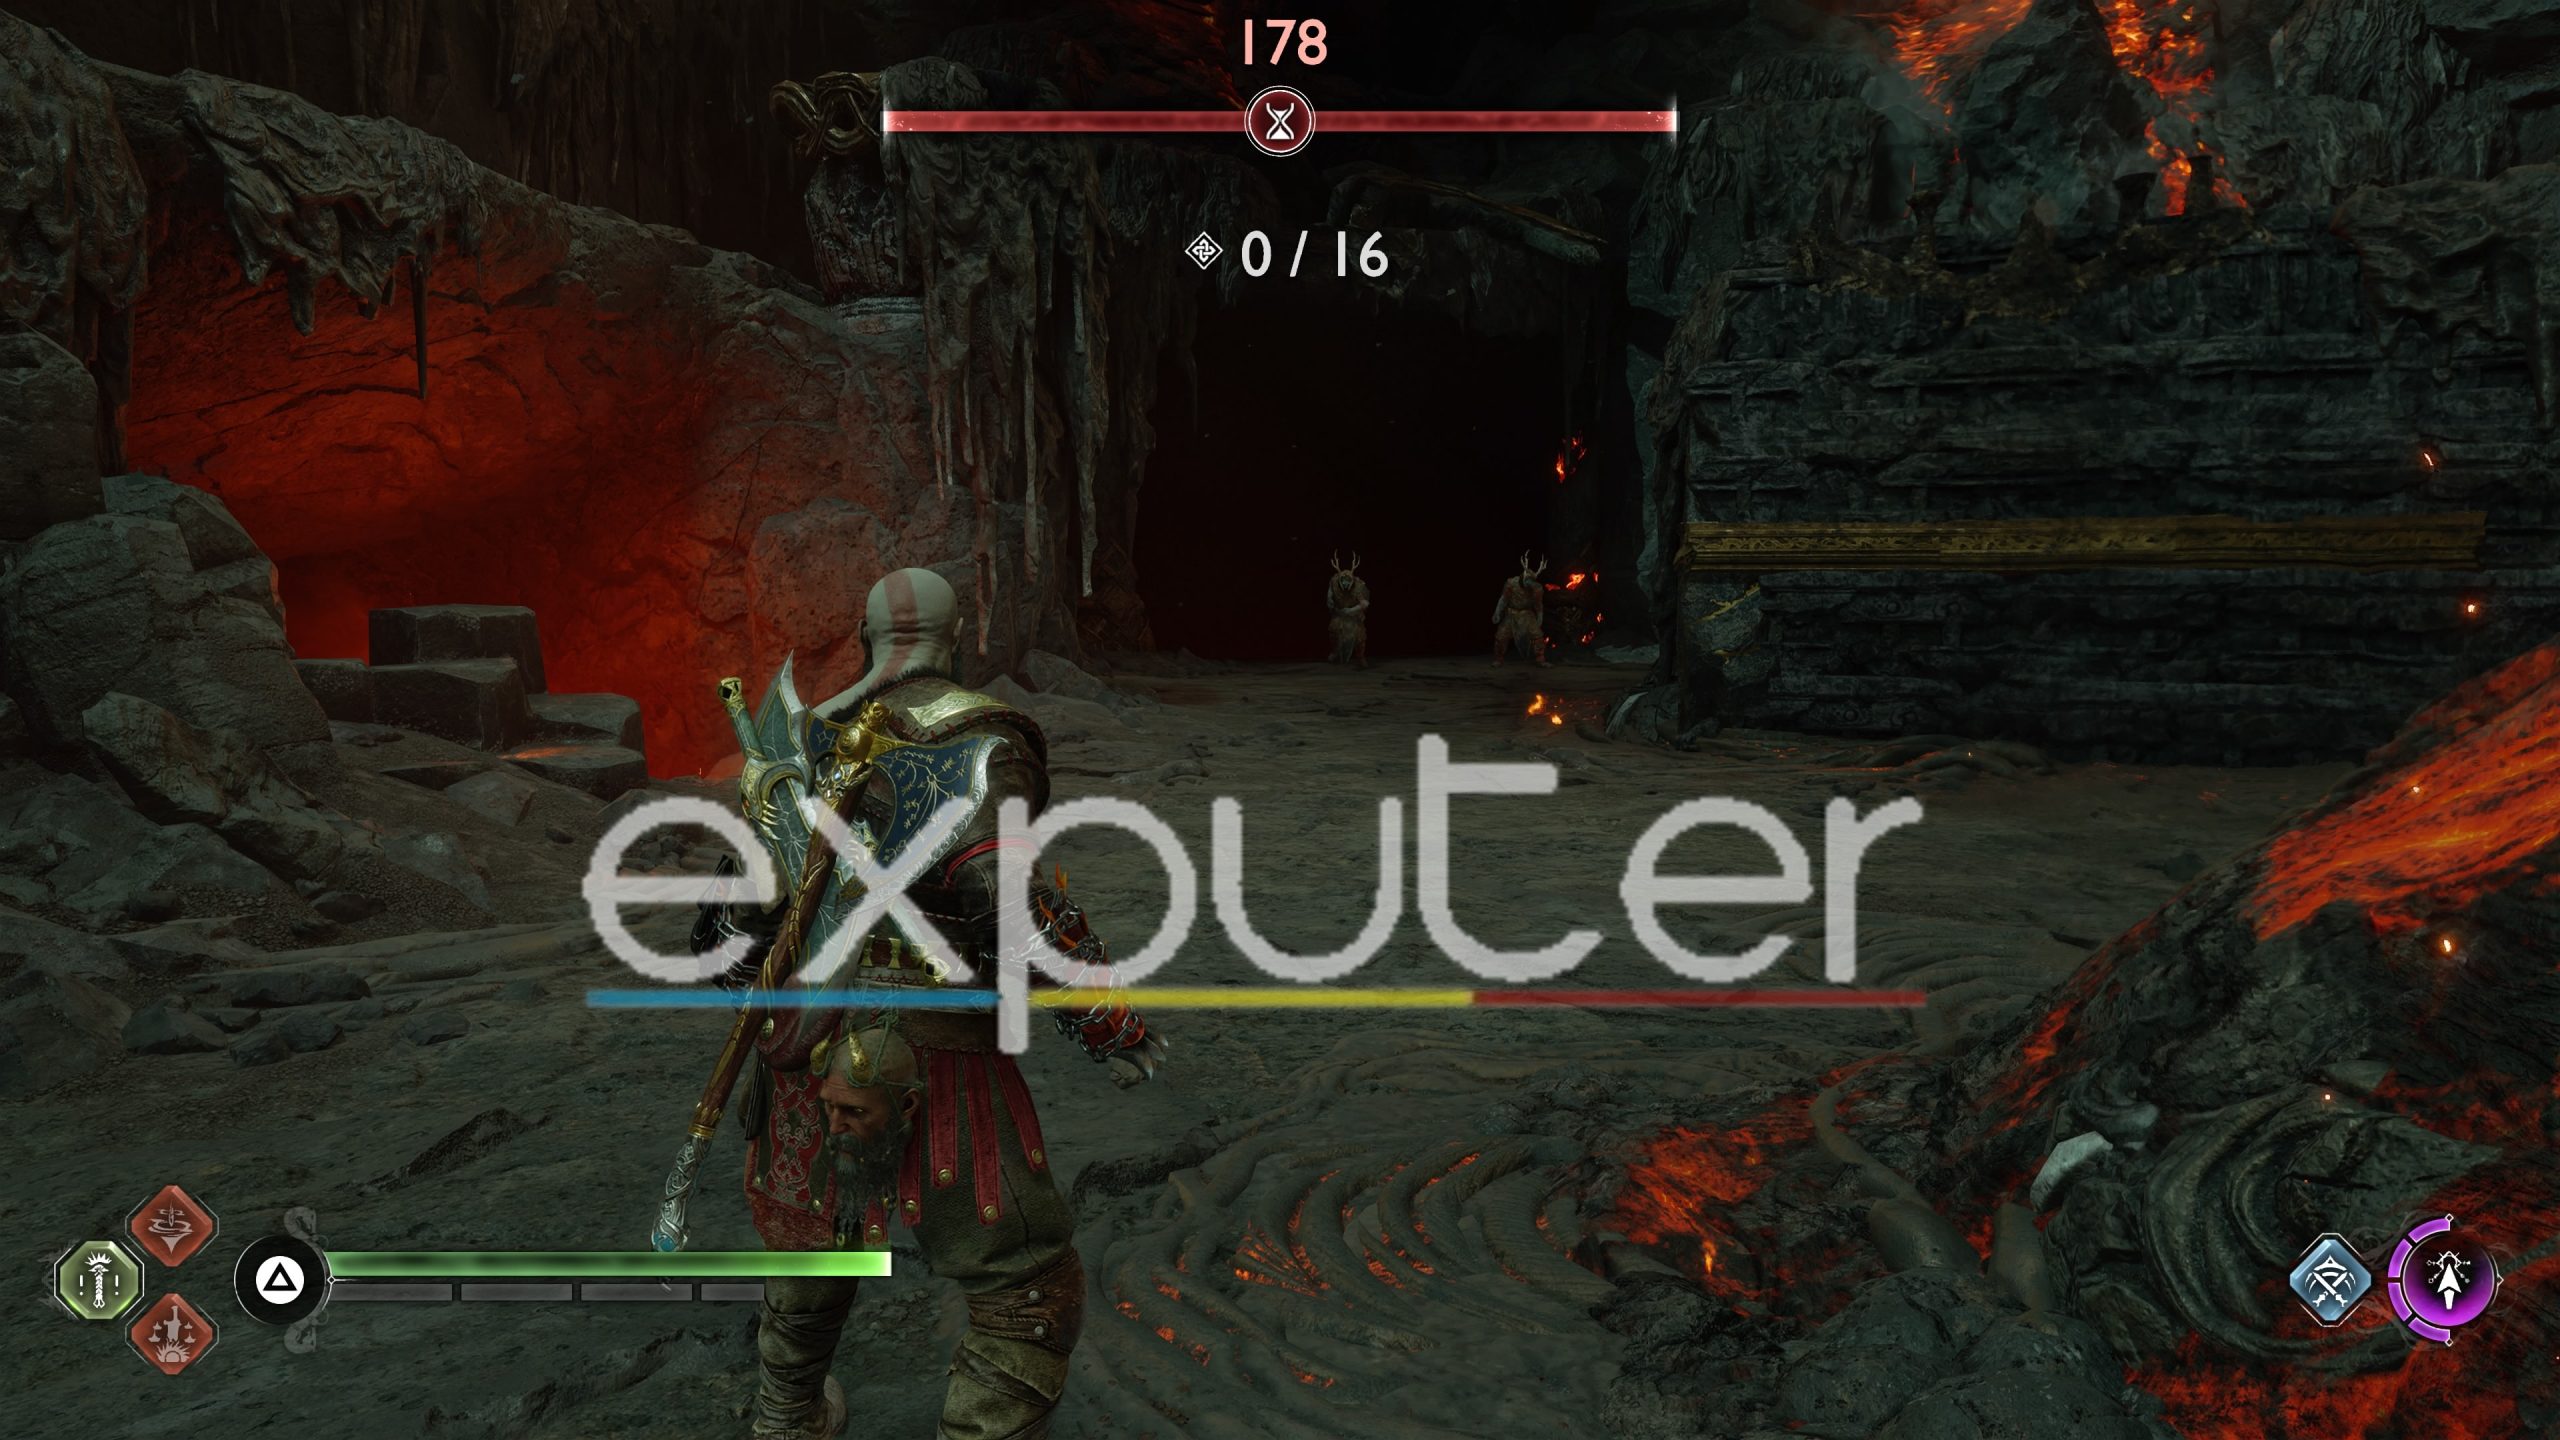
The first trial is very simple. You must beat the number of enemies before the time limit runs out. You must eliminate 16 total enemies in the given time limit to complete the trial. There is only 1 thing that you should be aware of. It is that most enemies will have elemental shields, and you’ll have to use specific weapons in order to beat them. So be quick in switching between your three weapons here.
Rewards
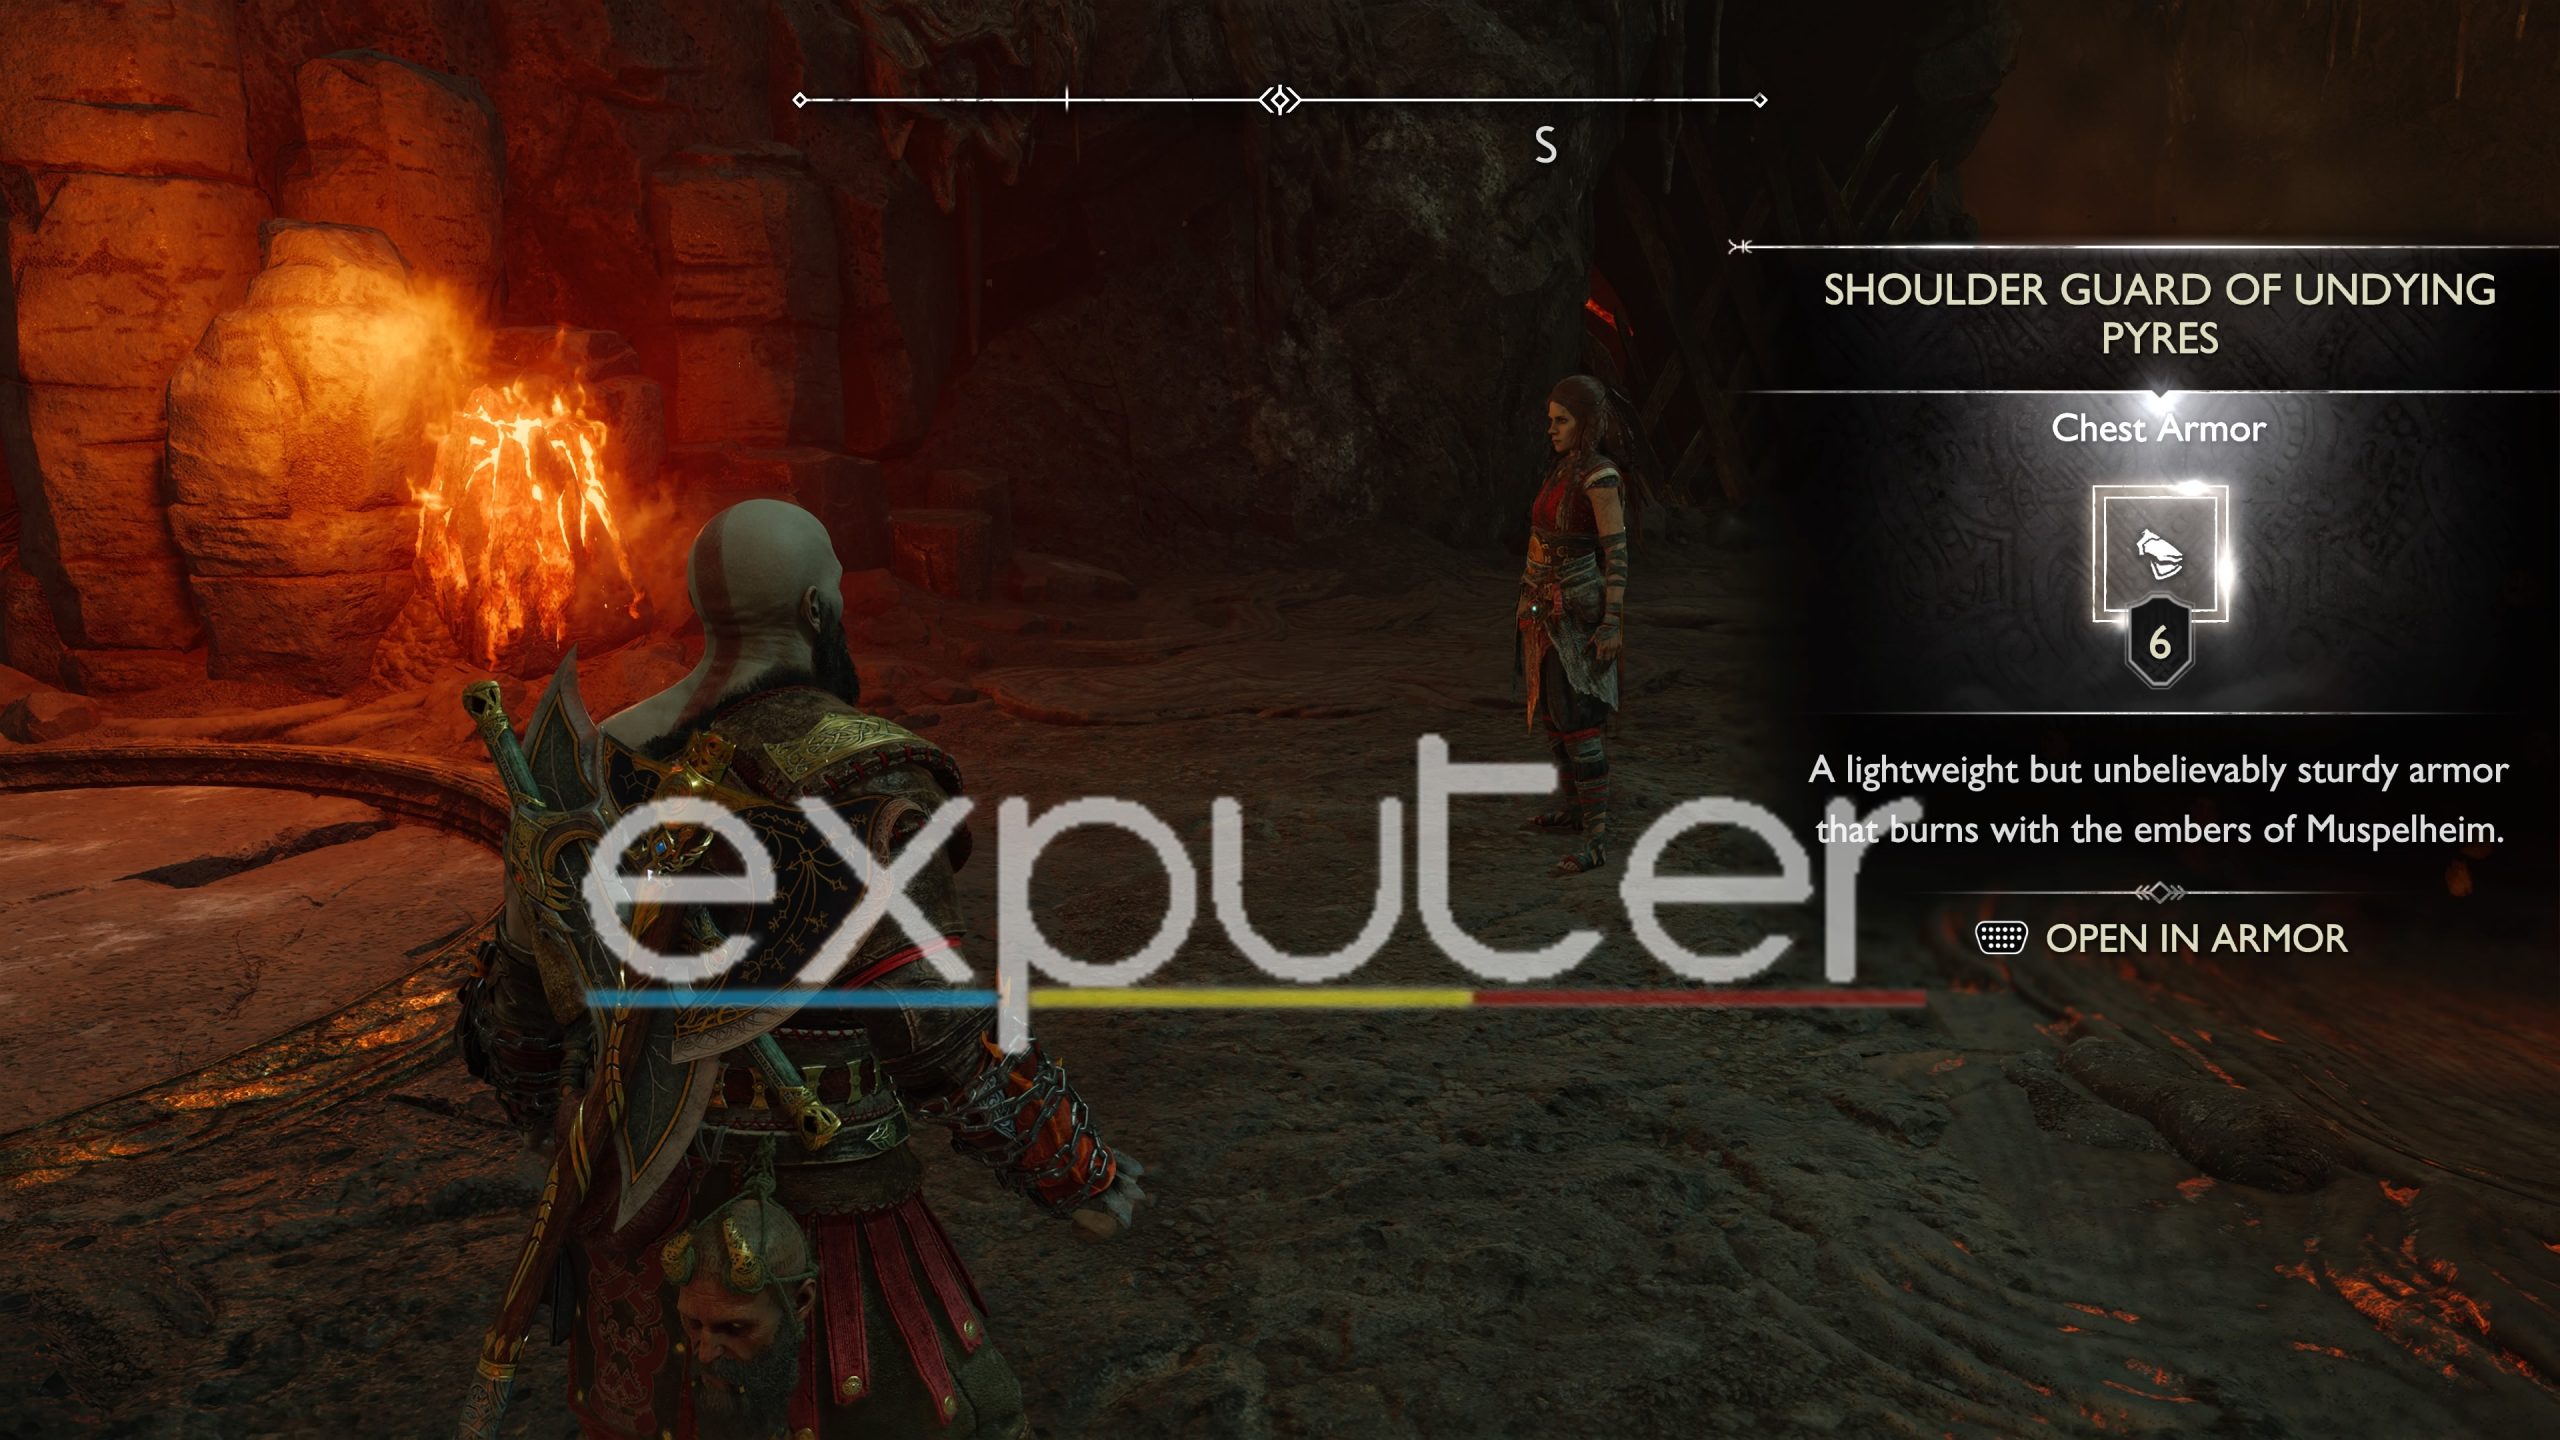
You get chest armor known as the Shoulder Guard of Undying Pyres for Kratos as a reward for completing the first trial in Muspelheim.
Trial #2
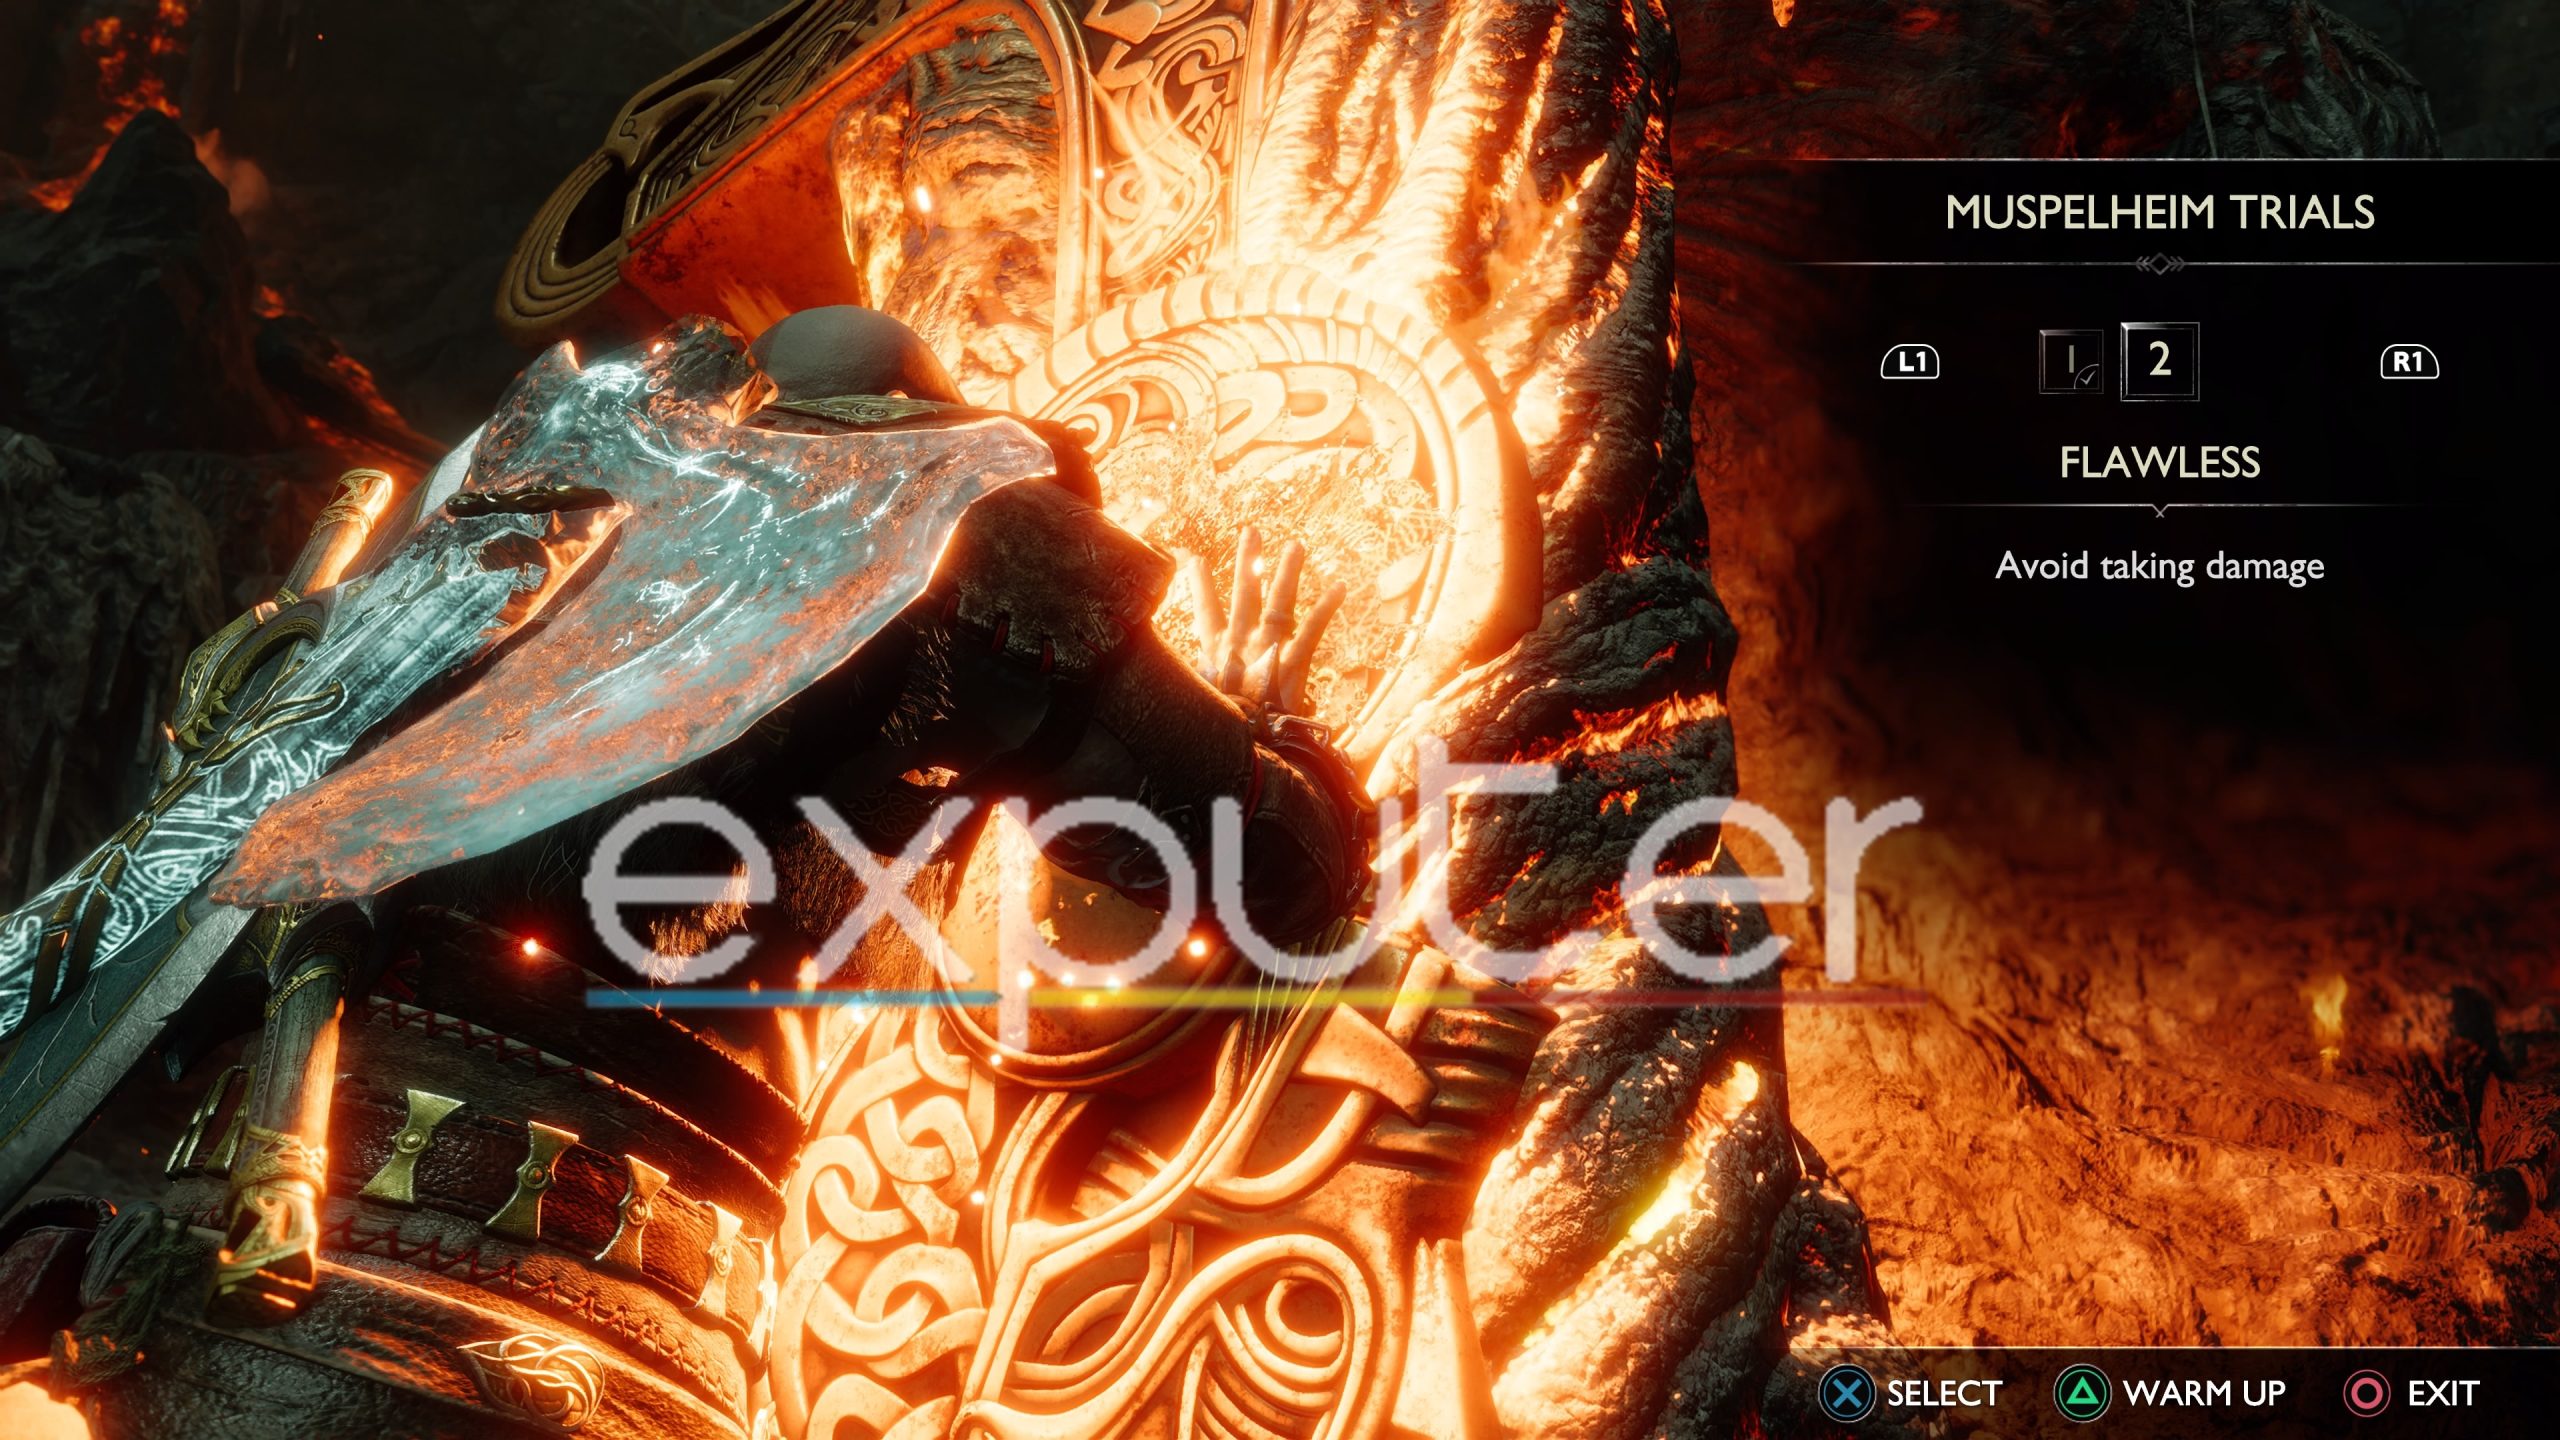
The second trial is a bit harder than the first one as you’ll have to avoid taking damage. It is recommended to use ranged attacks more in this trial. The Draupnir Spear and the Leviathan Axe are your best weapons here. The Draupnir Spear is quicker in ranged attacks, but the Leviathan Axe deals more damage. Just make sure to avoid taking any damage and utilize your range attacks and the arrows of Atreus/Freya to the fullest.
Rewards
You will get crafting materials, hack silver, and XP for Kratos and Freya/Atreus as a reward for completing the second trial.
Trial #3
Now for your next pair of trials, you must reach the second sword in Muspelheim. Just go outside of the room containing the first sword. Take a sharp left and follow the path on your left, and you should make it to the second sword. It is a room with a lot of lava pits additionally.
Now you can access your third and fourth trials in Muspelheim using the second sword. The third trial is actually hard to do. You just can’t kill enemies by damaging them. You can’t even stun them either.
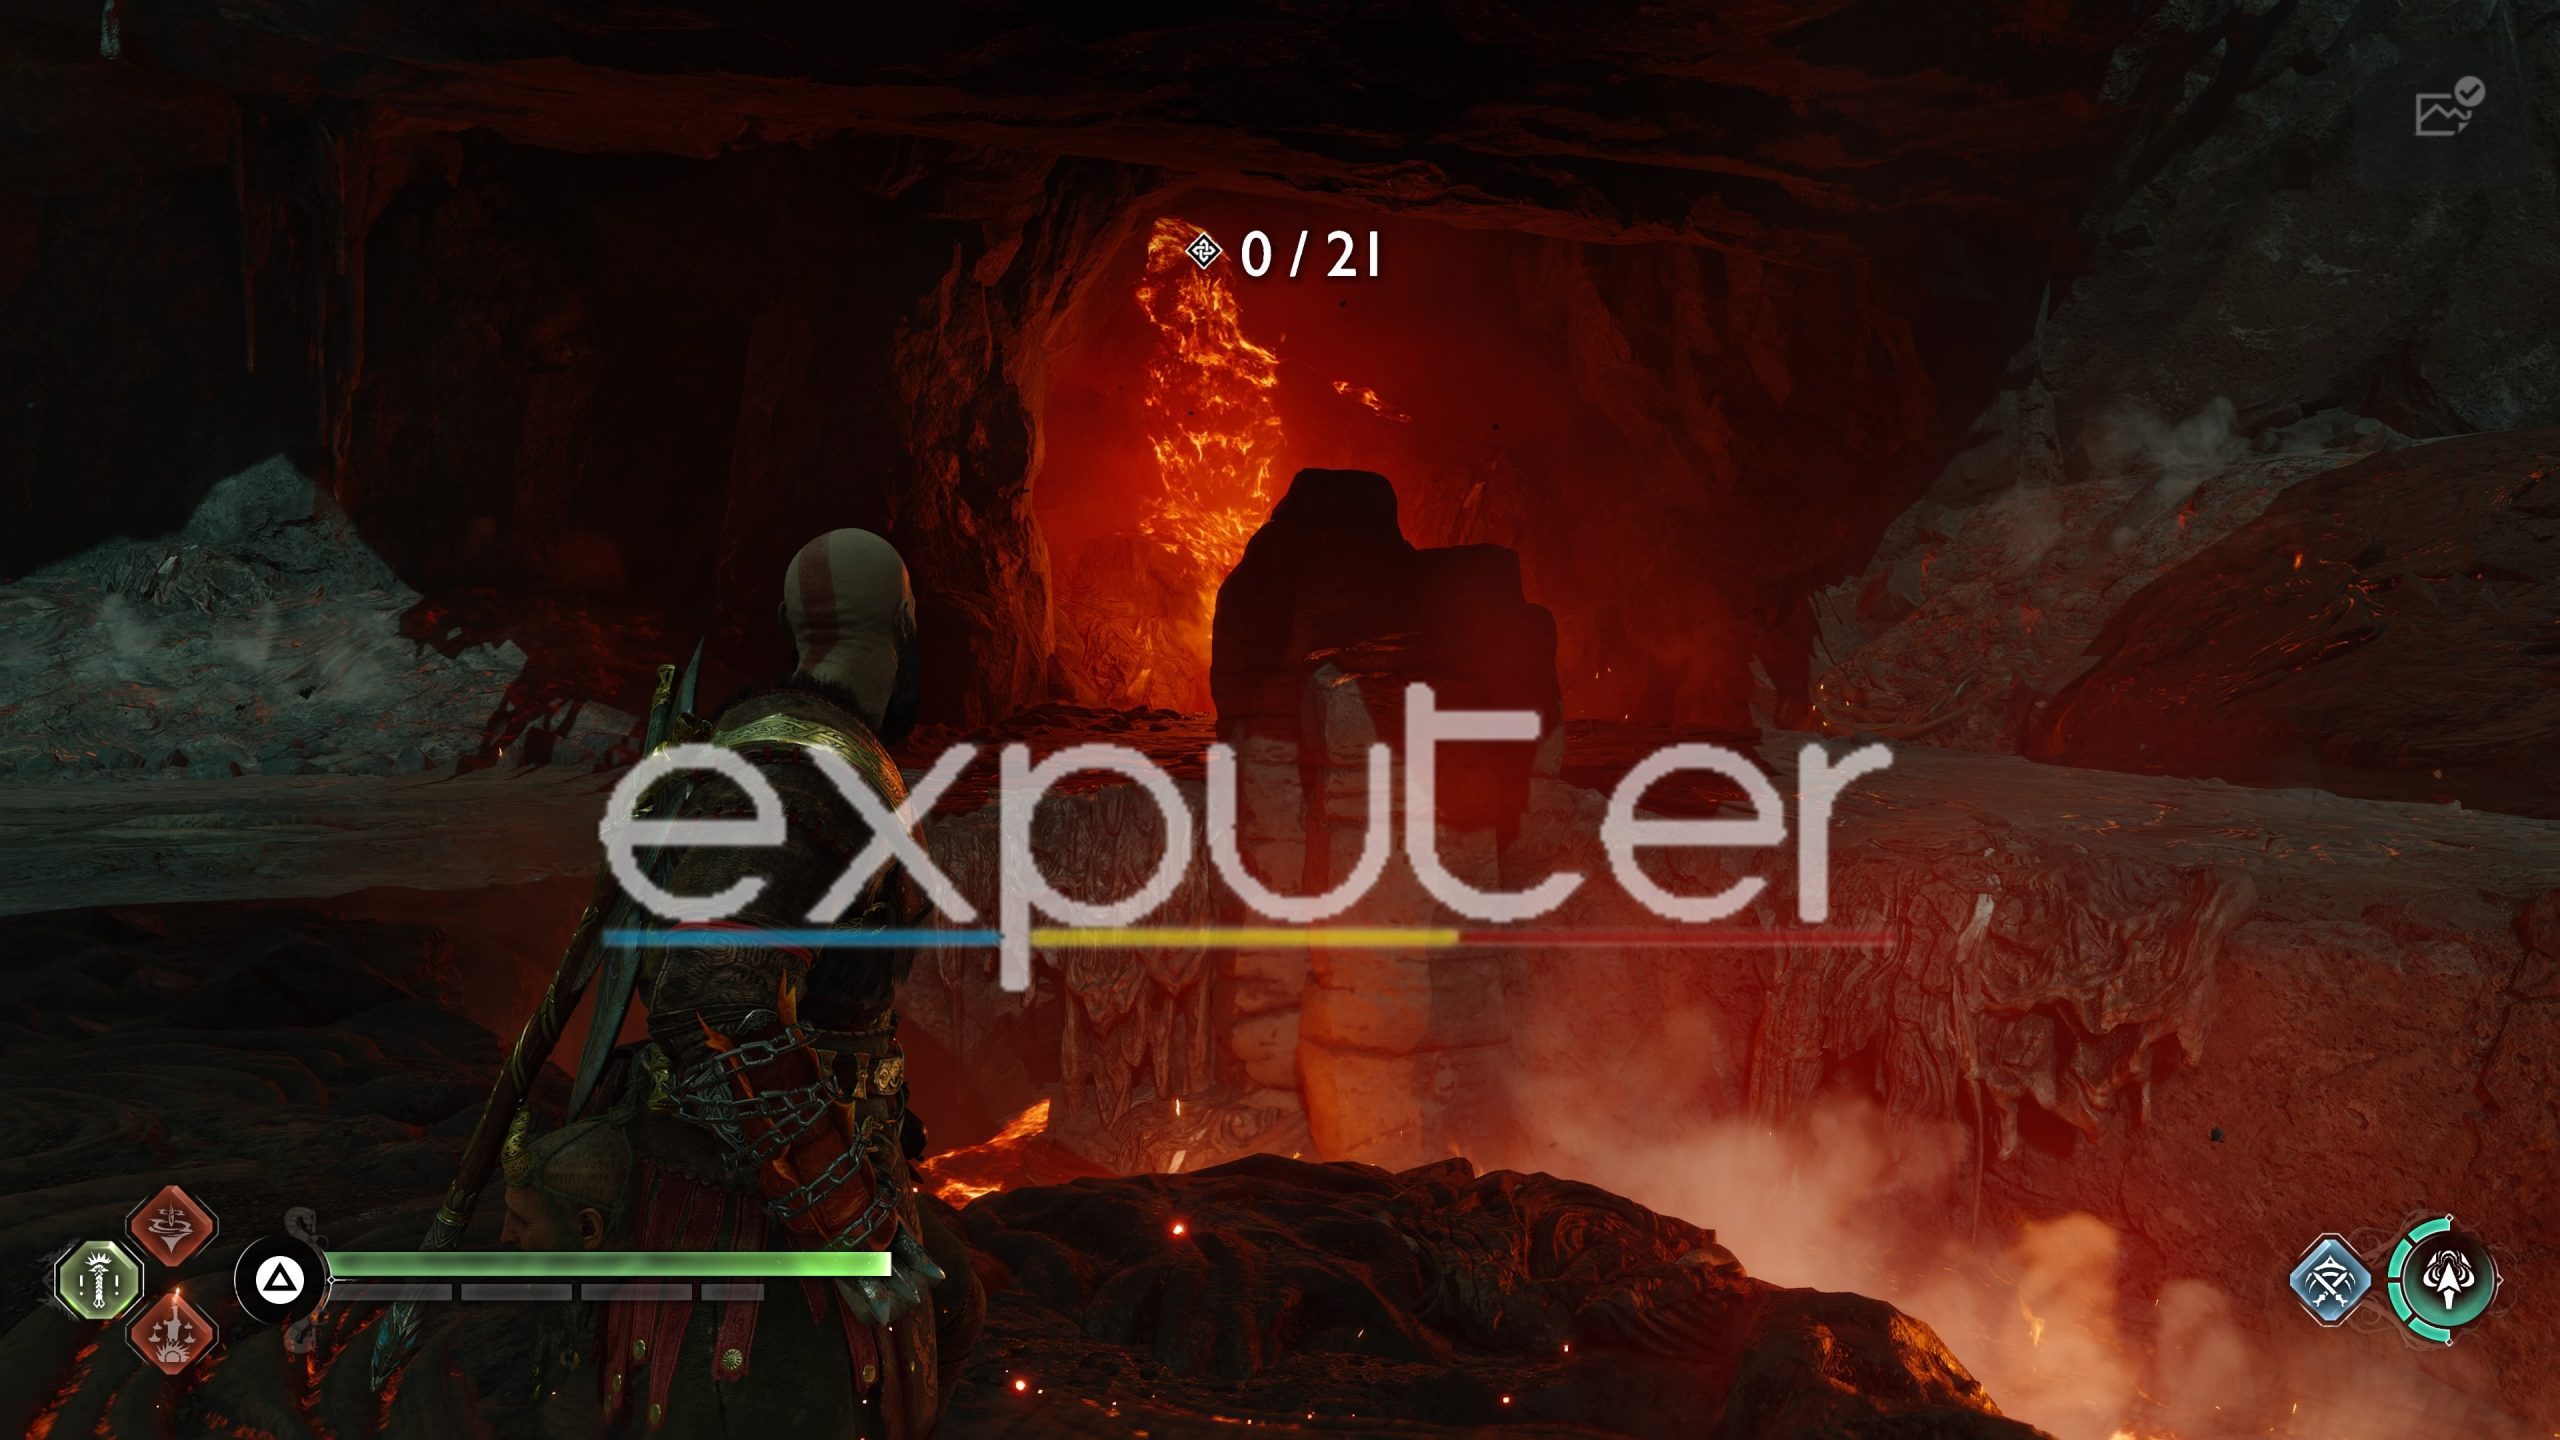
In the trial, you’ll have to utilize the lave pits in the arena. Use your shield to parry incoming attacks and the double L1 to hit the enemies back into the lava pits. You will have to play bare-handed and use Kratos’ kick attack, and shield swipes a lot here in order to beat the 21 enemies.
Rewards
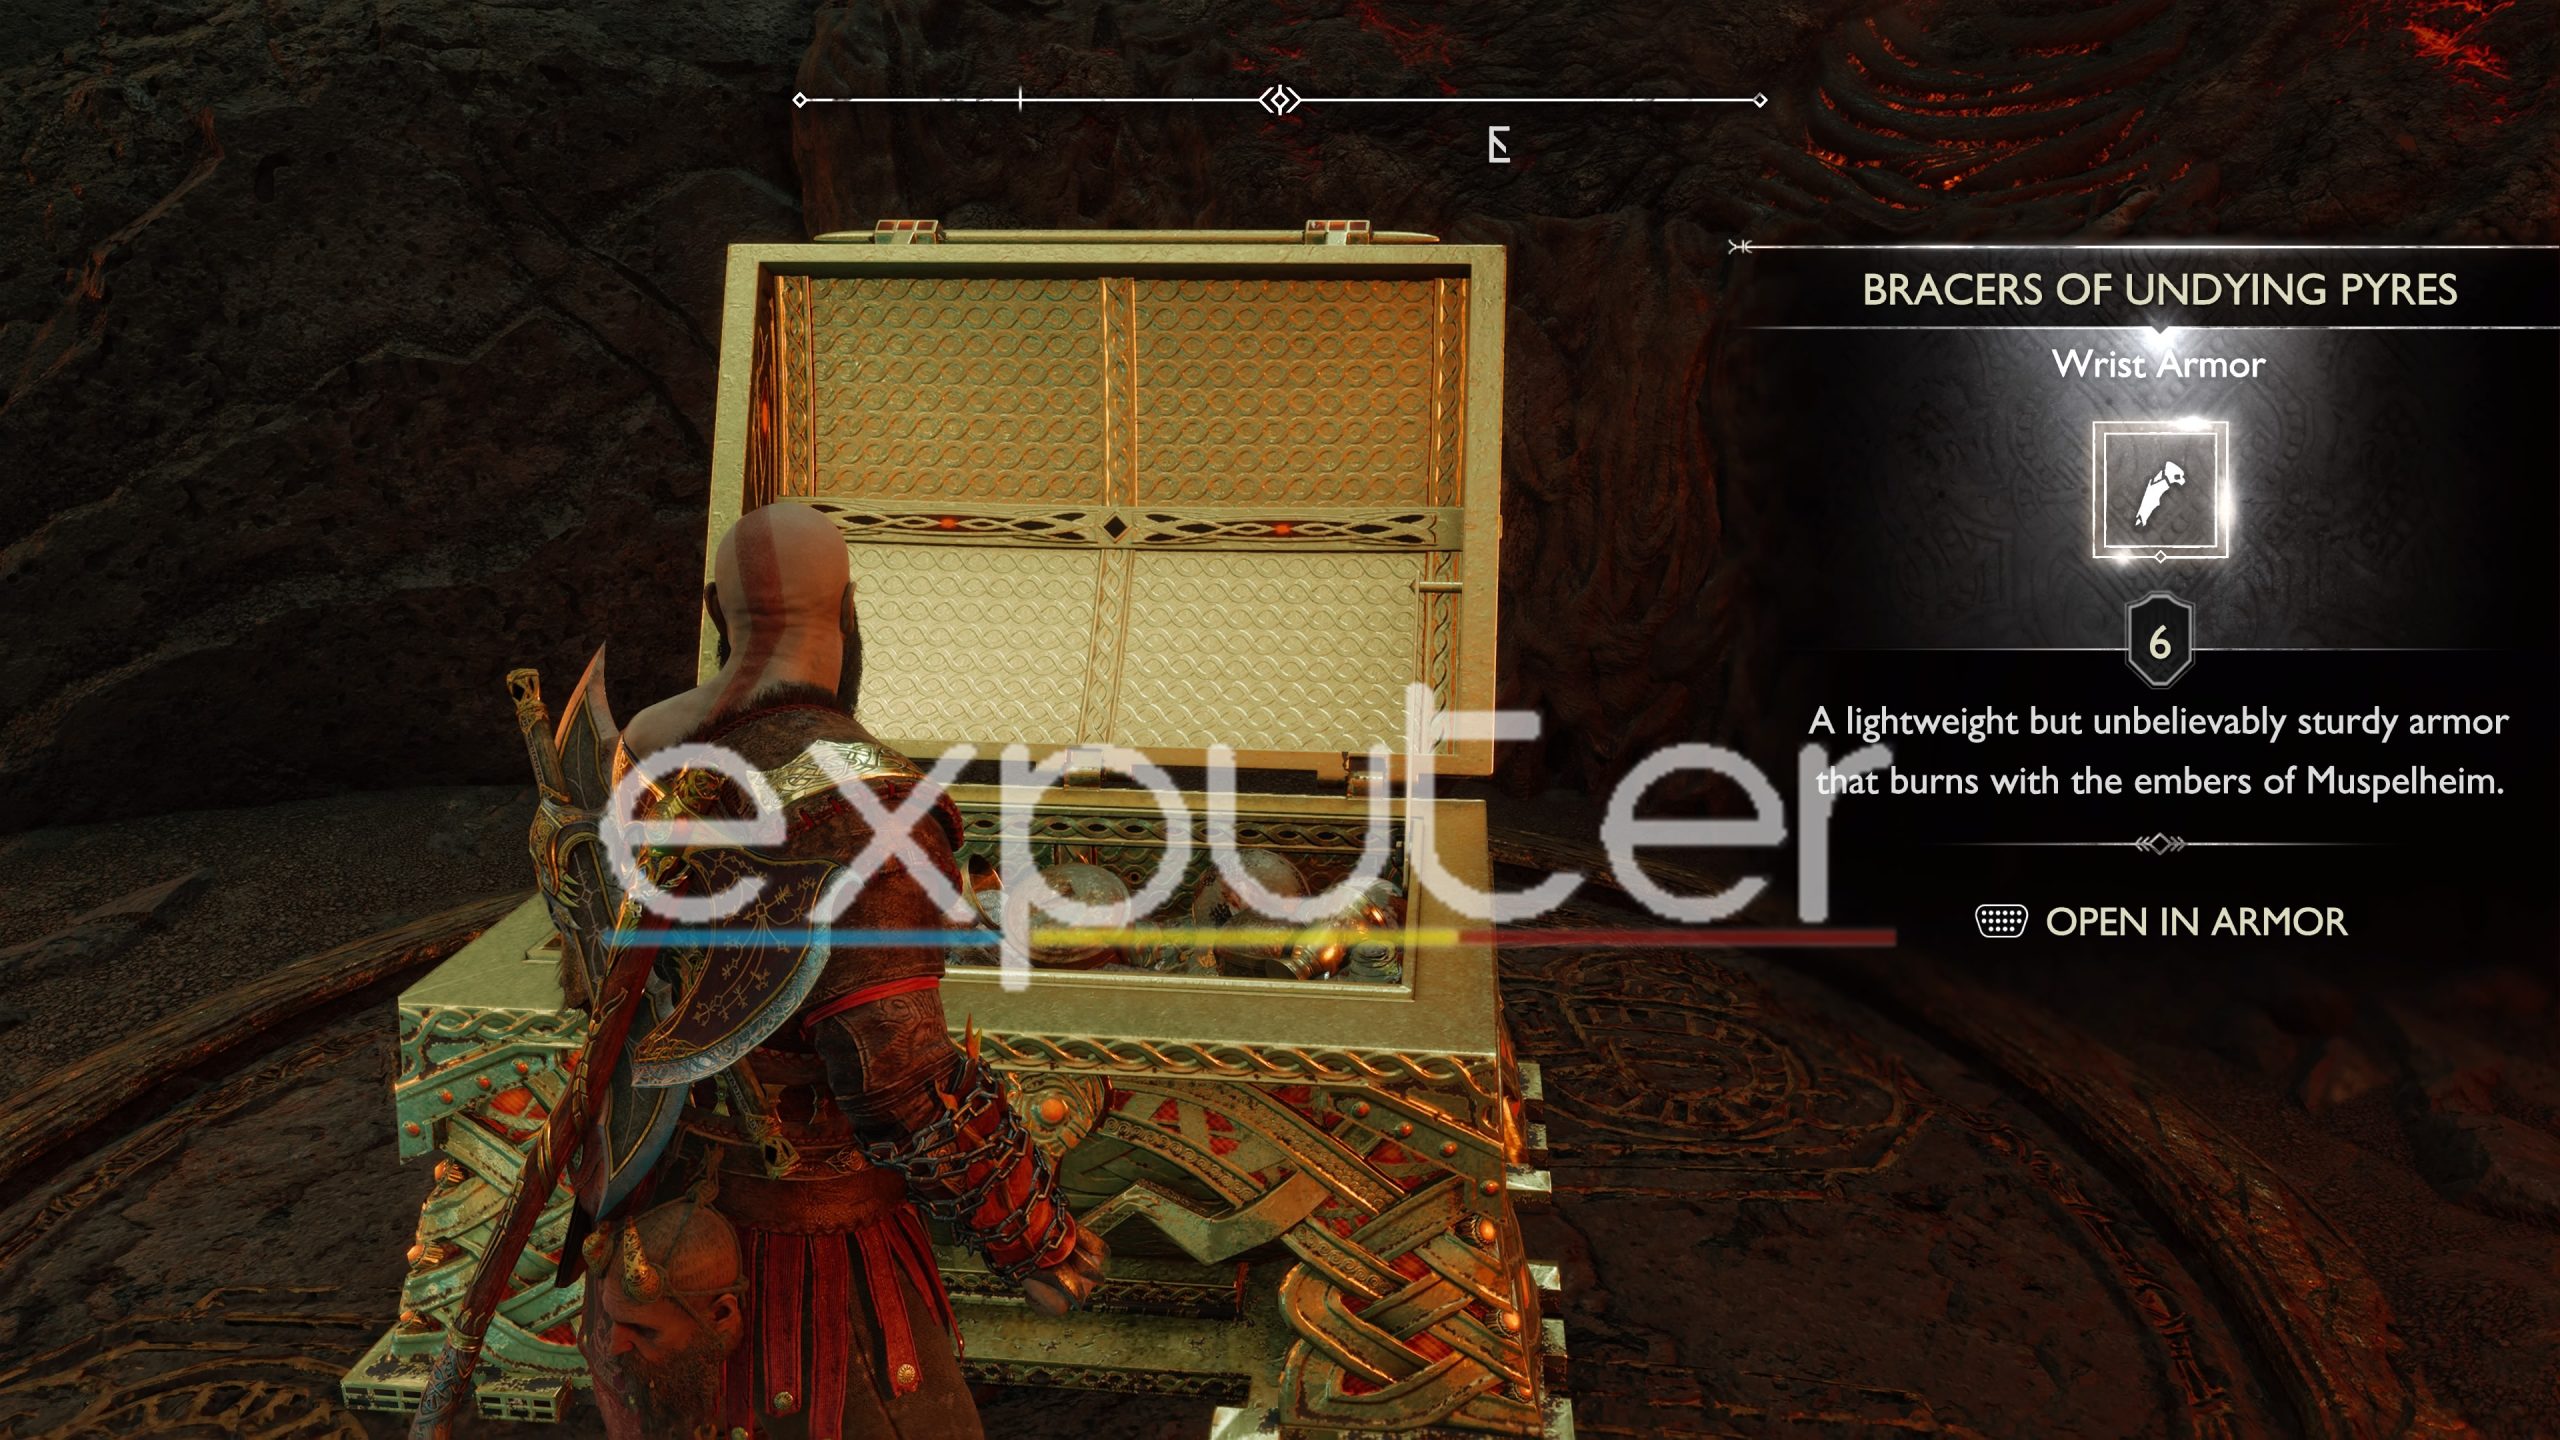
You get wrist armor known as the Bracers of Undying Pyres for Kratos as a reward for completing the third trial in Muspelheim. You are now halfway through the crucible challenges in God Of War Ragnarok.
Trial #4
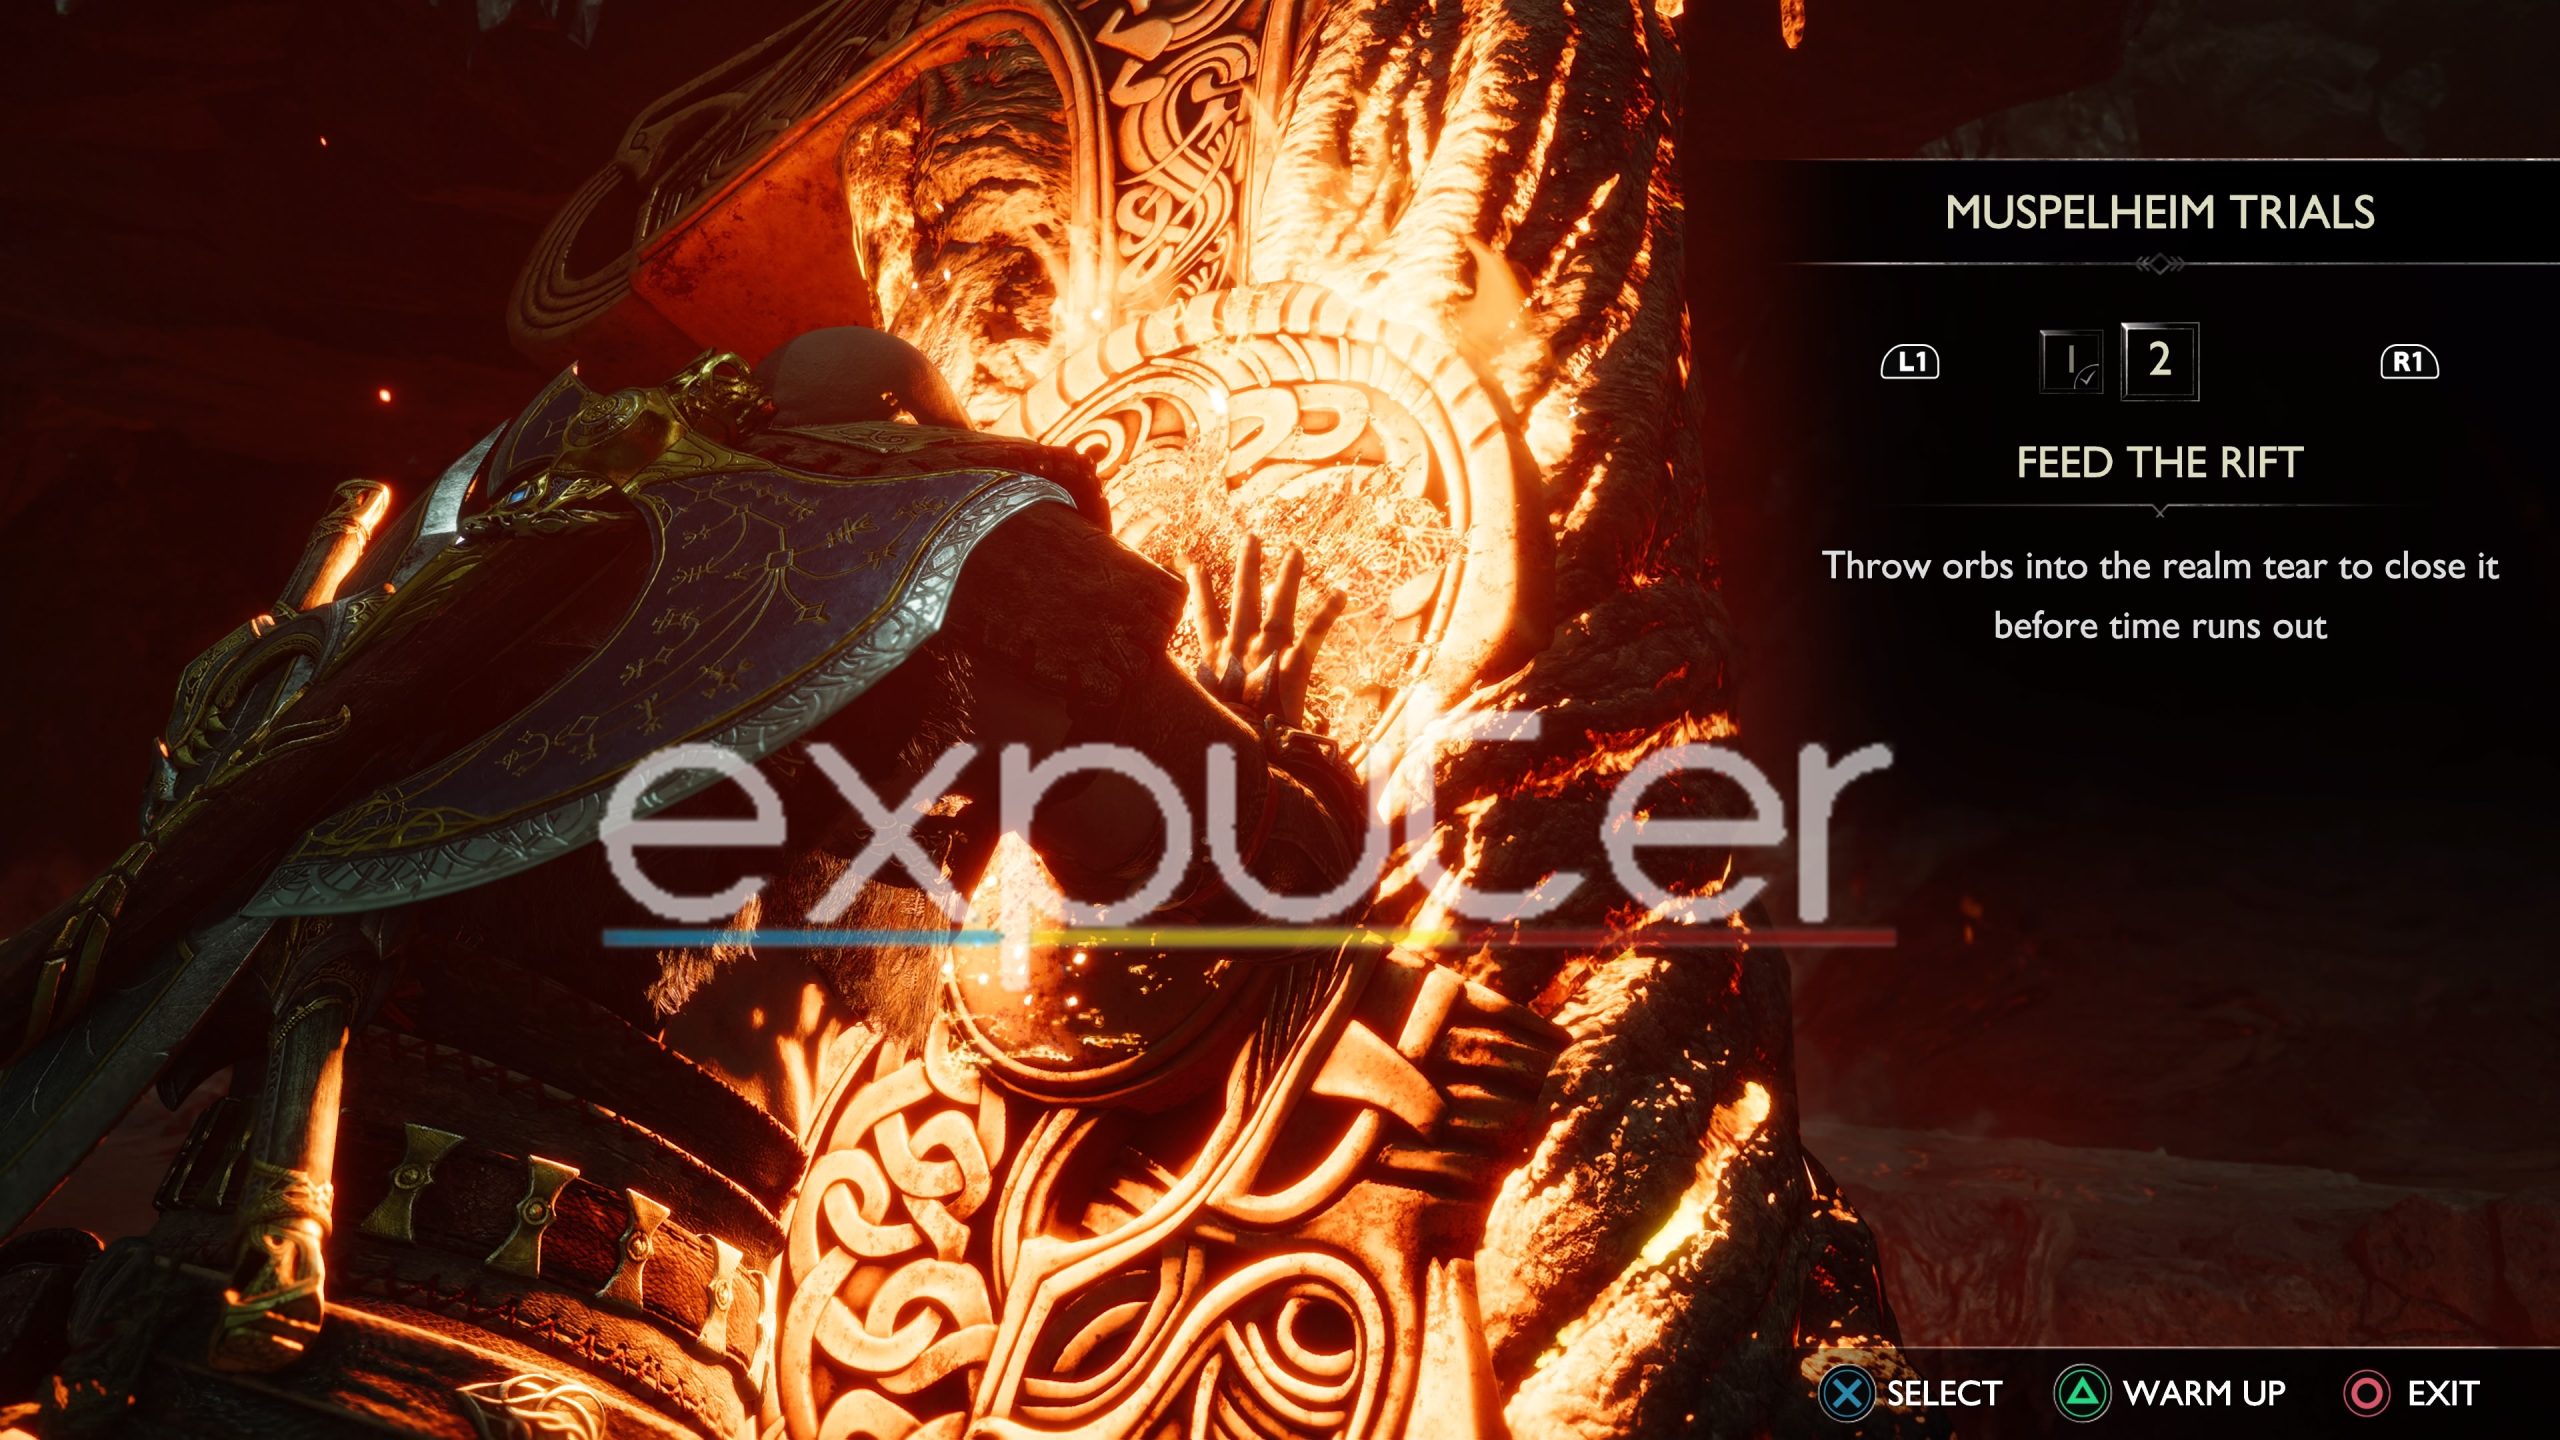
The fourth trial is interesting as it is quite different from the others we’ve faced before. It requires you to throw certain orbs into the realm shift in order to close it. And there is a timer, so you must be quick while doing it.
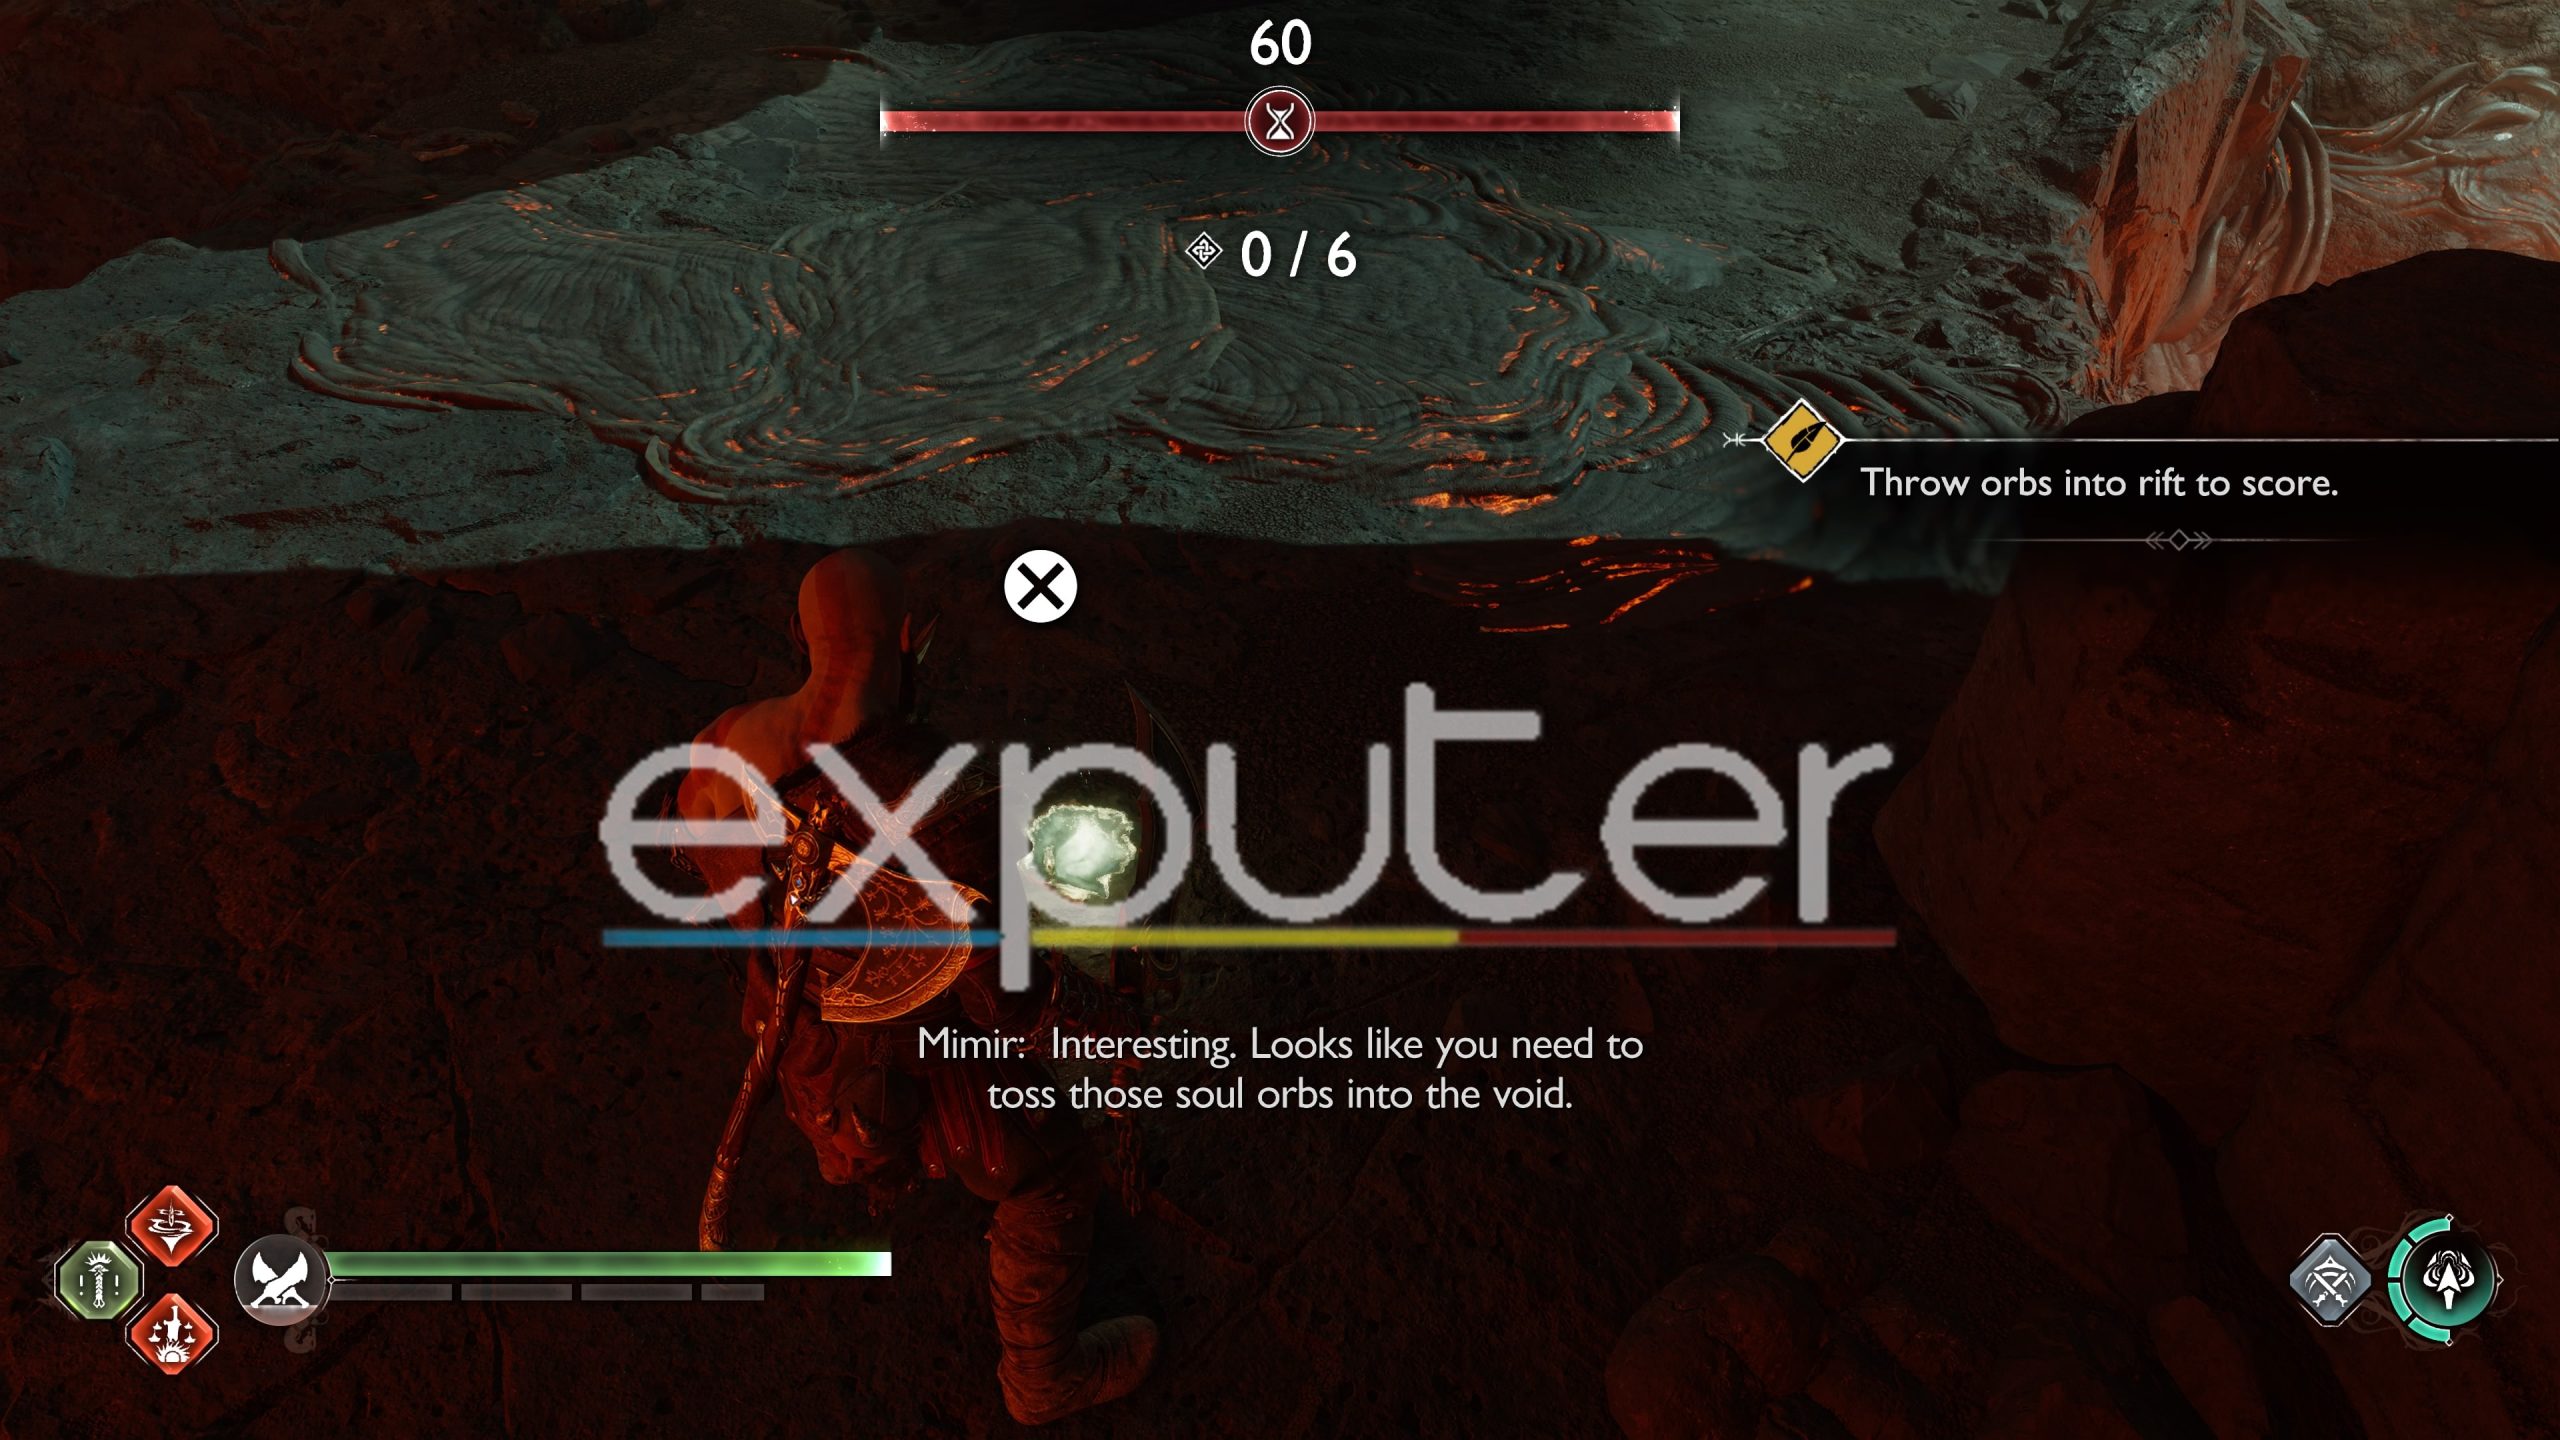
There are certain glowing enemies that you have to kill, and they will drop these orb items. You have to pick up these orbs and throw them into the rift to close it.
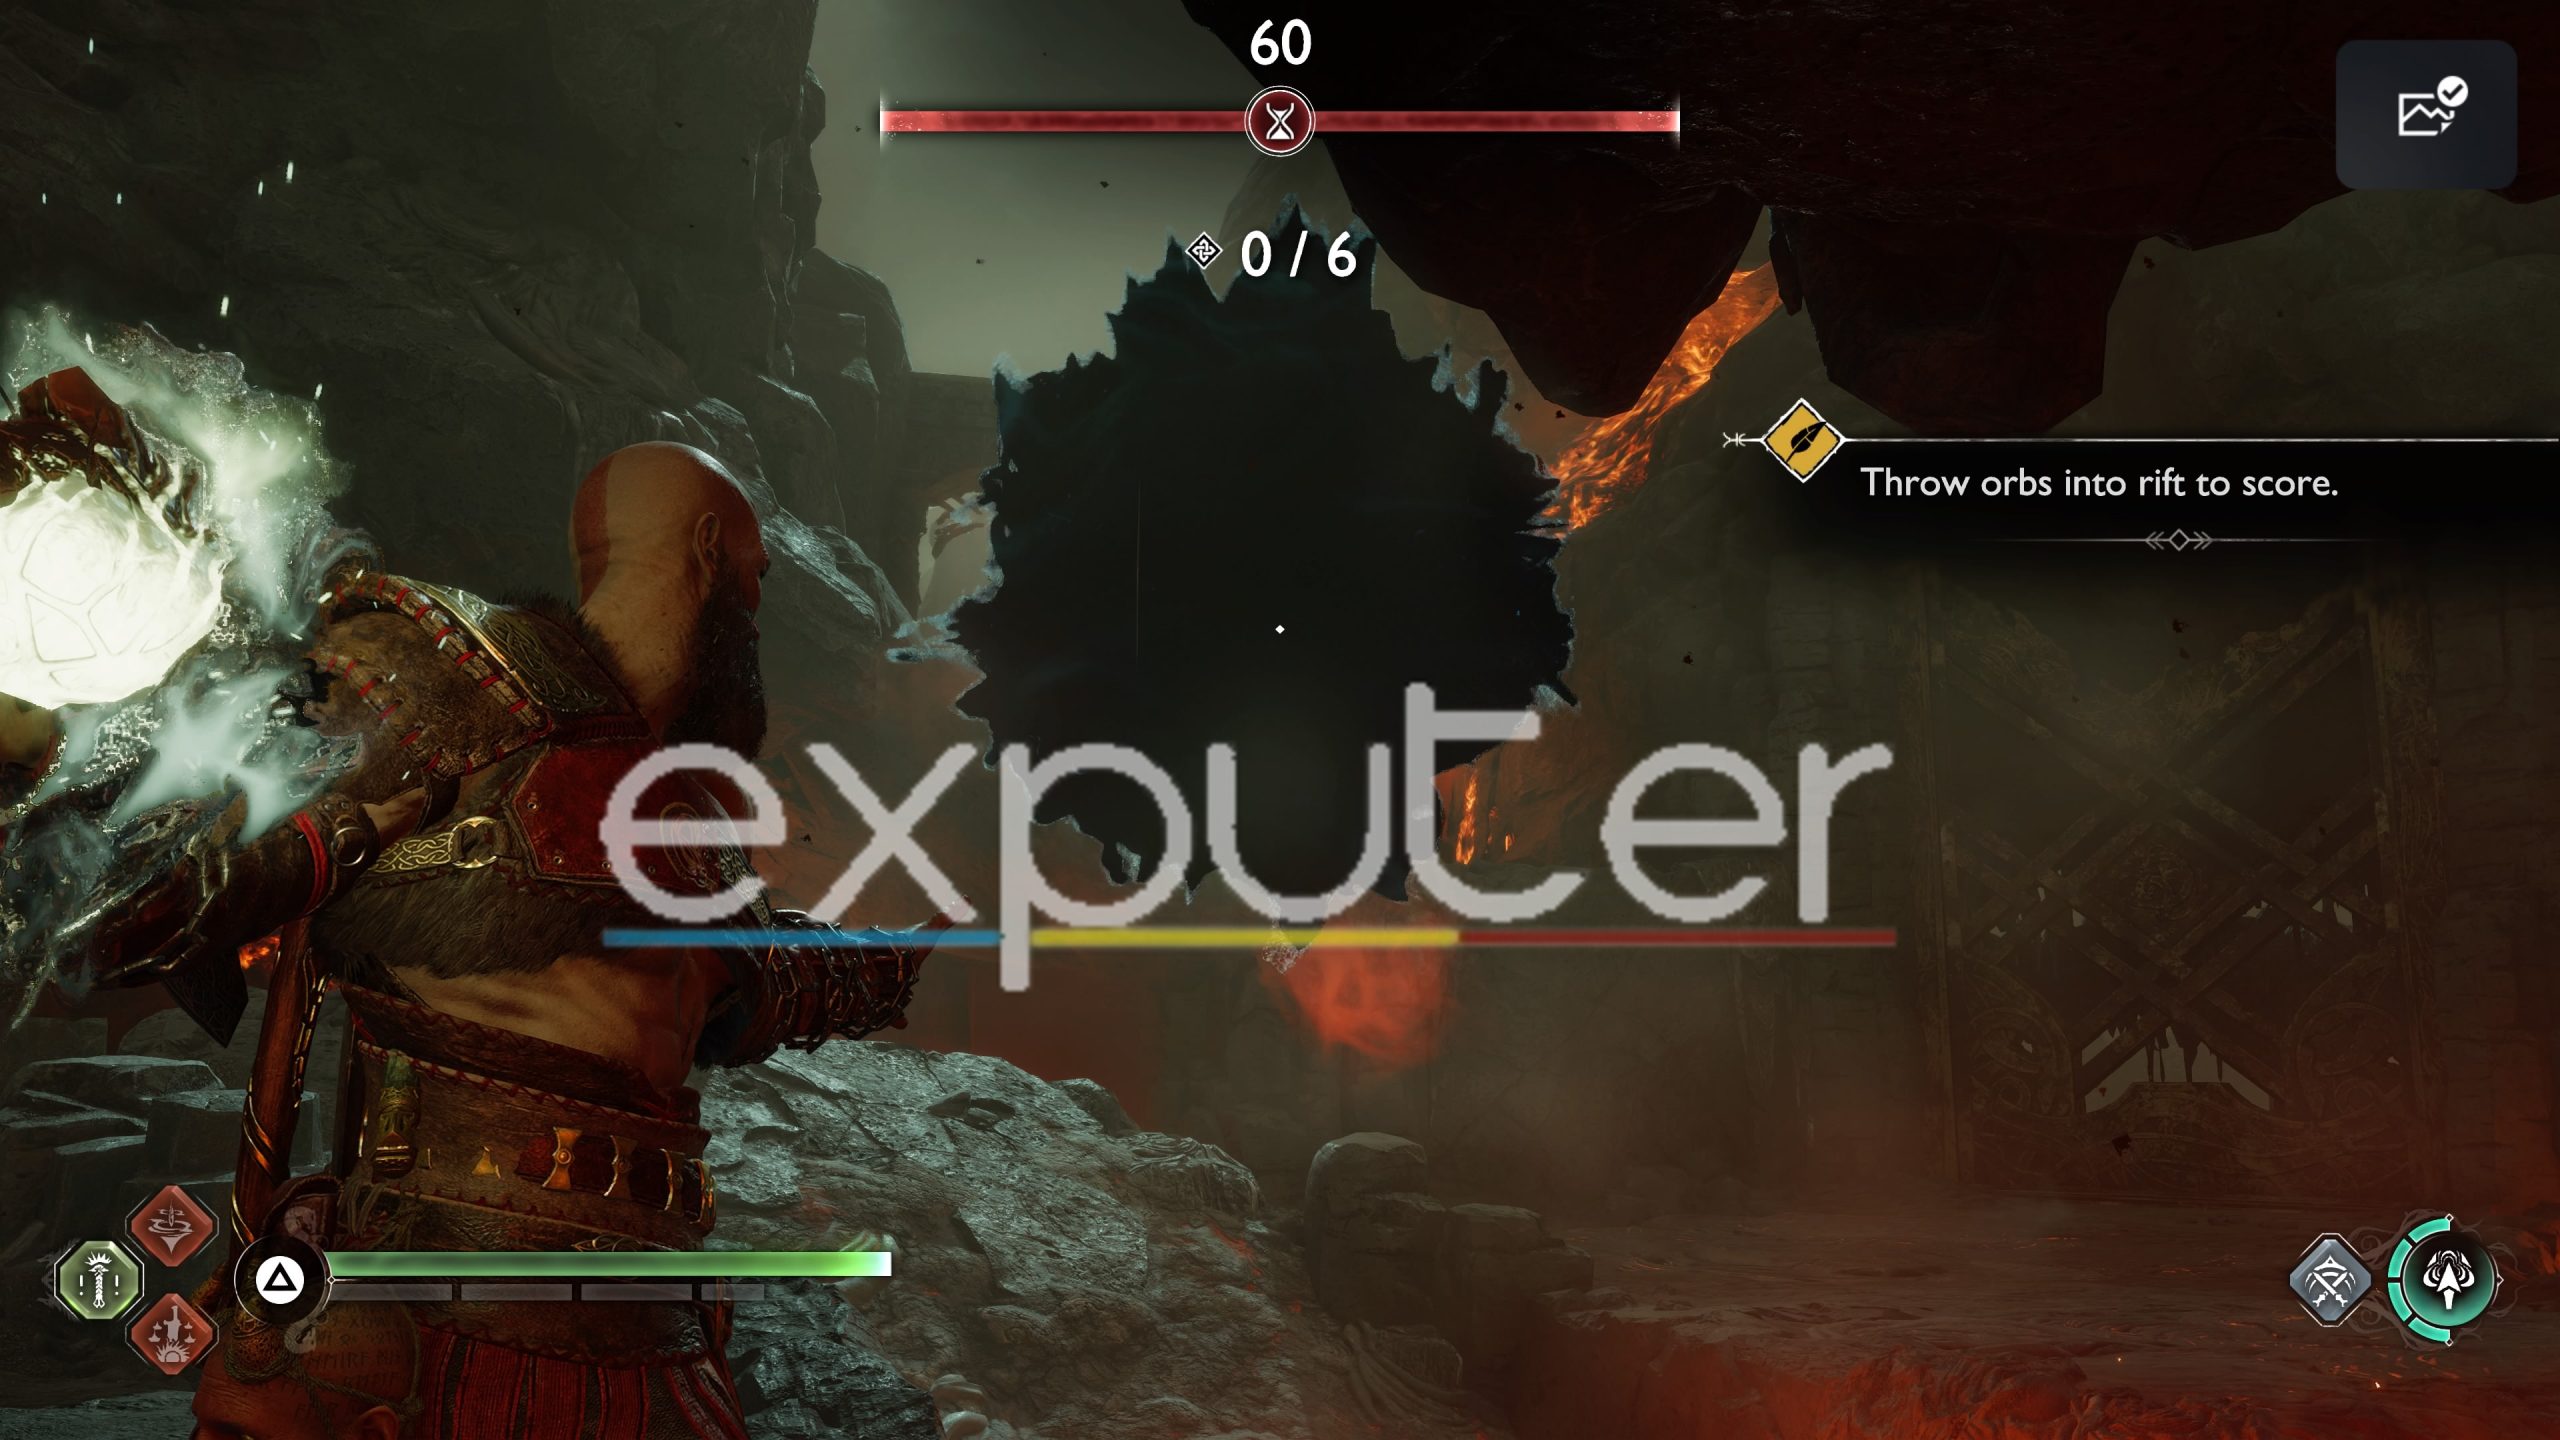
You need to be quick in throwing these orbs and also have to be on the lookout for other enemies attacking you. Throw 6 orbs in order to close the first rift in the trial.
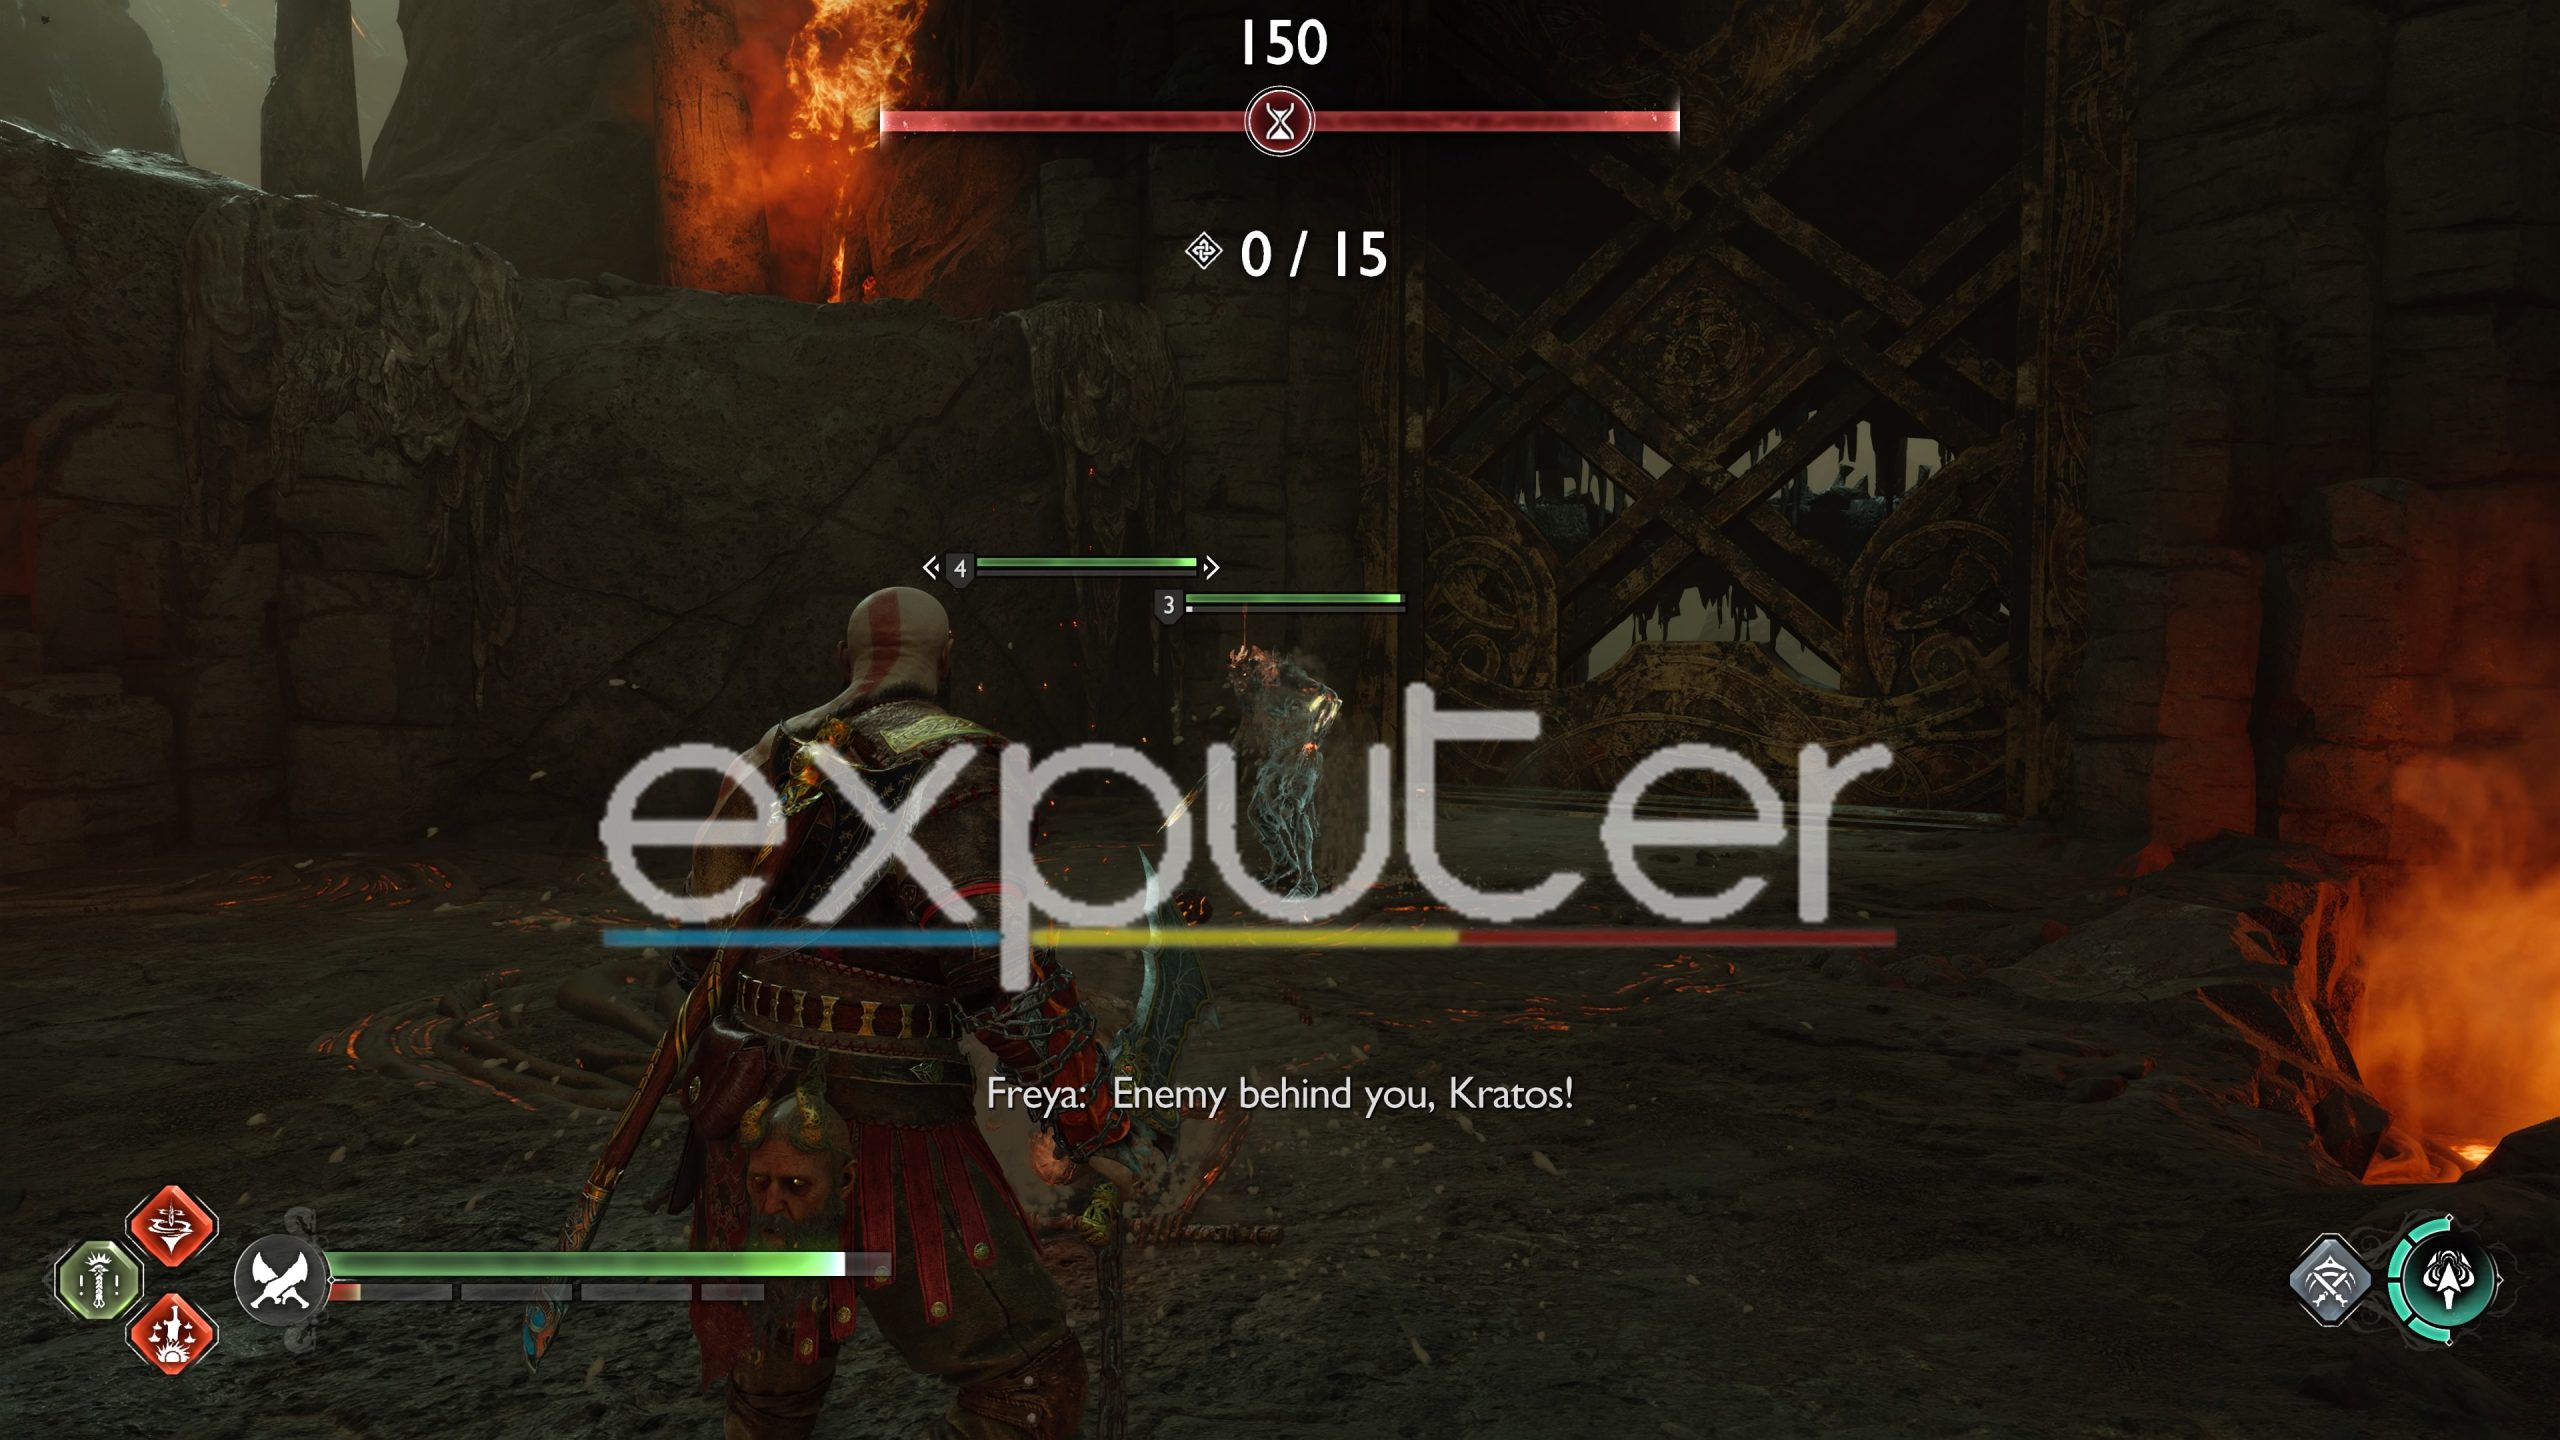
When you close the first rift, another one will open, and this time you’ll have to throw 15 orbs in order to close the rift. Utilize all of your runic attacks and spartan rage here in order to get quick kills so that you can close the rift before the timer runs out.
Rewards
You will get crafting materials and hacksilver and XP for Kratos and Freya/Atreus as a reward for completing the fourth trial.
Trial #5
It is time to move on to the third sword in order to access your last pair of trials in Muspelheim. Again, just move outside the second sword’s arena and keep following the path on the left. It will directly take you to the third sword in the game. Here, you can access your fifth and sixth trials.
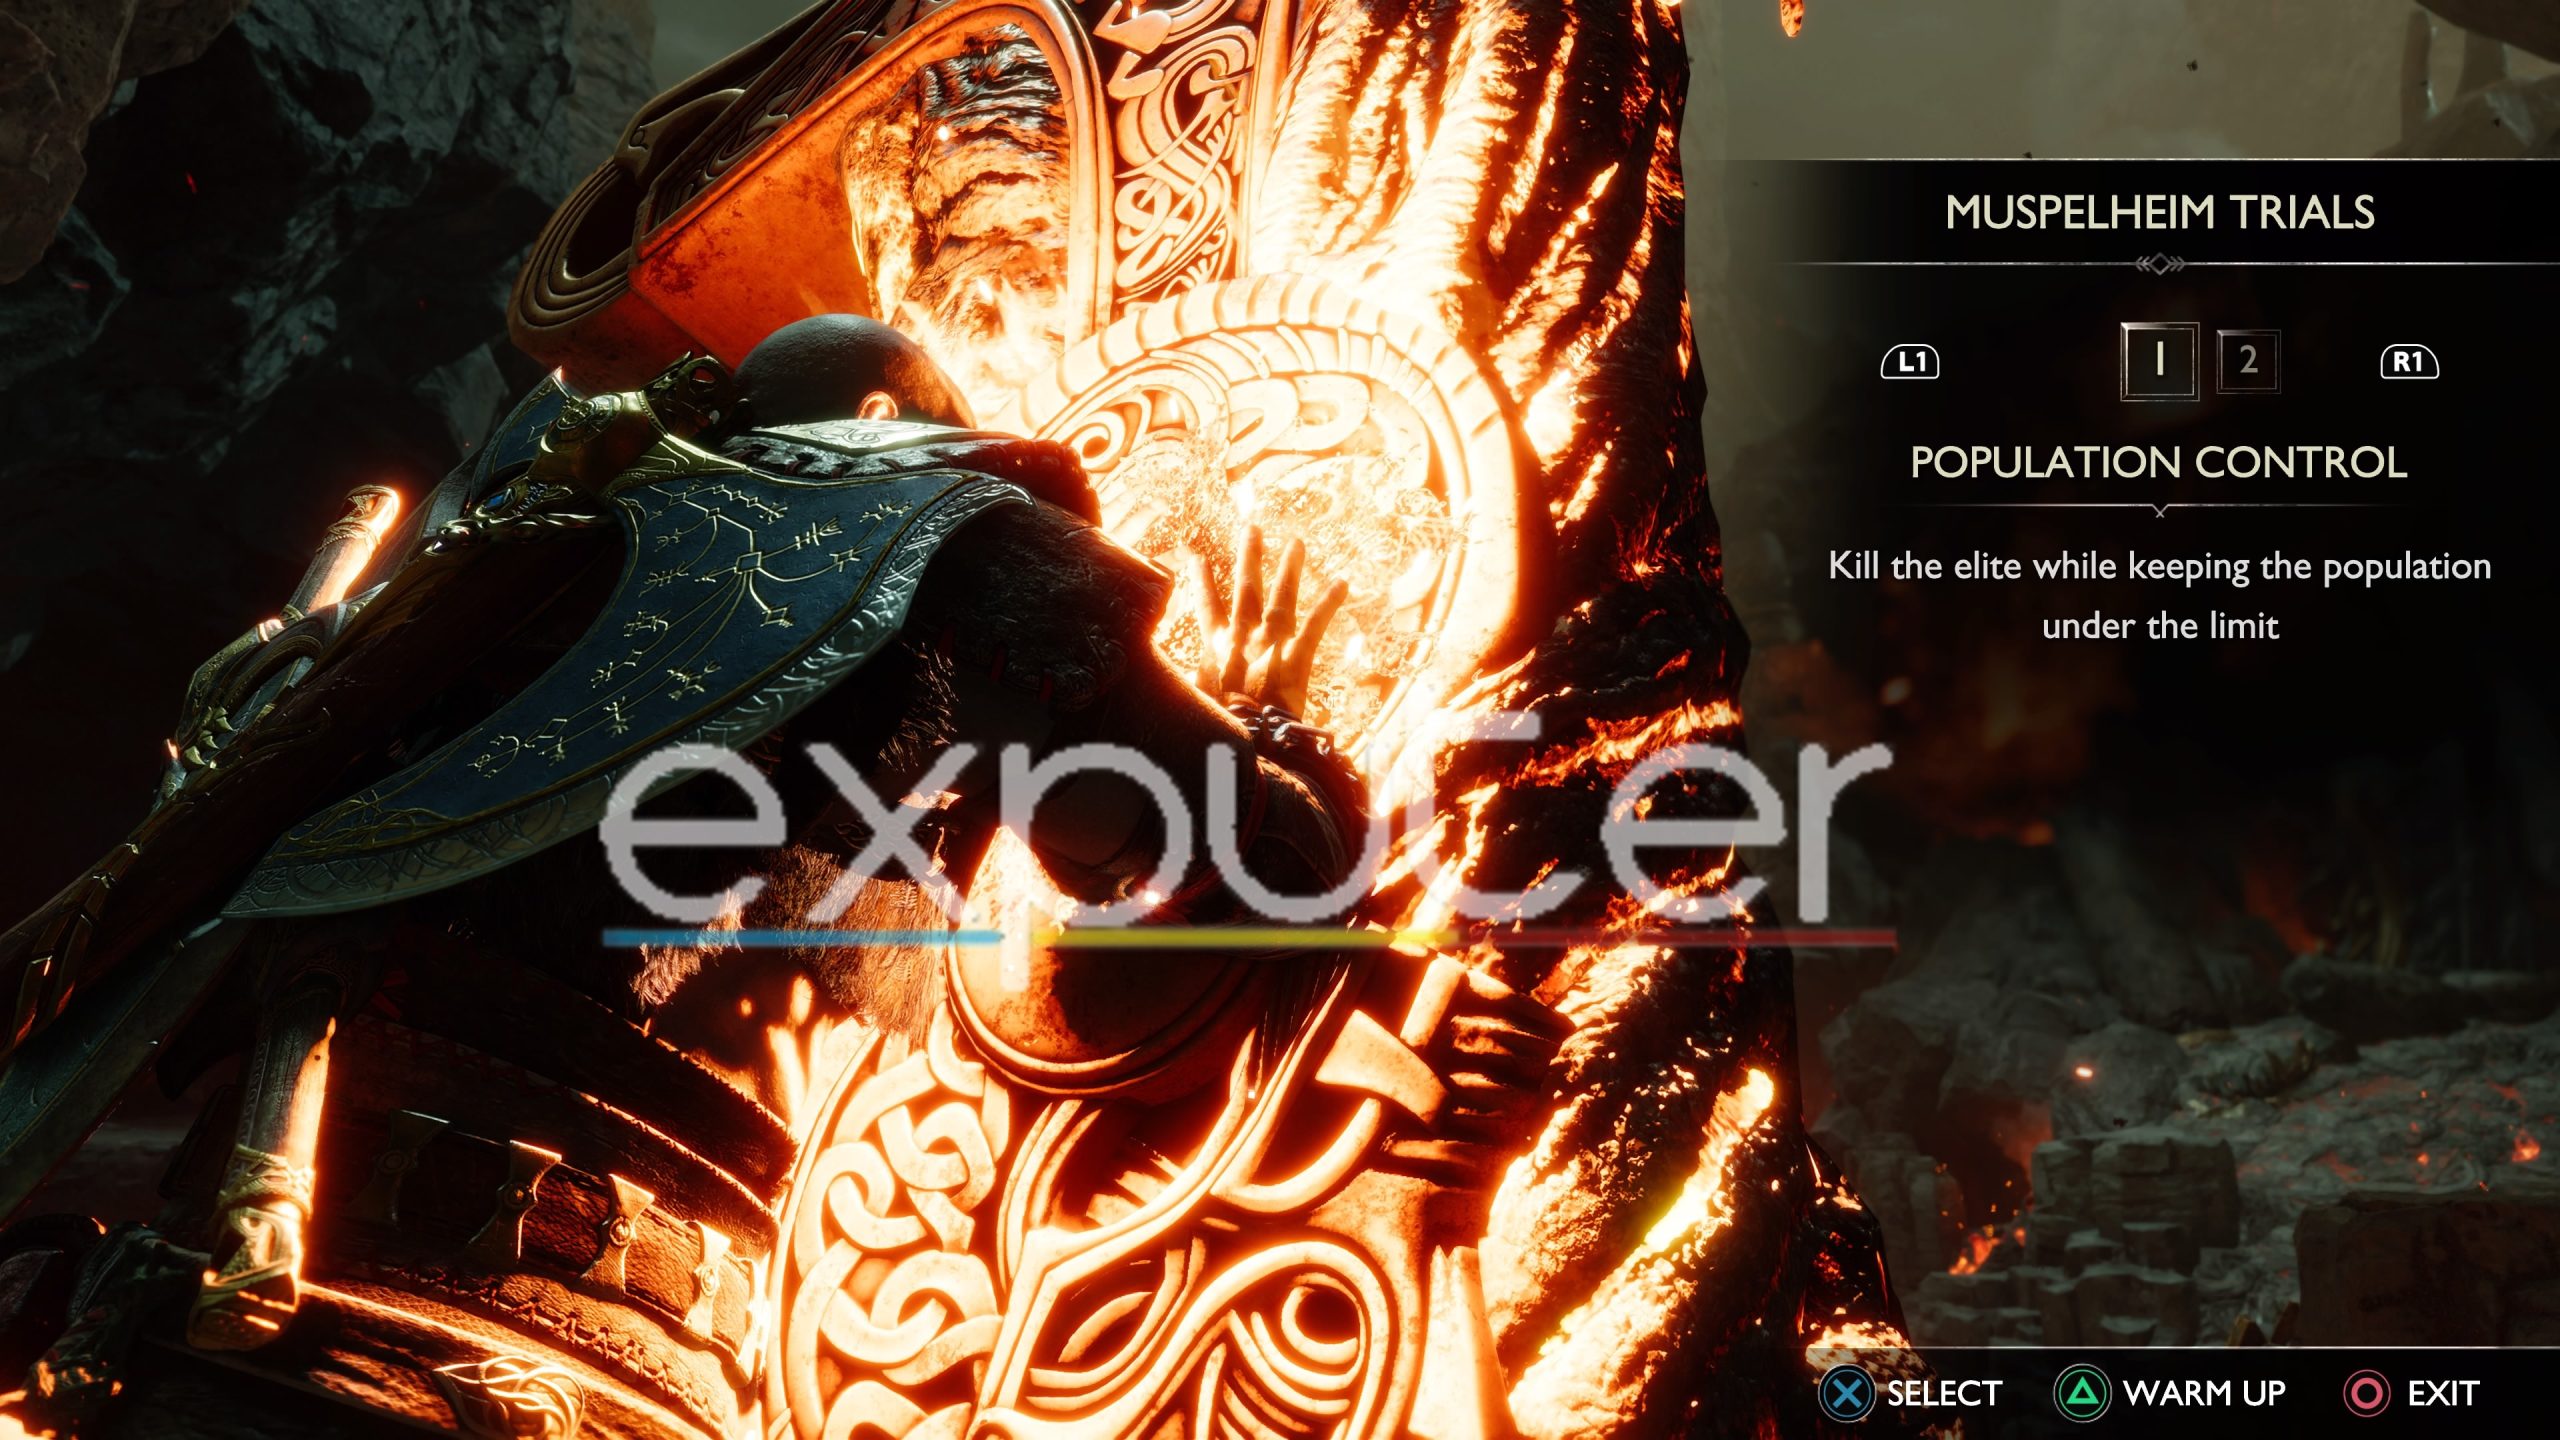
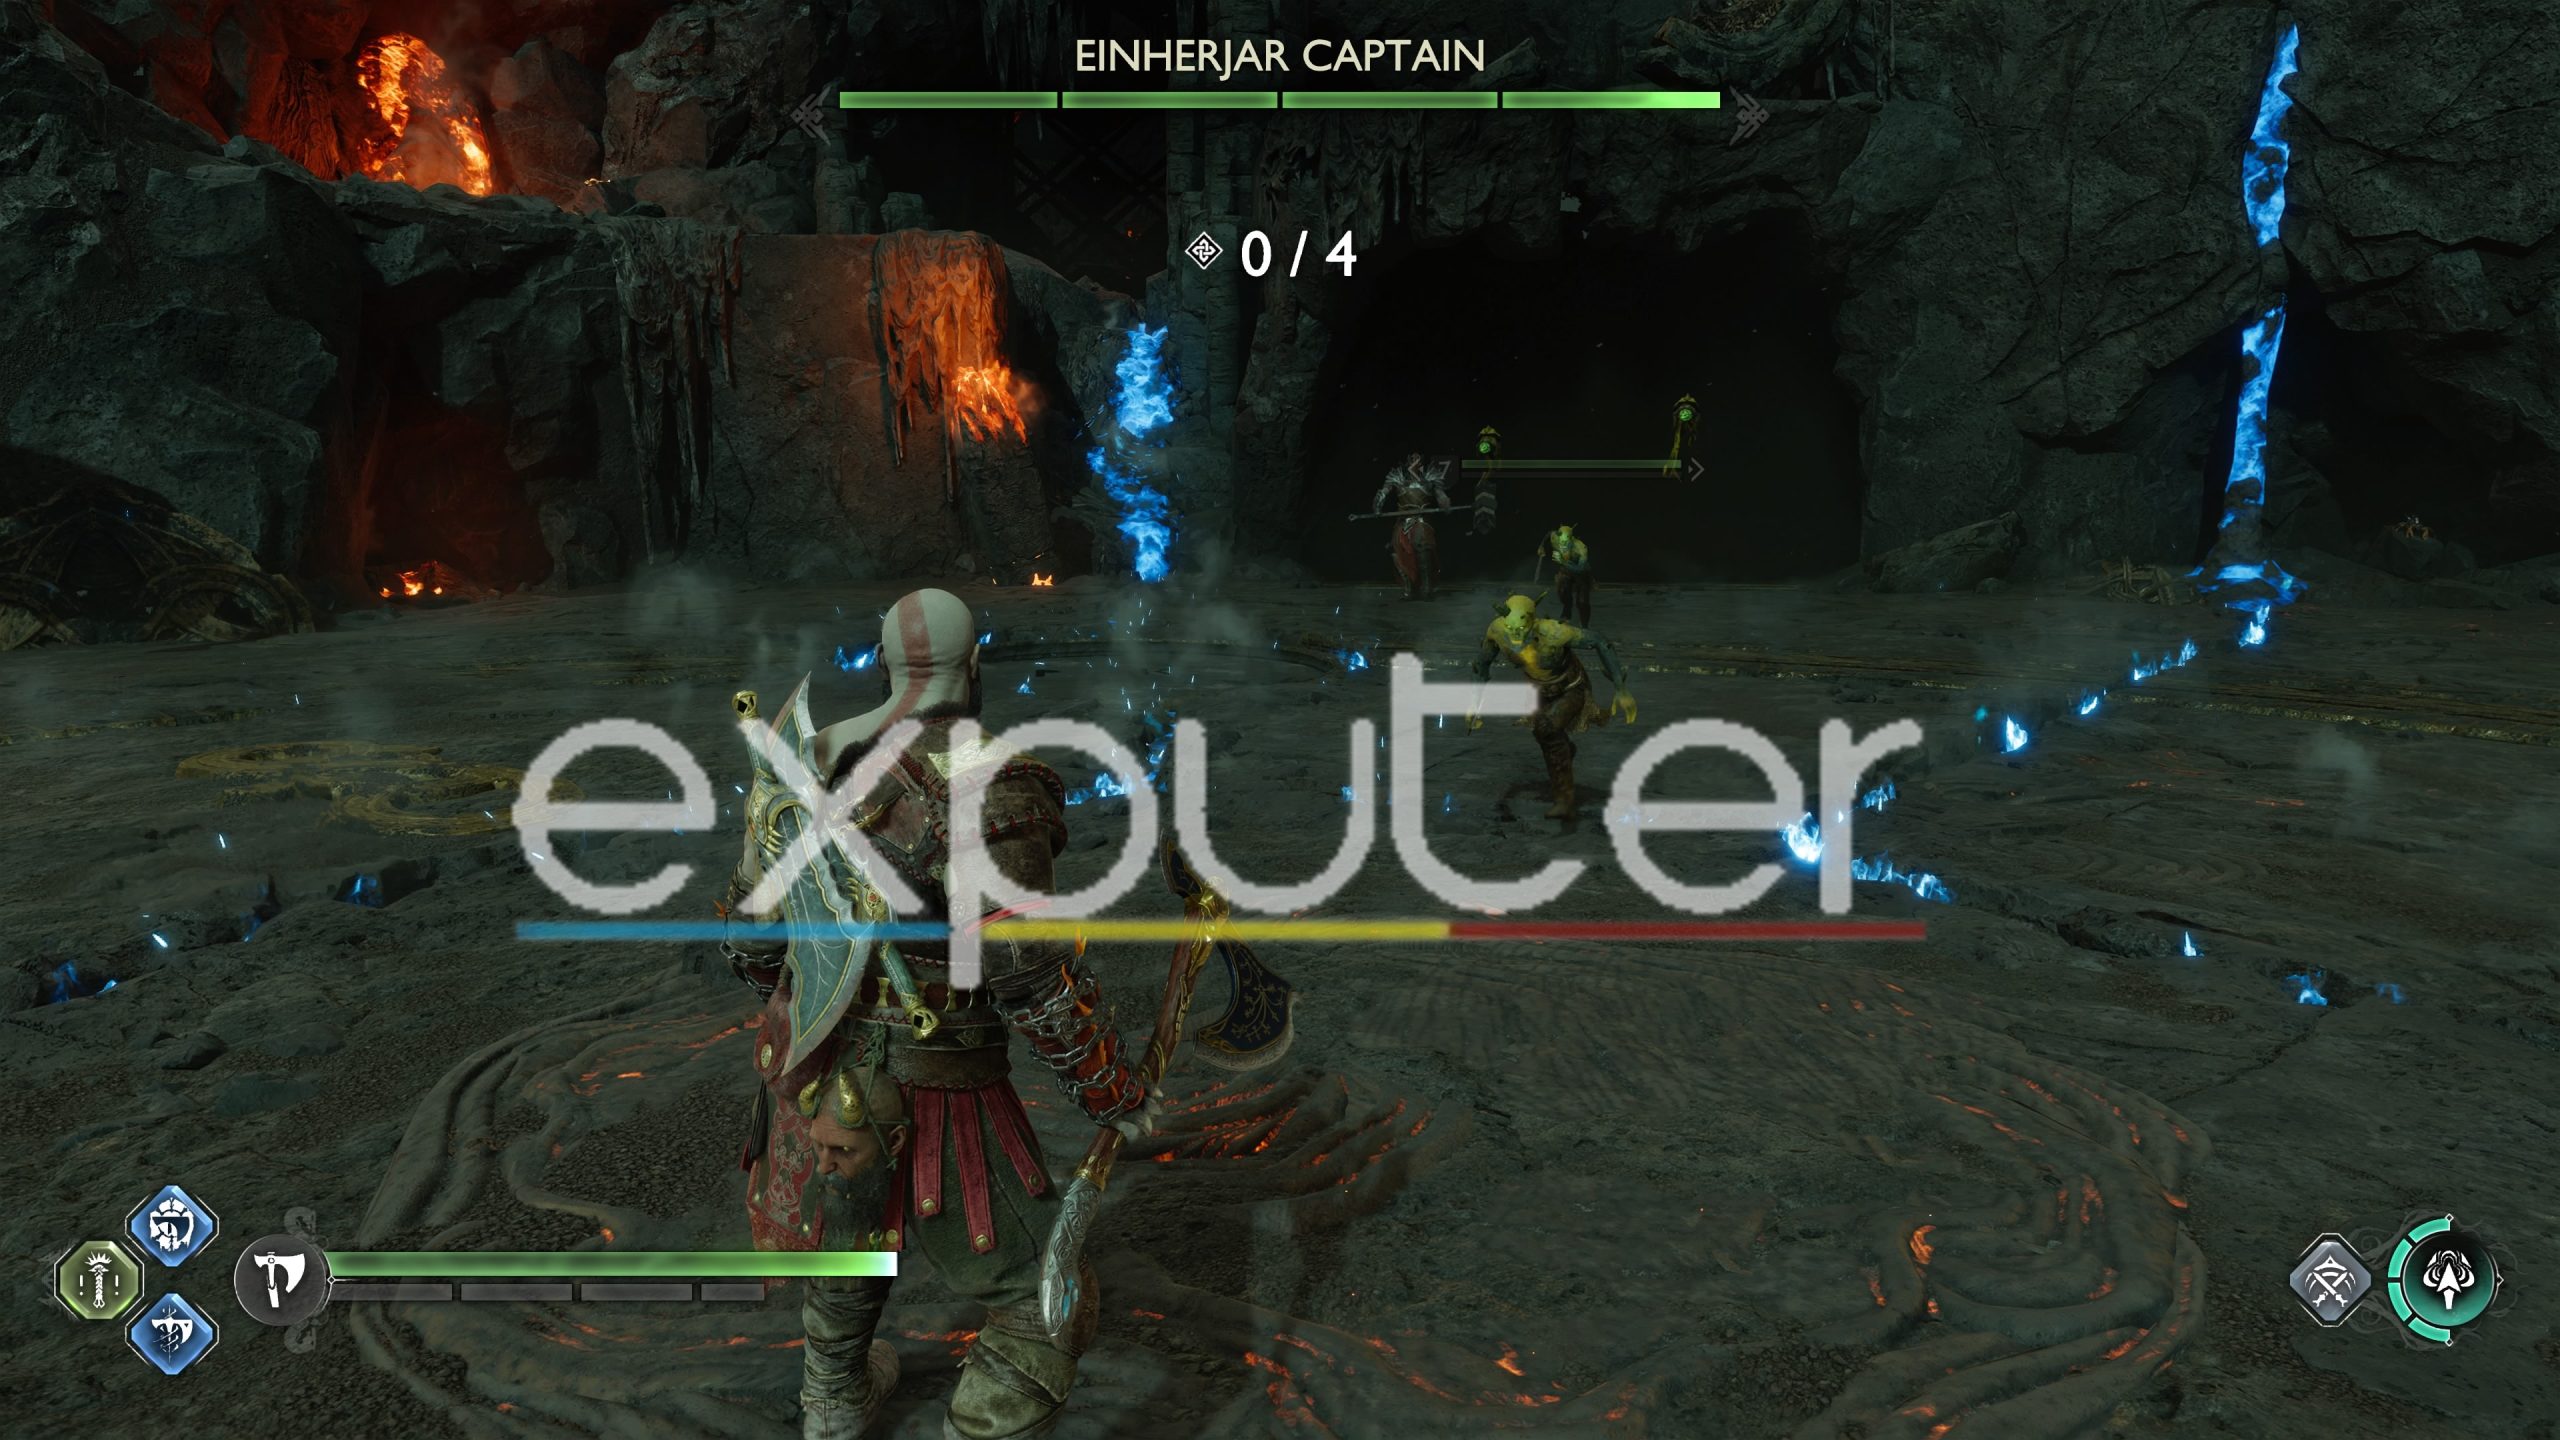
The fifth trial requires you to keep the total number of enemies under a certain limit while focusing on killing the boss. Enemies will keep spawning and you have to ensure that the total number of enemies does not exceed a certain limit in this trial.

Make sure that the number of enemies does not go above 4. If it does, eliminate enemies quickly before the timer runs out. Do not forget to keep damaging the boss while eliminating fodder enemies.
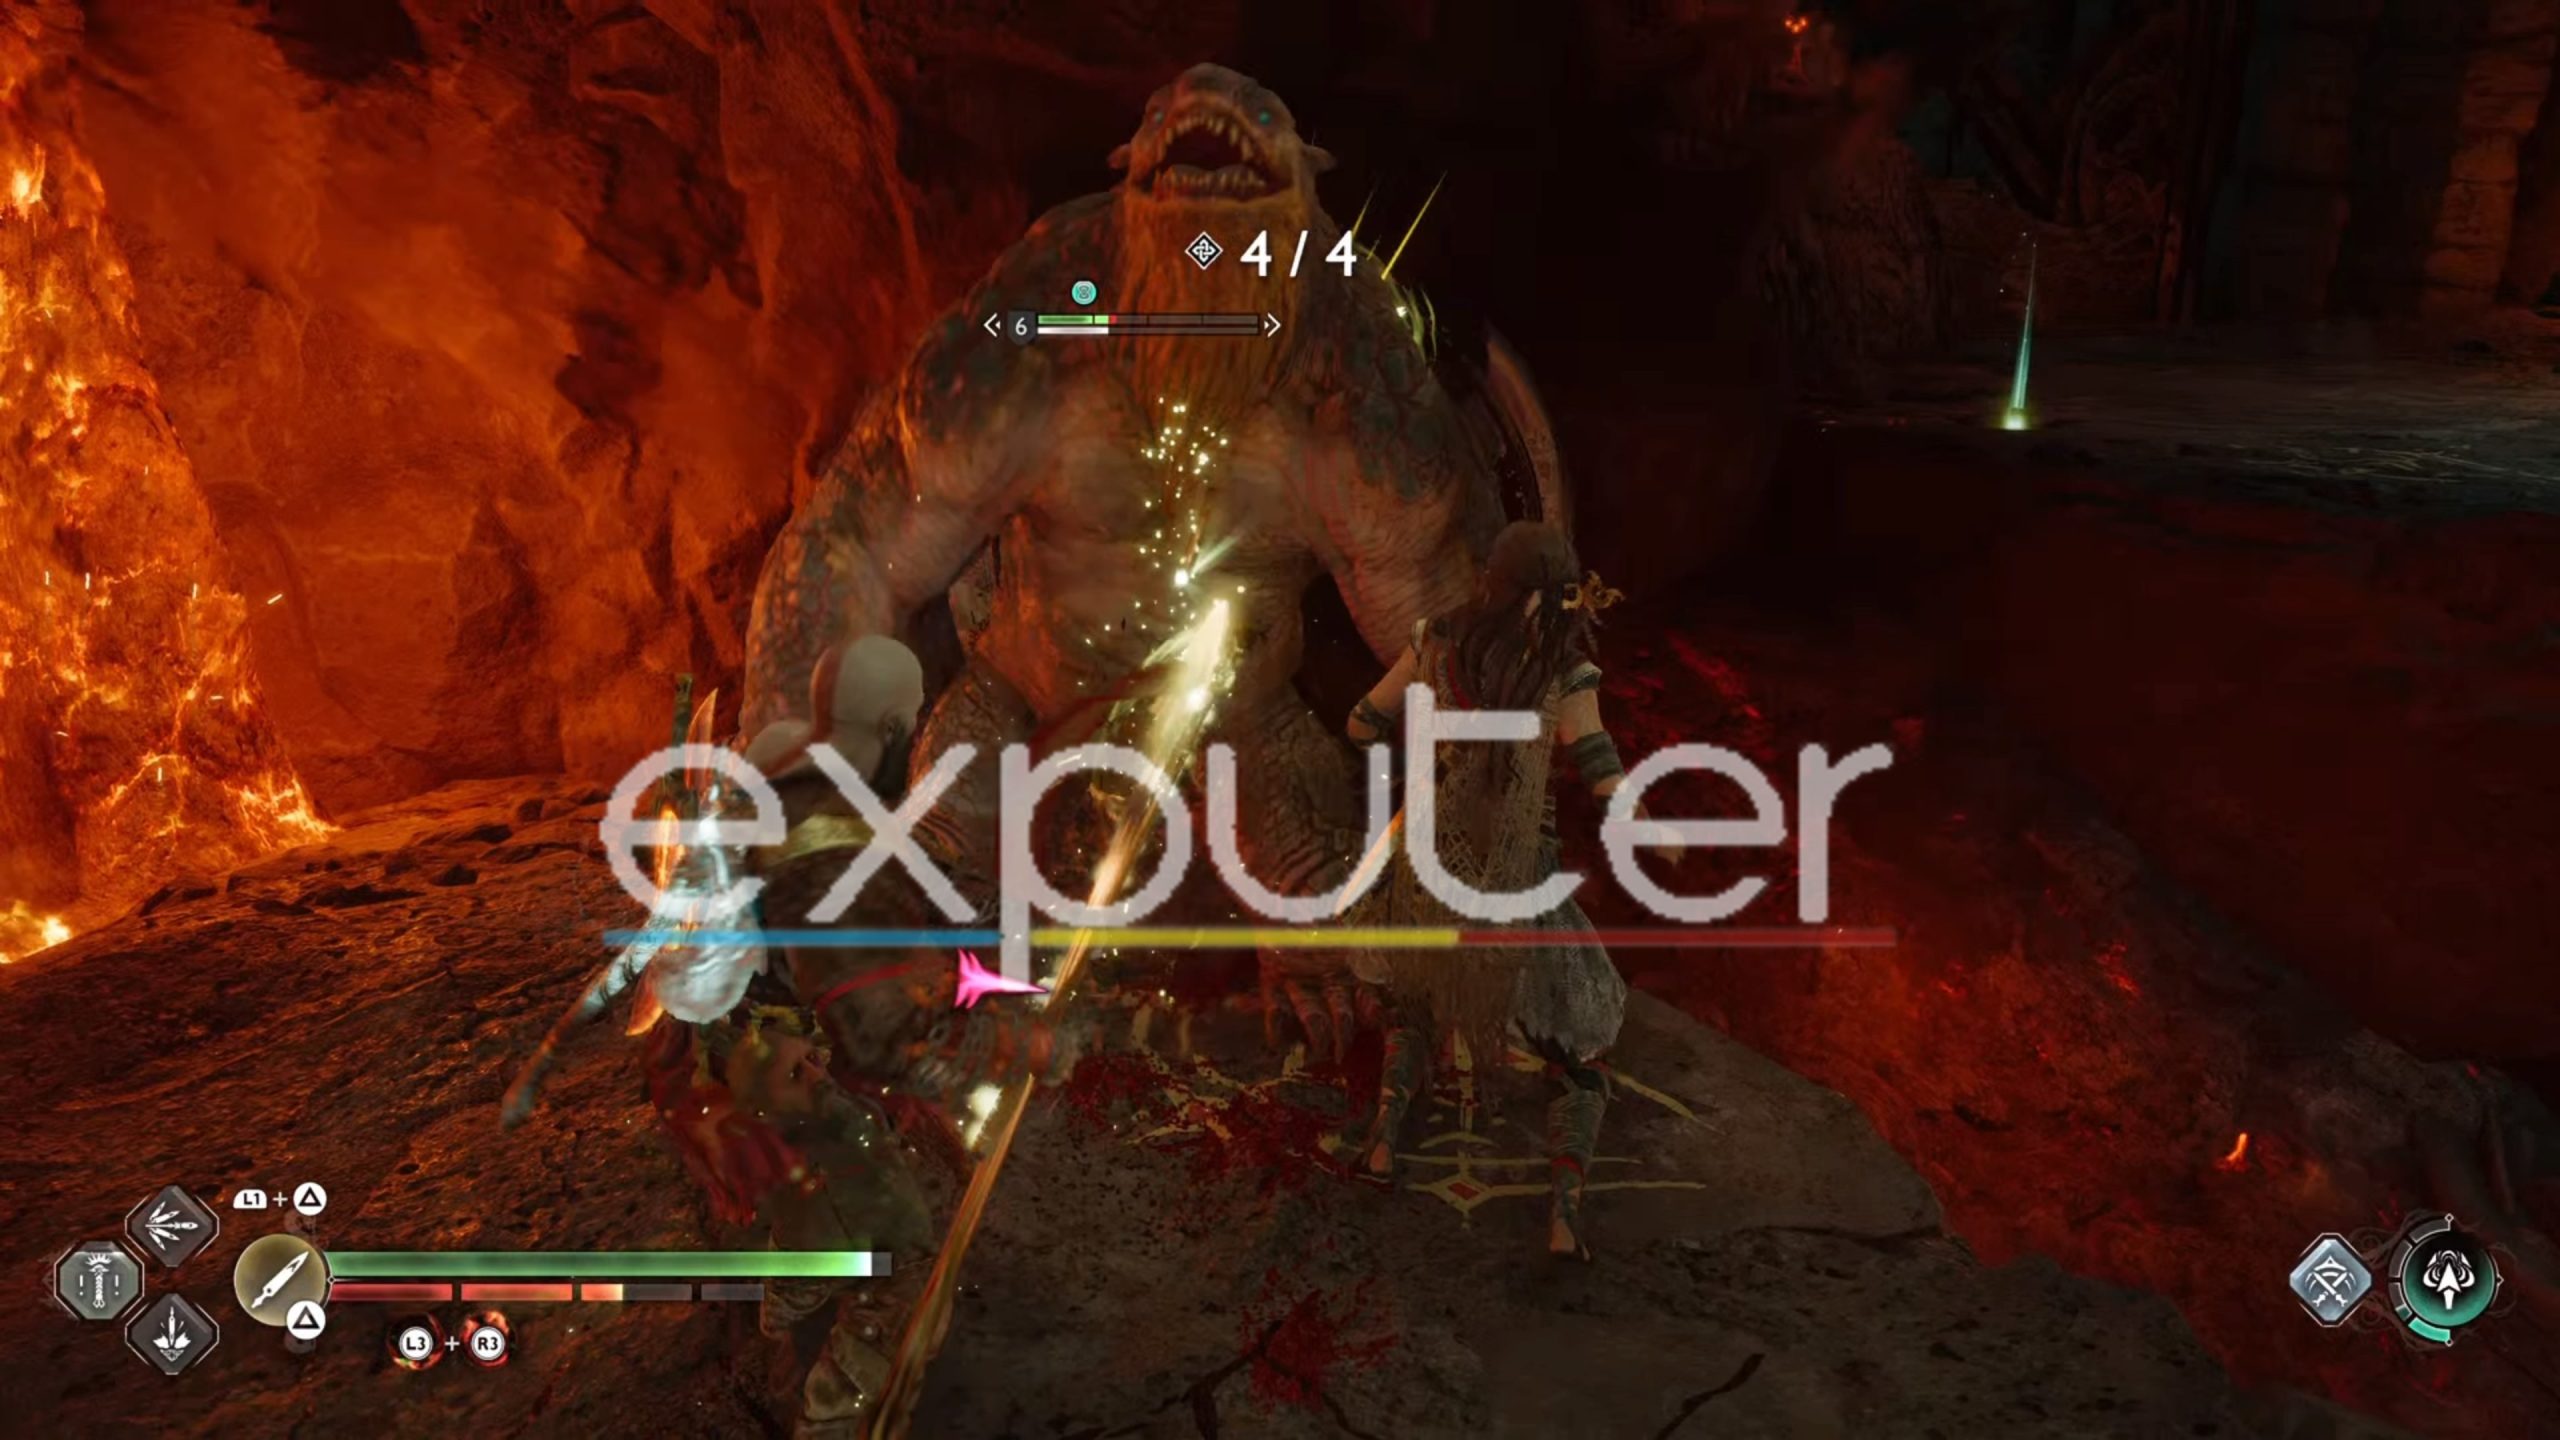
This is the boss enemy in the trial that you have to eliminate. We recommend that you use all of your runic attacks and your ally’s special ability on him to stun him as quickly as possible. The trial is not so hard as long as you control the number of enemies in the arena.
Rewards

You will get waist armor known as the Girdle of Undying Pyres for Kratos as a reward for completing the fifth trial in Muspelheim.
Trial #6
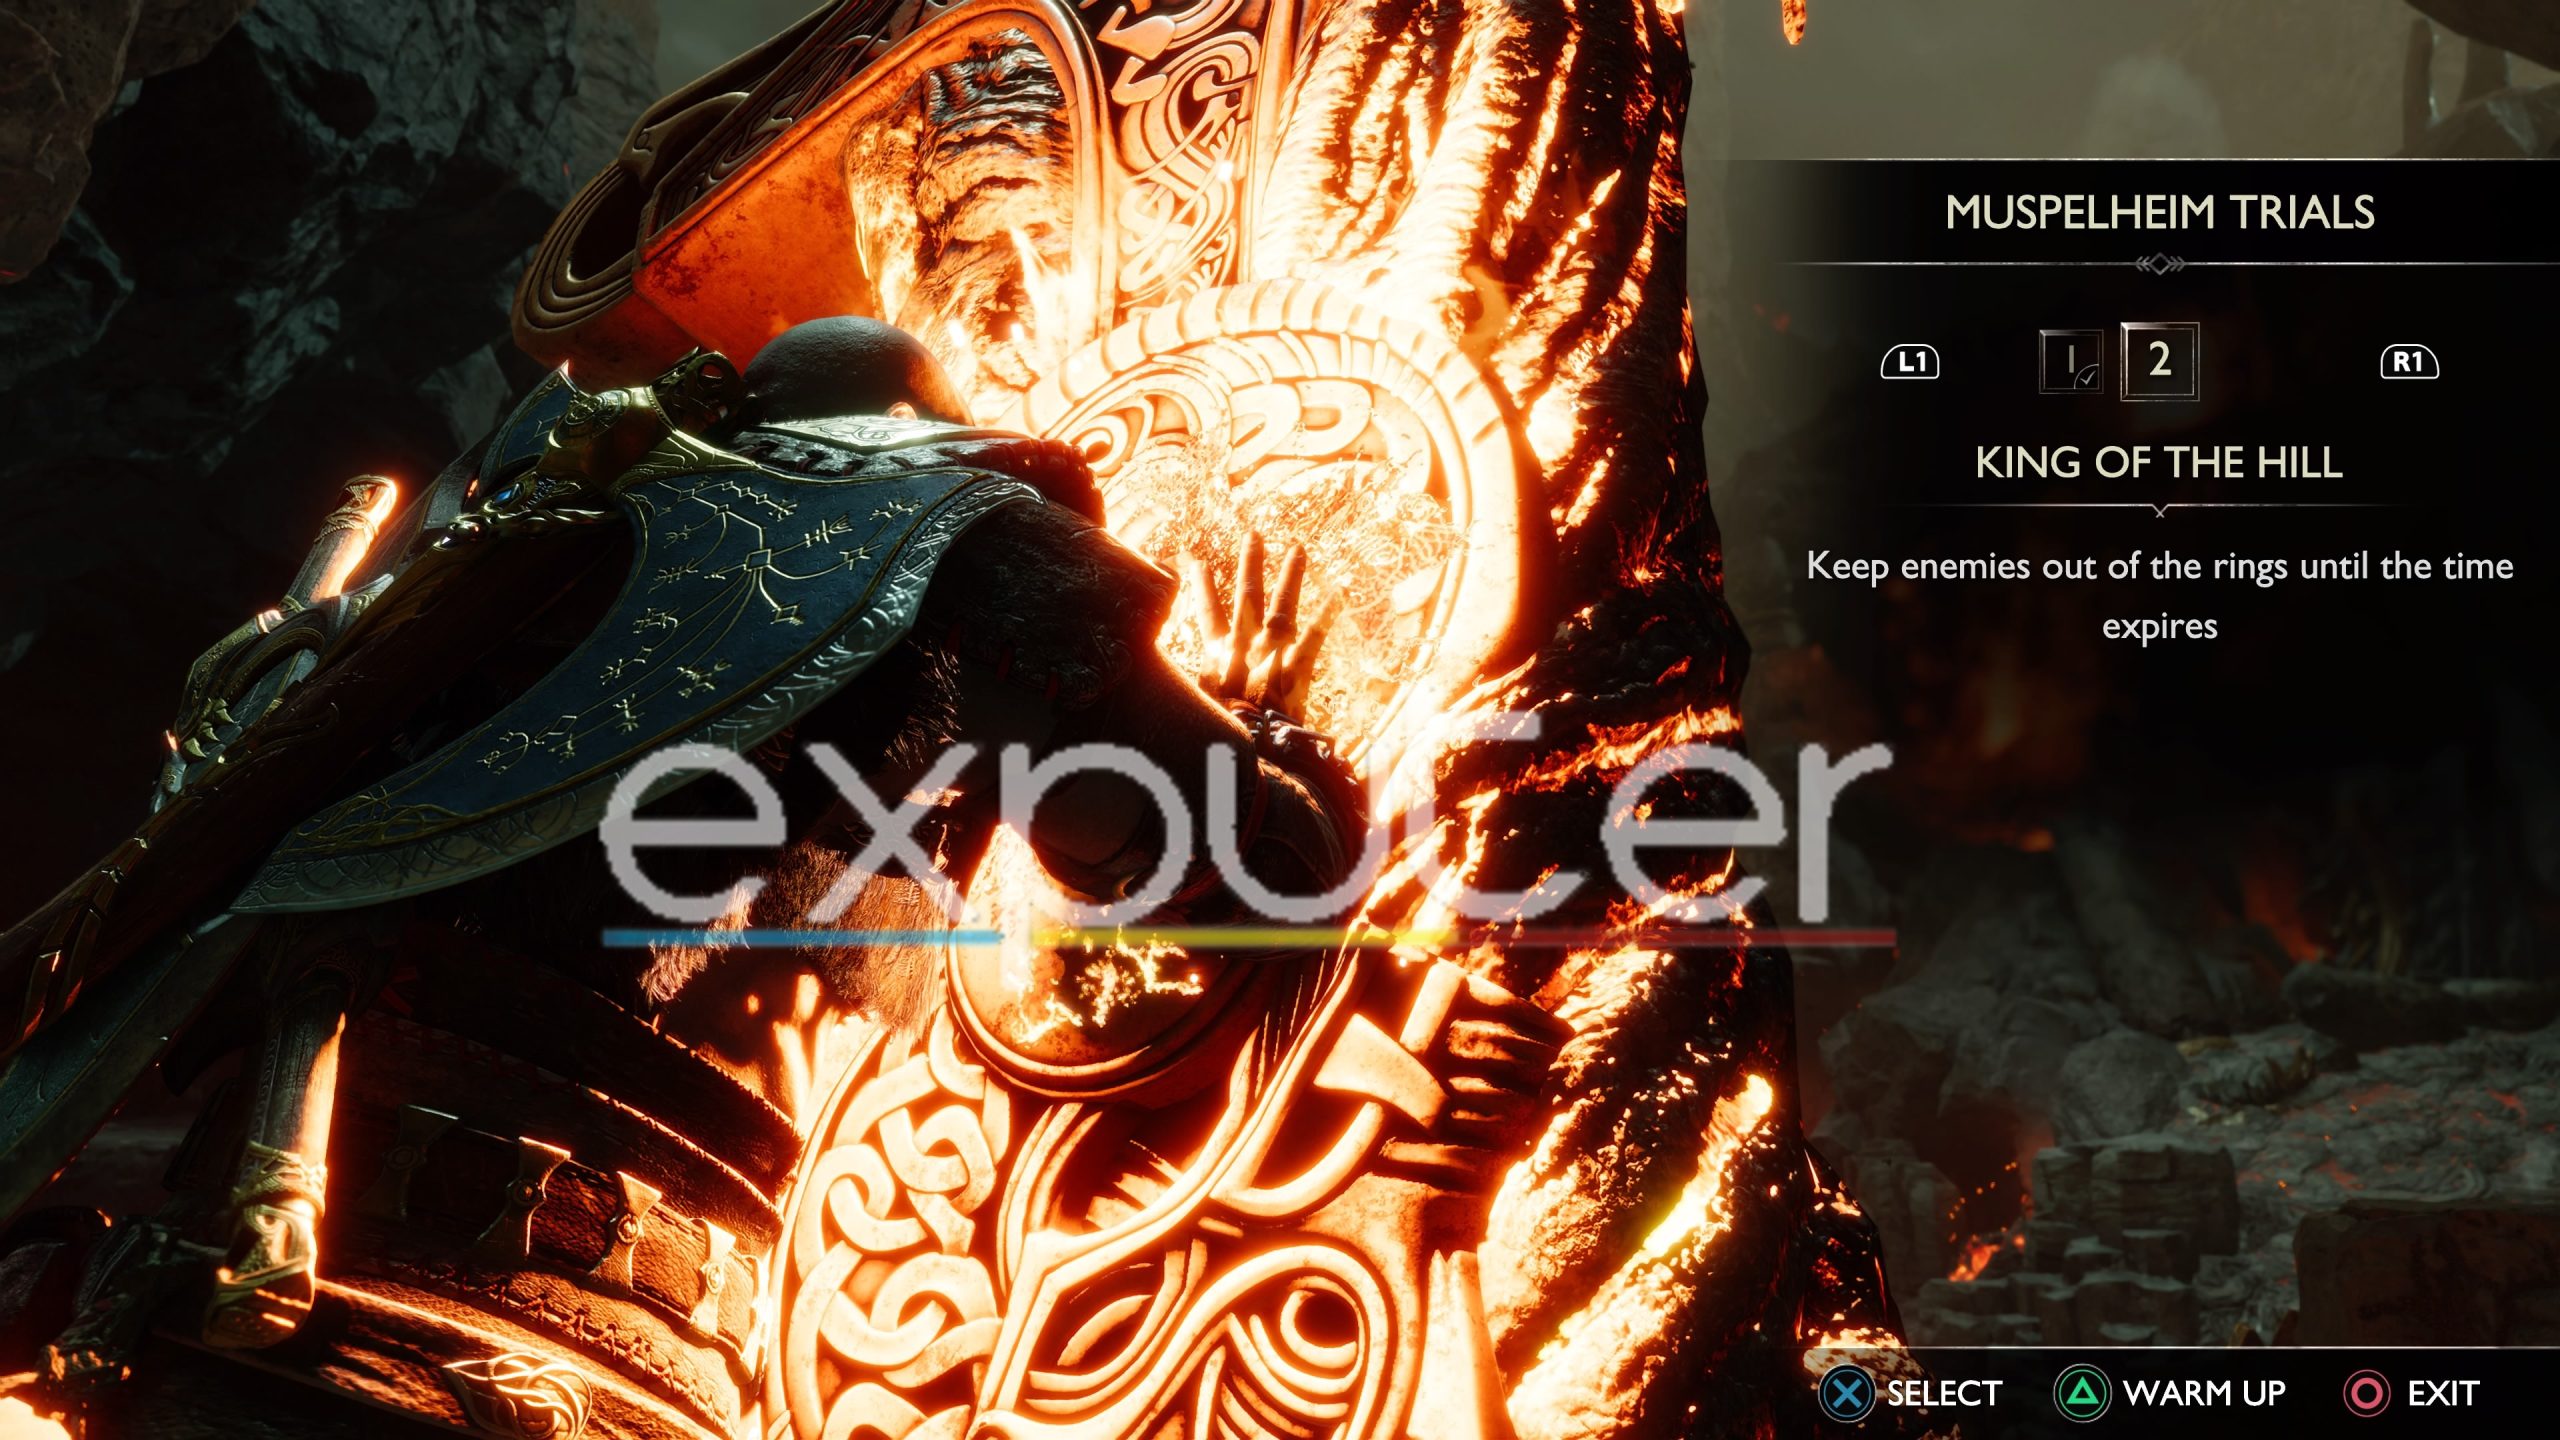
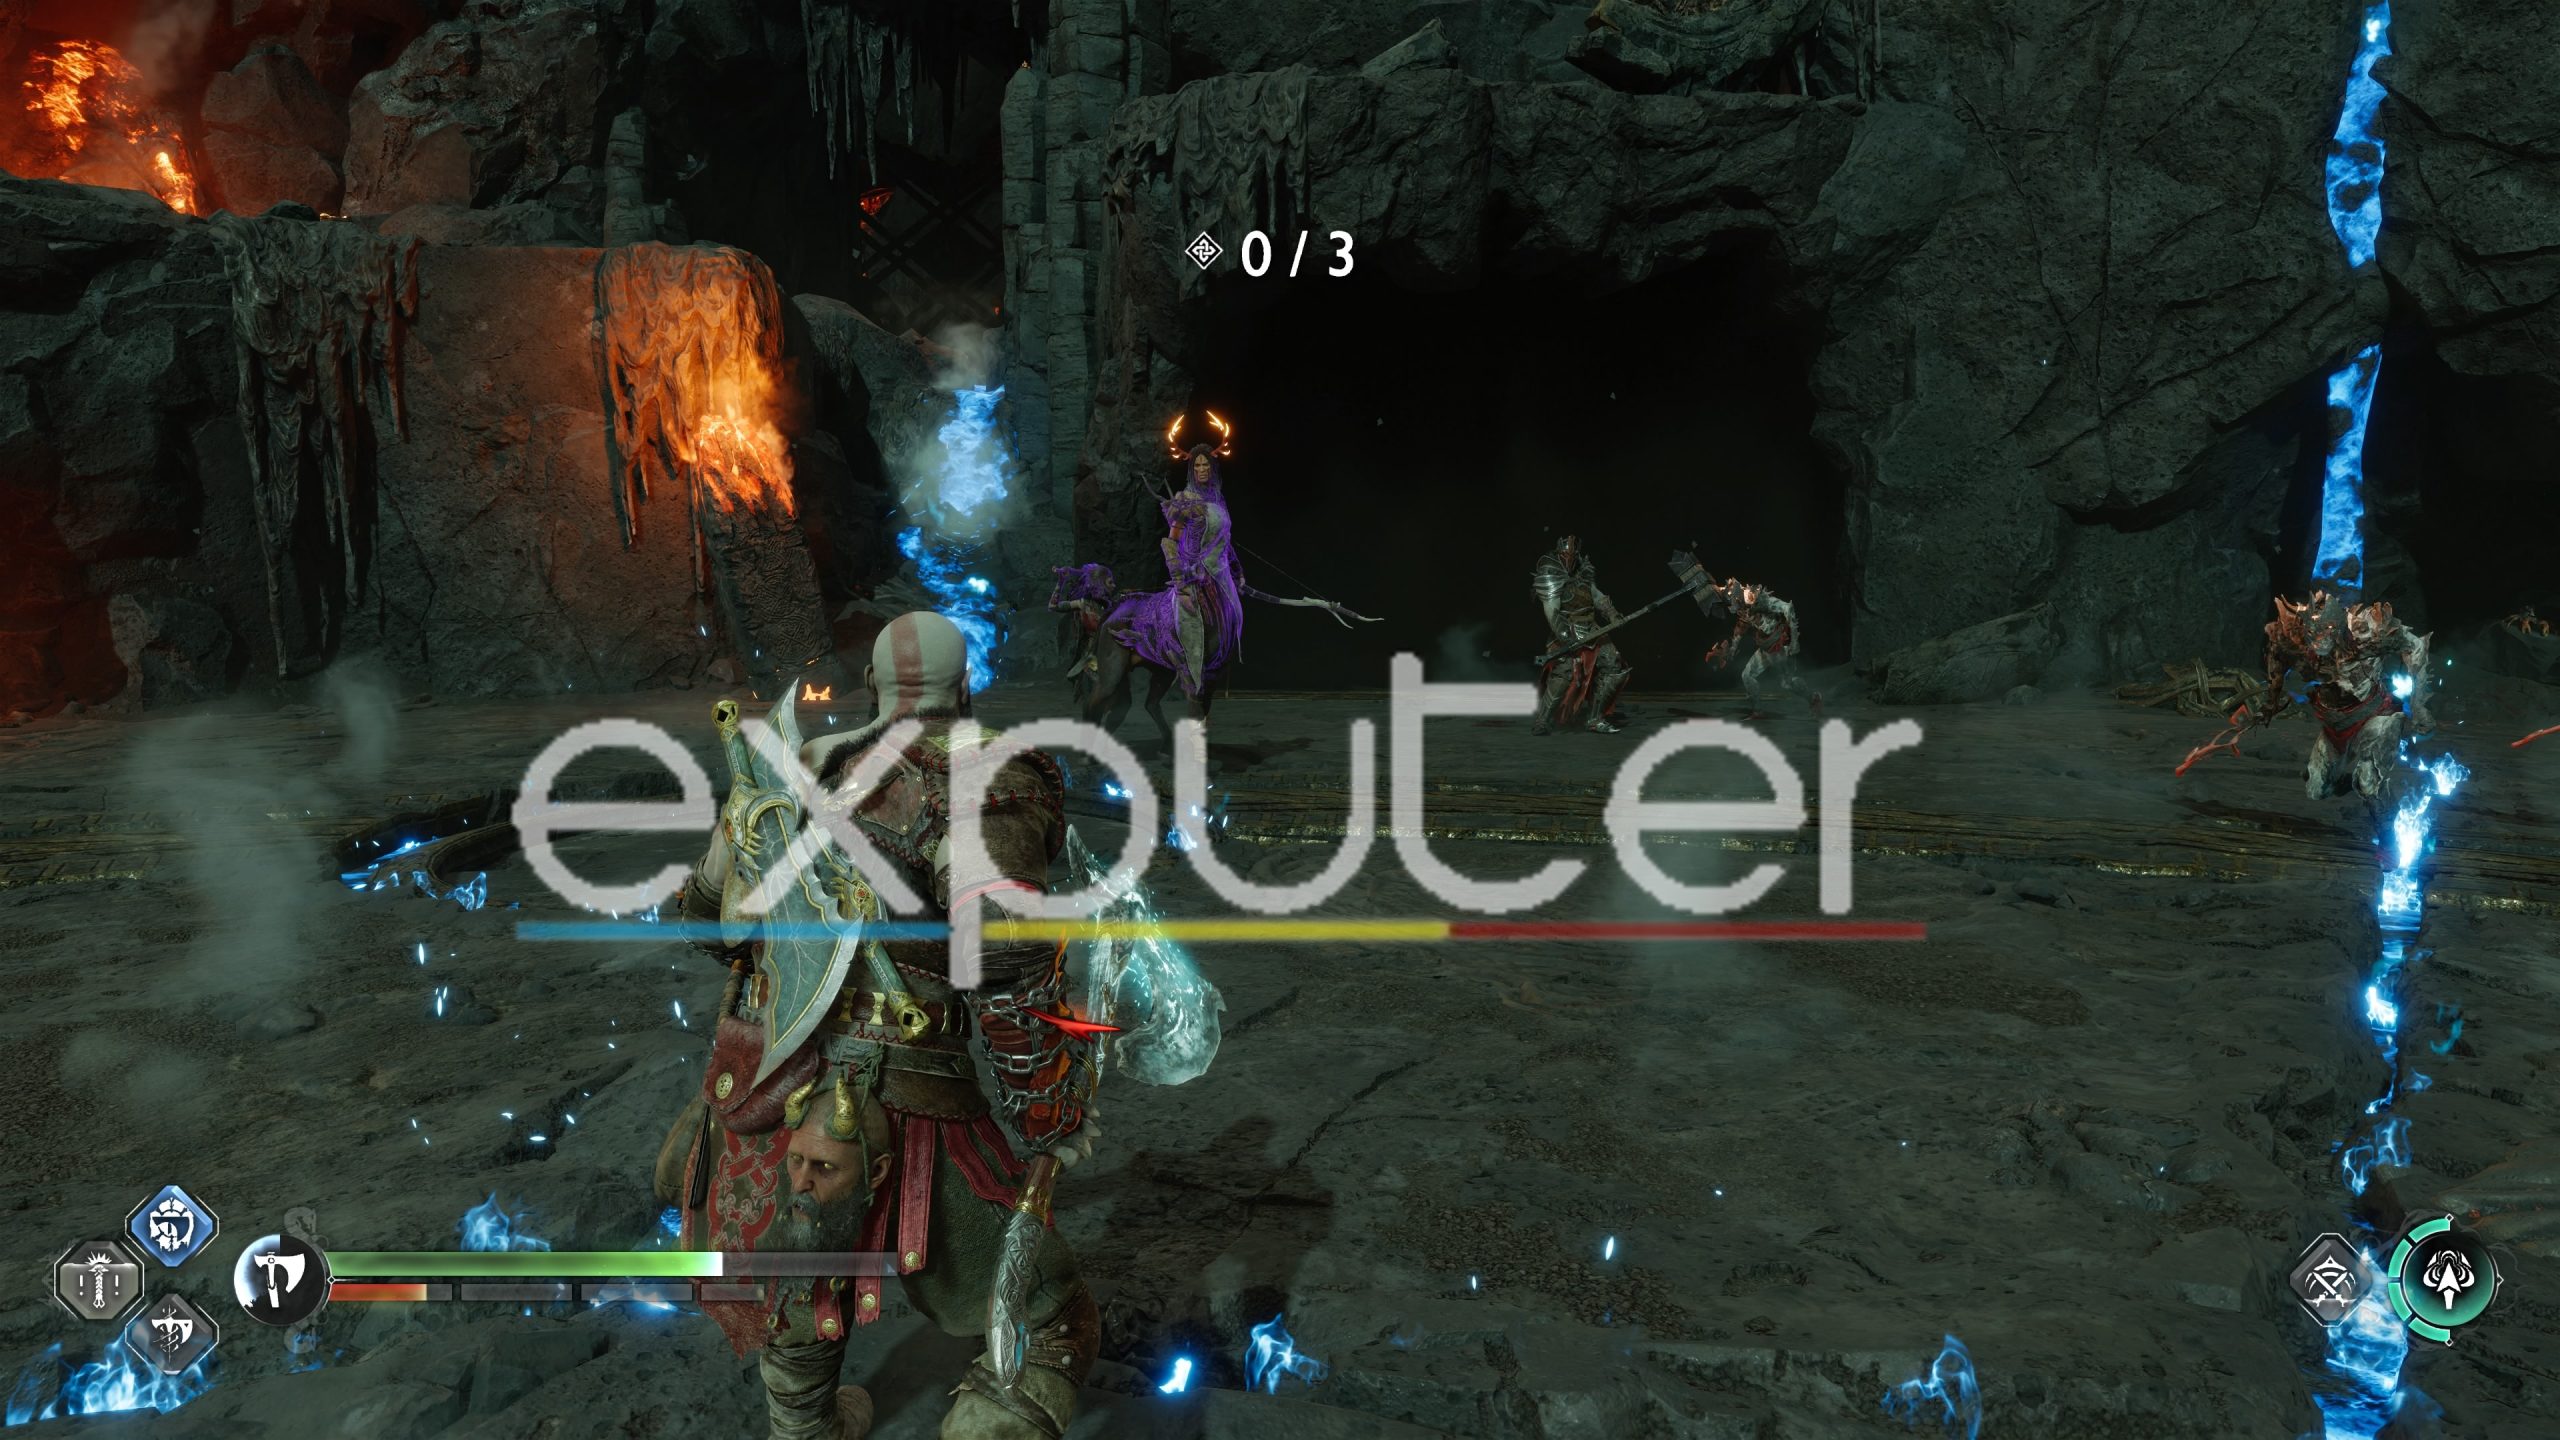
The sixth trial can be accessed from the same sword where you accessed the fifth trial. It consists of three total stages but the main goal is to keep enemies out of the rings marked in the arena while the trial going on.
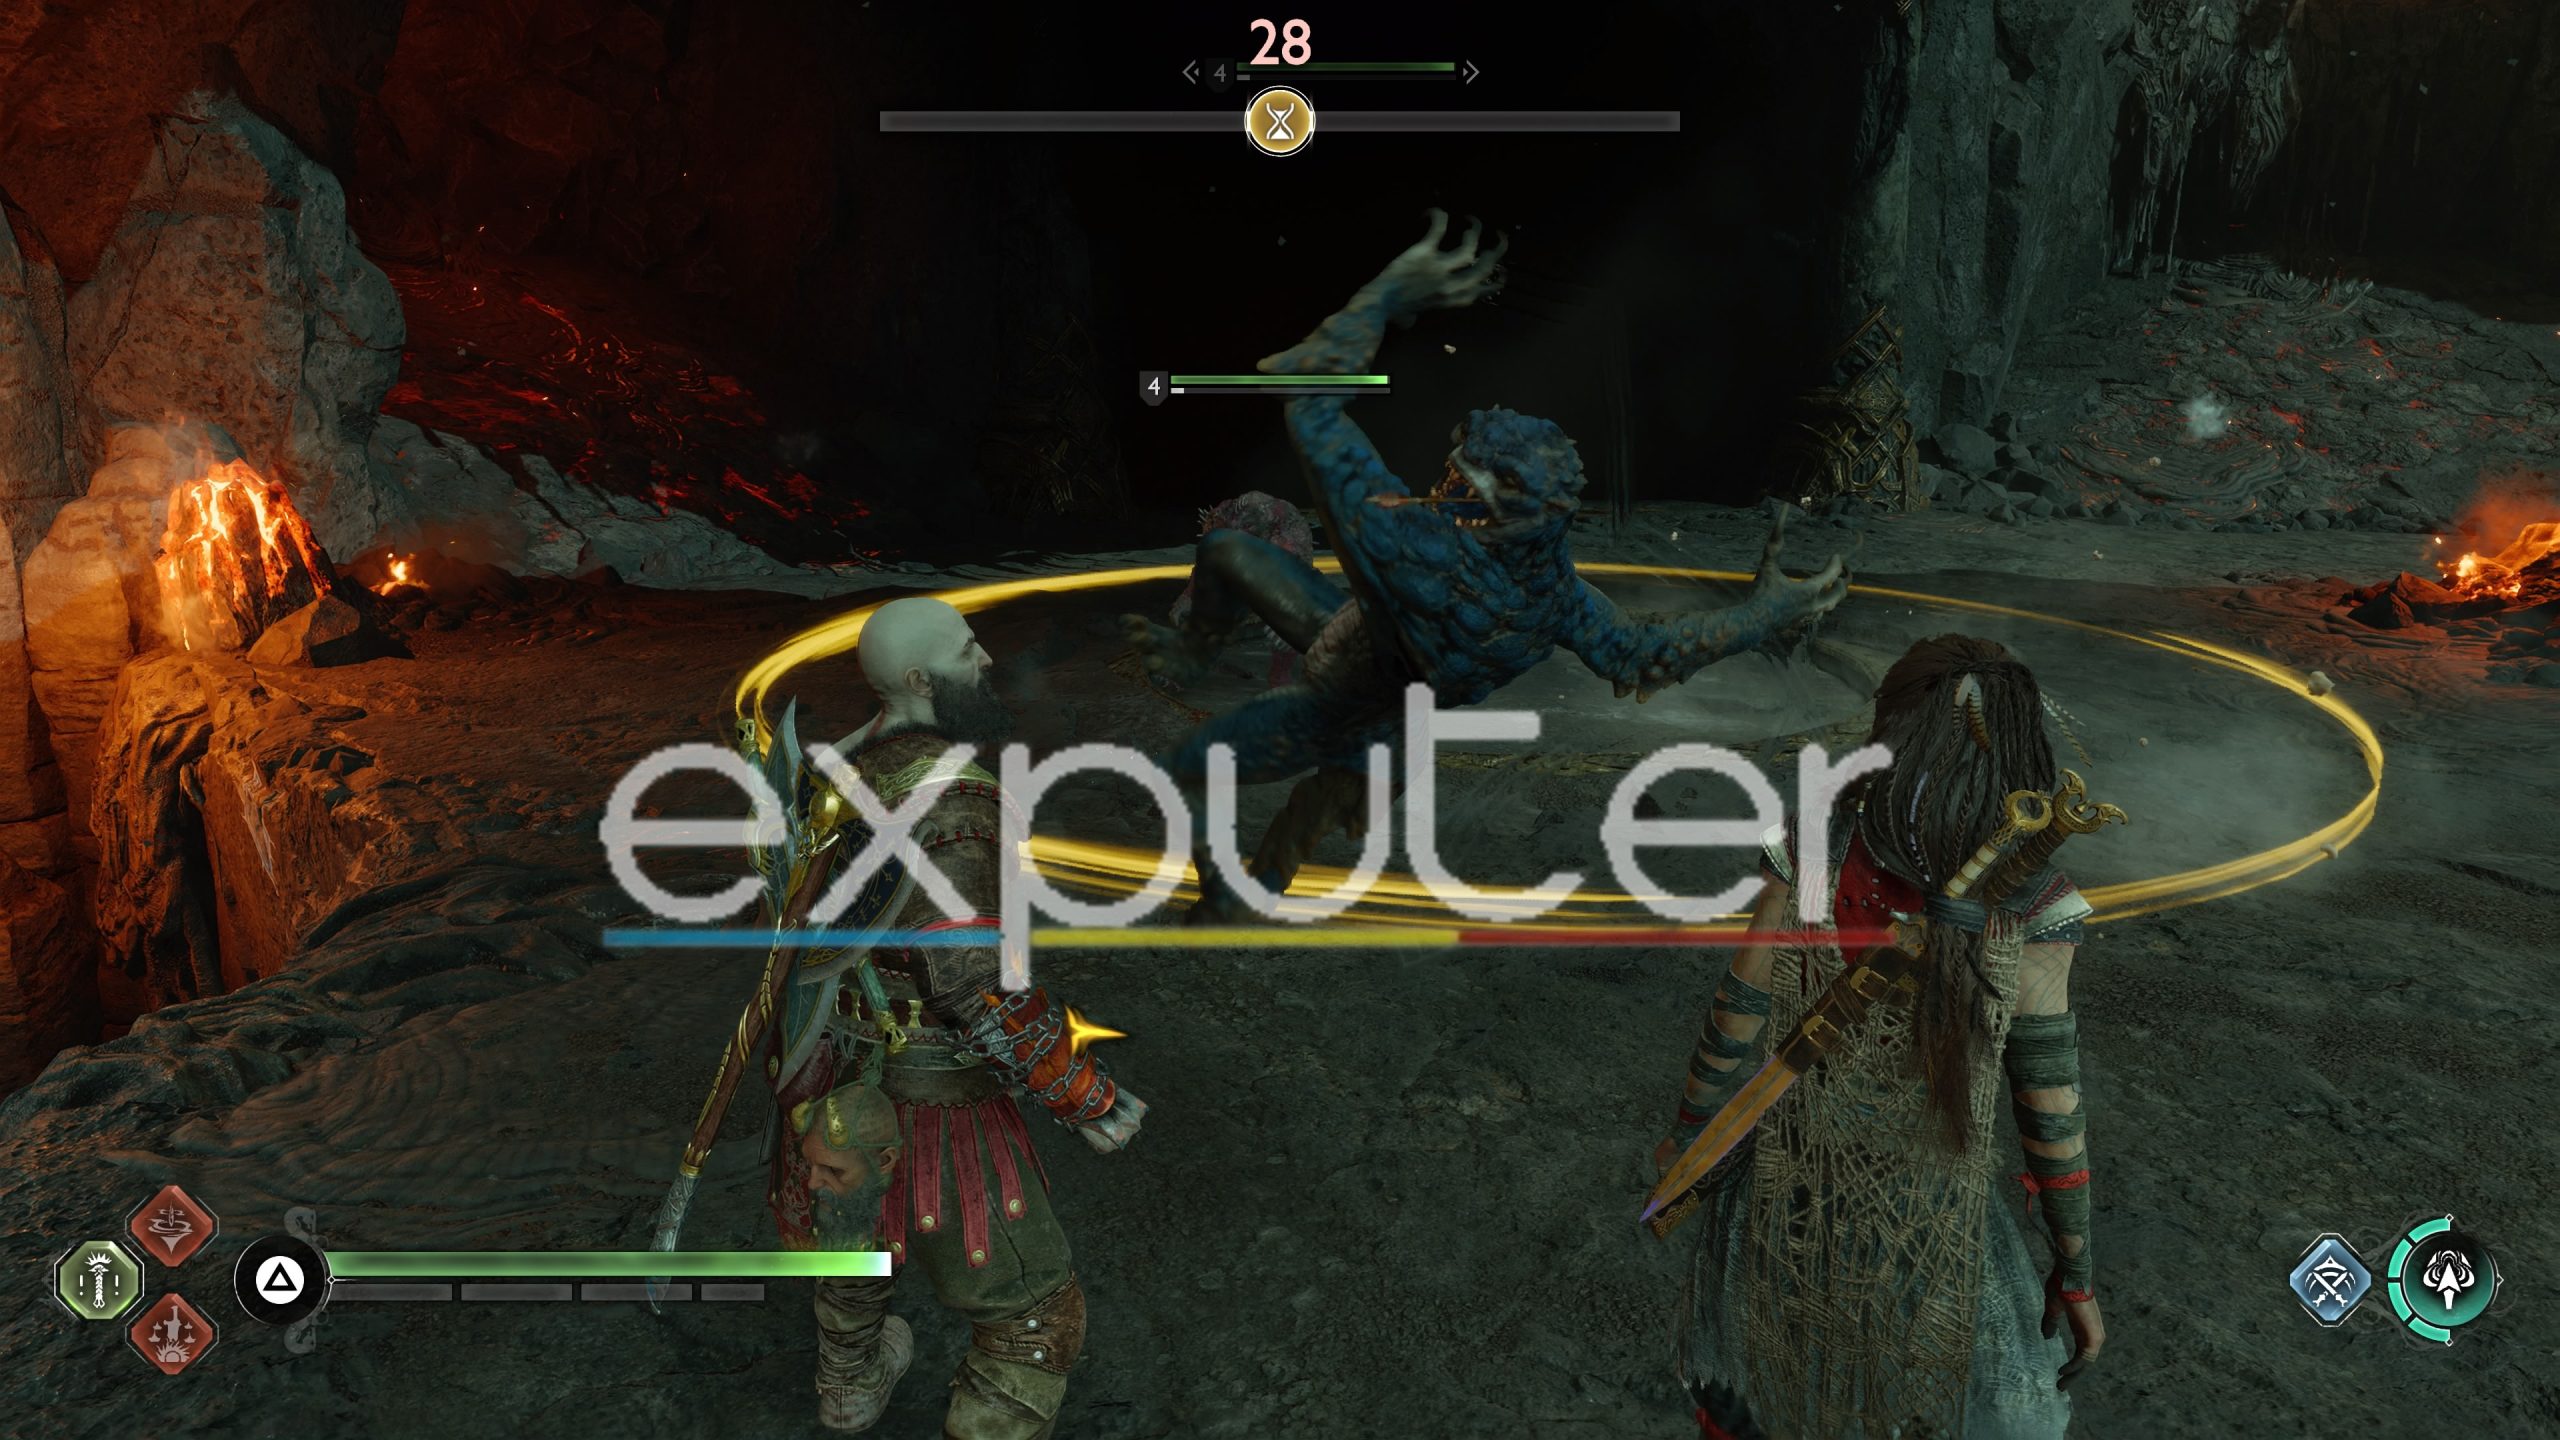
That is what a ring looks like in the arena. Make sure to keep the enemies out of that ring or quickly eliminate the enemies if they are inside the ring. As we have mentioned before, the trial has three total stages. At first, you just have to keep the enemies out of a single ring for a certain time limit.
But as the trial continues, the number of rings increases to 2 and finally 3. The enemies also keep getting harder. But once you’re done with the trial, you will have completed the first part of the Muspelheim trials additionally.
Rewards
You will get crafting materials and hacksilver and XP for Kratos and Freya/Atreus as a reward for completing the sixth trial.
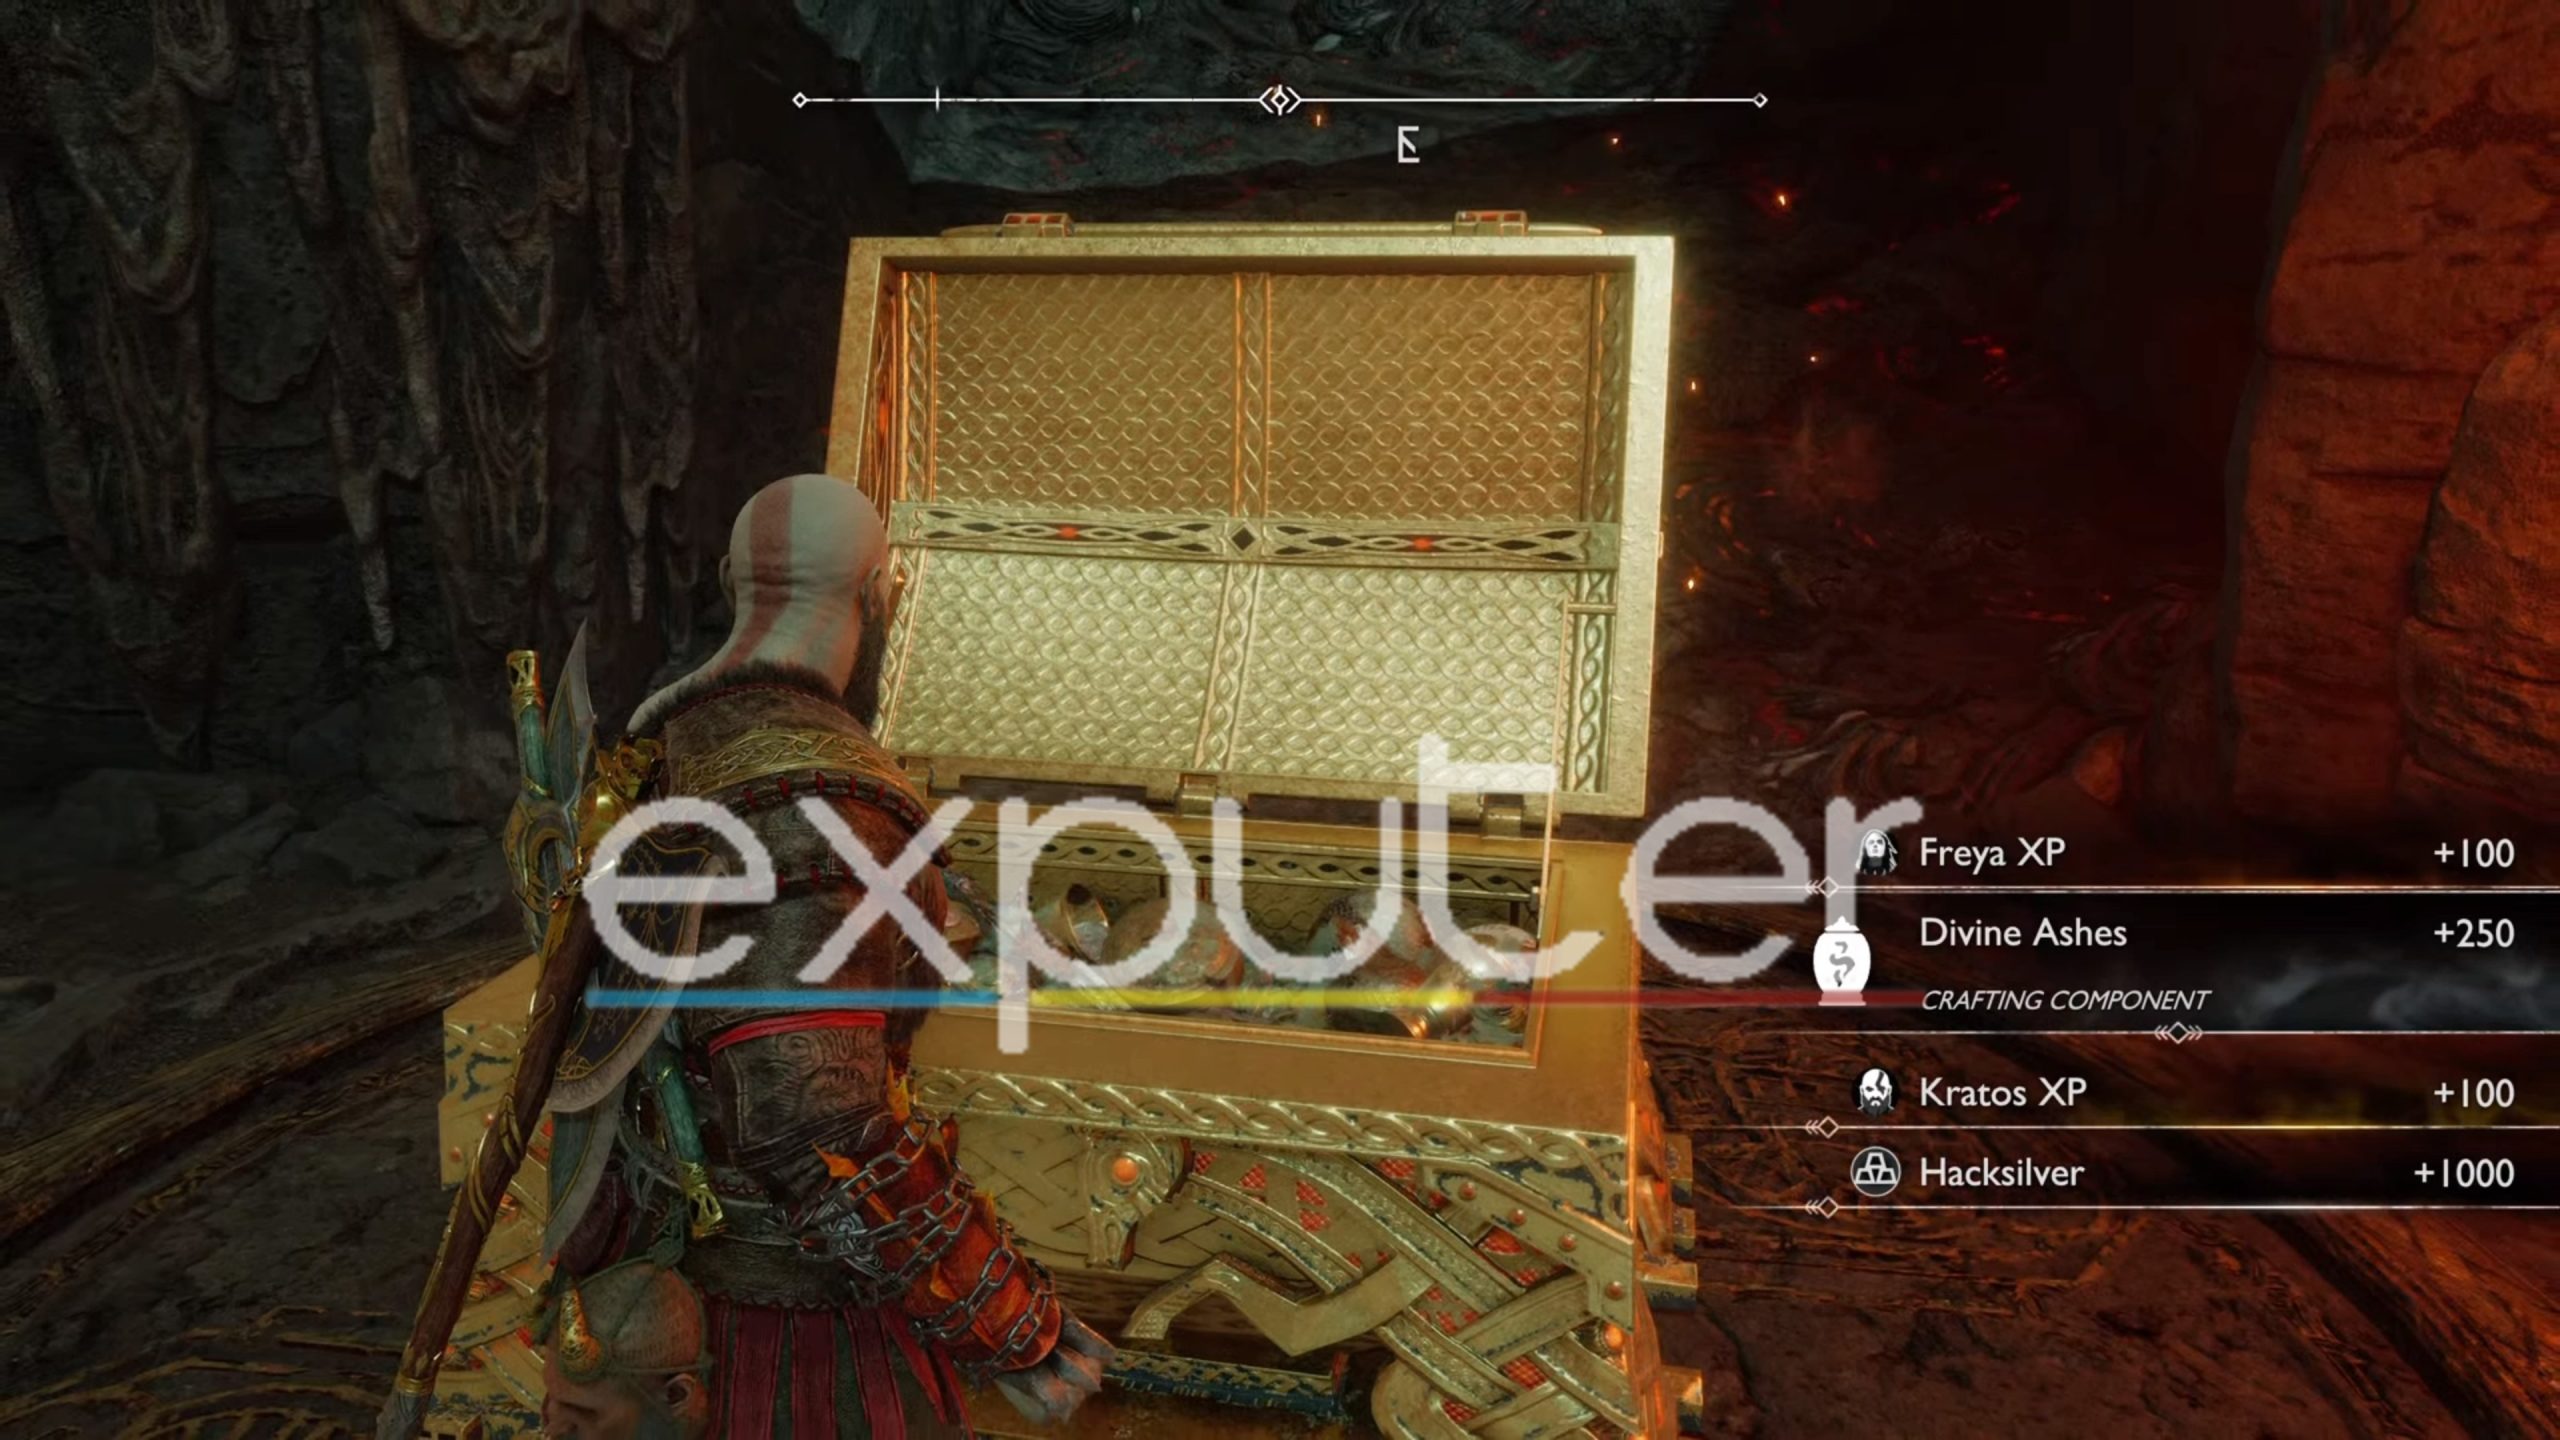
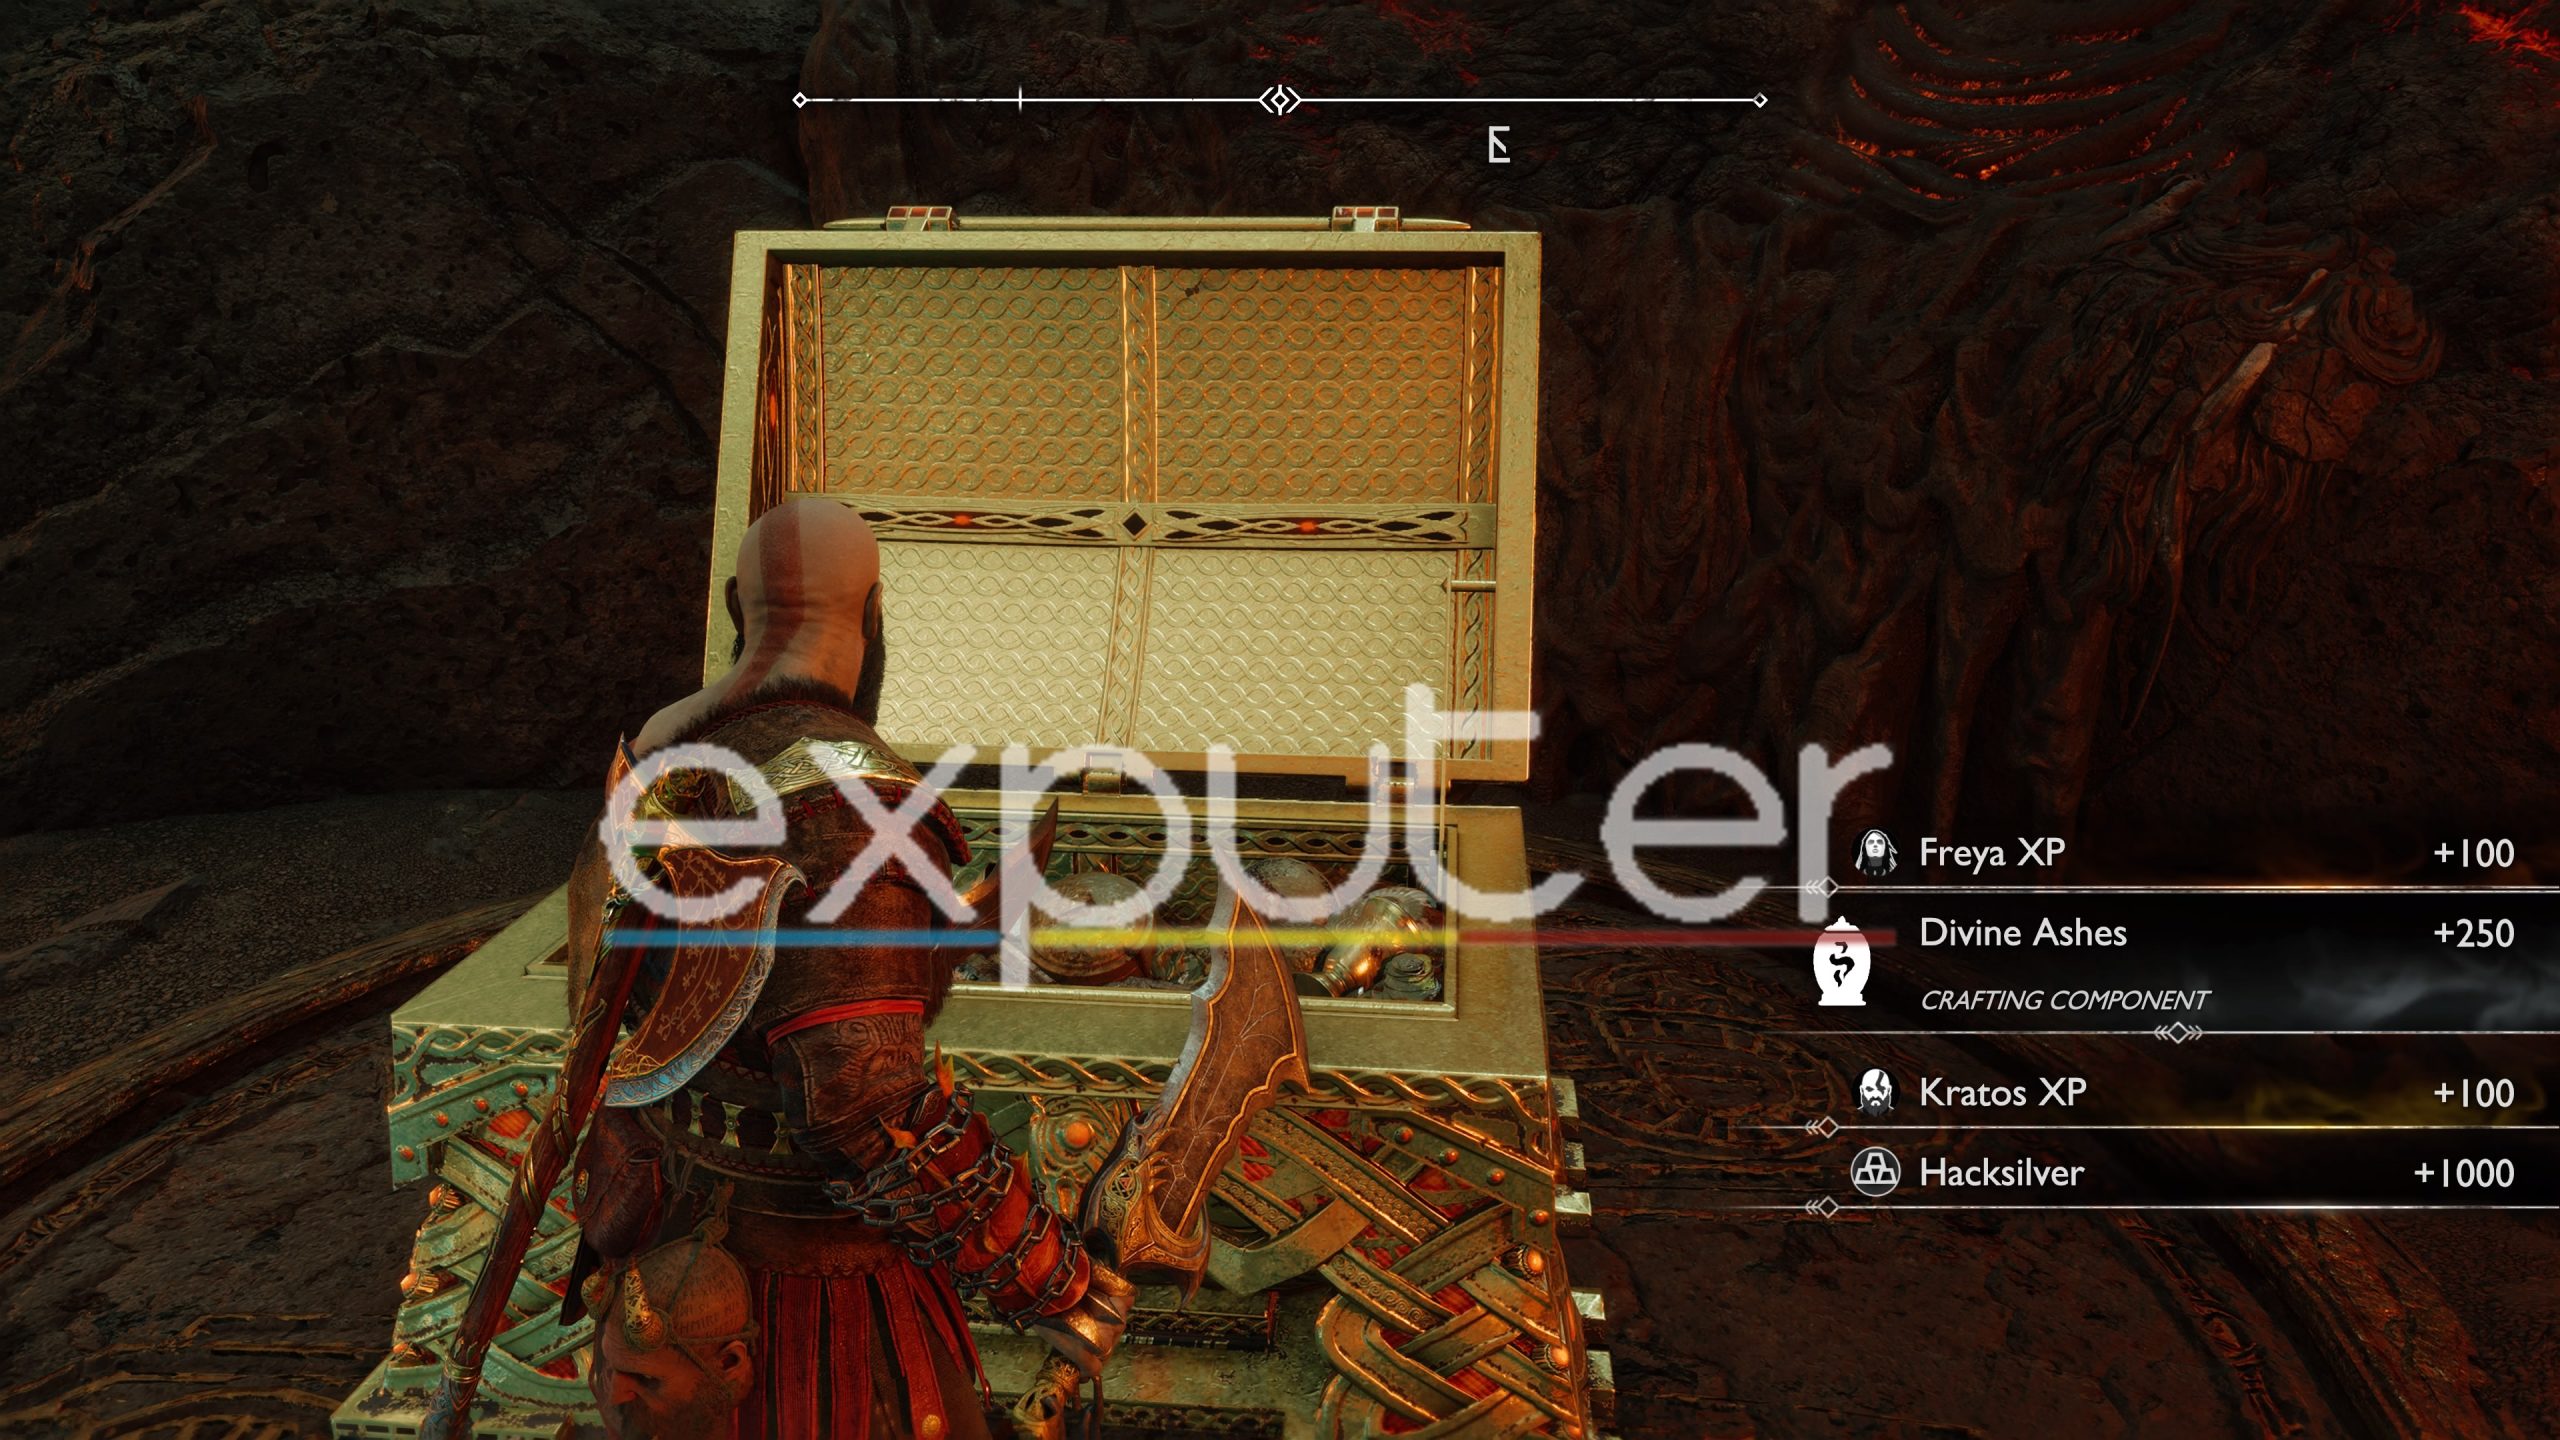
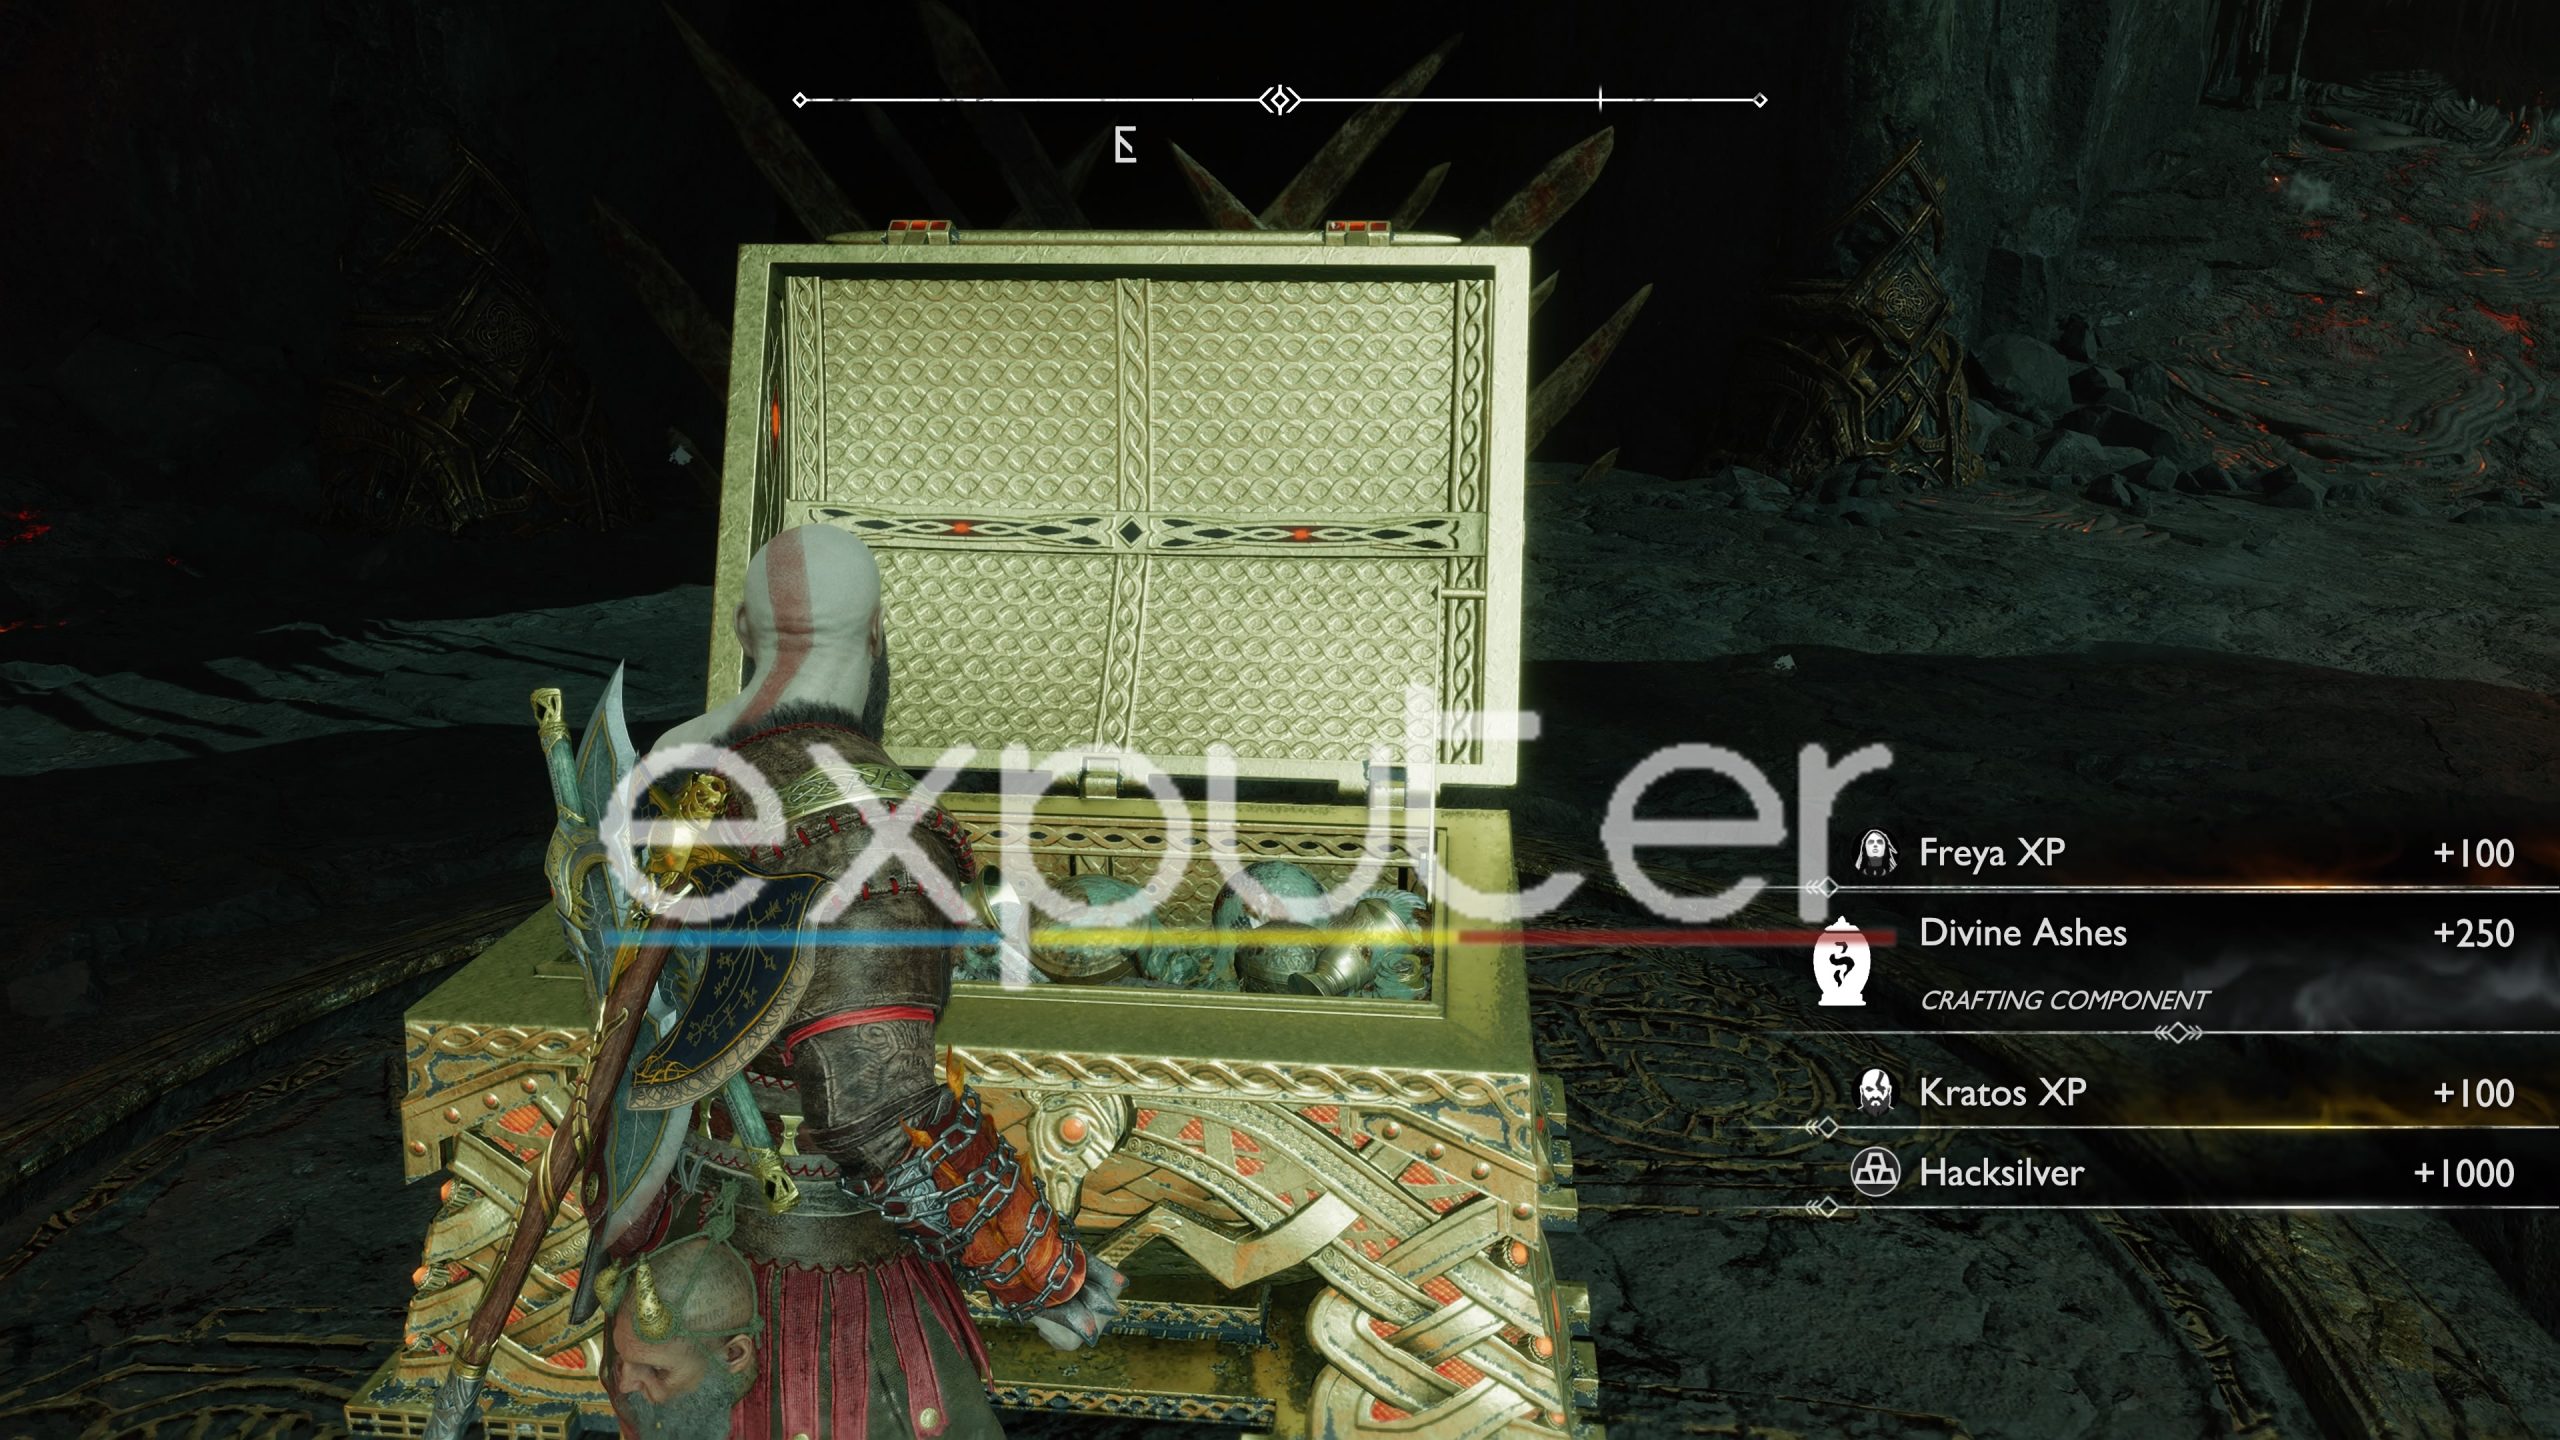
The Nornir Chest Unlocked
There is a Nornir Chest in the middle of the crucible in God Of War Ragnarok, and you might have noticed when you first entered the realm using the seed for the first time. The nornir chest unlocks after you’ve completed all six trials at the three swords in Muspelheim.
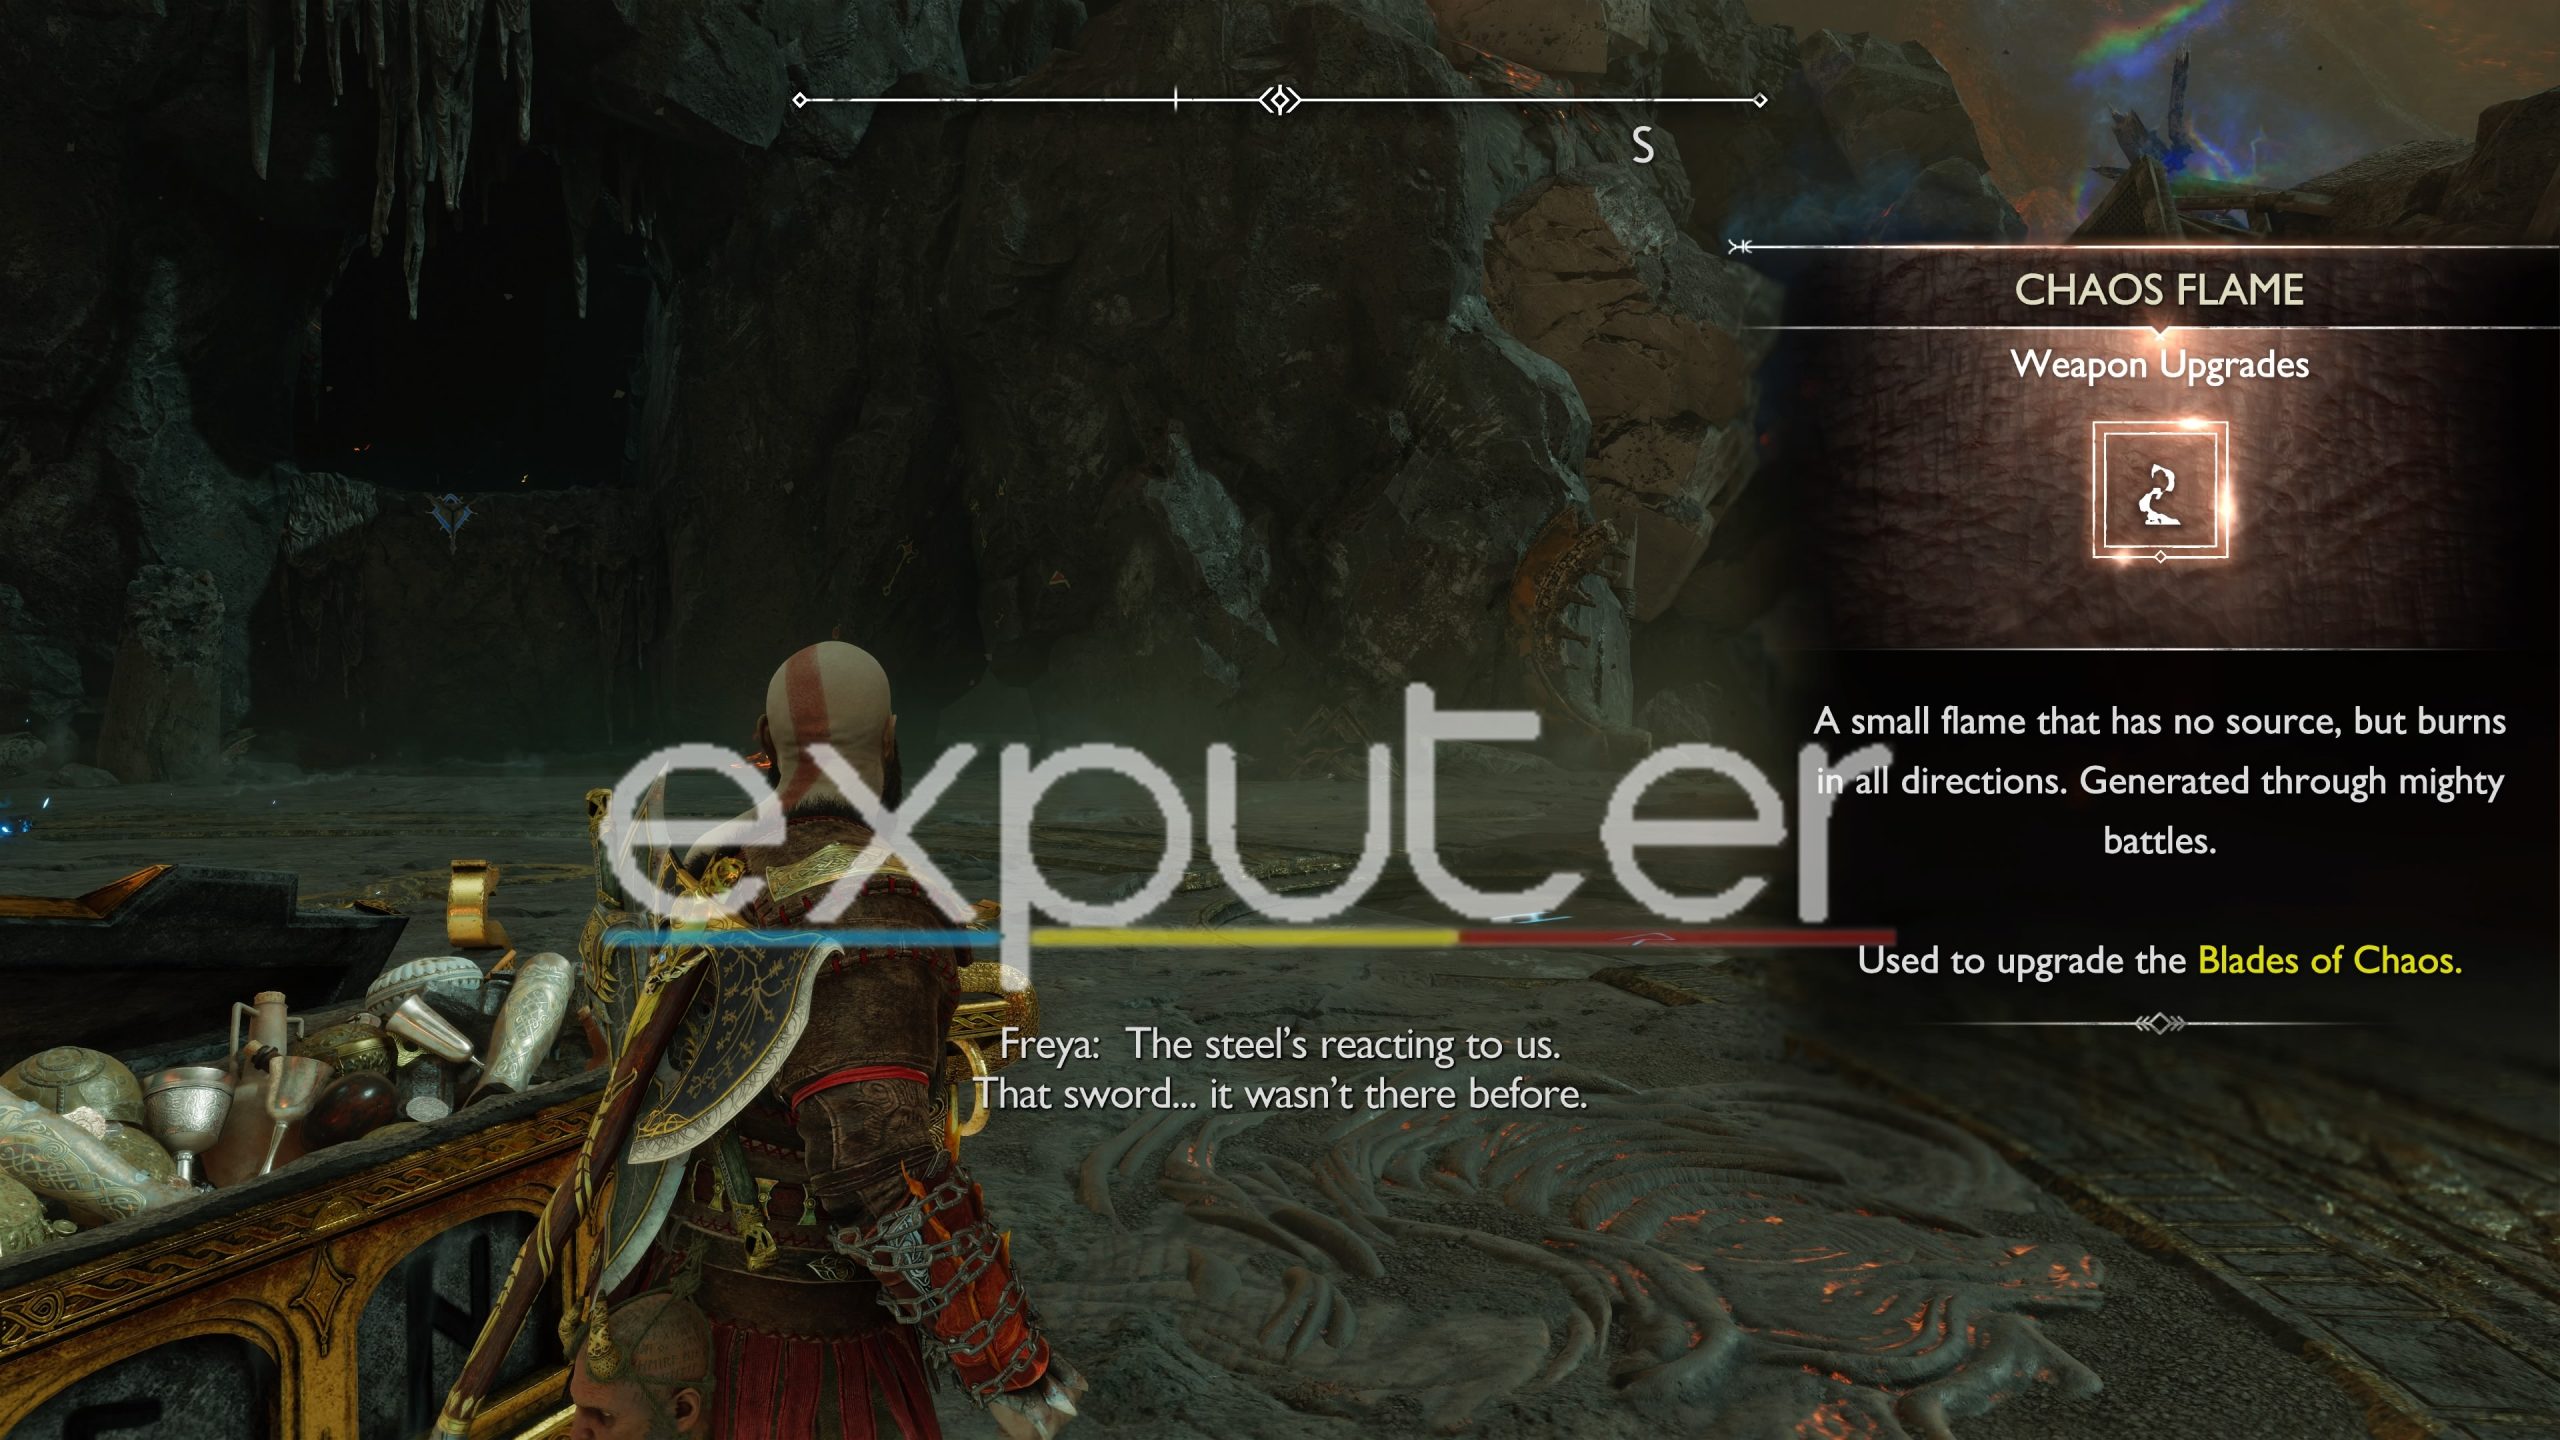
You get a Chaos Flame by opening up that Nornir Chest. After you’ve opened up the chest, another huge sword will appear in the middle of the crucible arena, and now the second part of the Muspelheim trials can be accessed in God Of War Ragnarok.
It should be noted that the seventh, eighth, and ninth trials unlock after you’re done with the first 6. You can access them again at the three swords. But completing those trials is unnecessary, and you don’t need to complete them to complete the side quests regarding the Muspelheim Trials.
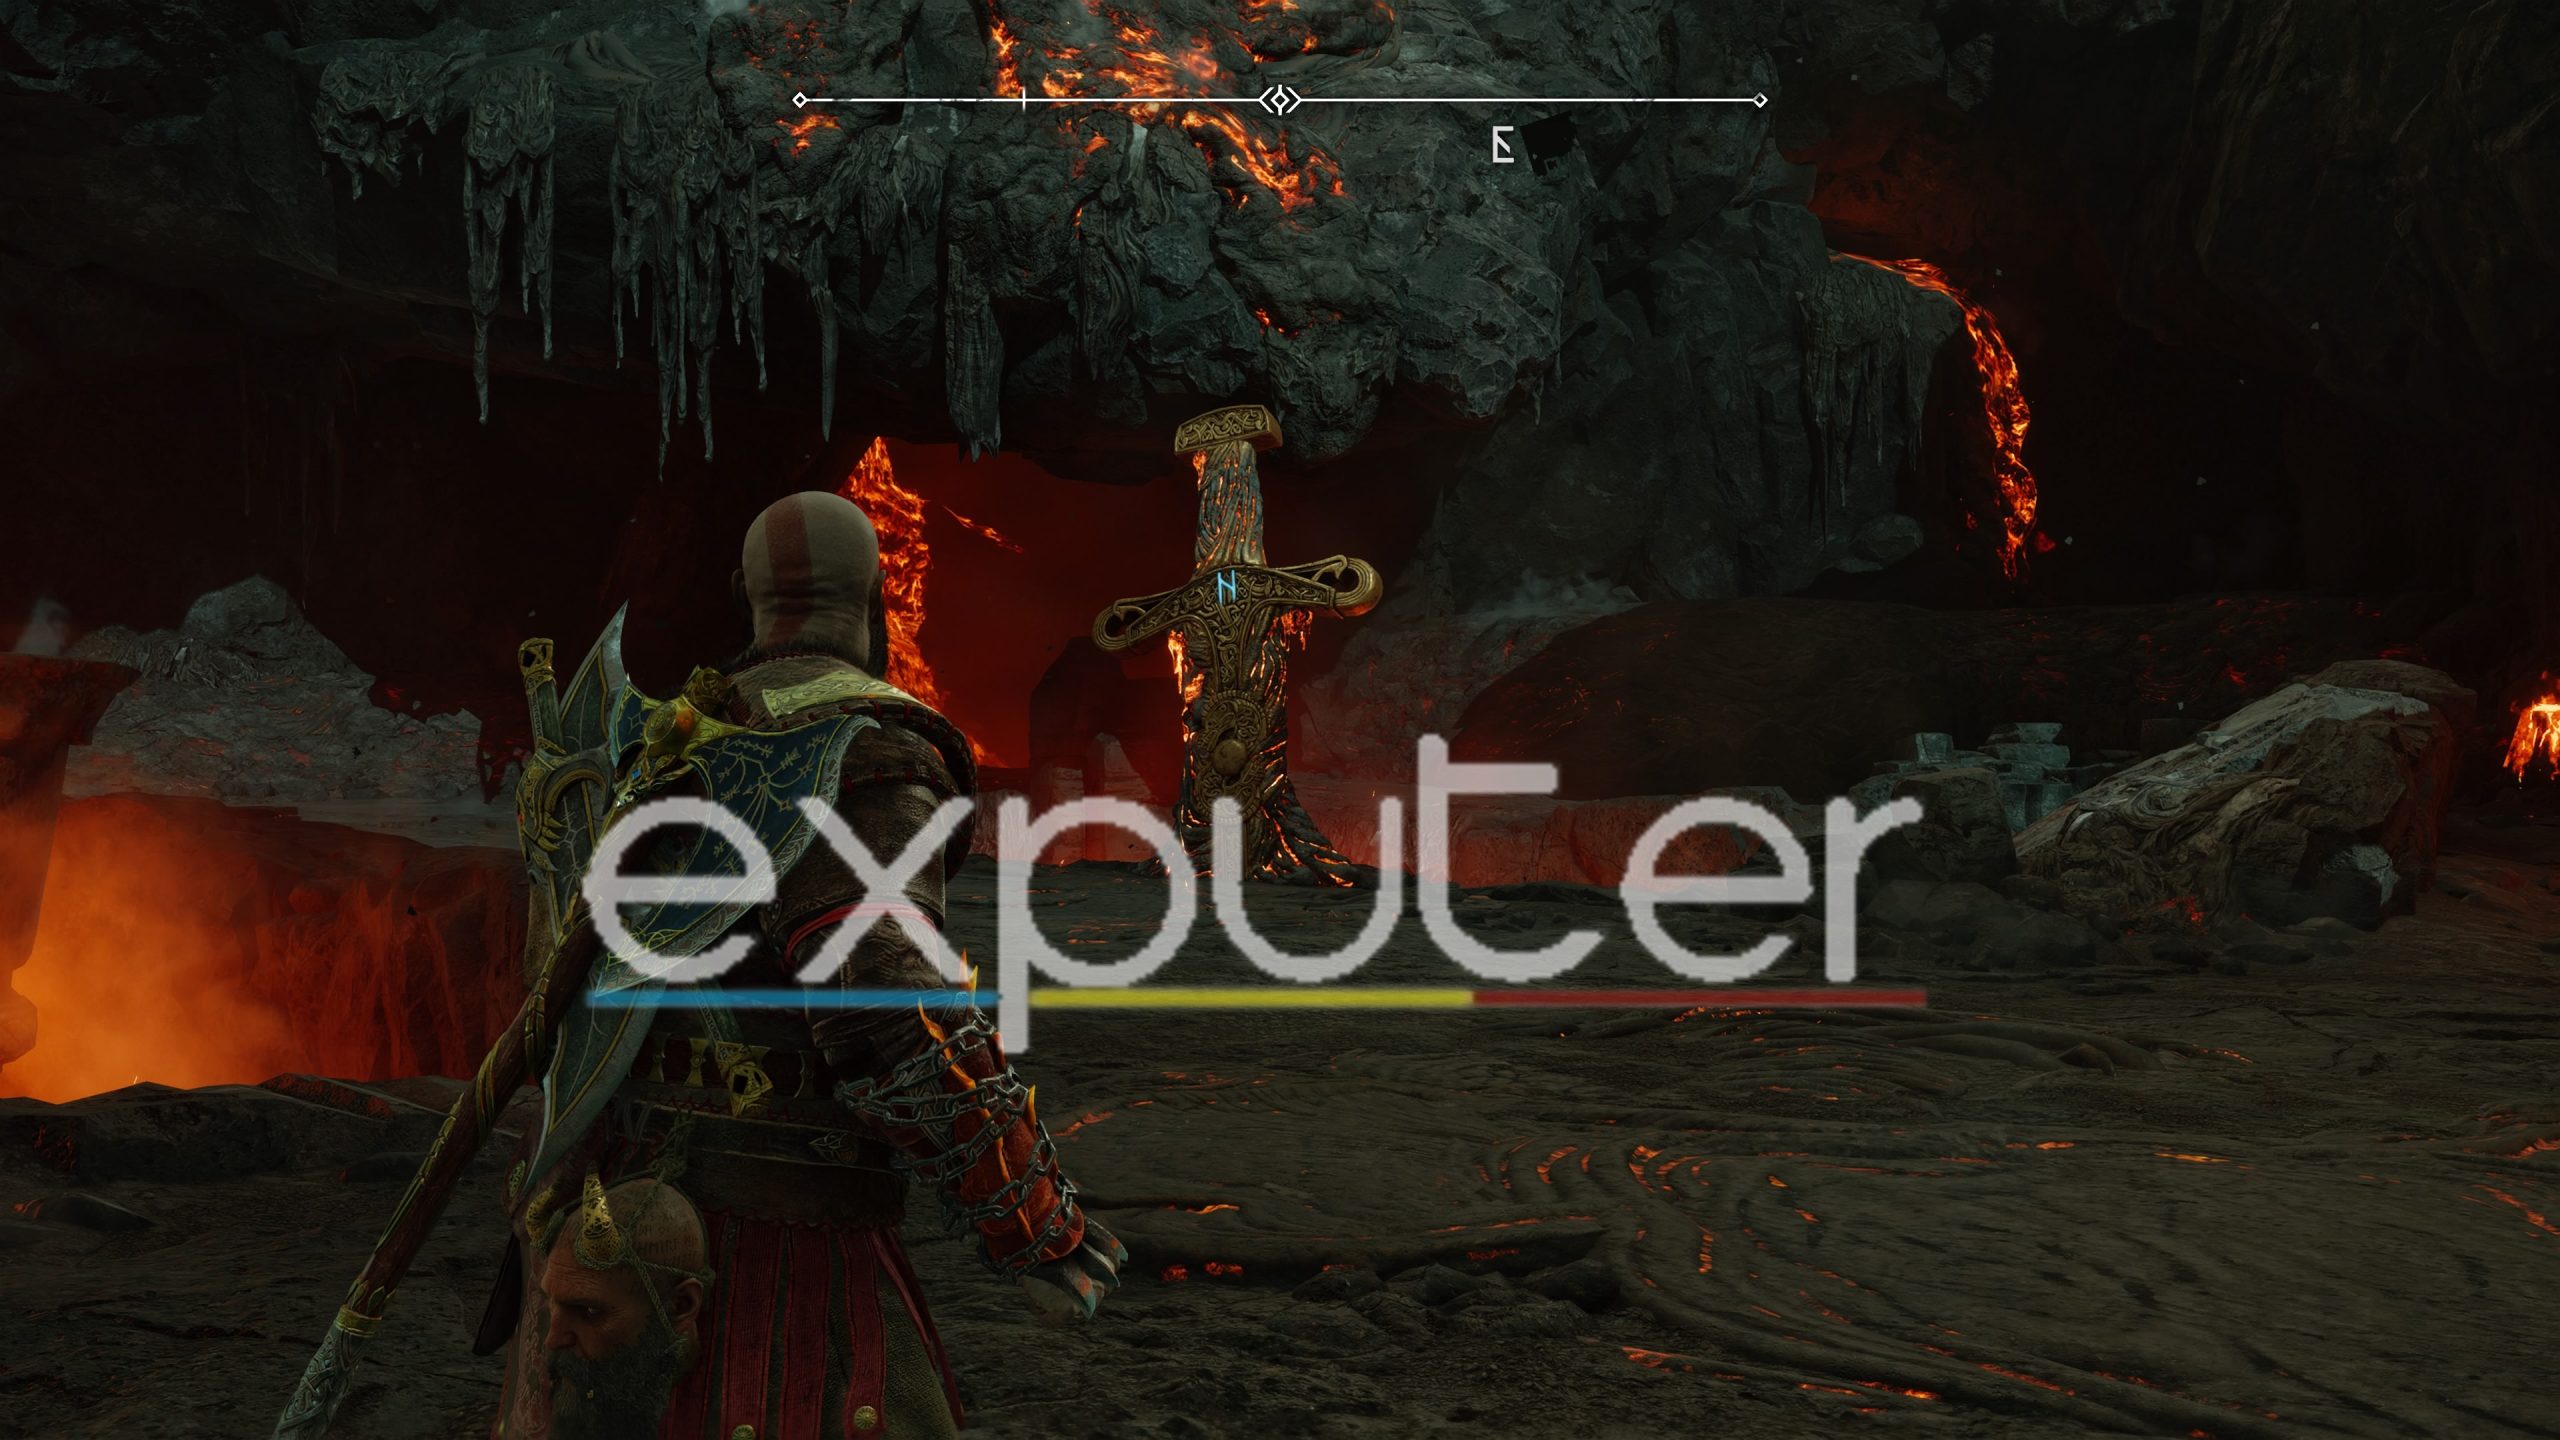
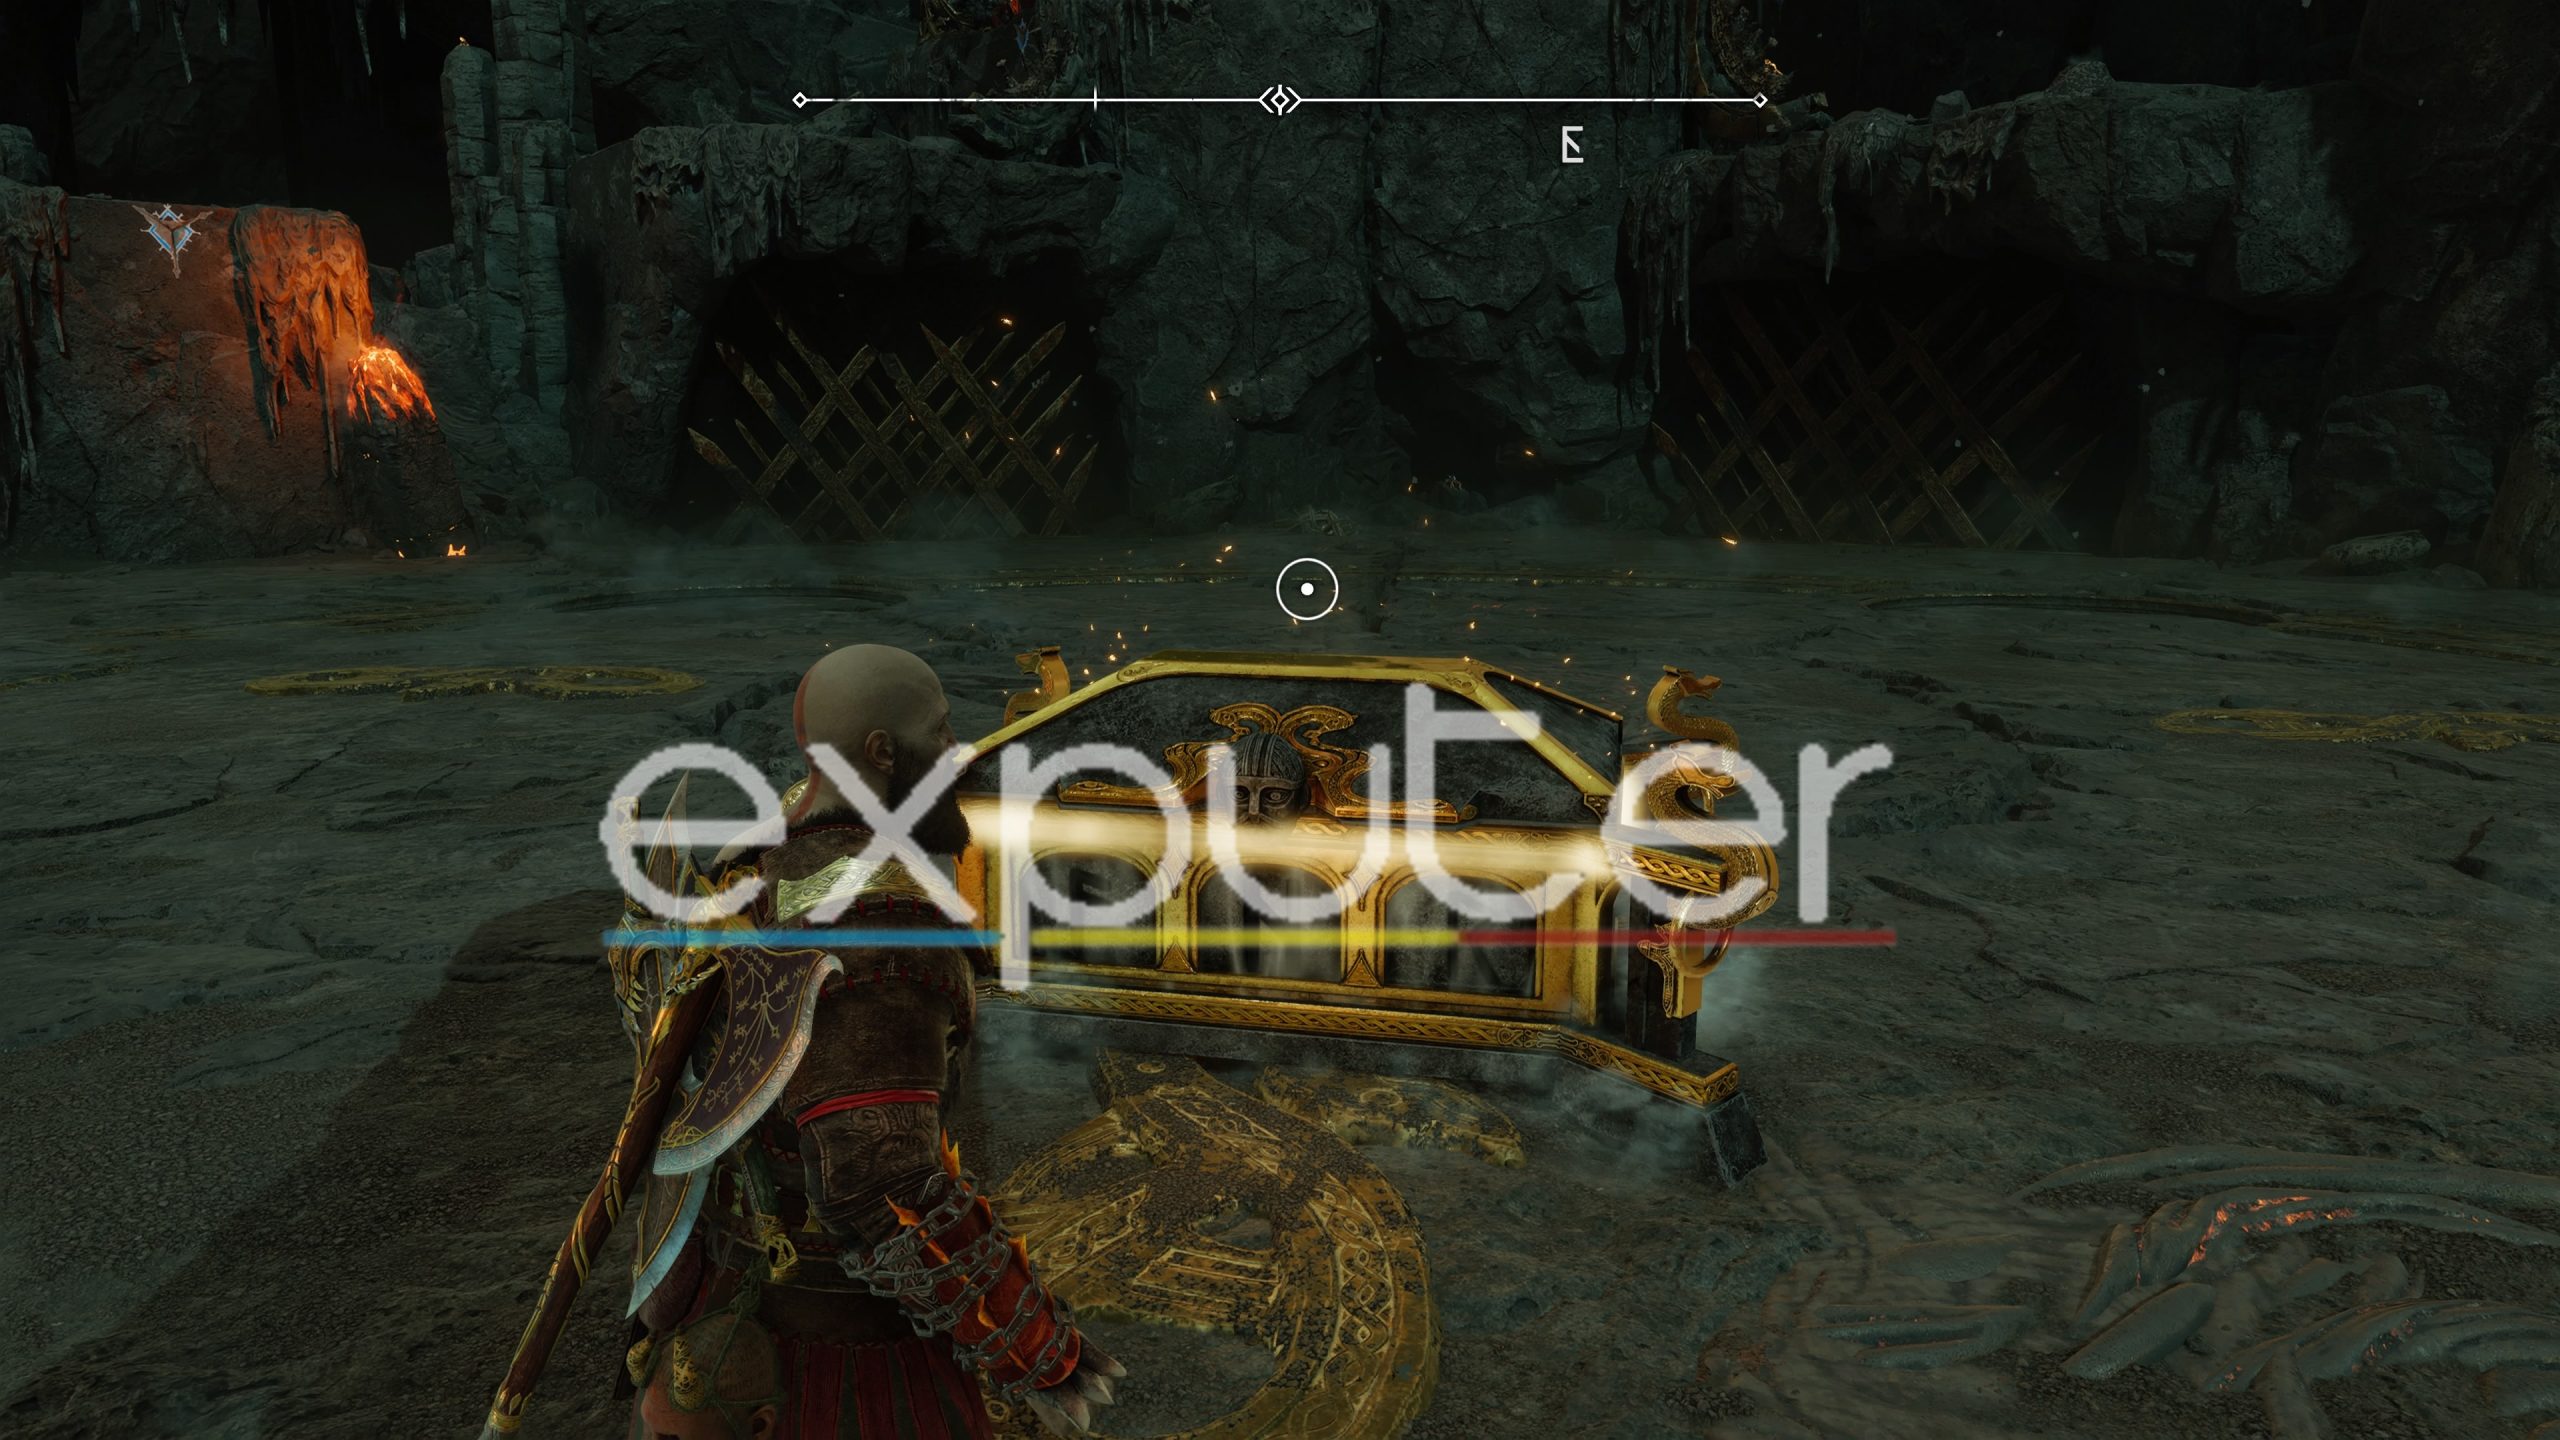
The Final Muspelheim Trials
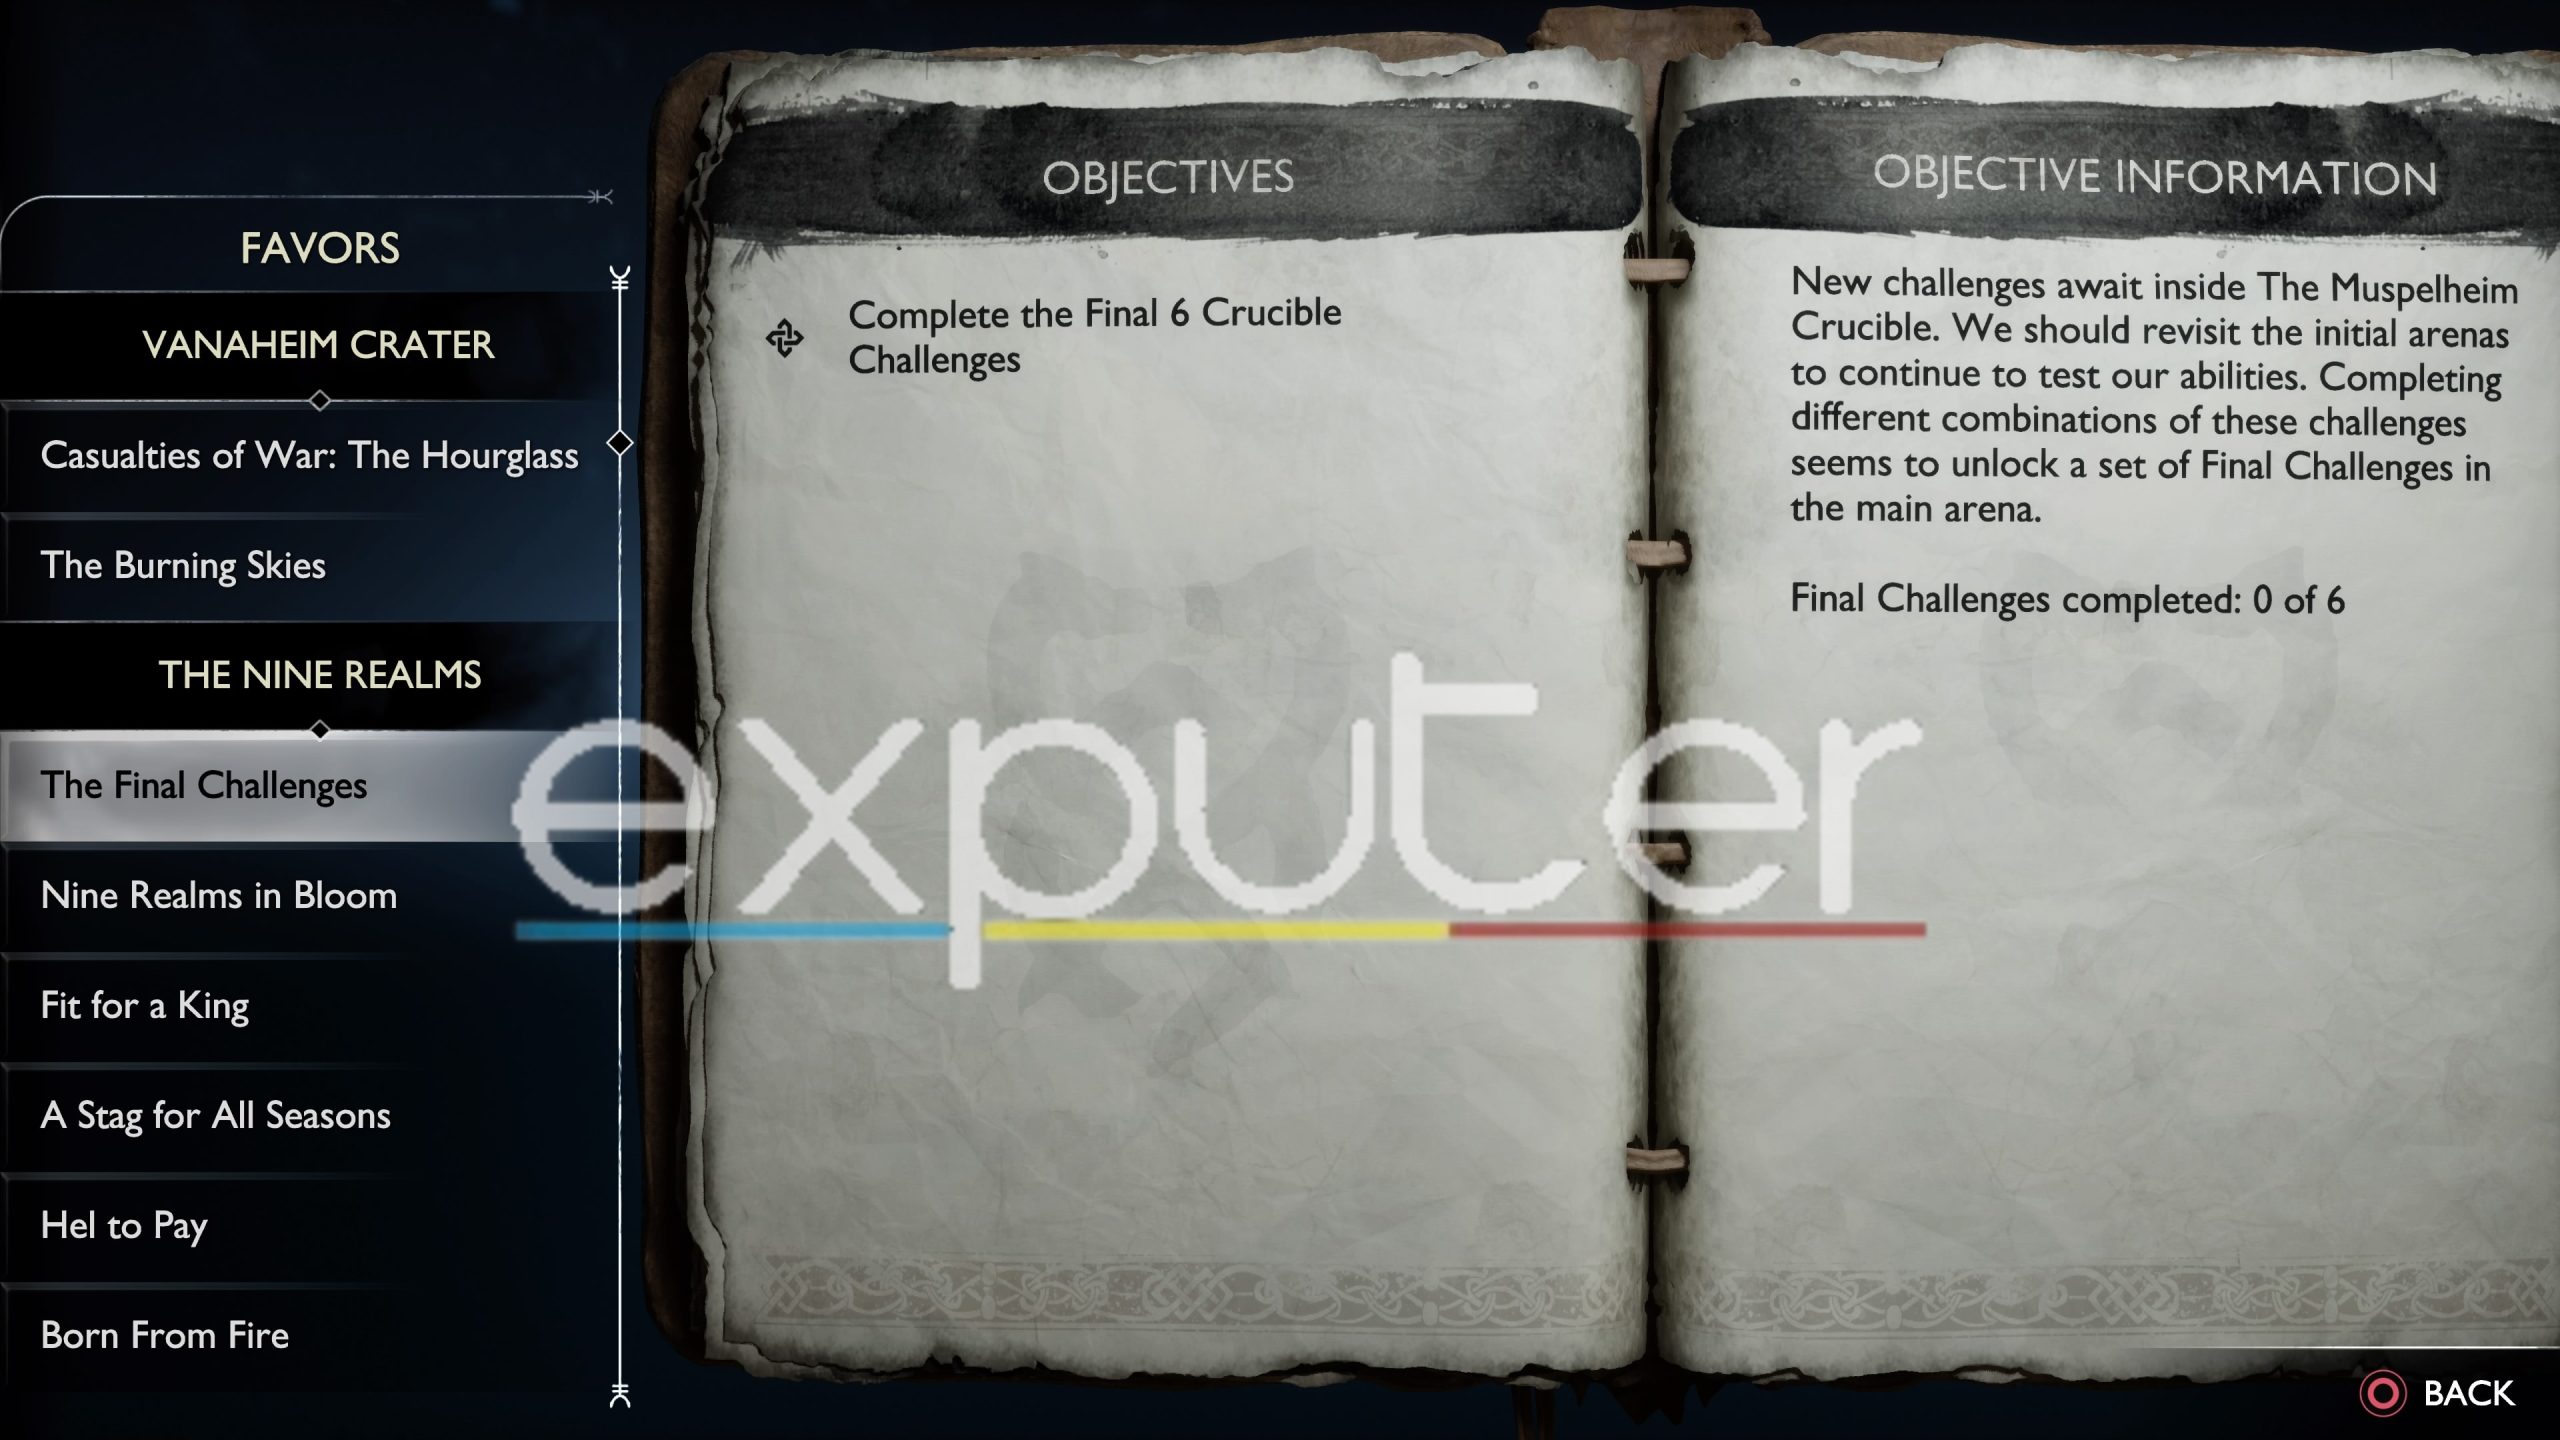
Once you’re done with the Crucible side quest, the final challenges favor unlocks in God Of War Ragnarok, which requires you to do more Muspelheim Trials. It requires you to complete the final six trials in Muspelheim and can only be accessed after completing the first six trials. These trials are actually six challenges, and there is a special way of unlocking them.
This huge sword appears after you’ve opened the nornir chest by completing the Crucible favor. You can access the final six challenges here, but there’s a catch. The huge sword in the middle is connected to the other three swords where you completed the first six trials.
A challenge will only become available when you complete two challenges from the previous swords. Basically, a challenge is generated by mixing any two trials of the Crucible. The order in which you do the trials also affects the generated challenge.
You must generate and complete six challenges here by mixing and matching the trials at the previous swords. It will take a while, but it is worth it to complete the final challenges to get Surtr’s Armor and Muspelheim amulet enchantments.
Boss Rush Challenge
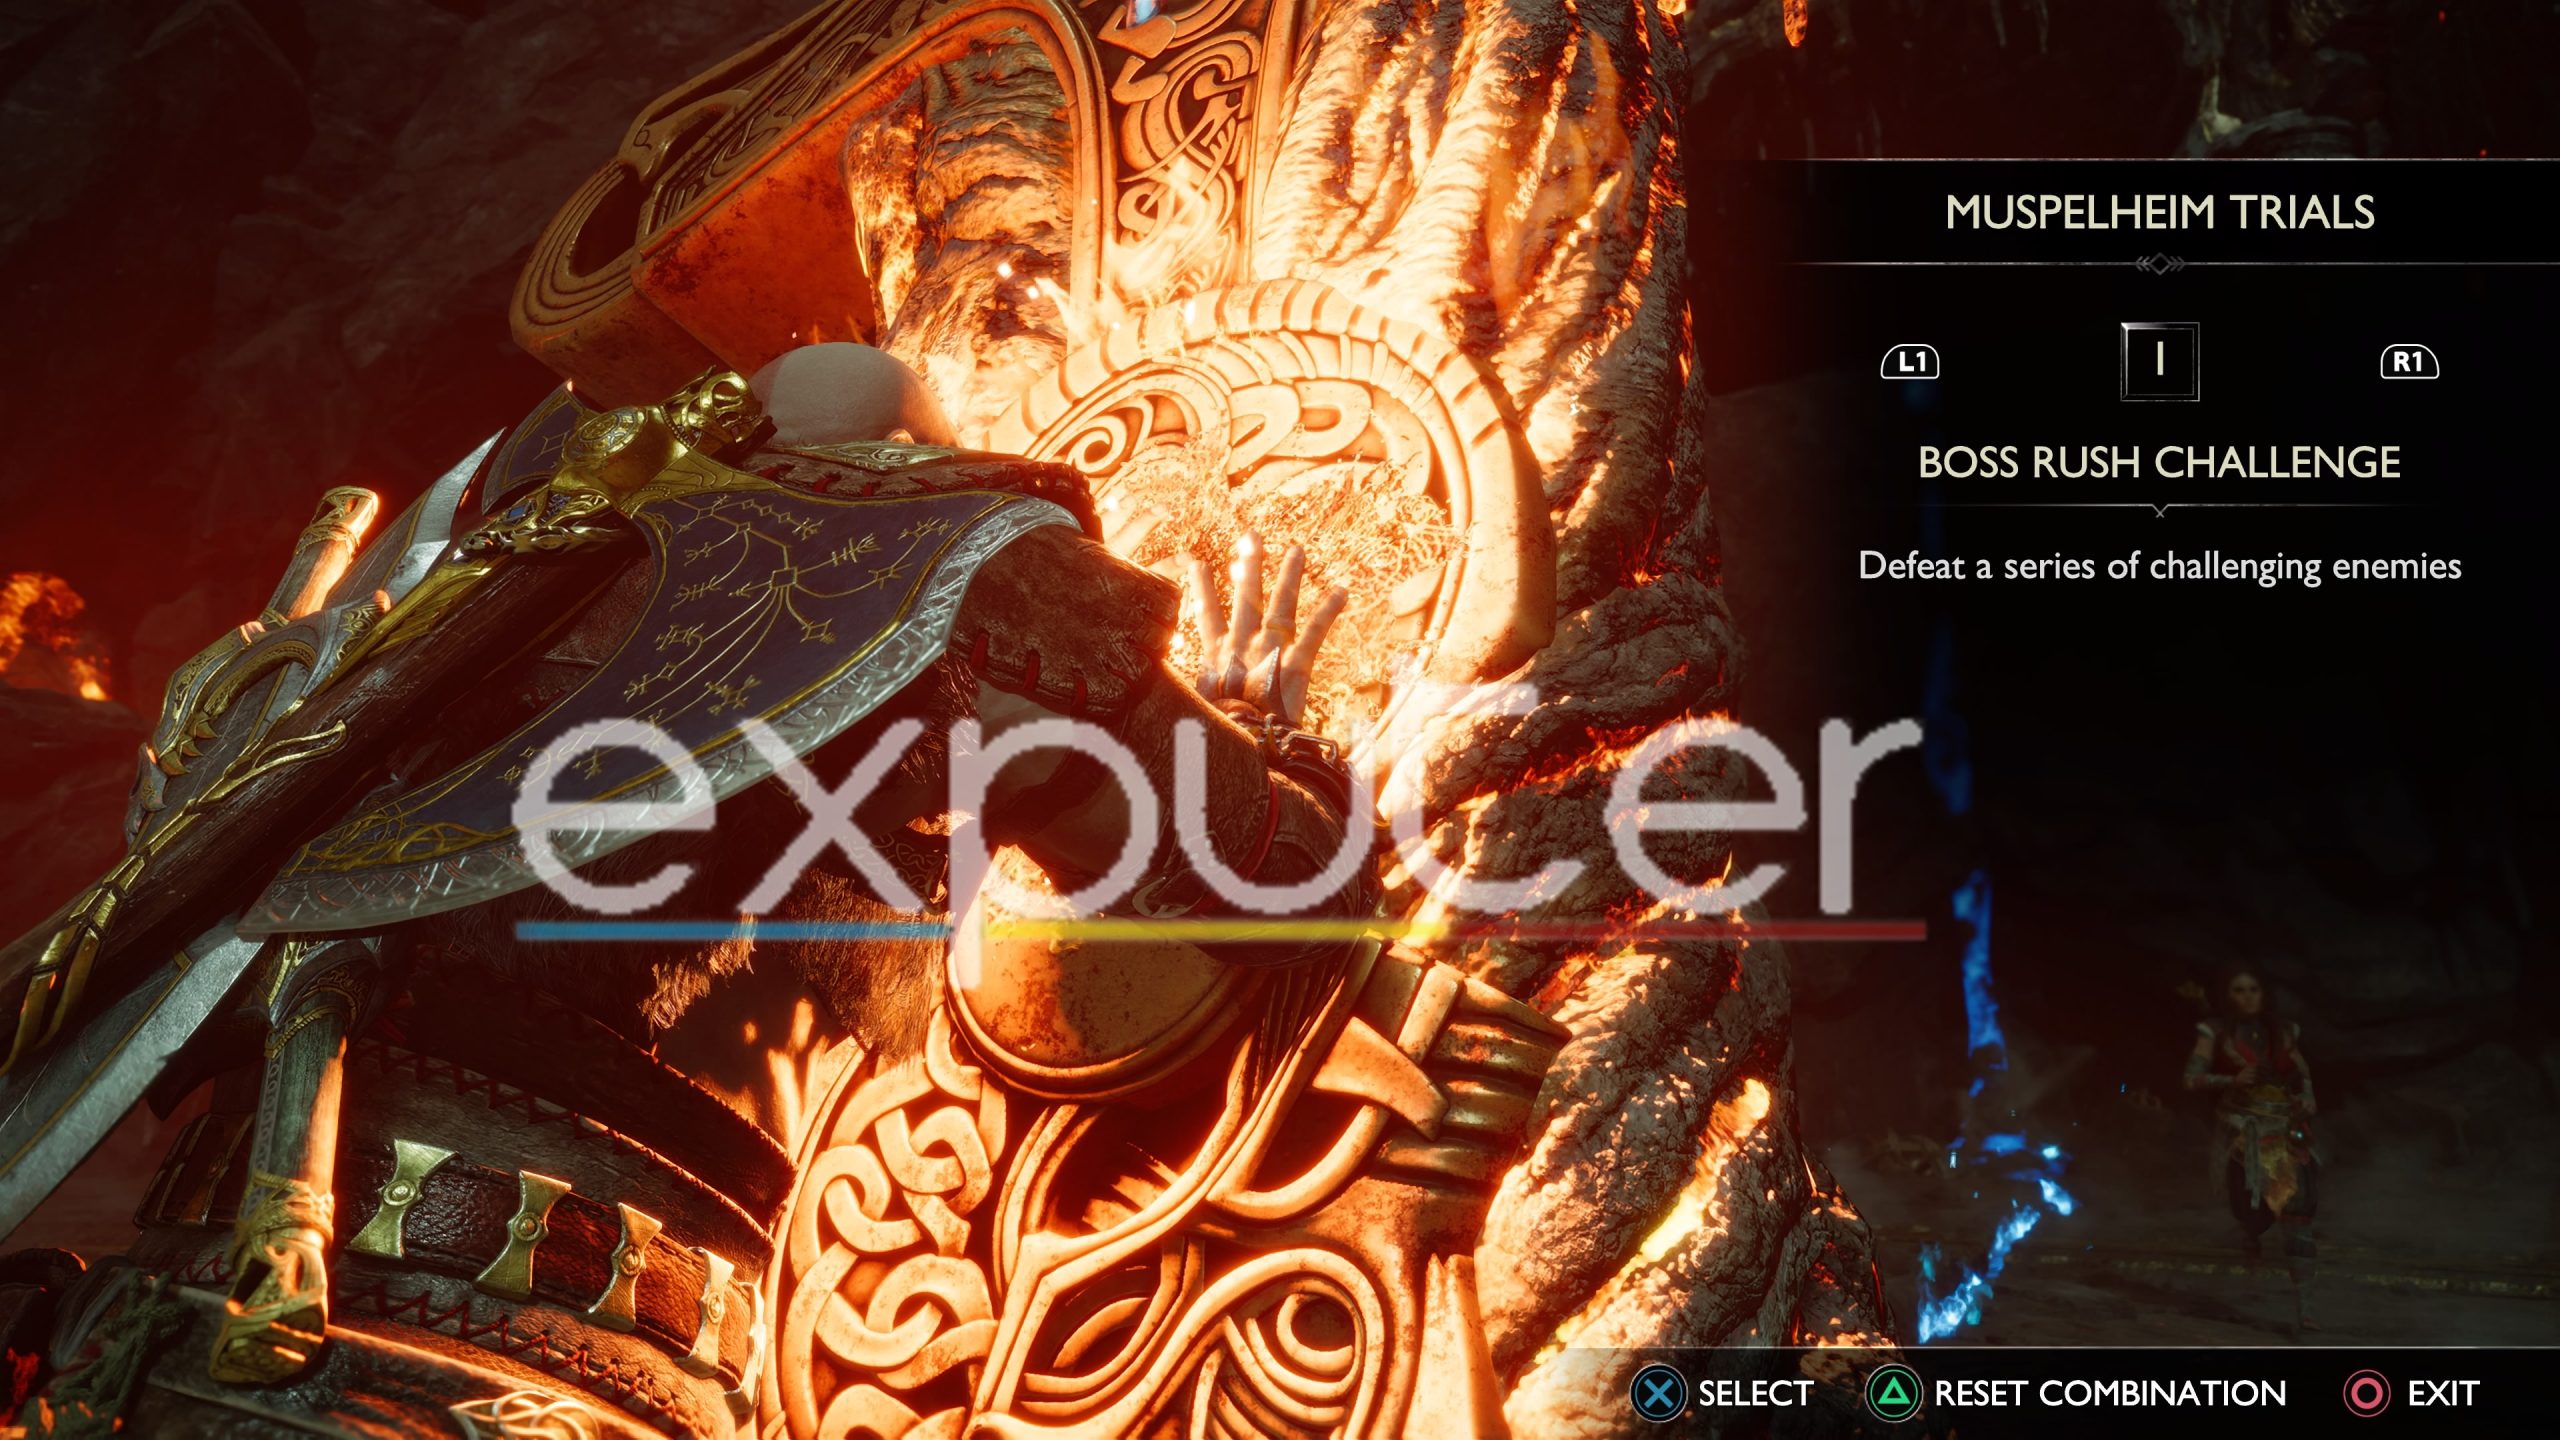
The first challenge you should go for is the boss rush challenge, but you can do the six challenges in any order you desire. To make the challenge available, you must do a trial first from Sword 3 and then from Sword 2. Make sure you attempt the trials in the order given. Once you do those trials, the Boss Rush Challenge should become available at the big sword in the middle of the crucible.
You have to face five bosses in the boss rush challenge. The first boss that you face is similar to the traveler boss fight. He hits hard and can tank your attacks. There is no way of disrupting his combos until his armor is broken. Blocking wouldn’t help here, as even a single heavy attack can make Kratos vulnerable.
Parrying is your best bet against his attacks or simply dodging. Use your bare hands to stun him faster and break his armor. Runic attacks should also help in the fight.

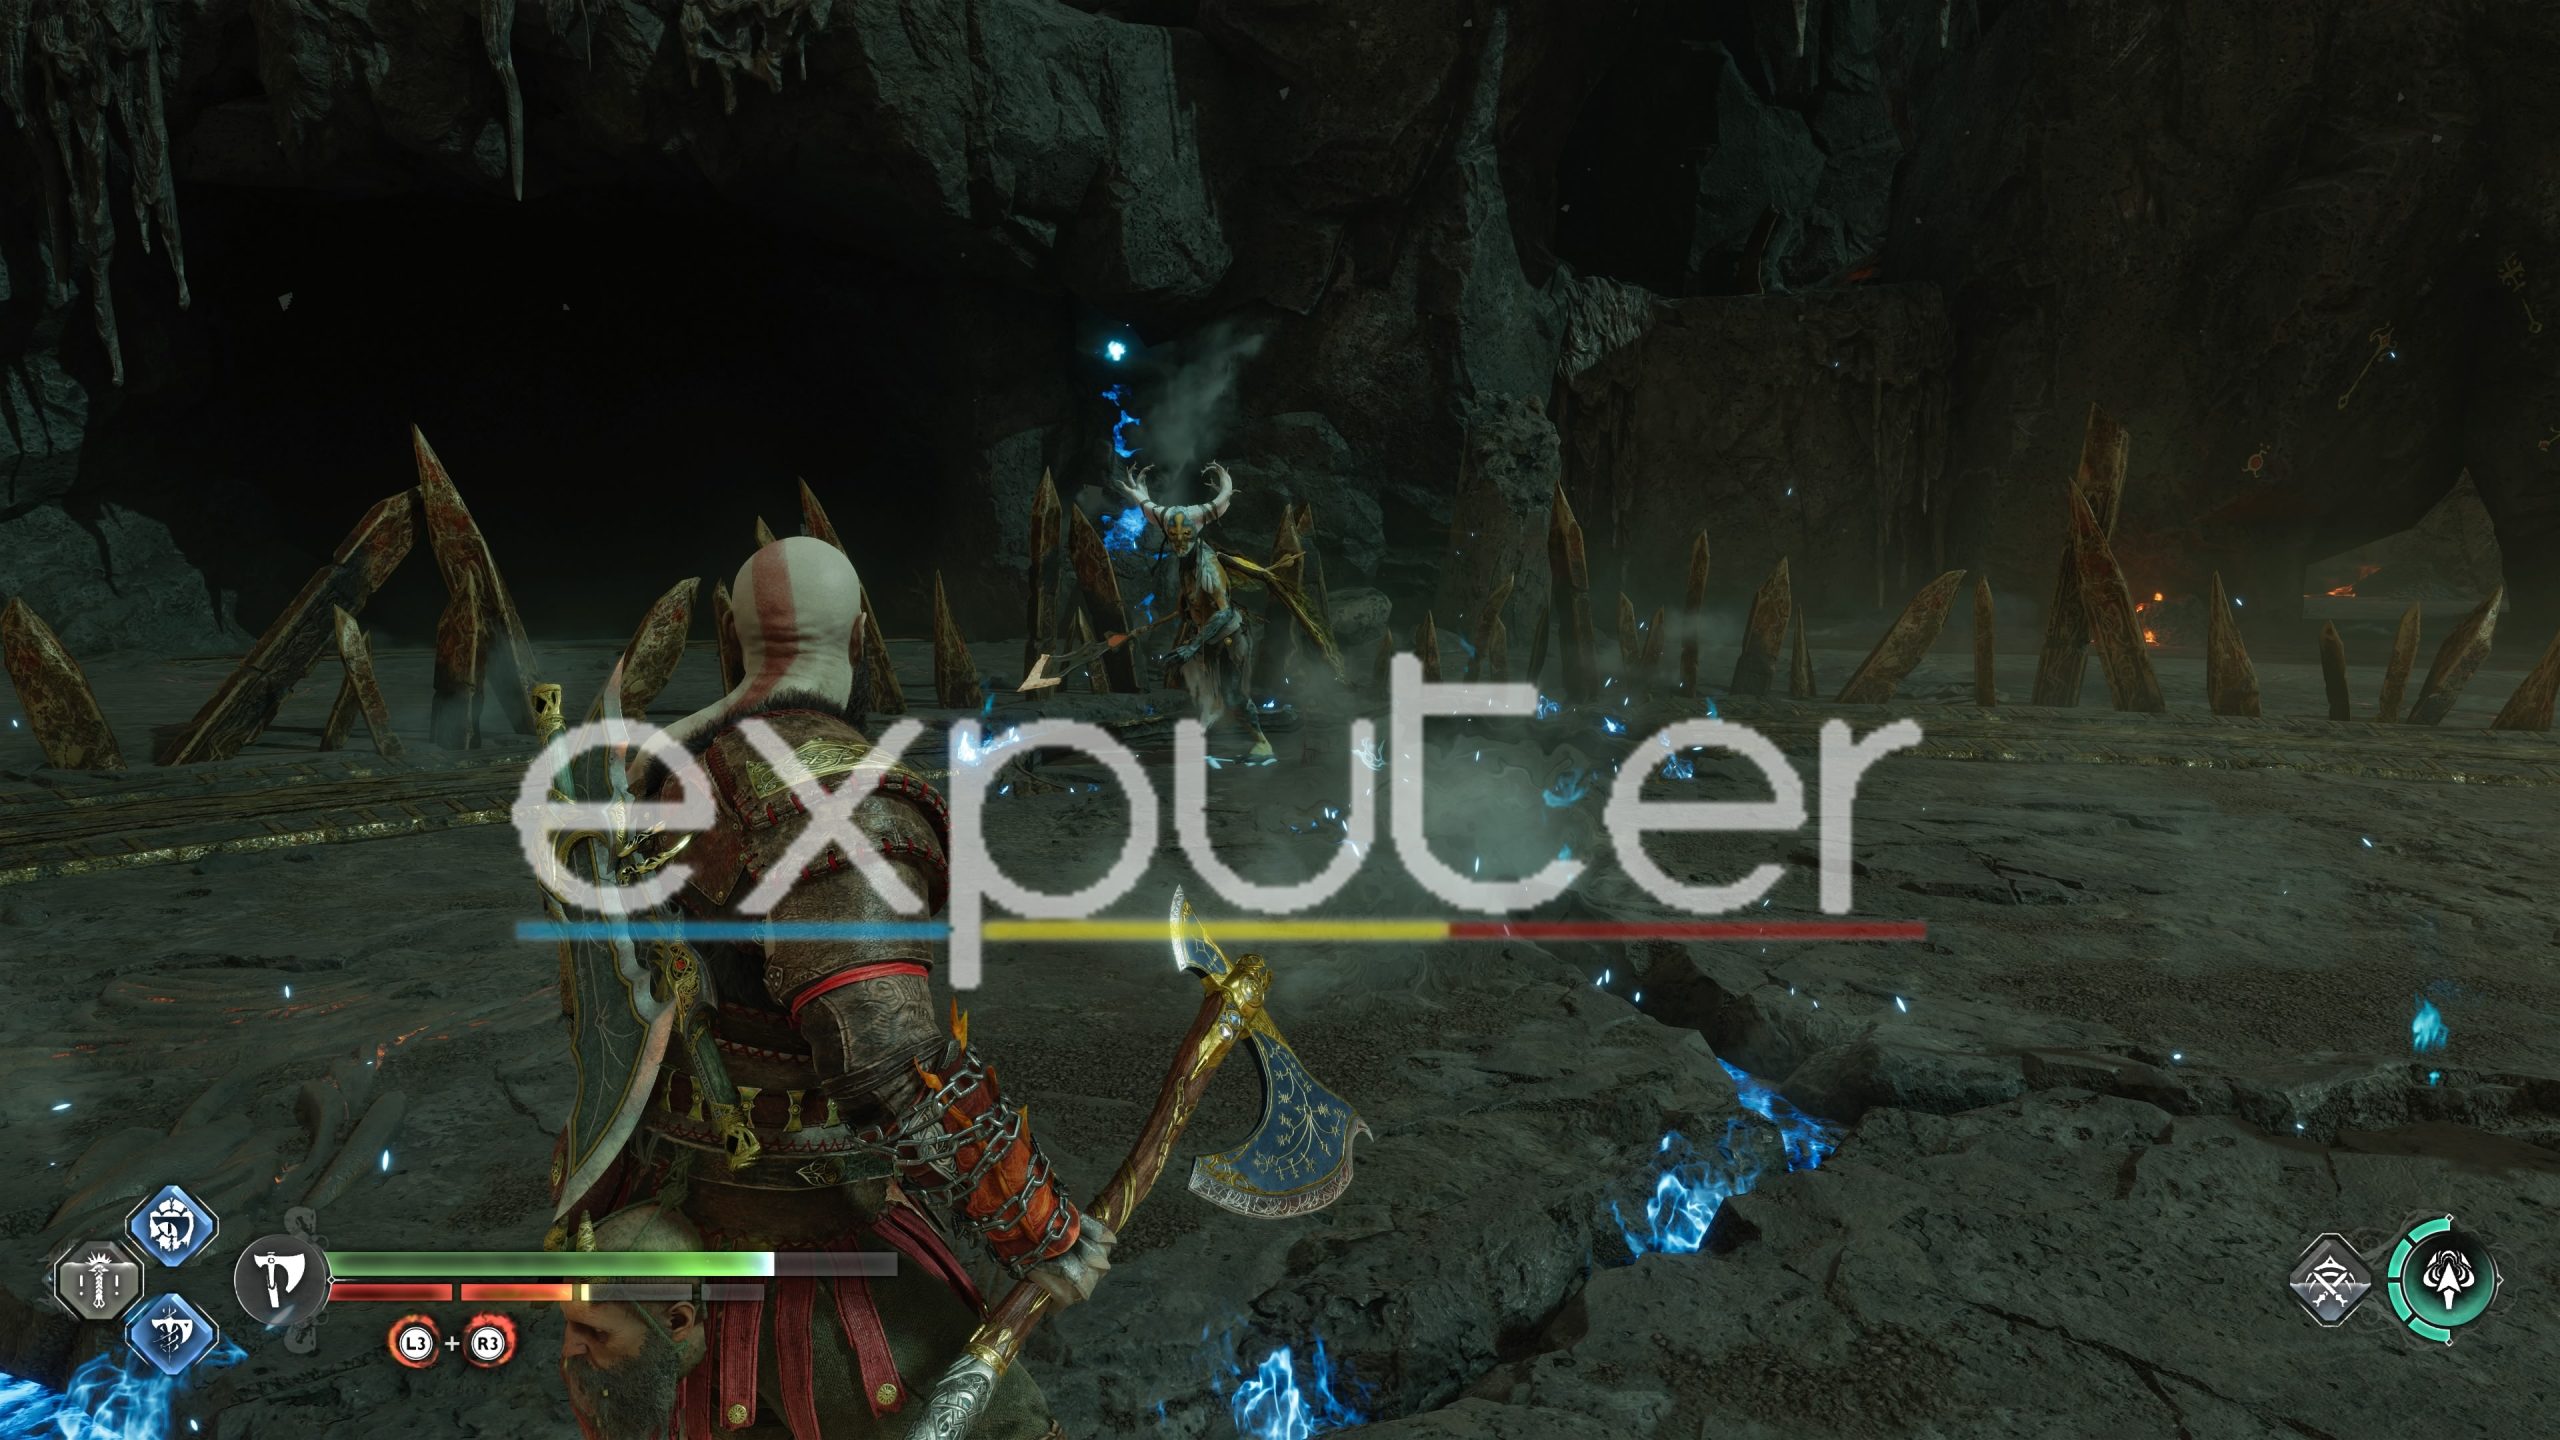
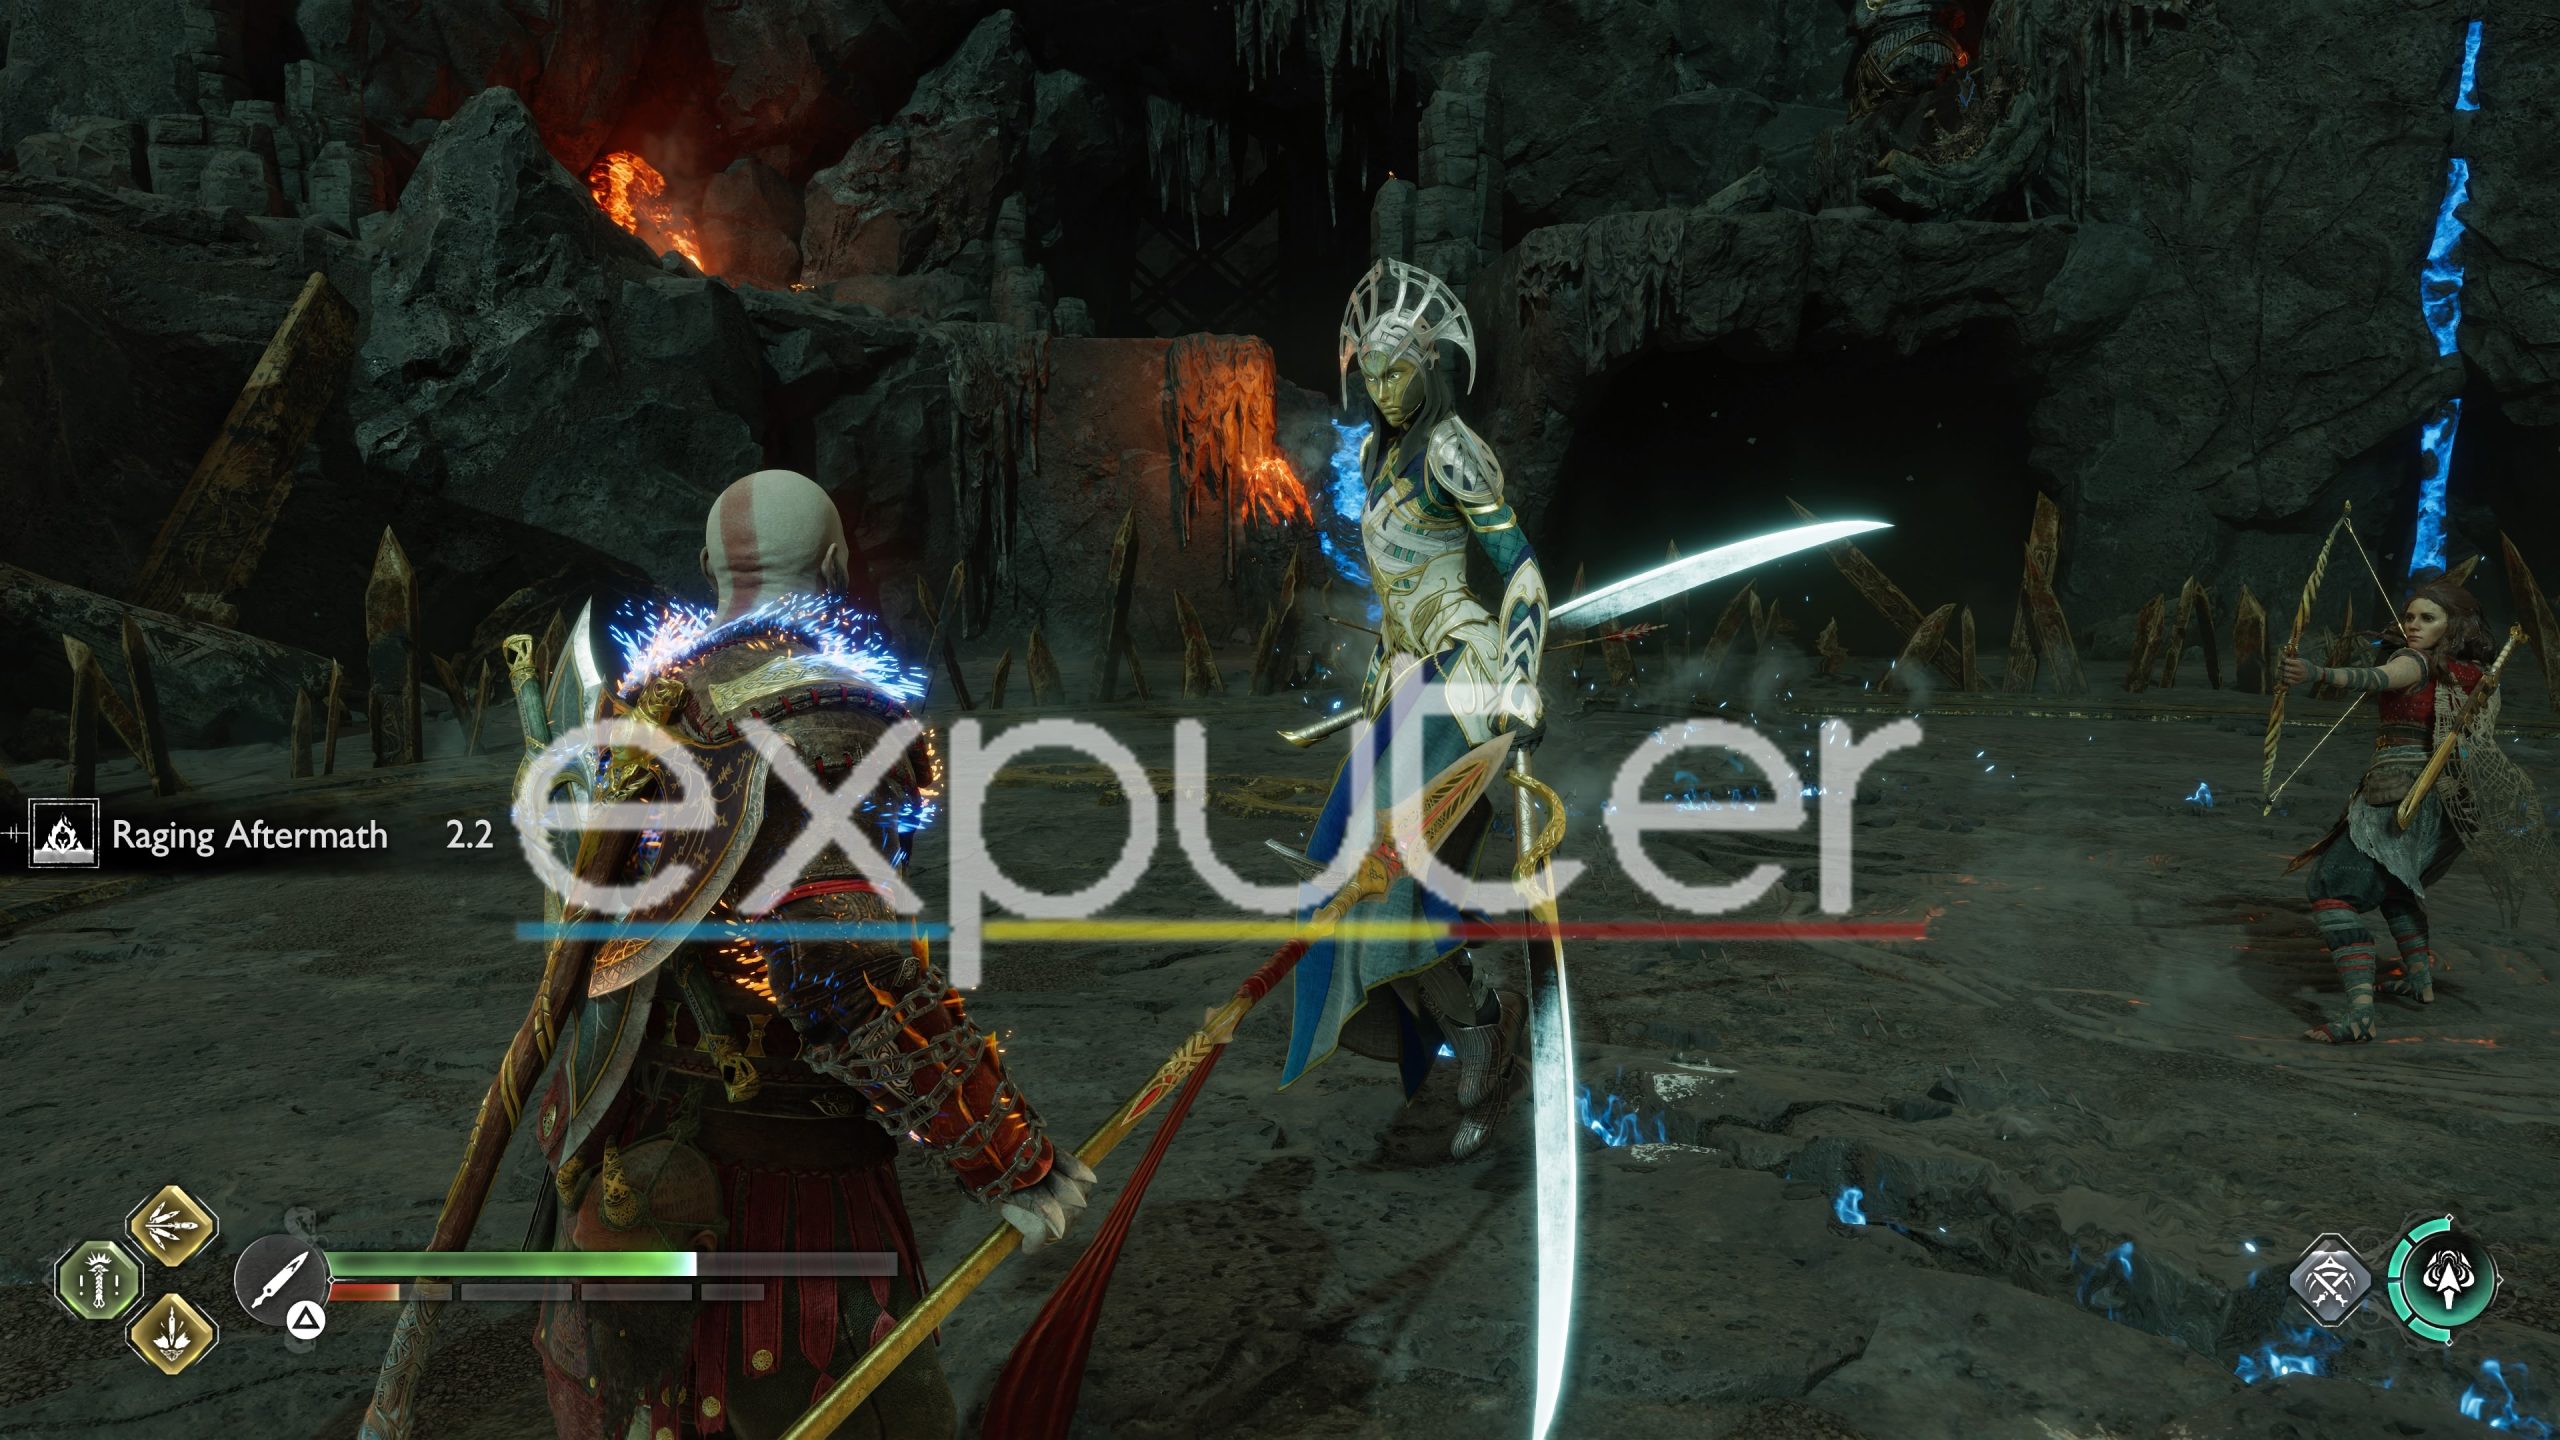
The next boss that you face is similar to The Huntress. It is a very quick enemy and hard to hit. You will have to attack its horns to make it stun or simply use your runic attacks to stunlock the boss. Sonic arrows of your ally should also help in the fight.
The third enemy you face is a boss version of the dark elves. You should already know his moves by now and they are pretty easy to dodge. Just beware of the shining orbs that he spams after his attacks. Getting hit by one of them can blind your sight in the game additionally.
It is the light elf version of the boss similar to Alva, whom you fought in Alfheim of God Of War Ragnarok. The boss is fast, but the attacks can be parried correctly if you time your parries. The whole fight is just you dodging and finding openings to build up the stun bar on the bar.
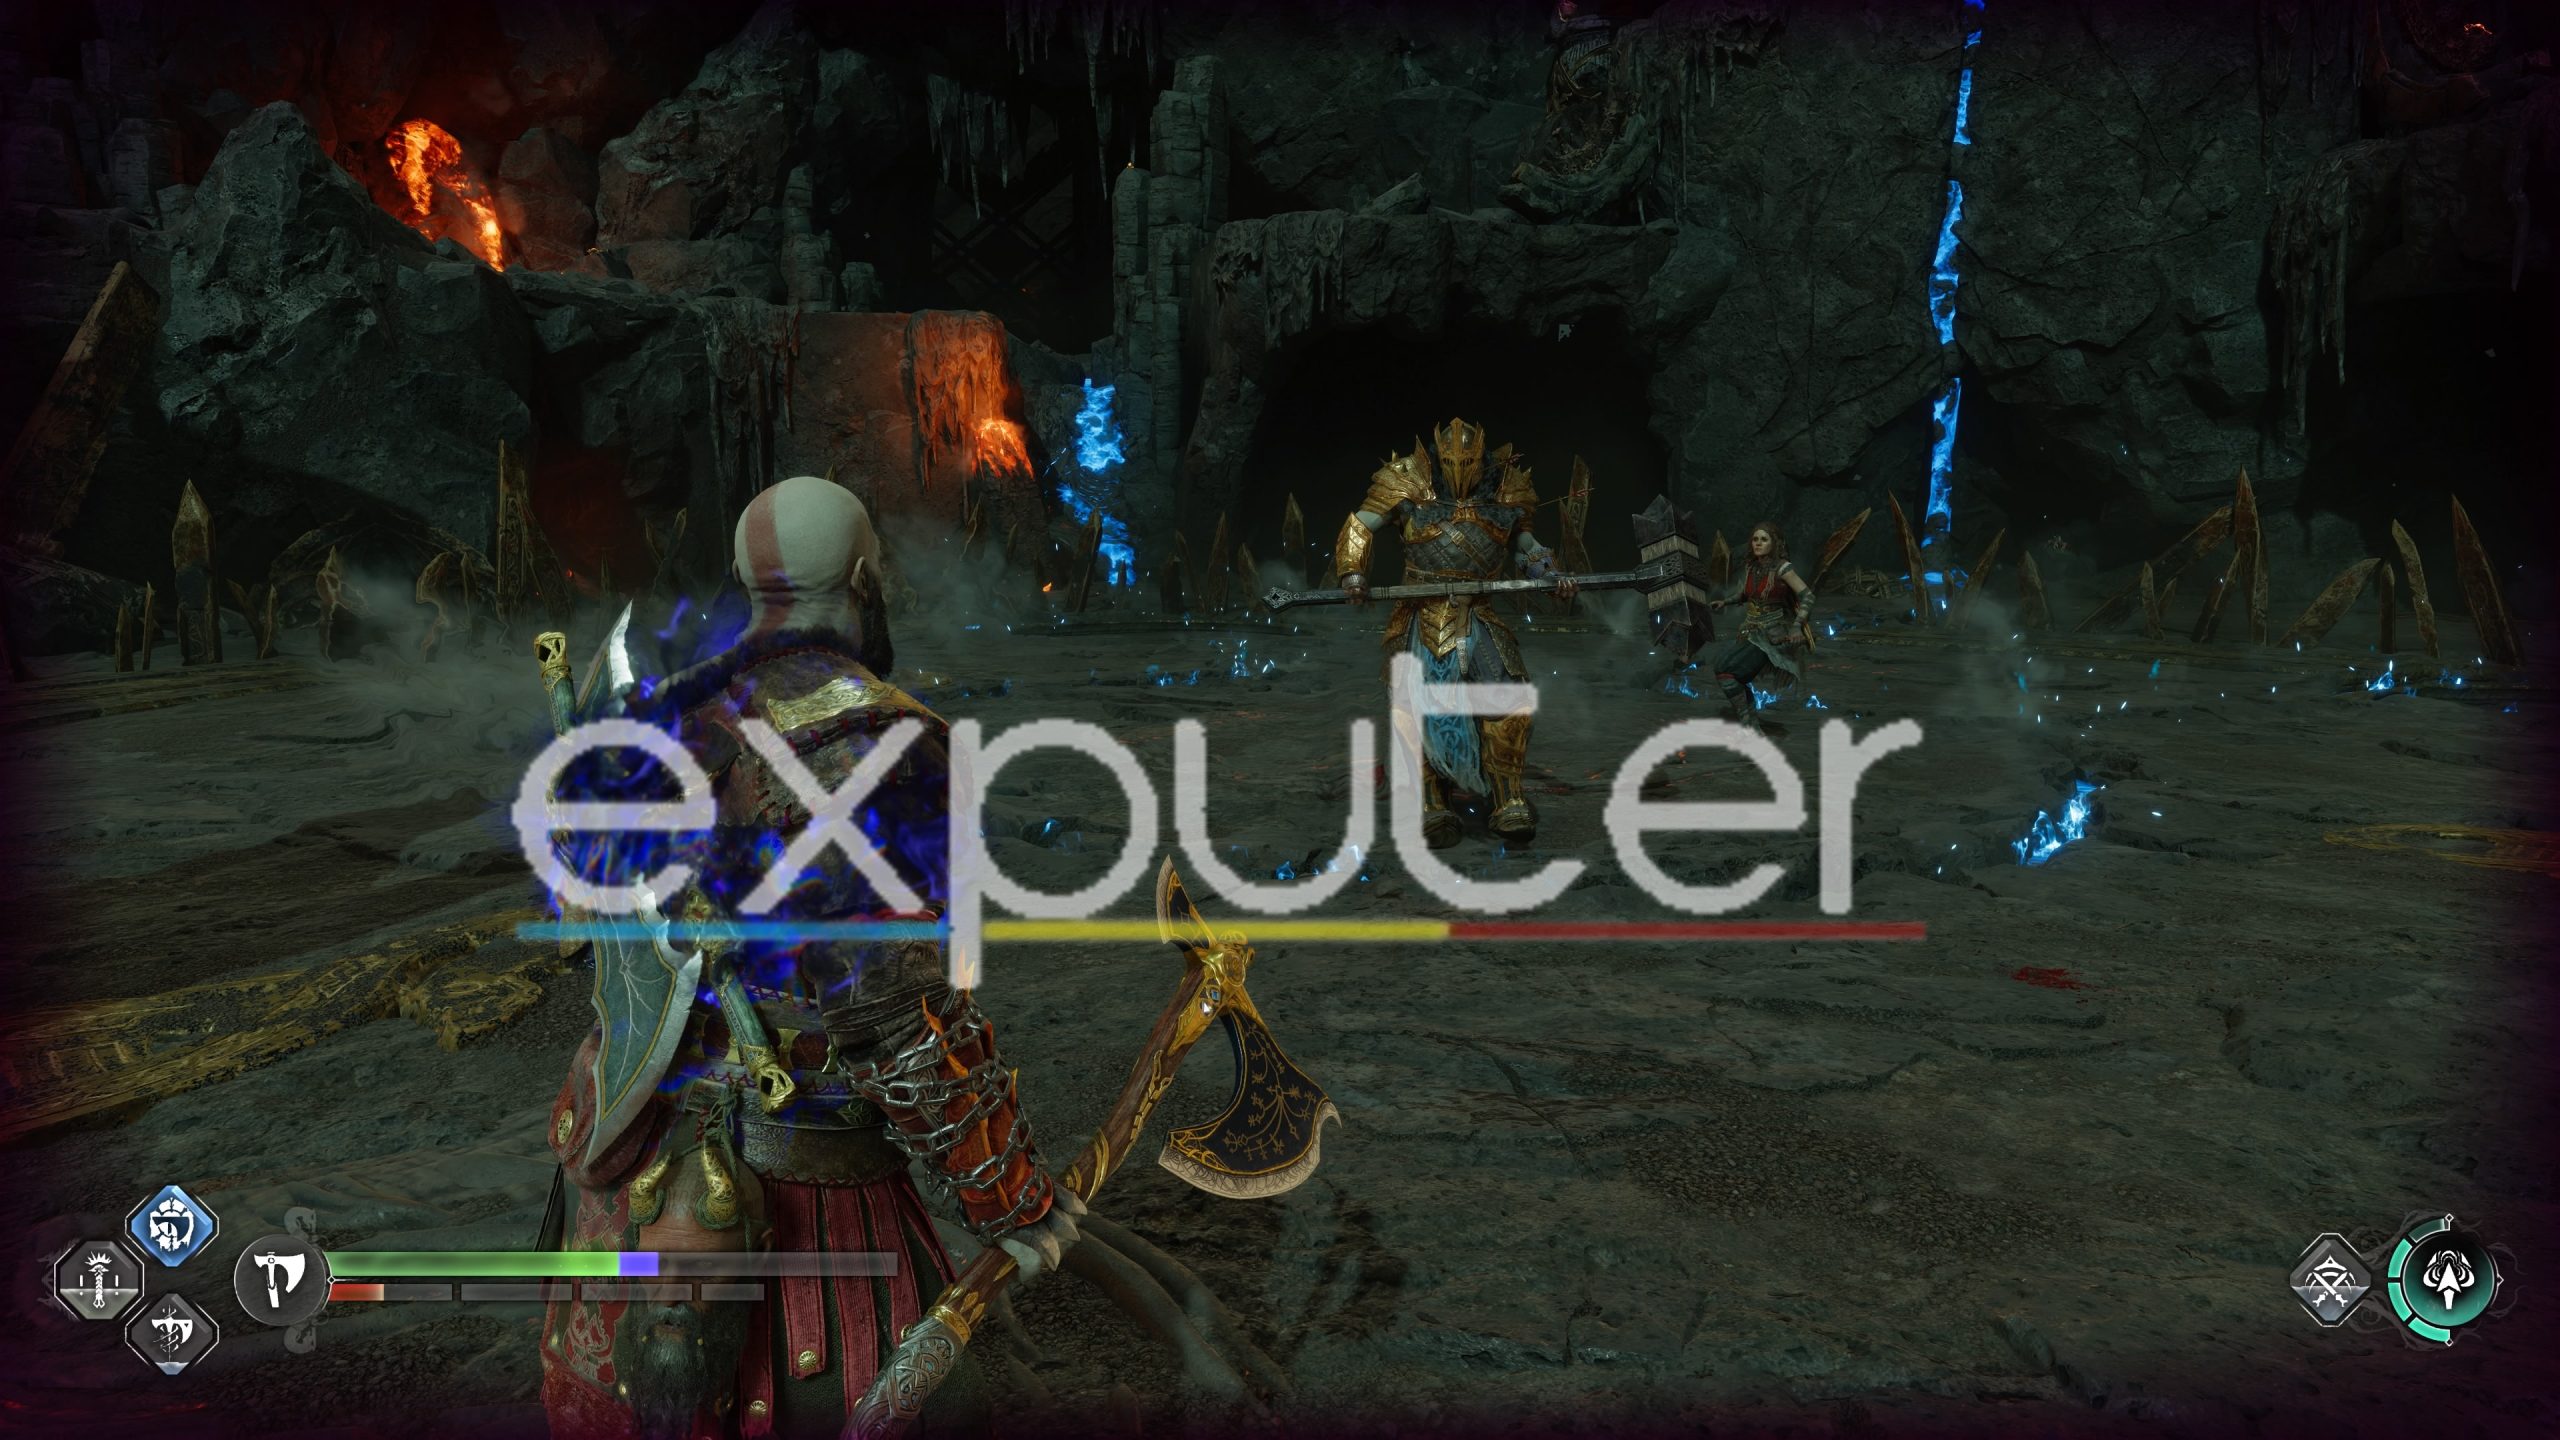
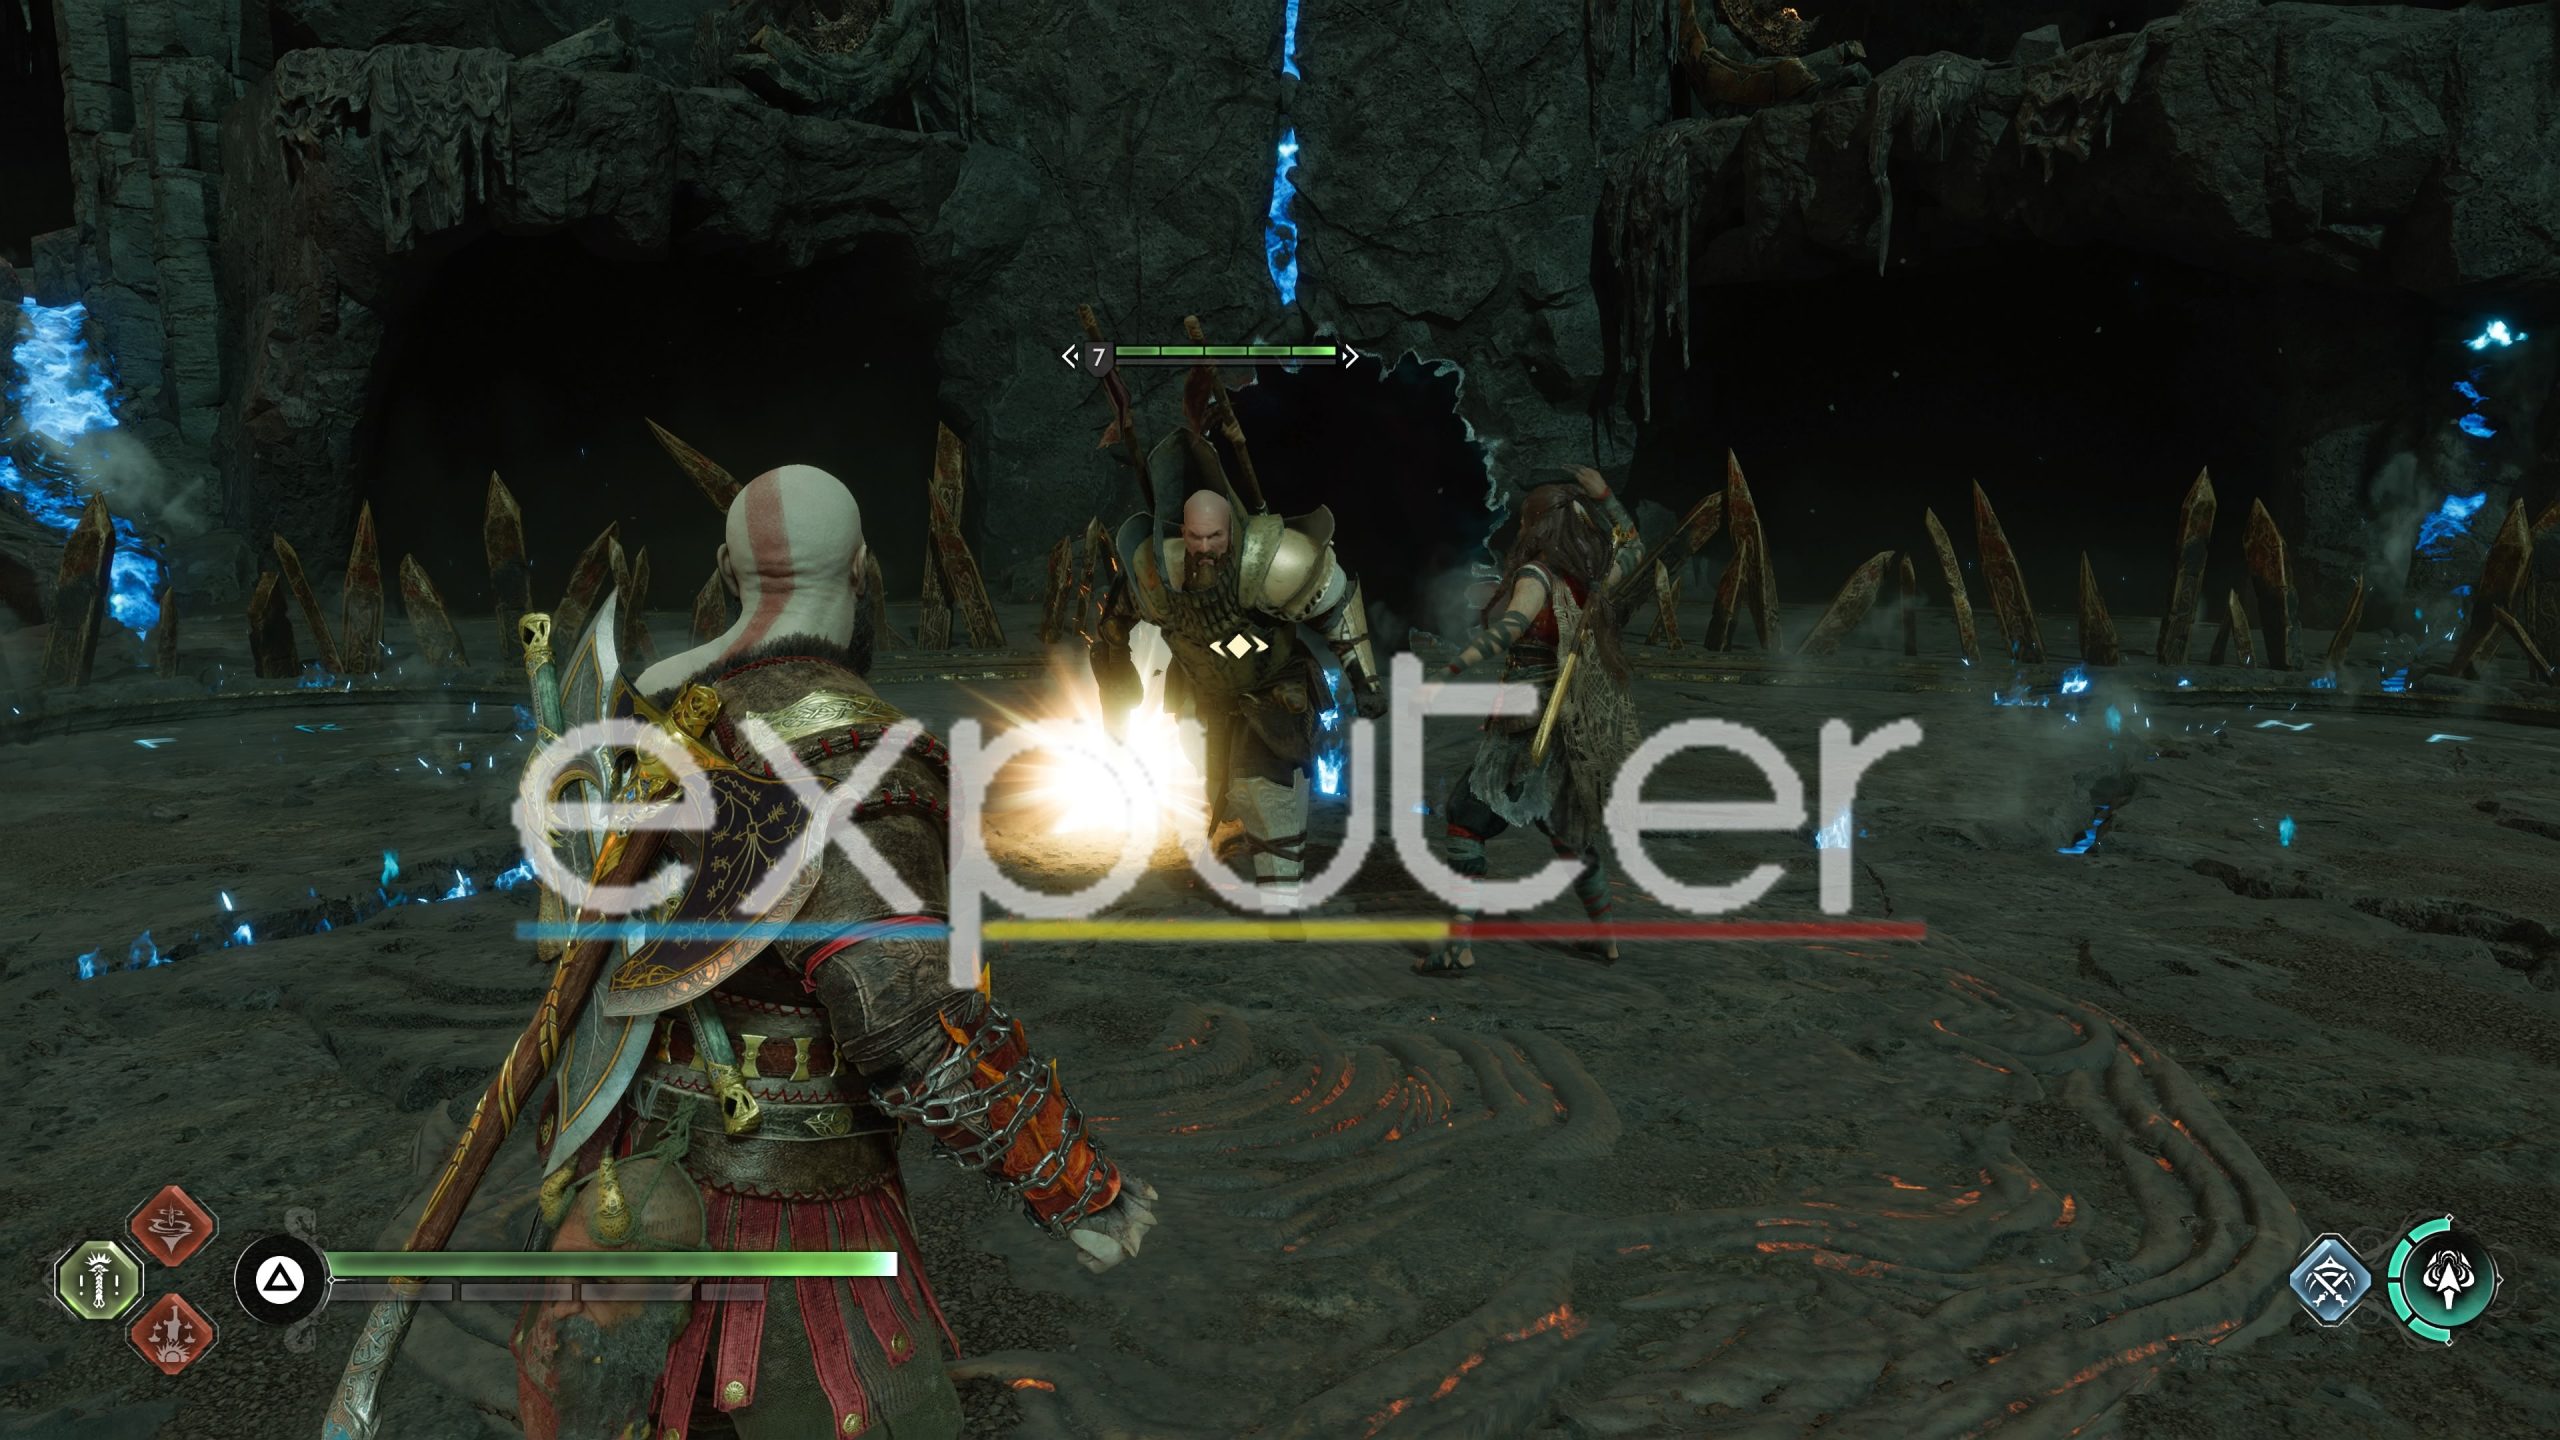
Your final enemy in the Boss Rush Challenge is the Einherjar Captain; he can also use the Bifrost attacks. He also hits hard, and your main goal should be to break off his armor. It is an endurance fight, and you should play it cautiously. Don’t mess up at this point, as you’ll have to start the challenge all over again. After beating the Einherjar Captain, the Boss Rush Challenge should be complete.
Rewards

You get an amulet enchantment known as Muspelheim’s Essence for completing the Boss Rush Challenge.
Endurance Challenge
The second challenge that you should go for is the endurance challenge. It is unlocked by completing a trial from the first sword and then from the second sword. The challenge will become available once you do the trials in the order mentioned.
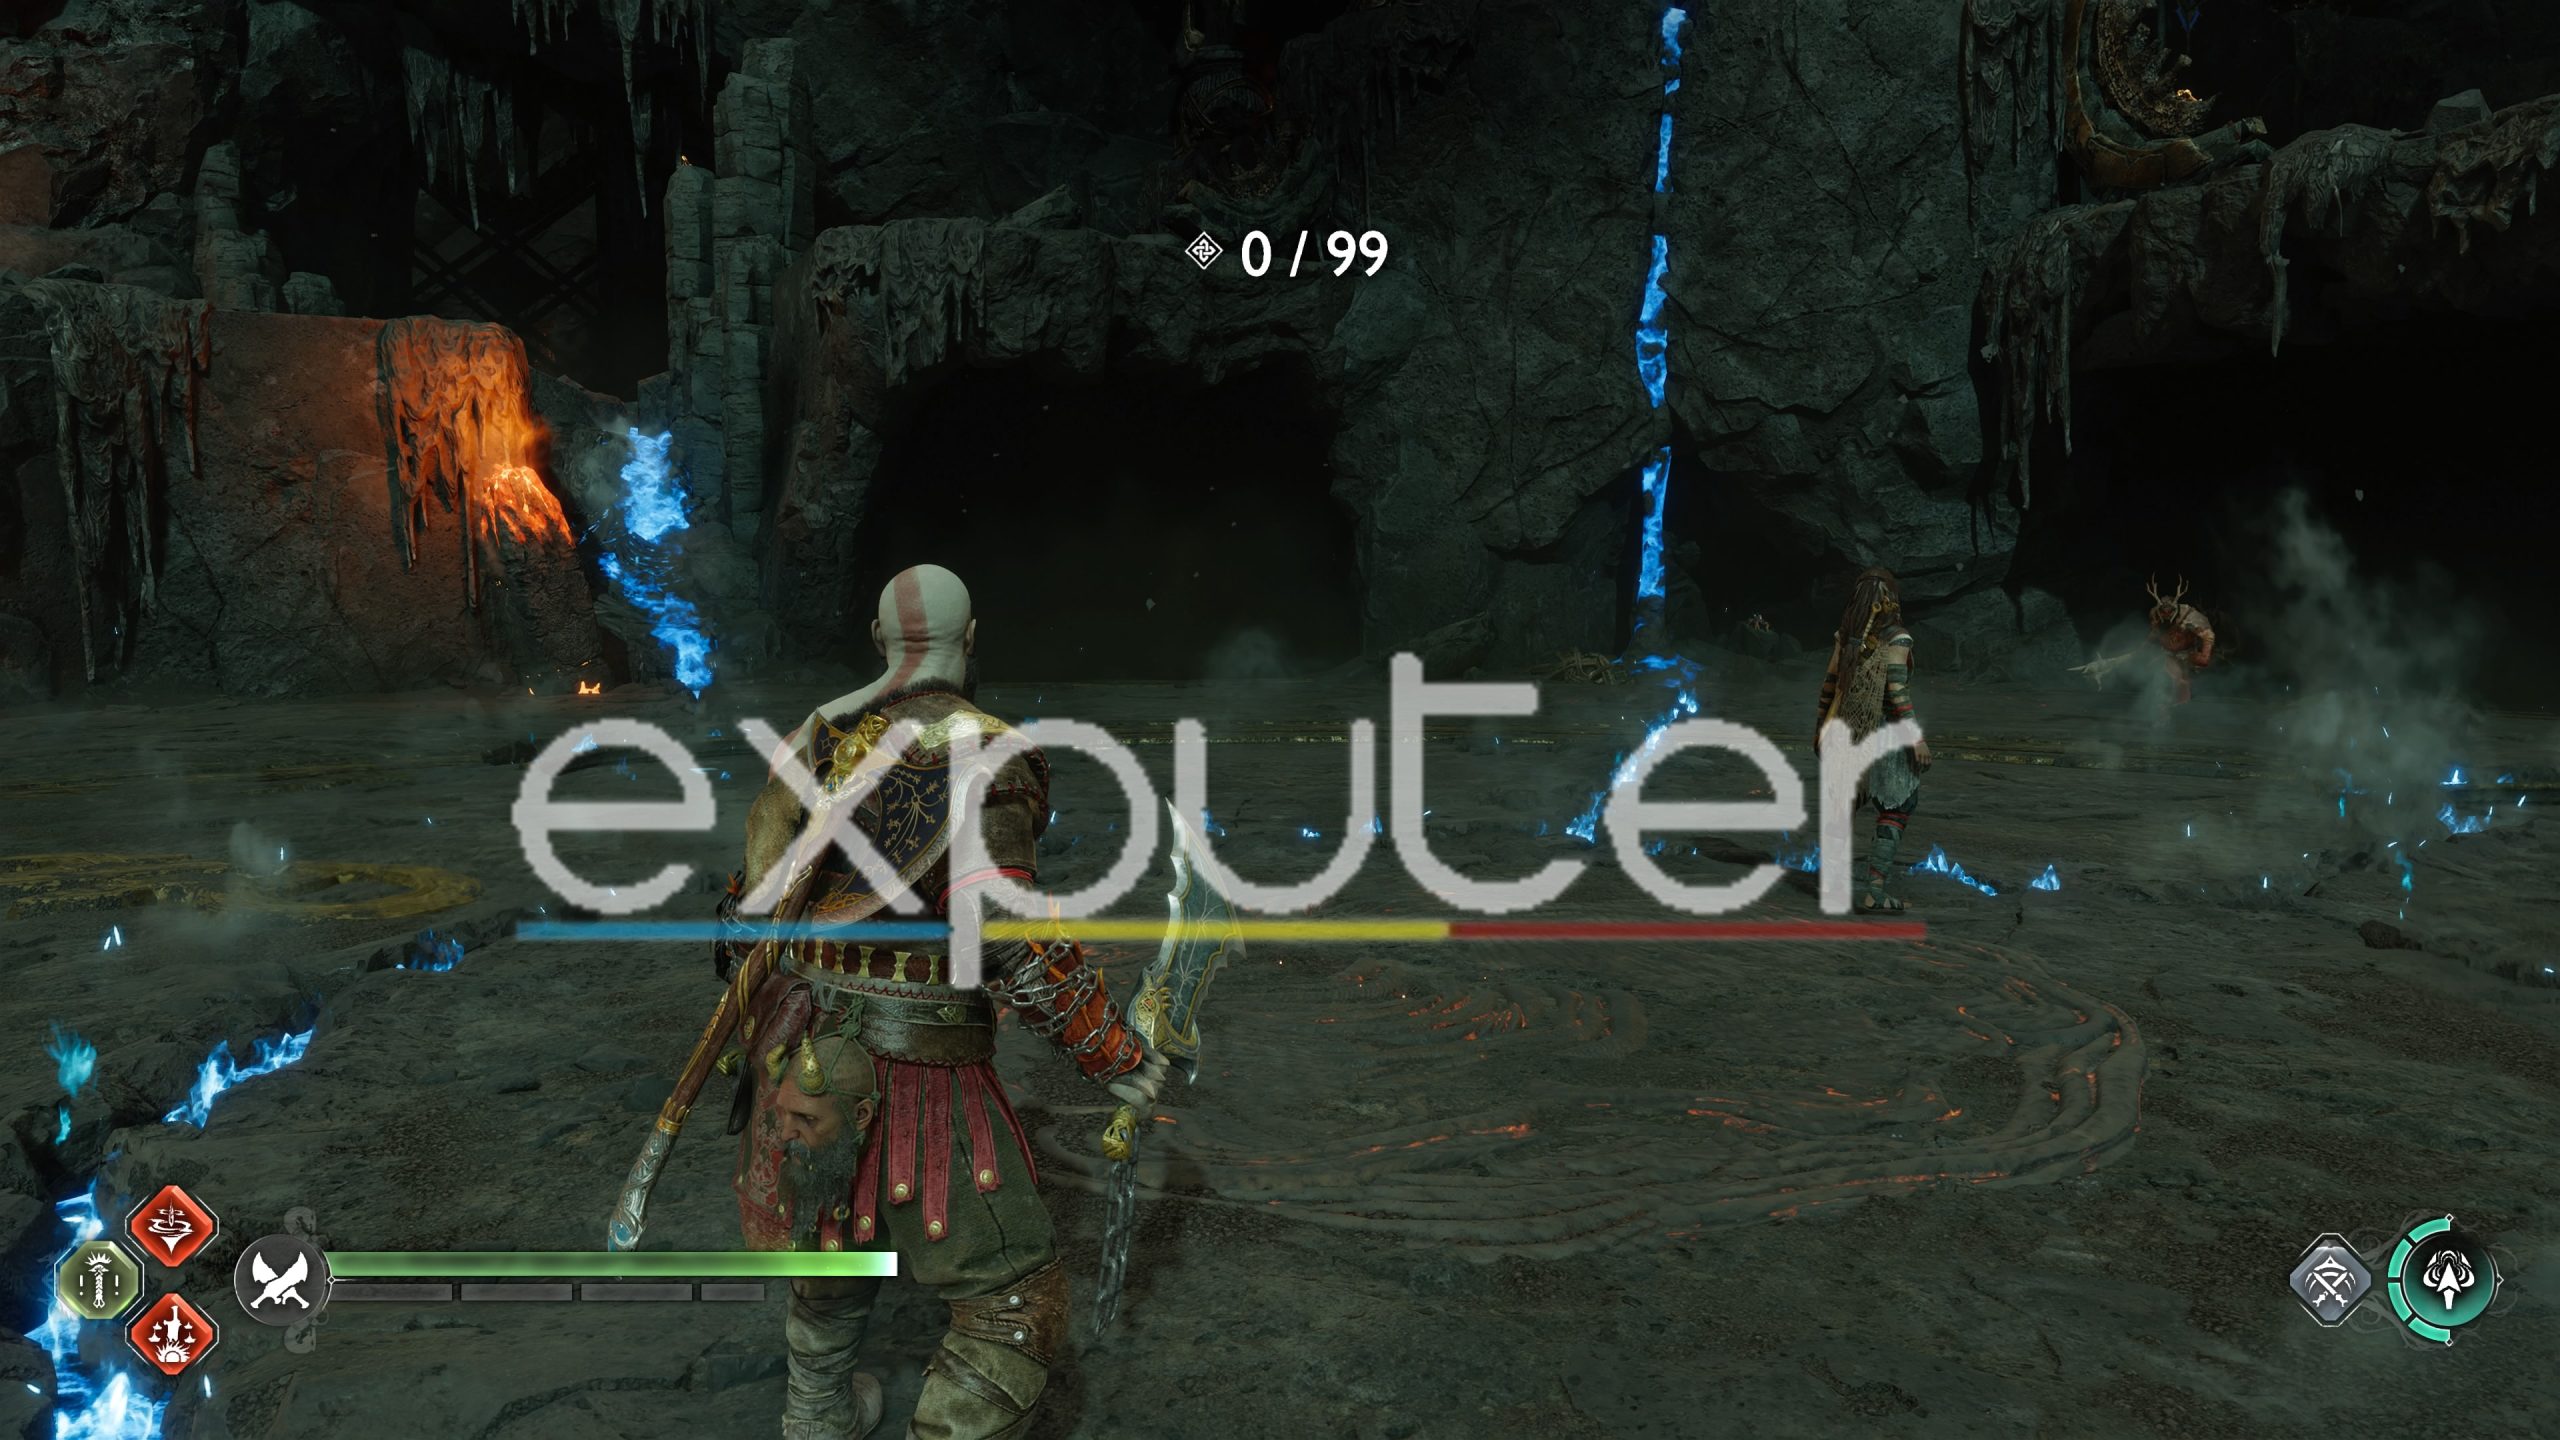
You have to kill 99 enemies in order to complete the Endurance Challenge. It is a long trial, but it is not hard. You will mostly get fodder enemies to fight against. All you have to do is control the number of enemies and not let yourself get surrounded. The challenge will be complete once you beat 99 enemies, and it is time to get the rewards.
Rewards

You get the Chest piece of Surtr’s Scorched Armor Set for Kratos, a legendary armor.
Onslaught Challenge
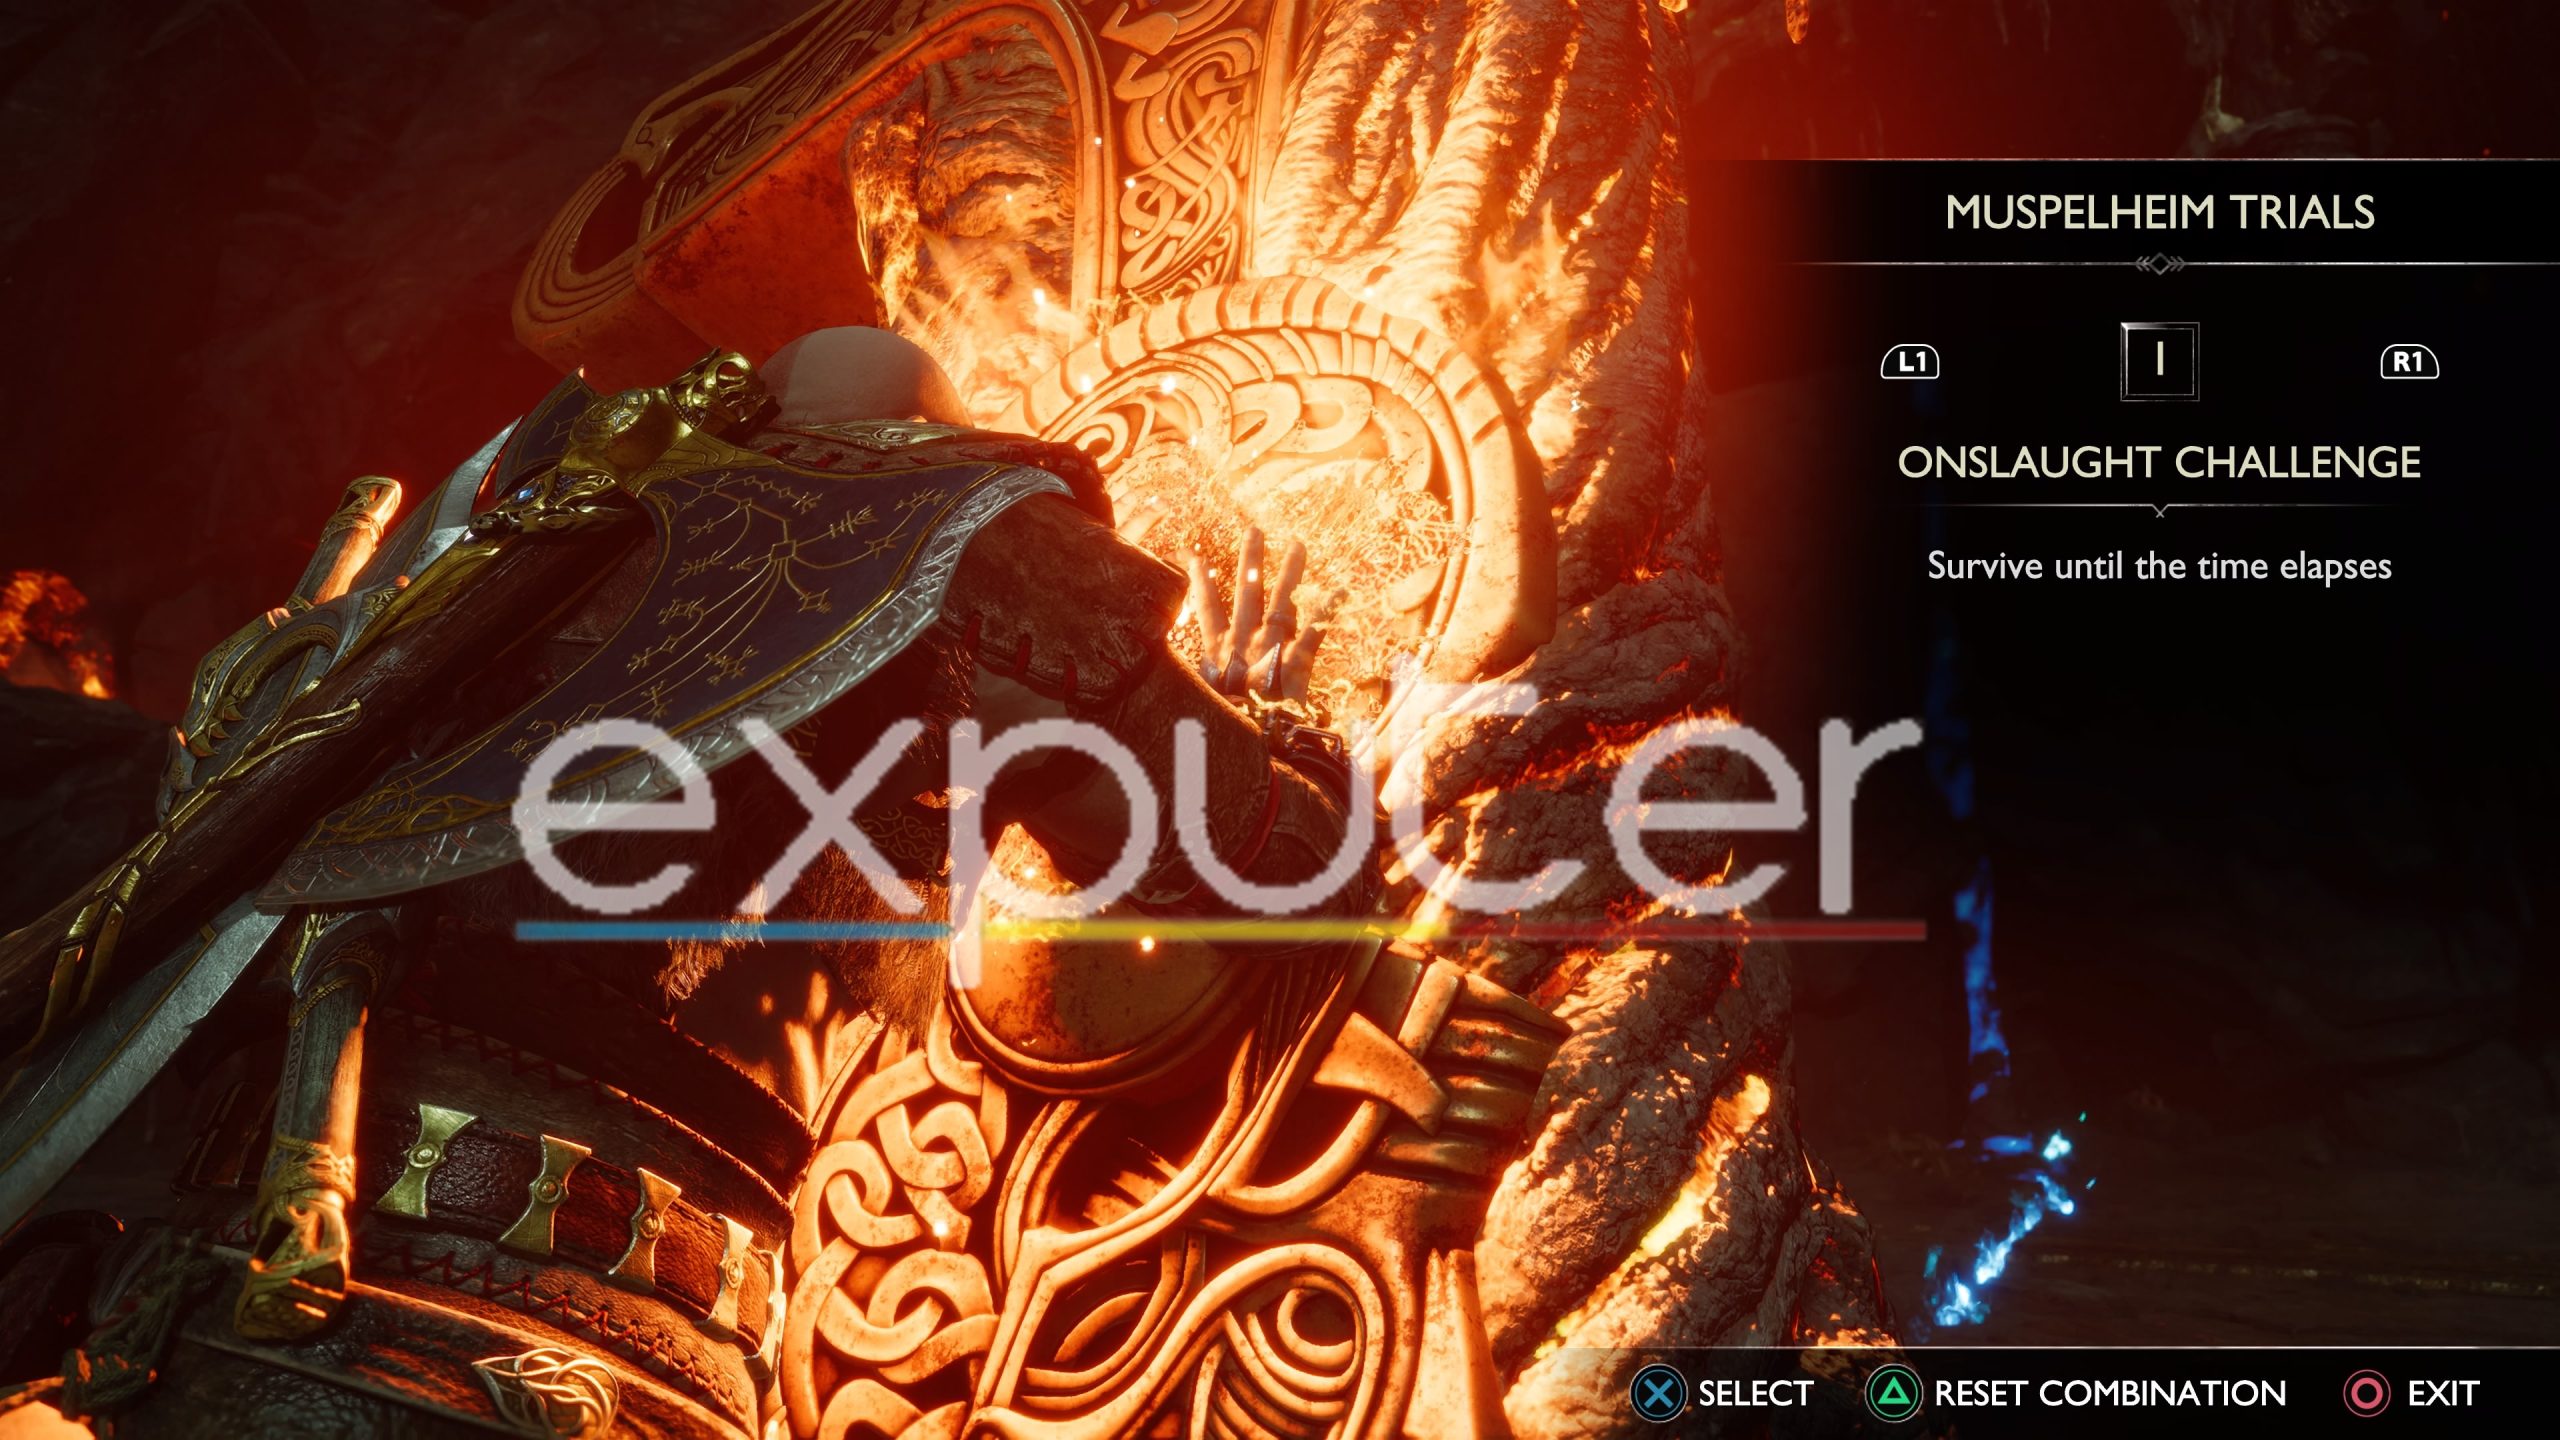
The third challenge you should attempt is the Onslaught challenge in God Of War Ragnarok. You unlock this challenge by completing a trial from the second sword first and then from the third sword. Do the trials in the order mentioned, and the challenge should become available.
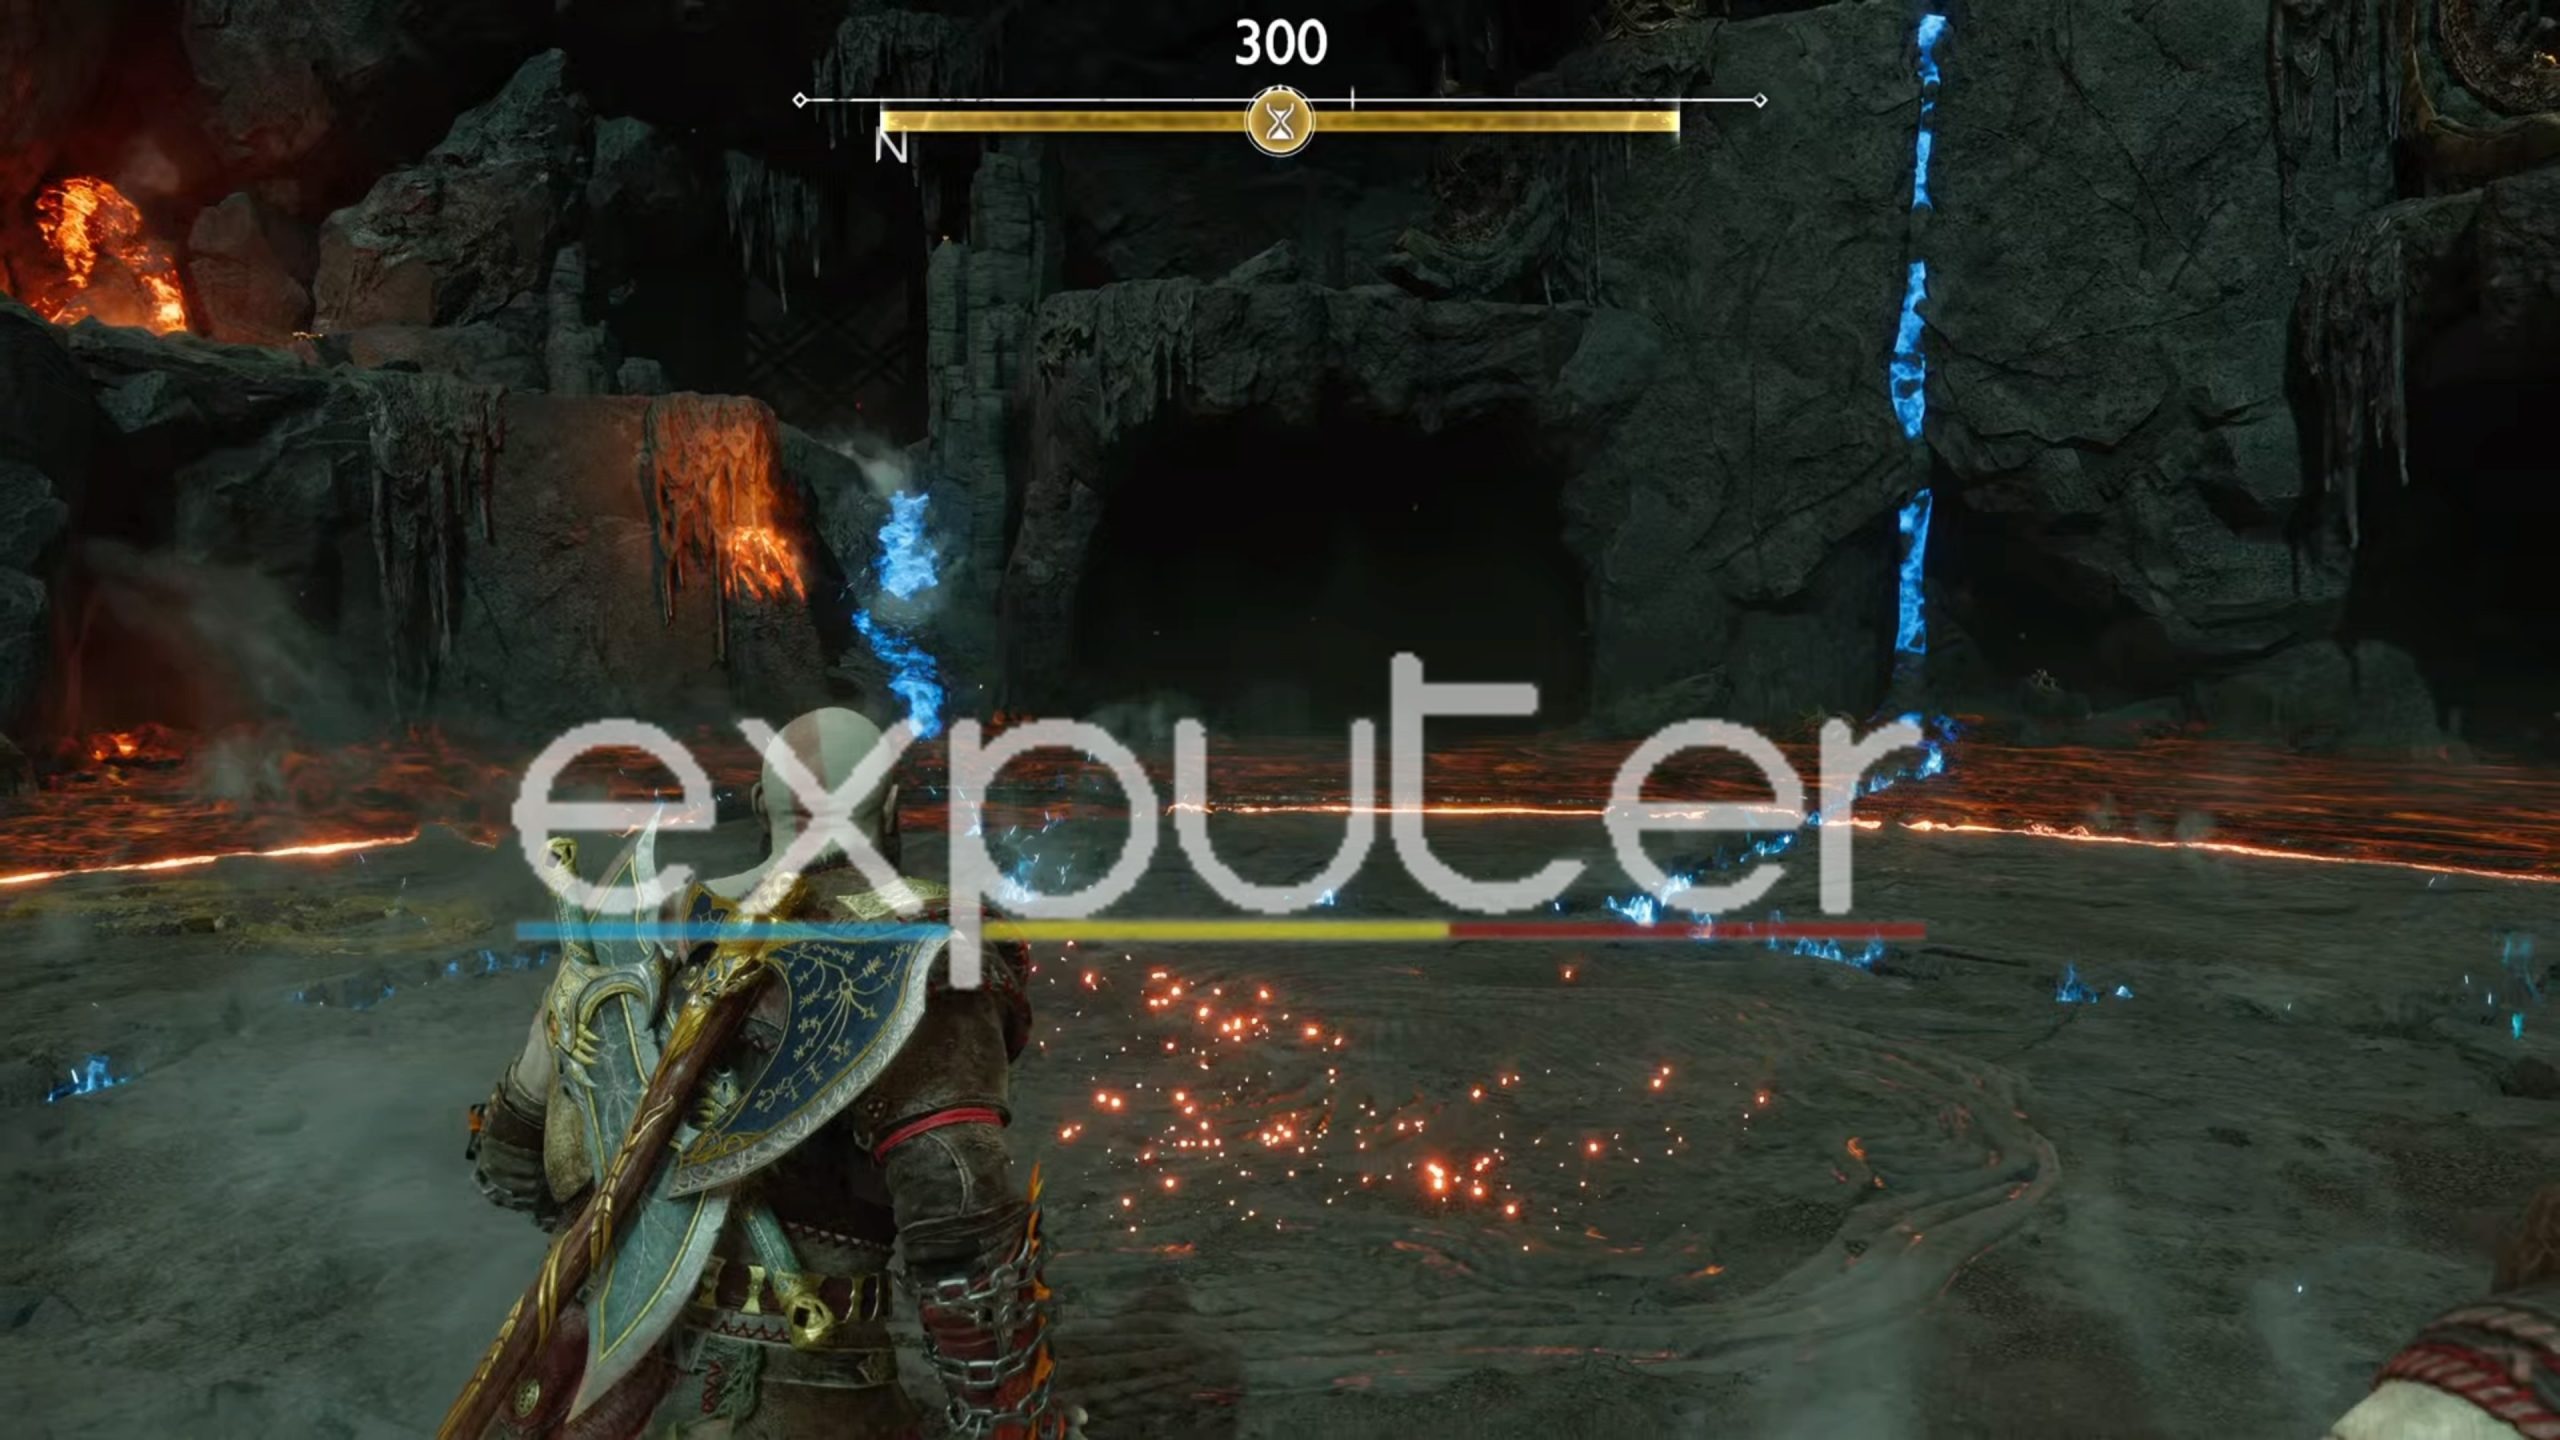
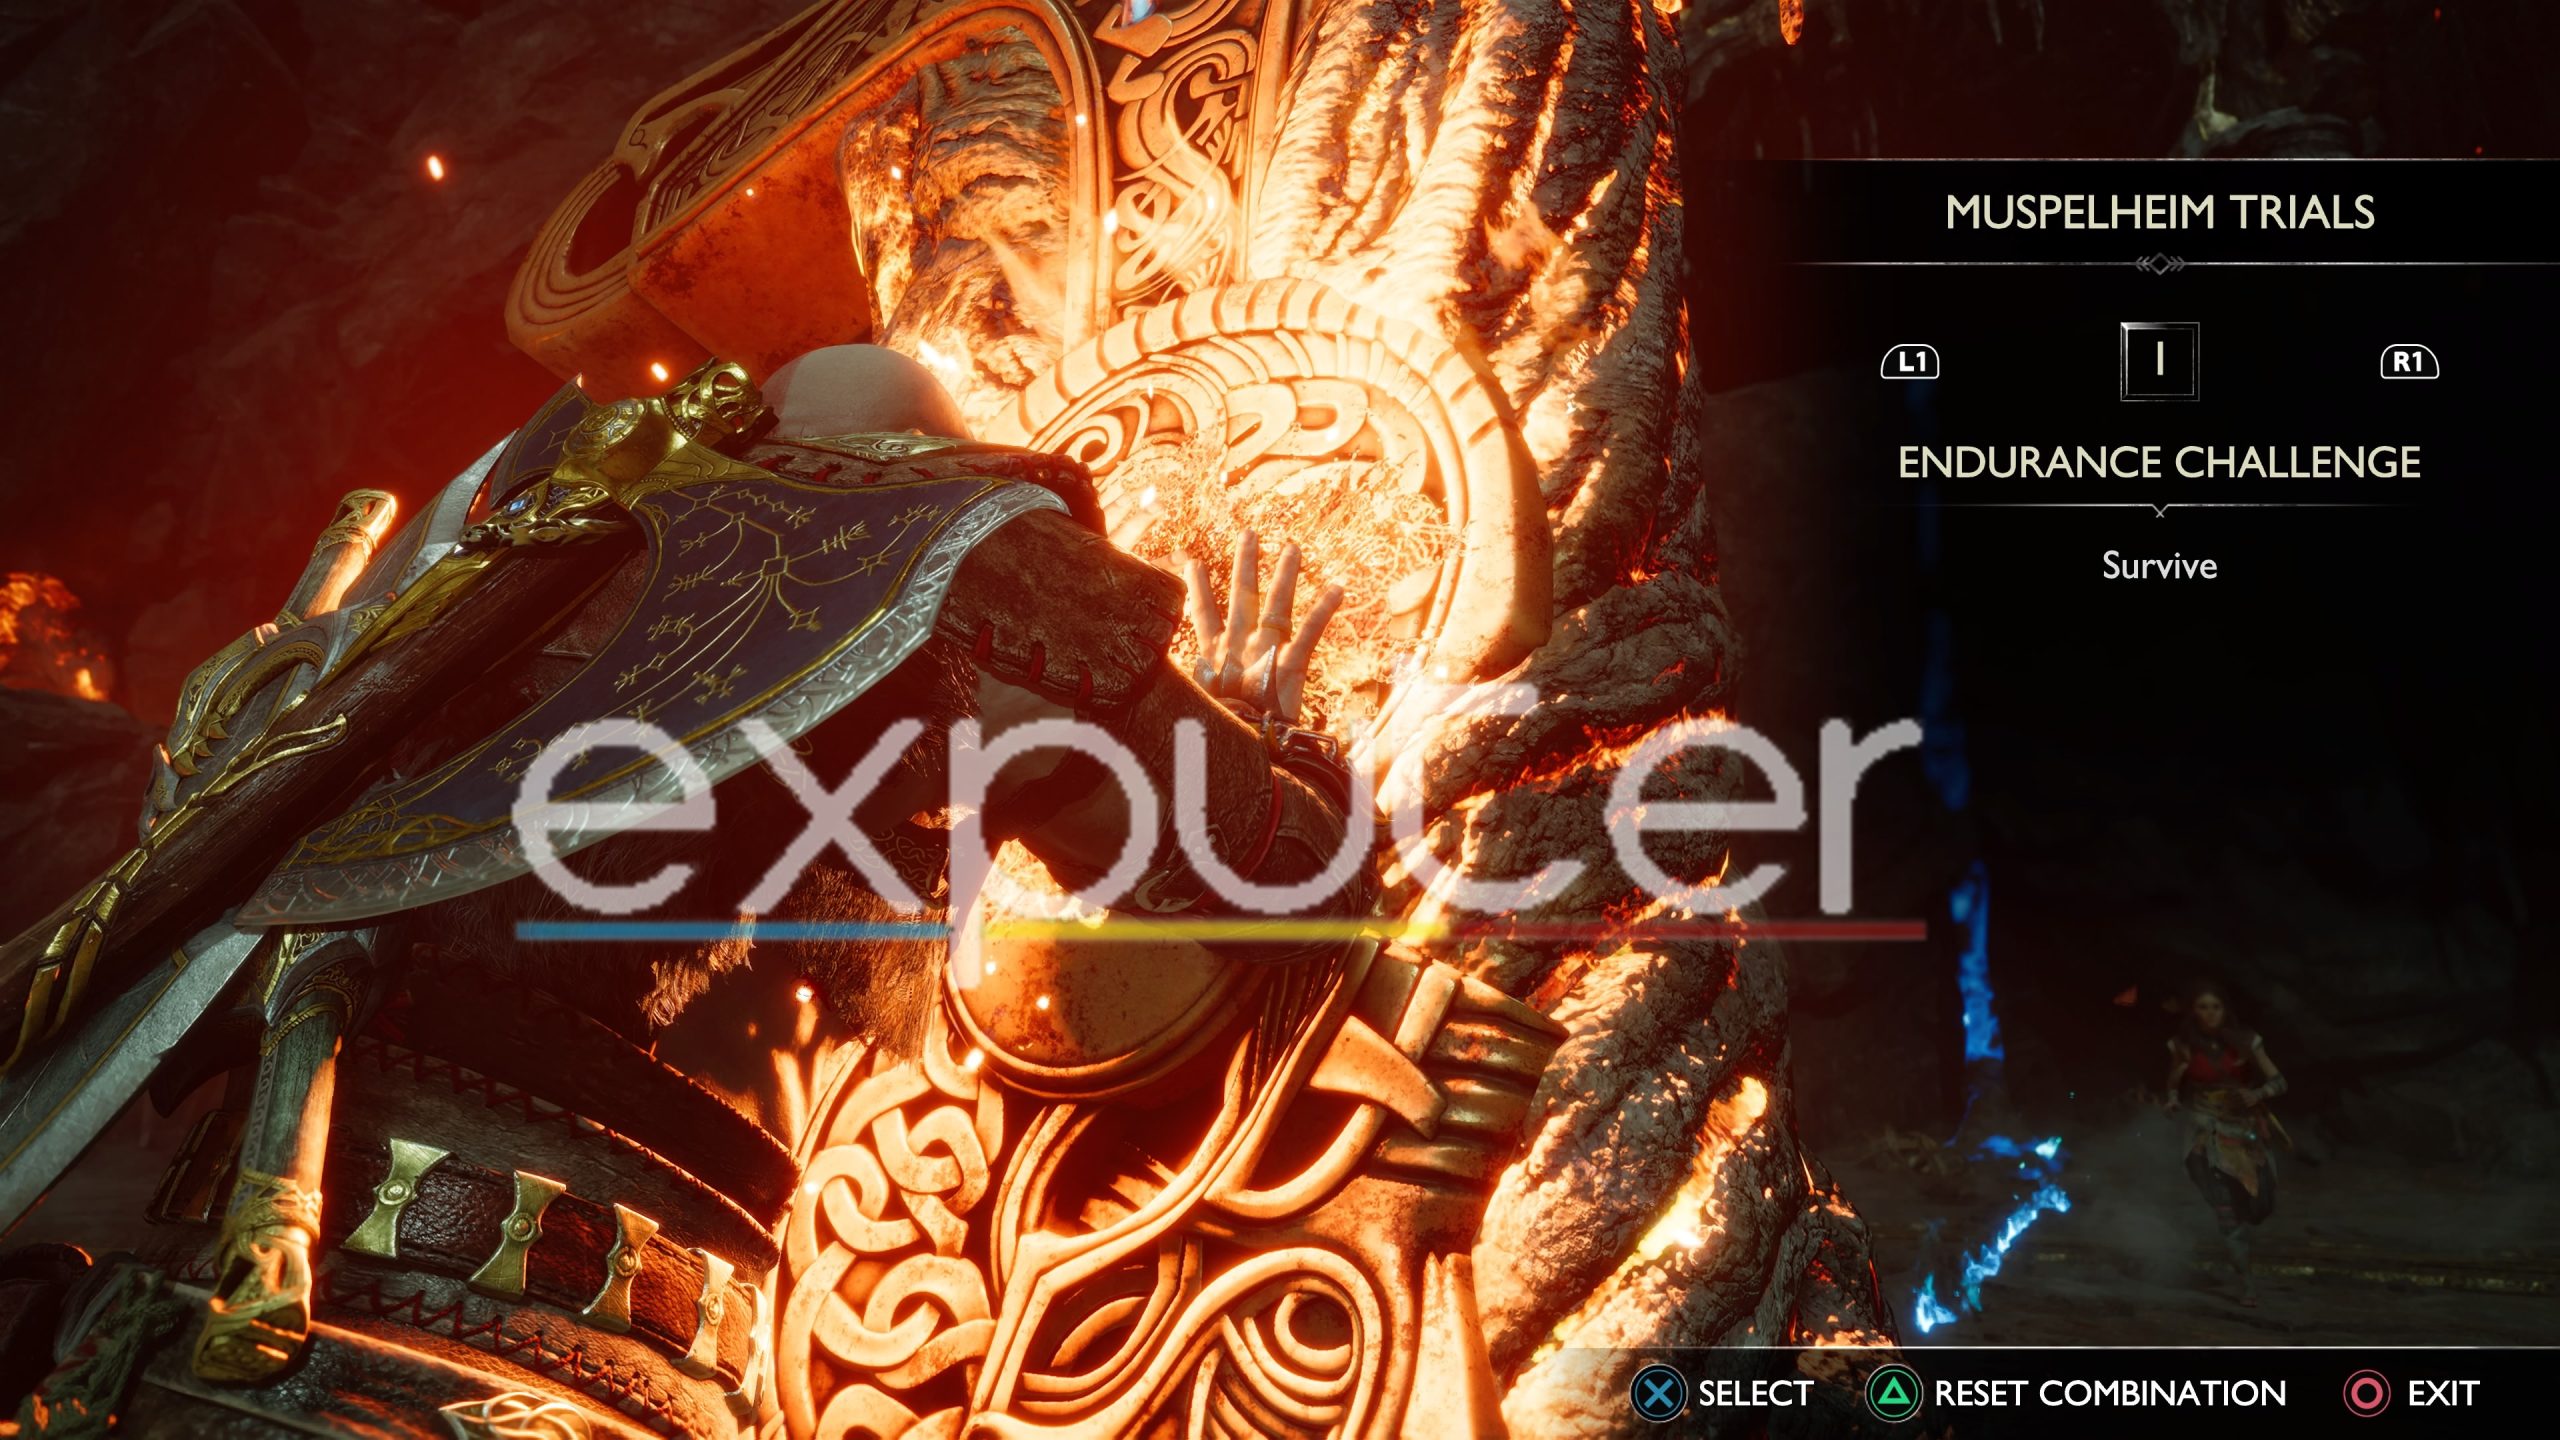
The Onslaught Challenge requires you to stay alive for a duration of time, which is 300 seconds, as you can see in the image above. This challenge is not hard either; you must maintain crowd control again. Additionally, it is recommended that you use the Valor mode of Spartan Rage to heal yourself.
Rewards
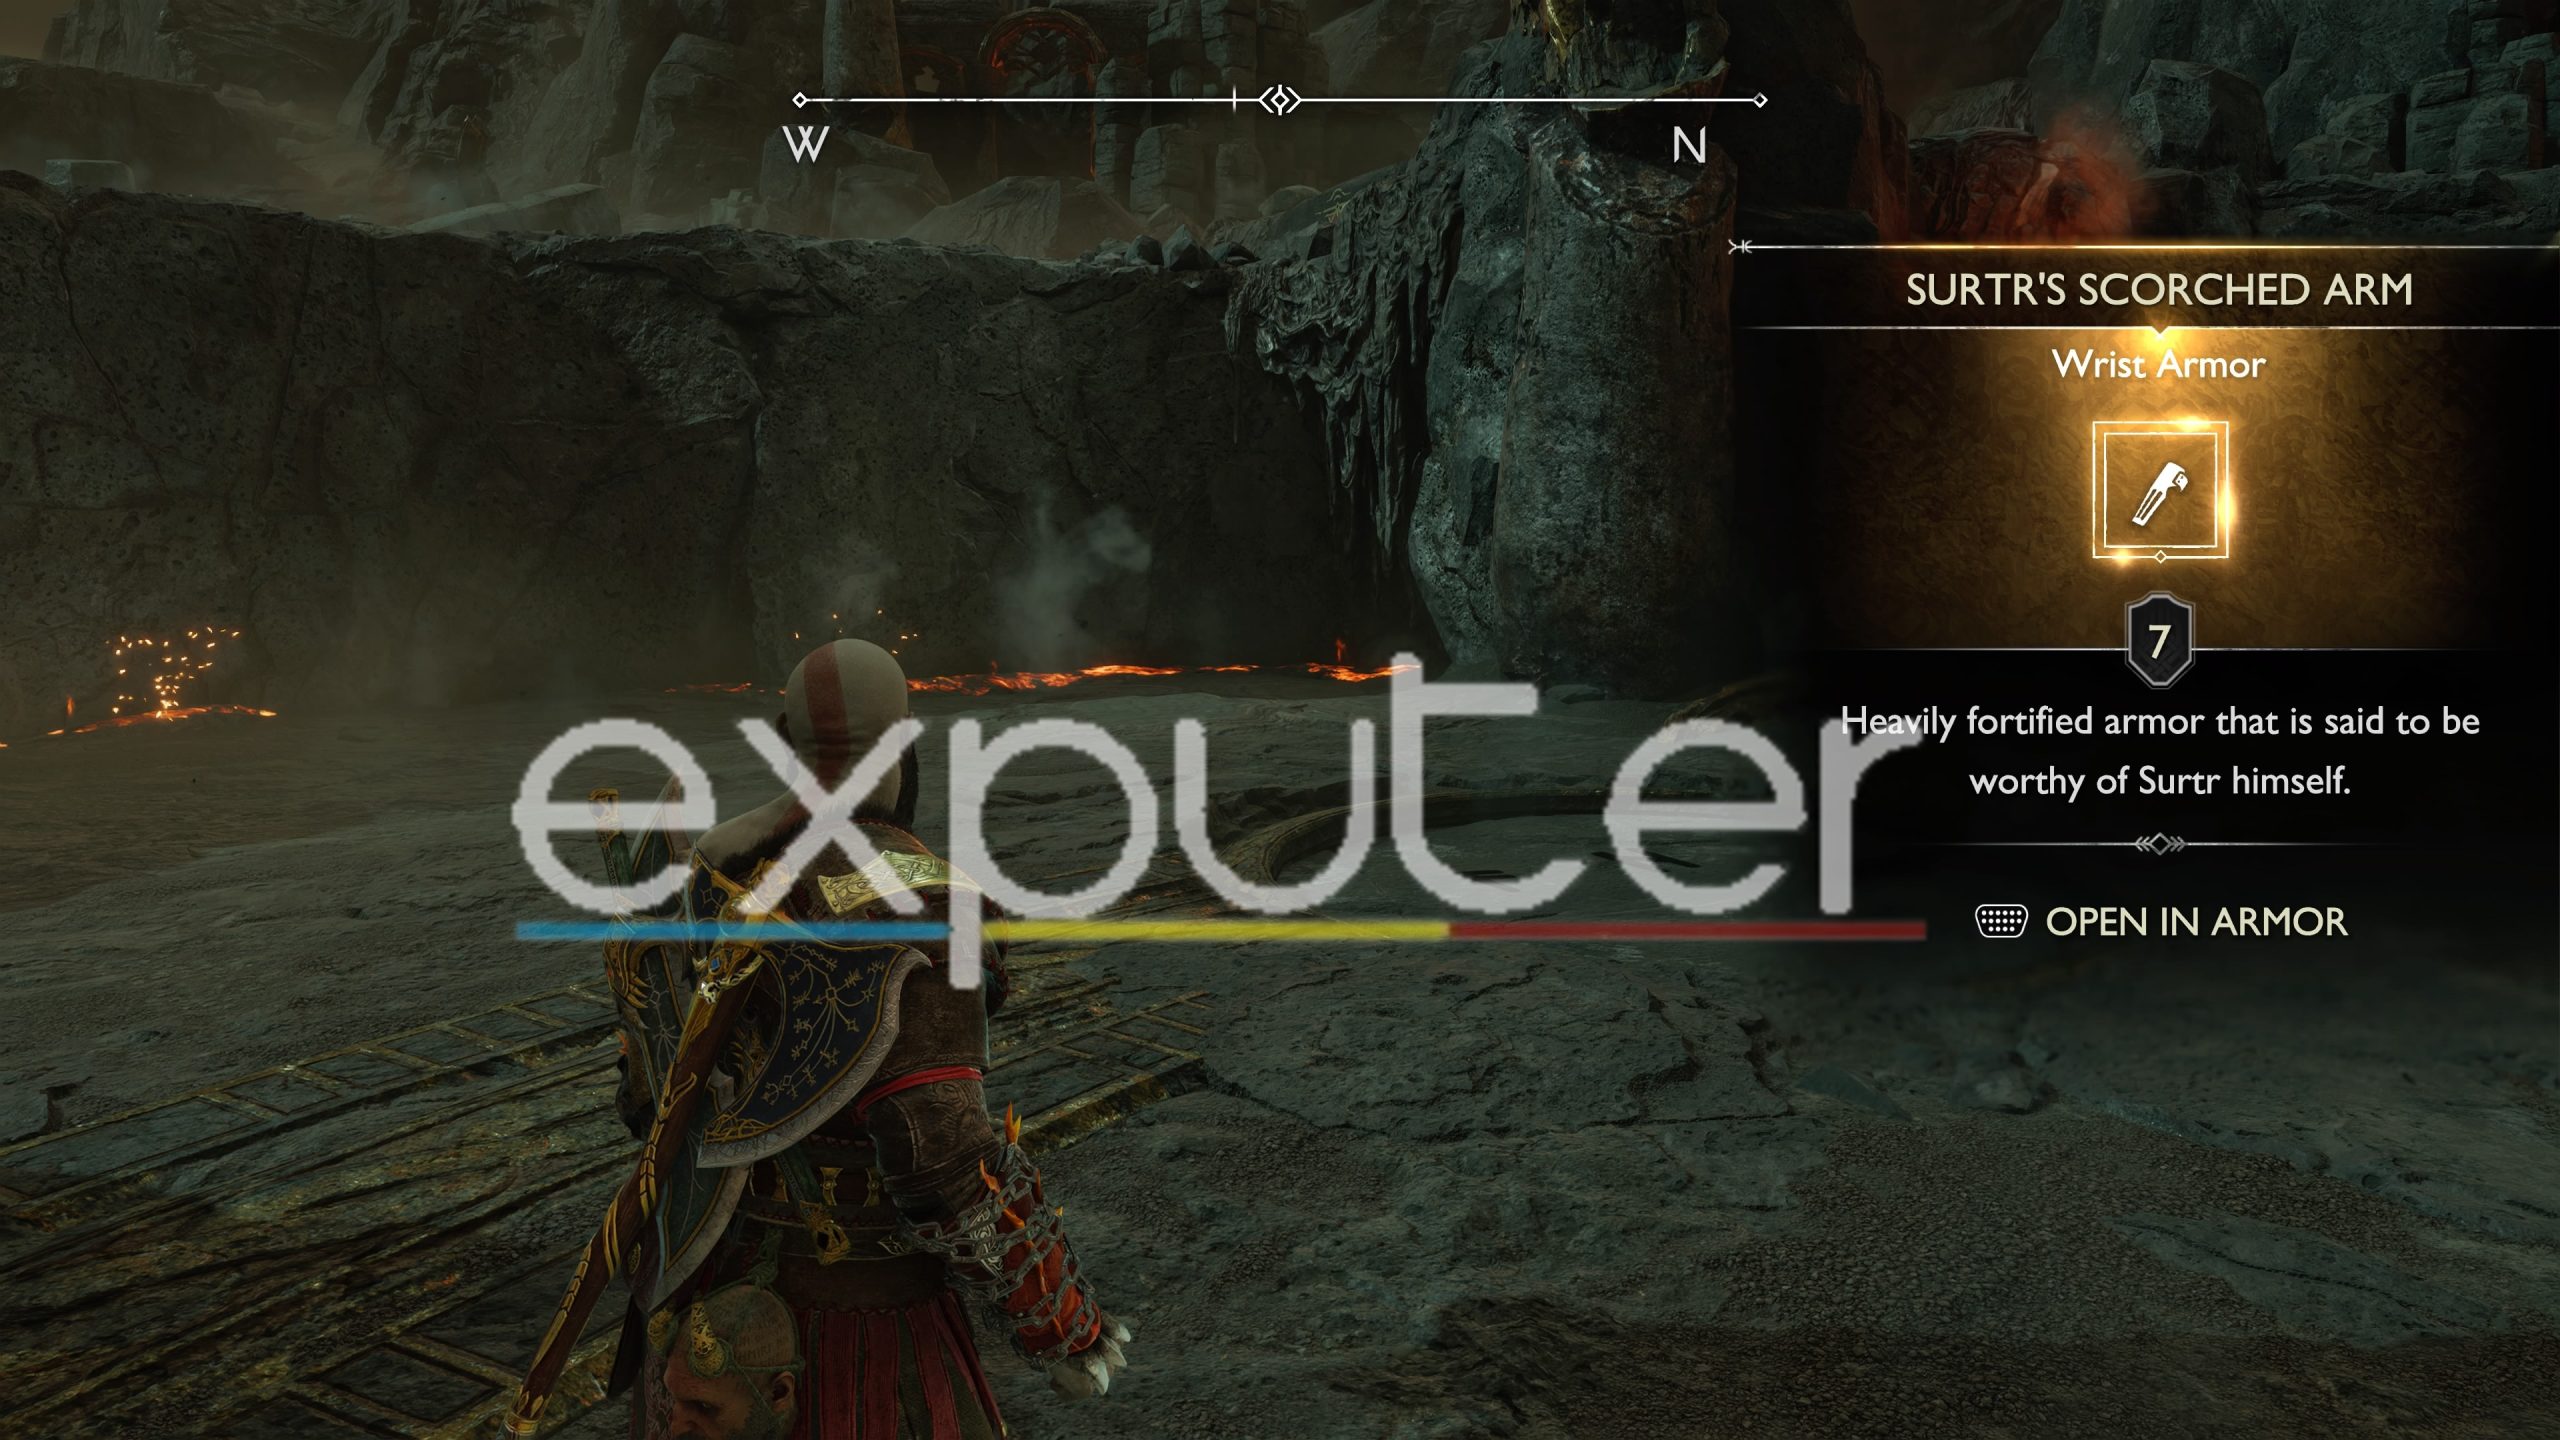
You get the Wrist piece of Surtr’s Scorched Armor Chest for Kratos, a legendary wrist armor.
Phantom Challenge
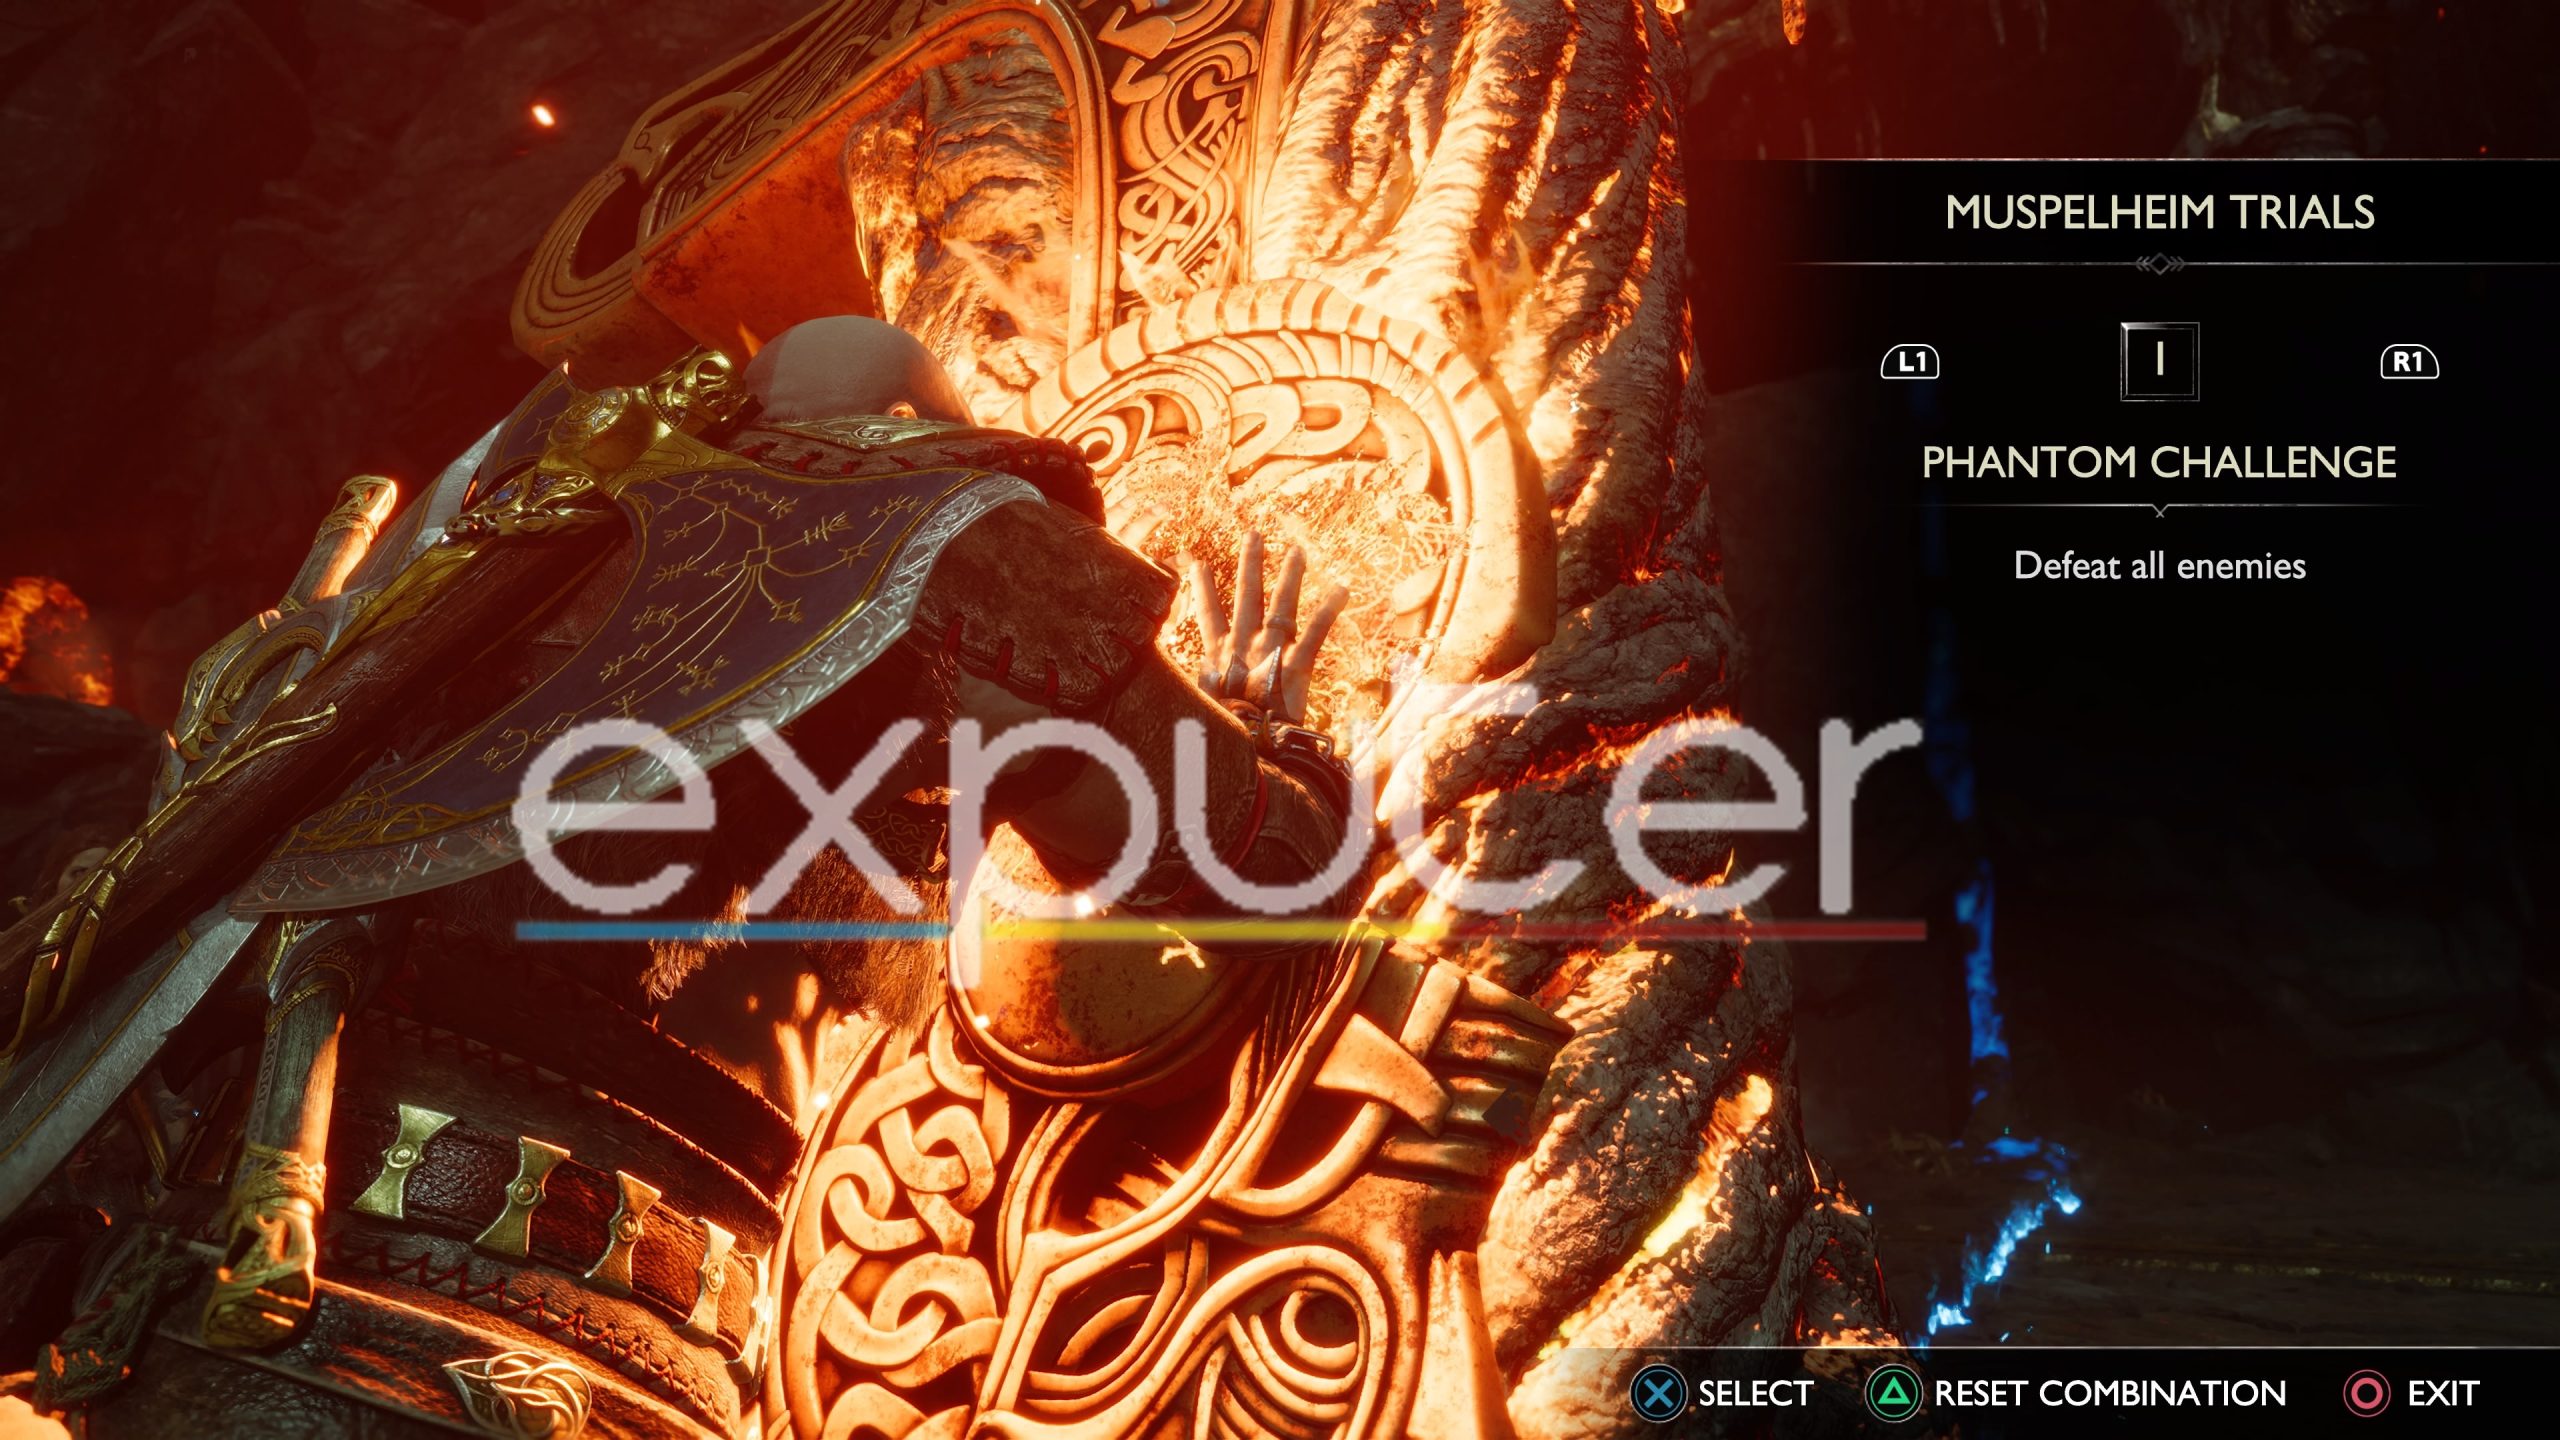
It is probably one of the hardest Muspelheim Trials in God Of War Ragnarok. You have to fight a boss alongside fodder enemies simultaneously in the game. To unlock the Phantom Challenge, complete a trial from the third sword first and then a trial from the first sword.
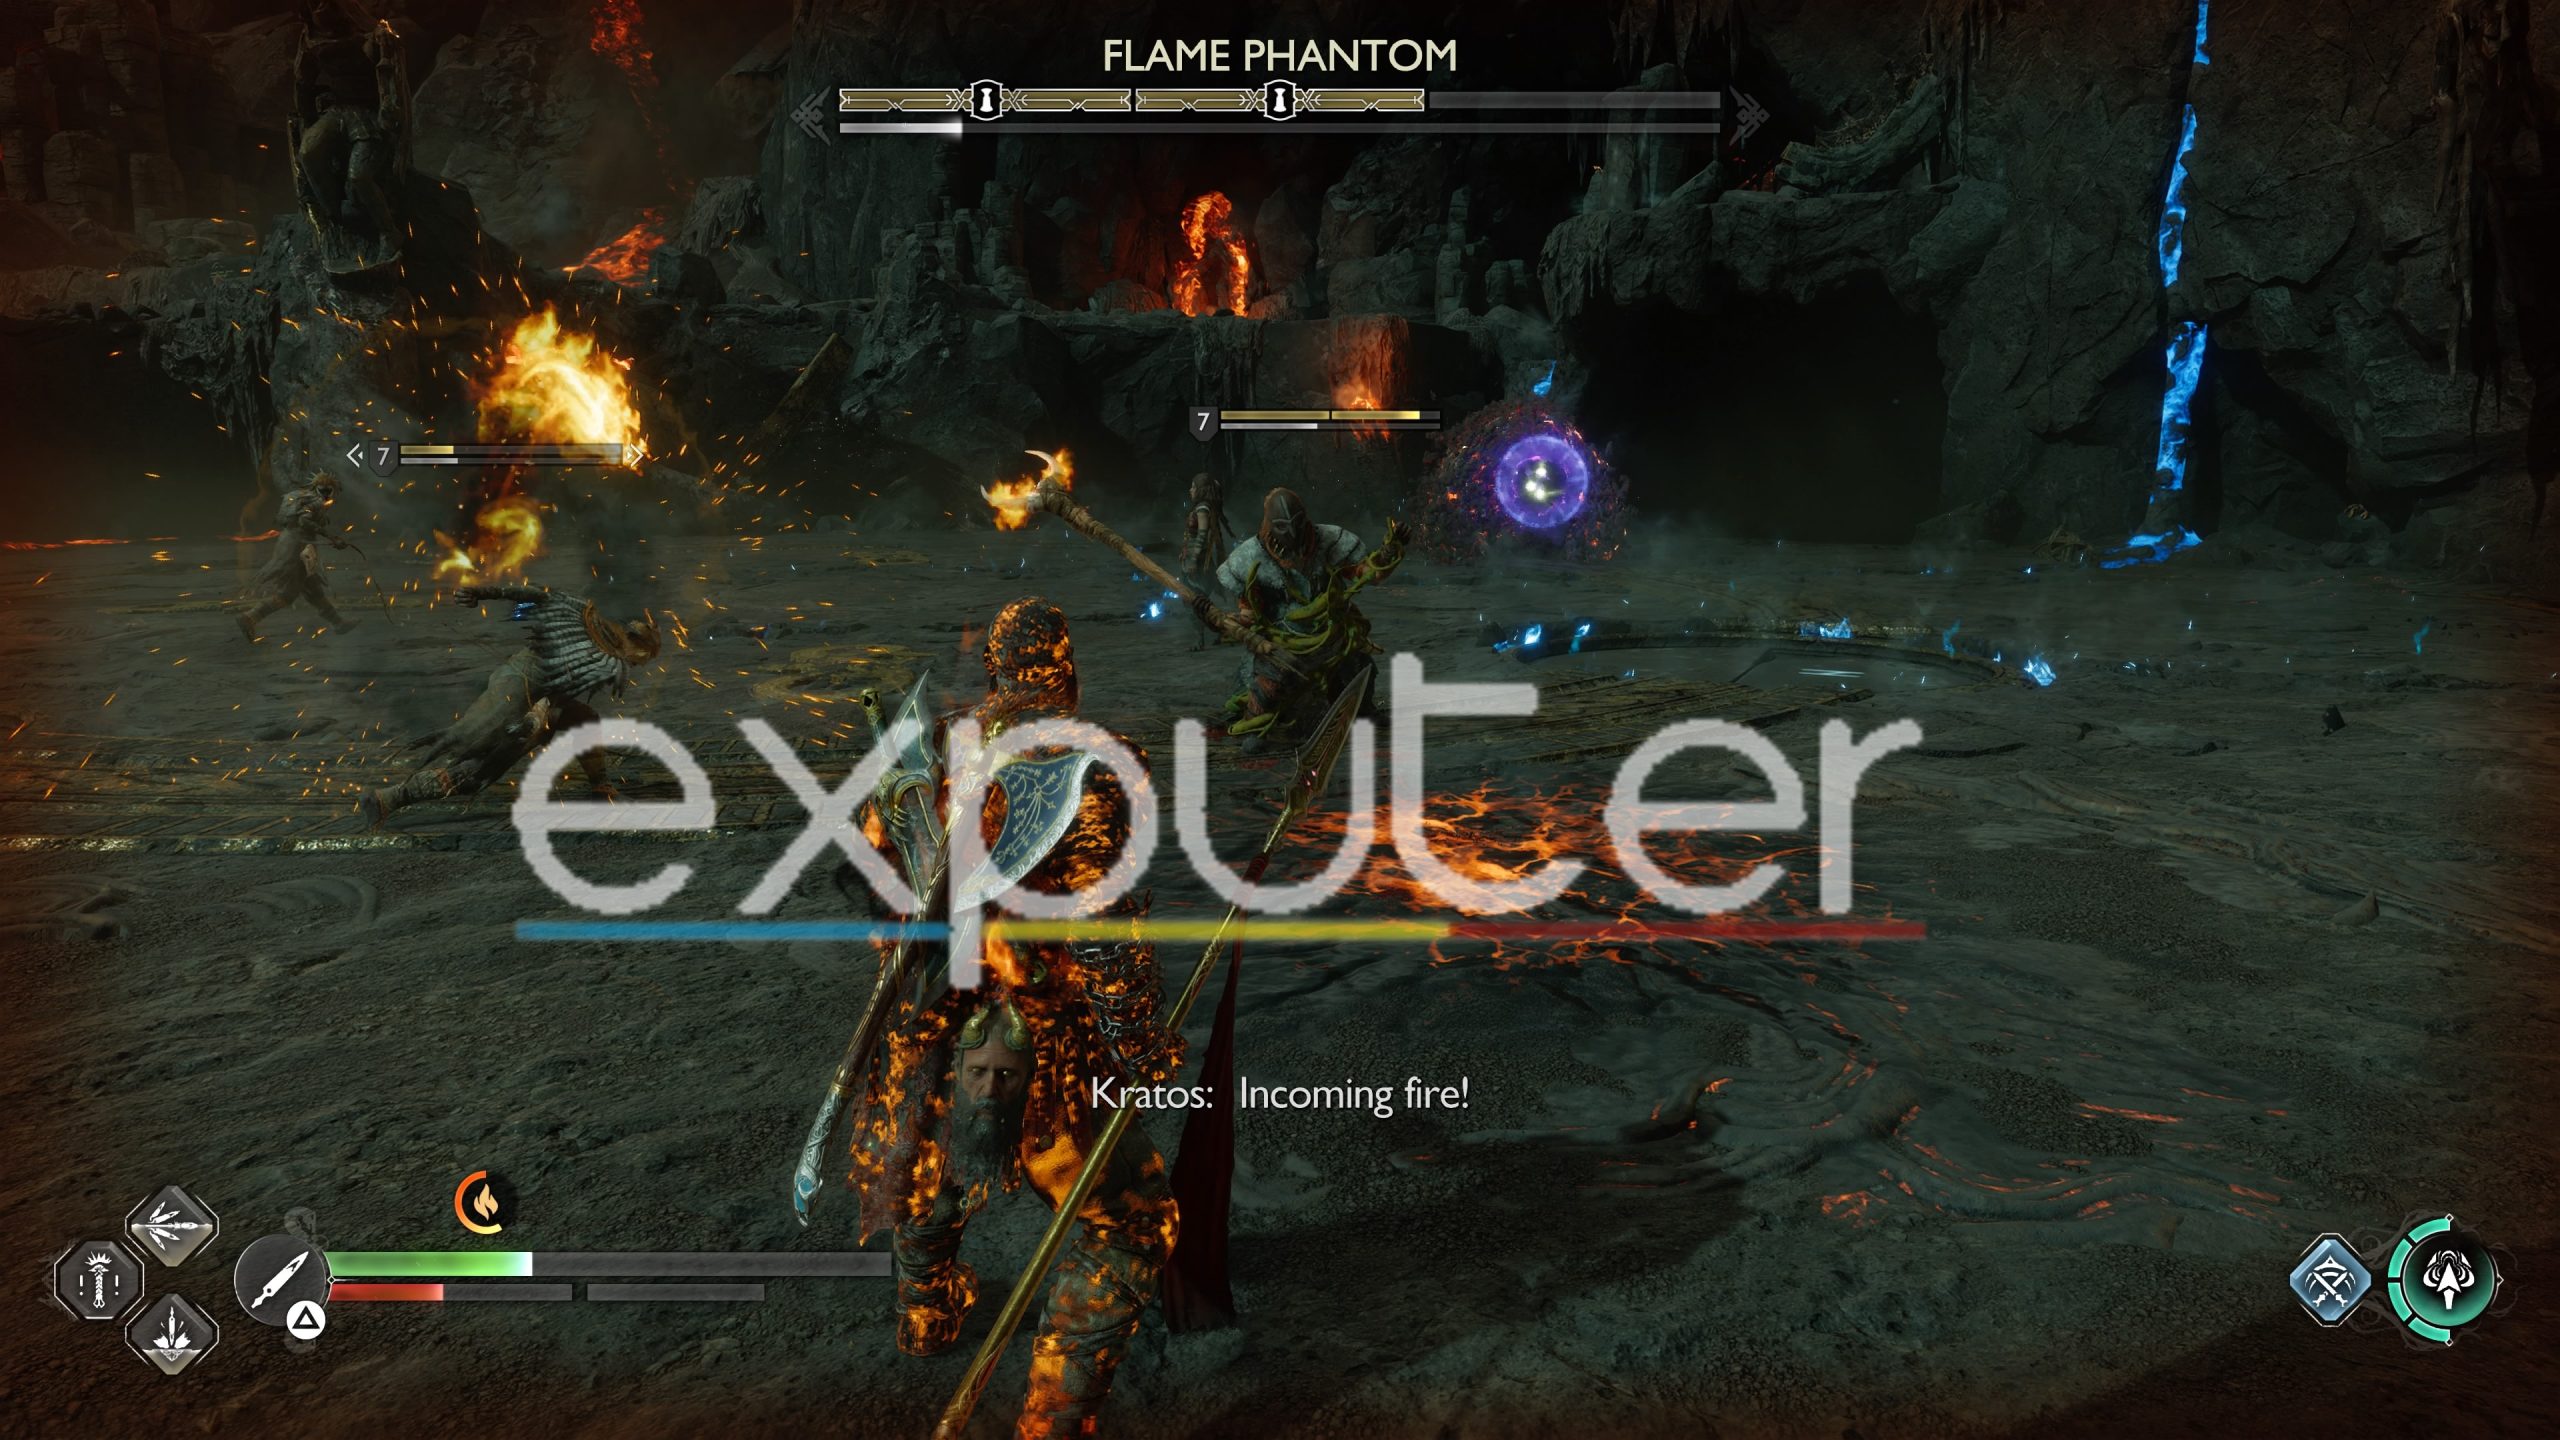
The flame phantom is the boss that you face in the Phantom Challenge. This boss is not hard to deal with, but adding other enemies makes the fight stressful and hard. Make sure to take out the enemies before you start attacking the boss itself.
Once the flame phantom is stunned, quickly pull out your Draupnir Spear and destroy the purple pillars that are at range. You must destroy three of these pillars to drain the boss’s health completely. And even after that, you must stun the boss again while fighting off other fodder enemies. It is a tough challenge, but you will get through it using the Draupnir Spear.
Rewards
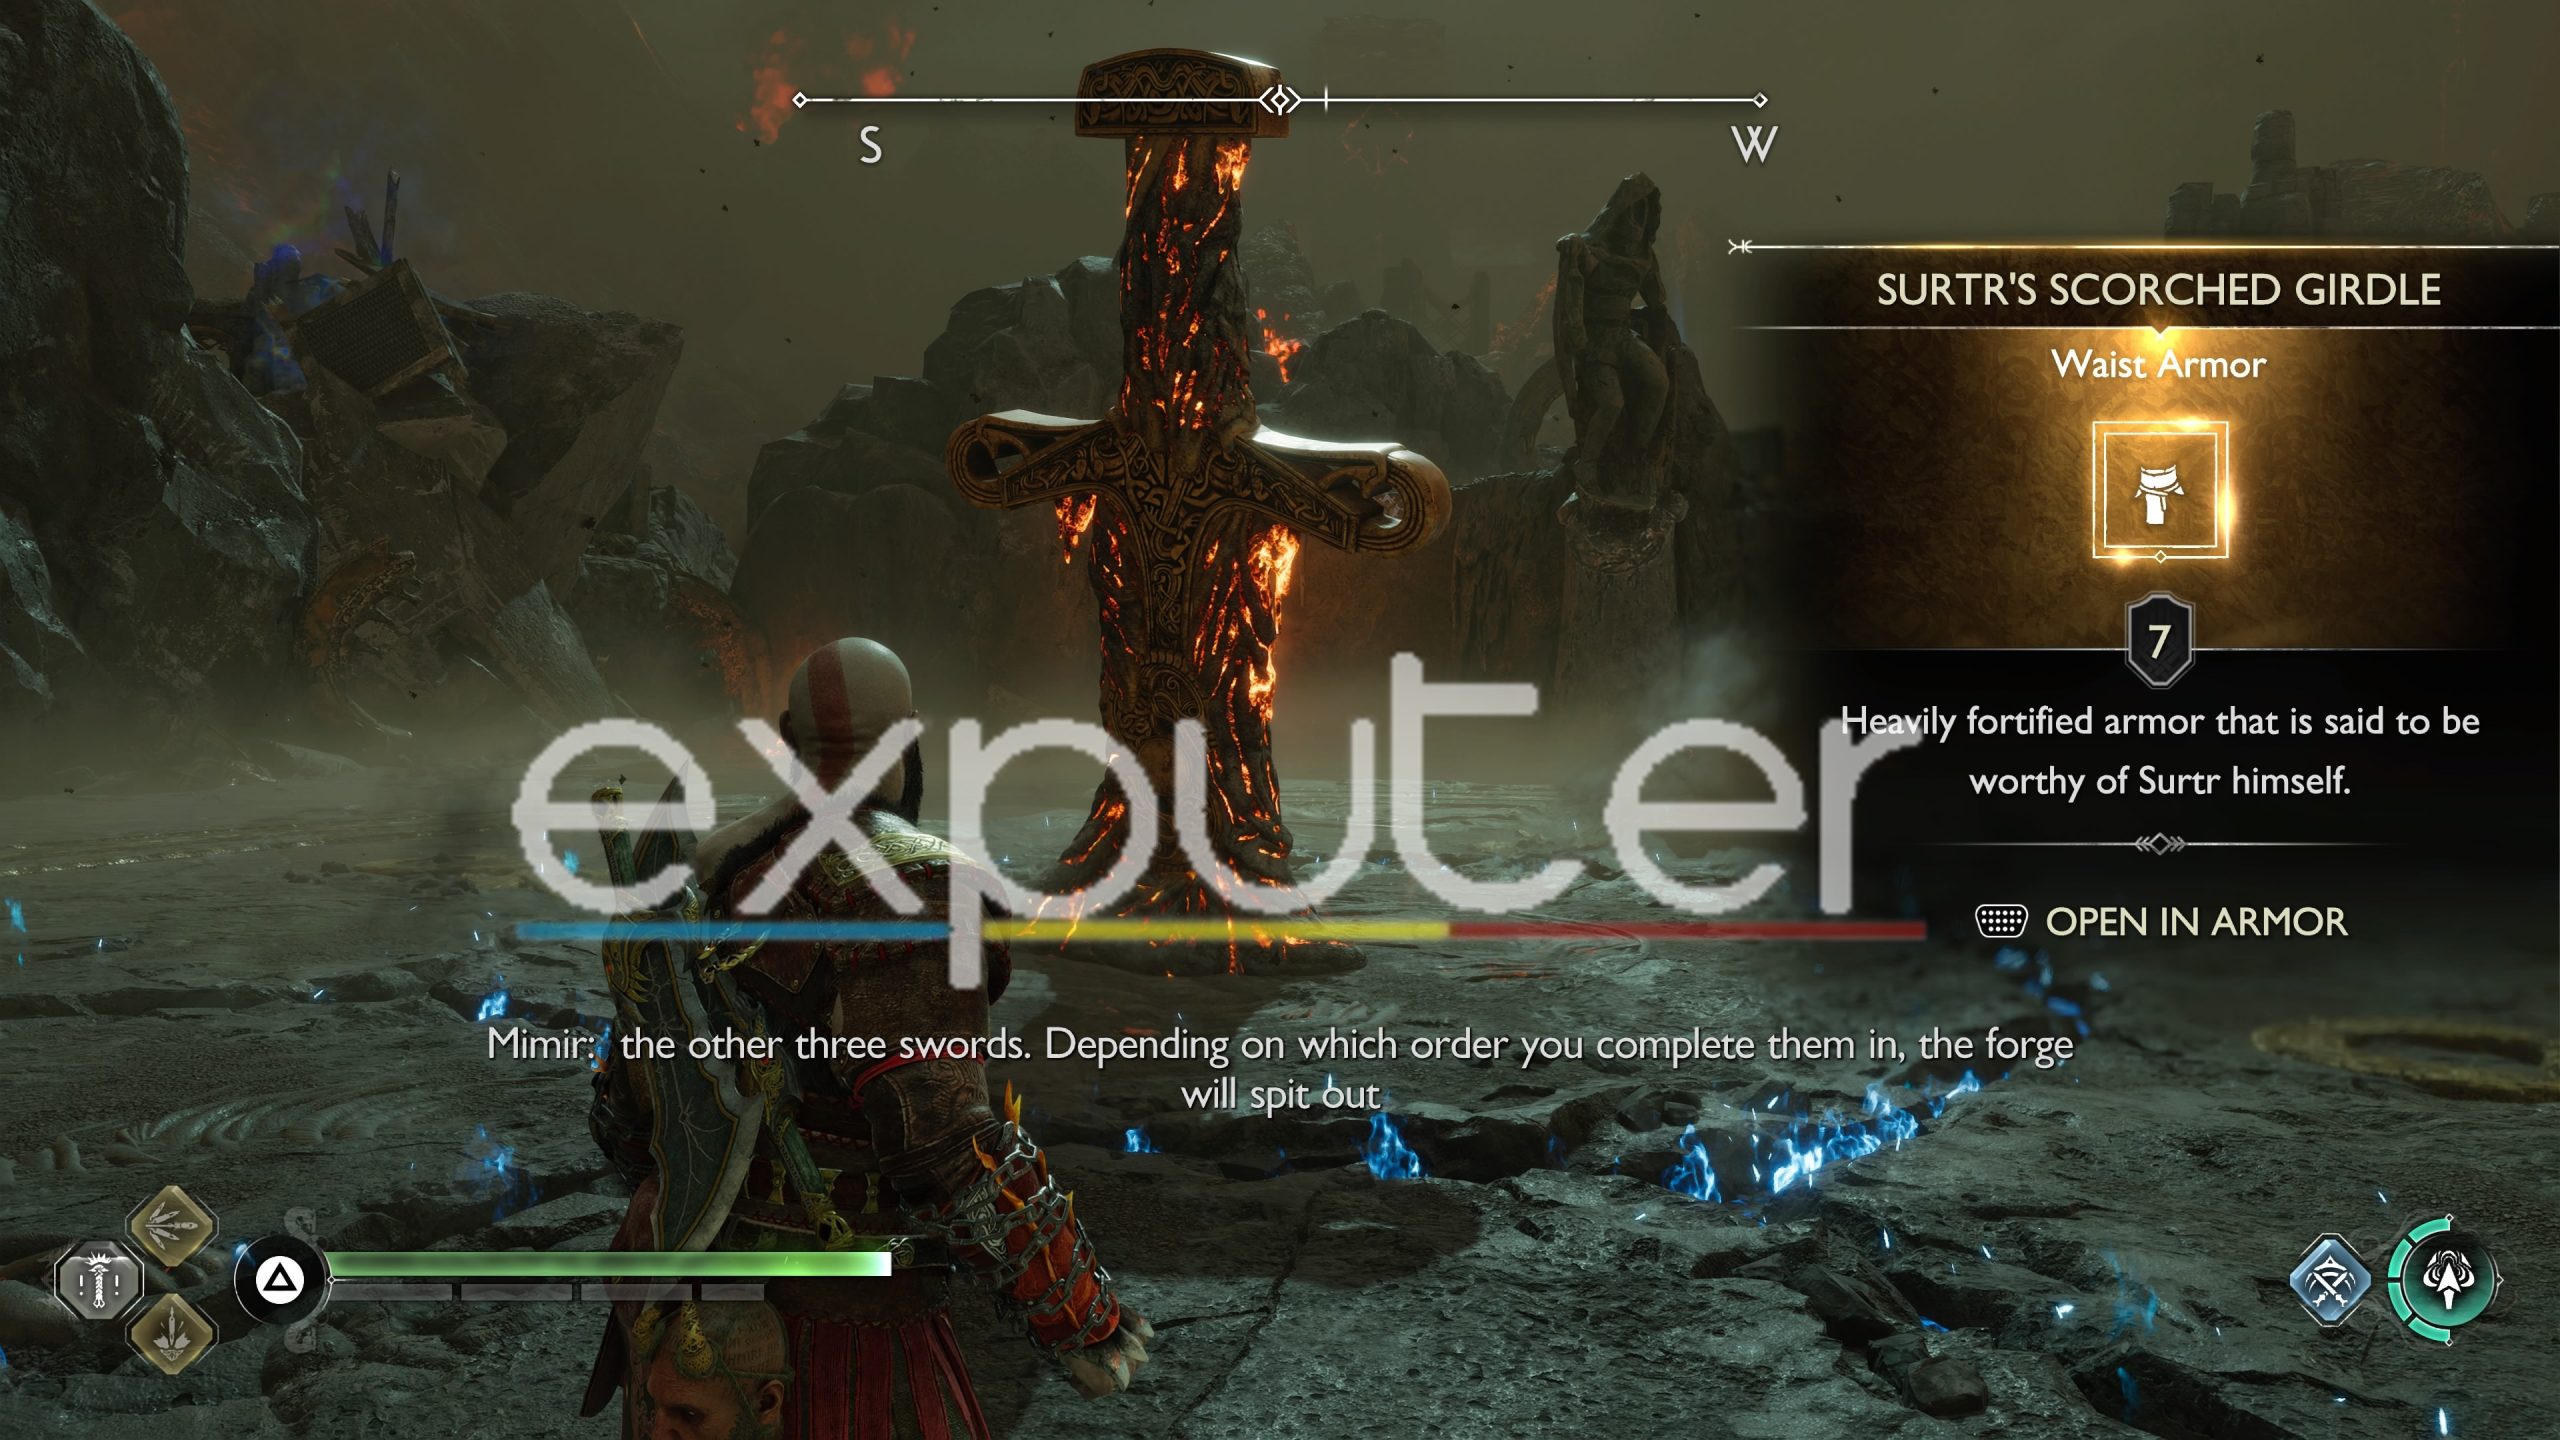
You get the legendary wist armor for Kratos, known as Surtr’s Scorched Girdle, as a reward for completing the Phantom Challenge.
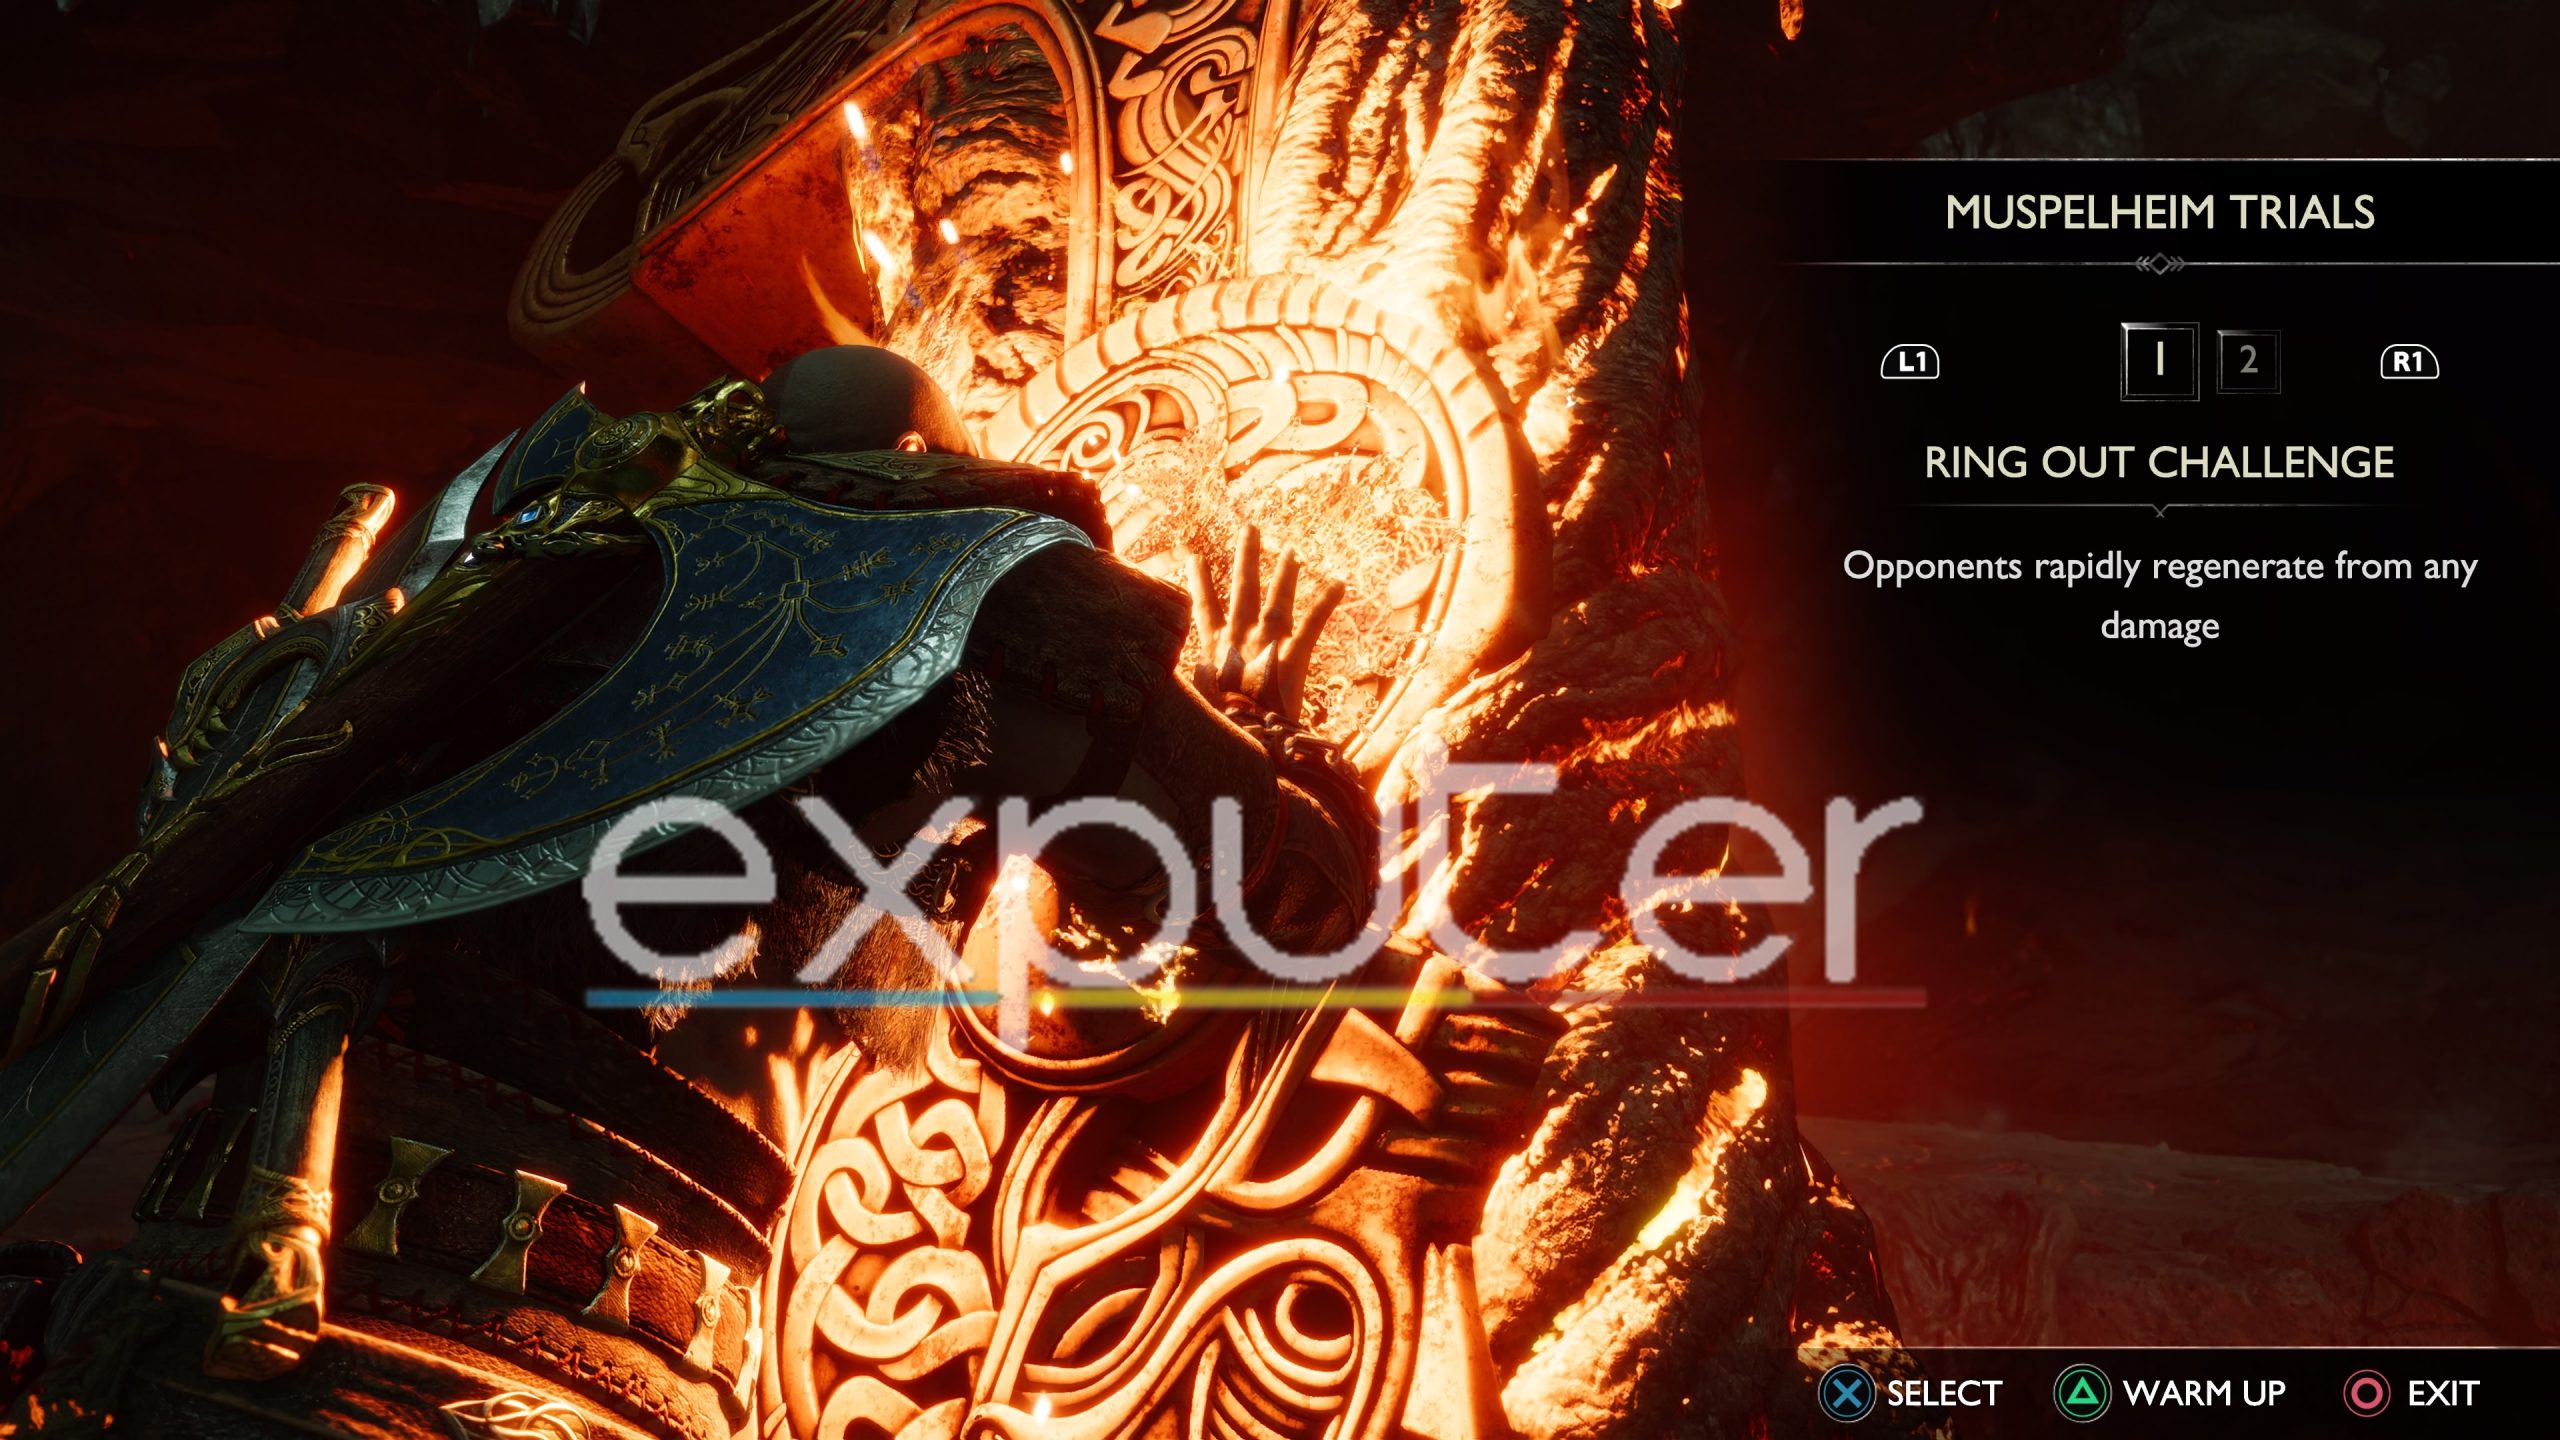
Ring Of Fire Challenge
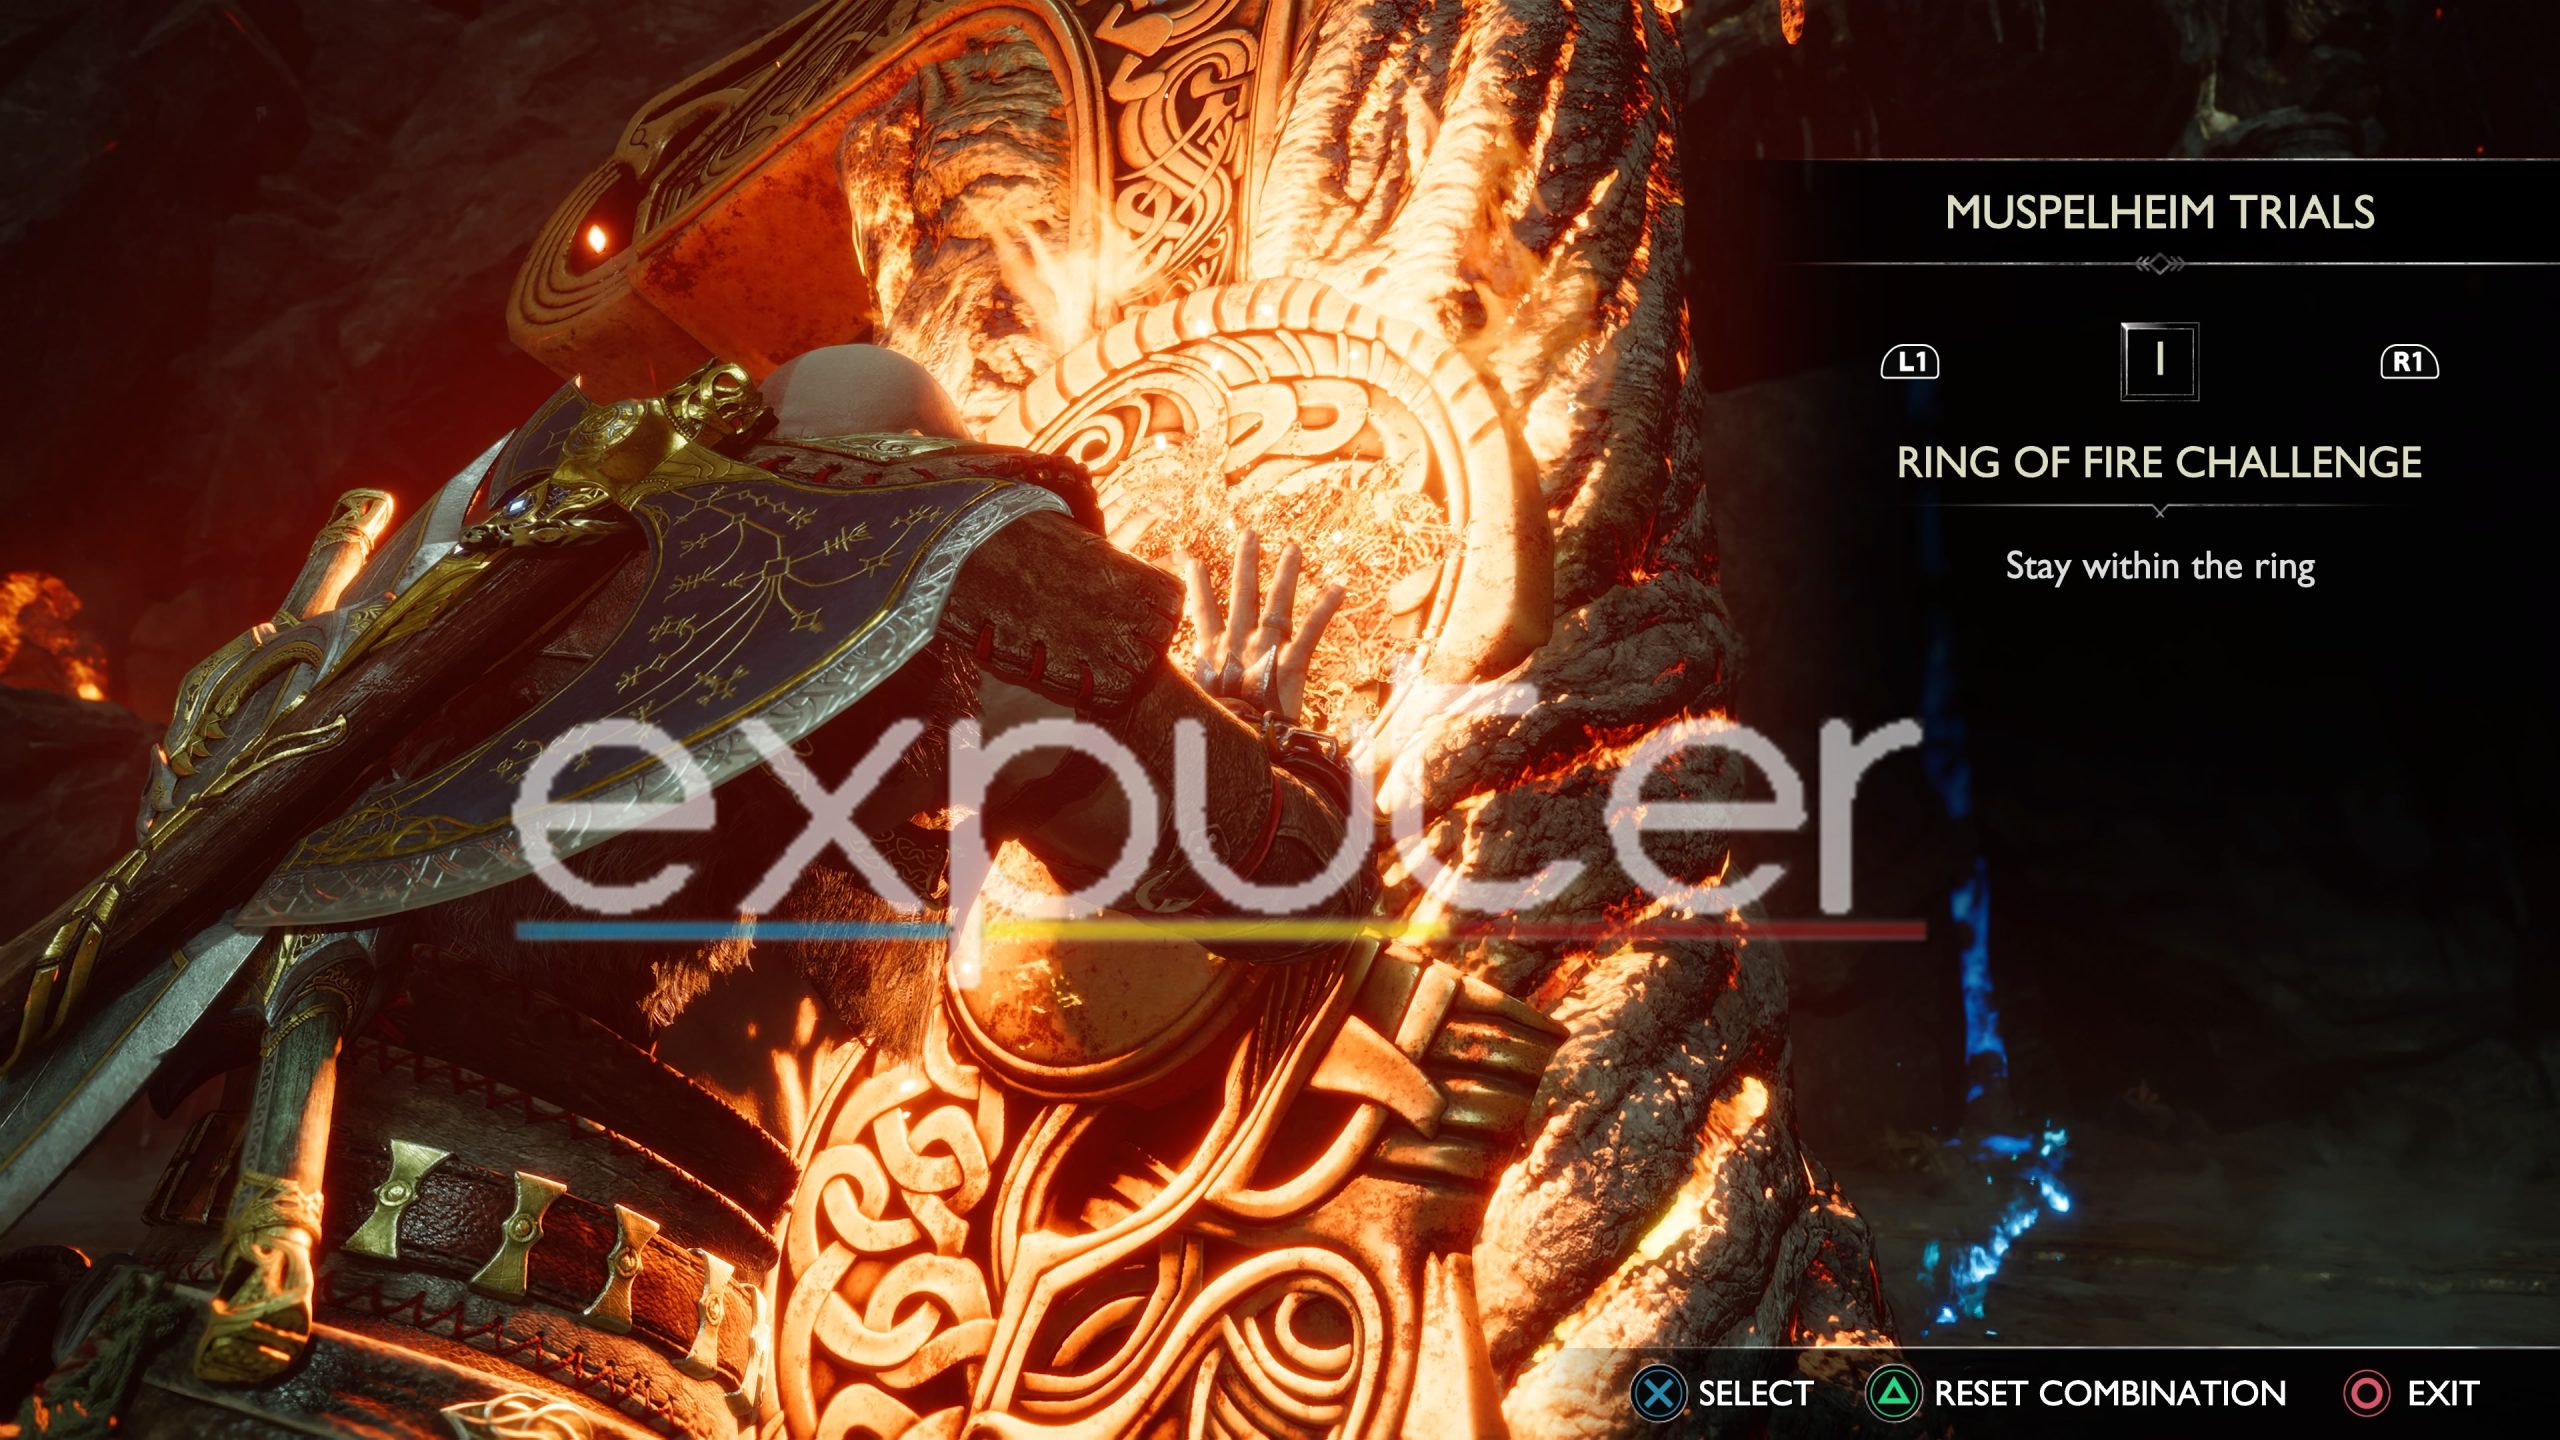
The second last Muspelheim Trial that you should attempt is the Ring Of Fire Challenge in God Of War Ragnarok. Attempt a trial from the second sword and then from the first sword in order to unlock the Ring Of Fire Challenge. In this challenge, you have to stay inside the ring whilst beating the number of enemies specified.
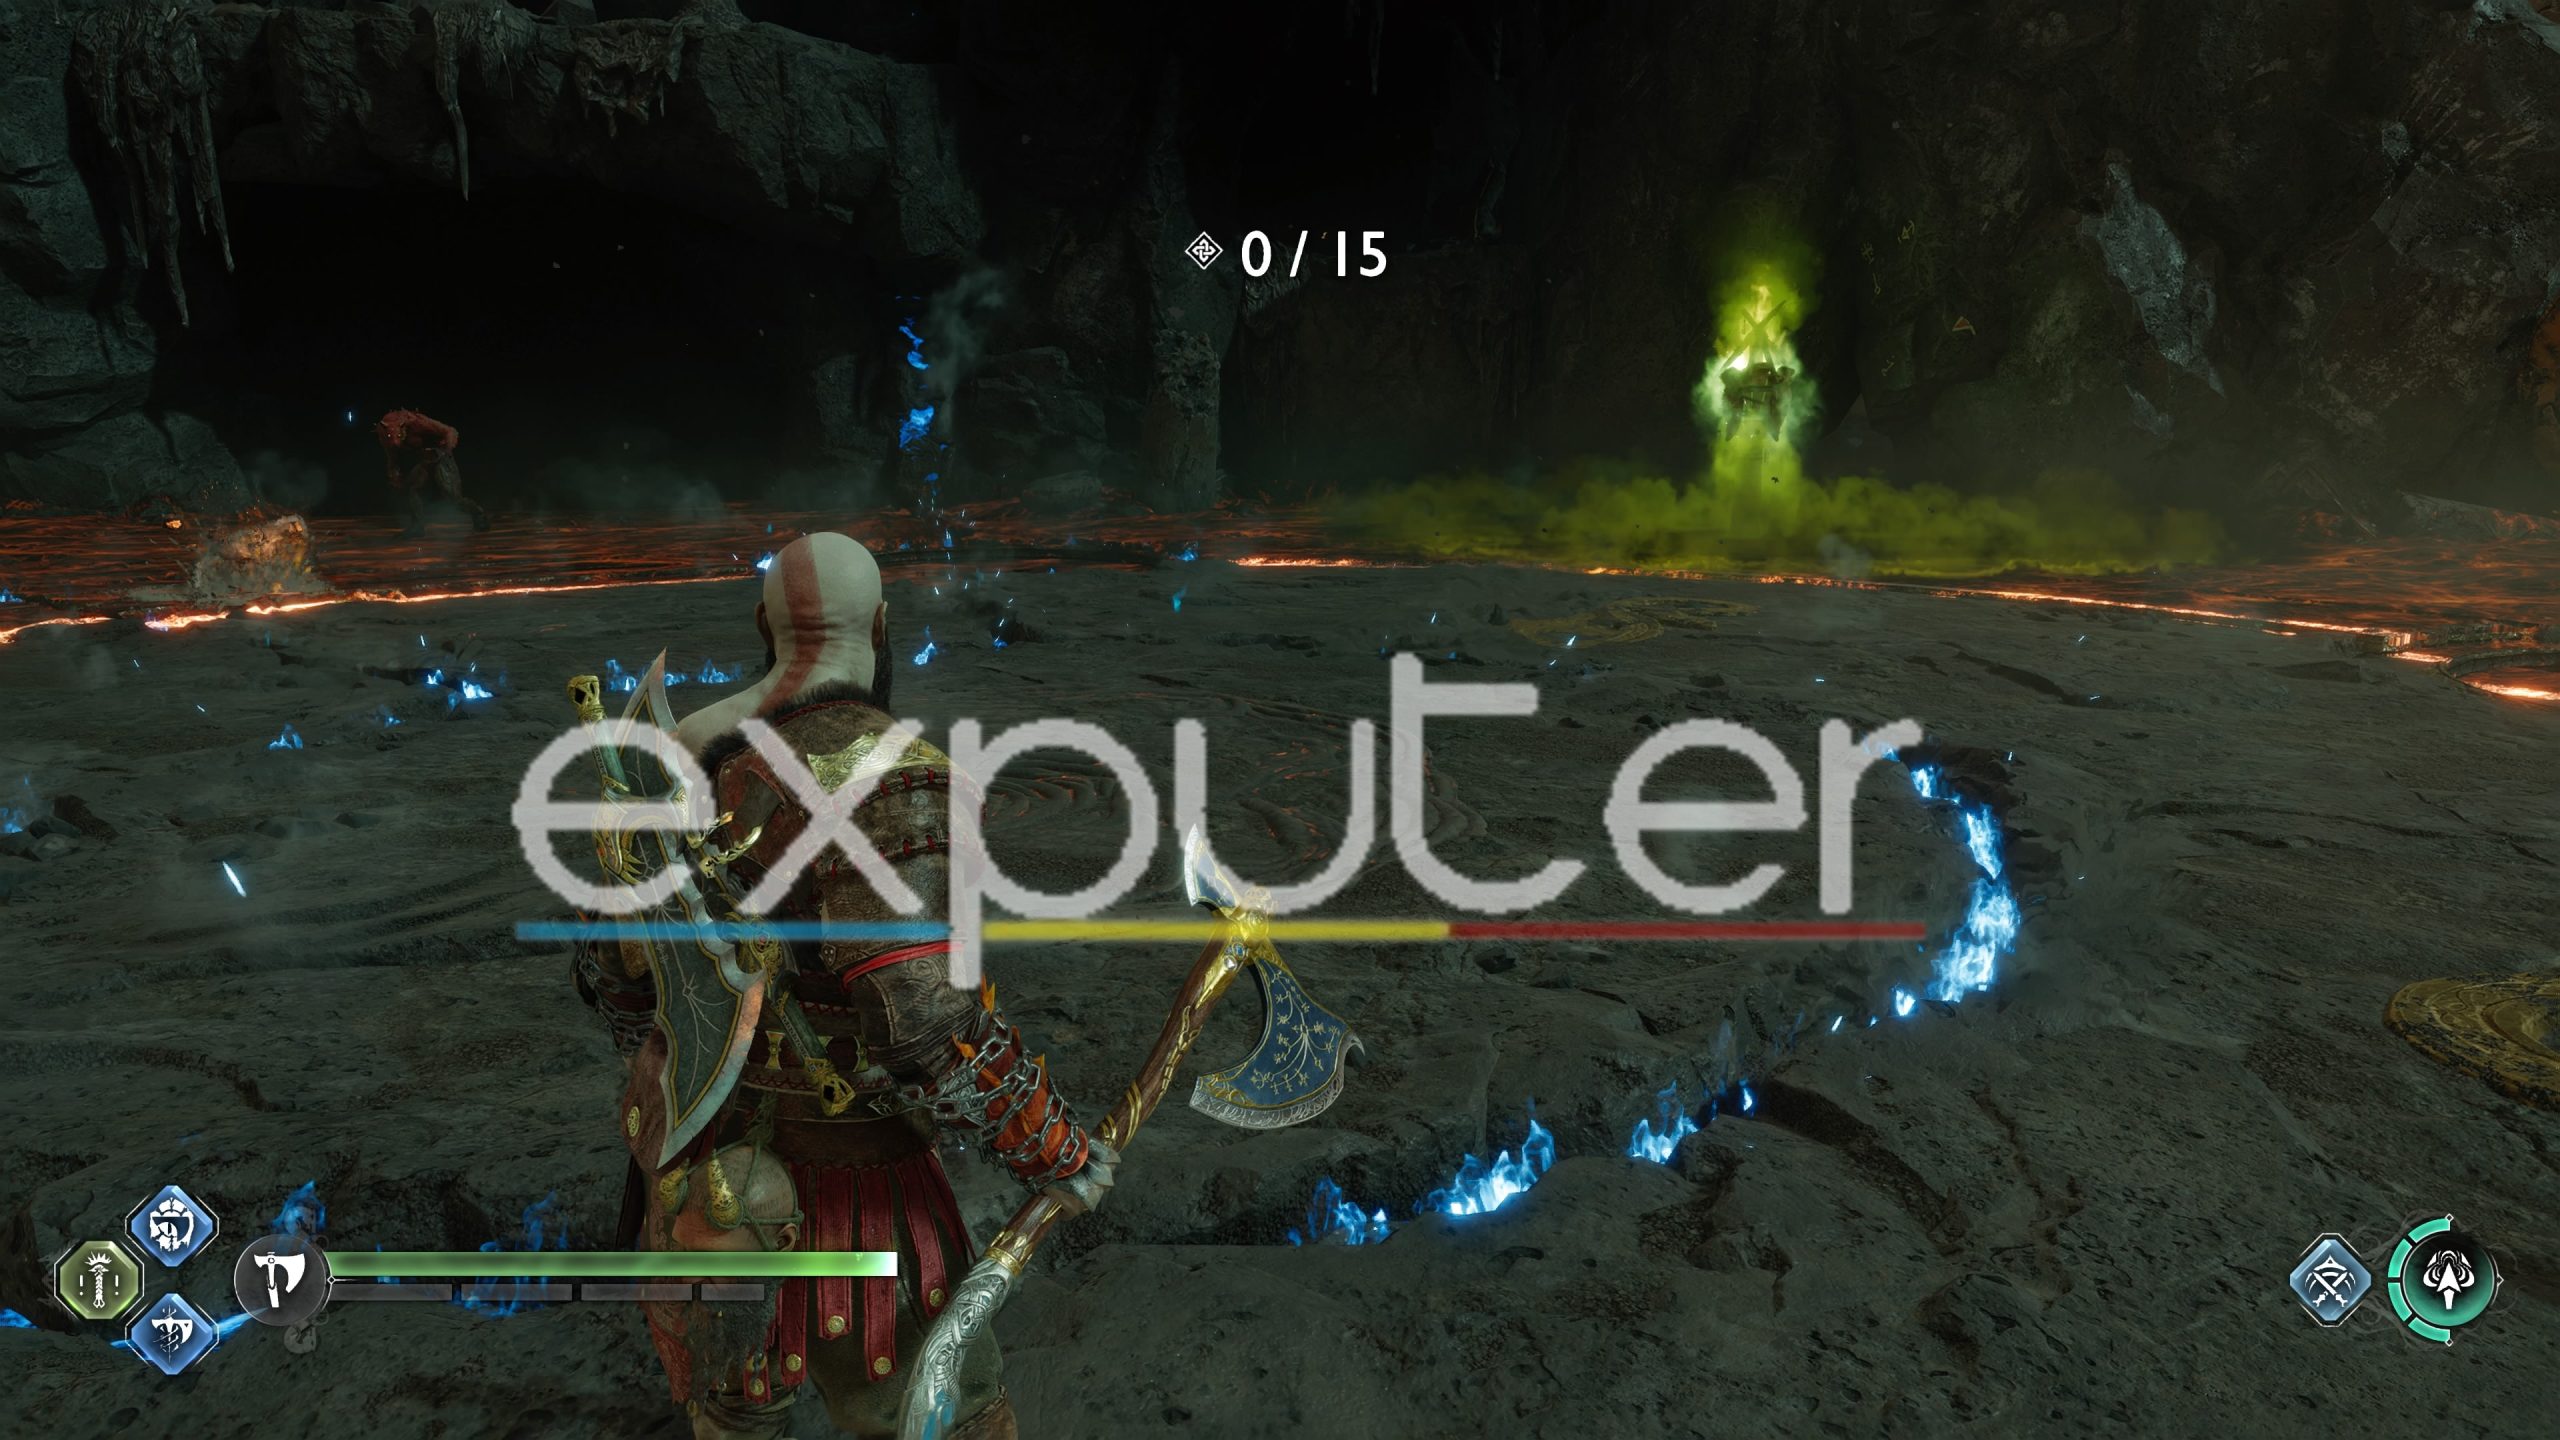
The ring keeps shifting around the arena, so you must keep moving alongside it while fighting the enemies. The area outside the ring is full of lava and will damage and cause burn to Kratos so avoid going there. Utilize your Blades Of Chaos to pull enemies inside the ring, or just attack them at range using the Draupnir Spear or the Leviathan Axe.
Rewards
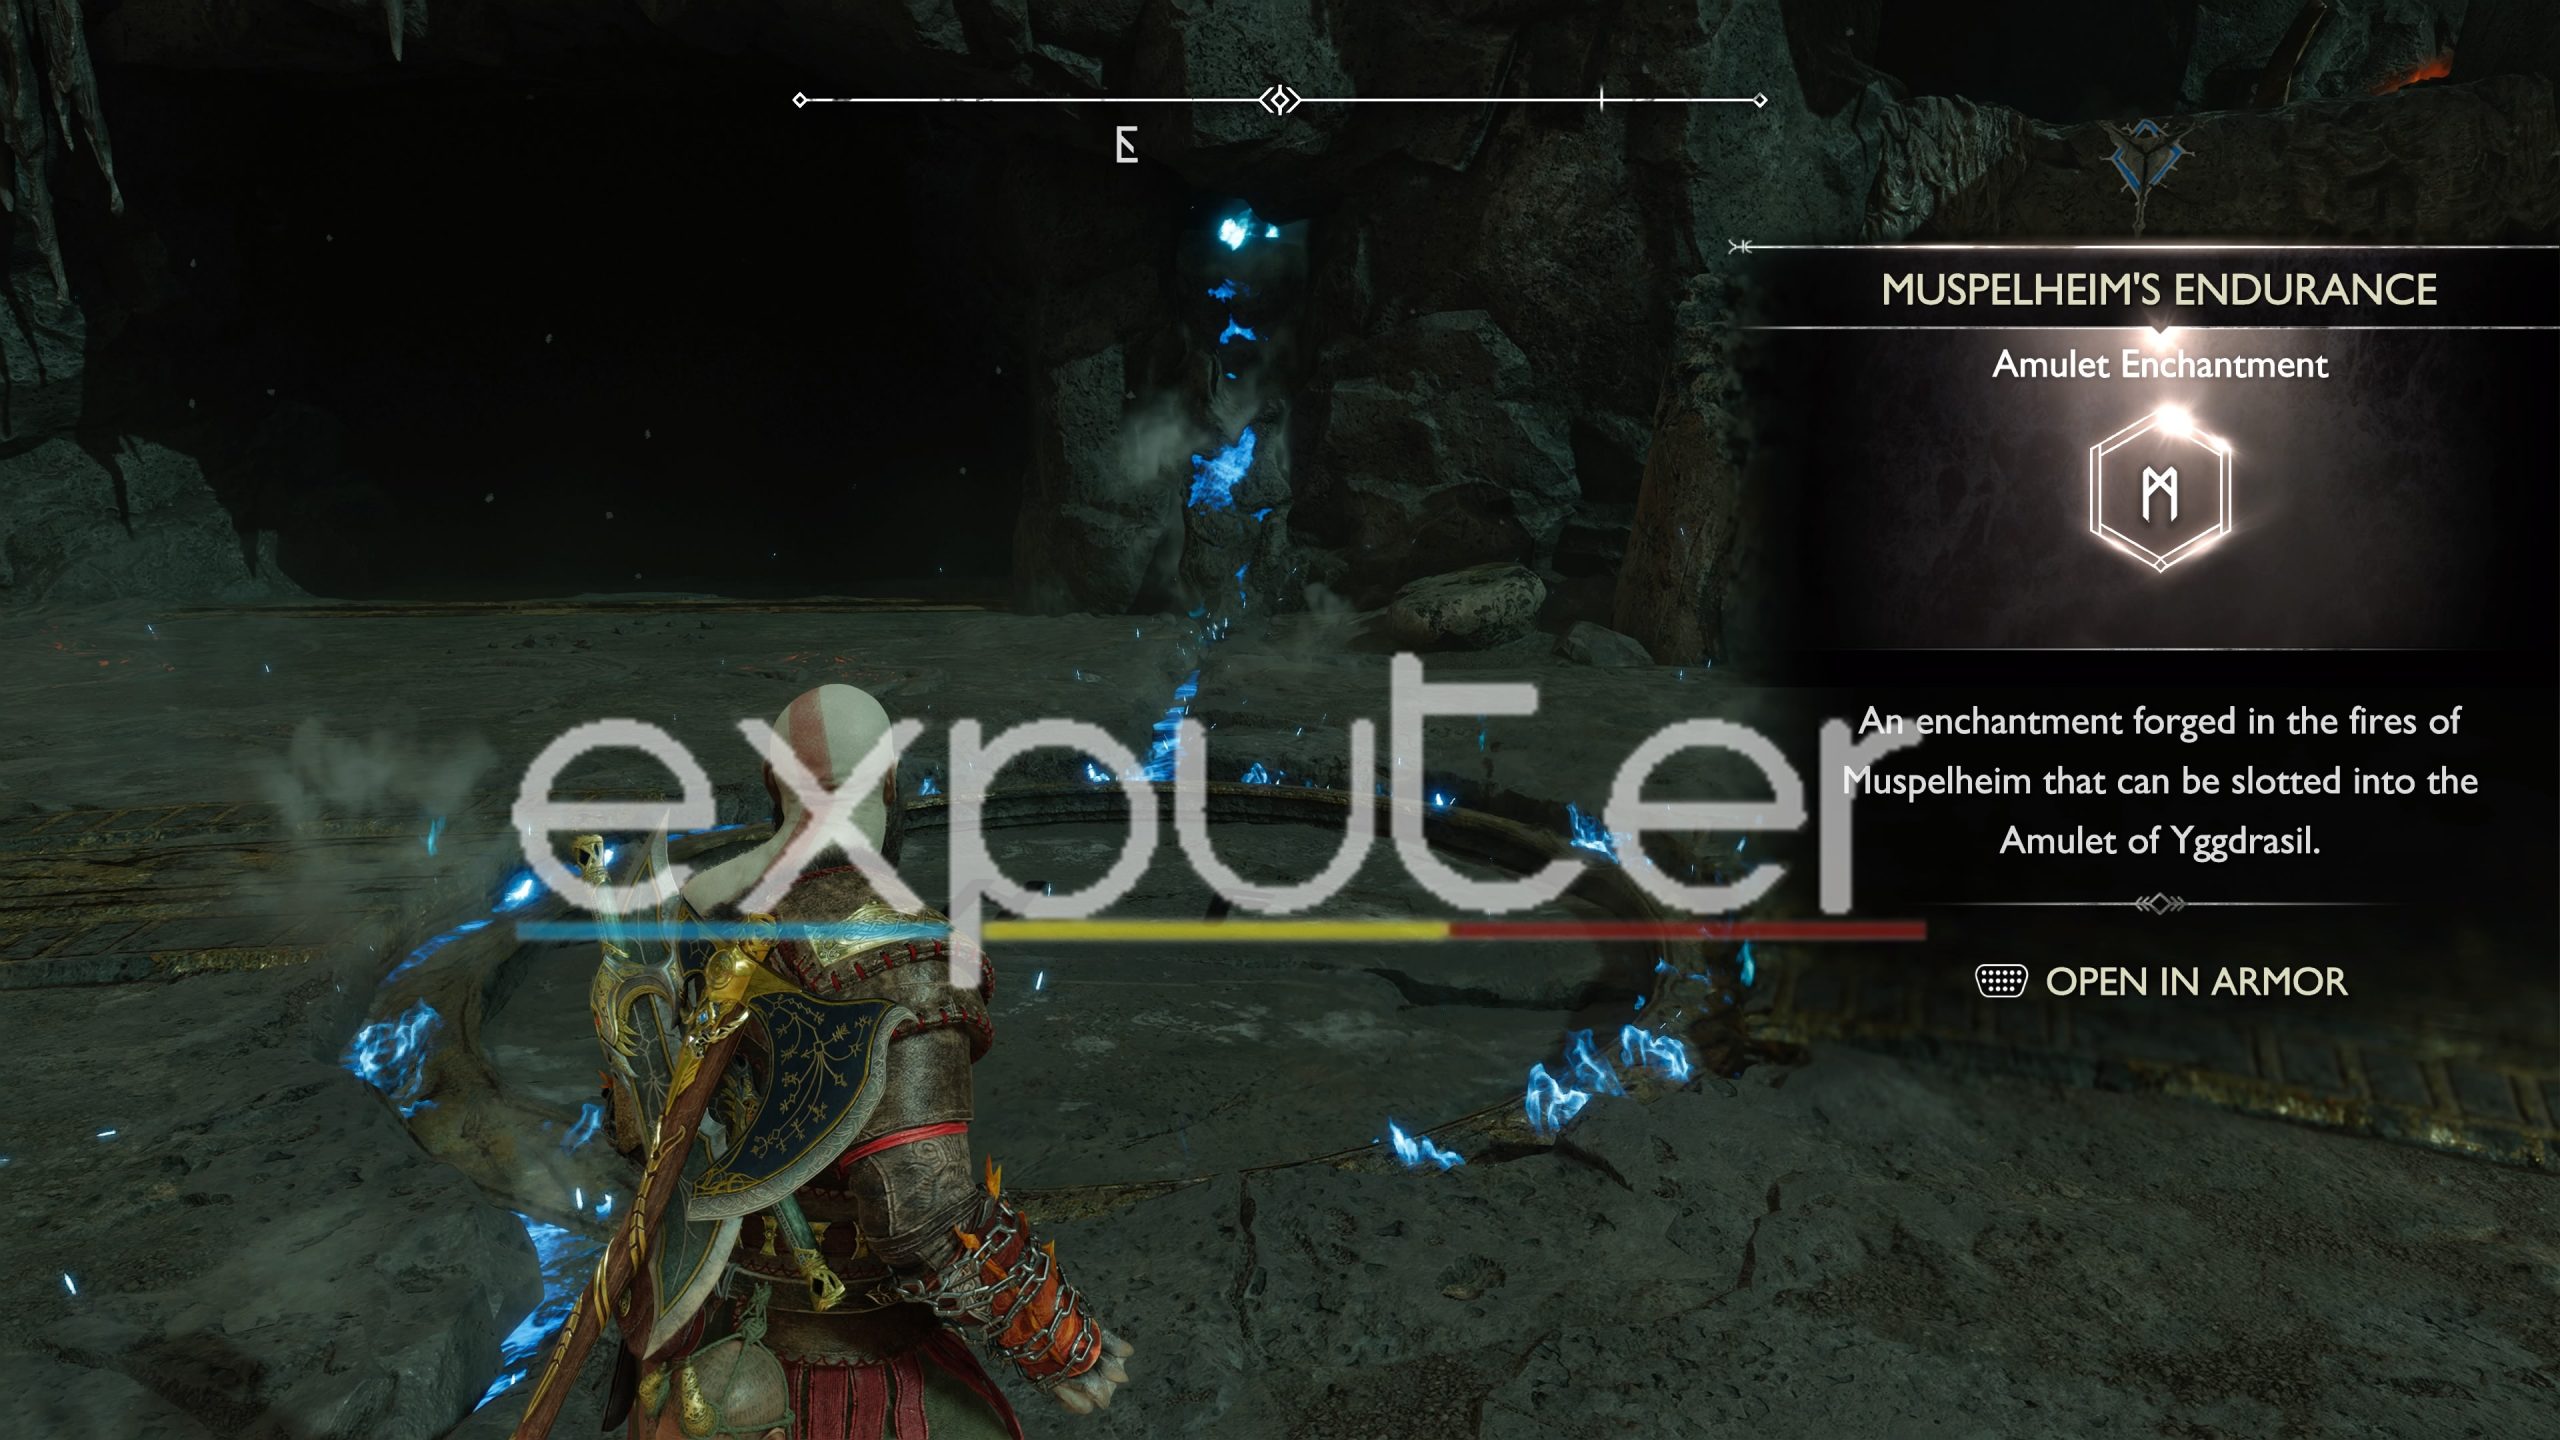
You get an amulet enchantment called Muspelheim’s Endurance by completing the Ring Of Fire Challenge.
Shield Breaker Challenge
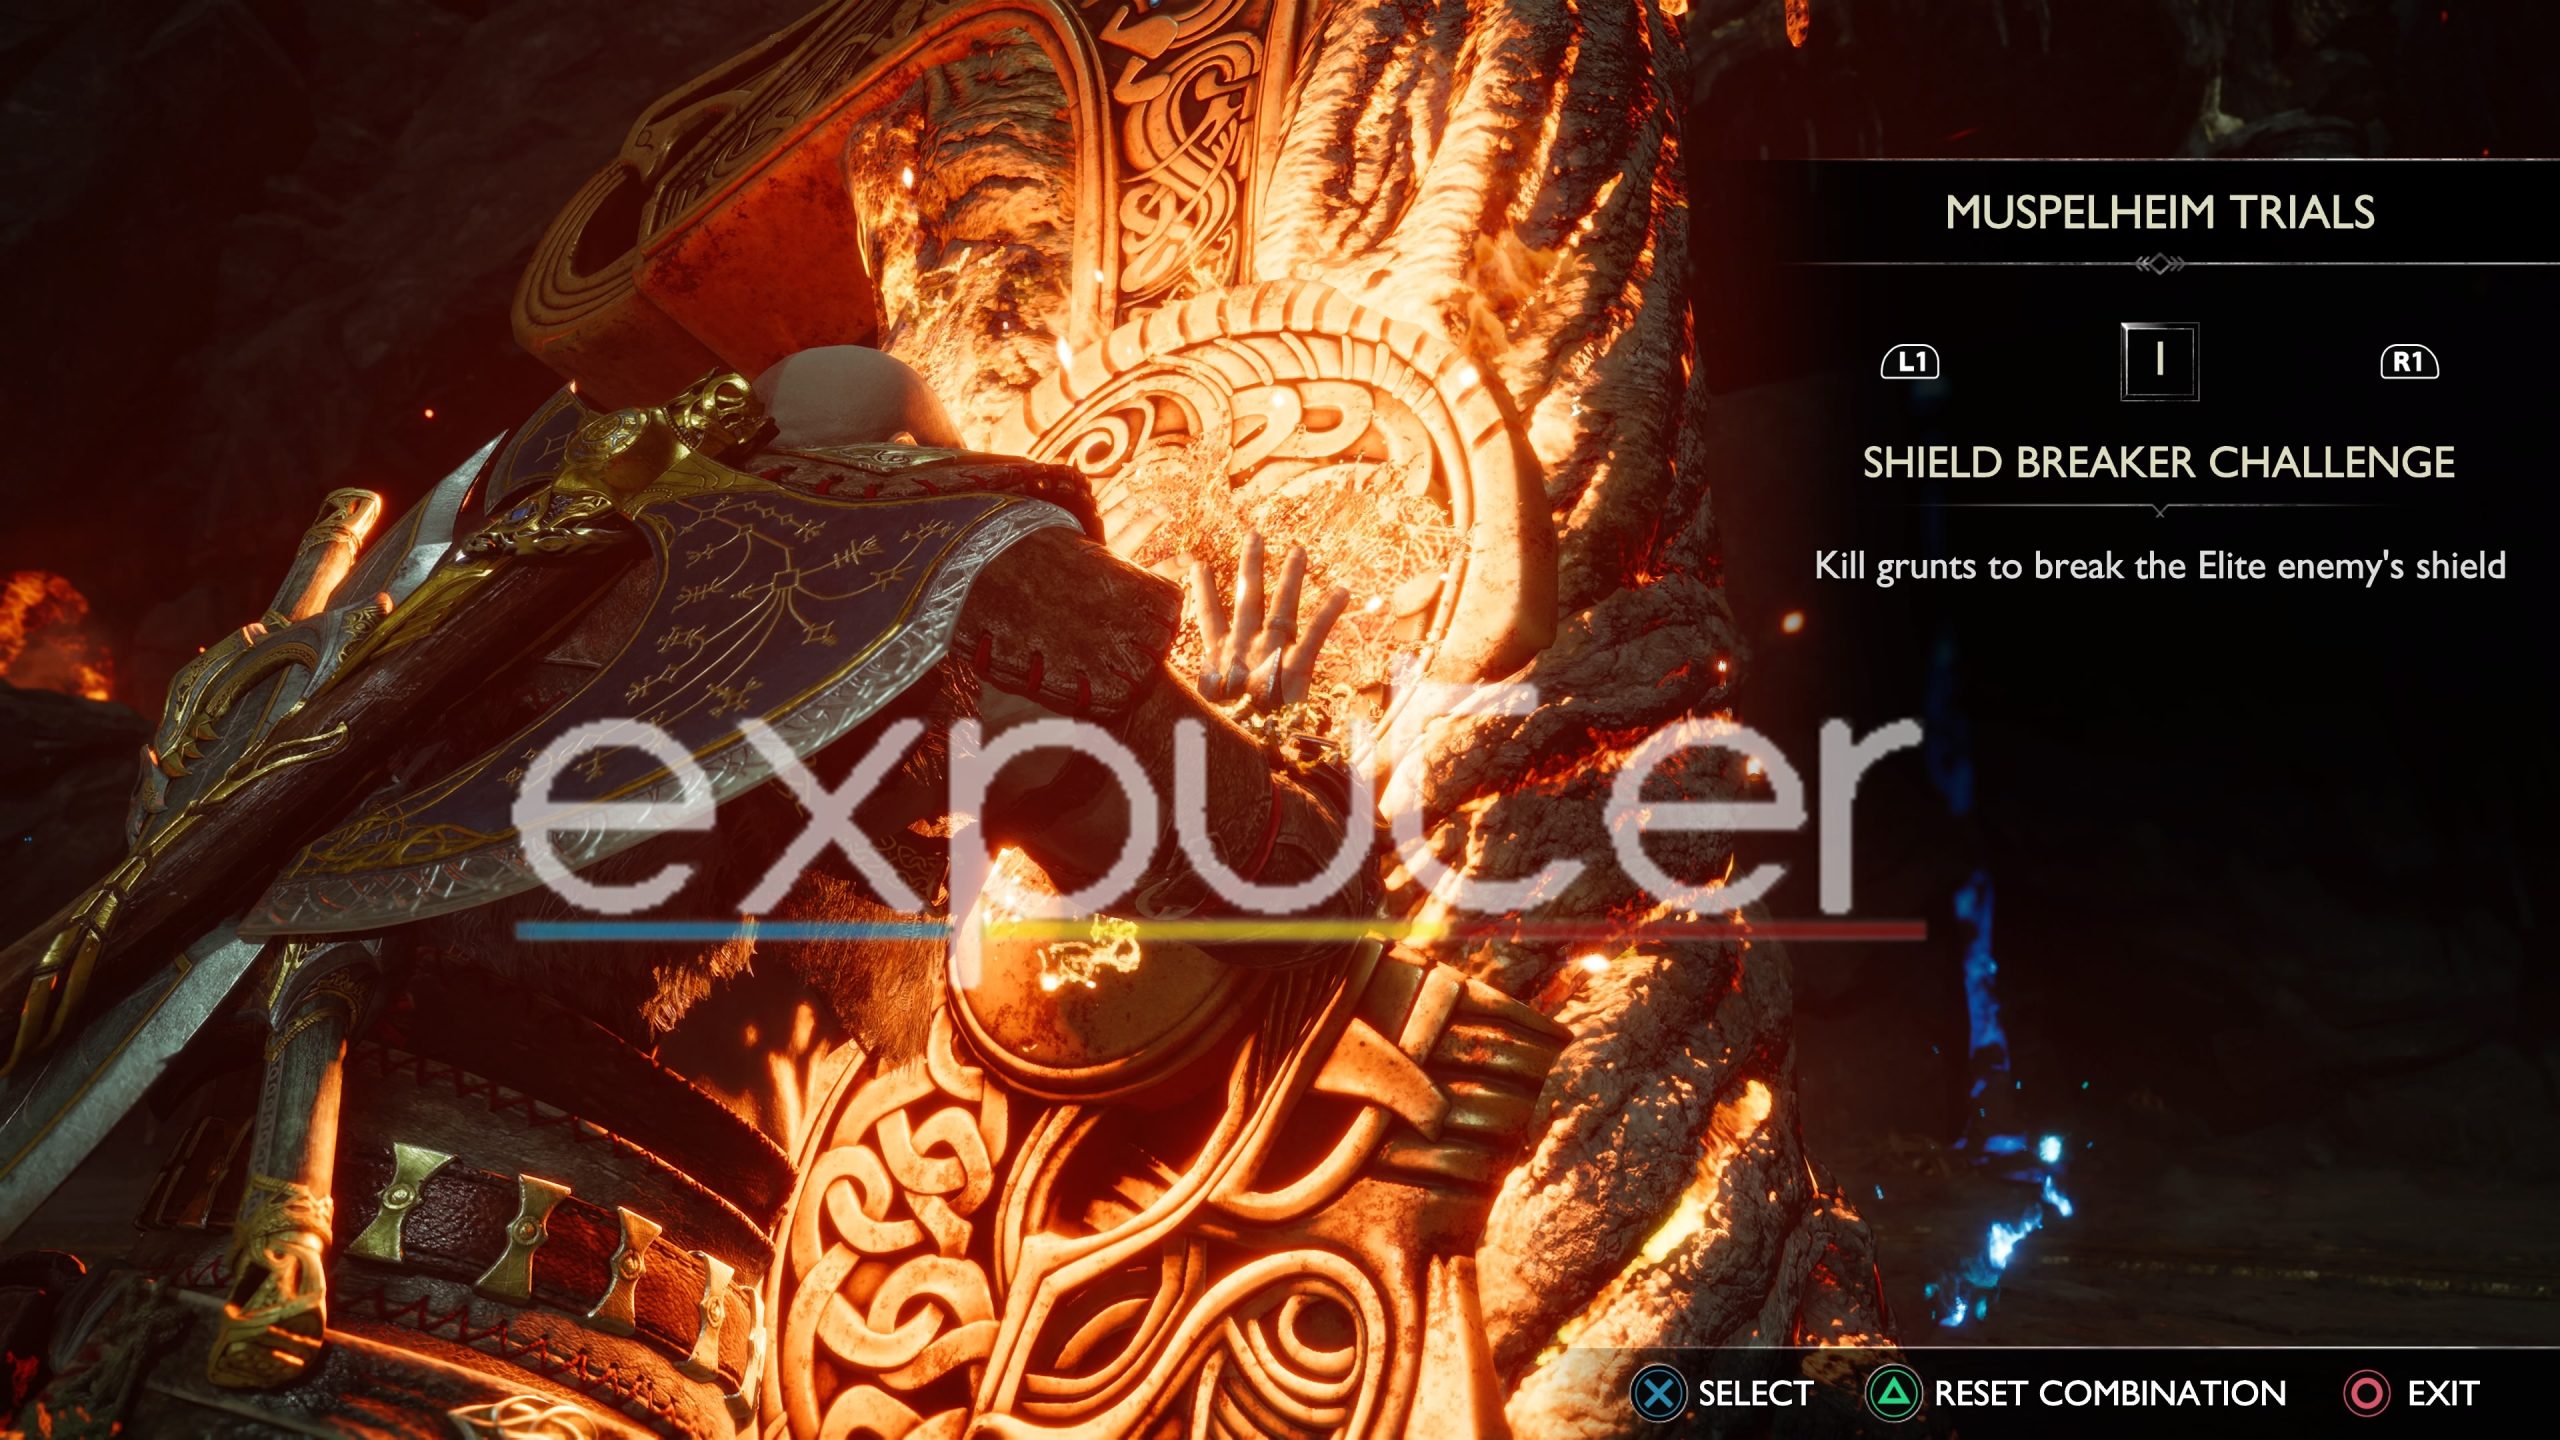
The final Muspelheim Trial that you face in God Of War Ragnarok is the Shield Breaker Challenge. To unlock the challenge, you have to attempt a trial at the first sword and then at the third sword. Doing so will unlock the Shield Breaker Challenge at the huge sword in the middle of the crucible.
Your main goal is to take out the boss in the arena. But you cant damage the boss until you have beaten a specific number of enemies. You have to continuously beat these fodder enemies and then damage the boss until you kill the boss in order to complete the challenge. The first boss you face in the Shield Breaker Challenge is the Einherjar Captain.
When the Einherjar captain is about to die, another boss, the Huntress, joins the fight. Things will get a little more stressful here when you simultaneously deal with two bosses and fodder enemies. Just make sure to quickly get rid of the Einherjar captain before you start fighting the Huntress.
And the same rule applies to the Huntress, as she won’t get damaged until you’ve beaten a specific number of enemies. After completing the shield breaker challenge, you will have completed all of the Muspelheim Trials in God Of War Ragnarok.
Rewards
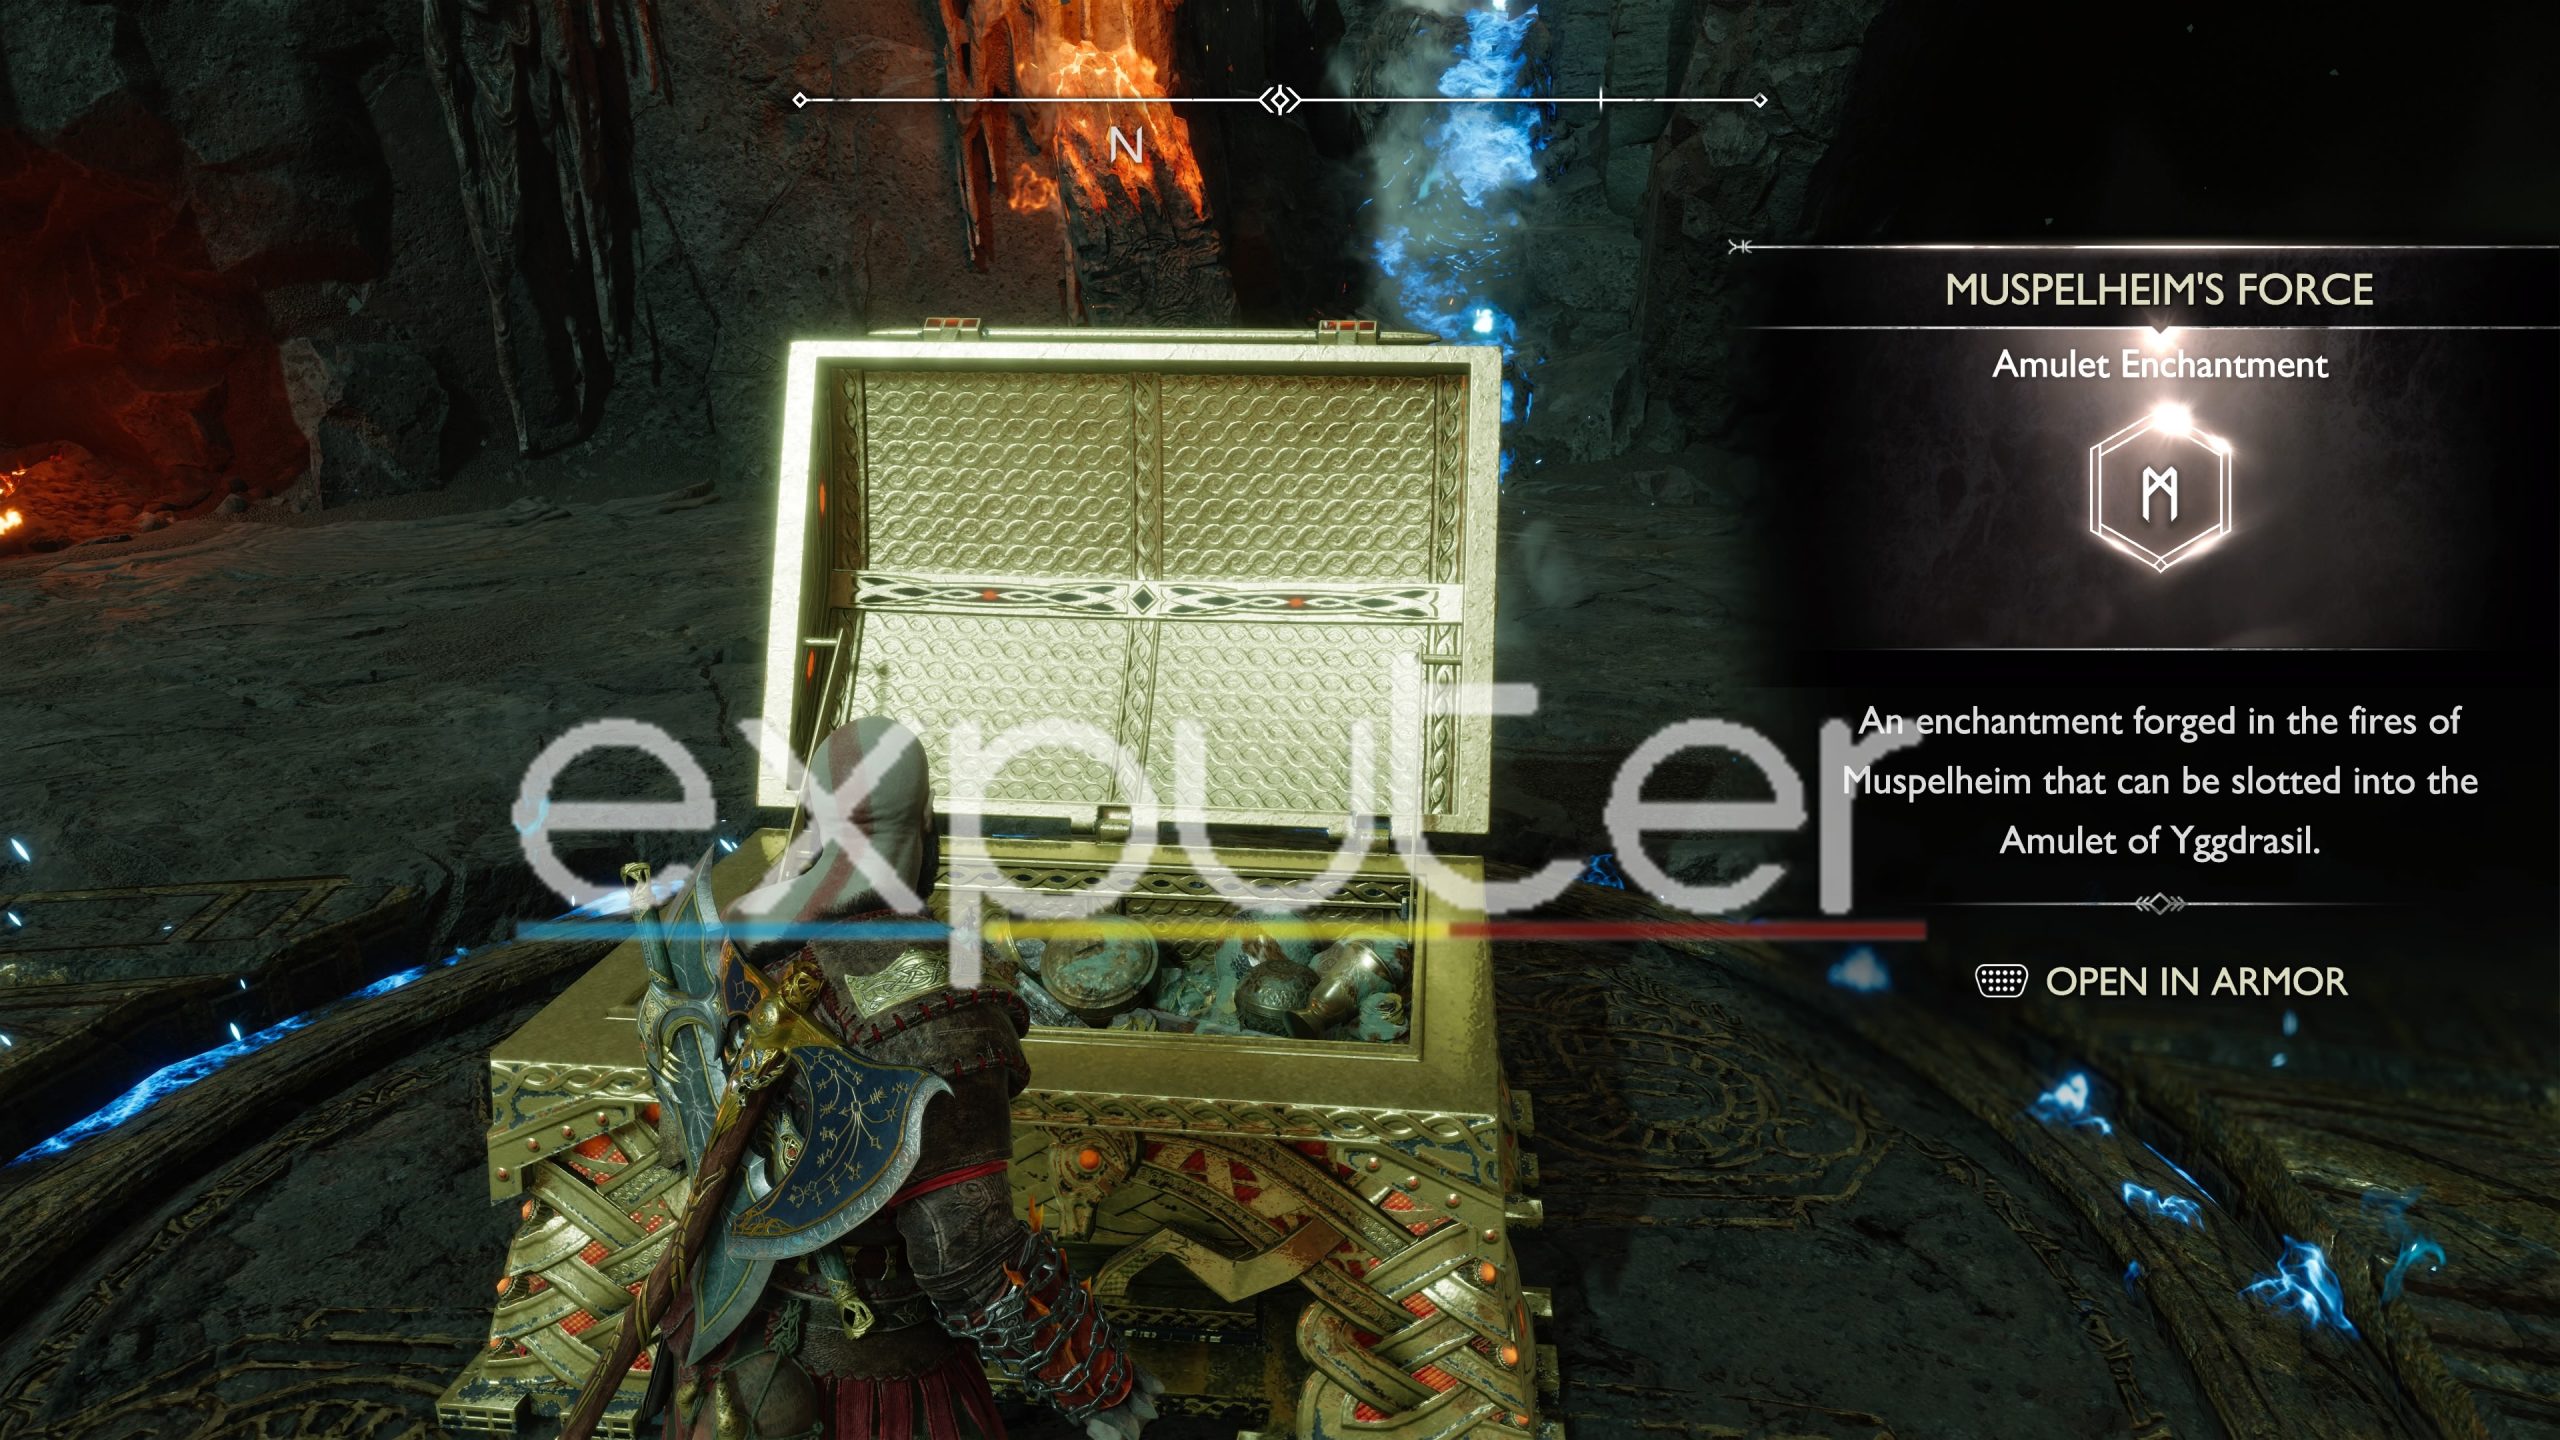
You get an amulet enchantment known as Muspelheim’s Force by completing the Shield Breaker Challenge.
This concludes our guide on the Muspelheim Trials in God Of War Ragnarok. We have explained every trial you face in Muspelheim in complete detail. The solution to The Crucible and The Final Challenges Favors has also been explained.
Next:
Thanks! Do share your feedback with us. ⚡
How can we make this post better? Your help would be appreciated. ✍