DPS characters usually work well in the frontlines due to their high agility and damage, but that isn’t the case for Bastion, who is a Tank/DPS hybrid. While he can deal excellent damage, slow movement and huge hitbox make him a bad choice for the frontlines. In today’s guide, I entail how to use Bastion in Overwatch 2 effectively.
- Bastion is a DPS/Tank hybrid unit with three configurations: Recon (submachine gun), Assault (machine gun), and Artillery (artillery tank).
- He excels at mid to long-range combat and is effective against agile and flying units, but vulnerable to close-range and melee attacks
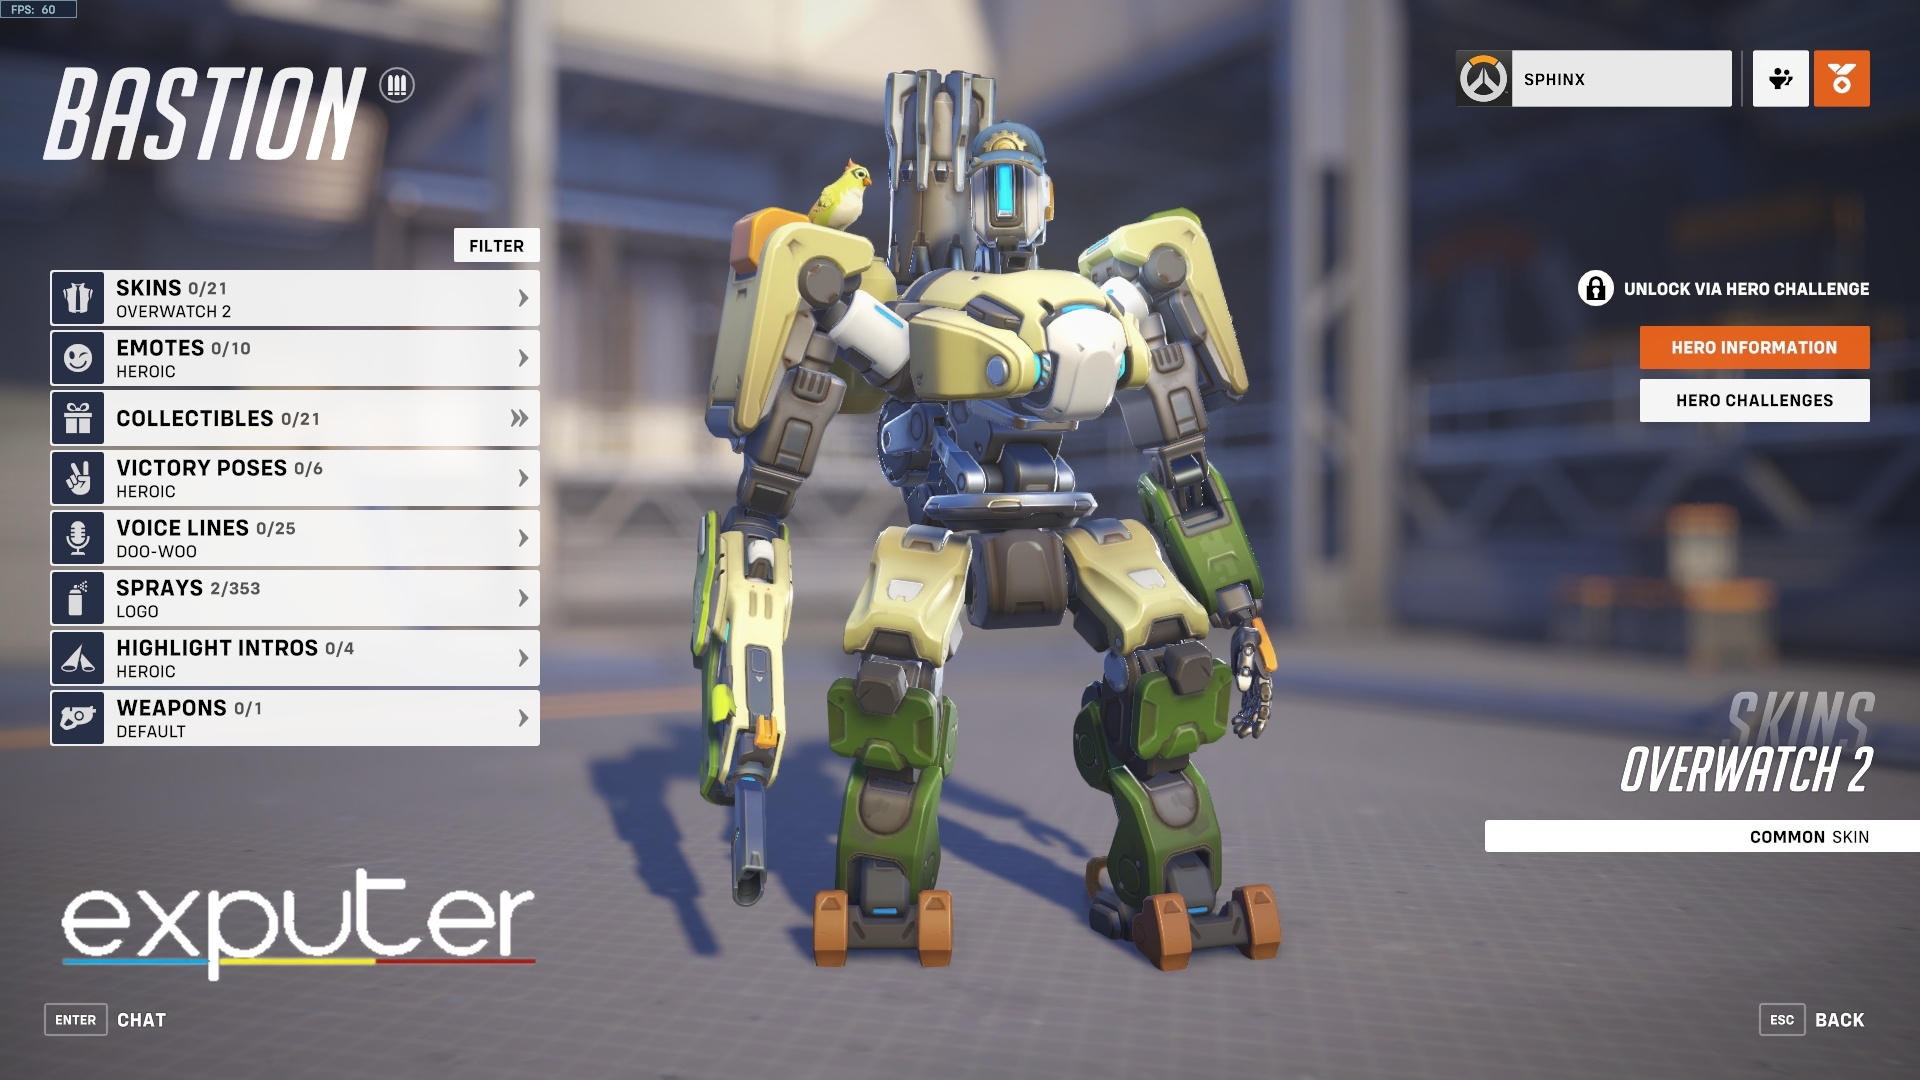
Bastion In Overwatch 2
| Role | Health | Armor | Abilities |
|---|---|---|---|
| DPS/Damage | 200.0 | 100.0 | Configuration: Recon, Configuration: Assault, Reconfigure, A-36 Tactical Grenade, Ironclad, Role: Damage, "Configuration: Artillery Ultimate)" |
Bastion is an excellent, high-damaging DPS unit that specializes in both mid and long-range. His abilities allow him to switch between three configurations, turning him into a machine gun, a submachine gun, or an artillery tank. His overall playstyle is a mix of DPS and Tank units. Bastion’s hitbox and movement are comparable to tanks, but he makes up for it with his additional armor and damage.
Weapon & Abilities
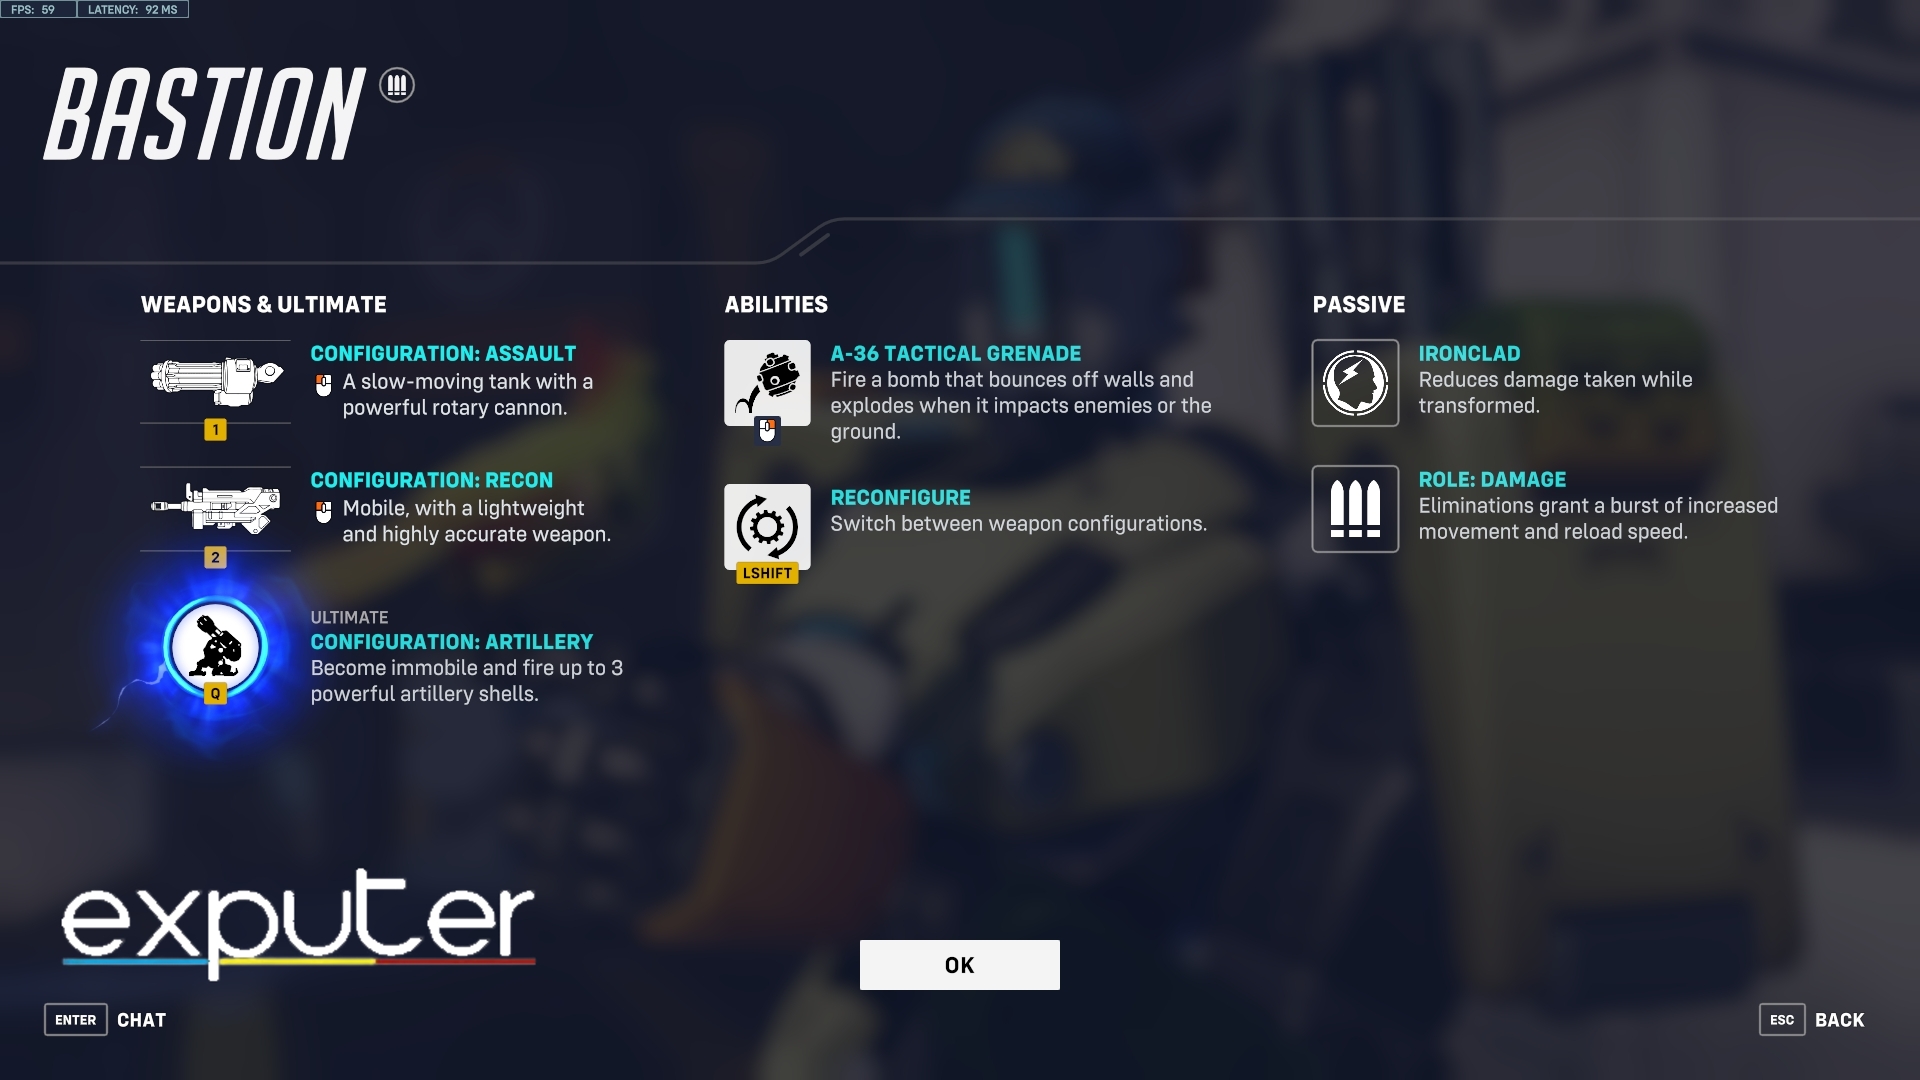
Bastion has 2 passive skills, 2 abilities, and 1 ultimate, with each one bringing something new to the table. Like every character, using each ability requires a strategy to be effective in combat; otherwise, they’ll go to waste.
So let’s discuss how to use his weapon and abilities in Overwatch 2 effectively.
Configuration: Recon
| Type | Weapon (Primary Fire) |
| Effect Type | Hitscan |
| Damage | 7.5 – 25 Dmg |
| Falloff Range | 30 – 50 meters |
| Spread Angle | PinPoint |
| Rate Of Fire | 5 Rounds/Sec |
| Ammo | 25 |
| Reload Time | 1.2 secs |
This is Bastion’s standard configuration. While in this configuration, Bastion uses a sub-machine gun which not only has amazing damage but also has no spread, further enhancing the accuracy of the weapon. This pin-point fire rate not only enables you to pick off targets from medium-long distances but also allows you to obliterate close-ranged enemies if you can land headshots.
Even though he is not a speedy unit overall, Bastion moves the fastest in his standard mod. So transforming into his other configurations during an unfavorable situation would not be wise.
Configuration: Assault
| Type | Weapon (Primary Fire) |
| Effect Type | Hitscan |
| Damage | 3.6 – 12 Dmg |
| Falloff Range | 30 – 50 meters |
| Spread Angle | 2 Degrees |
| Move Speed | -35% |
| Rate Of Fire | 30 Shots/Sec |
| Ammo | Unlimited |
| Duration | 6 secs |
| Cooldown | 12 secs |
Pressing Shift will transform Bastion into a machine gun capable of even depleting the entire health bars of tanks. If there was an added shield and a longer time duration, this could’ve Bastion’s ultimate ability, showing how monstrous it is if used at the right time. Furthermore, this ability is highly effective against agile units like Lucio and Genji and flying units like Pharah.
Another thing I would like to mention is that there is no use in aiming for the head since, in this configuration, you can not land any critical hits. So make sure to aim for the center in order to hit your enemies with as many bullets as possible.
Reconfigure
| Type | Ability |
| Healing | 50 Armor (Assault) |
| Casting Time |
|
| Cooldown | 10 secs |
This ability allows Bastion to switch between Configuration Assualt and Configuration Recon with a press of the button. In other words, Configuration: The Assualt ability can be canceled by pressing shift again, allowing you to switch back to your normal configuration in case you want to fall back.
A-36 Tactical Grenade
| Type | Ability |
| Effect Type |
|
| Damage |
|
| Move. Speed |
|
| Projectile Speed | 40 meter/sec |
| Area Of Effect |
|
| Casting Time | 0.5 secs |
| Duration | 0.35 secs |
| Cooldown | 8 secs |
This tactical grenade is a mixture of a sticky and standard grenade. The grenade will bounce off if thrown at walls. However, it will stick and explode if it touches the ground or an enemy. Another ability that can be used tactically in battles.
If an enemy is hiding in a room or a closed container, throwing it toward walls is a more effective strategy to increase your chance of hitting the enemy. However, in open areas, throwing it on the ground or an enemy is a better use of this ability.
Ironclad
| Type | Passive Ability |
| Damage Reduction | 20% |
Bastion’s in-take damage is reduced whenever he is transformed into an Assault or Artillery configuration. This doesn’t mean you should transform whenever you are in a pinch because the damage you take won’t save you from a barrage of fire or short-range melee attacks.
Ironclad just gives you enough protection to remain on the battlefield and push with your team, as well as use your abilities if you get caught off guard. In other words, the transformations shouldn’t be used as means to gain protection but as a means to push back.
Role: Damage
Eliminating enemies will grant Bastion a burst of speed and health. The effect of this ability isn’t noticeable when you are fighting at long range since movement and health aren’t really a big concern there.
However, at a medium range, the extra boost and health can give you an edge in a team vs team situation.
Configuration: Artillery
| Type | Ultimate Ability |
| Effect Type |
|
| Damage |
|
| Movement Speed | 25 meter/sec |
| Area Of Effect |
|
| Ammo | 3 |
| Casting Time | 1.33 secs |
| Duration | 8 secs |
| Ultimate Cost | 2,310 points |
For the Ultimate, Bastion goes into Artillery configuration and fires 3 powerful artillery shells from a huge distance. In contrast to the ultimate of most characters, where using it when you have the maximum number of enemies in your range is the most effective use, Bastion’s ultimate requires the opposite approach.
Configuration: Artillery should only be used when you are in a safe haven and are as far away from the threat as possible, but not too far. Additionally, you also have the option to choose where each missile will land. You can take a risk and fire all three missiles in one place, potentially taking out a hero or spreading out the three strikes, dealing a decent amount of damage to all heroes of the enemy team.
Overwatch 2 is filled with various DPS, Tank, and Support units, each having its own playstyle and abilities. Obviously, the strategies that work for one character aren’t applicable work for the others. For more character guides that entail unique strategies for each character, consider reading the following guides eXputer have covered on other Overwatch 2 heroes:
Best Team Composition
No matter how good a hero is, there always exists some weak points that the enemy team will tend to abuse. To make up for those shortcomings, pairing your unit with another Hero who can cover your weak areas will turn you into a nightmare for the enemy team.
Below I have listed one DPS, Tank, and Support unit that works extremely well with Bastion.
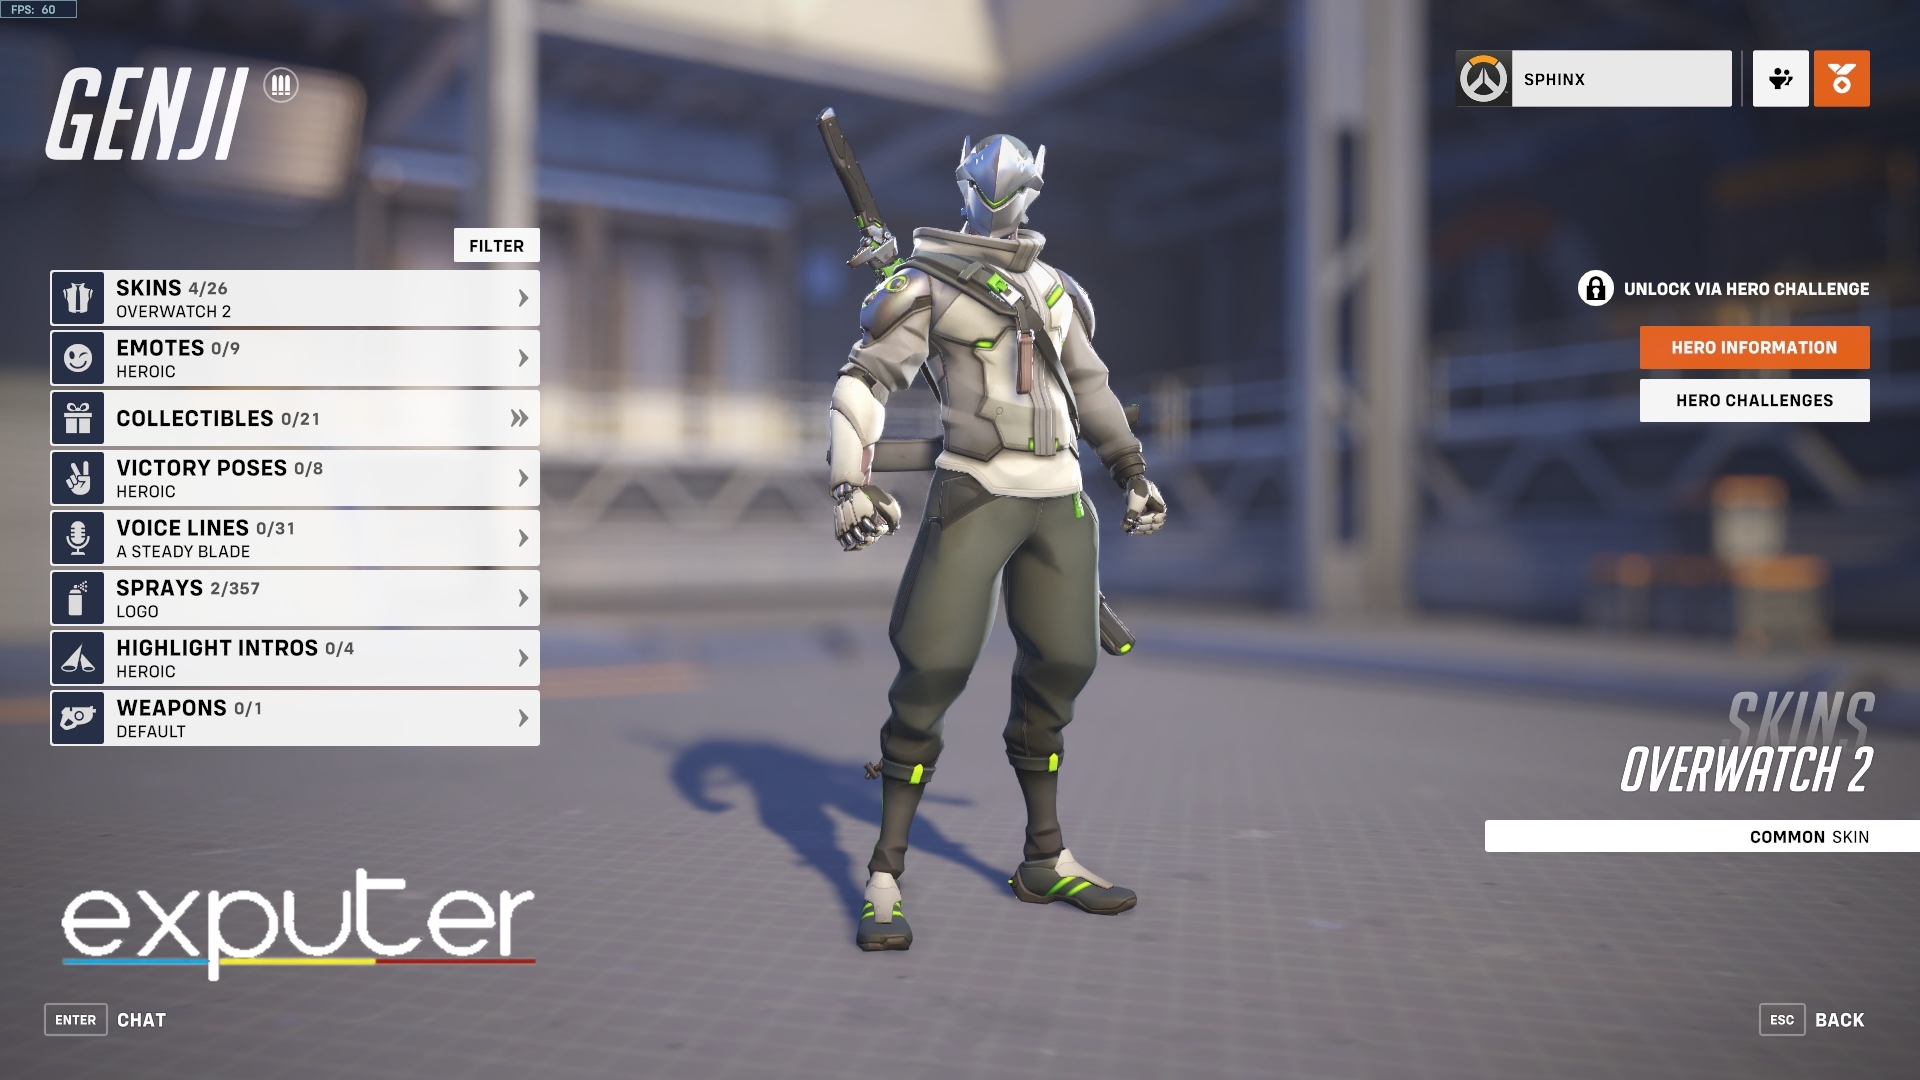
Genji
While shooting enemies from a huge distance, the enemy will, more often than not, fall back instead of retaliating, and it makes sense from the enemy’s point of view. If the enemies get hit from long distances, they will fall back to their healer, putting all of your efforts to waste. These situations are very normal in linear maps, not only putting you at a stalemate but also forcing them to flank you with their melee heroes.
Bastion doesn’t have the speed to push into the enemy’s team and finish off his work. That’s where one of the fastest melee DPS heroes comes in, Genji. Genji is an agile ninja who can do devastating damage at close range, and his speed makes it very hard for opponents to run away from. Chipping off the opponent’s health bar from a distance and sending Genji in to finish the job before they can heal, is the strategy I recommend for this duo.
Furthermore, Genji’s Ability to deflect all incoming bullets makes him an excellent shield for Bastion. Transforming into Configuration: Assault at mid-range and letting Genji defend you from incoming projectiles is another outstanding strategy you can use with him.
Mercy
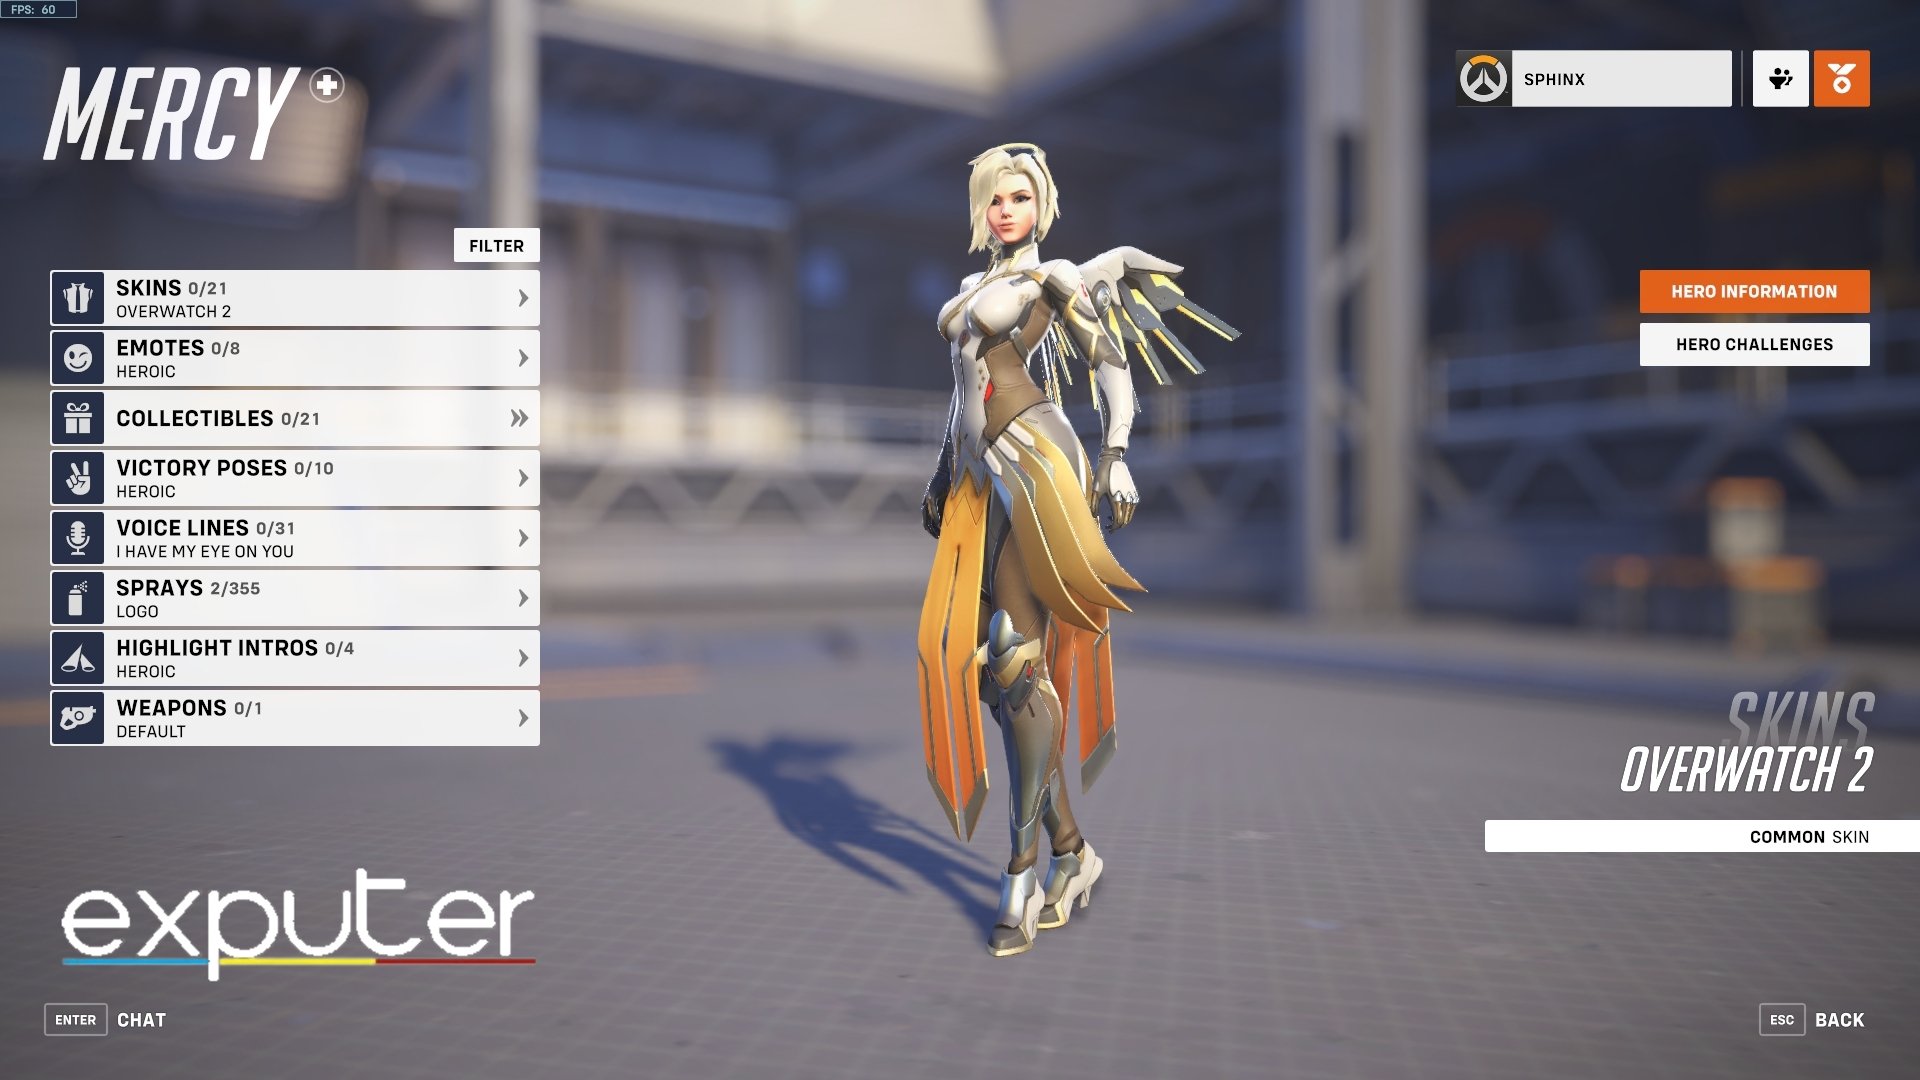
Mercy on her own can’t do much with her skillset, but when combined with the right hero, she is a force to be reckoned with. She pretty much goes well with every tank unit in the game, and since Bastion is a DPS/Tank hybrid, their combination works very well too.
Furthermore, Bastion’s playstyle is very favorable for Mercy as well. Any Mercy main puts himself at a huge risk by barraging into the battlefield along with the hero he is providing support. So remaining with Bastion at a safe distance and constantly healing him works well for a Mercy main too.
Mercy’s attack buffing ability mostly goes unnoticed because tanks need to refill their health in order to remain in action constantly, but that is not the case for Bastion since he remains doesn’t need to be constantly healed as he isn’t on the enemy’s target list all the time. So the optimal strategy for Mercy/Bastion duo is to provide Bastion with an attack buff at long distances, so it can take out enemy units before they can retreat and heal while he is at mid-range.
Reinhardt
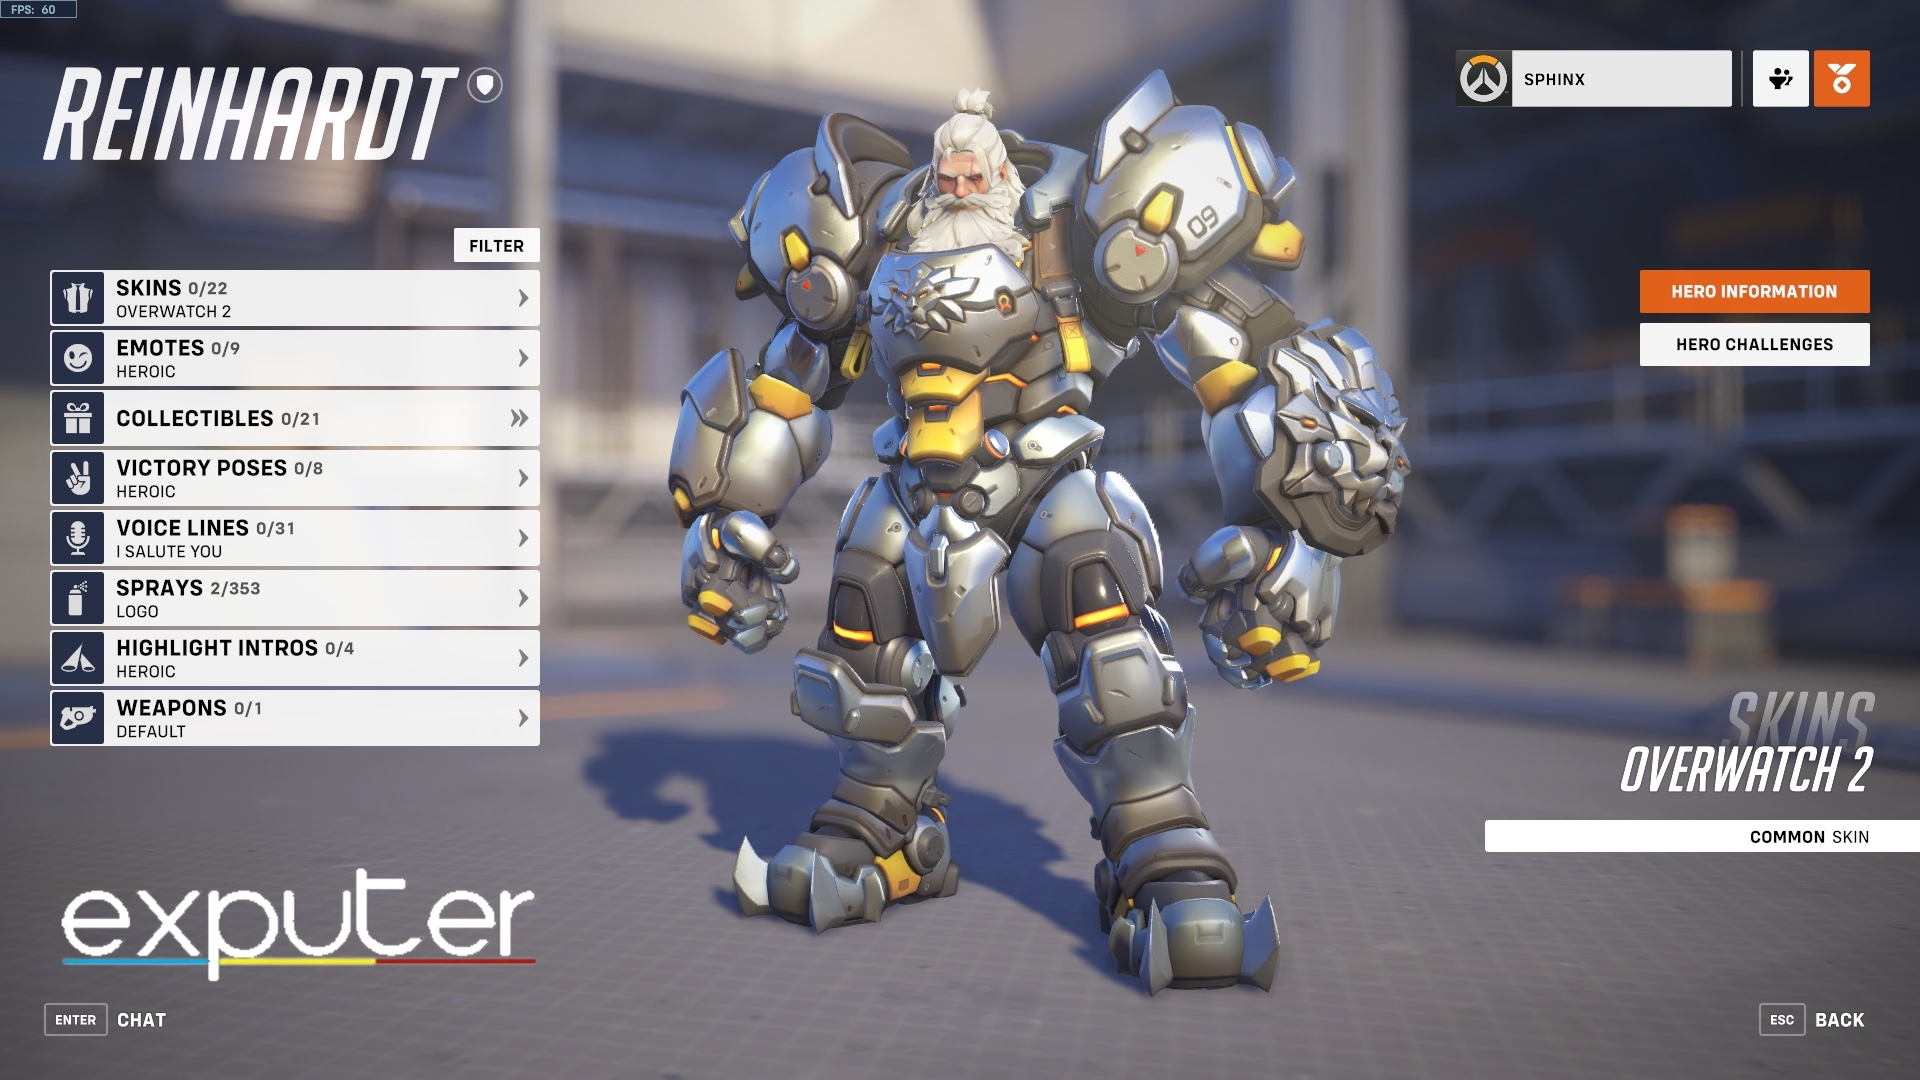
Bastion makes a huge hitbox, which makes him a very easy target for a lot of enemies, and with no shield of his own, you will have to constantly retreat to your healer while allowing the enemy’s team to push in. With Reinhardt shielding you from all incoming fire, you’ll be able to provide better support to your team and remain on the battlefield for much longer.
Another weak area Reinhardt can help Bastion with is closed-ranged combat. Reinhardt is through and through a melee fighter and wields a large hammer that can crush enemies at close range. So with Reinhardt backing you up, getting flanked will be the least of your worries.
Tips & Tricks
Every character in Overwatch 2 works well with different strategies. A strategy that works well with one DPS unit may not work well with another in most cases. Below, I have listed some tips & tricks that will help you utilize Bastion to its maximum potential.
Don’t Run Away From Shields
When faced with Heroes like Winston, Reinhardt, and Brigitte, who are able to shield themselves and their teammates, retreating and trying to flank them is the wise thing to do.
Related: Overwatch 2 Tank Tier List
At the same time, breaking their shield will make the entire team vulnerable, but that requires a lot of firepower and Bastion is one of the few characters who has enough firepower to destroy their shields with little effort using his assault configuration.
So if you see any shield heroes pushing in, try to target their shields and make the enemy team vulnerable instead of flanking.
Attack From Behind The Cover
In the heat of the battle, it’s not right to blame your healer for not healing you when she has to look after the entire team. In order to cover your huge body, try to analyze your environment and look for places where you can fire while the majority portion of your body remains hidden. Additionally, attacking from the high ground can help you shield from incoming fire as well.
Overwatch 2 has no cover system, and you will have to get creative and find new ways to utilize the environments to your own advantage.
Save Configuration: Assault For Flankers & Pharah
Configuration’s Assault damage is monstrous and can quickly take out any enemy at close range or put them in a critical state. That doesn’t mean you should permanently have this saved all the time for flankers.
Flanks don’t happen at a moment’s notice, and if you are behind your team, simply being aware of your surroundings and situation will let you know if there is someone coming. Additionally, increasing the in-game sounds to hear the footsteps will make you aware of any adversaries in the area.
Half of the units of this game have no way to retaliate against Phrarah, especially tank units. Pharah’s ability to constantly move around in the air puts her out of the range of a lot of close-medium range Heros. Luckily Bastion is one of the few units Pharah is very weak against due to his ability to hit targets at long distances. Switching to Assault Configuration and concentrating all your firepower on her will take her out in no time.
Target Tanks
Tanks are slow-moving units and are meant to absorb damage for the team. They usually serve as a cover for their DPS and Support Units. In the heat of the battle, normally, you would target anyone you see but from a safe distance, try to take out the enemy’s tank first in order to pave the way for your close-ranged specialists to barge in.
Furthermore, they are huge and move very slowly, and unless they use their ability to retreat, they are very easy to kill from long distances.
My Experience And Opinion On Bastion
My experience with Bastion in Overwatch 2 has been a mixed bag. On the one hand, he’s still a compelling hero with a lot of damage output. His Sentry mode can shred through enemies, and his Tank mode can be very disruptive. On the other hand, he’s also very immobile and vulnerable, making him an easy target for enemy players.
In one attack match, I used Bastion in Sentry mode, dealing significant damage from behind my team, aiding in capturing the objective. In a defense game, switching to Tank mode to block the enemy at a chokepoint backfired. Overall, Bastion remains a viable DPS but needs careful play. It’s not suitable for all scenarios but can be a game-changer in the right hands.
With this, I conclude my guide on tips, abilities, and best combinations for Bastion in Overwatch 2. Let me know your thoughts on the changes made to his build in the comments below.
Next: Overwatch 2 Doomfist
Thanks! Do share your feedback with us. ⚡
How can we make this post better? Your help would be appreciated. ✍