Elden Ring Crumbling Farum Azula is quite an interesting location. It is one of those areas that you reach in the endgame and is one of the Legacy Dungeons. To get to the Crumbling Farum Azula, you must first reach the Mountaintops of the Giants and beat the Fire Giant. Once you have done that, reach the Forge of the Giants. According to the Elden Ring Ending you are going for, you will either talk to Melina or listen to the flame. This will lead you to the Crumbling Farum Azula.
I found the following weapons in the Crumbling Farum Azula:
- Maliketh’s Black Blade: I obtained this weapon by defeating the Beast Clergyman and taking the Remembrance of the blade to Enia. It’s a Colossal Blade that requires 34 Strength, 12 Dex, and 20 Faith.
- Dragon King’s Cragblade: Obtained after defeating the boss DragonLord Placidusax. Requires 37 Dex to wield.
- Devourer’s Scepter: Dropped by Recusant Bernahl’s invasion near the Dragon Temple Rooftop. Requires 24 Strength, 20 Dex, and 25 Faith.
- Dragon TowerShield: Found in a chest southeast of the Dragon Temple Rooftop Site of Grace. Requires 30 Strength.
I collected the following armor sets in the Crumbling Farum Azula:
- Drake Knight Set: It comprises four parts and provides good damage negation.
- Beast Champion Set: Obtained via Knight Berhals Questline and offers substantial damage negation.
- Malformed Dragon Set: Defeat the Draconic Tree Sentinel, which provides excellent damage negation.
Dragons Encountered:
- Ancient Dragon 1
- Ancient Dragon 2
- Ancient Dragon 3
- Ancient Dragon 4
- Ancient Dragon 5
Major Bosses:
- Godskin Duo
- Maliketh the Black Blade
- DragonLord Placidusax
- Wormface
- Crucible Knight
- Recusant Bernhl
- Draconic Tree Sentinel
Useful Talismans:
- BoltDrake Talisman +2: Boosts lightning damage negation.
- Dragoncrest Shield Talisman +2: Boosts physical damage negation.
- Old Lords Talisman +2: Extends the duration of spell effects.
- PearlDrake Talisman +2: Provides additional benefits.
Do you have what it takes to become Elden Lord? Test your memory and skills with our Elden Ring trivia quiz!
Weapons
Elden Ring’s Crumbling Farum Azula does not have too many weapons, but the few weapons that it does have are worth having! Here’s what to expect:
- Maliketh’s Black Blade
- Dragon King’s Cragblade
- Devourer’s Scepter
- Dragon Towershield
Maliketh’s Black Blade
Maliketh’s Black Blade is a colossal blade great for Strength builds, or Faith Builds as it scales with both (D scale). It also scales with Dex but has a lower scale, E. If you’re looking for better dex weapons, consider reading: Best Dex Weapons guide.
Stats: Has a base physical damage of 127, which can go up to 311. Requires 34 Strength, 12 Dex, and 20 Faith to wield effectively.
Dragon King’s Cragblade
Due to its D scale (which can go as high as B) in Dex and 37 Dex requirement, the Dragon King’s Cragblade is great for Dex builds. The sword also scales with Strength but has an E scale. It is a Heavy Thrusting Sword with 92 base damage that can go as high as 225.
Devourer’s Scepter
The Devourer’s Scepter is dropped by Knight/Recusant Bernahl’s invasion near the Dragon Temple Rooftop. It is a Great Hammer.
Stats: Requires 24 Strength, 20 Dex, and 25 Faith. Scales with a D scale in these stats.
Dragon Towershield
You can find Dragon Towershield in a chest in a building southeast of the Dragon Temple Rooftop site of Grace. When you’re at the site, drop down and take the ladder down south. Continue on the path until you reach an area with the Lightning dragon. You will find a small pavilion to the southeast; north of it is an area to which you need to drop down. You will find a building you can go through and find a ladder outside. Go up it to find the chest protected by a Banished Knight.
Armor Sets
Crumbling Farum Azula offers plenty of armor sets for wandering around.
Here is a list of what you can expect to find:
- Drake Knight Set
- Beast Champion Set
- Malformed Dragon Set
Drake Knight Set
Worn by the unmet Drake Knights, you can find the Drake-Knight set, composed of 4 parts, in Crumbling Farum Azula. You need to start off from the Dragon Temple Rooftop Site of Grace. From there, climb down the ladder near the Warhawk at the elevator shaft (it’ll be to your left from the site). Turn left and drop onto the floating rock and then onto the platform. You will find an elevator shaft, but do not go inside; just circle around to its other side. You will find a chest inside which you will find the Drake-Knight Set.
The armor provides 24.7 physical, 19.6 strikes, 25.6 slashes, and 24.7 pierce damage negation in total.
Beast Champion Set
Beast Champion Set is known to be engraved with beasts on the metal, making it one of the fancier suits of armor in the Elden ring. The Beast Champion Set can be acquired by following the Knight Bernahl questline. You will initially find him at the Warmaster’s Shack in Stormhill.
But if you keep following his questline, beat Rykard, and empty out Volcano Manor, Knight Bernahl, later known as Recusant Bernahl, can invade you in Crumbling Farum Azula. You will run into him after passing the Beside the Great Bridge Site of Grace. You can also get the Blasphemous Claw from the Bernahl.
Malformed Dragon Set
Malformed Dragon Set is a gold-plated armor set with a unique look found in the Crumbling Farum Azula. You can get the armor after defeating the Draconic Tree Sentinel found guarding one of the last gates of Crumbling Azula just before the Maliketh fight.
Crumbling Farum Azula Dragons
Elden Ring Crumbling Azula is known to have quite a few mini-dragon bosses lurking around. You can fight them to get the Ancient Dragon Smithing Stones. These upgrade materials can be used to strengthen armaments to +25%. Unfortunately, not all dragons in the Crumbling Farum Azula drop this item.
Regardless, here are the locations:
Ancient Dragon 1
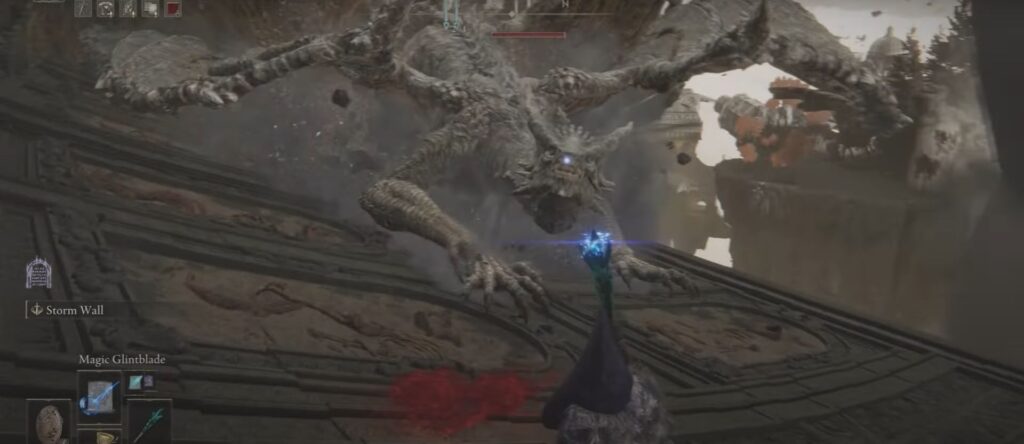
- Found in the open area after the Crumbling Beast Grave Site of Grace.
- As you traverse the curved path, the dragon attacks from the sky.
Ancient Dragon 2

- Located near the Temple Facing Balcony Site of Grace.
- After exiting the building and taking the elevator down, head right to a floating circular platform. The dragon appears here.
Ancient Dragon 3 + 4
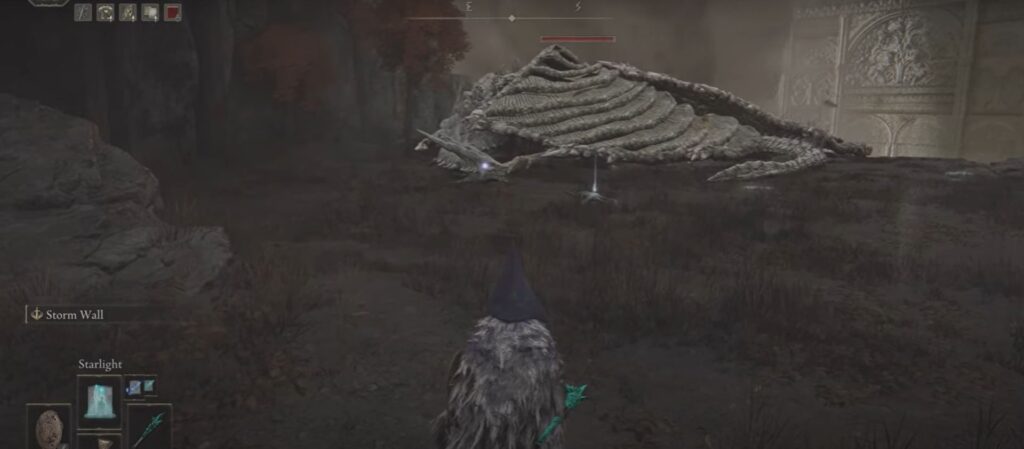
The next 2 dragons can be found together in Crumbling Farum Azula. Starting off from the Dragon Temple Altar, you will notice a giant dragon skull with a door that leads outside in front of it. Go outside and drop down left. Keep following the path, staying to the left most of the time.
Eventually, you’ll come across an elevator shaft with stairs that lead up. Take them up to the elevator, which an imp statue will block. You will need a stonesword key to get through. Once you make it through, go up and again make your way to the path on the left. Bypassing the ruins will eventually lead you to the first Dragon, which will take a peaceful nap.

If you turn around and go backward to the left, you can go up on an elevated path toward a higher platform. Over there, you will see the 4th Dragon as well.
Ancient Dragon 5
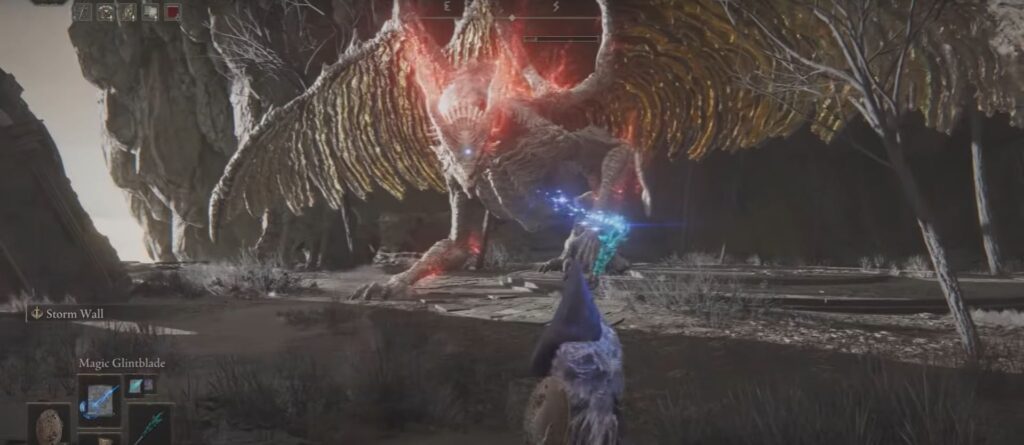
- Found in a more forward location.
- Starting from the Dragon Temple Rooftop, descend and take the ladder to the platform below.
- Proceed forward, avoiding red Lightning, until you encounter the dragon.
Major Bosses
Elden Ring Crumbling Farum Azula is one of the game’s later areas, which is why you can expect to face some tough bosses.
The bosses that you will run into are:
- Godskin Duo
- Maliketh, the Black Blade
- Dragonlord Placidusax
Optional Bosses
Crumbling Farum Azula does not have too many optional bosses that you can face, but the ones that are there are quite interesting. We did mention one of the optional bosses, Dragonlord Placidusax, as one of the major bosses. That is because it is significantly known in the Elden Ring community and worth the fight.
Here is the list of optional bosses that you can expect:
- Wormface
- Crucible Knight
- Recusant Bernahl
- Draconic Tree Sentinel
Talismans
Talisman are great in helping you strengthen your builds. Crumbling Farum Azula is great in the matter of offering you Talisman as you can find 4 great Talisman in that location. Here are some of the best Talisman that you can expect to find:
- Boltdrake Talisman +2
- Dragoncrest Shield Talisman +2
- Old Lord’s Talisman
- Pearldrake Talisman
Boltdrake Talisman +2
- Boosts lightning damage negation.
- Location: Found on a corpse after navigating through Dragon Temple Rooftop, descending a ladder, and reaching a hallway with a ladder at the end.
Dragoncrest Shield Talisman +2
- Boosts physical damage negation.
- Location: Located on a floating chunk of debris in the northern section of Crumbling Farum Azula, between Dragon Temple Lift and Dragon Temple Rooftop.
Old Lord’s Talisman
Old Lord’s Talisman is a great Talisman for the Astrologer Build as it helps increase the duration of the spell’s effects.
- Location: Found in a chest in Crumbling Farum Azula, opposite the boss arena from the Beside the Great Bridge Site of Grace. Take a ladder down, cross a bridge, and reach the chest.
Pearldrake Talisman
Pearldrake Talisman is an odd Talisman as it is part of the Crumbling Farum Azula, but it is not simultaneously.
- Location: Within the sub-area, not directly connected to the main area of Crumbling Farum Azula.
Crumbling Farum Azula Golden Seeds
Golden Seeds are used to upgrade your Flask’s uses, making it necessary to survive in battles. You can find 2 Golden Seeds in Crumbling Farum Azula.
Golden Seed 1
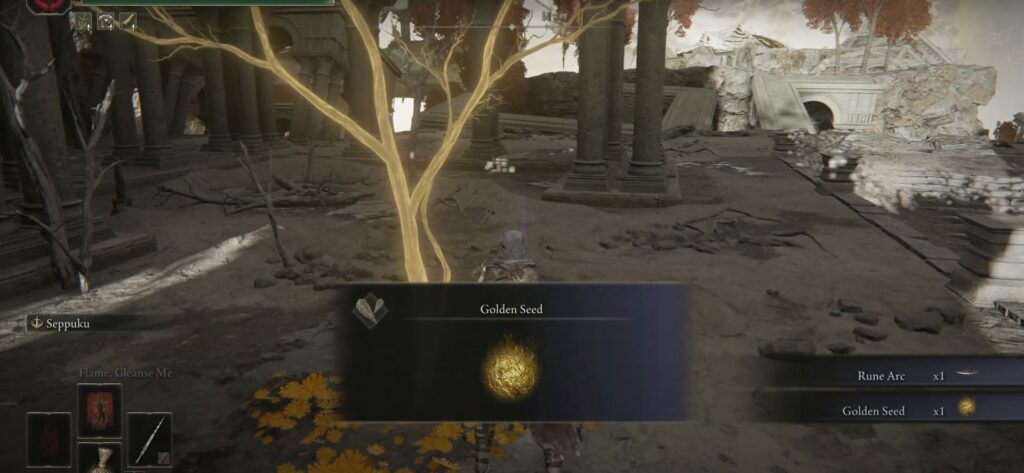
- Start from the Dragon Temple Altar and head outside, following the left path.
- Continue until you reach an elevator shaft. Go up the stairs and unlock the Imp Statue seal to access the elevator.
- Follow the path to the left until you encounter ruins and a golden sapling.
- Near this sapling, you’ll find the Golden Seed.
Golden Seed 2
- Begin from the Dragon Temple Rooftop and descend the ladder.
- Head straight toward the tougher Dragon in Crumbling Farum Azula.
- After defeating or bypassing the Dragon, turn left toward a narrow path.
- Follow this path to reach a tiny roof, then jump to the left to find another golden sapling with the Golden Seed.
My Experience With Crumbling Farum Azula

The Crumbling Farum Azula reminds me of something straight out of George R.R Martin’s works; the area is jaw-droppingly gorgeous and has some worthwhile secrets to collect. The Dragon Placidusax boss fight is one of my favorites in the entire game. Having 150+ hours, as shown in the image above, you can be assured that I have listed everything you need about the area, including its items and other secrets.
With that, you will have conquered Crumbling Farum Azula. If you need guidance on any other walkthroughs, check out the plenty of guides we have written, such as the Elden Ring Fia Quest guide.
Thanks! Do share your feedback with us. ⚡
How can we make this post better? Your help would be appreciated. ✍


![Elden Ring Rotten Winged Sword Insignia [Location And Builds] featured image](https://exputer.com/wp-content/uploads/2023/04/Elden-Ring-Rotten-Winged-Sword-Insignia-Location-And-Builds-390x220.jpg)
