Elden Ring introduced many open-world areas to explore and bosses to defeat. One of the giant bosses in the game is Malenia, which is entirely optional for players. But for the brave adventures that dare come across it, the Malenia Location guide can help them.
In order to find Malenia, one of Elden Ring’s toughest bosses, you have to follow these steps:
- Acquire two Haligtree medallions, with one obtained through the Village of the Albinaurics and the other in Castle Sol.
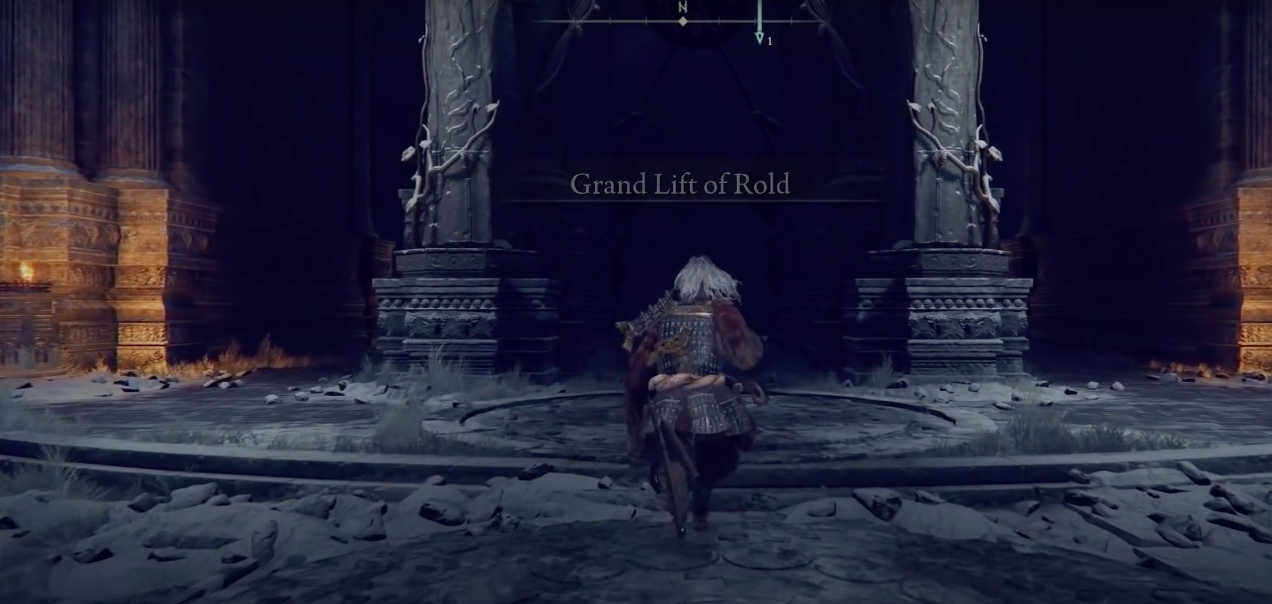
- Return to the Grand Lift of Rold and attach one of the medallions. This will take you to a concentrated snowfield.
- Head north across the snowfield to reach Ordina Liturgical Town. There, interact with statues, light lamps, and use a teleportation device.
- This will lead you to Miquella’s Haligtree. You’ll need to defeat The Royal Knight Loretta’s boss to proceed.
- Afterward, descend using the Haligtree Roots Site of Grace, and you will encounter Malenia. Be prepared for a challenging battle!
- Why Trust Us: Usama has spent more than 160 hours in Elden Ring, making his guides trustworthy!
Who Is Malenia?
Malenia, also known as the Blade of Miquella or One Armed Valkyrie, is a challenging boss in the Elden Ring. She’s a Demigod Empyrean located in the Brace of Halligtree. Malenia, The Severed, has battled her siblings for centuries for control of the Great Ruins. Despite being afflicted by Scarlet Rot, her power is unmatched, making the fight a nightmare.
Malenia Location Walkthrough
In order to reach Malenia boss, you will need two Haligtree medallions that are split are half; one can be accessed through the Village of the Albinaurics and the other through Castle Sol. Then, venture across the Grand Life of Rold; you go to the Haligtree Dungeon, which will lead you to the Malenia Boss fight. You continue reading my guide or watch our complete walkthrough video here.

Haligtree Medallion (Right)

In order to find Haligtree Medallion (Right), I did as below:
The Haligtree Medallion (Right) can be accessed when players are moving their way across the Village of the Albinaurics, a village located a little bit across the Liurnia of the Lakes. When moving across the lake, the player needs to keep moving forward until they come across a small slope/hill laden with dead people.

Going into the village, skip the few houses and kill any enemies that you might feel like looting, and you will come across a small pot. Using your abilities, hit on the pot once, magically transforming the pot into an NPC named “Albus”. After completing a few dialogue options, Albus will hand you the first half of the Haligtree Medallion required to access the Elden Ring Malenia Location.
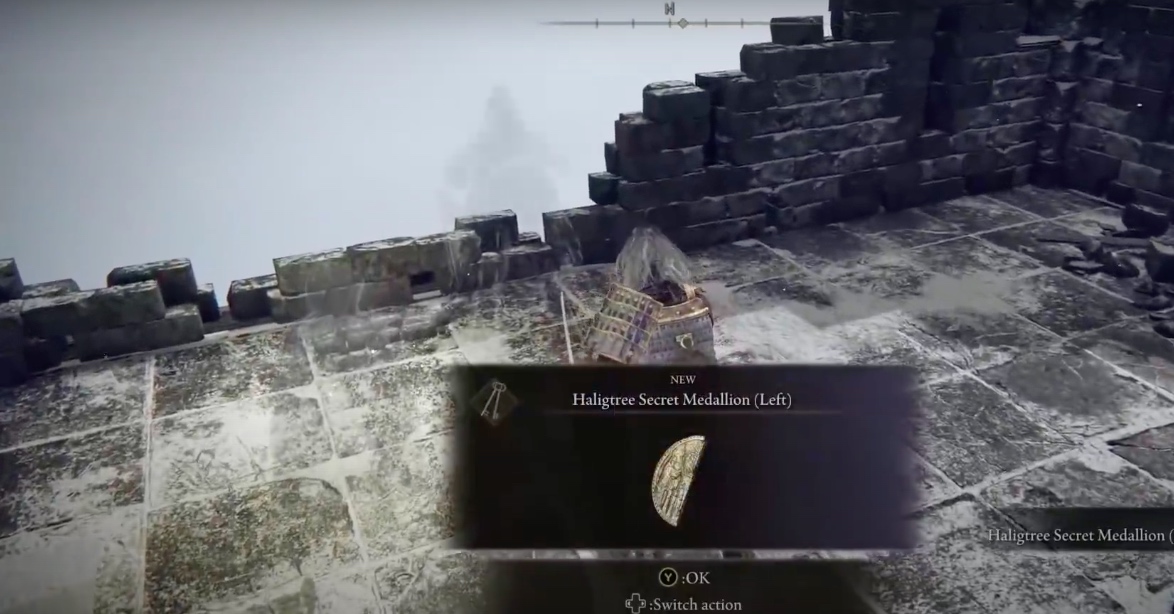
Haligtree Medallion (Left)
In order to find Haligtree Medallion (Left), I followed as written below:
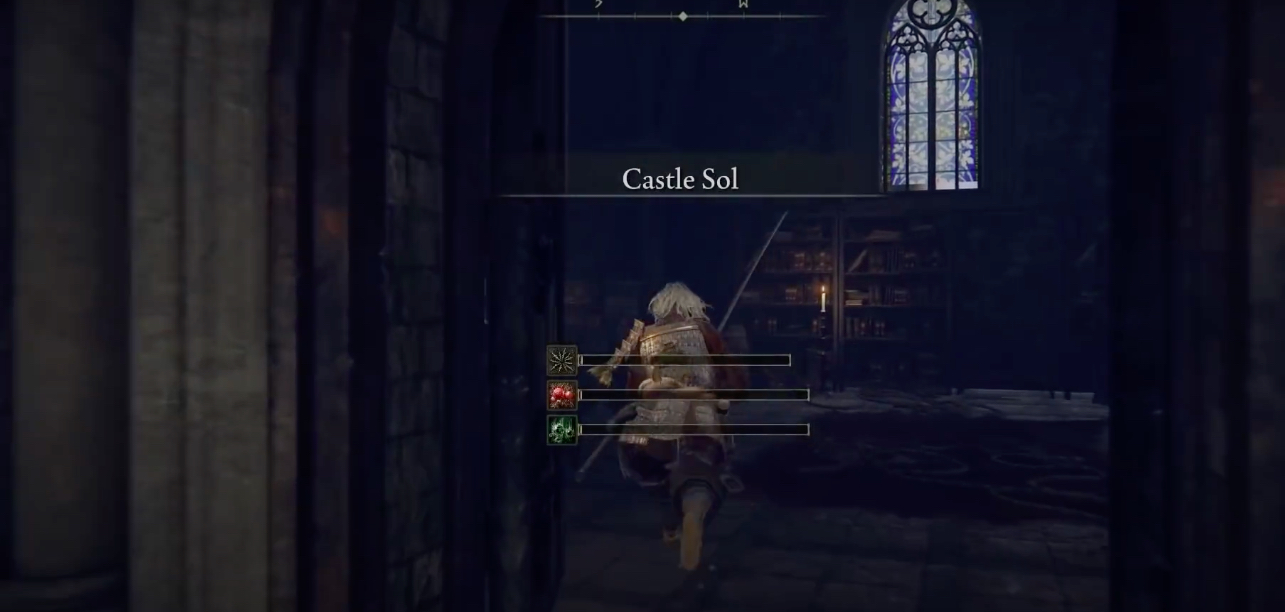
Players can find the other half of the Haligtree Medallion in a castle known as “Castle Sol“, which the players can come across when they are venturing around the Mountaintops of the Giants. Adventurers will need to venture forth a little northeast to come across the castle when they take the bridge north from the Stargazer’s Ruins.
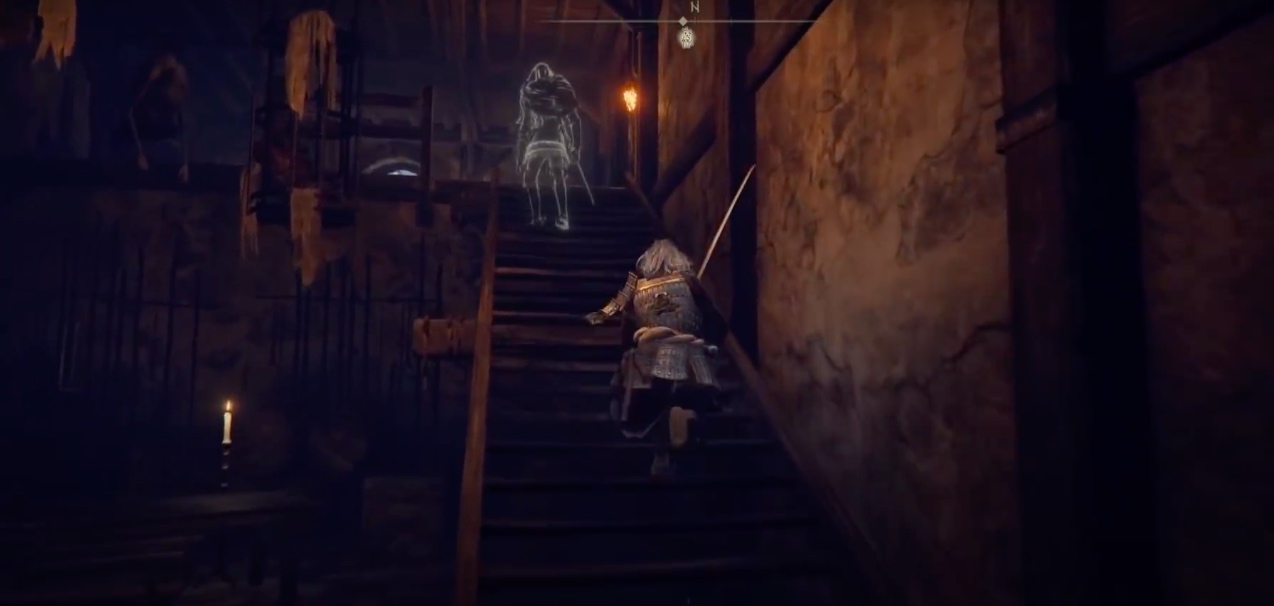
At the main entrance, you’ll encounter a “Lion Guardian” patrolling the area. Defeat the Lion Guardian and use your abilities to enter. Heading slightly northwest, you’ll follow a path with multiple wooden barricades, eventually leading to a room filled with countless Skeletal Slimes.

Defeat Skeletal Slimes, climb the ladder eastward on the castle walls. Collect loot, including Golden Runes. Deal with Castle Guards and ballista operators. Grab Smithing Stones and the Sorcerer Painting. In the central courtyard, I would advise sneaking past the Lion Guardian and find more Smithing Stones. Proceed eastward, sneak past Castle guards, and climb stairs to reach the Church of the Eclipse. Along the way, collect Thawfrost Boluses and Golden Runes.
Going inside the church, wield the Eclipse Shotel sword that is placed there, go out of the church while taking help from the exit, and climb up the ladder. When you take help from the walls for directions, continue making your way south, whereby adventures will come across a set of steps where they can head into a room littered with rats.
The loot here can be amongst Smithing stones and Rune Arcs. Climb up the ladder in the church again, head south, and steer clear of the Banished Knight. When the player is back at the church’s central location, go through the eastern exit and cross the main building.
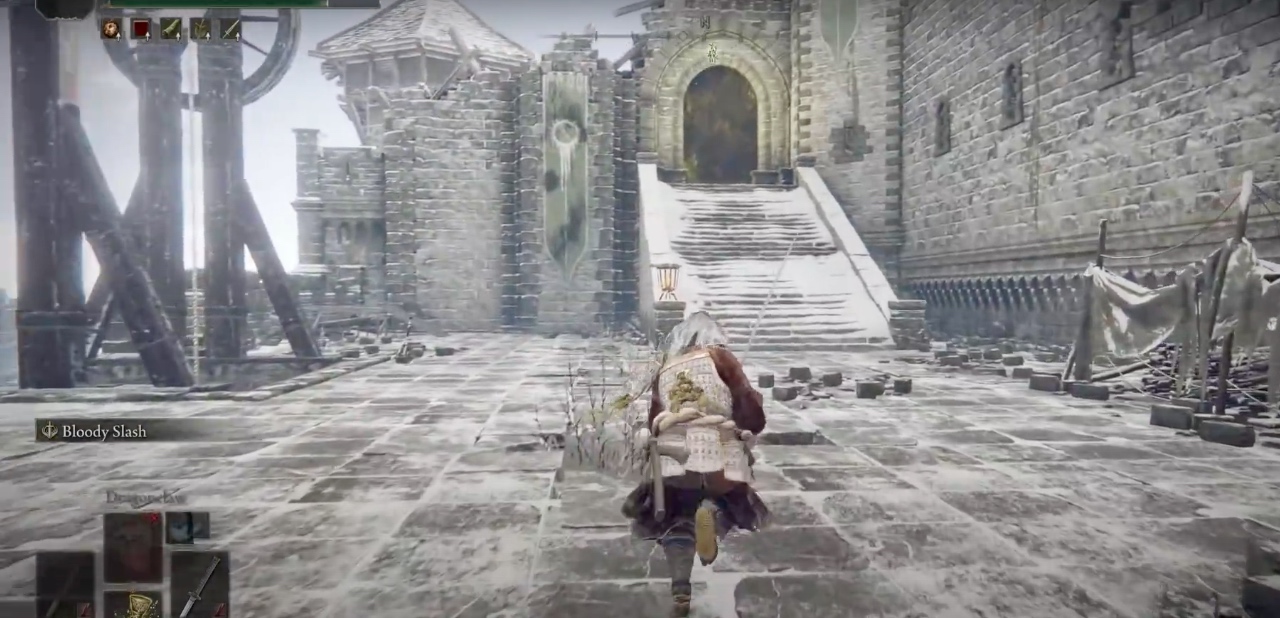
Going up the stairs, there will be another flight of stairs that you can climb and get out of the building on the central-eastern side of the castle. There will be the main door that players can activate, and players will come face to face with Commander Niall, a miniboss.

Use some tactics to defeat the boss and head into the Site of Grace, whereby players can go into the North-Eastern tower to access the Haligtree Secret Medallion (Left). This is both the halves acquired needed for the Malenia Location.
Grand Lift of Rold
After getting both Medallions, I went to Grand lift of Rold:
To progress in the Malenia Location, obtain both halves of the medallion and head to the Grand Lift of Rold. Access it by traveling east from the central location of the Royal Capital and crossing the Forbidden Lands
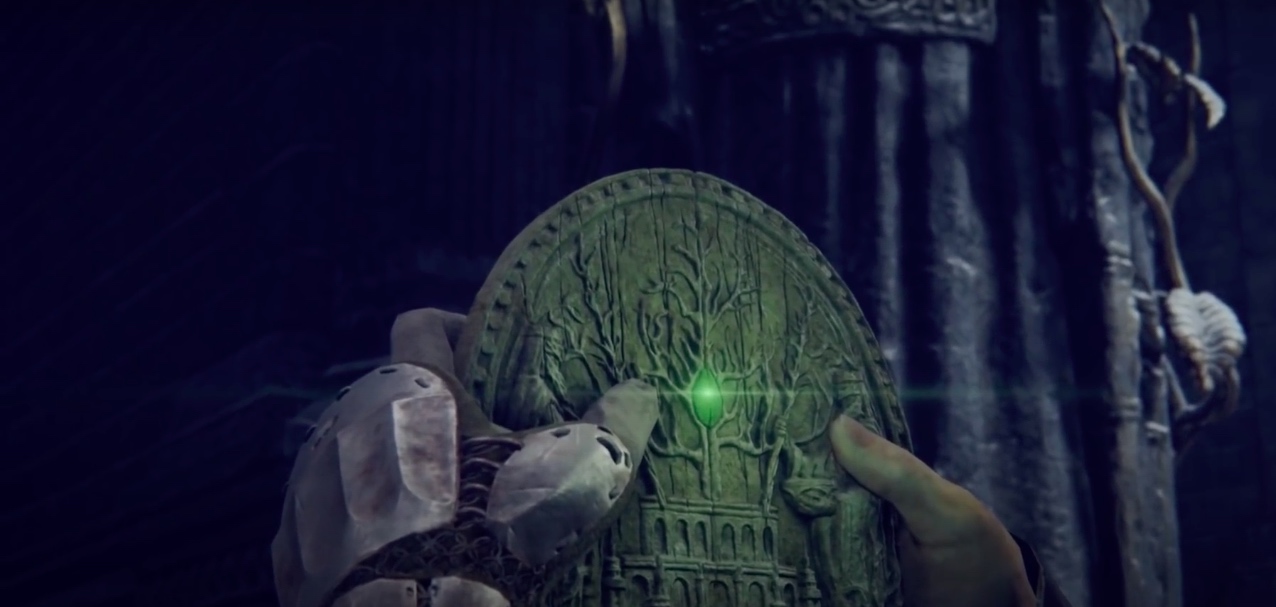
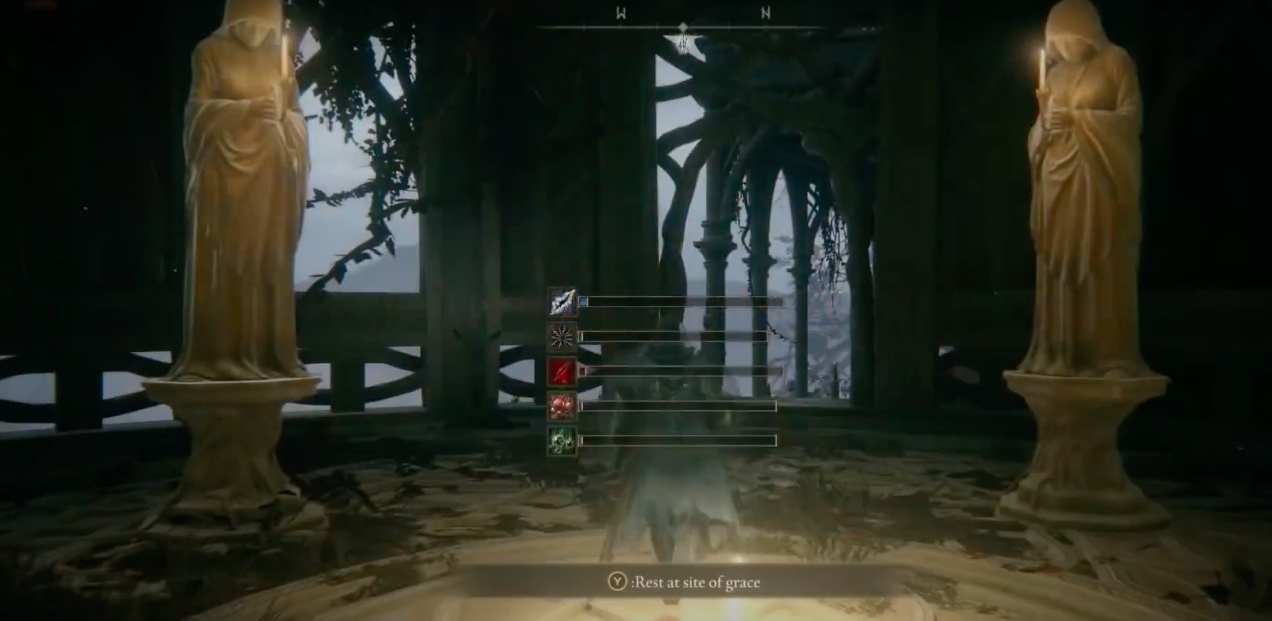
Once they get to the location, they can go into the Site of grace, whereby they can come across a lift that will lead them to the Consecrated Snowfield. Move your way over there and have in hand both the Haligtree Secret Medallion (Left) and Haligtree Secret Medallion (Right) and select the “Hoist Secret Medallion,” and this will activate the lift and lead to the next area needed.
Haligtree Town Site of Grace Location

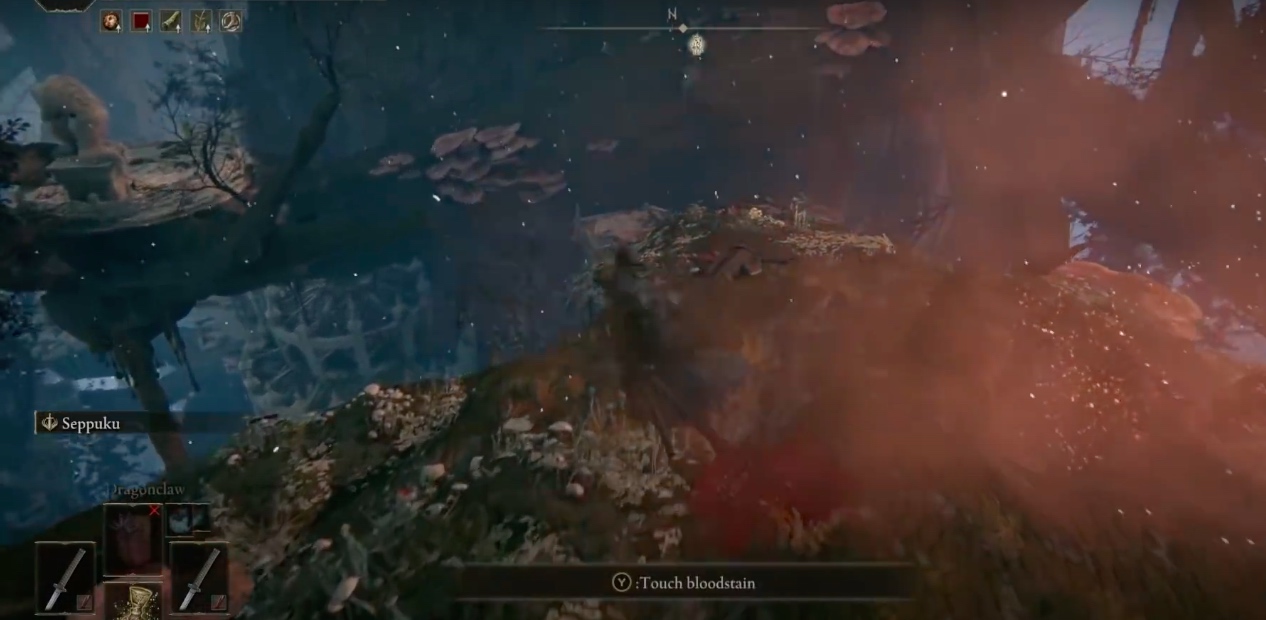
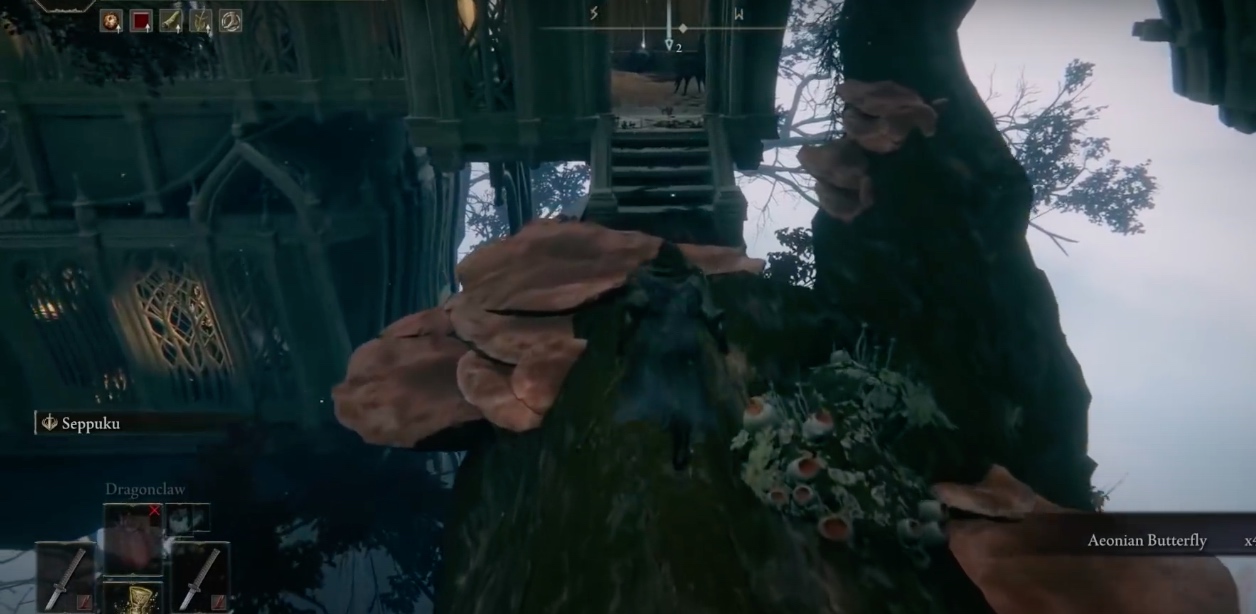
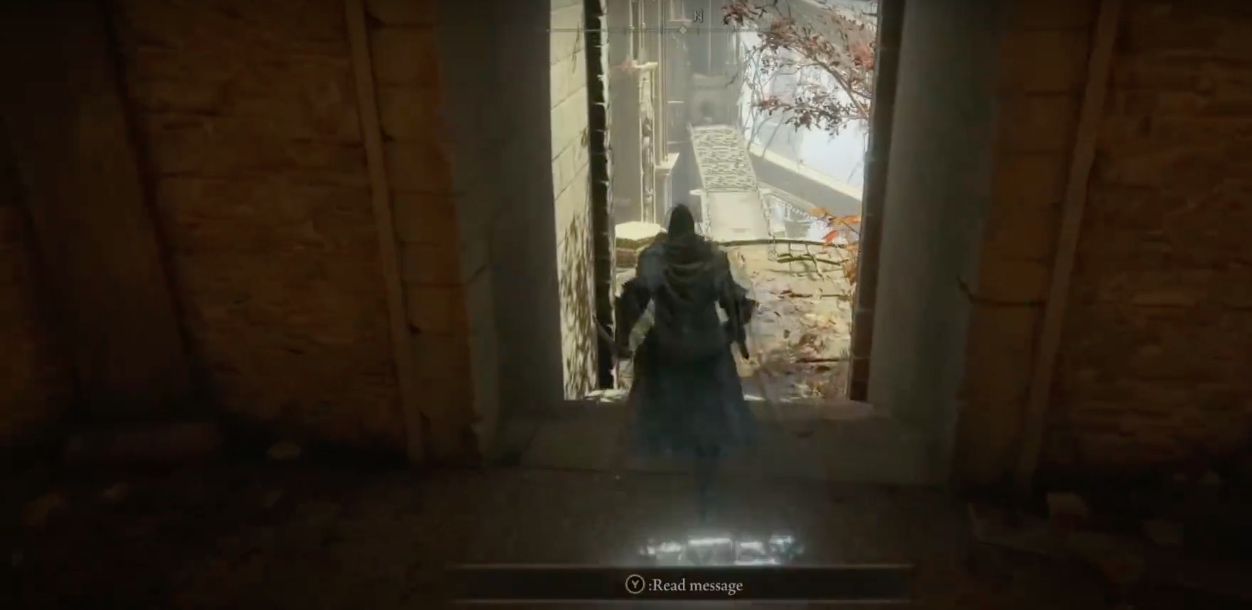
Travelers will encounter Miquella’s Haligtree, housing Loretta (the miniboss) and the entrance to Elphael, where the boss Malenia is located. This vast dungeon lies in the northern part of the Consecrated Snowfield. To navigate it successfully, players need exceptional combat and traversal skills, along with a keen sense of direction. Upon reaching the Haligtree, I highly encourage quickly turning around to find a “Stonesword Key” on a corpse, then proceeding to a nearby site of grace.
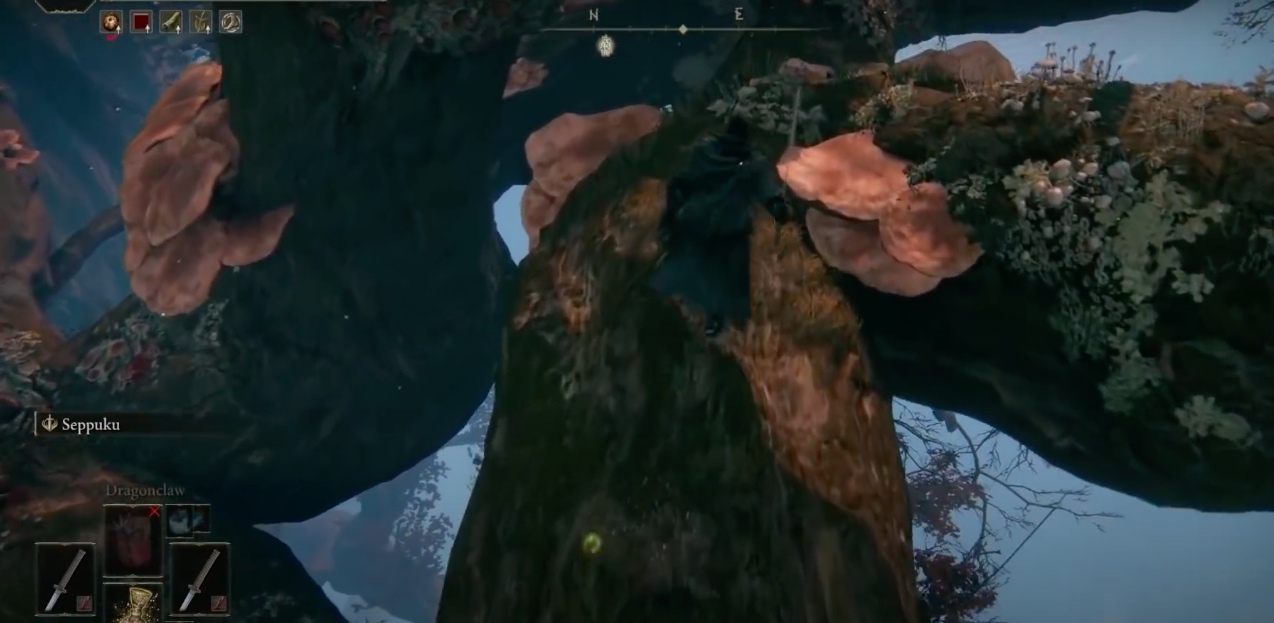
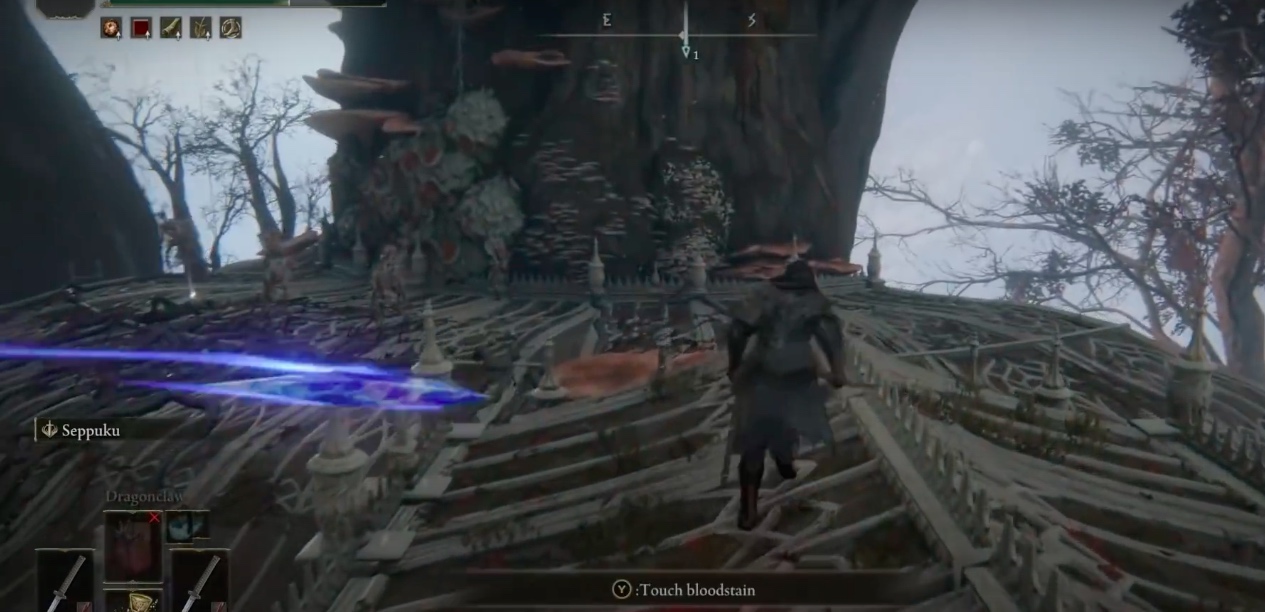
Head east and deal with Oracle Envoys. Move eastward on the nearest branch, then go northeast. Eliminate three more Oracle Envoys with ranged attacks. Sprint up the left split branch heading south to avoid attacks and collect Golden Runes. Turn south, follow the left branch, use ranged attacks to deal with an Oracle Envoy and Poison Flower. Jump down to a safe branch when the branch ends. Retrieve loot and return to the branch where the Giant Ants were.
Head a bit down, and you will come across an Oracle Envoy that will hit about five bubbles at you. Keep making your way down, using stealth as your best friend here, make a quick left at the main juncture, and dodge the bubbles that the envoy is shooting. Attack him and obliterate it.
Travelers can then start to head in the southwestern direction, where there will be a corpse with an Ash of War that you can quickly loot. Keep making your way along the branch, and you will finally land upon the Haligtree Town Site of Grace.
Vernturing Inside The Haligtree Town
For venturing inside Haligtree Town, I suggest doing as I did:
Making your way through the Malenia Location, when adventurers are done traversing across the tree and jump onto the central platform and go down the steps, they will be encountered by a wild Misbegotten, which will try to attack the player. Try as hard as you can to either dodge its direct attacks or instantly take him down.

After defeating them, you have two options: go up the ladder or down the stairs. If you choose to go up, find a dead Misbegotten and face some Scarlet Rot Zombies. Collect loot like Rot Grease and Pearldrake Talismans, then return down the ladder.
- Descend stairs, avoid zombies and defeat two Wild Misbegottens.
- Go right, bypass a group. Exit through southern door.
- Loot corpse with golden runes.
- Spot destroyed wall and ladder; use ranged weapons. Climb ladder to building.
- Enter through open window and eliminate zombies.
- Return if needed. Proceed left in main hallway.
- Choose straight or left in next building. Encounter enemies, Golden Runes, Smithing Stones, and loot.
- Finally, return to Haligtree Town Site of Grace.
Making your way south, leap down onto the main roof of the building, get hold of the Smithing Stones and start making your way back to the building from where you leaped onto the roof and head back inside.
After exiting the building, turn right to eliminate the Spirit Snail. Head to the southeastern side and return to the roof’s edge. Move onto the next platform. Once on the platform, climb the ladder, and defeat the zombies to collect Smithing Stones from their corpses.
Proceed through the central west corridor, looting some corpses along the way. Head east and follow a small walk path. You may encounter a few misbegotten here, which you can defeat before returning left. Before reaching the bridge, defeat the Battlemages. Your destination is the bridge on the far right, where you’ll find a lift nearby that takes you back to the Site of Grace. After crossing the main northeastern bridge, you’ll reach the central courtyard.
Loretta’s Miniboss
I defeated the Loretta’s Miniboss by following the tips below:
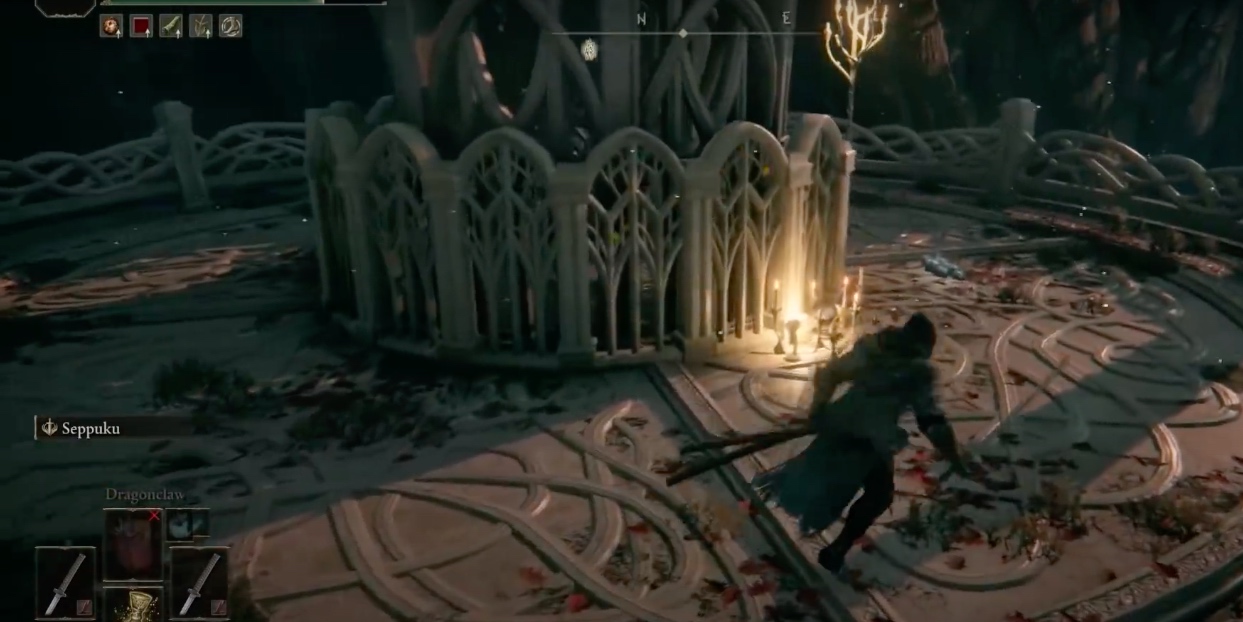
Venturing first thing into the central courtyard, you will come across Loretta, who you need to defeat to move forward with Malenia Location. Players can take a few moments, and while they are dodging her attacks, you can quickly notice her patterns. I personally suggest using some of the best weapons, especially the ranged ones to take her out.
Dodging and using Ashen Remains will be your best friend, alongside ranged weapons to stay at a safe distance and take her out. Once you are done defeating her, you can loot it for 200000 Runes and Loretta’s War Sickle weapon. Moving your way north, you can go down the ladder where you can proceed to the following location, which is Elphael, Brace of the Haligtree.
Traversing Outskirts of Elphael
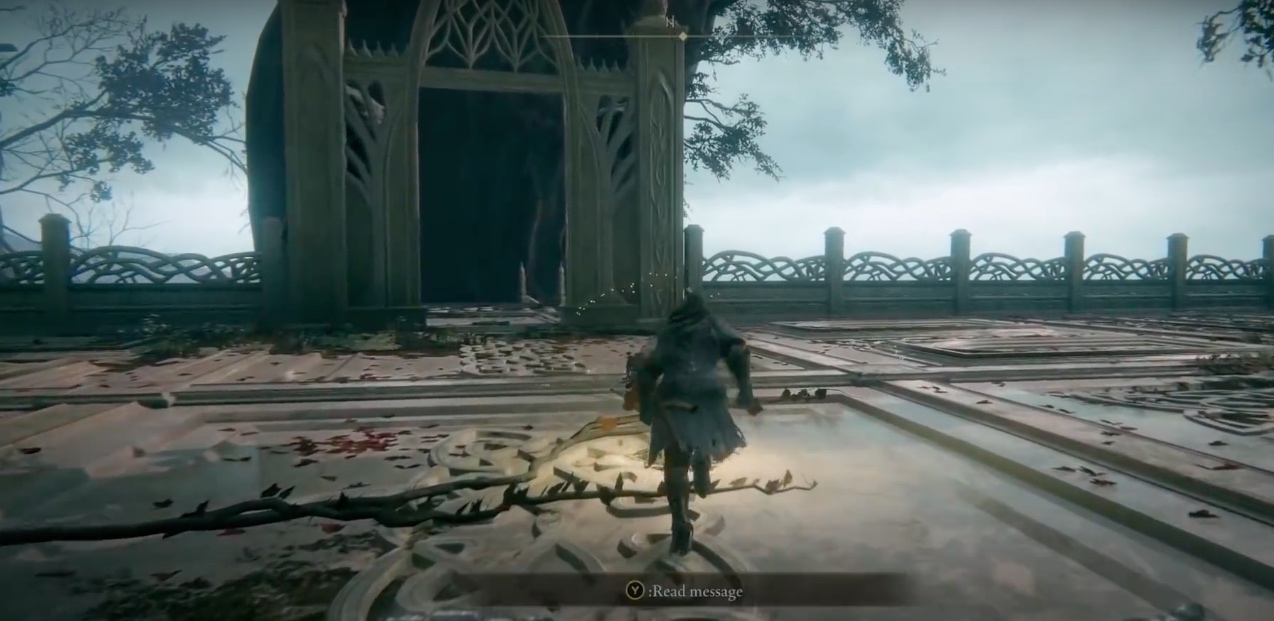
After defeating the miniboss, I traversed the outskirts of Elphael by doing the following:
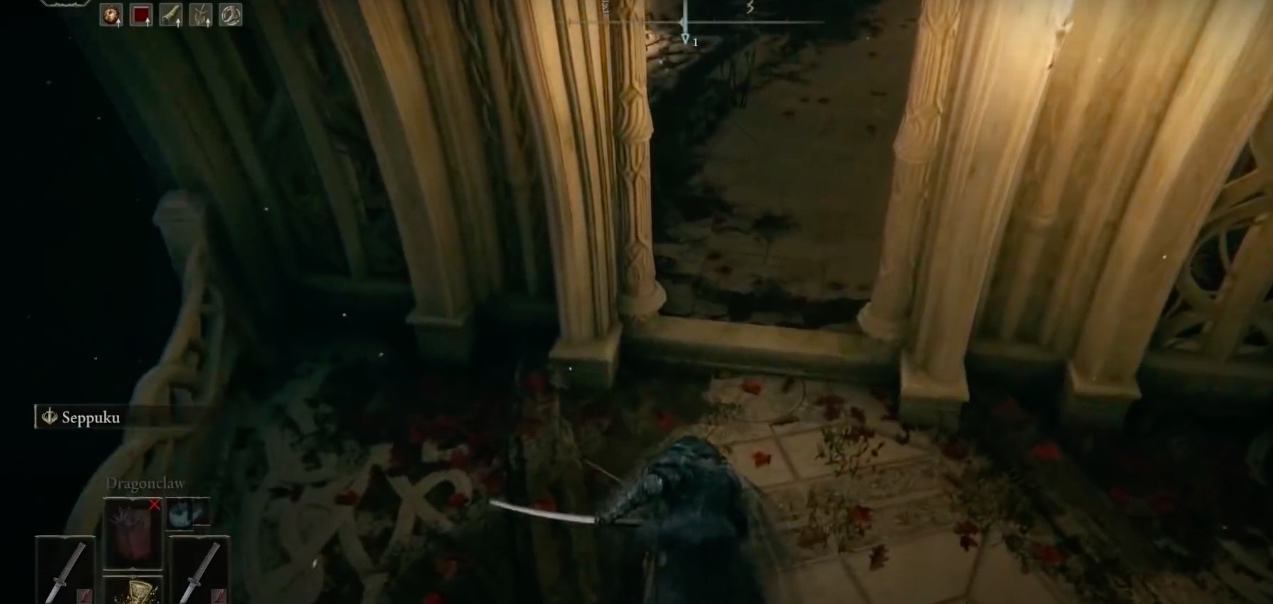
When you first venture into the main base, you will come across a bridge that you can cross on. Players will come across a few corpses where they can loot them for three Holy Grease.
Head on to the leading Site of Grace, and start moving in. when you first make your way down the stairs, head to the door to your left and kill some Haligtree Soldiers. Get out of the main room and continue moving along the central area.
Using the outer wall as a guide, descend the steps and ignore the room on your left. Near the stairs, you’ll encounter Haligtree Soldiers. Continue south and enter the next corridor, where you’ll find a statue. After doing a 180, head north.
Descend steps and enter a room. Defeat two Cleanrot knights, loot items (Smithing Stones, Golden Runes) to avoid HP loss. Return to northwestern corridor. At the first left doorway, climb twisted branch for loot. Return to outer pathway, continue down stairs, head northwest. Look around briefly, then turn around and ascend stairs. Leap onto left concrete support. Follow path, defeat Cleanrot Knights using combat skills.
Go back up the stairs, which are in the western direction, and kill two ballistae located there. Take the help of the beam and go into the main room that is located upstairs. Adventurers will need to keep heading west, whereby they will encounter the Erdtree Avatar, which they can kill for a few runes.
Heading Into Elphael
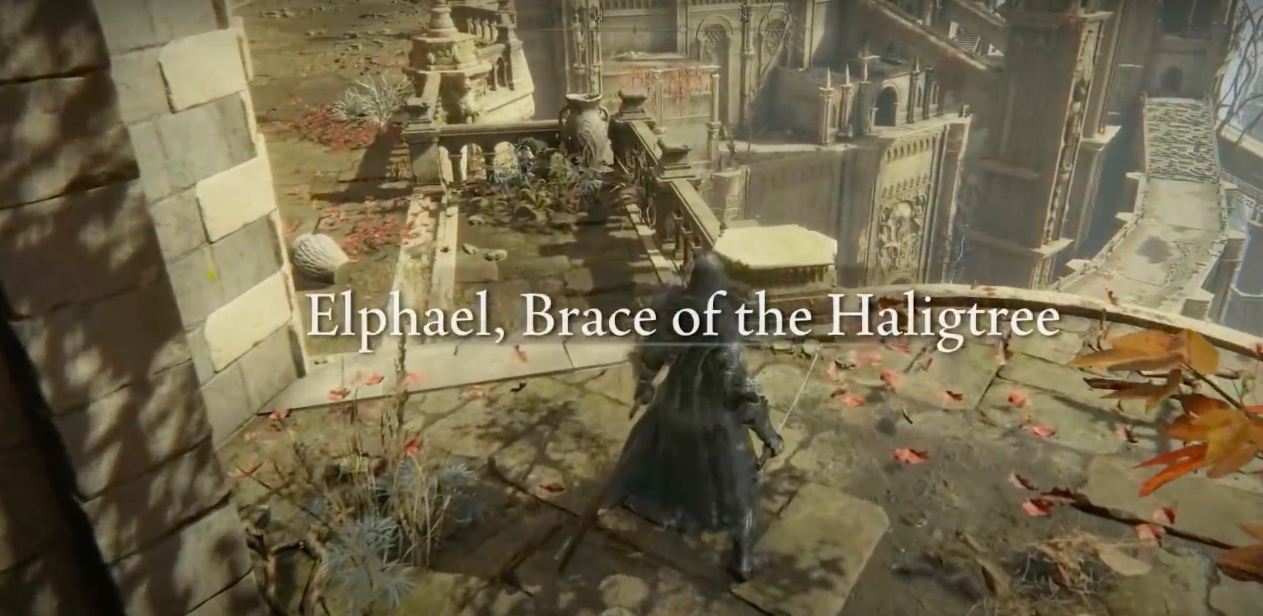
I did the following to roam around in Elphael:
After grabbing some loot, players should make their way over to the Elphael Inner Site of Grace. Making your way over to the main corridor after going down the stairs, you will encounter a tree root on your left. Climbing it will lead you to some Crystalians that players can take out. Traversing back, continue heading southwest, turn left and start going up the tree root.

The tree root runs through a broken wall, and players will come across some Flowers that will continue to deplete the player’s HP the longer they remain in the area. Kill off the Kindred of Rot guarding this area and go to the central island. Keep going up the tree roots to avoid staying in the water.
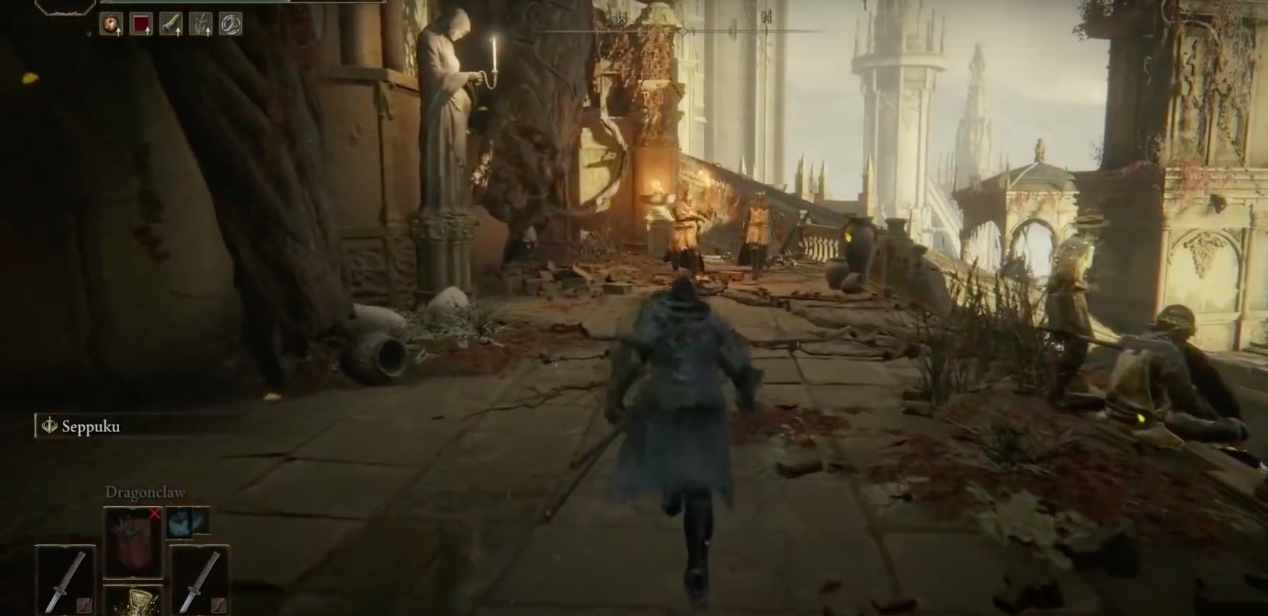
Instead of making up the hill entirely, I recommend that you go to the right to encounter a small room with a small site of grace, the Drainage Canal. With this becoming a teleport waypoint, keep going on the hill and back into the main area where the Scarlet Rot builds up. Heading southwest, players will come face to face with a big lake.

Near the lake, you’ll encounter a Great Grave Glovewort, another Tree Spirit to defeat to progress in the Malenia Location. Head back to the Drainage Canal Site.
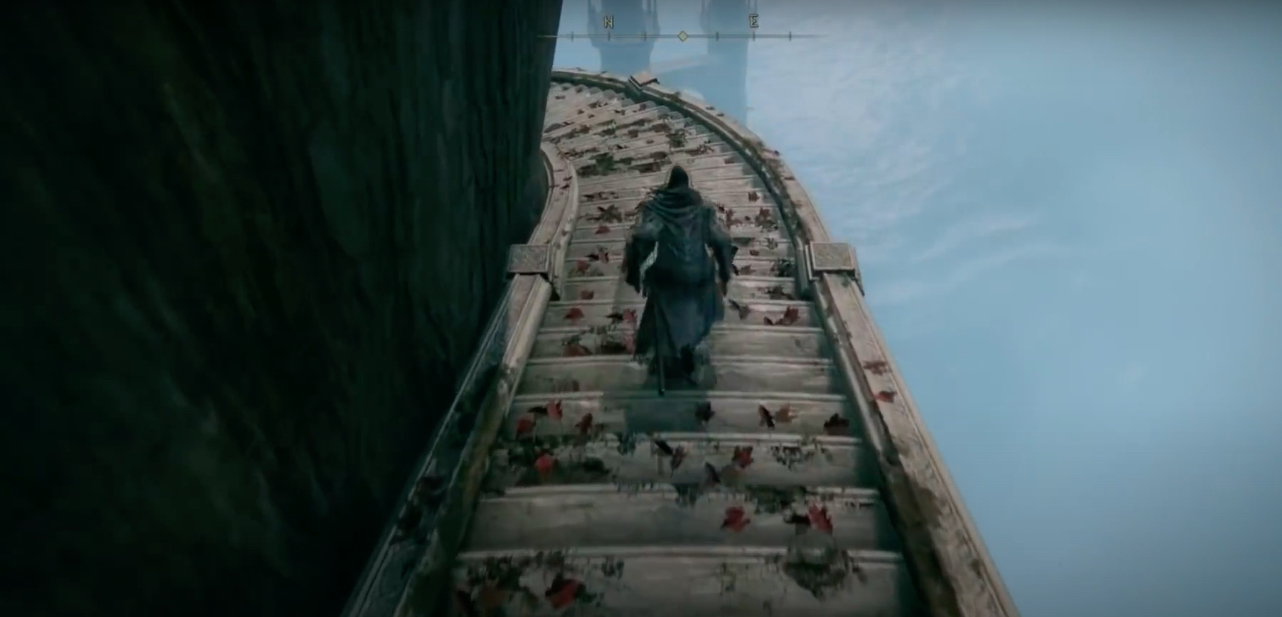
Go east to find an outdoor exit. Climb small support beam on the right, jump onto giant tree root leading to roof with a broken hole. Descend on beams. Exit through eastern doorway to large courtyard. Loot for Numen’s Runes, Ghost Gloveworsts, Bell Bearings. Proceed in correct direction to reach graveyard for more loot. Re-enter main building.
Head southwest to find lift descending to Haligtree Roots Site of Grace. Mentally prepare for upcoming battle.
Malenia, Blade of Miquella Boss Battle
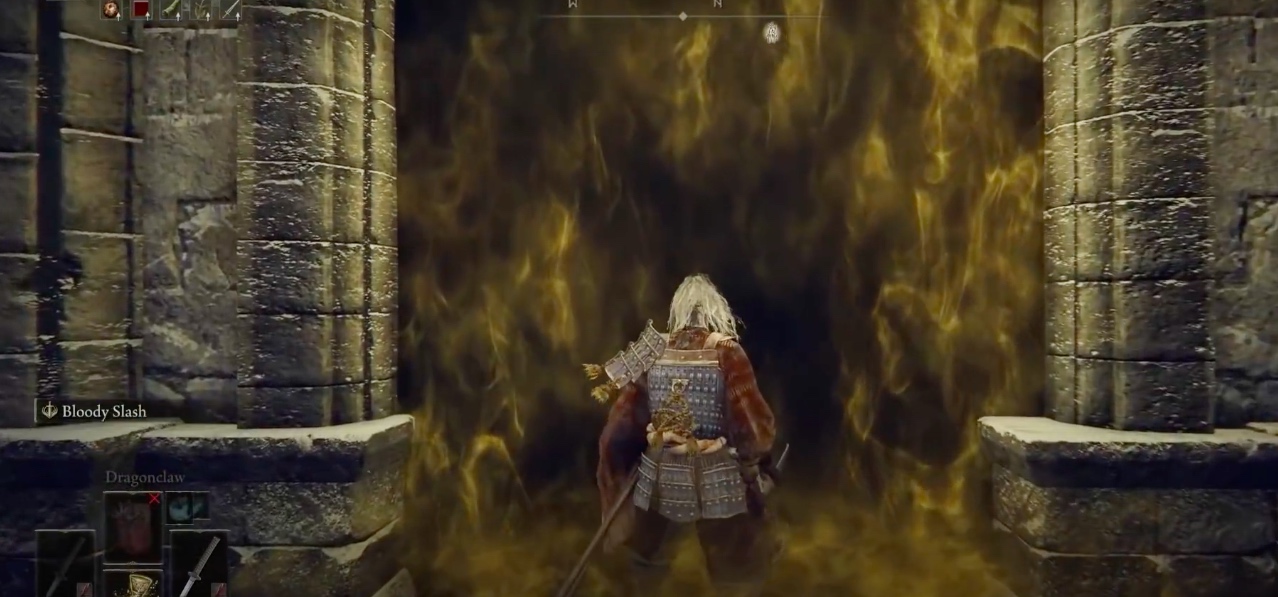
Going through the main fog door, adventurers will come face to face with Malenia herself, the boss located here. Being a difficult battle, players must learn the attack patterns beforehand and fully prepare themselves. You can check out this guide that will fully prepare you for the worst scenarios and make you prepared enough that you conquer the fight. If you’re frustrated and unable to beat this boss, read our Malenia Cheese Method guide.
My Experience Fighting Malenia
Getting to Malenia for me was tricky as the setup took a lot of time. The area had enemies that hit very hard, which made reaching the boss challenging. But the real trouble started when I got to her. I clearly remember my first encounter with her as she instantly killed me with just two hits, leaving me speechless. After a few tries, when I thoroughly learned her moveset, I immensely enjoyed the fight and admired how great the boss was.
LionTamer55460)
With many attempts, Malenia definitely got easier, and the rhythmic battle made the fight worthwhile. Then, the second phase appeared, and I wasn’t angry at all as I really liked the boss. The only trouble for me was managing the Scarlet Rot, but after using some Bolluses to alleviate the status effect, I beat her second phase in a single try.
With that, that concludes Elden Ring Malenia’s Location guide. Let us know what you think down below!
Other Elden Ring Boss Beating Guide:
- How To Beat Maliketh
- How To Beat Dragonlord Placidusax
- How To Beat Mohg
- How To Beat Godrick’s Great
- How To Beat Alecto Black
- How To Beat Godskin Duo
- Rennala Cheese Method
Thanks! Do share your feedback with us. ⚡
How can we make this post better? Your help would be appreciated. ✍