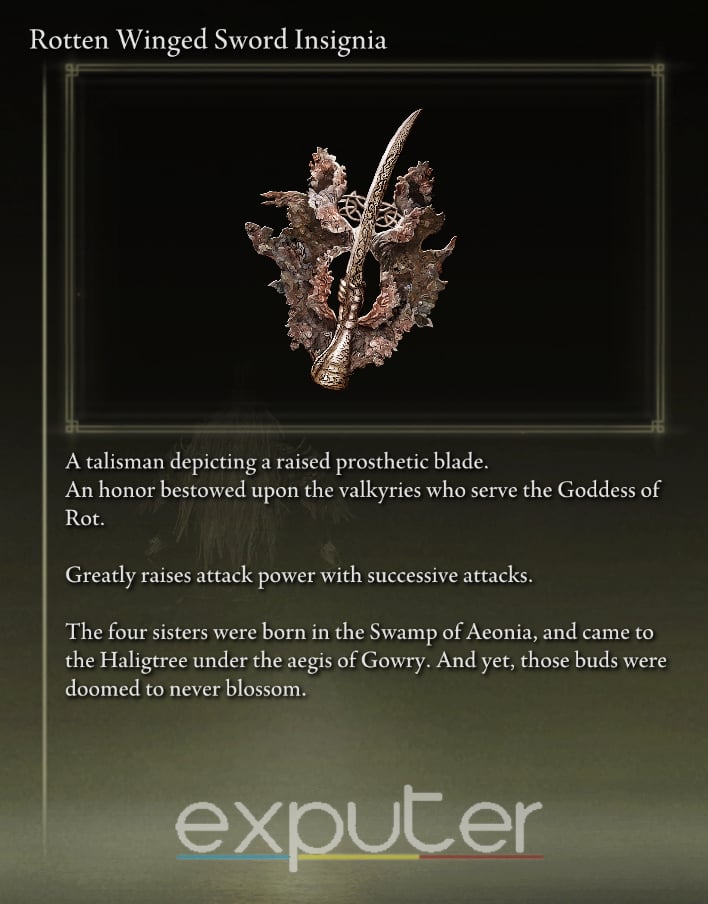
The Elden Ring Rotten Winged Sword Insignia is easily one of the strongest late-game talismans that encourages an aggressive playstyle for your build. As a stronger version of the regular Winged Sword Insignia, this talisman greatly raises your attack power with successive hits. So, if you want to take an offensive stance and melt through enemy HP, this item is for you.
- The Rotten Winged Sword Insignia boosts attack power with consecutive hits.
- To obtain it, follow Millicent’s Questline in Elphael:
- Find Millicent near the Swamp of Aeonia in Caelid.
- Progress through the quest by:
- Defeat Commander O’Neil and then give the Unalloyed Gold Needle to Gowry outside Sellia.
- Solve the Sellia puzzle.
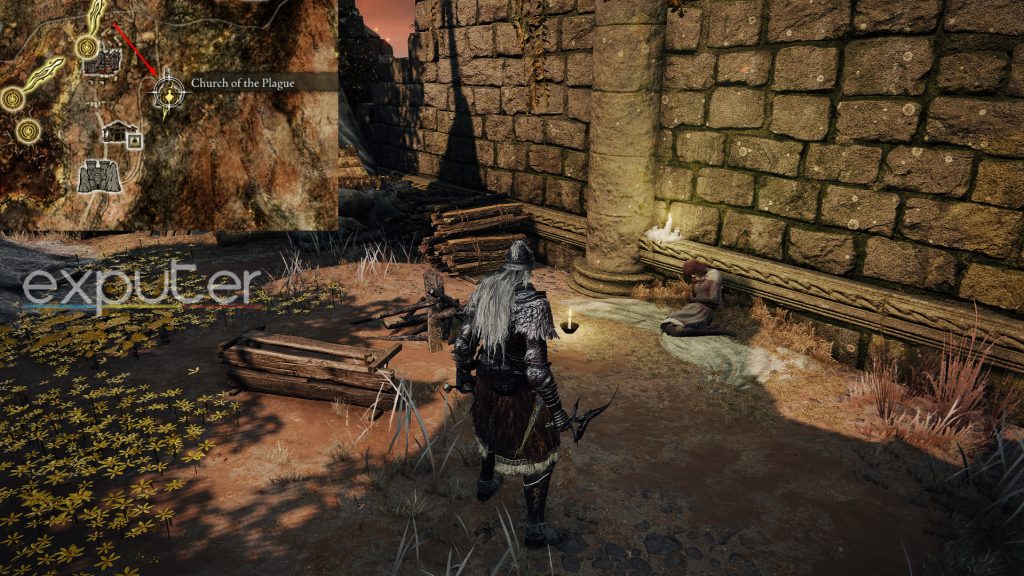
- Meeting Millicent at the Church of Plague.
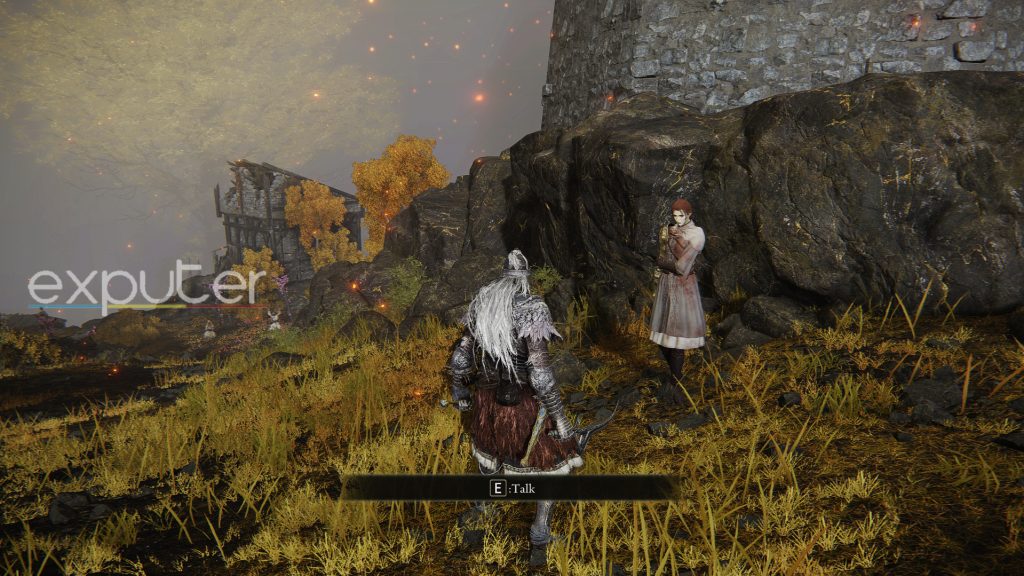
- Talk to her near the Erdtree Gazing Hills Site of Grace and head to Windmill Village.
- Interact with her after defeating the Godskin Apostle.
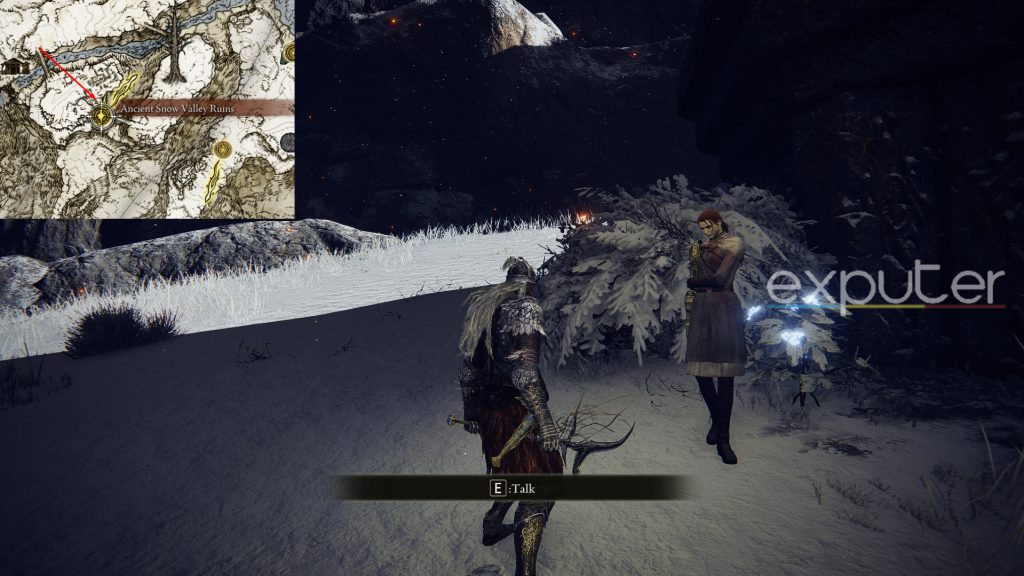
- Meet Millicent near the Ancient Snow Valley Ruins Site of Grace at the Mountaintops of the Giants.
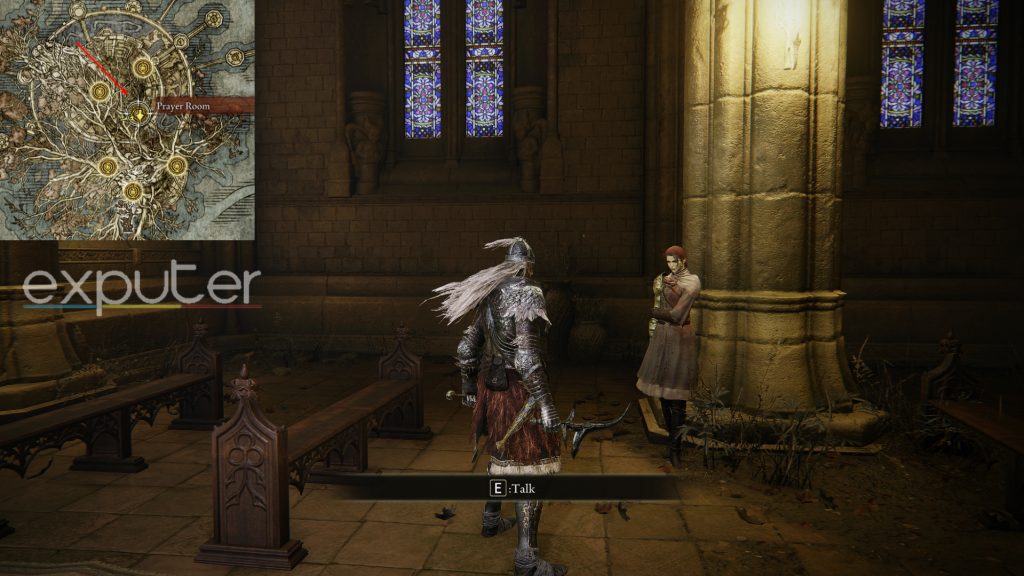
- Find her inside the Prayer Room in Elphael.
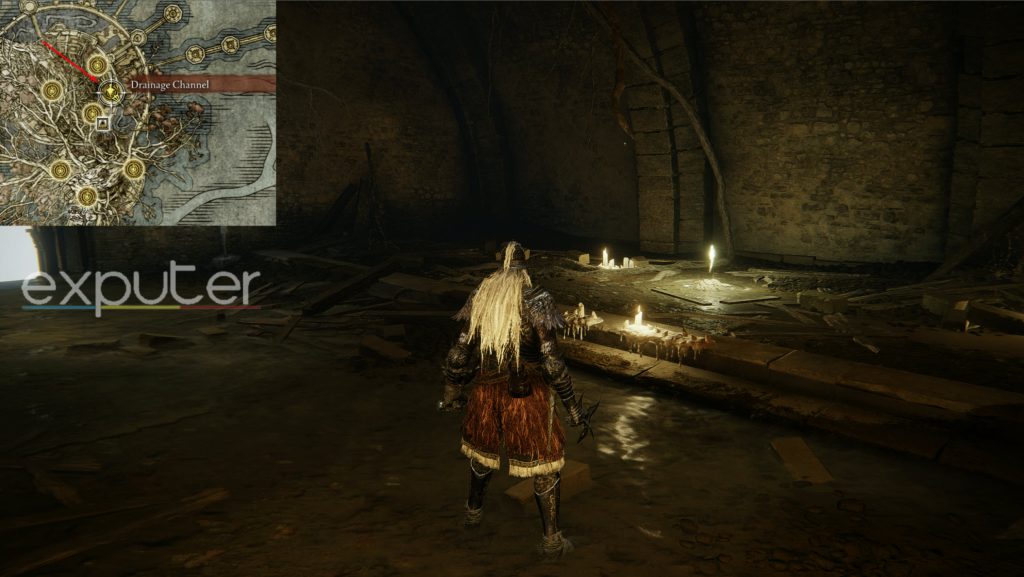
- Proceed to the Drainage Channel Site of Grace.
- Go to Rot Swamp eastside above the channel, defeat the Ulcerated Tree Spirit, and help Millicent in an invasion.
- After aiding her and defeating her two sisters, you’ll receive the Rotten Winged Sword Insignia.
- Use this talisman to enhance your build by equipping specific talismans, armor sets, and Ashes of War.
Location of The Rotten Winged Sword Insignia
As mentioned, the insignia is a late-game talisman in Elden Ring. You’ll first need to complete the entirety of Millicent Questline to get it. And towards the end of this quest, you’ll have to kill off a few NPC invaders to get the talisman.
Millicent is a friendly NPC whom you’ll first encounter in Caelid, one of Elden Ring’s mid-game regions. She has one of the game’s longest but most impactful quest lines, so you might want to buckle up for the long ride. With that said, here’s a rundown to completing her quest:
Meet Millicent For The First Time
The first half of this quest involves meeting Millicent in Caelid and curing the Scarlet Rot afflicting her. To do this, we’ll first need to meet Gowry at his Shack near Sellia, the Town of Sorcery:
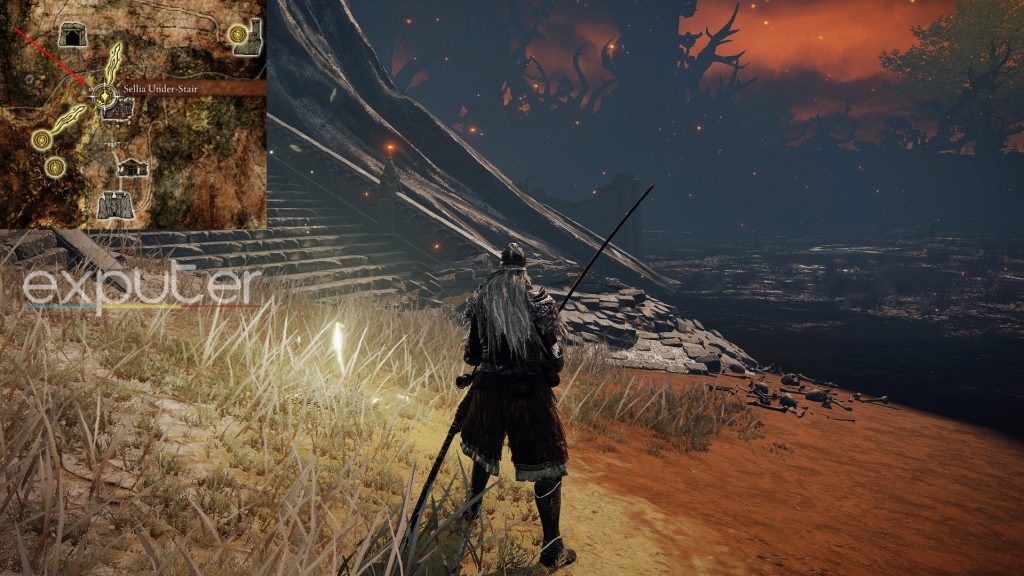
- Starting from the Sellia Under-Stair Site of Grace towards the northeast of the Swamp of Aeonia, head southwest alongside the Town’s outer walls.
-
- As you go up the hill, take a left at the end of the route next to the tree roots and follow the stone path ahead to reach the Sellia Gateway.
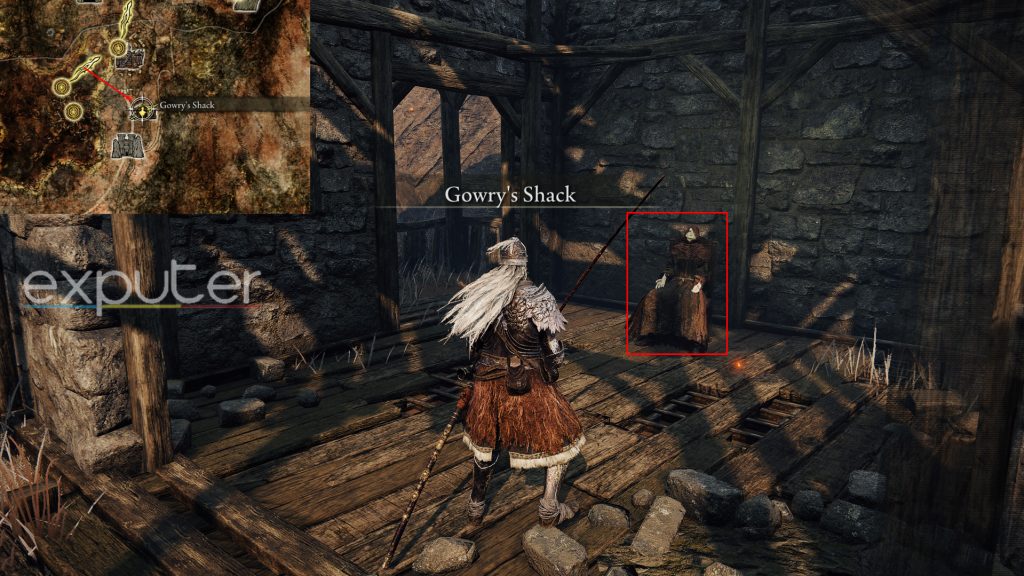
- You’ll notice a small wooden shack guarded by a Monstrous Dog outside to your left.
- Kill the dog and walk inside the shack to meet Gowry, a mysterious NPC.
-
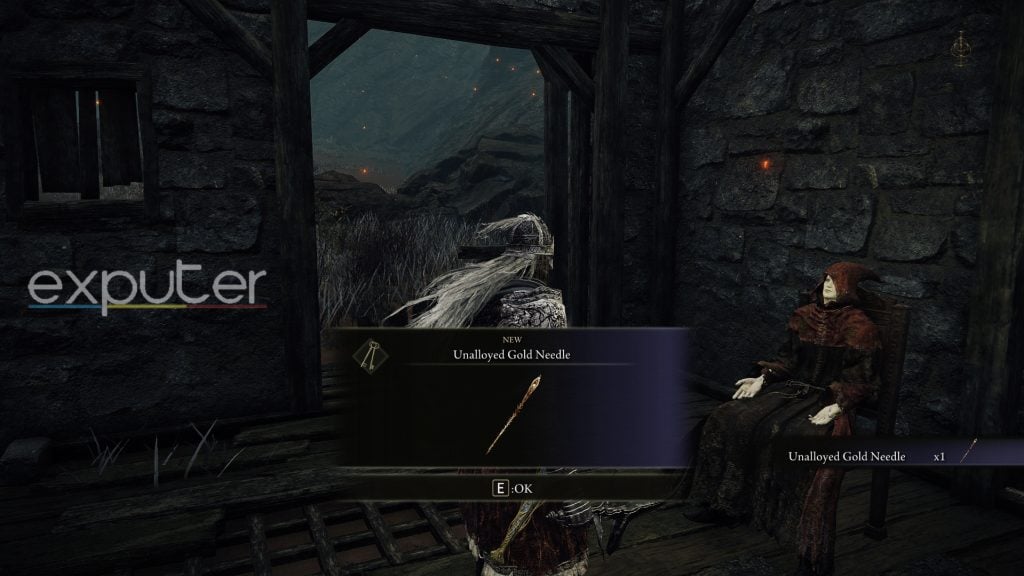
- Exhaust his dialogue, and head back to the Swamp of Aeonia to fight Commander O’Neil and get the Unalloyed Gold Needle.

-
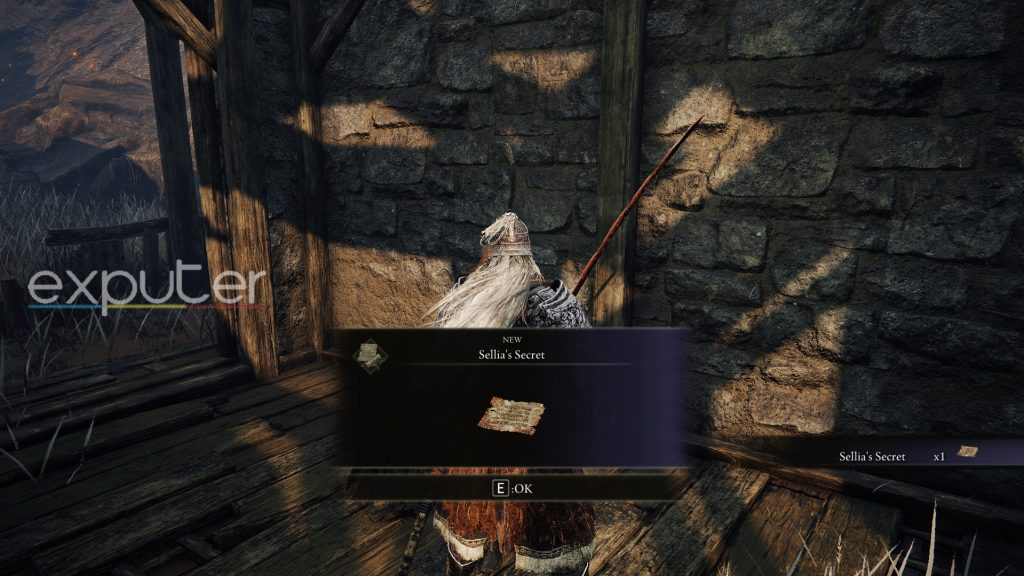
- After killing the boss and obtaining the needle, go back to Gowry in his shack, hand it over to him, and receive Sellia’s Secret.
-
- Now, teleport to the Sellia Under-Stair Site of Grace again and return to Gowry’s Shack to retrieve the repaired Gold Needle.
-
- Next, proceed to Sellia via the entrance near the shack and solve the Town’s puzzle using the aforementioned info item to unlock the sealed door atop the stairs at the far northern edge.
- Once you’ve completed the puzzle, go to the Church of Plague following the straight route and uphill, and you’ll meet Millicent in a sick state.
-
- Give her the needle you previously repaired, rest at the Church’s Site of Grace, and talk to her again to receive the Prosthesis-Wearer Heirloom.
- Finally, talk to Gowry and tell him you temporarily cured Millicent to finish the first part of this quest.

Continue At The Altus Plateau And The Mountaintops
After curing Millicent, you’ll bump into her again at the Erdtree Gazing Hill, located west of the Grand Lift of Dectus in the Altus Plateau. This is a mini-quest where you must get her Prosthesis from the Shaded Castle.
- From the Erdtree-Gazing Hill Site of Grace, head northeast uphill, and you’ll find Millicent standing near the cliff edge.

-
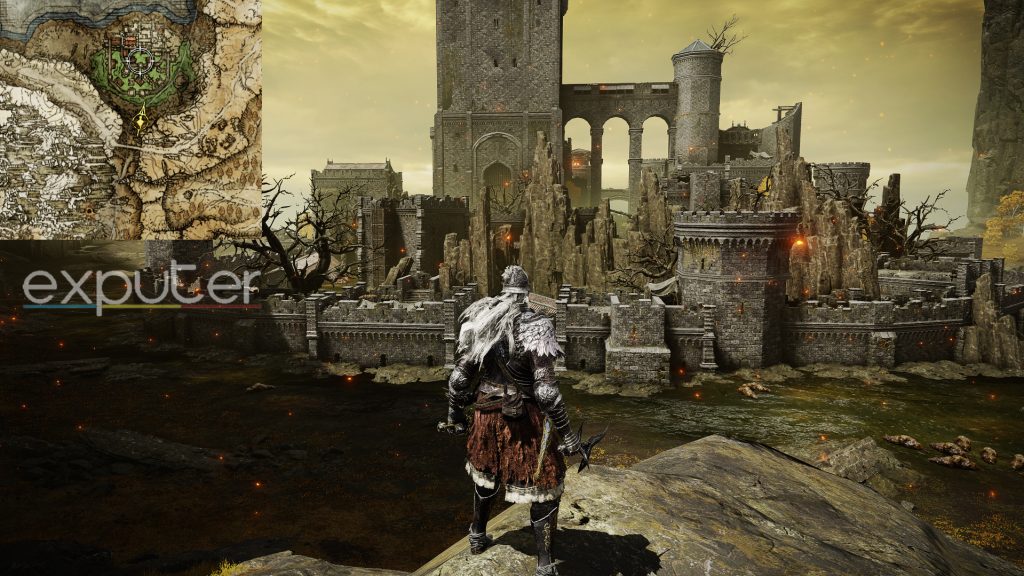
- Exhaust her dialogue, and take a trip west to the Shaded Castle surrounded by a green swamp north of your current location.
-
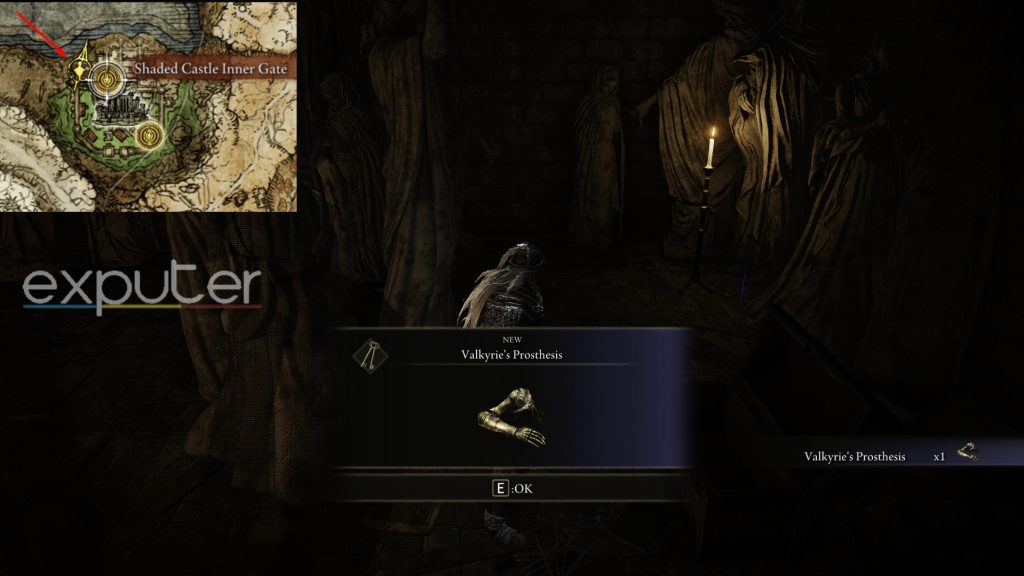
- Make your way inside the castle, go to the rooftops, and follow them to the main rear gate, where you’ll find the Prosthesis inside the chest in a room guarded by a Cleanrot Knight at the north-western edge of the castle.
-
- Return the Prothesis to Millicent at the Gazing Hill, and now your next objective is to kill the Godskin Apostle atop Windmill Village.

-
- Based on my gameplay experience, the quickest and easiest way to reach Windmill Village is by going around the Plateau to the backside of the biome.
- Once you’re at the foot of the village, follow the stairs uphill, and you’ll find the Godskin Apostle at the very top beside the large windmill.

-
- After killing the boss, rest at the Site of Grace, and Millicent will spawn beside you.
-
- Now, simply exhaust her dialogue and continue the quest at the Mountaintops of the Giants.
- After going through the Altus Plateau and the first half of the Mountaintops, you’ll find Millicent yet again near the Ancient Snow Valley Ruins Site of Grace.
Aid Millicent At The Haligtree
The next and final part of this long quest will continue in Elden Ring’s late-game phase at Elphael, Brace of the Haligtree. This is where you’ll need to aid Millicent by vanquishing her sisters in an invasion.
From here, follow the steps I have listed below:
- After entering the Haligree via the Haligtree Medallion, follow the path straight ahead until you reach Elphael and, ultimately, the Prayer Room.
- You’ll again find Millicent standing next to one of the pillars inside the room.
-
- Talk to her, and then continue your journey through Elphael until you reach the Drainage Channel Site of Grace.
-
- From here, go back to the Haligree roots above the sewers and follow the tree’s branches to your left, leading to the massive open rot swamp.
- Once you reach the swamp, you’ll have to fight and kill the Ulcerated Tree Spirit resting there.

-
- After killing the mini-boss, which I found somewhat irritating, jump onto the ledge on the right side of the swamp, where you’ll come across a red and a gold summon sign.
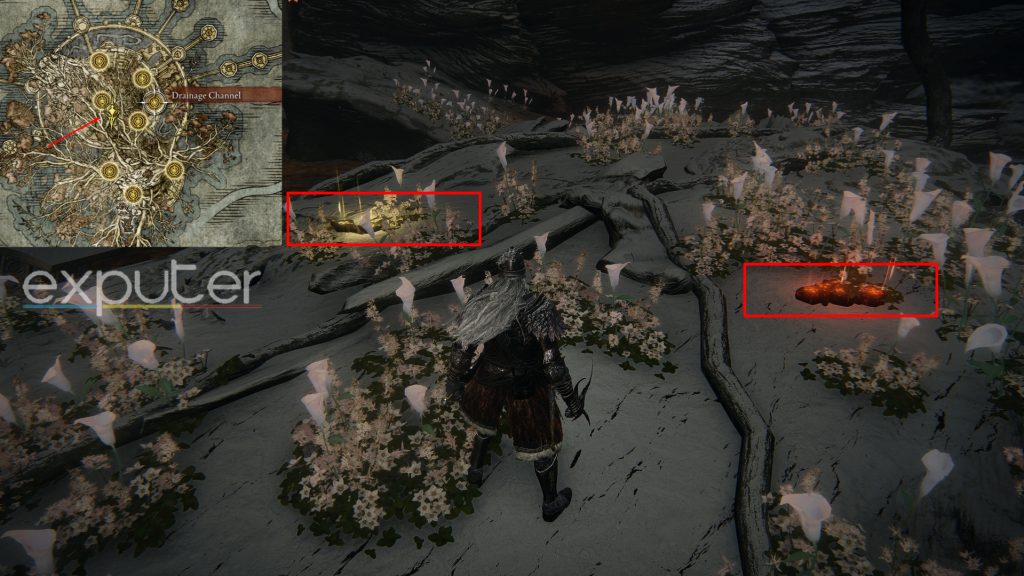
-
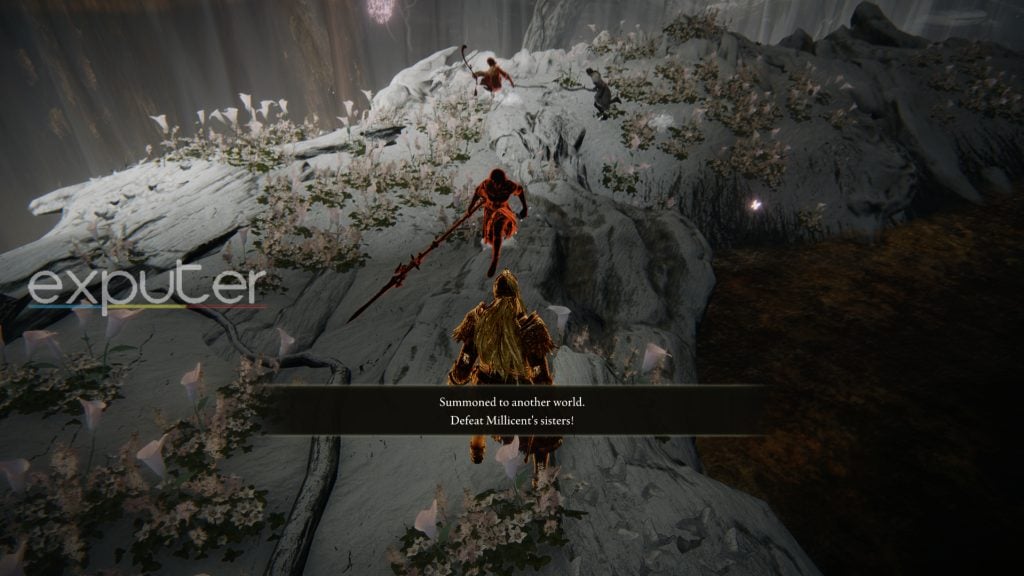
- Both of these signs have a completely different objective and ending to the quest, as the red sign will summon you to challenge Millicent, while the gold sign will summon you to assist her in fighting off Millicent’s Sisters.
- By deciding to help Millicent and kill her sisters in that location, you’ll receive the Elden Ring Rotten Winged Sword Insignia talisman.
- Since you want the insignia, I would recommend touching the gold summon sign and killing all 4 sisters to receive the talisman.
Best Rotten Winged Sword Insignia Build
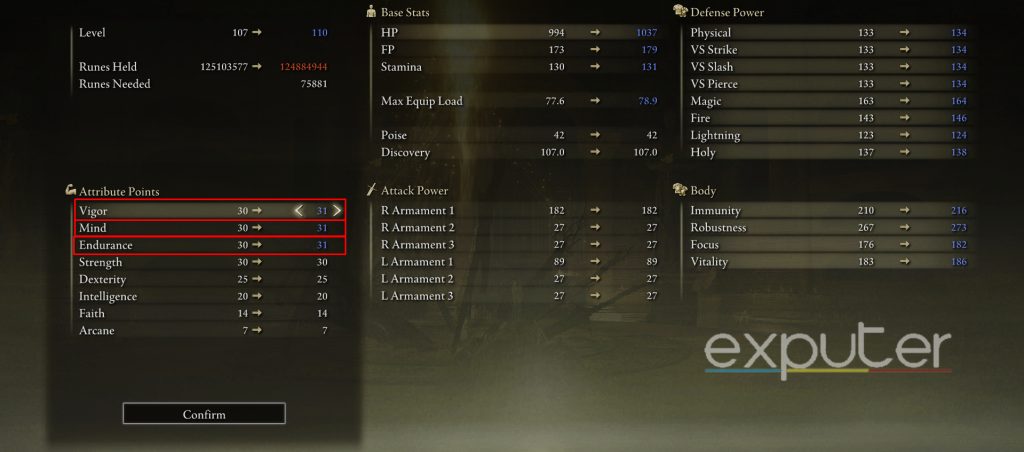
As mentioned, Elden Ring’s Rotten Winged Sword Insignia favors aggression to make quick work of enemies. Therefore, I first needed to focus on the attributes supporting the play style for the build.
With that said, the stats I would say to preferably level up to effectively utilize this talisman include:
- Endurance
- Vigor
- Mind
Talismans For Insignia
Besides spending runes on leveling up attributes, II believe you should pair the Winged Sword Insignia with offense-based talismans that’ll encourage you to attack more. These talismans will provide incentives to melt through enemy HP by boosting the player’s stamina, damage output, and overall effectiveness during combat.
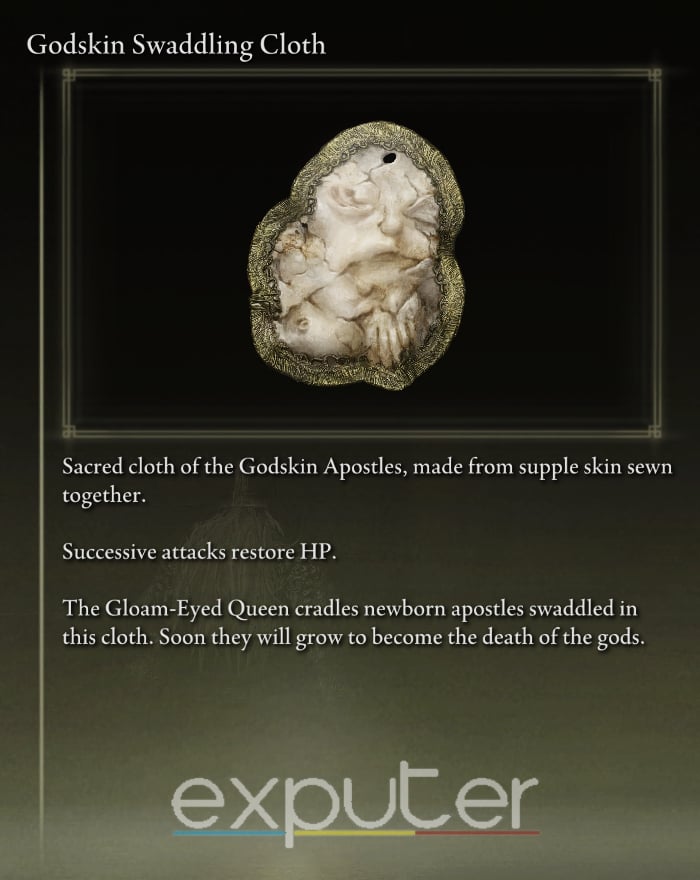
Godskin Swaddling Cloth
- The Swaddling Cloth is another talisman focused on successive attacks that restores HP.
- This ability becomes especially useful against hordes of enemies where you’ll have more targets and, thus, more chances to rejuvenate your health.
- To get the Godskin Swaddling Cloth, you’ll have to kill the main Spirit-Caller snail in the Spiritcaller Cave near the lake at the Mountaintops of the Giants.
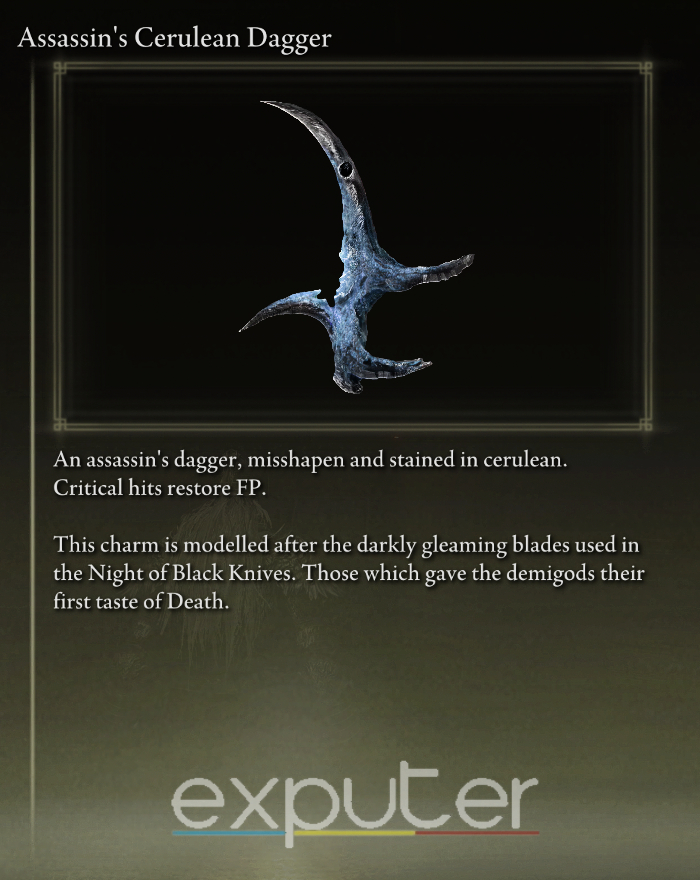
Assassin’s Cerulean Dagger
- The Assassin’s Cerulean Dagger restores 15 Focus Points after a successful critical hit.
- With the Rotten Winged Sword Insignia raising your attack power, you’ll have a higher chance of staggering enemies, locking them at their concurrent location.
- So, as seen, I think this is a perfect match for the insignia, and you can get this talisman after killing the Black Knife Assassin found at the end of the Black Knife Catacombs in Liurnia.
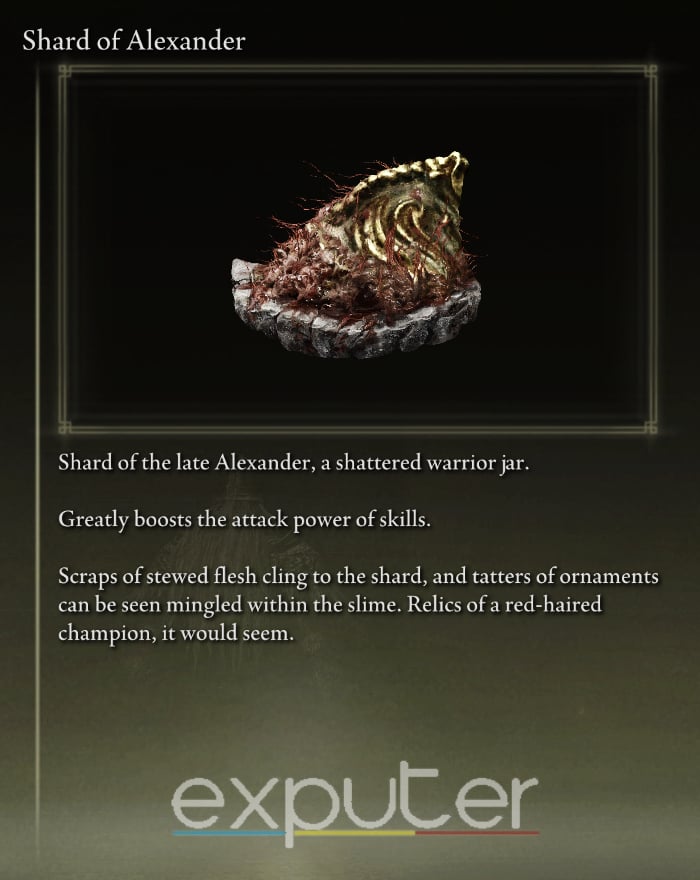
Shard Of Alexander
- Shard of Alexander considerably raises the attack power of skills by 15%.
- Therefore, it’s an ideal pairing for melee weapons that heavily rely on their Ash of War, like the Corpse Piler on the Rivers of Blood.
- This talisman can be obtained after completing Warrior Jar Alexander’s quest line in Crumbling Farum Azula.
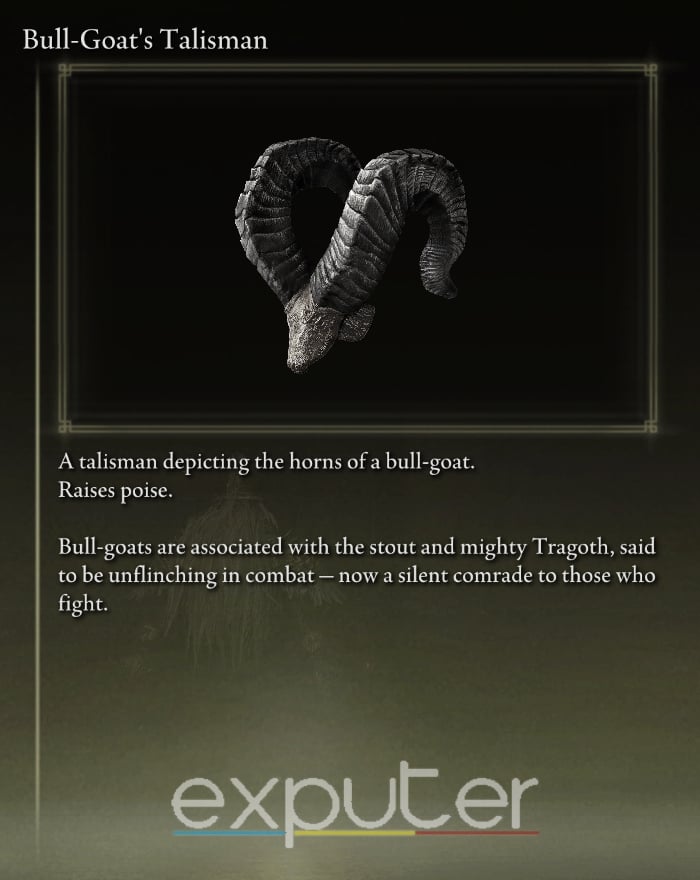
Bull-Goat’s Talisman
- The Bull-Goat’s Talisman drastically strengthens your poise meter by reducing poise damage by 25%.
- As a necessity for the Rotten Winged Sword Insignia build, you can find this talisman atop the corpse at the deep end of the Dragonbarrow Cave in Caelid’s Dragonbarrow.
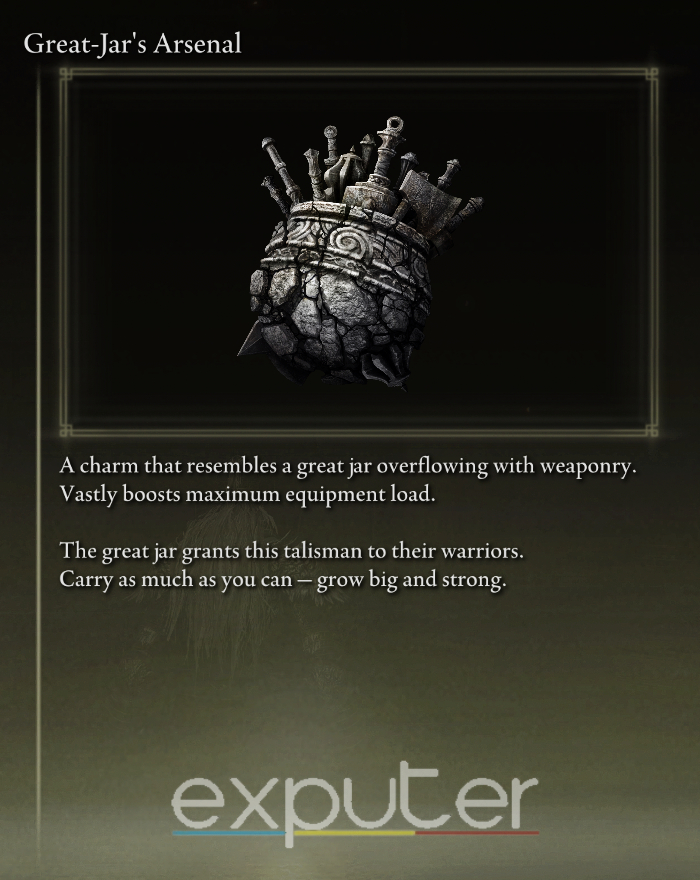
Great-Jar’s Arsenal
- This is another talisman focused on improving your overall poise as it raises your maximum equipment load by 19%.
- The Great-Jar’s Arsenal makes it so you can wear much heavier armor to garner as much poise as possible.
- However, getting this talisman can be challenging, at least in my experience, as it can only be obtained as a reward after killing all three NPCs near the Great Jar in Dragonbarrow.
Armor Set For The Insignia
Now that you’ve made an offensive-oriented talisman combo, let’s move on to the ideal armor sets for this build. As mentioned, your build must balance stamina, mobility, and poise to utilize the Rotten Winged Sword Insignia’s potential fully.
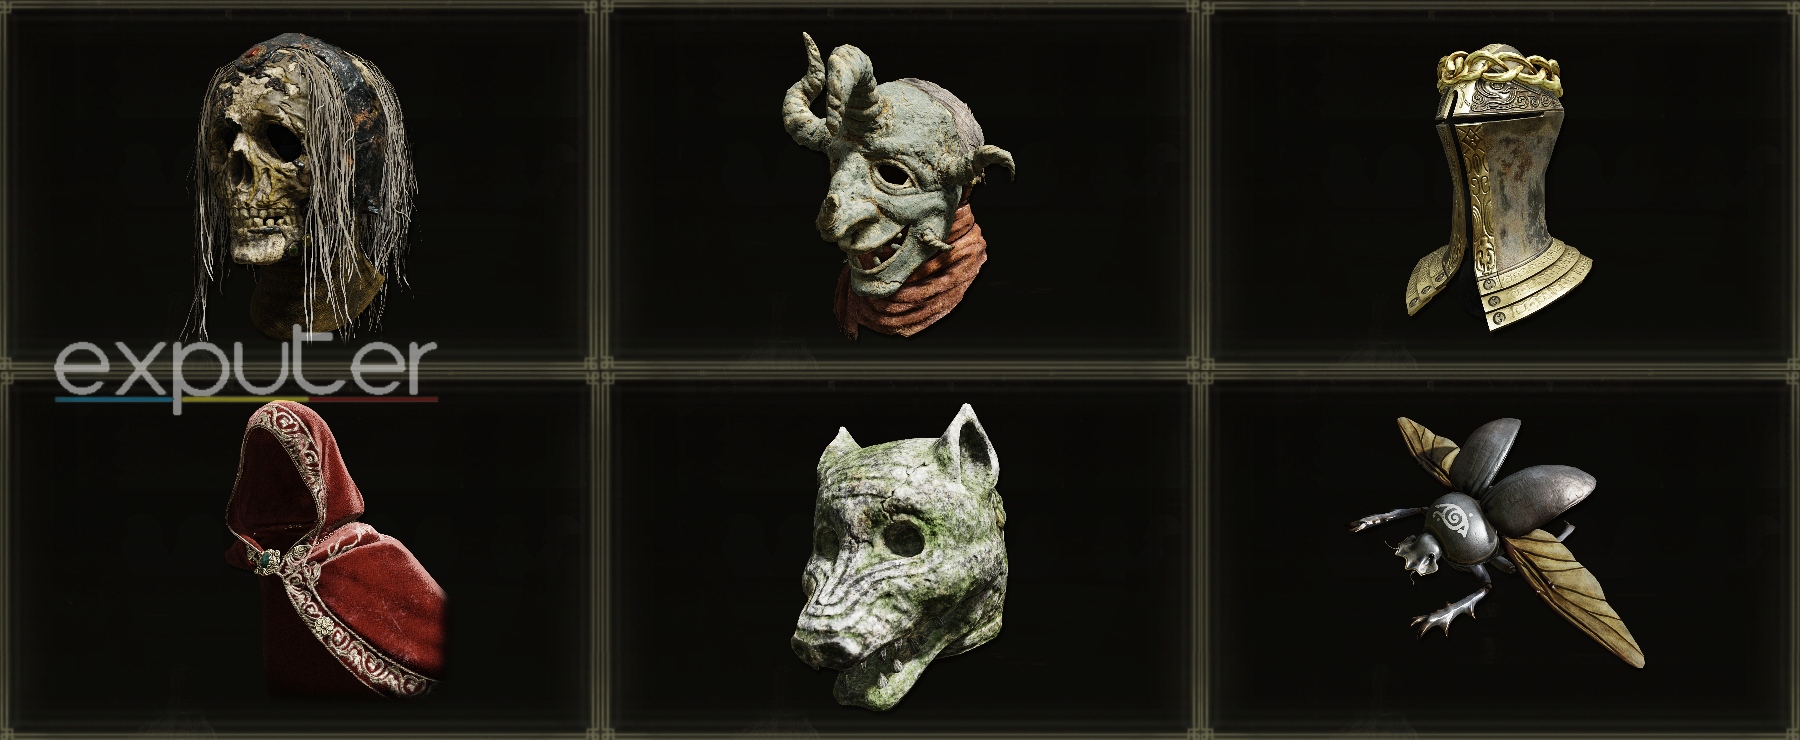
If you’re looking to squeeze out any more defensive or offensive enhancements from your wears, here’s a list of ideal head armor I have compiled that you should consider:
| Head | Item Effect |
|---|---|
| Ash-of-War Scarab | Reduces FP cost of skills, but increases damage taken |
| Crimson Hood | Raises HP |
| Haligtree Knight Helm | Increases Faith |
| Imp Head (Wolf) | Raises Endurance |
| Omenshirk Mask | Increases Strength |
| Royal Remains Helm | Slowly replenishes HP when HP is reduced |
So, for each armor weight class in Elden Ring, here’s a list of sets that fulfill the Rotten Winged Sword Insignia’s poise and stamina balancing requirement:
| Weight Class | Armor Set 1 | Armor Set 2 | Armor Set 3 |
|---|---|---|---|
| LIGHT | Traveler's Clothes Traveler's Manchettes Traveler's Boots | Godskin Apostle Robe Godskin Apostle Bracelets Godskin Apostle Trousers | Omenkiller Robe Omenkiller Long Gloves Omenkiller Boots |
| MEDIUM | Carian Knight Armor (Altered) Carian Knight Gauntlets Carian Knight Greaves | Hoslow's Armor Hoslow's Gauntlets Hoslow's Greaves | Royal Remains Armor Royal Remains Gauntlets Royal Remains Greaves |
| HEAVY | Maliketh's Armor Maliketh's Gauntlets Maliketh's Greaves | Bull-Goat Armor Bull-Goat Gauntlets Bull-Goat Greaves | Veteran's Armor (Altered) Veteran's Gauntlets Veteran's Greaves |
My Experience Using The Rotten Winged Sword Insignia

Out of the late-game talismans, the Rotten Winged Sword Insignia stands alone as my personal favorite, and I’ve used it a ton against several bosses, especially Mohg and Malenia. I’ve done several playthroughs of the title on my WaterJuice Steam account, and in every NG+ and subsequent experience, I always include the Insignia in my talisman set.
I primarily dual-wield spears, so to maximize damage, I use the Shard of Alexander alongside the Rotten Winged Sword Insignia. I also usually equip the Ash-of-War Scarab helm since it’s got a good weight-to-defense ratio and noticeable enhancements to my Ash-of-War attacks. However, when I’m a Faith user, the Haligtree Helm is always my go-to headpiece.
That wraps up my guide on the location and builds for the Elden Ring Rotten Winged Sword Insignia talisman. As always, the items mentioned here are unique with their individual pros and cons, so it’s better to try all of them or craft an exclusive personal build to find the one most suitable for you. If you’re still unsure about the talisman’s mechanics, check out this Subreddit Post to learn more about it.
Consider reading our Elden Ring Frenzied Burst guide and pair your Rotten Winged Sword Insignia talisman with a powerful incantation. If you’re instead looking for more interesting talismans in Elden Ring, check out our Radagon Icon location walkthrough. And while you’re at it, boost your build even more by equipping the best Remembrance Weapons in Elden Ring.
Next:
- Elden Ring Lenne’s Rise
- Elden Ring: How To Get To Hermit Village
- How To Respec In Elden Ring
- How To Gesture In Elden Ring
Thanks! Do share your feedback with us. ⚡
How can we make this post better? Your help would be appreciated. ✍