Millicent is a young woman in Elden Ring you come across in the Church of the Plague. She bestows a quest on the player, leading to some amazing rewards. If you ask me, some quests can be completed quickly, like the Jerren quest, while others similar to the Ranni questline take a lot of time to complete in Elden Ring’s map. As for the Elden Ring Millicent questline, it belongs to the latter group.
- Start Millicent Questline with Gowry in Caelid’s Shack near Aeonia Swamp.
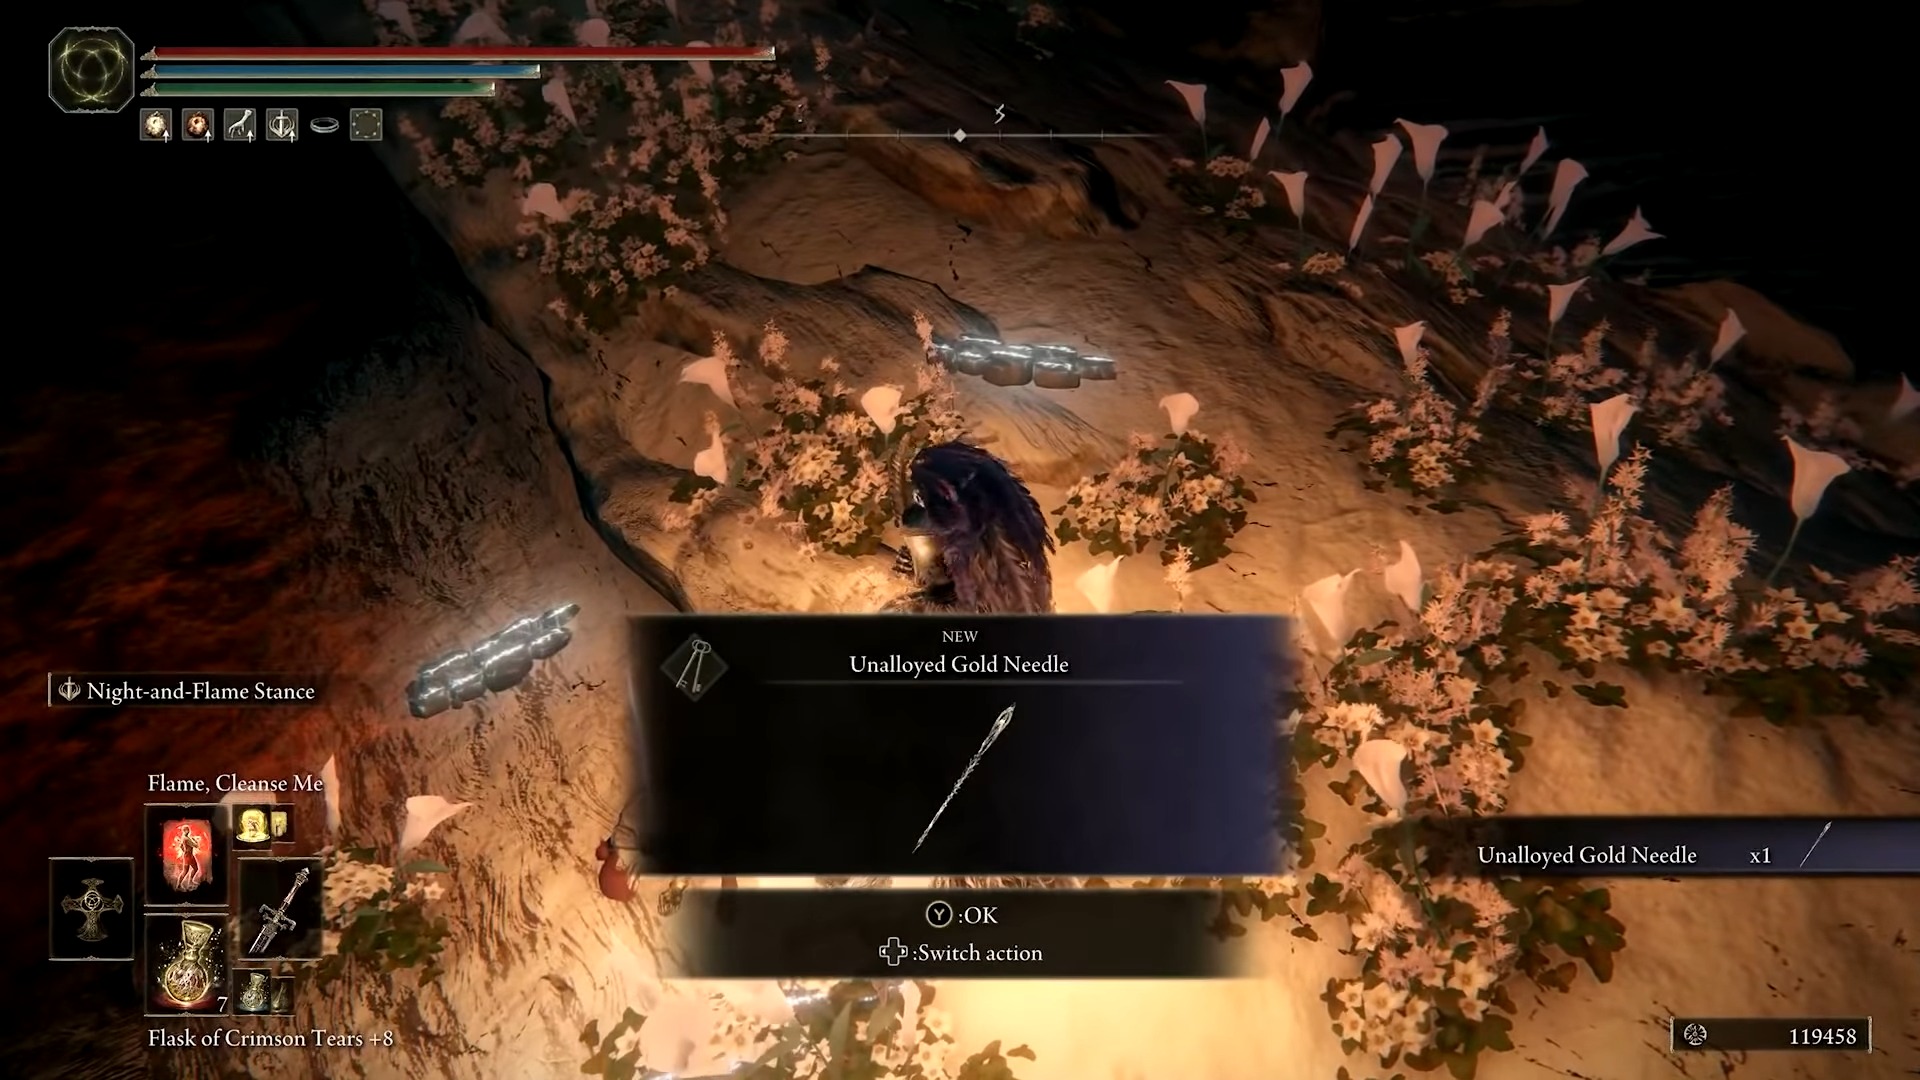
- Obtain the Unalloyed Gold Needle from Commander O’Neil in Swamp of Aeonia and give it to Gowry for repair.
- Visit the Church of Plague to meet Millicent, then rest at a nearby Site of Grace to retrieve the needle.
- Exhaust Millicent’s dialogue, rest at Site of Grace, and find her at Erdtree-Gazing Hill in Altus Plateau.
- Get Valkyrie Prosthesis from Shaded Castle and give it to Millicent.
- Millicent relocates to Mountain Top of Giants to acquire both halves of Rold Medallion.
- Find Millicent in the Prayer Room Site of Grace in Elpheal, Brace of Haligtree.
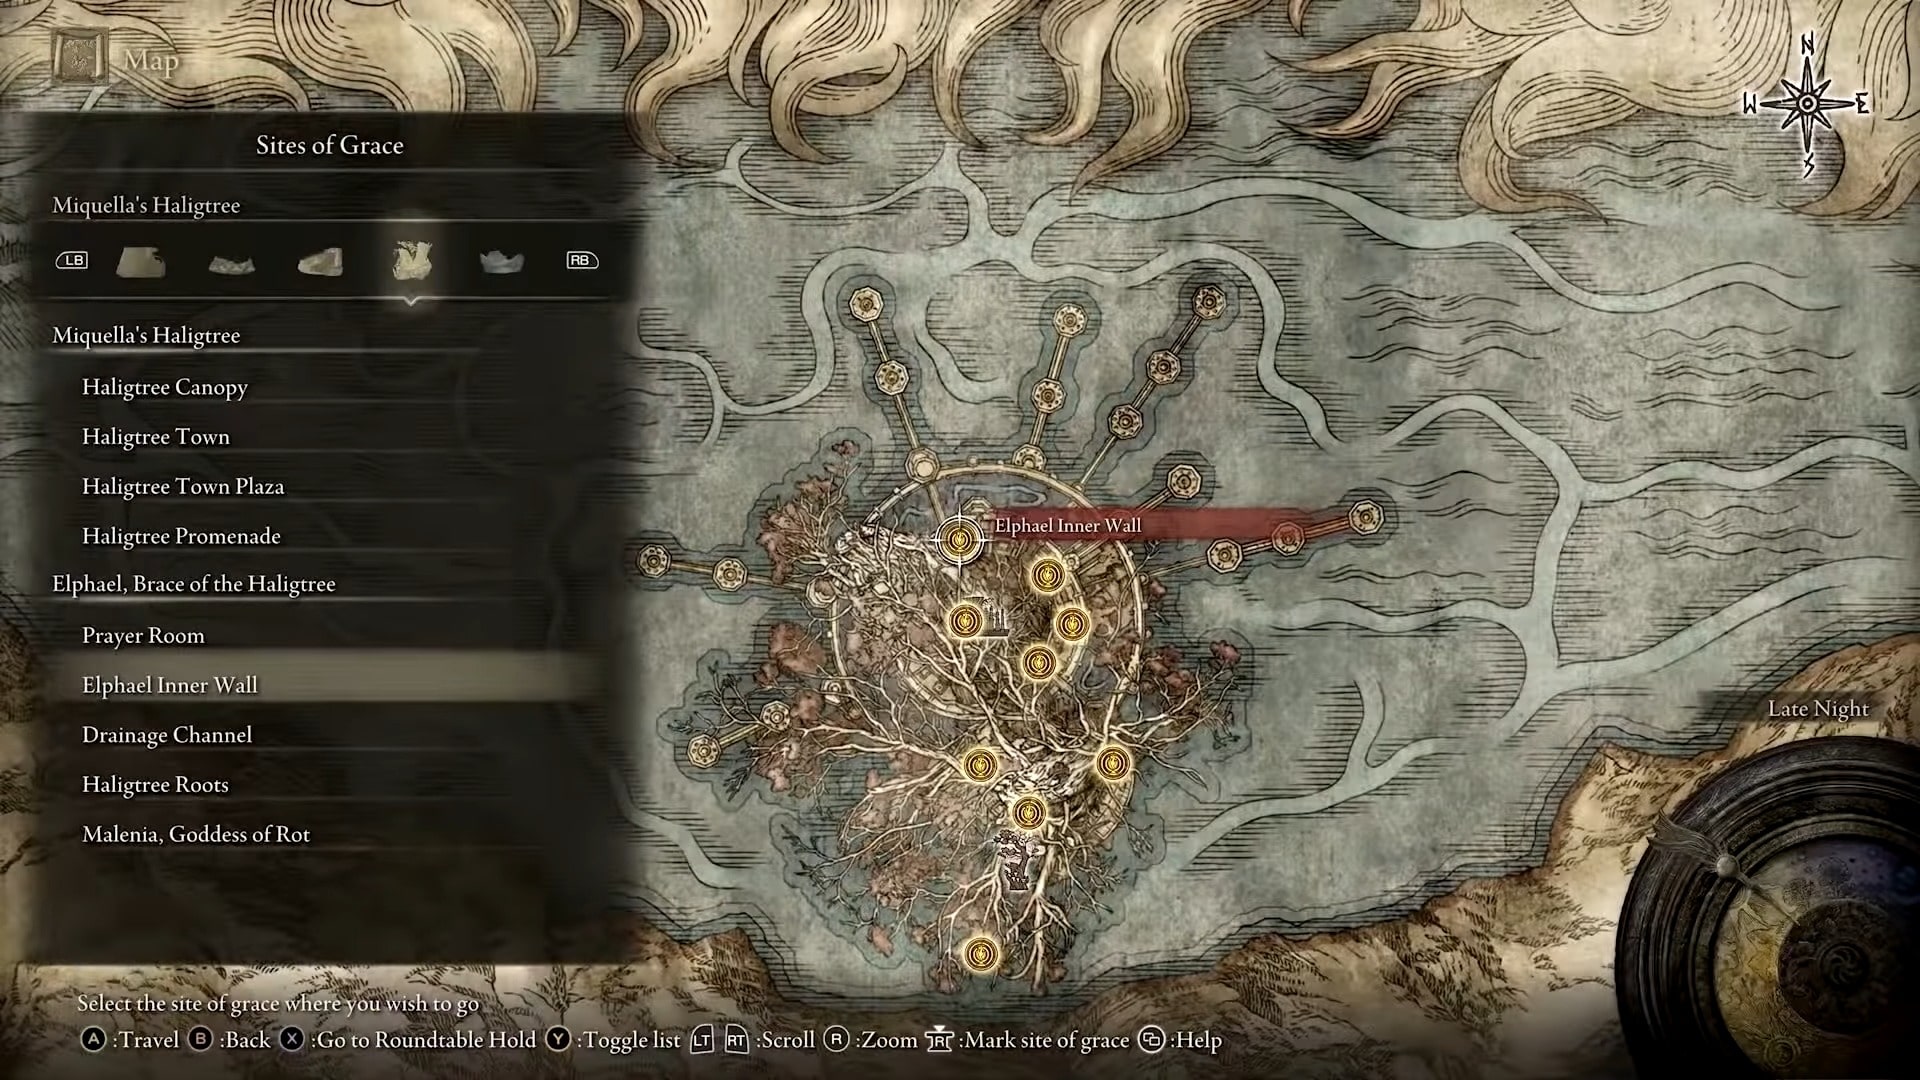
- Defeat Ulcerated Tree Spirit near Drainage Channel Site of Grace.
- Two summon signs appear based on the player’s choice, offering different rewards.
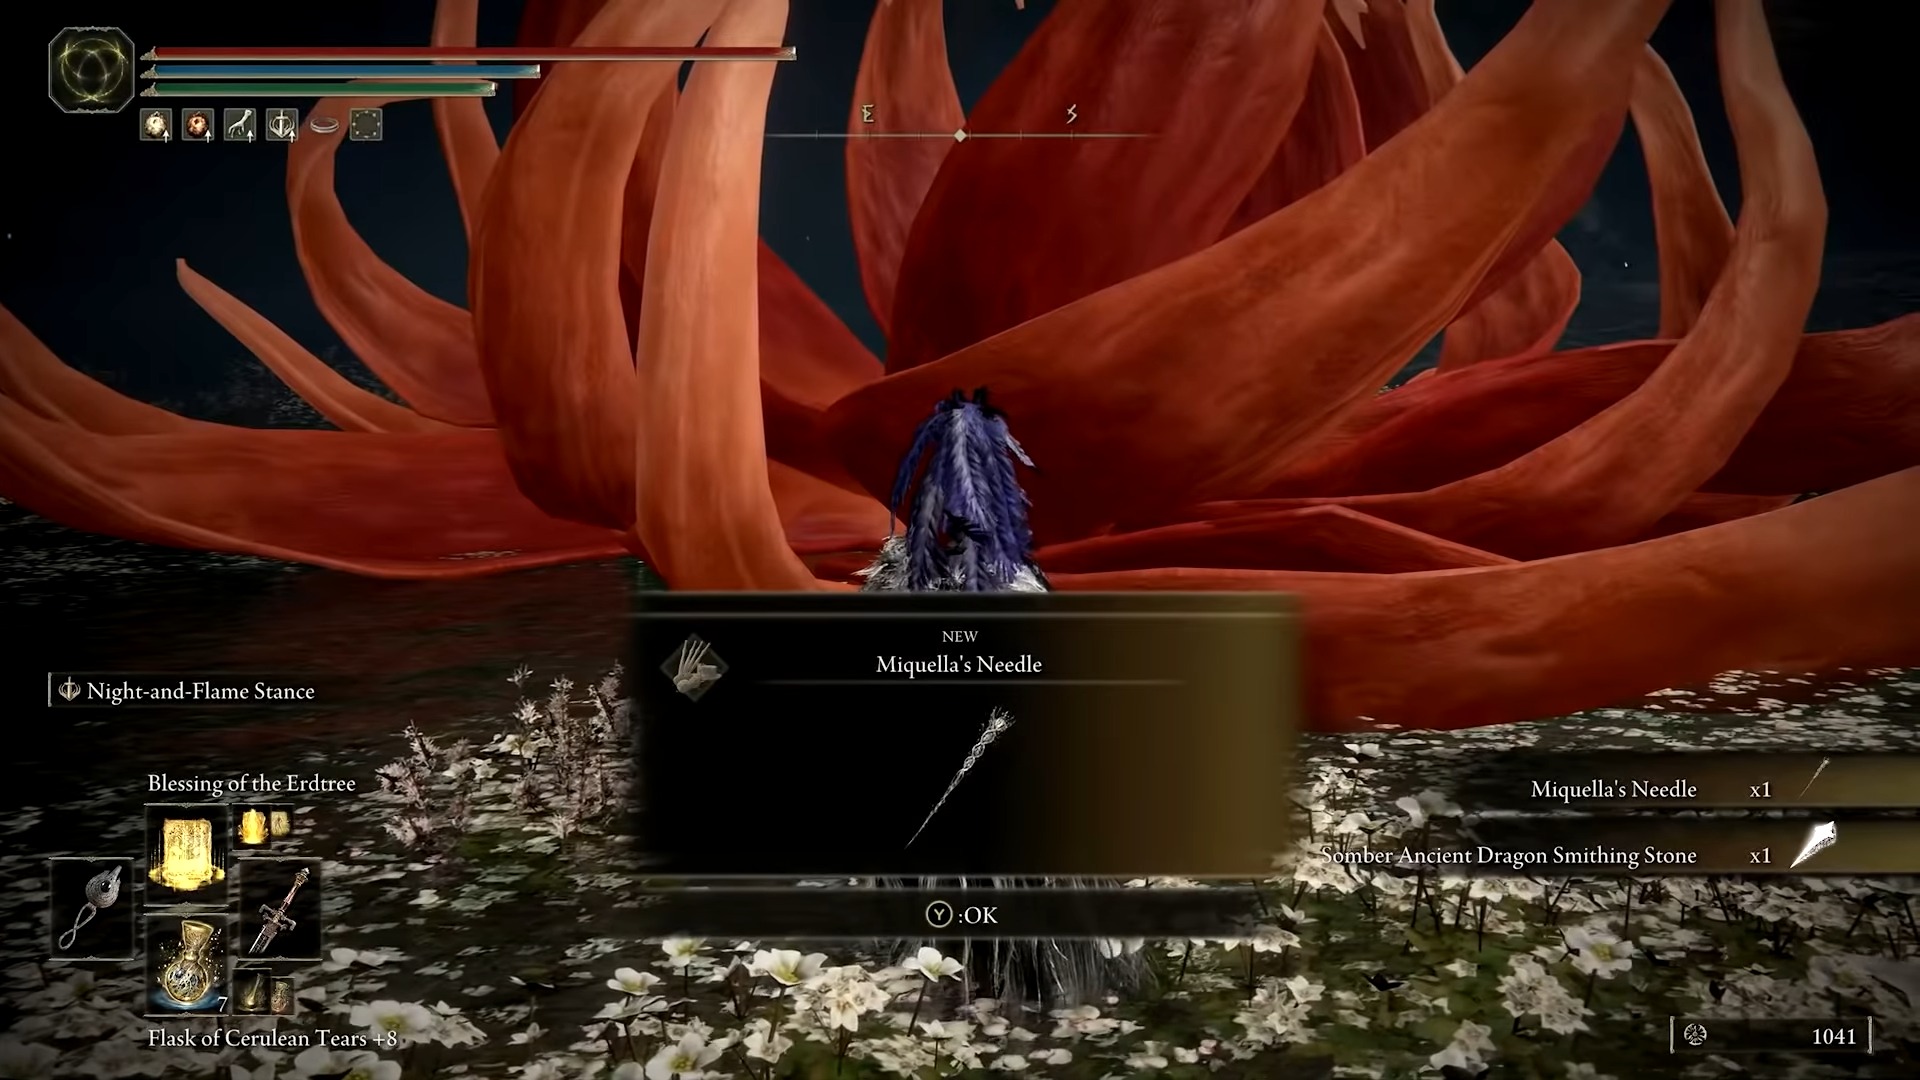
- Use Unalloyed Gold Needle on a flower in Malenia’s arena after defeating her for Miquella’s Needle and a Somber Ancient Dragon Smithing Stone.
- Conclude the quest by interacting with Gowry, and discovering the connection between Millicent and Malenia.
- Why Trust Us: Daniyal has spent over 750 hours in Elden Ring, making his guides trustworthy!
Millicent Questline
The Millicent questline revolves around getting Miquella’s Needle. I’ll explain its importance in detail later, but it’s necessary to get it if you want to save yourself from potential massive trouble.
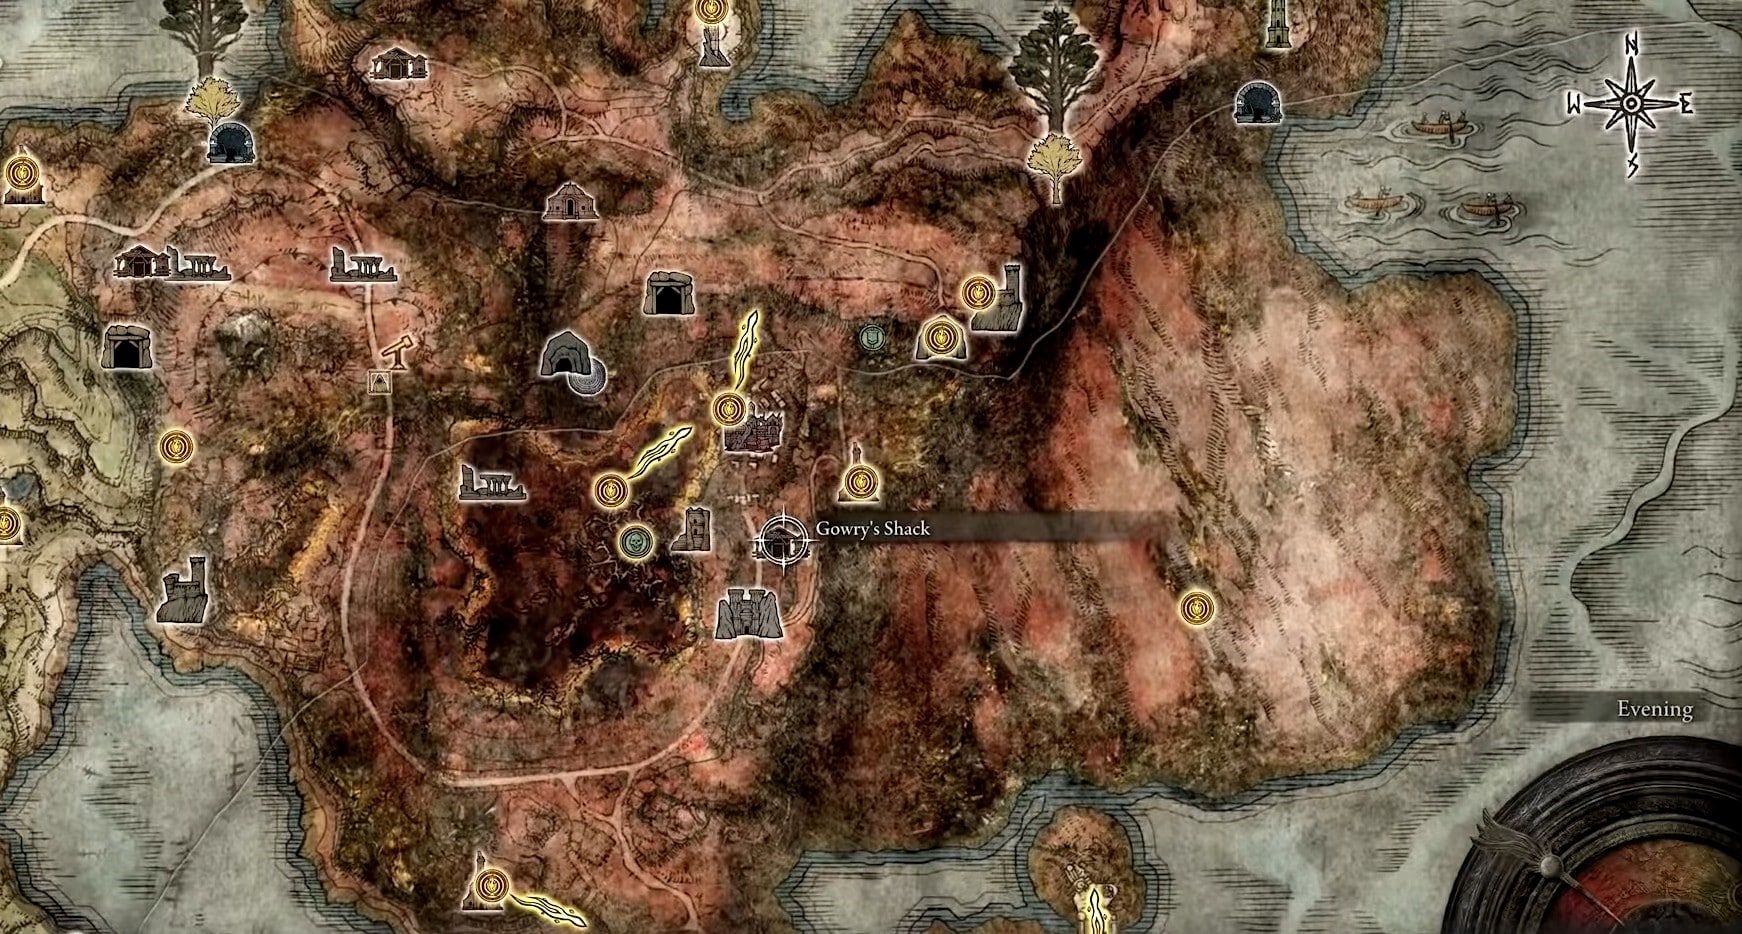
Go To Gowry’s Shack
You won’t be meeting Millicent at the beginning of the quest, as you’ll first need to visit another NPC.
- First, go to Gowry’s Shack, where you’ll meet this NPC to begin the quest.
- The Gowry’s Shack is located in Caelid, just south of the Town of Sellia.
- This town is also known as the Town of Sorcery. While you’re at it, consider reading the Elden Ring revive NPCs guide if you mistakenly killed one in Elden Ring.
After you have reached the location, head inside the Shack, and you’ll meet an NPC called Gowry. This is where the quest begins.
- Interacting with him will initiate a conversation, during which he will tell how he wants to heal a girl.
- For this, he will assign you the task of finding the Unalloyed Gold Needle in the Swamp of Aeonia, another location on the Caelid map.
- While looking for the needle, you will encounter the first boss of this quest line.
Get The Unalloyed Gold Needle
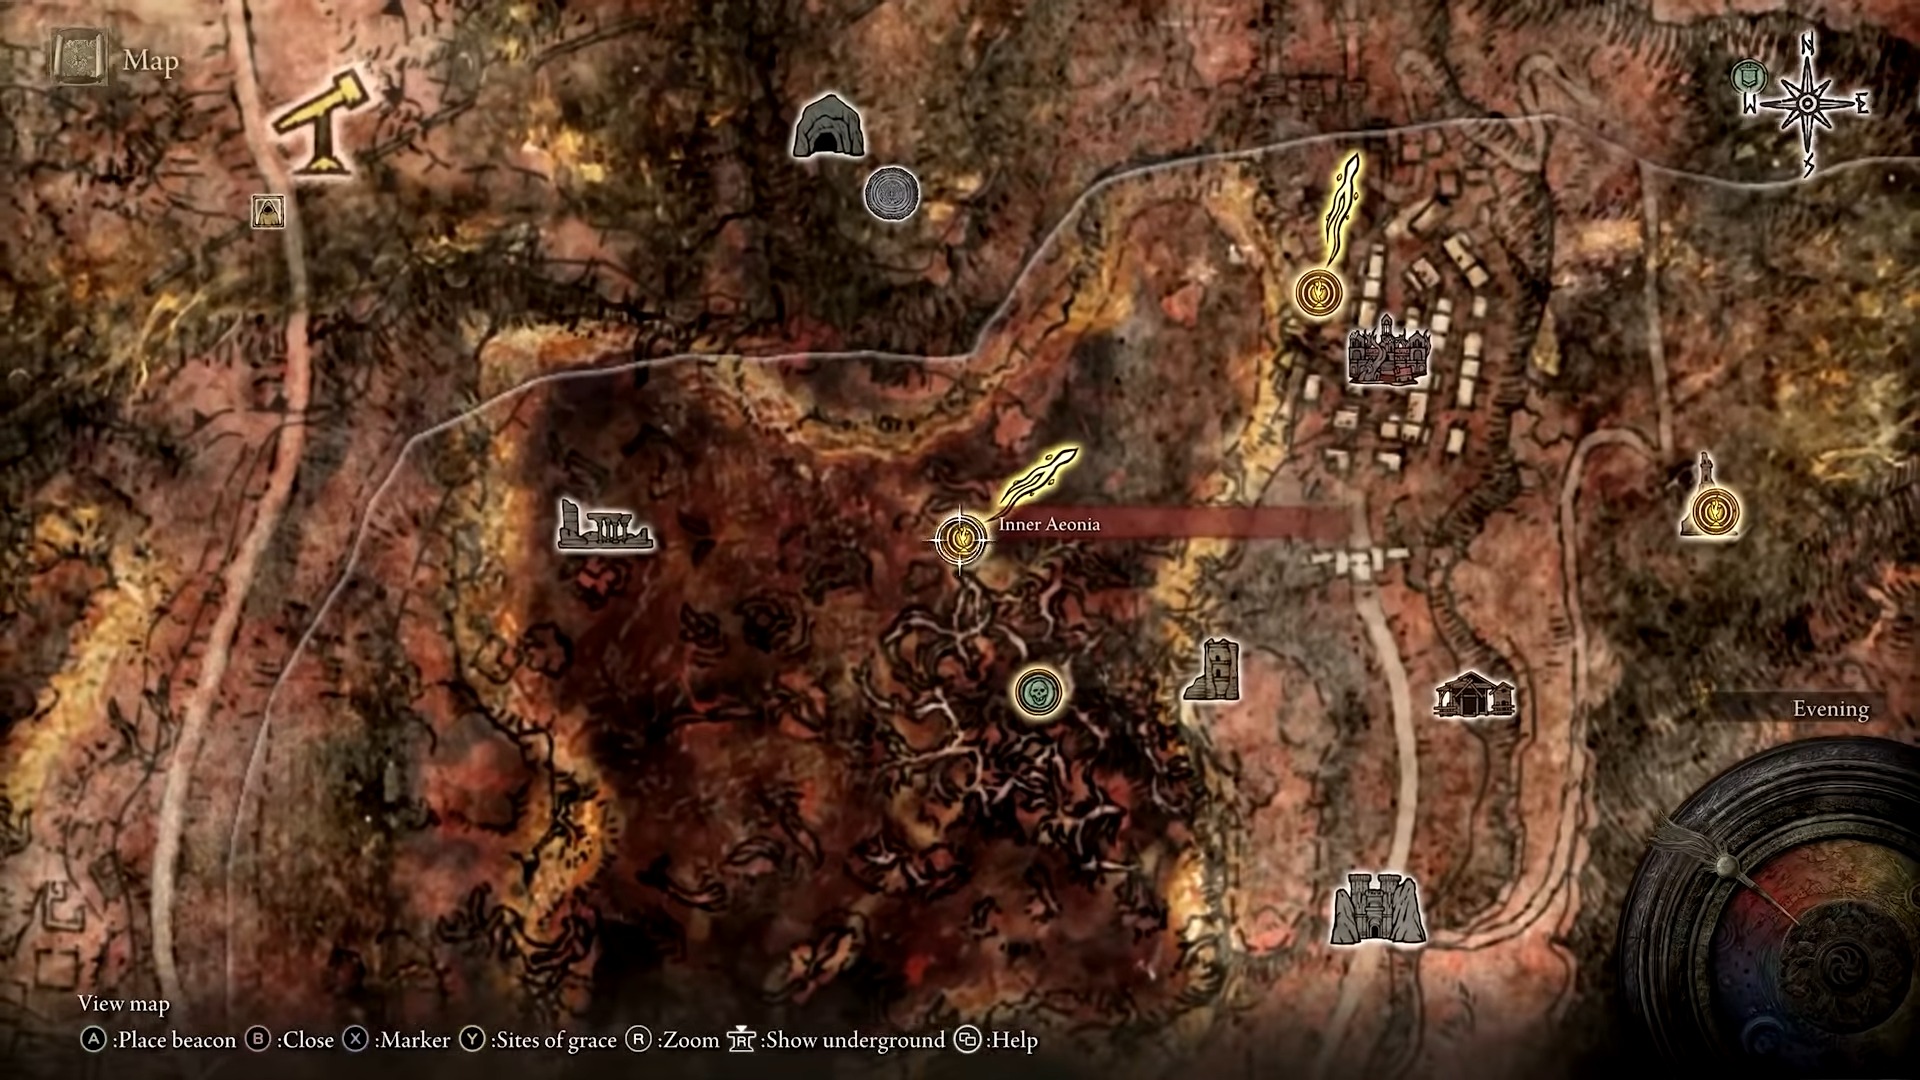
To obtain the Unalloyed Gold Needle, follow these steps:
- Head to the Inner Aeonia Site of Grace, located near the boss spawn area.
- From the Site of Grace, go to the southeast where you’ll find the Commander O’Neil boss within a circle of trees.
- Commander O’Neil is a formidable boss, and he has the ability to summon help during the battle. You’ll need to defeat him along with any allies he summons.
- To make the battle easier, lure Commander O’Neil back to the Inner Aeonia Site of Grace.
- Near the Site of Grace, you’ll find Scarlet Rot geysers. Use these geysers to drain his health quickly.
- It’s helpful to have a powerful spirit companion to keep Commander O’Neil distracted while you attack him.
- Alternatively, you can engage him while riding Torrent, but make sure you’re skilled in controlling your mount.
- After successfully defeating Commander O’Neil, you’ll be able to loot the Unalloyed Gold Needle from his corpse.

Unalloyed Gold Needle
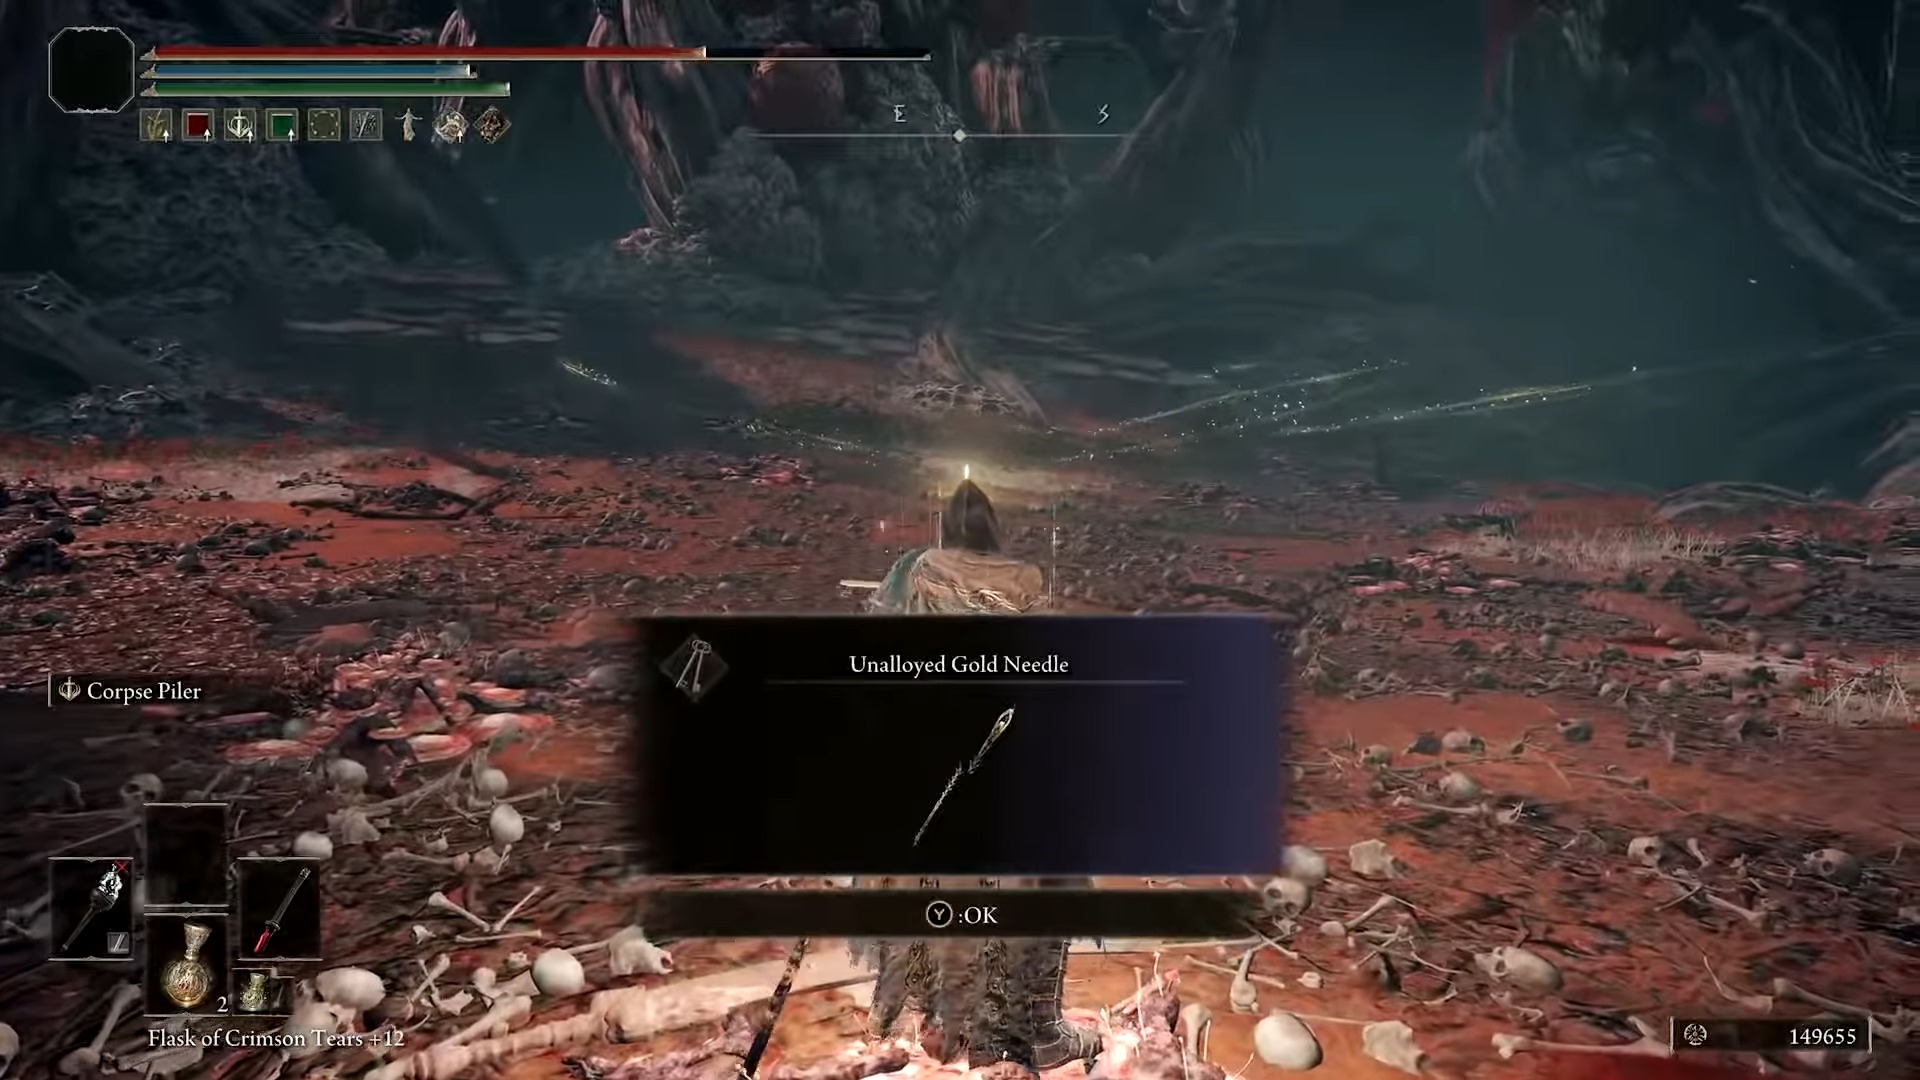
This Gold needle will play a big during the final parts of the Millicent questline in Elden Ring. Furthermore, you’ll also get his weapon, the Commander’s Standard.
This is a Halberd that scales well with Strength and Dexterity. You can also check out the best Elden Ring Dexterity build along with the best weapons for it. Furthermore, if you’re using a pure Strength build, this weapon can be a great addition to the arsenal.
Return Back to Gowry
After obtaining the Unalloyed Gold Needle, follow these steps to progress further in the Millicent questline:
This step is crucial to advancing the Elden Ring Millicent questline.
Go and Meet Milicent
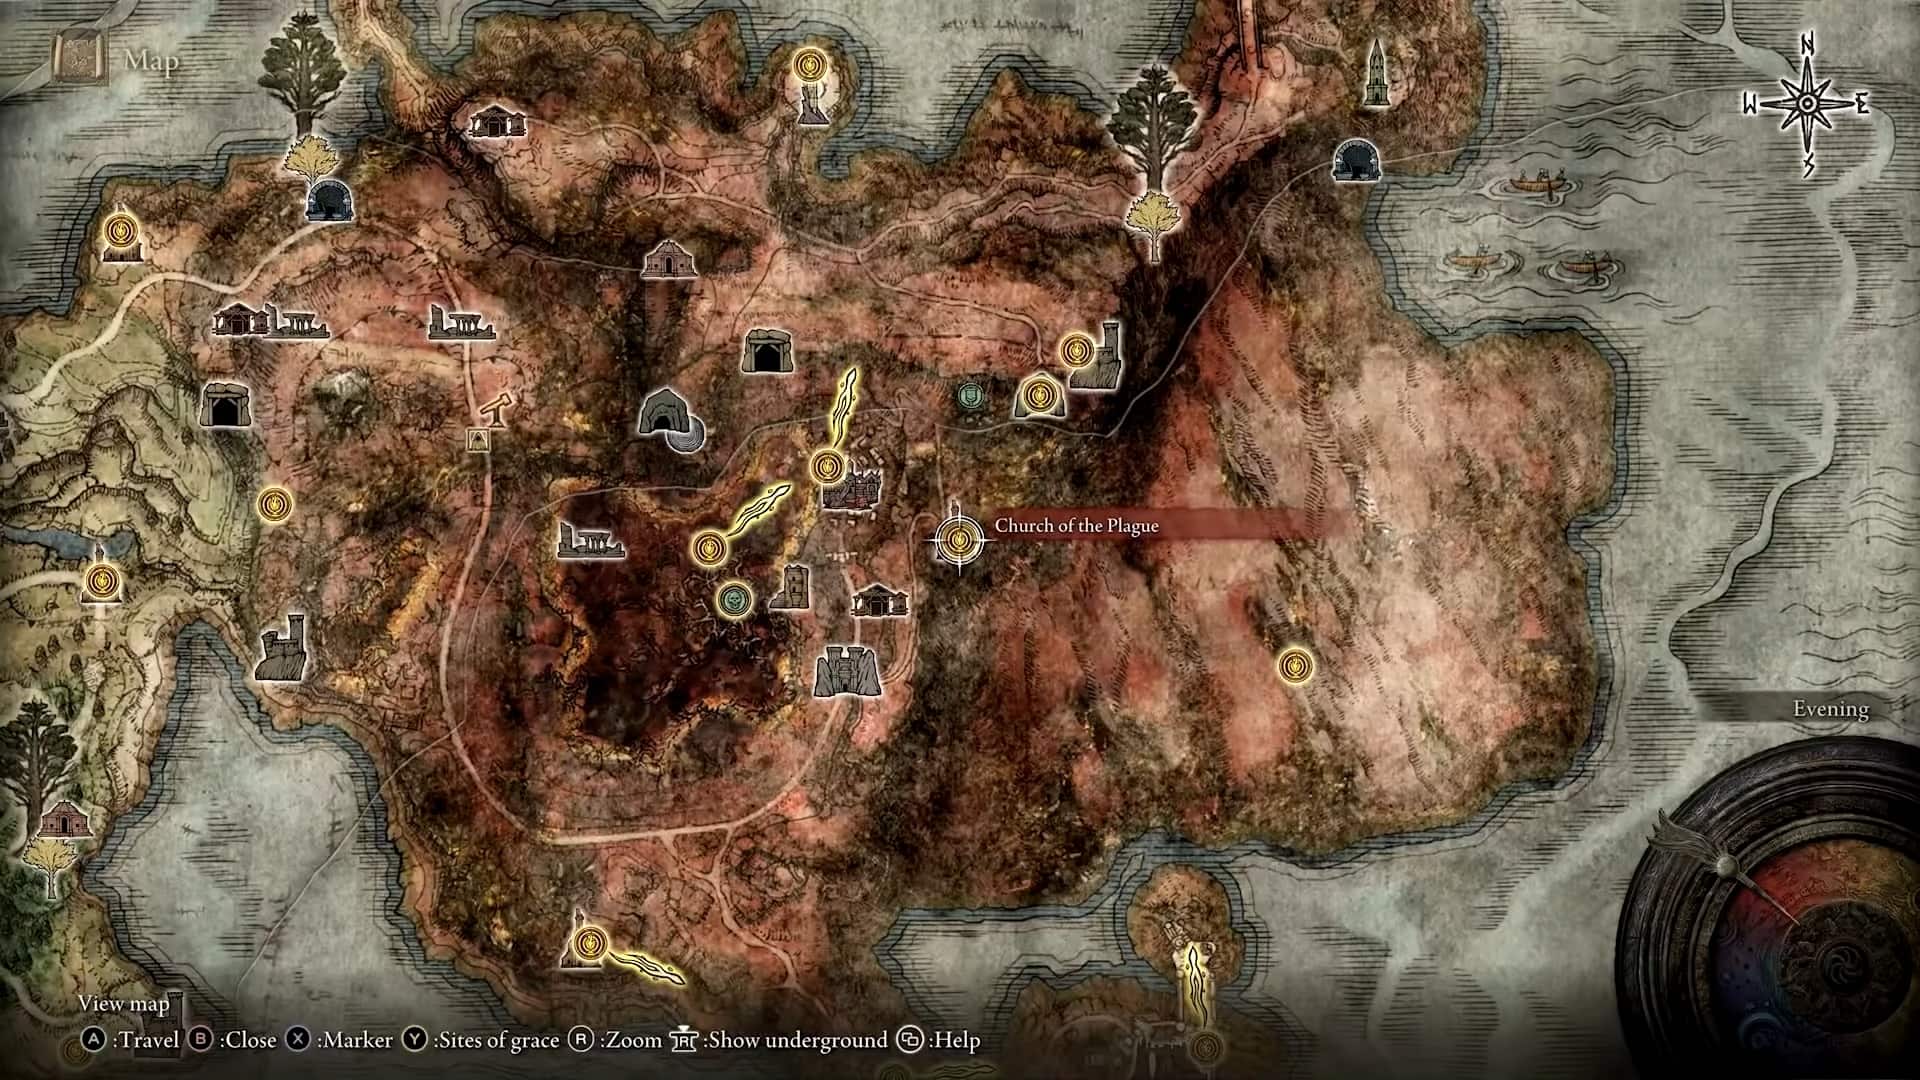
After receiving the repaired Unalloyed Gold Needle from Gowry, follow these steps to meet Millicent at the Church of the Plague and continue the questline:
- Head to the Church of the Plague, which is located east of Gowry’s Shack. It appears nearby on the map, but it’s actually on top of a cliff.
- To reach the Church, you have a couple of options:
- Light the beacons in the village using the Secret of Sellia that Gowry gave you. This will create a path leading to the Church.
- Visit the Bestial Sanctum and then use Torrent (your mount) to make your way to the Church.
- Once you’ve reached the Church of the Plague, you’ll find Millicent there. Speak to her to continue the questline.
After reaching the Church of the Plague and finding the injured Millicent, follow these steps to heal her and receive your reward:
- Give the Unalloyed Gold Needle that you obtained from Gowry to the injured Millicent.
- After giving her the needle, go to the nearby Site of Grace and sit down at it.
- Once you’ve rested at the Site of Grace, get up from it and return to Millicent.
- You’ll find that Millicent is now back on her feet, thanks to your help and Gowry’s assistance.
- Speak to Millicent, and she will reward you with the Prosthesis-Wearer Heirloom Talisman as a token of gratitude for saving her life. This talisman increases your Dexterity by 5, making it a valuable addition to your equipment.
Return Back to Gowry’s Shack
With Millicent healed, you will need to return back to Gowry once again.
Get The Valkyrie’s Prosthesis
The next part in the Millicent questline includes getting the Valkyrie’s Prosthesis. Getting this is important as you won’t be able to progress through the quest without getting it.
- For this, you will need to make your way to the Shaded Castle, which can be found in the Atlus Plateau.
- This castle is located on the northern side of the plateau, and its exact location can be seen marked in the image below.

To get the Valkyrie’s Prosthesis, follow these steps:
- Make your way to the Shaded Castle in the game. The castle is a vast and intriguing location with plenty to explore.
- Your primary objective is to progress through the castle until you reach a room guarded by a Cleanrot Knight. While navigating through the castle, you’ll encounter numerous enemies. To expedite your quest, it’s advisable to avoid combat with these enemies and focus on reaching the Cleanrot Knight.
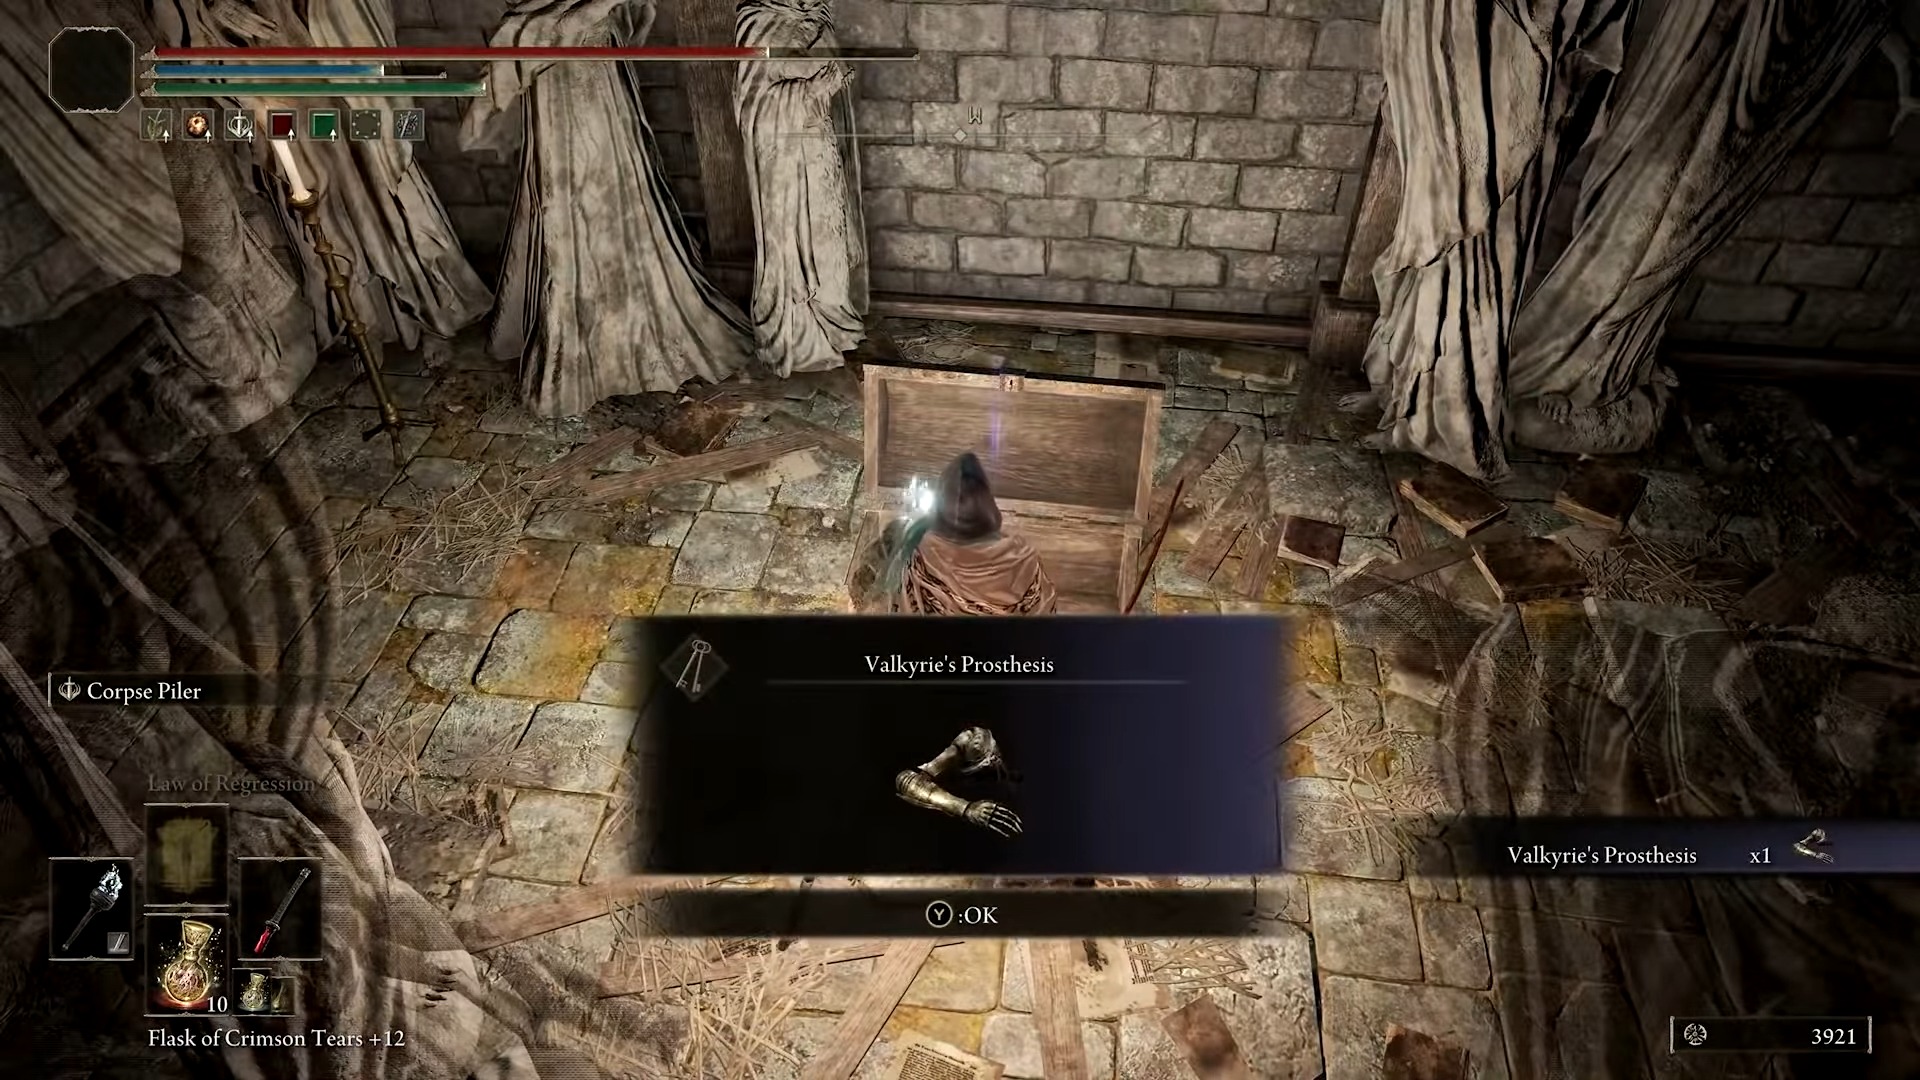
- When you encounter the Cleanrot Knight, you have two options: you can engage in combat with him if you feel confident in your ability to defeat him swiftly, or you can choose to bypass him and enter the room he’s guarding.
- Inside the room, you’ll discover a chest containing the Valkyrie’s Prosthesis. Collect this item to progress in the questline.
Go To The Erdtree-Gazing Hill Site of Grace
After get the Valkyrie’s Prosthesis, follow these steps to progress in Millicent’s questline:
- Travel to the Erdtree-Gazing Hill Site of Grace.
- From the Erdtree-Gazing Hill Site of Grace, head northeast to locate Millicent. She will be standing in this area.
- Interact with Millicent to initiate a conversation and hand over the Valkyrie’s Prosthesis that you obtained earlier. Pay close attention to her dialogue during this conversation.
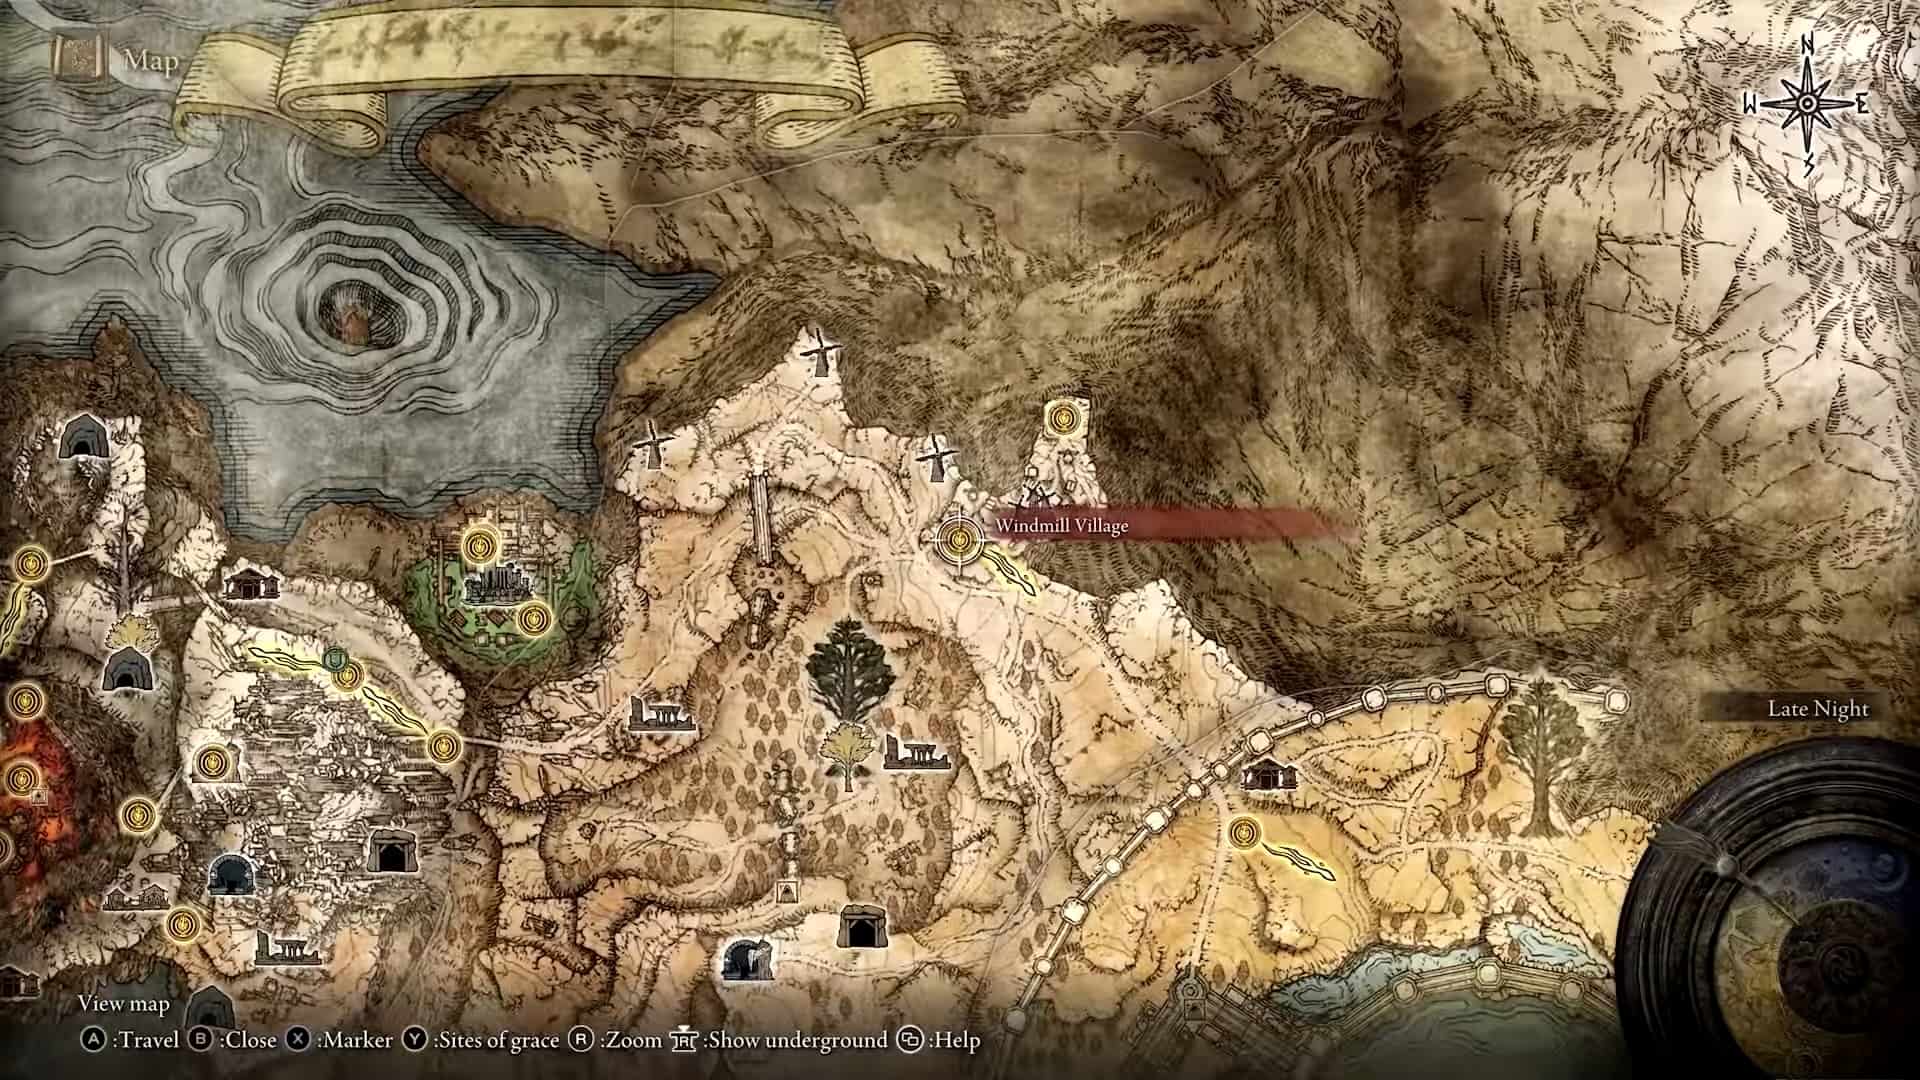
- After speaking with Millicent, your next destination is the Windmill Village.

The Windmill Village can be found on the north side of the Atlus Plateau. You’ll come across multiple enemies on your way there, but you should keep your focus on running past them. Engaging in unnecessary fights is only going to slow you down.
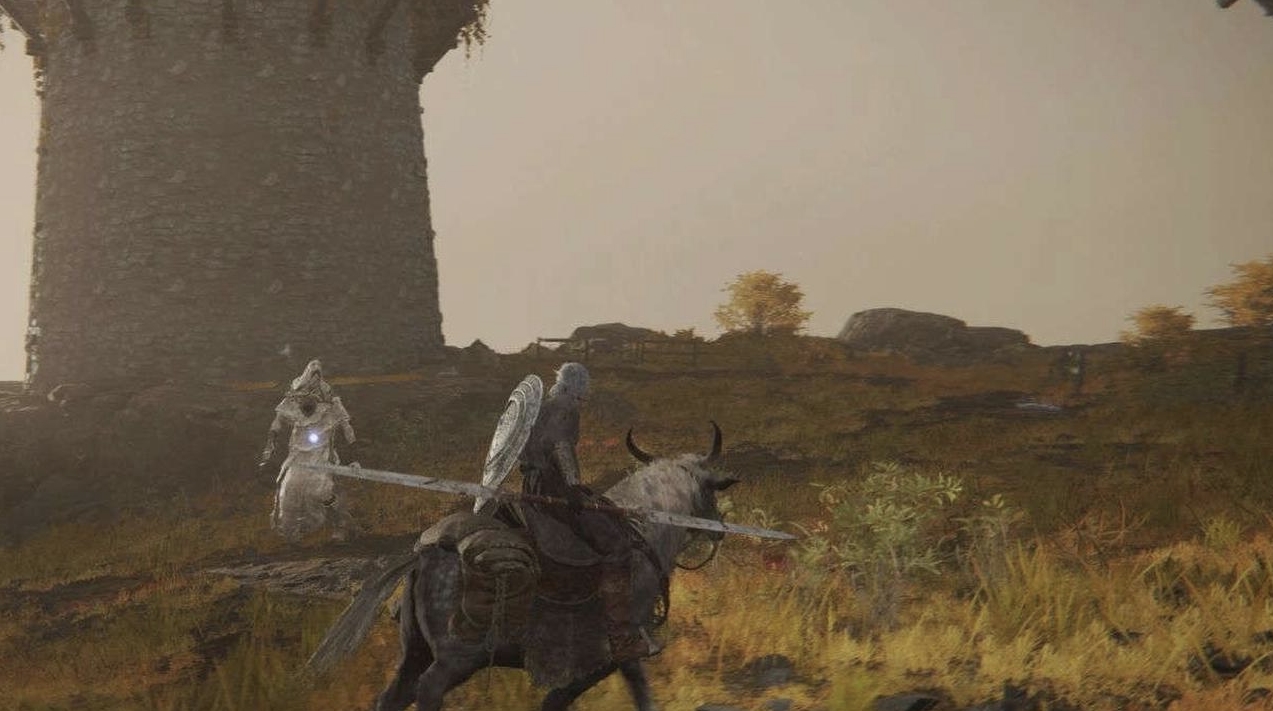
After reaching the village, activate the Windmill Village Site of Grace and then make your way up through the village. Here, you will encounter the second boss of the questline, Godskin Apostle.
Defeat The Godskin Apostle Boss
When facing the Godskin Apostle in Elden Ring as part of Millicent’s questline, you’ll encounter a formidable and agile boss. Here are some tips to help you defeat this boss:
- Bleed Damage: The Godskin Apostle is weak to Bleed damage, so equip a weapon that inflicts Bleed or consider using the Rivers of Blood Katana, a potent option against this boss.
- Avoid Spinning Attacks: The boss employs spinning attacks that are difficult to counter. Instead of trying to block or parry, focus on dodging these attacks by rolling away. After the boss finishes a spinning attack, seize the opportunity to strike back.
- Aggressive Second Phase: Like many bosses in Elden Ring, the Godskin Apostle becomes more aggressive as its health decreases, particularly after reaching around half health. Be prepared for a more intense battle during this phase.
- Use Bloodhound Step Ash of War: Equip the Bloodhound Step Ash of War to enhance your dodging capabilities, allowing you to evade the boss’s attacks more effectively.
- Patience and Timing: Patience is key when facing this boss. Wait for openings in its attacks, dodge skillfully, and strike when the time is right. Avoid being overly aggressive, as it can lead to taking unnecessary damage.
After you successfully take down Godskin Apostle, you’ll be able to pick up the Godskin Peeler and Scouring Black Flame incantation from its corpse. The Godskin Peeler is an excellent Twinblade for those who have a pure Melee build. However, you’ll need a high dexterity character to wield it properly. But if you’re not planning to use it, you can sell it for 500 Runes. Consider reading the Fastest Rune Farming guide.
Activate The Windmill Heights Site of Grace
A new Site of Grace is also going to appear near you called the Windmill Heights Site of Grace.
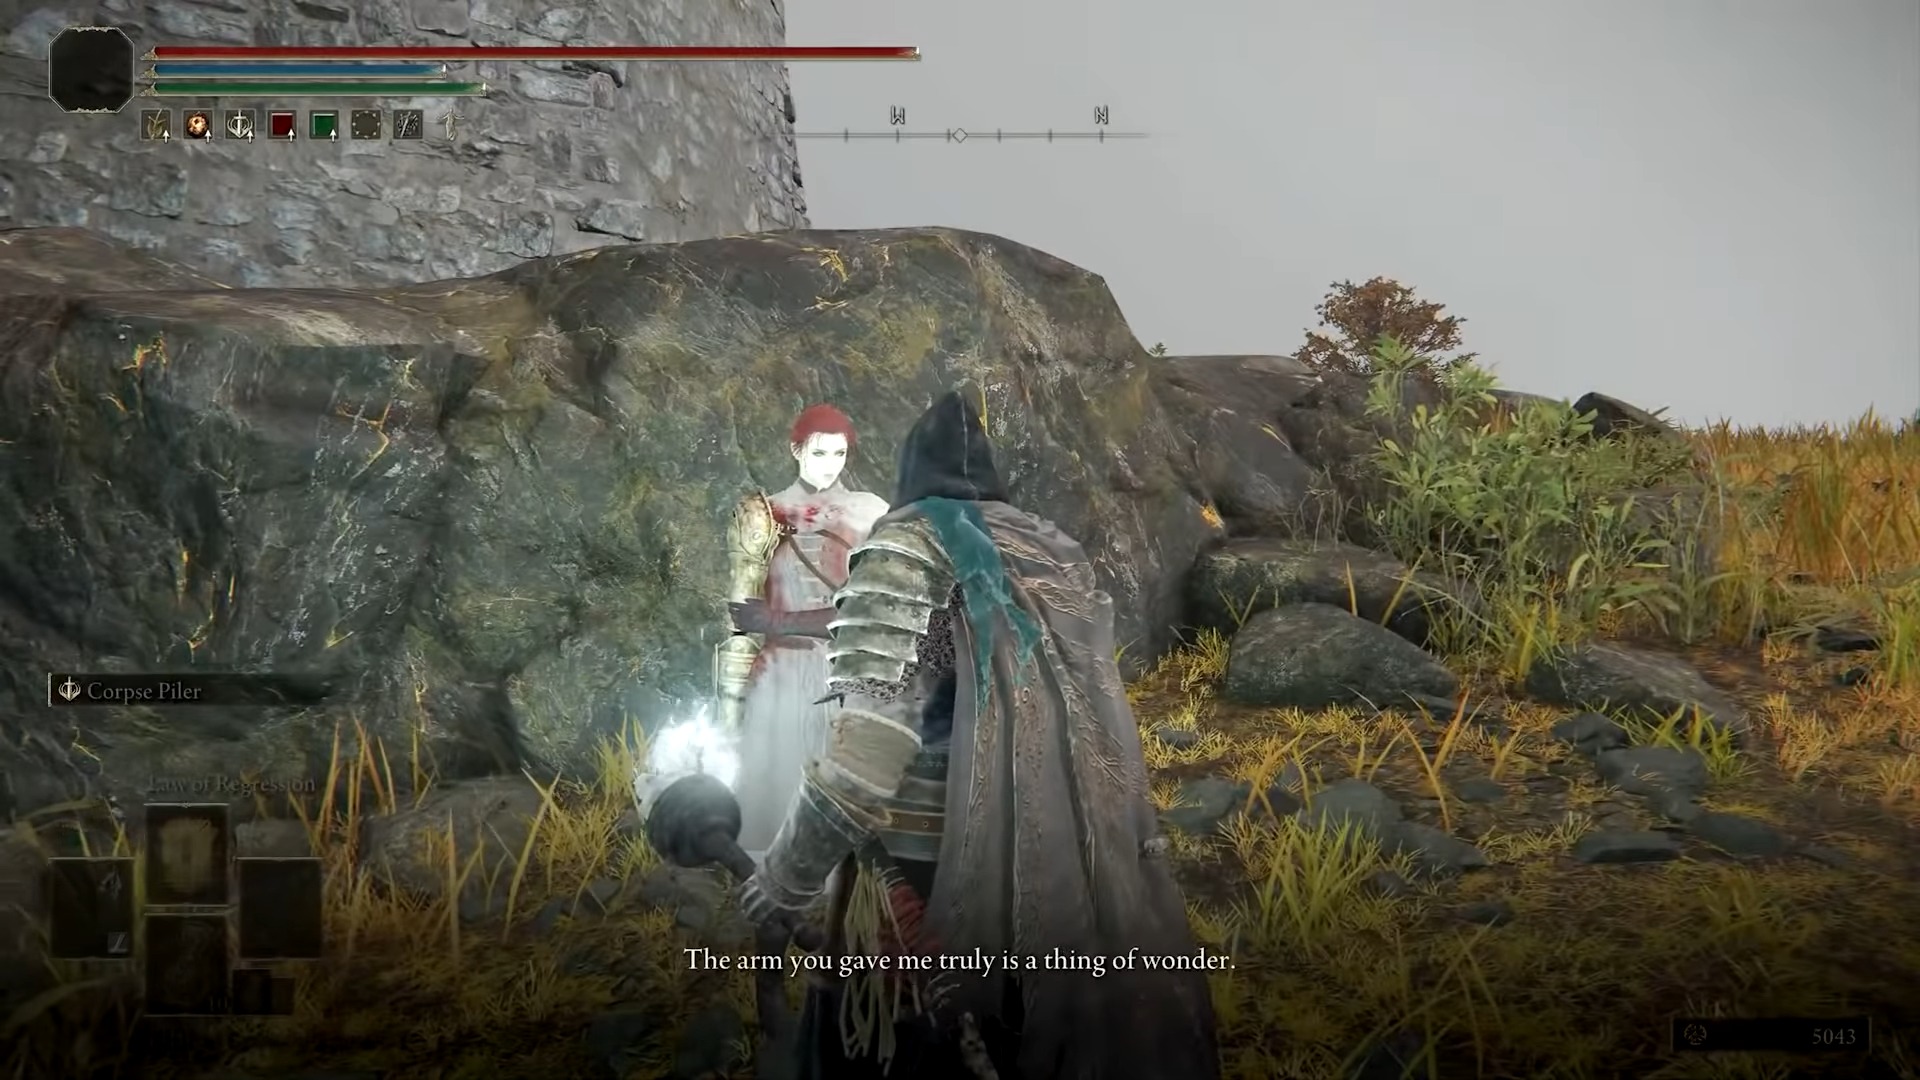
- Rest at this Site of Grace, and you’ll find Millicent near it.
- She will have the Valkyrie’s Prosthesis fitted to her arm this time.
- Interact with her and make sure to hear everything she has to say.
- Once done, rest at the Site of Grace, and Millicent will now have moved to a new location.
Go To The Mountaintops of the Giants
To meet Millicent again, you will need to go to the Mountaintops of the Giants. This location in Elden Ring isn’t easy to access, but you need to go there if you want to progress through the Millicent questline.
You will first need to get an item called Rold Medallion to get there. This is a medallion that will let you activate the Grand Lift of Rold, thanks to which you’ll be able to access the Mountaintops of the Giants.
Defeat Godfrey and Margott
To defeat Margott, the Omen King, in Elden Ring:
- Prepare with a powerful weapon and useful items.
- Stay mobile to dodge his attacks.
- Learn his attack patterns and find openings.
- Be cautious of area attacks and move away from them.
- Use Ashes of War to enhance your abilities.
- Consider summoning AI allies or other players.
- Be patient and persistent; it may take multiple attempts.
Defeating Margott is a significant achievement and progresses the questline involving Millicent.

To defeat Margott, the Omen King:
- Prepare with suitable weapons and shields.
- Focus on dodging his attacks and learning his patterns.
- Consider using a strong build to enhance your combat abilities.
- Be patient and persistent; the fight will take time.
- After defeating Margott, you’ll receive the Rold Medallion.
The Rold Medallion is essential for unlocking the Mountaintops of the Giants area, which is part of Millicent’s questline.
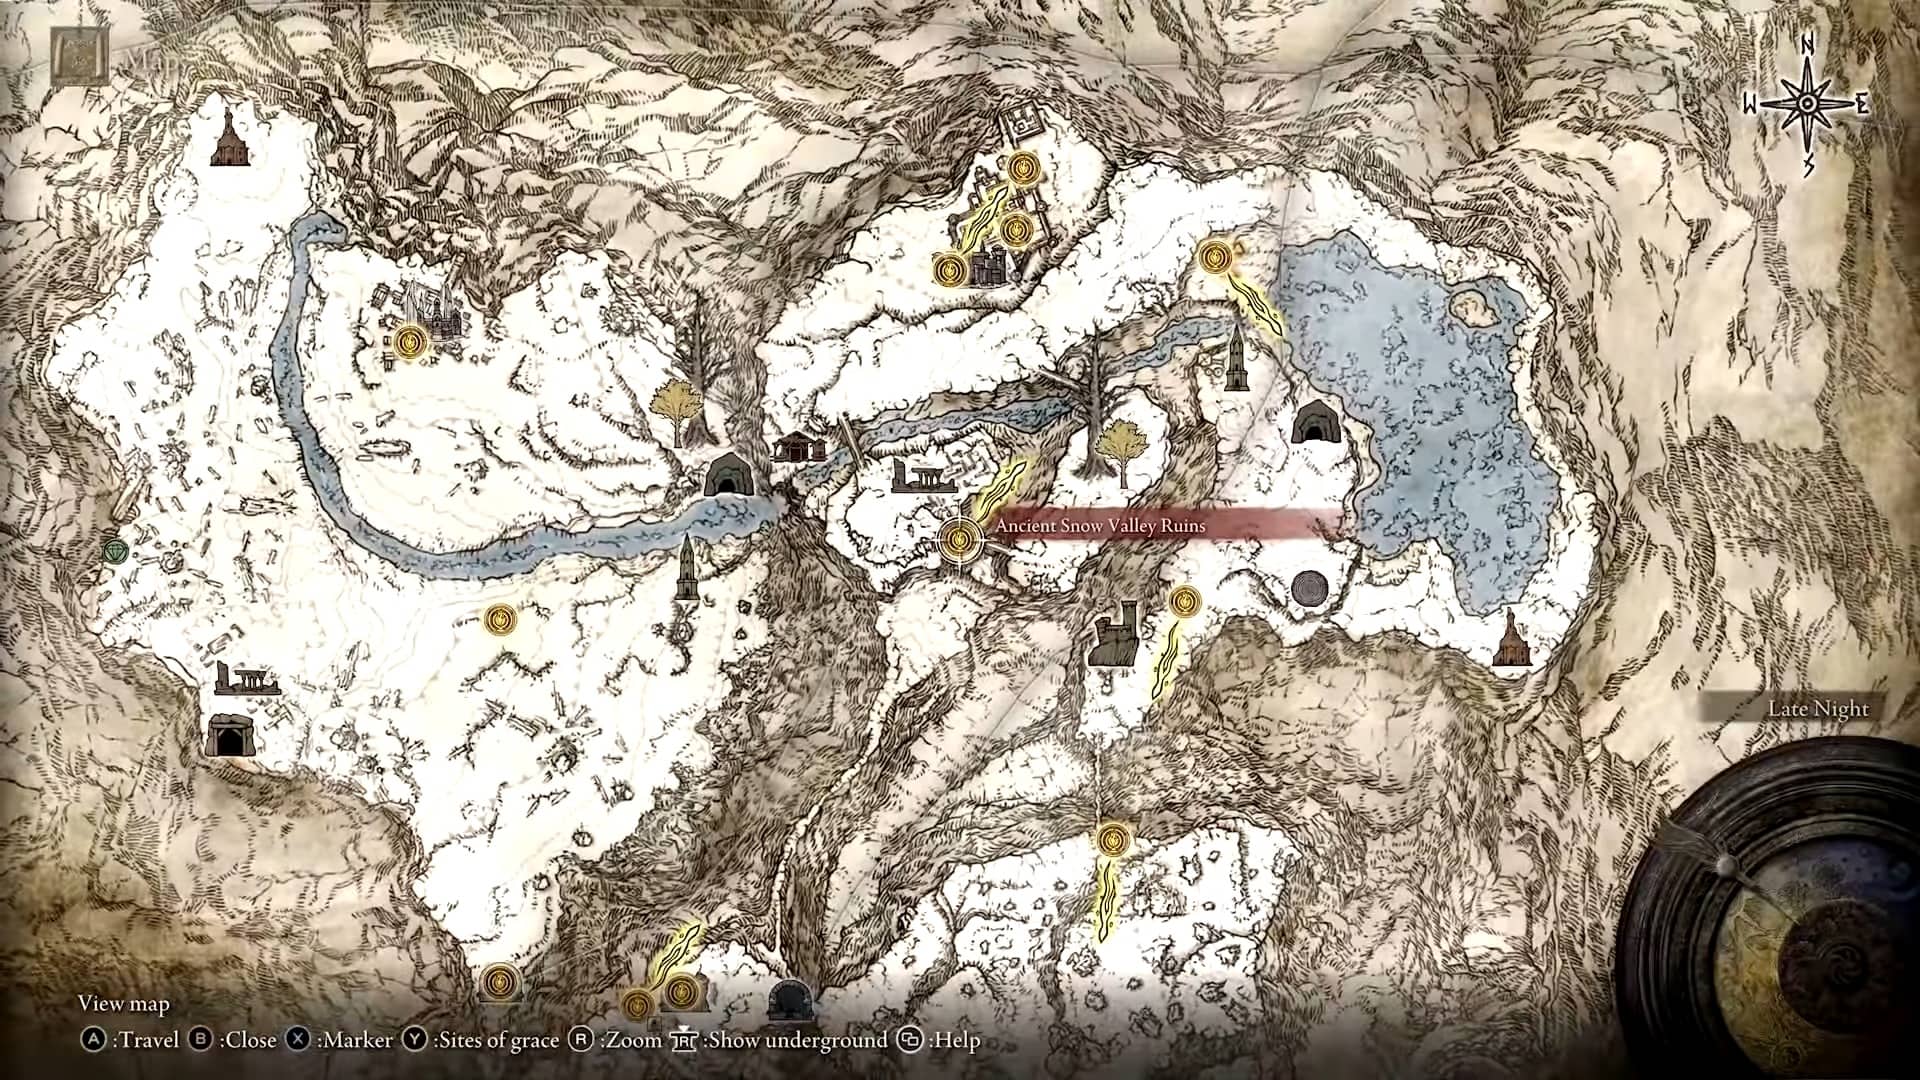
Go To The Ancient Snow Valley Ruins Site of Grace
To continue the Millicent questline in Elden Ring:
This step advances the quest and provides crucial information for your journey.
Meet Millicent in the Prayer Room
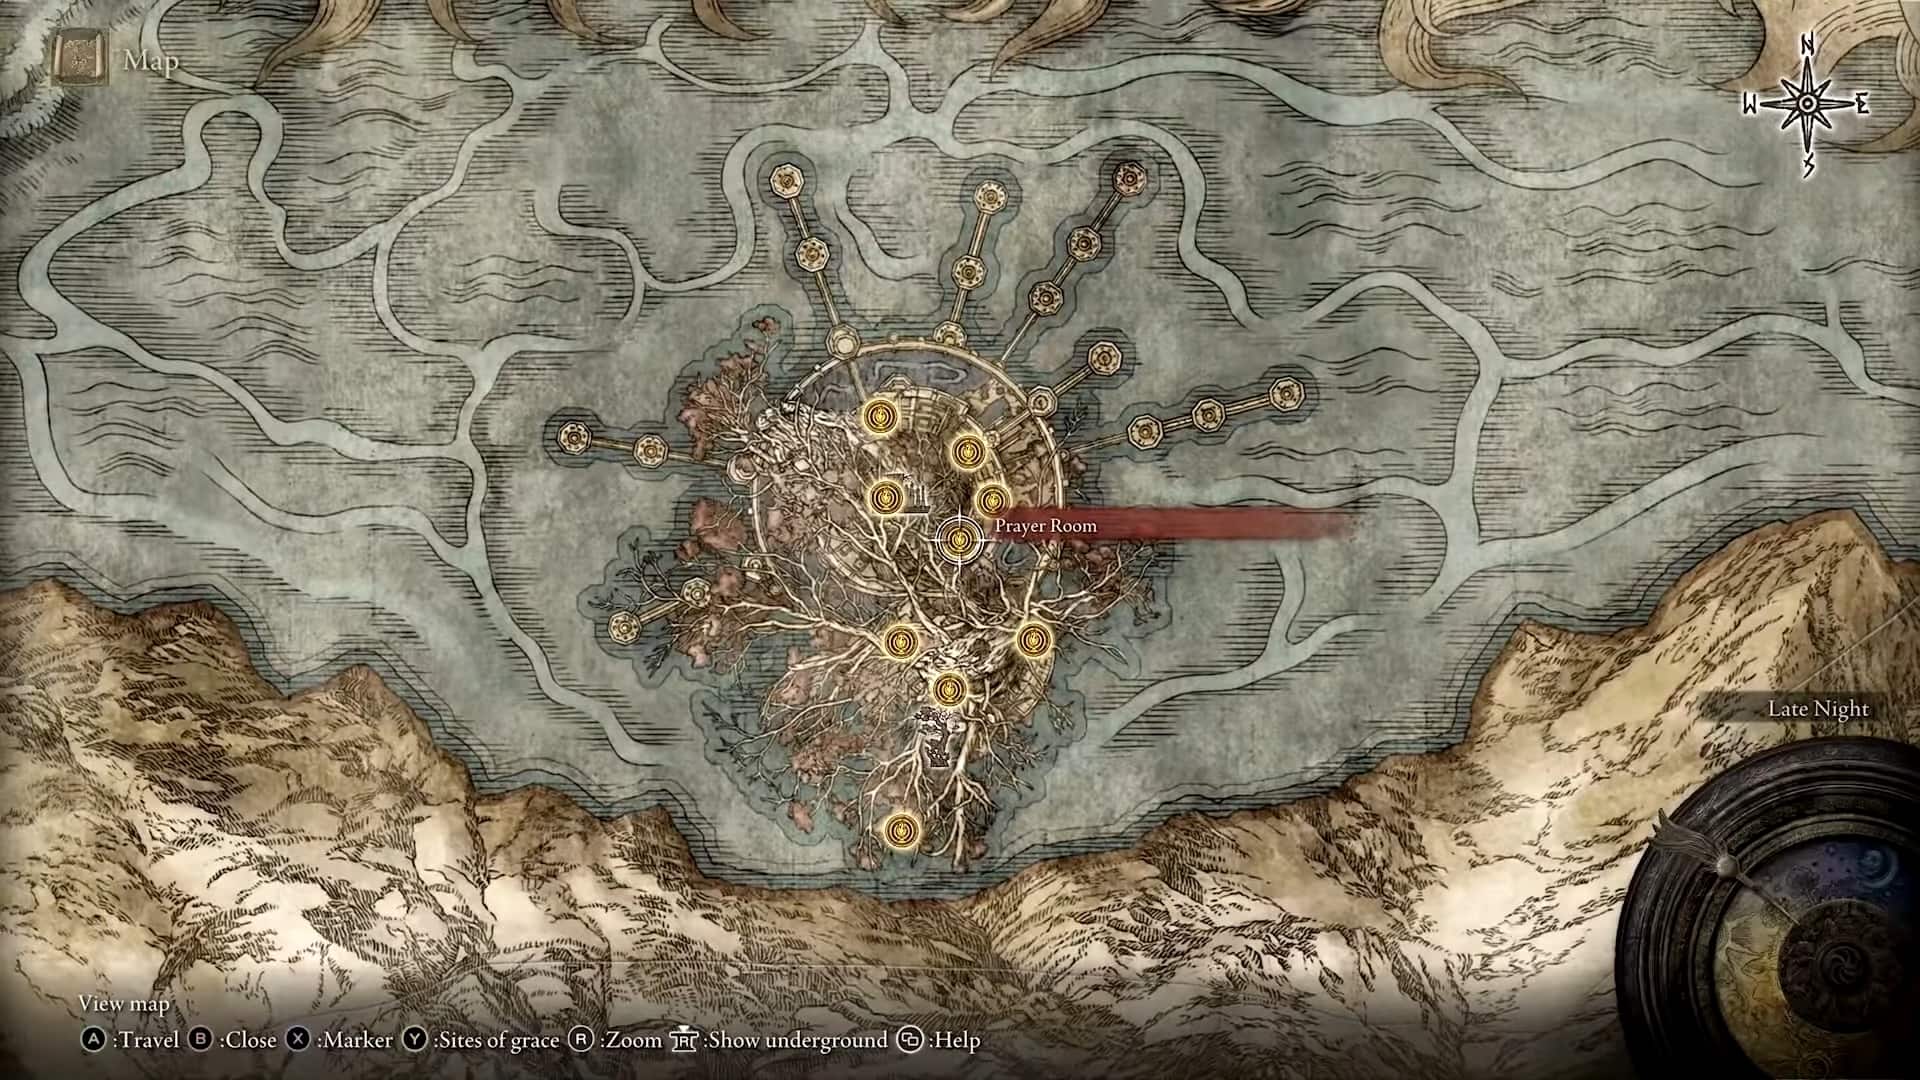
Getting this medallion is a time-consuming and challenging task, but the process is easy if you know what to do.
This will lead you further into the questline, and you’ll be closer to its completion.
Make Your Choice
Continuing with the Millicent questline:
- Progress until you reach the Drainage Channel Site of Grace.
- Locate a Scarlet Rot pool with the Grave Glovewort at its center.
- As you approach the Grave Glovewort, an Ulcerated Tree Spirit will emerge from the pool. Defeat it.
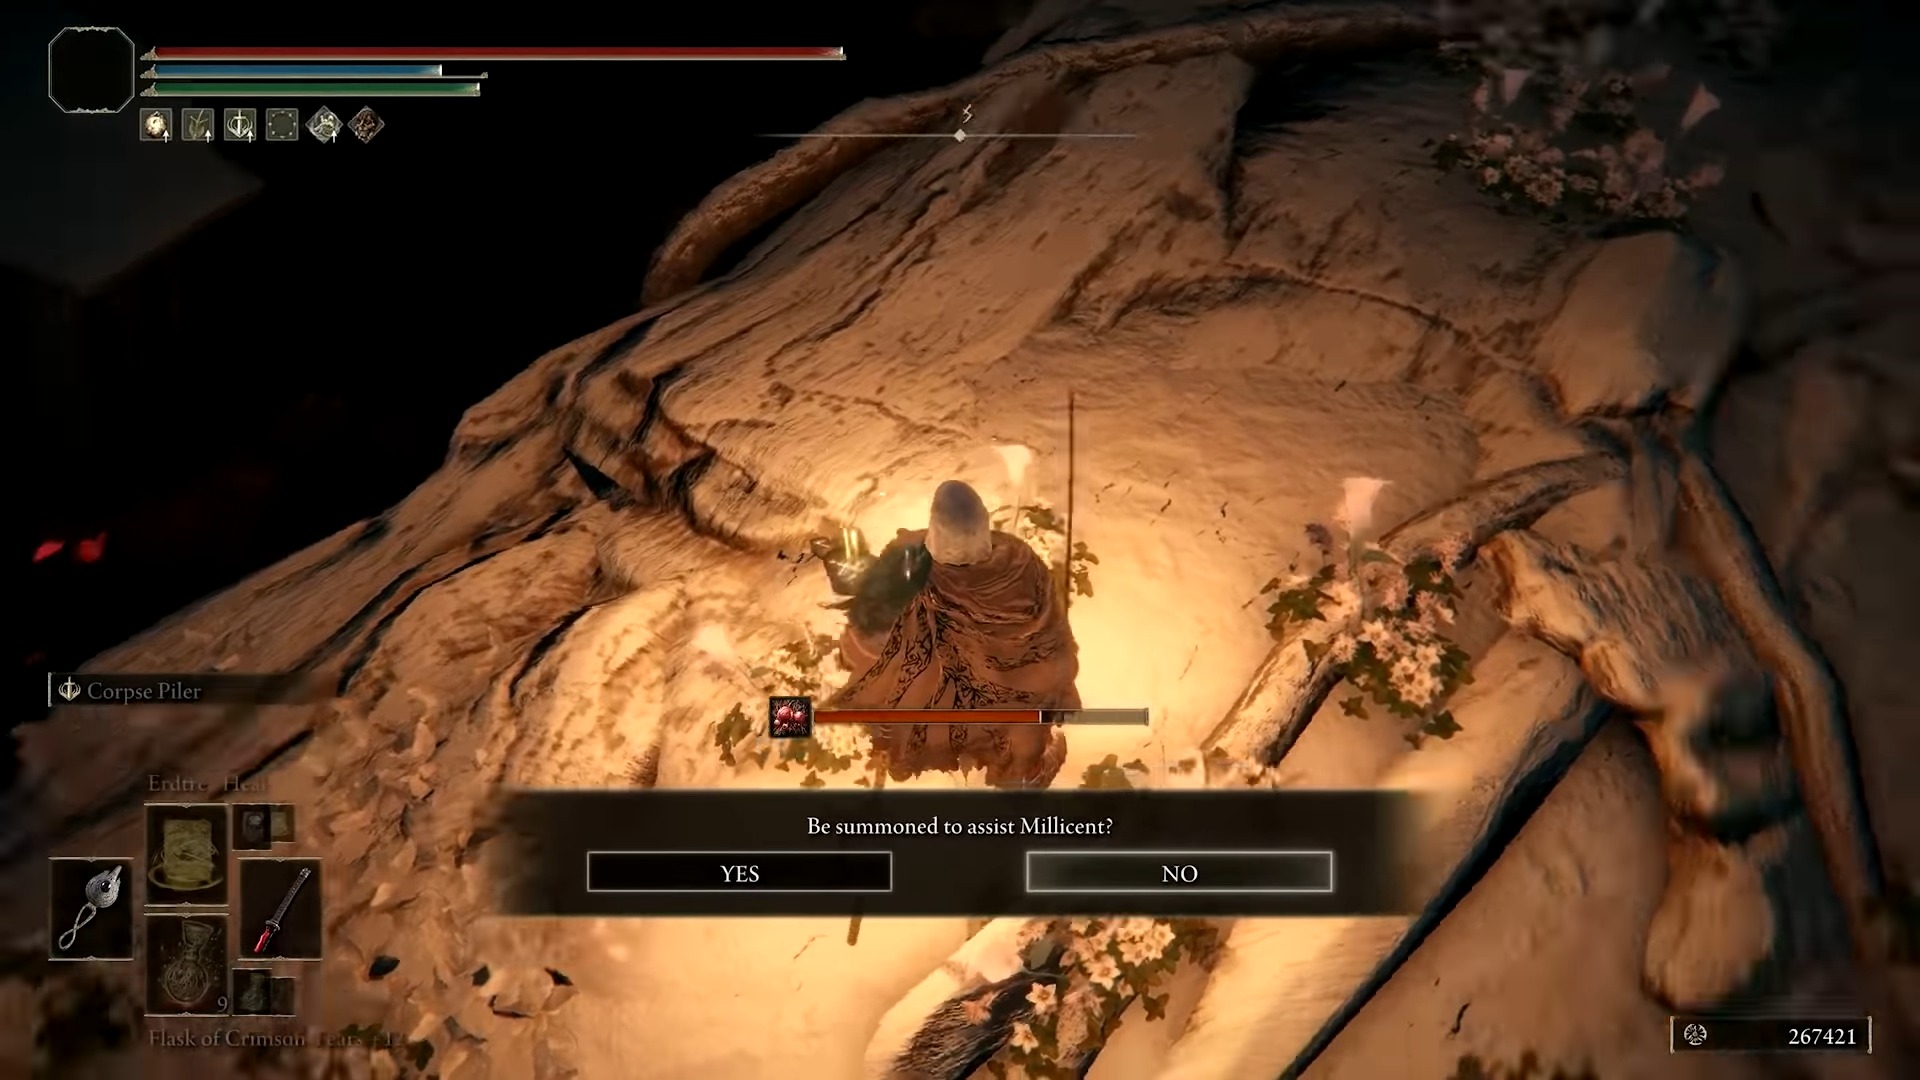
- Look for two summoning signs.
- Make a significant choice:
- Choose the Red summoning sign to kill Millicent and acquire her Prosthesis, ending the quest.
The choice you make at this point will determine the quest’s outcome.
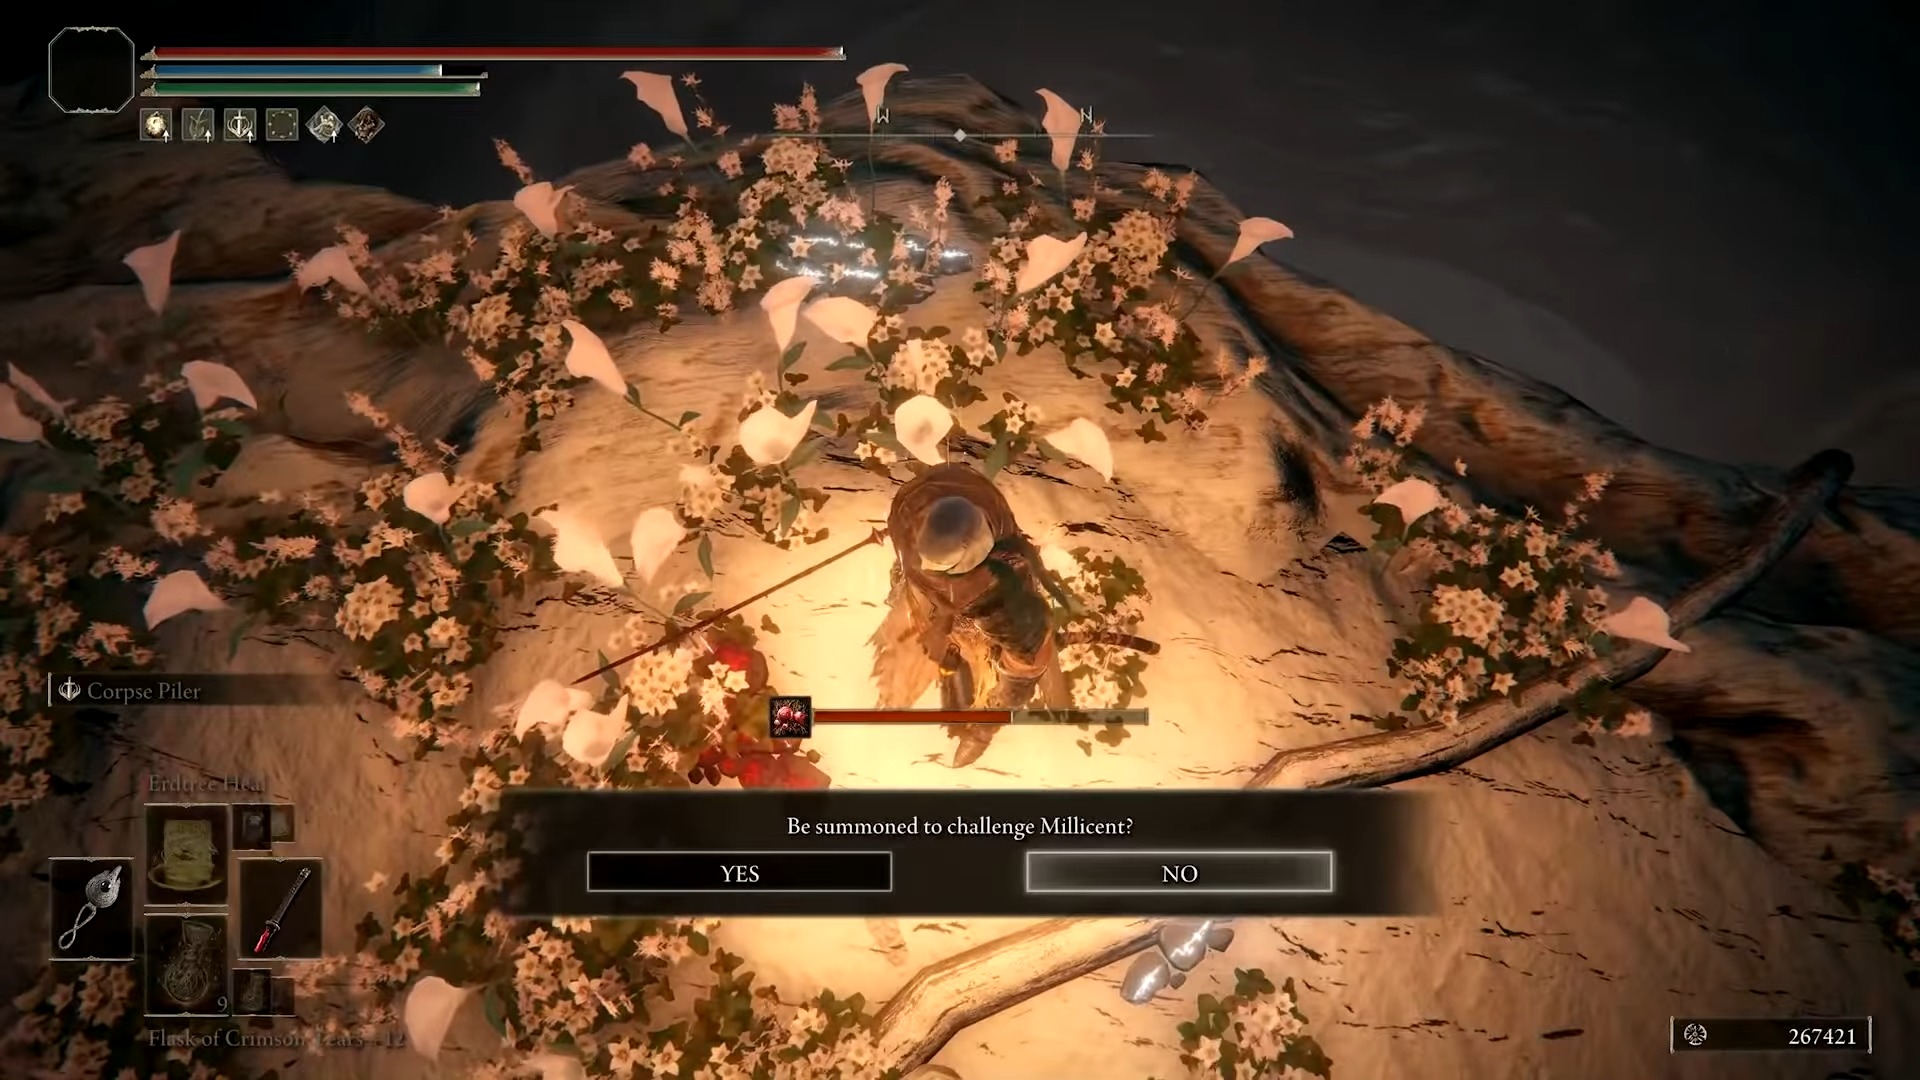
But were you doing this quest only to betray her at the end? Or do you want to save yourself from some trouble you got yourself into? If you belong to the latter group, you’ll need to choose the Golden sign.
This will allow you to help Millicent in defeating her four sisters, at the end of which you’ll get the Rotten Winged Sword Insignia Talisman.
How To Get Miquella’s Needle
After aiding Millicent in combat, you will need to rest at the Drainage Site of Grace and then go to where you found the summoning signs.
- Here, you’ll find Millicent on the ground.
- Talk to her to engage in a final conversation with her, and then go and rest at the Site of Grace again.
- Return to Millicent, but you’ll find her dead body this time.
- If you loot her body, you’ll acquire the Unalloyed Gold Needle, which you can later use to get the Miquella’s Needle.
To get Miquella’s Needle, you will need to go to the Haligtree Roots, where you’ll need to take down Malenia, Blade of Miquella. This boss is also a bit challenging, but it’s nothing compared to the previous bosses you took down. If you still struggle in defeating here, then consider reading the Elden Ring Malenia boss fight guide.
After you successfully take her down, you can use the Unalloyed Gold Needle at the flower she leaves behind to get Miquella’s Needle.
How To Tame the Flame of Frenzy
To undo the Flame of Frenzy ending in Elden Ring, follow these steps:
Undoing the Flame of Frenzy ending is a crucial step if you want to change your character’s fate in the game.

My Experience With Millicent’s Questline

Throughout the quest, I felt more and more astonished by the deep development of Millicent’s past. However, while I adore her quest, it became extremely challenging for me to find her in later parts, especially in the Altus Plateau and Mountaintops.
Starting off as an injured girl in a church, she became a major part of the life of a mainline story character. A number of theories can be built simply off this one certain NPC, like how I believed she was a descendant of Malenia. Ultimately, I decided to help Millicent beat her sisters to get the Rotten Winged Sword Insignia talisman.
I hope that this guide helps you complete the quest quickly and easily. As you can judge for yourself, it will take you some time to complete it. However, it is pretty fun, as you’ll visit different locations and fight some of the toughest bosses in the game.
If you’re just looking for Millicent’s Protethits, you can go ahead and betray her. But if you want to remove the curse of the Flame of Frenzy from yourself, then you’ll need to aid her in combat.
While you’re here, make sure to read the Elden Ring review by Abdul Haddi as well.
Thanks! Do share your feedback with us. ⚡
How can we make this post better? Your help would be appreciated. ✍
Love the detail