Orichalcum is a highly prized item in FF16, known for its rarity and the challenge of acquiring it. It’s first mentioned at The Black Hammer blacksmith and is crucial in crafting some of the FF16’s best gear. To obtain Orichalcum, players must defeat specific high-level monsters in Notorious Marks side quests or secure it as a reward from certain late-game side quests.
- Orichalcum is a rare, highly sought-after crafting material in Final Fantasy 16.
- It’s required for crafting Gotterdammerung, the best sword for Clive, and The Sons of Ouroboros, a powerful Vambrace.
- Crafting Gotterdammerung requires three pieces of Orichalcum.
- Orichalcum is found as a reward for defeating high-level enemies in FF16.
- Specific quests and boss fights offer Orichalcum as a reward.
- Defeat Atlas, The Breaker of Worlds, in the Cressida region.
- Battle against The Tricephalic Terror, Gorgimera, in the Velkroy Desert.
- Overcome Svarog Ruin Reawakened in Mournebrume.
- Take down the Behemoth King southwest of the Vidargraes Obelisk in Waloed.
- Complete the side quest ‘Under New Management II’ where you assist Isabella in repulse Akashic in Northreach.
What Is Orichalcum Used For?

Another useful item you can craft by using Orichalcum in FF16 is The Sons of Ouroboros—a Vambrace. Having an extra Orichalcum also comes in handy when crafting the belt, Ouroboros.
5 Best Ways To Get Orichalcum In FF16?
To access the locations of Orichalcum, a player must look for them in the Notorious Marks side quests or hunts. The S-rank hunts allow you to face mighty foes that drop these rare, elegant items. There are currently four monsters that drop this item upon defeat.
1. Atlas, The Breaker of Worlds
Here is a video showcasing how to find and beat Atlas in FF16:

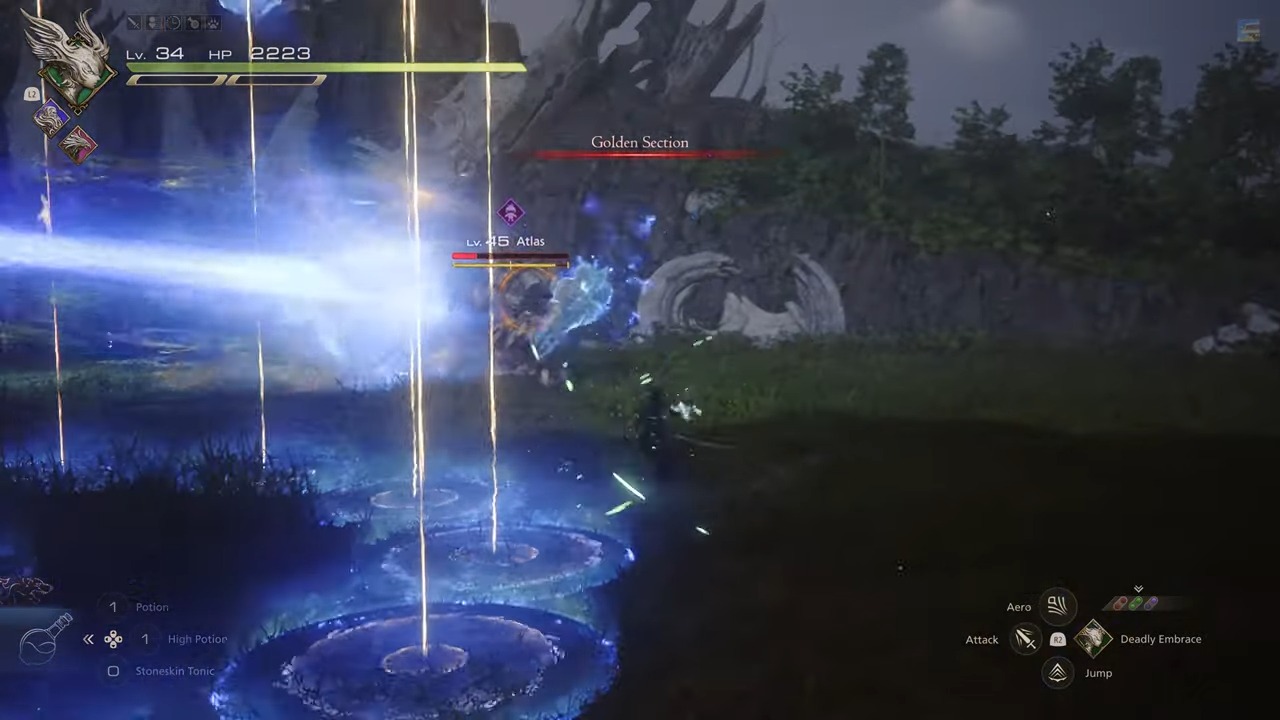
The first one is none other than Atlas, The Breaker of Worlds. This particular hunt only unlocks upon the completion of the Out of The Shadow quest. Lying in the eastern part of Cressida, Rosaria, the level 45 monstrosity rewards you generously after slashing it down–and of course, one of the rewards includes the famed Orichalcum.
Boss Fight
- Melee Attacks: Atlas’s size allows for powerful, extended melee attacks. When fighting up close, constant movement is crucial to avoid damage.
- Projectile Attacks and Sword Waves: Distance doesn’t guarantee safety with Atlas. It can fire projectiles and unleash sword waves to damage players from afar.
- Aggressive Attacks: Once Atlas is staggered and its health drops to around half, it becomes more aggressive, chaining its attacks together more frequently.
- Golden Section and Saber Dance: Golden Section involves swinging an extended version of its sword from side to side, while Saber Dance is a potent combo that allows Atlas to cover a significant distance toward Clive.
The key to defeating Atlas is playing defensively and focusing on attrition. Avoid overextending and take the opportunity to unleash Eikonic Abilities when Atlas finishes a combo, damaging both its health and Will. Make sure to heal Clive when his health gets low to avoid being taken out in one hit.
Rewards
Beating Atlas, The Breaker of Worlds, is a challenging task, but persistence pays off. After defeating this boss, players are rewarded with:
- Experience Points: 17,250 XP
- Ability Points: 120 AP
- Gil: 20,000
- Renown: 50 Renown
- Crafting Materials: One Fallen Iron and one Orichalcum in FF16
2. Tricephalic Terror, Gorgimera

Boss Fight
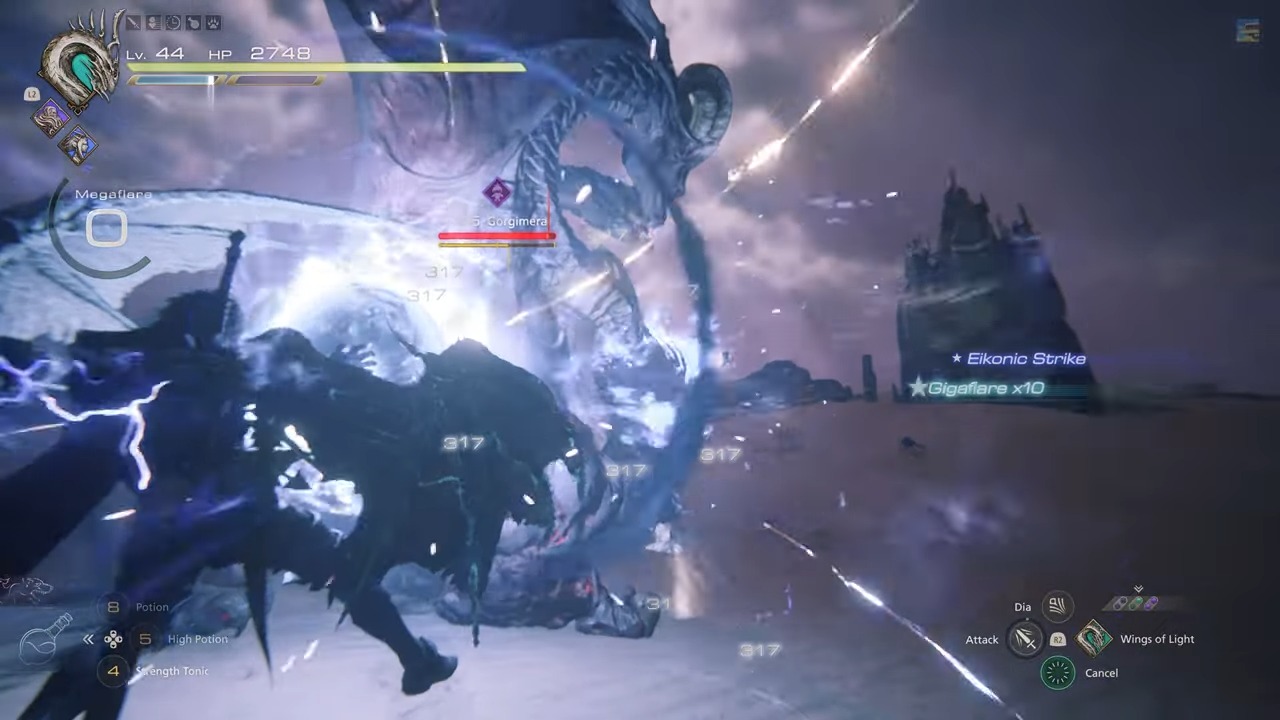
- Magical Attacks: Its melee attacks are more predictable and easy to evade, but be alert for its magic.
- Flamethrower: When Gorgimera uses its flamethrower attack, this is your chance to sidestep and land some powerful combos.
- The Dragon’s Voice and The Ram’s Voice: If Gorgimera starts casting The Dragon’s Voice, use Phoenix Shift to get closer to the boss, enabling you to evade the subsequent lightning strikes.
- Delta Attack: This attack summons three elemental pillars that target Clive’s current position.
- Delta Force: When Gorgimera’s health falls below half, it will upgrade to Delta Force, which generates four Delta Attack circles.
Combining your combos and Eikonic Abilities will be key to defeating Gorgimera. Just be careful not to get caught by its magical attacks.
Rewards
After defeating Gorgimera, you’ll receive the following rewards:
- Experience: 15,000 EXP
- Ability Points: 120
- Gil: 20,000
- Renown: 50
- Crafting Material: A valuable piece of Orichalcum, useful for crafting powerful gear.
3. Svarog, Ruin Reawakened

Boss Fight

Let’s discuss his attack patterns and strategies to defeat him:
- Melee and Fire/Laser Attacks: Svarog can deal hefty damage with its claws and wings, so always be ready to dodge when you’re in close quarters. In addition, its fire and laser attacks can cause significant harm, but their relatively slow speed leaves plenty of time for evasive maneuvers.
- Blazing Legion: This ability has Svarog summoning a wave of slowly approaching fireballs. Patience is key here – try to weave between the fireballs without rushing, and you should be able to avoid damage.
- Red Dawn: Two flaming pillars will start to close in on Clive. You can either sidestep them early or wait until they’re about to collide and dodge toward Svarog to close the gap.
- Embroil: Possibly the most dangerous of Svarog’s attacks, Embroil involves a fireball that, upon hitting the ground, expands into a growing ring of fire. This then bursts into smaller, explosive rings. Dodge out of the way of the initial fireball, then jump over the expanding ring of fire.
The key to defeating Svarog lies in endurance and patience. Wait for Svarog’s attacks to miss, then close in and use your Eikons and their Eikonic Abilities to deal damage. Use abilities like Heatwave and Will o’ the Wykes to absorb attacks and provide opportunities for counterattacks. Focus your attacks on Svarog’s head, as it’s his weak point.
Rewards
After successfully defeating Svarog in the Ruin Reawakened bounty hunt, you’ll be rewarded with:
- Experience: 25,000 XP
- Ability Points: 300
- Gil: 30,000
- Renown: 60
- Crafting Materials: One Orichalcum and one Amber
- Additional Spoils: One Empty Shard and one Fallen Enigma, unique items that may hold significance for your journey.
4. Behemoth King, The Masterless Marauder

Boss Fight
Let’s break down the attack patterns first:
- Four Horsemen: When Behemoth King summons four comets around it, forming the four corners of a square, prepare to dodge or utilize Clive’s unique ability. These comets emit damaging shockwaves, so use Garuda’s Deadly Embrace.
- Reign of Fire: Here, the Behemoth King summons multiple lines of comets, creating large damaging zones. There are safe zones between the lines of meteors; your goal should be to find these safe spots and move from one to another quickly.
- Apocalypse: This is Behemoth King’s ultimate attack. It’s a combination of Meteorain, Reign of Fire, Four Horsemen, and Extinction, all unleashed in rapid succession. It’s difficult to predict, but with some practice, you can anticipate the attacks. Once it’s finished, it will be temporarily vulnerable, so that’s your time to strike.
Keep an eye out for Behemoth King’s usage of Meteorain, irrespective of whether it has just used Comet, as these stray meteor projectiles can catch you off guard. Remember to stock up on Stoneskin Potions to withstand any unexpected hits, and be ready to face the Apocalypse when Behemoth King’s health is low.
Rewards
Upon defeating the Behemoth King, you’ll receive the following rewards:
- Experience: 20,000 EXP
- Ability Points: 200 AP
- Gil: 20,000
- Renown: 55
- Spoils: Behemoth Shackle x1, Orichalcum x1
5. Under New Management II Mission

Rewards
Upon triumphant return to Isabelle and submission of the quest, the player receives the following rewards:
- Veil Signboard
- 1x Orichalcum
- Meteorite
- 7,200 EXP
- 40 Renown
My Take

As someone who’s platinumed Final Fantasy 16 with over 100+ hours, Orichalcum is a crafting material you will need immediately if you want to craft the best accessories along with the Gotterdamarung sword, which, of course, you will need to achieve 100 percent completion as I have. So, I strongly recommend tackling the hunts for the Orichalcum both in your normal and NG+ playthrough as soon as possible.
I have reached the conclusion of my Final Fantasy 16’s Orichalcum guide and mentioned all the best ways to get this rare crafting material. Now that you’re here, I recommend reading FF16 Grimalkin: Location, How To Use Photo Mode, and All FF16 Features guides.
Next:
- Final Fantasy 16: Scarleitite
- FF16: Best Party
- Who Is Clive’s Mother In Final Fantasy 16
- Final Fantasy 16: Braveheart
Thanks! Do share your feedback with us. ⚡
How can we make this post better? Your help would be appreciated. ✍