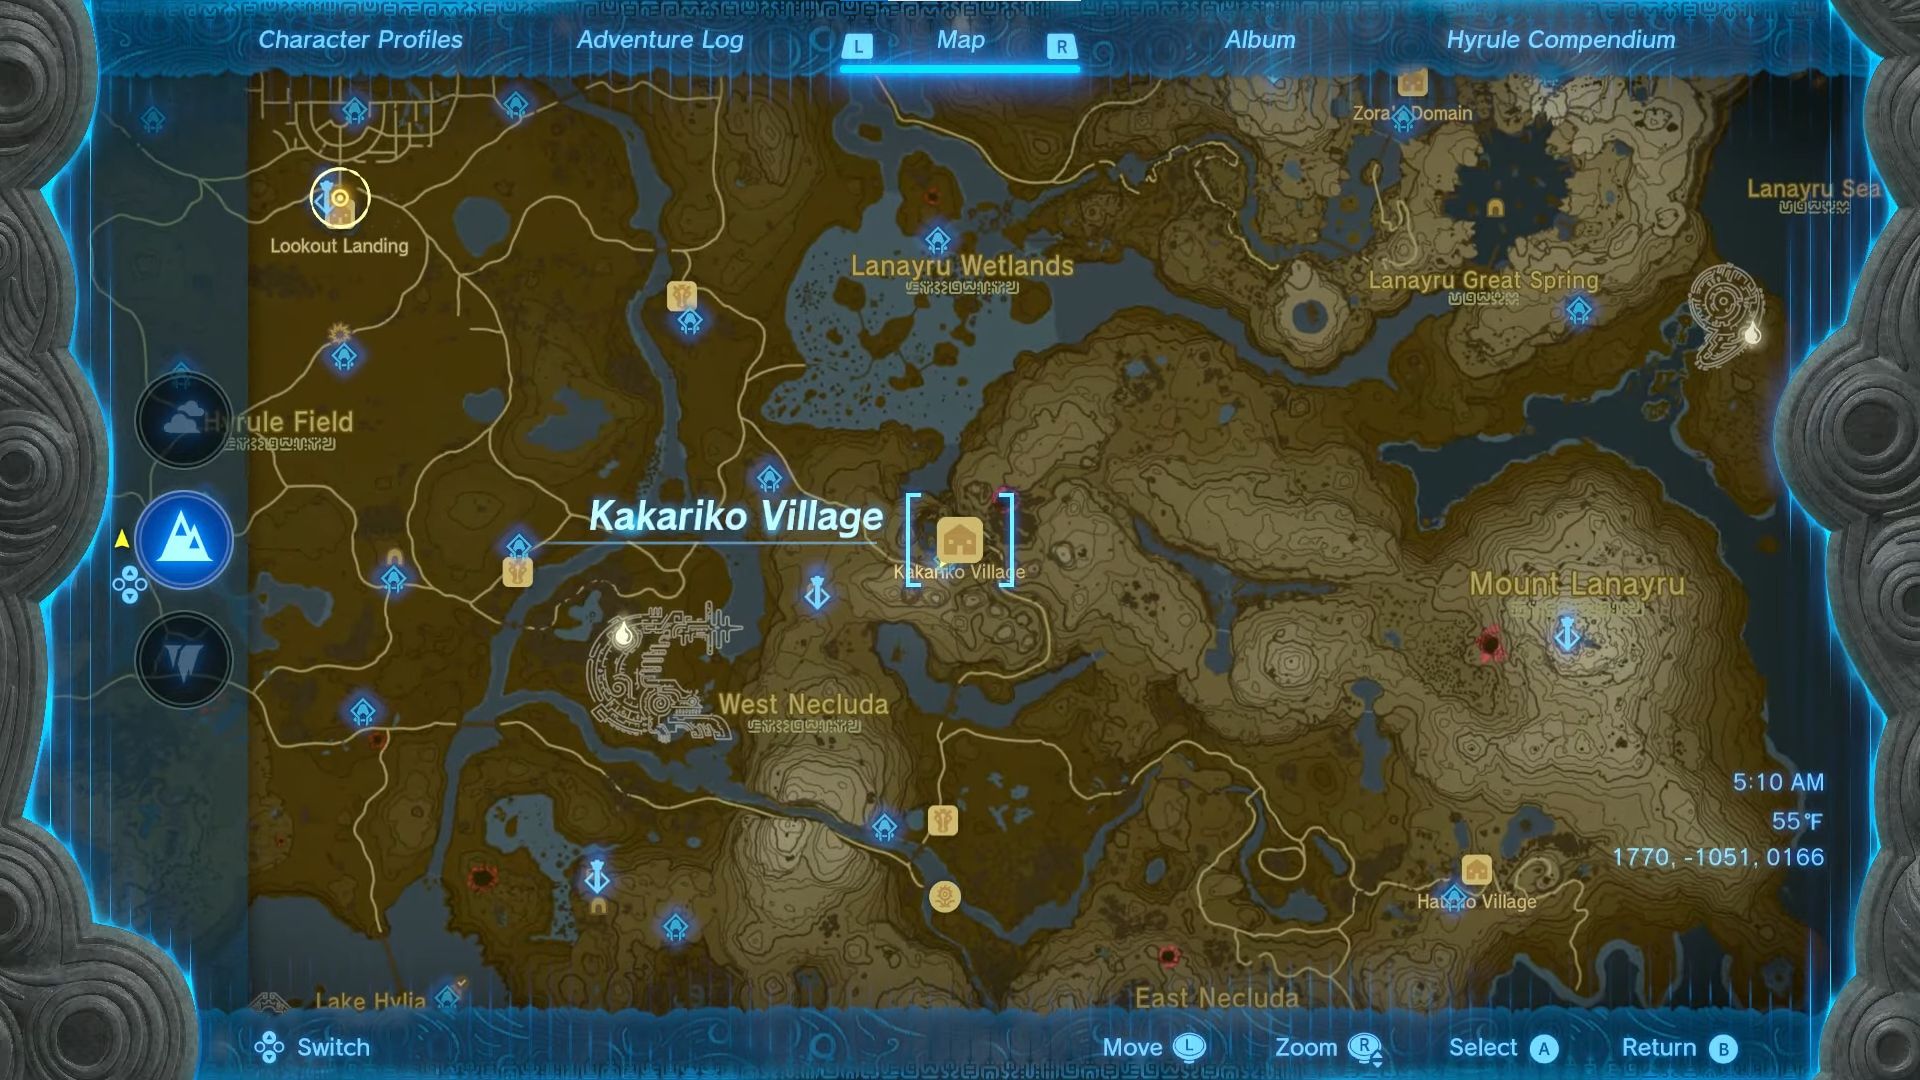
There are a few series of steps you may follow to be able to access the Kakariko Village quickly. These steps are basically here to guide you toward Kakariko Village in Zelda the fastest via the map. Your starting point should obviously be “Lookout Landing.” From here, you may take the South East side of the road and keep walking ahead.
Now these are a few steps to follow on the exact path toward the village:
- Whilst walking toward the Southeast path, you will have to choose between the three paths.
- Choose the path where the River resides onto your left and head toward the bridge called Rebonae Bridge.
- Now you may open up the map in Zelda Tears Of Kingdom and start marking your way toward the Kakariko Village.
- On your way to the bridge, you can do another side quest concerning the sad Addison holding the sign.
- You should help him out by just using Ultrahand on some wood pieces for his sign.
- Now upon arriving at the bridge, there will be yet another side quest with a character called Gladis.
- It is up to you if you want to do it or not, but it will be a bit of a drag for some Bubbul Gems.
- Trading the Mystic Robe, you get after the side question is how you will get these Bubbul Gems.
- You may find various types of Bobkoblins along the way to the Rebonae Bridge, so do bring your bow and arrows.
- You can simply cross over the bridge and access a nearby vantage point which is extremely necessary.
- The vantage point is beside the Wetland Stable, on which you will arrive after going straight ahead.
- From the Lookout Landing, you can go to the Rebonae Bridge to start looking for Kakariko Village.
- Your purpose is to get to the Sahasra Slope Skyview Tower and glides to the village from there.
- This will be a long path, so get ready for some shrines and sidequests in between.
- There are about 5 Sidequests to do in Tears of the Kingdom’s Kakariko Village.
- You will have to go to each 4 Ring Ruin in “A Trip Through History” side quest.
- In “A Gloome-Borne Illness,” you will have to feed the Grandma of a shopkeeper Sunny Veggie Porridge.
- Then there is”Out Of The Inn,” where you have to wake the hotel owner from an excavation point.
- For “Codger’s Quarell,” you will have to kill some bobkoblins so that Trissa can have her shop run again.
- Trissa will again give you a side quest known as “Follow The Cuccos,” in which you will have to bring eggs.
Getting To The Sahasra Slope Skyview Tower
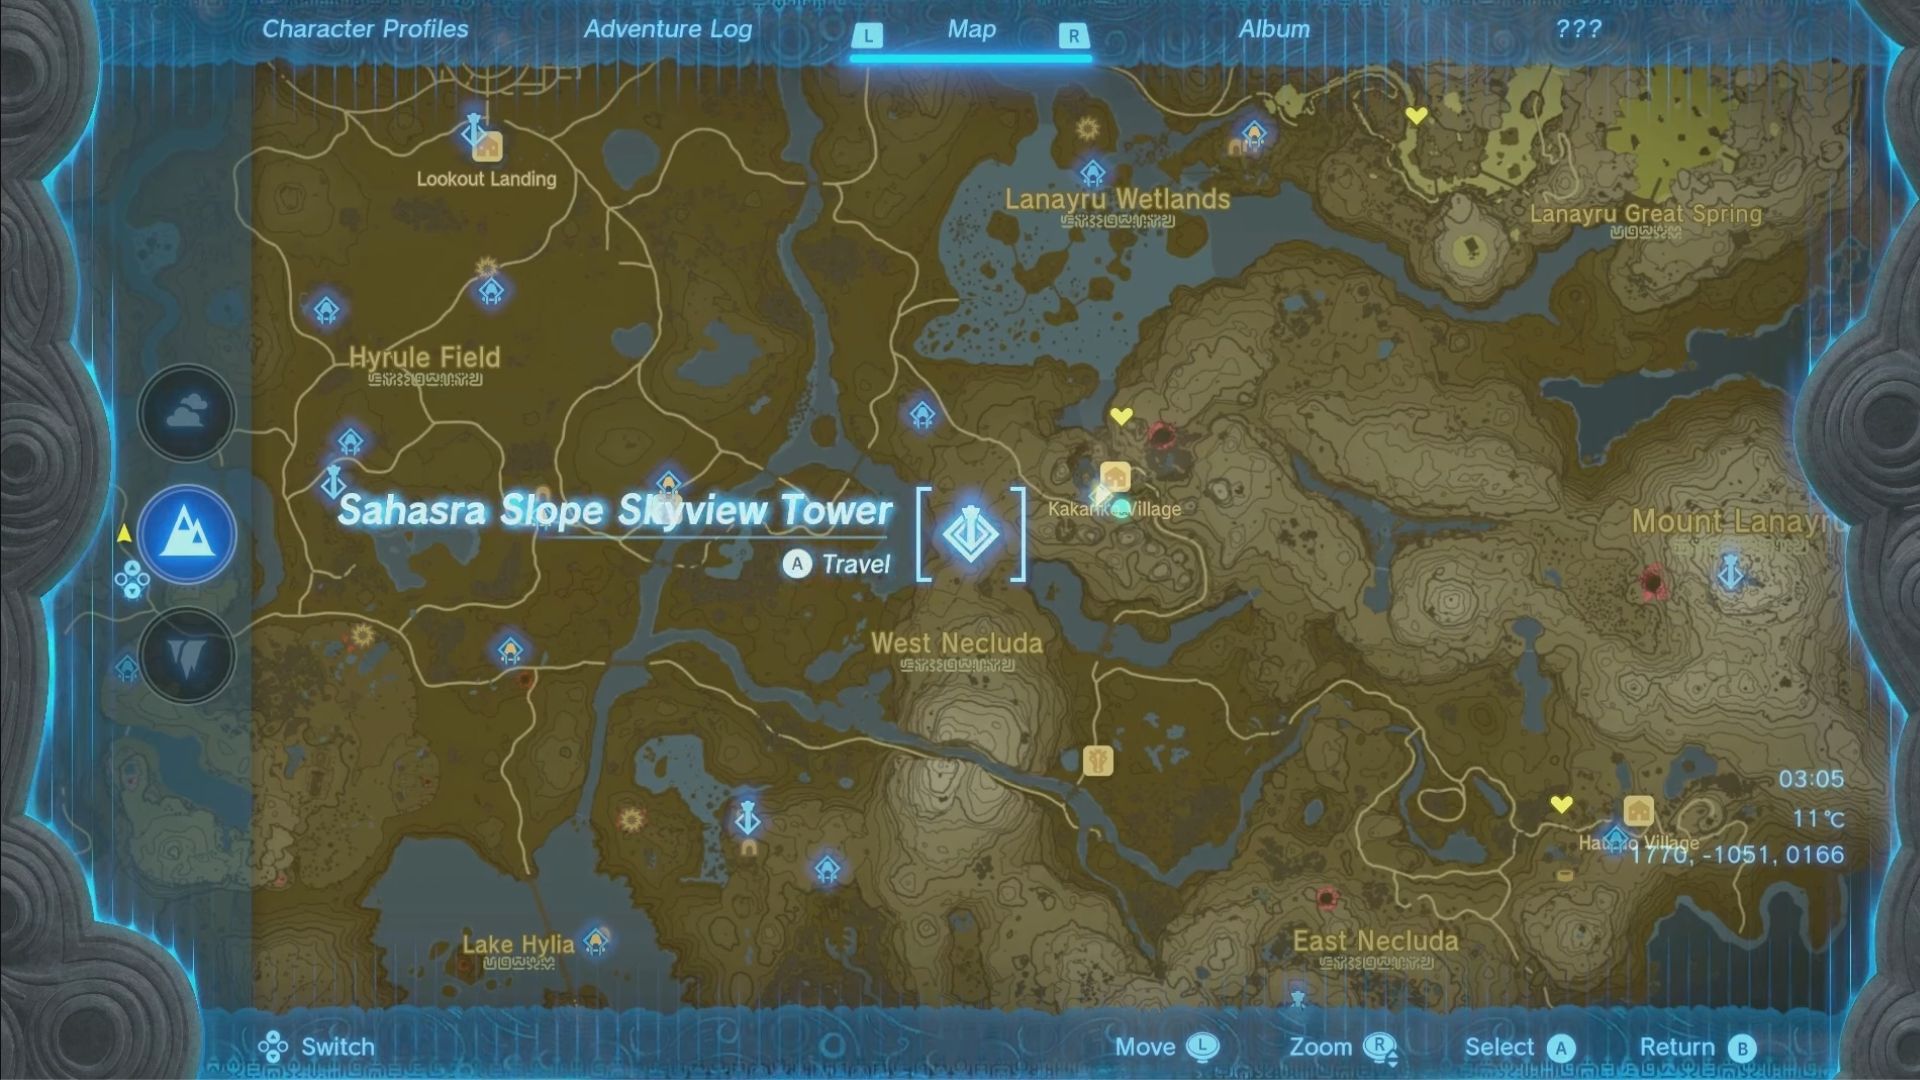
This vantage is necessary to get a full view apart from the Kakariko Village map location in Tears of the Kingdom. Because from the above view, you can navigate your way toward the village easily since you can see the next POI from here, which is the Sahasra Slope Skyview Tower.
This vantage point will be a Sky Island floating above from which many rocks are falling down. You will use these rocks to get up to Sky Island and see the next point of interest from the top peak. You need to get on top of a rock and use the Recall ability so that it reverses and you go up. The next point is the Sahasra Slope Skyview Tower which will be the final point before reaching the village.
- This Skyview Tower, like any other Skyview Tower, will launch you into the sky so you can glide.
- Of course, you will need a Paraglider for that beforehand so that you can get to the village quicker.
- A great key location beside the Sahasra Tower.
- The Sahasra Tower needs to be unlocked in order to get used.
- Tukarok and Morok Shrines are these nearby Shrines that should be looked upon before that.
- Upon reaching the tower, you will find Billson, who will hint you to go toward the base of the hill.
- You may head to the base so that you can move your way up through the cave.
- There is also a boss known as Battle Talus here, which you may choose to skip.
- It is quite easy to defeat as well since you have to defeat those pesky hobgoblins.
- They are in a set of three, so first, knock them out.
Activating Sahasra Slope Skyview Tower
After defeating them, you can move forward toward these orange rocks inside the cave. Use rocks to fuse with any weapon to smash those orange rocks and learn them out. Stop crushing these rocks once on the Zelda Tears of the Kingdom Map. You are below the Sahasra Tower location to get to Kakariko Village.
- In order to get inside the tower, you have to use your Ascend Ability.
- Once inside, use Ultrahand Ability to move the sticks blocking the door to open it
- .You will now have access to the Sahasra Slope Skyview Tower.
- Use it so that you can reach the Kakariko Village and complete Shrines and Ring Ruins.
- While in the sky, move toward the west and between the Giant Red Pit and the tower.
- You will also see the Maksura Shrine when going to the Kakariko Village In Tears of the Kingdom map location.
- Glide down onto the location and start visiting different areas for quests.
What To Do In Kakariko Village?
There are plenty of Side Quests in the area of Kakariko Village, and the main one revolves around the Ring Ruins. The Village also has two different General Stores. These Different General Stores can be used for selling different ingredients. In the south of Kakariko Village, a Gumball Dispenser is also available. About 5 Total Side Quests are available in the Kakariko Village apart from the main side quest, “Finding The Fifth Sage.”
- A Trip Through History
- A Gloome-Borne Illness
- Out Of The Inn
- Codger’s Quarell
- Follow The Cuccos
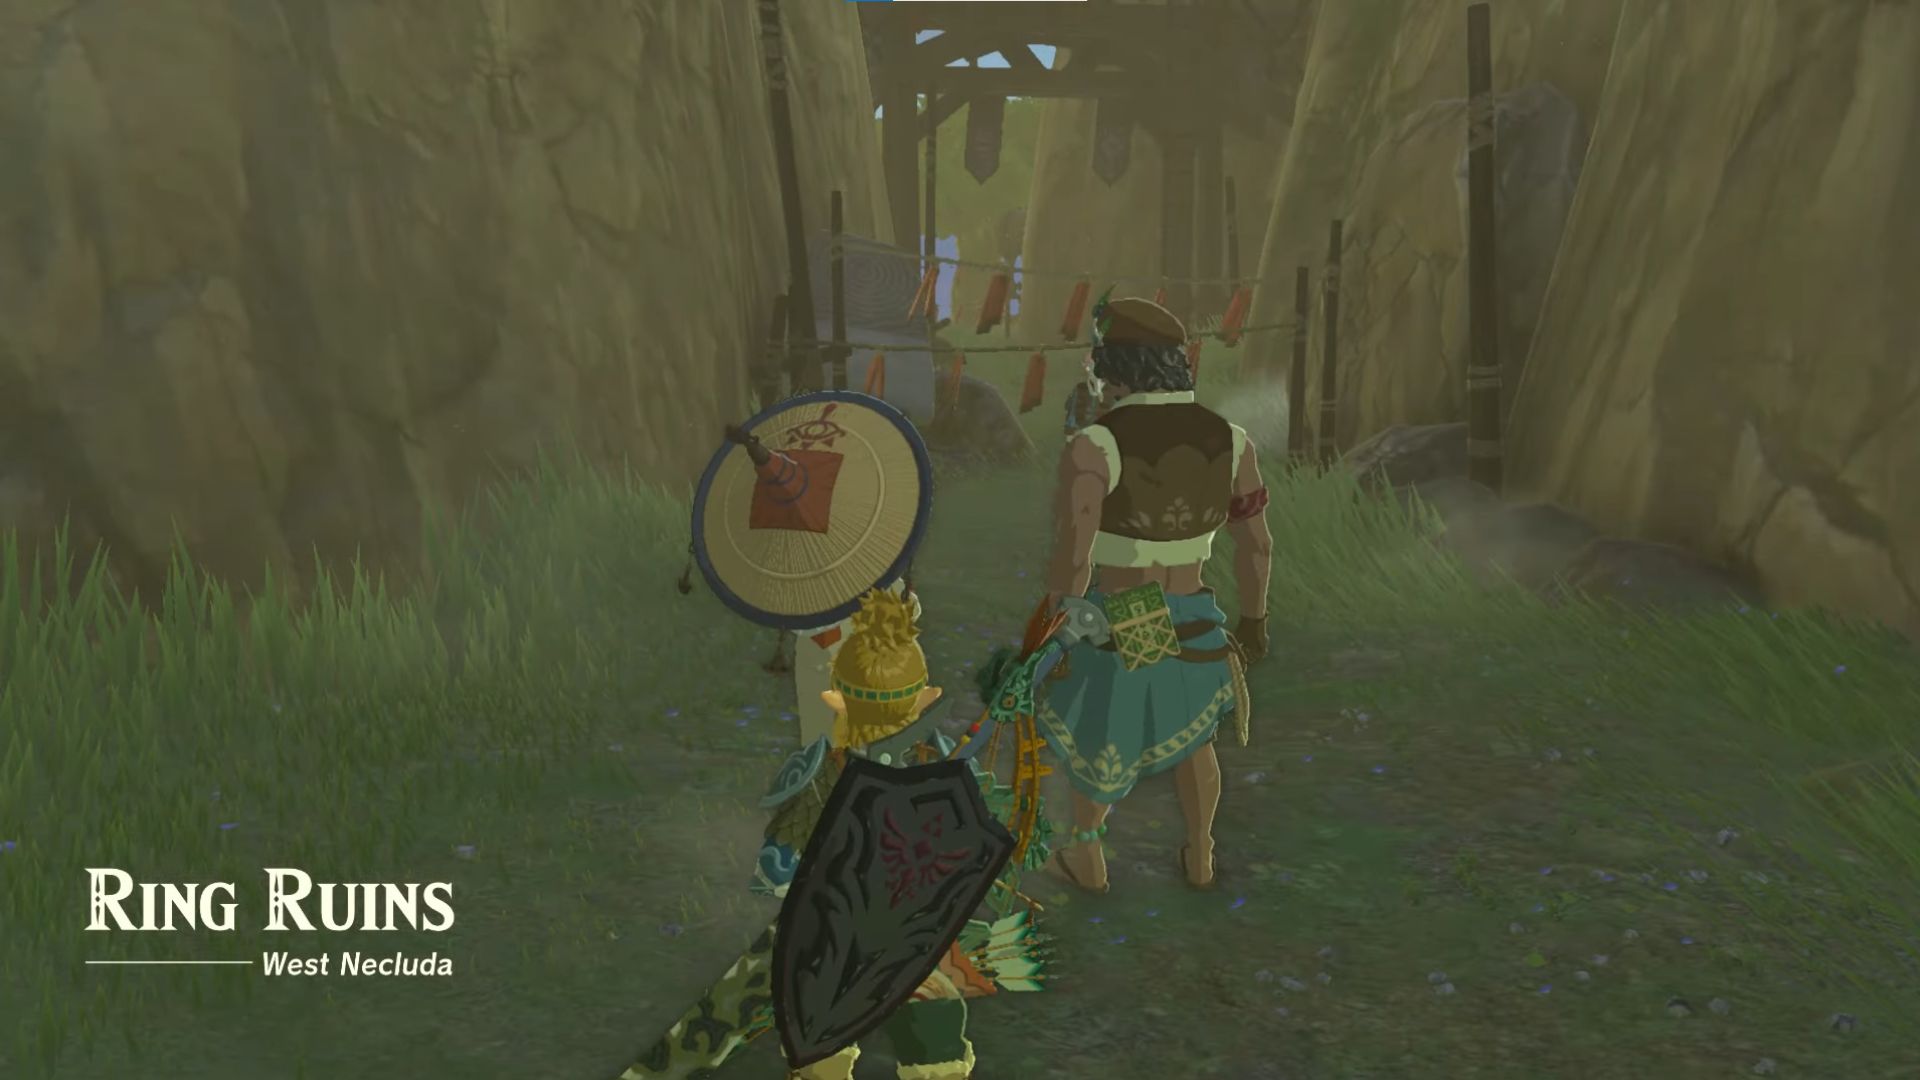
A Trip Through History
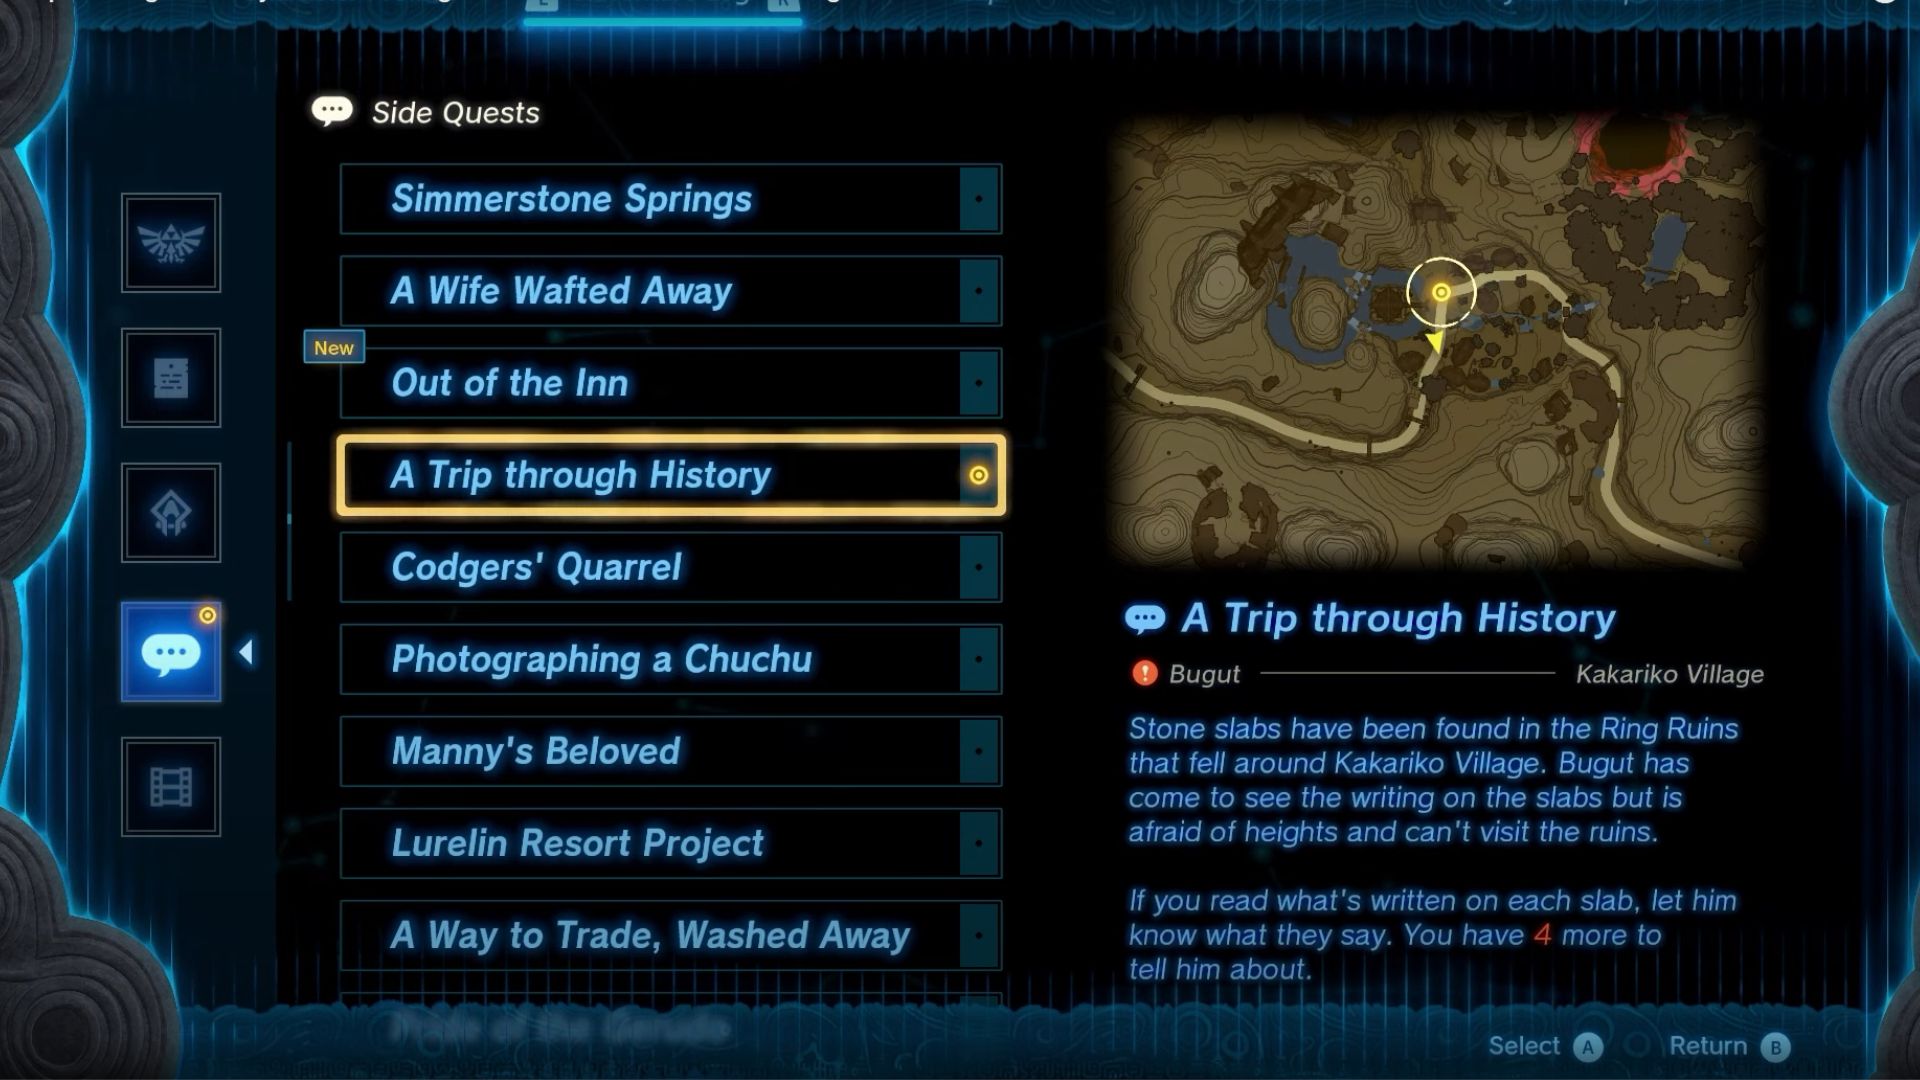
In order to start “A Trip Through History,” you will need to find an NPC named Bugut. Since he is afraid of heights, he will tell you to find the 4 Slabs or Ring Ruins in Kakariko village In Zelda Tears of the Kingdom by using a map. Bugut will be found in the Central Area of the Kakariko Village. A trick to getting to each Ring Ruin easily is to use the nearby Josiu Shrine and glide to each location.
- To get to the First Ring Ruin, glide down from the Josiu Shrine onto the Northern Top of Hill Kakariko Village.
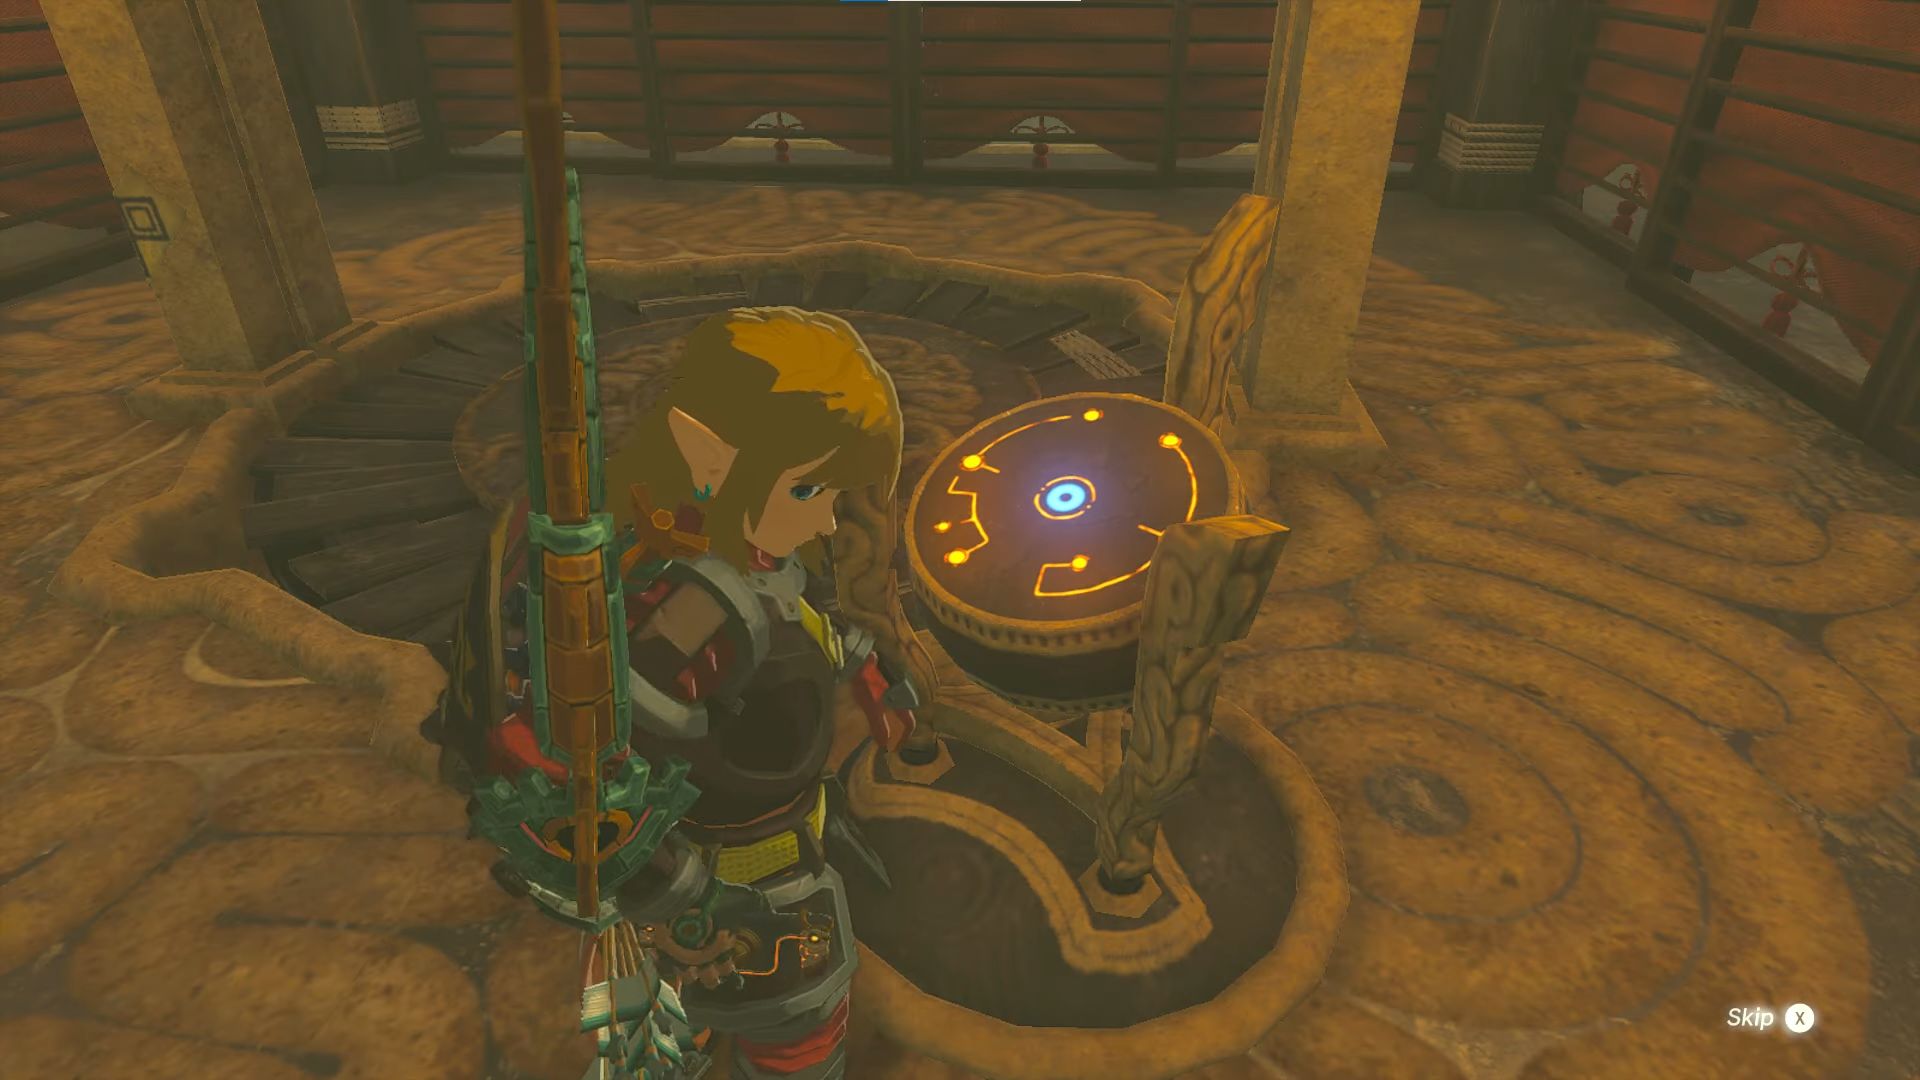
- Go inside the Wooden Structure beside the Vertical Ring Ruin and interact with the open book behind the slab.
- The Coordinates for the first Ring Ruin are 1737, -0900, 0190.
- Second Ring Ruin is situated at the Northeast hill of the Kakariko Village.
- Again use the Josiu Shrine and glide over to the Ring Ruin.
- There will be a wooden hallway that you will need to move about to find the Notebook.
- The Coordinates for the Second Ring Ruin are 1900, -0812, 0198.
- For the Third Ruin, you will have to glide to the Southwest hill of Kakariko Village.
- This place is full of Bobkoblins to defeat, and its coordinates are 1630, -1178, 0219.
- On the right side of the Ring, you will find a section where the notebook is situated.
- Now for the fourth and final ring ruin, you have to glide to the Southeast side of the Kakariko Village.
- The Coordinates for the final Ring Ruin are 1937, -1080, 0167.
- Head to Bugut and tell him each and every piece of information to get Three Thunderwing Butterflies.
A Gloome-Borne Illness
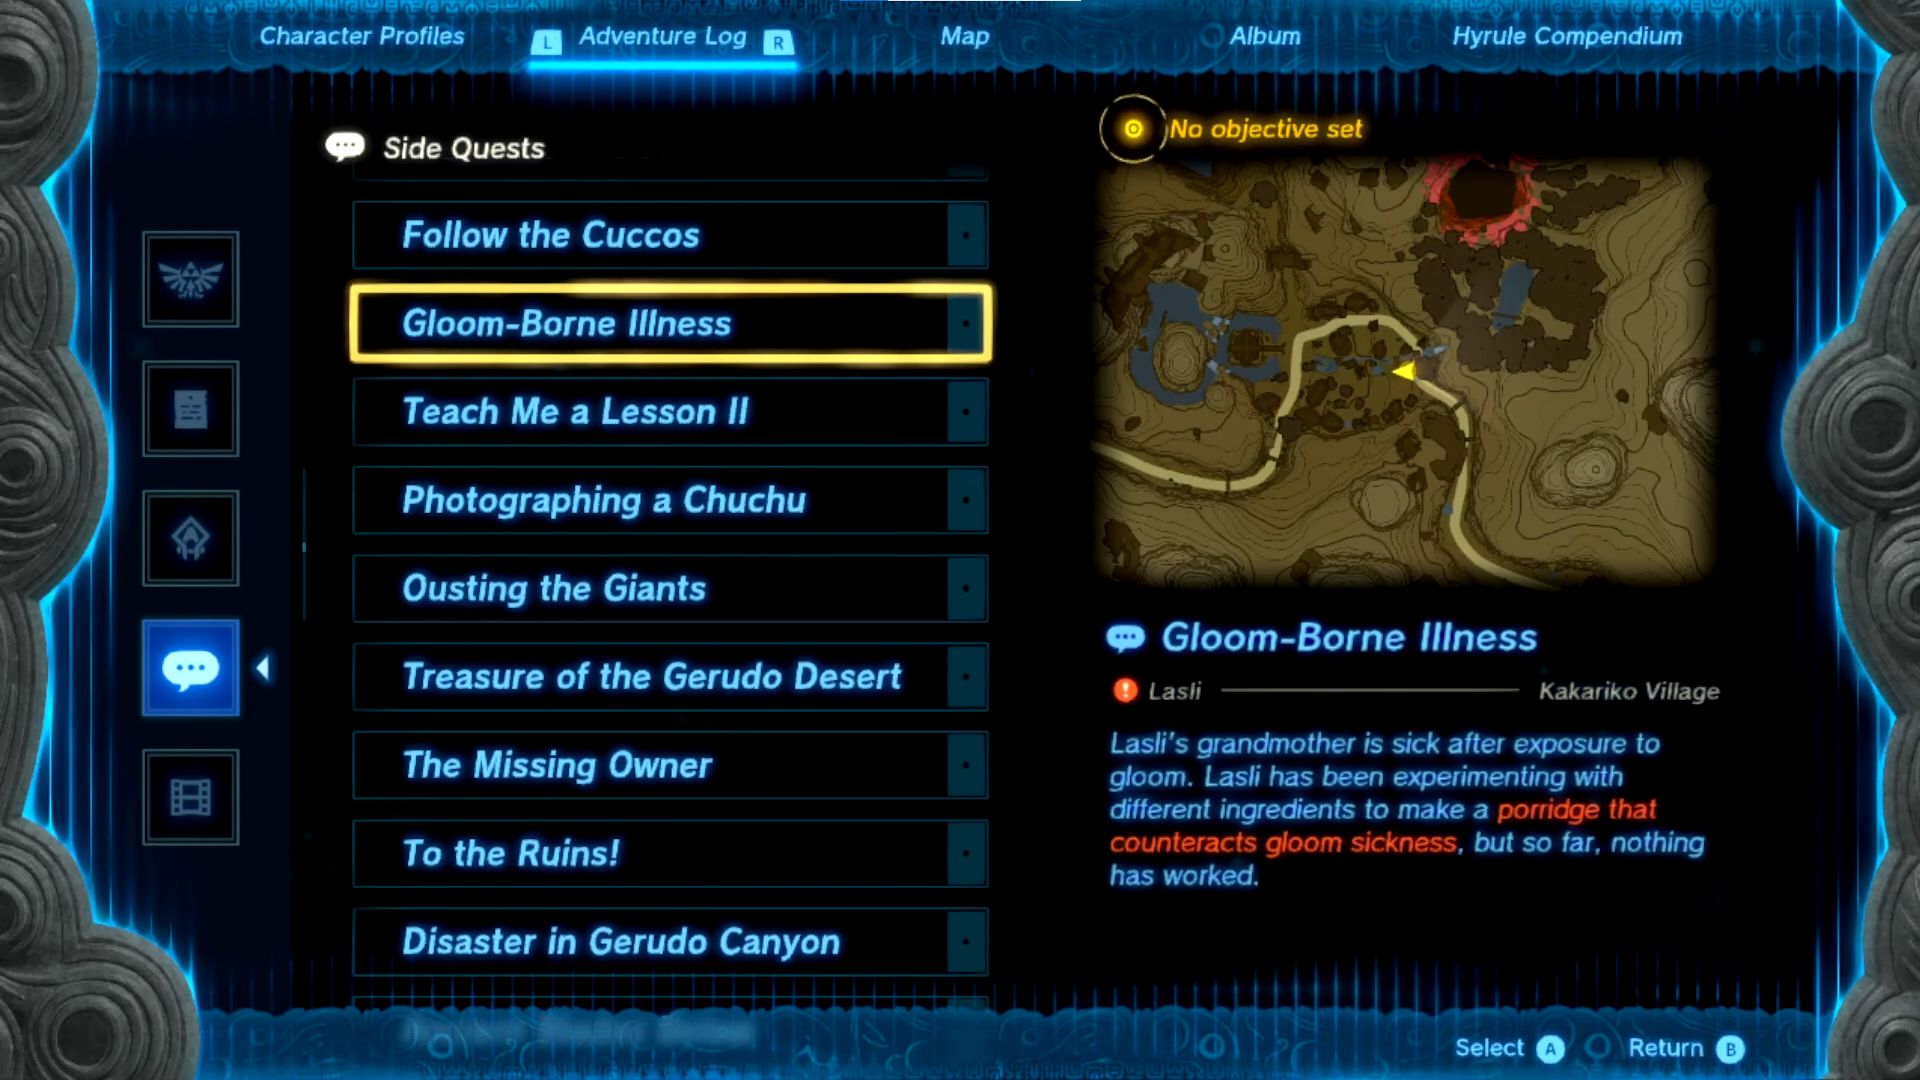
In order to start A Gloome-Borne Illness, you will first need to head toward the Armor Shop in Kakariko Village and talk to Claree. She will bore you about the illness of her Grandmother, so of course, like the good guy you are, you will help her. But you will get nifty armor in return, so it’s a win-win. Find Claree’s sister uphill in the armor shop, and she will tell you to make the Sunny Veggie Porridge for her grandmother.
There are three things you need to make the Porridge.
- Hylian Rice
- Fresh Milk
- ‘Wild greens’ (Sundelion Version)
Hylian Rice and Fresh Milk can be bought from Hateno Village’s General Store, which will be quite an easy task. It will cost you about 12 rupees each for the items and the Coordinates for the Store are 3357, -2517, 0019. For the Wild Greens (Sundelion Version), you will need to go to the Skylands or the Hyrule Fields to gather some up. Combining each of them will make the Sunny Veggie Poriddge.
Give the Porrdige to Claree’s sister Lasli who will feed it to her grandma and give you an energizing Veggie Porridge in return. After the side quest, Claree will have reduced the prices of armor in her store. This means that you will be able to buy the Stealth Armor from her for 1800 rupees.
Out Of The Inn
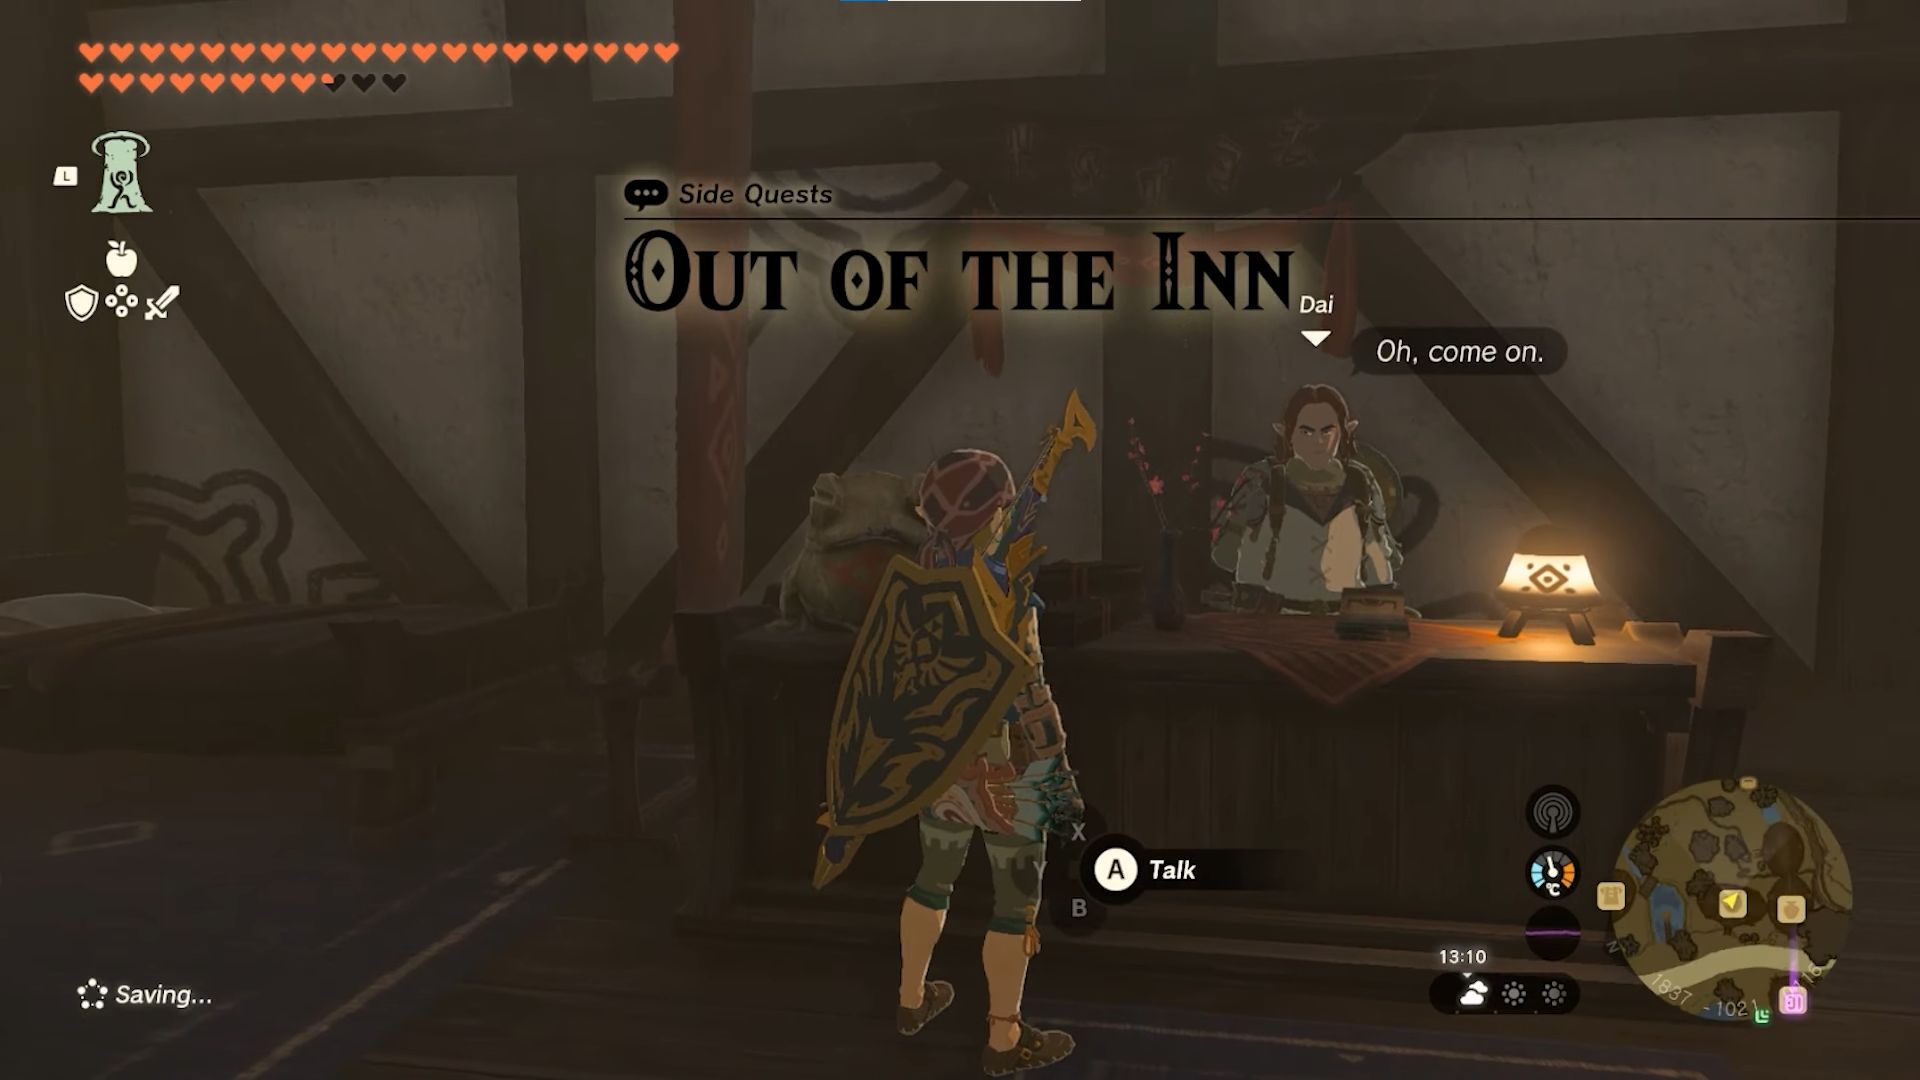
There is an Inn Hotel situated in the Kakriko Village, with its Coordinates being 1835, -1022, 0115. You can look up the map as well to find the Inn as it is marked with a sort of moon symbol in the village. To start the quest, you will need to go inside the Inn to talk to the guy in front of the counter. He’ll tell you that the owner is off sleeping somewhere. Your job to is to go find him and bring him back.
- He is sleeping in an excavation point Northwest of the Kakariko Village.
- This camp has several tents that you need to climb up to them using ladders.
- The coordinates for the Excavation Point are 1736, -0901, 0199.
- Once you reach the point, you will meet Gordi, who will be beside the sleeping owner.
- He will tell you to bring A Hearty Truffle so that the owner can smell it and wake up.
- If you already have the Hearty Truffle, just place it beside the sleeping owner.
- If not, then go to the base of the waterfall, as suggested by Jordi.
- It will be hidden deep inside the base of the waterfall cave.
- After waking the owner up, you will need to head back to the Inn.
-
You will complete the side quest and receive a “sticky elixir” as a reward.
Codgers Quarell
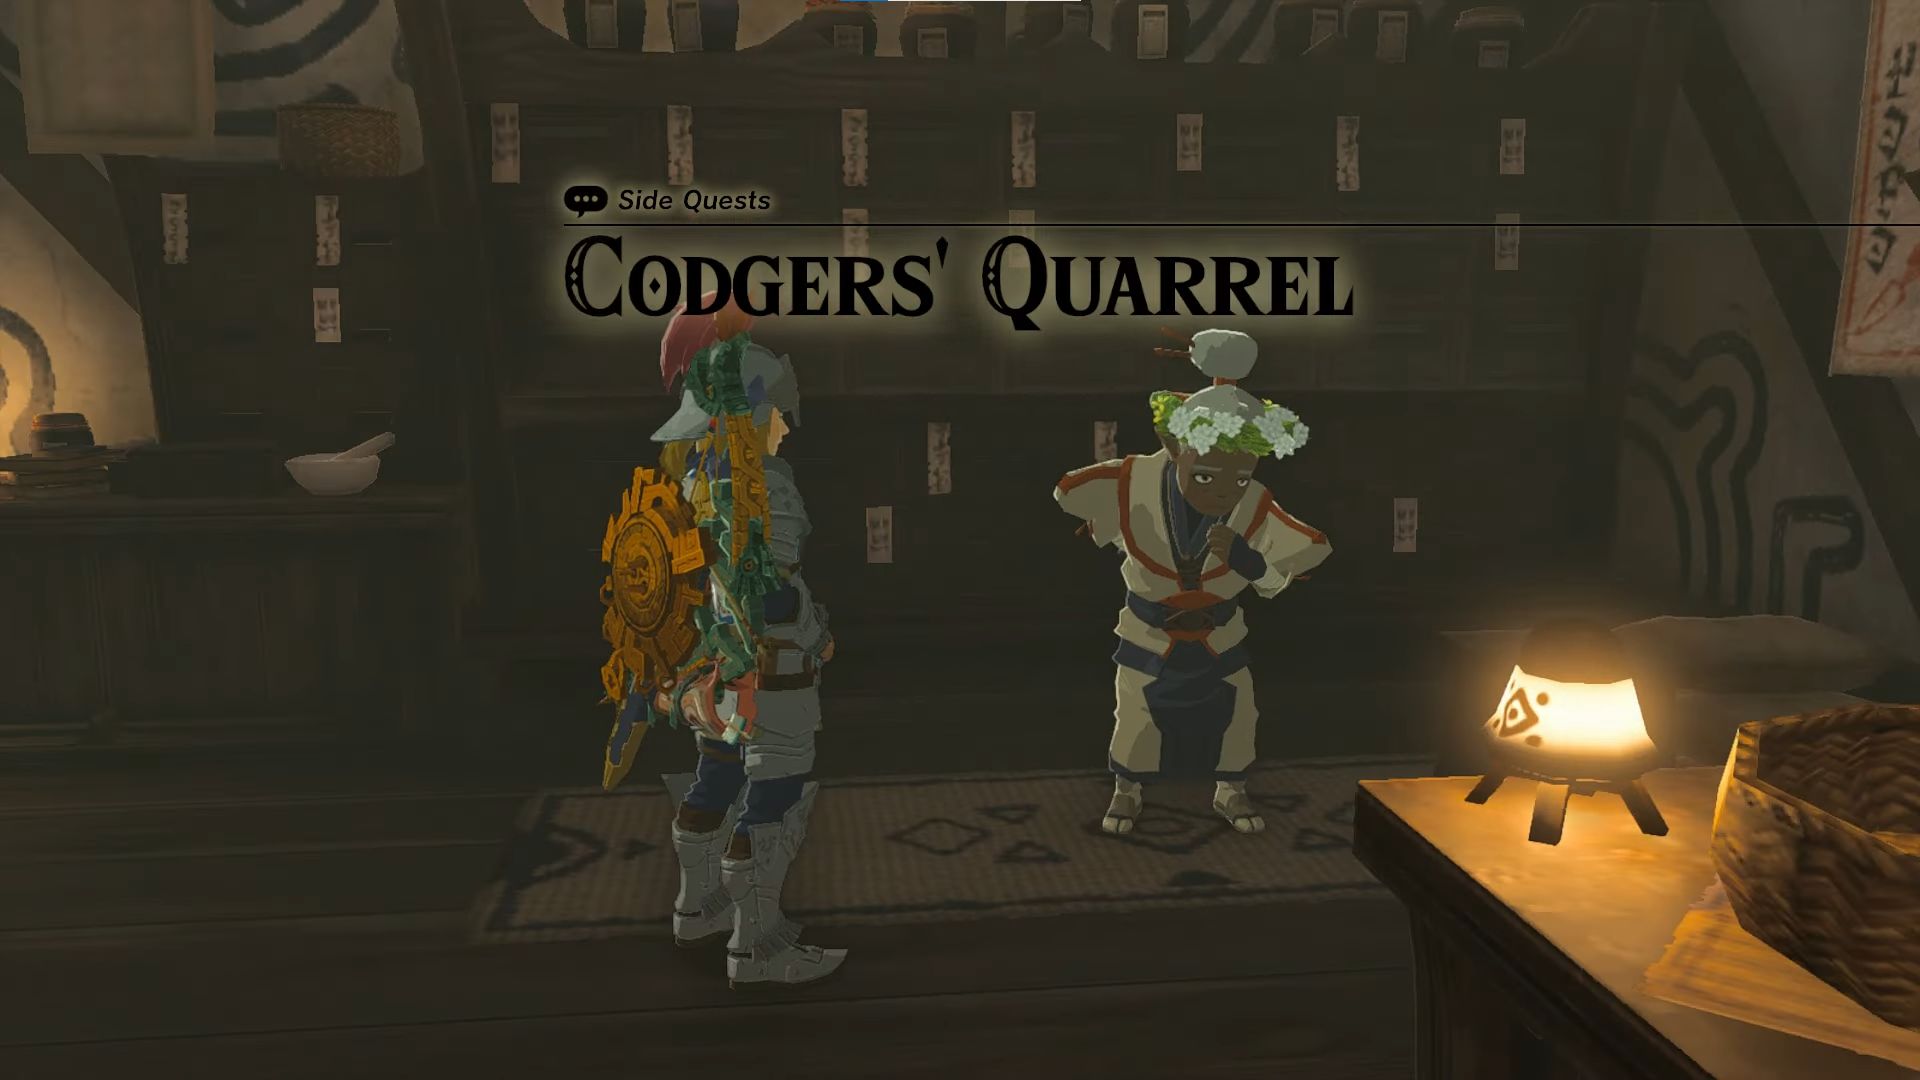
In order to start the Codger’s Quarell, you will have to speak to Trissa at the location of the High Spirits Produce Store. She will be situated at the counter. She has a supplier problem since all of the supply comes from the people who are currently working at the Ring Ruins. You need to get them back so that you can buy stuff from her. These suppliers will be located at the Southwest Ring Ruin in Kakariko village.
- In order to reach this ruin fast, you can teleport to a nearby shrine, understandably the Makasura Shrine.
- You can glide from the Makasura Shrine onto the Ring Ruins.
- A pair will be arguing with each other there.
- Disrupt their argument so that the side quest may go on, and all you have to do is kill some bobkoblins.
- There will be Four Bobkoblins inside the Ruins, and you have to kill all of them.
- This will make sure that the Suppliers go back to doing their own jobs.
- You should revisit Trissa when that happens to complete the quest.
- As a reward, Trissa will give you Endura Carrot, and you can also buy or sell other items now.
- She will assign you another Side Quest because she is missing eggs, and that side quest is Follow The Cuccos.
Follow The Cuccos
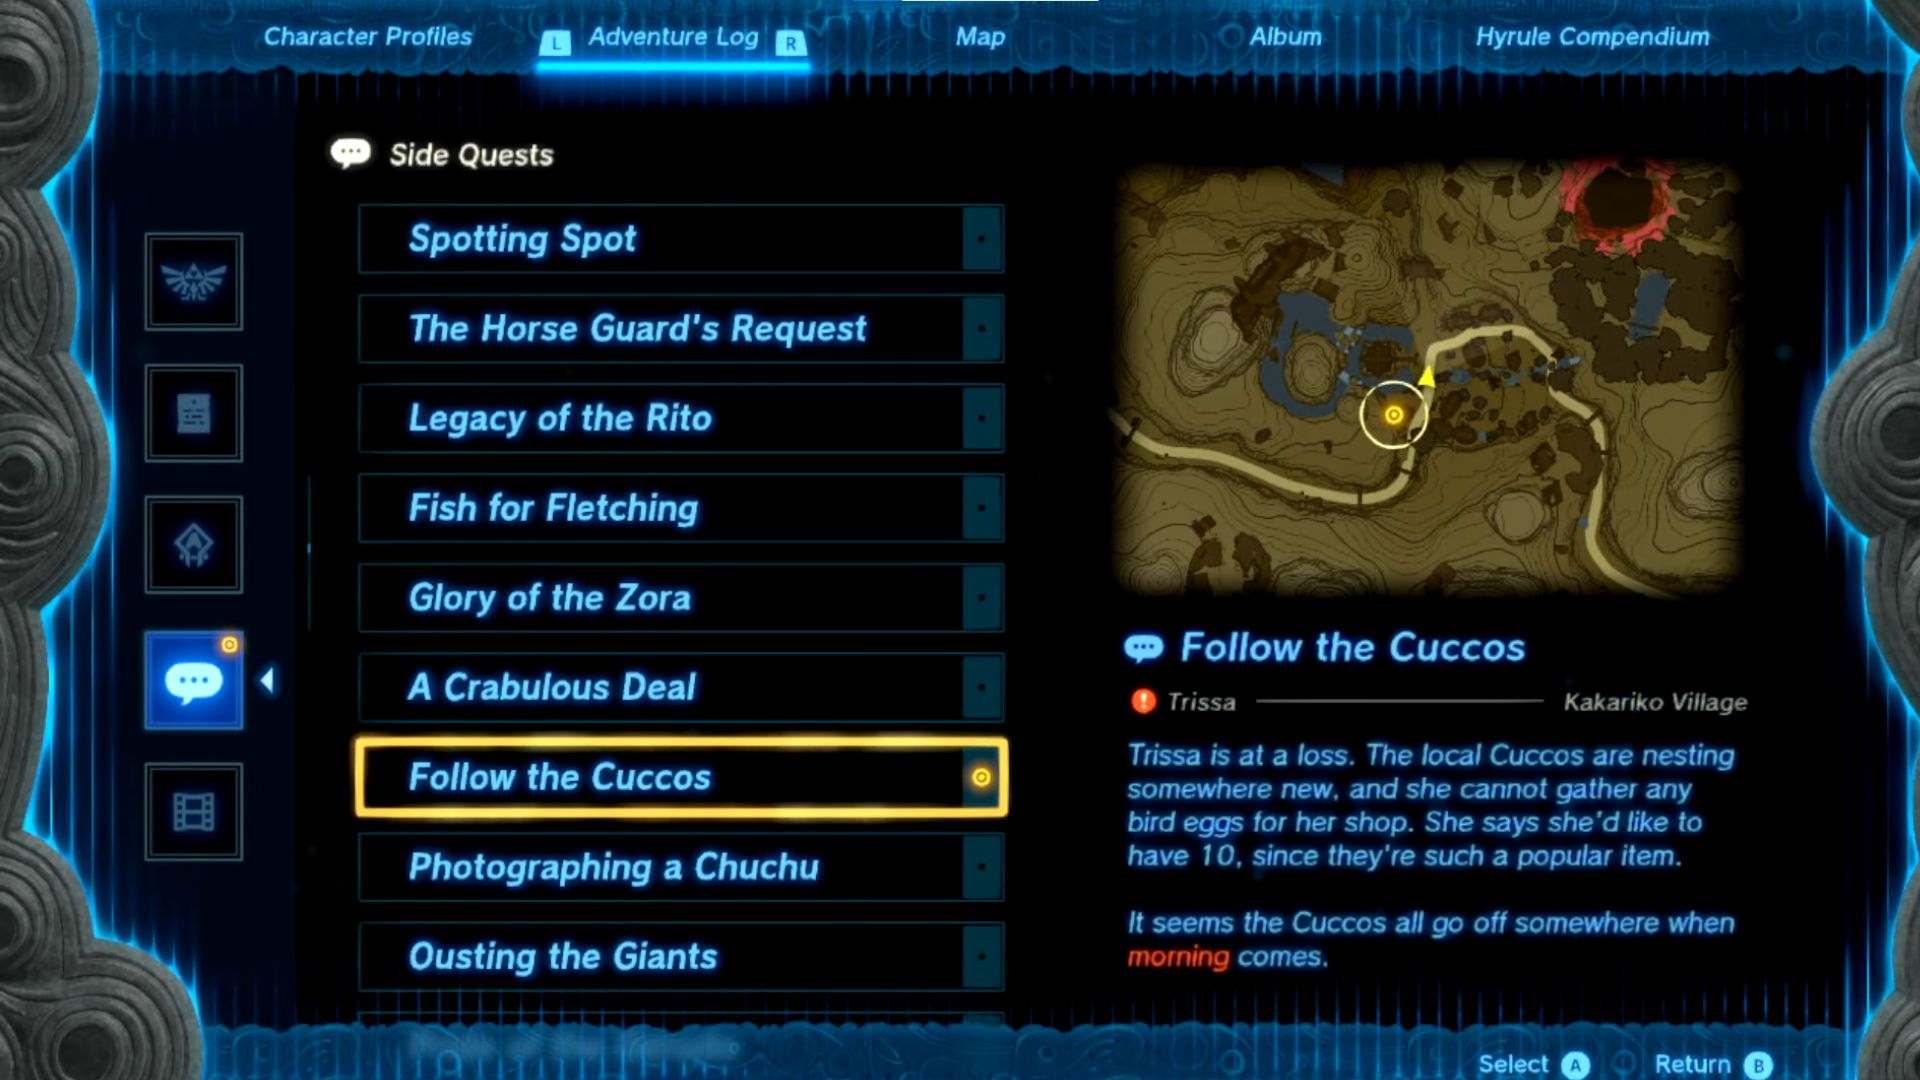
Now this is the last side quest that you can find in the Kakariko Village, and that is the “Follow The Cuccos” side quest. Trissa will again give you this quest. This is basically an easter egg hunt in which Trissa wants Link to find and get some eggs for her. You need to get 10 Eggs, to be exact, for Trissa as you return back to her. It is a pretty easy task to do as well, so it will be over in about 5 minutes.
- After you leave the store, you have to wait around if it isn’t morning.
- You can do that by sitting by the fire or just sleeping your time away as you do in your life.
- Move toward the east side of the Kakariko Village once morning strikes.
- There will be a few Cuccos there that you need to follow to get to their hideout cave.
- Don’t get too close to any of these Cuccos, or else they will all run away.
- In case they run away, these are the coordinates to their cave, 1875, -1143, 0194.
- You need to get to their Cucco Hideout and grab ten eggs and return back to Trissa.
- The Side quest will get completed, and you will get about 50 rupees from Trissa.
- Eggs will be unlocked so you can cook things like an omelet.
You now know the entirety of the Kakariko Village and how to get there and complete quests. It is a very important POI and a must-visit! All the Japanese-inspired architecture is extremely impressive, and the side quests are fun to do. If you want to know about all the best horses in Zelda Tears of the Kingdom, then make sure to check out the guide on it. Also, check out the Lost Woods Walkthrough if you can.
Next
- Tears of the Kingdom: All Princess Sightings Quests
- Tears of the Kingdom: Ancient Heroes Aspect Armor Location
- Tears of the Kingdom: Hebra’s Great Skeleton Quest
- Zelda Tears of the Kingdom: Dinraal
Thanks! Do share your feedback with us. ⚡
How can we make this post better? Your help would be appreciated. ✍