The Remnant 2 Losomn map covers one of the central locations you can explore from your World Map, and you can even fast-travel to it directly from Ward 13. It has several merchants, rare items and weapons, unique boss encounters, and two lengthy storyline quests. However, you can only follow one of these quests based on your initial spawning point, and thanks to Remnant’s random world generation, your experience throughout the quest will vary too.
- Losomn has two main storylines in Remnant 2– the Asylum and the One True King, and players will only follow one depending on the location they spawn at.
- Besides that, there are seven optional and three main bosses on this map – the Nightweaver and a choice between Faerin or Faelin, but players can only fight one based on their storyline at Losomn in Remnant 2.
- Upon defeating Faerin in Remnant 2, players will receive a Tome of Knowledge, Scraps, Lumenite Crystals, Faerin’s Sigil, and the Imposter’s Heart.
- Alternatively, the reward for killing Faelin instead includes a Tome of Knowledge, Scraps, Lumenite Crystals, Faelin’s Sigil, and the Melded Hilt in Remnant 2.
Losomn Storyline Quests In Remnant 2
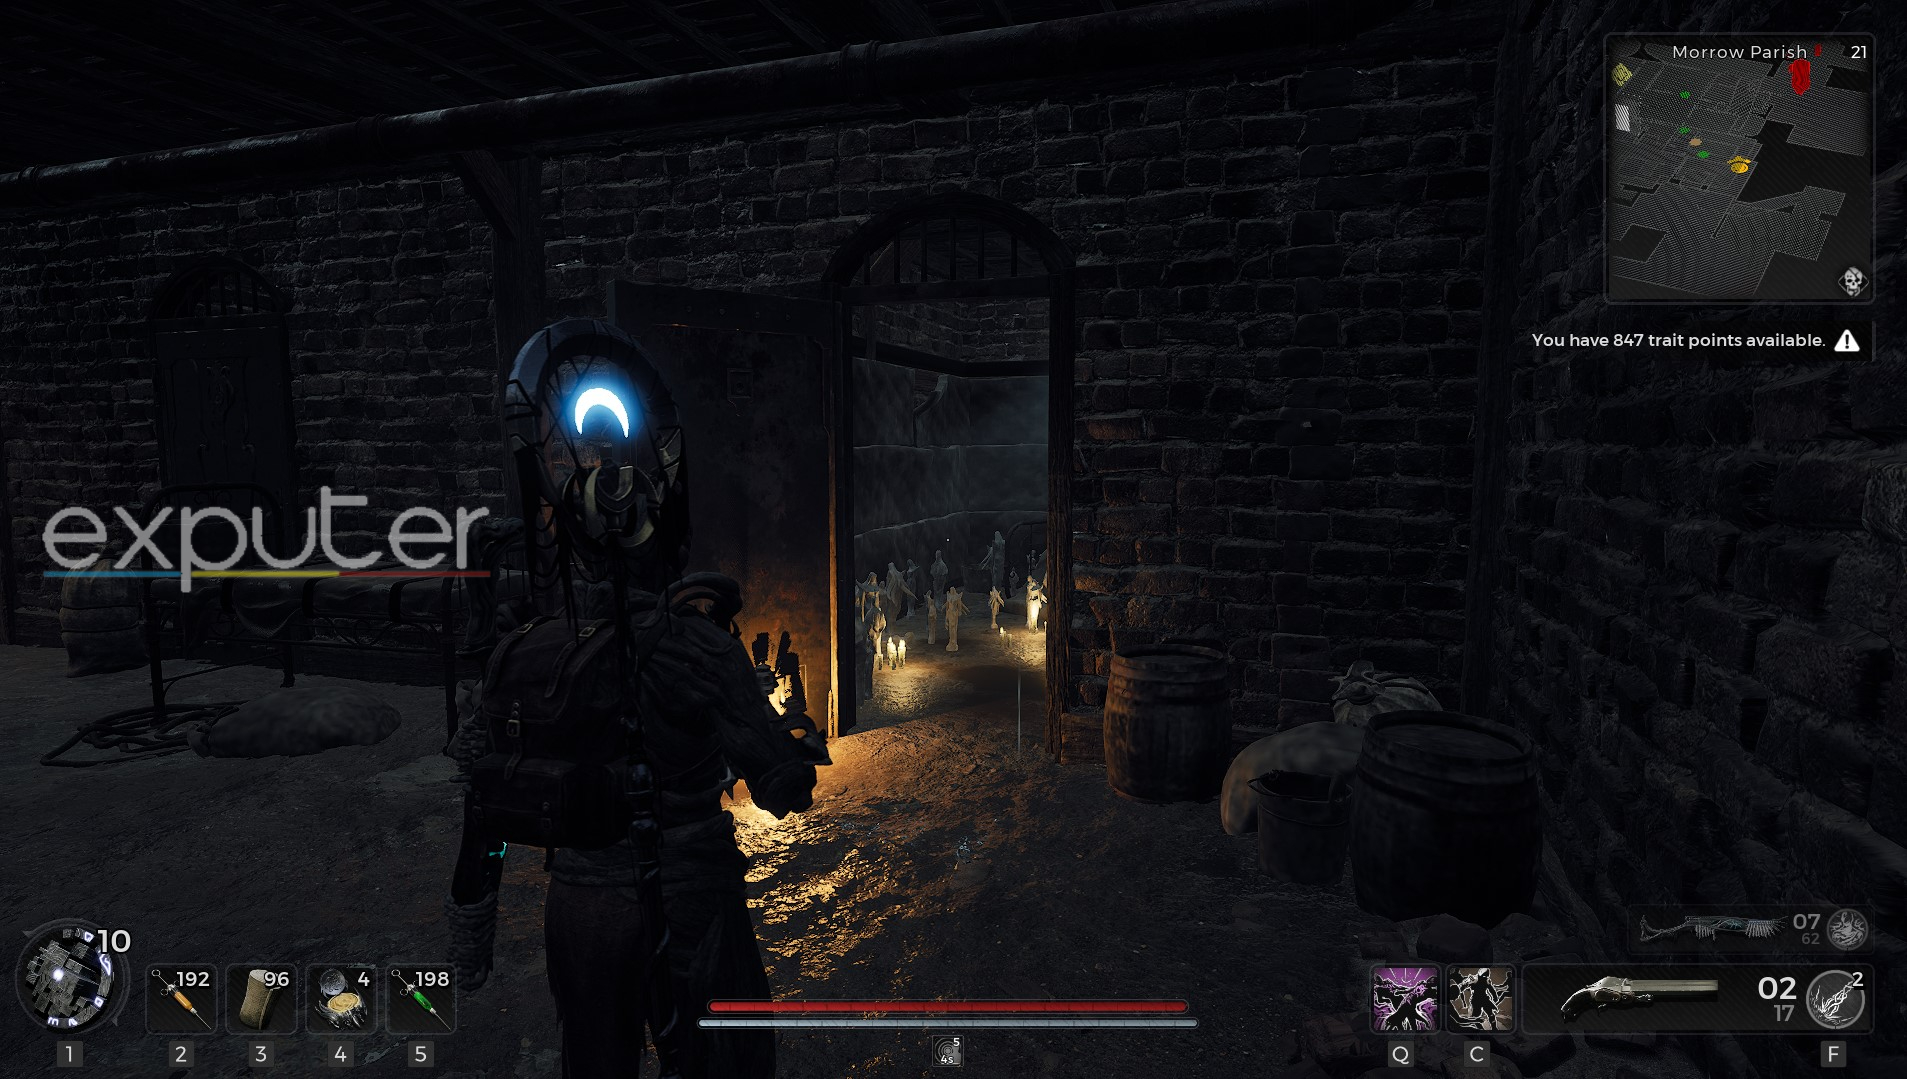
If you spawn at the Morrow Parish, you’ll play The Asylum storyline, and if you start at the Beatific Palace’s Courtyard, you’ll initiate The One True King storyline instead.
The Asylum – Morrow Parish
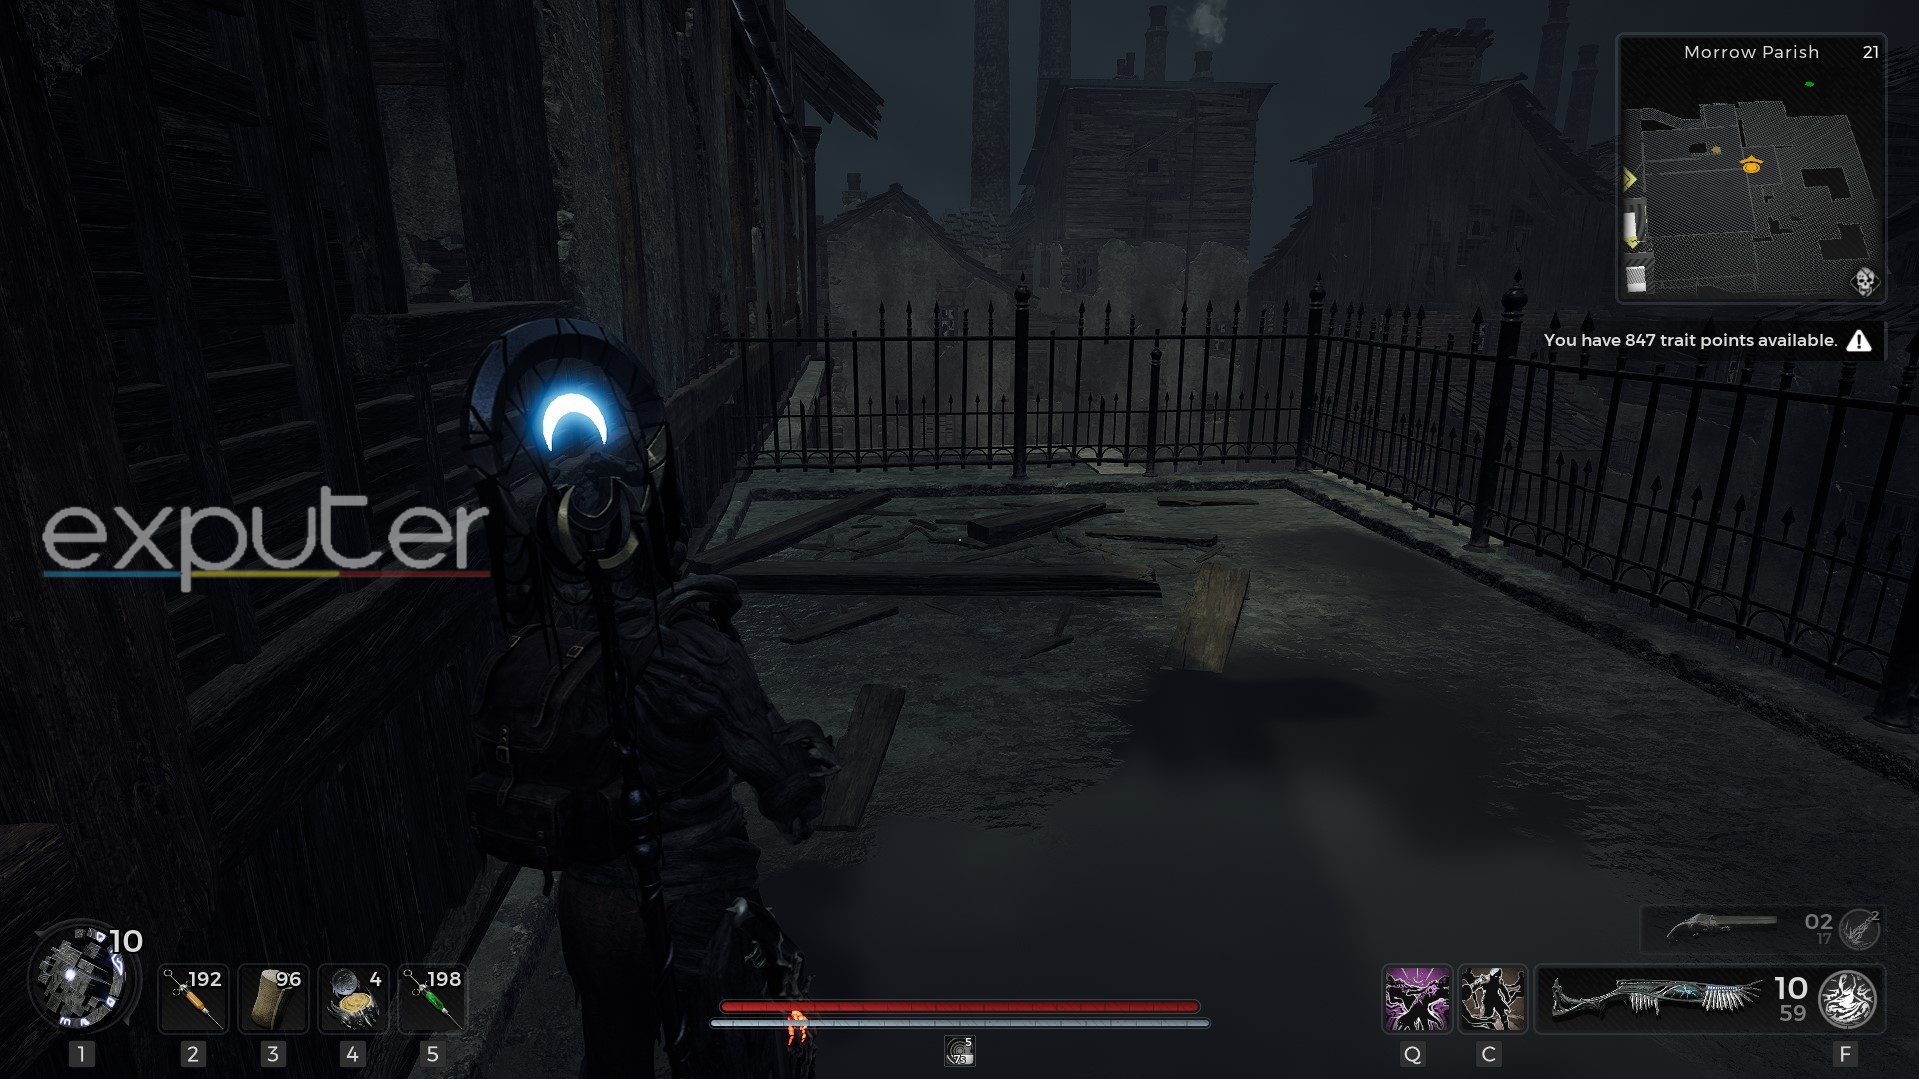
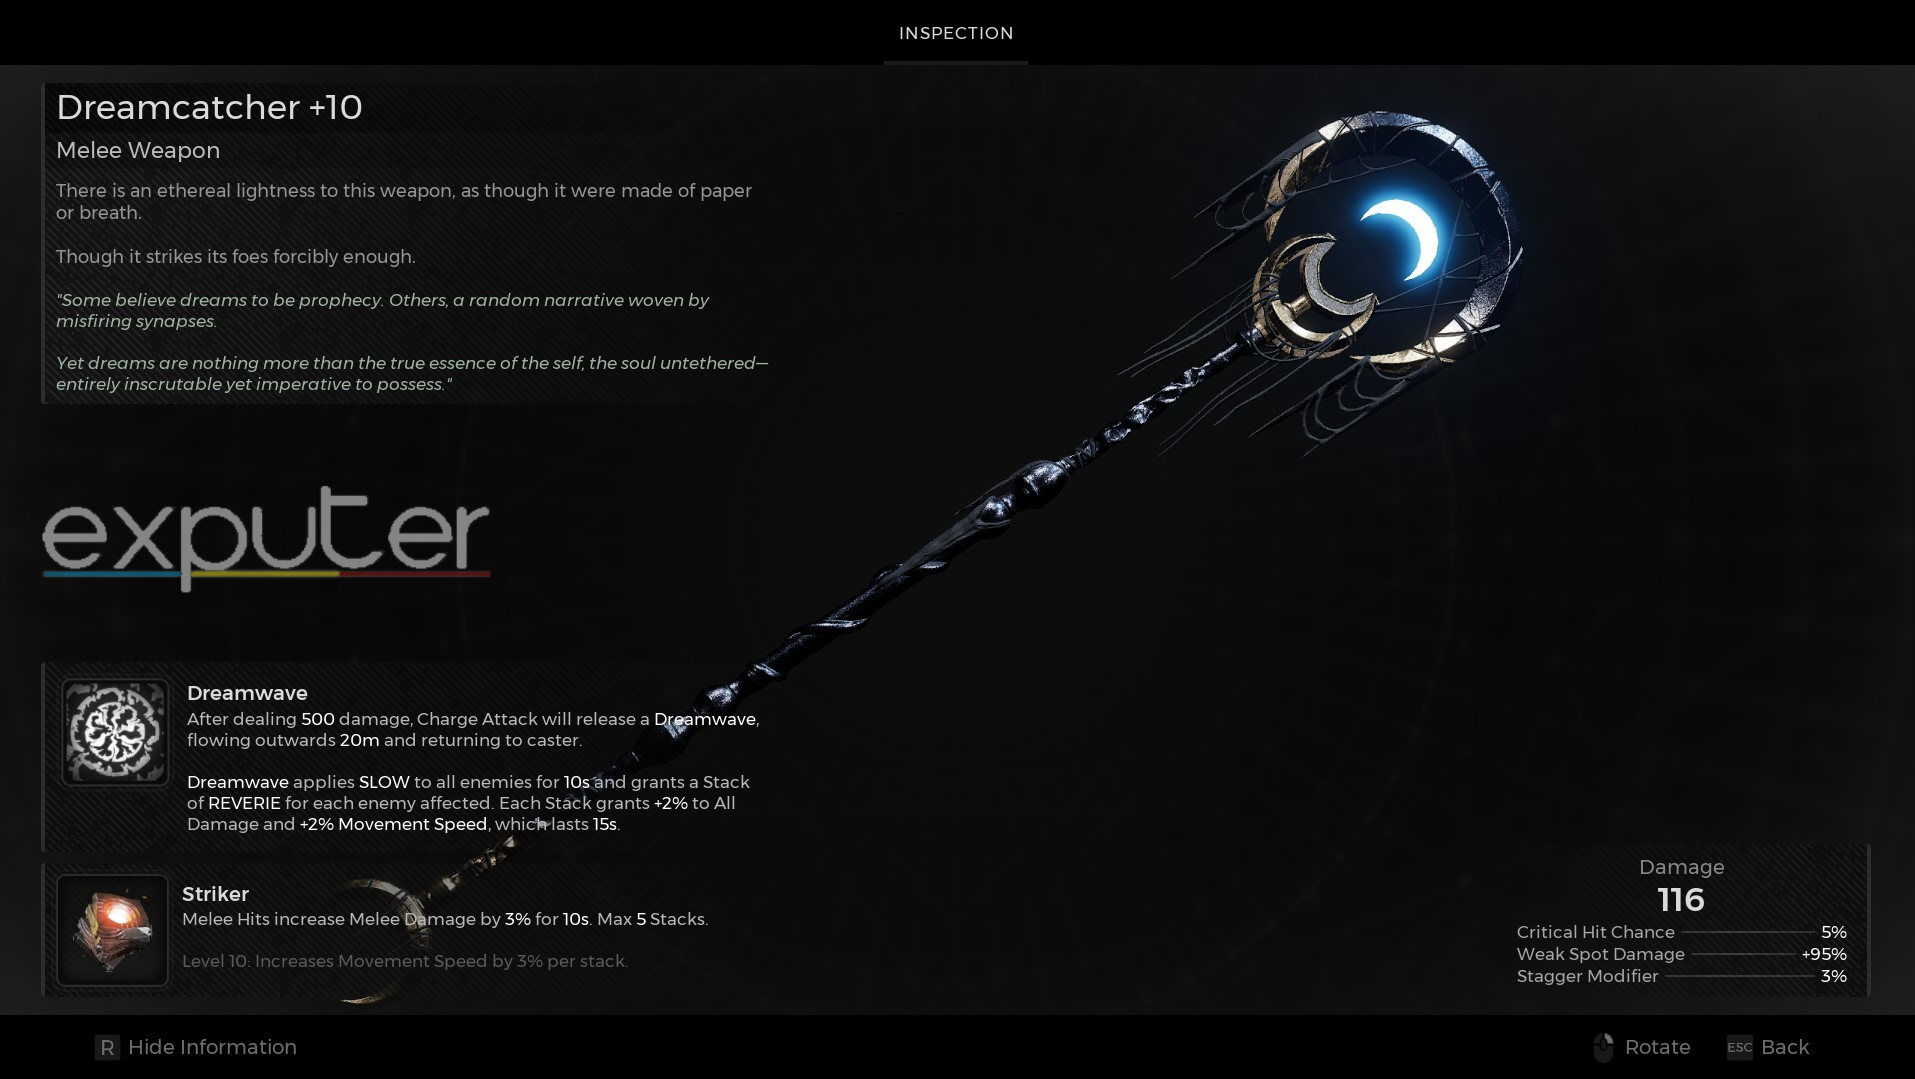
The storyline on this map feels much narrower than the alternative in Losomn but has several great rewards to uncover, including a powerful weapon and arguably the best melee weapon viable for any build in Remnant 2. You’ll spawn in an abandoned house, which you can freely explore before continuing the quest.
-
- From the house, go outside and explore the area until you’re at the starting point of your first dungeon in Losomn.
- Complete the dungeon to access the second half of the Morrow Parish, leading you to the main Asylum, Morrow Sanatorium.

-
- Head inside and survey the building until you eventually find Dr. Marrow, the head doctor of the Sanatorium, locked in a cell.
-
- Exhaust her dialogue to learn about the Nightweaver, the main boss of the area, as well as your next objective, which is to collect 3 Stone-Carved Dolls.
- You’ll find the first doll in the room opposite the office on the first floor, where you’ll also find a Nurse Enemy and the Morrow Parish Safe.
- After that, head to the courtyard outside the Asylum and pick up the second doll below the debris near the shed, which is also where you must fight the miniboss Ripsaw, who’ll drop the Asylum Third Floor Key.
- Next, proceed to the building’s third floor using the key and jump outside the balcony to get the Prison Cell Key.
-
- Finally, enter the room in the corner just beyond the broken floorboards, after which you can grab the last Stone-Carved Doll near the window on the far left.
- With all three dolls in possession, travel back to Dr. Marrow in the basement, and once you give her the dolls, she’ll sing a small poem with four verses, with each verse starting with a number.
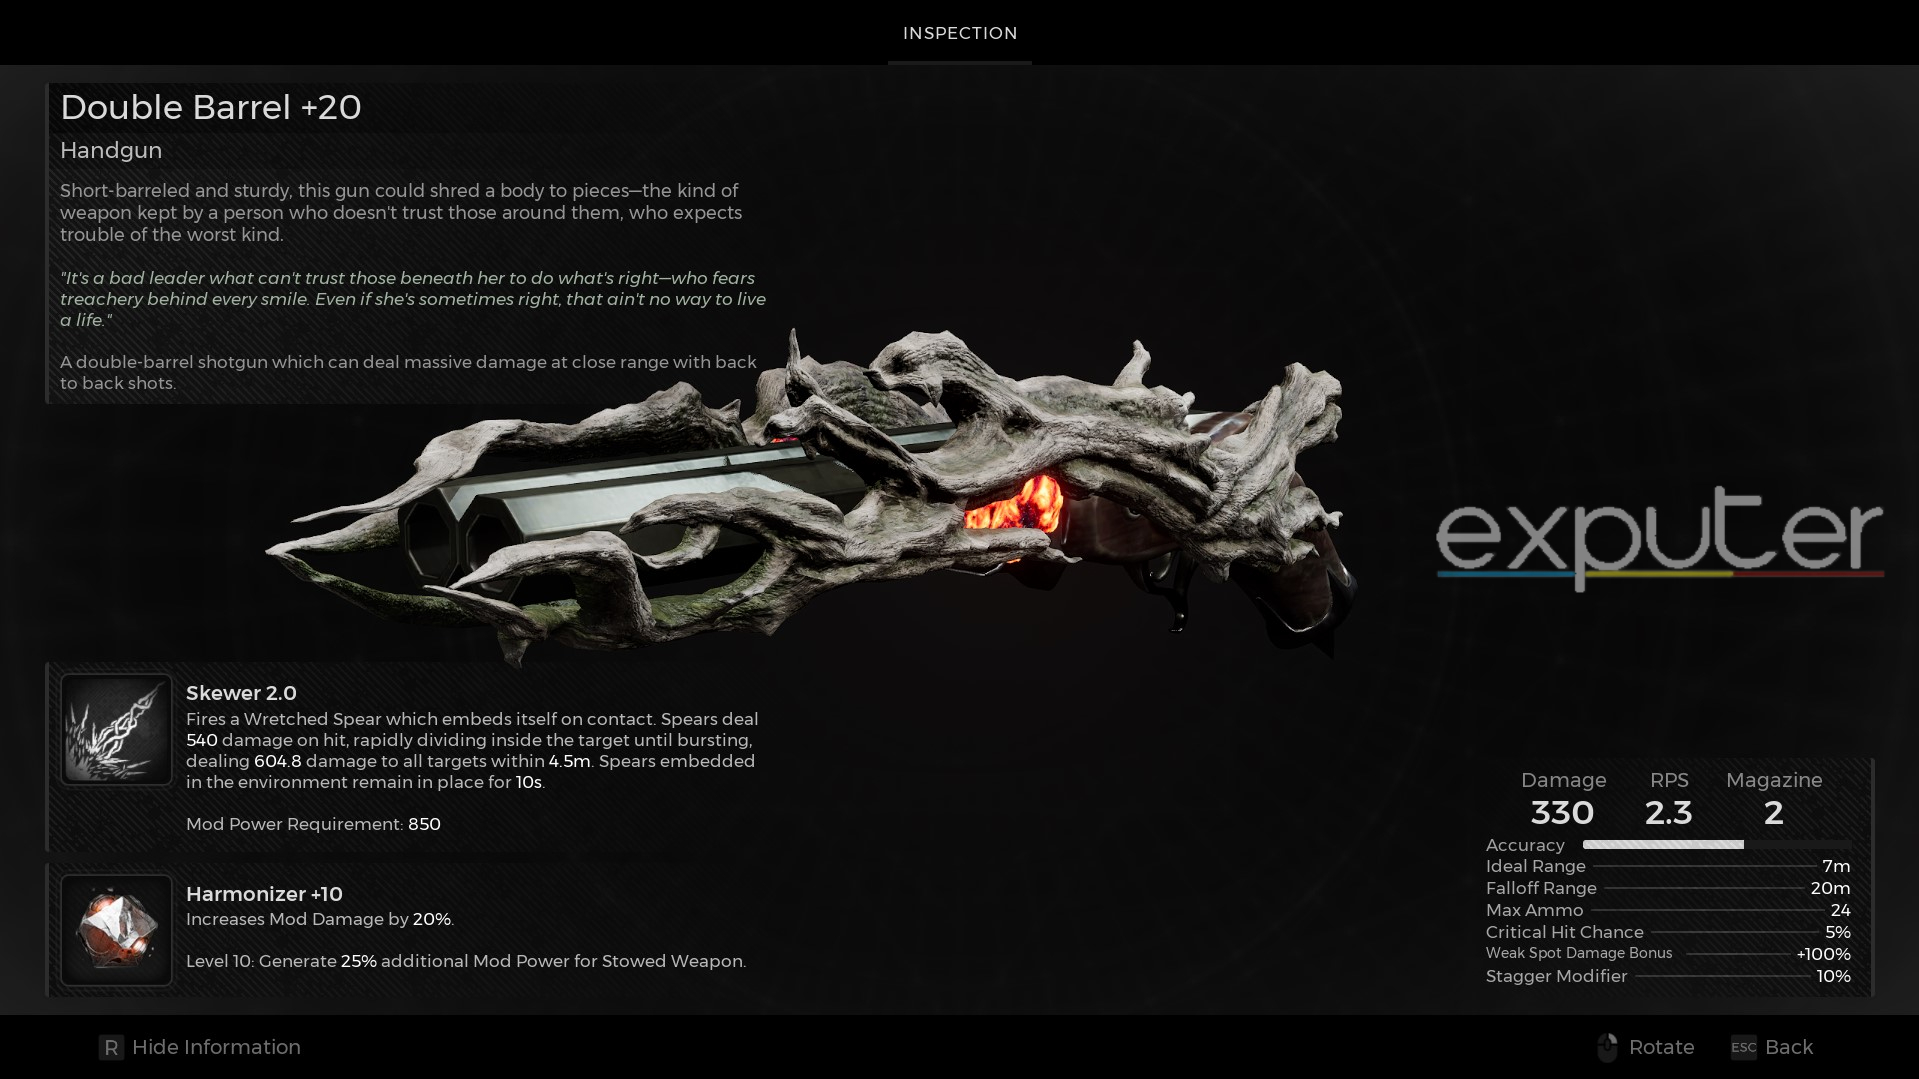
- These numbers are a 4-digit code that you can use to open the aforementioned safe to get the Double Barrel Shotgun.
-
- Use the Prison Cell Key and the “Unlock the Door“ option when talking to Dr. Marrow to open the locked cell, after which you’ll find the Nightweaver Stone Doll.
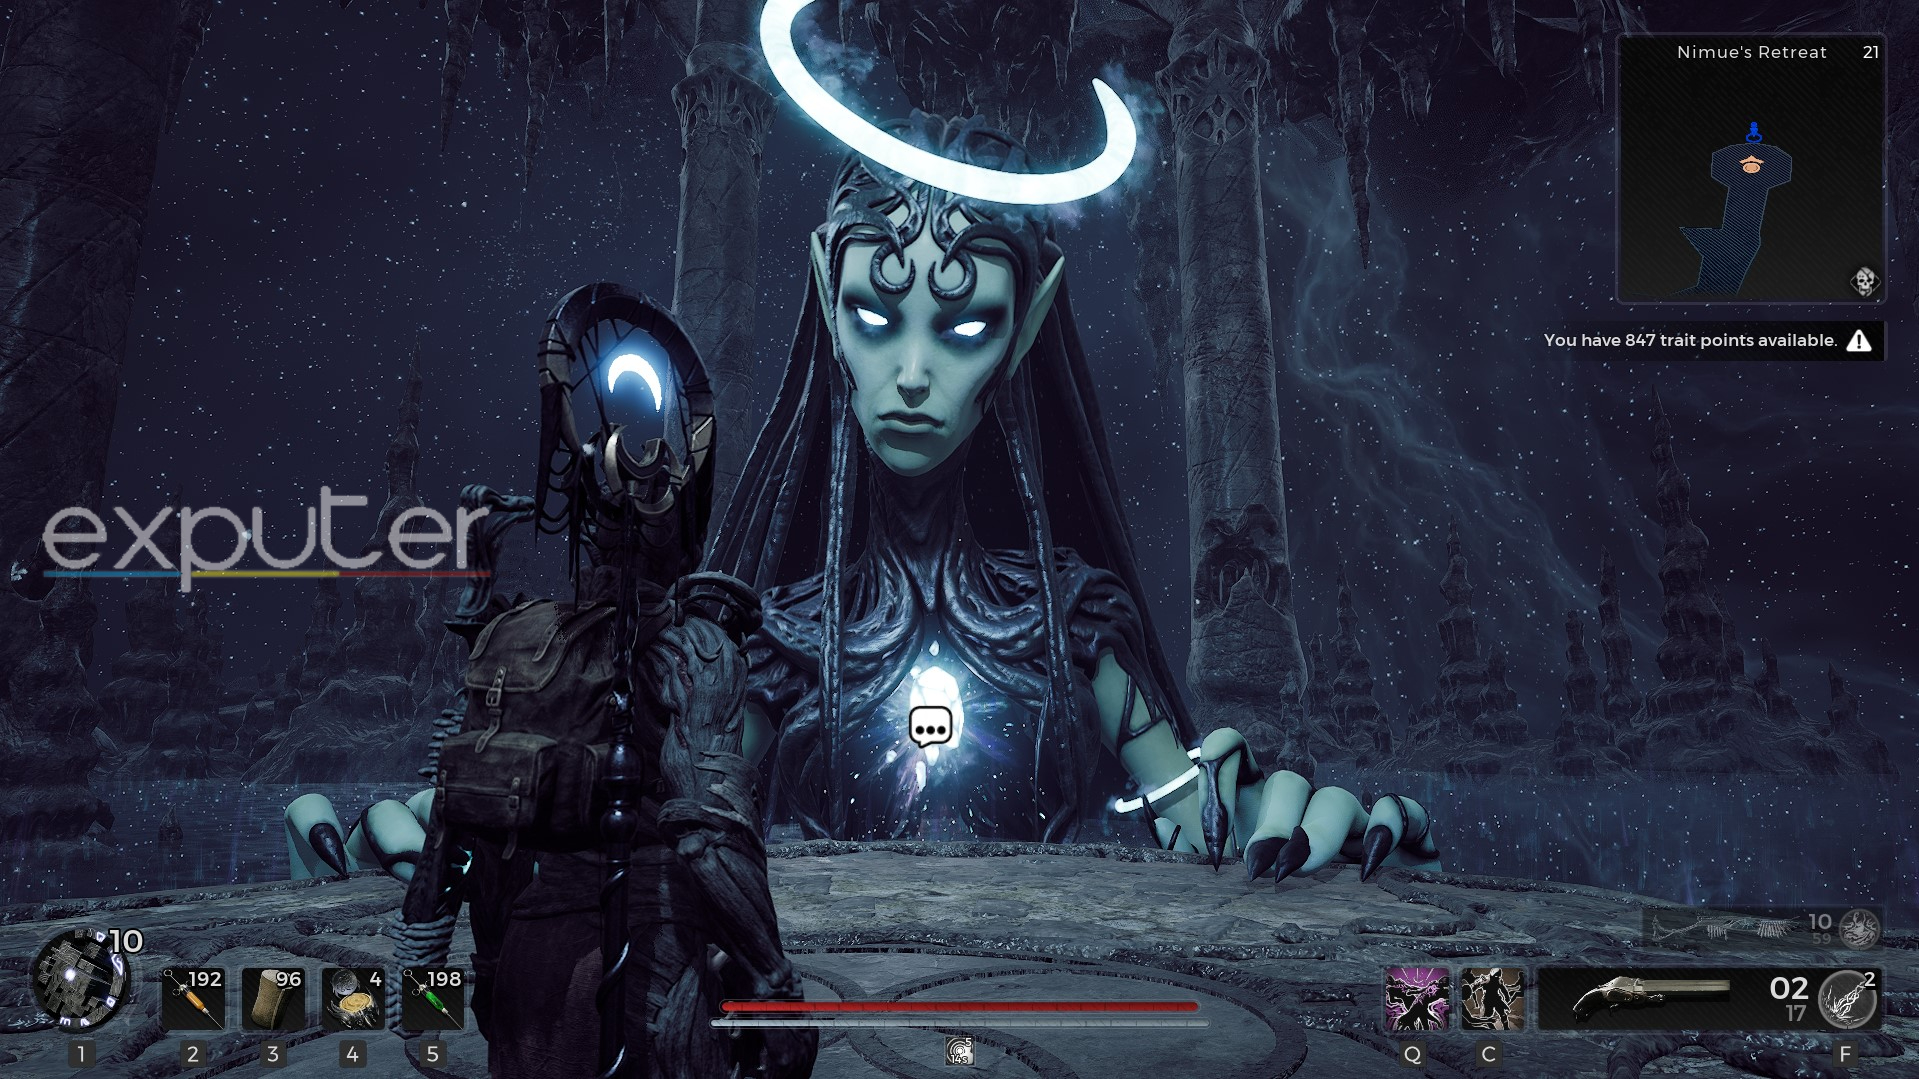
- Now, head back to the third floor and go past the room where you found the doll to reach a gateway that’ll take you to Nimue’s Retreat.
-
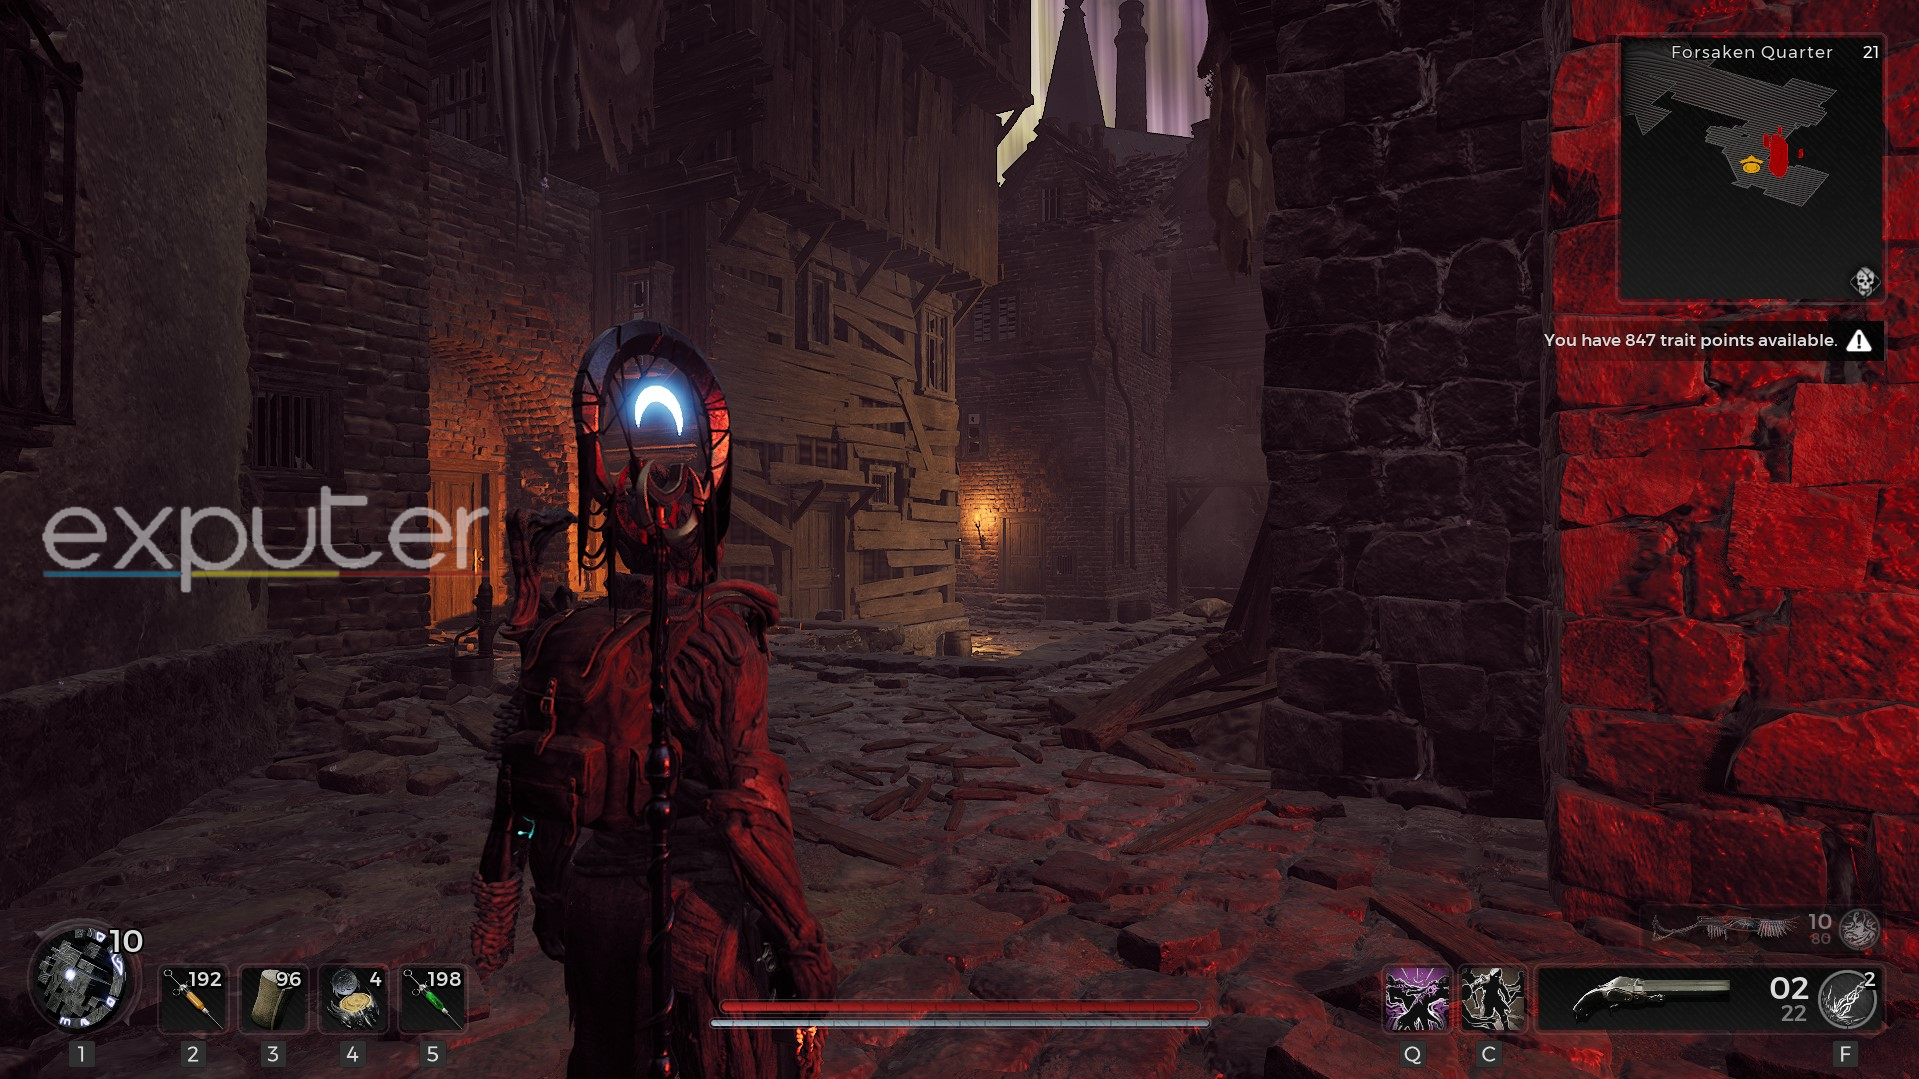
- As you talk to Nimue at this location, select the “I’m ready. Send me to the Nightweaver’s hunting grounds” dialogue, and you’ll reach the Forsaken Quarter.
-
- Make your way through the area, and you’ll eventually end up at an entrance to another random overworld.
- Once you complete this overworld, you’ll head to a doorway leading to the Nightweaver, who’ll initially run away but drop the Soulkey Tribute.
- Grab the item and proceed to the exit back to the Asylum, after which you must go back to the basement and interact with the webs using the Tribute, transporting you to the Tormented Asylum.
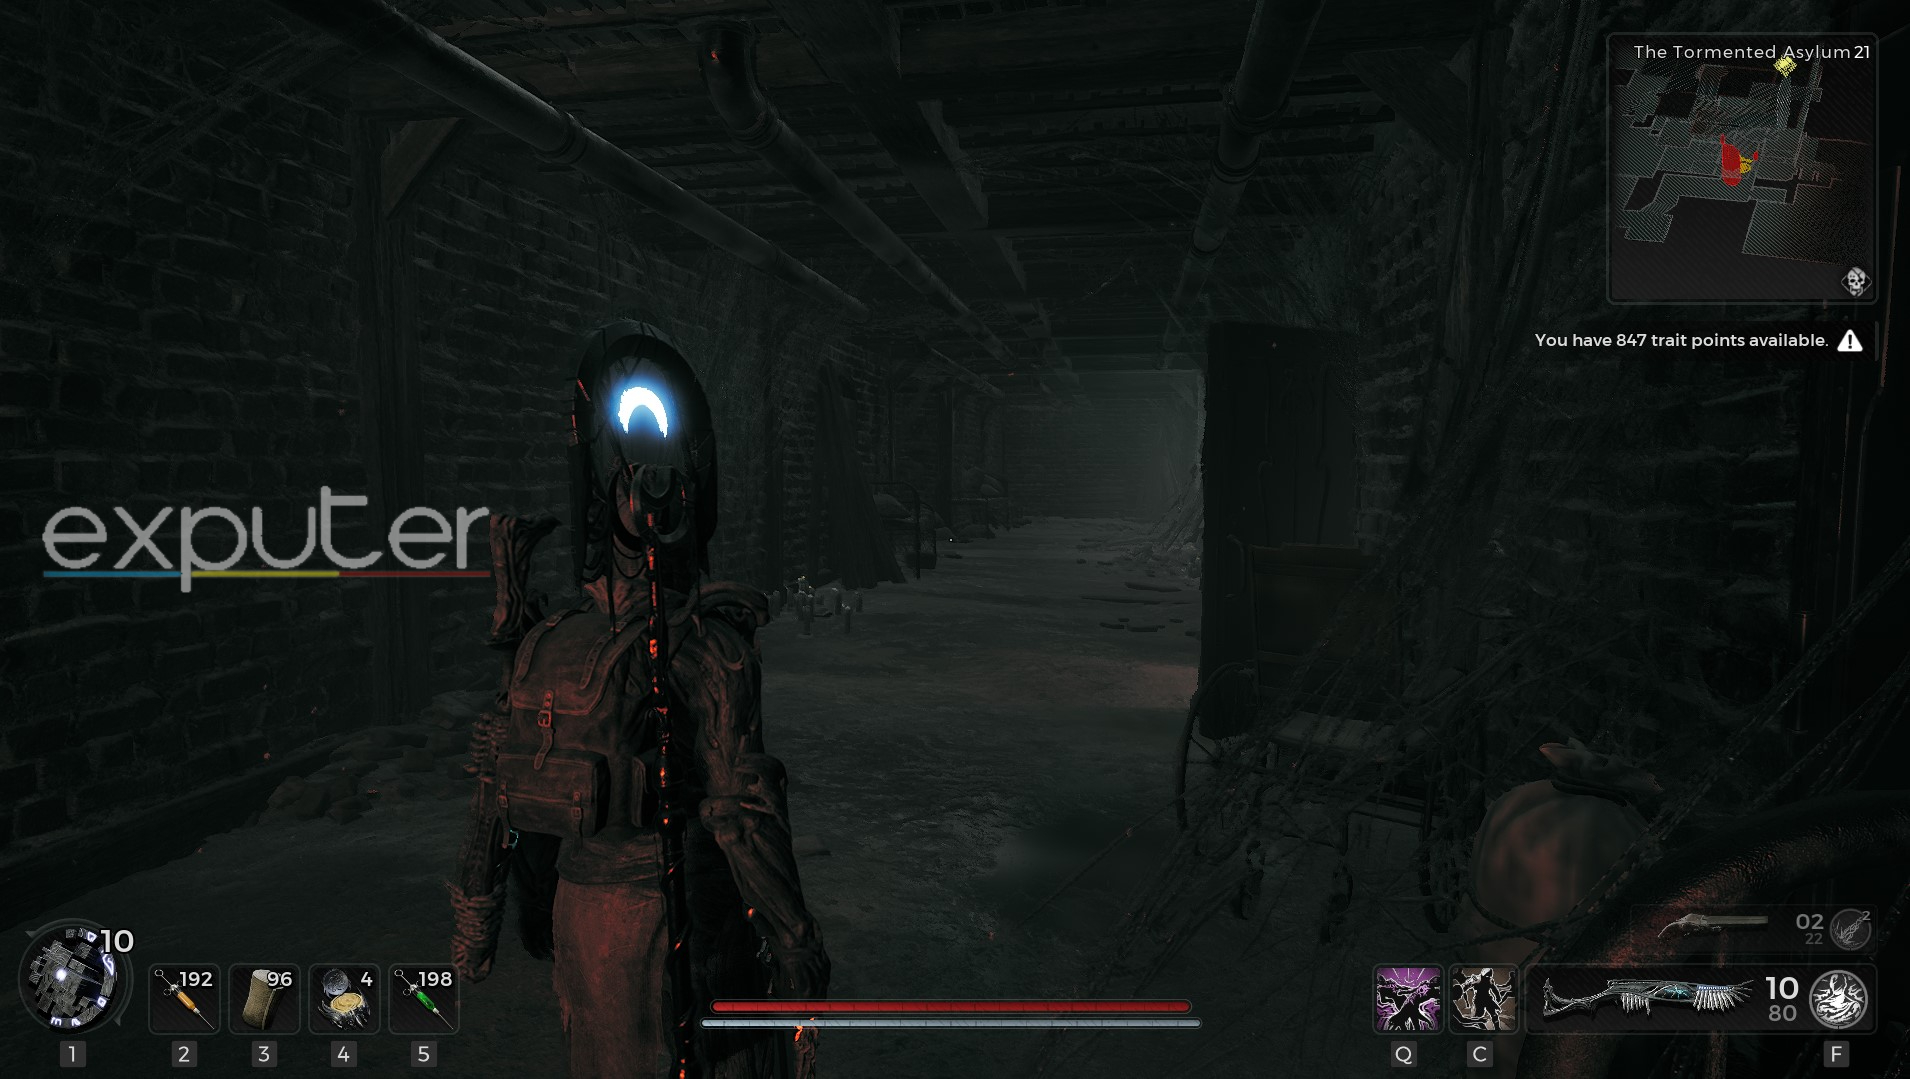
-
- Here, you’ll fight the Nightweaver boss and, additionally, use the Nightweaver’s Stone Doll on the webs beyond the prison cell just before the boss arena to receive the Dreamcatcher melee weapon.
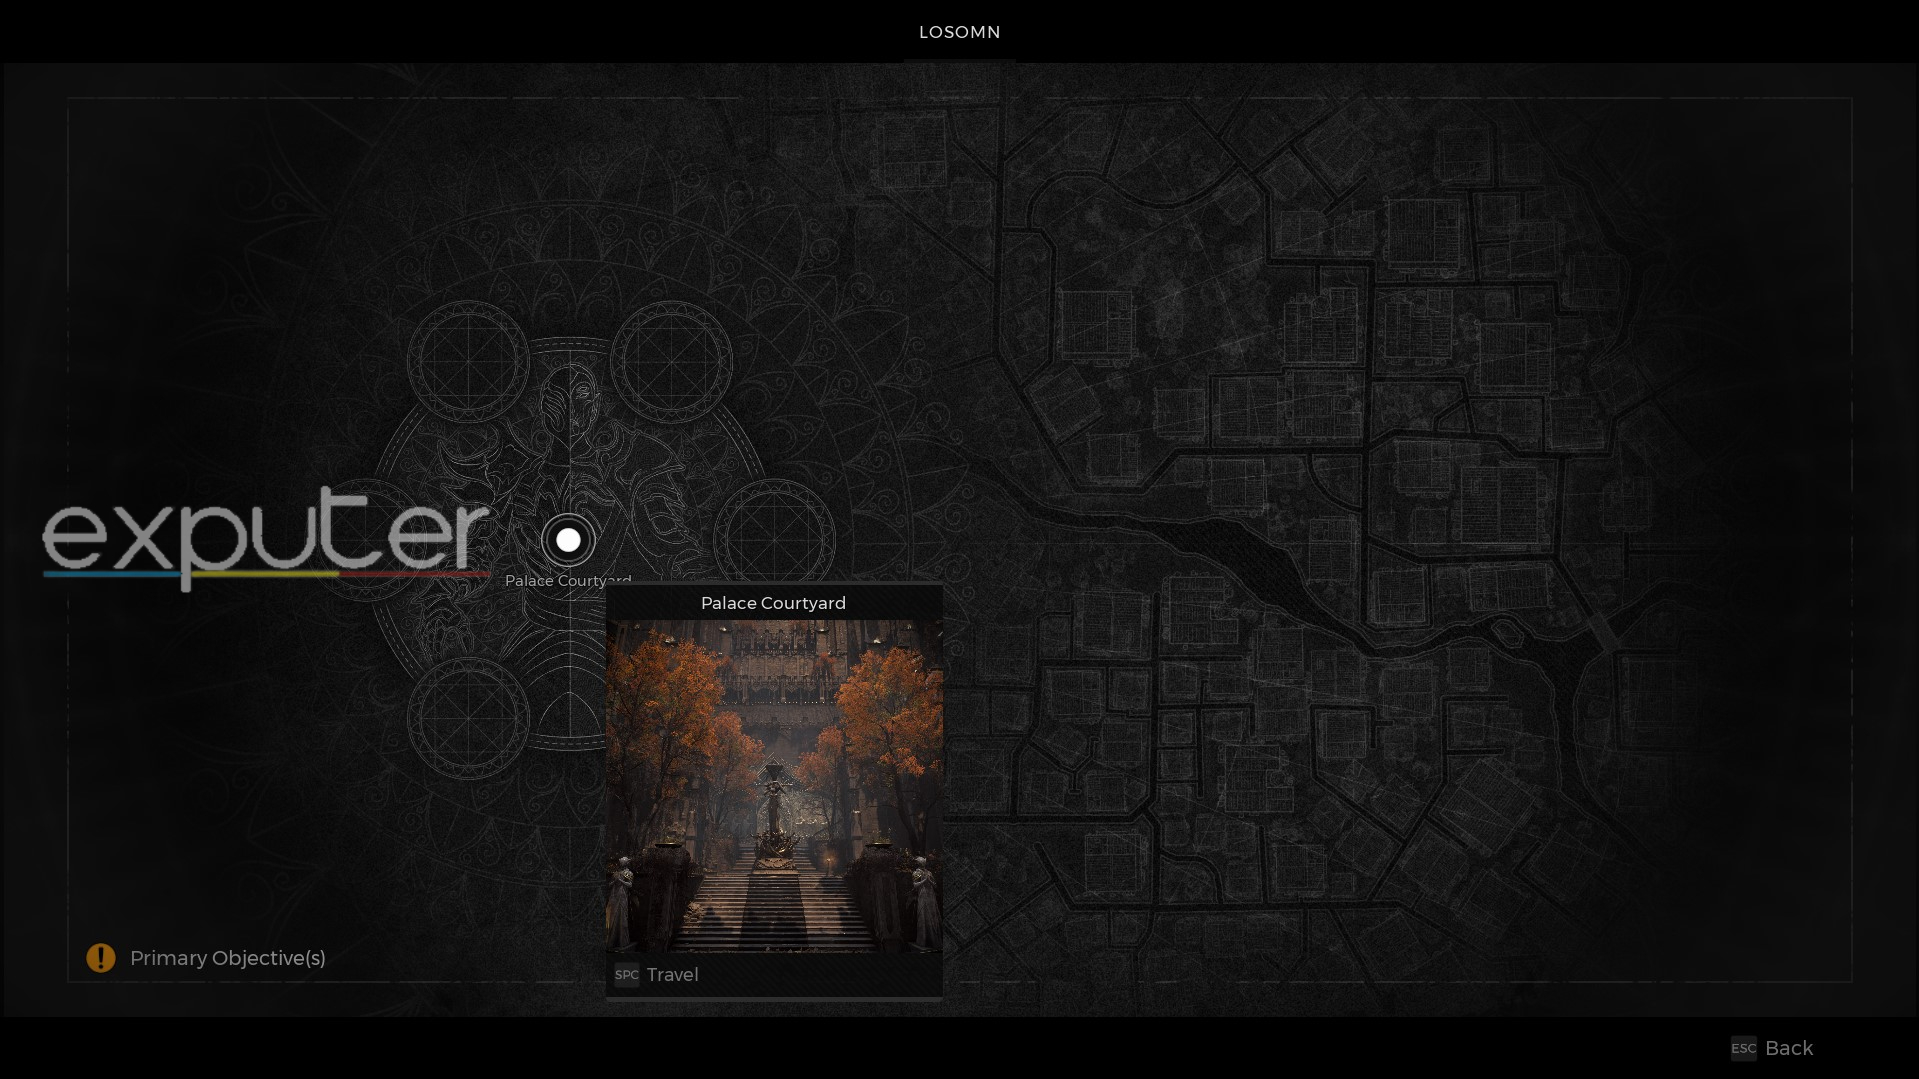
The One True King – Palace Courtyard
The One True King is considerably longer than the Asylum storyline, with more expansive areas to explore and greater hordes of enemies to take down. Your main objective on this map in Remnant 2 is to open the large gate next to the World Stone of Losomn by getting the Faelin Mural Piece and the Faerin Mural Piece and fighting the bosses.
-
- To find the Faelin Mural Piece, head inside the palace near the lever in the courtyard, use the lift and take out the Fae enemies patrolling the path ahead.
- These winged enemies have both long-range and close-range attacks with some moves that can even one-shot you, so aim for their heads to land a critical hit.
- From the checkpoint ahead, go up the staircase into the library and sprint through the hole on your left.
- In front, you’ll see the breastplated statue with the Faelin Piece guarded by a teleporting and several melee Fae enemies.
-
- Grab the item and head up the staircase inside the room to reach the library’s upper floor.
- Continue following the straight path that’ll lead you down to the palace’s basement.
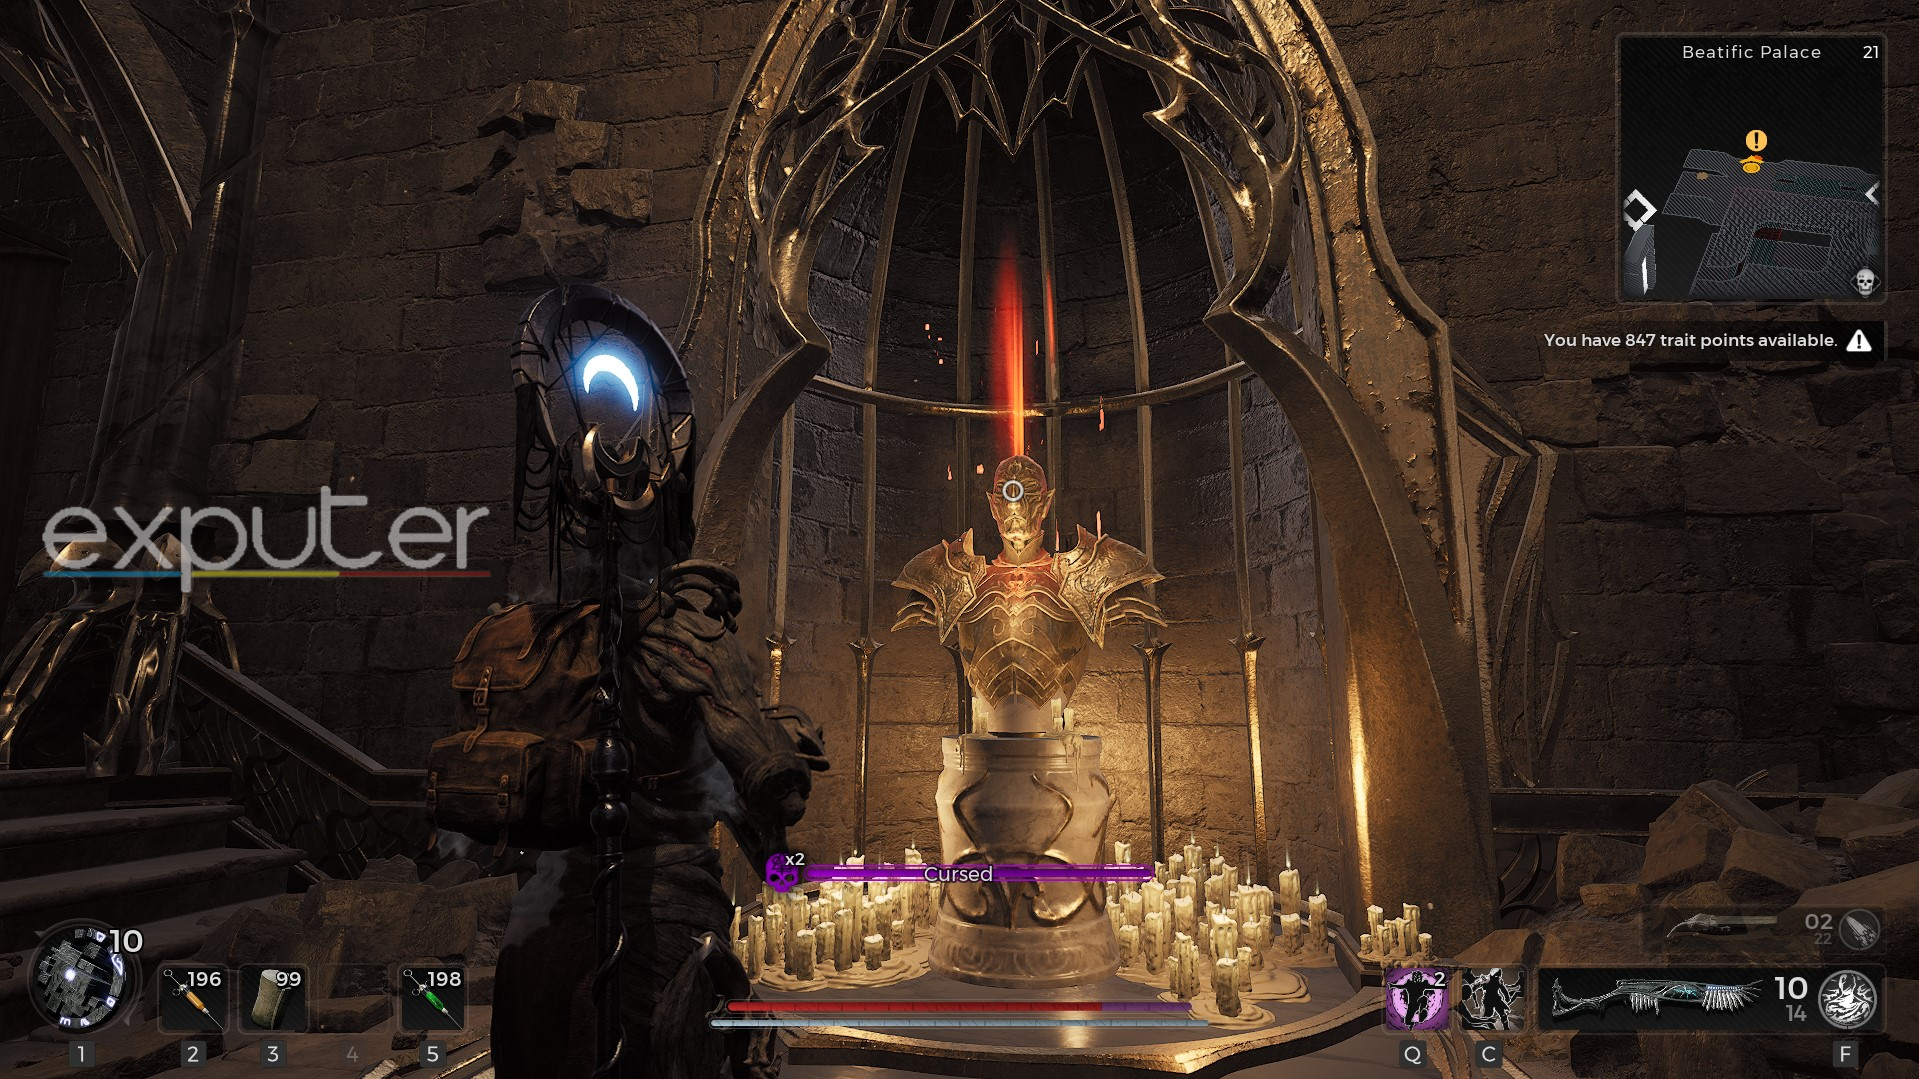
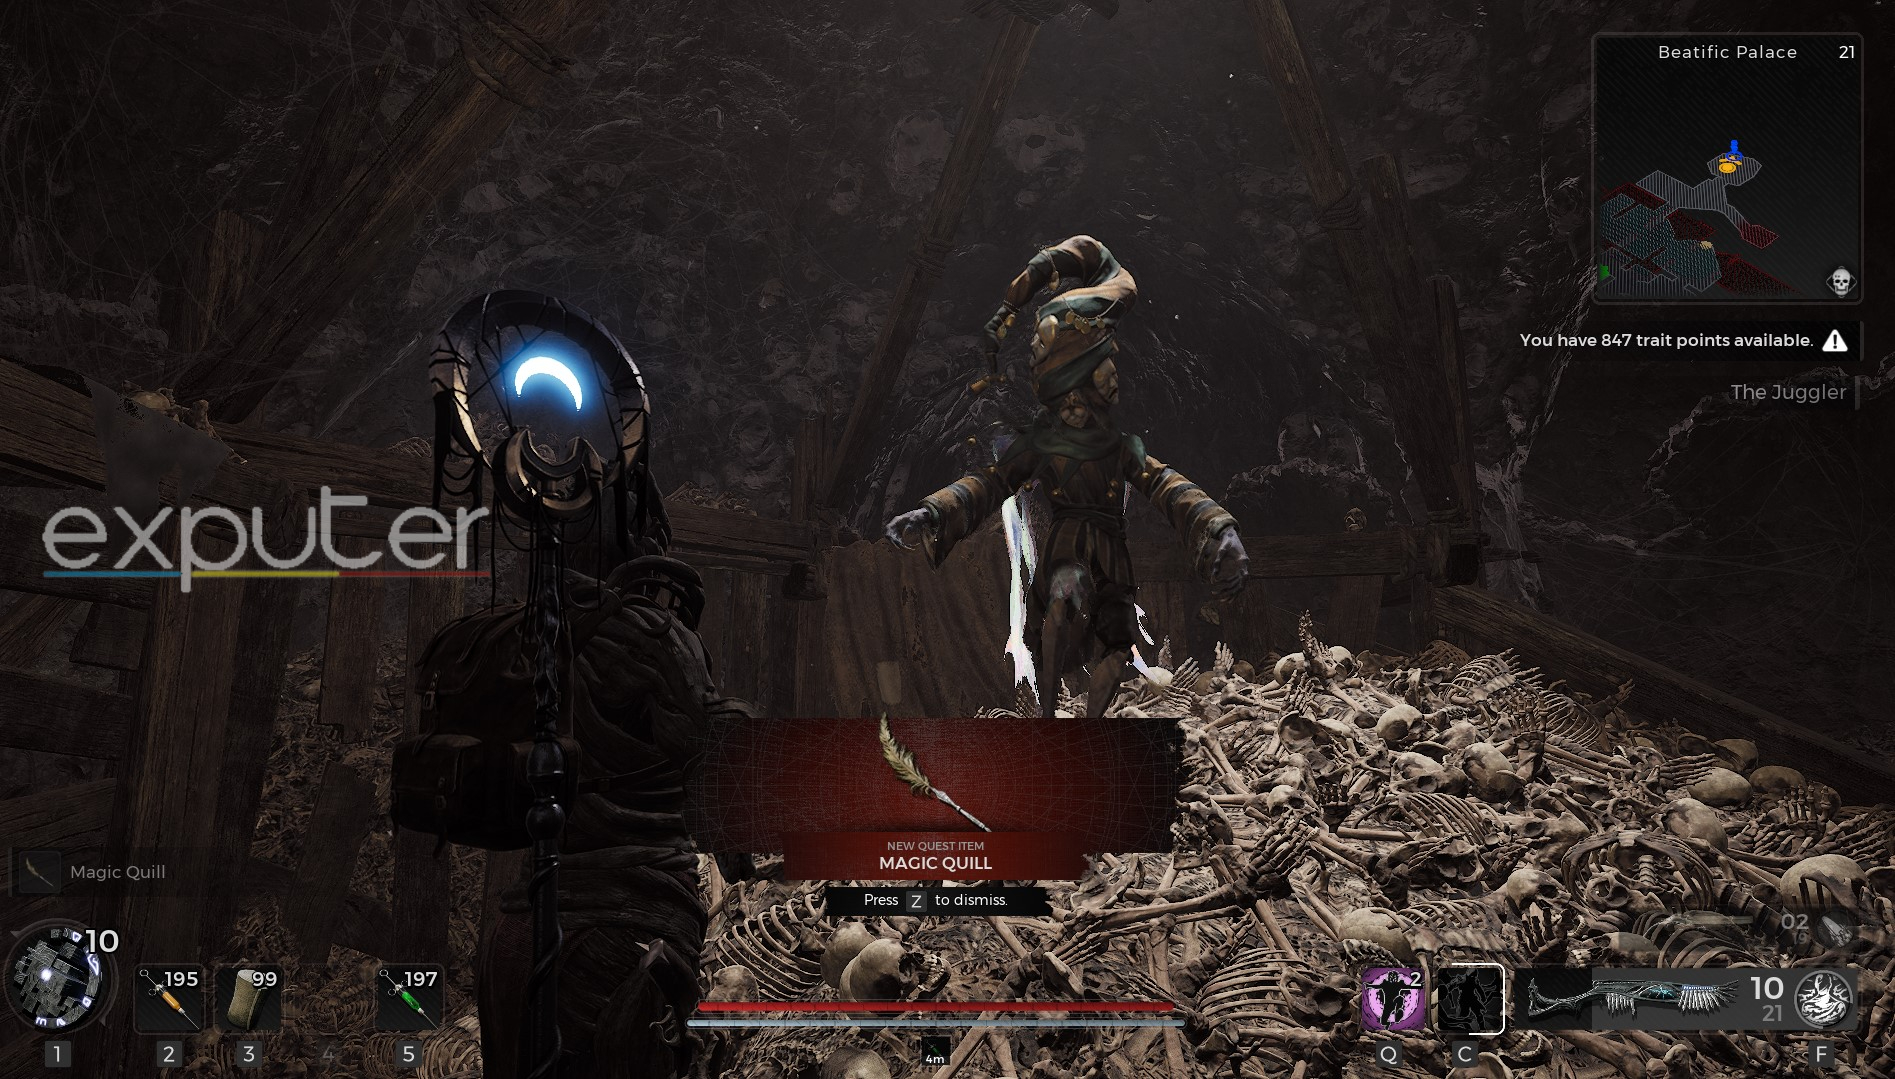
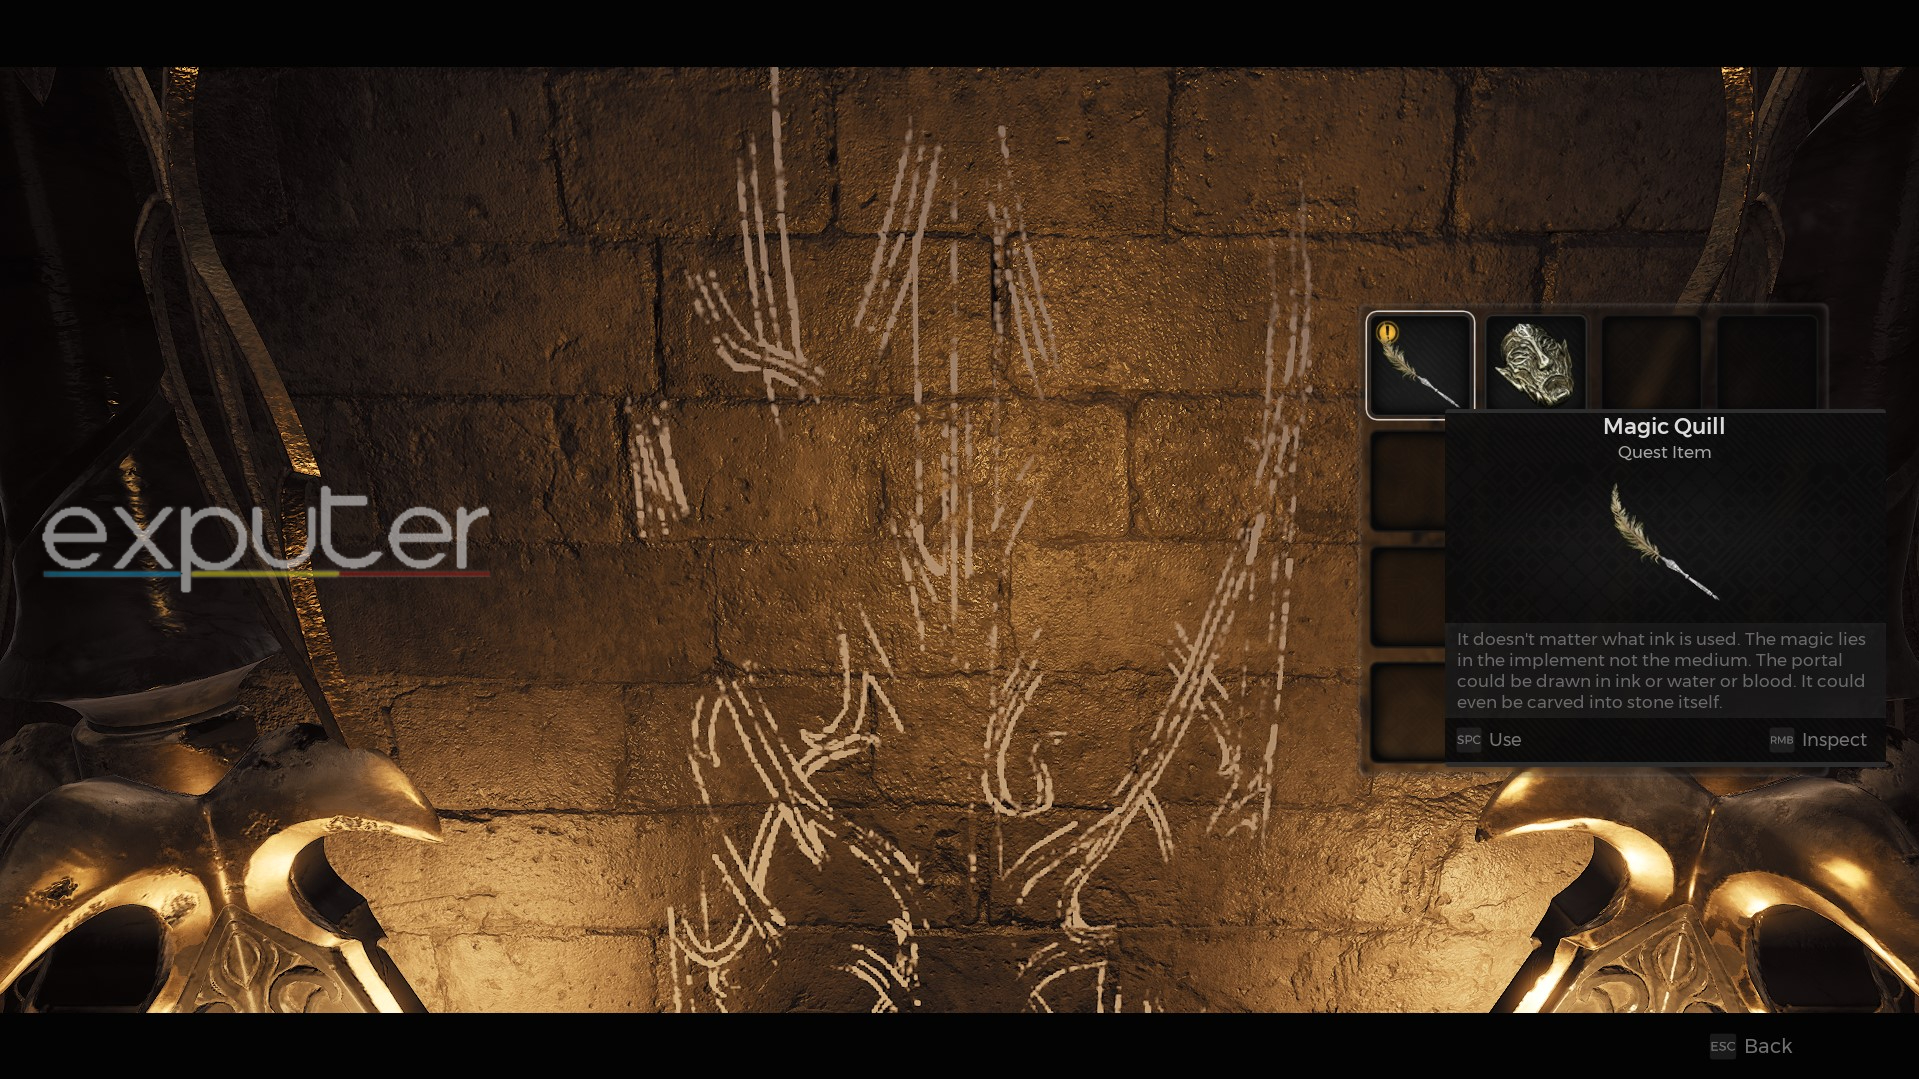
- Explore the area until you eventually get to a room filled with skeletons and a Jester sitting atop, after which you must interact with it to receive the Magic Quill.
-
- Once that’s done, use the lift near this room to ascend back to the library, then use the Quill to activate the door at the end to access the Ironborough.
-
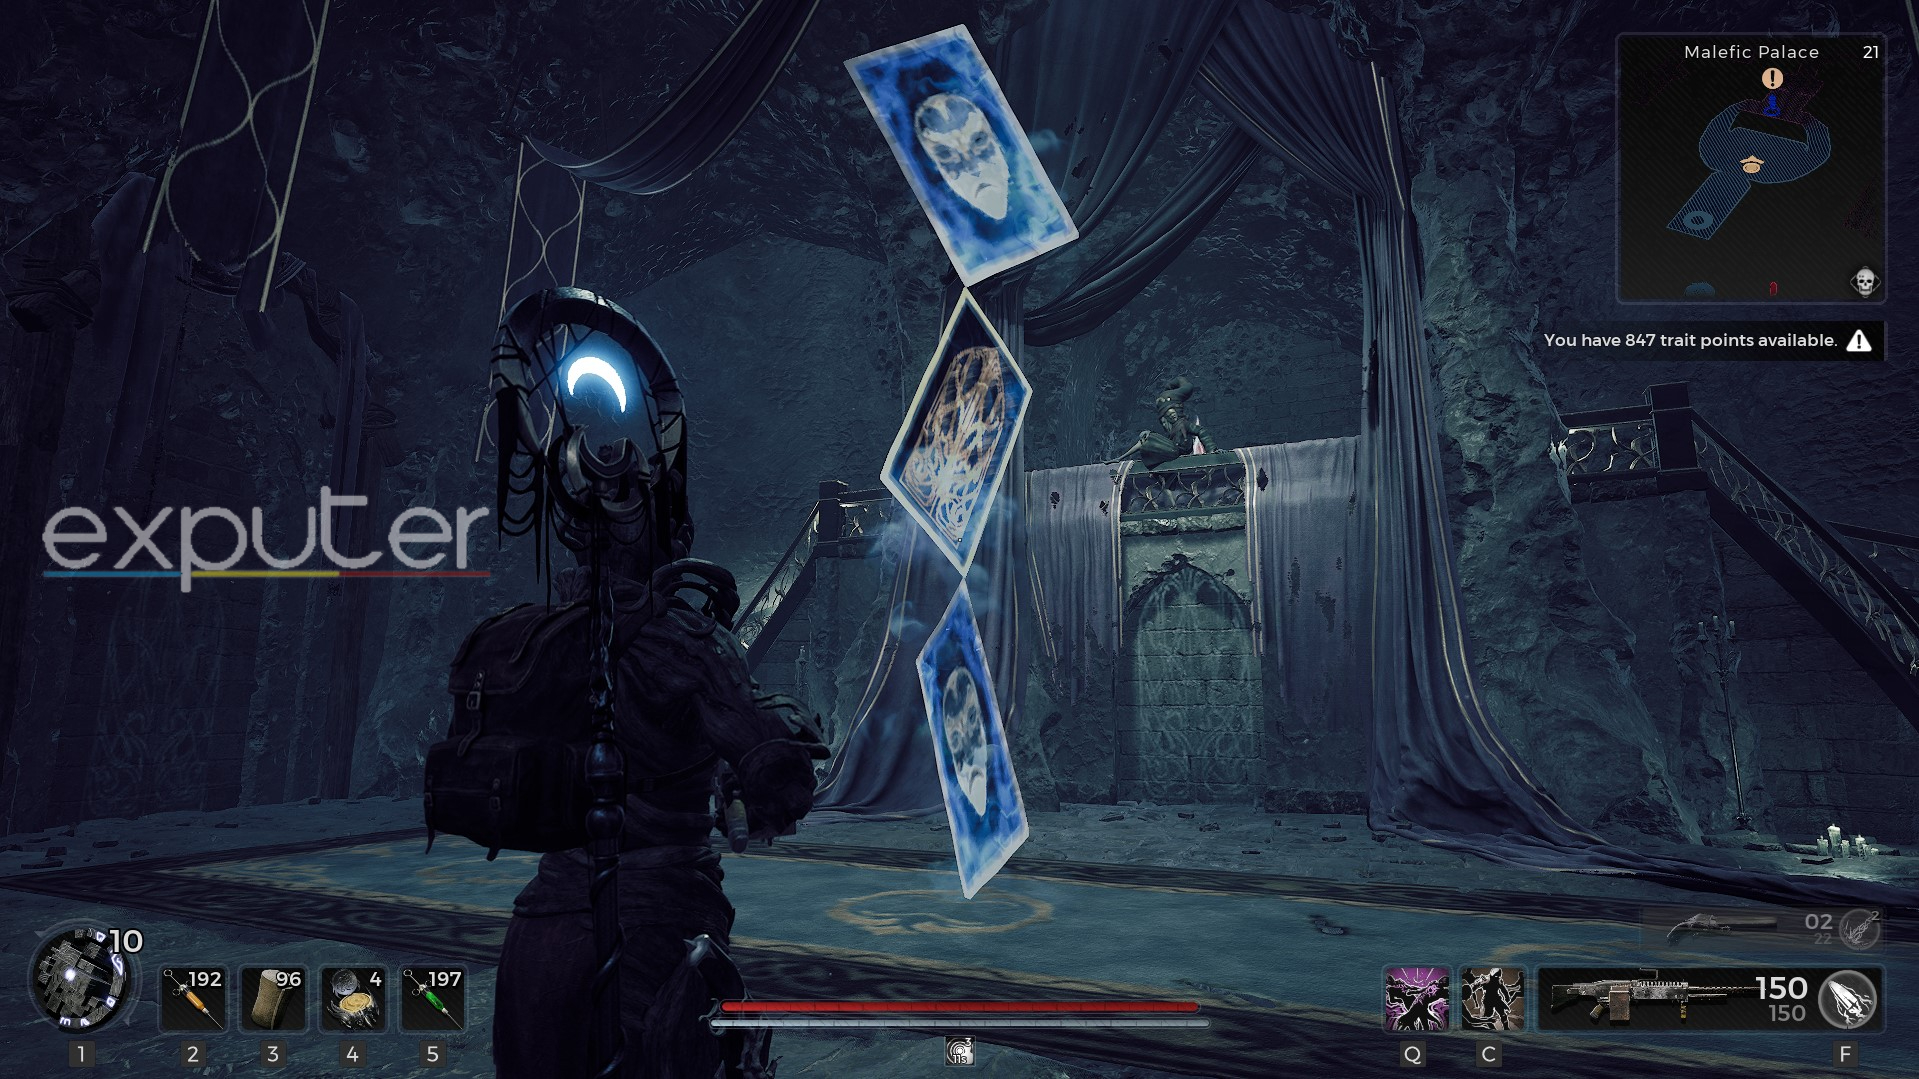
- The Ironborough is a relatively straightforward overworld, and completing it will lead you to the Malefic Palace, where you’ll find the Jester yet again.
- The Jester will shuffle five cards in front of you, and you must keep track of and later identify the card with the split mask once he’s done shuffling.
-
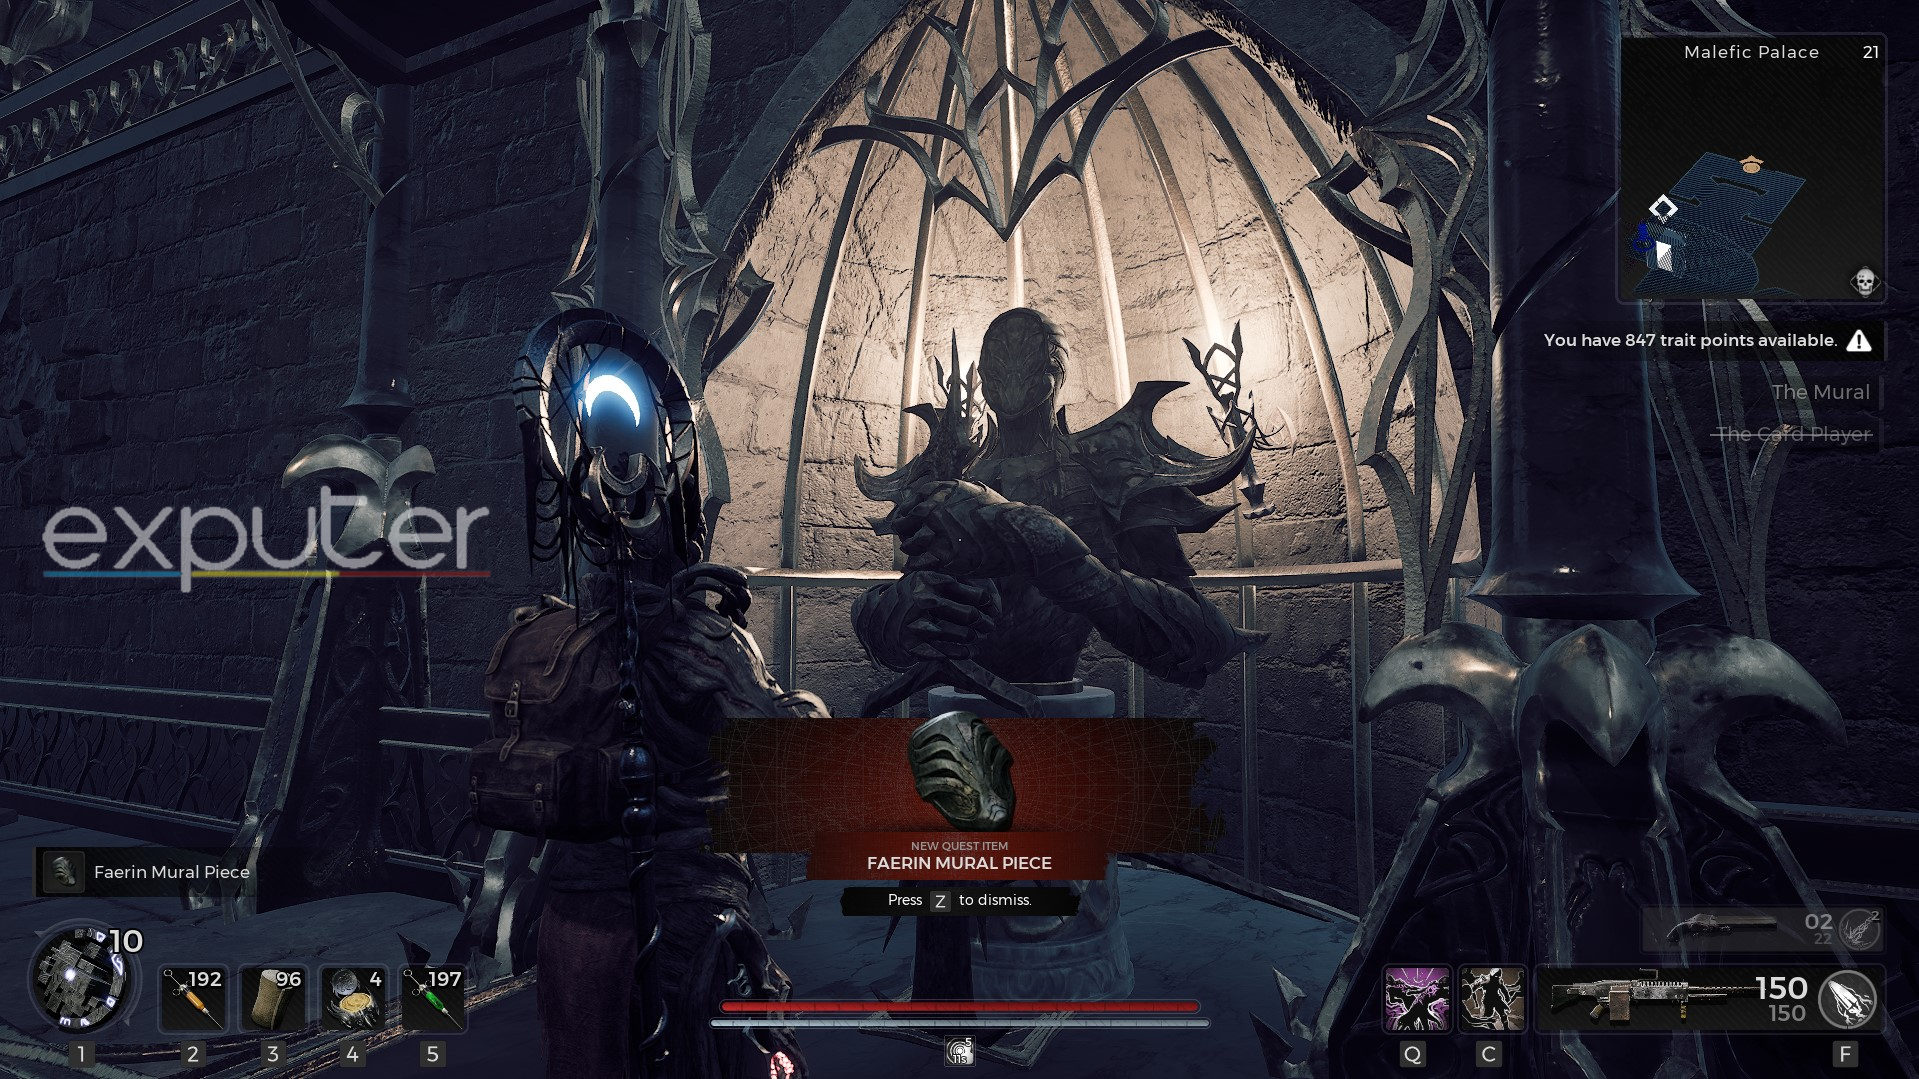
- After picking the right card, you’ll go through a door and pick up the Faerin Mural Mask.
-
- Now that you have both masks, return to the Palace Courtyard and insert the masks into the mural before the entrance gate, after which you’ll challenge Faerin or Faelin, the final bosses of this quest.
Main Bosses In Losomn Of Remnant 2
Losomn boasts 10 bosses to challenge, making it the third-highest boss count of any map in Remnant 2. Of these, only three are considered mandatory bosses, but you can only fight one at the end, depending on your storyline quest. So, if you’re struggling against this location’s final boss, you can learn extensively about their movesets, weaknesses, and rewards.
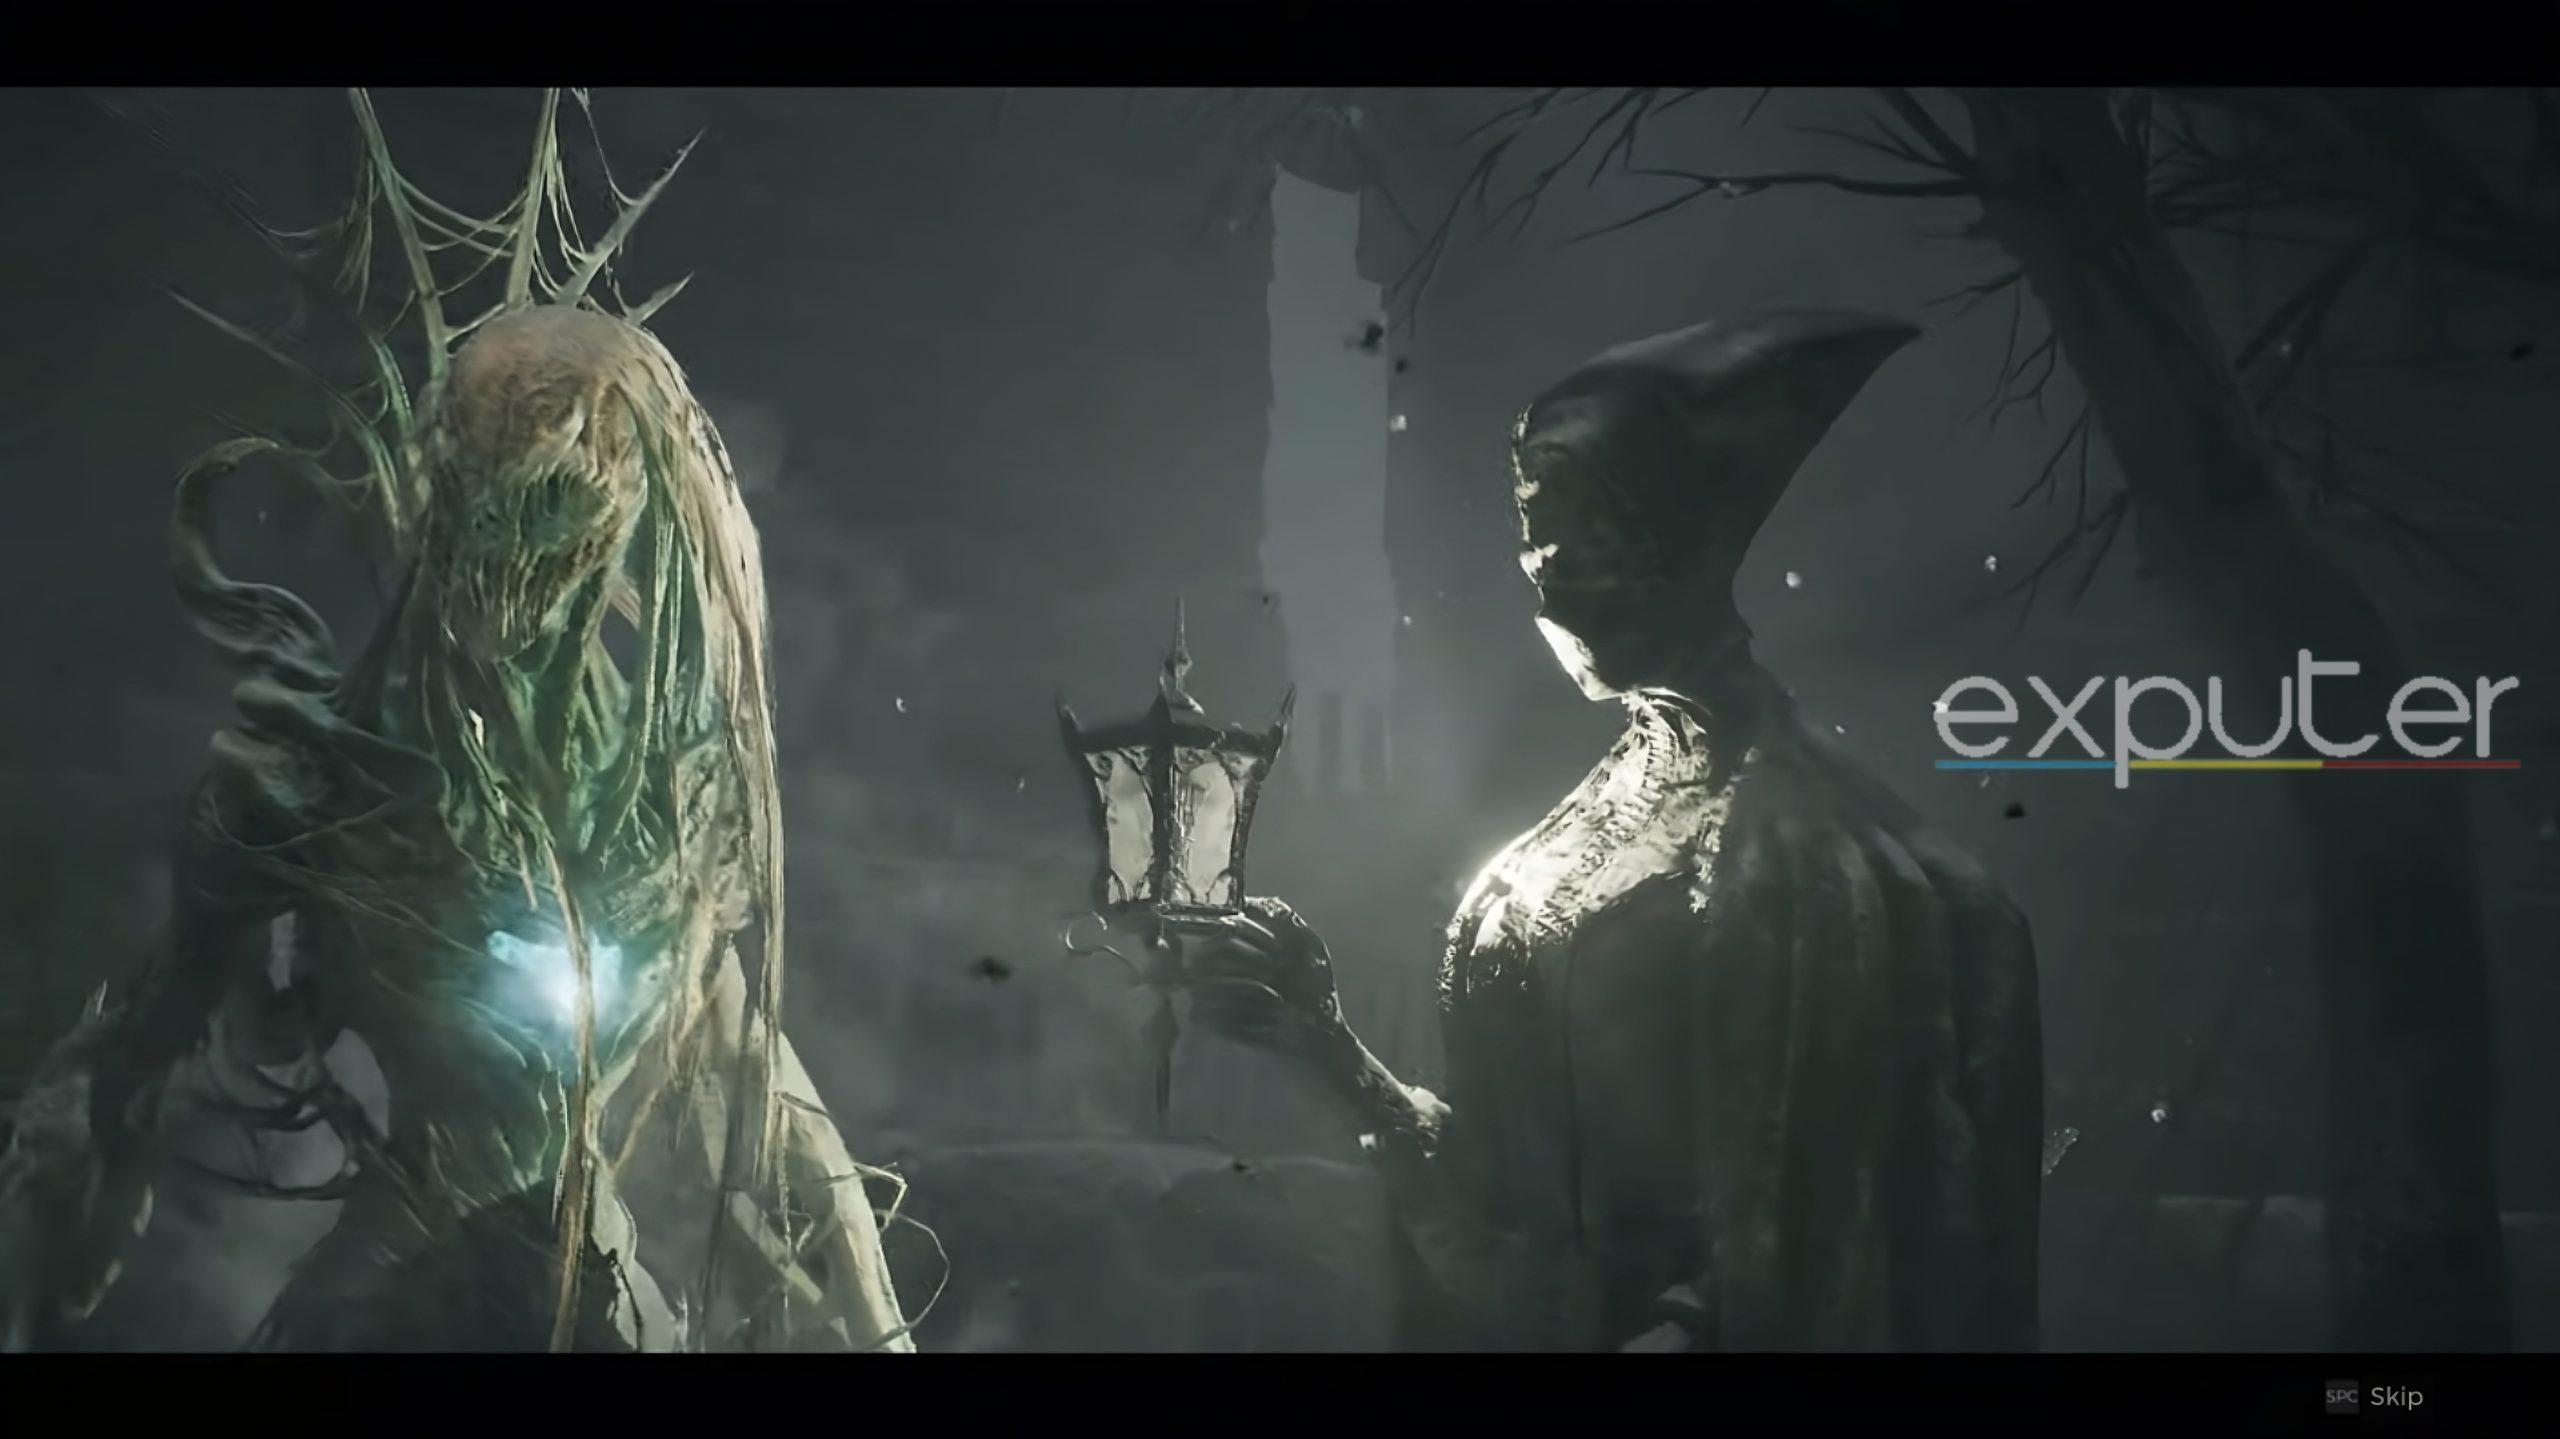
The Nightweaver
The Nightweaver is an agile monster at the end of the Asylum questline with rapid and diverse attack strings. During her first phase, she can fly around the arena, throwing projectiles and other long-ranged attacks while closing the gap for melee attacks and AoE bursts.
Her main weakness, from my experience, is the glowing heart in her chest, so I’d recommend trying to aim for that to get a quick posture break.
First Phase:
- Icy Projectiles: Dodge right after a slight delay when the boss throws all four projectiles.
- Aerial Lunge Attack: Dodge to either side after she descends to the ground and is a few meters away. Then, run away to avoid a follow-up AoE burst.
- Summons: Maintain distance and prioritize killing weak summons while she’s spawning them.
- Projectile Rain: Only occurs when she’s staggered; run or dodge to the sides as soon as the attack begins.
After depleting her first health bar, approach her shining corpse, and a brief cutscene will lead to her second phase.
Second Phase
- Teleport Attack: Wait for the audio cue as she teleports behind you, then run straight and dodge to either side when she follows up with a lunging attack.
- Summons: Similar to the first phase, but she’s more vulnerable during the attack, so locate her in the arena and eliminate her.
- 2-hit Slash: Dodge alternatively (right then left or left then right) when she lunges for each slash.
After defeating the Nightweaver, you’ll receive a Tome of Knowledge, Cursed Dream Silks, Lumenite Crystals, Scraps, and even the Nightweaver’s Finger if you destroy her heart mid-fight. You’ll also obtain a Strange Object, a confirmed drop used to craft a weapon back at Ward 13.
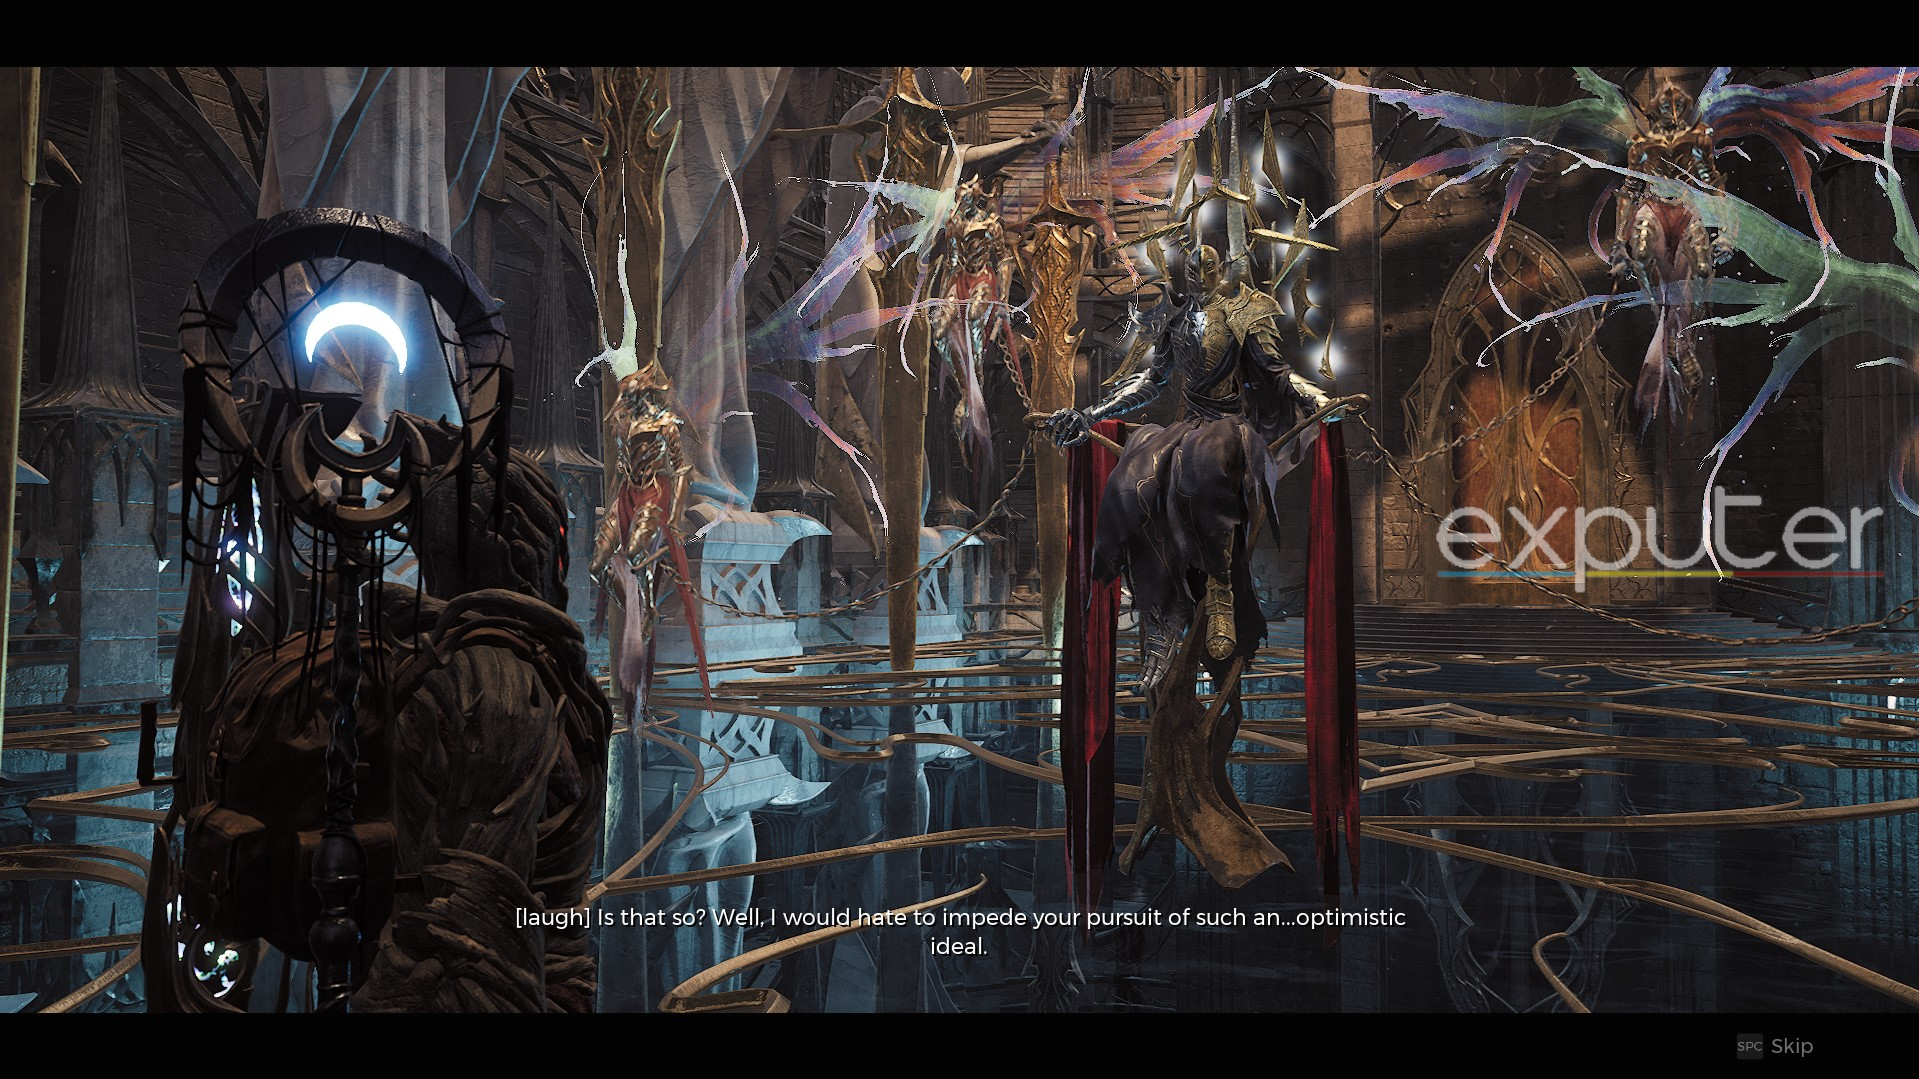
Faelin/Faerin
Aside from the aesthetic and rewards, Faelin and Faerin share the same moveset and aggression. Like the Nightweaver, these bosses have several long-ranged and melee attacks but additionally use the arena to threaten the player.
Again, I’d recommend staying at a safe distance and trying using Weapon Mods or rings that apply DoT since these bosses are extremely lethal at close range.
So when you’re at the end of the One True King storyline, these are the moves you’ll face during Faelin or Faerin’s first two phases:
- 2-hit Slash: Roll backward each time the boss is about to swing his sword.
- Projectile-throwing Portals: Dodge to either side when the portals throw a projectile and prioritize shooting them in their centers to remove them quickly.
- Overhead Slash: Shoot the boss a few times as he charges up the attack and roll in either direction during his attack’s animation.
- Portal Wave: This attack cuts off a portion of the arena but has poor range and doesn’t track the player, so maintain your distance to avoid the portals’ arrows and wait for them to disappear.
When the boss’s HP drops to about 60%, he enters his second phase, floating into the air and summoning giant swords to slam down in a highly telegraphed attack. He becomes immune to damage during this move, so watch your positioning and conserve your ammo.
In the final phase, at 25% HP, Faerin/Faelin rises again and repeatedly slams down the swords individually. Additionally, he employs these attacks:
- Portal Cloud: Sprint away from the portals, maintain distance, and wait for them to vanish.
- Sword Slam: Roll inwards to avoid the slash and subsequent AoE attack as he descends.
- Dash: Roll to either side when the boss prepares to attack.
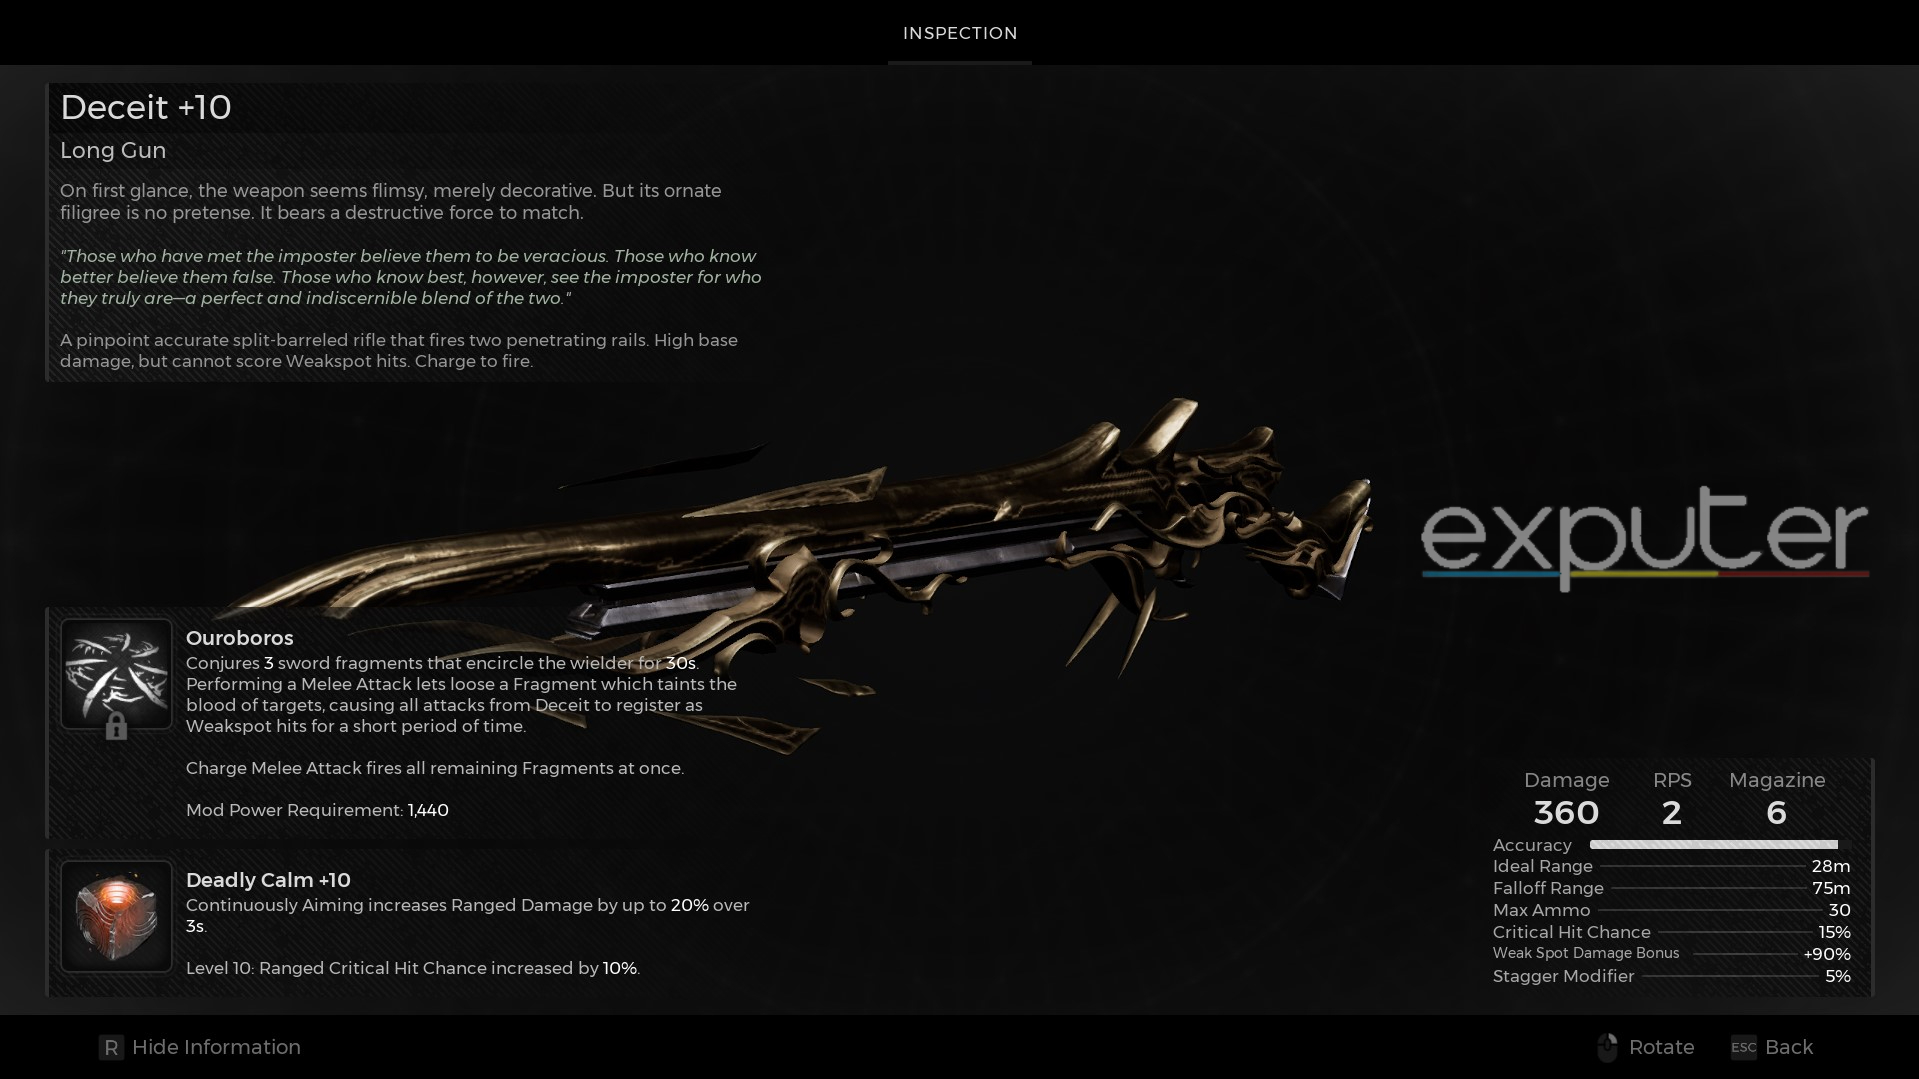
Defeating Faerin yields a Tome of Knowledge, Scraps, Lumenite Crystals, Faerin’s Sigil, and the Imposter’s Heart. Eliminating Faelin grants the Melded Hilt and Faelin’s Sigil instead of the Heart and Faerin’s Sigil. In Remnant 2, you can use the Imposter’s Heart to craft Deceit, a rifle-based Long Gun, or the Melded Hilt to create the Godsplitter melee weapon.
In my opinion, either option is great, since Deceit is incredibly versatile and Godsplitter has great potential. I personally went with crafting Deceit during my initial roll of Losomn and I was not disappointed by this weapon’s damage output and range.
That wraps up my Remnant 2 Losomn Map guide, covering its main bosses, storyline quests, and discoverable weapons. As a late-game location, I think this area has some incredible loot you’ll undoubtedly use for your remaining playthrough and rerolls. So, if you’re still curious and hungry to explore, check out this Subreddit Post to learn about any missing locations in Losomn.
For more unique and powerful in-game weapons, check out our guide on how to get the Spectral Blade in Remnant 2. Also, maximize your character’s abilities and versatility by uncovering the best traits for core and unlockable elements. And if you want to start fresh with a new toolset altogether, here’s how to respec with an Orb of Undoing.
For a thorough examination of Remnant 2, take a look at eXputer’s review, where we explore the ins and outs of the game’s pros and cons.
Next:
- Remnant 2: How To Get & Use Plain Ribbon
- Remnant 2: What Is Power Level
- Remnant 2: How To Solve Door Puzzle At Lament
Thanks! Do share your feedback with us. ⚡
How can we make this post better? Your help would be appreciated. ✍