Elden Ring Deathroot are valuable collectible items that can be traded for special rewards. There are a total of 9 Deathroots scattered throughout the game, and each one can be obtained by defeating specific enemies or exploring various locations.
- There are a total of 9 Deathroots, which the players can collect at different locations and stages as collectible pieces.
- Collecting all these Deathroots and trading them for rewards can provide you with valuable items in Elden Ring.
- These Deathroots are to be submitted to Gurranq as a task to complete his Questline and to obtain a few known incantations as rewards.
Deathroots In Elden Ring
Following is a summary of the Deathroots and their locations in the game:
| Deathroot | Location |
|---|---|
| 1st | Summonwater Village in Limgrave |
| 2nd | Deathtouched Catacombs |
| 3rd | Black Knife Catacombs dungeon in Liurnia of the Lakes |
| 4th | Eastern edge of the Liurnia Lakes. |
| 5th | West side of the Altus Plateau |
| 6th | Gelmir Hero’s Grave on Mt. Gelmir |
| 7th | Giants’ Mountaintop Catacombs |
| 8th | Between Castle Sol’s Main Gate and Snow Valley Ruins Overlook |
| 9th | Hidden Path to the Haligtree |
1st Deathroot – Summonwater Village
Obtaining The Summonwater Village Deathroot
- The first thing the players need to do is to talk to D(Hunter of the Dead).
- He is located right on the road just before the village.
- After that, you would be able to go to the SummonWater Village.
- In the village, you would have to fight and kill the Tibia Mariner.
- Following that, you would receive your first Deathroot.
- If you have already traveled beyond Limgrave, D will move locations.
- Consequently, you will have missed his first 2 locations, so you could just find him sitting at the Roundtable Hold.
Rewards
After that, the players should go into the Bestial Sanctum, talk to Gurranq, and give him the Deathroot. Gurranq will grant you the Beast Eye and Clawmark Seal as a reward.
2nd Deathroot – Deathtouched Catacombs
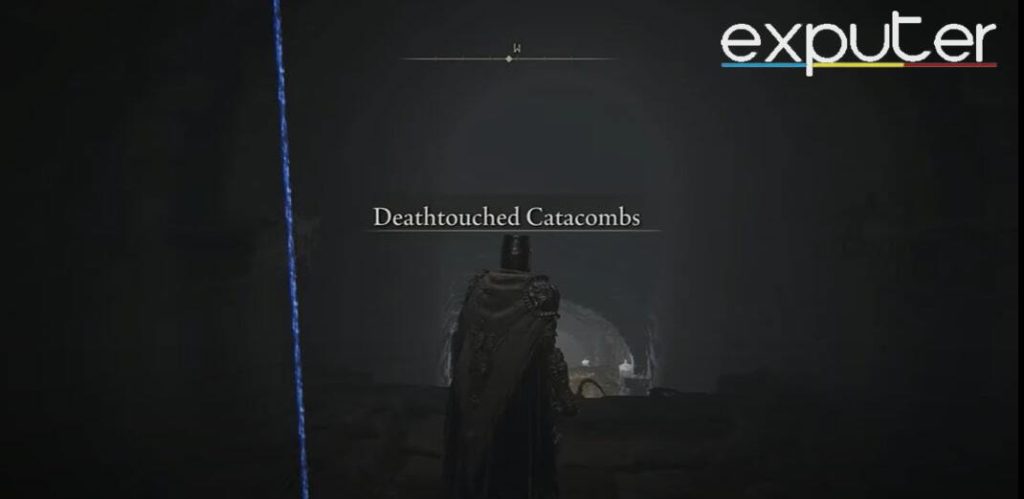
Obtaining The Deathtouched Catacombs Deathroot
- Enter catacombs: Find Site of Grace, Root Resin room, Summoning Pool, and locked door.
- Defeat two skeletal warriors and prevent resurrection.
- Descend left steps and face three skeletal warriors (one with a bow.)
- Move to the opposite end, defeat four warriors below and three archers above.
- Collect Bloodrose and Grave Violet and use the lever to open locked doors.
- Beware two awakened skeletons in the lever room.
- Explore the skipped tunnel: Encounter two awakened skeletons and find Grave Violet and Glovewort.
- Proceed through the second tunnel: Defeat three skeletal archers and obtain Uchigatana and Glovewort.
- Backtrack to Summoning Pool room, descend stairs to mist wall.
- Confront and defeat the Black Knife Assassin.
- Open chest for 2nd Deathroot.
Rewards
You will receive a Bestial Sling Incantation as a reward for the Deathroot obtained at the Deathtouched Catacombs.
3rd Deathroot – Black Knife Catacombs
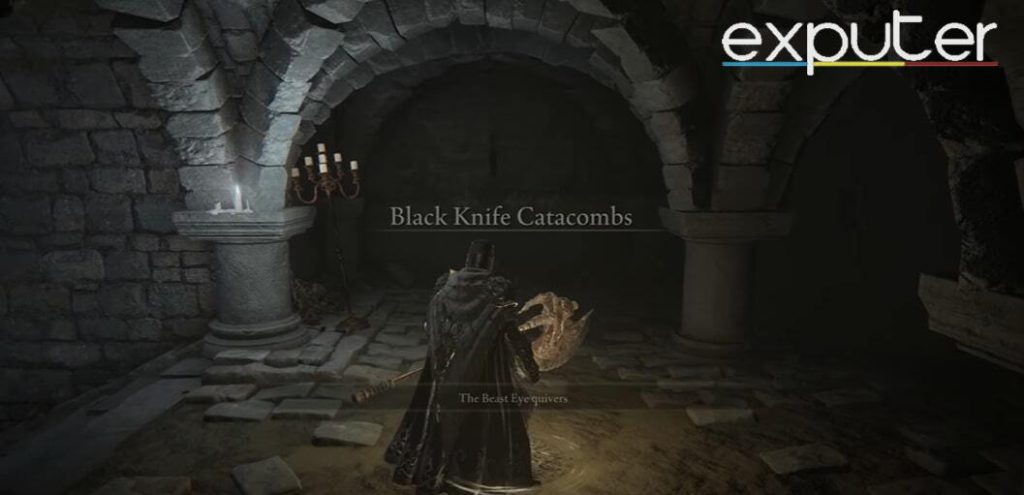
Obtaining The Black Knife Catabombs Deathroot
Navigating through the Black Knife Catacombs in Elden Ring to obtain the third Deathroot can be a challenging yet rewarding experience. Here’s a step-by-step guide to help you find the third Deathroot:
- Northeast Journey: Watch out for bears and invisible enemies as you head to the third Deathroot.
- Black Knife Catacombs: Use Beast Eye to locate Deathroot in the catacombs.
- Blade Hallway: Stand in the middle to ride blades to a ledge.
- Black Knife Assassin: Optional fight; decide if you want to engage.
- Skeleton Archer: Eliminate the archer after the Black Knife Assassin.
- Basement: Drop down, find, and hit the first lever.
- Second Lever: Activate another lever in the basement.
- Open Door: Doors open after hitting levers; run through and climb ladders.
- Cemetery Shade: Clear two melee and one ranged skeleton in this area.
- Chest: Discover the third Deathroot in a chest in the final area.
Rewards
As a reward for obtaining the Deathroot from the Black Knife Catacombs, you will receive a Bestial Vitality Incantation.
4th Deathroot – East Of The Liurnia Lakes
Obtaining The East Liurnia Lakes Deathroot
- This Deathroot is located just south of the Carian Study Hall.
- You will have to fight the Tibia Mariner and defeat him to proceed.
- Then, you will have yourself the 4th Deathroot.
- How to defeat Tibia Mariner in the 1st Deathroot above has already been discussed.
Rewards
As a reward for obtaining the Deathroot from the Black Knife Catacombs, you will receive a Bestial Vitality Incantation.
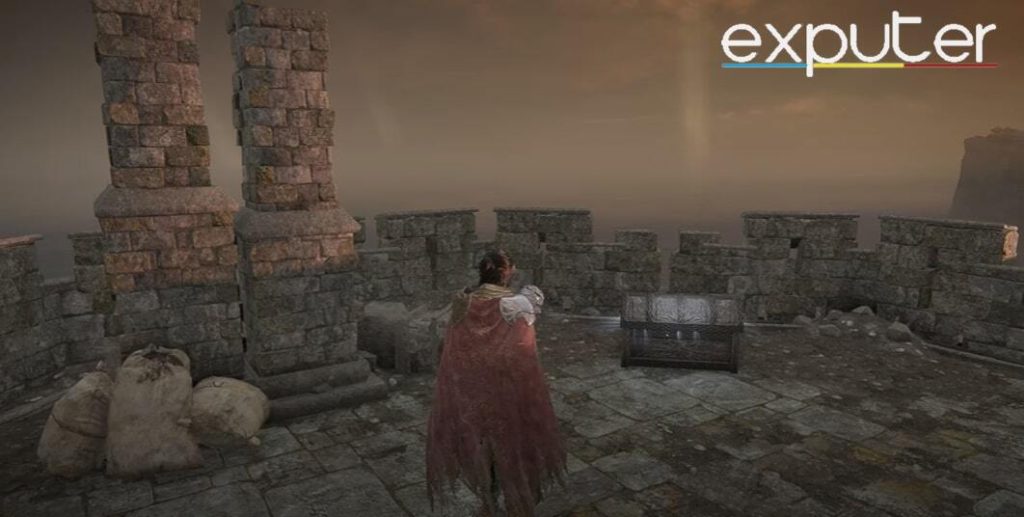
5th Deathroot – Wyndham Ruins

Obtaining the Wyndham Ruins Deathroot
The players should go through the following two stages to attain the Wyndham Ruins Deathroot.
1st Stage – Items Needed For Altus Plateau
- The first item is in the chest, located at the very top of Fort Haight. The item is called the Dectus Medallion (left).
- The next item will be situated on top of Fort Faroth; you will get the Dectus Medallion(right).
- Now, you could use the lift to get to the Altus Plateau.
2nd Stage
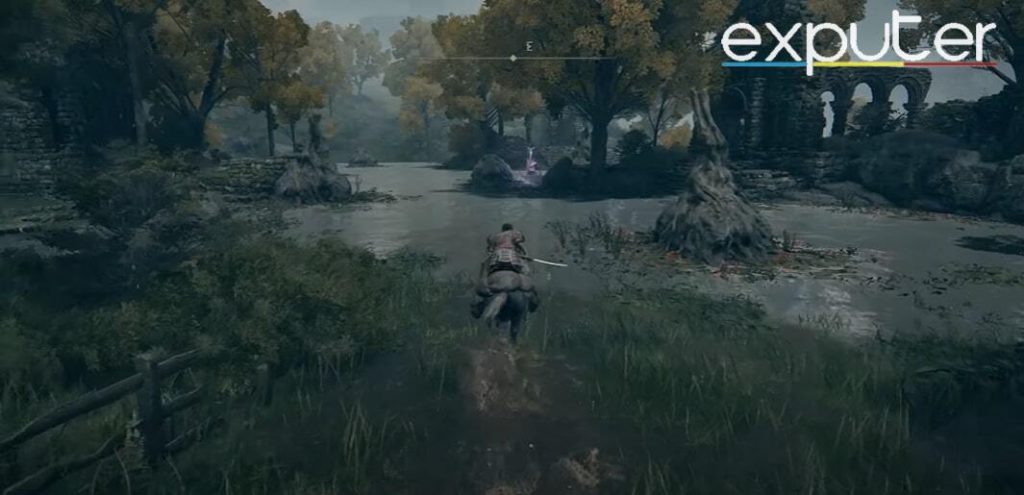
- When you have reached the Altus Plateau, you will roam around.
- There, you will see a river and go into it; your Beast Eye will quiver, indicating you are close to the Deathroot.
- There, you would have to face another Tibia Mariner.
- This Tibia Mariner can summon a big skeleton, which is pretty hard to defeat.
- After you have beaten the Boss, you will have the 5th Deathroot.
Rewards
You will receive a Beast Claw as a reward for obtaining the Deathroot from the Wyndhum Ruins.
6th Deathroot – Gelmir Hero’s Grave
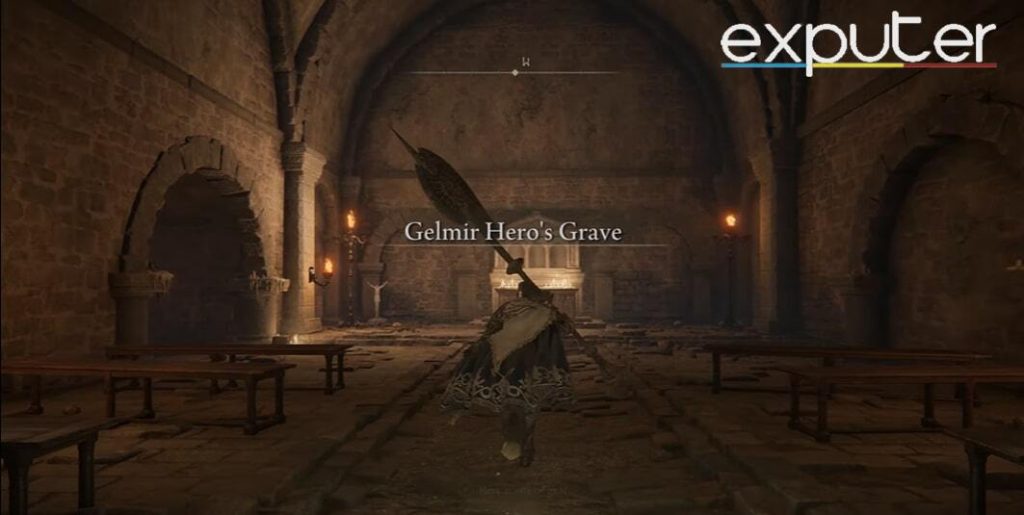
Obtaining the Gelmir Hero’s Grave Deathroot
Obtaining the Gelmir Hero’s Grave Deathroot requires going through the following stages.
1st Stage
- Reach Volcano Manor.
- Go west from there to the dungeon: loop south or north from Hermit Village.
- Inside, take the lift down to a room with a Site of Grace.
- Descend left stairs, dodge chariot in alcoves with enemies.
- Leap across lava at the end for Grave Glovewort.
- Ascend stairs and backstab a swordsman in a fiery corridor.
- Sprint through and stop hazards by hitting a column.
- In a south room, find an Undead Soldier and two Pages guarding a Golden Rune corpse.
- Head south through a passageway with a chariot track, grab Stonesword Key from a slope.
- Behind a column, defeat Bloodhound Knight for the set, and find Gelmir Knight set on a nearby corpse.
2nd Stage
- Climb the stairs to find a corpse with Root Resin x5.
- Crouch out of the arched window openings and drop down to collect Grave Violet.
- In the alcove to the east, defeat Cemetery Shade to get Mantis Blade.
- Backtrack to the first slope and roll through the lava to reach a room with a Grave Violet plant and a chest containing a Ringed Finger weapon.
- Roll over to the alcove across the lava to collect Grave Glovewort (7) plant, drop down a gap, and land near a set of double doors.
- Collect Grave Glovewort (7) plant on the western wall, and from the bottom of the ladder, collect Beast Blood x3 from a corpse.
- Open the doors to a larger room with a set of stairs leading down towards the boss fight.
3rd Stage – Red Wolf Of The Champion Fight

- Boss: Red Wolf of the Champion, mirroring Radagon’s moves.
- Agile and potent in ranged and close combat, watch out for bite and swipe combos.
- Summons a fiery sword; anticipate and counter as these attacks are telegraphed.
- Dodge toward slashes, block to counter and exploit openings after these attacks.
- The wolf also launches homing magic rays and dodge-roll to evade.
- Stay vigilant; the Wolf closes in and attacks before the missiles dissipate.
- Victory rewards Bloodhound Knight Floh Ashes.
- Arena’s back holds a chest with Deathroot.
Rewards
Getting the 6th Deathroot will result in rewarding you with the Stone of Gurranq Incantation.
7th Deathroot – Giants’ Mountaintop Catacombs
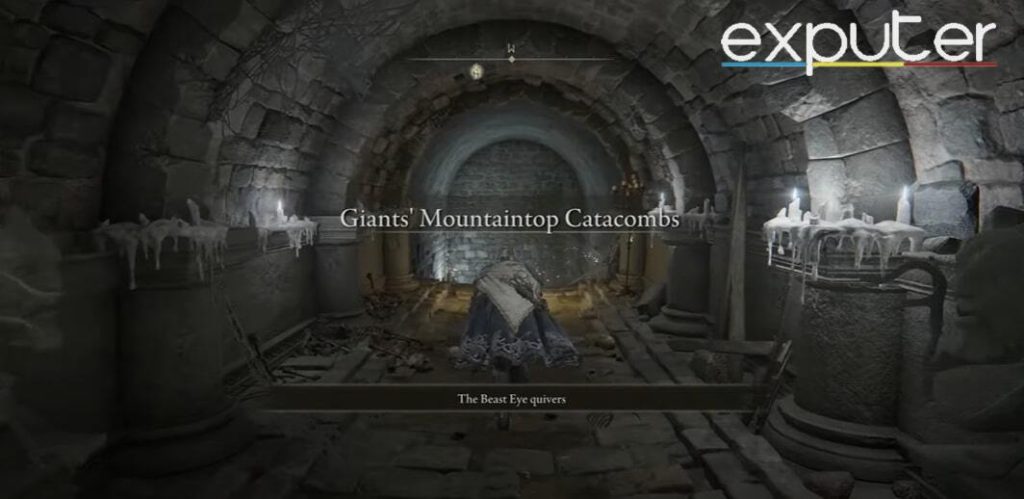
Obtaining The Giants’ Mountaintop Catacombs Deathroot
Obtaining the Giants’ Mountaintop Catacombs Deathroot takes longer than usual, but you will ultimately reach it.
1st Stage – Secret Haligtree Medallion Piece Locations
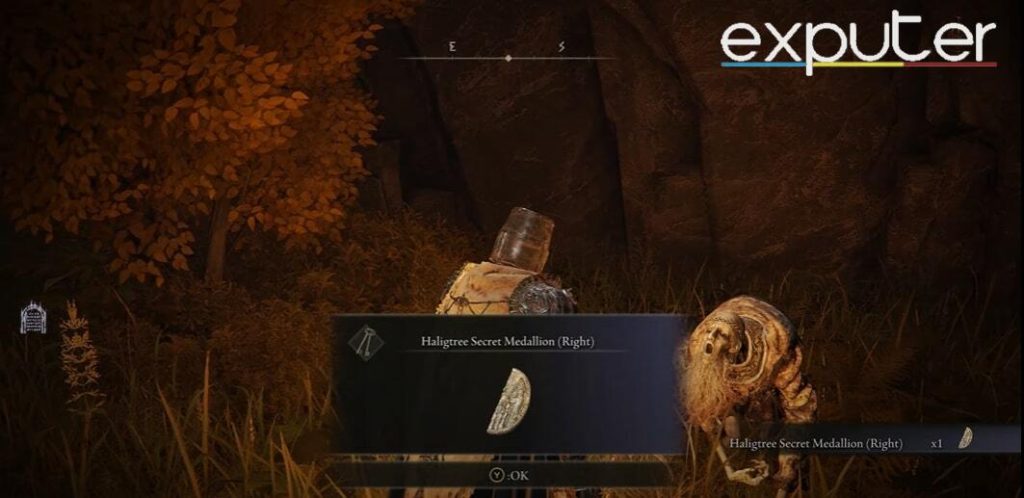
Right Haligtree Medallion
- Players should look for the first half of the Haligtree Secret Medallion in the southwest corner of the Liurnia region.
- Specifically, they should go to the Village of the Albinaurics.
- To get there, players should start at the Liurnia Lake Shore Site of Grace and summon Torrent to ride west.
- They should continue west until the fresh water turns into a swamp.
- Then, they should look for a slope on the left that goes upward.
- At the top of the slope, players will find a hut with a graveyard, which they should pass.
- Then, they should turn left and climb the incline that goes eastward.
- The incline leads to two huts, and there is a pot against the cliff just past those structures.
- Hitting the pot will reveal a non-hostile Albinauric, who will give players the Haligtree Secret Medallion (Right).
Left Haligtree Medallion
- Find the second half of the medallion in Castle Sol, north of Mountaintops of the Giants in Elden Ring.
- Reach the Castle Sol rooftop, defeat the boss, and activate the nearby Site of Grace.
- Head north, take the right lift, and follow the path to discover the Haligtree Secret Medallion (Left) on the ground.
2nd Stage
- To find the location described, players should head east from the Zamor Ruins.
- As they approach a large bridge, they should loop around the right-hand side just before the bridge to see a path sloping down to some double doors buried in the rock face.
- Through the doors, players will find a Site of Grace and a room lined with statues of Erdtree Burial Watchdogs.
- There are Fanged Imps to defeat in both the first and second rooms, and players should grab Grave Glovewort and Grave Violet before riding a lift down.
- At the bottom of the lift, players will see locked doors ahead and should defeat a Fanged Imp patrolling the corridor to the left before riding down another lift.
3rd Stage
- Descend lift, face 2 small Living Jars, and get ambushed by a Giant Living Jar in the main room.
- Find 3 small Living Jars, Grave Violet, near the statue.
- Ascend the west stairs to a room with blades and flaming Living Jars.
- Choose the east stairs, avoid the pressure plate, and find 2 small Living Jars.
- The north room has a Giant Living Jar and trigger pressure plate to defeat.
- The room has a corpse with Stimulating Boluses, drop down for Nascent Butterfly.
- Encounter 3 flaming Living Jars before choosing the lift (north) or stairs (west).
- Ascend lift, battle 3 Fanged Imps, Erdtree Burial Watchdog, find Grave Glovewort, and Root Resin.
- Descend lift, face Giant Living Jar, and grab Golden Rune from the dangling corpse.
4th Stage – Fighting The Ulcerated Tree Spirit
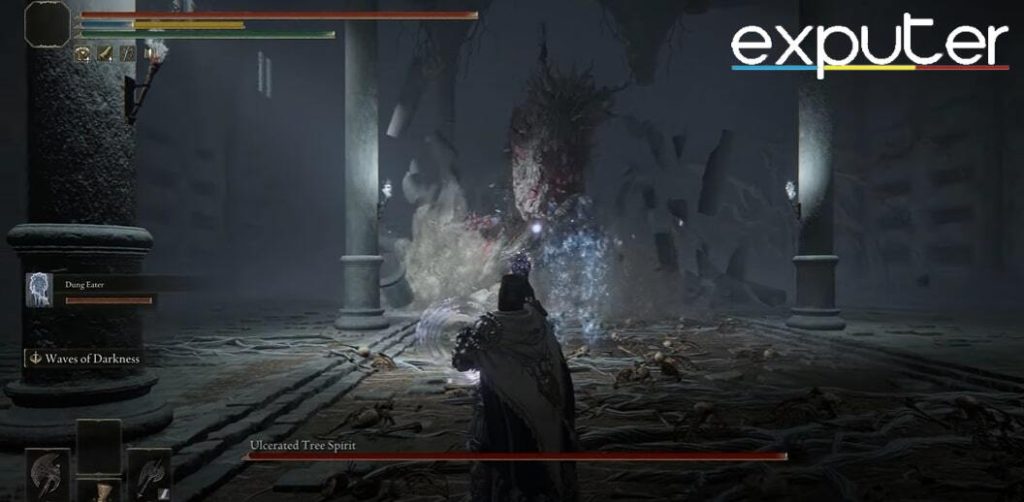
- The Ulcerated Tree Spirit is an aggressive, fast-moving enemy with long wind-ups to its attacks.
- It has a chain of lunging bites that requires a well-placed dodge.
- Sticking to the sides of the boss is the most effective way to dodge or roll out of many of its attacks.
- The Spirit can perform fire attacks, including breathing fire in front of itself, a grab attack followed by breathing fire, and a large sphere of flames.
- In Elden Ring, the creature often follows up its arm swipes with tail swings and arm stomps, which are the primary attacks to be wary of.
- Defeating the Ulcerated Tree Spirit earns a Golden Seed and the Glovewort Picker’s Bell Bearing, and there is a chest in the arena containing a Deathroot.
Rewards
Obtaining the 7th Deathroot will reward you with the Beastclaw Greathammer.
8th Deathroot – North Of Mountaintop Of The Giants

Obtaining The Mountaintop Of The Giants Deathroot
- Reach Mountaintops of the Giants in Elden Ring by completing the Leyndell Royal Capital Legacy Dungeon and using the Grand Lift of Rold.
- After defeating Morgott, The Omen King, Melina directs you to the Grand Lift; mark it on your map.
- Access the lift through a Divine Atlus Tower in Leyndell, facing the Black Blade Kindred boss at the entrance.
- Inside the lift, find a Palm Reader; it will transport you to Mountaintops of the Giants.
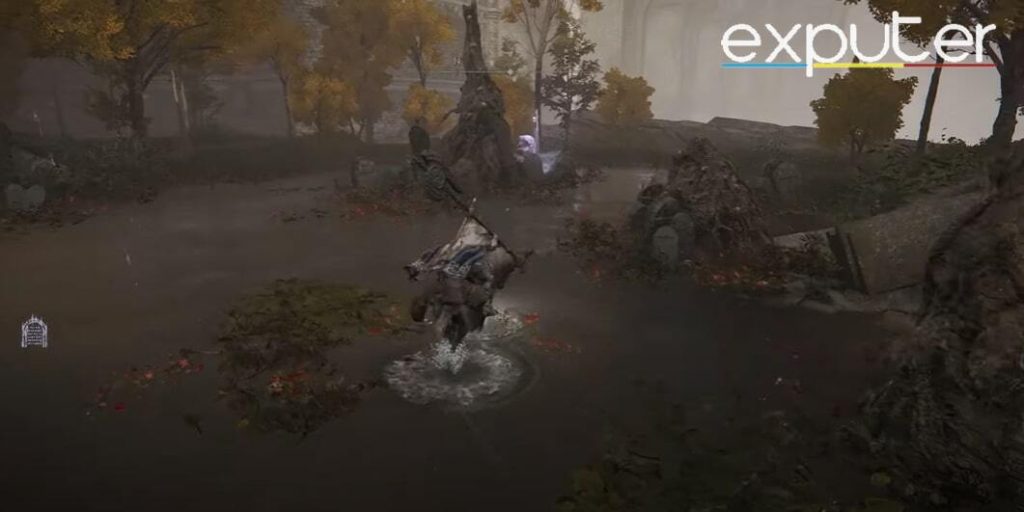
- Explore the Northern part by heading to the Freezing Lake Site of Grace; ascend the slope behind it to a graveyard, triggering the Tibia Mariner boss fight.
- Victory in the battle rewards you with the Deathroot.
Rewards
Collecting the Deathroot will reward players with various items, including the Gurranq’s Beast Claw Incantation.
9th Deathroot – Hidden Path To The Haligtree
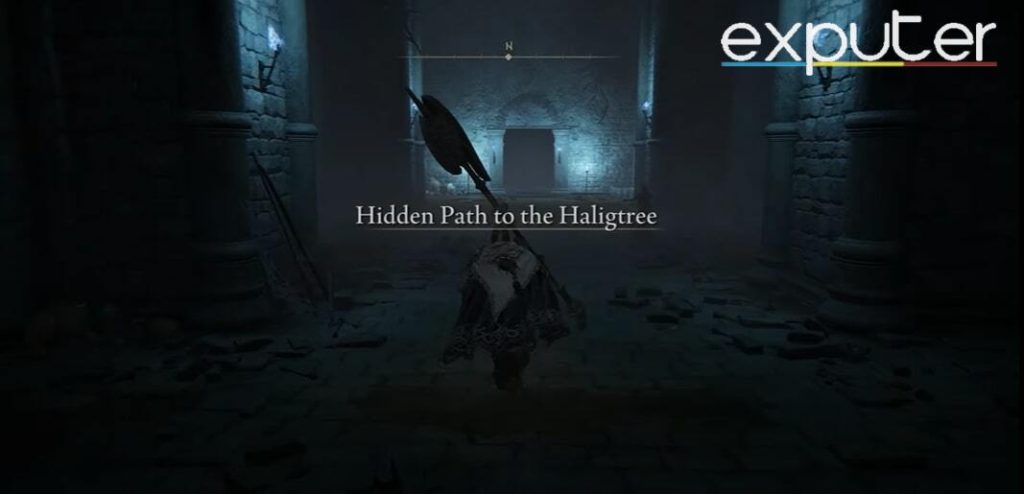
Obtaining the Haligtree Deathroot
Obtaining the Haligtree Deathroot starts with killing Commander Niall and ends with the Mimic Tear Boss.
1st Stage – Killing Commander Niall To Access The 9th Deathroot
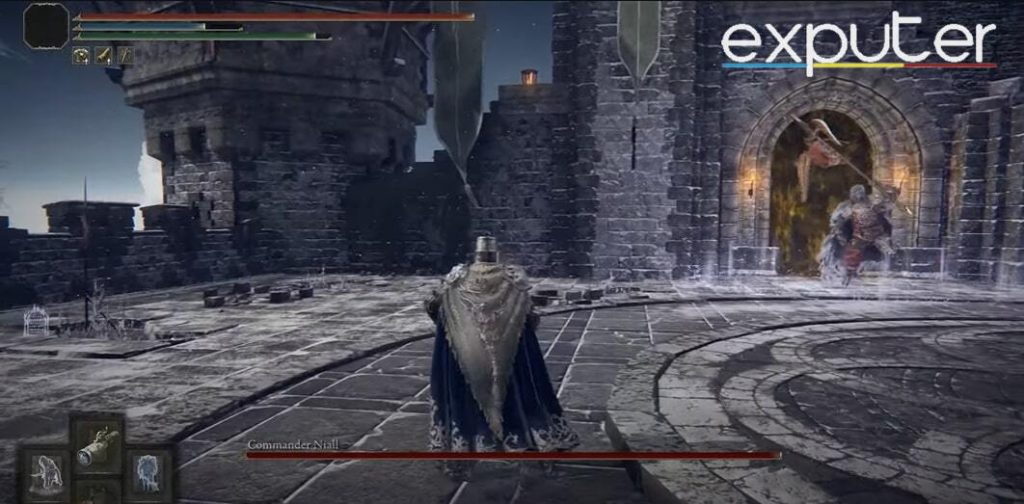
- Commander Niall summons two knights at the beginning of the fight, one with a shield and the other with two swords.
- Killing the two knights first is a mistake as it will enrage Niall and make him more difficult to defeat.
- Instead, let any summons occupy the knight with the shield and quickly kill the knight with two swords.
- Then, attack Niall and inflict as much damage as possible.
- Niall primarily uses three attacks: a thrusting swipe, a 1-3 swipe sweep, and a quick frost swirl around him.
- Dodge his attacks and attack during his normal hits, then flee to avoid his whirlwind attack.
- After his last soldier dies, Niall charges his prosthetic leg with lightning and becomes more aggressive.
- He can dash and deliver a spinning kick or jump high before knocking his leg down.
- Try to inflict critical hits during openings and keep a knight alive to help with the fight.
2nd Stage
- Use Haligtree Secret Medallions in the Grand Lift of Rold.
- Follow the Hidden Path to Haligtree Site of Grace, turn left, and reach the central platform.
- Jump down from the shown location for an invisible bridge.
- On the bridge, enter the south room for Grave Glovewort and a hidden Silver Scarab.
- Continue on the bridge to the north room for Sacramental Bud and Vulgar Militia Outfit.
- Proceed straight on the invisible bridge to find another Grave Glovewort in the west room.
- Jump down on the right for Hero’s Rune.
- Climb the window, turn right, pull the lever to open the boss’s door, and head south to the boss’s lair.
- Before entering, take the right path, use the elevator to the top, and collect the Spelldrake Talisman.
3rd Stage
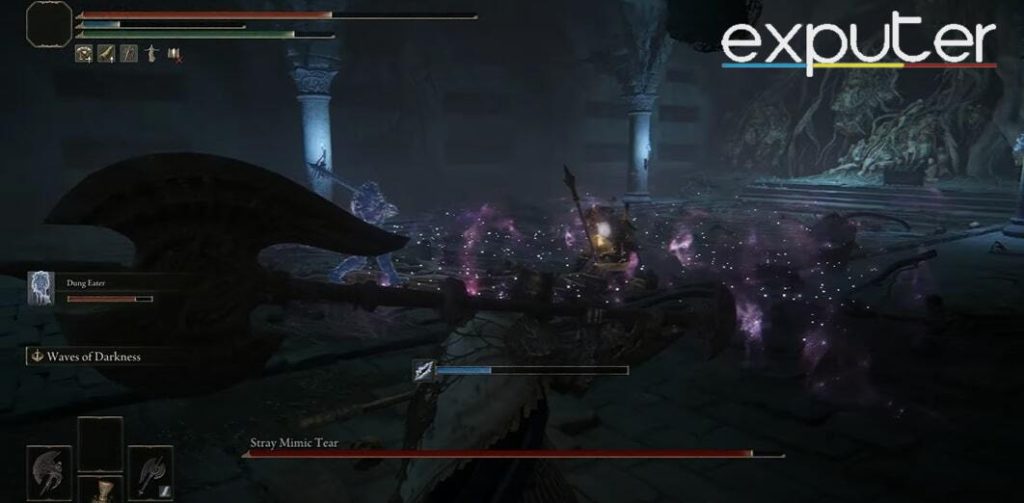
- Then, a Boss called Mimic Tear Emerges inside a hall.
- Mimic Tear is a boss in a game that initially appears as a harmless blob.
- It transforms into a stronger form when the player gets close enough.
- To defeat it easily, the player can summon spirits to attack the blob form before transforming.
- The blob has lower health and does less damage than the transformed version.
- Players can take off their weapons until they cross the fog gate, which tricks the system into causing Mimic to fight with fists while the player can use weapons.
- Defeat the Stray Mimic Tear boss inside the boss’s lair to get Blackflame Monk Amon ashes.
- To progress in Gurranq’s Questline, open the chest inside the boss’s room and obtain the Deathroot.
Rewards
Collecting the 9th Deathroot will reward players with the Ancient Dragon Smithing Stone.
Each Deathroot is located in a different area; some are easily obtainable, while others require significant effort due to the presence of creatures and bosses along the way. While progressing in the quest, there may be rewards for defeating the monsters along the path in the Elden Ring, but sometimes, it’s best to ignore them and continue.
Next:
- Elden Ring Best Samurai Build
- Elden Ring Twin Maiden Husks Location
- Elden Ring Best Starting Class
- Elden Ring Icerind Hatchet Weapon
Thanks! Do share your feedback with us. ⚡
How can we make this post better? Your help would be appreciated. ✍